toolman
-
Posts
518 -
Joined
-
Last visited
-
Days Won
7
Content Type
Profiles
Forums
Blogs
Events
Gallery
Downloads
Store
Everything posted by toolman
-
Heavy Duty frame rails and connectors
toolman replied to toolman's topic in Gen III & IV Chevy V8Z Tech Board
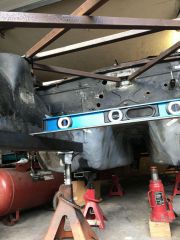
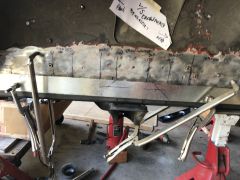
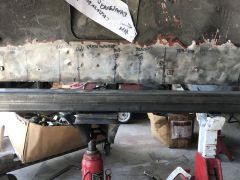
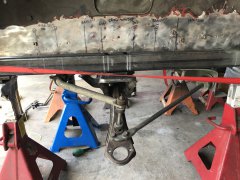
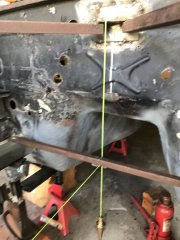
Labor Day Weekend gave me extra day to work on the Z. Unfortunately the holiday also meant most of my neighbors headed the beach and were not around to me carry the heavier stuff. The first picture of the new subframe on the ground. Had to drag it under the car and lift on the jack stands. Second and third pictures show aligning the subframe to existing body using datum line(center line and plume line(vertical line).
-
-
-
From the album: toolman
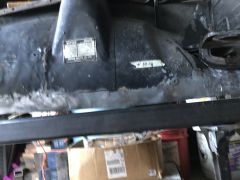
Wheel well view of right side modified cross member. -
From the album: toolman
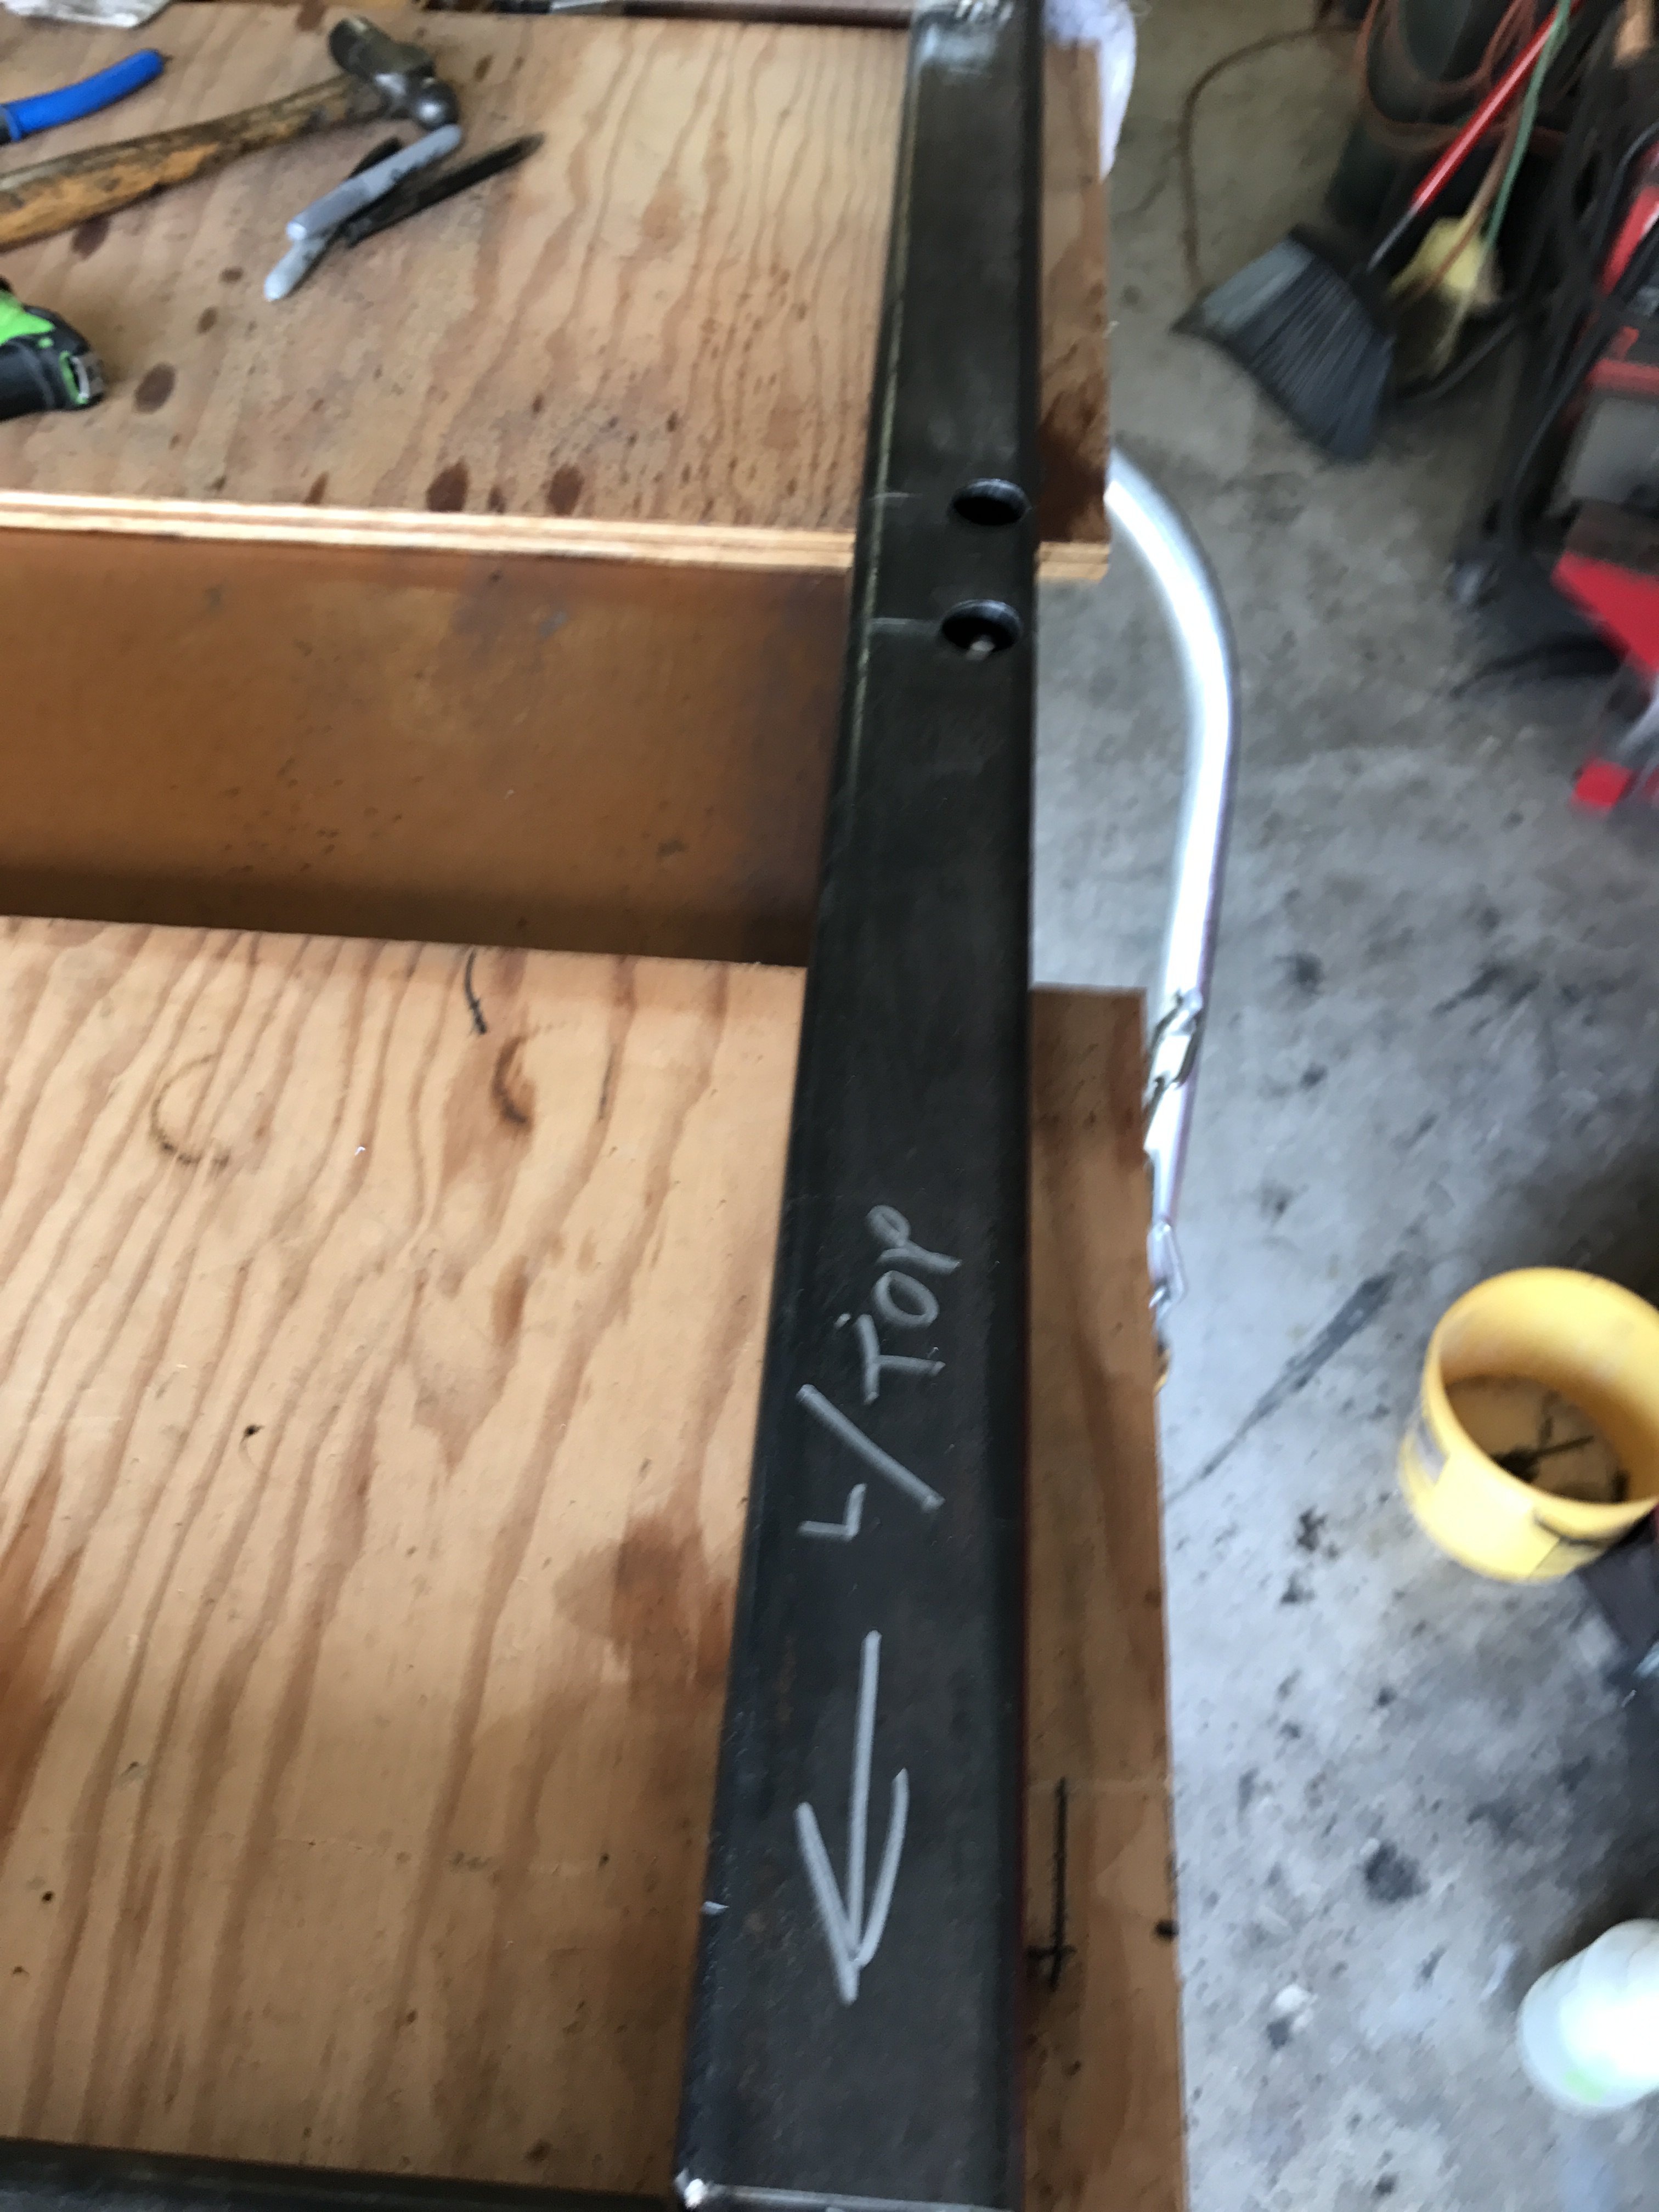
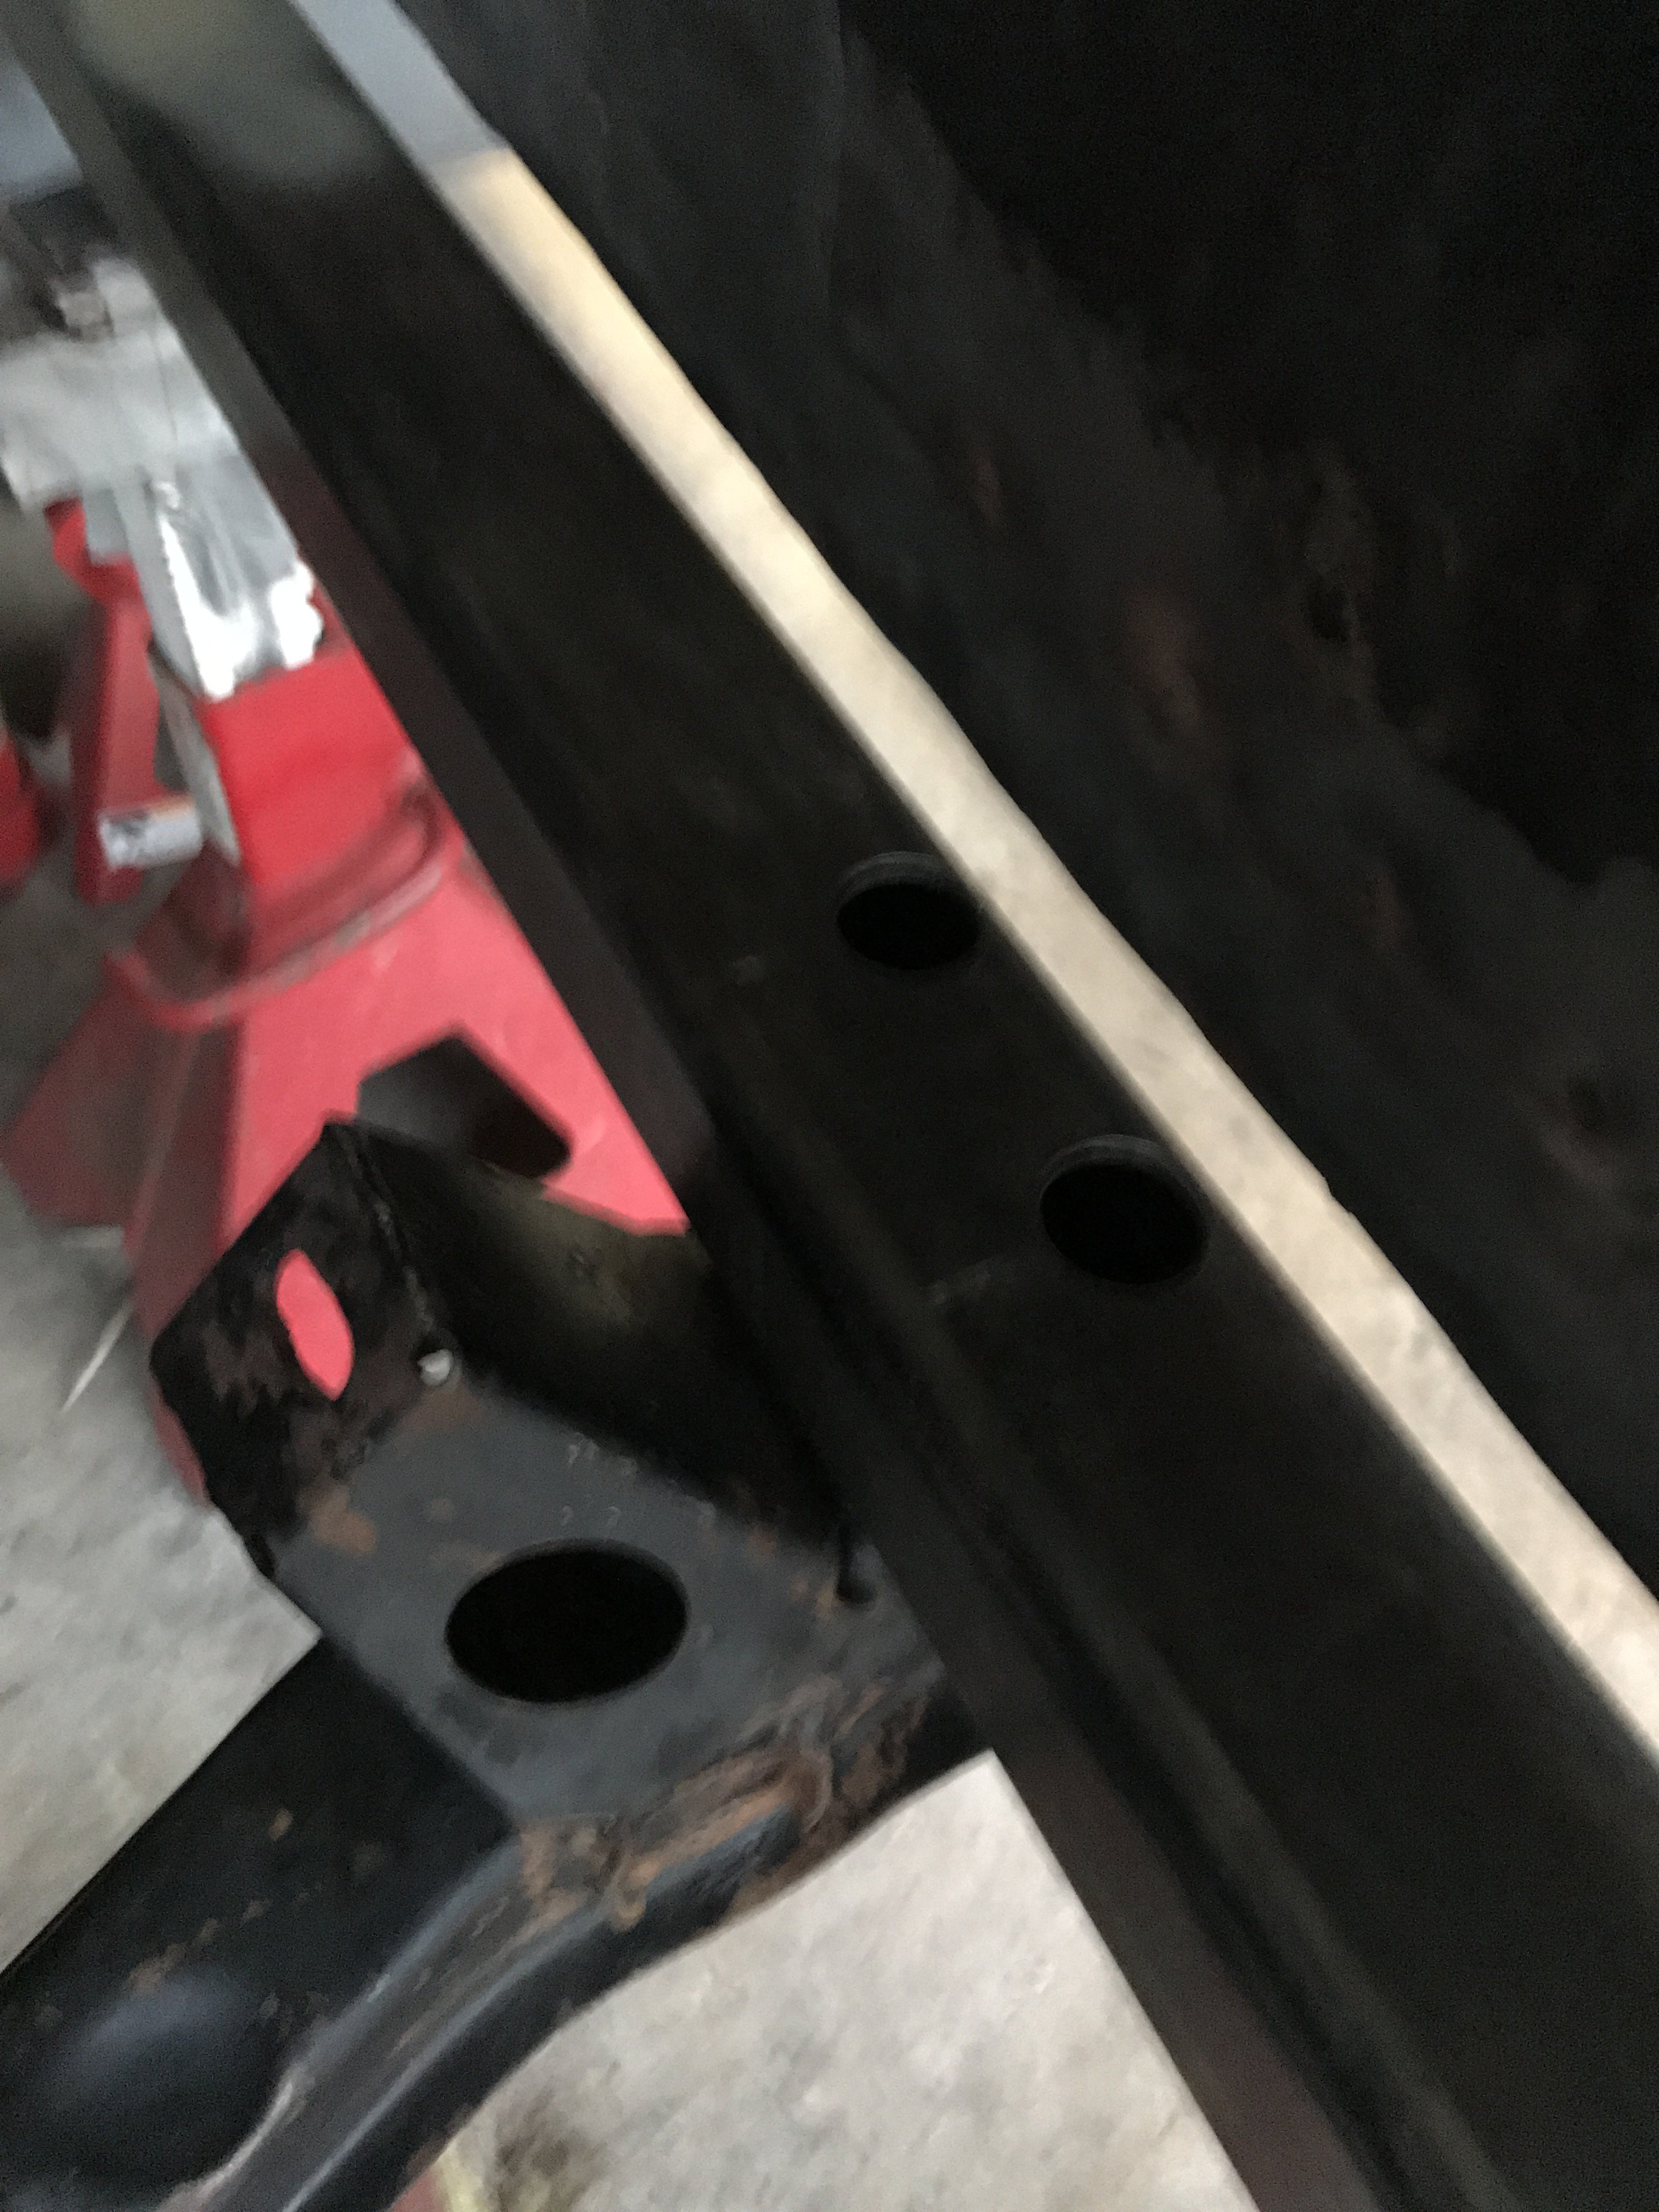
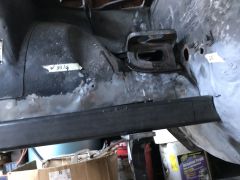
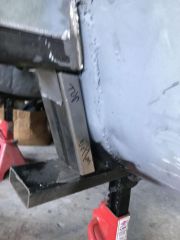
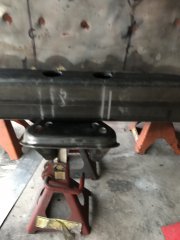
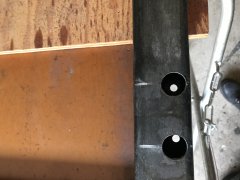
the wheel well view uf the modified left side cross member. Note the two 1" bolt assess holes on top of frame rail. -
From the album: toolman
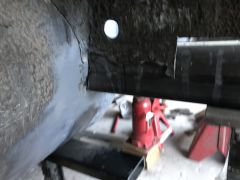
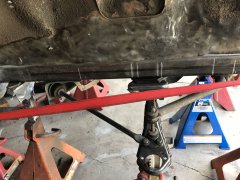
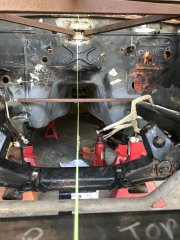
Right side suspension mocked up. The red cargo strap is utilized to pull the subframe tight to the body shell for welding. -
From the album: toolman
Left side suspension mocked up -
From the album: toolman
Using a plume to establish center line -
From the album: toolman
Establishing datum line to take measurements from. -
From the album: toolman
a Alining subframe to body shell -
Heavy Duty frame rails and connectors
toolman replied to toolman's topic in Gen III & IV Chevy V8Z Tech Board
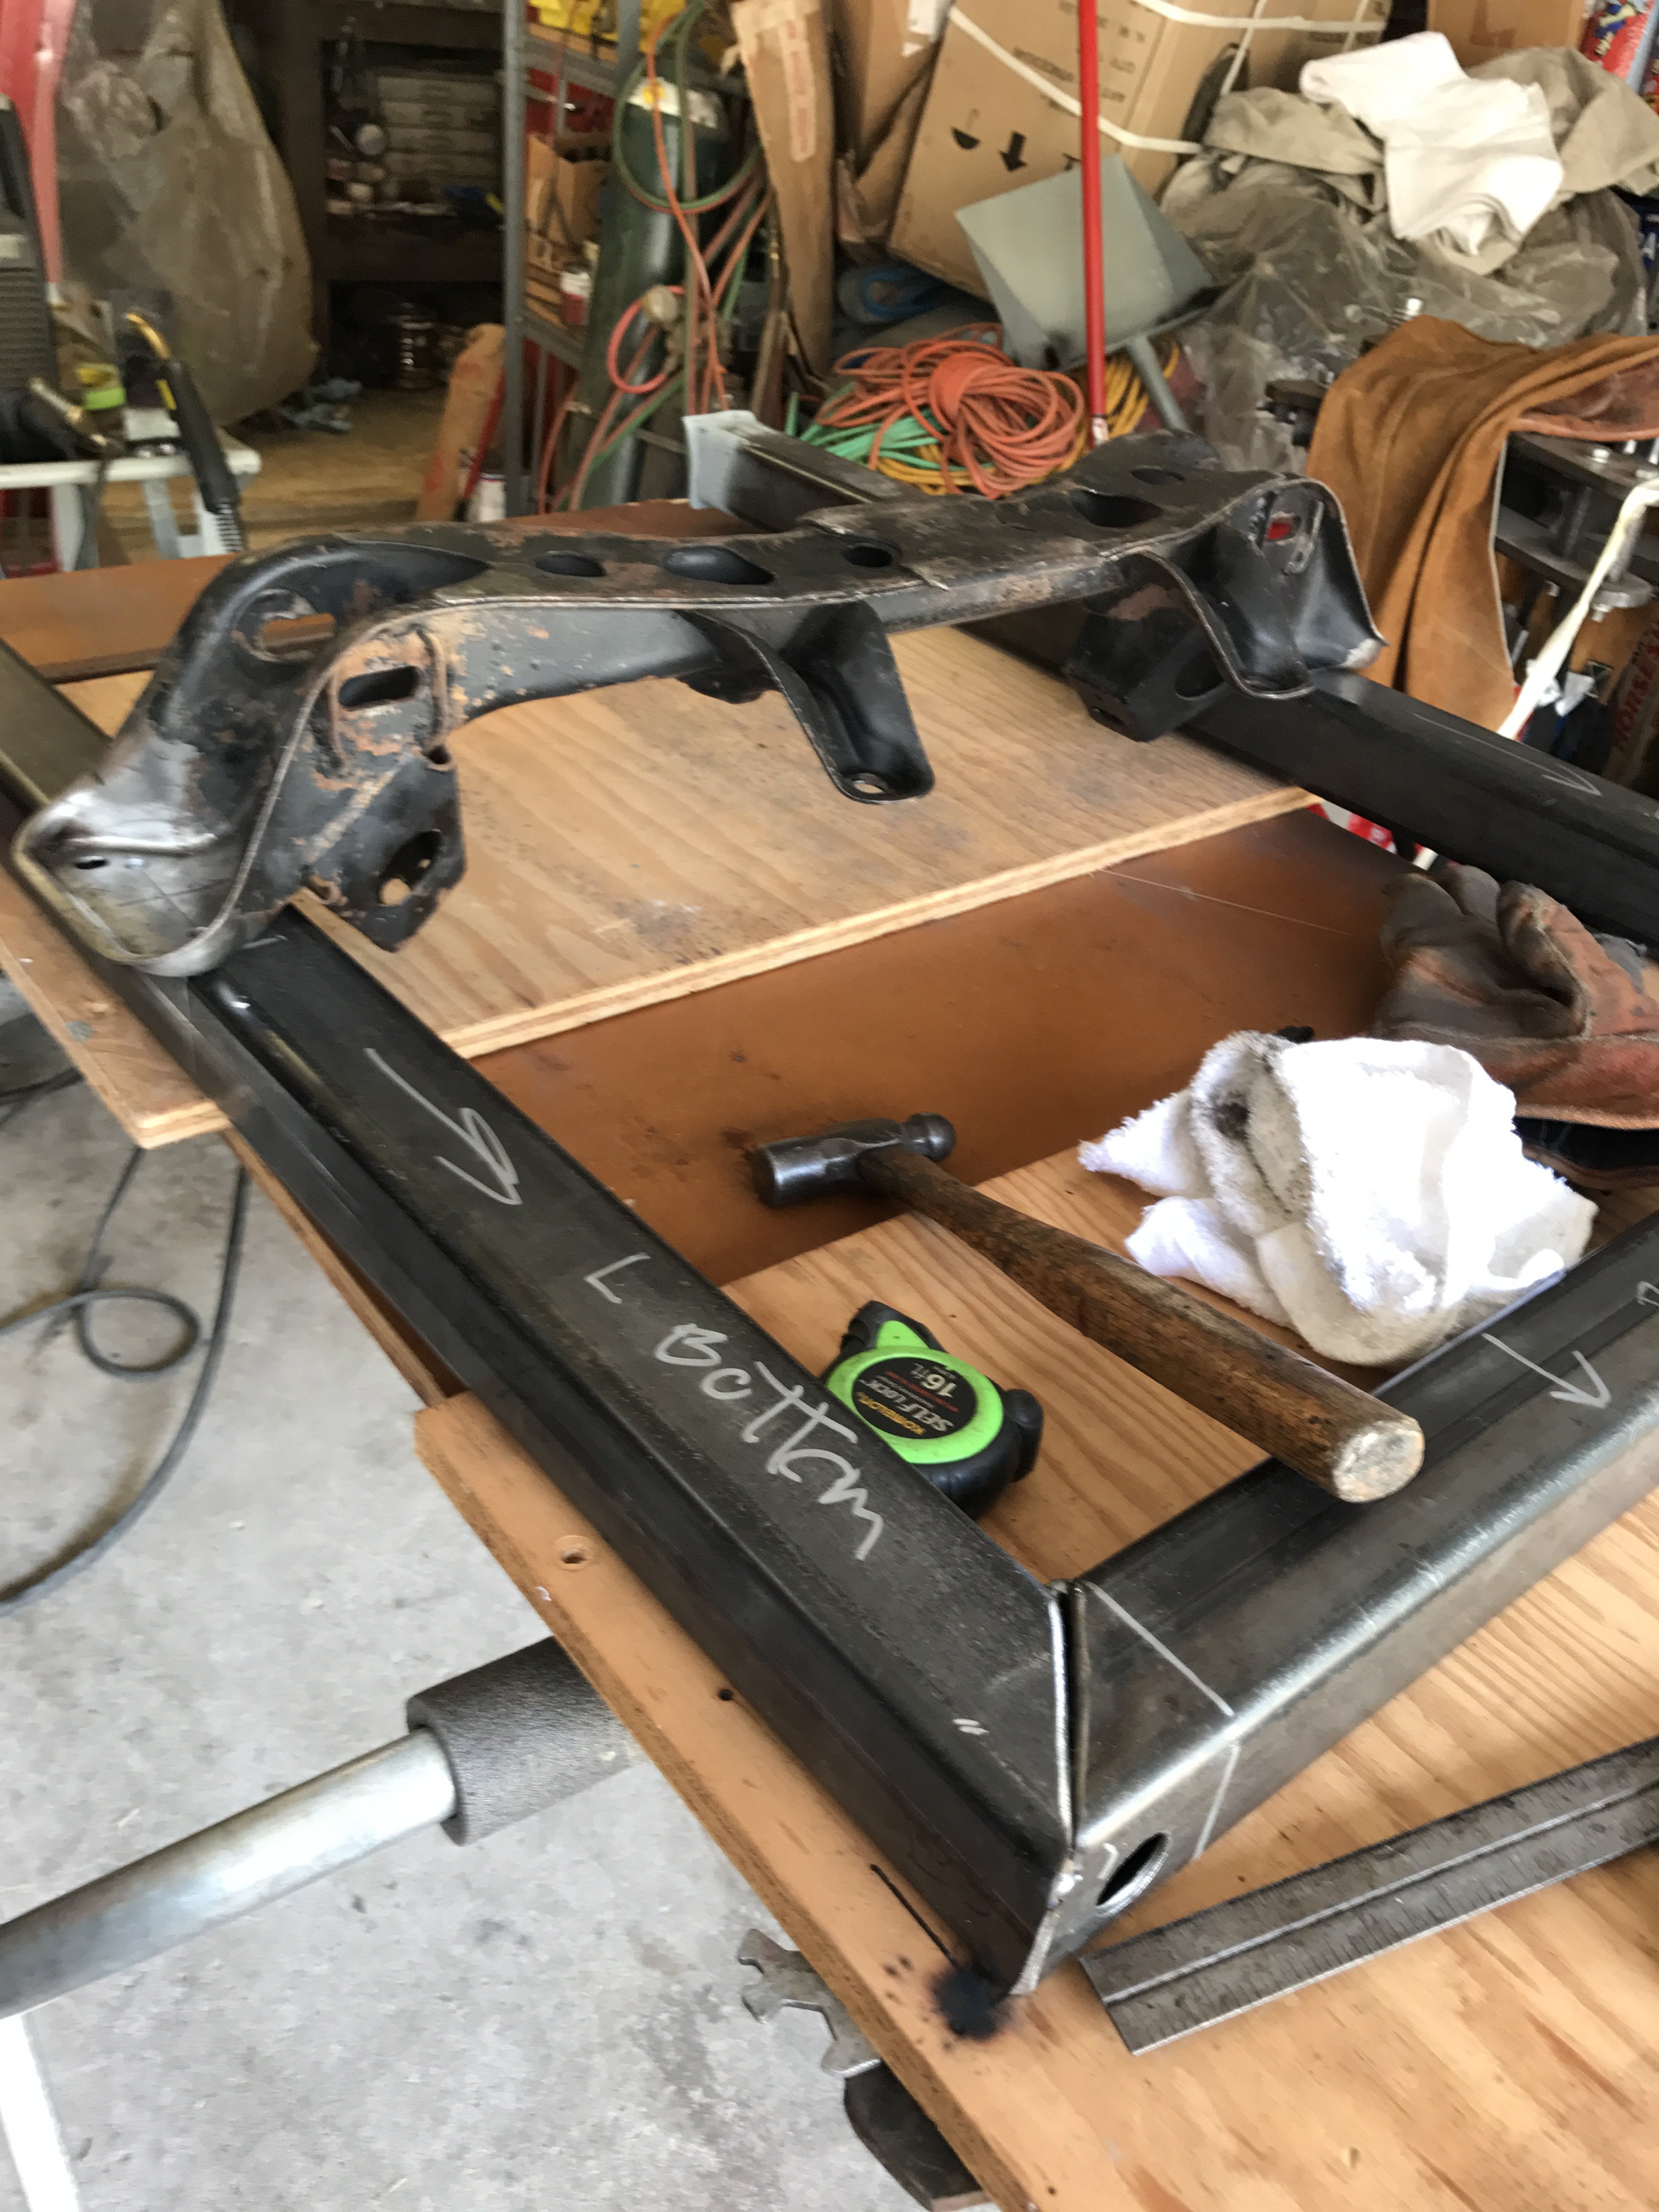
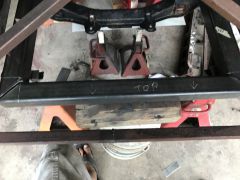
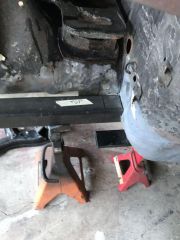
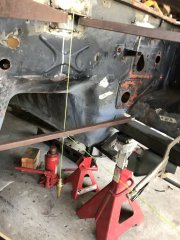
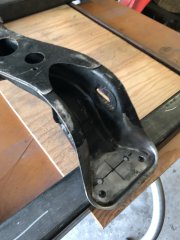
The following photos show mocking up the crossmember mounting to the frame rails. The frame was leveled and checked for squareness. Then it was welded together. Next step is to mount the frame to the utilized body.
-
Heavy Duty frame rails and connectors
toolman replied to toolman's topic in Gen III & IV Chevy V8Z Tech Board
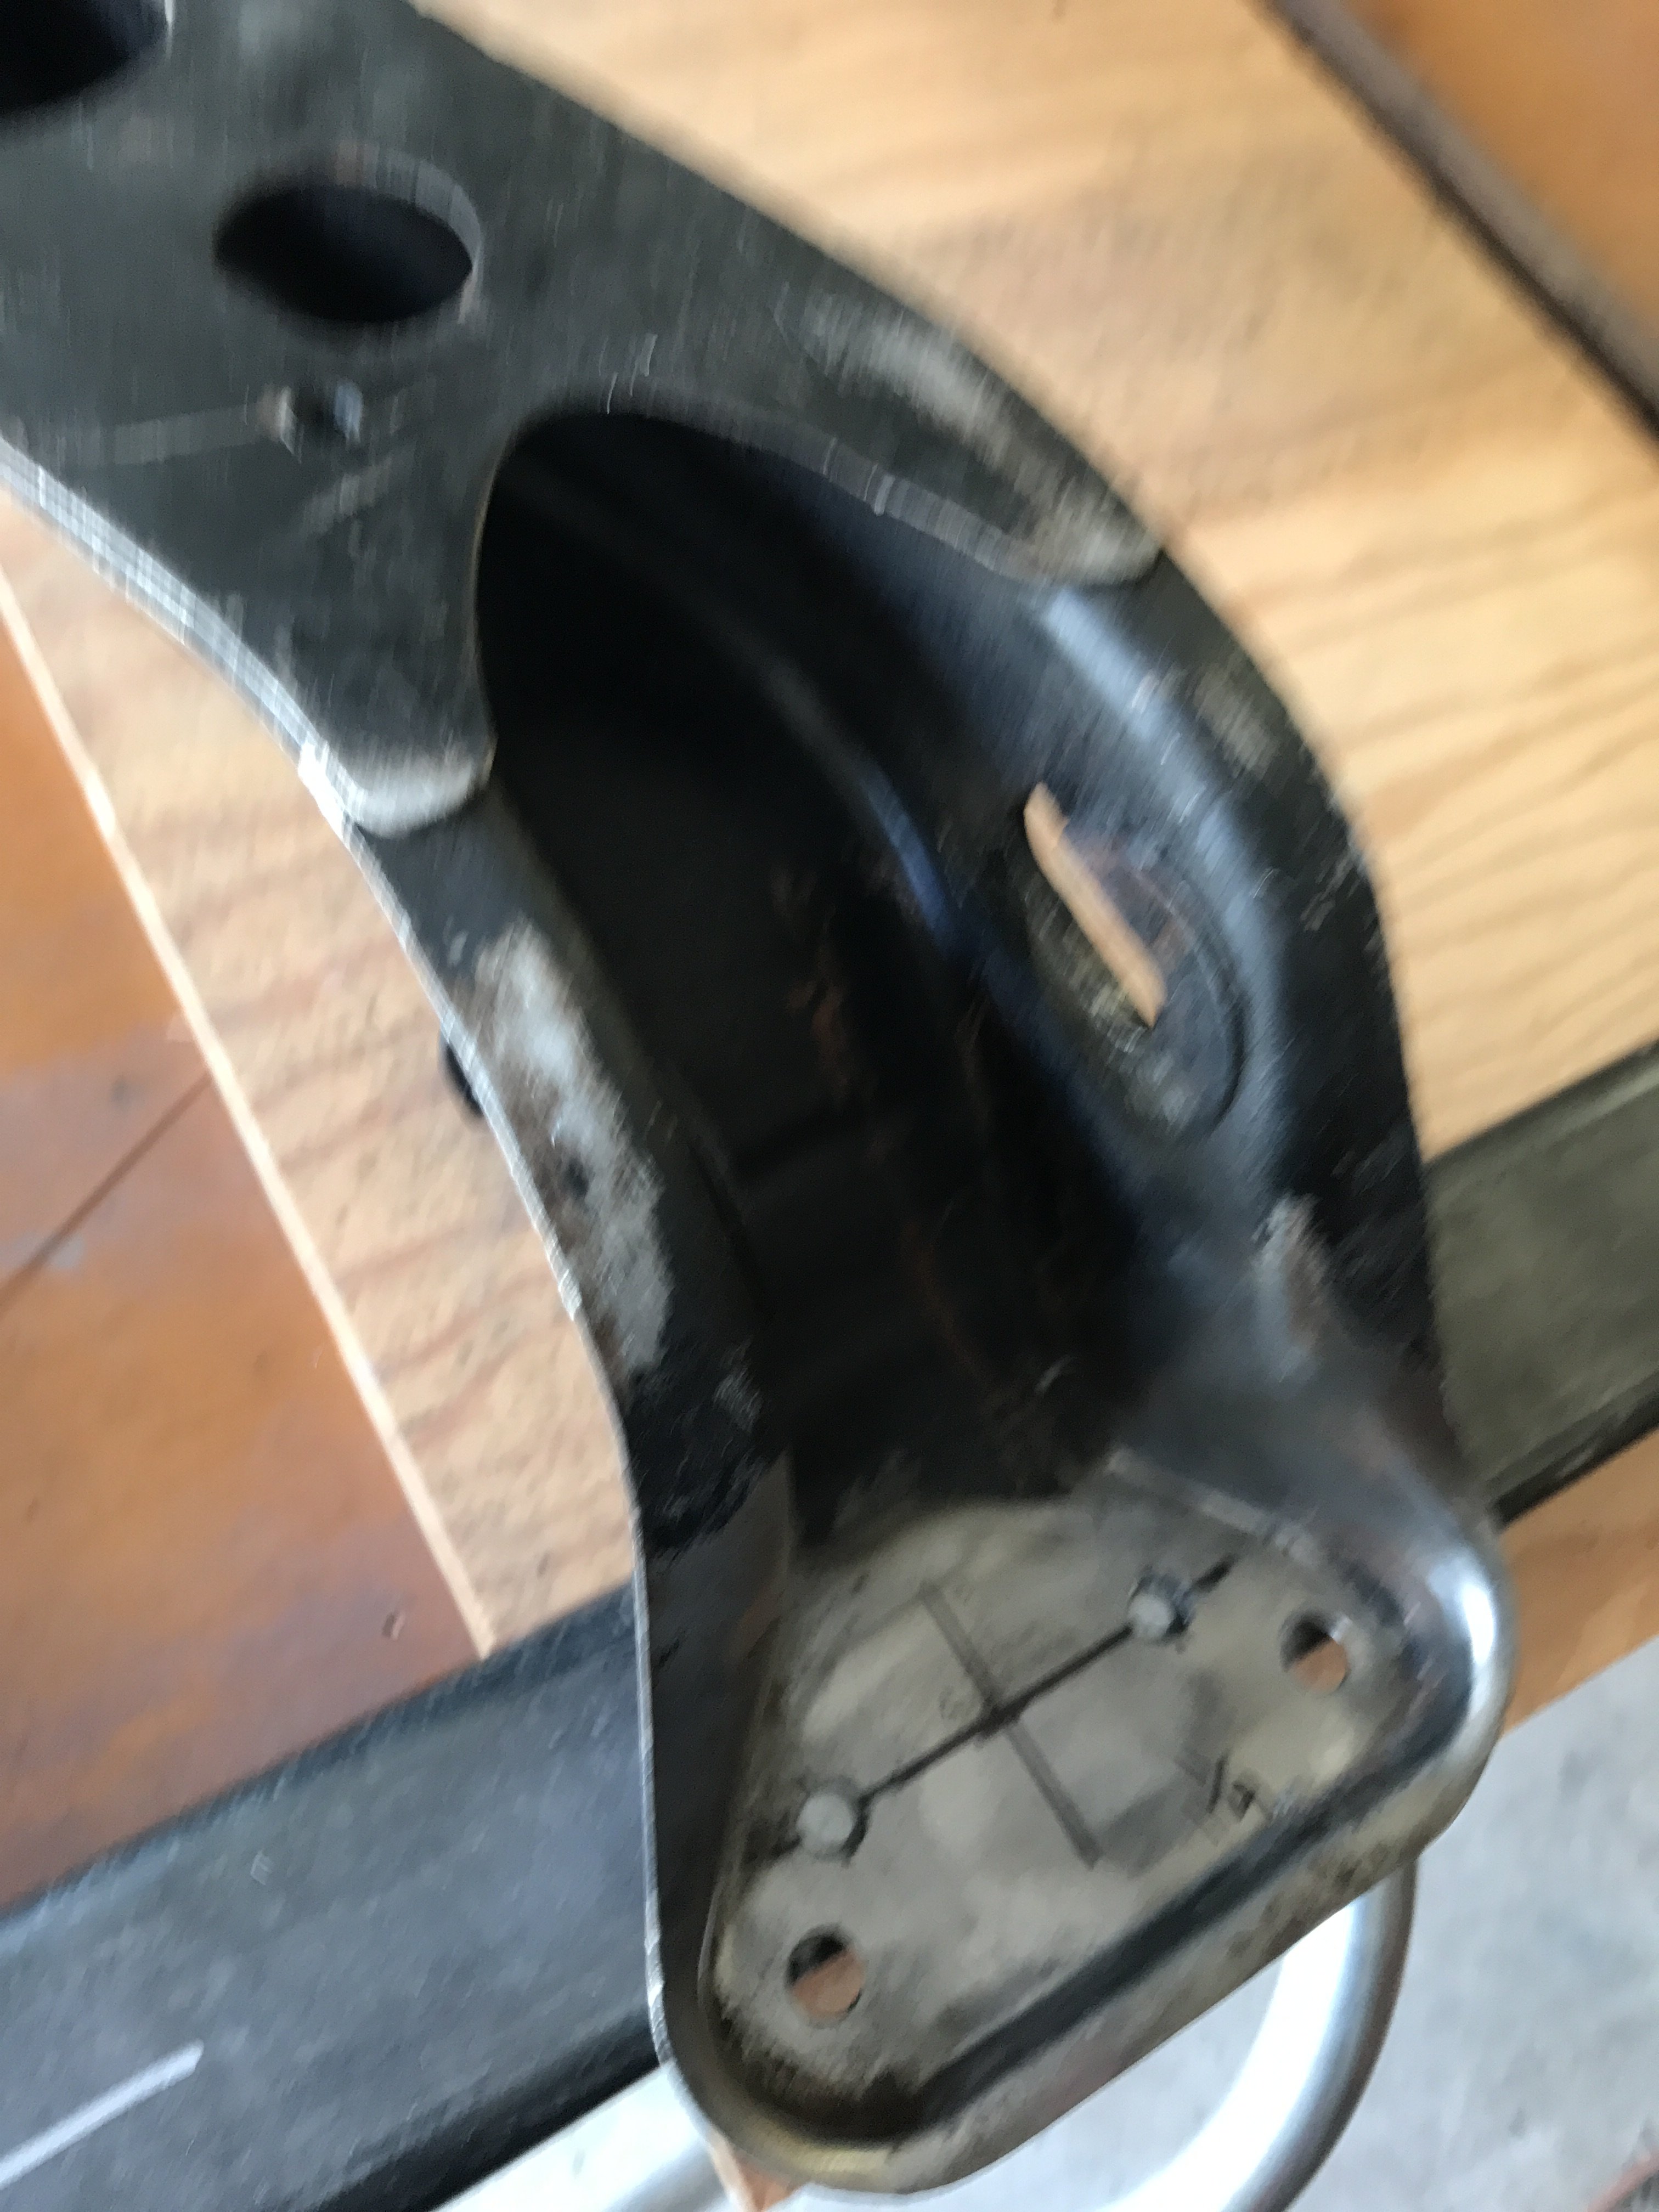
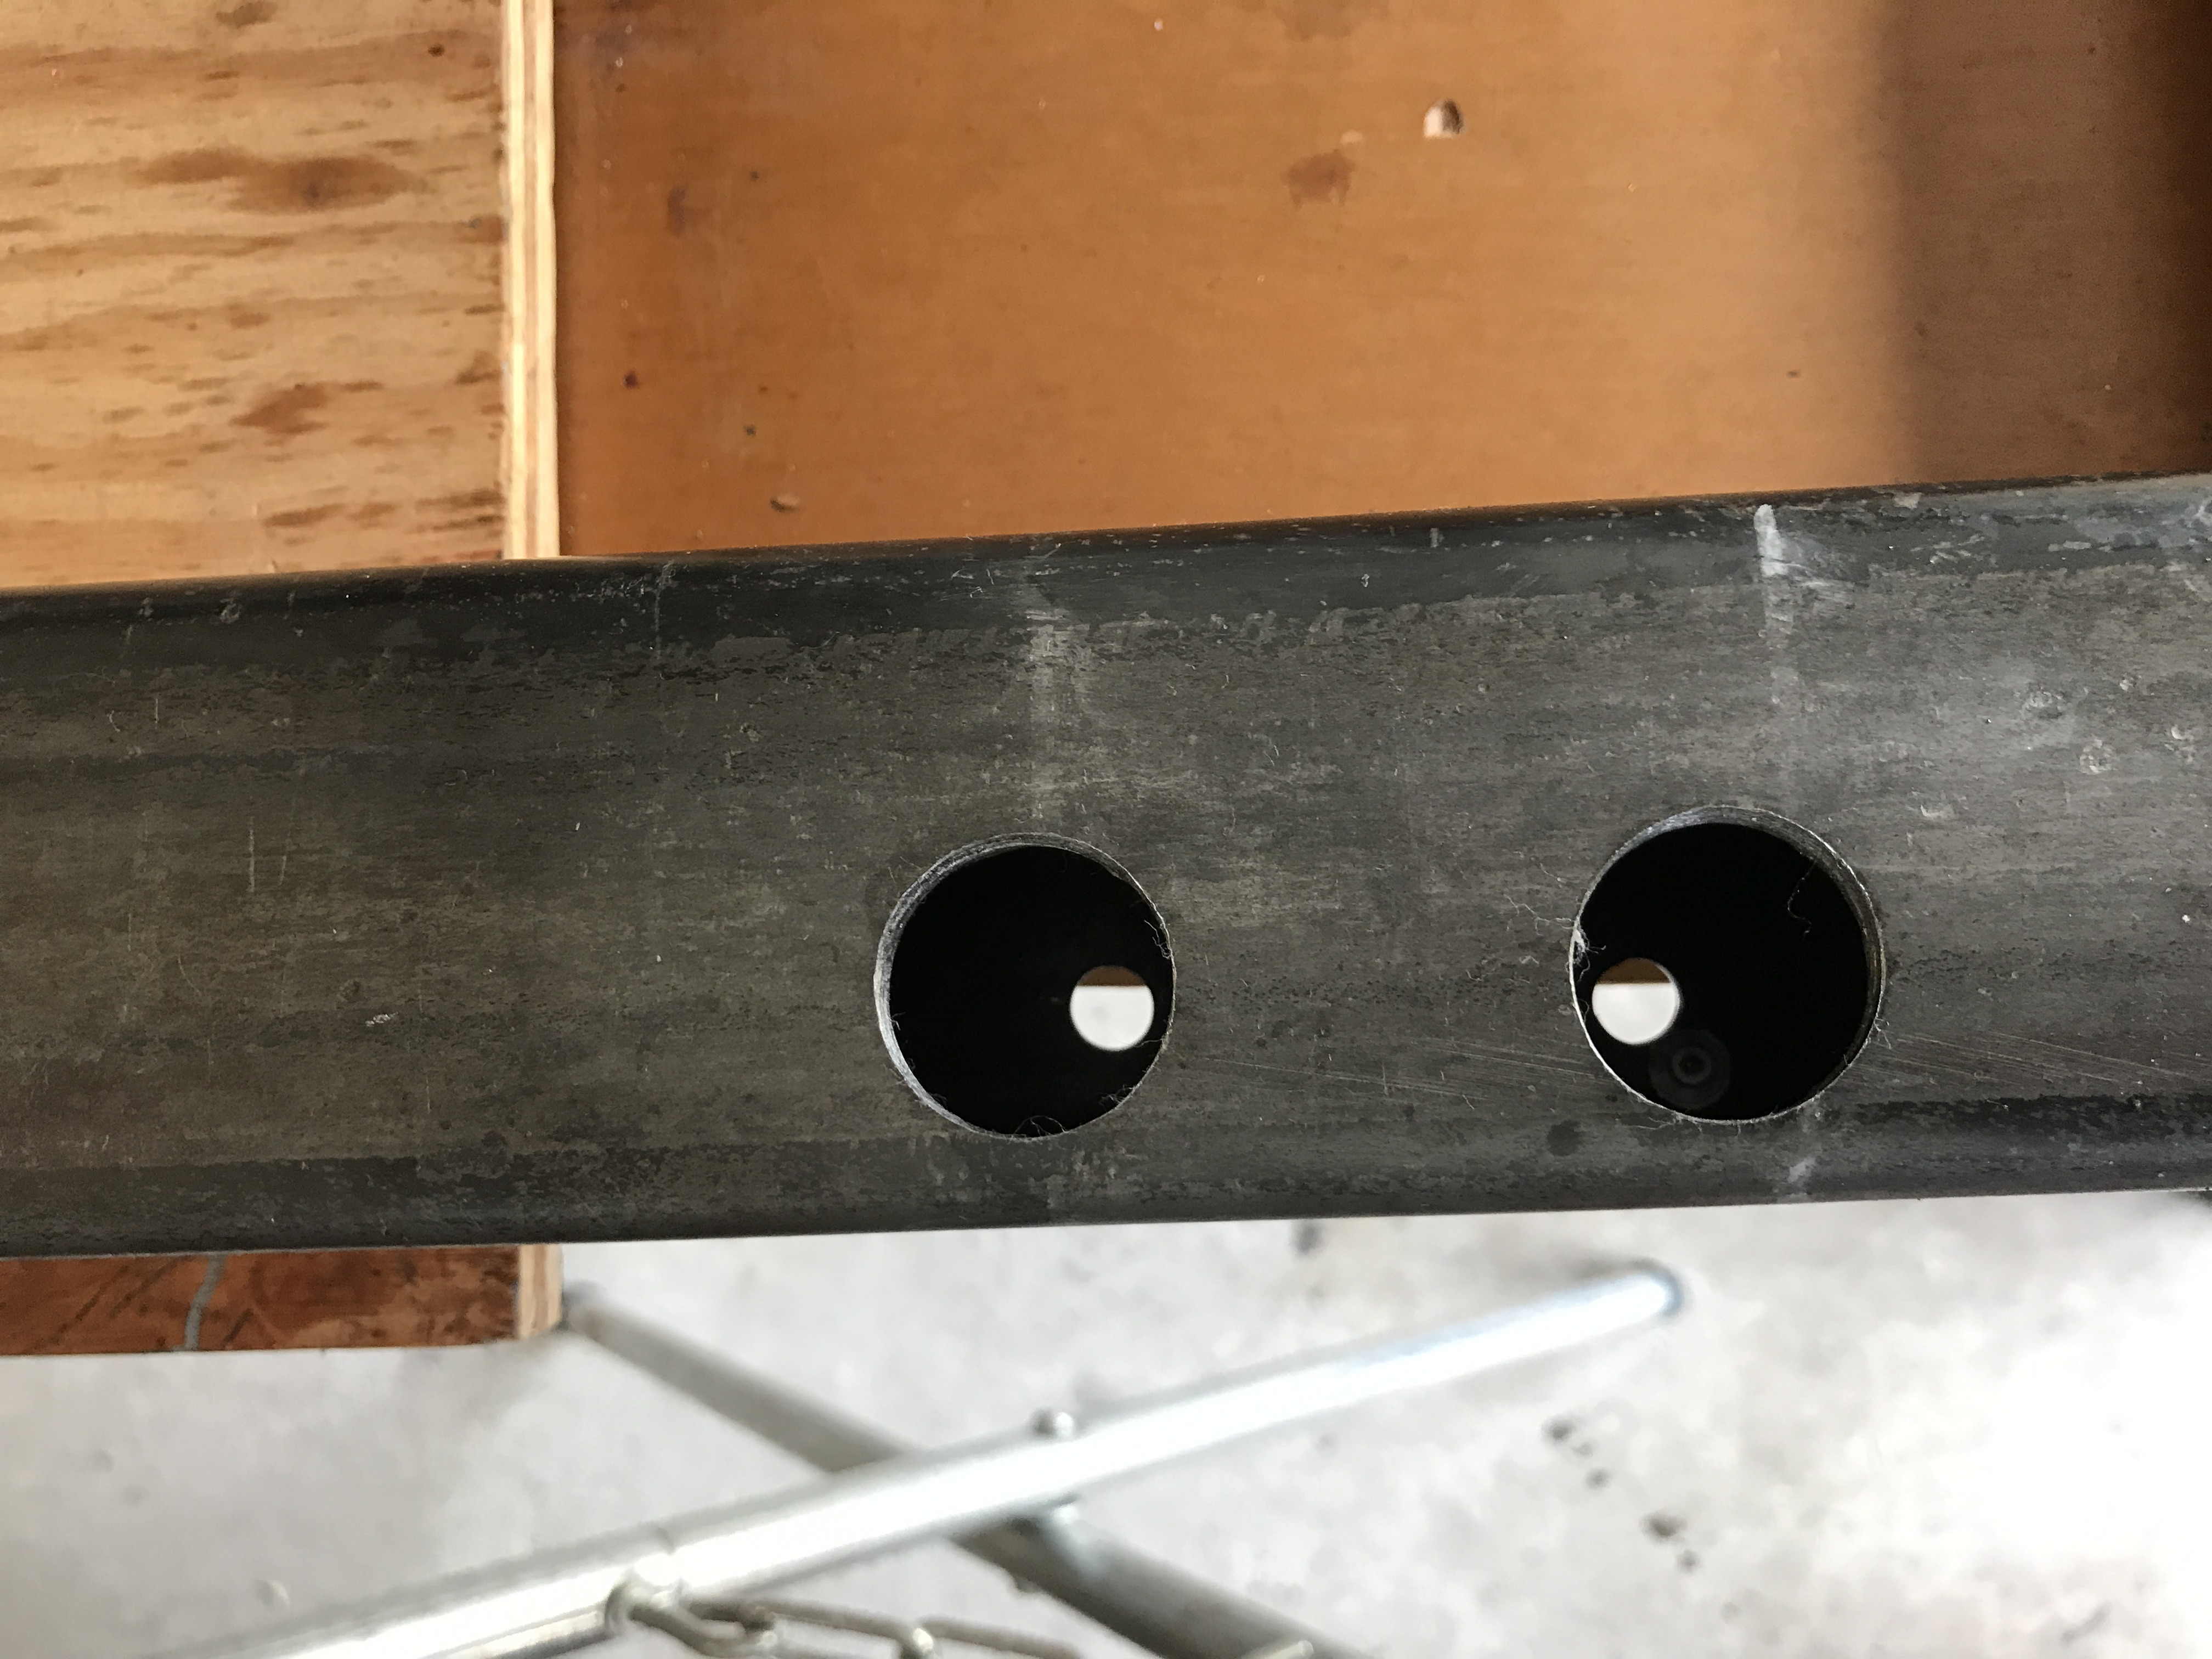
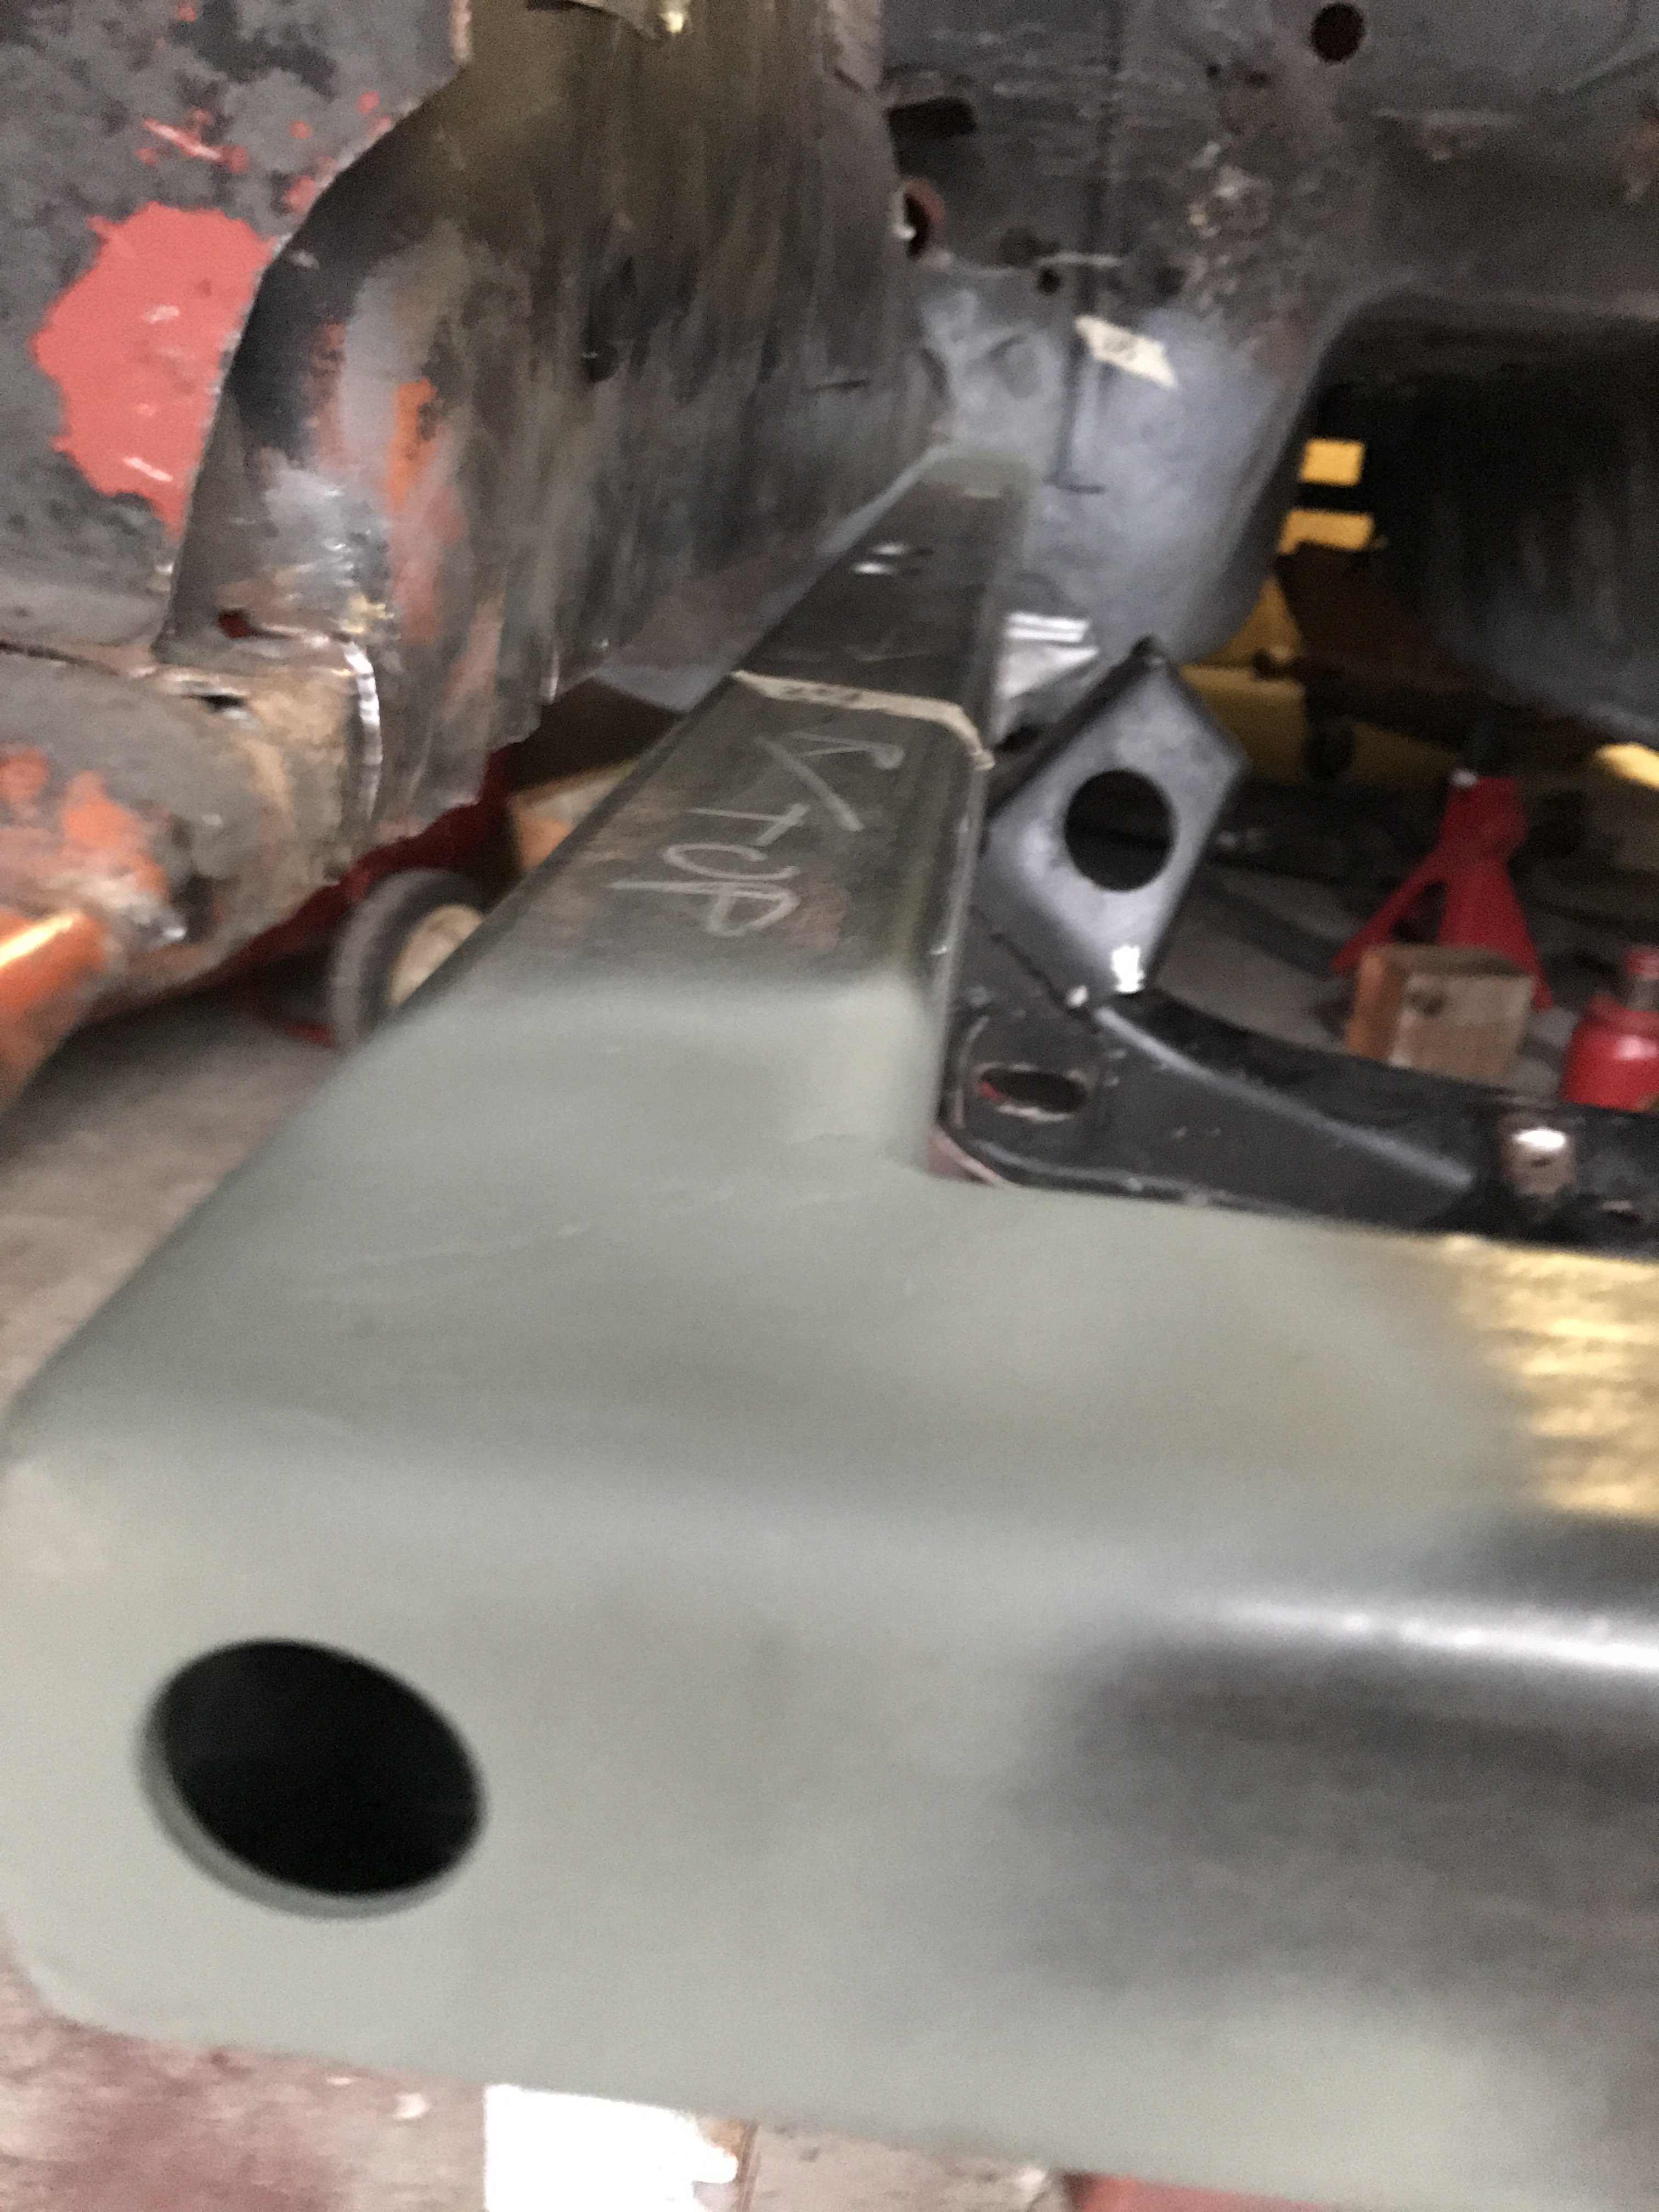
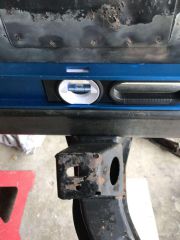
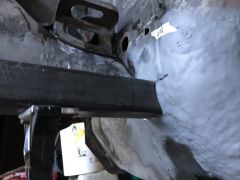
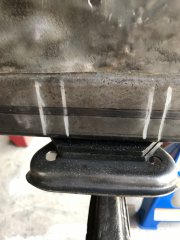
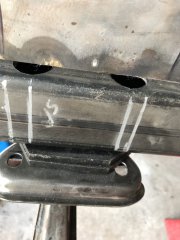
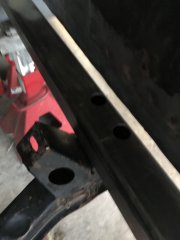
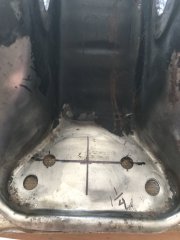
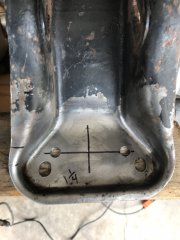
I researched all methods of mounting the engine crossmember to frame rails(both untilized or steel tubing construction. Everyone notched the frame rail to mount the crossmember. This method requires a lot of time and effort so I decided on a simpler method. I relocated the two mounting bolt holes about 3/4" inward. See photo. This method does require two holes drilled on the top of the frame rail to install frame bolts. I drilled two 1" holes directly over the crossmember bolts(inside the frame tube). Caps will cover the assess holes to prevent water from entering in.
-

From the album: toolman
-
From the album: toolman
-
From the album: toolman
-

From the album: toolman
-
From the album: toolman
-
From the album: toolman
-

From the album: toolman
-

From the album: toolman
-
From the album: toolman
-
From the album: toolman
-
From the album: toolman
-
Heavy Duty frame rails and connectors
toolman replied to toolman's topic in Gen III & IV Chevy V8Z Tech Board
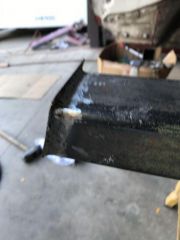
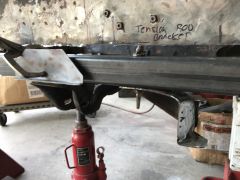
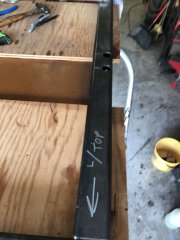
Another view of the new front frame connector. Next step is to weld up the frame rail to firewall. Then, attach the sheetmetal side apron to the frame rails. -
Heavy Duty frame rails and connectors
toolman replied to toolman's topic in Gen III & IV Chevy V8Z Tech Board
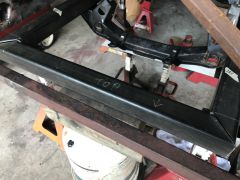
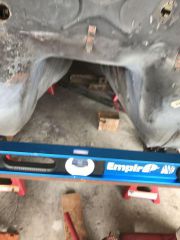
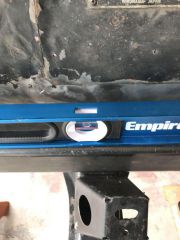
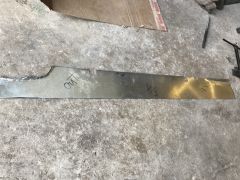
The front frame rail checked with bubble level. Level check was done sidewards for both front and rear section of the frames rails. Rignt side frame was checked for levelness. Left side rail checked levelness too. Both rails were also checked for squareness. This is done both measuring diagonally the opposide cotners of the frame rails. A new 2 1/2" tubing was cut to join the two frame rails together at the front. -
My 1971 Datsun 240Z sat in my garage for 34 years waiting to be restored. I had planned to do it when I retired in two more years. But when one of my friends wanted to buy the Chevy 350 engine out of the Z. I decided to let him have it. I had already decided to go to LS3 crate motor any way. My Z has a 350 with 600 Carter AFB with a T-5 5 speed manual transmission and R200 rear end. I plan to do a complete restoration(using a rotisserie).