5 Star Rising
-
Posts
239 -
Joined
-
Last visited
-
Days Won
1
Content Type
Profiles
Forums
Blogs
Events
Gallery
Downloads
Store
Everything posted by 5 Star Rising
-
 Thanks. Yeah when I removed the dash pad off the old frame it created and new giant crack that I had to repair also, thats telling me the core is pretty briddle..thought about putting something else on it to protect it. Is there a preferred sealer product people use after restoring their dash? It may help the top of the dash for a bit but if the crack comes from the inside out I'm screwed.
 -
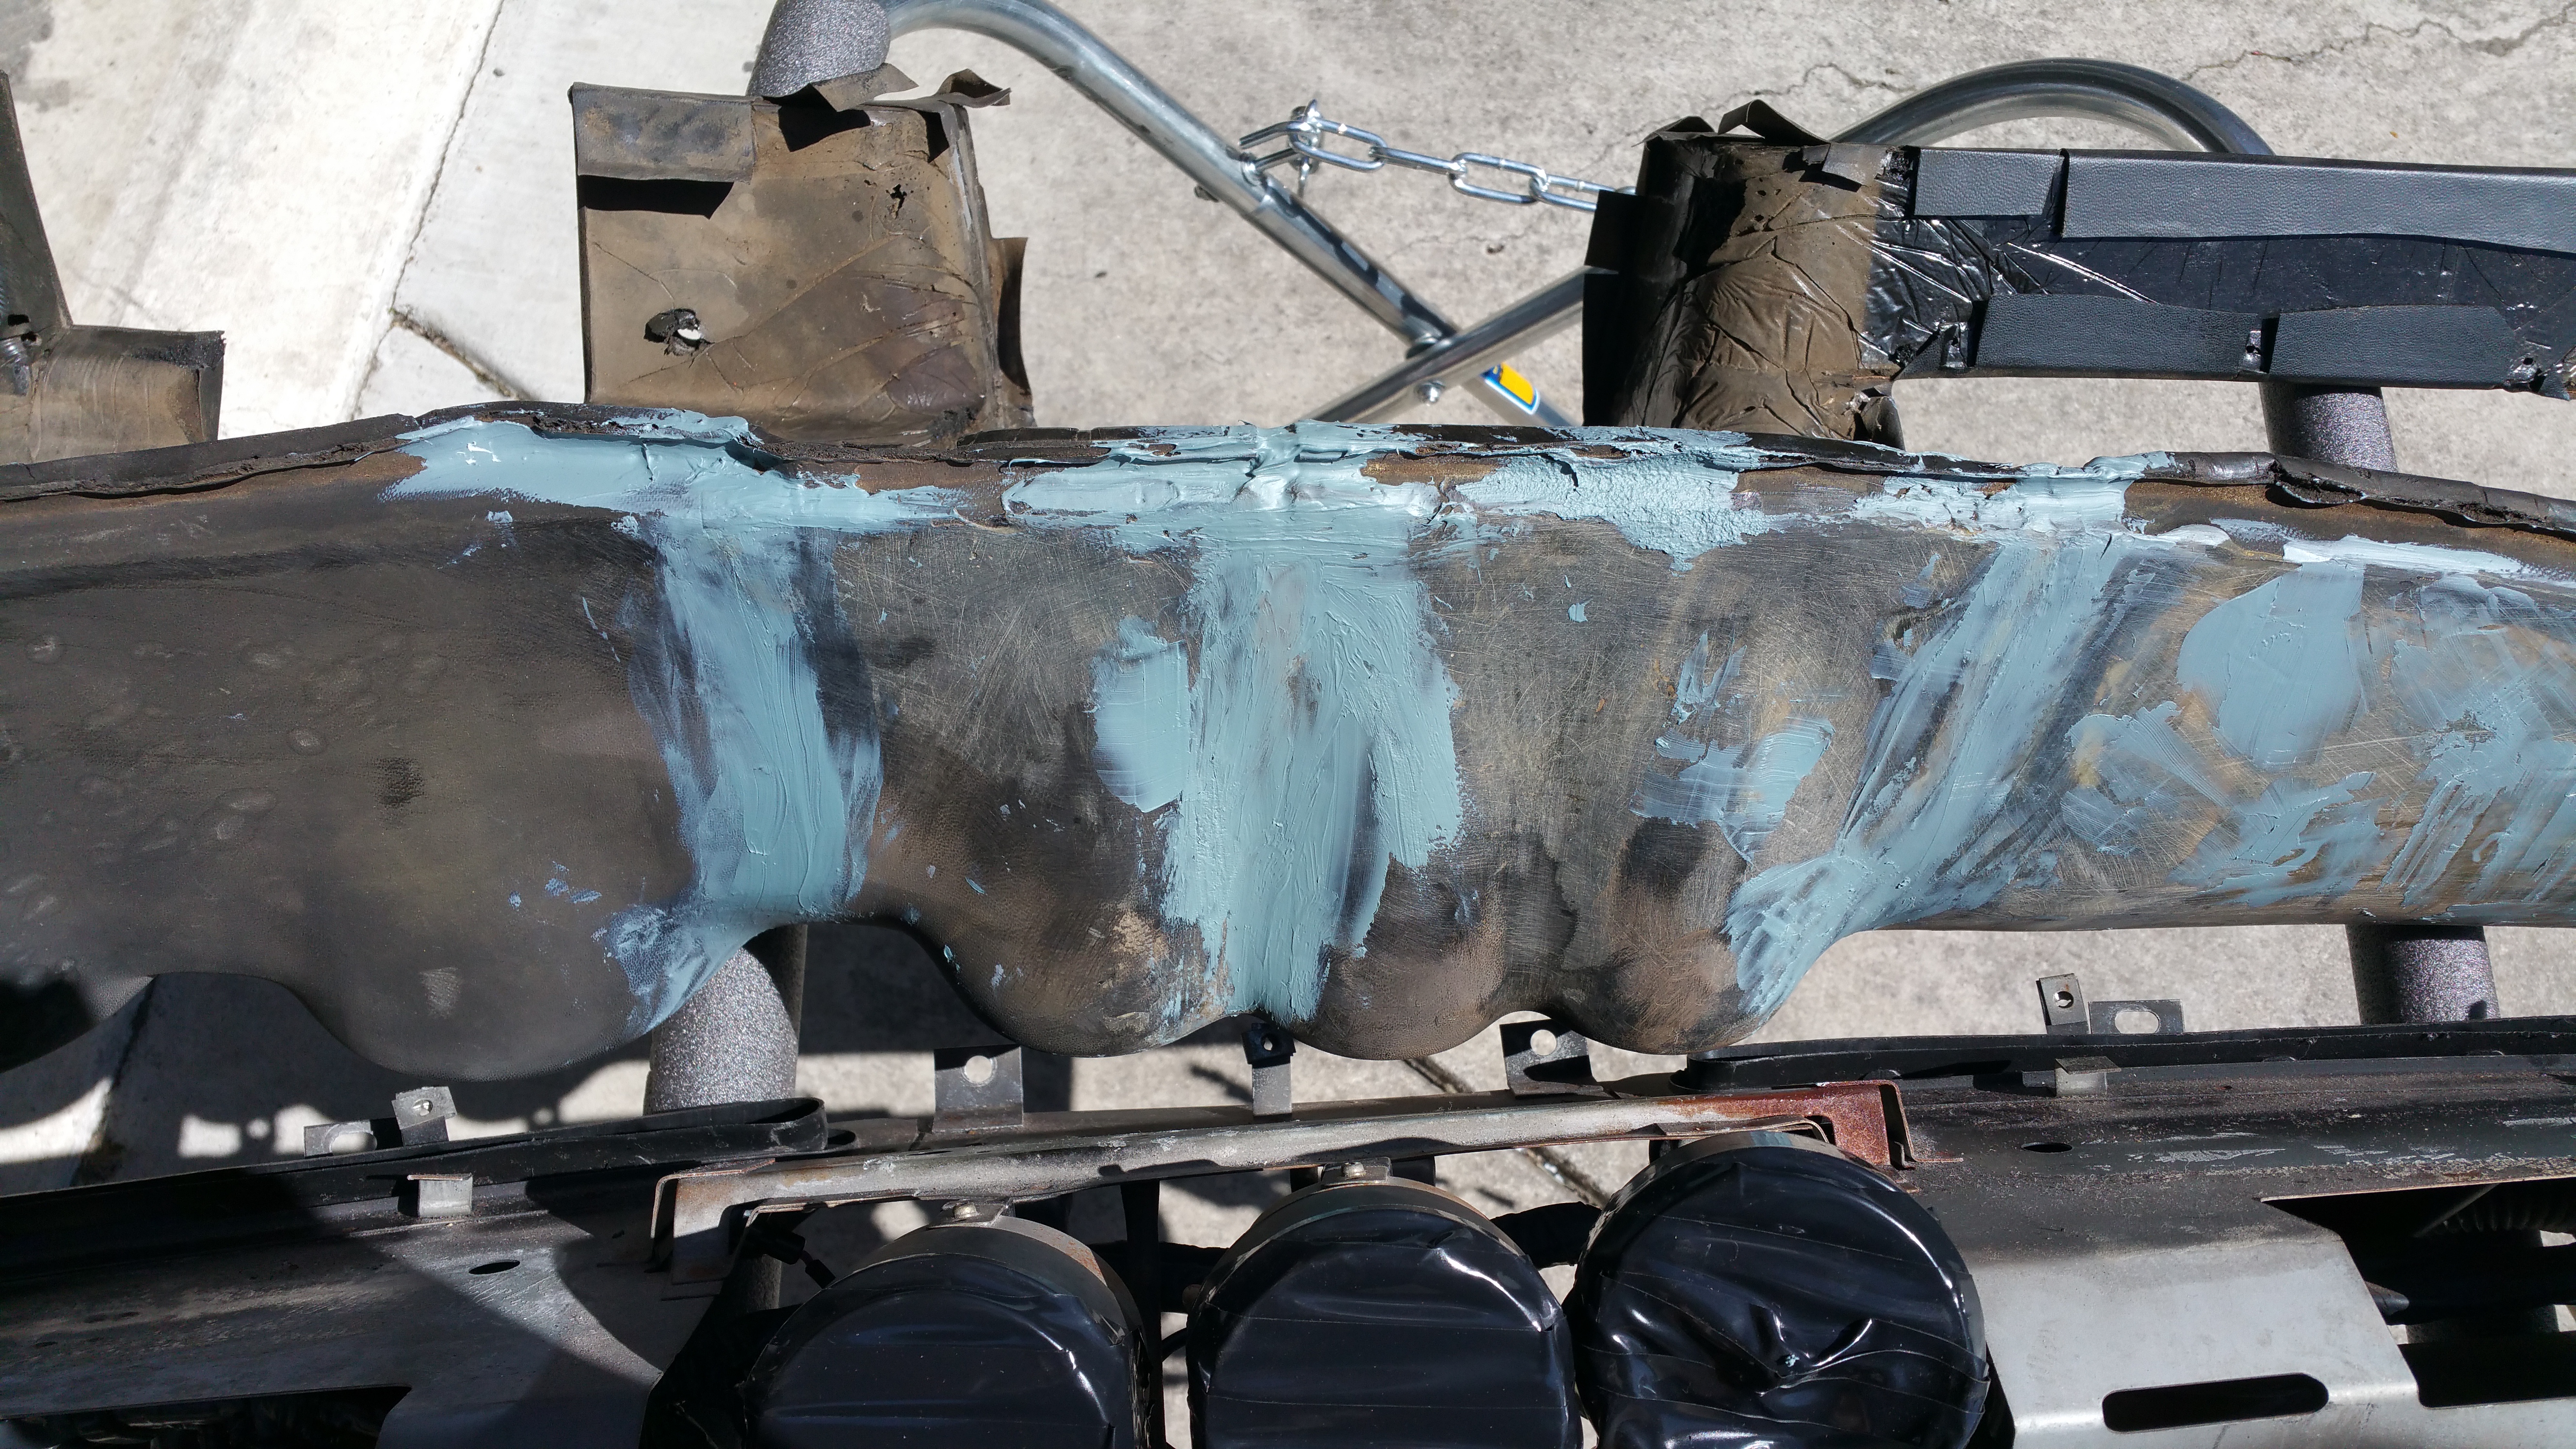
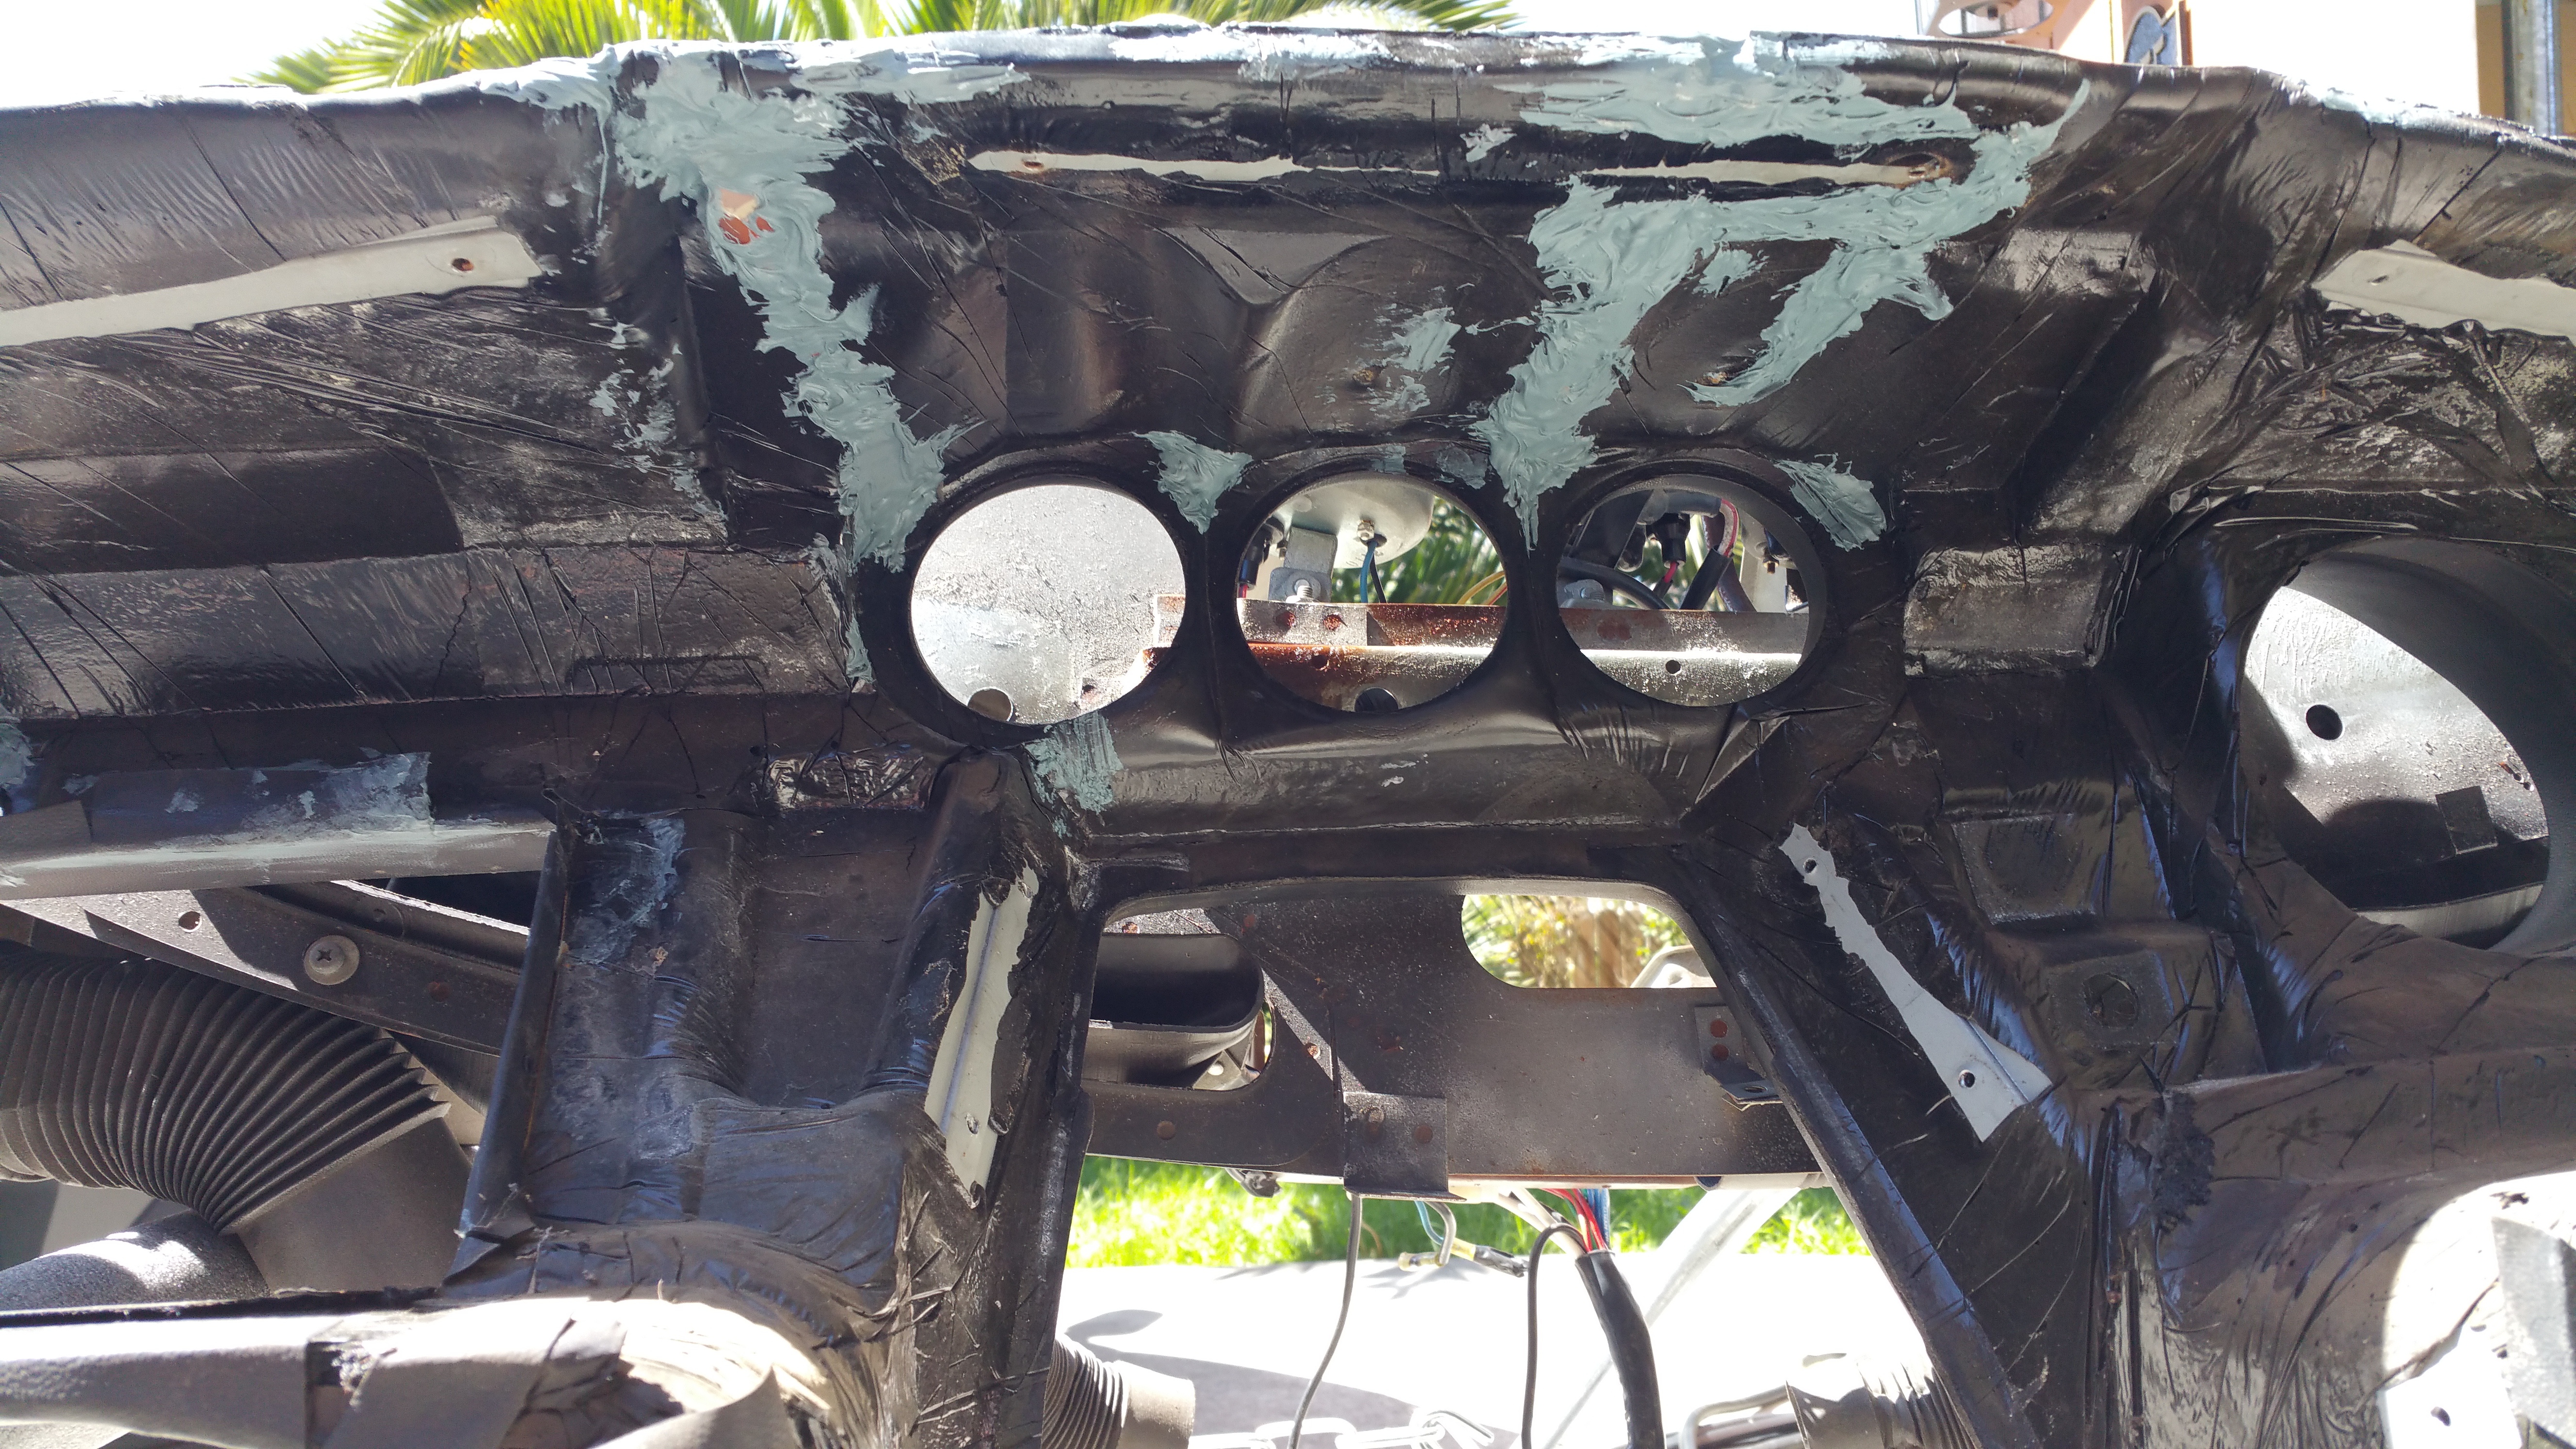
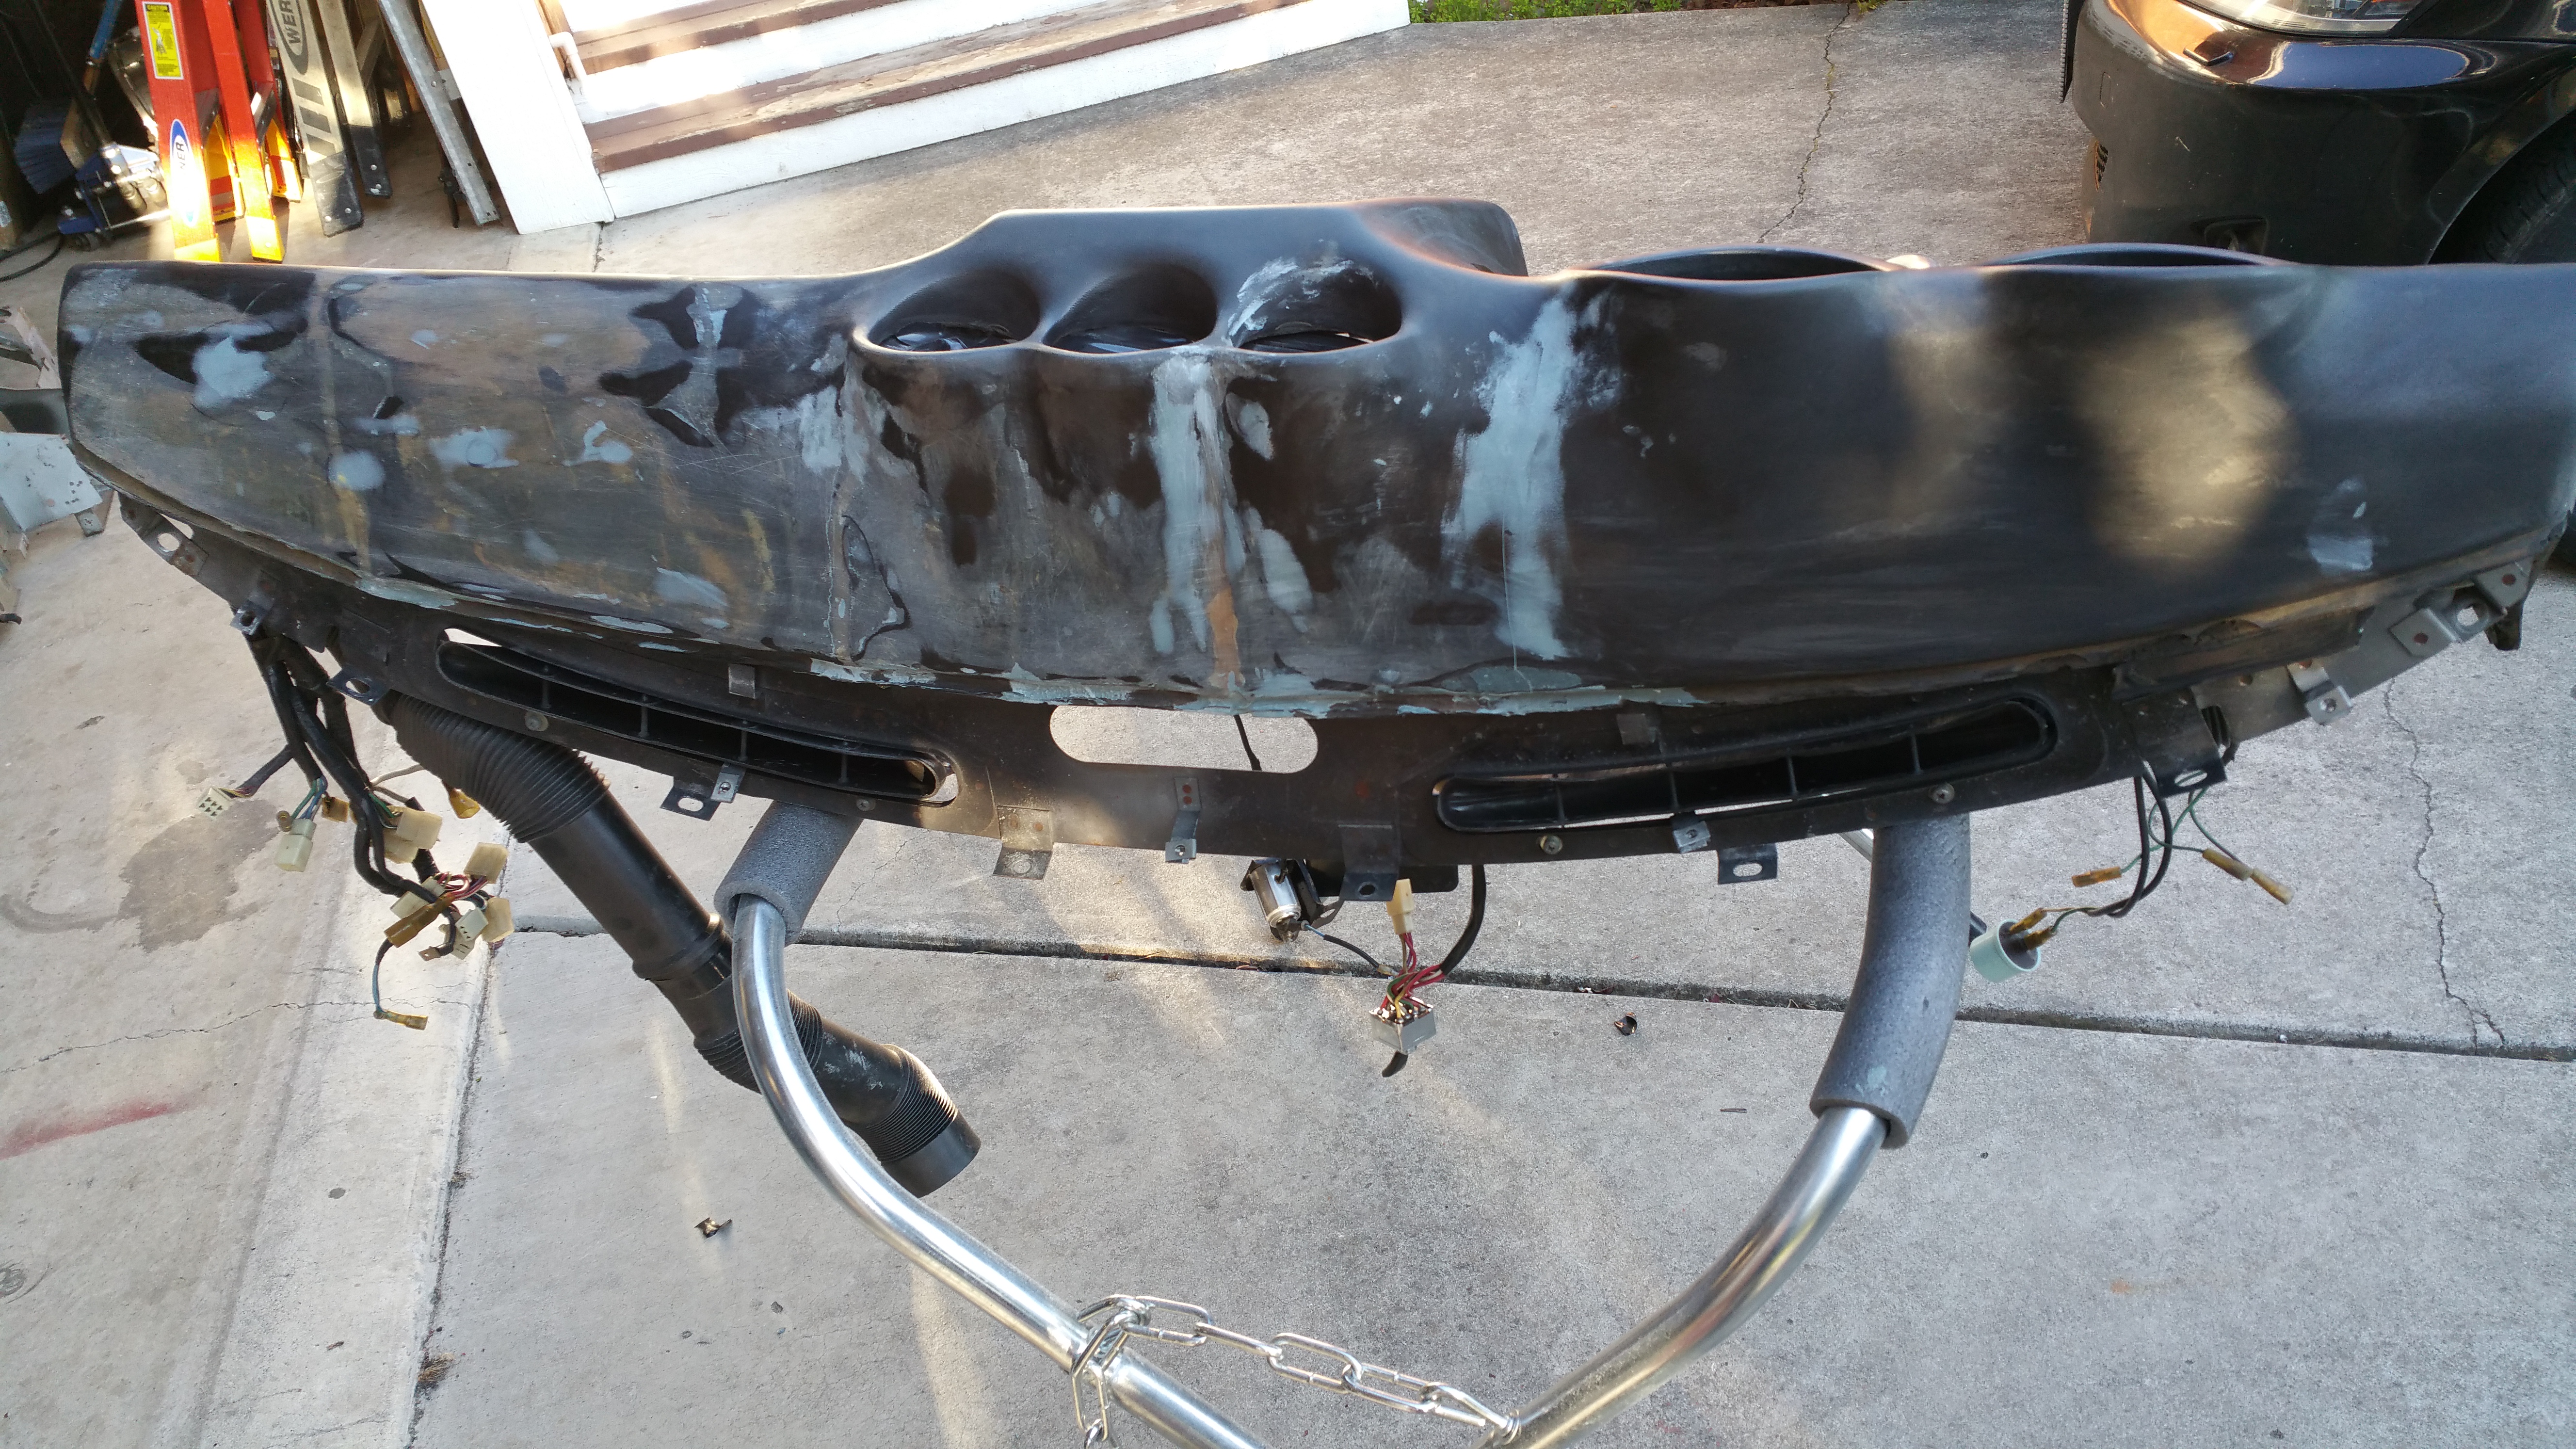
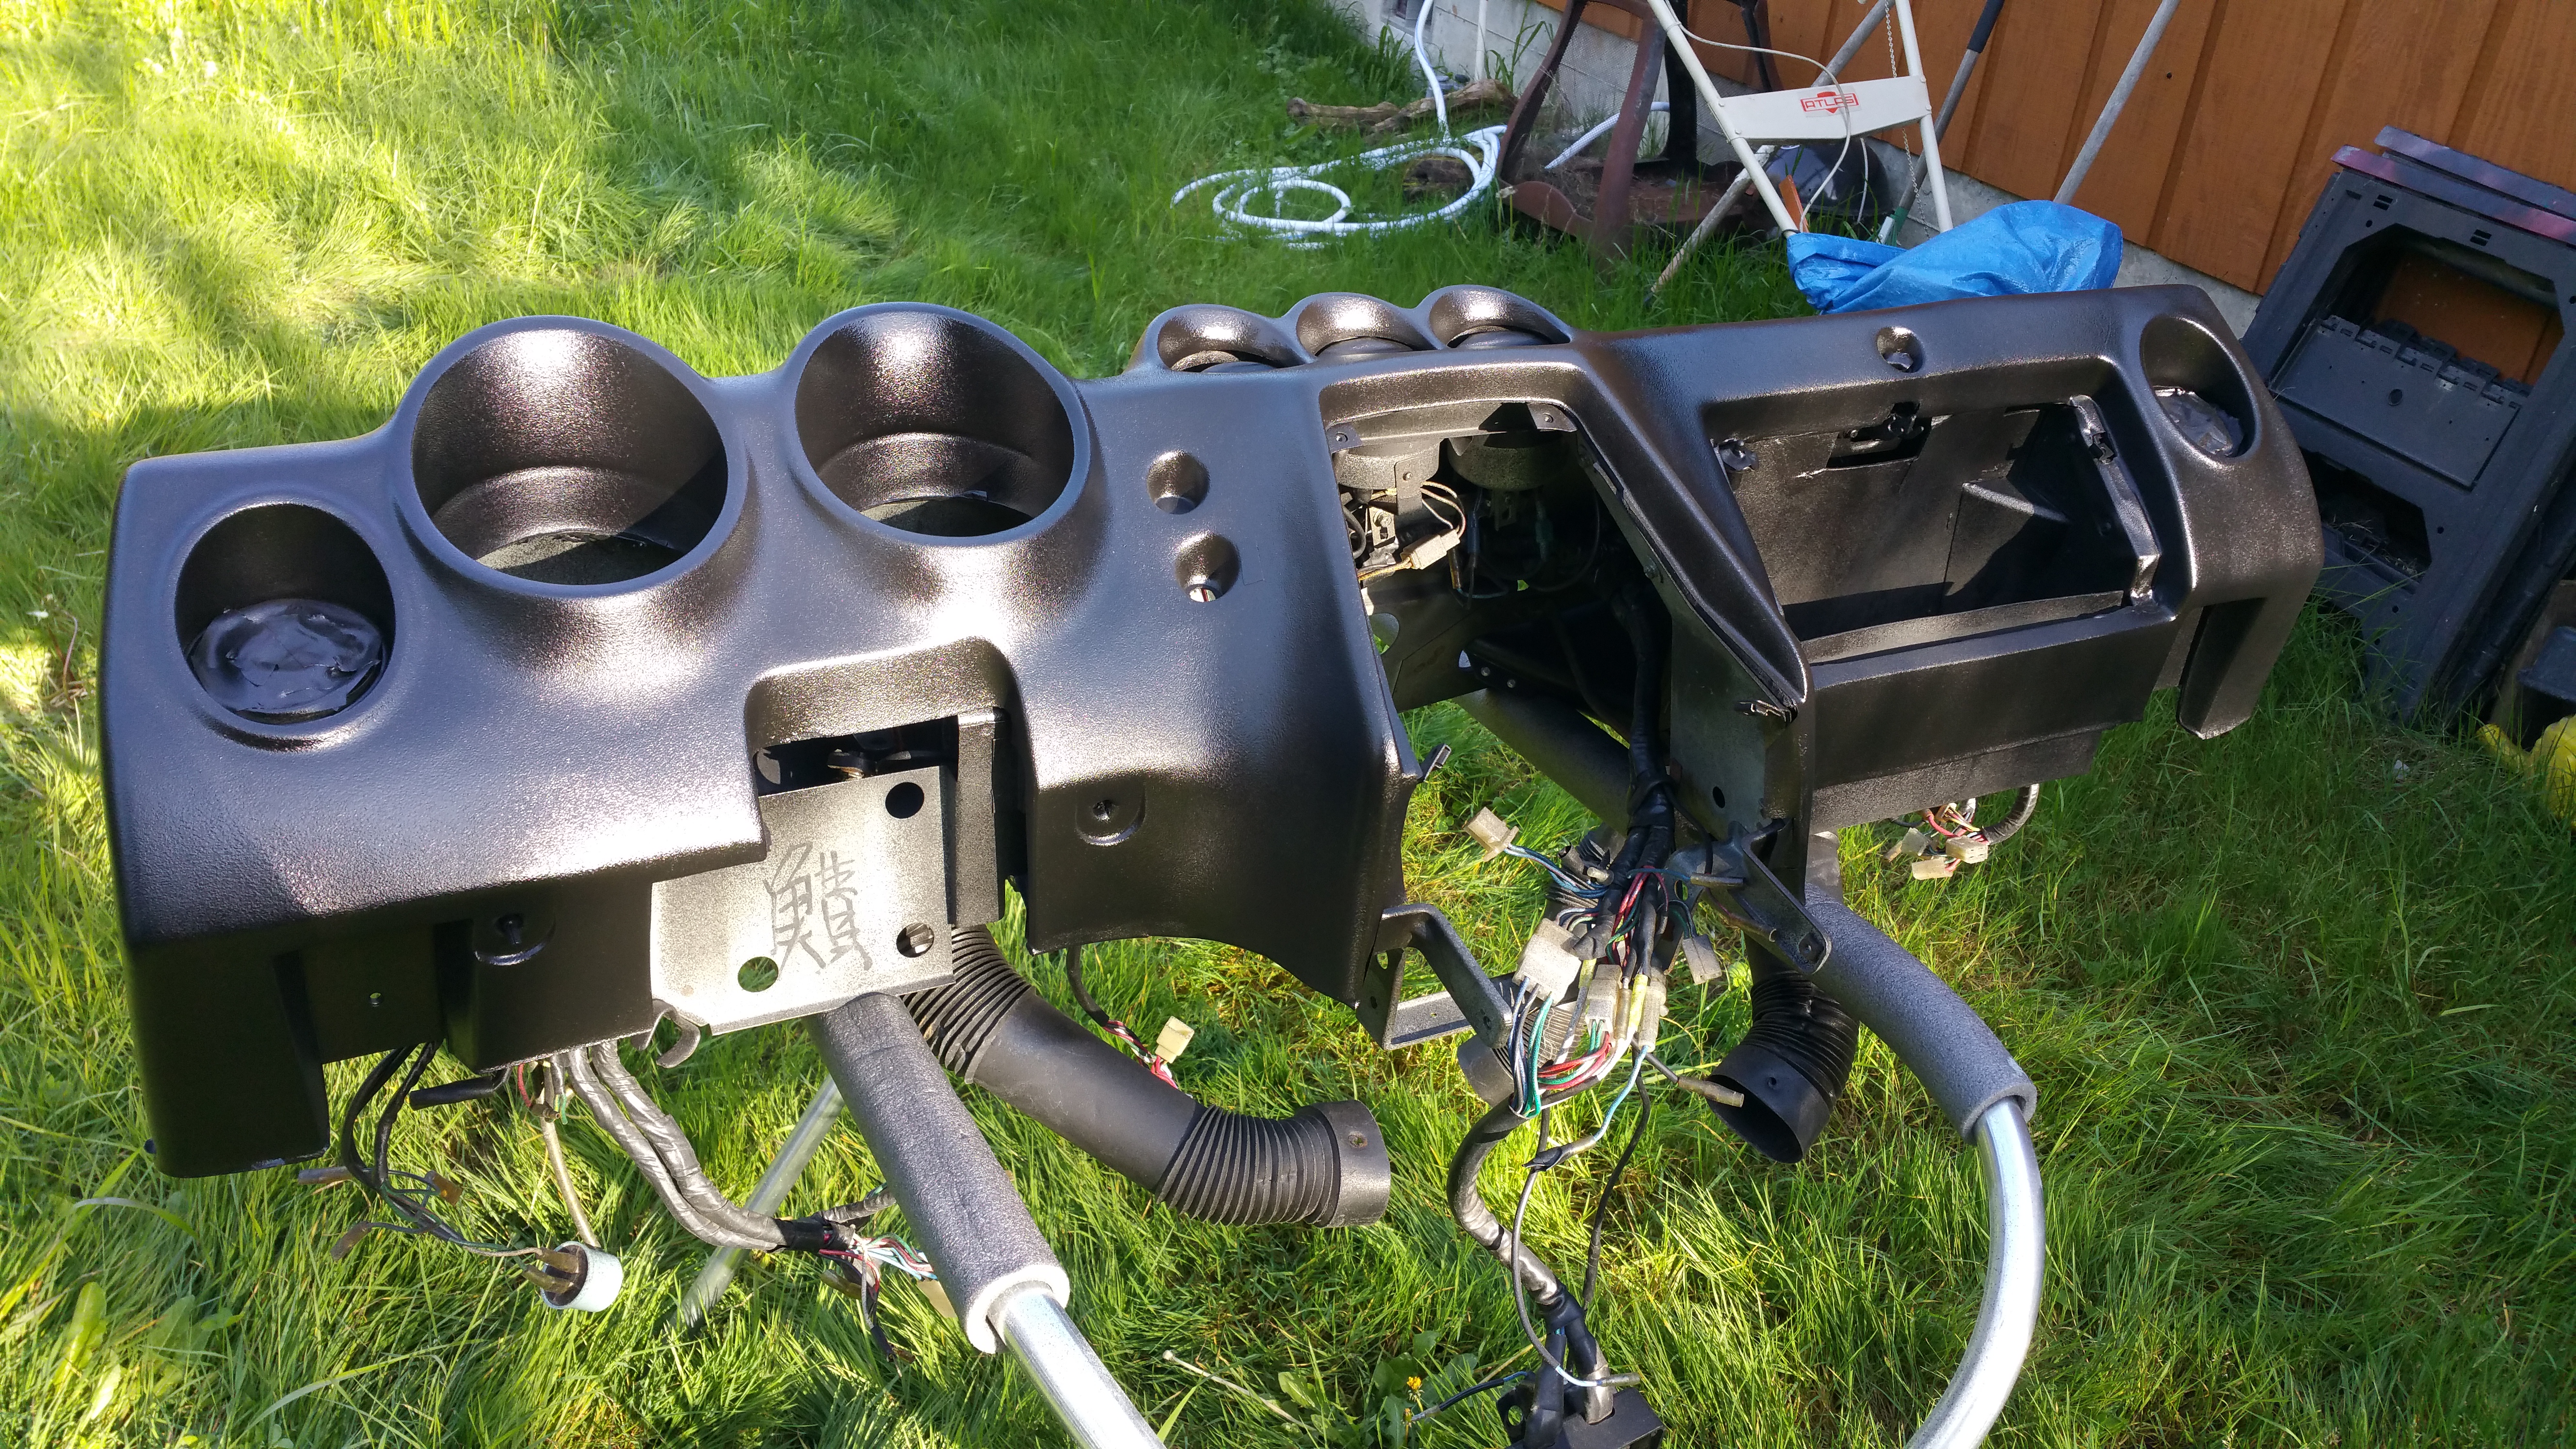
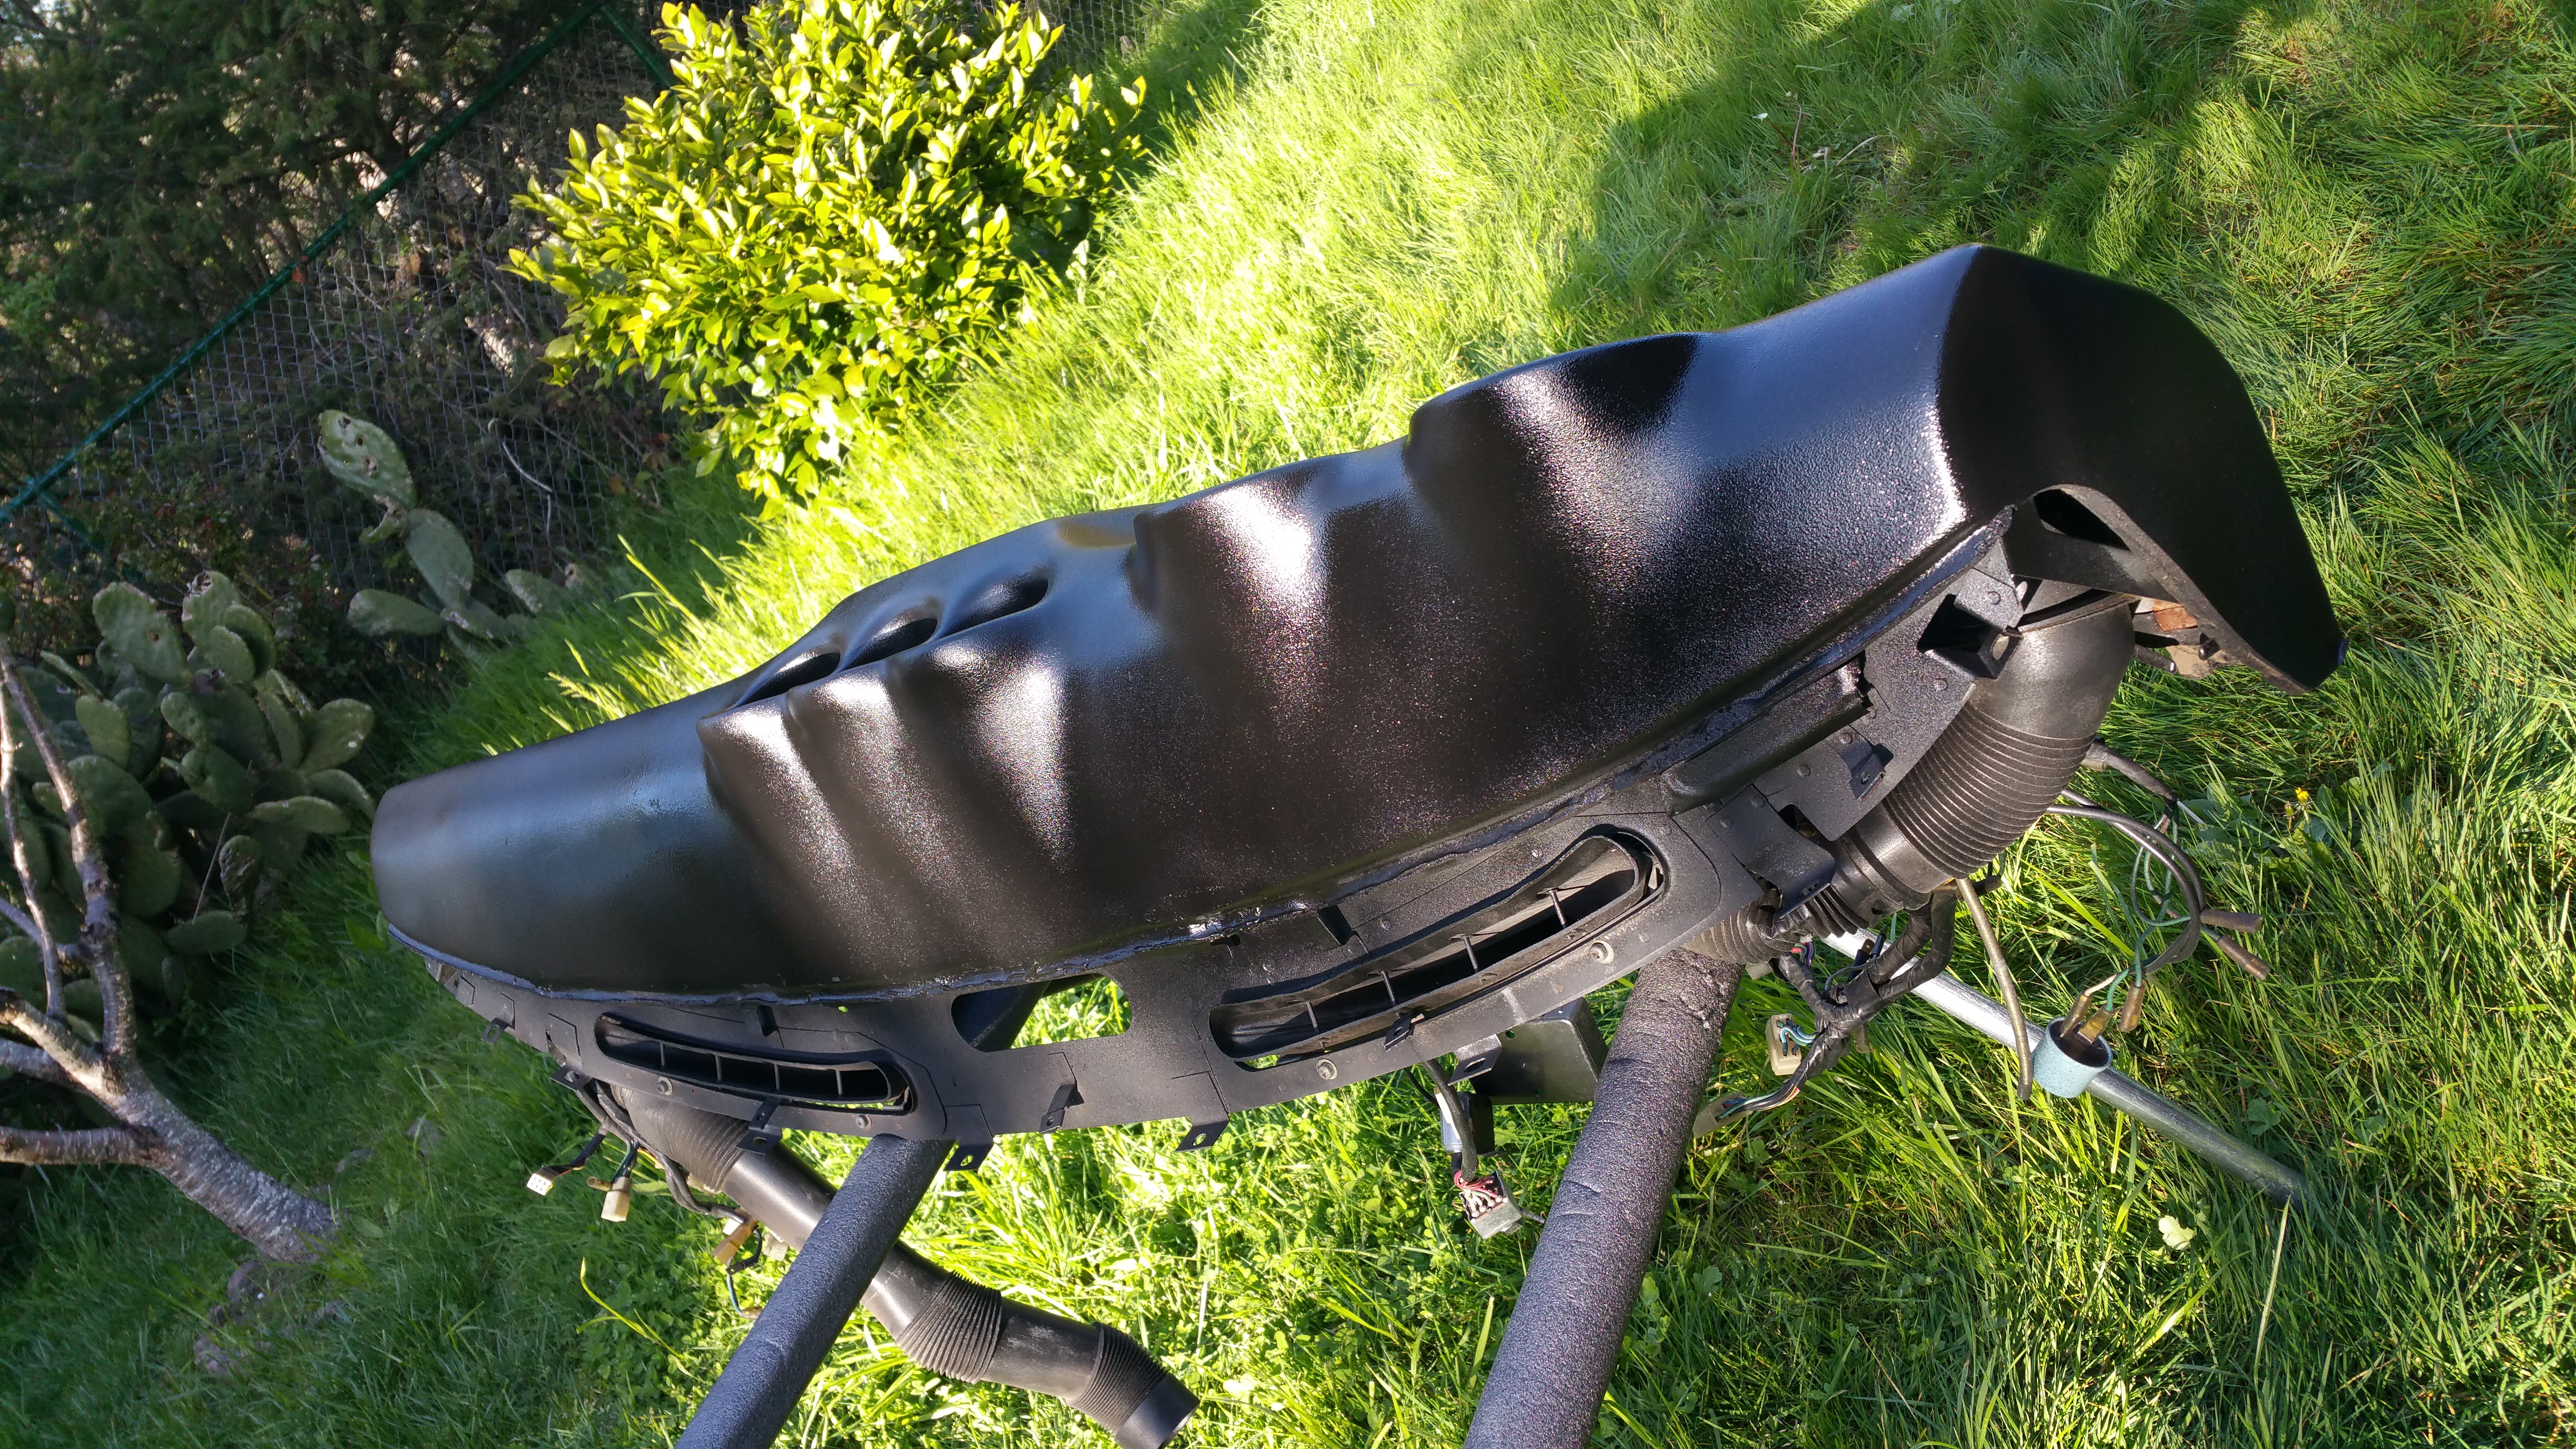
Came out pretty nice. Not perfect but a lot better than what I had in my car. pictures show the dash that was in my car and the dash that I fixed up. It had a bunch of cracks. Started by taking the pad off the frame and putting filler in the inside of the pad cracks before doing the outside top, pulled apart the cracks and pushed the filler inside, waited 24 hrs , then sanded the dash, with 80 grit then 150 grit sandpaper. Used compressed air to blow off all the dust, sprayed brake cleaner on a clean cloth and did a quick wipe down of the dash to remove and oils or contaminants. Sprayed on the texture paint with 2 coats, waited 24 hrs then applied the SEM Gloss black with 2 coats. We will see how long this dash lasts, hopefully avoiding cracks for a while. Now to have fun installing this beast with out messing it up.

-
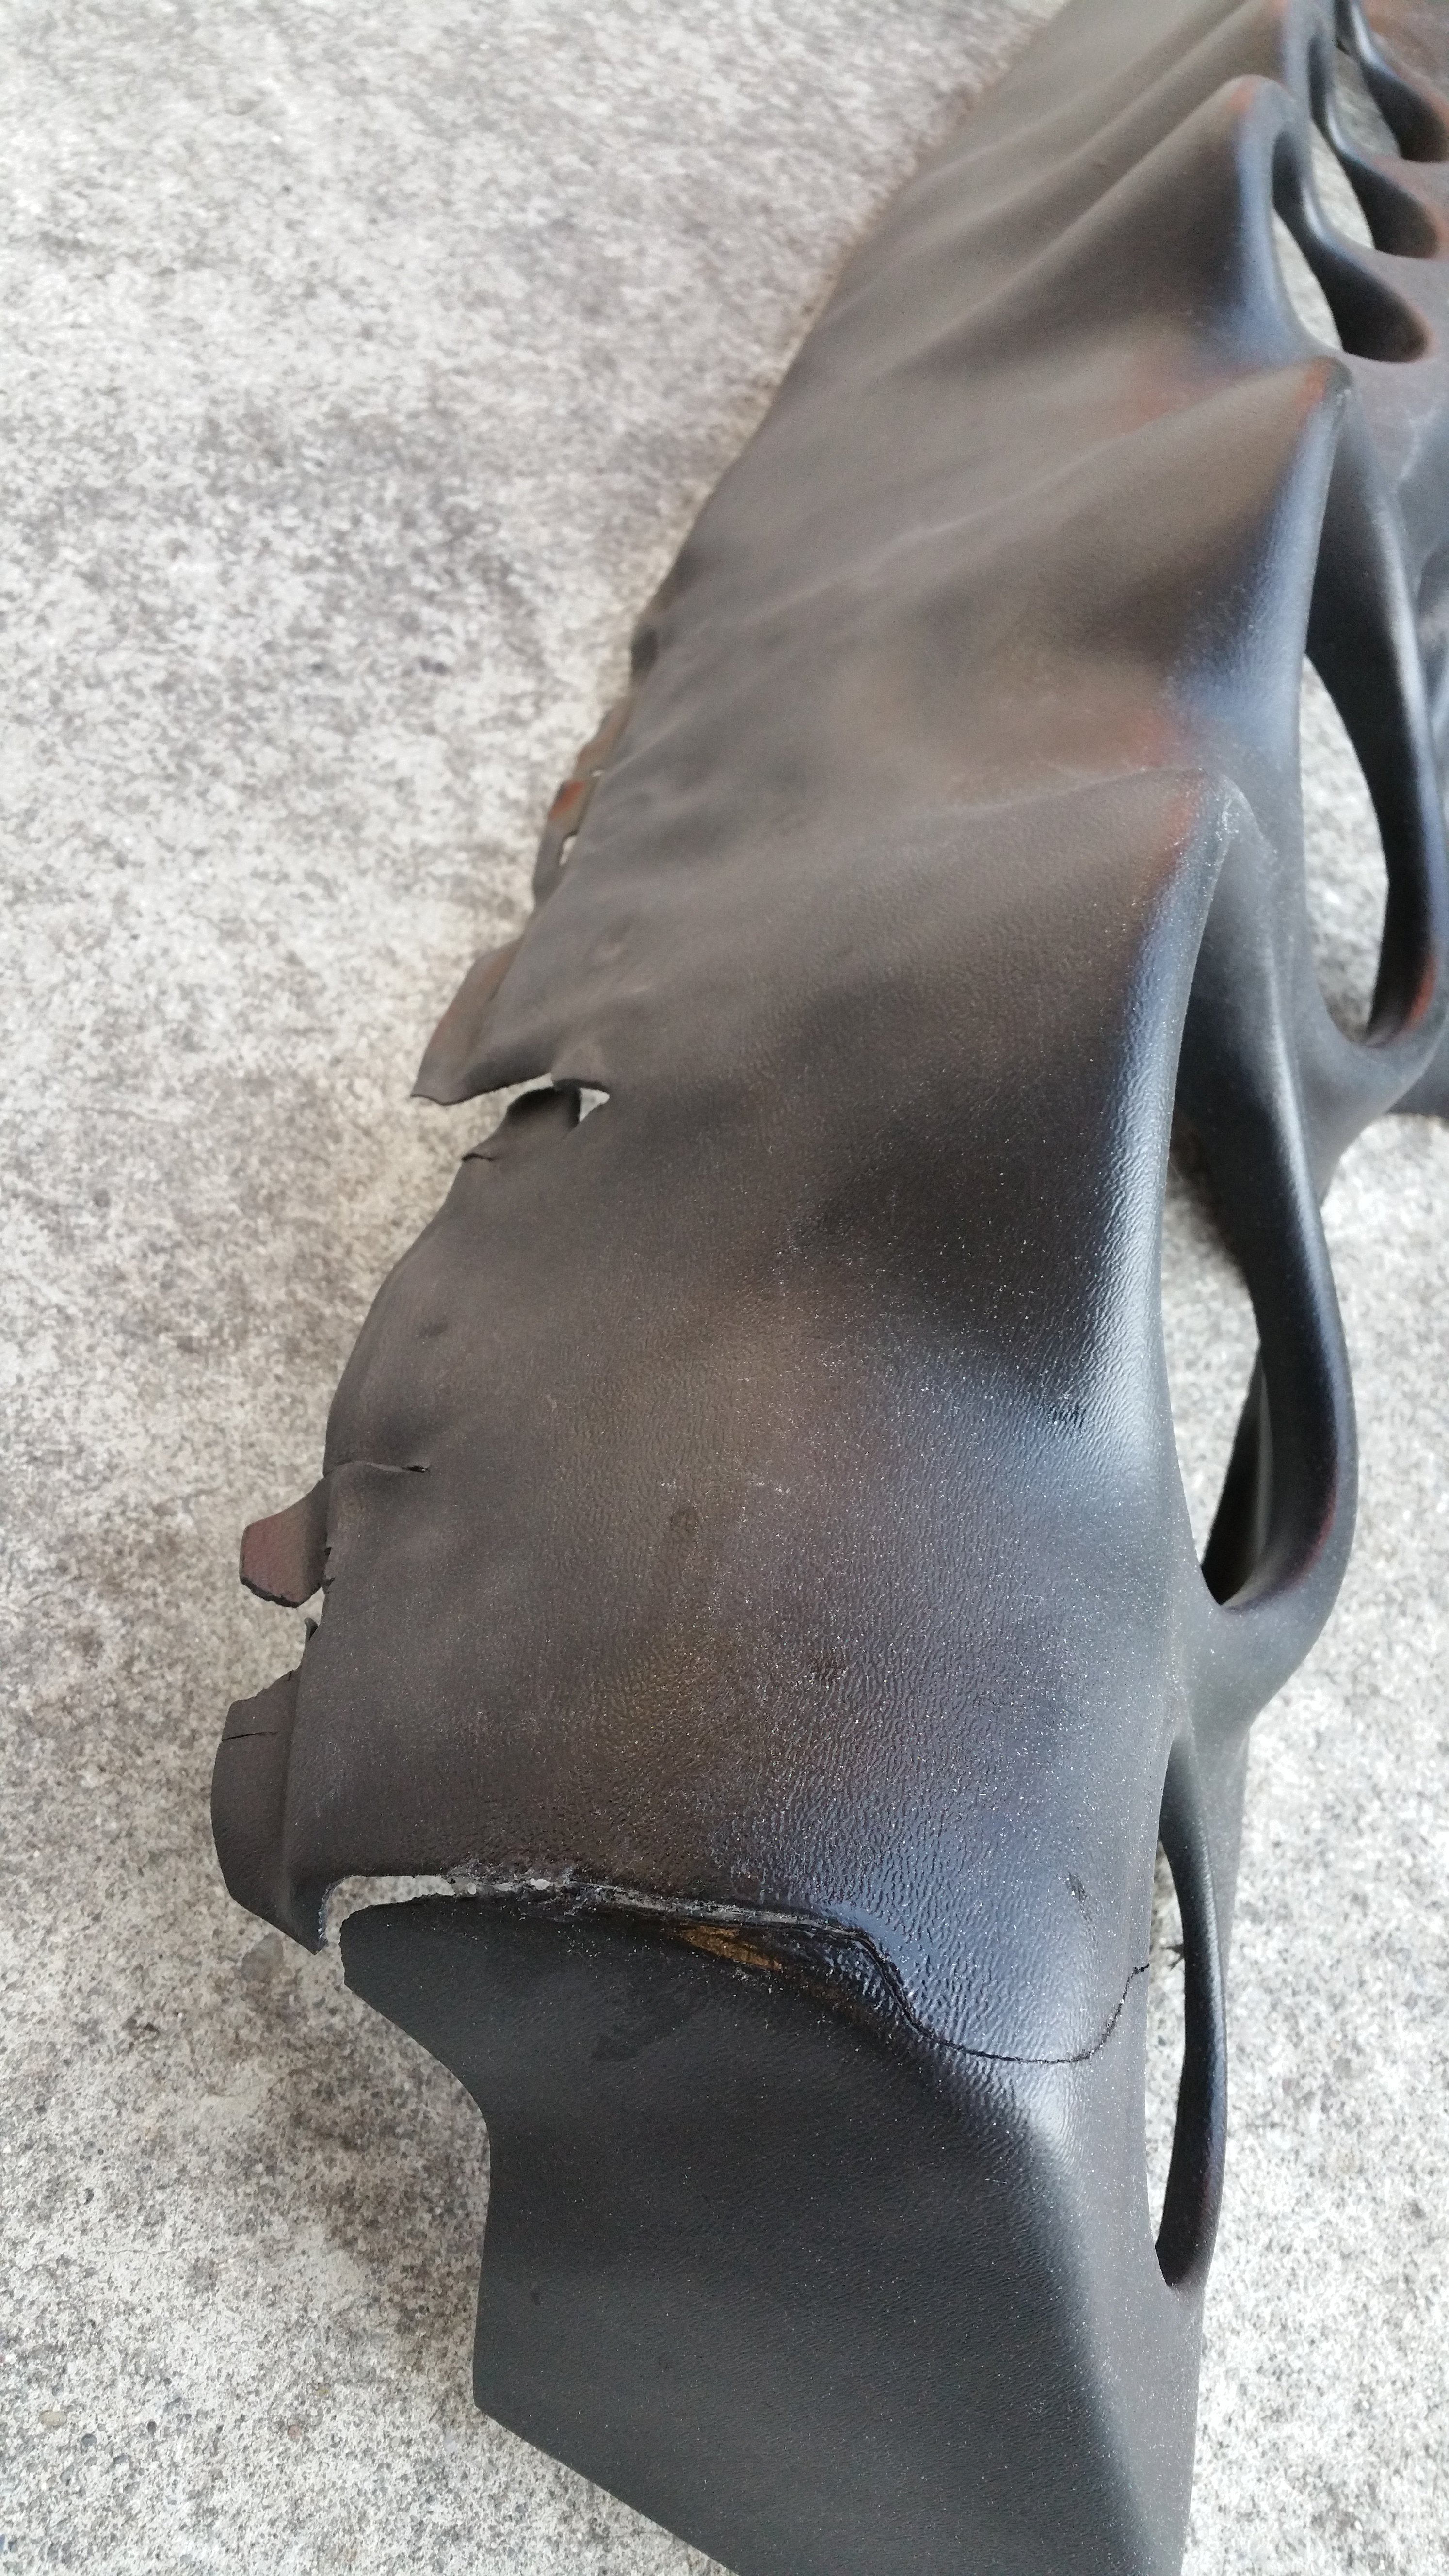
My old dash that was in my car had 12" sections of pad missing it was not repairable in any way. I removed it and are currently restoring a different dash that I got from a local guy and it is actually coming out very nice. Should be done in the next few days. JHM I had a dash cap on my car and it melted, bubbled up, and cracked. Im not really a big fan of them. Also I want to put my car in a few car shows in the future and like the idea of atleast having a real dash instead of just a cap. Here is a picture of the dash CAP that came off my car. Cracked and warped.
-
Thanks Rturbo. Yeah I have some of those products from that bottom link and will be doing a similar repair. Those new pads are super nice, wonder how much for a series 1 pad.. I fear more cracks after this repair as well, seems like every time I move this thing I get a new crack. Not good. I live on the coast where rust is a killer. Luckily I believe this car came from a hot dry area, no rust but all the plastics and vinyl or chowed.. rather have that issue than rust though.
-
Thanks guys. Yeah time is the key, they got me working a ton of hours at work but I definitely DO NOT want to cut corners,just dont to do more work than is needed as time as limited and I want to get this car in the paint shop and maybe a car show or two by summer. Before waiting for a reply, I already removed the gauges and replaced all the bulbs with green LED bulbs. Also took apart the speedo and RPM gauges and cleaned the 47 year clear lens, clear coated the inner black housing shells. They now look brand new. This early 71 is going to be nice. I now have to start restoring the dash pad I have. I have dash filler, sand paper, dash texture coating and dash paint. This is going to take a while. Do you guys recommend a certain procedure? Like should I take the good dash pad off the not-used metal frame and restore it off the frame? Leave it on the not-used frame, restore it then remove it and put it on used frame? Put it on the frame I'm going to use then restore it? Lol.. smh making this too complicated on my self. Thought process is avoiding cracking the dash after all he that work.
-
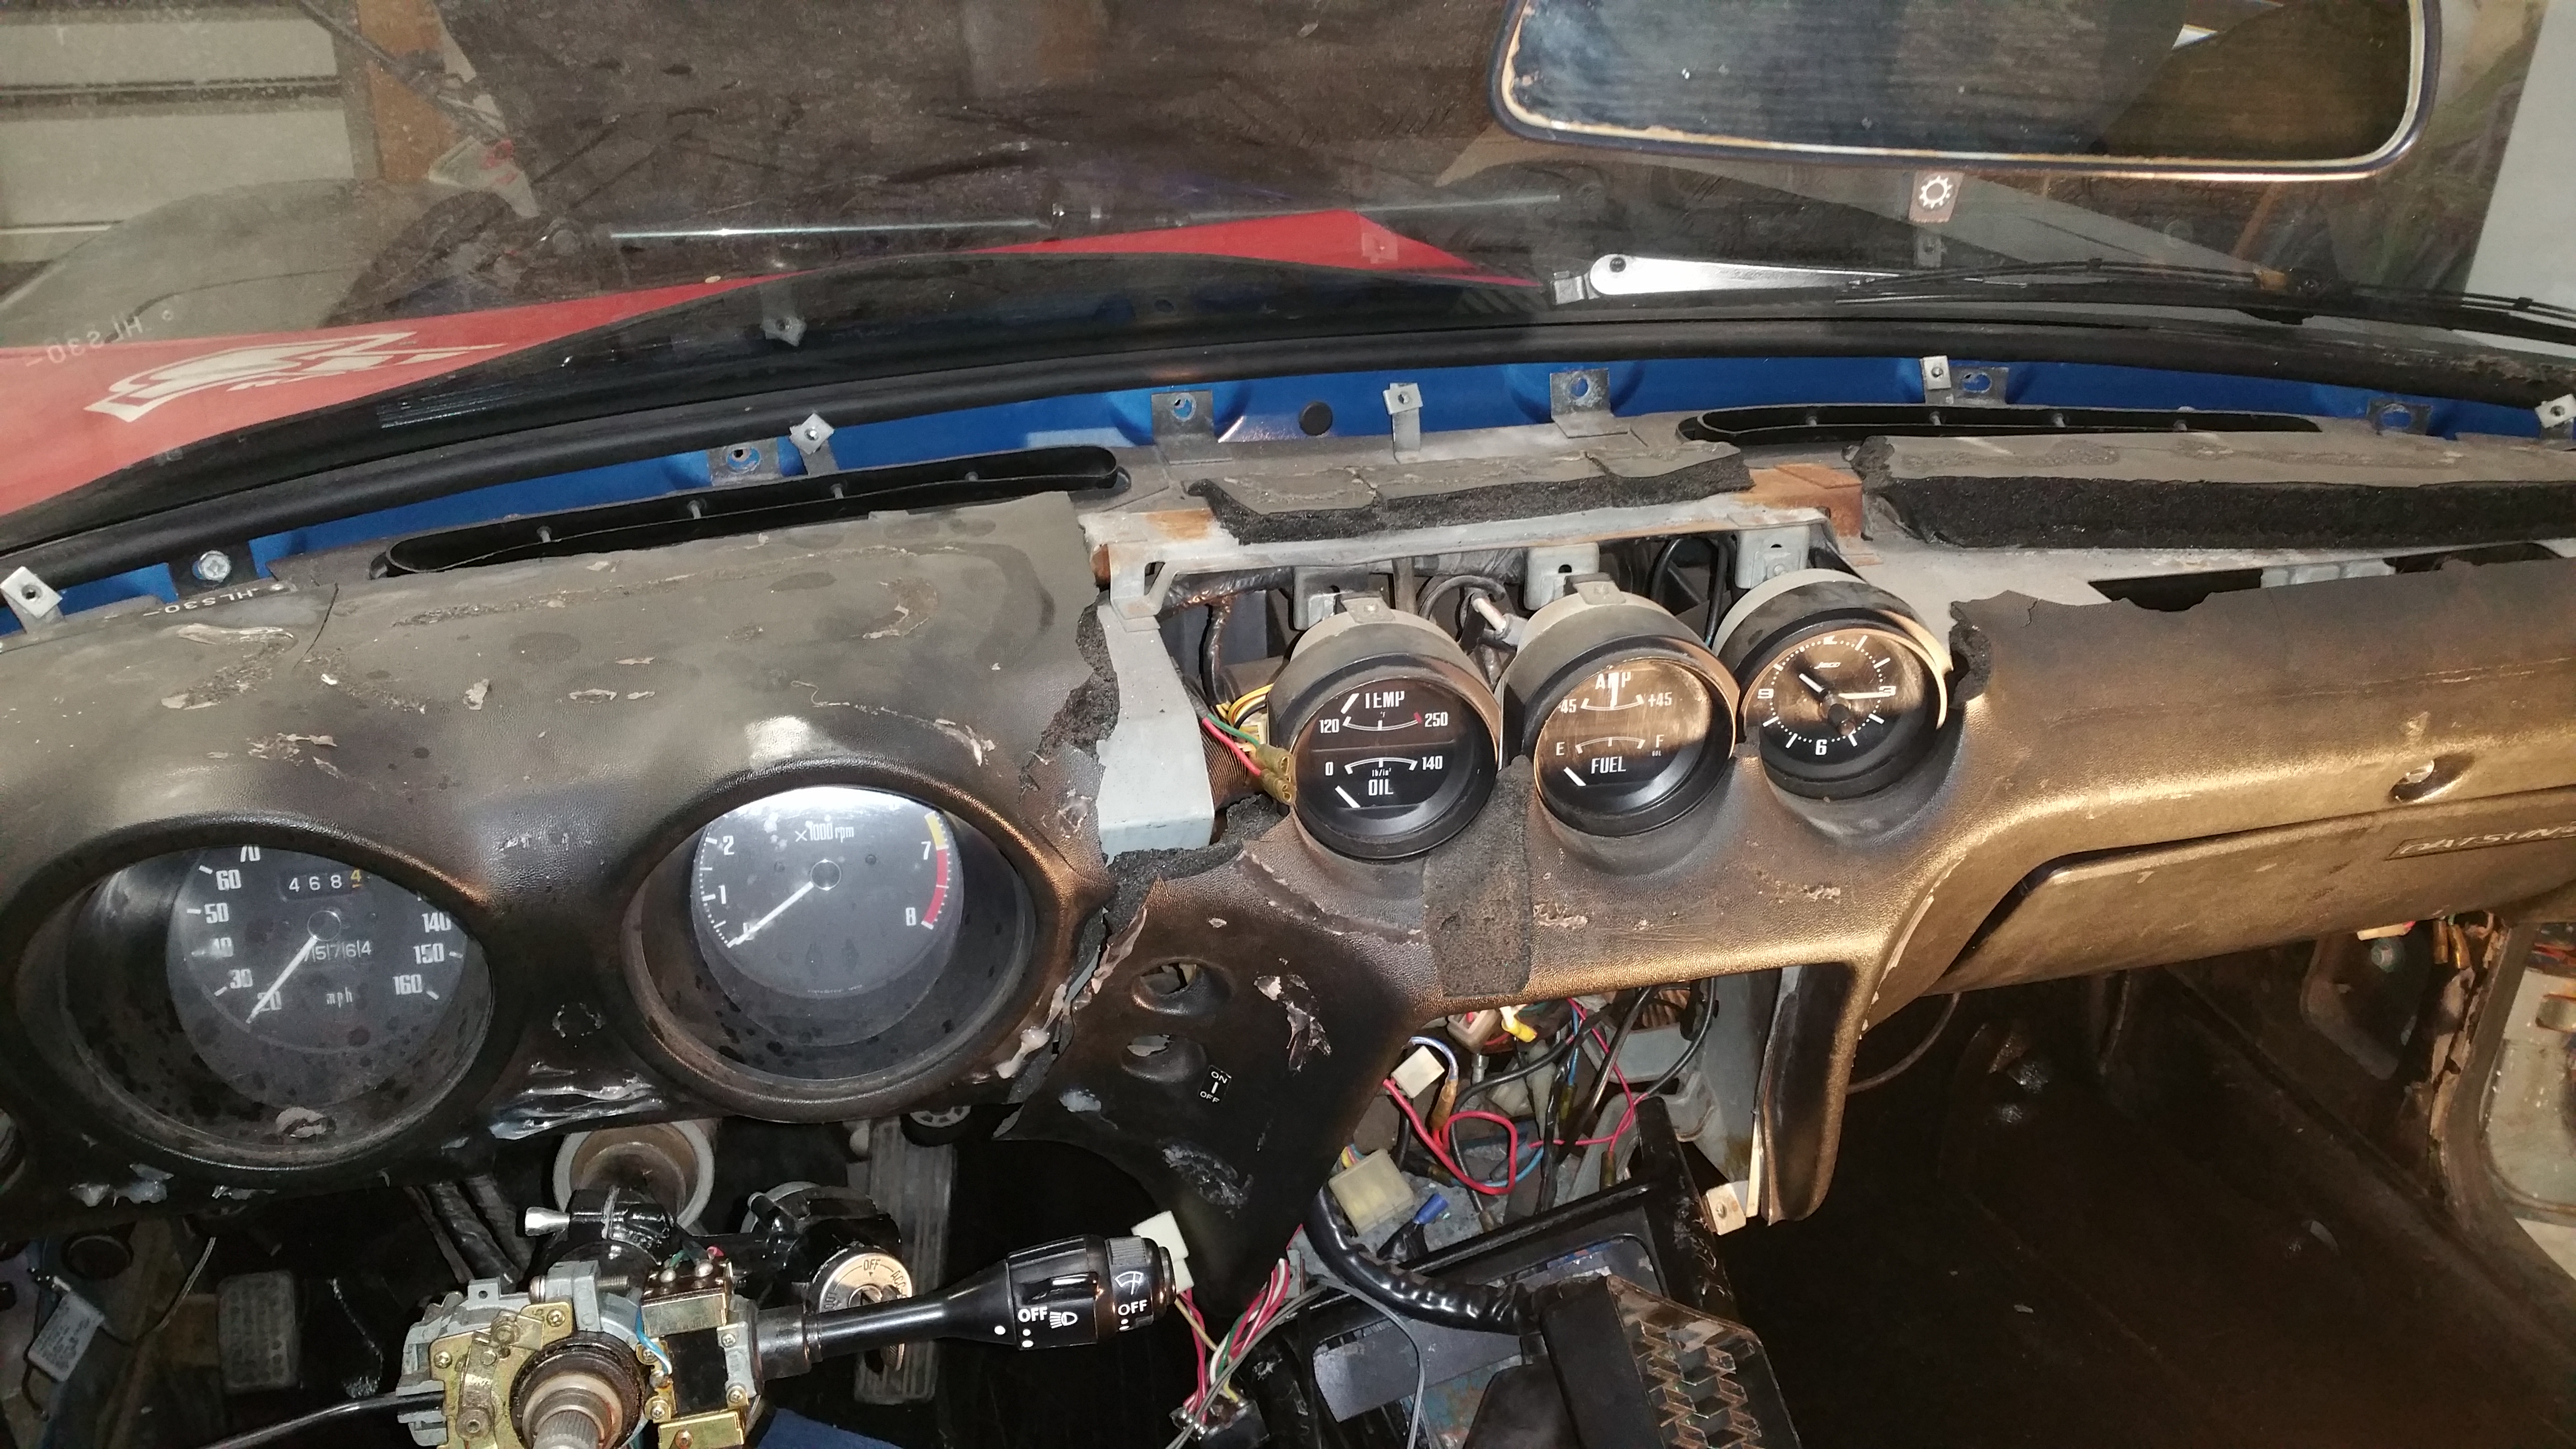
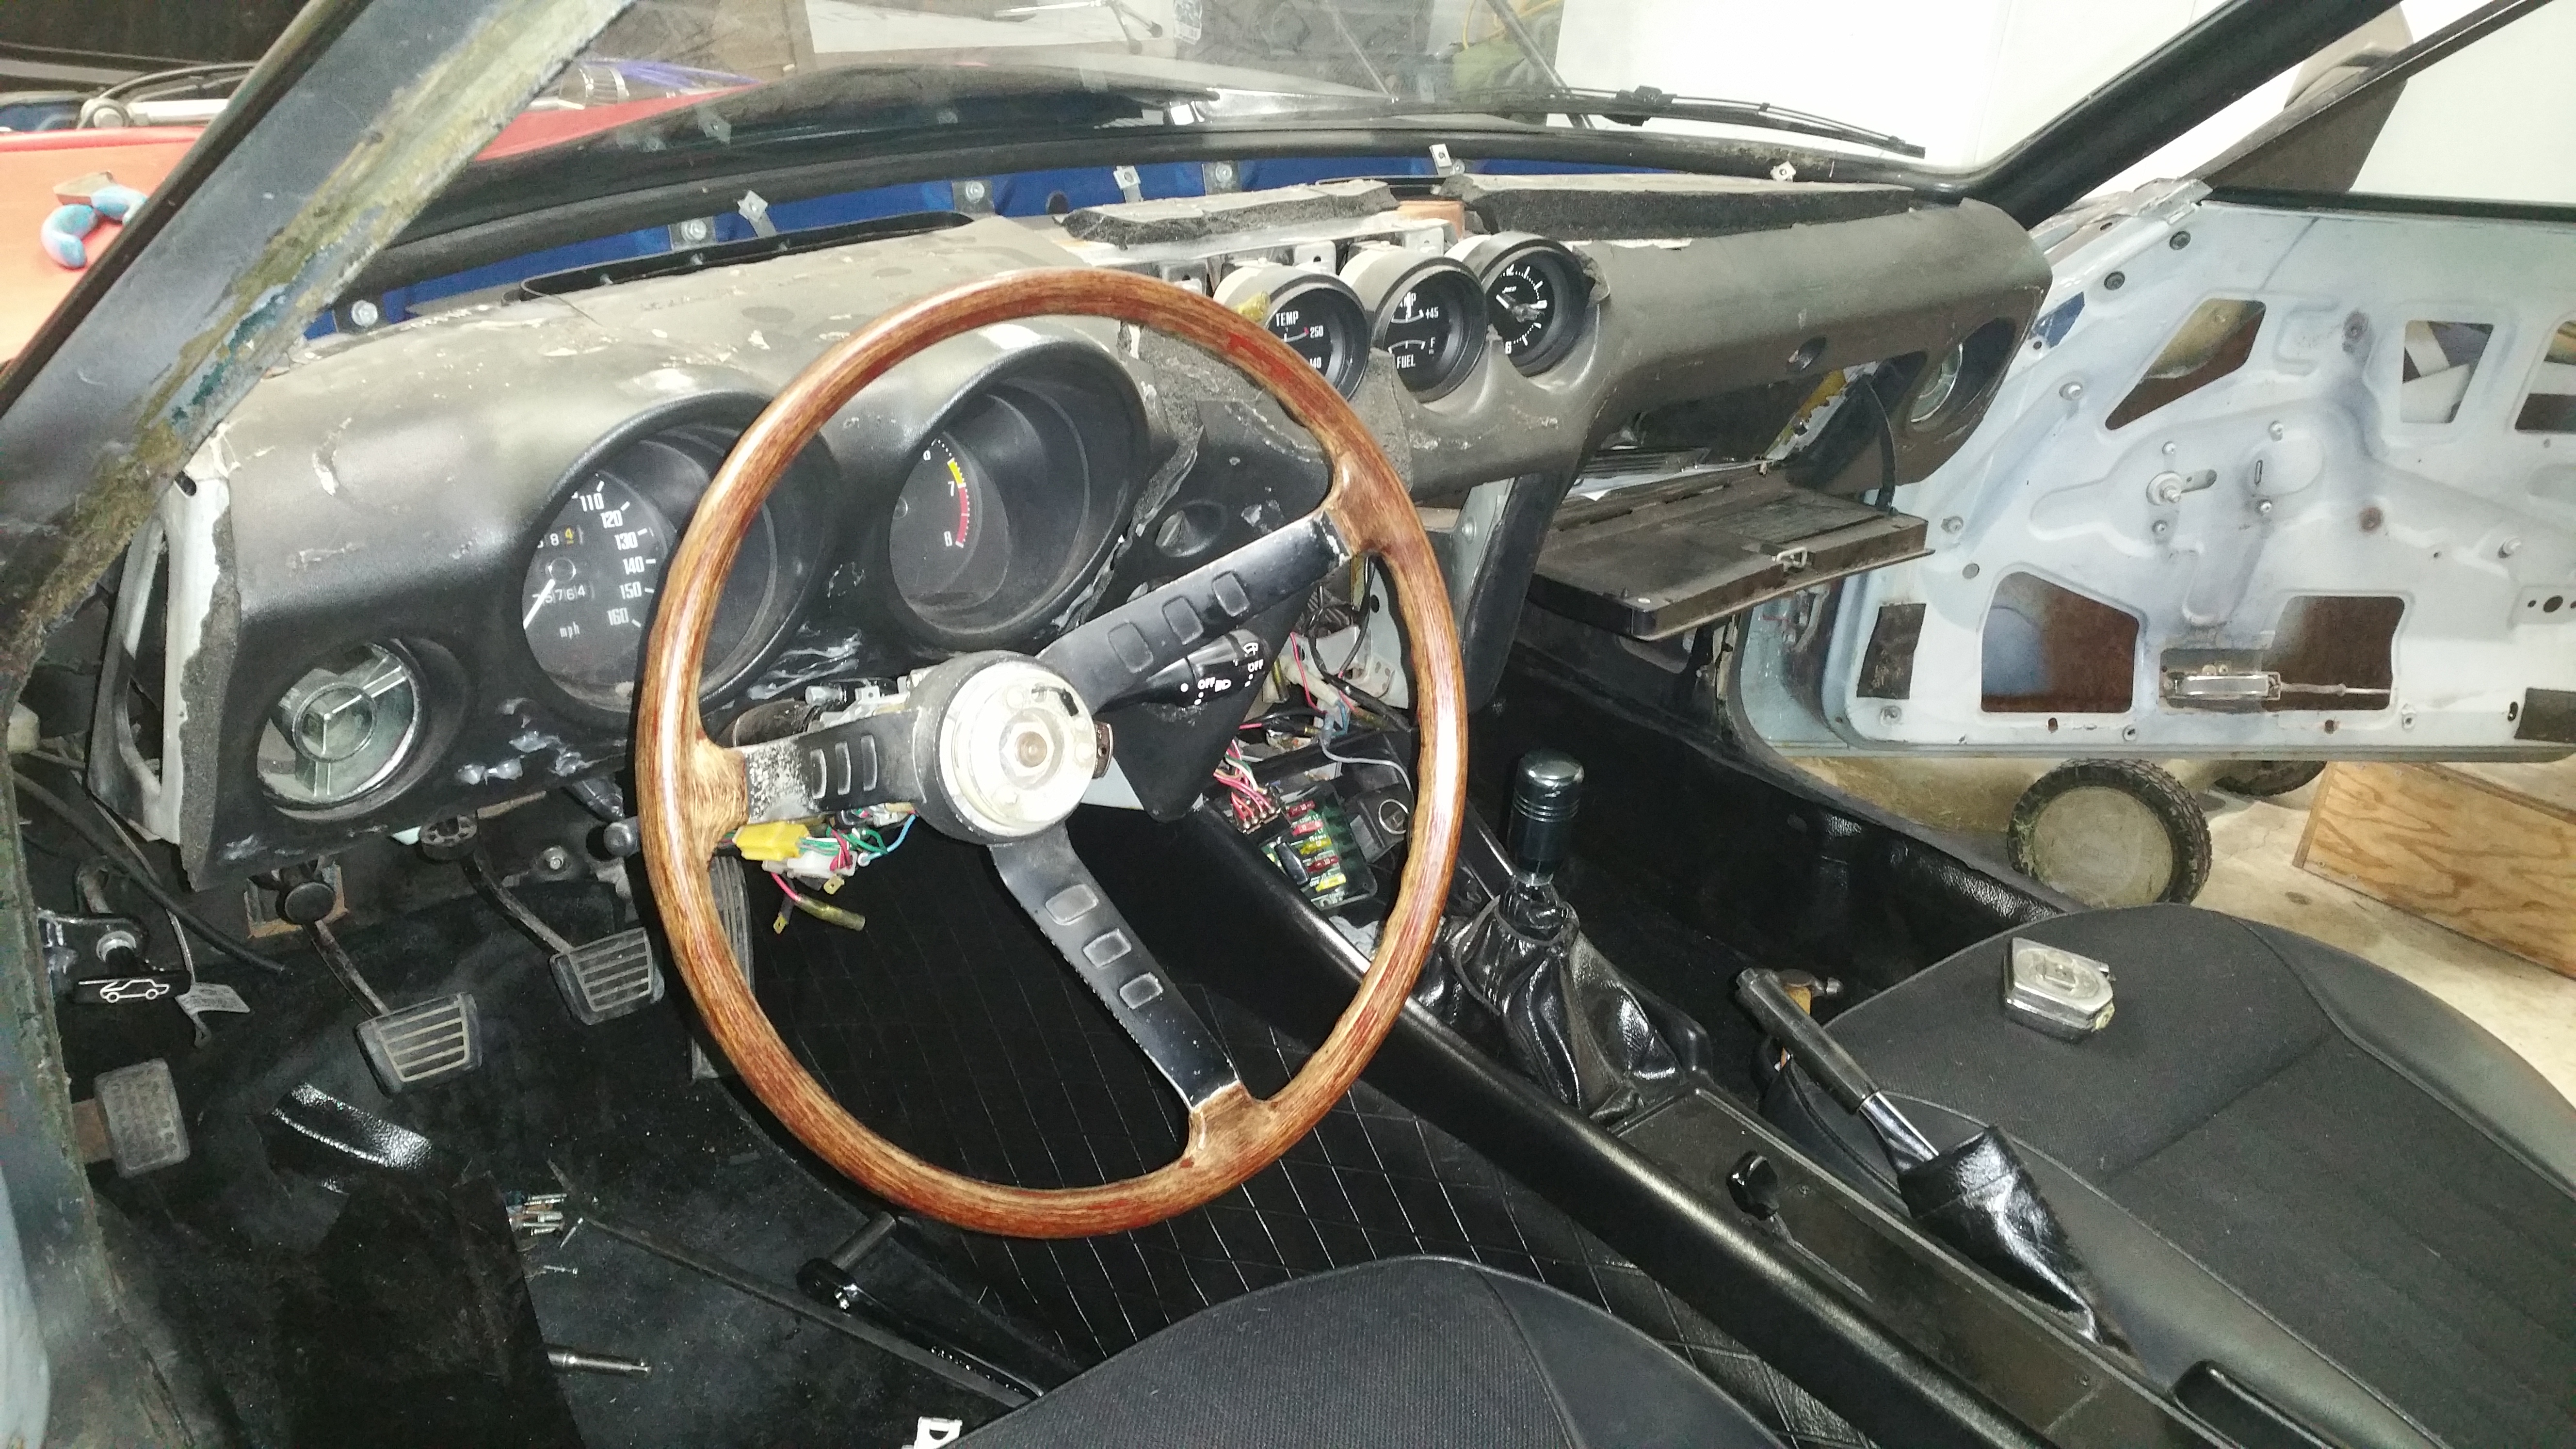
Well I got the dash out, guess I'm pretty much screwed with the wiring, I read the post about labeling the harnesses AFTER I pulled the dash, other than labeling the heater pull cables nothing else was labeled, I just figured the heads of the harnesses would be different so you could only plug them in one way. Guess I'll deal with that when I get there :/. So my next question is when installing the new dash pad should I remove all the gauges that are mounted in the old dash frame that I intend to use, put the dash pad on and slide the gauges back into place from the front back in? OR can I just leave them mounted and slide new pad over the top of the gauges? Looked like a tight fit and they looked tapered. This is my first time removing this stuff, I also do not want to crack the newly restored dash pad by trying to force it over the mounted gauges.
-
I figured I would need to pull it, just thought I would ask first in case I wasted a bunch of time for no reason. Oh well, I will get started on it today. Any advice or certain steps I need to take when pulling a 240 dash?
-
So I have a early 71 240 and the dash board is shot, I mean there is 5" sections of pad missing. I picked up another early complete dashboard from a guy the other day minus the gauges. It has the metal frame with it and even the vin# tag from the other car.. It will need to be restored as well but only has a few cracks. My car still has all the gauges installed in it but you can reach through the top of the dash and unplug gauges and wiring if needed, I may install a wideband where the clock is if I can find a good one to fit. I have not removed a 240 dash before. My question is, is it easier to remove the old dash pad from my car and install the new restored dash pad in its place and leave all the gauges in my car plugged it. Or is it better to remove the entire metal frame from the car with old pad and unplug all the wiring? I would like to save time on this but dont want to make things more difficult by not having access. What is the best way to do this for my situation being that I have 2 metal dash frames and one good dash pad? And any recommendations on a descent wideband that fits in the clock location?
-
I forgot to mention, when I test drove the car yesterday I only noticed the popping/miss at a high RPM pull..this was after leaning out the carbs. I took the car back home and richened them about a half turn each, then went on another test drive and the high RPM popping/miss went away. Definitely the fumes are rich but it seemed to run better that way. And I got to tell you, this little car sounds amazing. Has that throaty racing sound with this exhaust system.
-
What about the vented rectangle panel that mounts to the inside of the hatch, can those bring in fumes as well? I have a series 1 car but I put a series 2 closed panel on the hatch because that's all I had, I was going change it out later to the original vented panel but now I'm wondering If non vented panel might keep more fumes out. And what the heck is the purpose of the hatch vent system? Obviously it was put there for a purpose.
-
Yes i set the needles like you had mentioned. And also how the Ztherapy video mentioned.
-
So if the car runs good but the exhaust is a bit rich that is ok? When I come inside after working on the car, my cloths smell like I took a bath hydrocarbons. Almost as if I was standing in front of the tail pipe for an hour but I wasnt haha. Then again there is no cat converter on the car. Wonder if there is a better way to divert the exhaust from coming inside the cab. Maybe add some pipe and extend the muffler out a bit past the bumper.
-
Good read Miles. So I took the car for a test drive and it ran great. I believe this whole time I had 2 issues. The plug wires being swapped wrong from the PO in the beginning of this thread. After repairing that it obviously ran wa better but I still had a miss and back fire in the motor when reving it. After this last weekend of going through the cars, I got rid of the back fire and gained clean power for once. I know it was a carb issue because when I took it for a test drive yesterday out of the garage it ran great with no Miss but I felt like it was running a bit Rich out of the tailpipe and exhaust was in entering the cab, probably do to the series 1 hatch vents and that I have headers and a straight pipe with race muffler that is about flush with the rear bumper. I was reading some threads on this being somewhat normal for a Z. Just for the heck of it I leaned out the carbs a little bit and took it back out for a test drive by doing that I got that same Miss and loss of power that I had before so then I rich and them up a little again and the car ran fine. At least now I have the floats set so that I can actually make a fine tune adjustment on the bottom of either carb as before I would screw down both carburetors as far as they would go to get maximum richness and still not make a difference.
-
Made some amazing progress today. Spent my only day off working on the SU carbs but it was worth it. So I have not test drove the car yet but I got rid of the back fire out of the carbs and also out of the tail pipe and it sound and revs up great. I took your guys advice on a few things and it helped a ton thank you!! First thing, the tabs on my floats were bent the wrong way, I looked up some pictures of néw floats and followed the bend in the tabs and shaped them correctly, I set the float levels correctly watching the videos you guys posted and also following my shop manual, set the firewall carb ever so slightly richer to offset the stance of the motor. I cleaned the SU pistons for any grit, had a hell of a time doing a drop test on the pistons, I had bent needles and the needles also had scratches and rust at the top of the needle so the piston would not go all the way down and make that clunk sound, took the needles out and put them in my drill and pressed down on them on a rag to help straighten them, i took 800 grit sand paper and took off any burrs that were on the top of the needles. I adjusted my choke cable as it was binding on the front carb, i changed one of my nozzles as it was more centered than the one that was in there, I adjusted the jet needles by slightly tightening them and pushing them into the carb while pushing up on the nozzles and then tightening the needle set screw, this was done with the nozzles turned all the way up in the max lean position. The pistons then fell down nicely and made that clunking sound while hitting the bottom. I then used 10-40 motor oil in the plungers instead of ATF. And wow what a difference in resistance, both carb pistons went up super slow and with great resistance compared to the ATF. I started the car and tuned the carbs using a Air Flow Meter and followed the ZTHERAPY notes I had written down from watching the video. My car runs soooo much better and no back fire at all. Its now getting all the fuel it needs and not running lean like before. I can only hope it drives as good as it sounds in my garage. I will have to test drive it after work one day this week. Thank you guys for the helpfull info. I knew there was something off with these SUs. Mainly the owner (myself) half assing adjustments because of limited time. Fingers crossed that she drives good under a load.
-
Thanks miles, but I'm more concerned with if I have the correct components in these carbs to even start with. Following a manual with the incorrect parts for my carbs that someone else may have installed will get me no where.
-
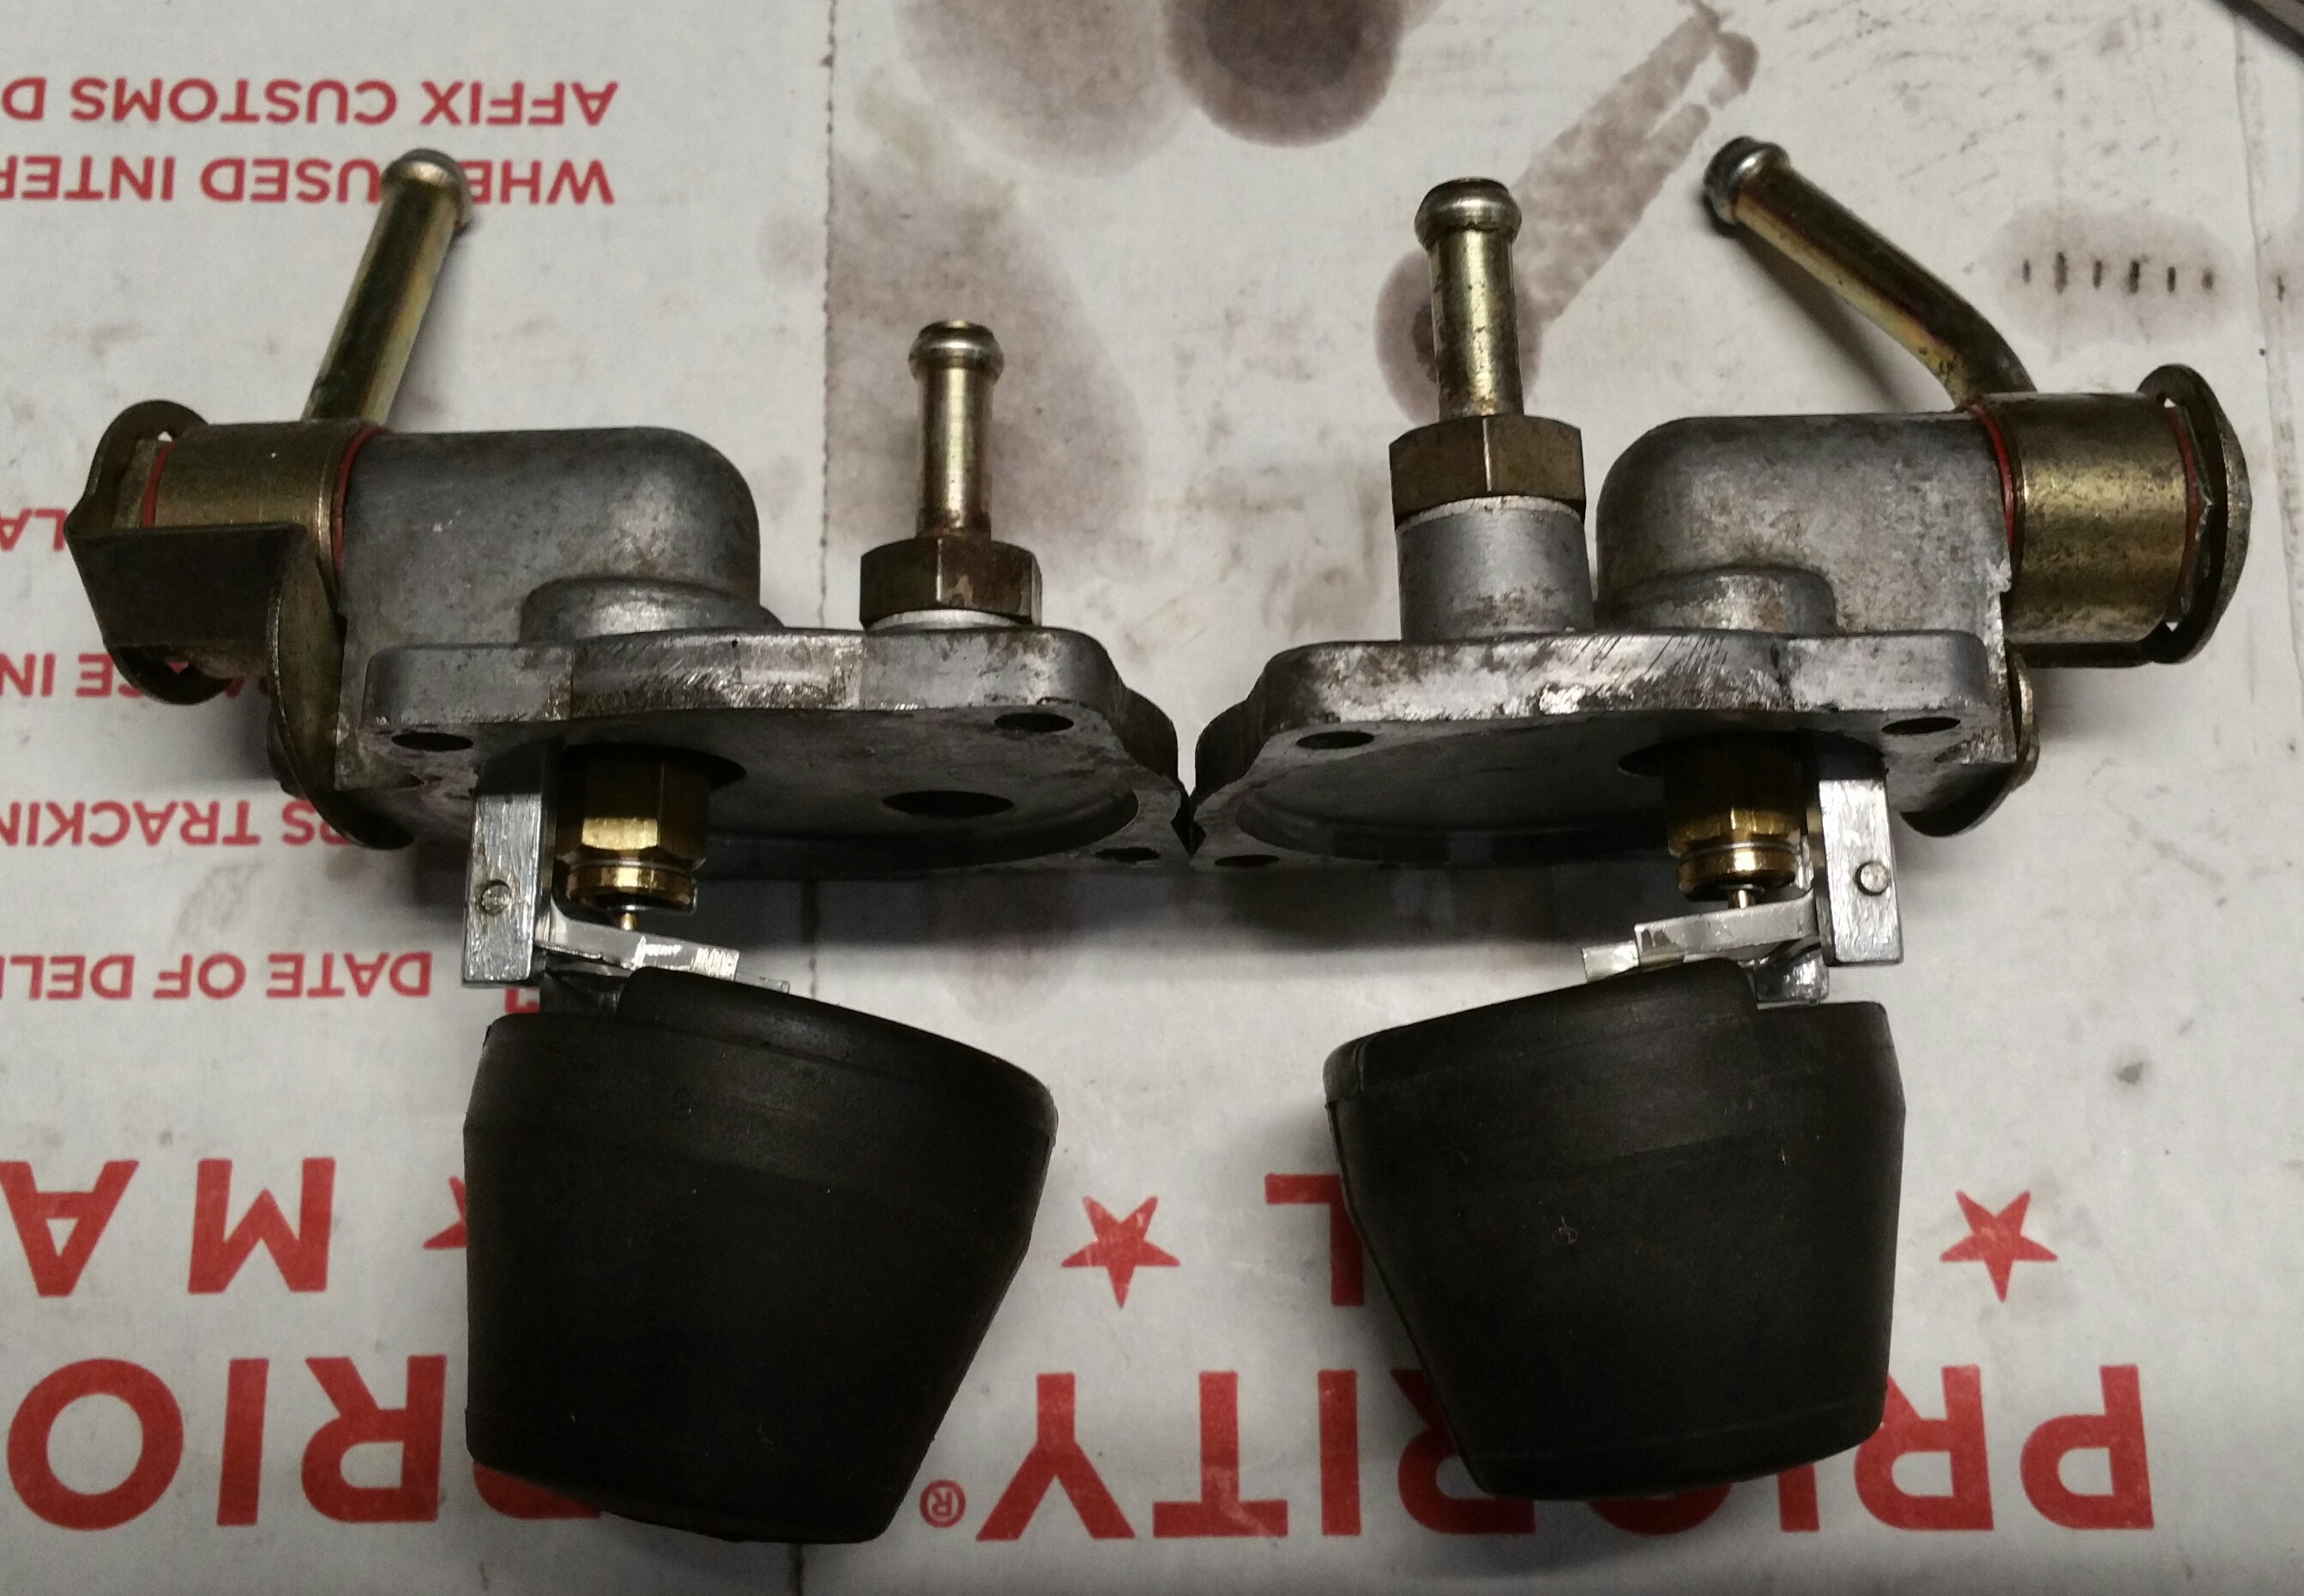
The ears on both my front and back lids are the same length.
-
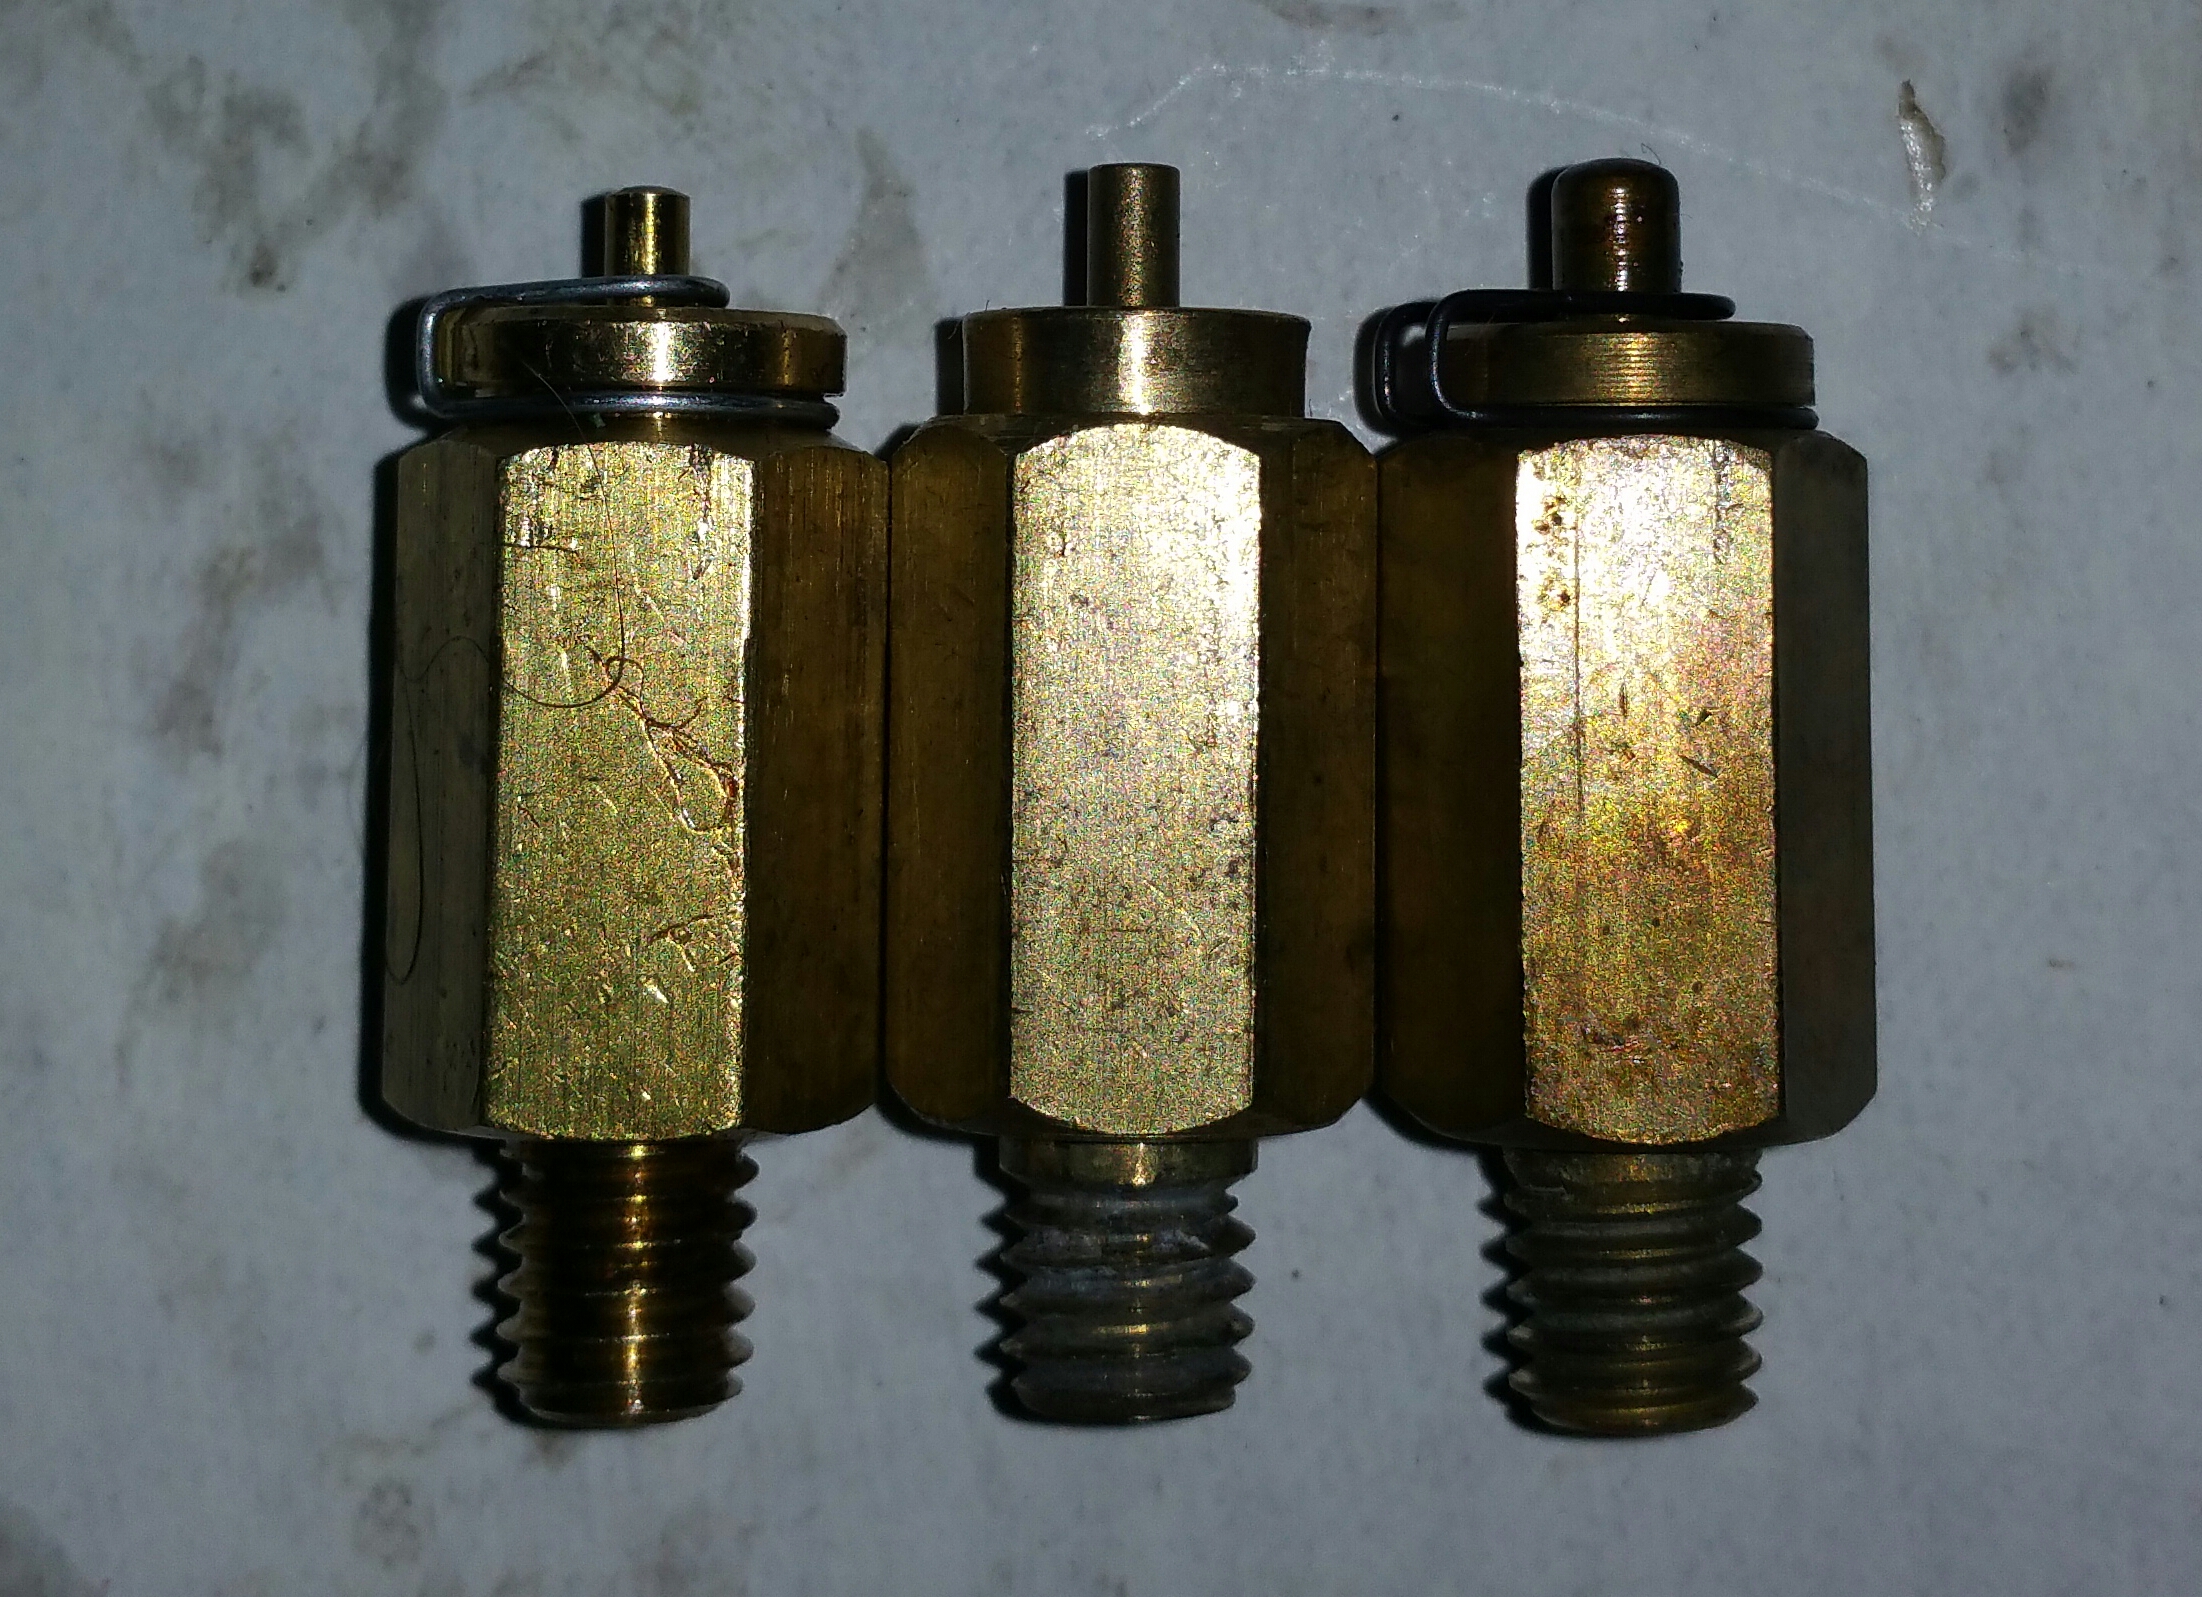
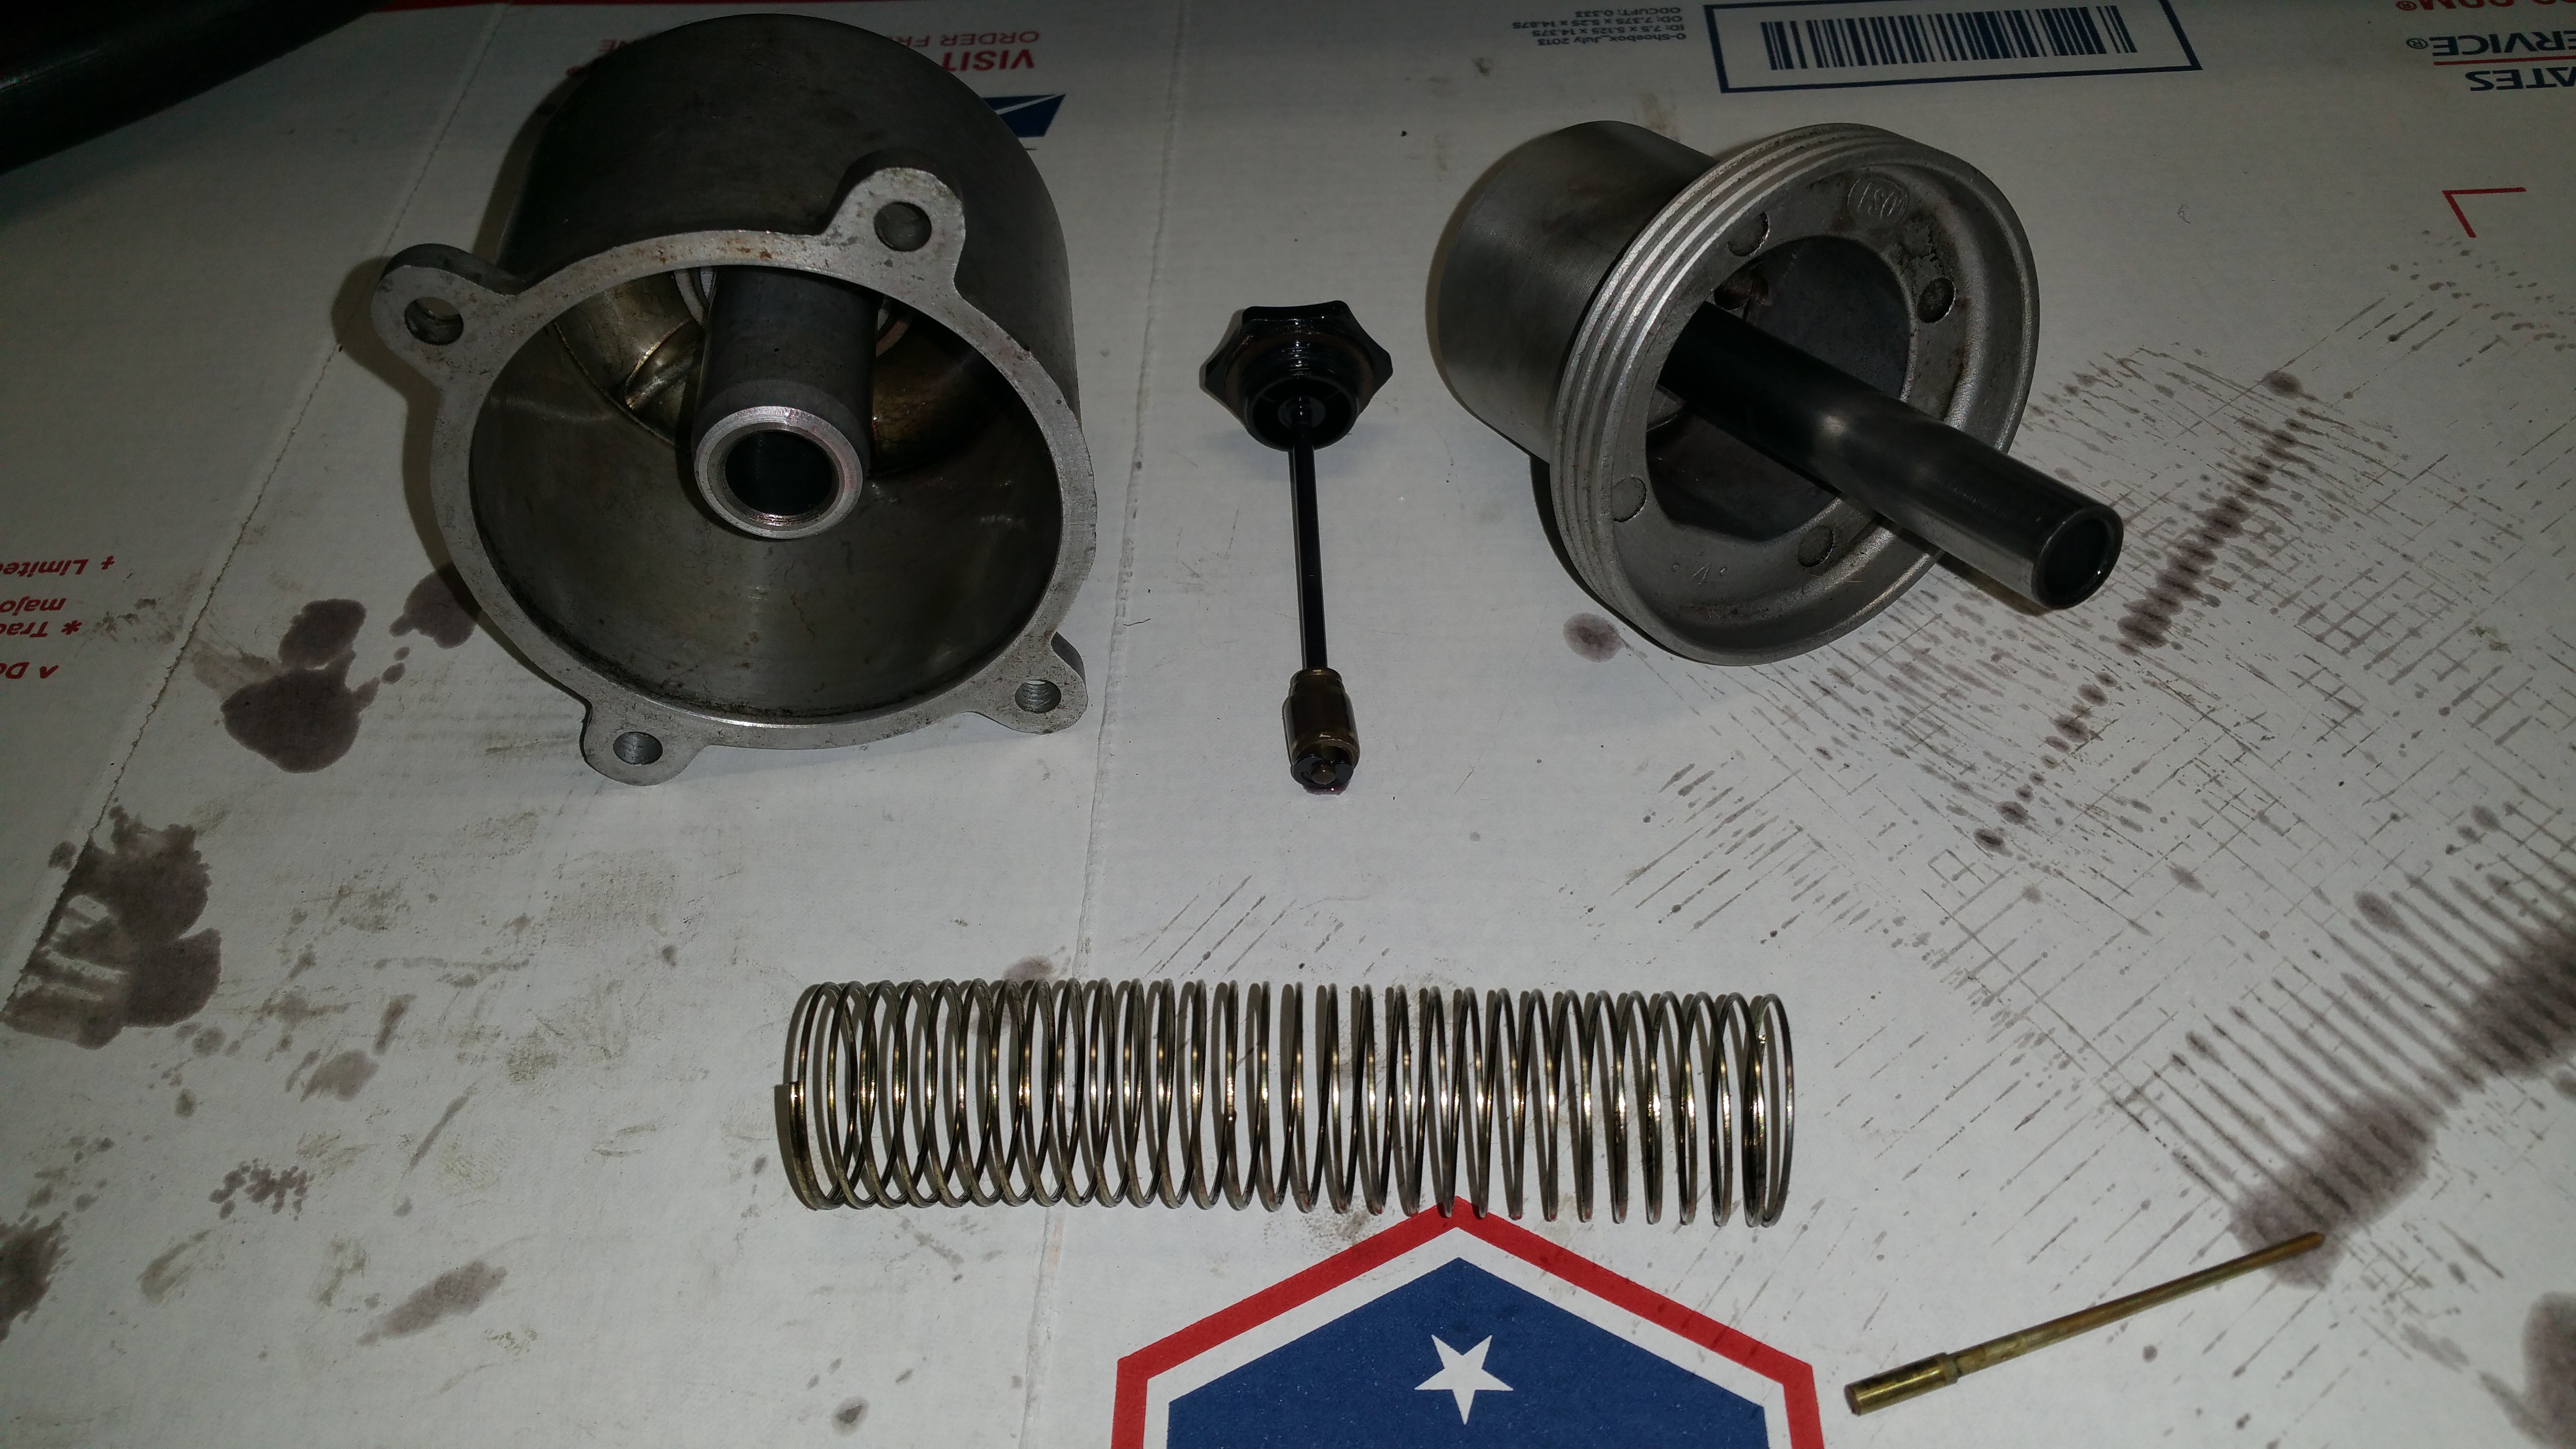
I have a set of each of these 3 needle valves. All pretty similar in length.
-
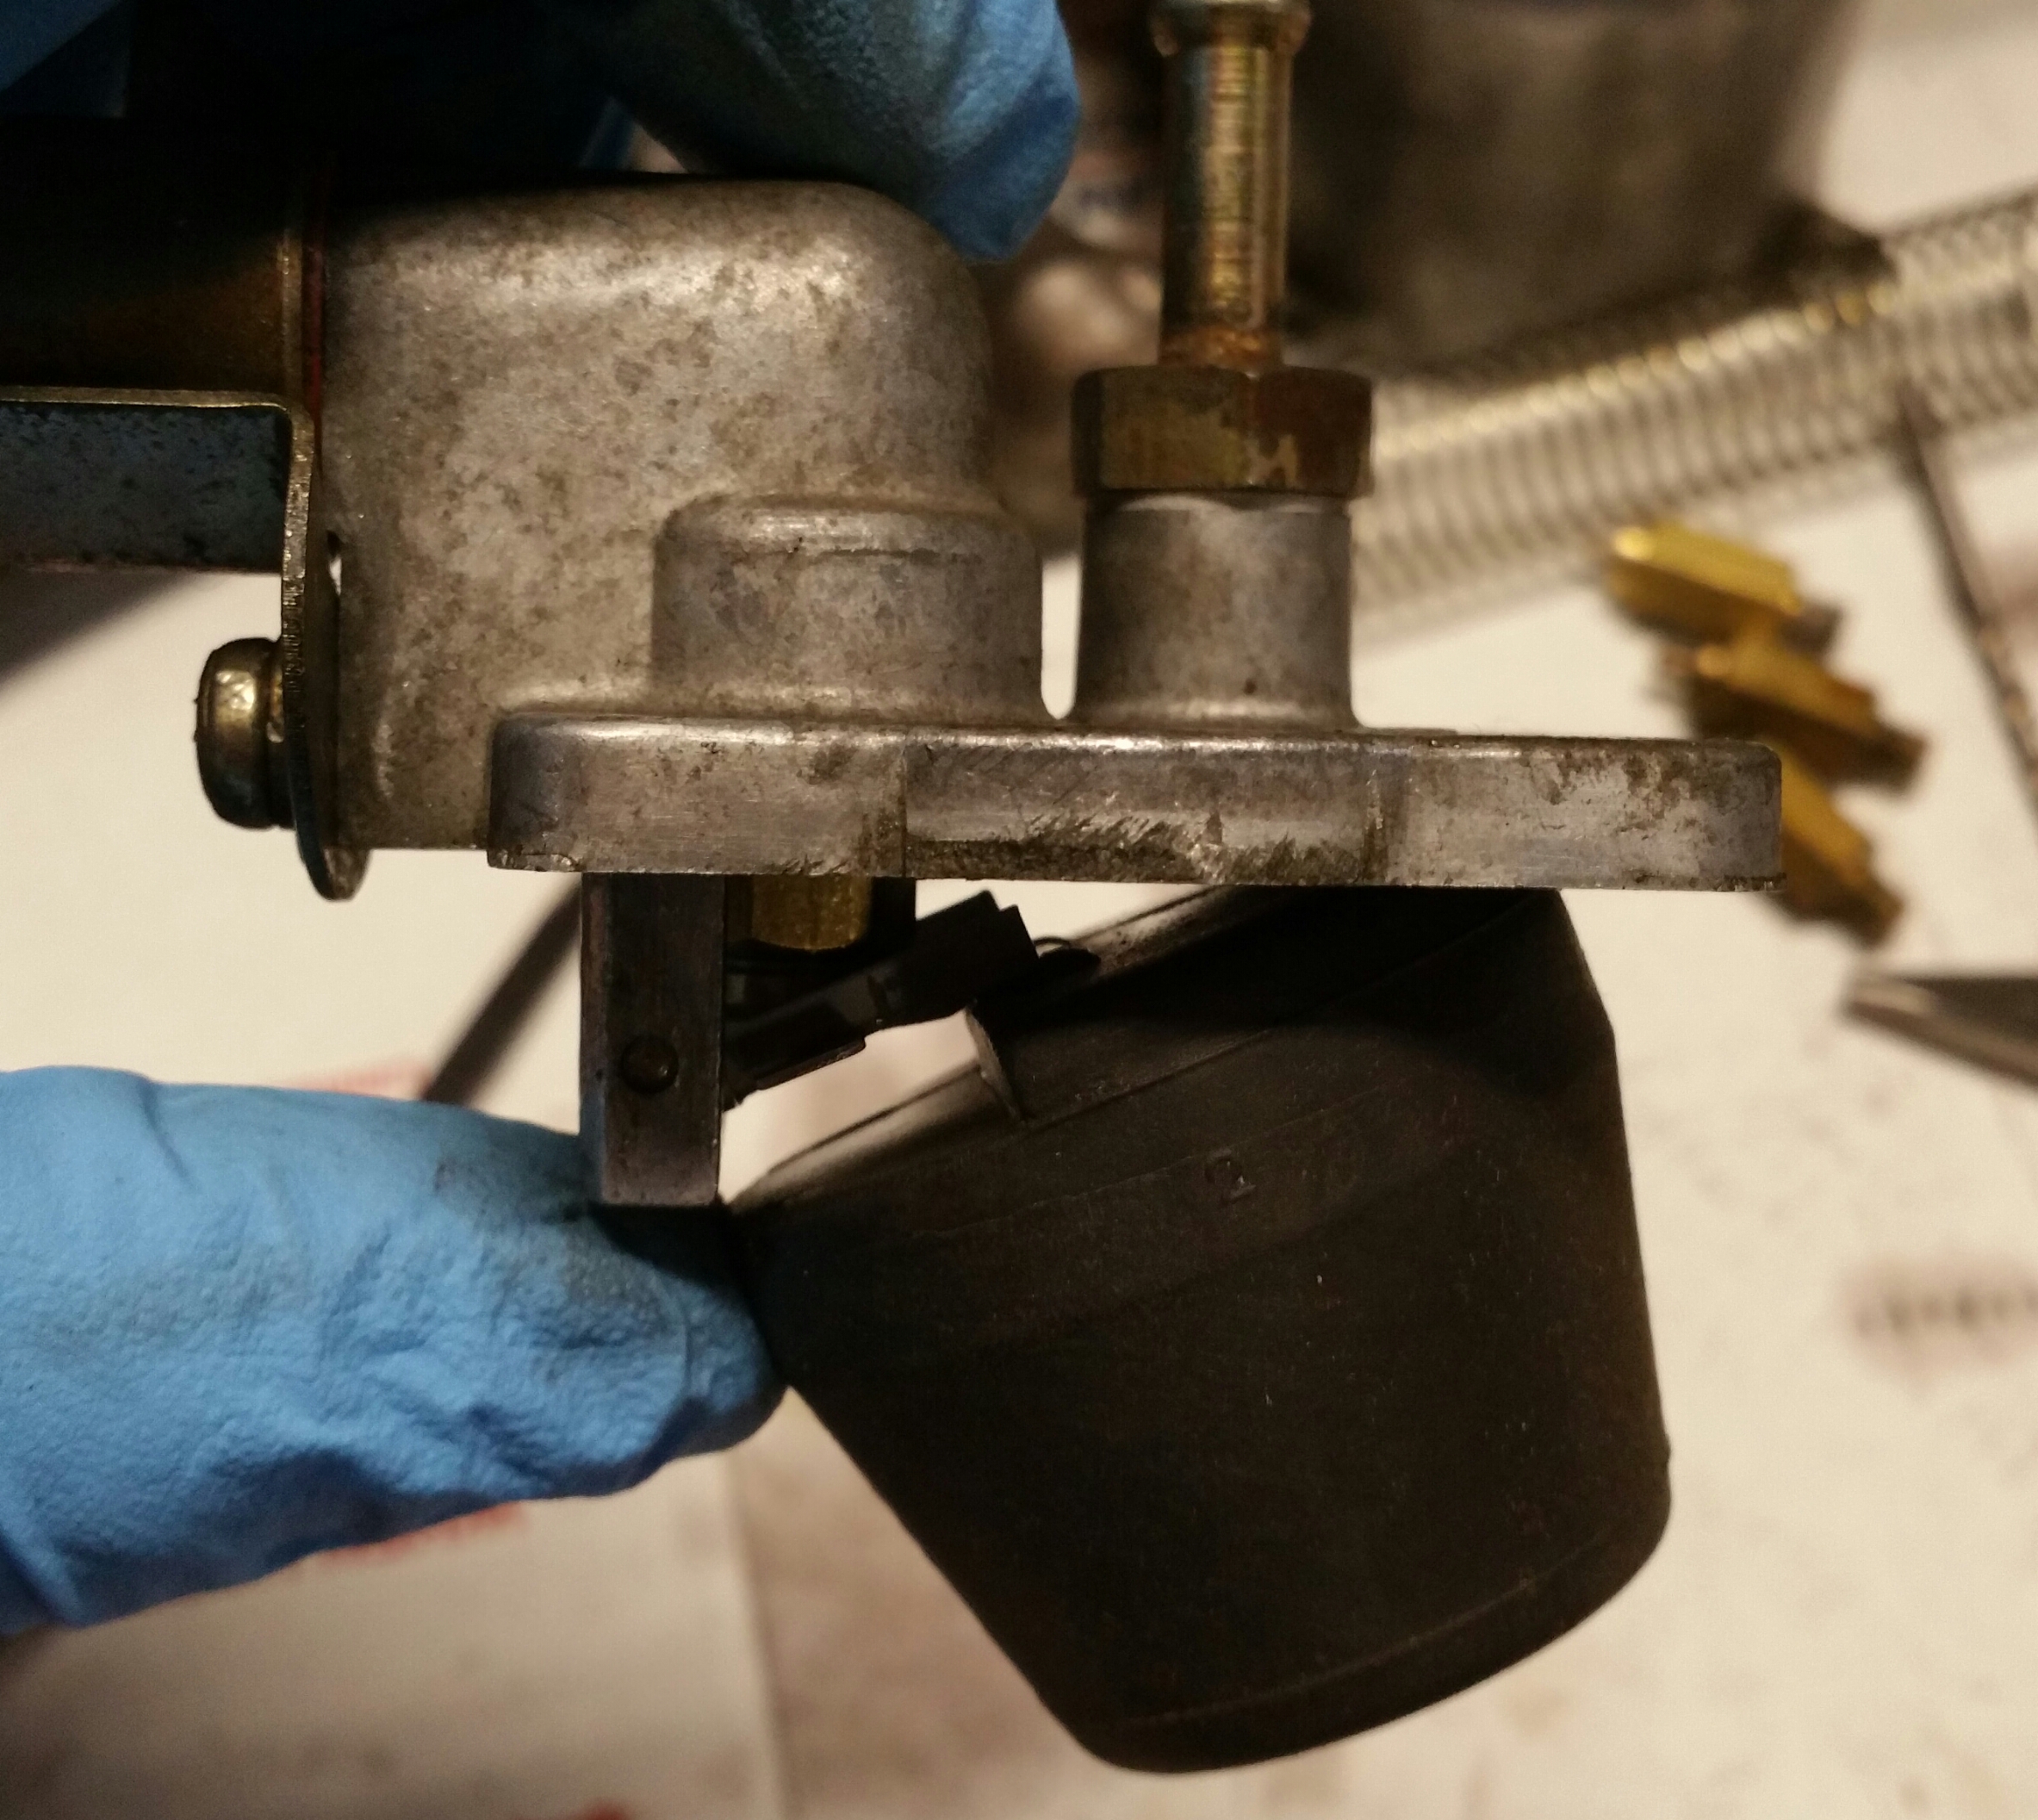
I have to have my float set like this to get fuel up to the top of the nozzle.
-
Something isn't right I feel like the shorter needle valves would fit better then these tall ones thus lowering the entire setup inside the bowl. I thought I remember seeing different ones in the past as well but it's been a long time. I put two washers on each needle valve to raise it even more and I feel like I'm rigging it.. I finally got the fuel up close to the top of the nozzle but the float has to come up so high to the lid that it's almost sideways and bottoming out. Something is not right.. i have spent hours today trying to get the fuel in the bowl High Enough to where I can see the fuel almost flush with the top of the nozzle while having the nozzle screwed all the way in to the top. Think I may have the wrong set up in these from the beginning.
-
Gonna try some washers to raise the needle valve and see if that makes a difference
-
I cant seem to set these floats right. Do I have the right float and hardware in here? Seems like the fuel bowls are not filling up enough, when I pull the floats out on both carbs the bowls are only like a 1/4 of the way full. Cant even see the fuel in the nozzle when looking straight down into the nozzle with a flashlight. I cant seem to bend the tabs enough so the bowls will fill more with out having the float touching the lid at a steep angle, but then I run the risk of the bottom of the float hitting the side of the wall first before closing the needle valve. Any suggestions on this?
-
Thanks Inline. I actually watched 2.5hrs of the Ztherapy SU video again last night as I had not watched it for about a year. I had written down most of the info you gave me above about the carbs and I also remember following the video and setting the needles correctly last year, what I did pick up in the video this time around was my float levels, I remember trying to set them like the video but I did not have gross jets, as I tried to set the float levels the way it shows on the video the weight of my float kept calapsing the needle valve so I was unsure if it was set correctly, I am getting a lean condition and back firing out of both carbs when the choke is off, I also have the carbs set to the richest position. Before I pull my valve cover I'm going to raise my float levels a bit and see if that gets rid of the lean condition and backfire. I had only messed with the float level one time and I felt unsure at the time if they were acurate. I will try this today and see if something simple like the float level is causing this. This could actually be a separate issue that I created from the very beginning, as in earlier posts I had mentioned that I had found 2 spark plug wires swapped from the PO. It obviously made a huge difference, but I am stuck with the backfiring lean condition that I may have caused by trying to fix the first issue lol. I know.. sounds stupid. It is a possibility. I will definitely start all over if this float adjustment does not work today.
-
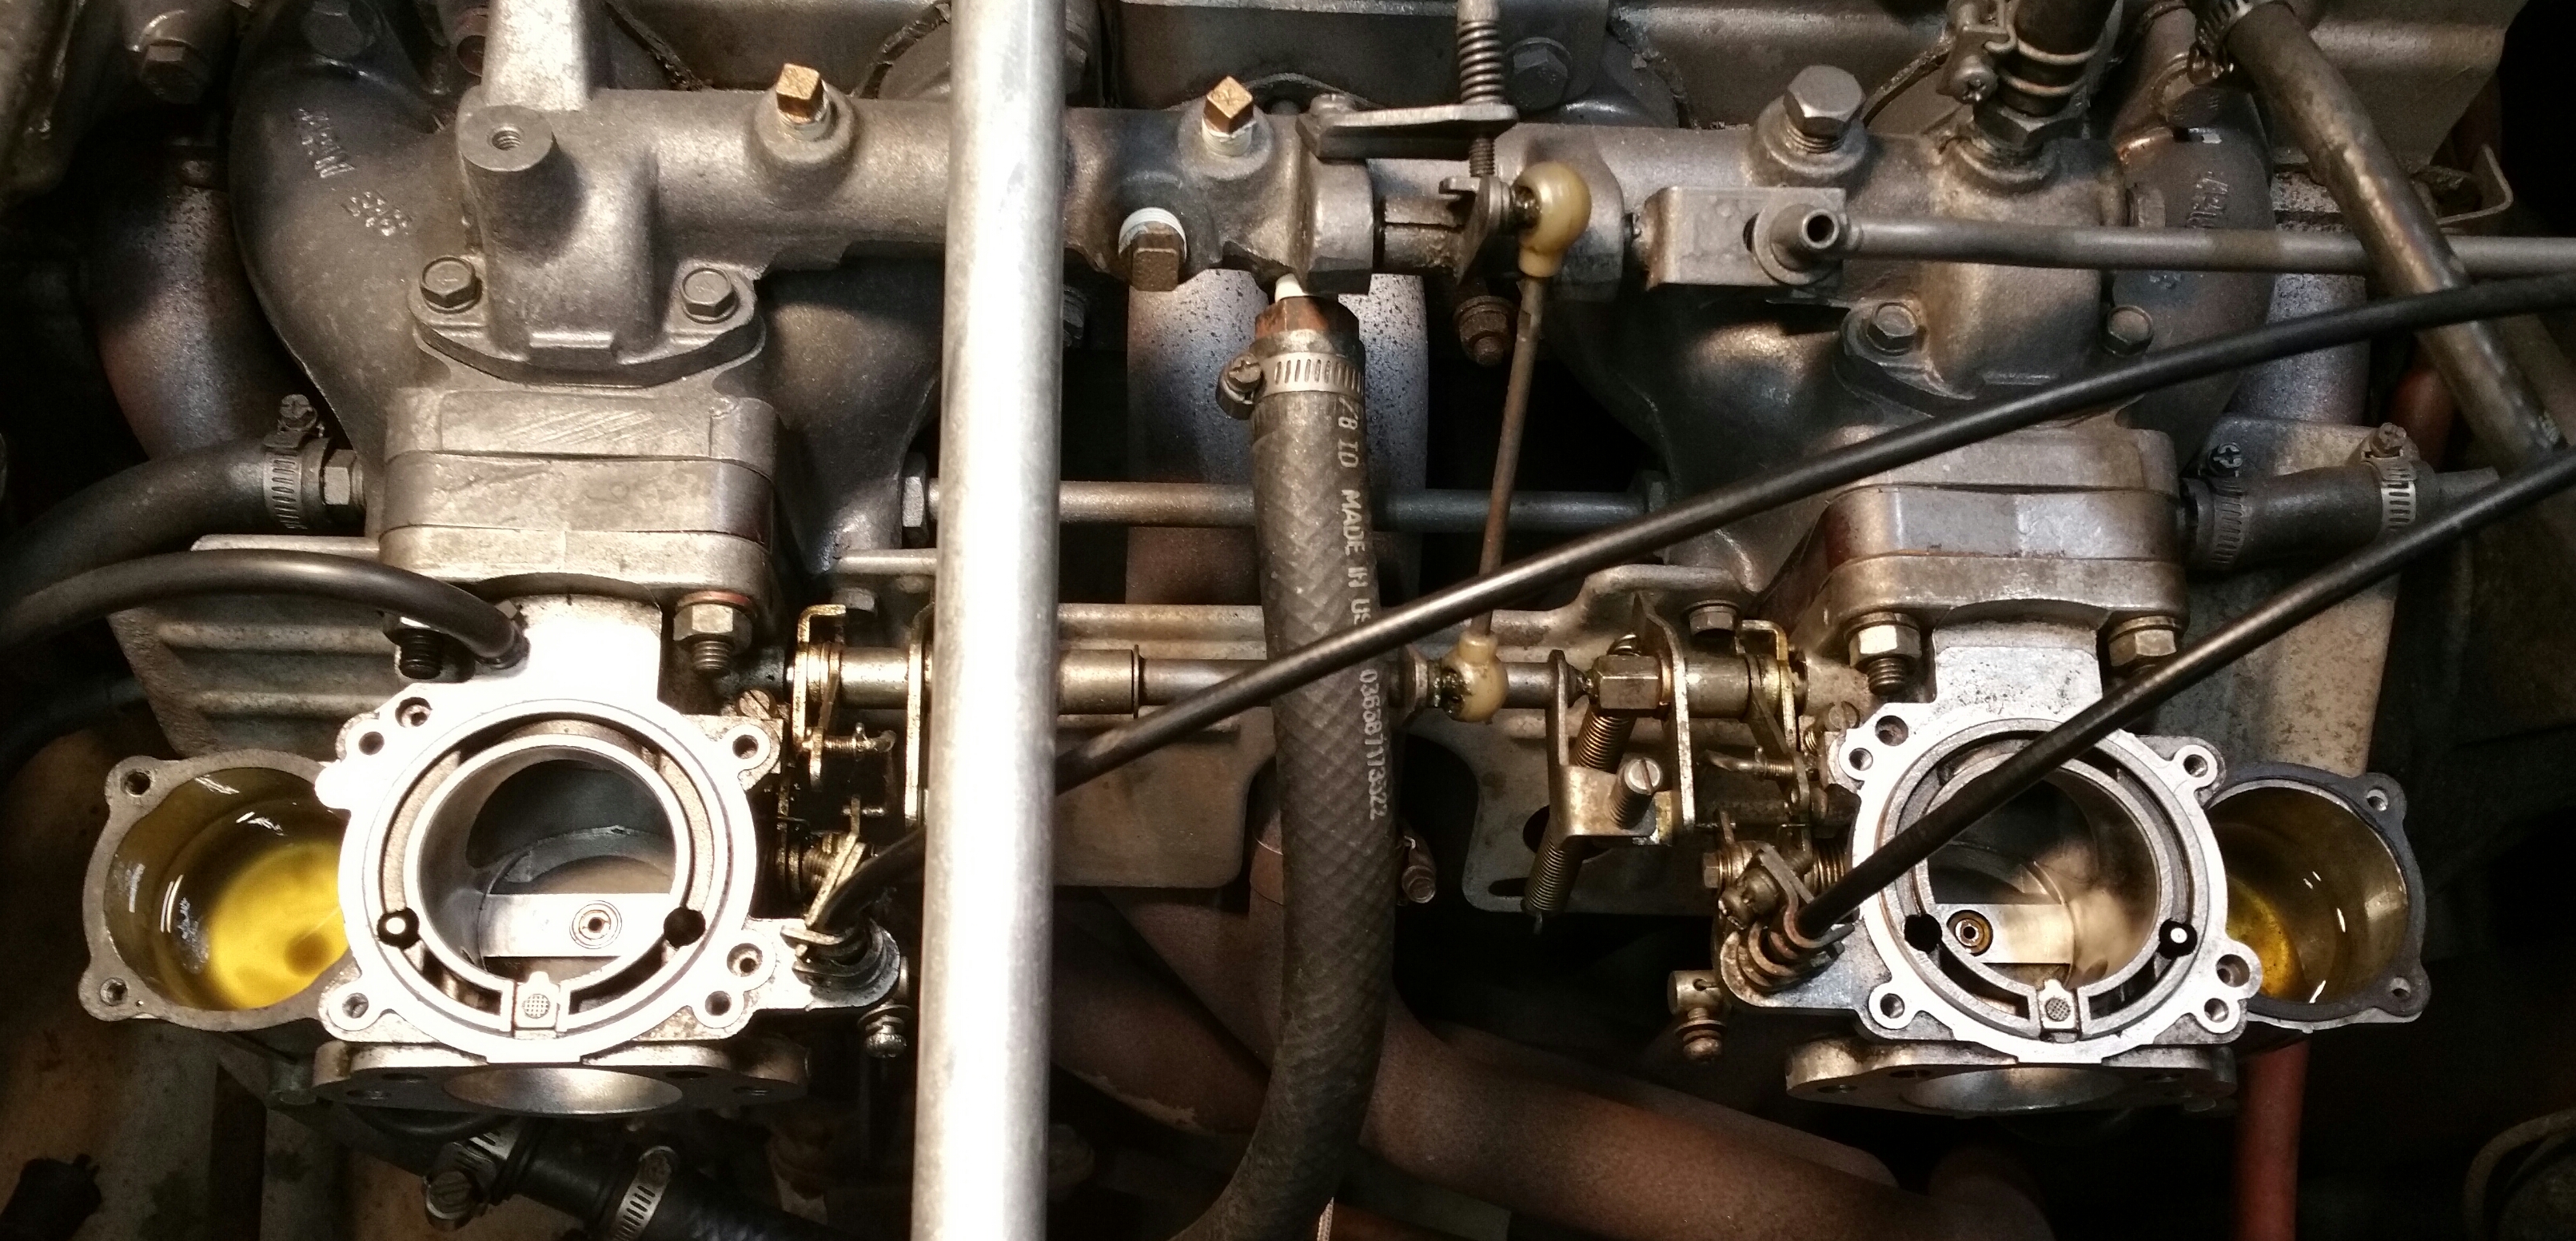
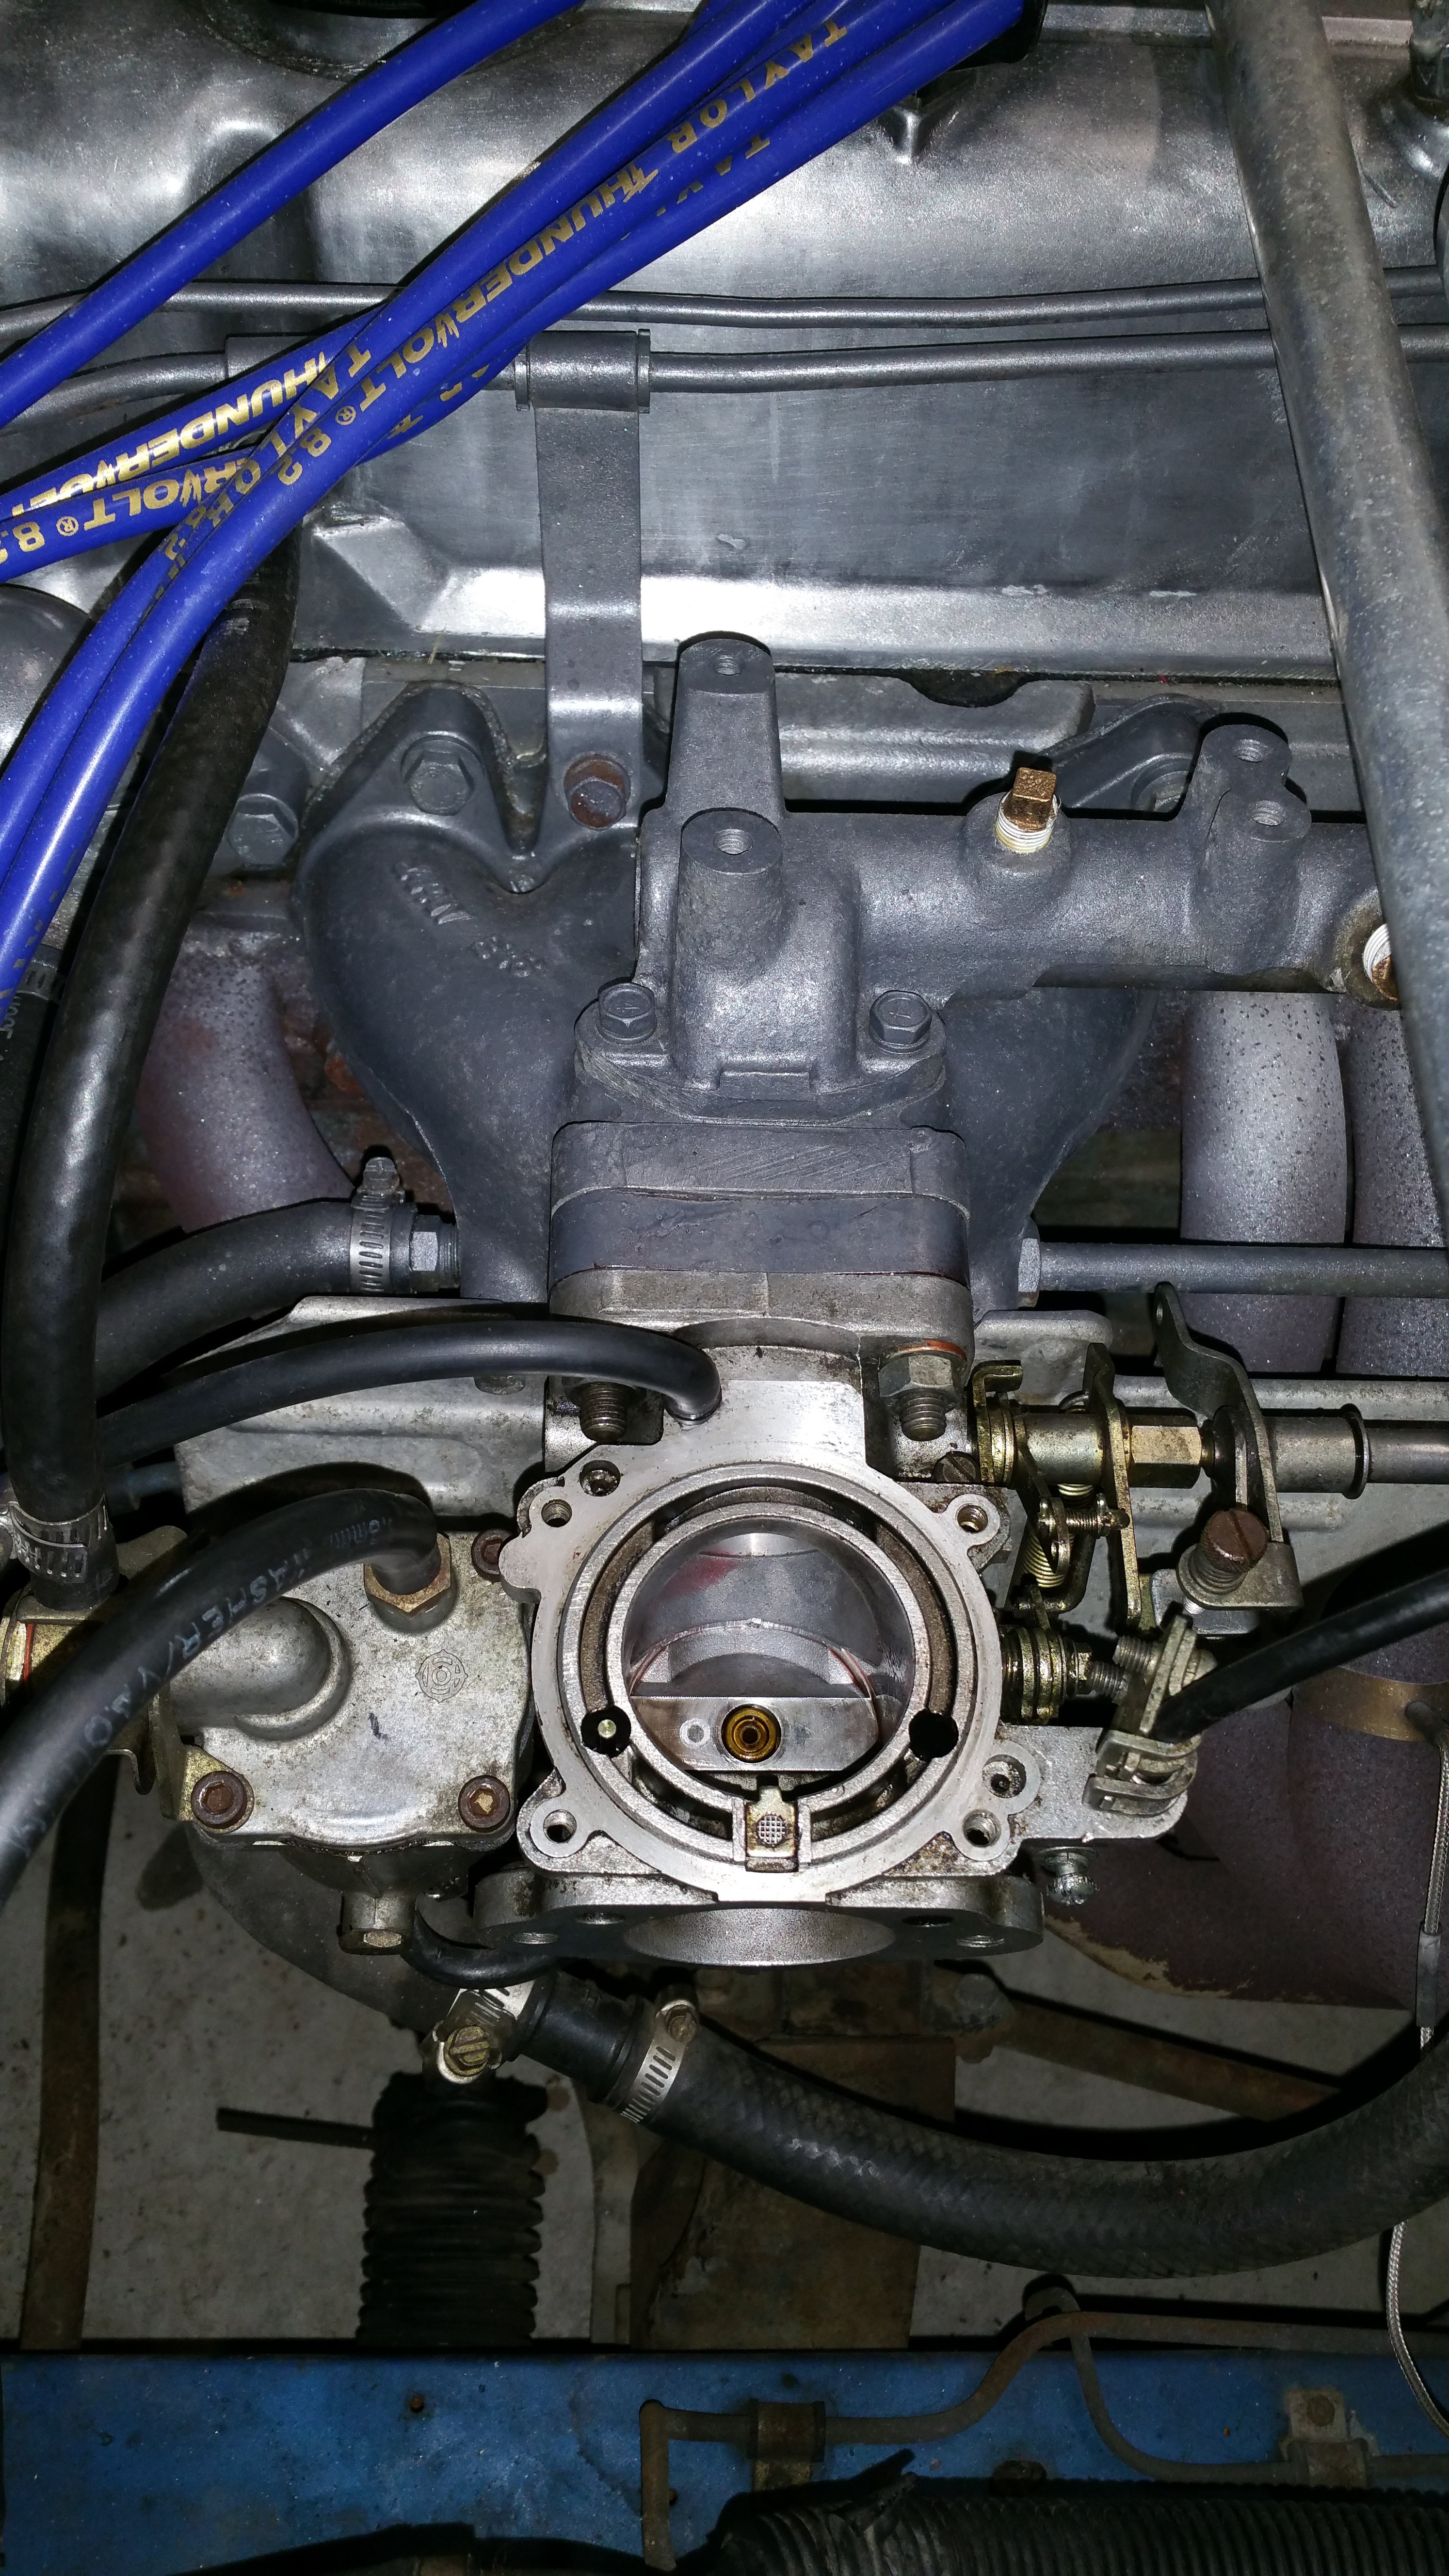
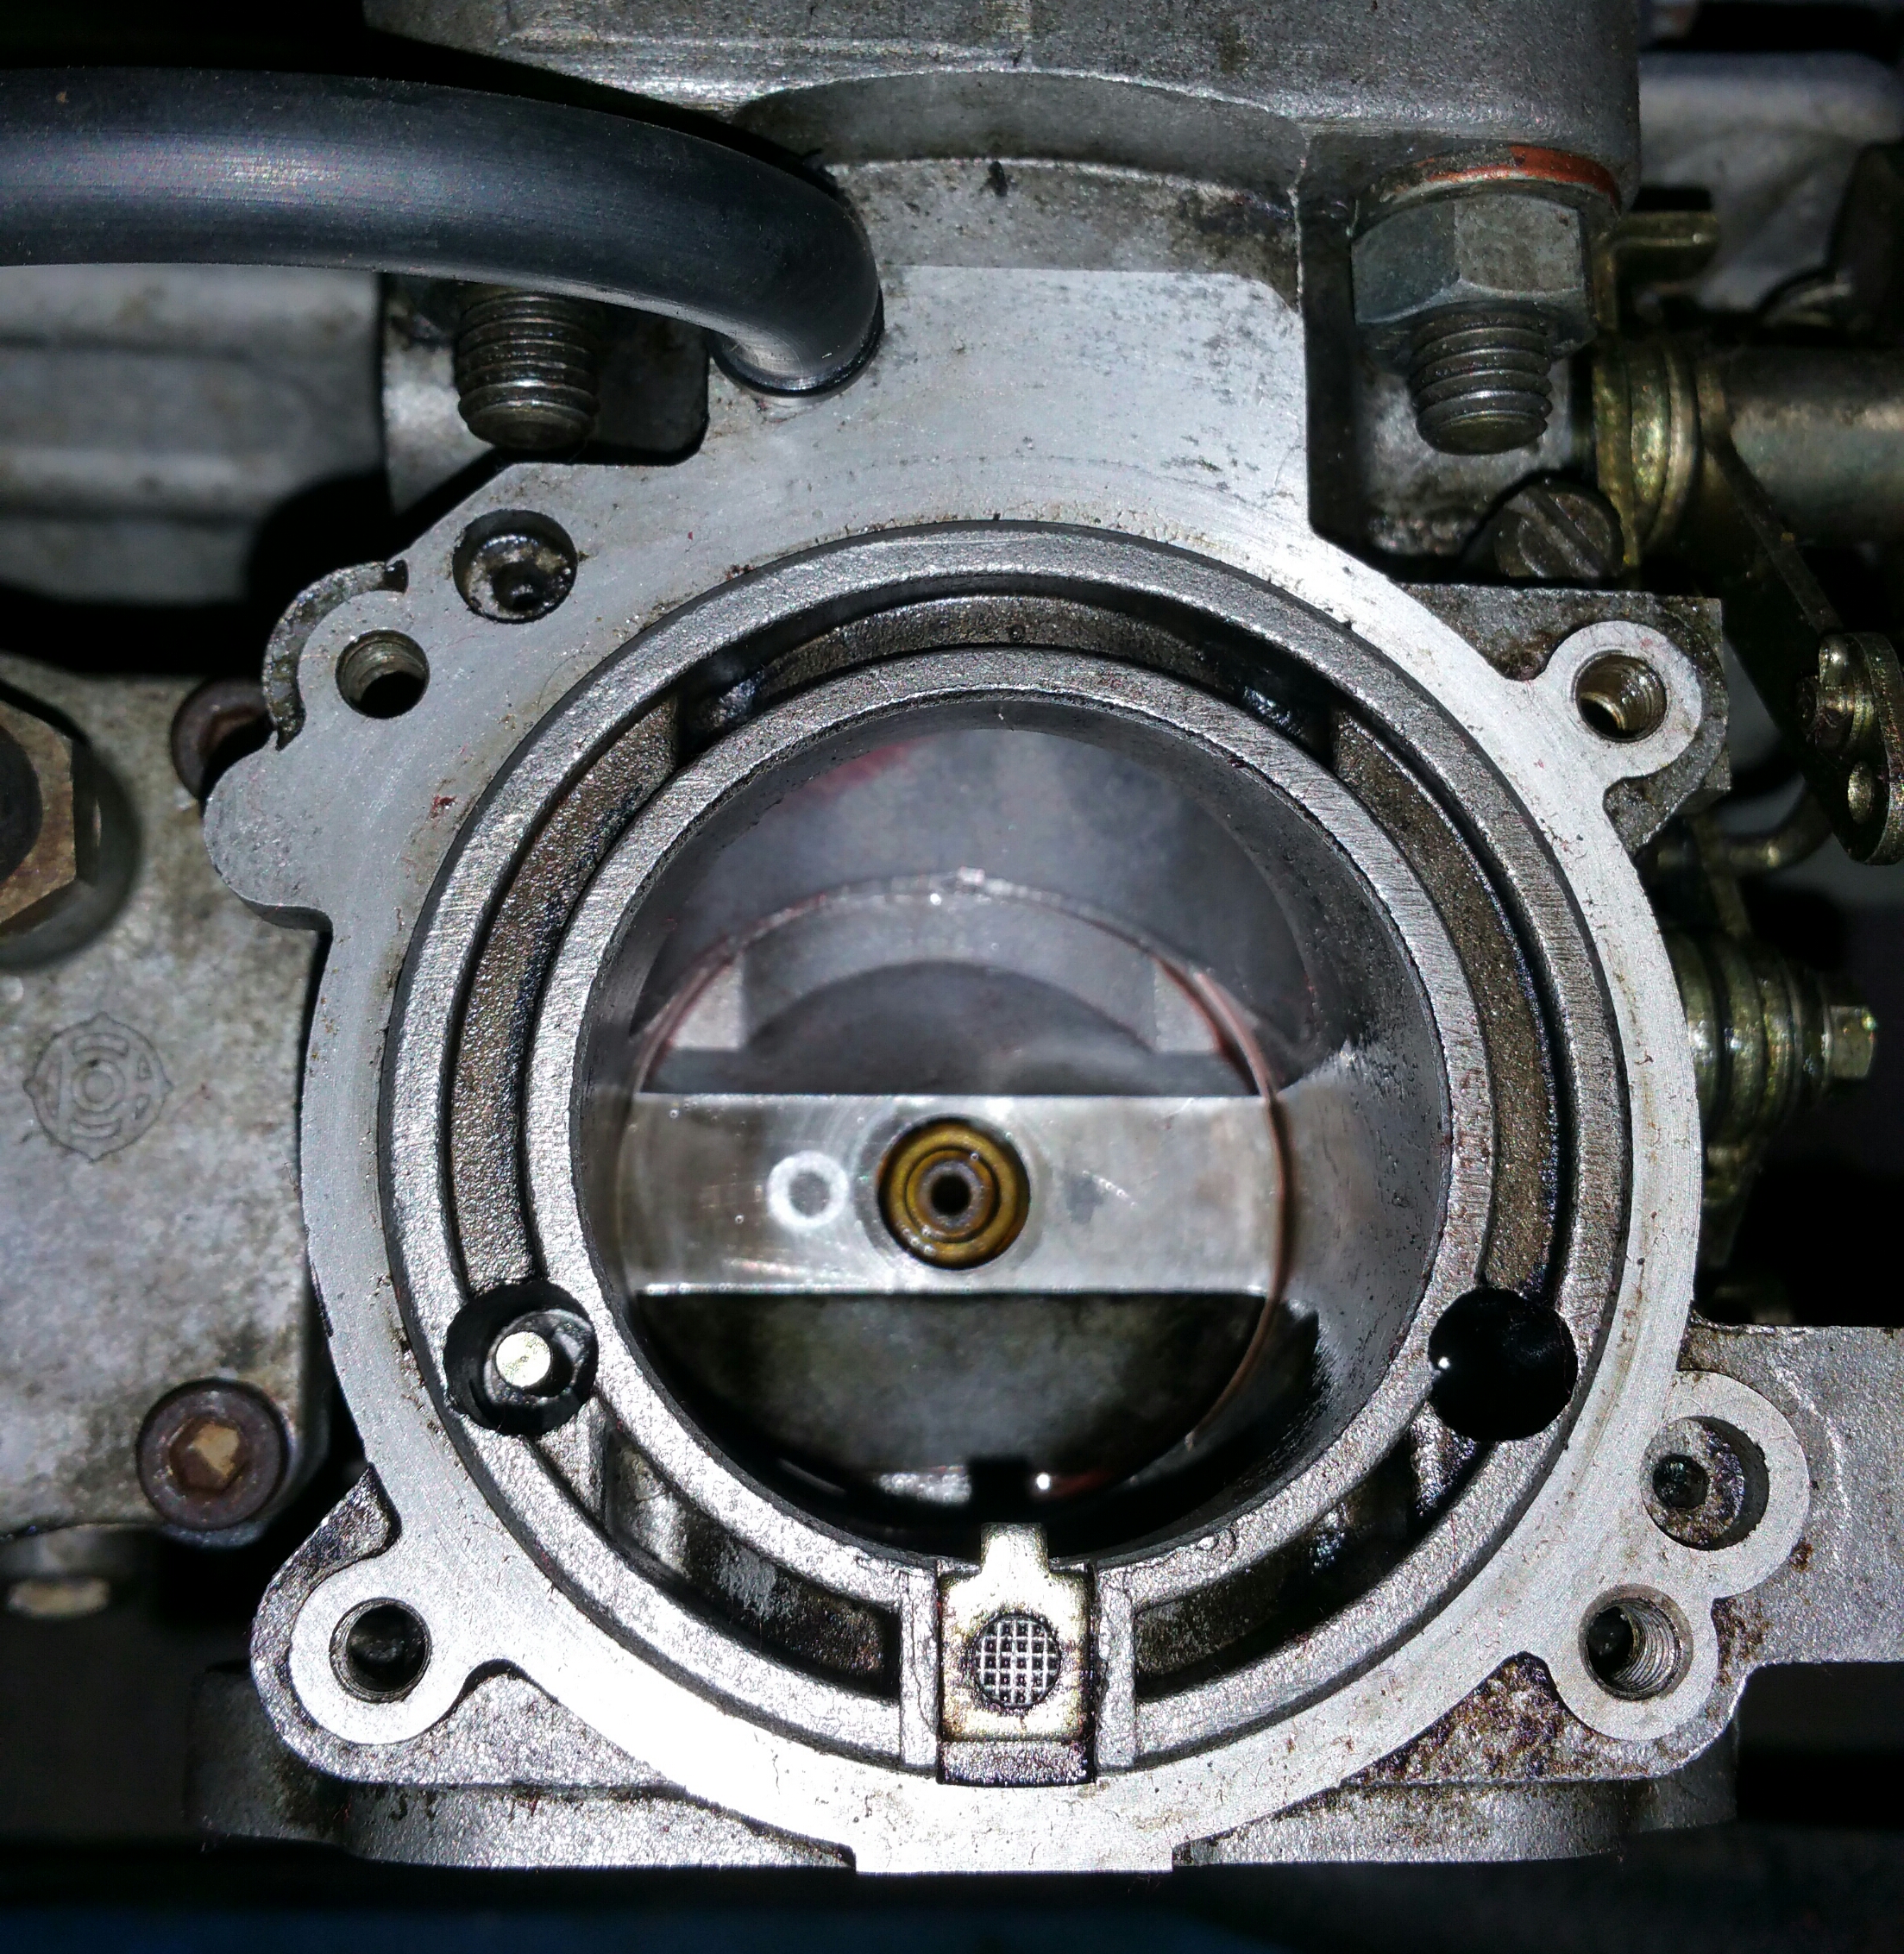
A few more random carb pics, incase someone sees something out of the ordinary.