munters
-
Posts
144 -
Joined
-
Last visited
-
Days Won
4
Content Type
Profiles
Forums
Blogs
Events
Gallery
Downloads
Store
Everything posted by munters
-
Look Post 441 and 445...
-
Does someone know the spring part no for the 240z? Im in europe and would like to buy it here, but vogtland Germany does not list any Z except from 350 and up.
-
I demaged the Voltmeter after disasembling and painting. I need just the Voltmeter itsef but would also take the whole Voltmeter Fuel gauge Thanks Marcel
-
I just think logic... Long straw short straw... you suck on it with the same force. do you get the drink earlier or at the same time? (Of course there are a lot more factors to include but just this thought alone is enough for me. Im the one for one type ).
-
There is another one in europe. http://www.frpautomotive.com/frp_panels_page.html
-
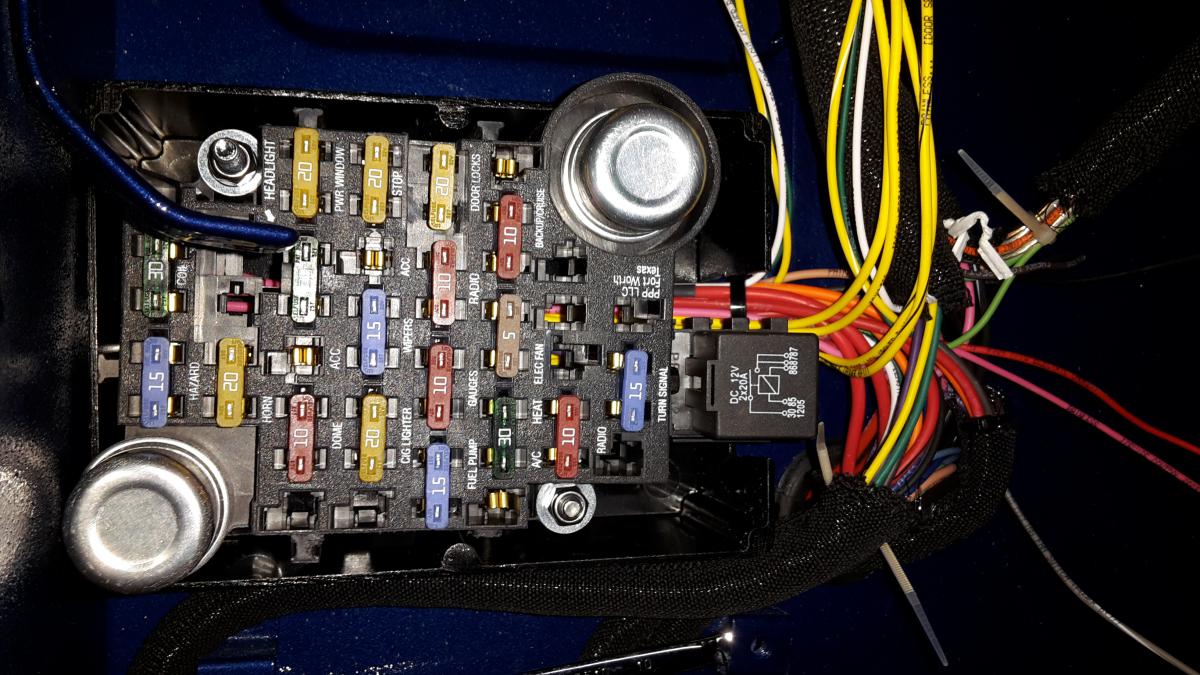
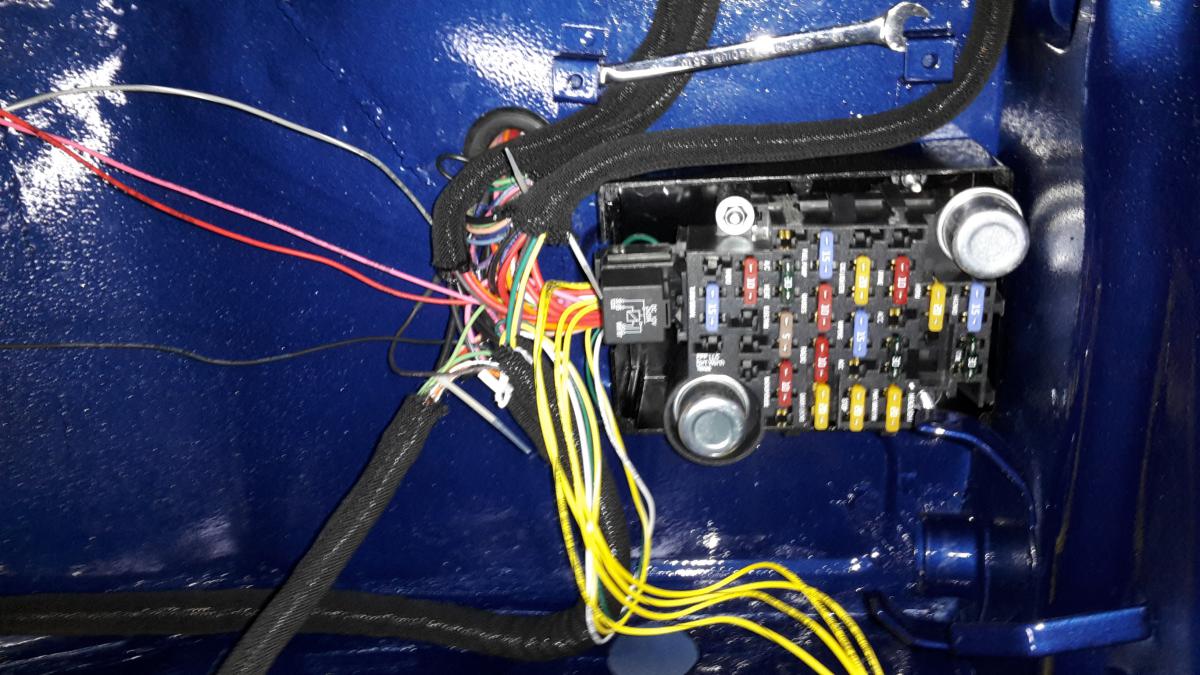
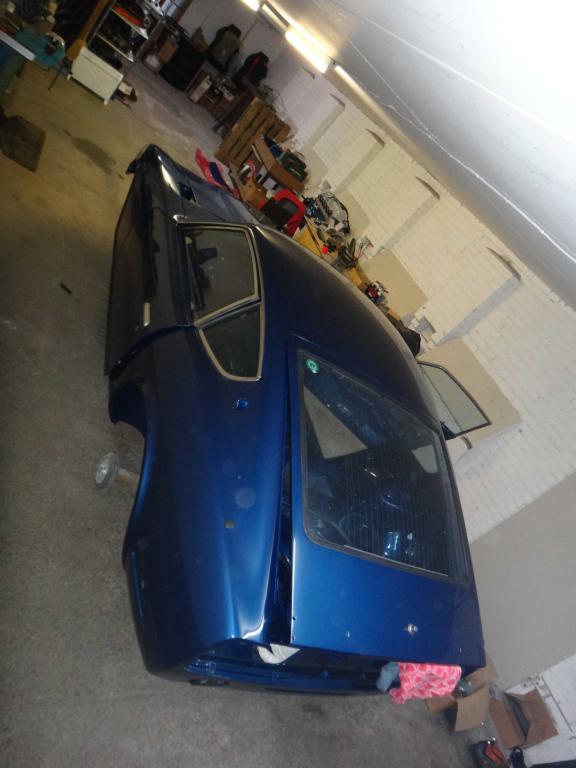
Hm I dont know, why the pics are rotated 90 degrees... The relay is towards the bottom and the box will be next to the heating blower.
-
Finally I could start with the assembly/Panless(Full) cabling. First was the realocating of the Fusebox and build a box around the fusebox to protect it from feets under the dash. Take bundles apart to rebundle them for the Z. change it for Europe usage and not US. like flasher/brake seperated and no park lights. next step is to build a cover to protect the cables at the exit of the box. I ordered also a lot of parts from nix240 to install new Brake and fuel lines (4.75mm Brake, 8mm Fuel feed and 6mm Fuel back) Hope to be able to work sometimes from now on, but at the moment I get just 46° max in my place...

-
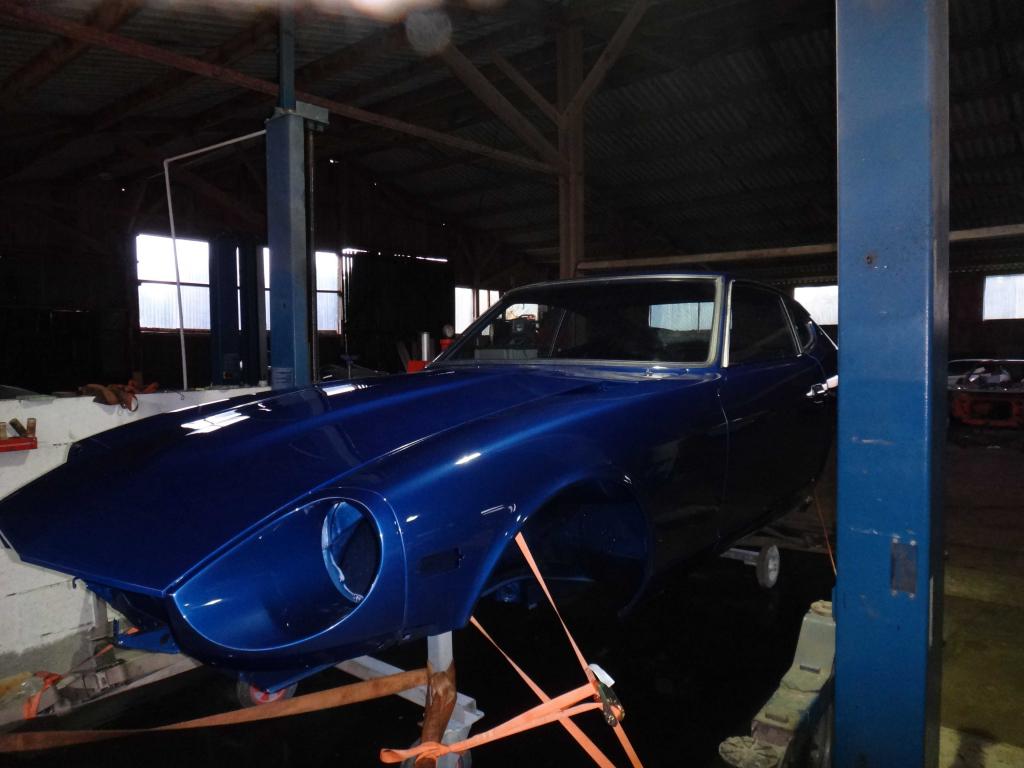
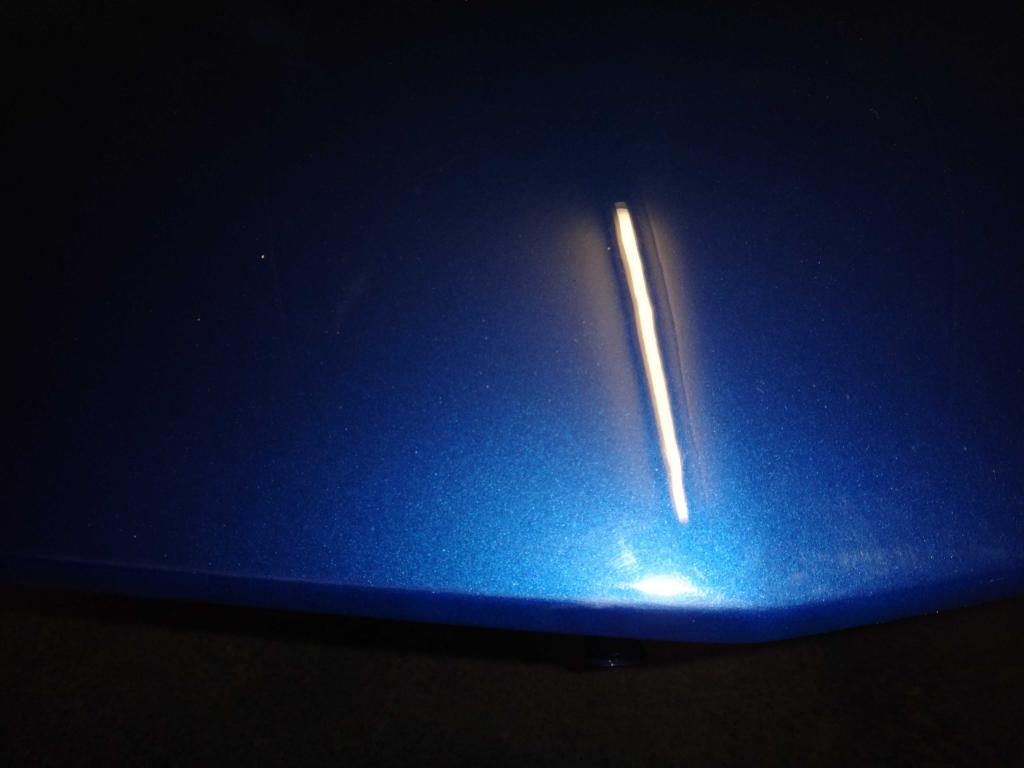
Yea I love the color as well. It took me a long time to find this one within all the blues between 1970 and 1973 to keep it Vintage. I also look foreward to see it getting better with every bit installed.
-
Oh, Yes, It has been a long time. Actually I don't need too much anymore. I already bought every gasket, bearing (and installed them of course) and screw new. (exept the screws for the underbody. I will buy them as I need them and new Brake and fuel lines should arrive the next few days while I`m on holidays.) The whole interior is already repaired and all pannels covered in black leather. Now I "just" need to assemble everything.
-
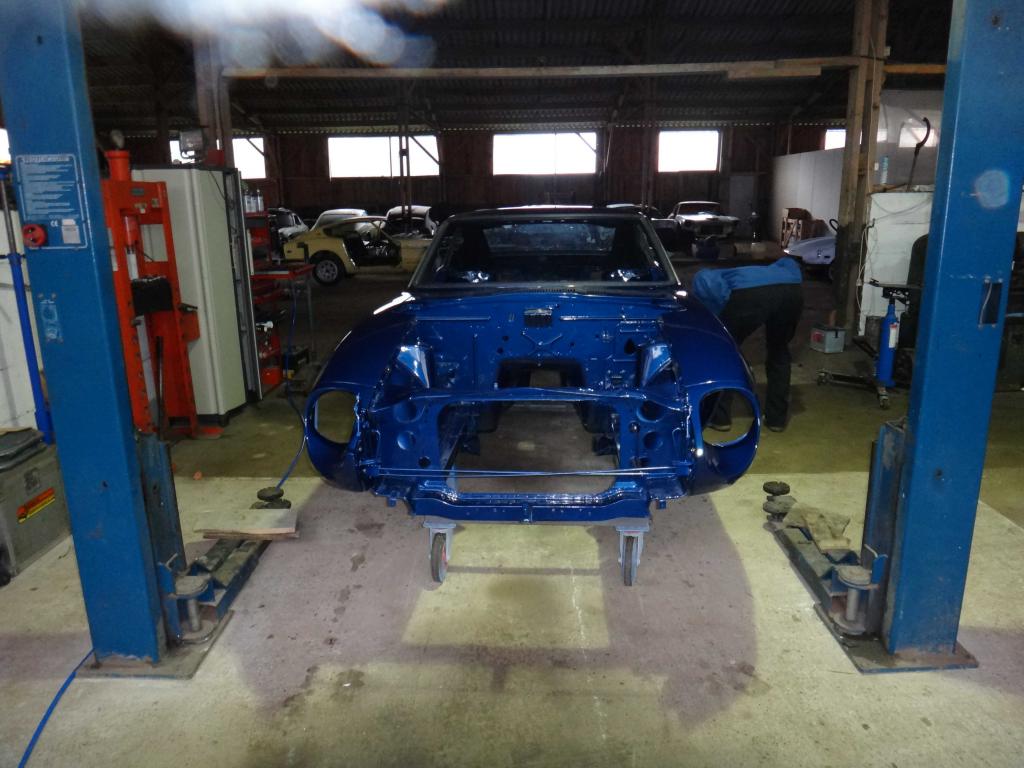
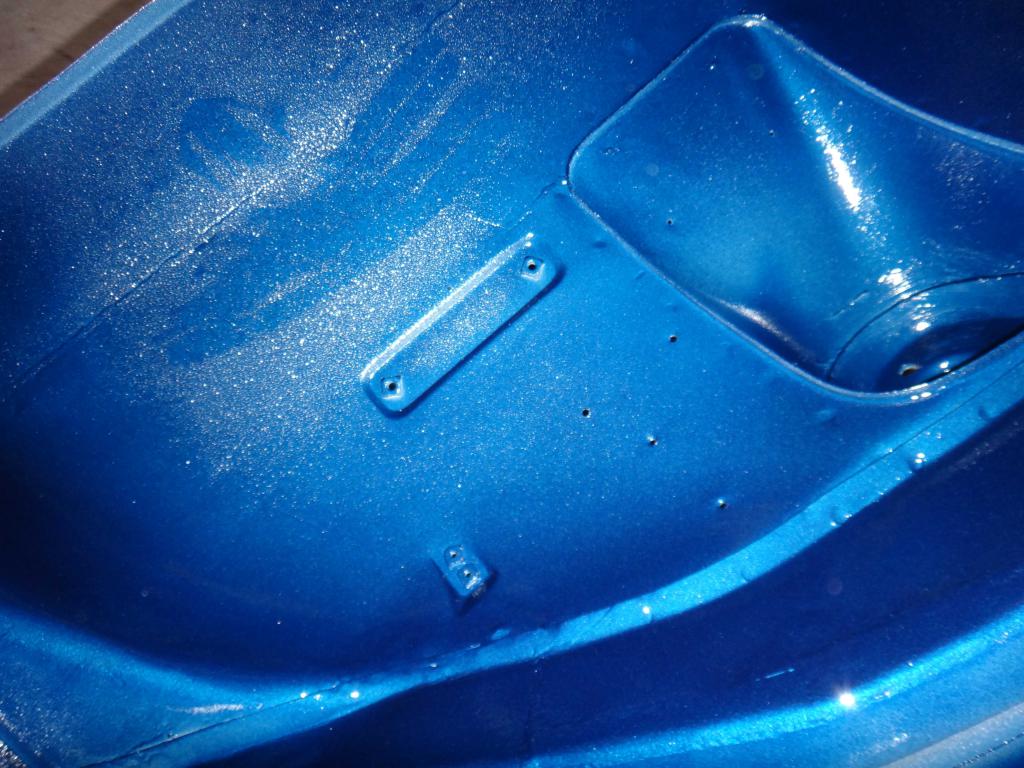
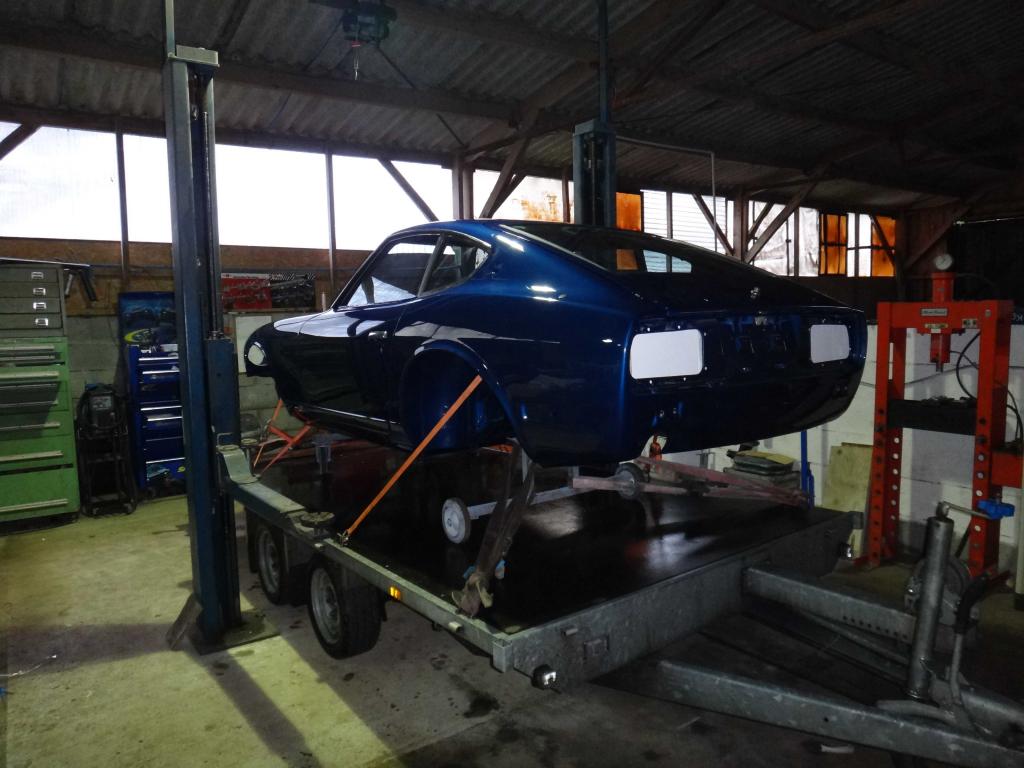
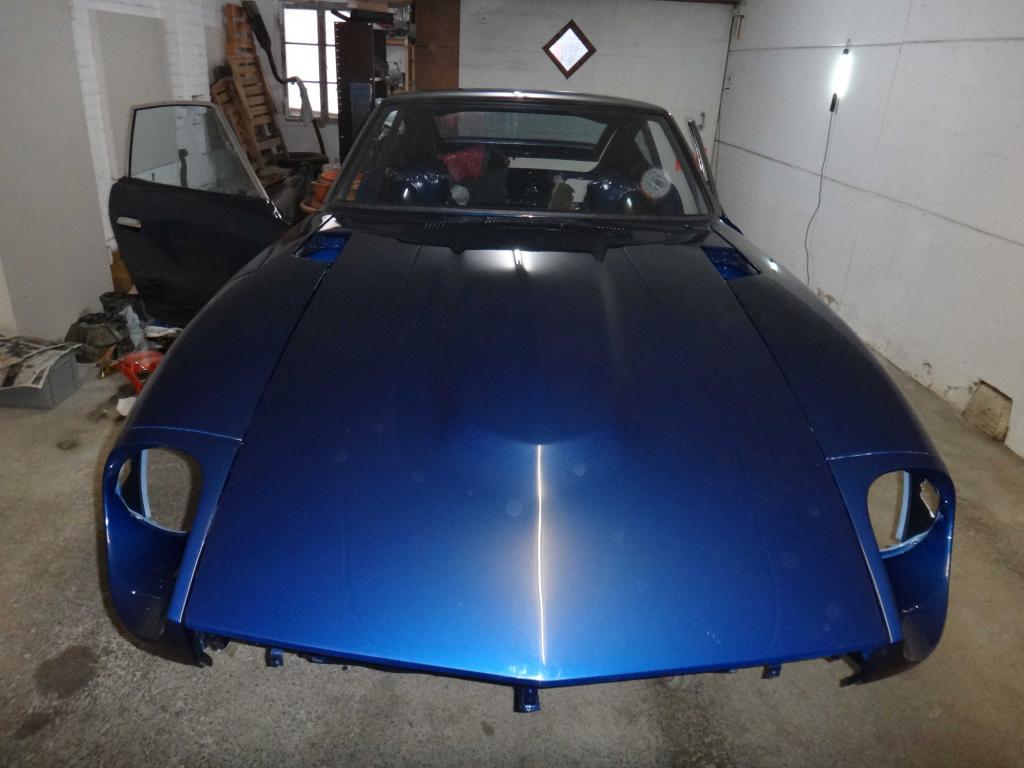
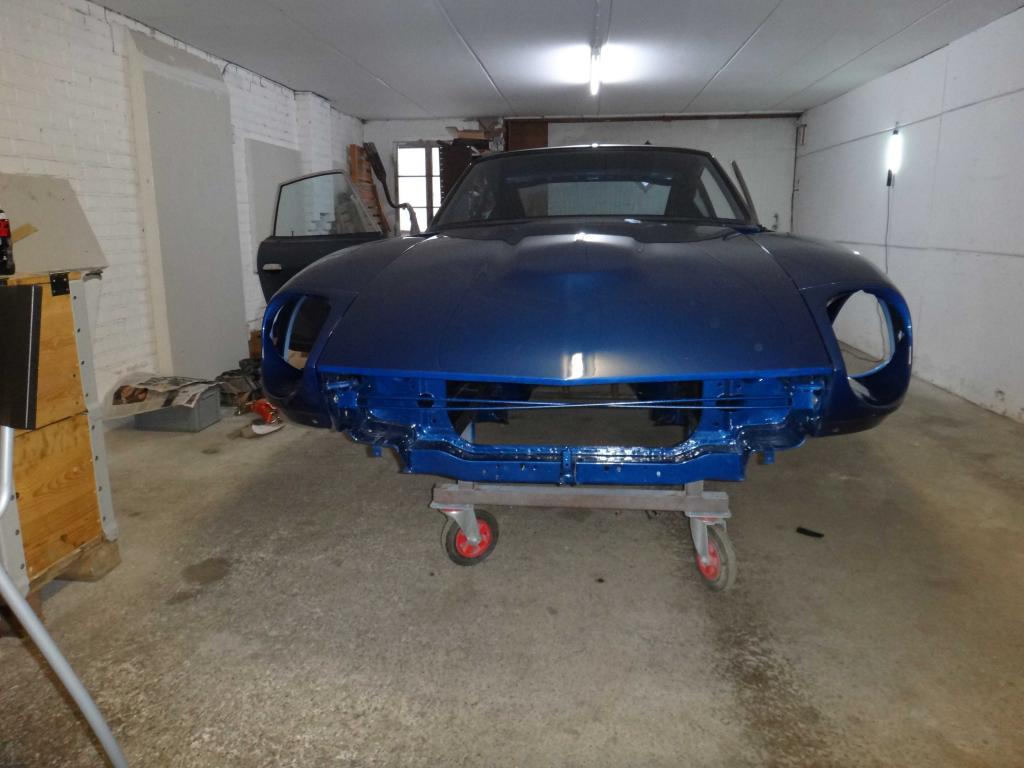
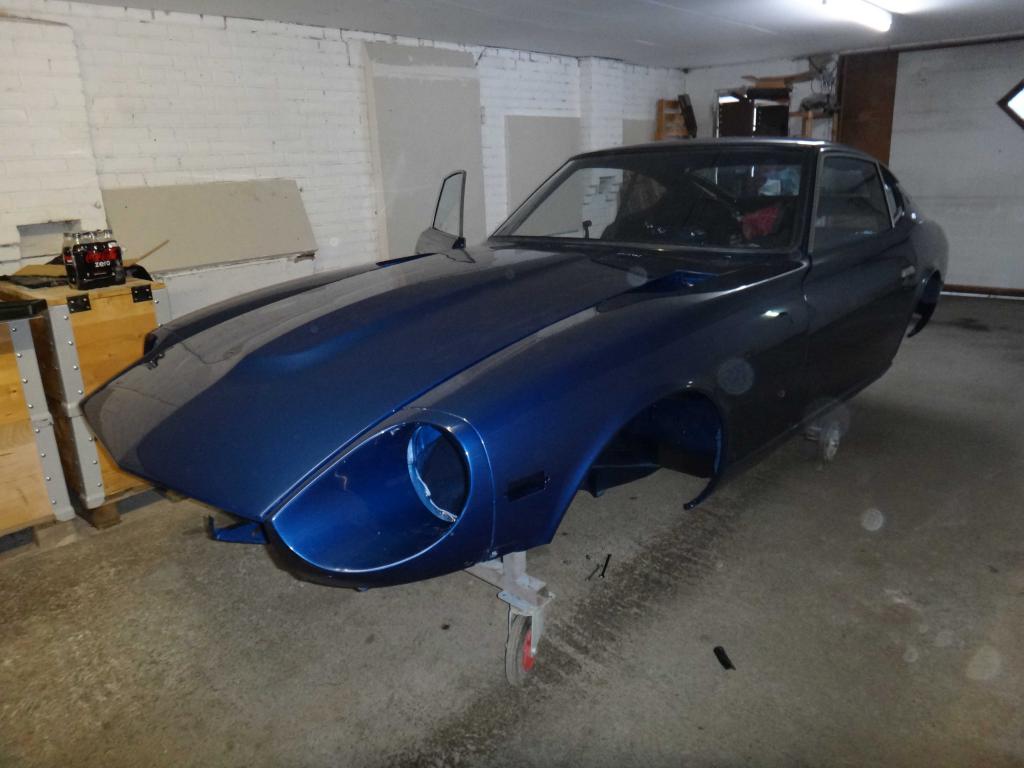
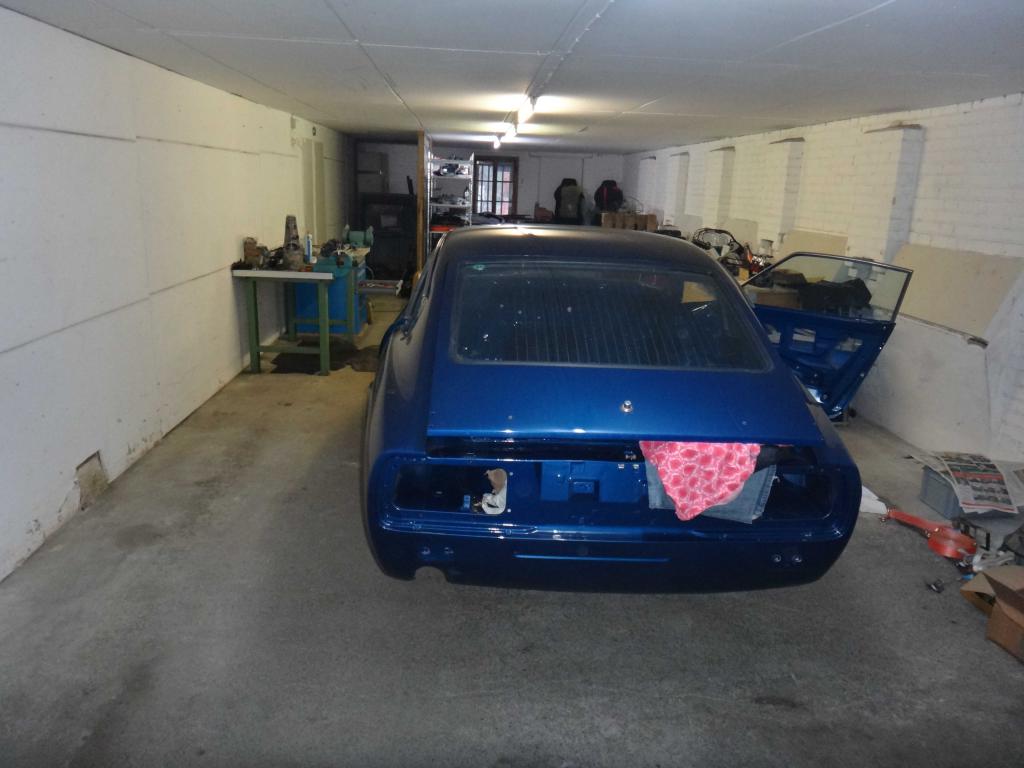
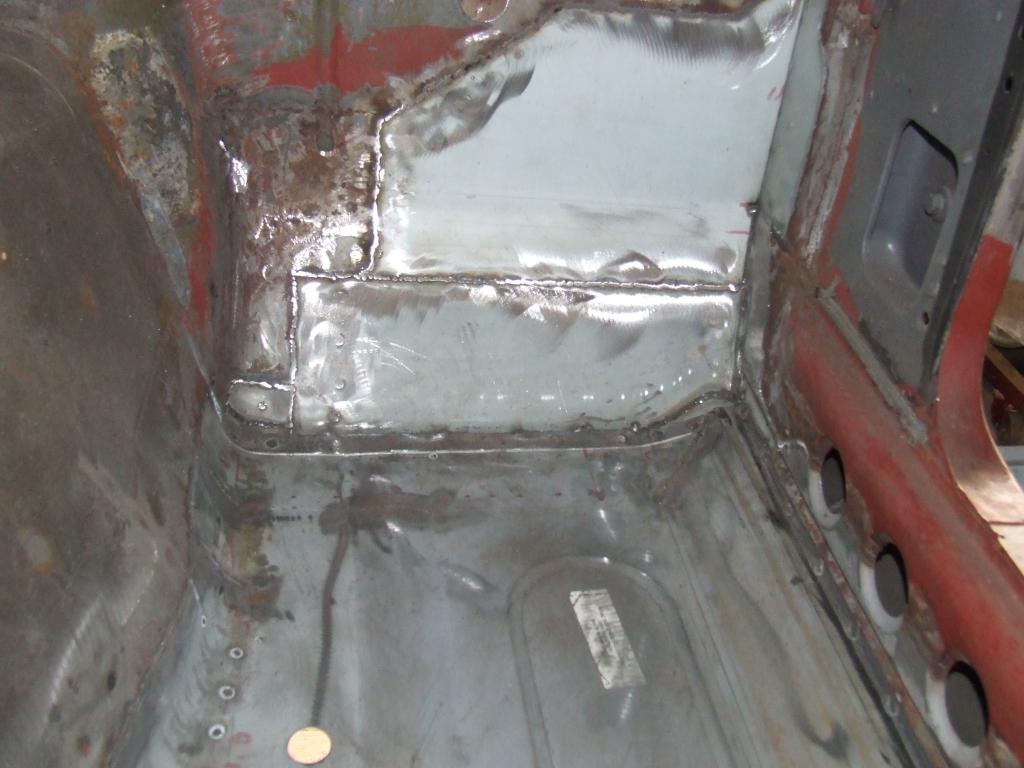
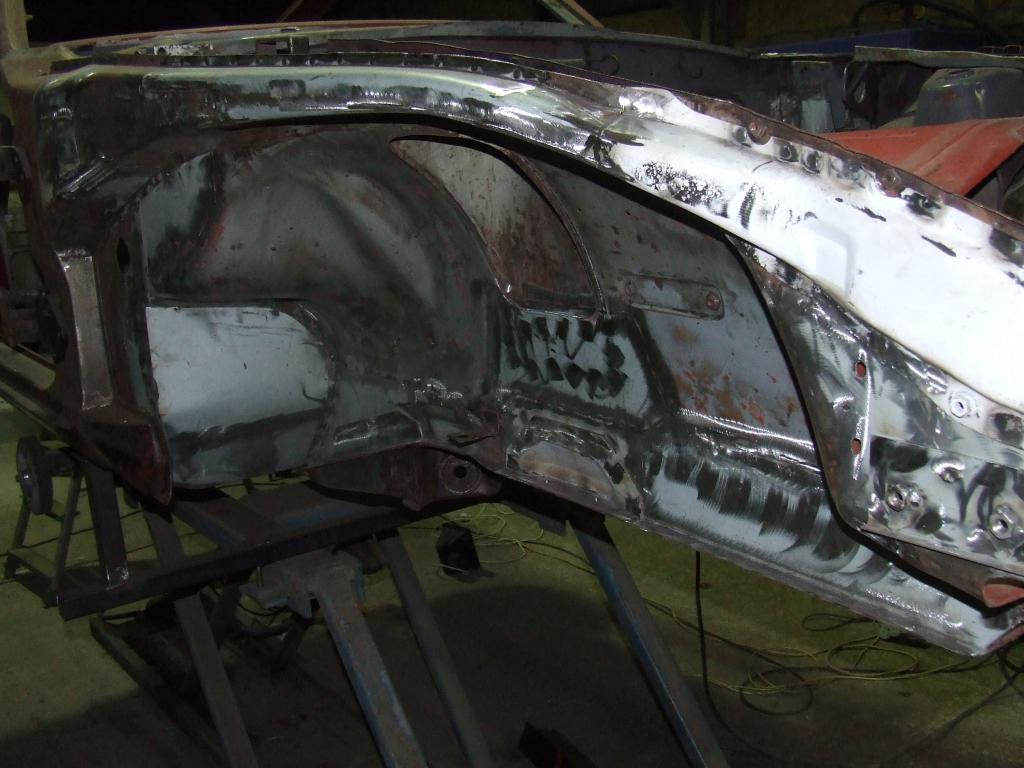
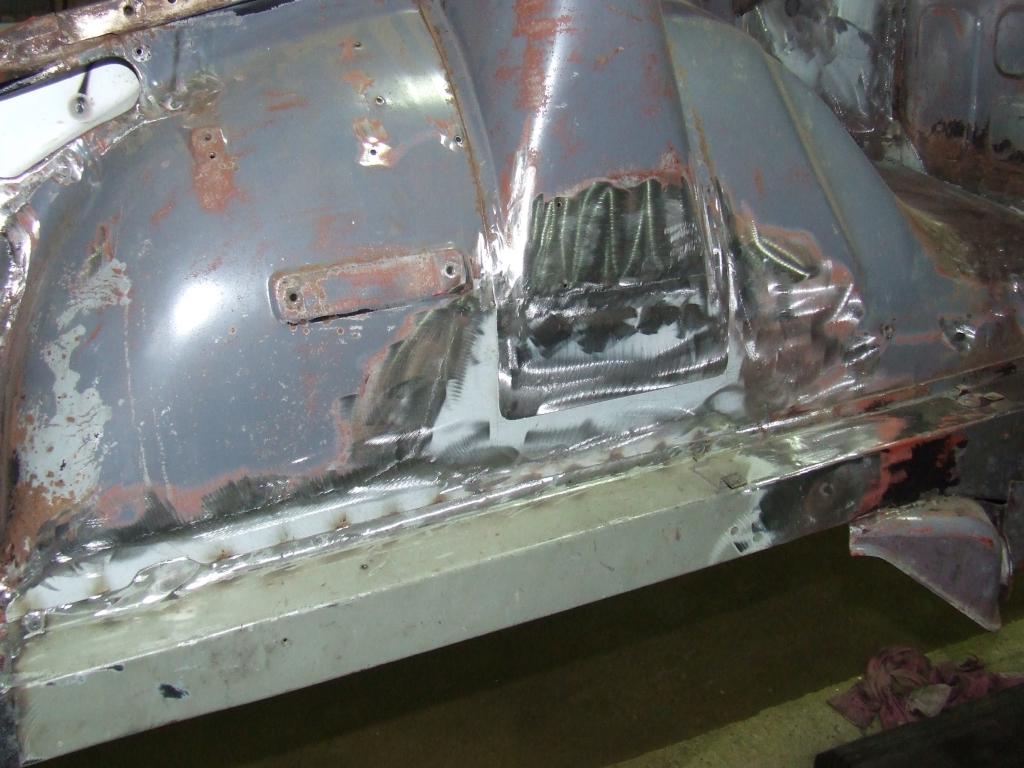
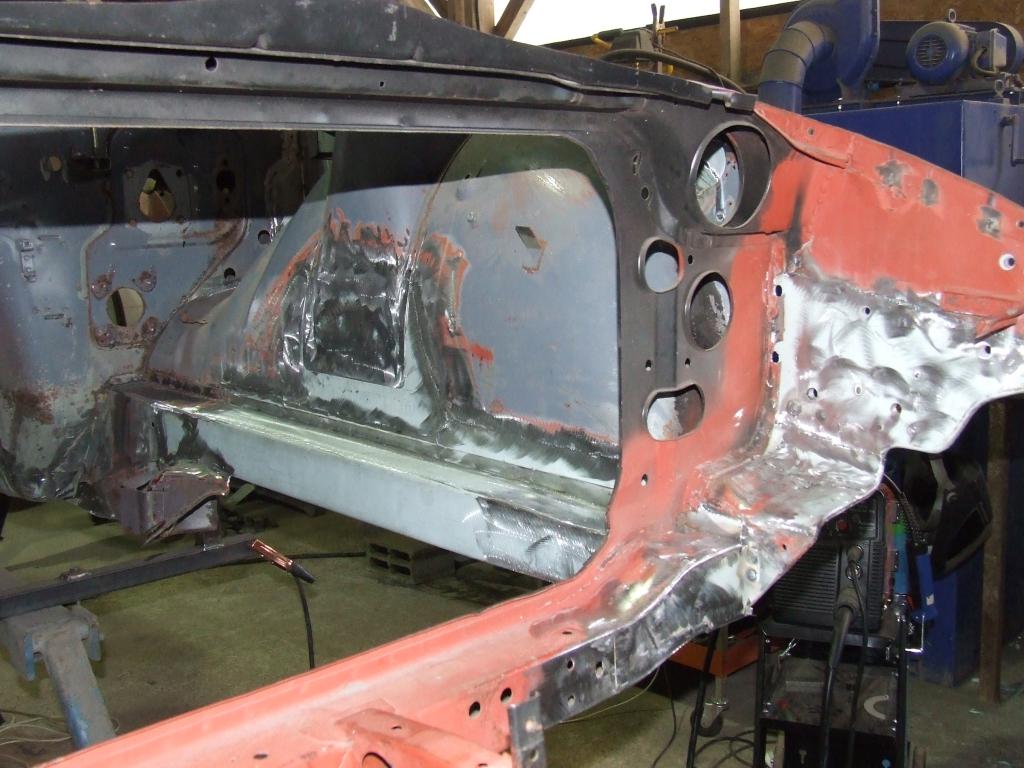
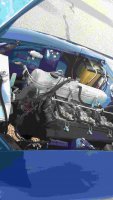
Yes, I was waiting for 8 month or so for the body to be ready. All the restored parts are waiting... I even found the Synchron rings for the FS5C71A in Australia. All Drivetrain parts powdercoated and waiting to putt on. The paint is a No 1 Job I have to say. Zero Orange peel. Some pics before I went to Canada for the Holidays. 1-5 is at the pickup and 6-11 is my place all painted. Inside and underneat as well in body color. Happy me as soon I come back i have to find a way to heat my place to start the assembly.
-
Finally the Body is done... It tooks a lot of time (over a year) and it was frustrating, because I could not go and check it. 600Miles is just to far to go and look quickly. But finally I was able to pick it up and the work he has done is quite good.
-
gackson if you change the box, tell me depending on the ratio (first 2.9..? or longer), I would be interested in the 71B
-
AS mentionned in the Title I'm looking for an ash tray lid series one (on top of the fuse box in the center console) Thanks Marcel
-
+1
-
OK I would be in as well
-
This group buy was years ago but a lot of informations in it
-
No spark from coil to distributor
munters replied to Qcsfinest280z's topic in S30 Series - 240z, 260z, 280z
To get 225-250whp I would read and it will not be cheap. A header or exhaust will not bring you close to it. -
This is exactly the Problem. What I read till now is the metal is extreemly thin and the fit is not the best ether.
-
MSA is selling them as well now... ArticleNo 32-1099 and 32-2099
-
Vou could use mine i did pixel by pixel (TTF font) I did not make 3 5 and 9 (I did not need them) But OIL, AMP, TEMP, VOLT, FUEL(E F) is all There The font is here post 46 http://forums.hybridz.org/topic/102748-build-after-24-years/page-3
-
Its a Multimaker I Attached the Fuel and Volt template as a positive and negative (first the white bar and then the small black line in the white ). I din't have the time till now to print them. check them before you print. stl_files.zip
-
This Is the first draft (exportet in jpg) to use with my 3D Printer to print a template. I have also DWG, 3DS, and STL files if someone wants them. To print there are 2 templates. a negative and a positive to spray the colors one after the other.
-
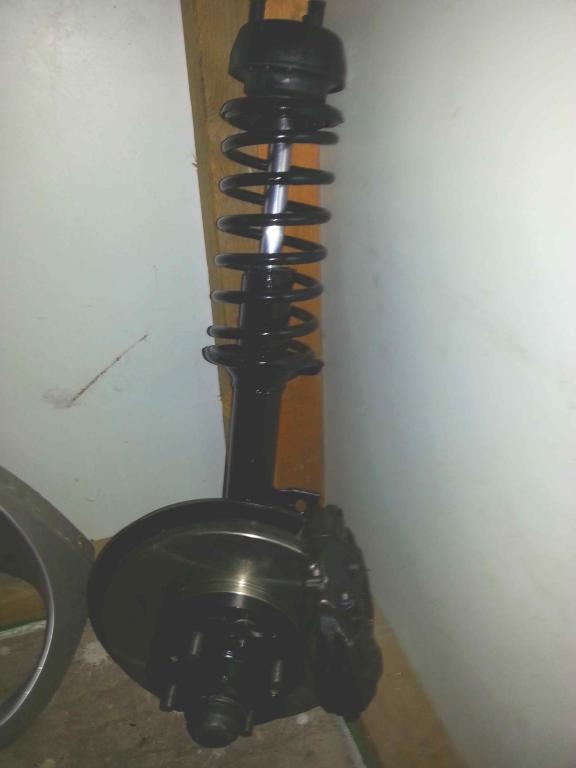
My idea is to have no soldering visible no body filler where possible. Yes I want him to pull that Rad support out and fix the wrinkled metall. I want to have it done right this time. The fronts are Toyota 4 Runner (Piston 43mm, 43mm) with 271mm Rotor vented not slotted. The problem with the back brakes is the template they use to drill the studholes is not well centered. therefore the rotor center is asynchrone to the hub center (would work but not in balance). Now I have to drill the studholes bigger and construct a ring to adjust the two centers (Rotor Center is bigger then the Hubcenter). And TonyD Yes I love The M series engines and intake plenums (I used to be a BMW mechanic in the 80's)
-
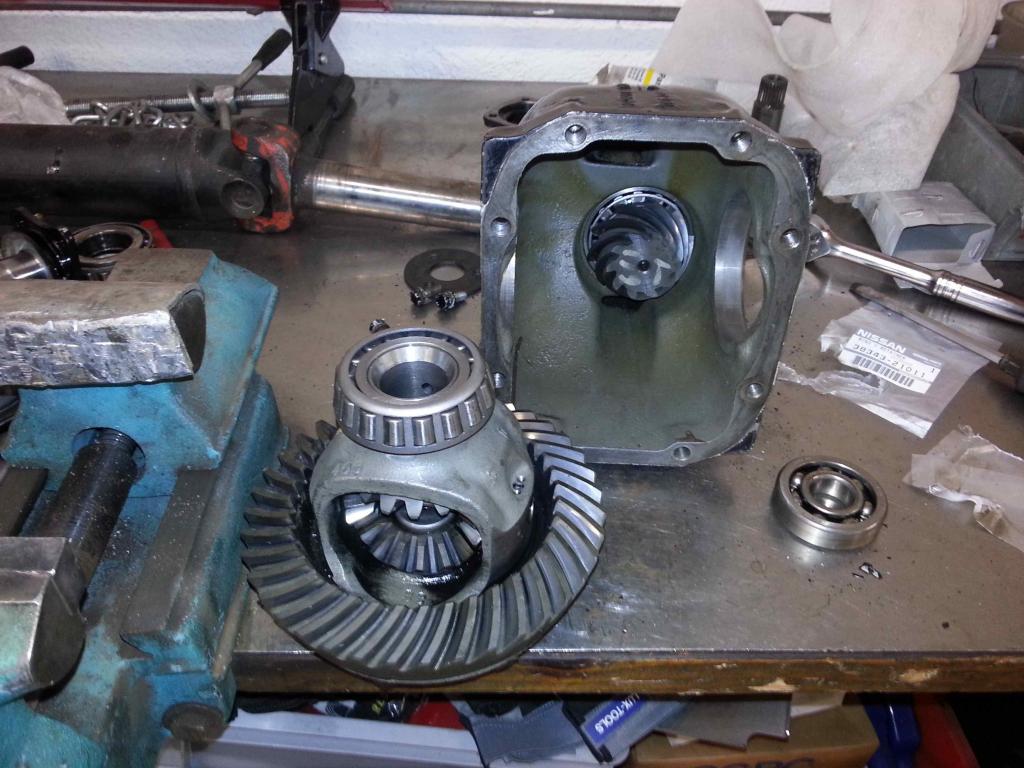
Some more pics Half shafts powdercoated and reassembled. Strut derusted powdercoated assembled and Big Brake Kit installed Reassembling the Differential The last thing on the suspension is the back. Disc conversion kit I bought did not meet my quality standard. Therefore I have to customize it before I can reassemble the rear struts.
-
Nobody understands such work and it doesn't make any sense. It's even worse. The guy in the bodyshop now told me the car had an accident. Was repaired by exchanging the radiator support welded over the wrinkeld inner fender and needs to go on a jig. (he has like 30 or so z in his garage quite some parts to use) but thanks for your infos. Indeed it is a full resto. but I putt the car in the garage in 1988 with this in my mind. It took just a bit longer to start it then I thought and yes the engine is a good result. Exactly the way i wanted it with even a bit more hp then I thought. About the noise I will first try to pass with a not so restricting system but nead to figure out a bit more about the test. With the idea from tony with the endpipe direction (You explained that in another tread). second partial changable and last full change. The Intake should be ok with the lamborghini filterbox im going to use for the test.