bestlowrida
-
Posts
107 -
Joined
-
Last visited
Content Type
Profiles
Forums
Blogs
Events
Gallery
Downloads
Store
Everything posted by bestlowrida
-
 Did a quick led headlight review Also installed the intercooler!
 -
Here is the link to exactly what I bought. Just the middle lights turn on with low beam, pattern unknown yet its been raining everyday since. http://www.ebay.com/itm/2X-7Inch-Round-150W-Total-CREE-LED-Headlights-Hi-Lo-97-16-JEEP-JK-TJ-LJ-Wrangler-/131788126071?hash=item1eaf2f3777:g:hCcAAOSw0UdXuqR9&vxp=mtr I had purchased a half radiator and installed it using stock body bolt holes! This car is so mod friendly! Its a 2 core honda radiator with a shroud and fan. Evo and honda guys swear by them. I sourced info from here and pulled the trigger to try it out for the rb20det weekend warrior/garage queen. http://www.evolutionm.net/forums/evo-engine-turbo-drivetrain/607105-installed-ebay-civic-half-size-radiator.html I will document temps and conditions as well. I just couldn't spend 350+ for custom rad + shroud +fan yet. 85 bucks later its installed.
-
Installed these LED headlights! I tested them before I installed them. They are bright! I don't recommend the ones with the box on the harness because it didn't it into my headlight housings.
-
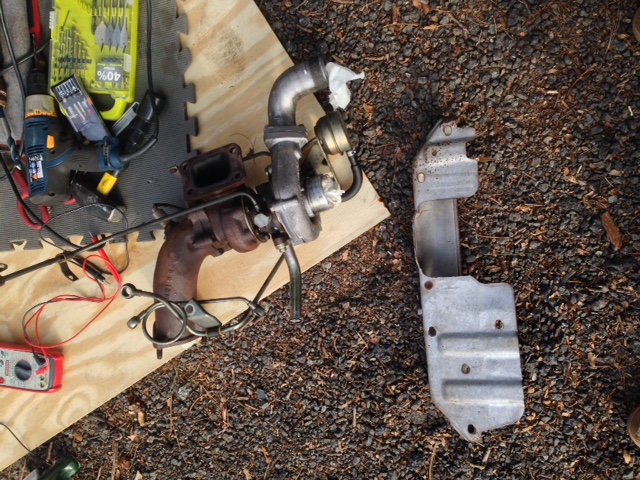
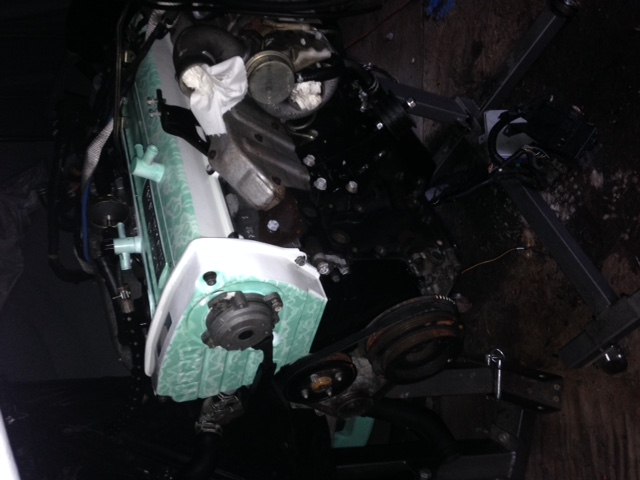
Hey guys hope you are enjoying the videos, I installed the turbo back on the motor with new studs and cometic gasket!
-
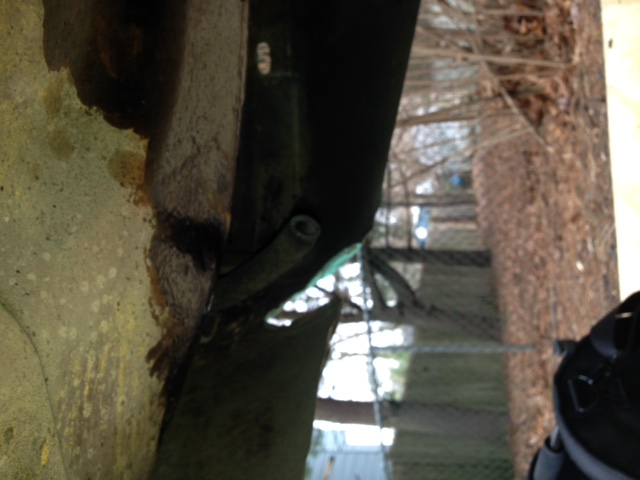
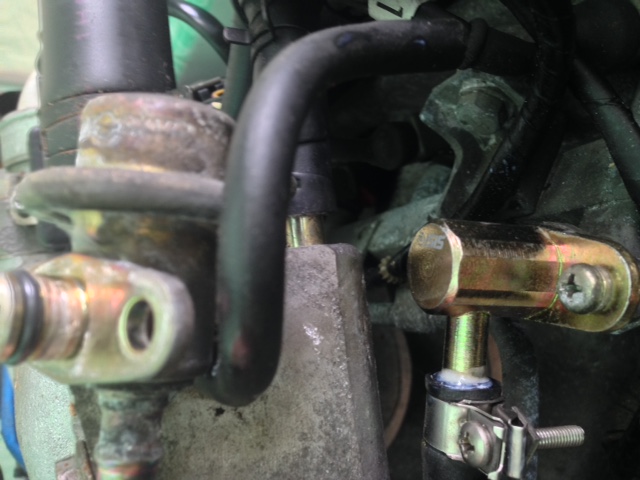
I used those an tube adapter fittings on the hard lines for the feed and return. There is a video on how I did it. I was trying to tie up some loose ends on the fuel system but found a cracked up vapor tank lol. Here's another video.
-
I installed the shift knob, now to complete the rest of my interior lol its such a mess.

-
I installed the gas tank. I was able to reuse the 240z straps and filler neck. I bought new hoses and j bolts from lowes.
-
Back at it! Got the walbro 255lph mounted up. All I did was mount the pump to some sheet metal I had laying around then mounted the it to some threaded holes(maybe for a optional stock efi pump?) and secured it down with some bolts a had laying around. Datsun/nissan really made this conversion pretty simple.The wiring for (green pos? and blk for ground) it is right there too! Here are some pics and a video. It took like 3 hours.
-
Thanks bro I was able to slid the speed gear in the rb20det trans with a little grinding to put the lock bolts thing on! I cant wait to drive this car! I know the rb25det has electronic speed sensor and the rb20det has the mechanical one. I swapped it on the stock one with a littkle fab just like you said. I had time to play around with the 280z tank some more
-
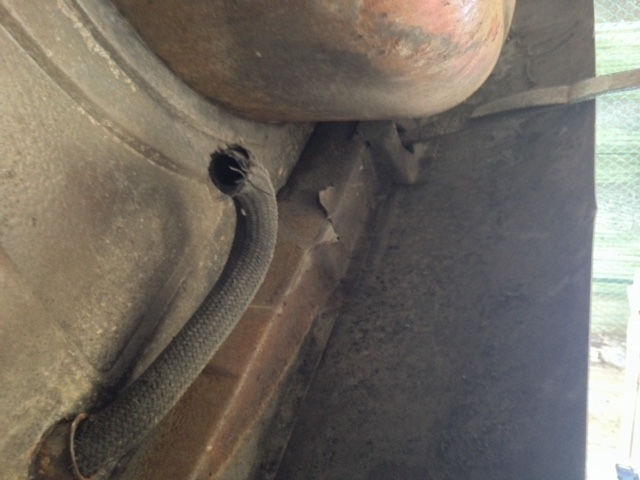
Got around to removing the 240z gas tank. I first had to drain it out I had like 10 gallons in there haha. The drain plug came right out. I then proceeded to remove the hoses off the tank. The only ends that didnt need to be cut/broken off were the feed and return lines they puhed off really easy. The top most line was already broken off!!!! No wonder I smelled gas driving around lol. The other vapor lines had to be cut off. The two strap bolts came off. I loosened the filler neck with a fat Phillips bit i had to avoid it from rounded off. Then a drop the tank out. It took about 3 hours taking my time and draining/storing the gas. Here are some pics and a video. I need to clean and paint the new gas tank exterior and under body area were it goes.
-
So today I was able to install the stock 240z speedo gear sensor thing in the rb20det transmission. I then filled up my transmission with some amsoil 75w90 synthetic gear oil. After that I went ahead to install the shifter. I didn't really take pics but I took a video and posted it on youtube here is the link Next is to remove the stock 240z gas tank woohoo bunches of fun!
-
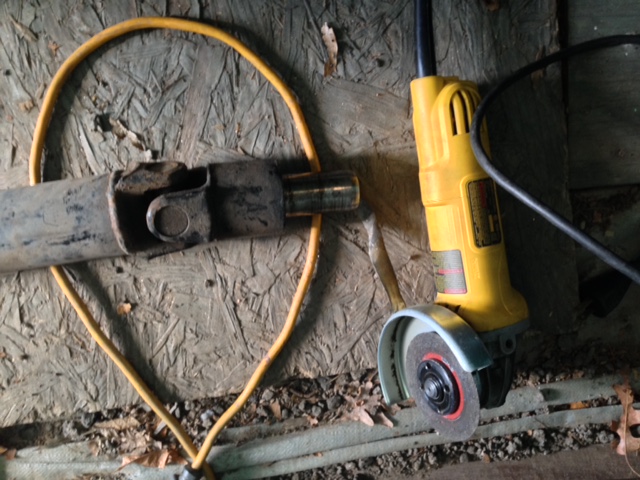
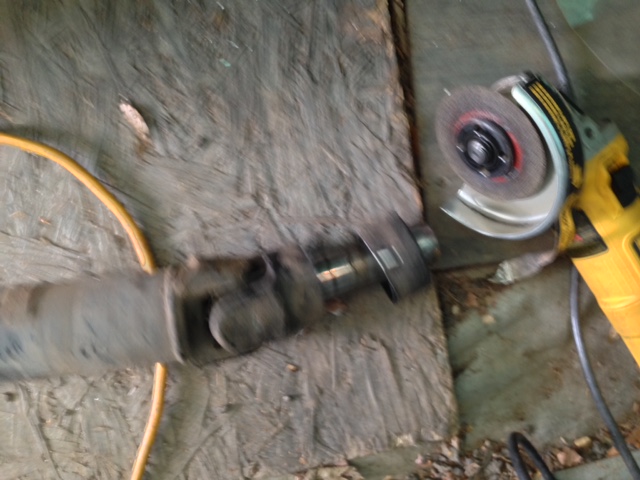
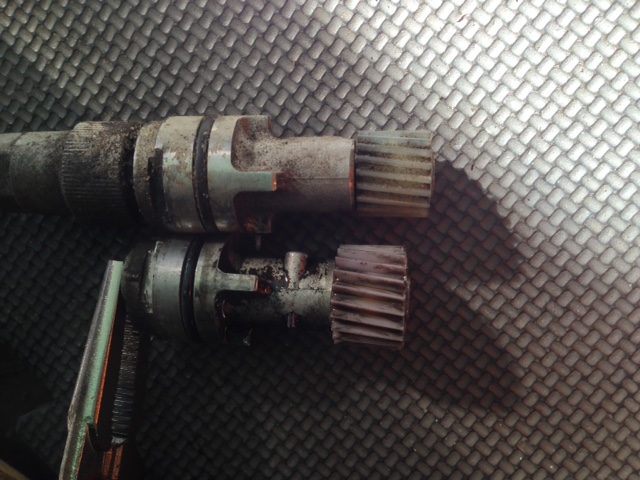
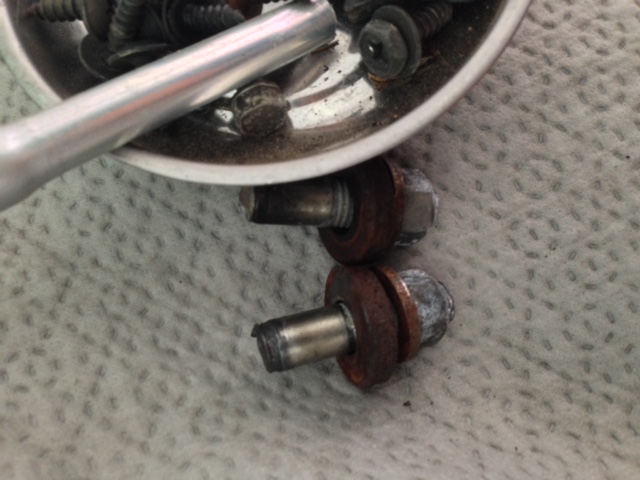
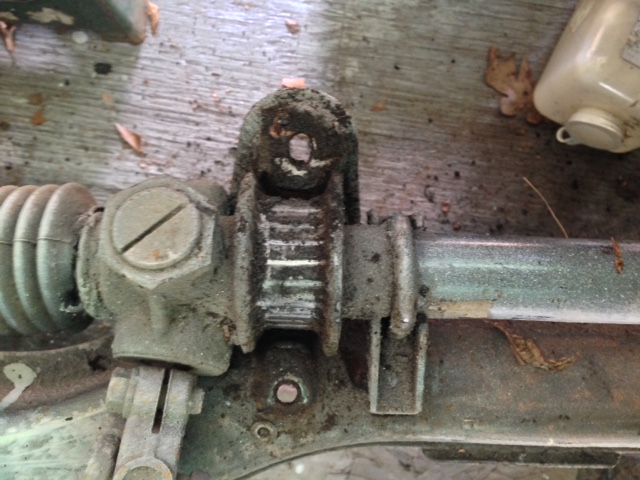
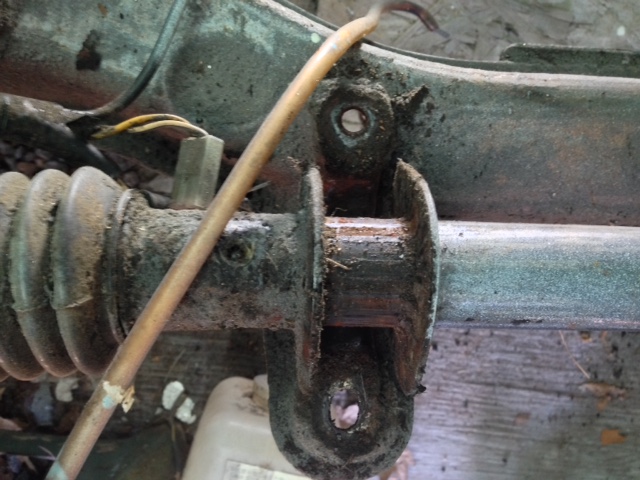
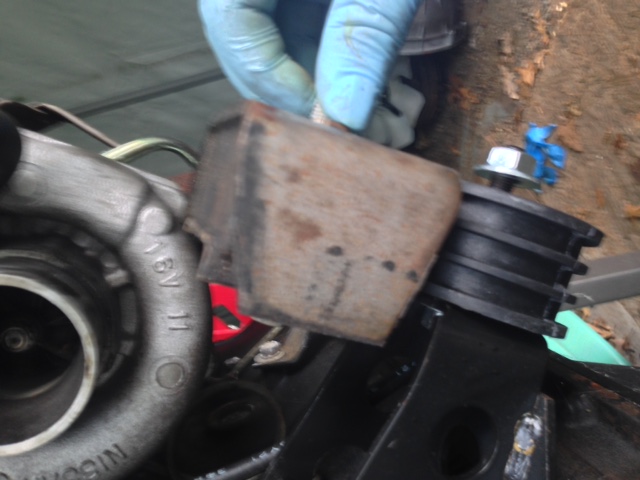
So I got to the drive shaft and I just cut the shield off lol. That was that. I wanted to use the stock 240z slave cylinder but I couldn't find the rod and rubber seal so I just used the one that came with the motor. Then comes the speedo gear sender things, I guess people are just shoving the stock 240z ones in the rb20det transmission. I guess Ill do that tomorrow. Here are some pics. The one with the vice grip on it is the rb20det one lol it was broke so I pulled it out of the transmission case. You can see the size difference.
-
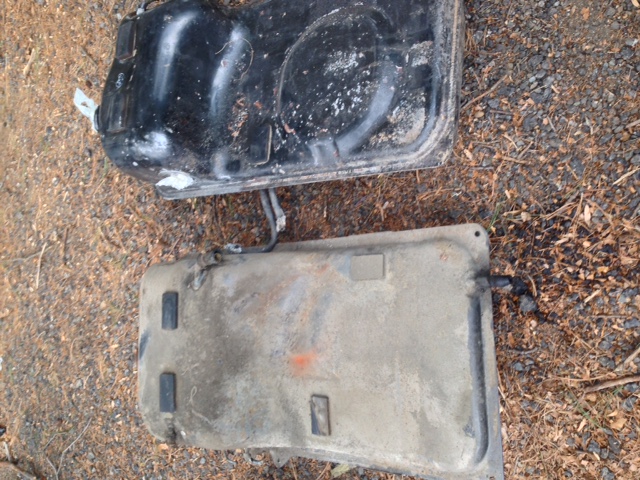
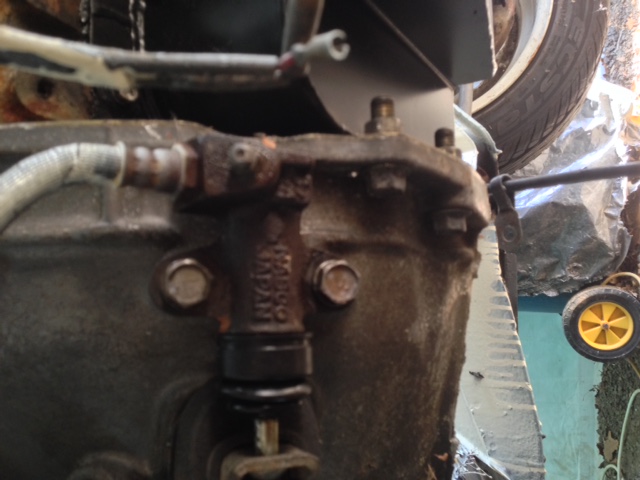
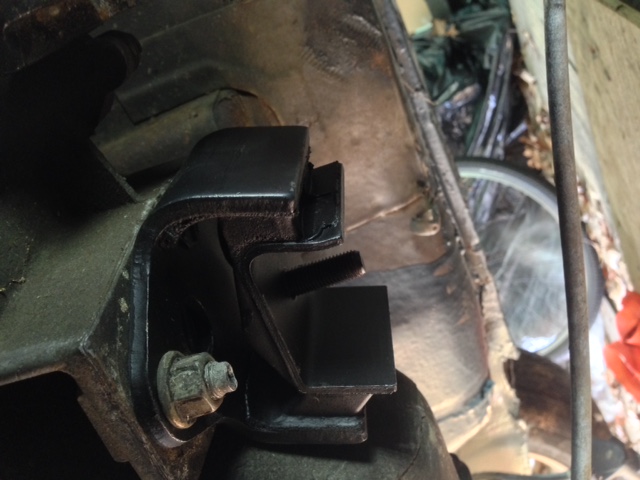
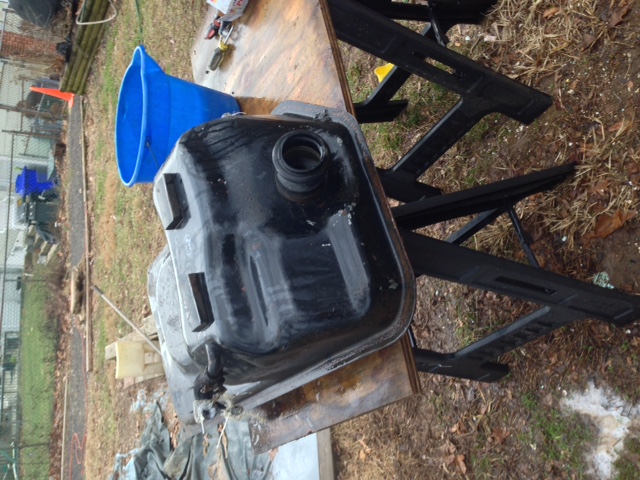
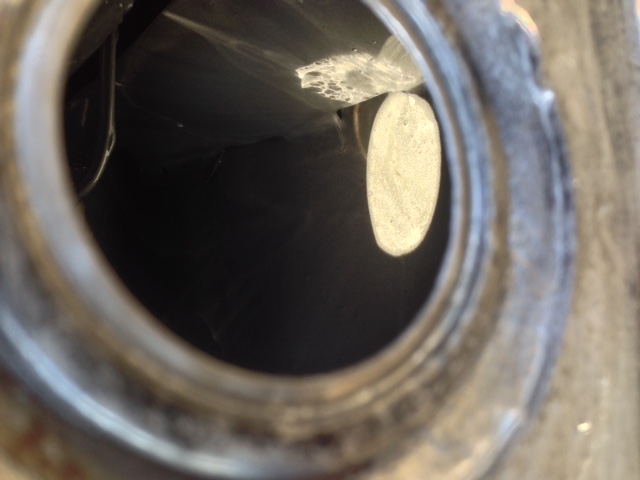
So I got the 280z trans mount in from ebay and it worked out like a charm. It is attached by the 2 bolts on the transmission. Now to attach the stock 280z crossmember. It pretty much fell right into place. Its held in place by the 3 bolts on its stock position. Yes so glad that worked out. Next task is I needed help, what are yall doing for the driveshaft? Mines cant fit because of the little lip back on the diff side, I might need to trim it a bit? Well anyways I will come back to that later. I had time to refurbish the 280z gas tank and replace my 240z tank with it. Here it is. I used this guys thread and basically did the same thing on post #11 http://forums.hybridz.org/topic/93859-1971-240z-rb25det-build-thread/ I used the por-15 sealer kit. Here is how it came out. The first rinsing I did the water came out black, the second came out clea, and I did one more to just get the solution out. My arms were dead lol. The on to the ecthing primer which you pretty much do the same thing. Then you pour in the actual sealer, drain the excess out and it dries in 96 hours. Here is my video link https://www.youtube.com/watch?v=NvWM8qi6zok. Thats pretty much it guys more coming soon!
-
I started up a youtube channel:Mintyzee Feel free to check it out yall. It will get updated content of this build and my wifes 240sx as well.
-
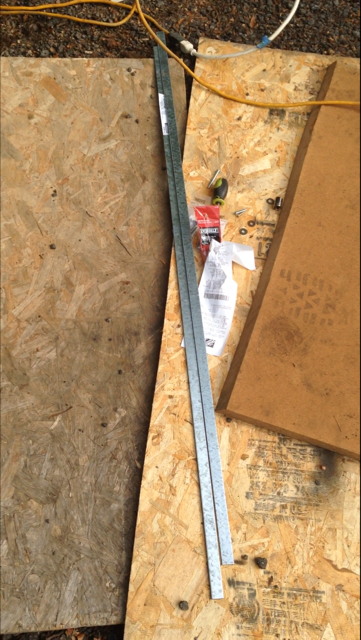
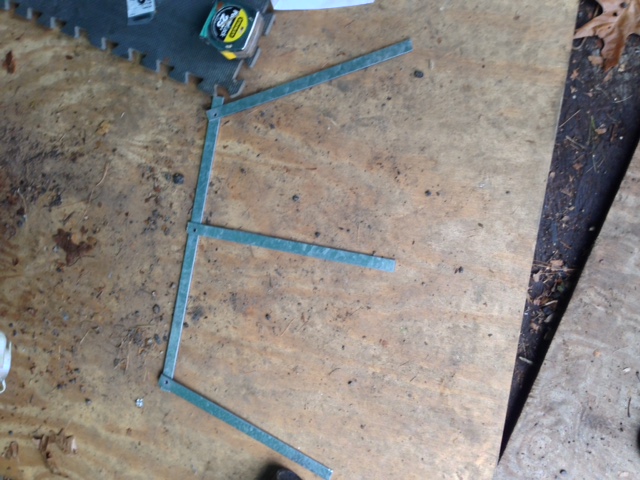
I had sometime today to make a brace for the air dam. I got the idea from this link here props to this guy http://forums.hybridz.org/topic/65179-reinforcing-the-xenon-air-dam-pictures/. Went to home depot and bought two 4 ft flat steel bars . I did the measurements and cut accordingly. I used the 3 bolt holes that were under the radiator support there and drilled the hole which took hours to get right haha. The i just bent the ends into the shape as the air dam as best as possible. Then finally got it up and mounted here are the finished pics. Sorry about the pics but if you look at the link I posted it pretty much came out the same way.
-
Well I plan on using this 280z driveshaft I have but we will see once I get the trans rubber mount since I threw away by accident lol.
-
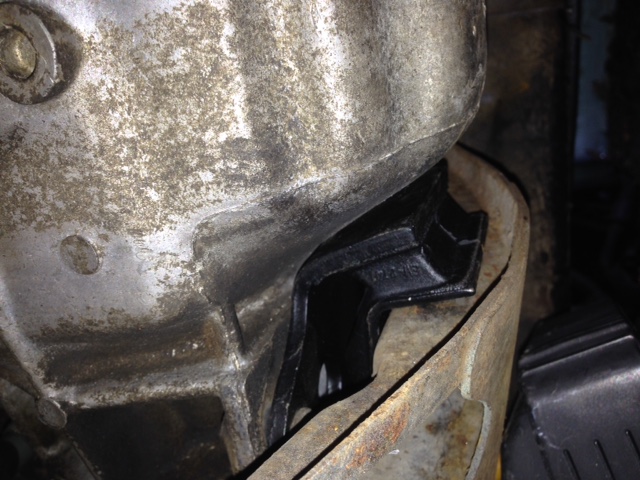
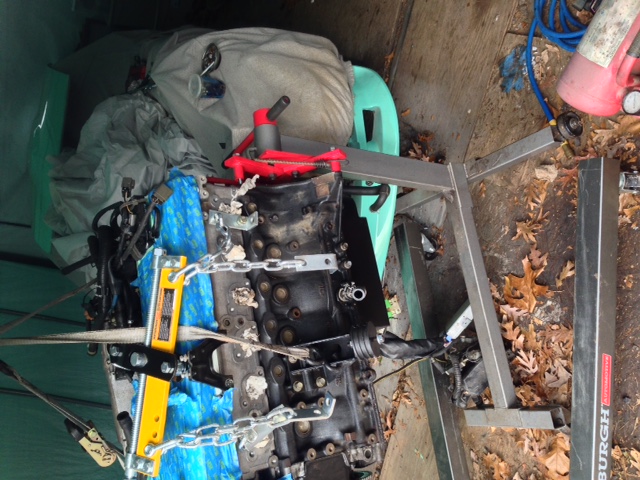
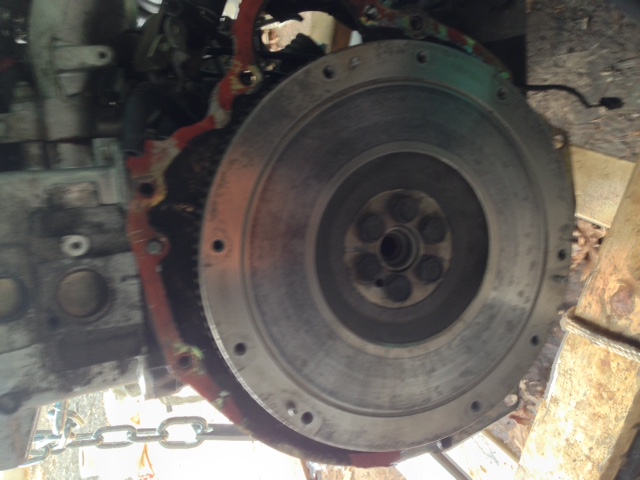
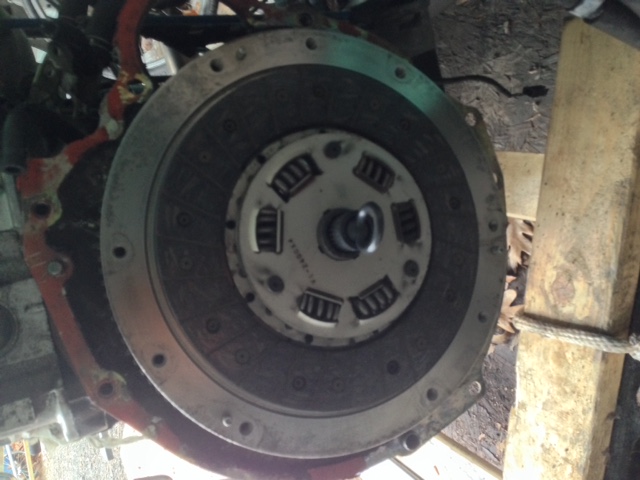
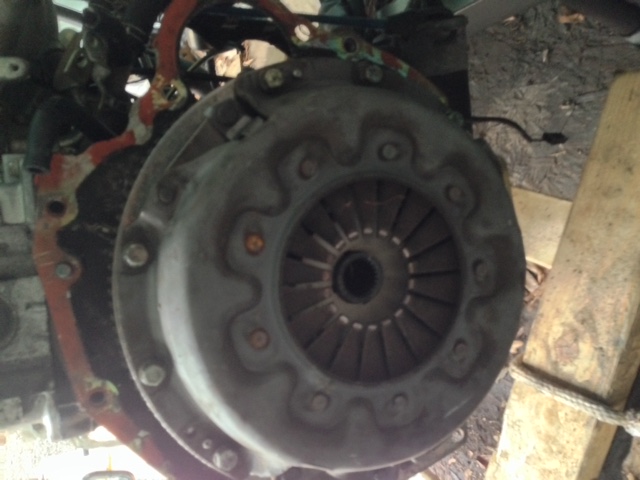
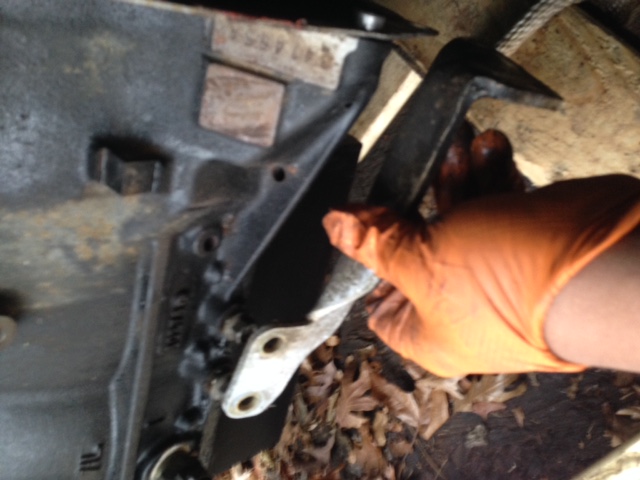
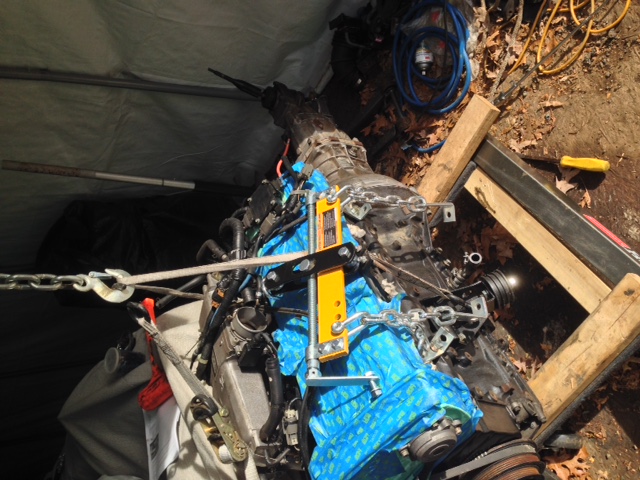
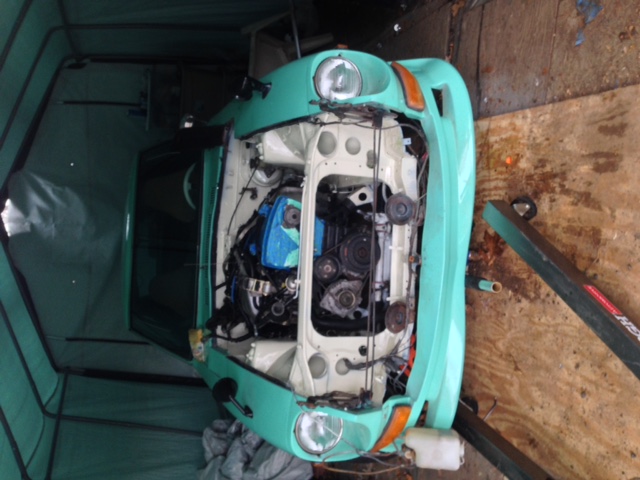
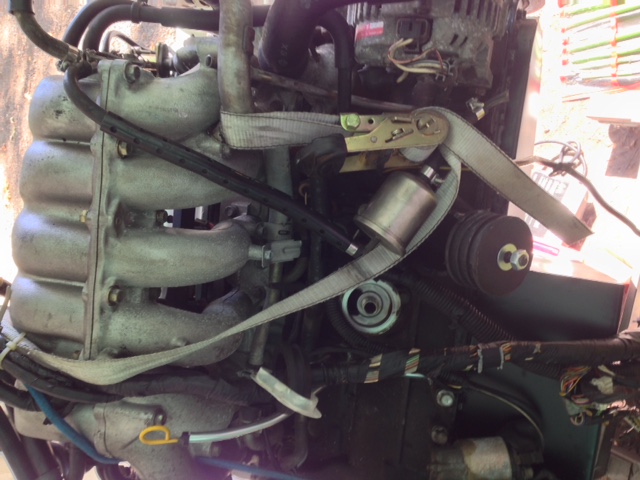
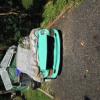
So I finally got around to working on candy. Time to start to putting the engine together and drop it in. First to get it off the stand. This sucks because the ground is uneven and there is grass and dirt so its just sitting on whatever plywood we have laying around the yard. Hooked up to the hoist. So there was really no safe place to hook up the engine leveler to so I just used tow straps I had laying around. Cleaned up and replaced the stock flywheel it still has left in it so why not. Bought a clutch alignment tool front autozone. It's for a ka24de it fit perfectly. Installed the clutch that came with it. Installed the stock pressure plate. So it was time to re install the transmission. This was a pain in the butt. I had to use a jack to hold the tail end up. I wrestled with the bell housing till it fit close enough to use the long screws to get it to move flush with the engine. I tighten the screws in a cross pattern little by little then it eventually was all buttoned up. Then installed the starter which was easy. Everything went smooth except these brackets don't fit because the rear sump pan was in the way. I guess no one uses these with this swap? Oh well I'm sure it will be ok. So here she is all ready to go, the last thing was to remove the shifter. Sorry if the pics keep rotating sideways, on my computer they are normal then when uploaded they go randomly rotating. So the next day, my wife and I started the install. I jacked the motor sky high in the air to clear the radiator support, that part was easy. The pain part was tilting the motor and lowering it little by little. My dad came to help in the nick of time as a helping hand. So all in all it took us 40 mins to get it mounted up in the z. That is how she sits today and as soon the mounts went in the holes we all were pooped and just called it a day. Next is to start putting together all the components to get her running. This was a huge step though so thanks for stopping by and more to come!
-
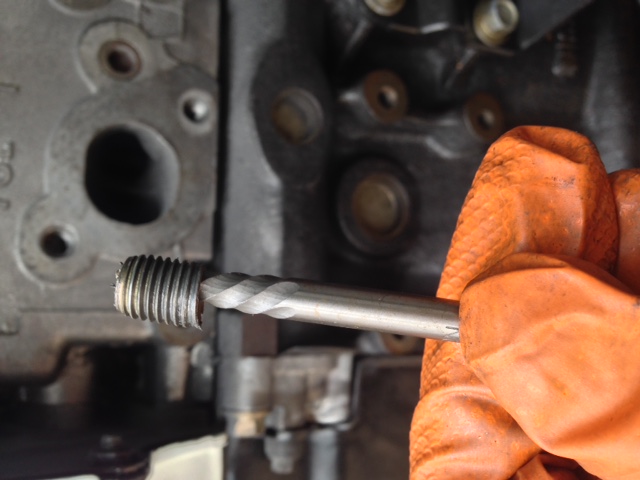
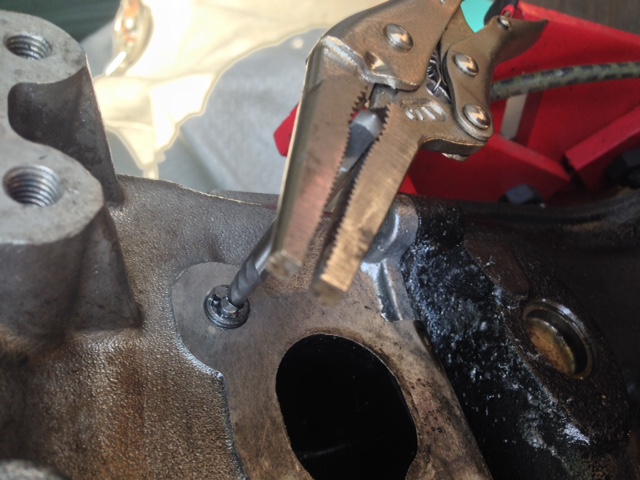
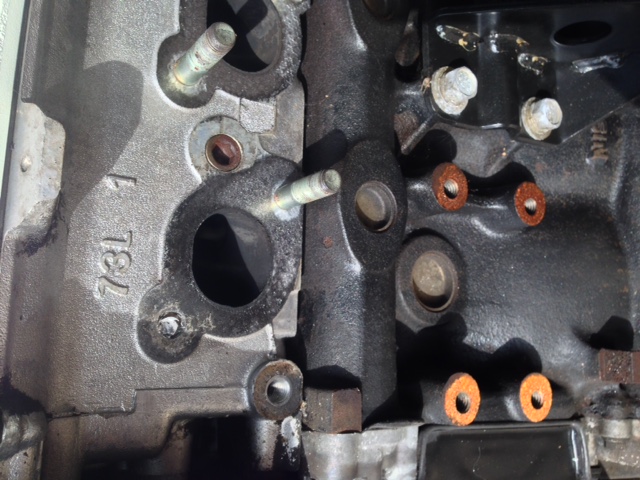
So my prayers have been answered and I was able to get the last broken stud out! After about 3 broken black and decker extractors and 4 broken dewalt titanium drill bits along with 20 plus hours of using 3 drills and 2 drill bits the harbor freight bits and extractors came out on top lol. So now I can put the motor and trans in the car and deal with those issues while I wait for the 12 new studs and turbo gaskets in the mail. This was one of the biggest set backs I had with this car yet (aside from the l24 trans came with no fluid and blowing up hence the swap). More to come soon yall!
-
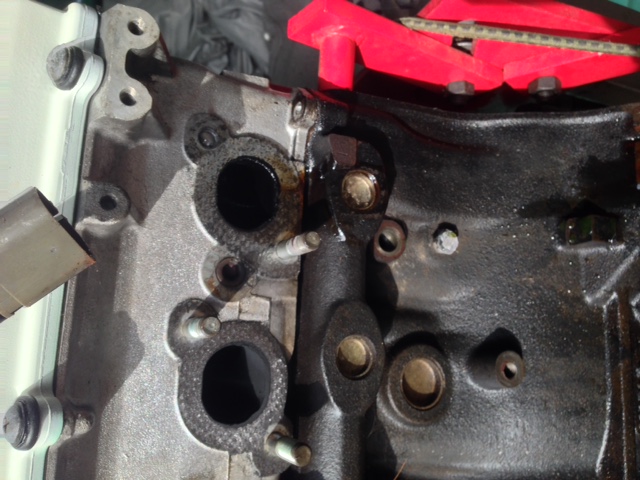
So I finally get around to putting the motor in candy but of course I go to unscrew the exhaust manifold to install the engine leveler, the bolt was broken flush with the head. I got to unscrew the front bolt and it broke flush too. So time to take the turbo and manifold off to extract the broken studs! I got to drill the front one and extract it, things went smooth. Of course the last one was like undrillable. I spent close to 20 hours and 20 drill bits. I finally picked up my dremel with a grinding stone bit and it worked out. So when I ave time I will load up on smaller dremel grinding bits and go to town on the stud and post more in a few days.
-
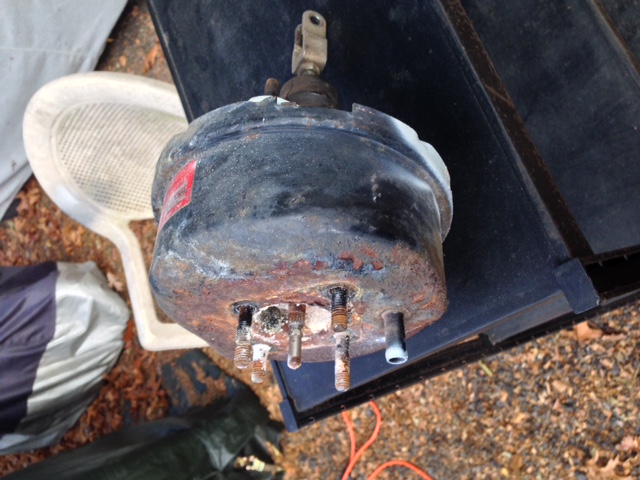
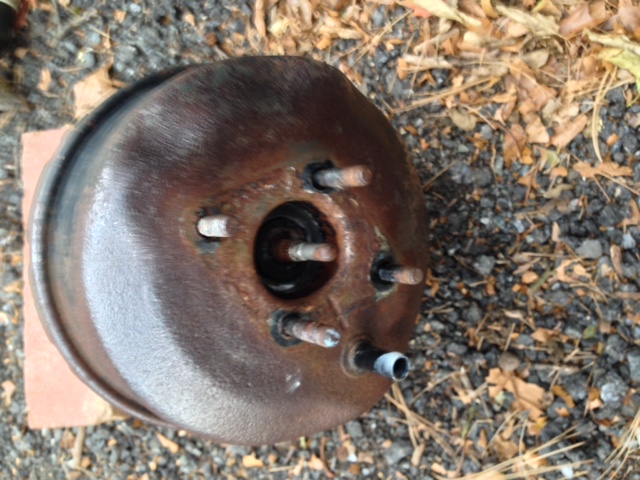
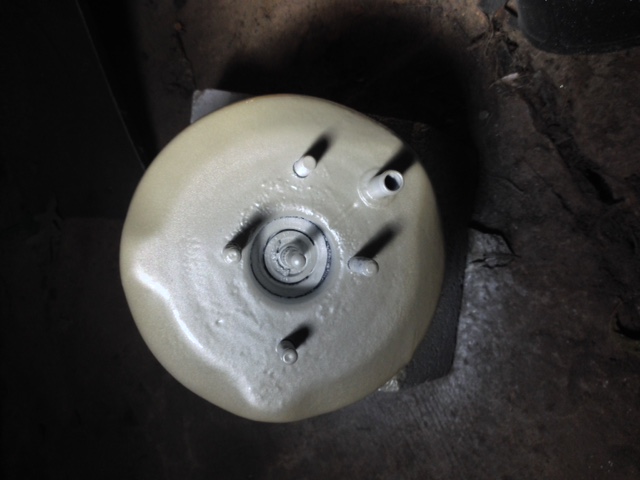
Nothing really up lately I installed the brake booster though.
-
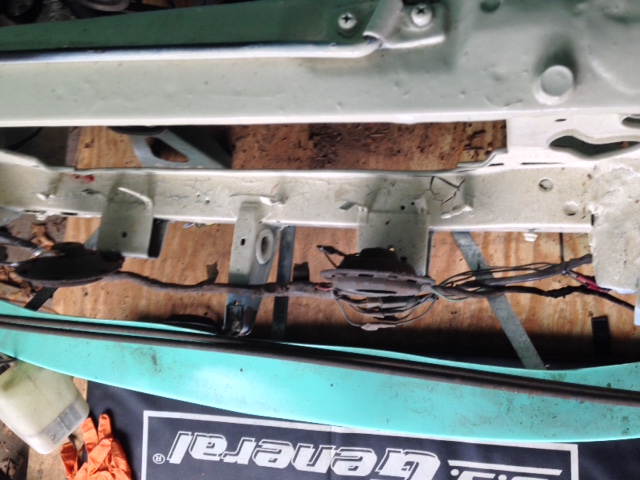
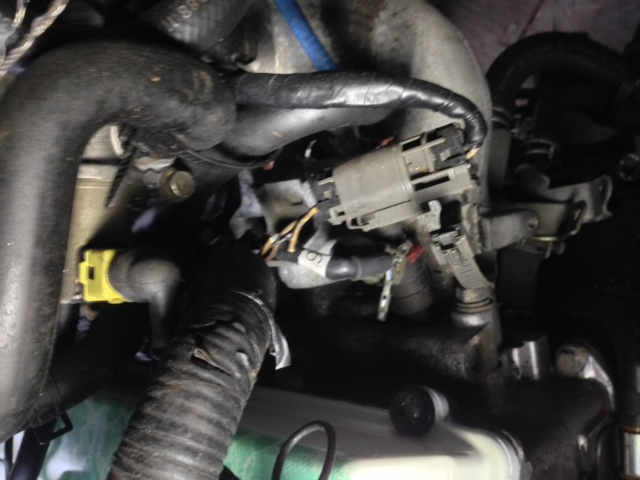
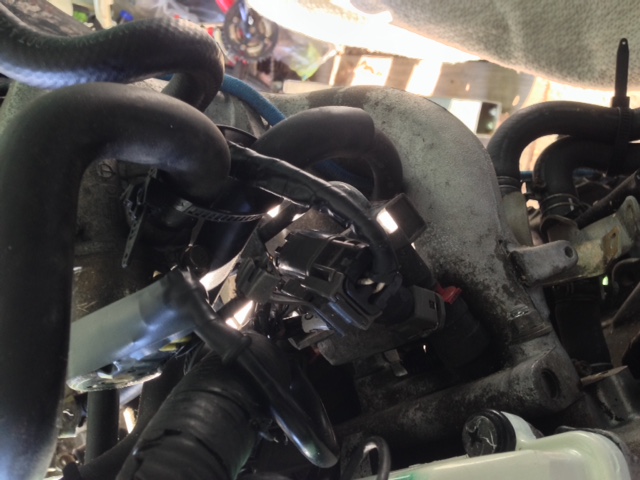
So worked finally slowed down and found some time to work in the cold on the z. I found some loose wires that probably got pulled out from handling the motor the last 6 months or so. The fuel injector wire, some nearby connector from the harness, and the iacv connector got boogered up. Hard to see in the pic. So I went ahead and pulled out my solder and electrical tape and she is as good as new! After that I pulled out my dremel and finally started to "slot" the engine mounts and this was the end results. I tested it with my mount on both sides and they appear to be able to maneuver up and down freely so that is that. I saw how ugly my brake booster is and it was time to paint it. Here are some pics. I used a wire wheel brush on the drill and it helped a little bit. I then hit it with some primer, white rustoleum, rustoleum white pearl mist that I always wanted to try and last some clear coat. Not sure how long that will last next to that hot turbo but we will see. I just wanted to do something unique for fun and affordable. I'm pretty sure the motor is ready to be dropped in the next few weeks I cannot wait.
-
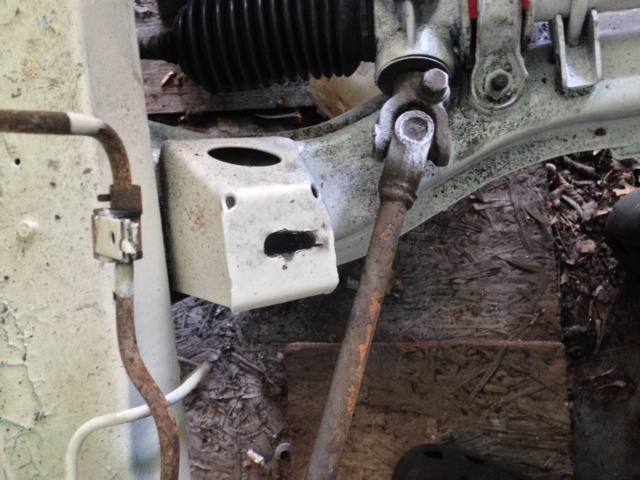
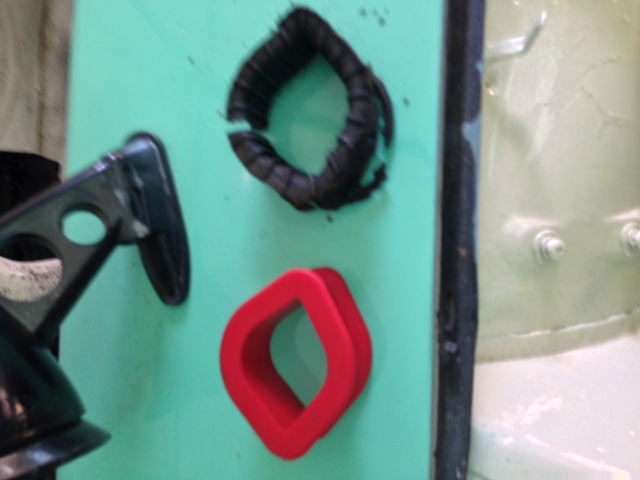
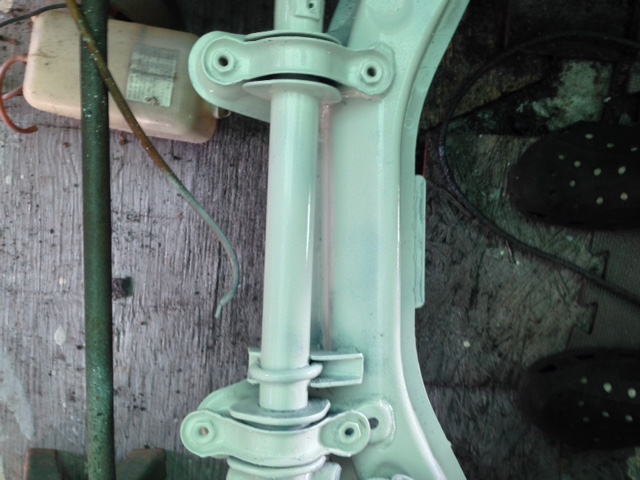
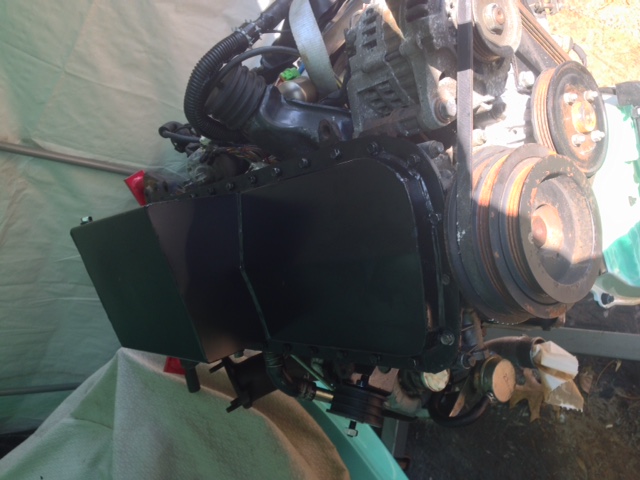
Ok so I got around to doing the front steering bushings since it will be 92 the whole month it seems like. I just rather do it now since the motor is out. I popped out the 4 12mm bolts and off comes the 2 top brackets and thy are packed up with 45 years worth of dirt!!! Driver side yuck! Also there was some weird exhaust bracket used for some kind of reinforcement. The passenger side doesn't look any better. Same exhaust mount used too. What would you expect from this old girl. So this is the driver side mount next to the new prothane p/u bushing, whats left of it haha This the passenger side, yucky old bushing RIP. I have mostly spent more time cleaning this crossmember, then paining it because it was hideous under all that grime. It took about 2 hours. I just painted it white just to give it a cleaner look. Nothing too flashy since it will not be in plain site. This was the fun part, I had some amsoil synthetic grease and applied it to both bushings since they came with no grease. I squeezed the bushing on as best as I could which was tough since its a tight spot. I picked up 4 longer m8x1.25 60mm long screws so I can use them because the stock bolts were too small. I popped them in and used my 3/8 gun with a 13mm socket and the bracket clamped down and pressed them perfectly in place like a charm. I just hope the bolts aren't too long to interfere the fitment of the motor haha Time to collect parts to plumb the motor in. The last thing is the front facing top portion of the intake manifold then I can drop the motor in finally!
-
So I finally got the dipstick tube. It is originally for the 240sx ka24 so it was a few inches too long. I measured the size of the stock one and used a hacksaw to cut it to size. Greased the bottom up and tap it in the rear tube hole. Worked out great. I guess ill cap off the other one off lol.
-
haha wow dude you have your work cut out for you!
-
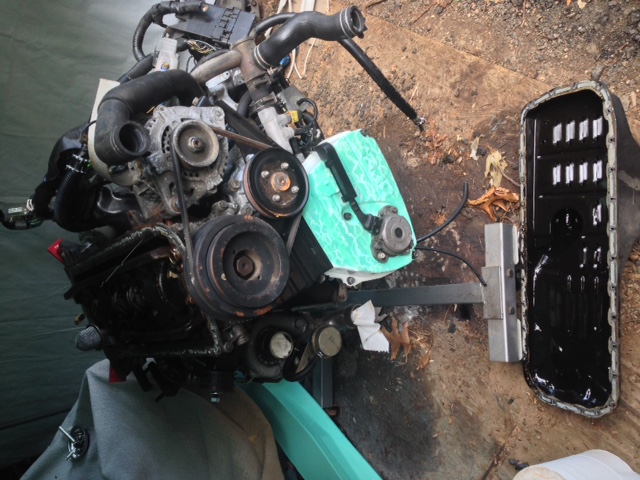
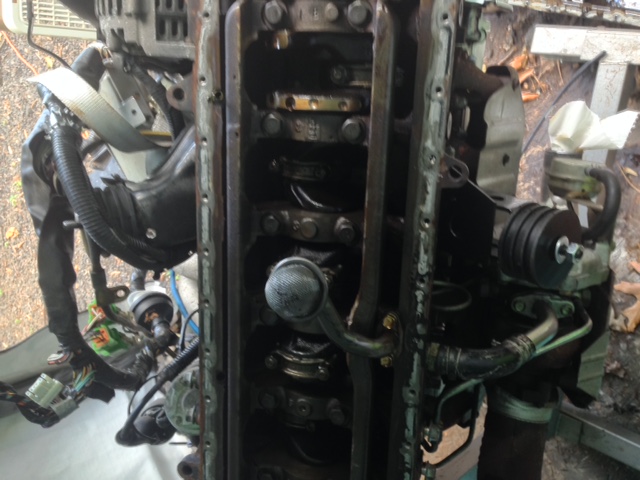
So I found time to wrench some on the z. I finally got the mounts though although I don't see much difference but I'll go with it! I installed my isr fpr adapter it was pretty easy just pop off and pop on. Now finally on to the oil pan made by pat1! Turned my motor upside down, removed the 30 10mm bolts, and popped off the pan. Scraped off the old gasket and installed the rear oil pickup. I popped out the brass fitting for the rear dipstick tube relocation but burred up the tube lol I cant get it out! Ill try again later but I think ill just buy a new one there are only 20 bucks. I put the black rtv gasket maker around the pan and around the holes. I added some random drill bits in two spots so the pan can drop right in the correct location. I just popped it on and used the fsm to tighten them in proper sequence Torqured them down to 20 lb. Another successful pat1 oil pan install, went on like butter! I flipped the motor back around to admire the hard work. Almost down, all I need is steering rack bushings, new dipstick tube, and I'm thinking about the front facing intake top plenum. Then install the 3/8 gas feed like then I'm dropping her in.