Fauxre
-
Posts
315 -
Joined
-
Last visited
-
Days Won
5
Content Type
Profiles
Forums
Blogs
Events
Gallery
Downloads
Store
Everything posted by Fauxre
-
Wow...that is a great deal. But actually, that's not a Velo Rossa kit. It looks like some one has adapted the VR cheek panels to a Merlin body kit. Wish I had the space... and an understanding wife...I'd snatch that up in a minute. Dan, forgive me if you've already answered this question, but why are you going the SPCNS SB100 registration route? Isn't the Z already registered as your daily driver? If you're already smog exempt, and don't participate in the bi-annual inspections, i would think that you should able to keep registering it that way and avoid all the SB100 hassles.

-
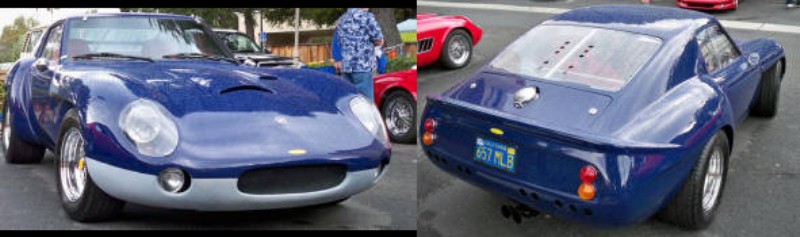
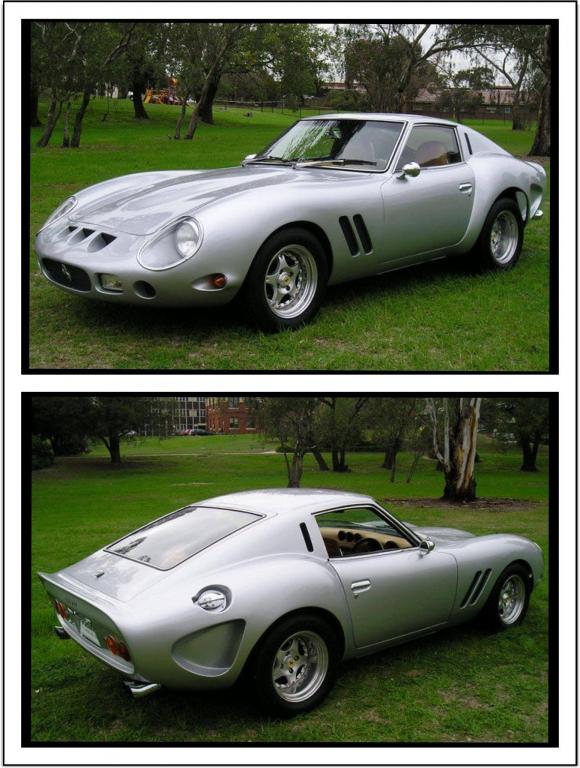
The biggest reason my car will never be confused for a the real deal... 250-gto-sells-52-million-latest-world
-
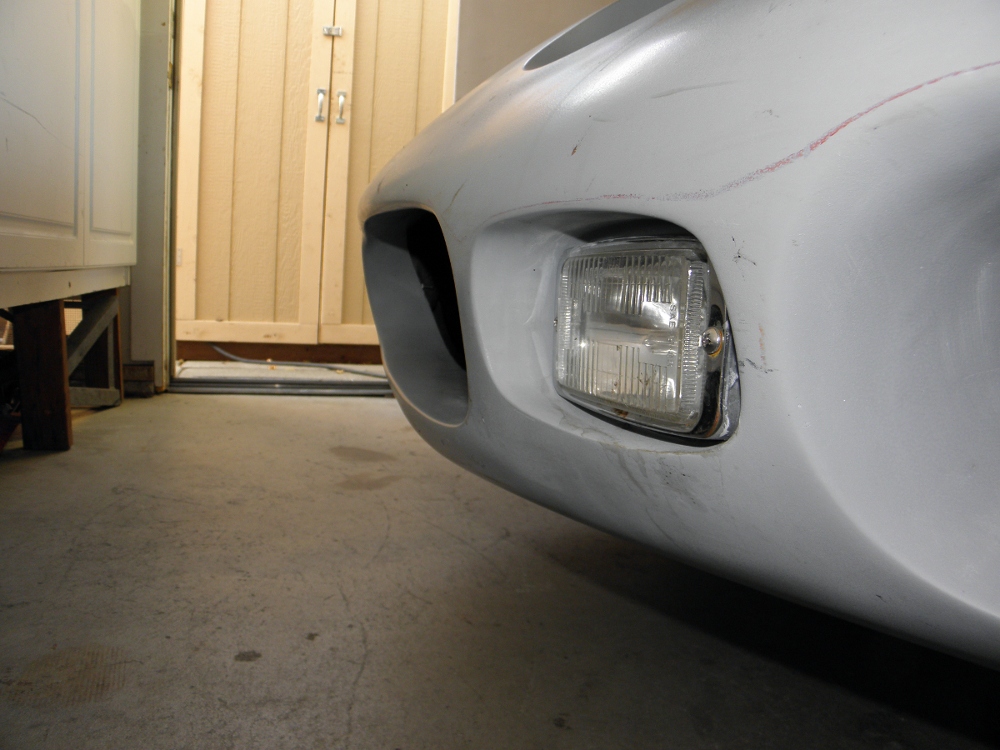
These are what I used. http://www.oreillyauto.com/site/c/detail/BLZ0/DF1073KB/N0393.oap?ck=Search_N0393_-1_-1&pt=N0393&ppt=C0335 Not a perfect fit, but I don't mind the chrome bezel sticking out a little bit. Installation was pretty simple. I drilled a hole in the center of the molded mounting bucket for the wiring, then using just the lamp and front bezel as a template I drilled the two holes for the mounting screws. Secured it all with a couple lock nuts. To make it all fit snug, I cut a couple of gaskets from a sheet of cork to go between the bulb and fiberglass.
-
The article says that this one bears the chassis number 5111 and won the 1963 Tour de France road race with Jean Guichet at the helm.
-
Hi Dan. Just found this thread today. Looks great. I like your solution to the clearance issue. I may try my hand at making pods for my tail lights. I could use a little more room back there. I also applaud the decision to keep the quarter windows. They are probably the most distinct feature of the donor Z. The hard vertical edge created when blocking them off, doesn't mesh with the curves of the fenders and hatch, IMO. Keep those progress pics coming.
-
For those scoring at home... http://autos.yahoo.com/blogs/motoramic/ferrari-250-gto-sells-52-million-latest-world-191041604.html
-
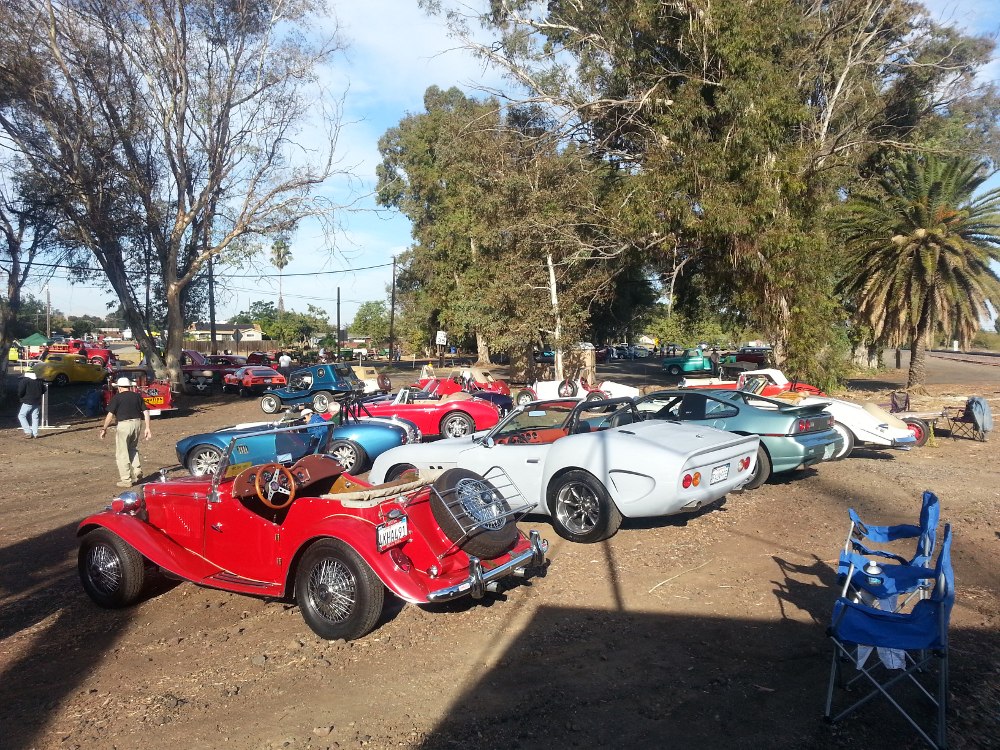
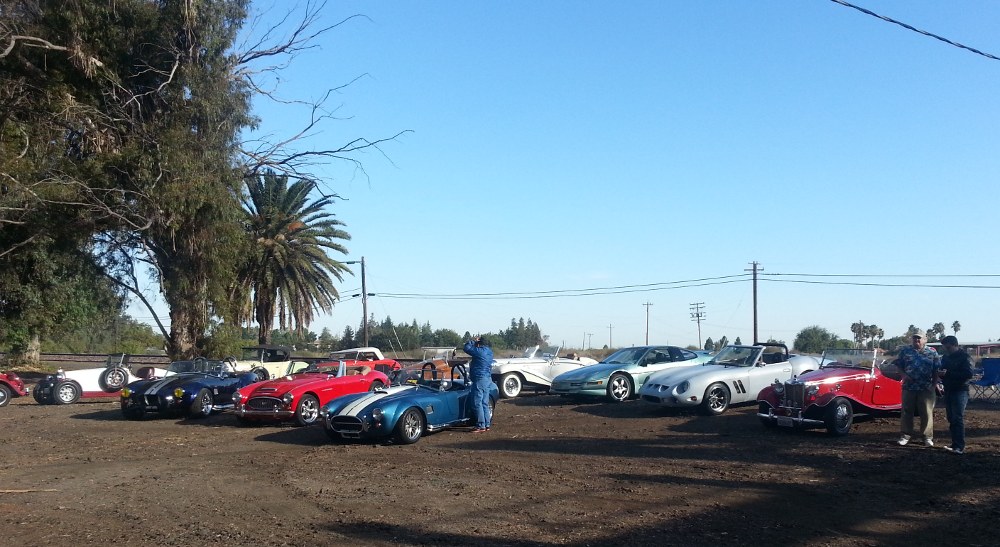
Spent a beautiful Sunday in Knightsen, at the NCKCC Kit Car Show. The VR made her second appearance in public and her first in a show. She got a lot of positive feedback even though she's still in primer gray and lacking any kind of real interior.
-
The previously listed molds are now for sale on eBay .... no reserve. http://www.ebay.com/itm/251333923603?item=251333923603&viewitem=&vxp=mtr
-
Posted this on the GTO thread also. Cheaper than buying a kit and you can make all the replacement parts you need.
-
For all you lurkers on this thread waiting to buy a kit. Z Force Productions has a set of molds for sale in Socal. From their Facebook page: FOR SALE: s30 Z car Ferrari 250 GTO kit car molds Example of a completed Z car conversion in the picture. This is a very rare kit & I have had the molds in storage for a few years but never planned to use them. It's a very intricate kit, 20+ pieces (10 main pieces) that includes the front end, front fenders, rear fenders, doors, hood, tail panel, etc. Very heavy duty molds. These kits alone sell for almost $6,000 plus crate shipping. You can sell one kit and easily make more than your money back. These molds were well created by Arizona Z Car. I have pics for those seriously interested. PRICE: ------------ $3,000 obo + shipping (or local pick up in So Cal) CONTACT ME BY: -------------------------- PM email: s30zforce at yahoo.com See photos of the molds here: http://www.facebook.com/l.php?u=http%3A%2F%2Fs26.photobucket.com%2Fuser%2F280zforce%2Flibrary%2FZ%2520Molds%2FZ%2520Ferrari%2520GTO%2520Conversion&h=MAQHEHW5j I think the price is negotiable...
-
Completion??? We both know these projects are never really complete. I've been driving mine for a month now, and even though she still needs bodywork, paint and an interior, I already want to upgrade the suspension and drive train... you know, all the things I've "completed."
-
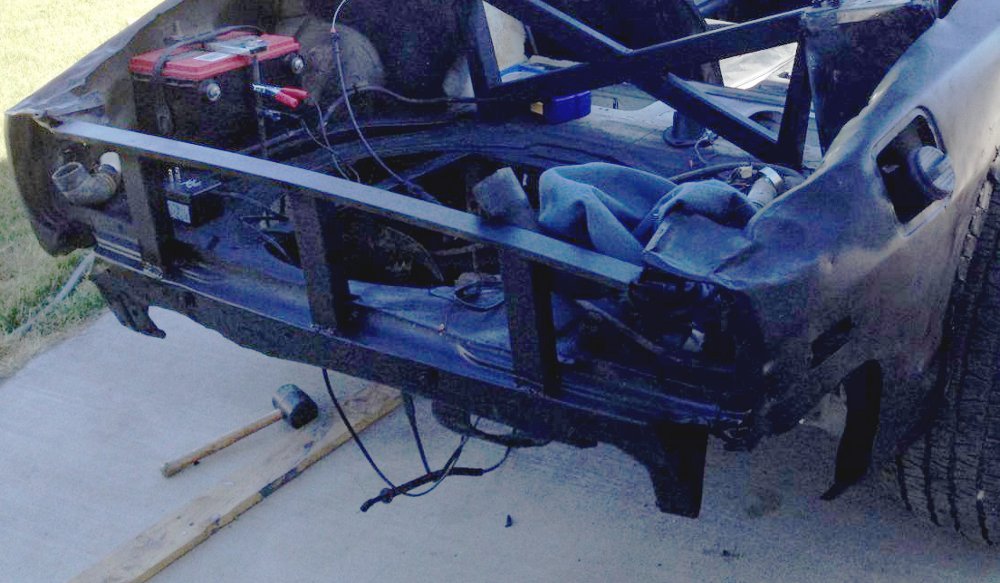
Dan- I like the angled configuration idea...unique. I think you're definitely going to have clearance issues. You can see here where the center of the VR rear panel falls in relation to the Z sheet metal. The gap between the old exterior and the rear tub is only an inch or so. I'd recommend doing something like espeery did here, in order to get good access from the inside. The existing Z tail light holes make it awkward to access my light mounts, so I tried to make them bigger. This resulted in a lot of sharp edges that cut my hands to shreds when ever I work on the lights.
-
Not sure what happened to post #194. It posted twice and both times without the pic. Deleted duplicate post and added pic... hopefully it makes more sense now.
-
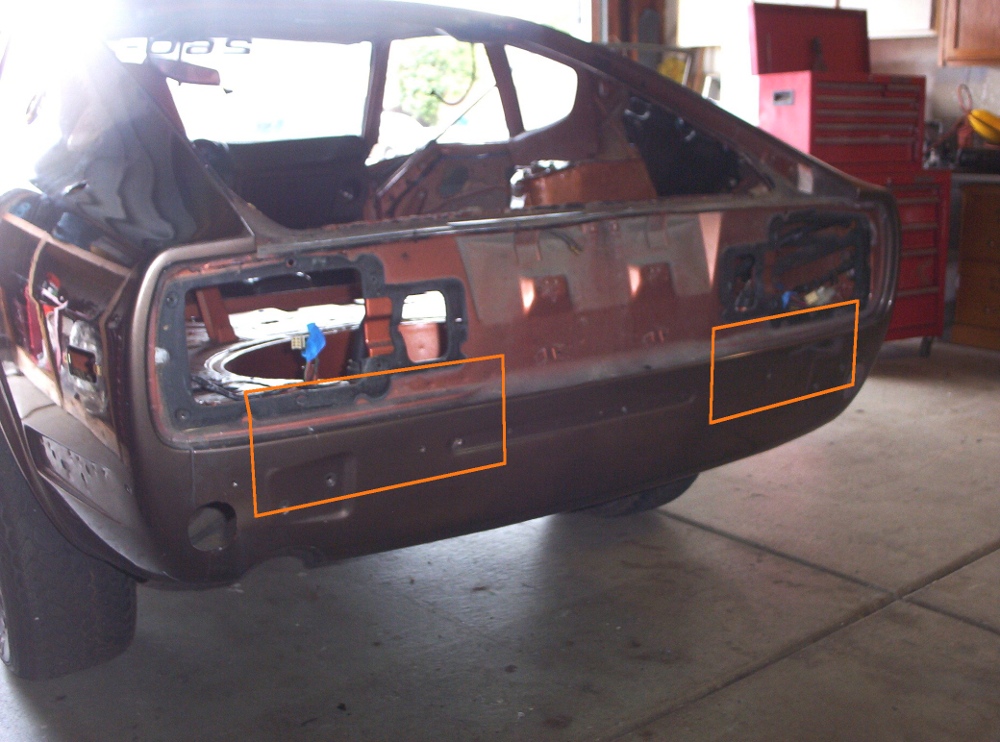
Sounds like a great build. One suggestion; I had a real issue installing my tail lights. I don't know how deep the C5s are. If they're more than an inch deep, and you mount them roughly where mine are, you may have a clearance issue with old sheet metal. My lights are mounted roughly in the orange rectangles in the below pic. I couldn't access the area very well after the tub was installed and it was almost impossible to cut the old sheet metal through the holes I made in the fiberglass. There are actually three layers of sheet metal forming the seam where the floor meets the valance and the rear panel. If you need to make room, do it before you mount the tub. If I had to do it again, I'd weld in some reinforcement and cut out the entire rear panel.
-
So Dan, whats the scope of your project? Will you be doing an engine swap or other mods along with the body kit? You'll be doing a build diary for all of us voyeurs, right?
-
Dan- My number was 135. There's really no point in applying for the certificate of sequence though, until the car is ready for the title/registration process. If I remember correctly the number is only valid for 90 days. If you haven't finished the process by then, you have to start all over. Thats's the bad news. The good news is that the numbers are available all year round now. There were lots available last November when I first looked into it. I documented the process and fees here....http://www.madmechanics.com/forum/build-diaries/16594-how-do-car-replicas-pass-inspection.html OOPS...most of my posts in the above link are duplicates of ones in this thread... but the conversation is interesting. Nathan- No worries... I know how hectic things can get when you have a little one. You're welcome to come by anytime or I'd be happy to bring my baby by your place or meet somewhere if you'd prefer. I'll be around town all weekend.
-
Can't wait to see the finished product.
-
Hi Dan, Is John W. delivering your kit? He said he was going to be up your way this week. I think the high cost is directly related to my inexperience in making custom mods and the mistakes I made installing the kit (especially the door skins). There are a lot of "rough" areas. It certainly isn't an issue with the quality of the kits gel coat.
-
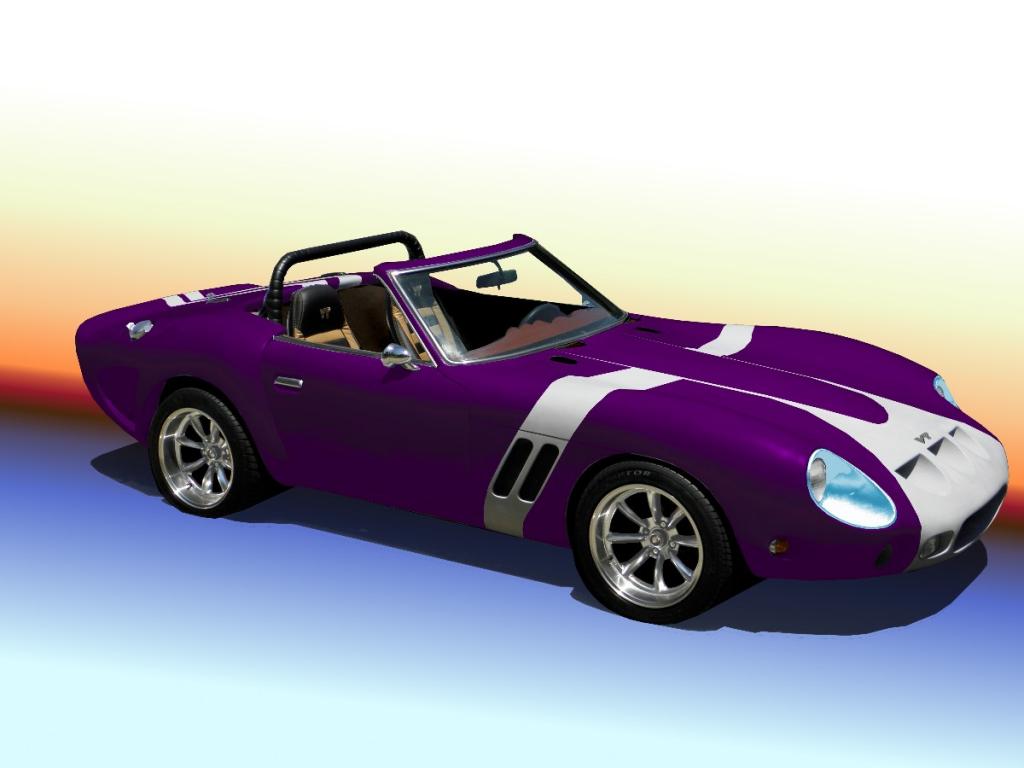
Took the VR around to a couple local body shops to get a ball park figure for final body work before paint. YIKES!! The lowest estimate was $8-10k just to get ready for paint. I know that's probably pretty average, and maybe a little low, for a high end finish, but I was hoping for something closer to my means. Looks like I'll be spending a lot of hours this winter sanding. In the mean time, I've been playing with more colors. Root Beer was suggested to me last week. My second car was a TR4A that was a metallic root beer w/ a wide gold racing stripe. Man I miss that car. So here's what I came up with. It was way too hot yesterday to drive the VR for more than a few minutes...without getting heat stroke. So, I cranked up the AC and spent the day sitting at the computer... depressed... "painting" the VR in cool colors. Think I'll try some greens next.
-
Very cool project. I'm encourage to try something custom myself after following your progress. And to take on something like this while in med school??? Very impressive. I'm just curious... I don't see any holes for the original mounting bolts in your dash extension. How did you mount and remove it while glassing and how do you plan on mounting the final version.
-
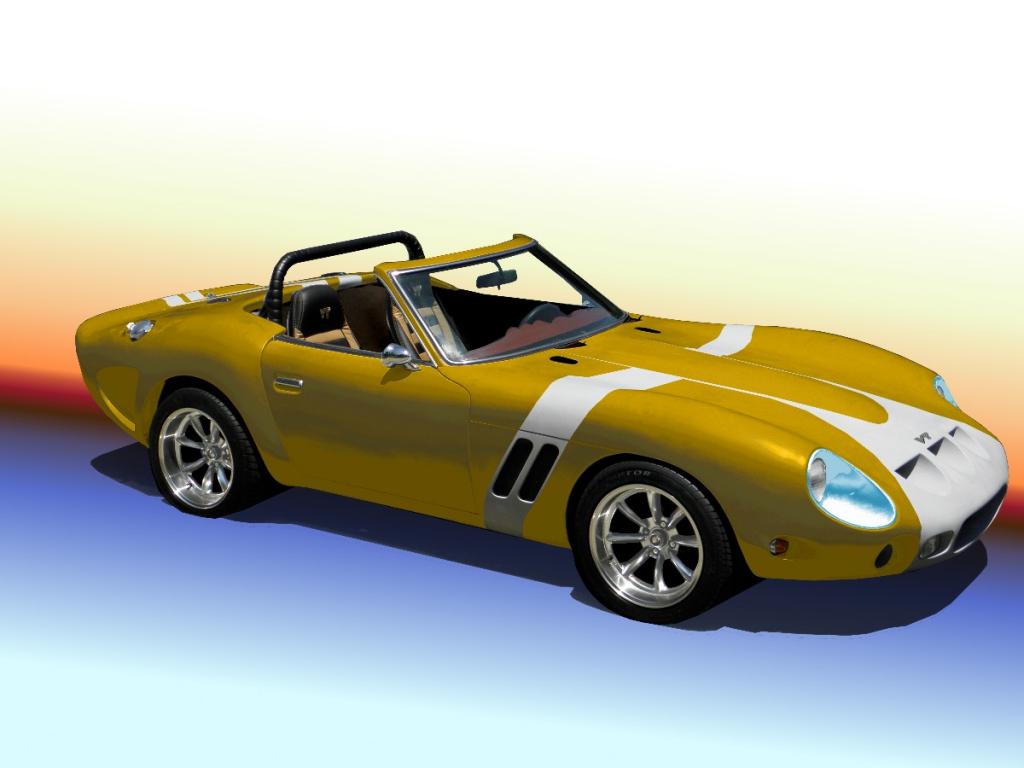
Still playing with photoshop. Still waffling on color. But it keeps me from obsessing over the poor fitment issue of the bonnet. I'll need to deal with that soon. My hotrod / muscle car friends like Candy Apple red... My Mopar buddies like Plumb Crazy... and my surfer dudes dig the Mellow Yellow Velo.
-
Nothing exotic... Block is a boneyard SBC 350 (4 bolt mains) w/stock internals, out of a '73 pick-up. '67 GM Camel Humpback heads Edelbrock Perfomer Intake Edelbrock 650cm 4bl Carb Sanderson Ceramic Coated Block hugger headers I have no idea what kind of horse power or torque it makes.
-
Thanks Nathan. Neither process is all that difficult... when you know the rules for each and build accordingly.
-
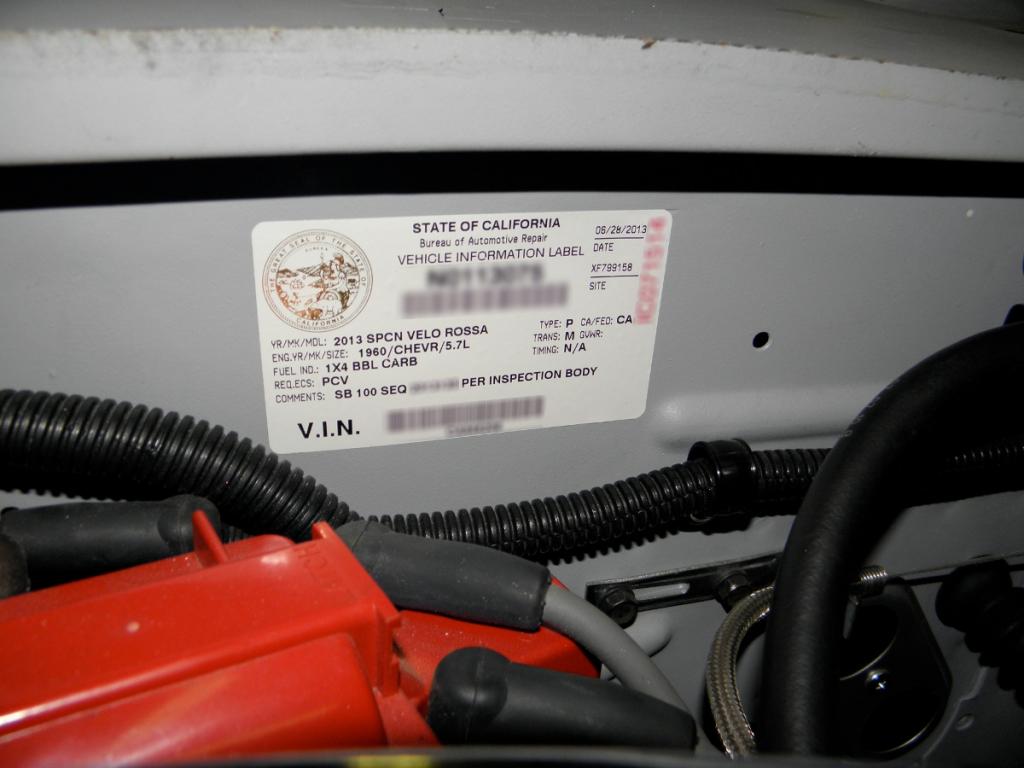
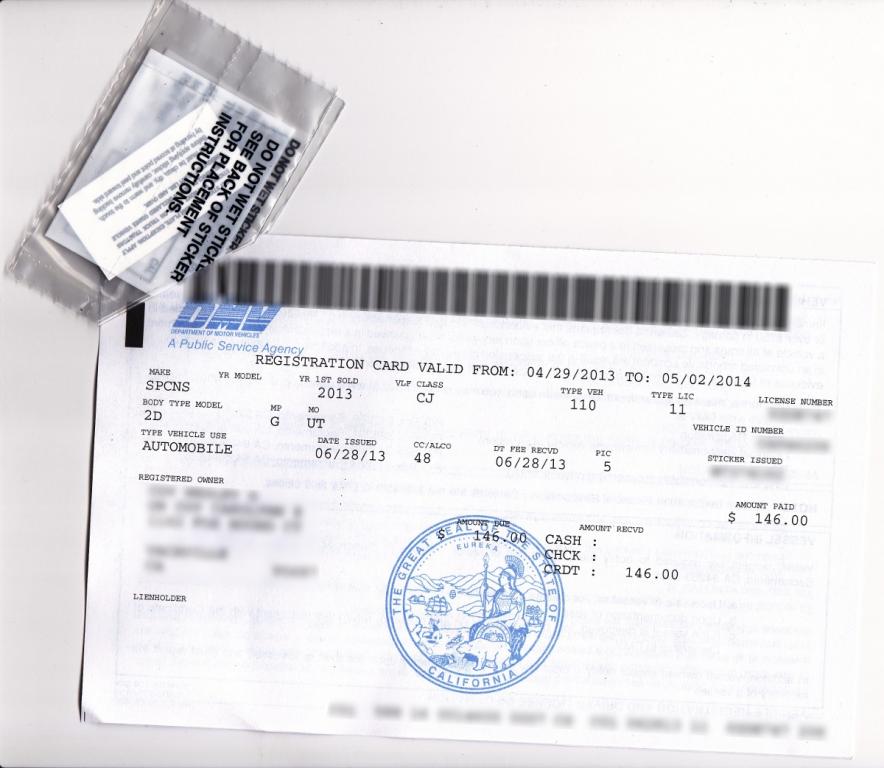
Today was a really good day. The Velo Rossa title/registration process is complete. A trip to the Smog station this morning, a stop at DMV on the way back, and I now have this BAR sticker affixed to the firewall... this registration card that indicates NO model year... and two fresh new license plates waiting to be mounted. New title should arrive in 3-4 weeks. As daunting as this title/reg. process might seem at first blush, it's really not that bad and less expensive than I thought. $146 DMV Fees (partially based on vehicle value) $69 Brake inspection $59 Lamp inspection $0 CHP Vin verification / new tag $0 Smog inspection / sticker $274 Total
-
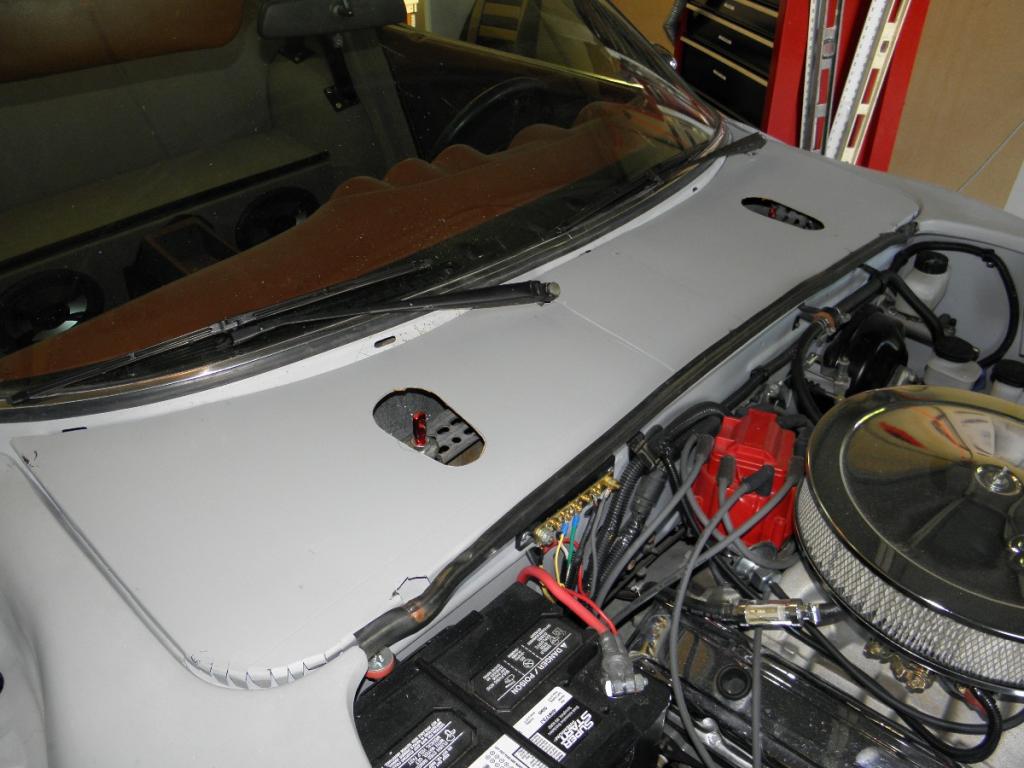
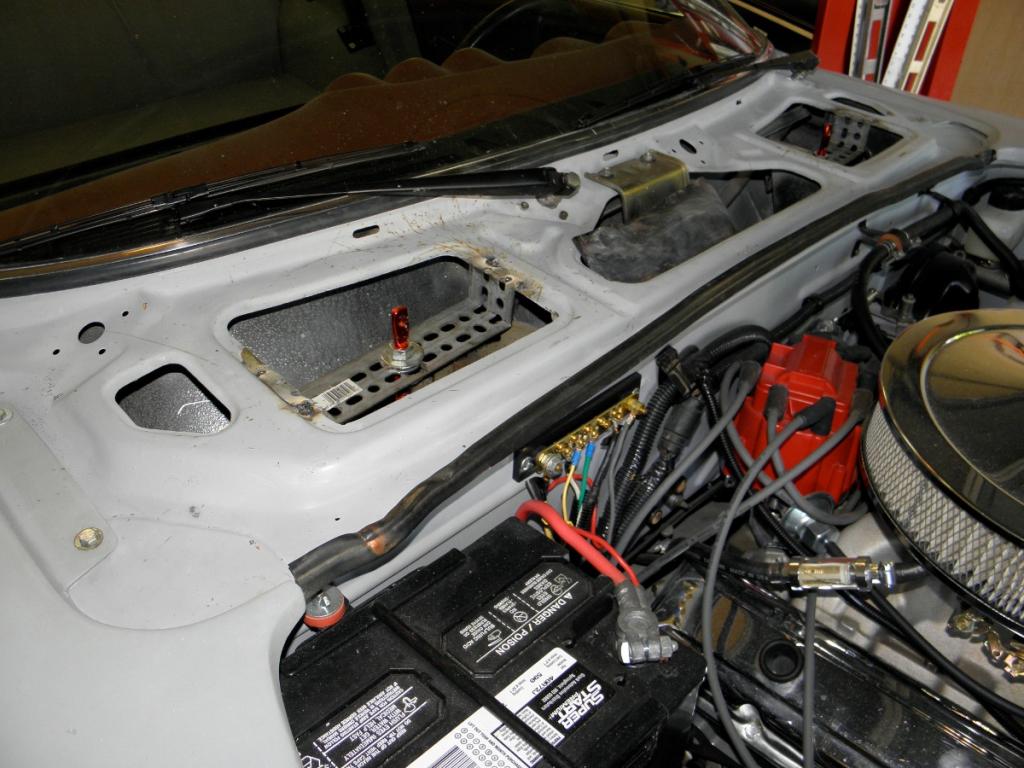
I finally got the word yesterday... BAR approves!!!! I go back to the referee on friday to get my official smog exemption sticker affixed to the engine compartment. I was feeling sooooo good, that I started working on a new cowl for the old fresh air vents under the windshield. Using the cardboard mock-up..... I traced the part onto a piece of masonite. I carved floral blocks to make the recesses for the aero latches and hot glue them in position. I inserted shims under both ends of the masonite to get a slight curve. After a couple of coats of paste wax, the whole thing was covered in two layers of glass matte. After some trimming and sizing, I'll add sidewalls to get a rigid panel.