supershanesta
-
Posts
62 -
Joined
-
Last visited
-
Days Won
1
Content Type
Profiles
Forums
Blogs
Events
Gallery
Downloads
Store
Everything posted by supershanesta
-
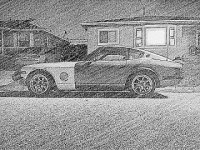
Just Vinyl Wrapped my 240z... Here are my thoughts
supershanesta posted a topic in Body Kits & Paint
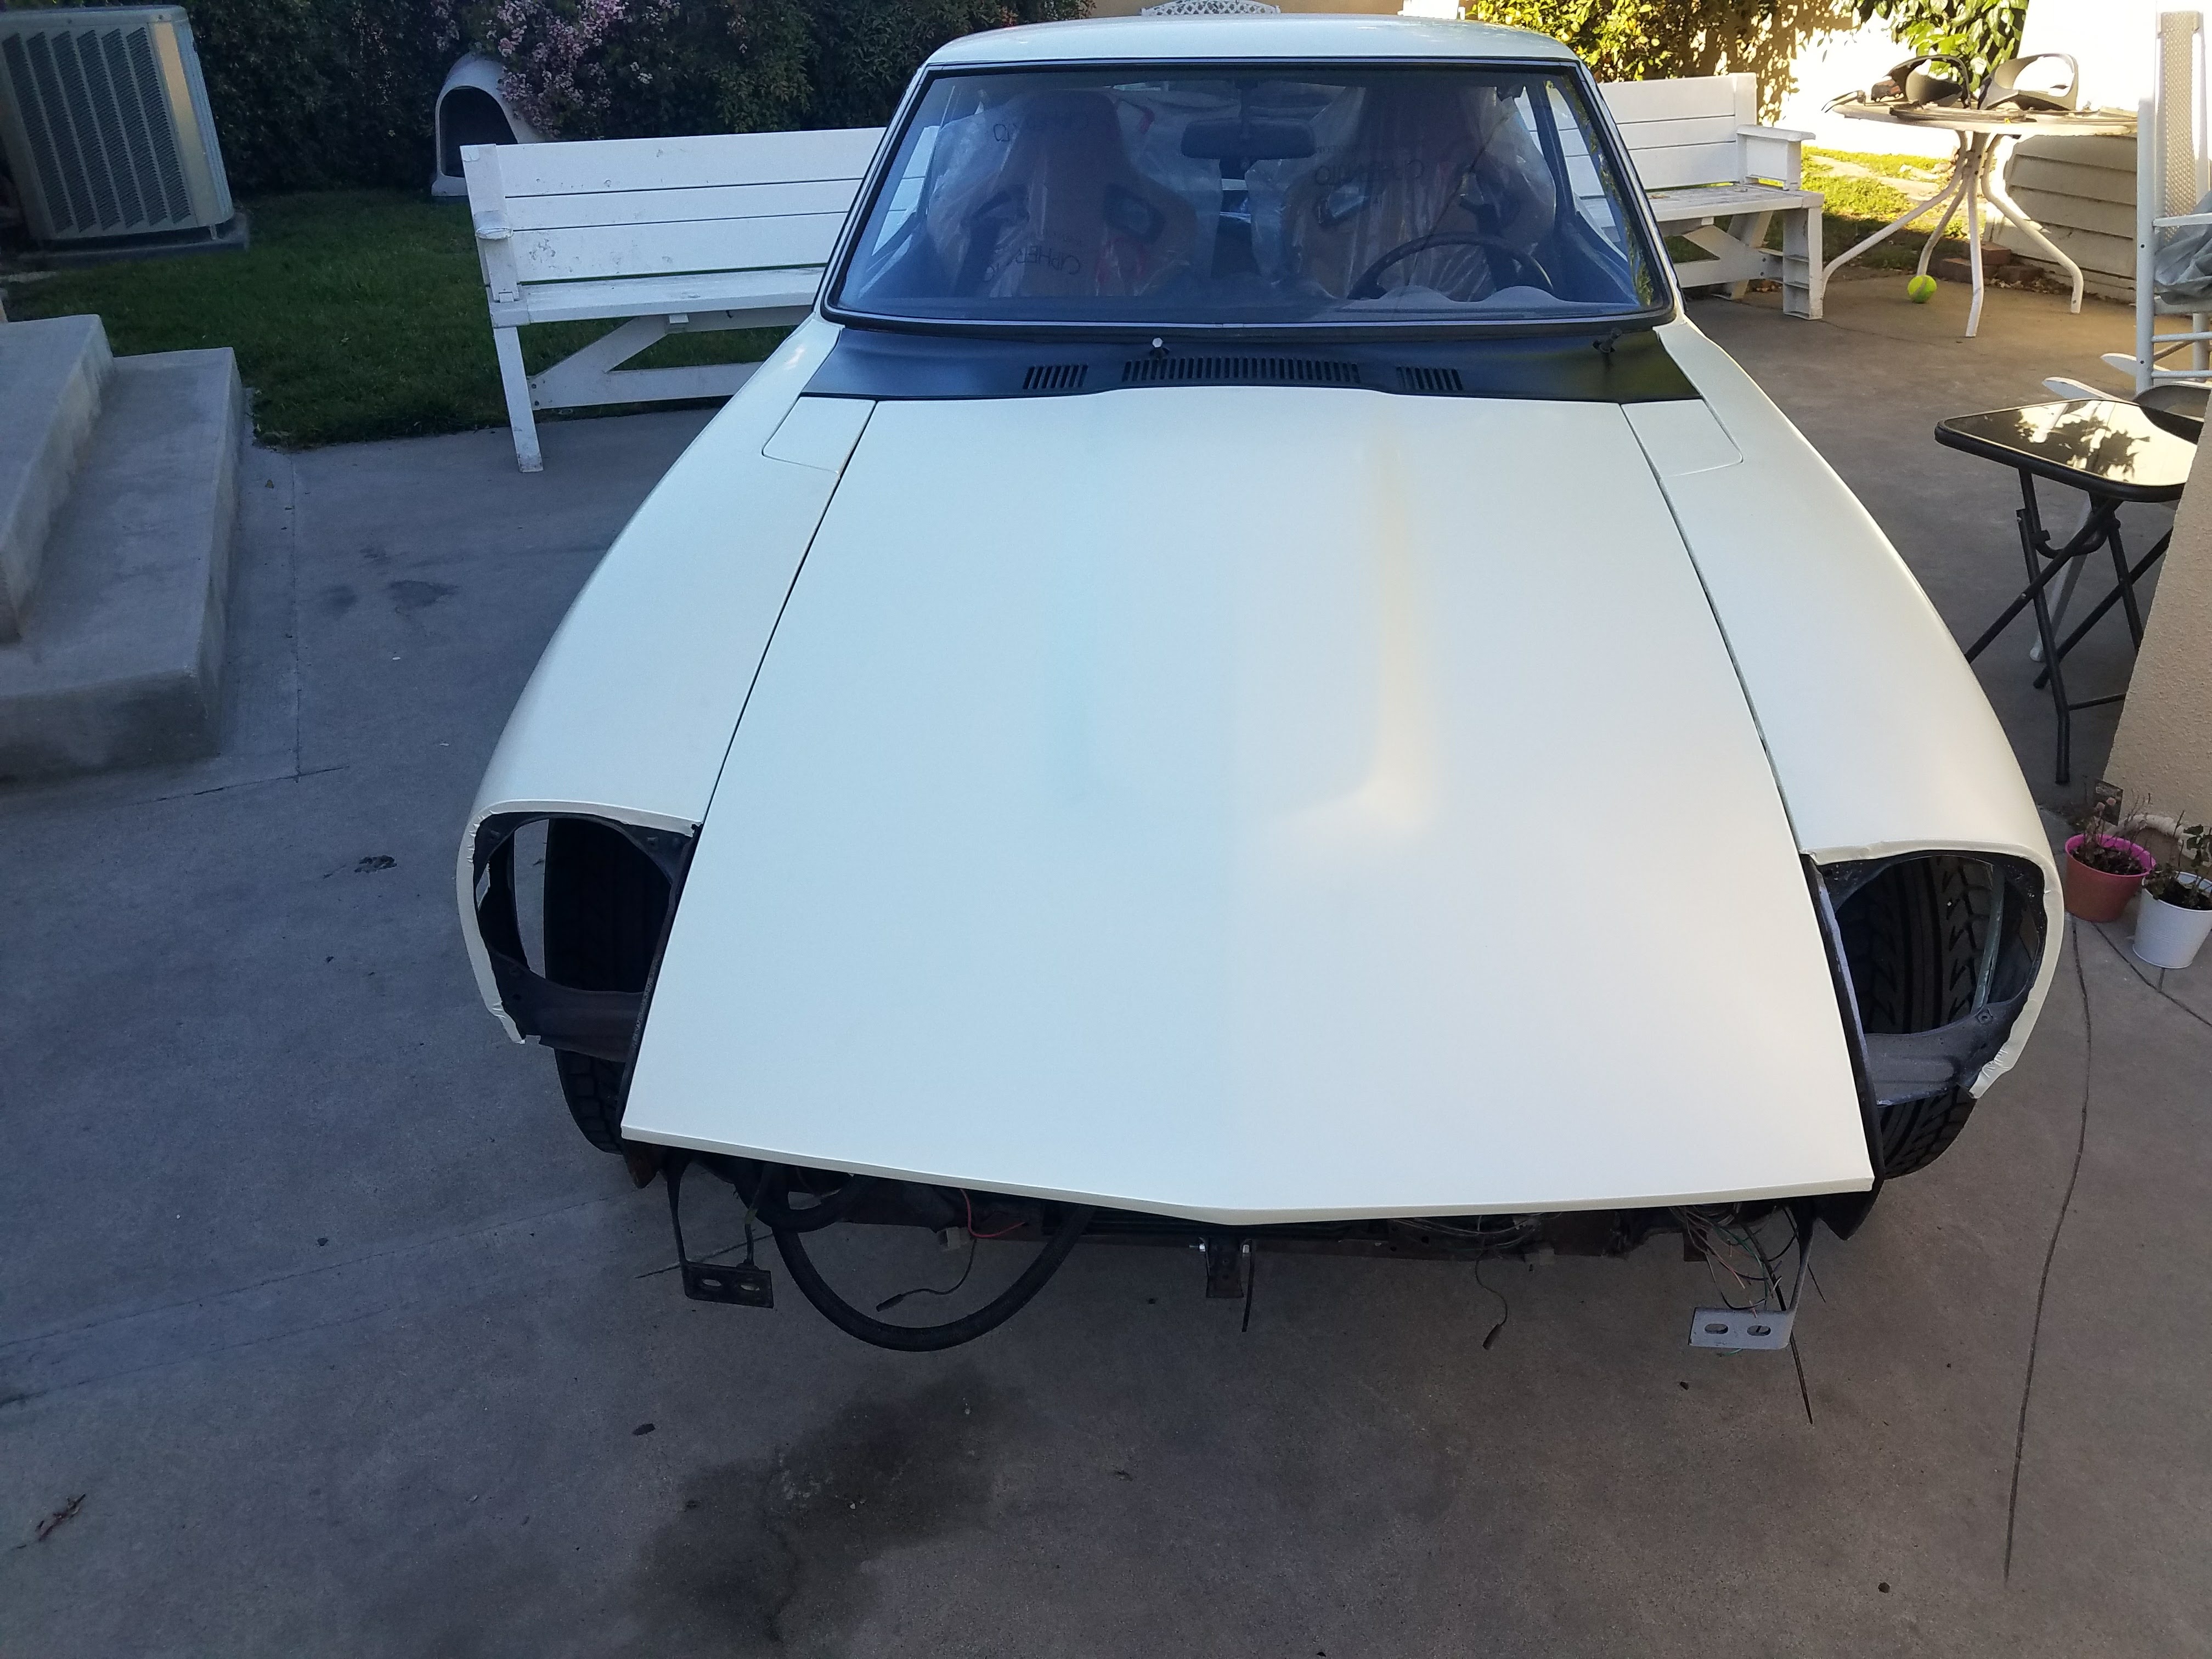
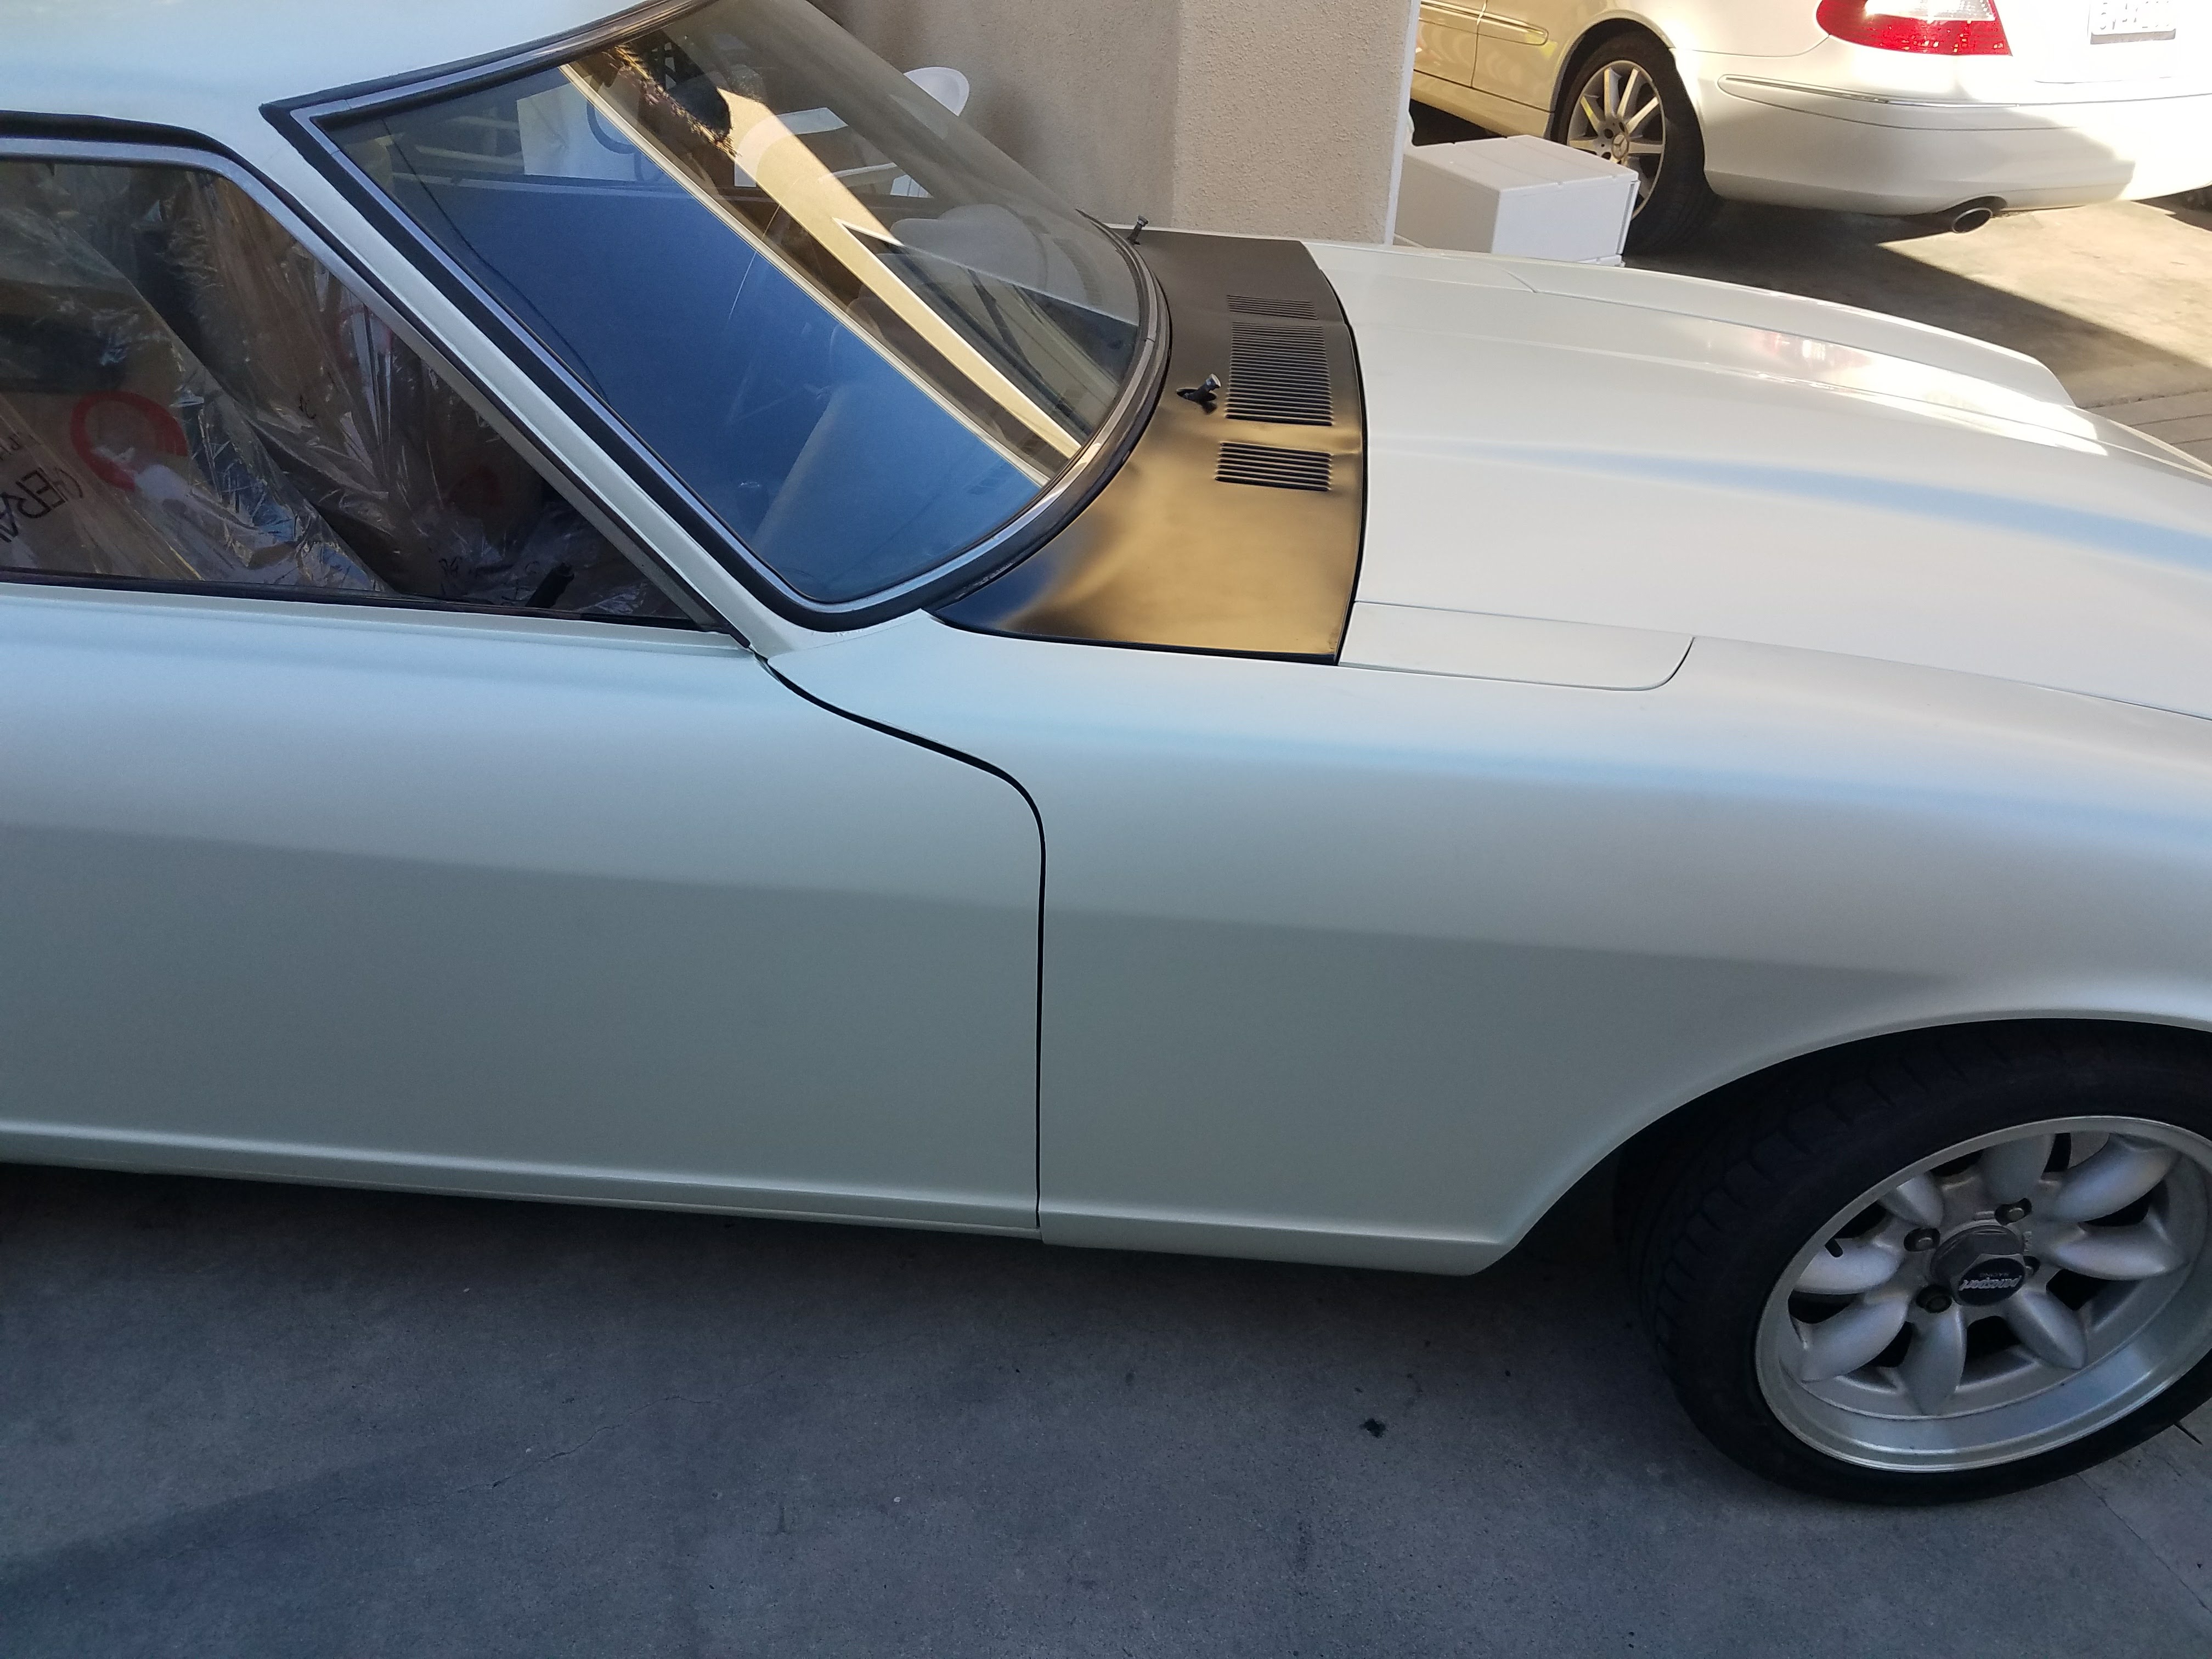
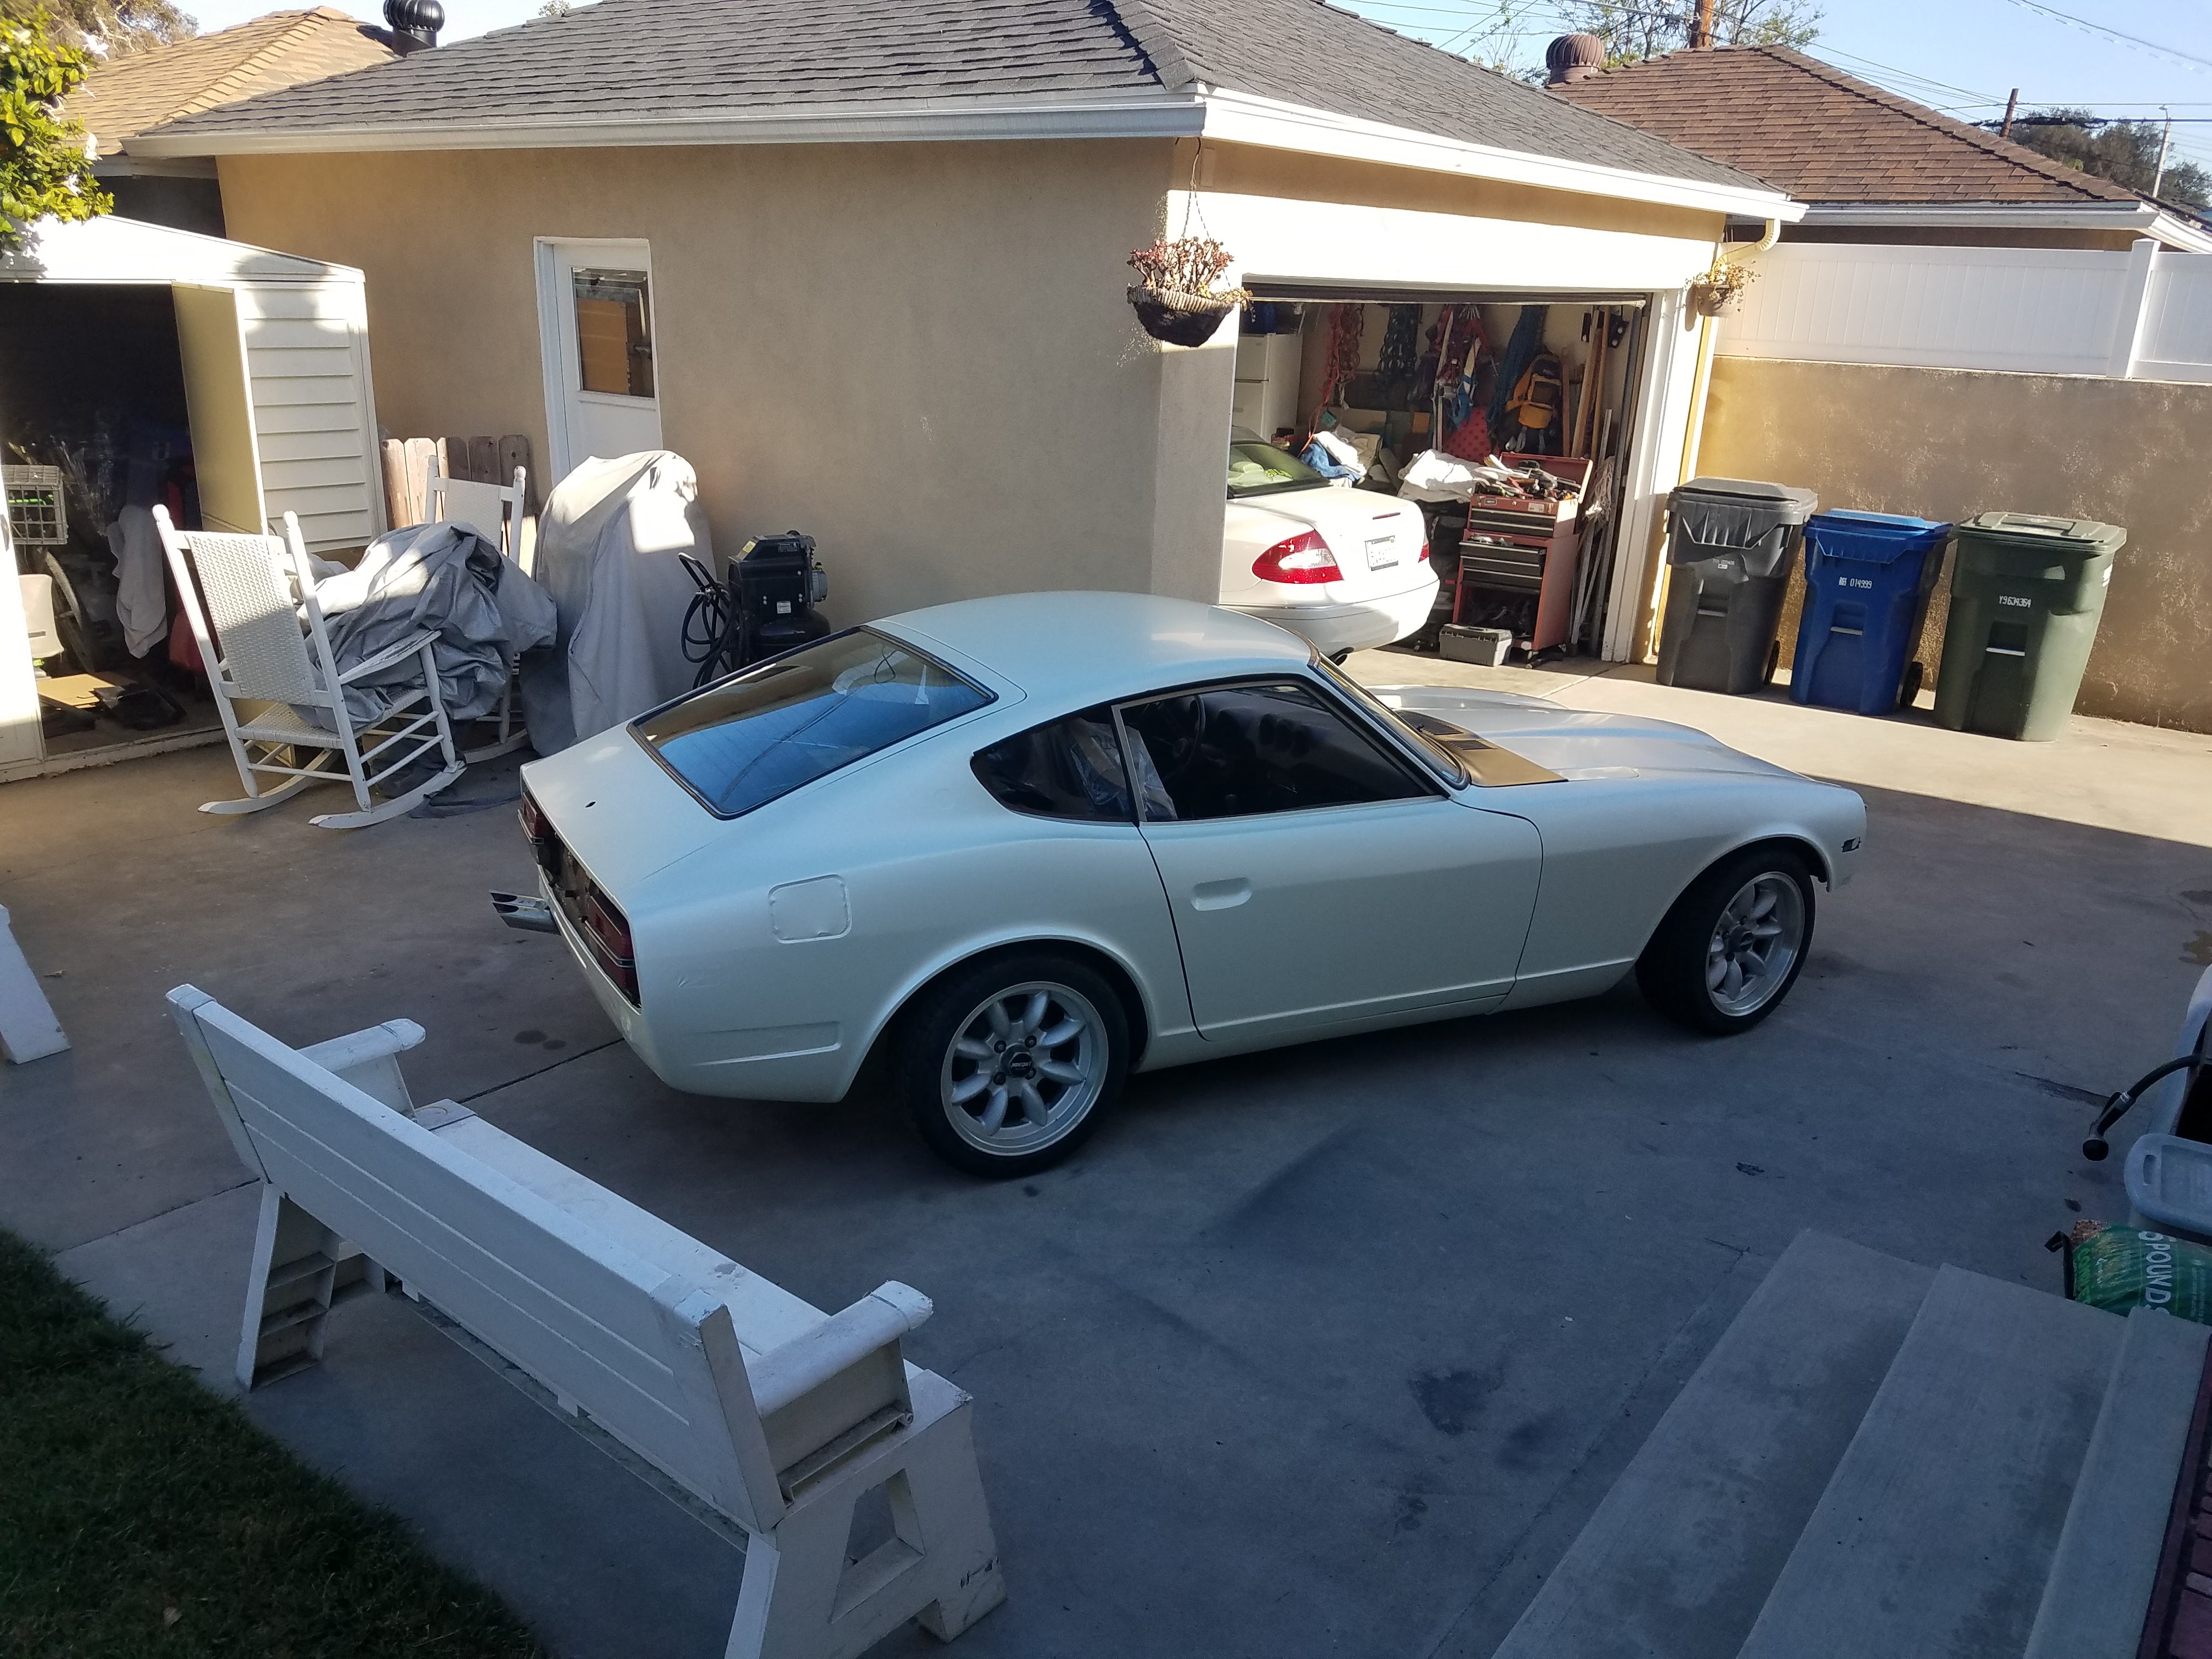
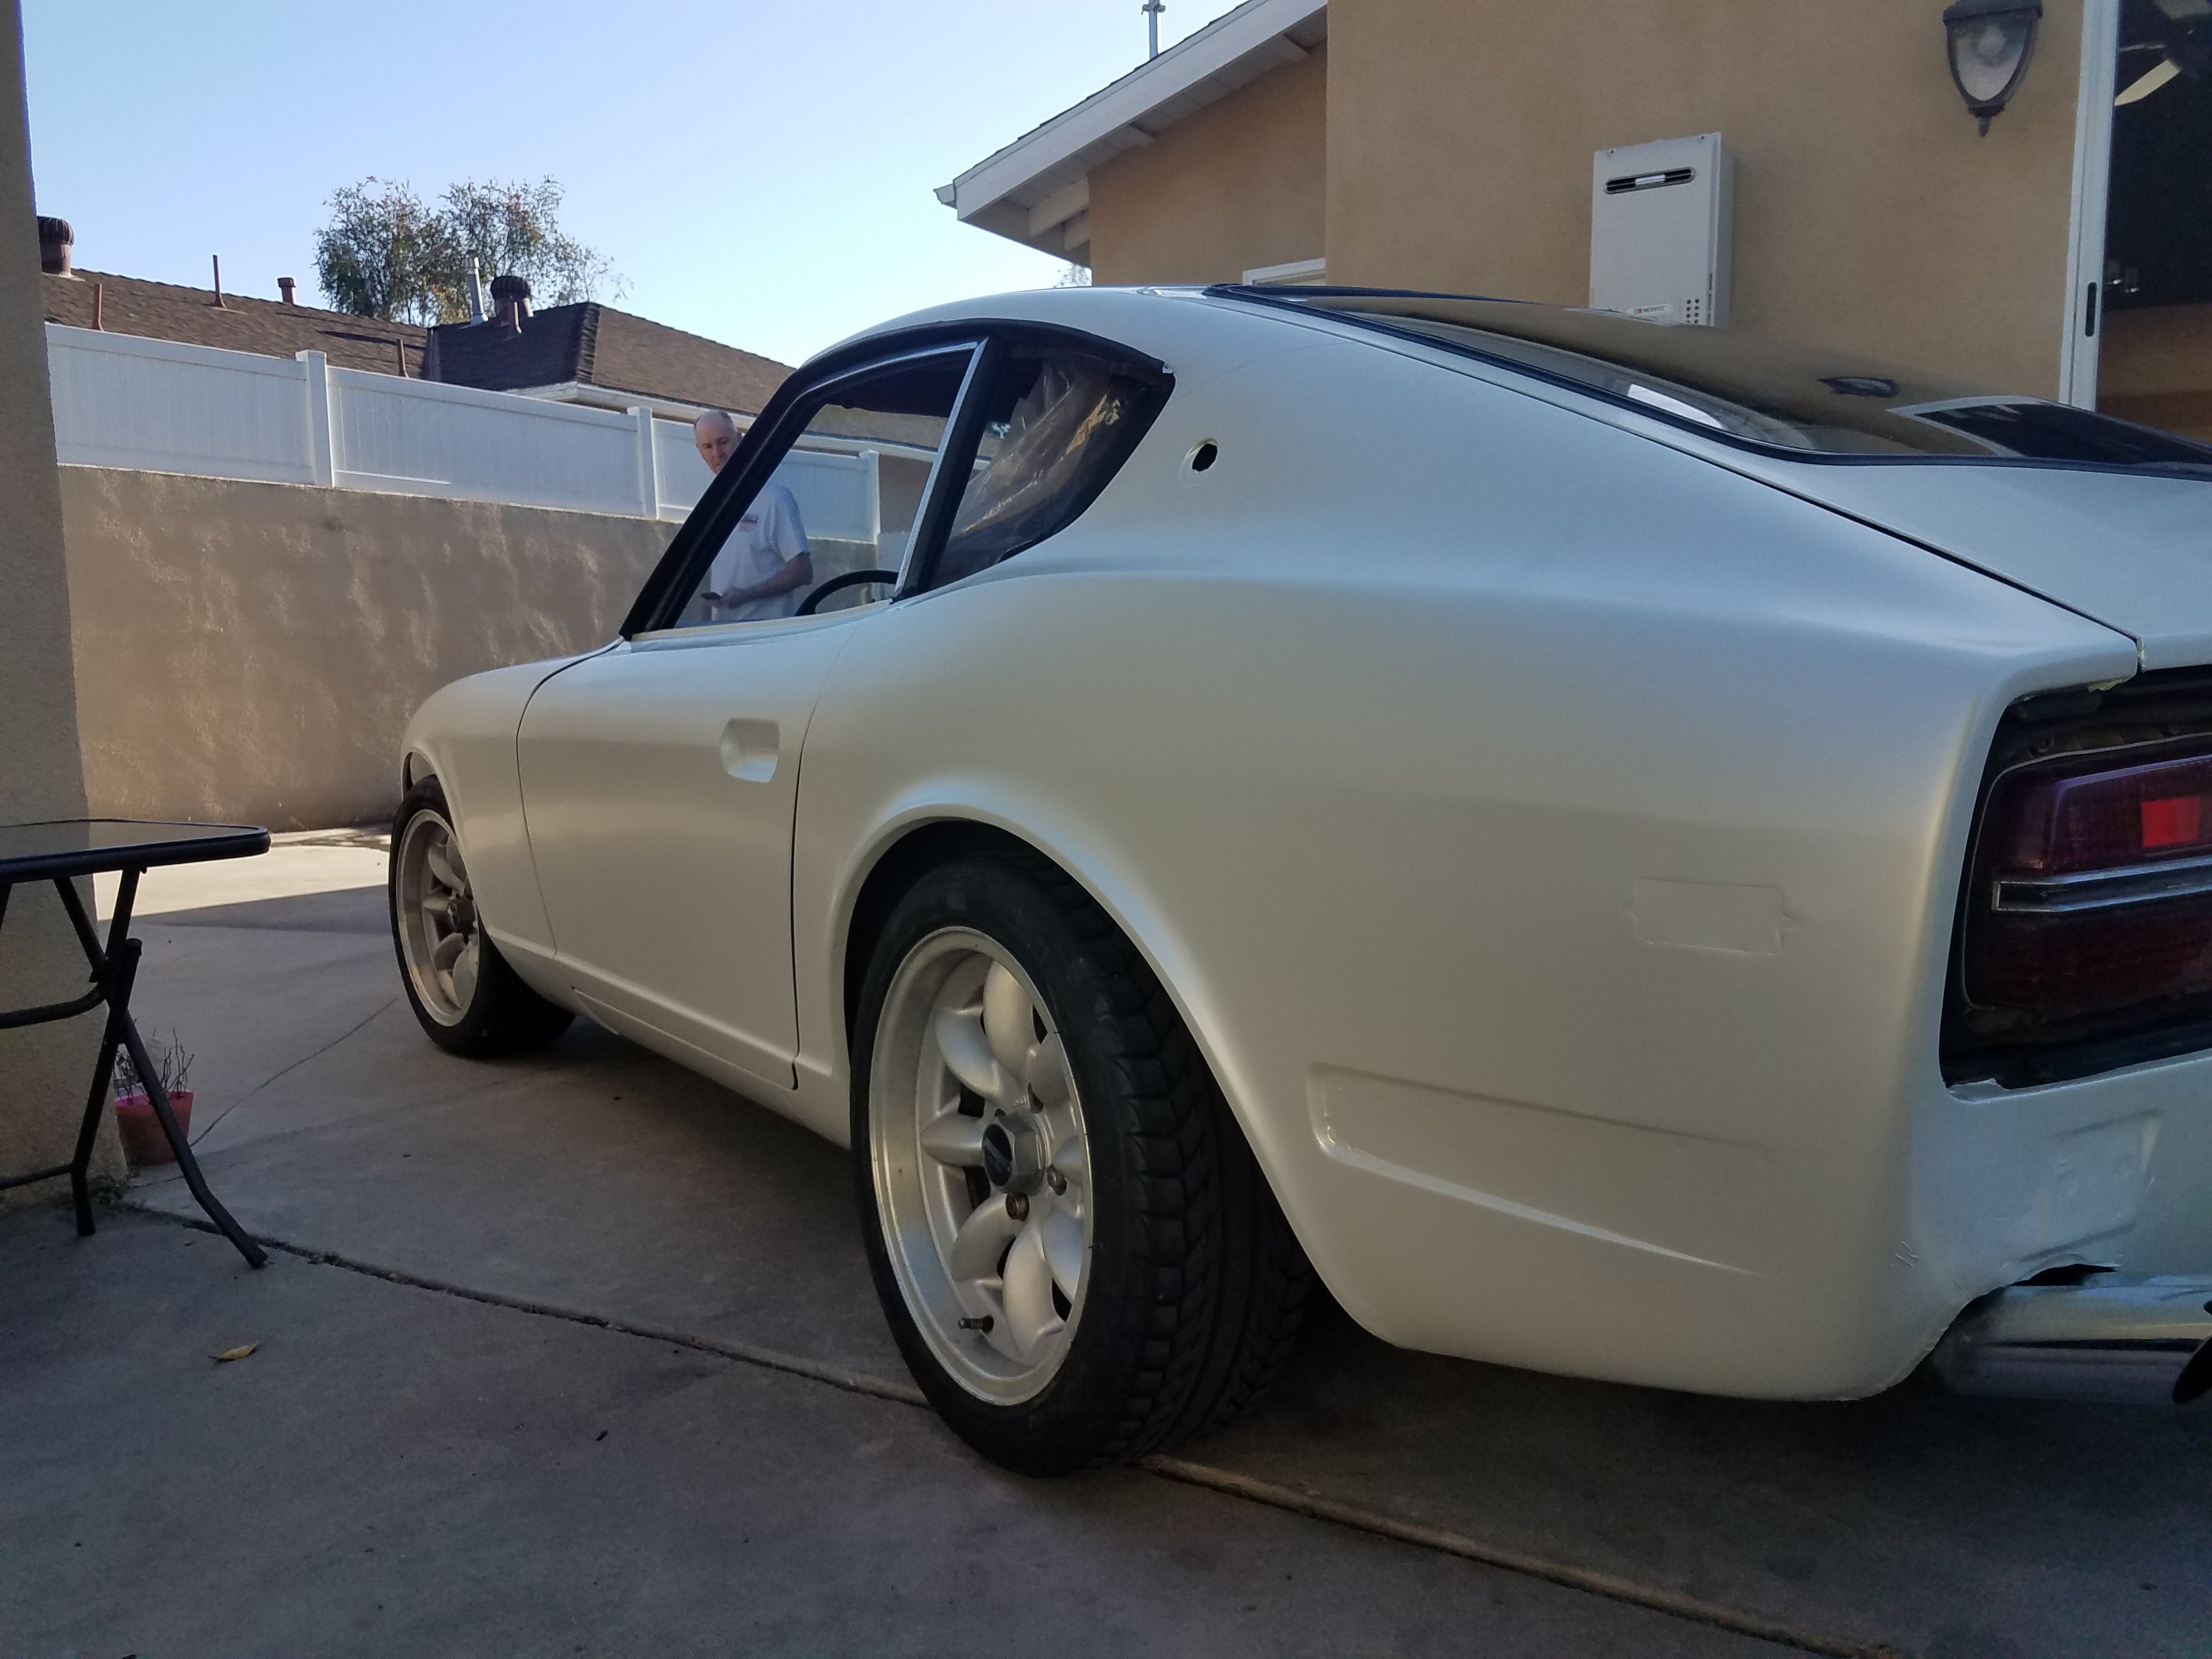
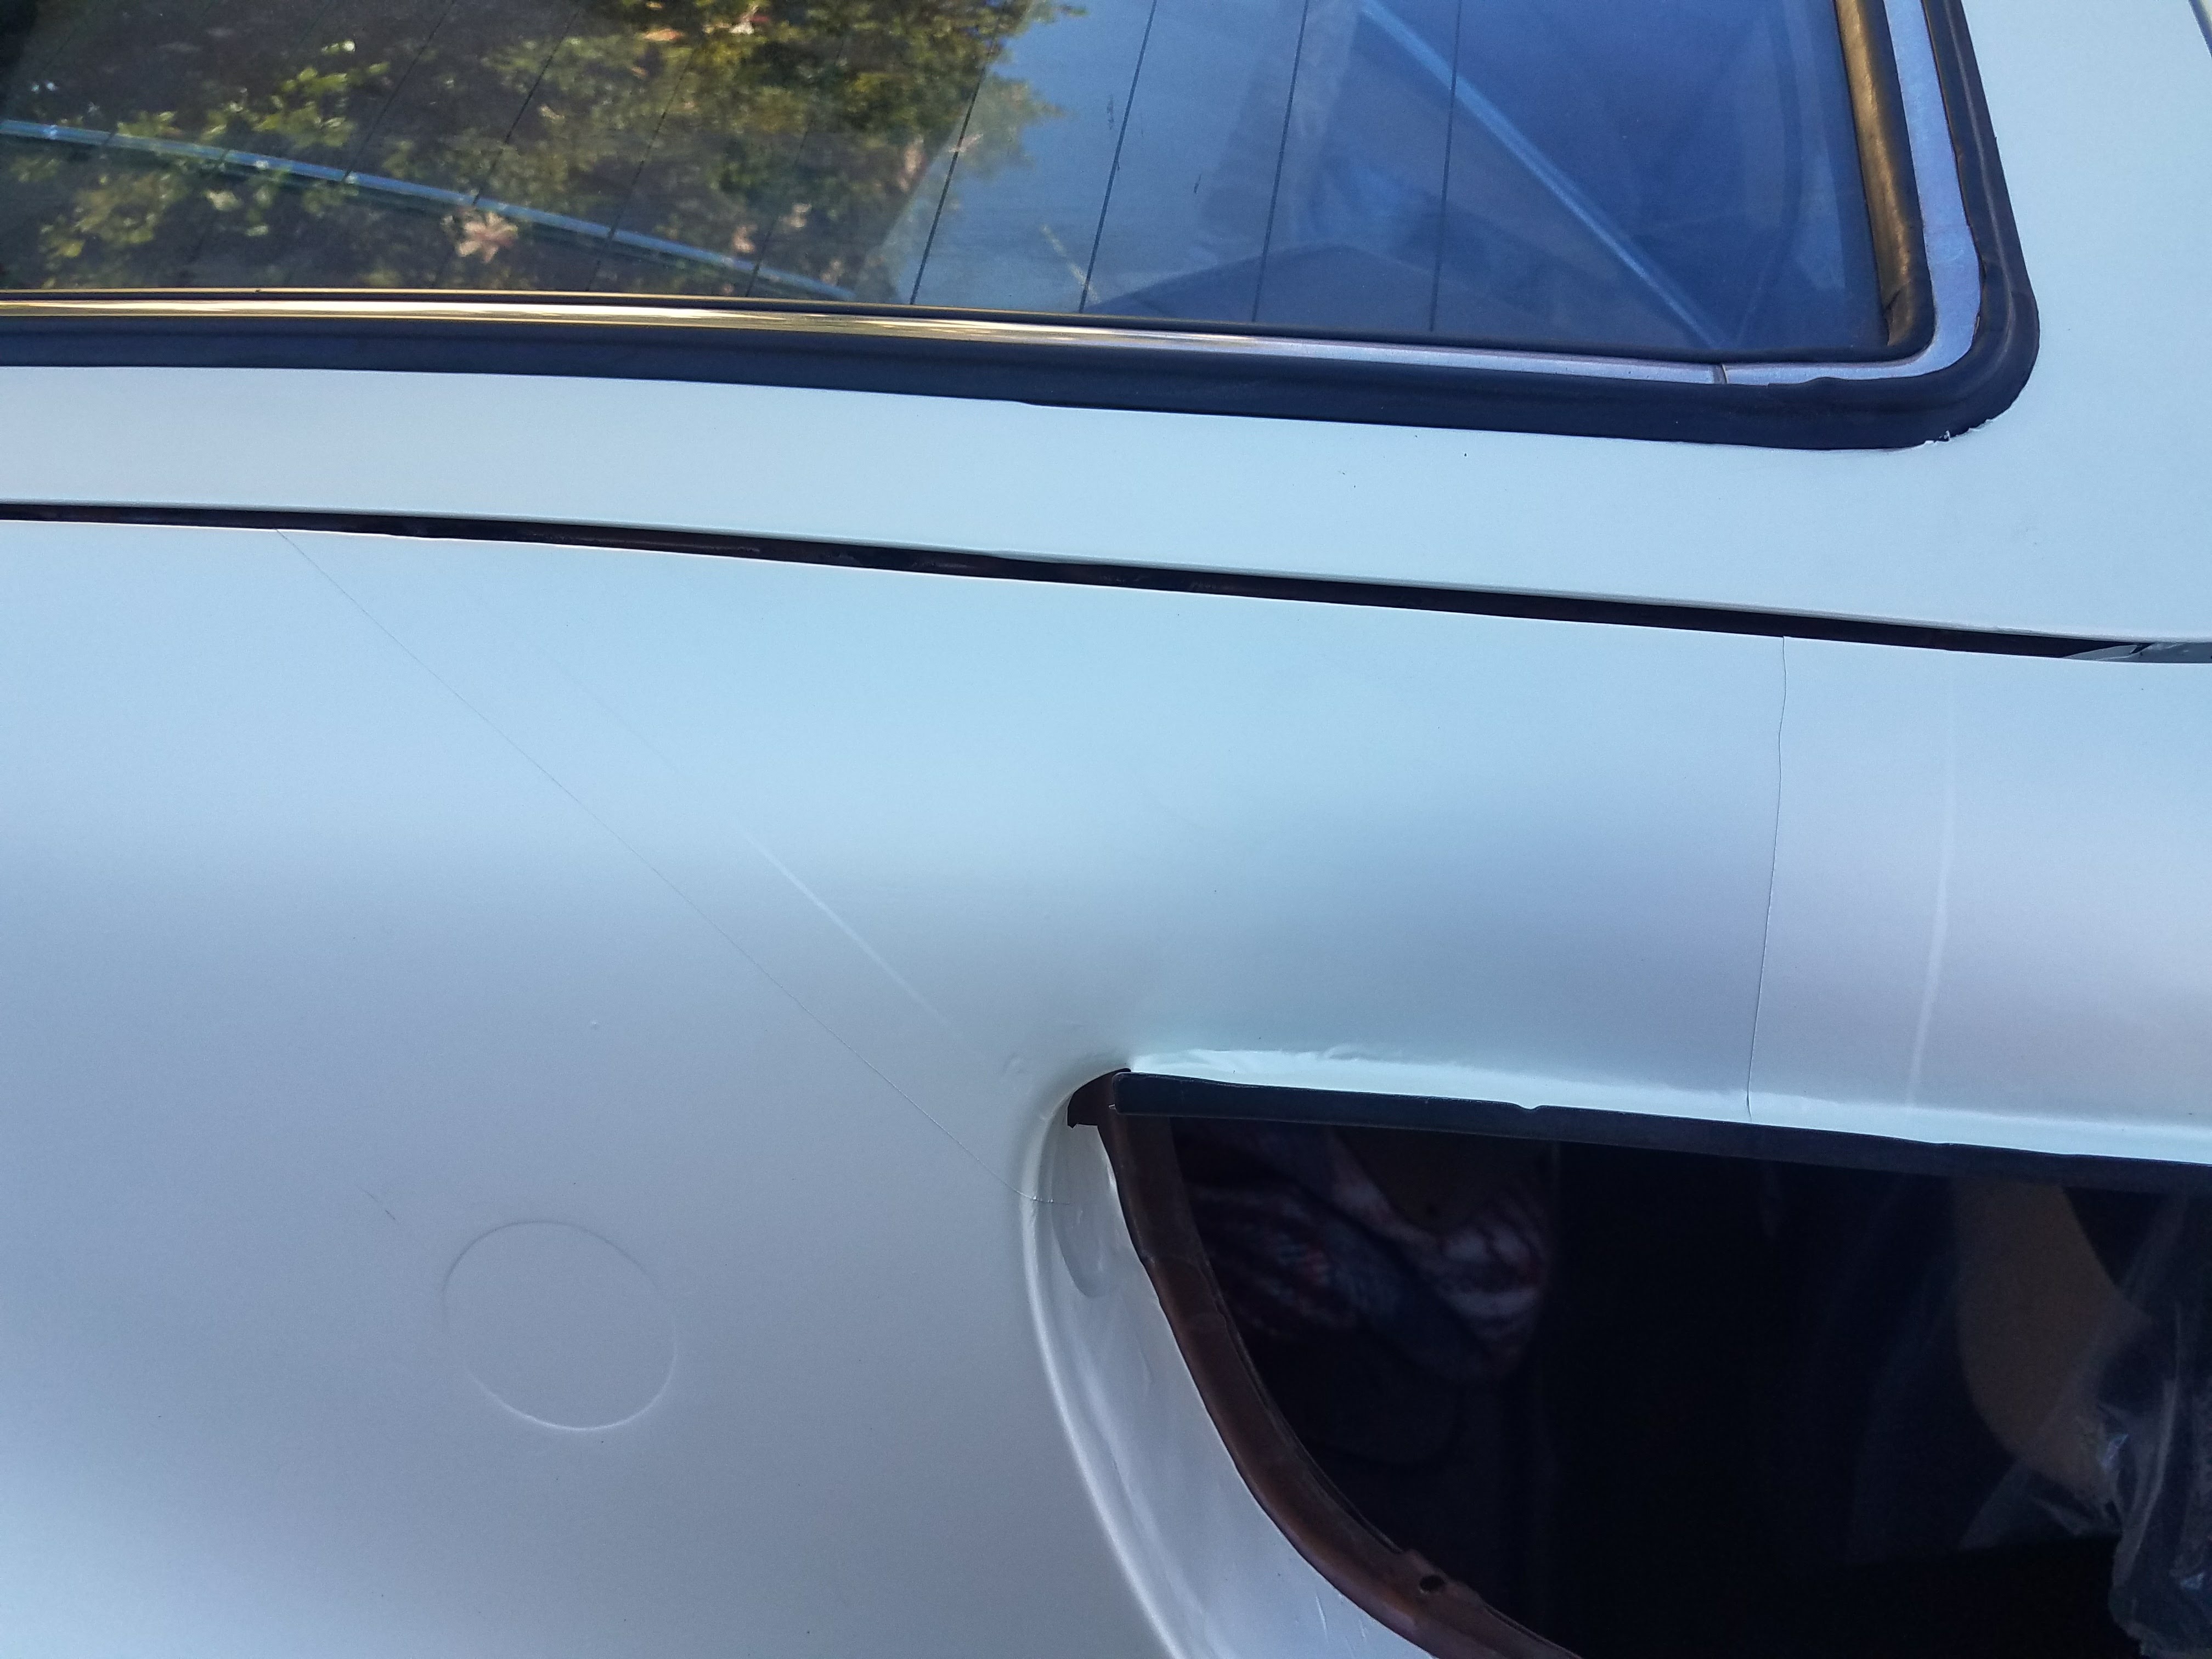
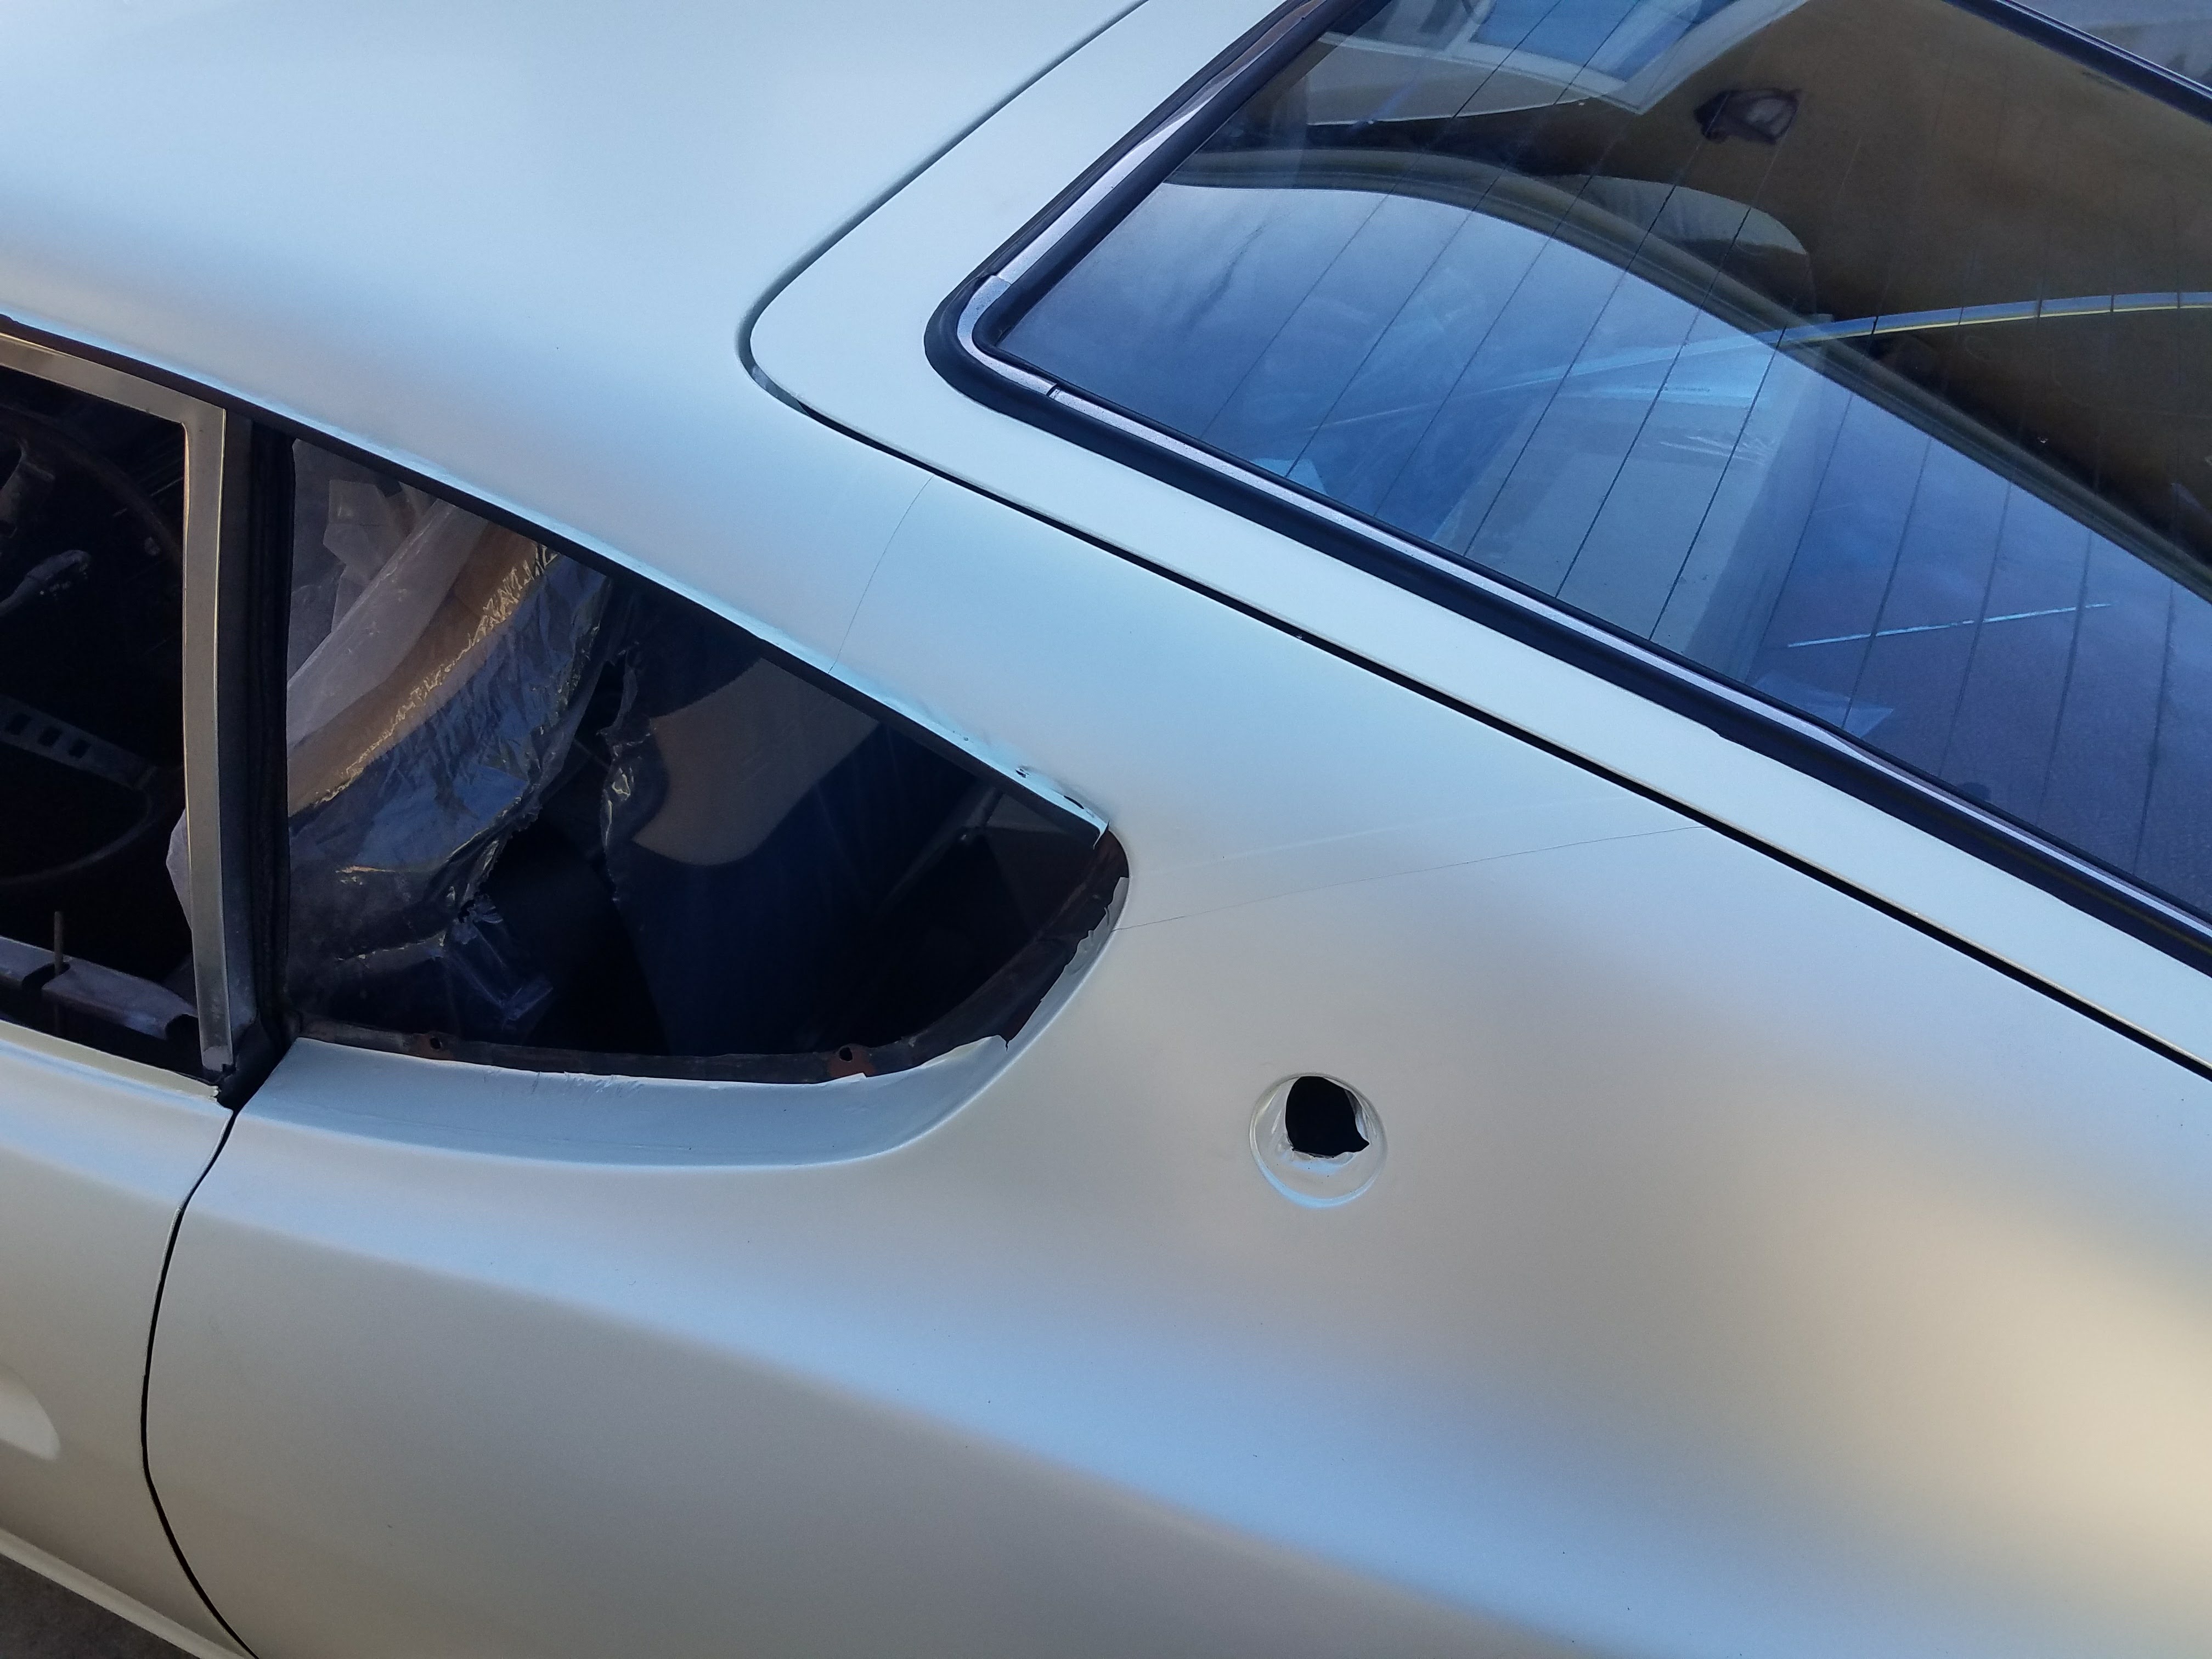
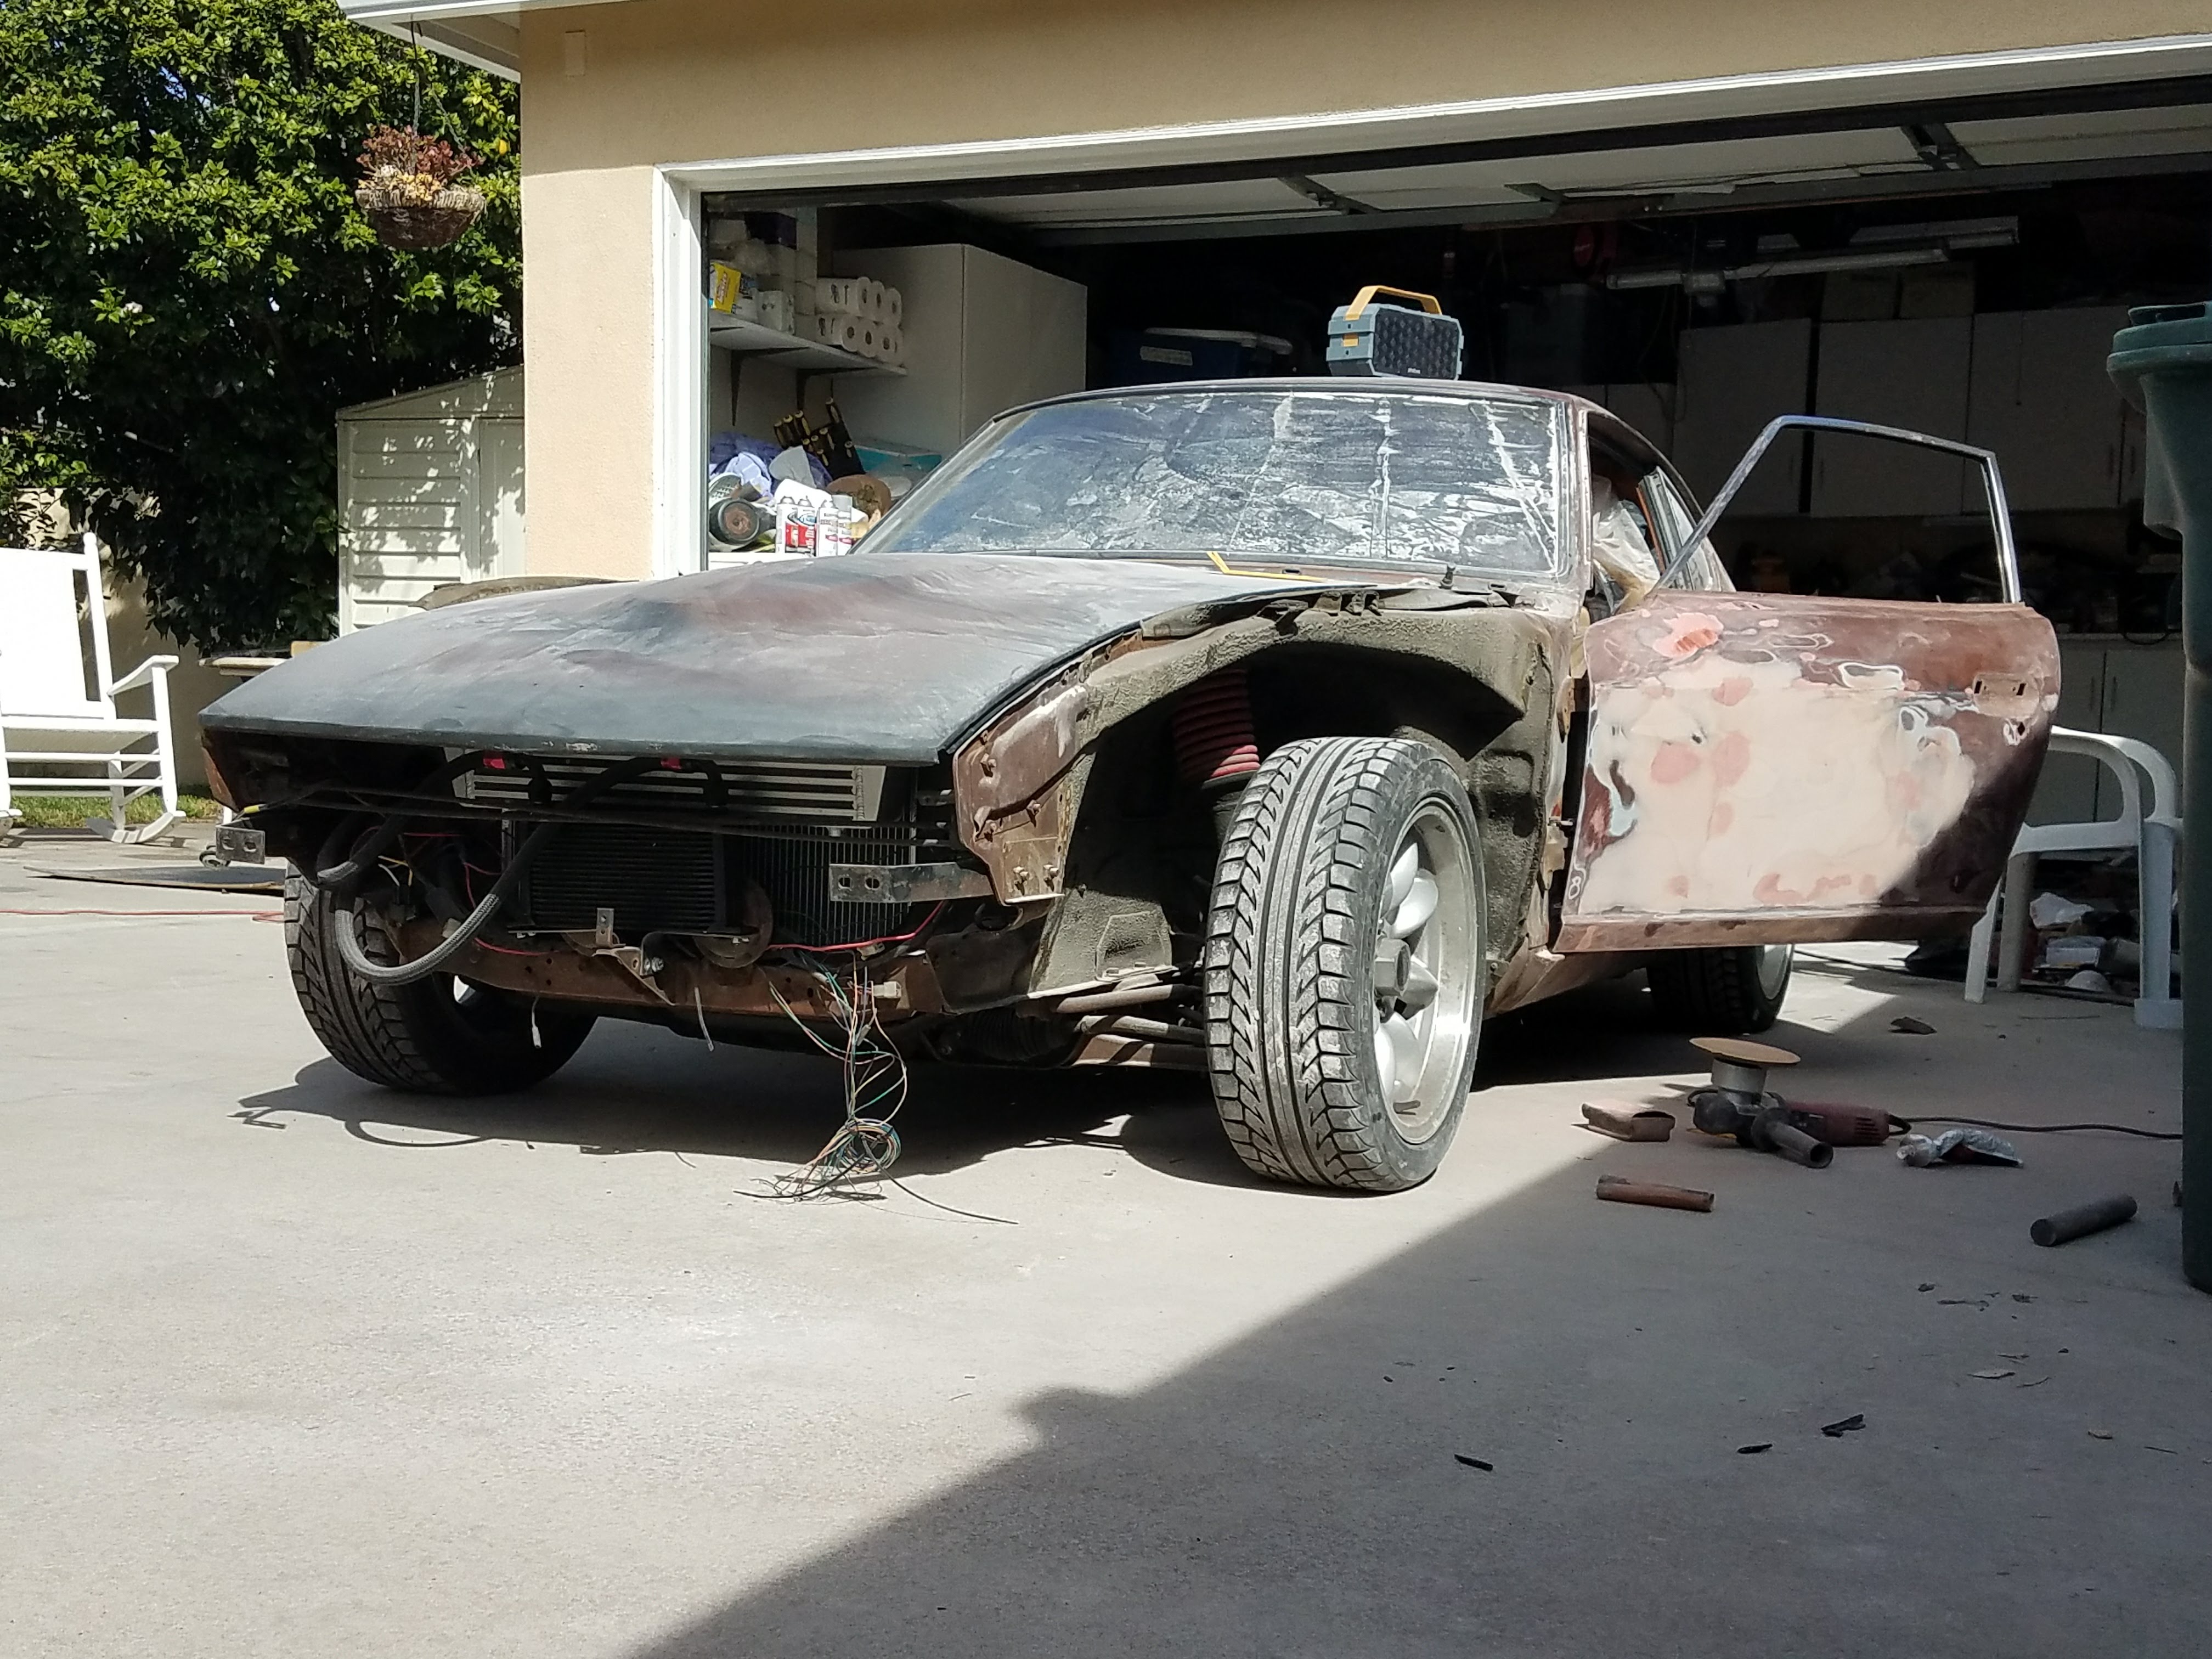
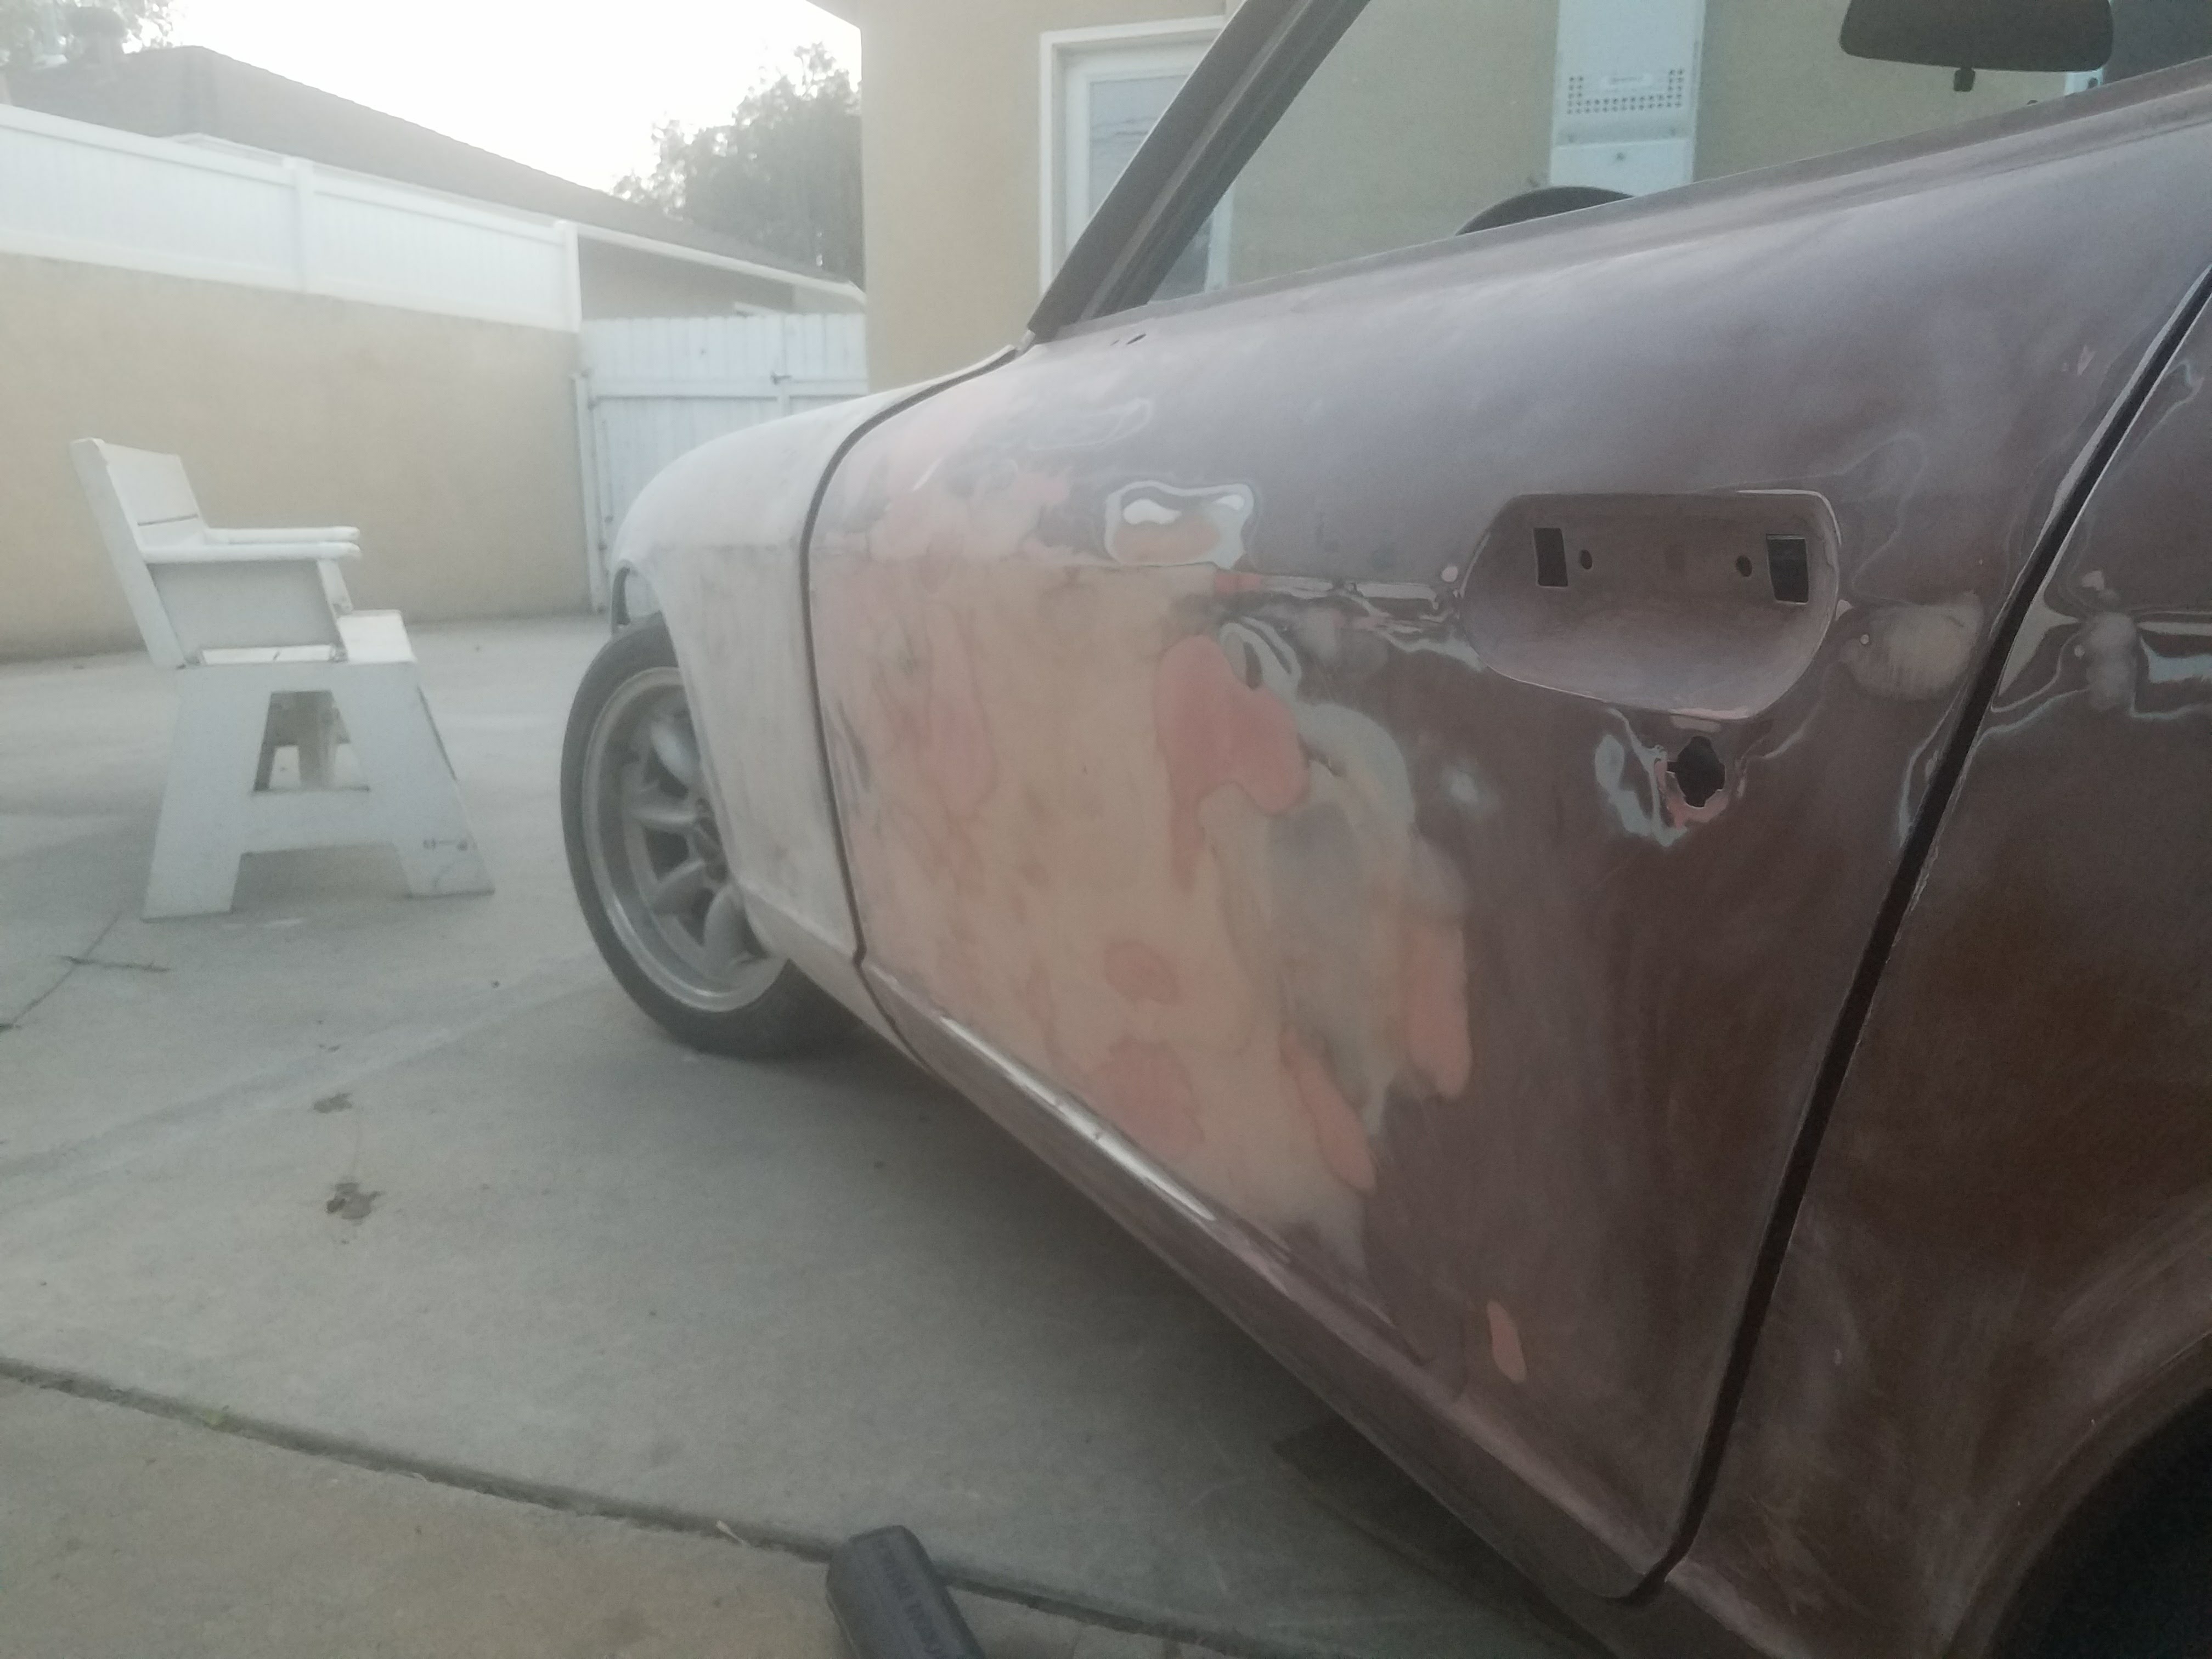
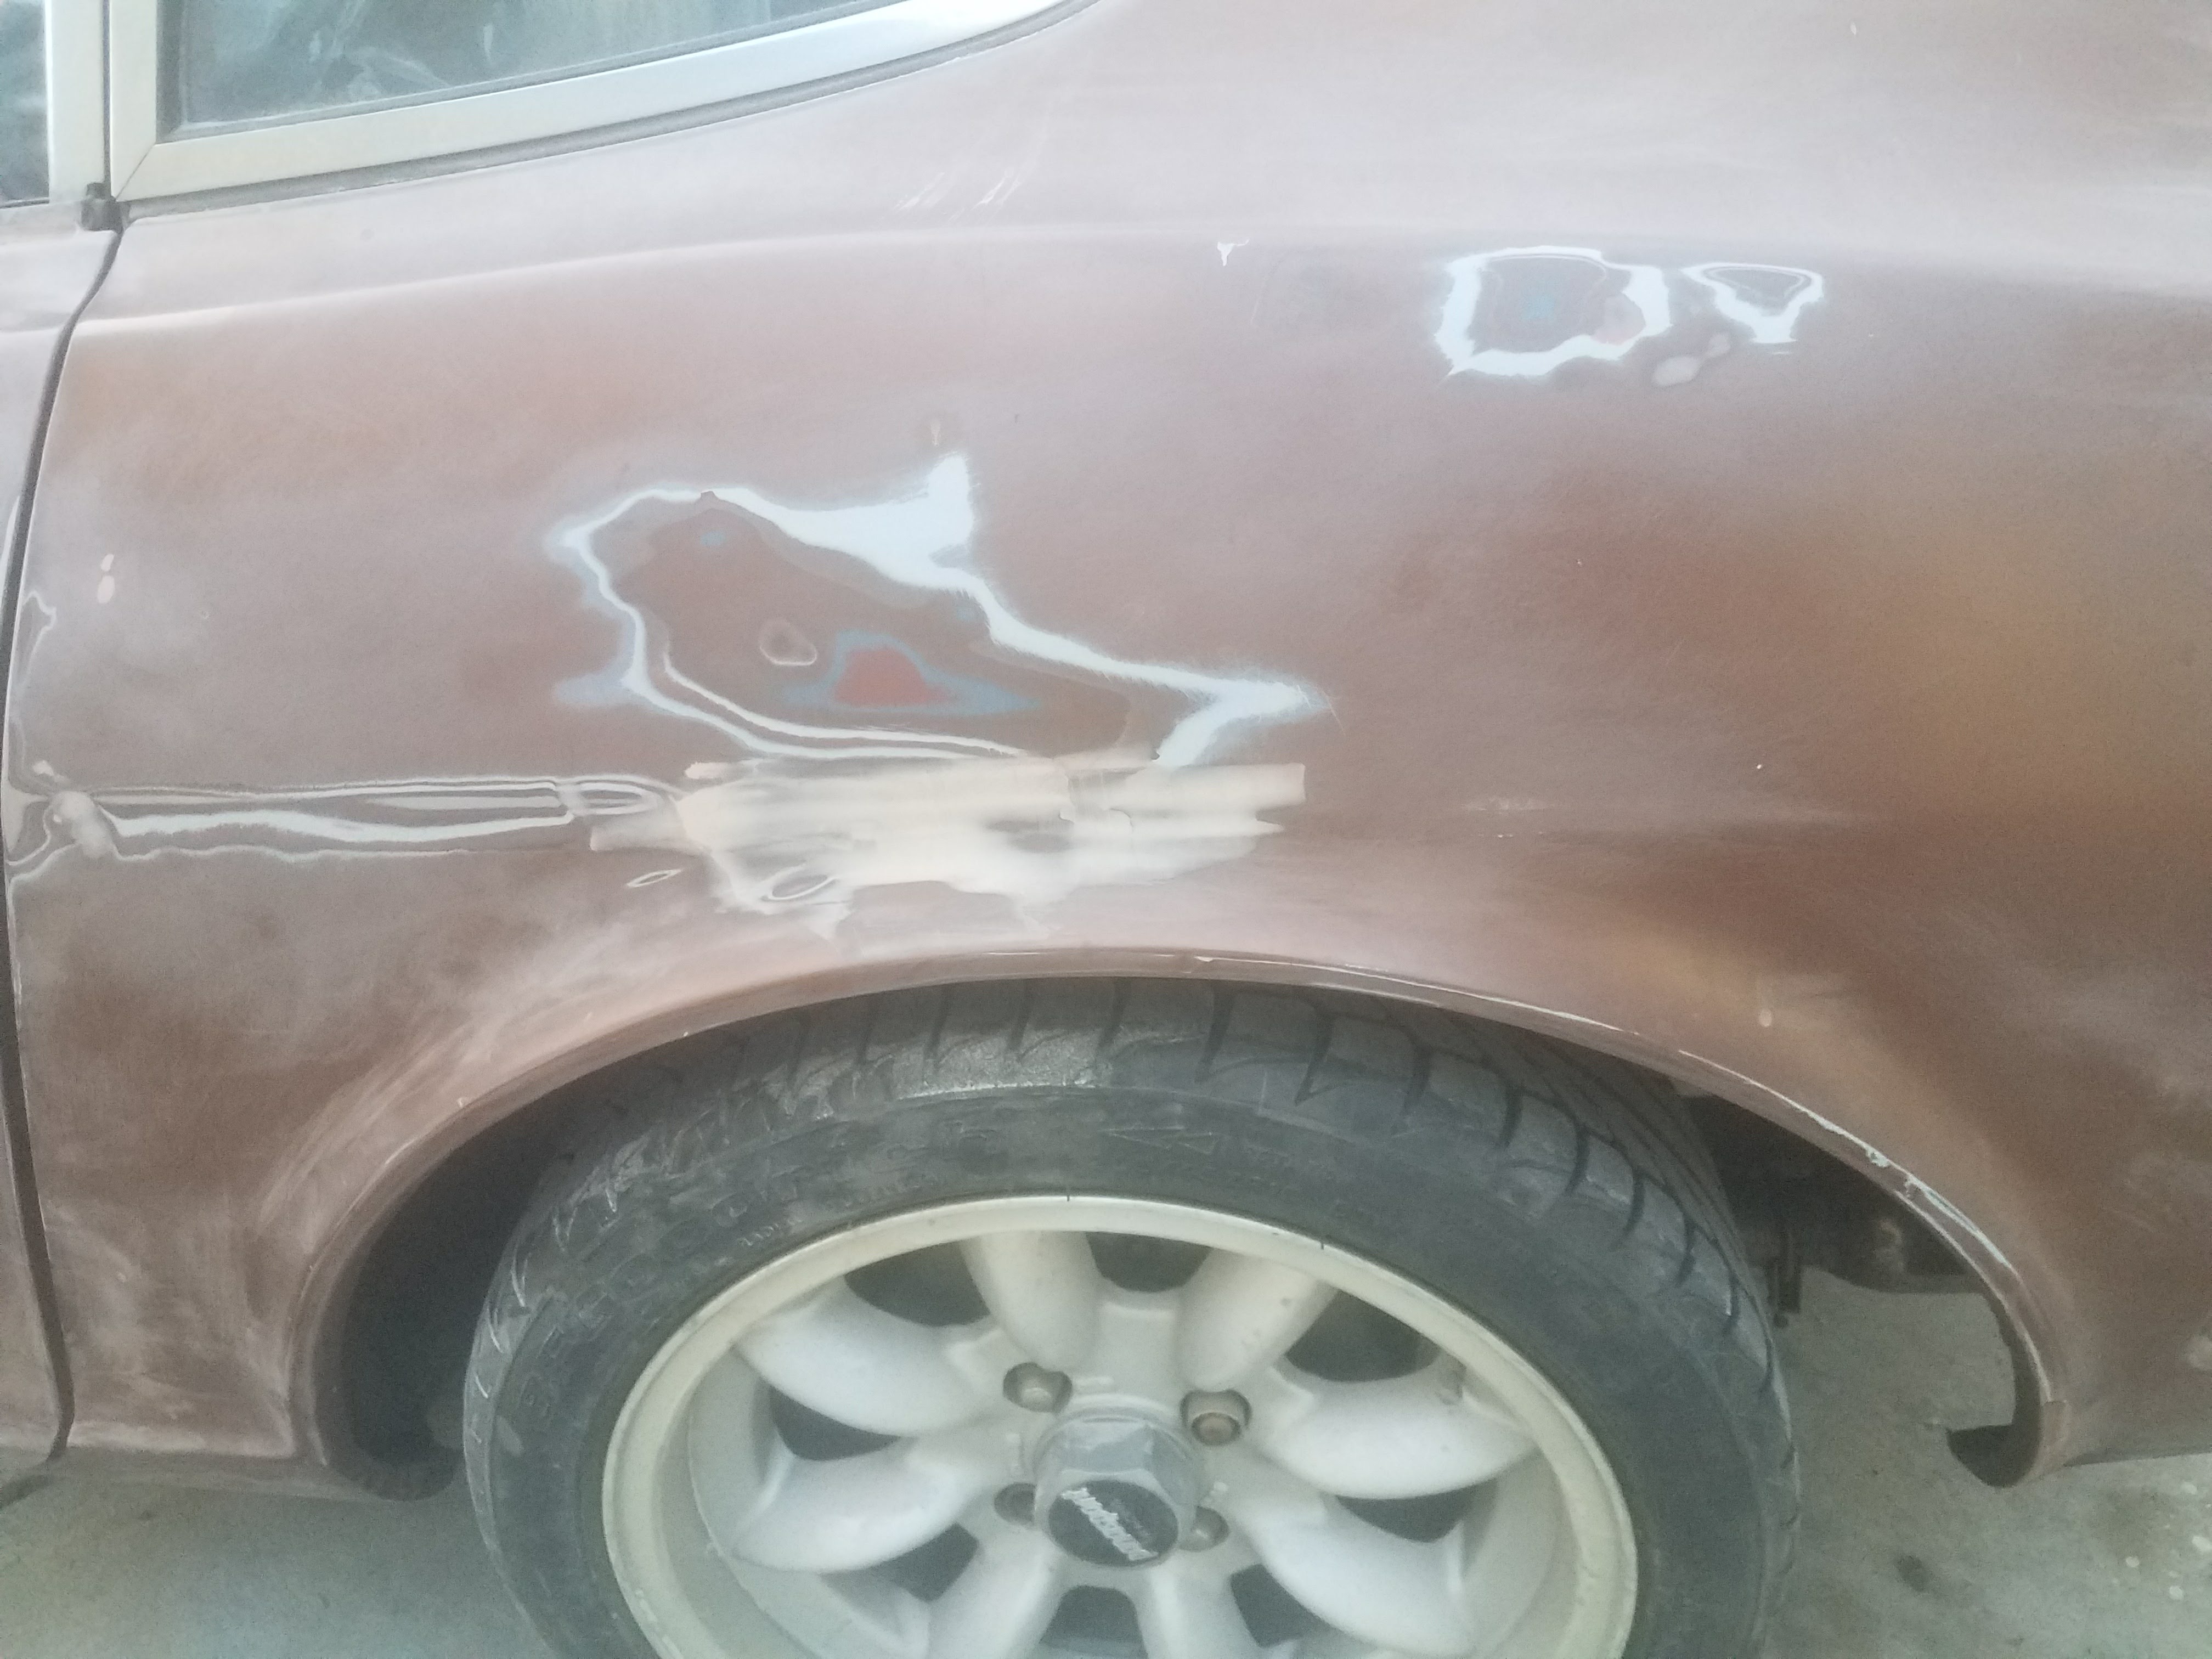
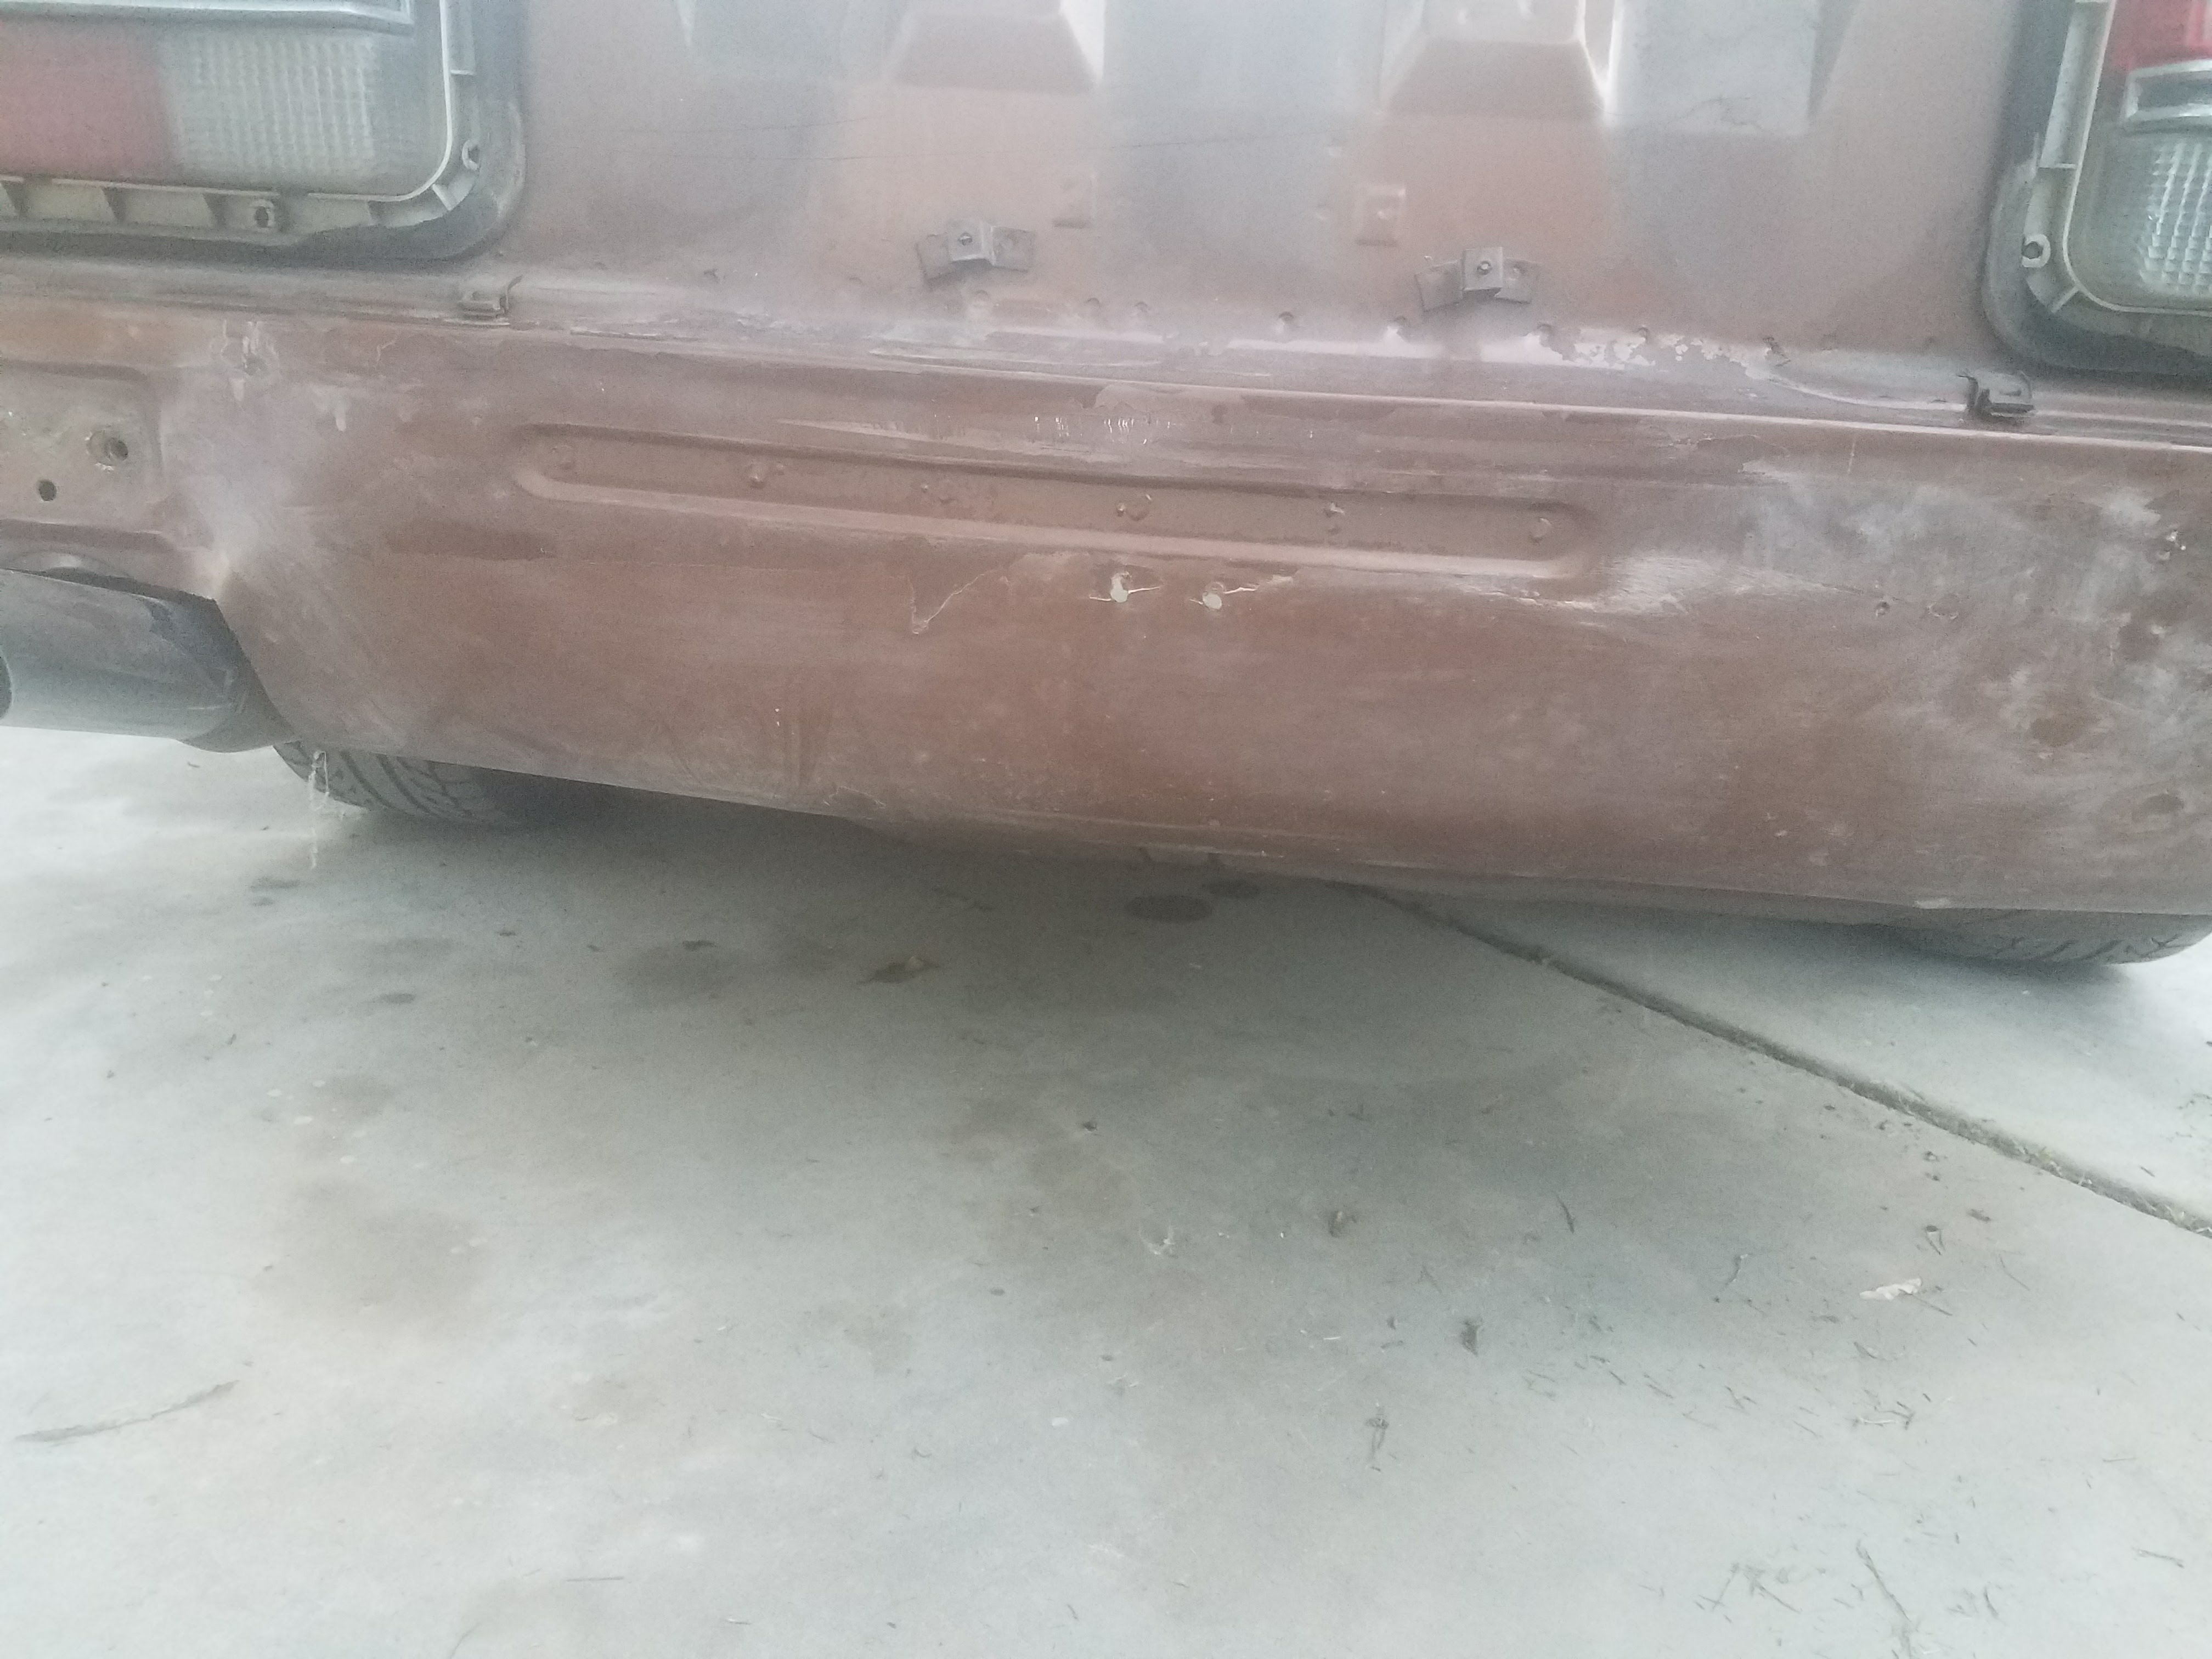
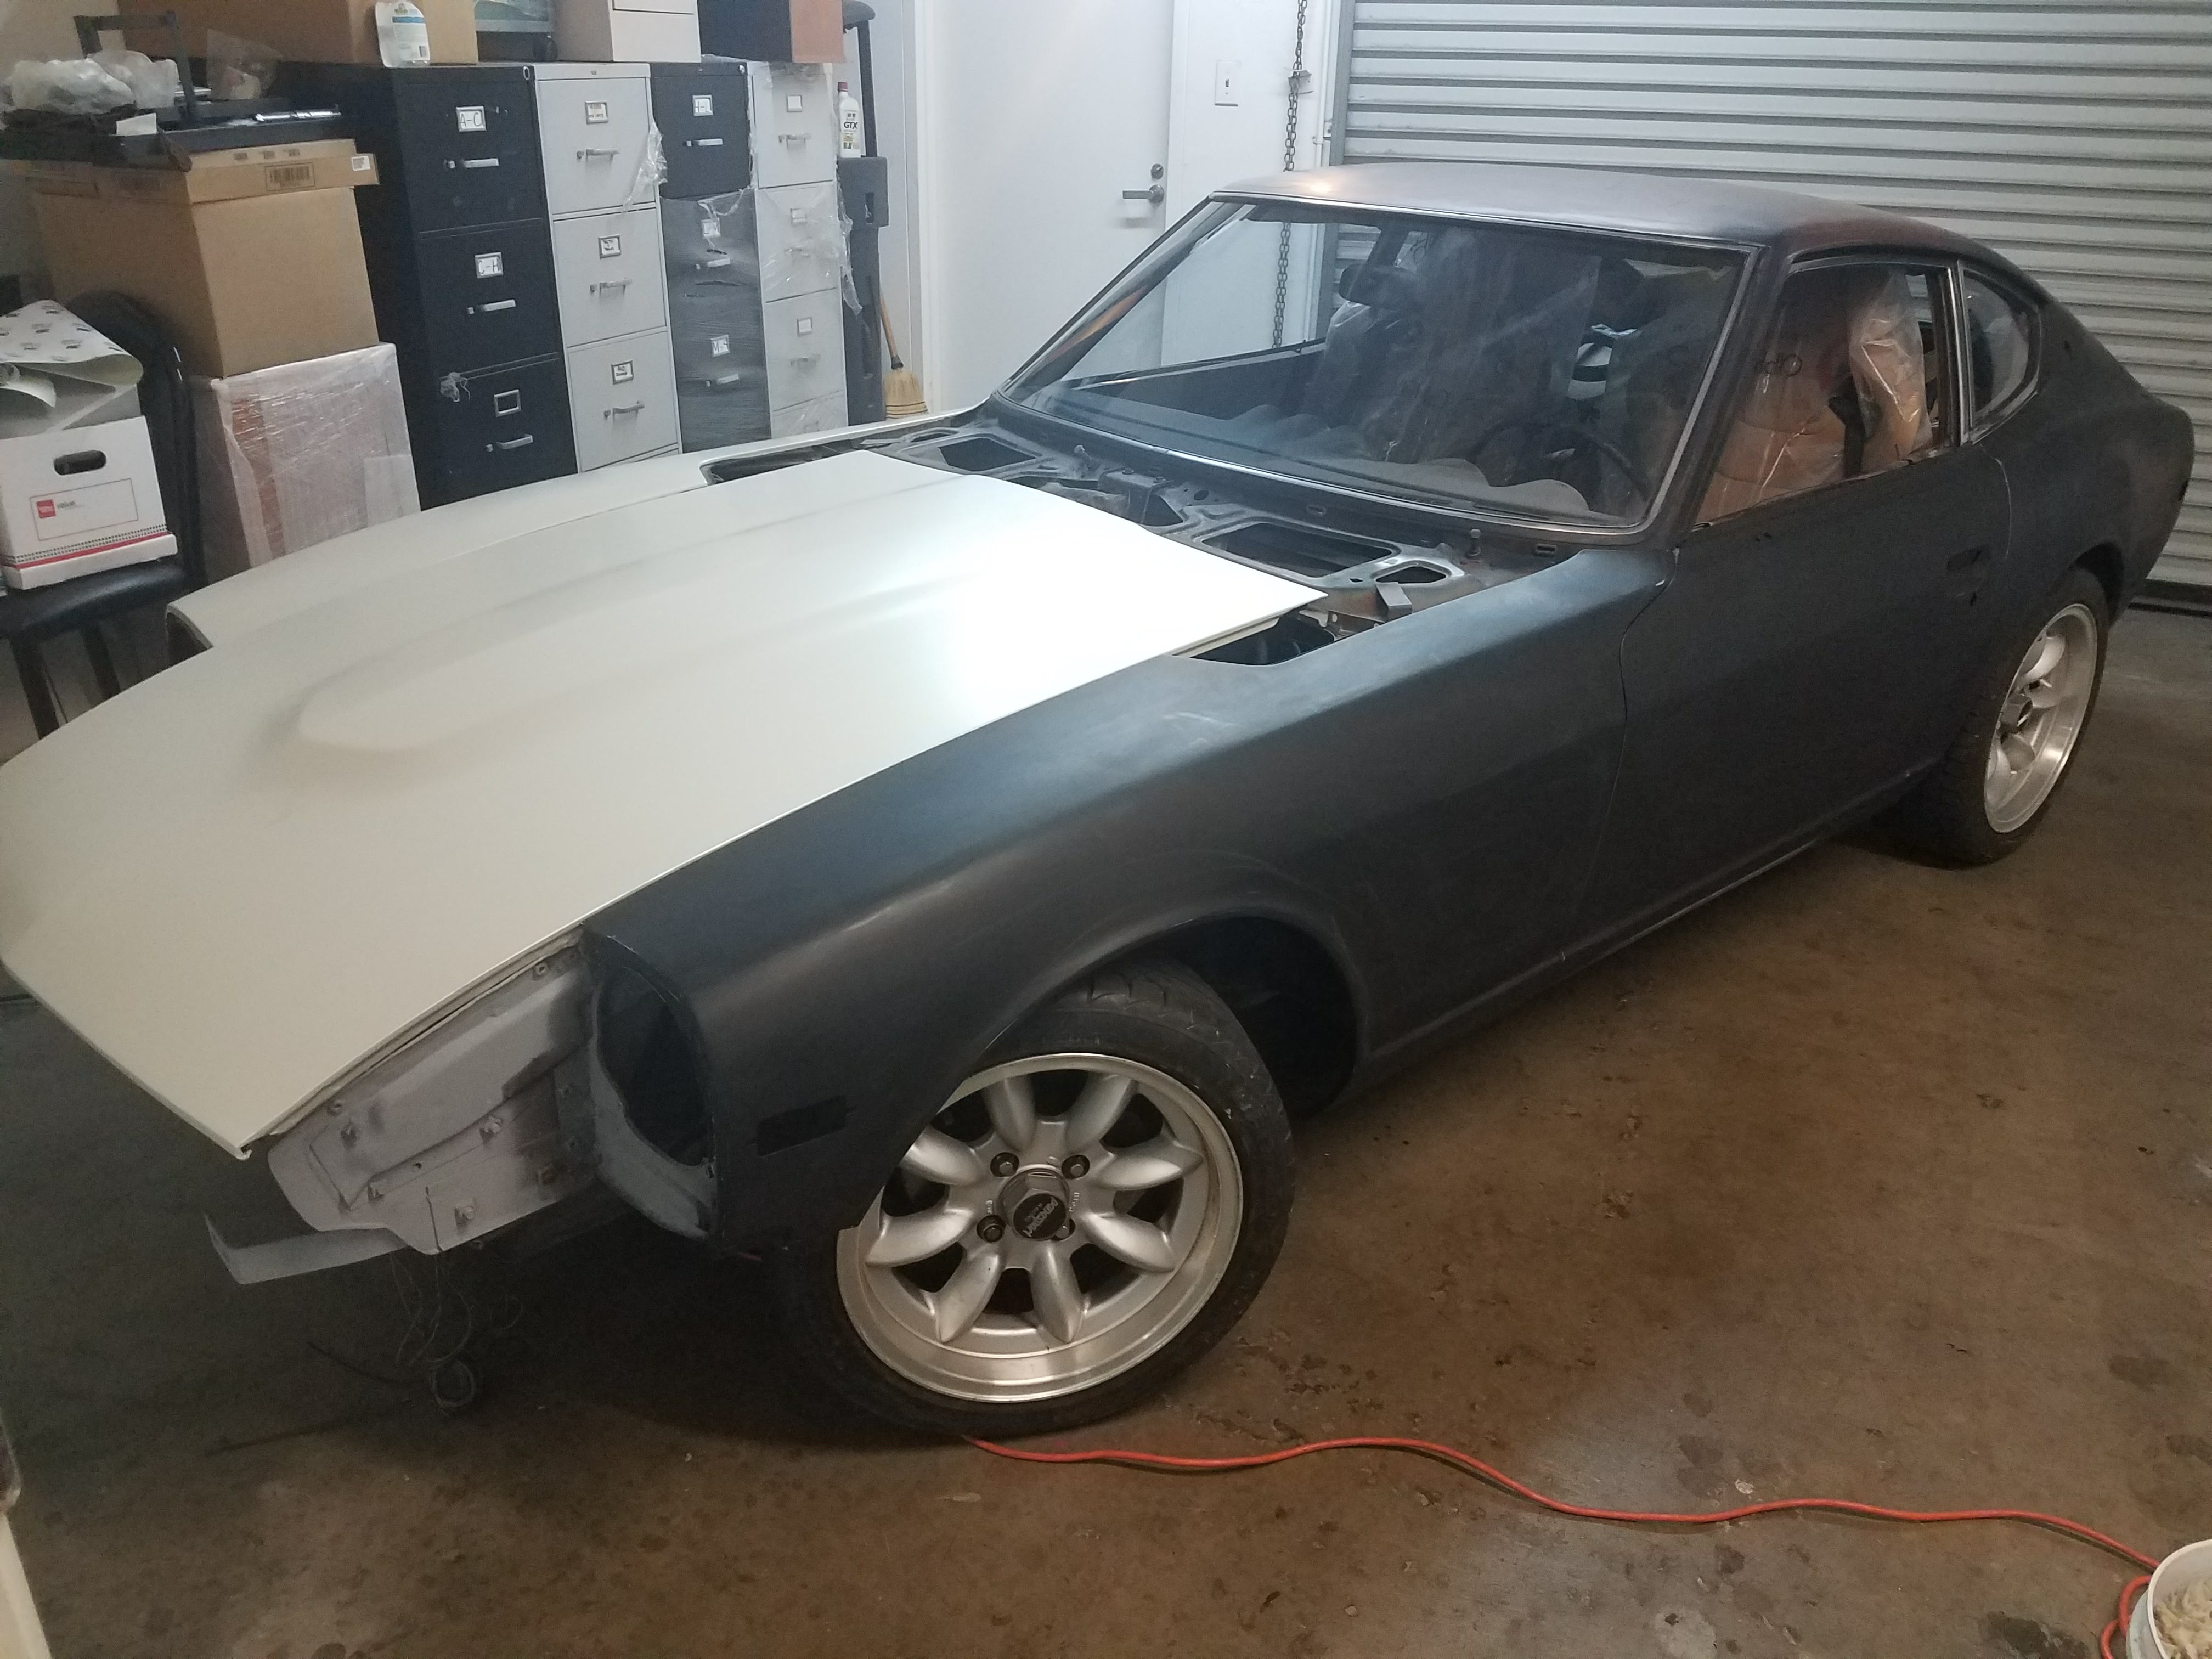
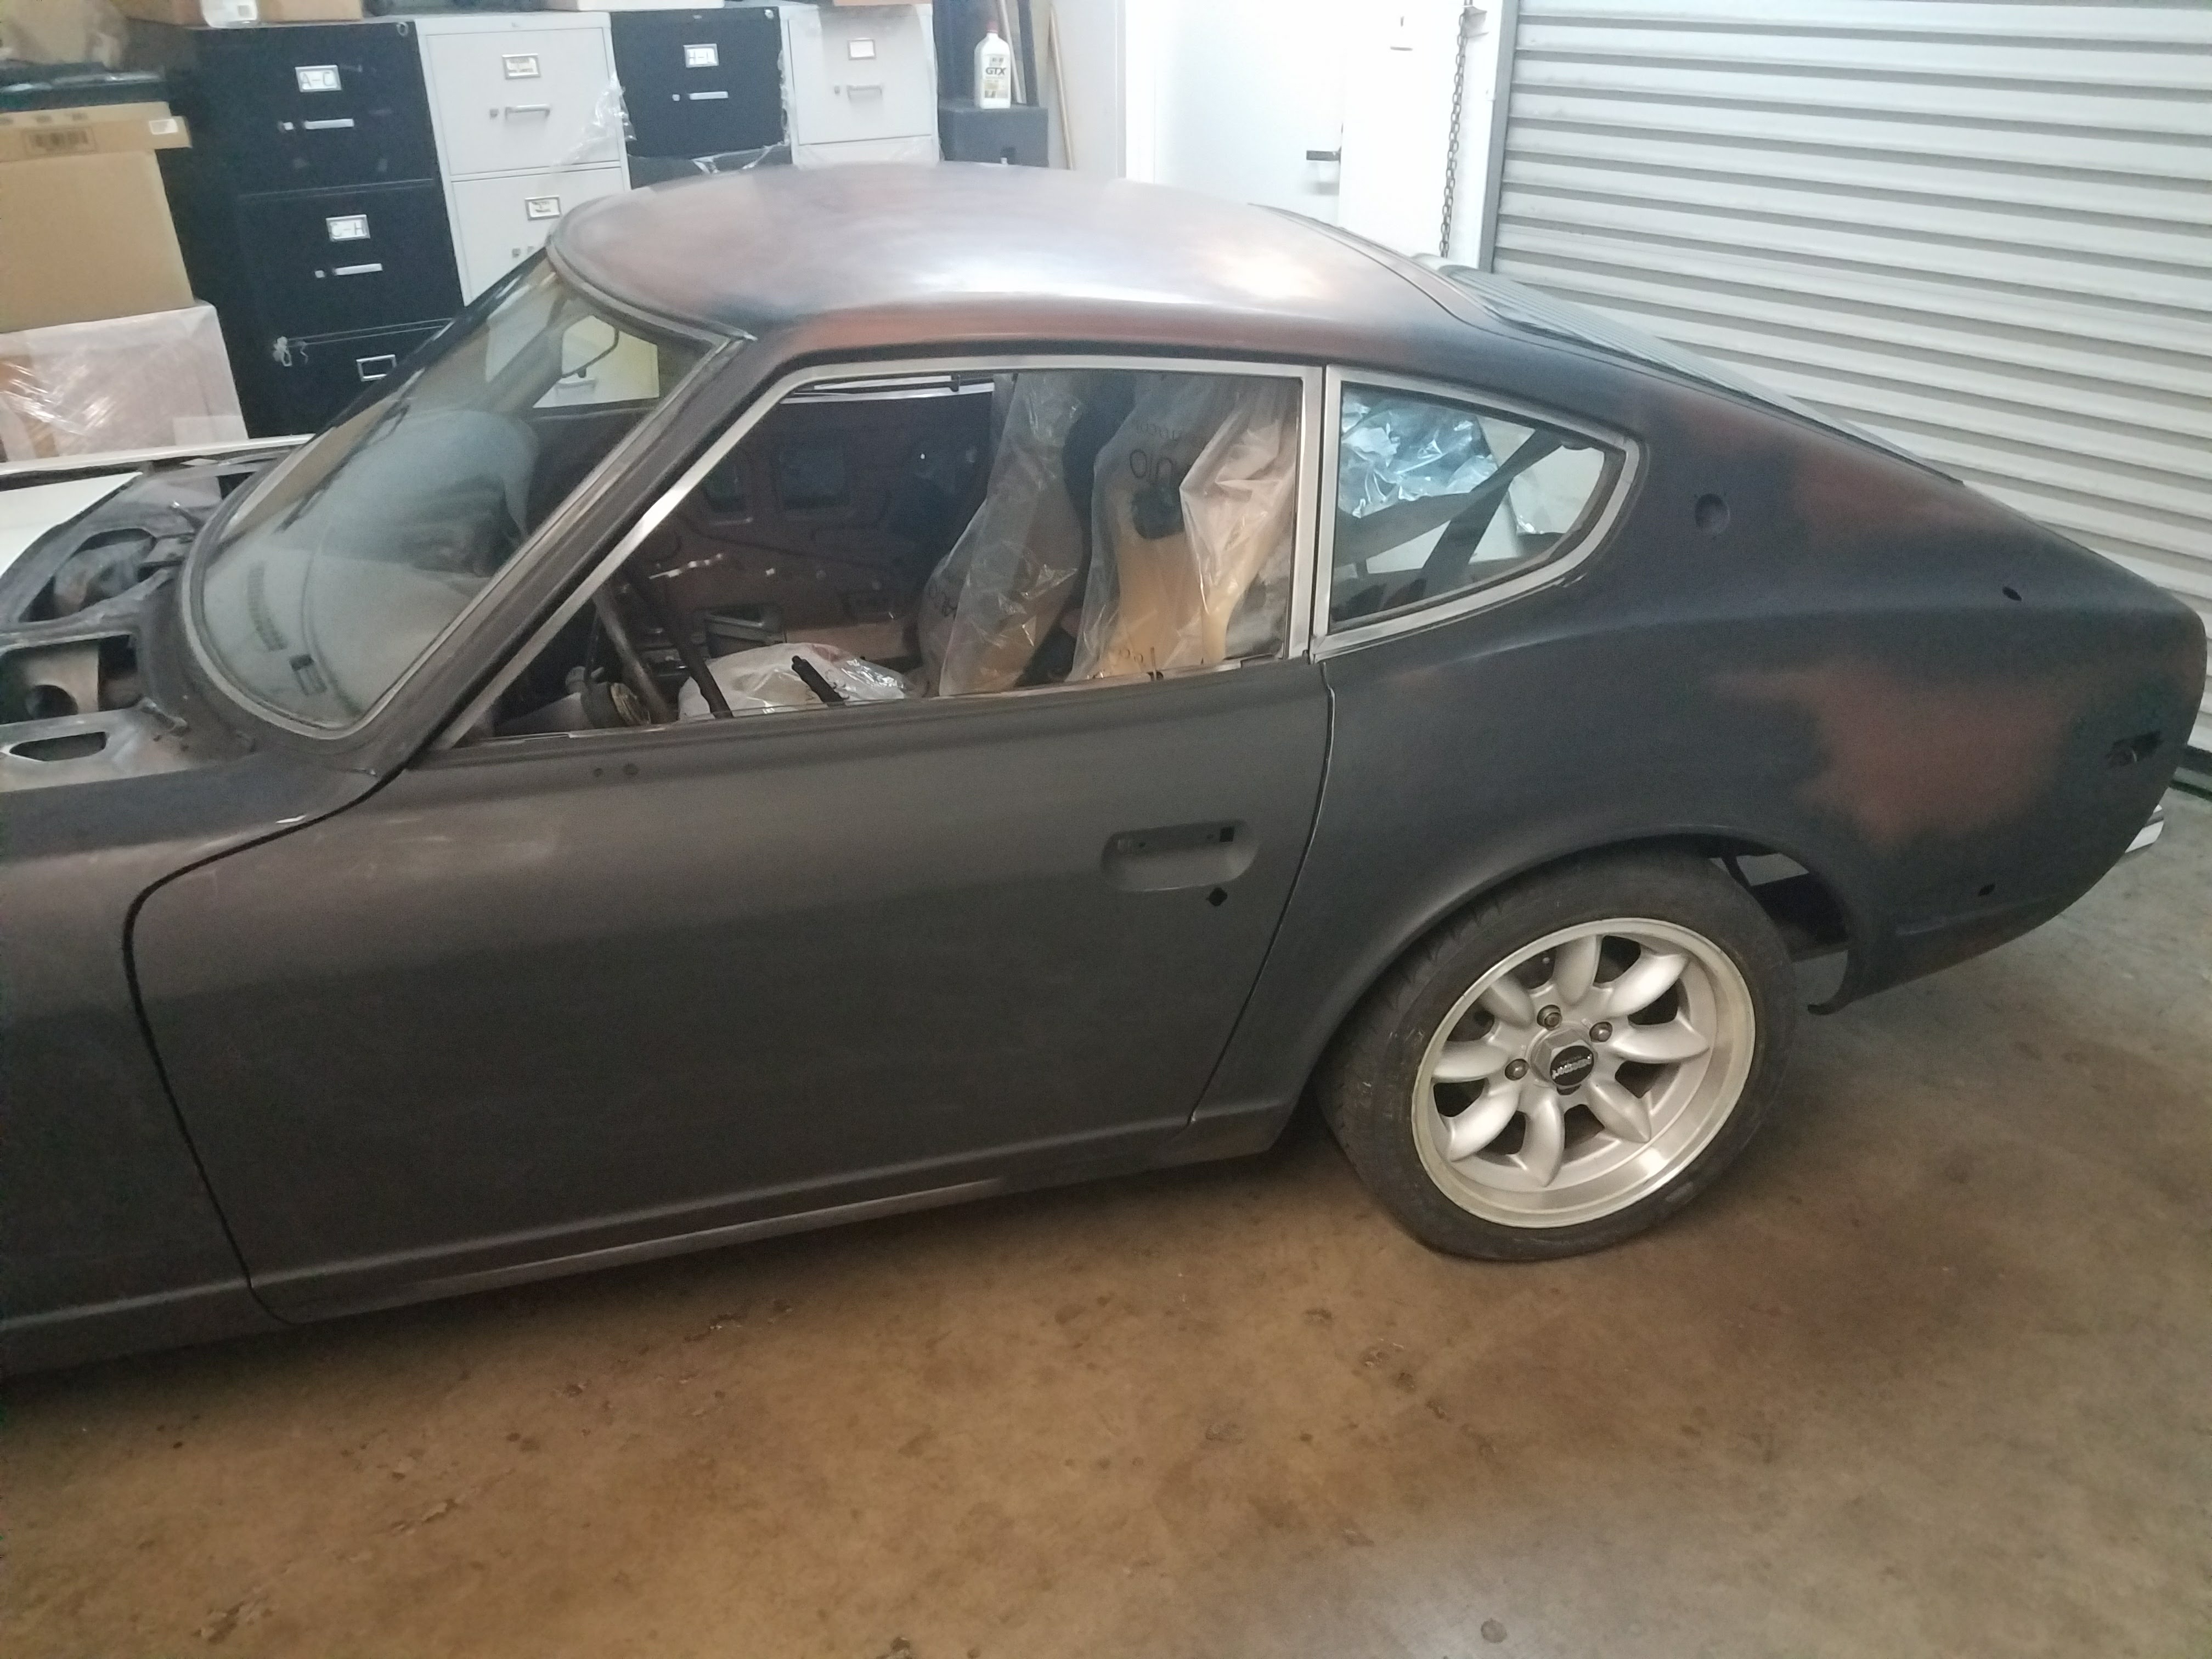
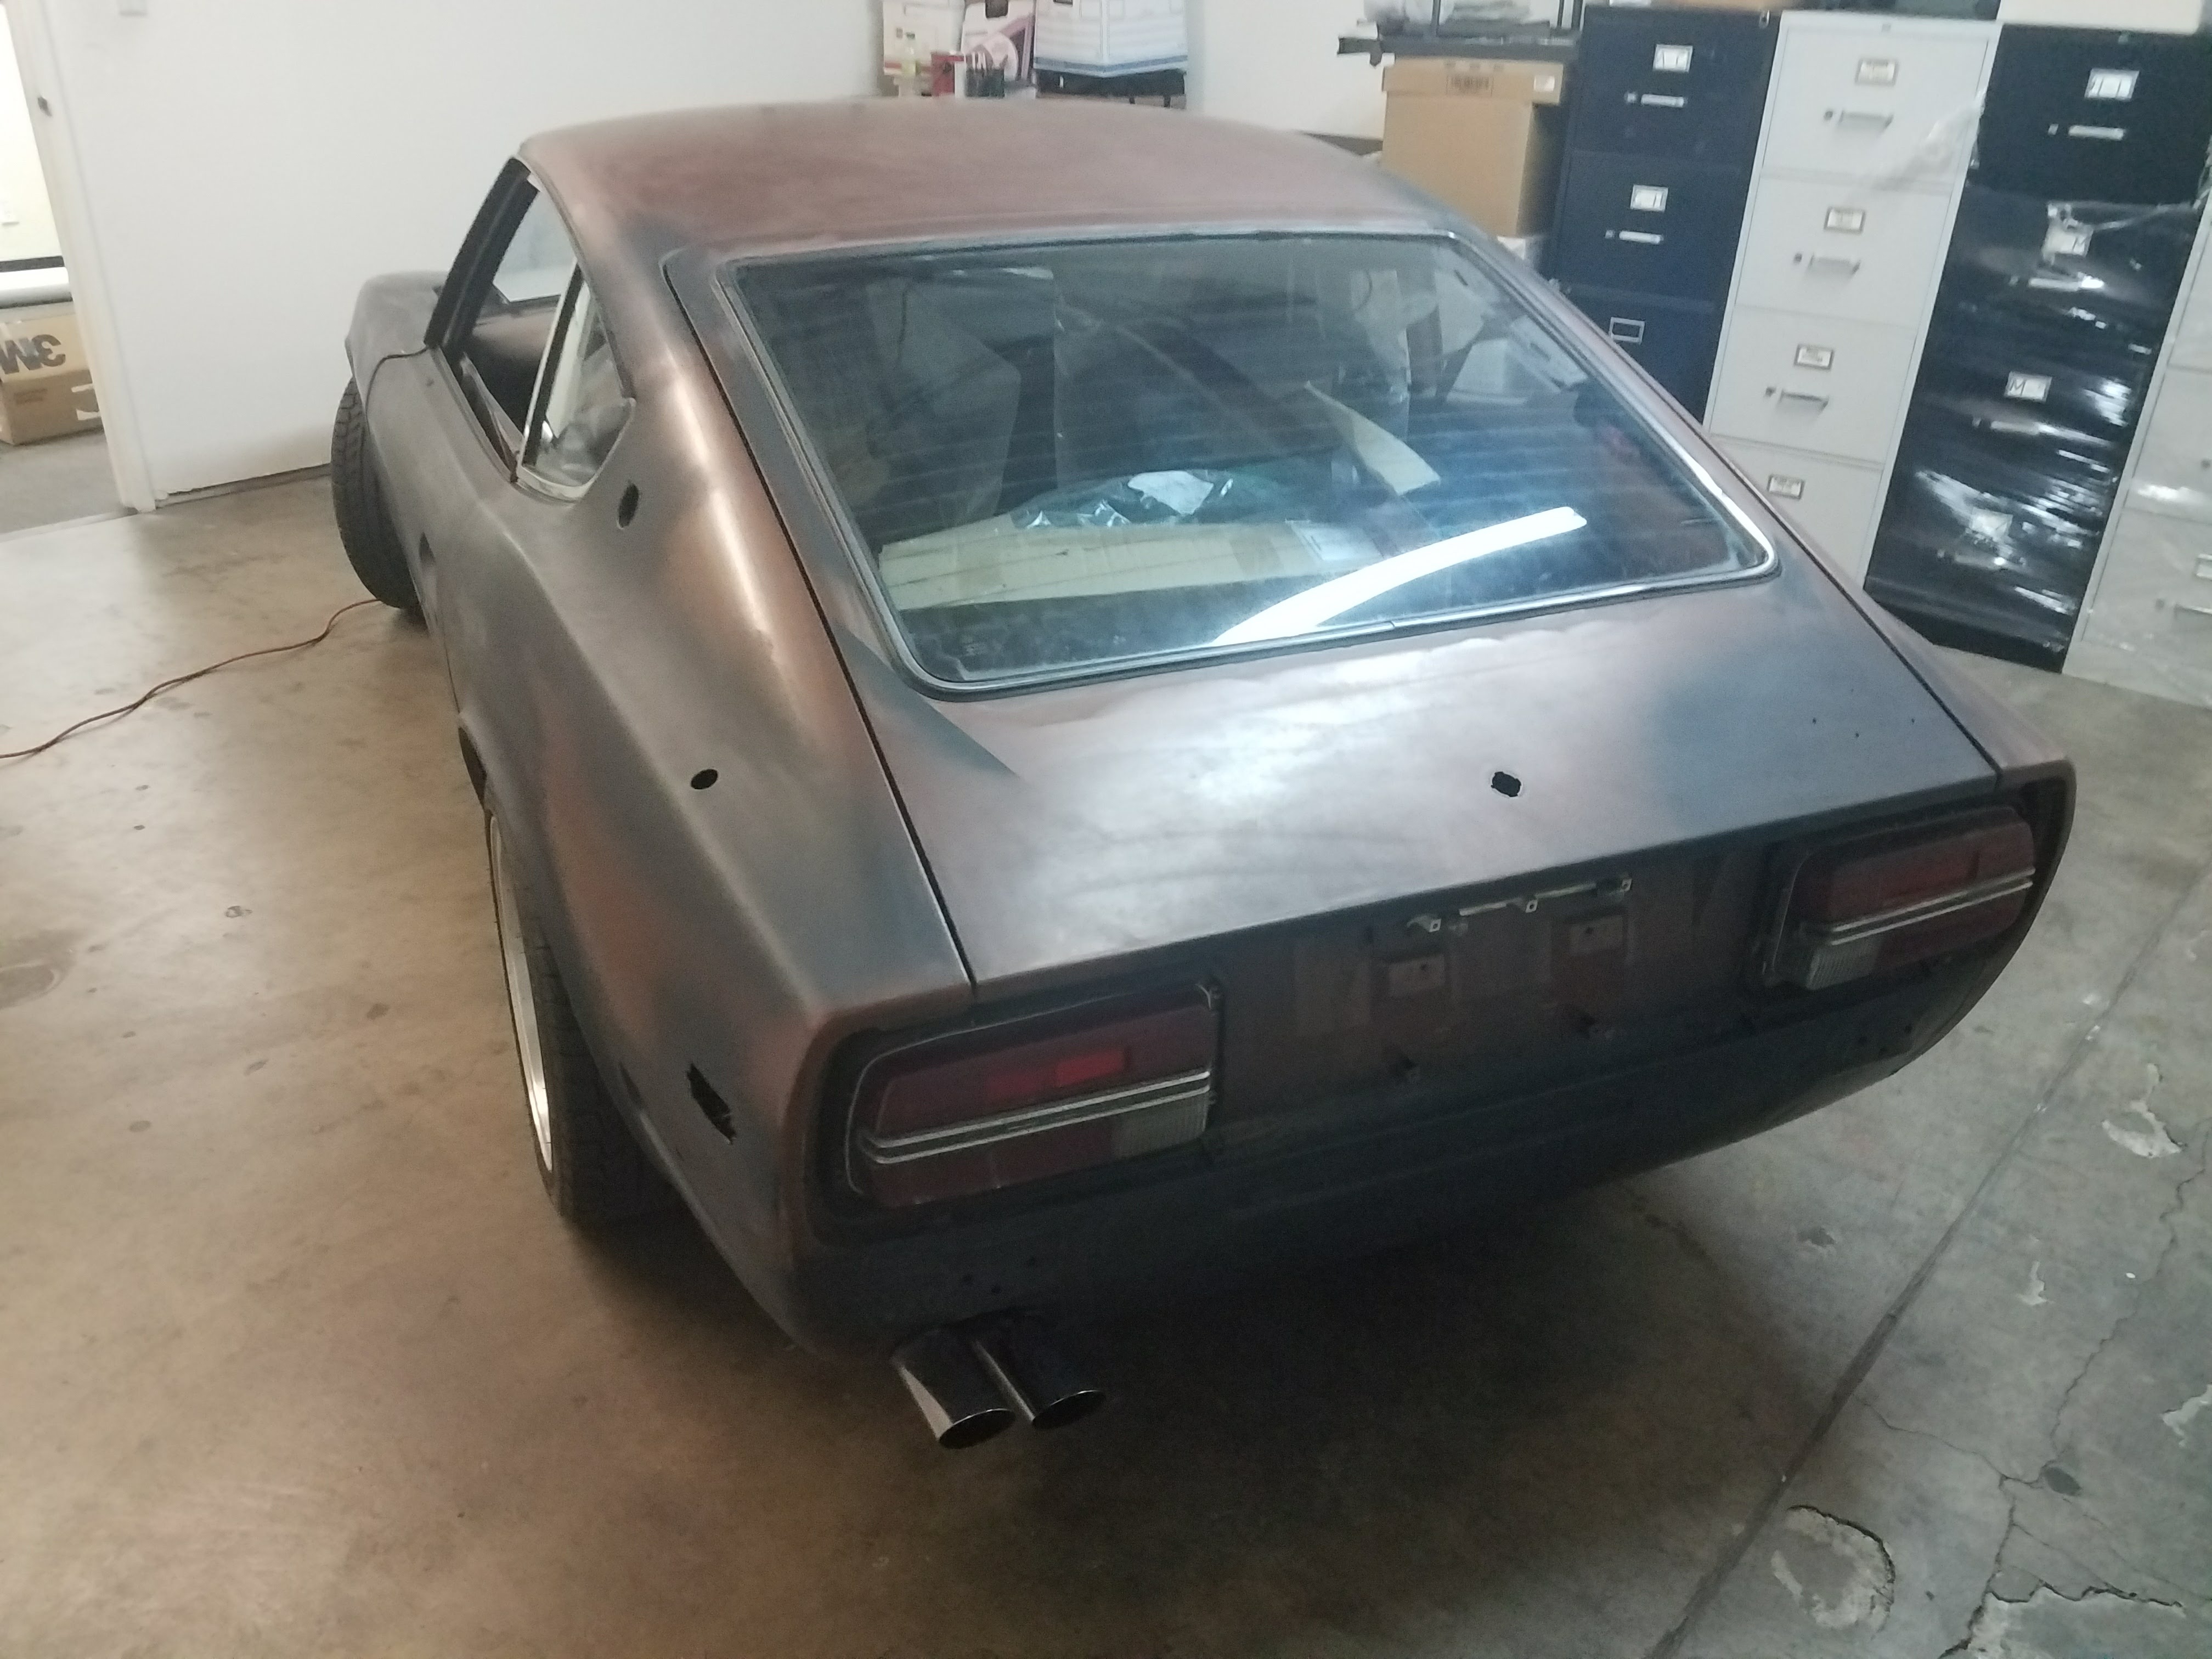
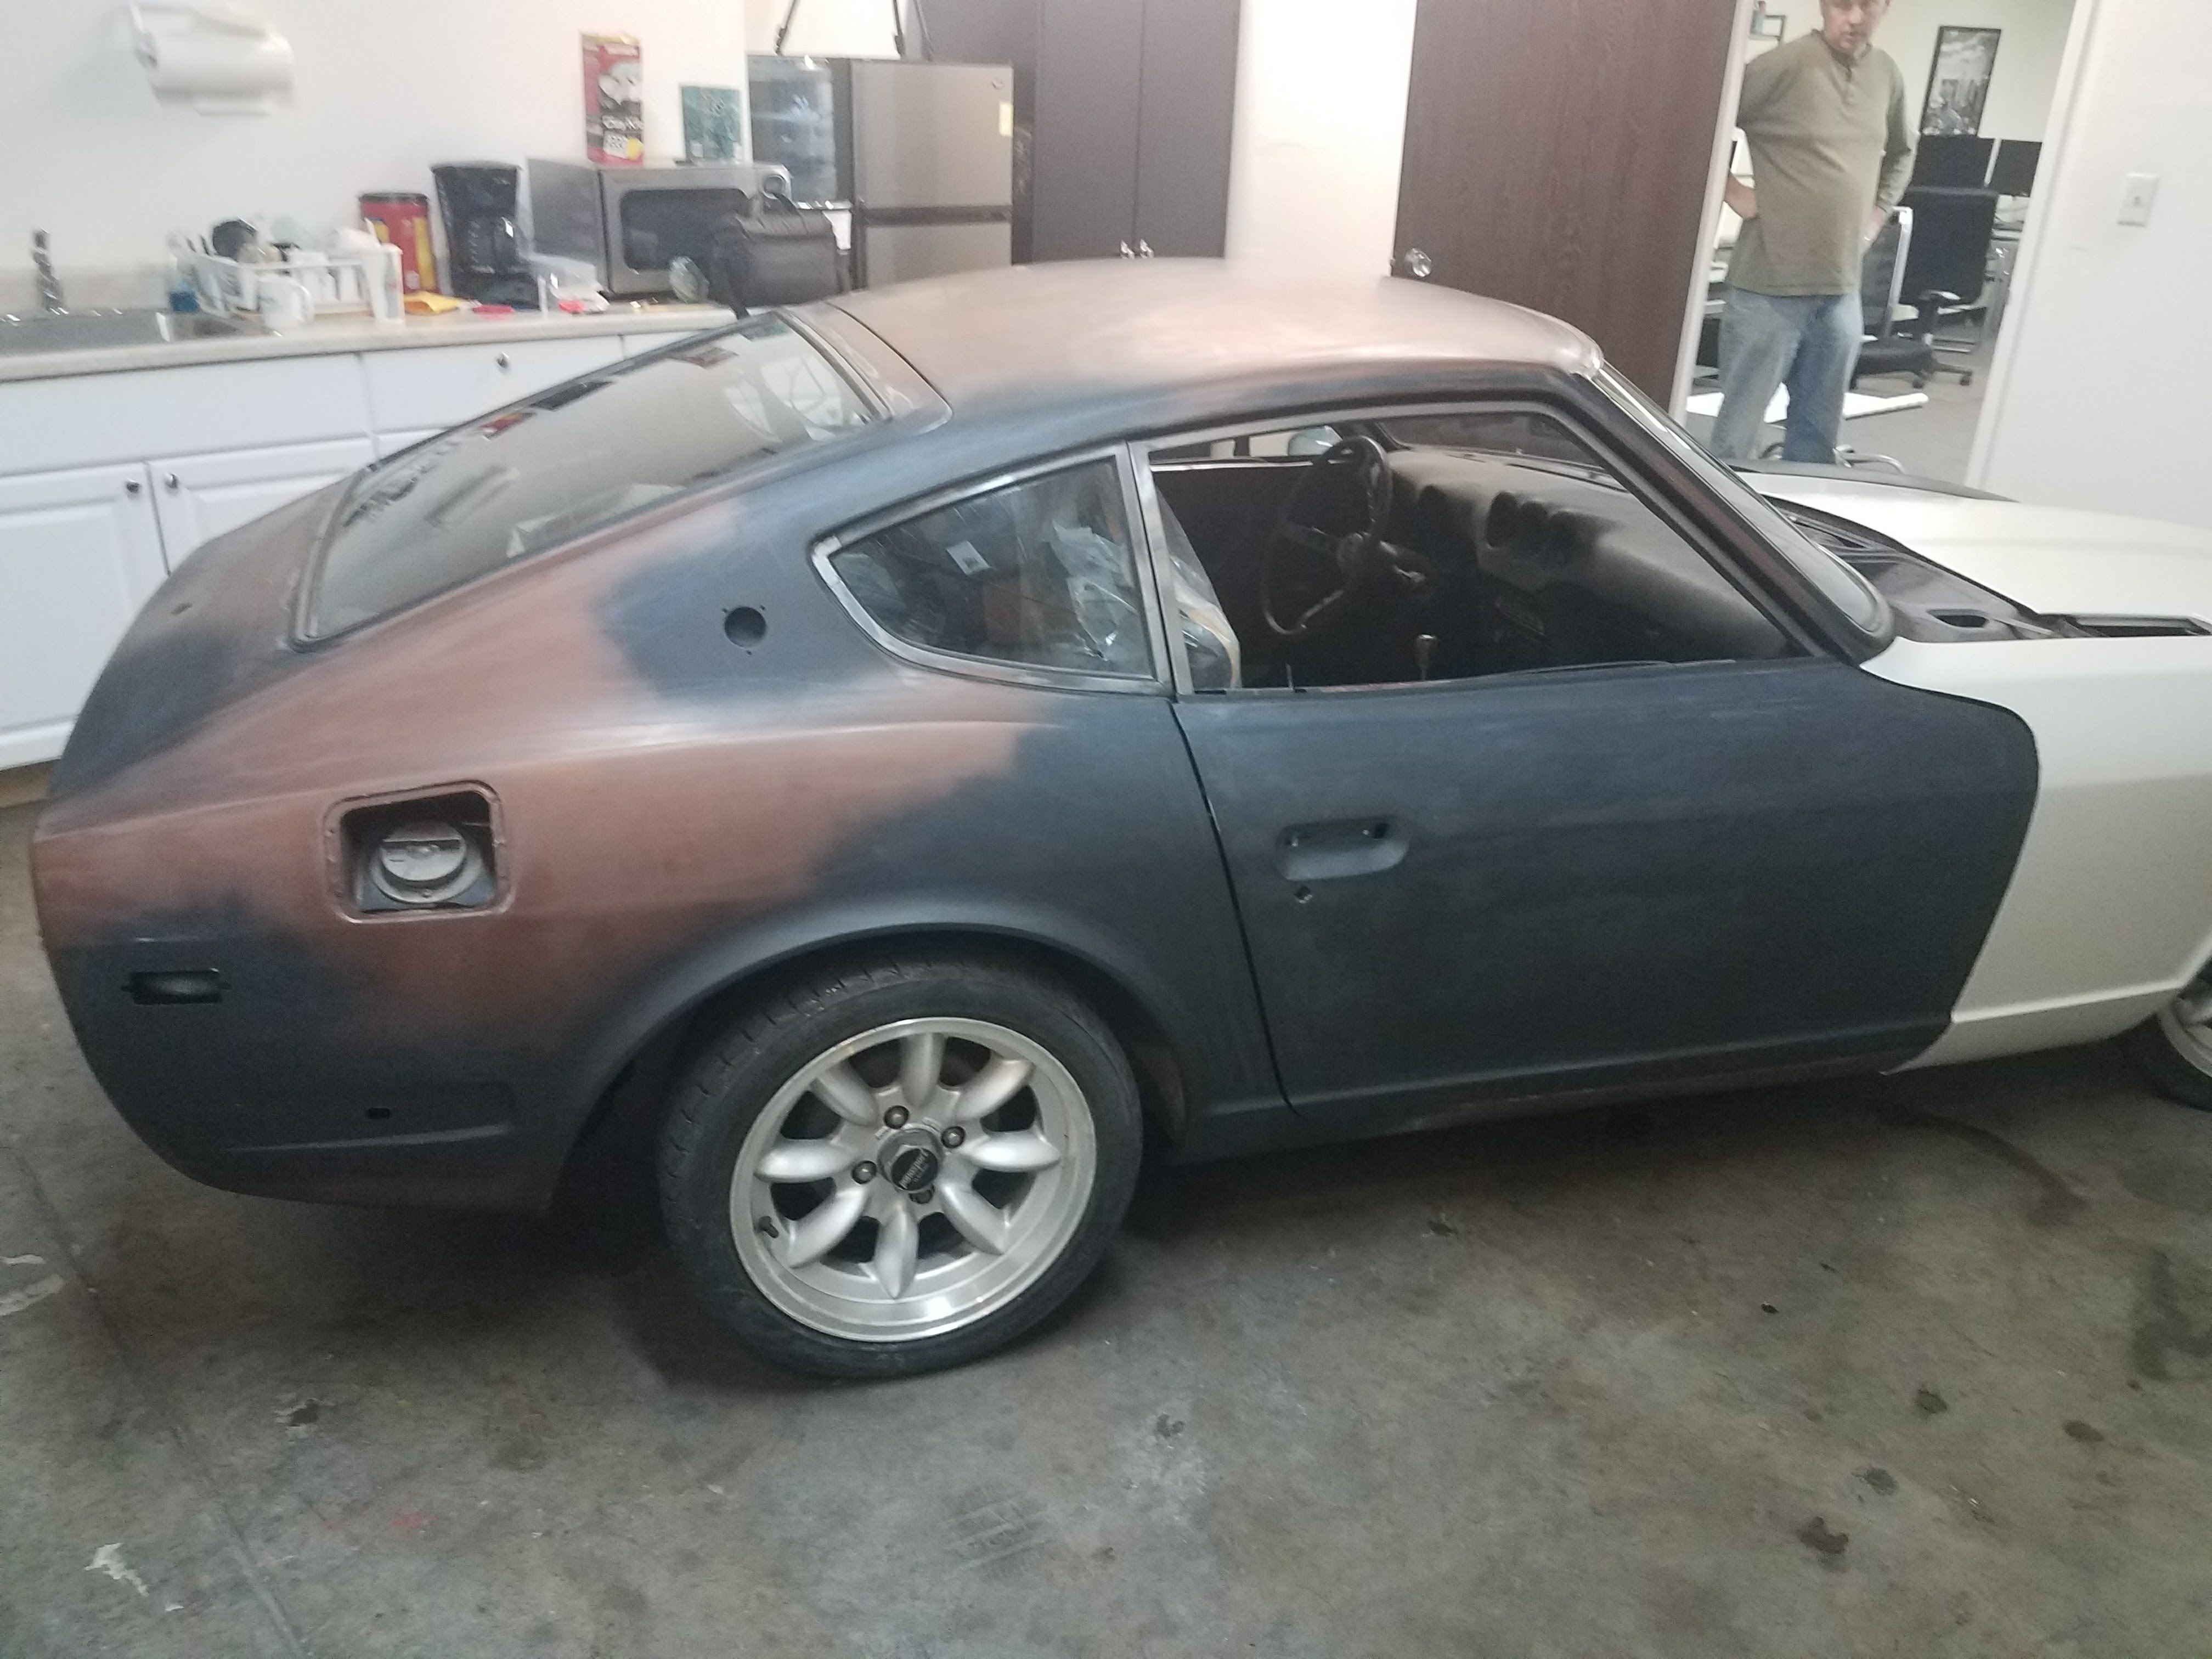
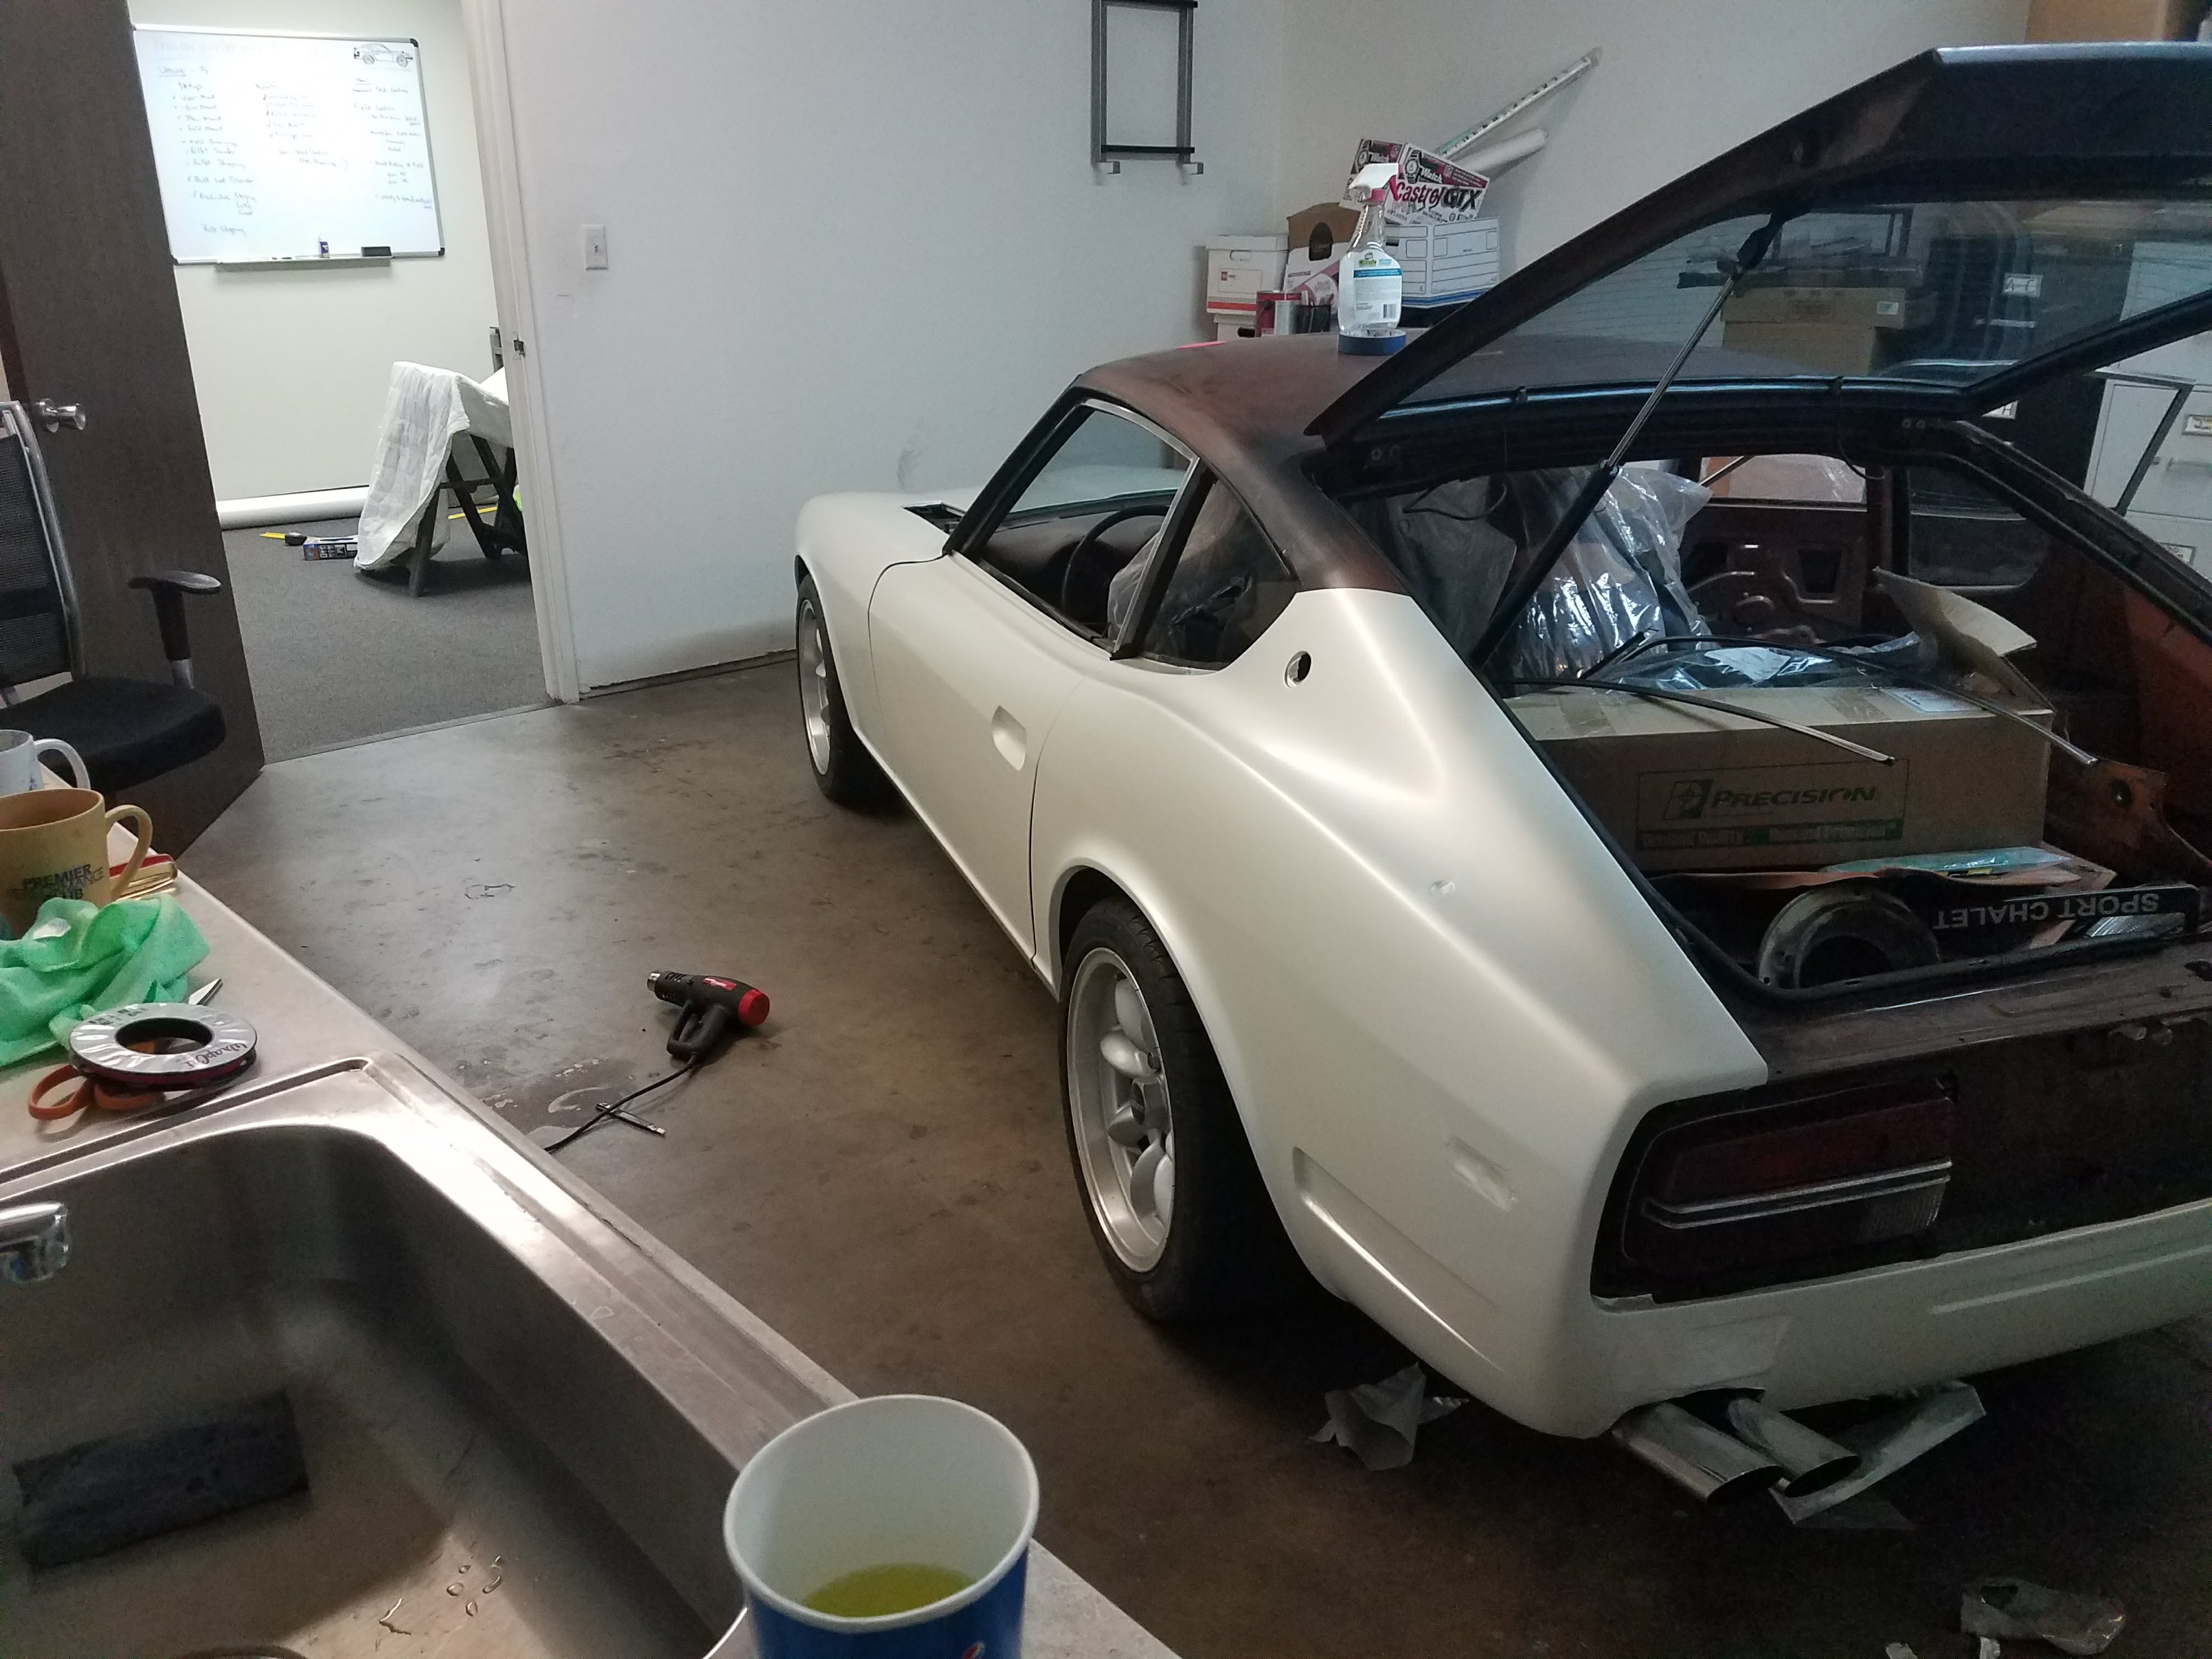
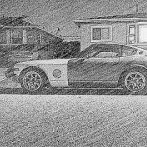
Hey Guys, I have been trying to figure out what I wanted to do for color uniformity on my datsun. I really wanted to get the car sand blasted and do a complete overhaul, but after swapping a l28et in the car, building and installing the megasquirt, and all the other tid bits... I was way over budget to say the least. To be cost effective I decided to do a vinyl wrap. 3m vinyl to do the whole car was only 500 bucks! The car itself was in no shape for vinyl. It had chips, dings, rust, you name it. I had to do all the body work to straighten it out. Here is some before pictures. The paint had to be sanded or removed to metal and bondo was applied. First time ever really doing body work and it looked OKAY. I did have a professional come and do the final things to the driver's side fender and door. Lots of chipping paint that needed to be sanded. After things were sanded and looked pretty good, spray can primer was sprayed on the trouble spots, then sanded, then black rustoleum, then sanded. Finally I wet sanded the car with 1000 grit and made sure all surfaces were smooth. Then the fun began. Vinyl took around 20 hours to finish in a weekend. This did not include the headlight buckets, turn signals, or cowling which I am still trying to figure out. The car being unibody caused issue. The rear bumper section is 1 piece which is then overlapped 1 inch by the quarter panel which is then overlapped by the roof. Knifeless tape was key to get smooth lines. The hood is harder then it looks because of the round center bubble. Really have to stretch and pull to get in on right. Also getting the vinyl to stick properly on the back required cleaning all edges and even applying loctite super glue.... I know not the right way, could use primer 94, but actually works! Just don't get that near any exterior surfaces or you will leave marks on the laid vinyl. Fenders are one of the easiest. Tucking around the wheel arch was a little tough. Make sure to clean these back areas so that no dirt is in between were you want the vinyl to stick on the inside. This is were I started to notice that my rusto paint would start to peel if we kept taking off and re-applying the vinyl. There are spots were you can see this for sure, but oh well.... it cost 500 dollars. Also you would get specs of shit for the same reason, small pieces of paint peeling up. Moral of the story. Only works on really good paint or paint that is strong against the body. Should have spent more time in that regard. Rear bumper area was pretty easy just a flat piece. The quarter panels were the most difficult. Trying to get around the rain gutter was a challenge. We accidentally cut the vinyl and had to pivot to a new plan regarding the roof. Paint was peeling up if we removed it so we went with what we got. If we were to peel it off... I would have to sand the whole quarter panel over again. Made it work, just needed to add an intermittent piece between the quarter panel and roof. Getting around the back taillight area was a little hard as you really need to stretch it. I assumed the inner edge would mostly be hidden by the taillight panel, but more is exposed then I thought. Might try to adjust this better. Roof and hatch were also pretty difficult. If you have old shitty gaskets around the glass. CHANGE THEM. Tucking underneath that shit would have been way harder than it already was. I got new rubber were needed and it was way worth it. If you mess up on a part like that... there goes 70 bucks in vinyl to redo it. Tucking worked best with knifeless tape in my opinion. Don't forget the sides of the windshield... I used a small inlay for that. Also the bottom area below the door is an inlay. Here is the vinyl result.... get it... vinyl result Might keep the windshield wiper area black... its scary when you see all the spots were it needs to be cut! Here is a picture of how we did the inlays from quarter panel to roof. It turned out pretty damn good if I say so myself. I have learned a lot about this process as I went because there is not too much info about unibody cars. I would say that this is a pretty difficult job and very tedious. Details are important, missing a cut or making a mistake can make it look bad. We had mistakes, bumps, paint chips you name it, but the point of this was to get the car looking good for a couple years for cheap until I am ready to get the car painted. What I would suggest if you want to do this... - Make everything really smooth. - If painting, take your time and get it to stick well. Paint peeling and sticking to the vinyl was the biggest issue I experienced. - Have a friend. My dad worked the whole time with me.... I can't thank him enough. I did a trial hood before all this on my own and it took 2 times as long and looked way worse. - Plan out all the cuts before you apply. Thought I would share my experience. If you have any questions about it let me know. I hope to reassemble the car in the next 2 weeks.
- 18 replies
-
- 2
-

-
- vinyl wrap
- wrap
- (and 2 more)
-
Amazing taaron thanks for posting that. I have mine rigged on and will use your attached file!
-
240z L28et Overheating
supershanesta replied to supershanesta's topic in S30 Series - 240z, 260z, 280z
One downside that I noticed is the huge amp draw. Normally I would not see this as a big issue, but its changing my afr as its really grabbing amps. I have a 60 amp alternator, but damn. It draws upwards of 35 amps when on. I might switch to half power instead and use a switch for the full power. Just an update. -
I used the above for my z with the diy wheel and followed the instructions on Diy. This is how you and I tuned the car lol! Sorry if I am giving wrong info
-
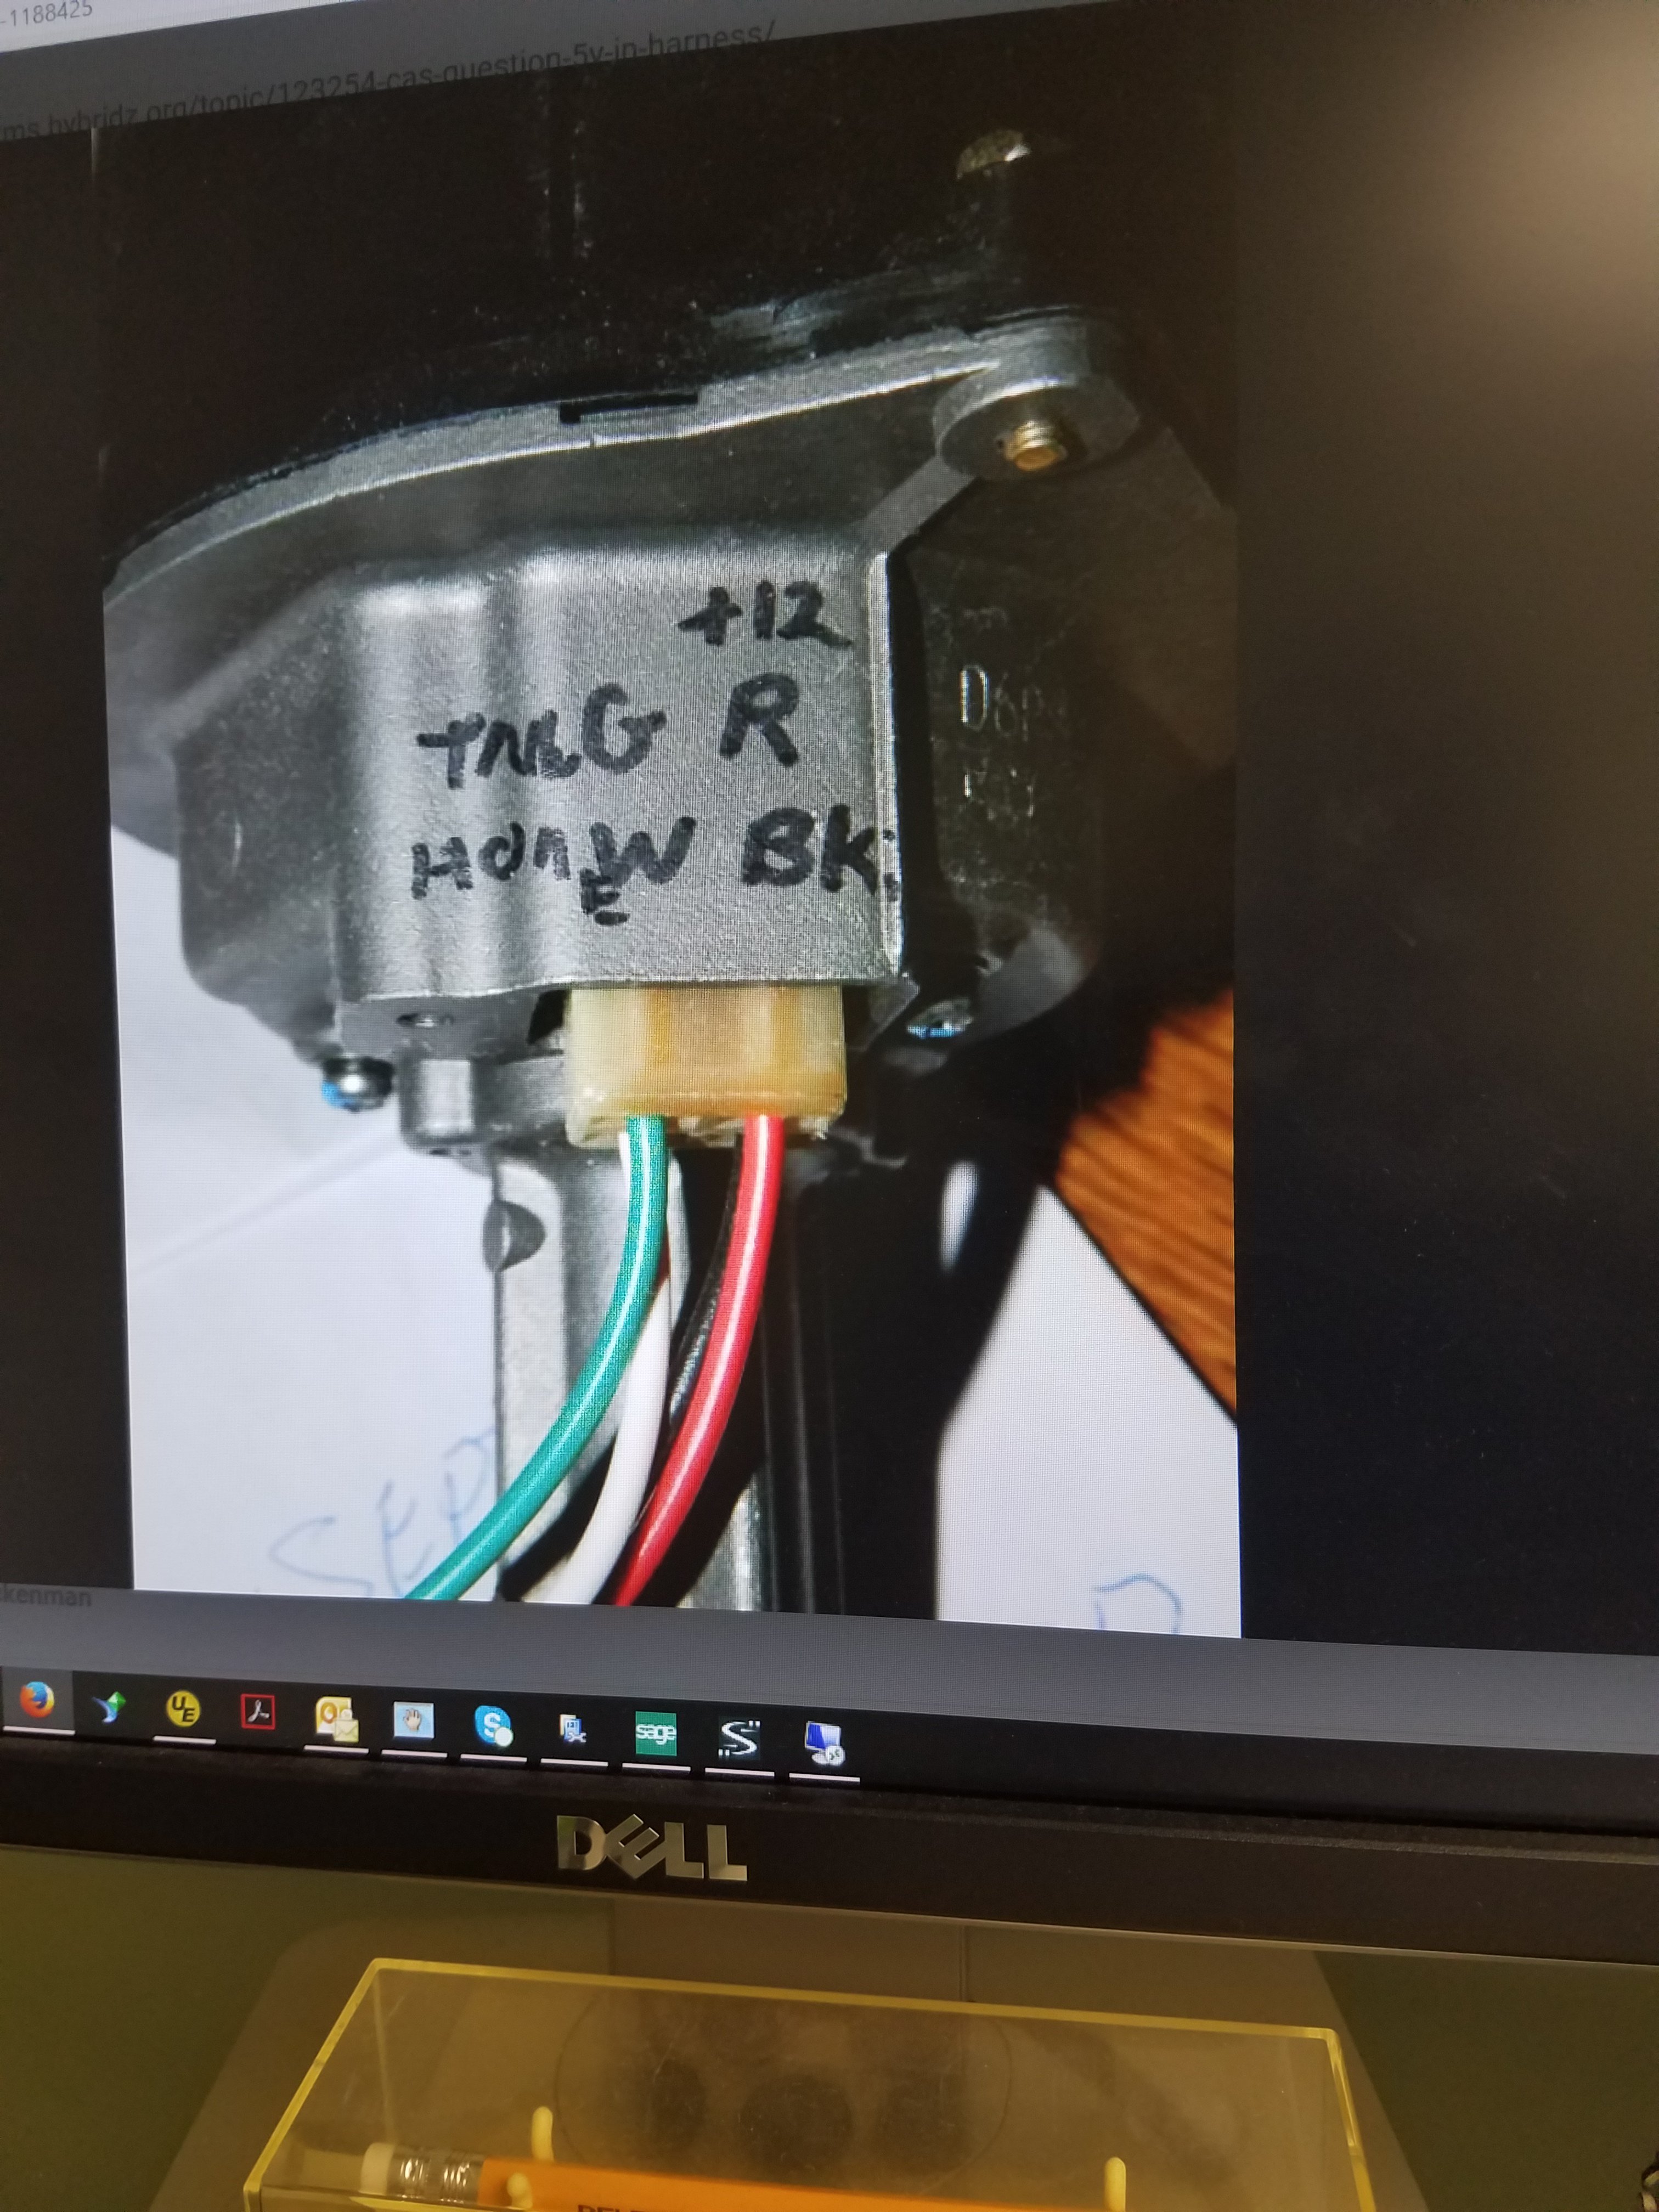
The wiring is simple. Just hard to find a picture. This should help you if you reference diyautotune... You will be looking at the Dizzy Side for your wiring. So using the image... Red is 12v White is Trigger wire Black is Ground White and black are found in the tach shielded wires together in your harness. https://www.diyautotune.com/support/tech/install/nissan-datsun/megasquirt-your-280zx-turbo/
-
Can't bleed my clutch 1976 280z coupe
supershanesta replied to lorenzo's topic in S30 Series - 240z, 260z, 280z
I have used an oil can and pumped the fluid up with success, I saw my fork move but still had problems with the car never getting into gear (always neutral). It turned out to be that I used the wrong throw out bearing sleeve. If you have driven your car and not have Issue I would assume this is not the case, but to check you can unbolt your slave cylinder and try to move the fork by hand. There should be some play. Mine had zero play meaning the clutch was always engaged. Had to pull the tranny off and and replace with the correct model for the clutch as the clutch determines the throw out bearing sleeve. I had a 240z clutch and was using a 280z sleeve. I ended up buying a 280zx turbo clutch and throw out sleeve and now my car drives great. Just a thought, probably not the issue. -
240z L28et Overheating
supershanesta replied to supershanesta's topic in S30 Series - 240z, 260z, 280z
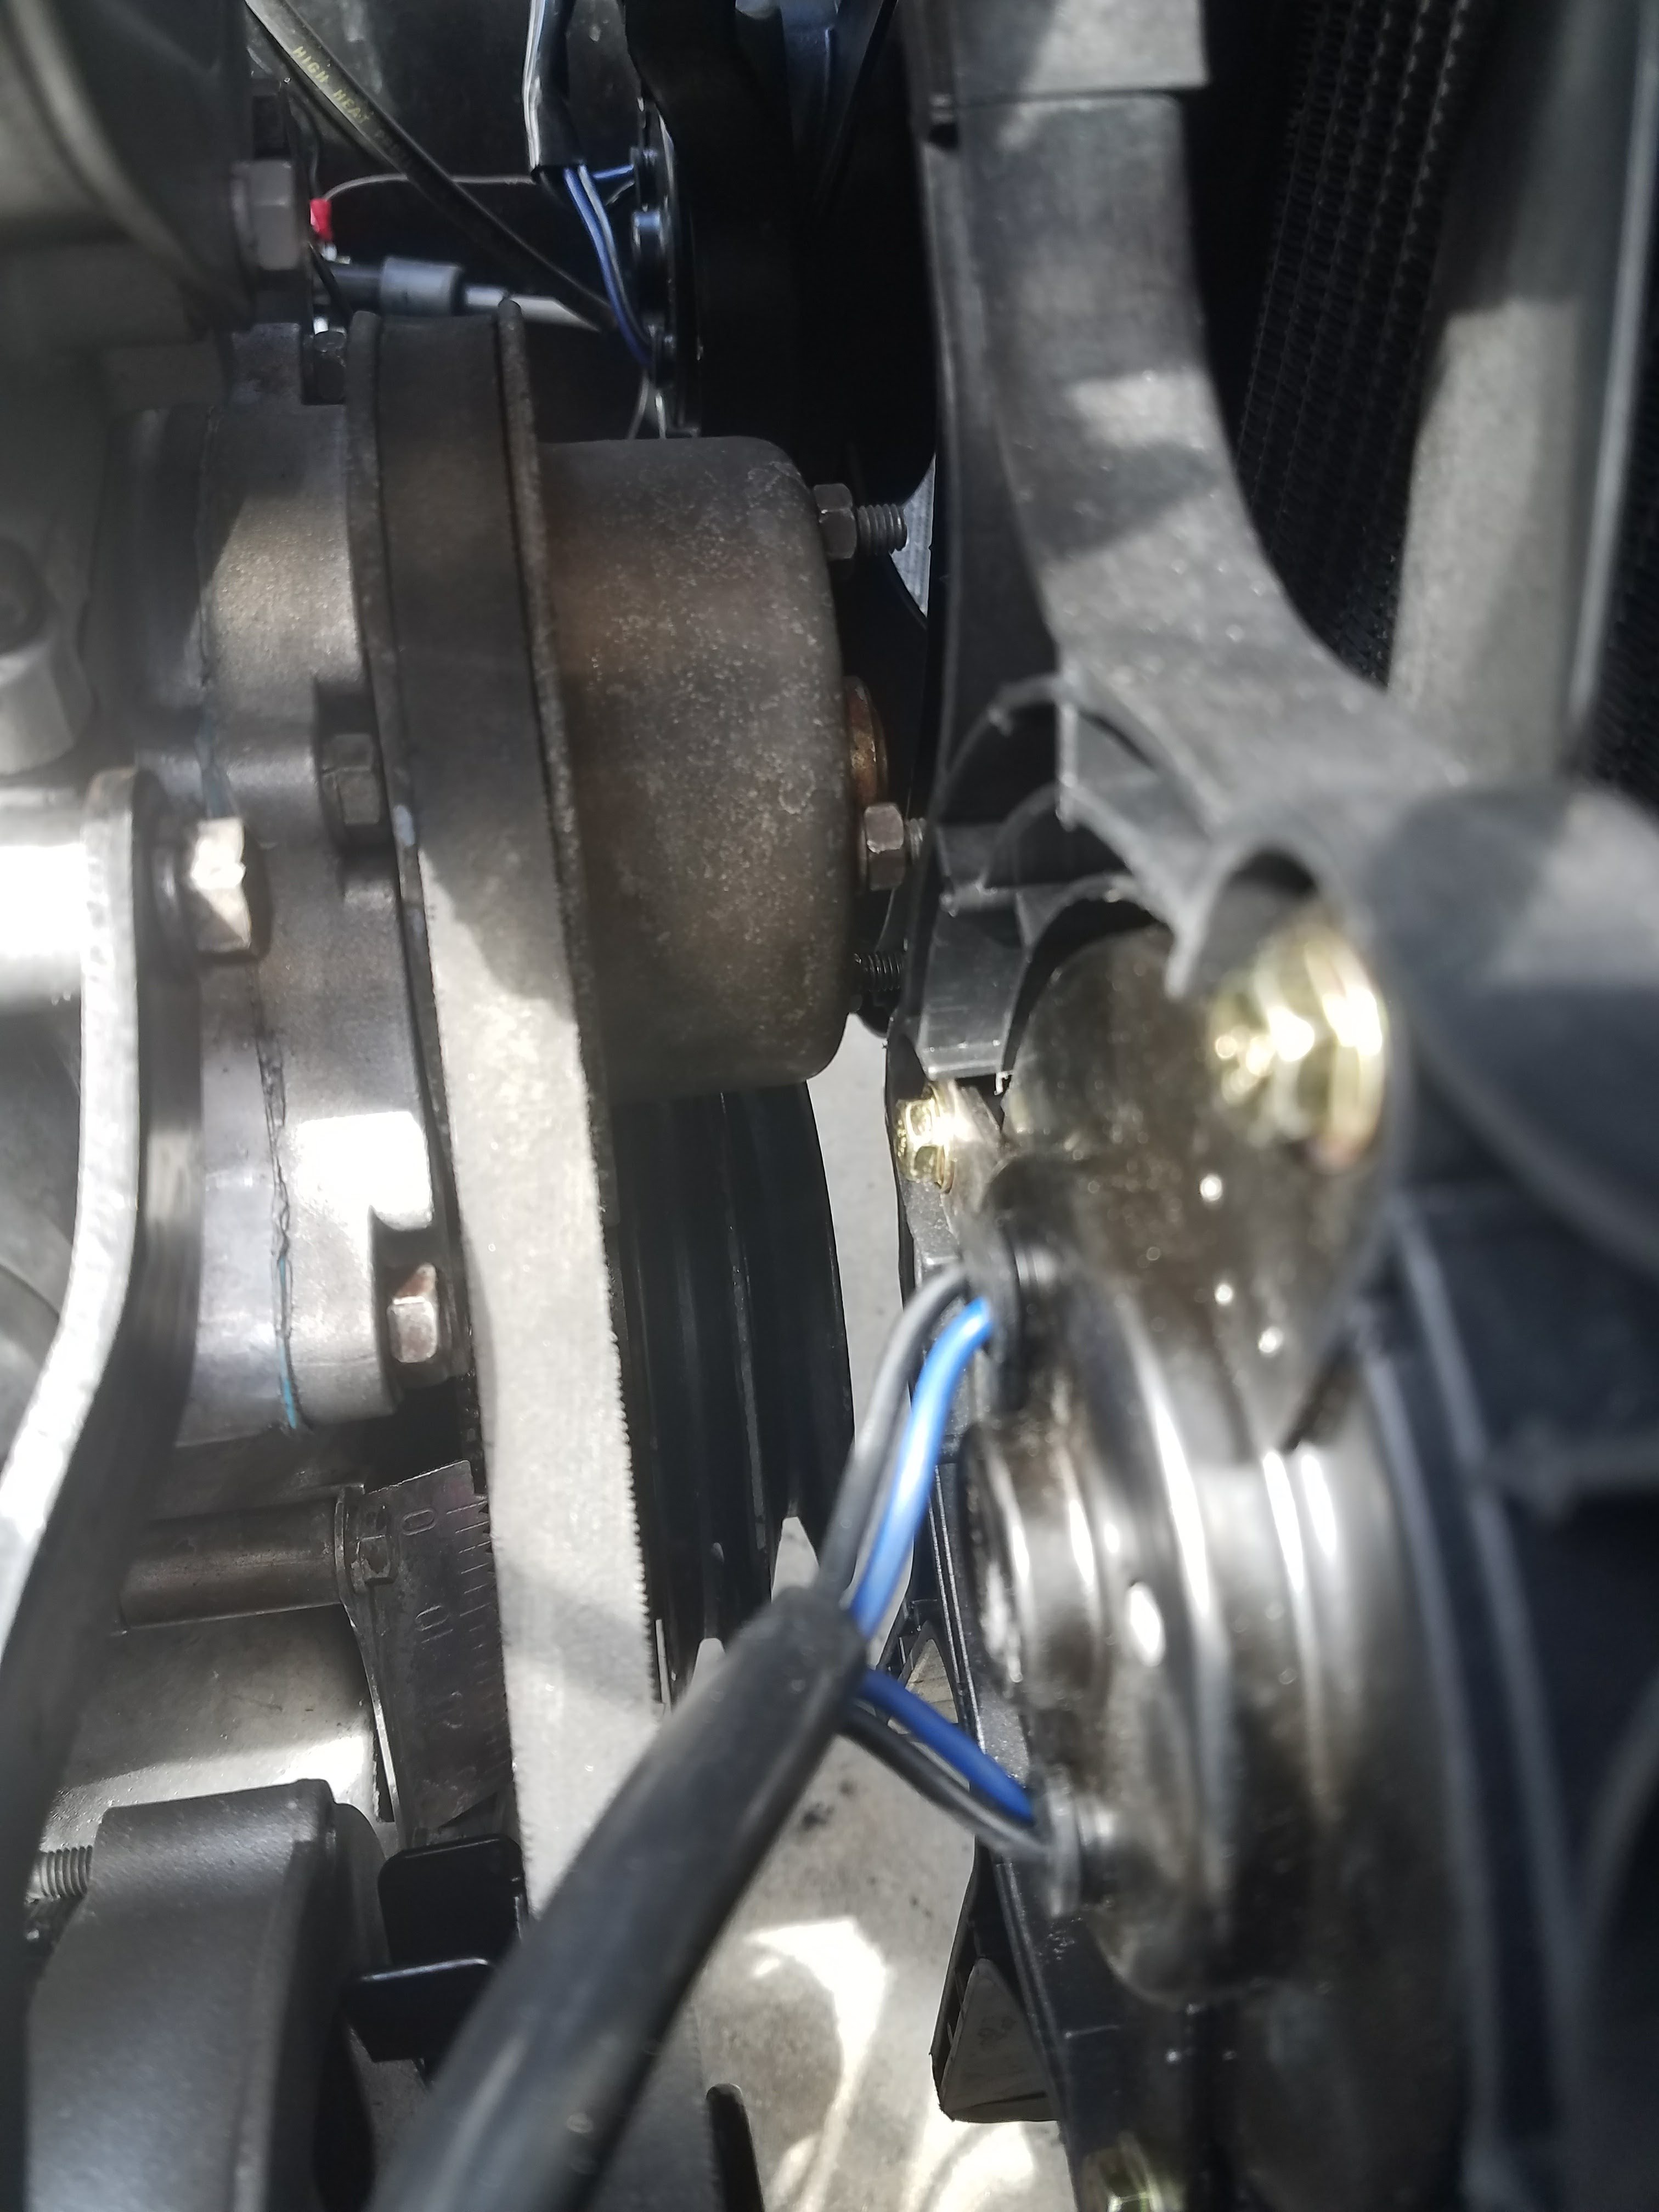
Good Question, I do not have ac, but was considering it as the prior owner had everything in it besides the compressor. To me, it most likely will hit the fan. Which pulley position does the ac run on in my setup? If its the small front one, I highly doubt it will clear. If its the second one the belt might squeeze by, but I don't know about the actual compressor mounted up. If that was the case you might want a slim single fan I don't know. I plan on putting ac in the car before the summer, but I don't know right now. -
240z L28et Overheating
supershanesta replied to supershanesta's topic in S30 Series - 240z, 260z, 280z
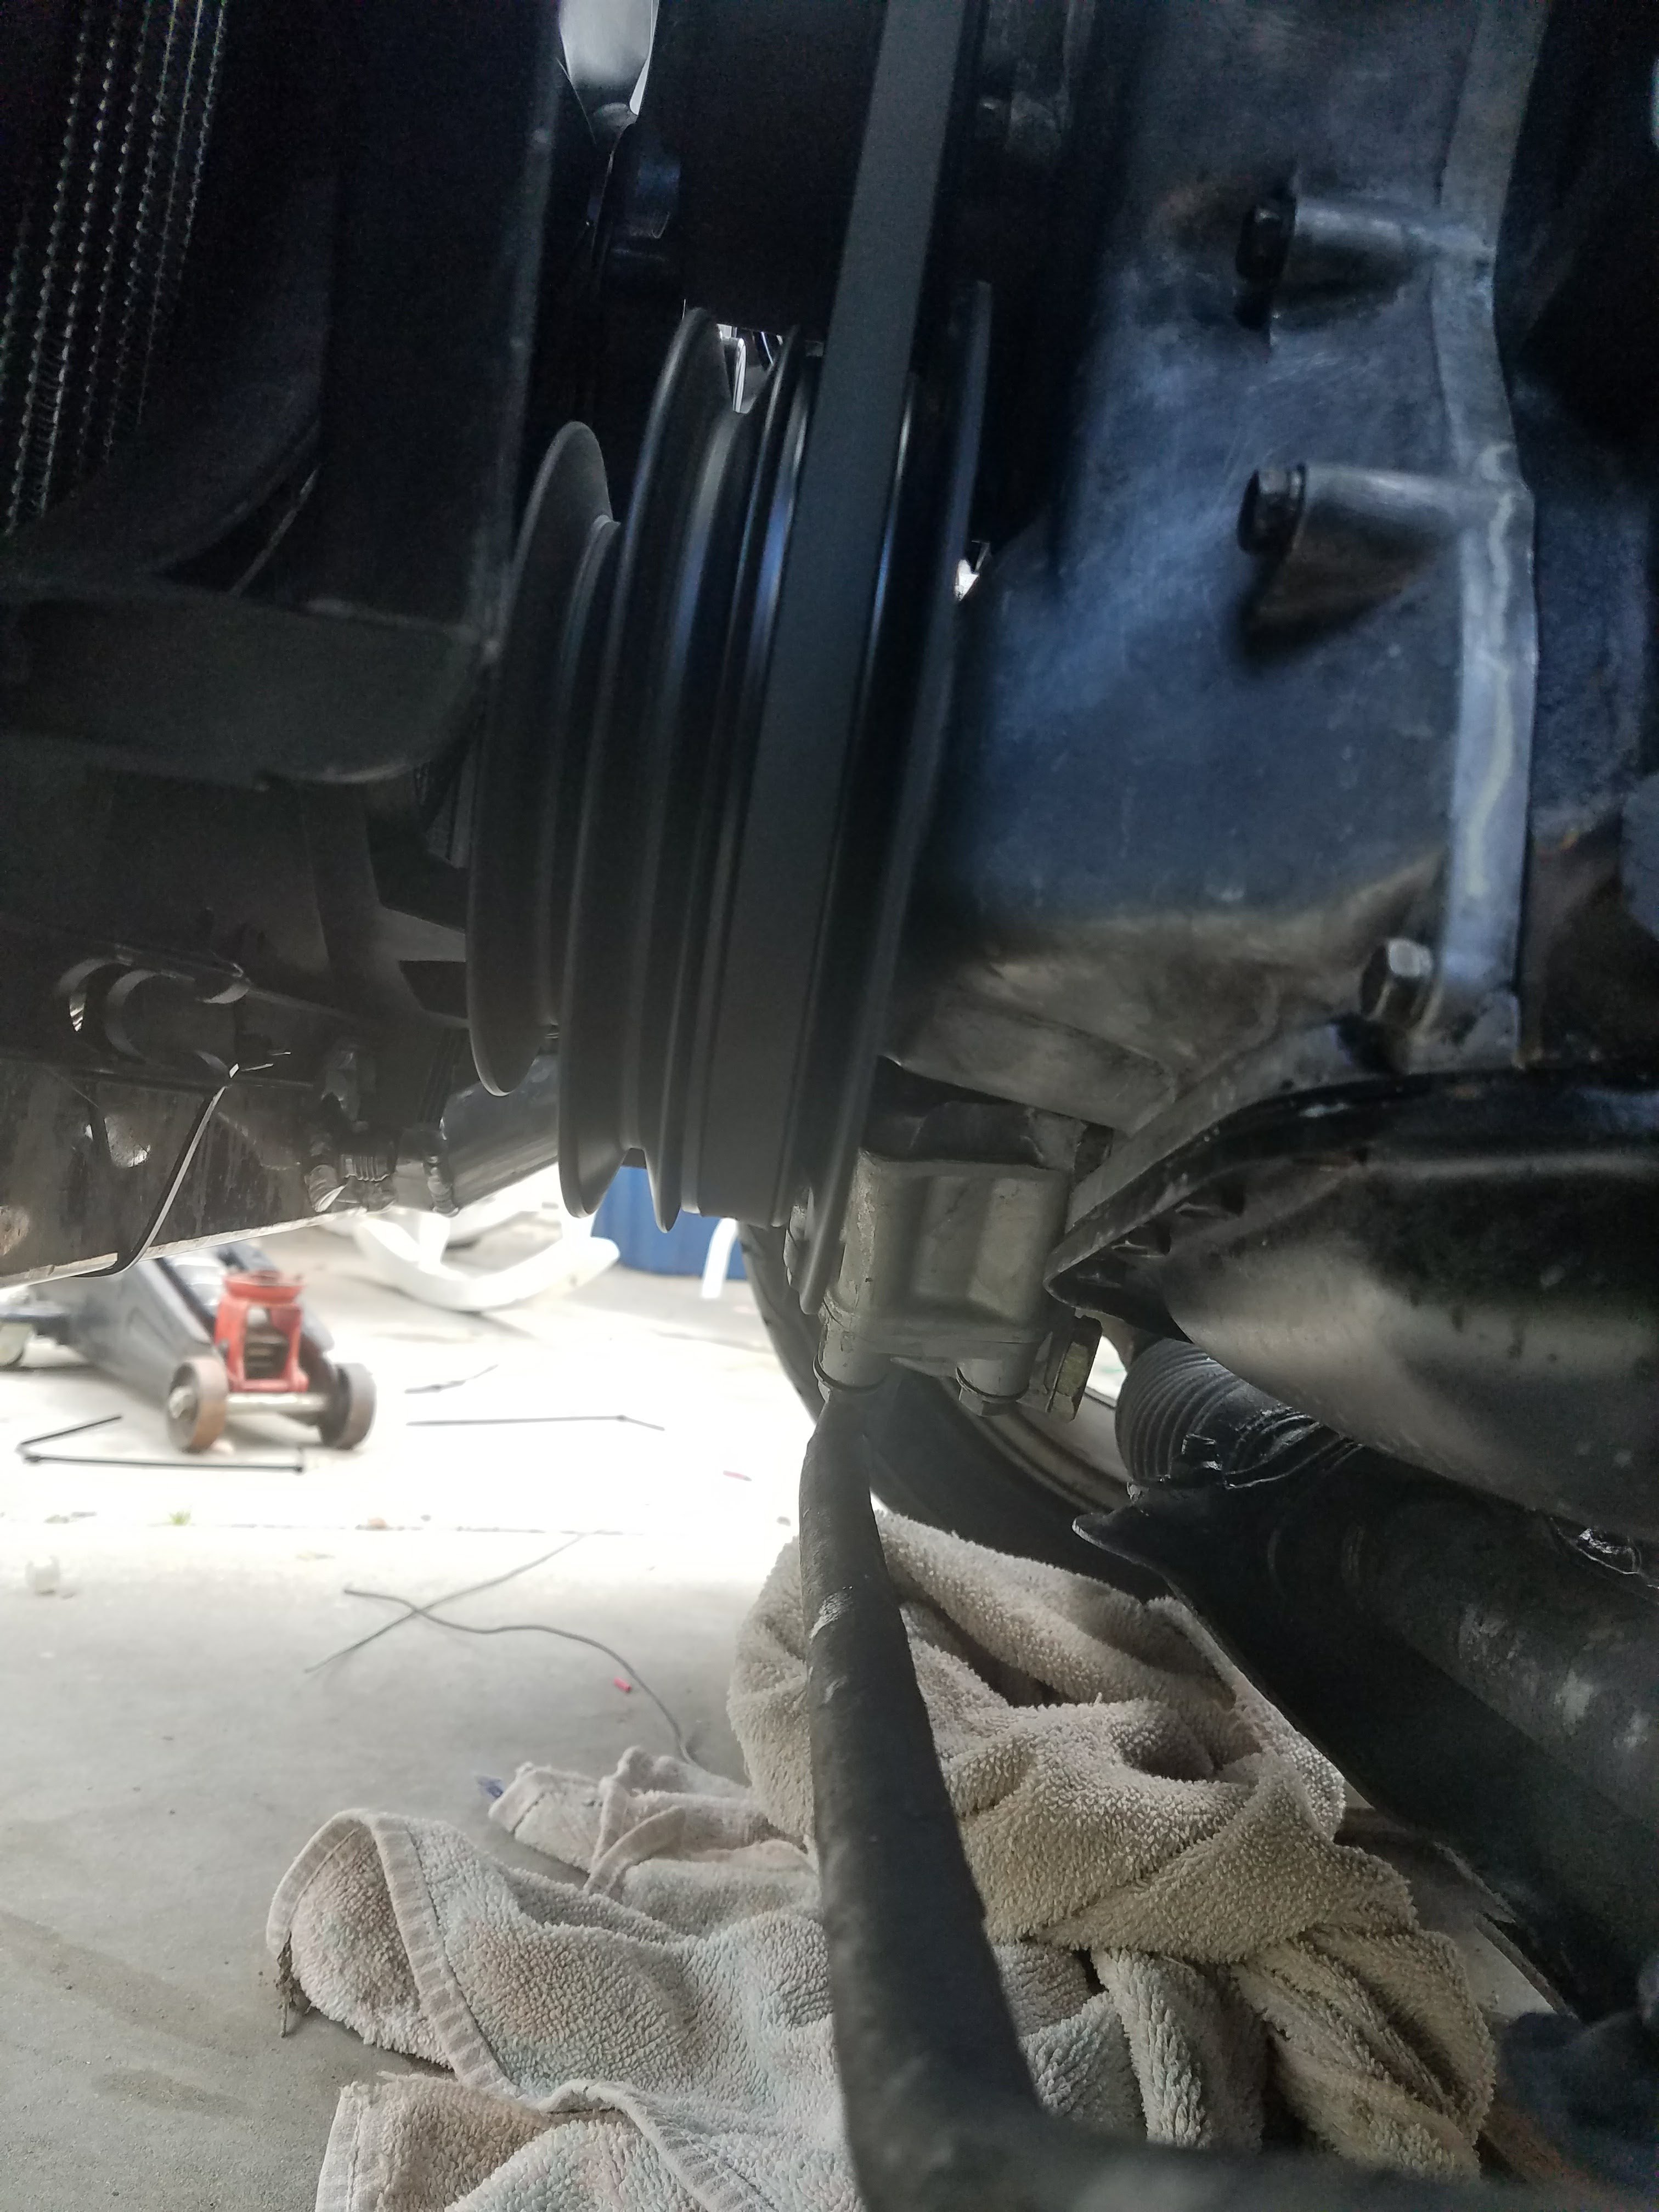
The pulley sits between each fan with no issue. -
240z L28et Overheating
supershanesta replied to supershanesta's topic in S30 Series - 240z, 260z, 280z
-
240z L28et Overheating
supershanesta replied to supershanesta's topic in S30 Series - 240z, 260z, 280z
Sure. Ill post it tomorrow. -
240z L28et Overheating
supershanesta replied to supershanesta's topic in S30 Series - 240z, 260z, 280z
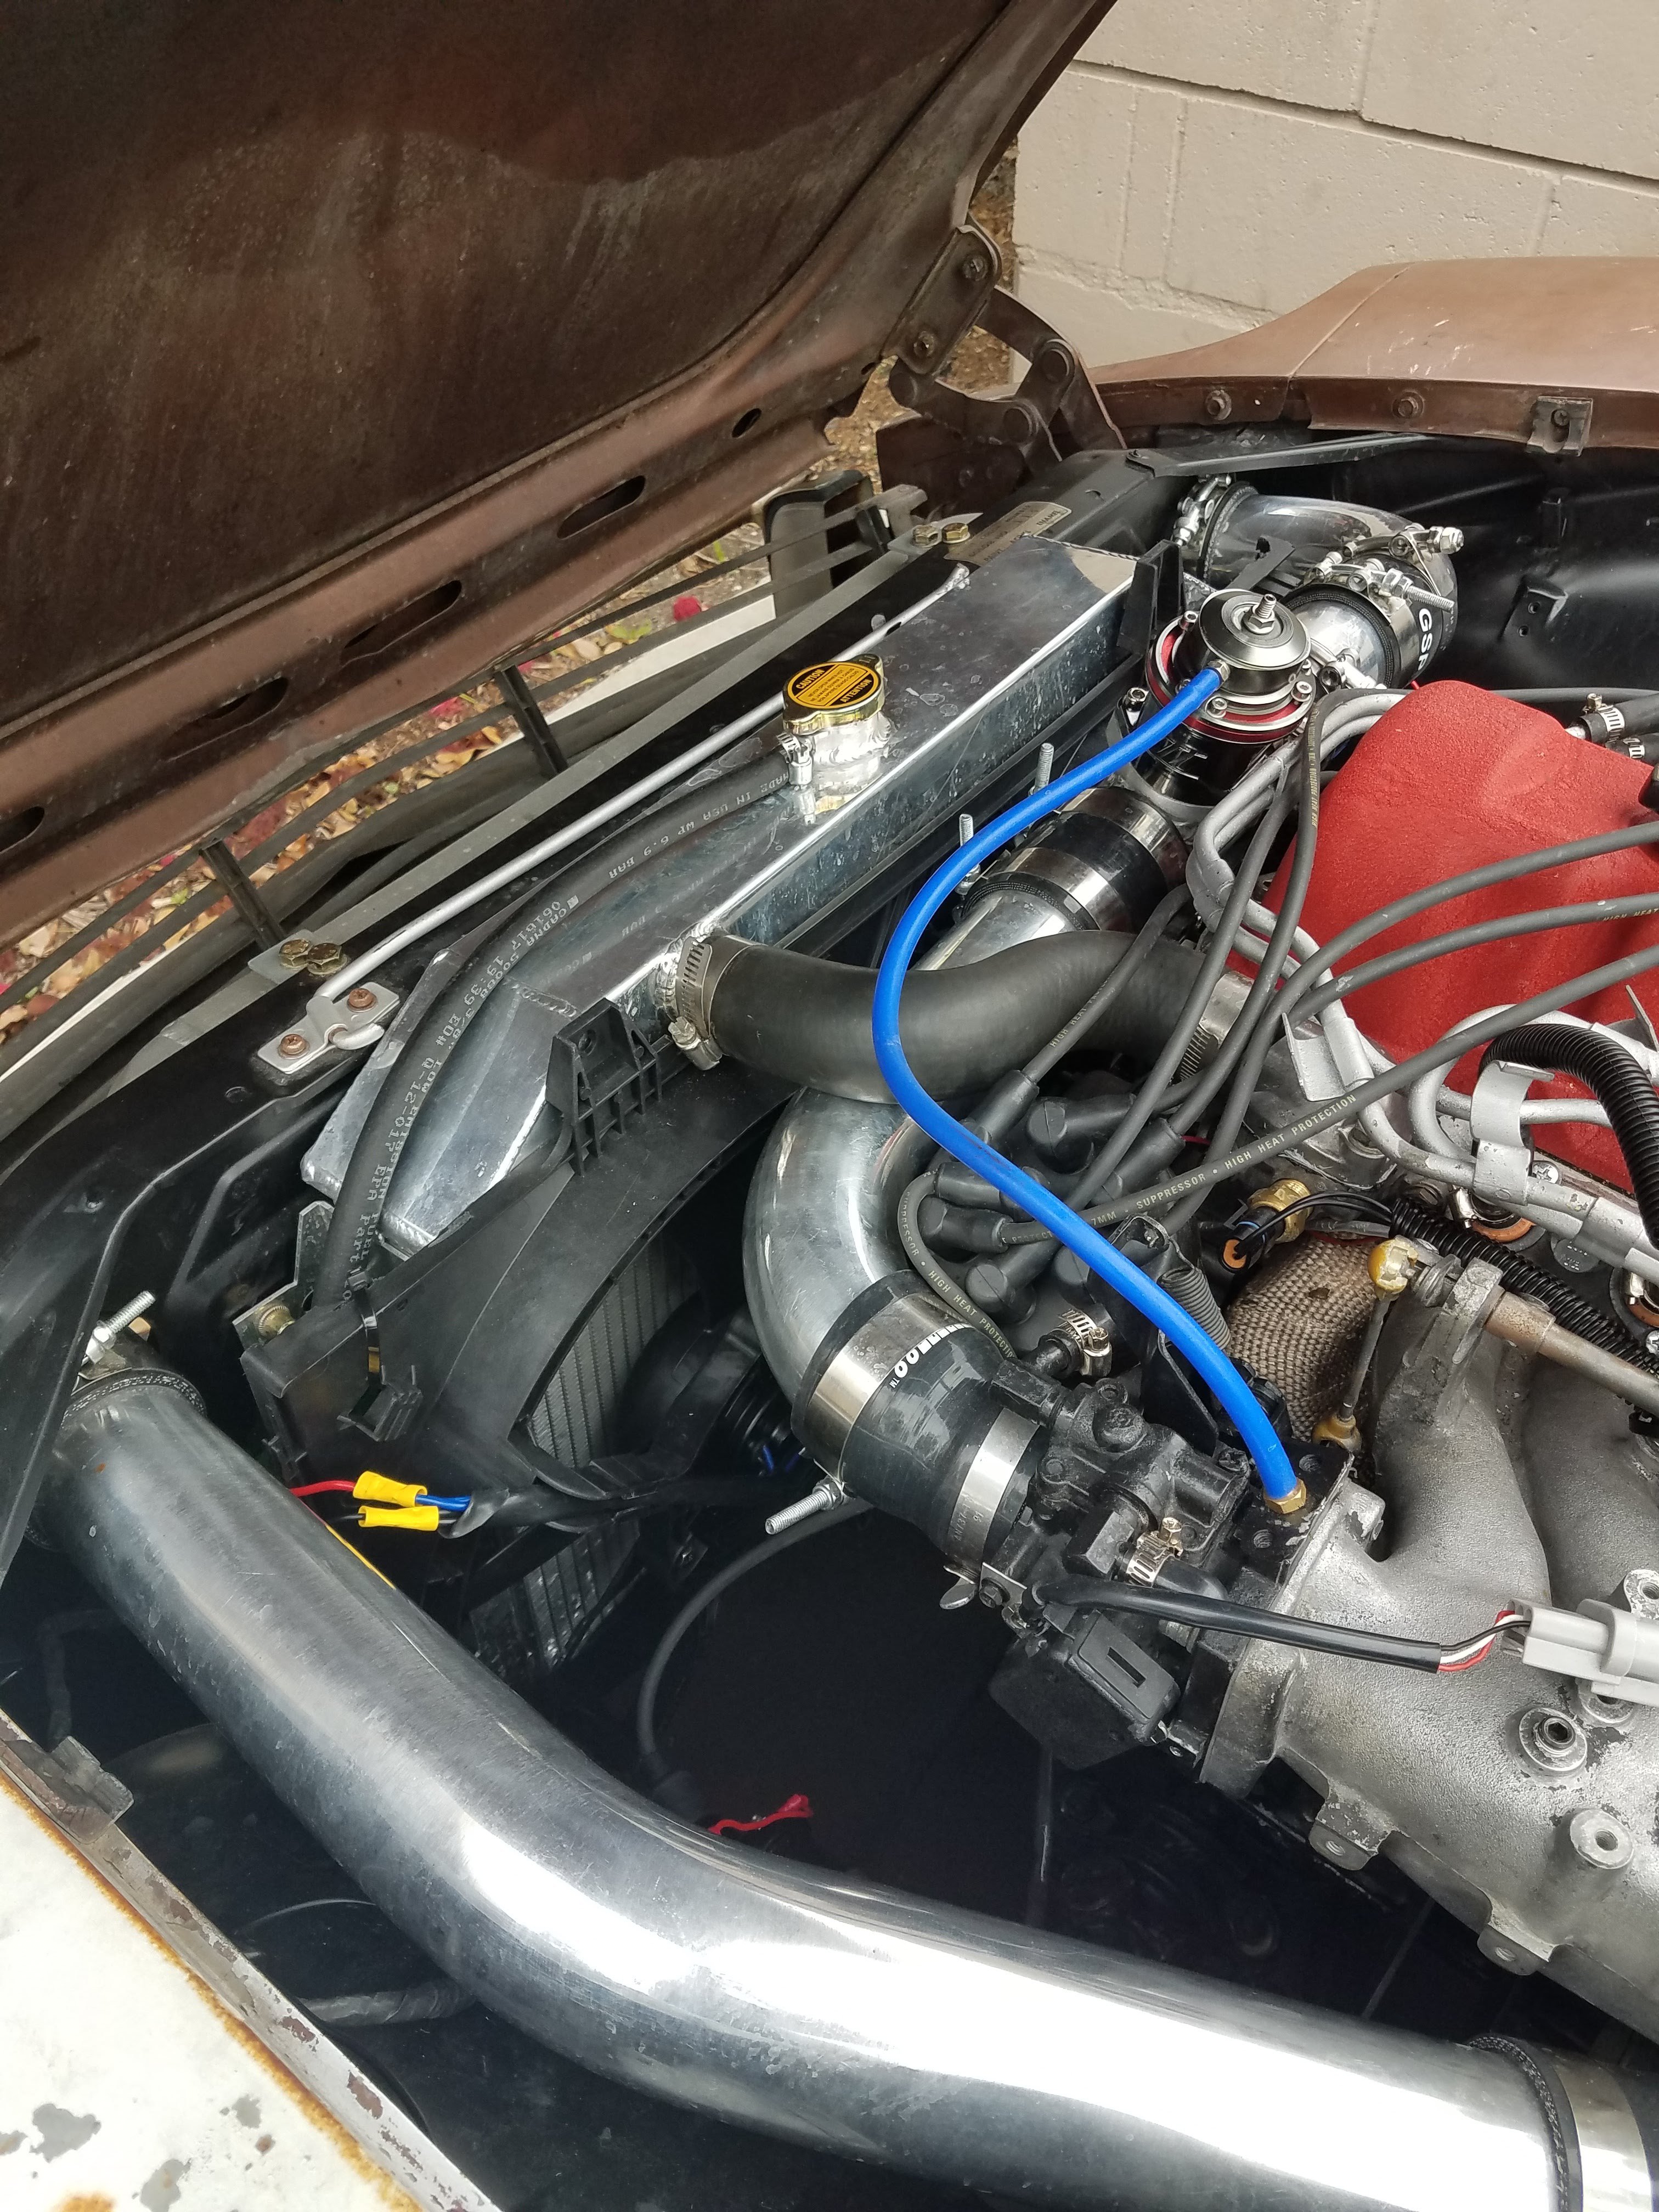
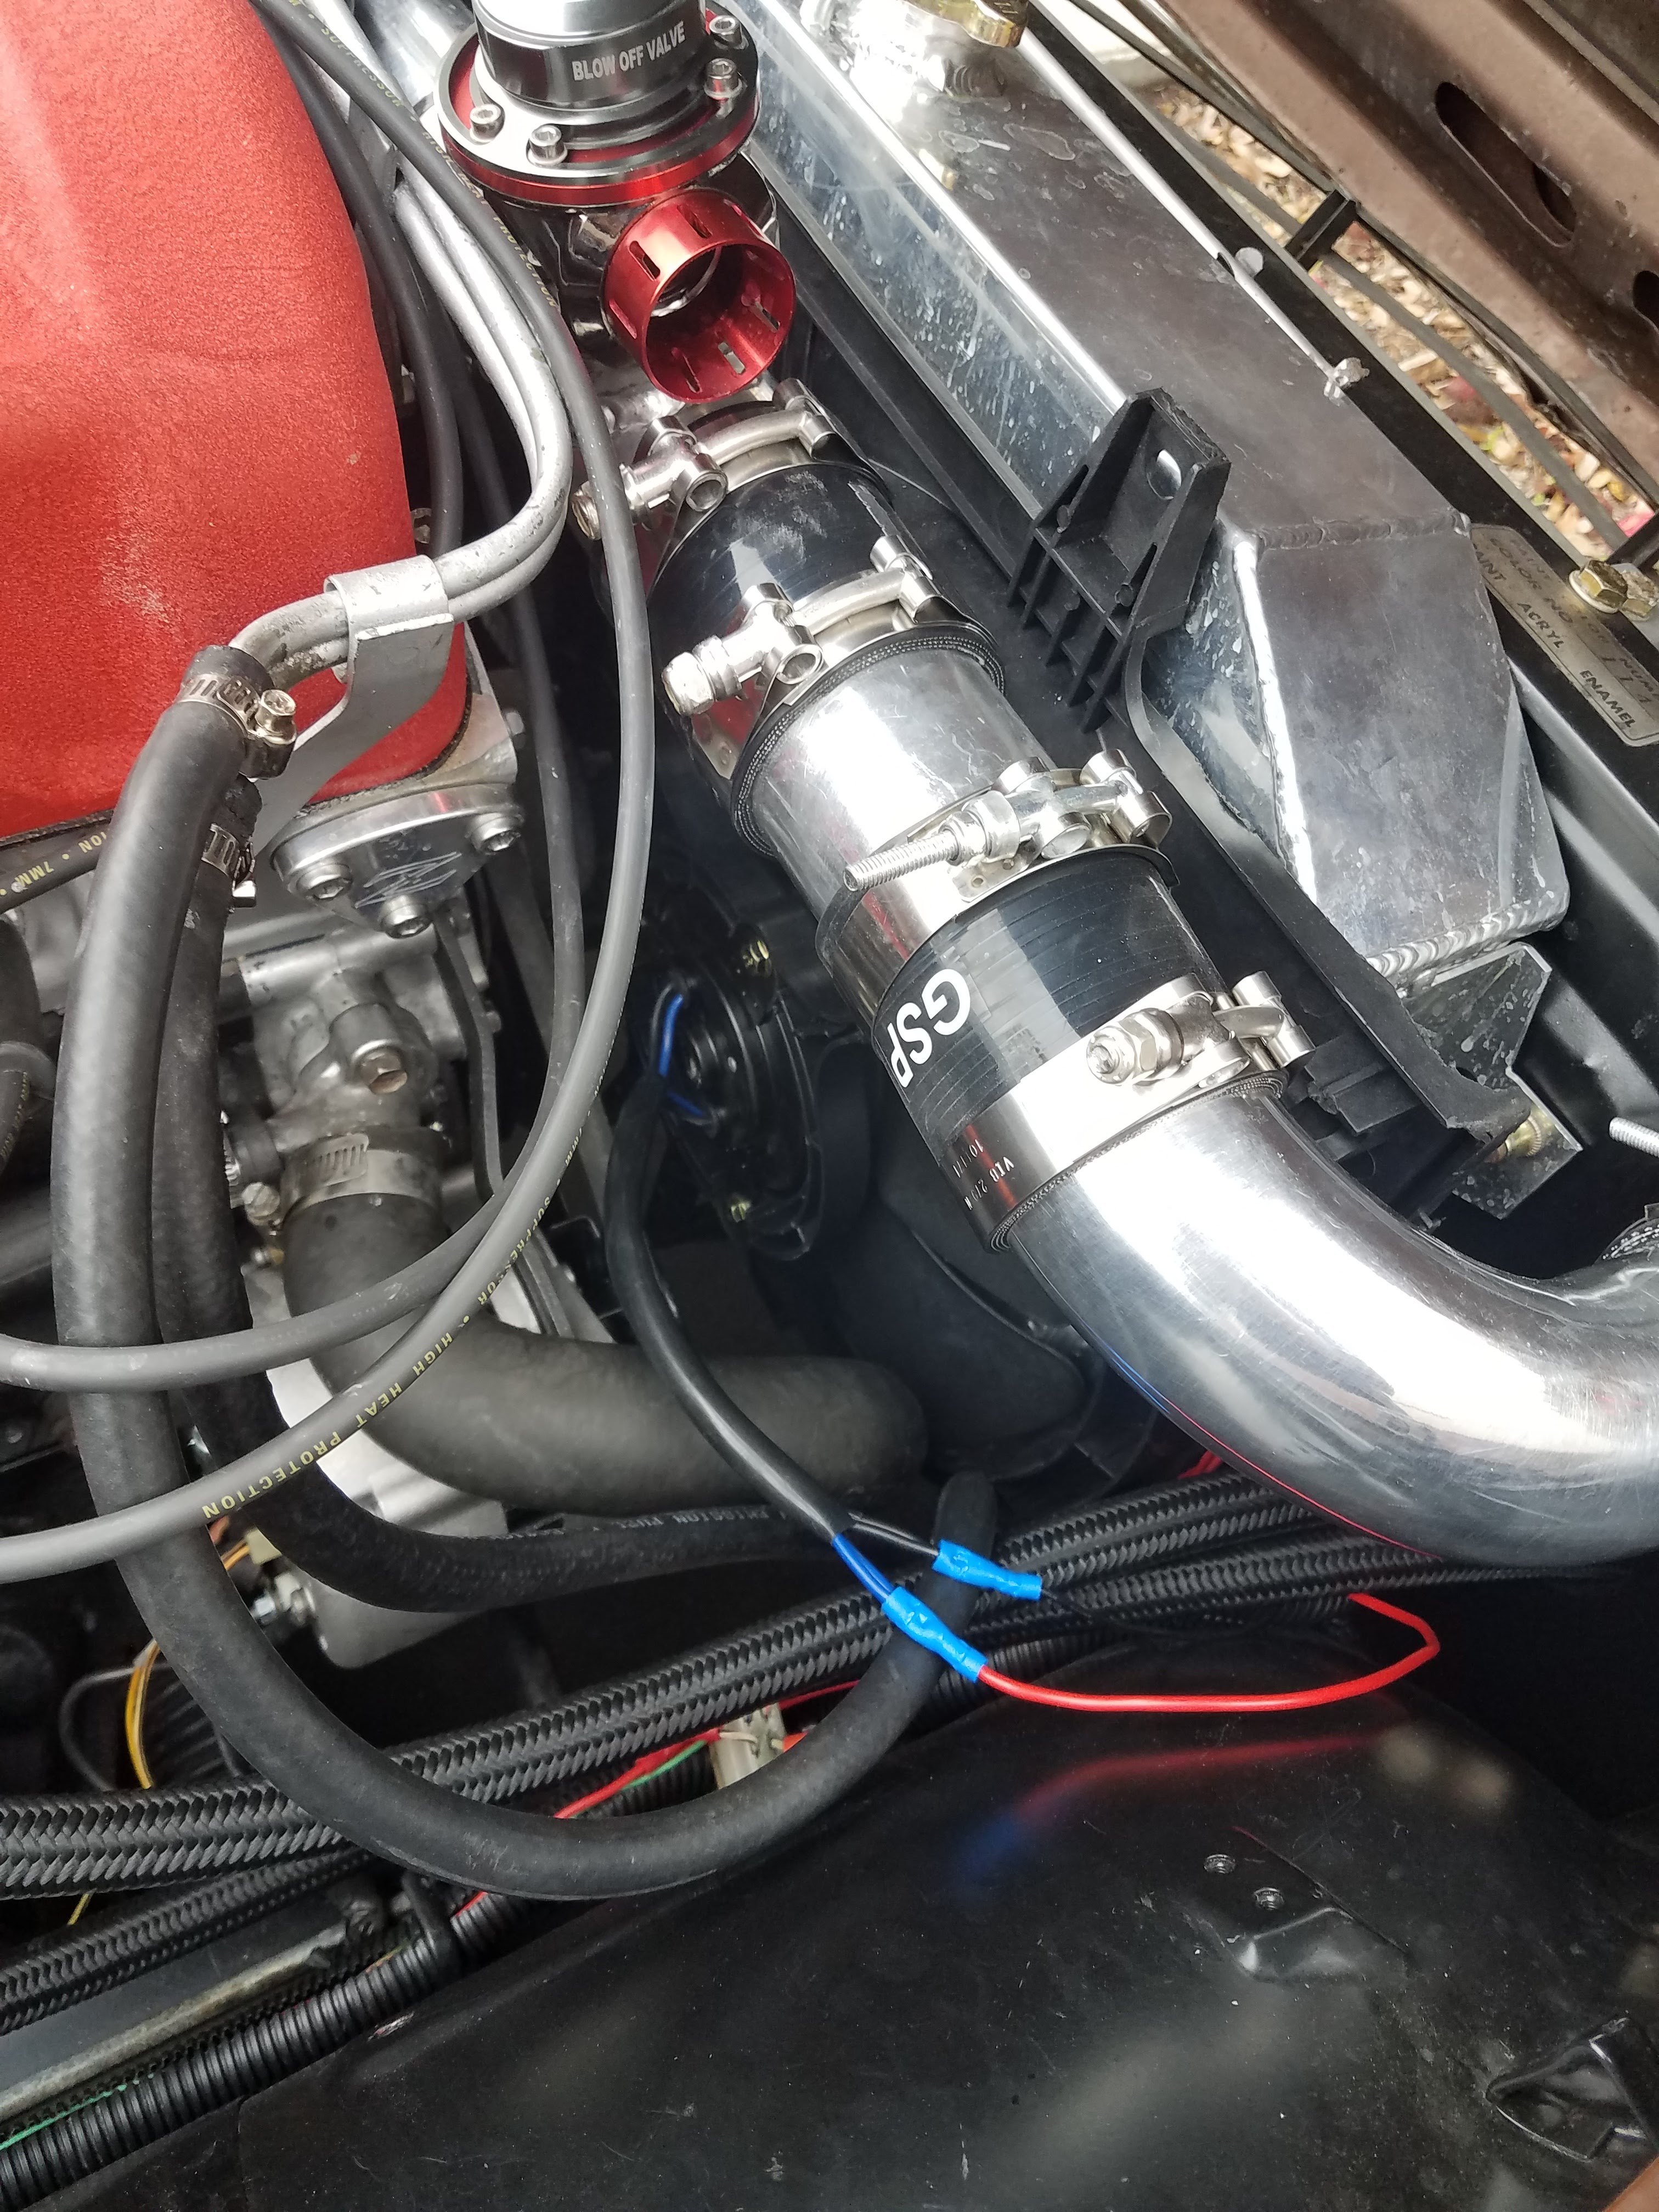
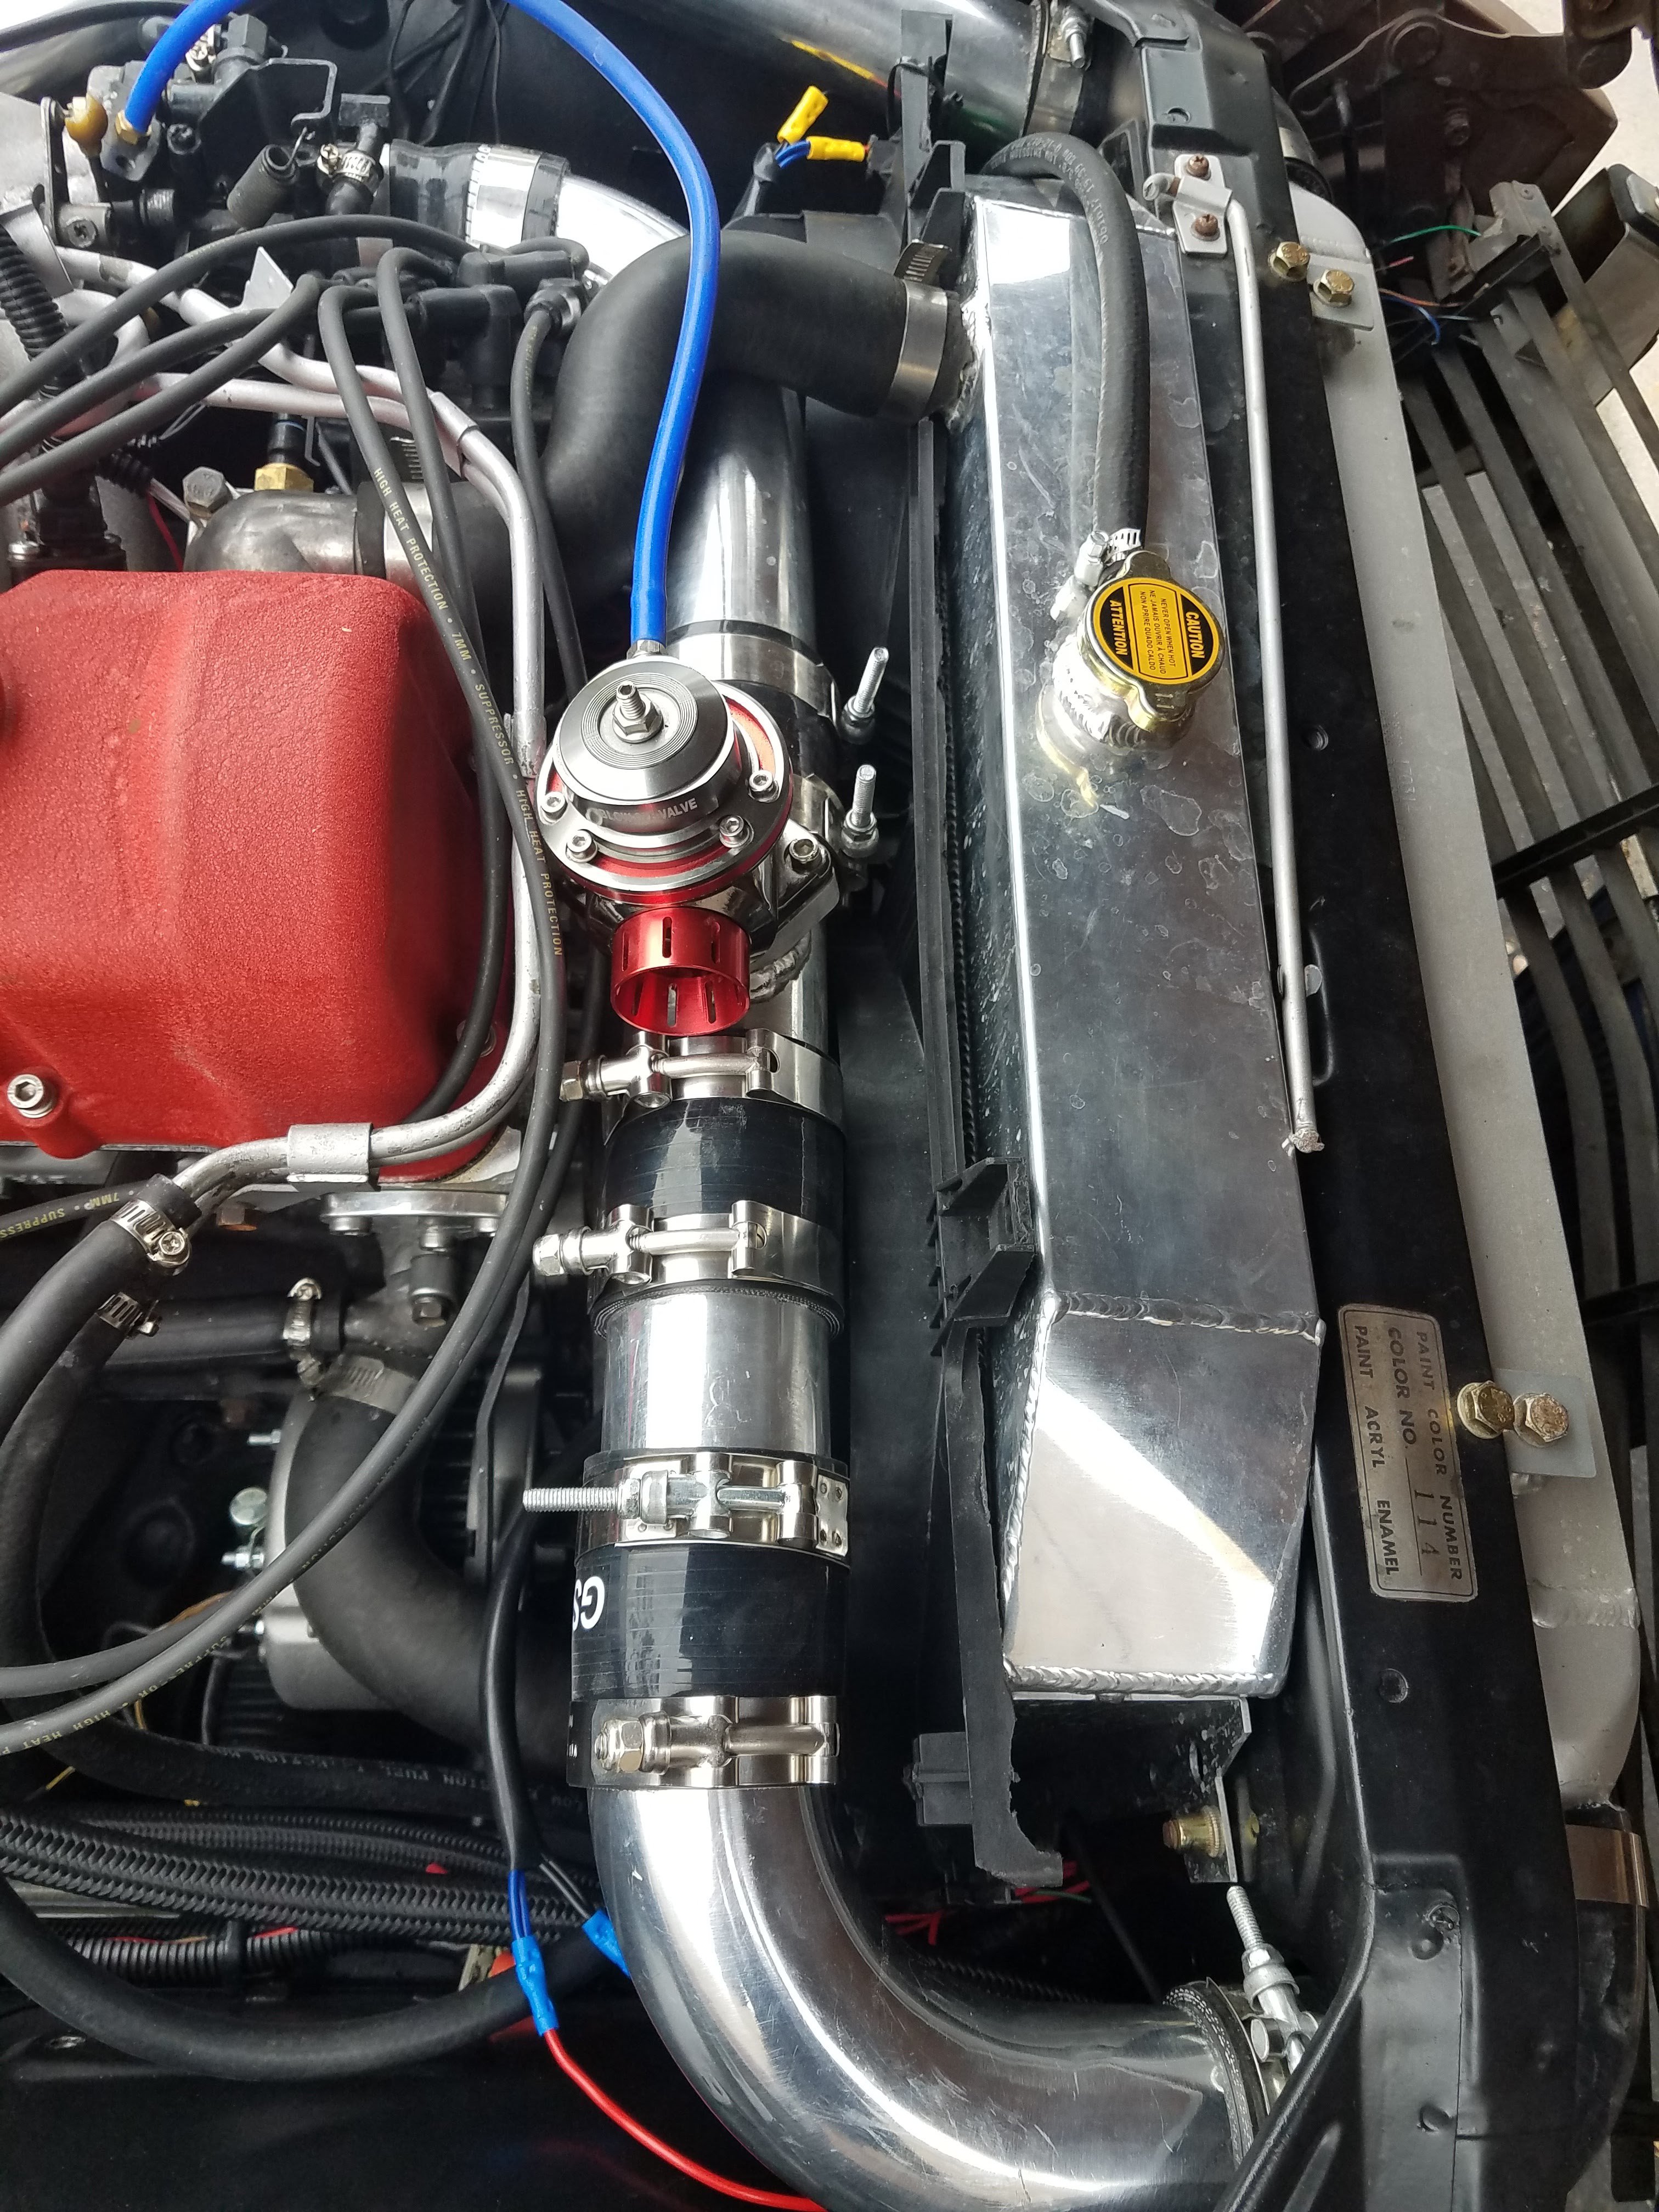
They are set to high. I cut the connectors off. 2 blacks 2 blues for each connector. Using both they go on high. I cut about a half inch off the back of the shroud to clear my piping and water outlet. Note that my radiator is thicker than stock.Pully is in between both fans with no issue. I have the one with 3 belt options so it sticks out. With an ac compressor or other belts it might be close i dont know. I can take pictures after this weekend of specific areas of concern if your interested. -
240z L28et Overheating
supershanesta replied to supershanesta's topic in S30 Series - 240z, 260z, 280z
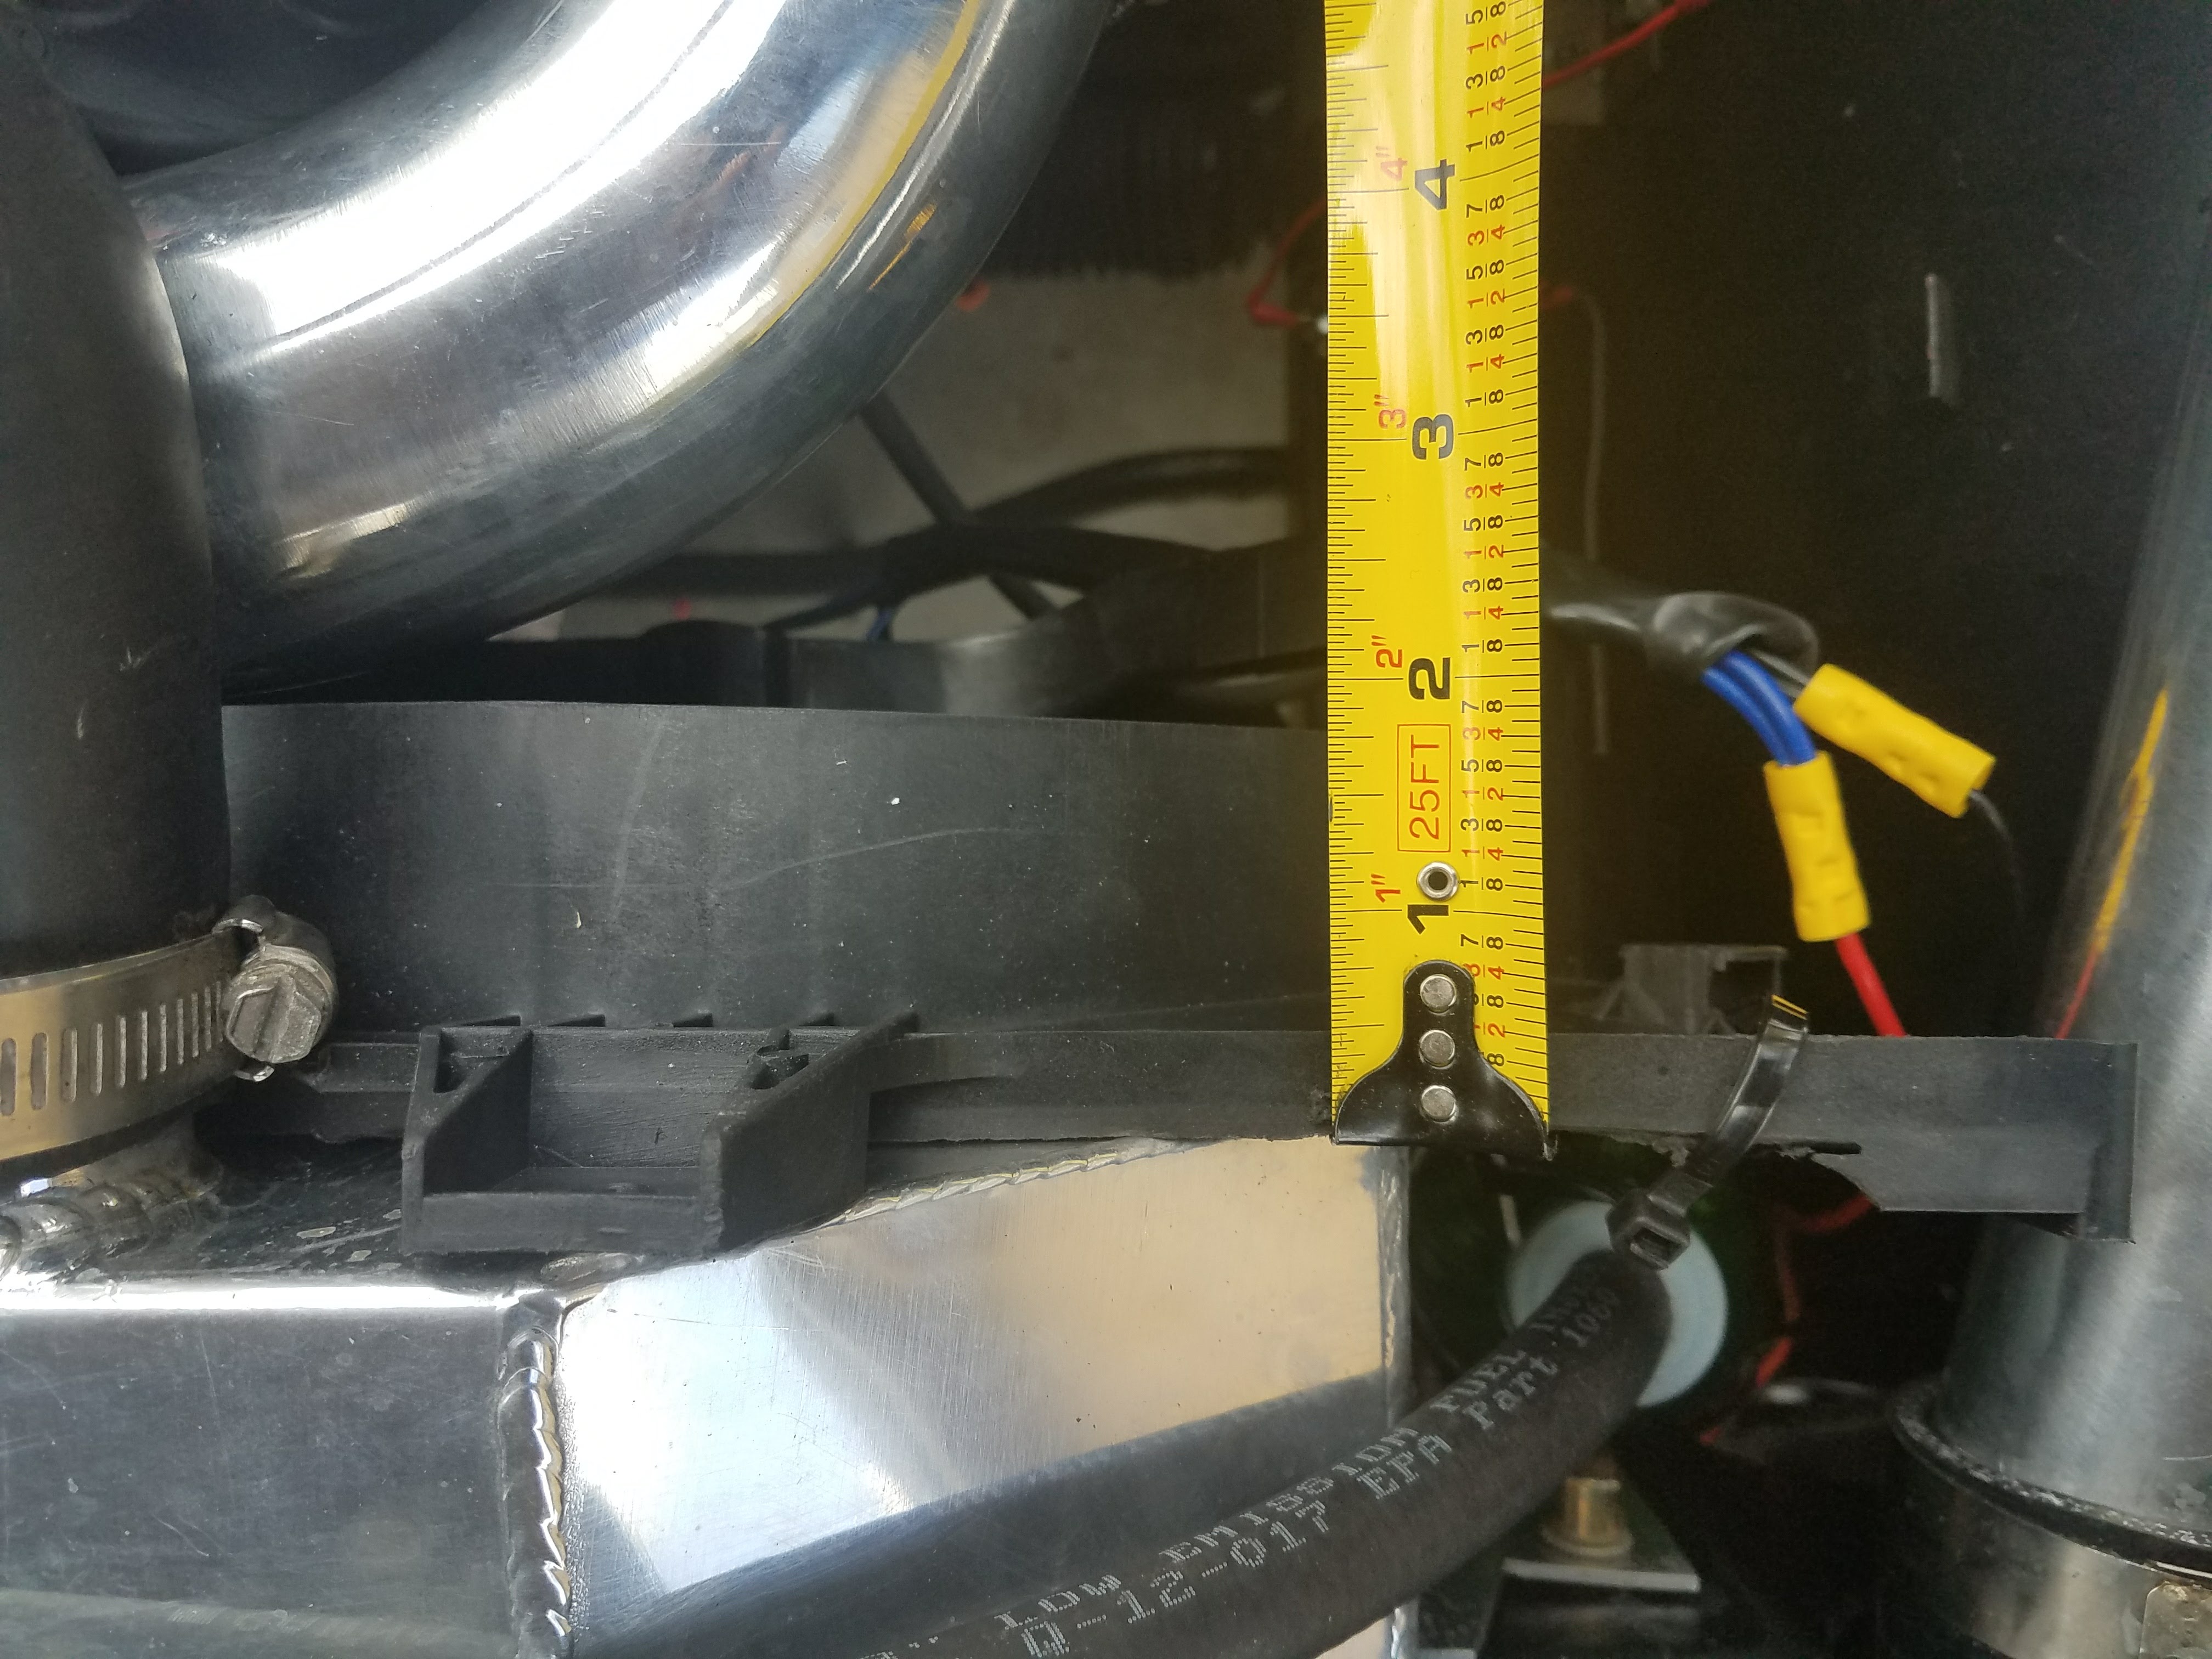
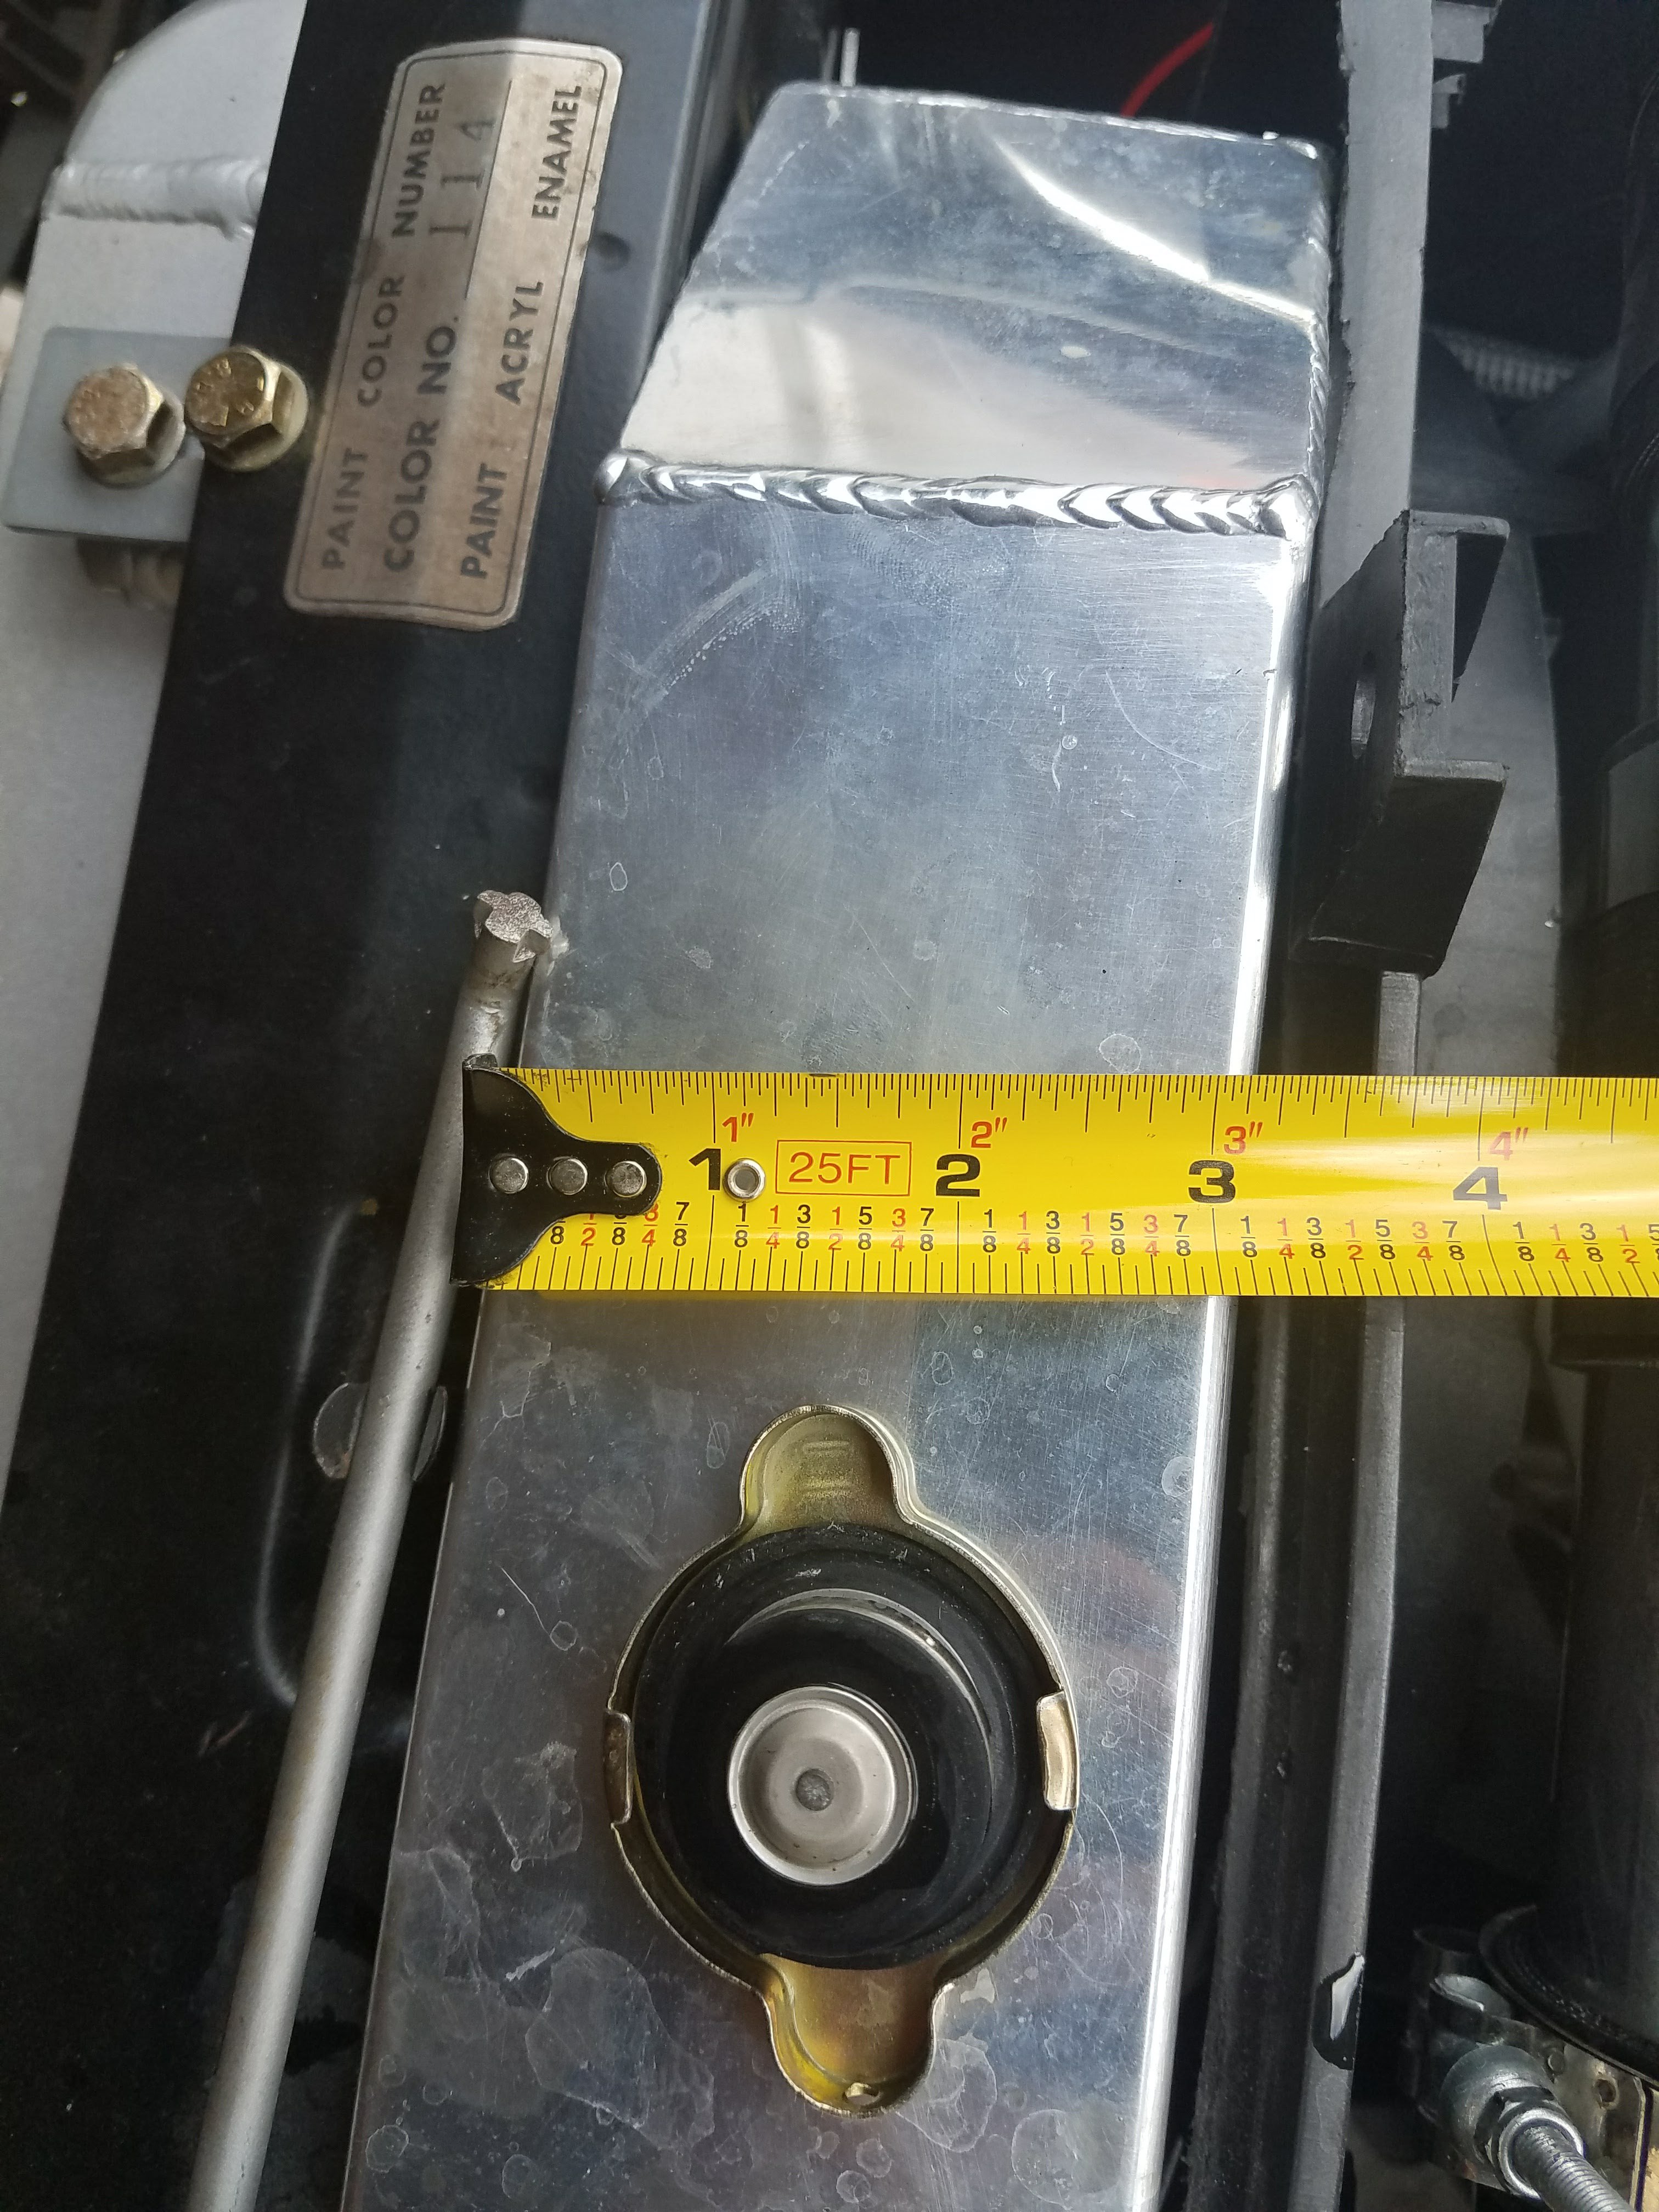
After putting in the Altima Fan things are going fine. I had to cut a lot of it to fit as its wide and also to thick for the turbo piping I have at the top. It almost hits the radiator outlet to the water pump. I had to cut the radiator hose shorter so that It would move and successfully fit. My radiator is 25" across if I remember. I think the stock ones are 26". It works like a dream. I have it hooked up to my megasquirt via a relay. It kicks on at 180 and cools down to 170 in seconds. My heating problem is all solved. If I was to do it again I would try a fan and shroud built for the car as this was more work than I wanted and I had to redo some turbo piping to get it to fit which cost $. Shitty but Effective. If anyone is interested its from a 2001 nissan altima. I will do more testing and get back to you guys as I have a new 160 thermostat (i drilled holes in my last one), but not seeing overheating at all. Thanks everyone.
-
240z L28et Overheating
supershanesta replied to supershanesta's topic in S30 Series - 240z, 260z, 280z
My guess is exactly what your saying. Fans need to turn off. and I need a shroud. I am receiving my altima fans and shroud today. I will take pictures of the install and do what seattlejester is suggesting. I will respond after testing. Thanks all! -
240z L28et Overheating
supershanesta replied to supershanesta's topic in S30 Series - 240z, 260z, 280z
SORRY its a pull fan!!!! It supposed to mounted on the back of the radiator as pictured. I get them mixed up. With the fans on the air is going towards the motor. Pulling air through the radiator -
This issue is resolved by adjusting calibration. Grounds are on the intake. Thanks everyone.
-
240z L28et Overheating
supershanesta replied to supershanesta's topic in S30 Series - 240z, 260z, 280z
Hey Guy, Sorry I have been waiting for an Altima fan setup. They are cheap push fans. 3 core ebay radiator. https://photos.app.goo.gl/VfX9sXi5k8S2QVyv2 I do not have a shroud. This altima fan setup does. I also am going to wire it to the megasquirt to turn on properly. -
240z L28et Overheating
supershanesta replied to supershanesta's topic in S30 Series - 240z, 260z, 280z
I know I have some cheap ebay fans and I am going to get the dual altima fans with shroud. I would go for the Ford Taurus fans but I don't have room due to ic piping. I will do that and see my results and post this Saturday. -
240z L28et Overheating
supershanesta replied to supershanesta's topic in S30 Series - 240z, 260z, 280z
I have two electric fans running. Always on. Still having issue. Intercooler is blocking but its not that huge. -
Hey Guys, I have battling this overheating issue. My car is a 1972 240z with an l28et, which is pretty much all stock. I have a new 3 row radiator from ebay, new oil cooler from ebay. The water pump is working. The motor has just been built and assembled. I show good compression and tested my thermostat to make sure that it opens. I have the heater core hooked in so that the water will go to the back of the motor as well. As soon as I get to operating temp around180 it climbs slowly in city like driving. I am not pounding the car. It only has 150 miles on it. I am just cruising with some small pulls. When sitting at lights it starts to climb. I have flushed the system 3 times last night and saw some stuff come out but nothing crazy. Any suggestions?
-
Richard, I have got the 280zx alternator cranking out 13.5 volts. I have made the adjustments in Tunerstudio and will just be okay with it as no other reading is off besides the o2 reading. Also I have no problems getting into high rpms. As a final test I will be moving the ms2 away from other wiring and see the results. If nothing changes I will just be satisfied. I will look into the maxima alternator. Thanks, Shane
-
Richard, I have read your email. I have done all that your talking about. I moved o2 ground to intake on its own stud. There is a condenser on the alternator. I added a new ground strap from alternator. I put a capacitor inline to try to silence noise. Nothing worked.. only unplugging the alternator. I did notice that this is not very uncommon and I am only having issue with my o2 sensor. Nothing else is being affected. I will try moving my ms2 mounting position and see if that makes a difference but if not I am going to just adjust the afr voltage in tuner studio to match the gauge. I have done that now, but don't like masking a known problem. Thanks for your help
-
I also have a lot of capacitors laying around. I might try and add one inline with the 12v going to the ms2 or right before power gets to my entire fuse block that I have all my components running off of. I will message up my results. Thanks!
-
All grounds are present and placed on body. I am going to check by adding another ground to the alternator to see if that does anything.
-
5 Speed Transmission goes into gears, but is always in neutral.
supershanesta replied to supershanesta's topic in Drivetrain
I have it resolved! I bought a new throw out collar and everything lined up. It was way too long! Thanks! -
HuD 91gt, I will double check my body grounds and verify. I appreciate your response. Could be with all my changes that I forgot one of them.