

tim.d
-
Posts
83 -
Joined
-
Last visited
-
Days Won
3
Content Type
Profiles
Forums
Blogs
Events
Gallery
Downloads
Store
Posts posted by tim.d
-
-
Hola,
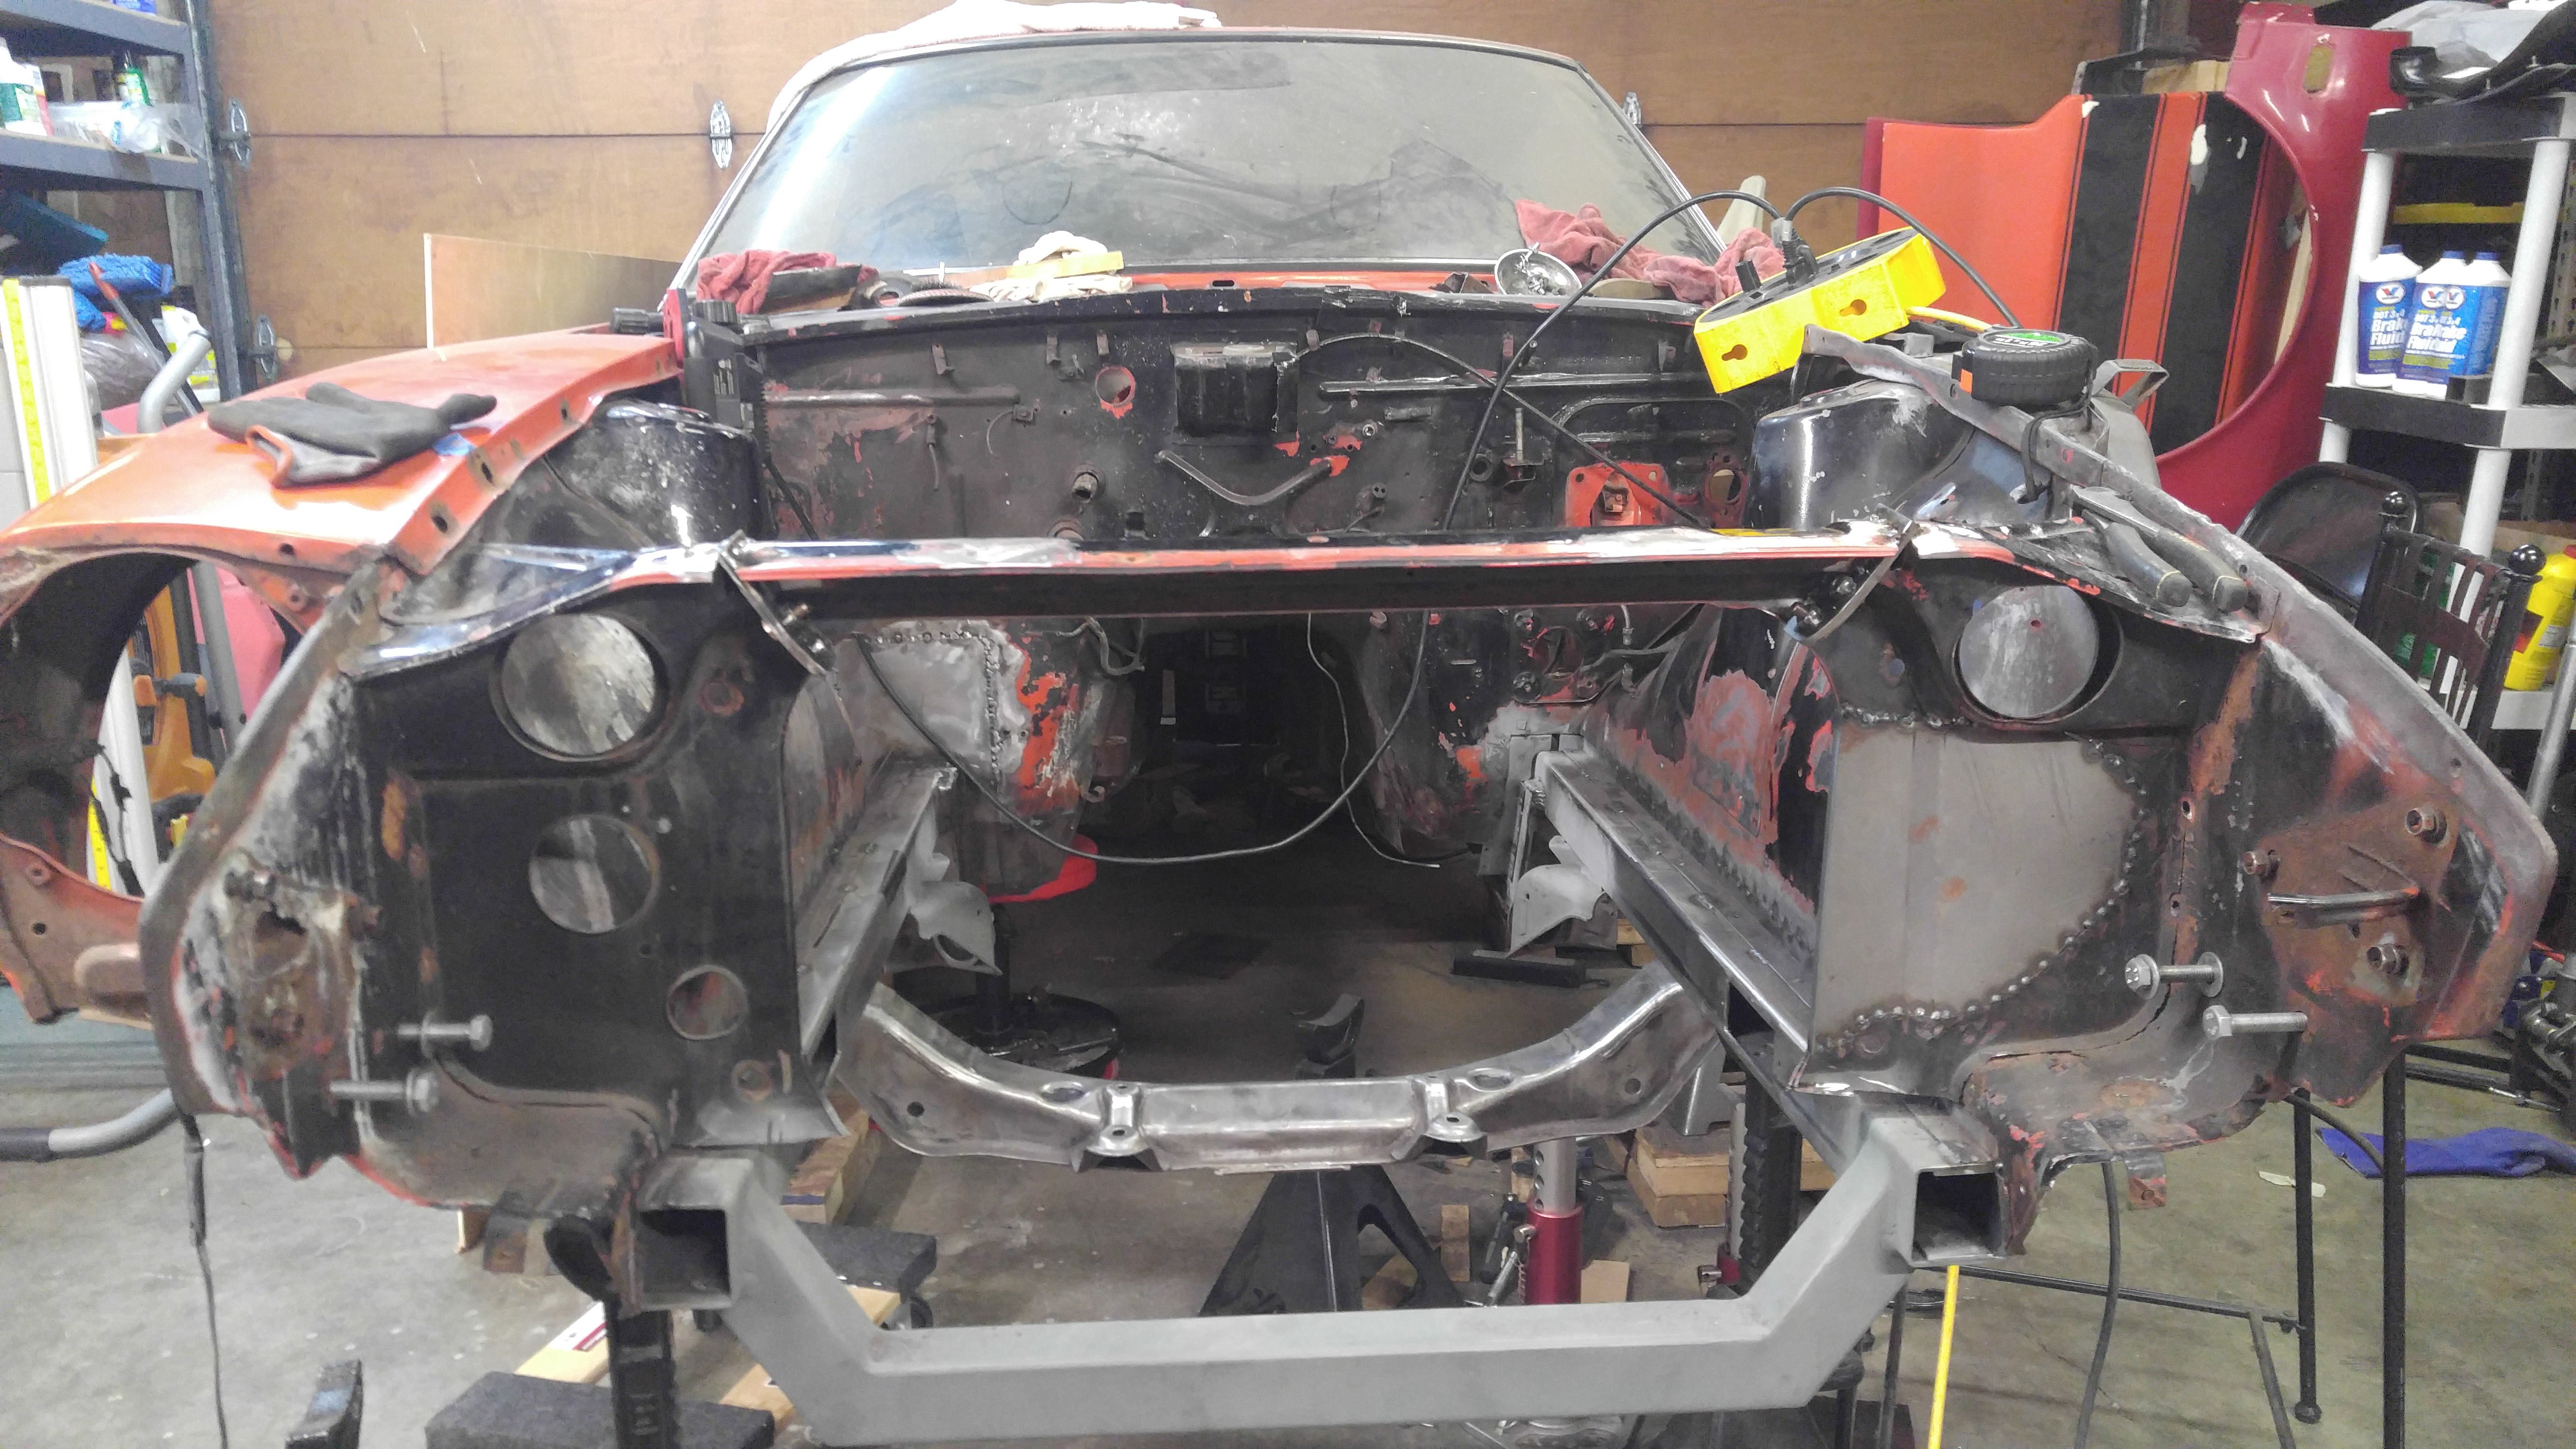
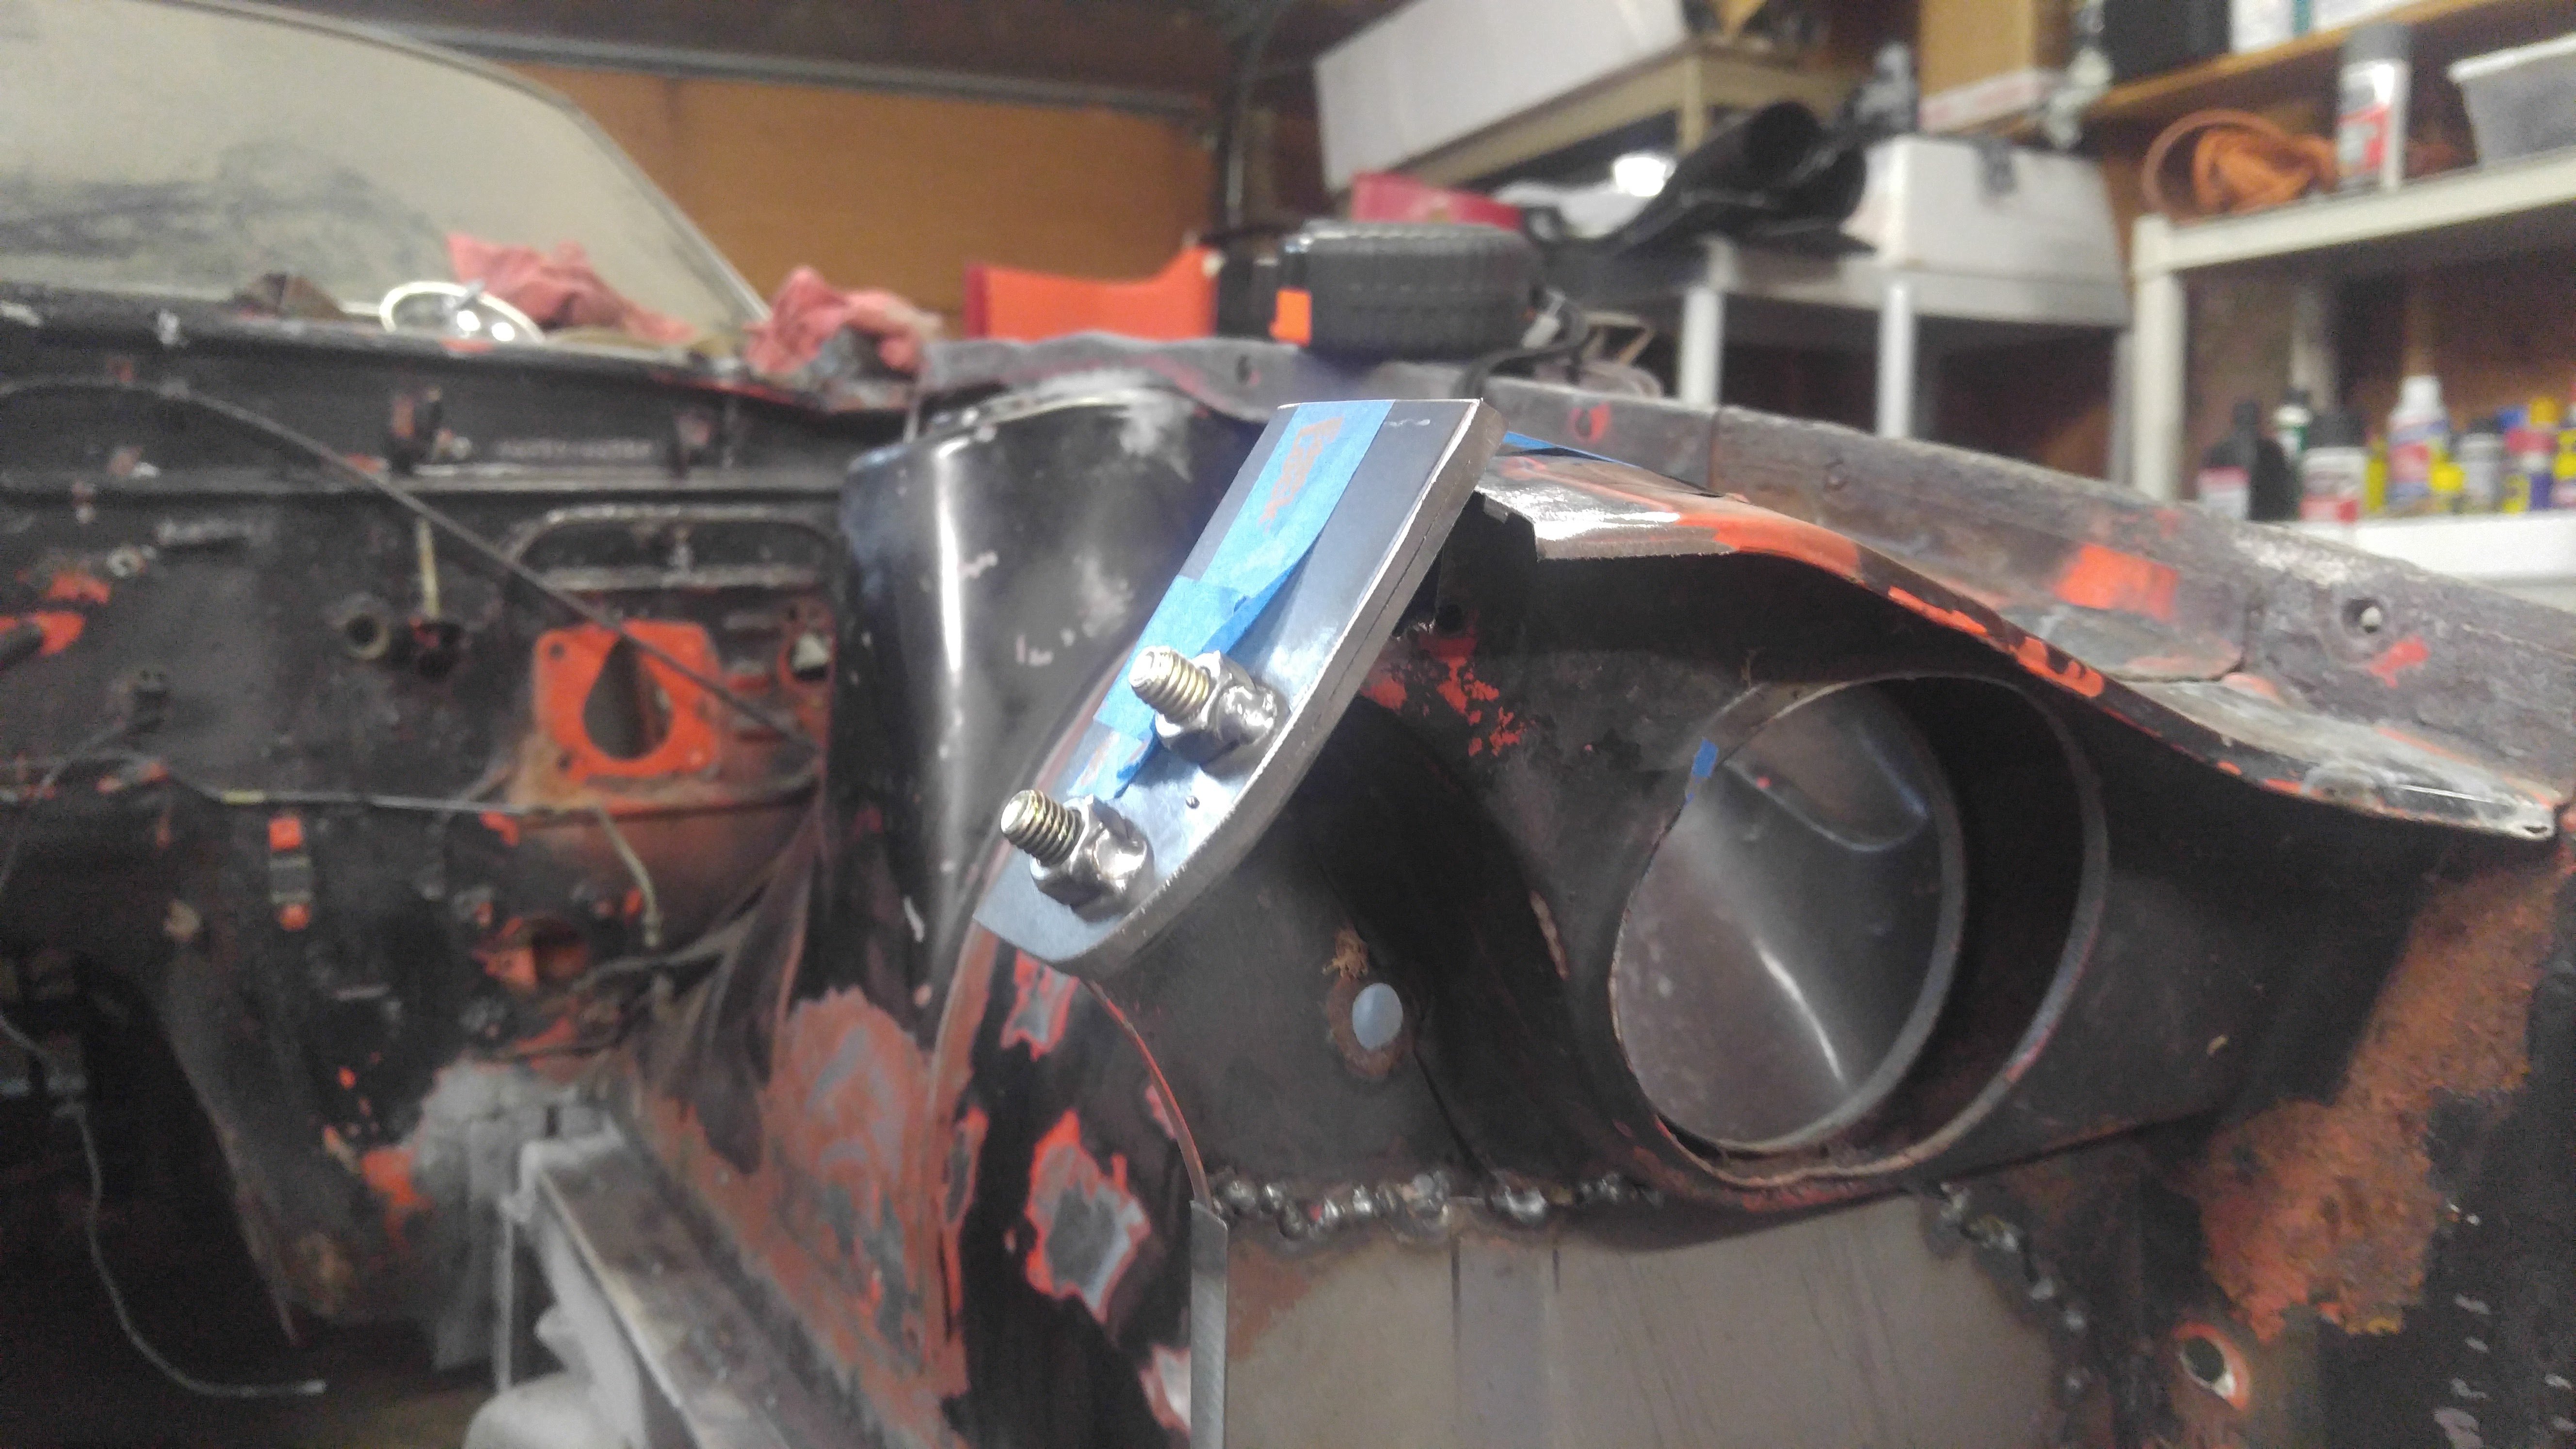
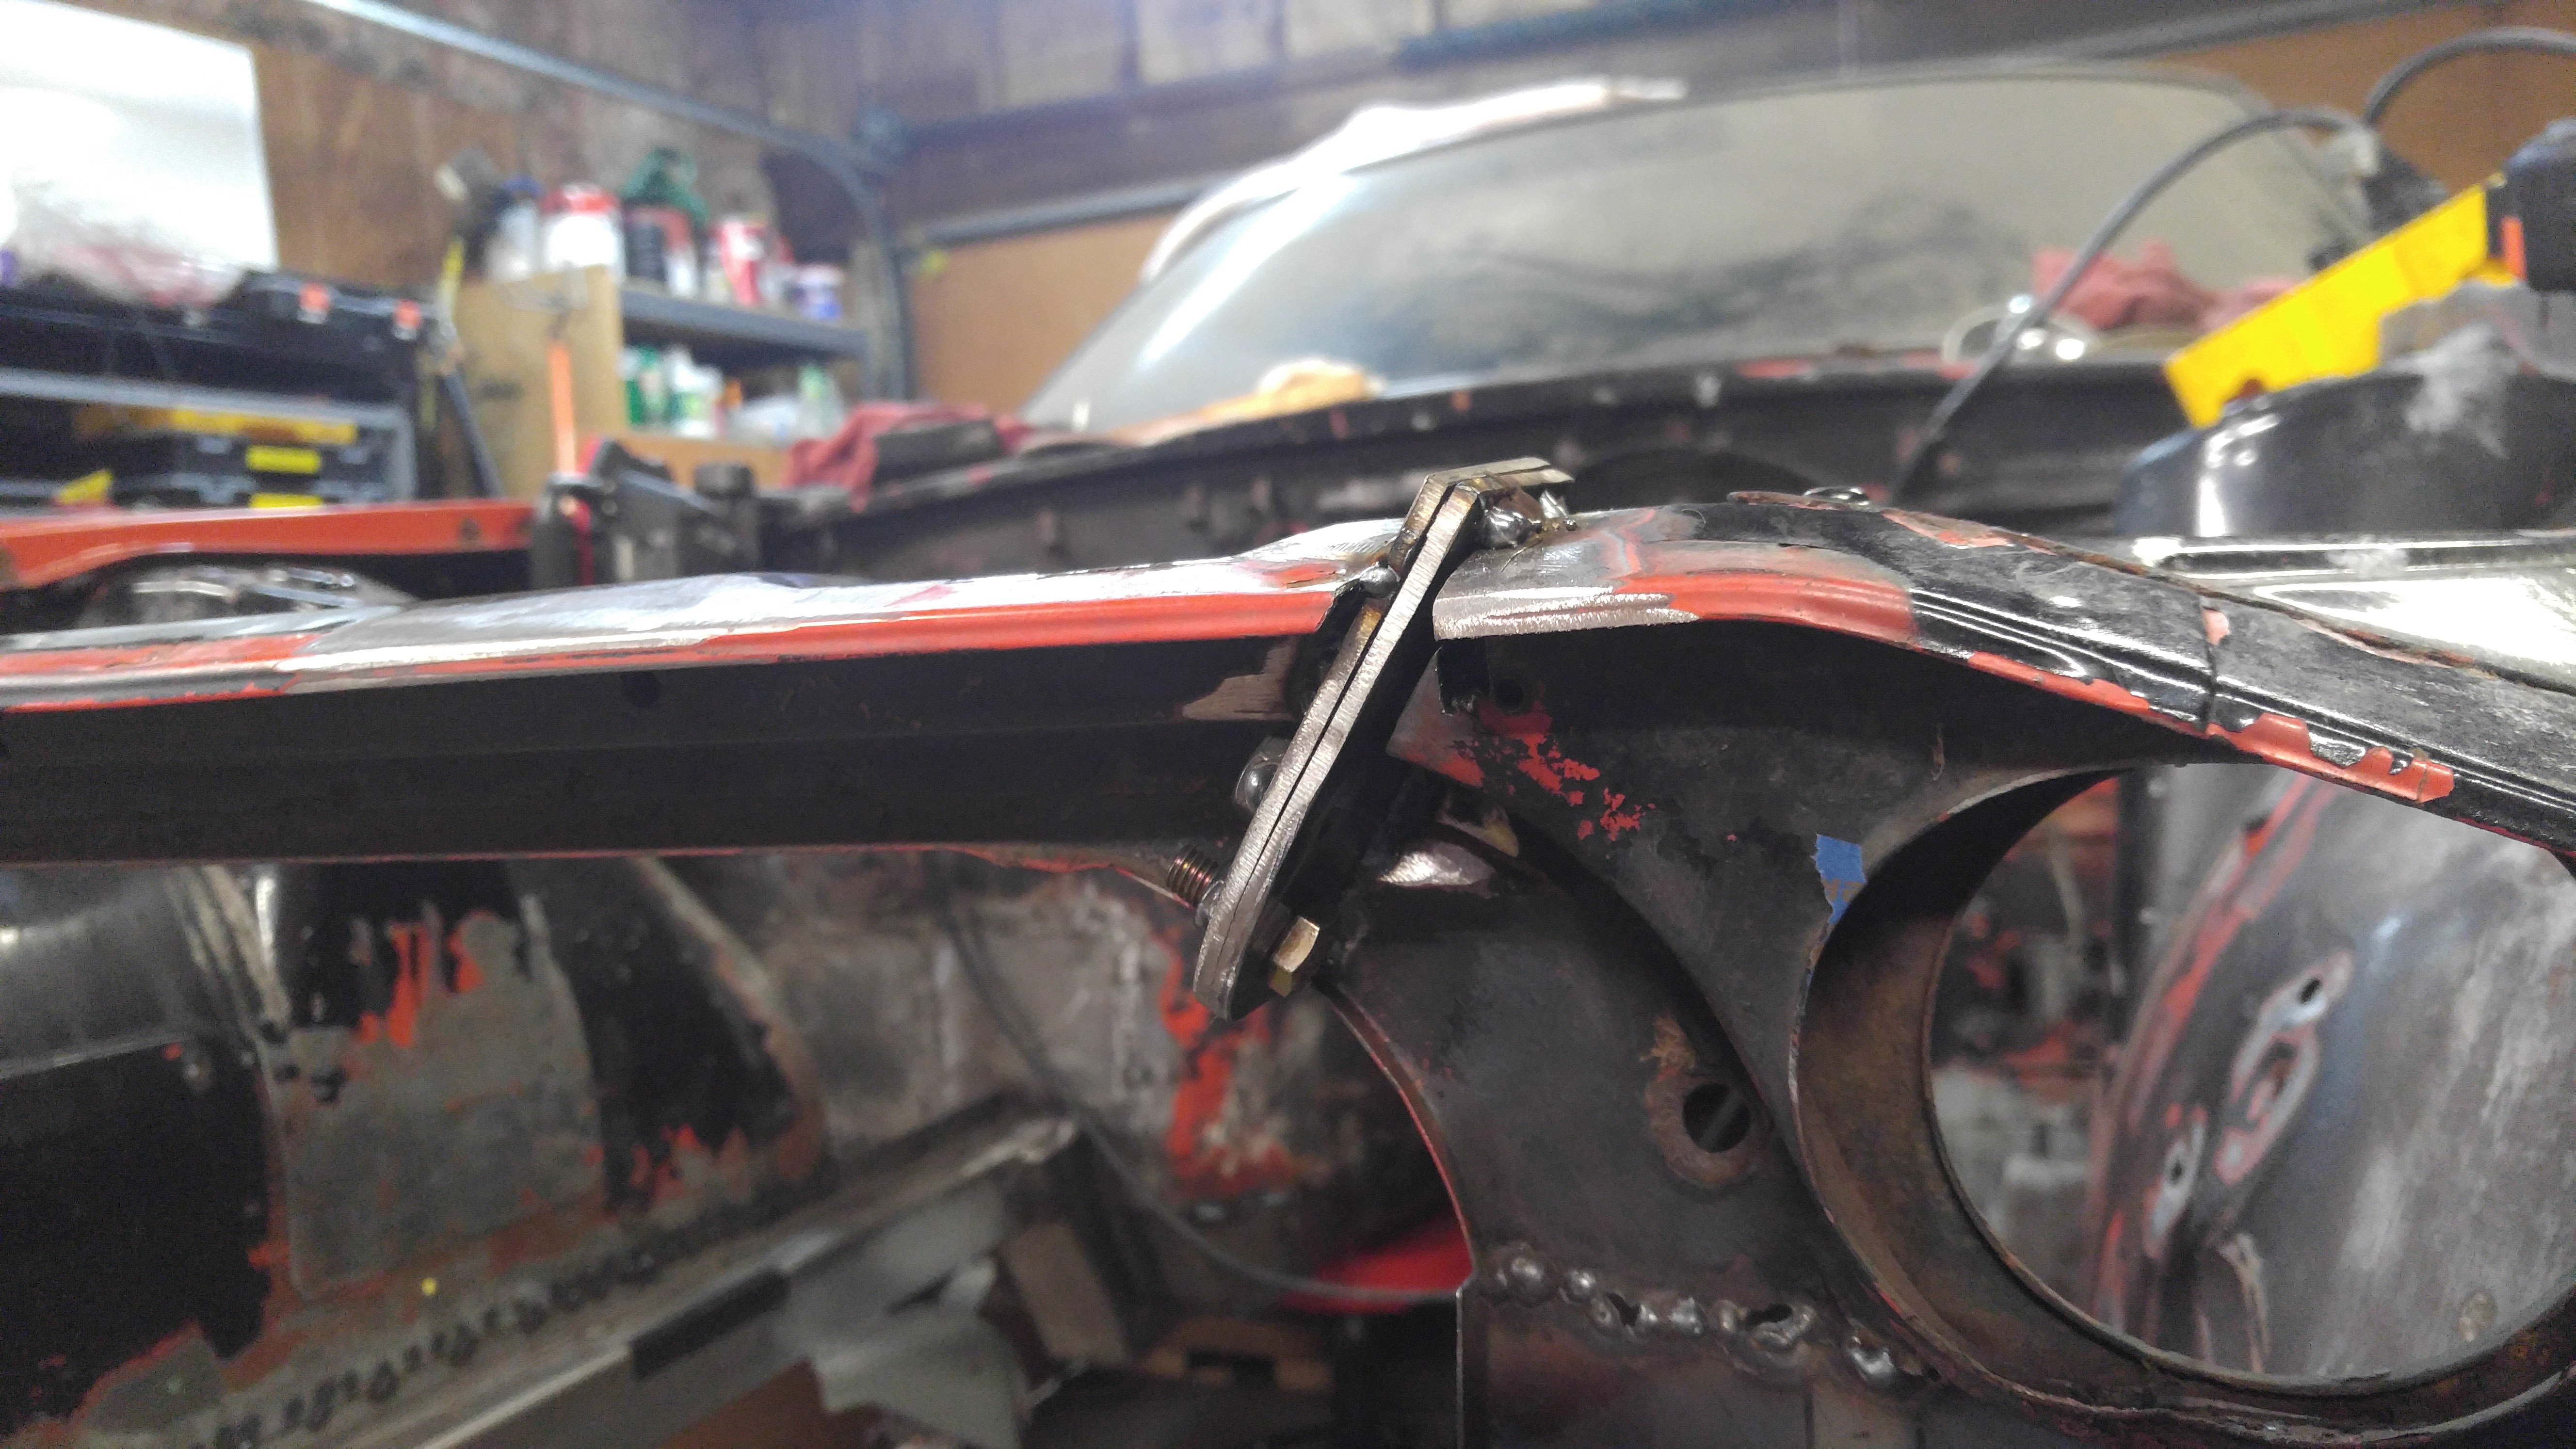
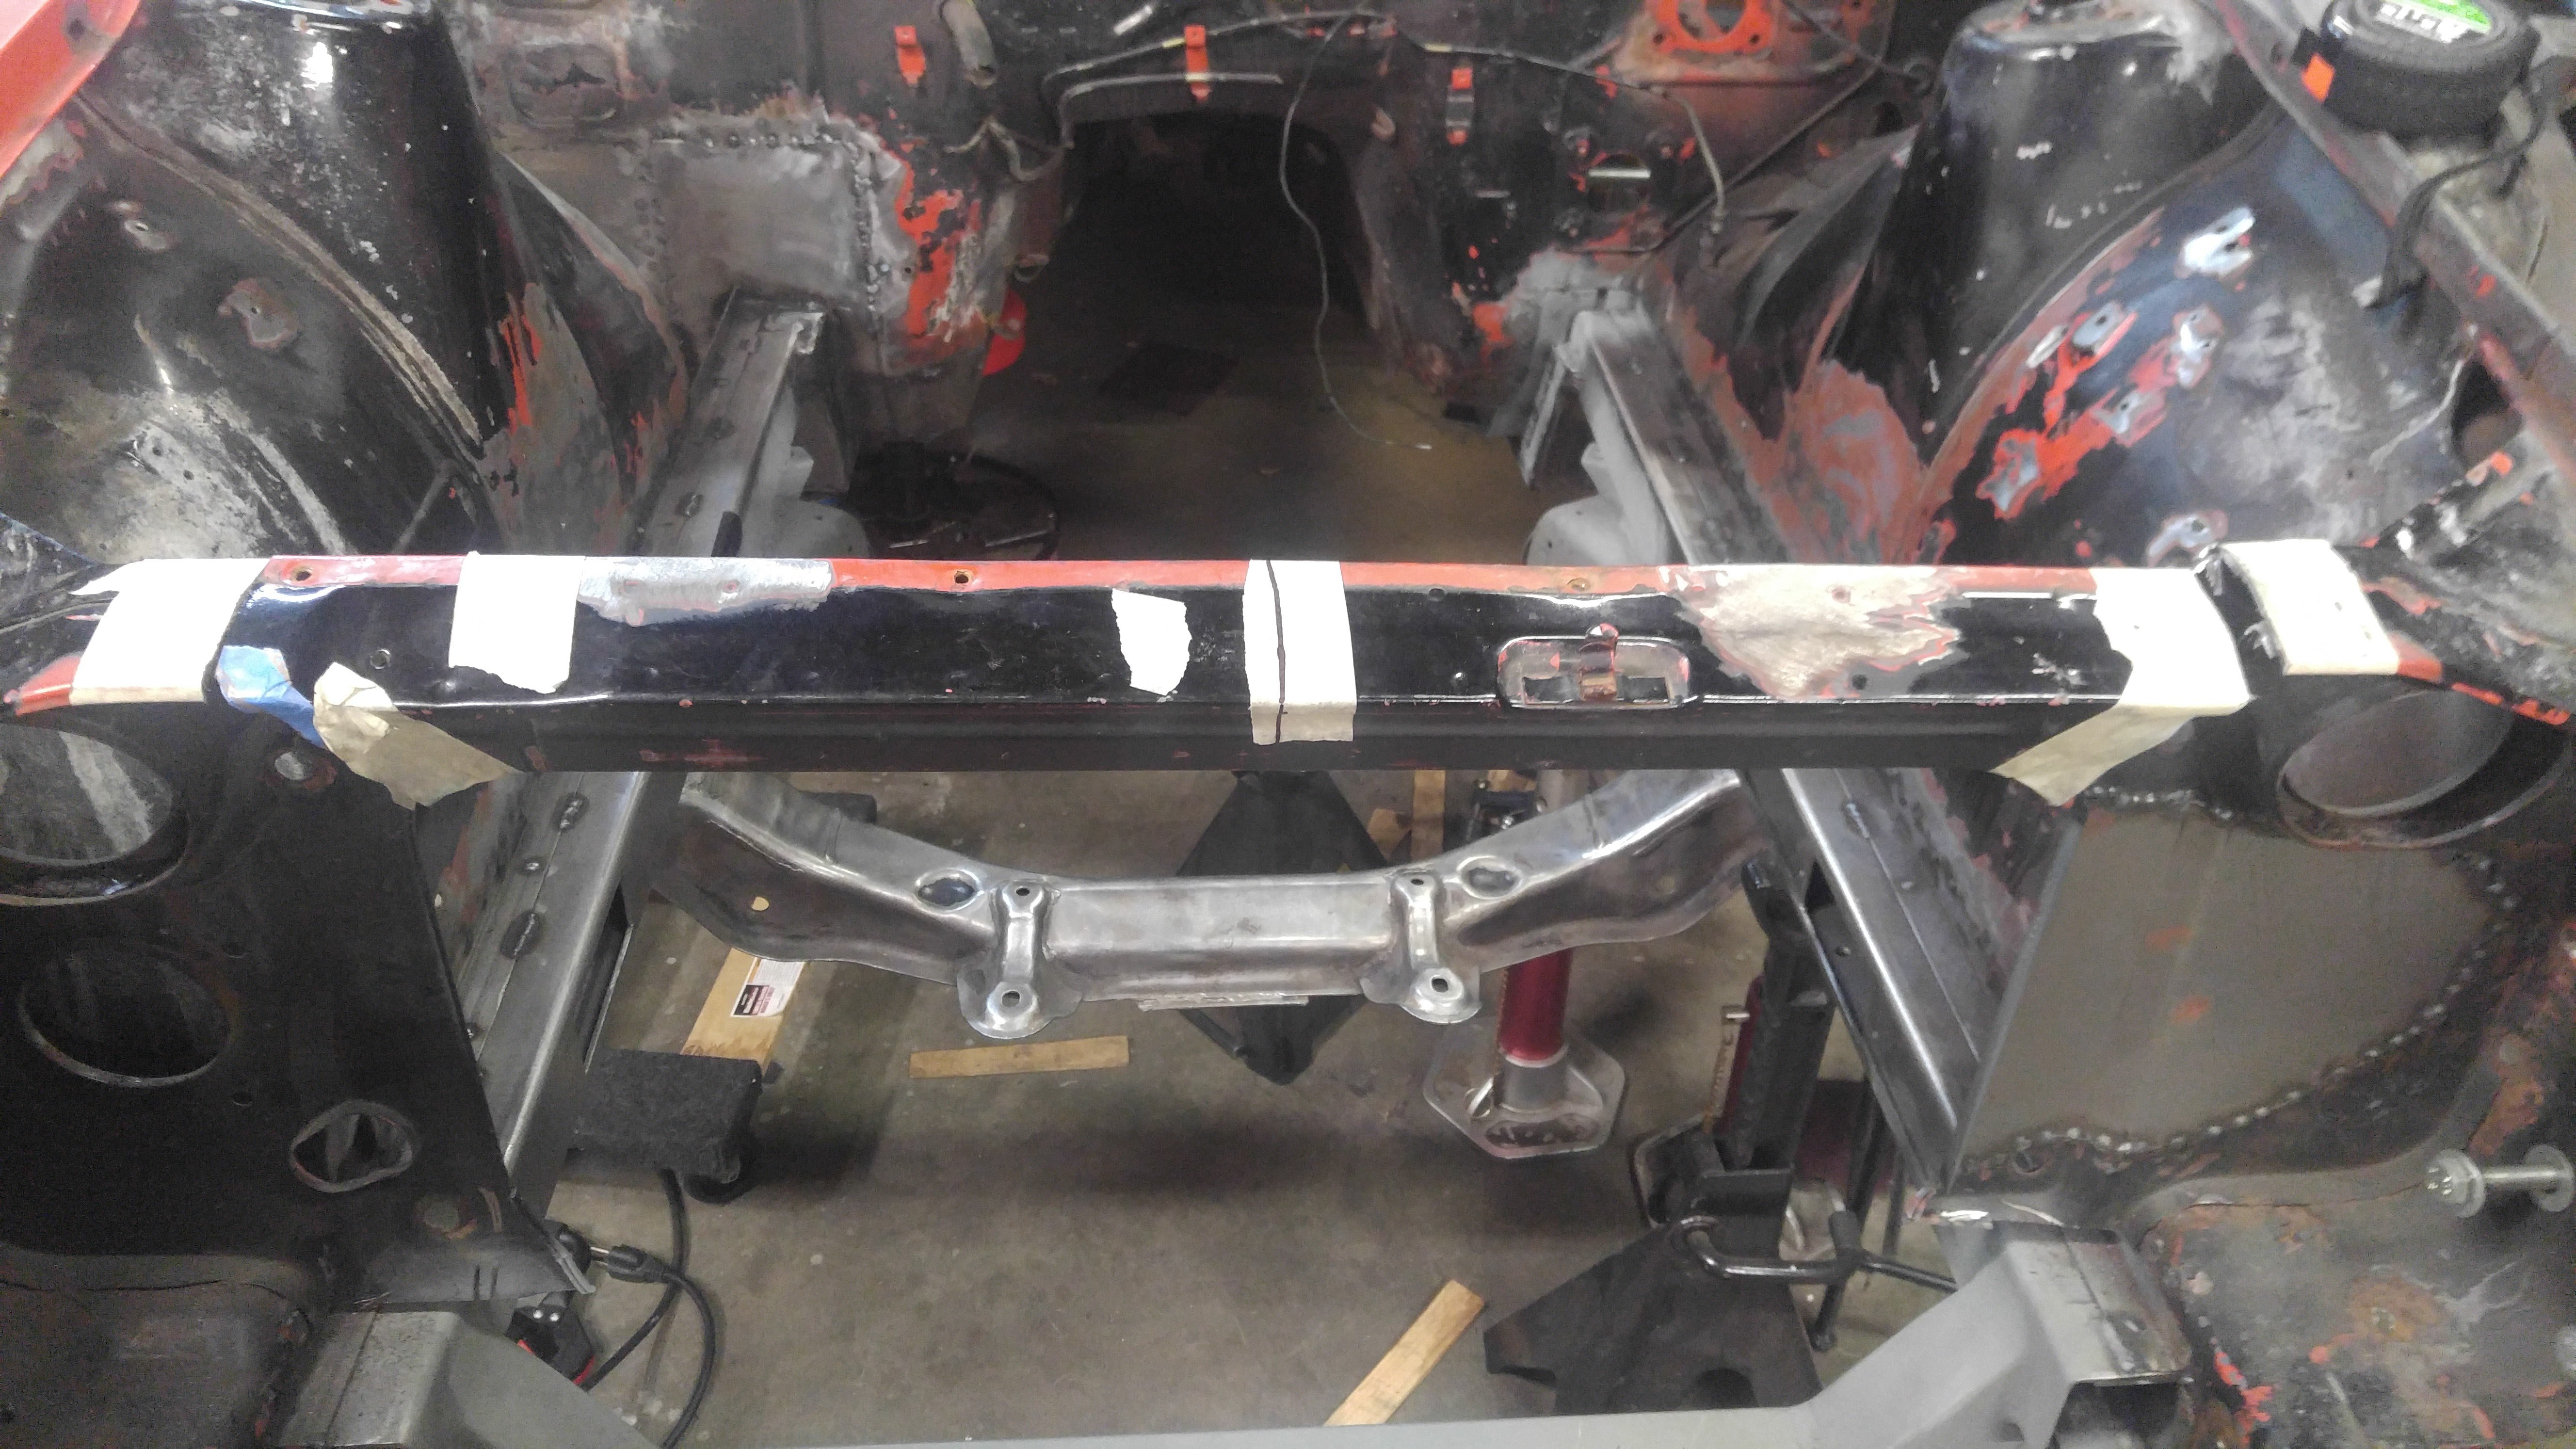
I measured off centerline and cut out upper core support at ~45*, then drilled and bolted two plates together tight, trimmed the upper support until upper edge was flush as it would have been before, and welded it together. It's plenty stiff!!

-
2 hours ago, Neverdone said:
I'm not a huge "racecar" fan. I never understood why people spend what seems like zillions on cars that have raced...
But there are TWO race cars that I could 100% justify buying if I had more money than god like many people seem to have nowaday.
This is half of them.
God damn is that cool.
So you do understand
-
I don't think a single thing about this build is considering real life use/wear/maintenance. I think someone told me that he's talking about bagging it now so it'll lay frame?!? I mean I miss the minitruckin days too, but comeon.
-
No, if you didn't want to cut the strut tower you would have to drop the whole strut assembly to adjust camber.
-
I thought about doing the same to mine..until I dug deeper. Ended up doing waaayyy more than just the outter rocker panel.
See photos: https://imgur.com/a/SkwkJ
-
Mark,
Thank you very much for posting that information here on HBZ; DPAN is a mess.
-
I have the DR's purchased, but car isn't ready for them yet. When researching, digressive shocks are definitely the way to go for a more performance oriented car. I was hoping to find a few different shock dynos of the BCs, but only found a couple... likely because at the BC pricepoint, most people aren't going to have them run through a shockdyno. BUT - they seem to use standard bilstein sized pistons and valves so really fine tuning their setup is possible and rebuilding shouldn't be a big deal. I would have preferred the shocks to be inverted like the Stance or Simtec, but a lack of information about the internals made me lean towards the BC.
TLDR; I thought the BC DR's were the best way into a digressive coilover setup that was a solid base with room for improvement down the road.
-
It's painful to watch. I had to unsubscribe, I was about ready to leave a youtube comment.
-
[deleted]
-
Well wifey and kiddo are at Grandma's tonight so I guess I'll update this thread while drinking some beer.
Got the front half of the rocker welded in. The rear half is welded in where it can be, but I've got a bunch of metal to replace back there....
Had some issues getting the rocker panel to line up with the rear quarter door seam. In the end, i'm putting it down to 40 year old cheap japanese cars weren't built with a lot of precision and to allow for some variances. After getting it welded in and flanges hammered down it fits better but not what i'd call 100%.
But in the end, it welded up ok. also took care of some stitch welding while I was in the area
And then getting the inner wheel well ready for it's patch. I'm guessing it's probably best to make this panel once I've got the new dogleg in.
Parts are primed on all faces before being enclosed, and then I'll be doing over everything with Eastwood's internal frame coating to seal it up.
Oh, and sent in my speedhut gauges to go from 4.5 to 4" so I can fit the trim rings. While those were getting snail mailed to Utah, the 2 5/8s came in. Thanks to Steve (ihiryu) here on the forums for being an awesome dealer with many hookups. Saved me a couple hundred bucks on my BCs and about 150 between all these gauges.
-
The mechanical side of his builds have consistently been... questionable. Hoping since he cares about this car that'll be different. Would love to hear that thing howl!
-
1 hour ago, EF Ian said:
Very curious about what the smart people here think about this design. I'm planning on going down a similar path, also with the main hoop also protruding into the wheel wells slightly. I've got full length box frame rails that the hoop would brace down into as well.
-
2 hours ago, Exposed said:
completely agree that technique is very important, I'm no welder but from what I've read the wrong electrode choice can affect your arc.
When really honing in on your skill, electrodes do make a difference. The video below does an excellent job of comparing the various 'colors' that are out there. But no electrode will make up for beginner or sloppy technique.
-
technique is way more important than electrode choice in tig welding. Establish your puddle, then start moving the torch. keep arc TIGHT.
Feed in filler at appropriate increments, and don't stop the torch for too long otherwise you'll put too much heat into the part. A million billion times more tricky than it sounds.
-
 1
1
-
-
2 hours ago, tube80z said:
One thing I might suggest. If you look at a new car and compare the chassis to the Z you'll find a connection from the rocker to the frame well in the front wheel well. This is the same area that saw a lot of work in the B&W pictures you linked to previously. And on our race cars we often put tubing into the rockers to make the floor stronger. At the front wheel end this was connected to the TC box. Very similar to some of the photos you have shared.
Props to all the work to save this one. At some point these cars will be rare enough this will be commonplace. I'm glad I live where they don't salt roads.
Hope this helps,
Cary
You're posts and knowledge is pretty much gospel, so I'll soak up everything I can from you. I have a similar method planned; though I'm not sure how to effectively put a tube inside the rocker with everything else thats in there, or how to tie it in. So many angles, feels beyond my ability. I've already got the passenger side reinforced for the front brace you were talking about, https://imgur.com/DPdo6lp. I will also be running a small tube or some 1x2 from the TC bucket to the rocker. Do you think using 16ga is thick enough for a "doubler" on the stock rocker? My seat rails tie in from the full length frame rails into the rockers as well, and the transmission crossmember will brace between the two sides. Then the normal other triangulations in the cabin and engine bay.
6 hours ago, Neverdone said:God damn Tim...your necromancy skills are on point because that Z was well beyond "not worth saving".
Next time you want to restore a car, let me know and I'll trailer you one down from the west coast.
For sure. Not doing this BS again. And we'd get an awesome road trip out of it!
1 hour ago, grannyknot said:Ah yes, bathtub caulking, a great automotive repair material, that means soon you will find wood screws holding panels together and Marretts connectors twisted in the wiring harness with thick gobs of electrical tape wrapped around them like Egyptian mummies.
I wish I had taken more pictures.
So far, the only wood screws I found were holding in a bunch of shotty grounds in the engine bay. I'll be rewiring everything from scratch (something I'm actually proficient at), so there's some enjoyable work to come later on. I did have an old supra that had "custom wiring" terminated in the manner you described... never did get the gremlins fully sorted from that car. The shit people pull....
-
30 minutes ago, grannyknot said:
Man that is some serious rust, that's brave of you to tackle the doglegs. Is that wire mesh and bondo the PO fix you mentioned?
Don't really have much of a choice, I've committed to this body. Hopefully in the end it's not terrible!
It appears to be window screen and bathtub caulking.
.
-
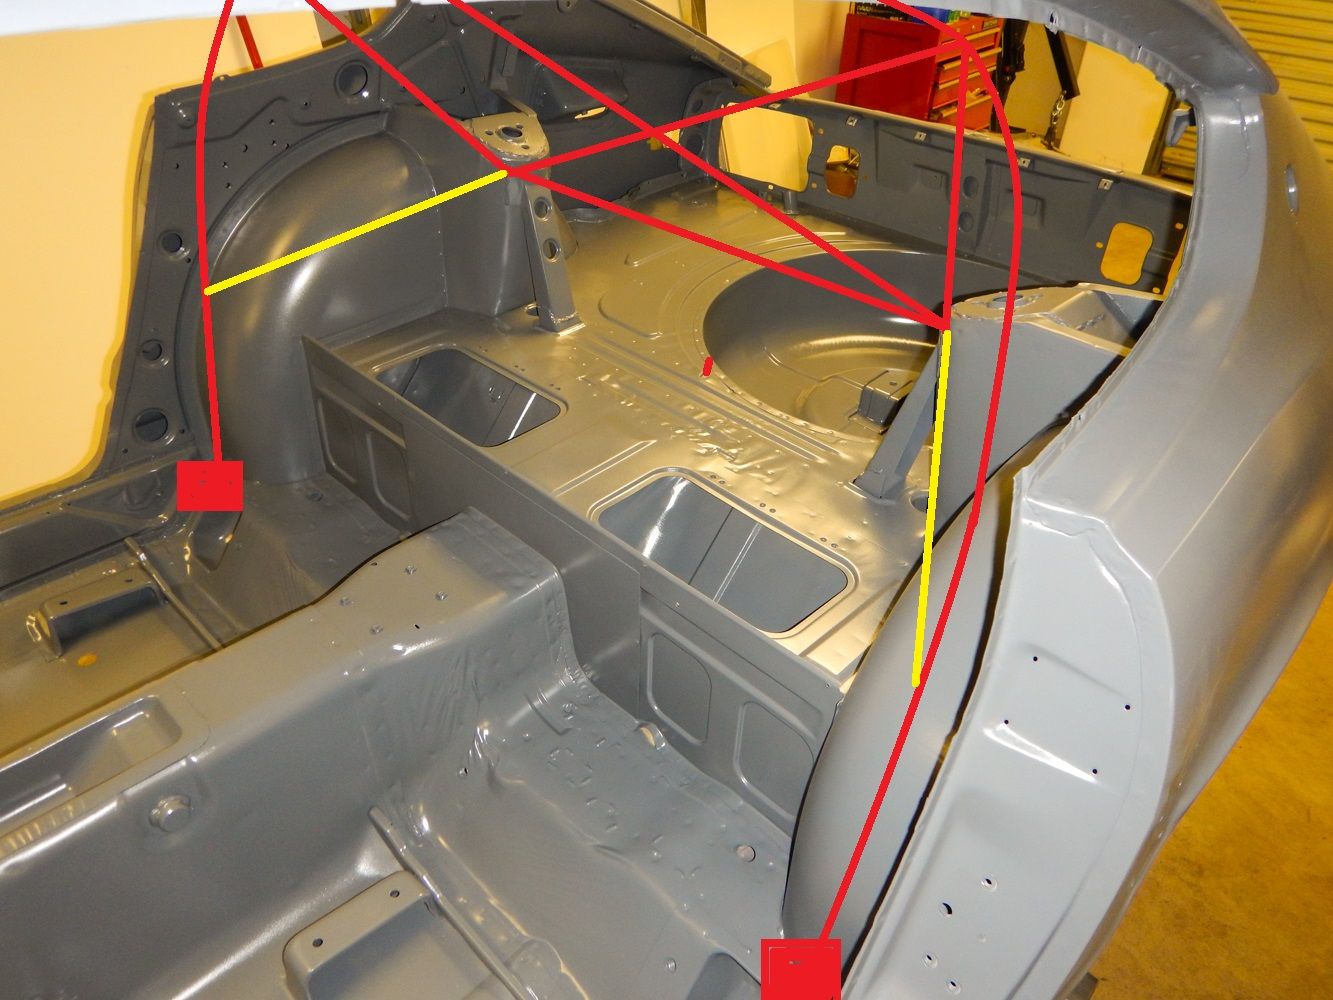
So the last few weekends I've started tackling the driver's side rocker replacement. After drilling out many, many spot welds I found that the "tie in panels" (which I didn't even know where there) were rotted out as well. Picked up a set from Prospect-D to save myself some fabrication time, and have been working on removing the rotten metal , treating, and replacing. I also found that the lower portion of the rear inner fender was completed rotted out; so that's another panel I'll have to make from scratch, but I'll get to that after the rockers are back in. Looks like the PO was well aware of the rot in this area... as he came up with a rather "Home Depot" approach to repair.
What metal was left was brushed down the best I could with wire wheels, and then ospho'd twice, followed by rust converter for anything else I missed, then weld thru and normal primer. three days of curing just to get through the primer stages! ugh, le lame.
Album: https://imgur.com/a/SkwkJ
-
I think it's the universe's will that this goes to Neverdone.
-
-
Below the blue header (at the top of the page) there are words. One of them is "Donations." Click on that. Then click on the green button "Donate Now." It's on the right half of the page, just off center.
-
Dude, Awesome job.
-
Likewise, I ended up purchasing the Everlast 185DV. Got it for $900 with pedal. Spent another ~100 bucks on gas lens kit and some tungsten... this thing is definitely better than I am (my filler technique sucks). Only complaint is that the power switch is on the back... and the flow meter feels chinsy- difficult to be specific in the 5-15CFM range. Torch, pedal, overall construction has been very nice.
-
Good for you for perusing this and documenting. Keeping the HybridZ spirit alive! Looking forward to continued progress.
-
2 hours ago, DeathByNissan55 said:
It was a couple days ago, i dont remember anymore, it was a guy complaining about that he shared his design with someone and they ended up copying it but changing like 1 thing and selling it. the guy had the gall to promote the stolen IP in one of the original guy's posts.....just be careful man.
To be fair, that's not really what happened.
There's a guy who makes weld-on Z31T CV adapters, and someone who purchased these made some revisions to the design for better axle clearance and some other minor improvements. This customer shared his improvements with the seller, who basically told him to sod off. This guy had a few extras made when he did his, and sold the extras of his version. Original seller got his panties in a wad. I purchased both sets... maybe i'll do a write up comparison when the version 2 ones get here.
(Sorry to get off topic)


Thoughts on Apex Engineered 8.8 subframe
in Drivetrain
Posted
The front of the differential IS bushed; they're OE pressed into the carrier housing. See attached image.
I've asked AE a lot of questions and haven't bought jack from them, and they've been outstanding answering all of my questions, including dimensions and materials as I attempt to copy their stuff. I've heard nothing but positive things from those I know who have purchased from them. Maybe they're not the problem.