Search the Community
Showing results for tags '280z'.
-
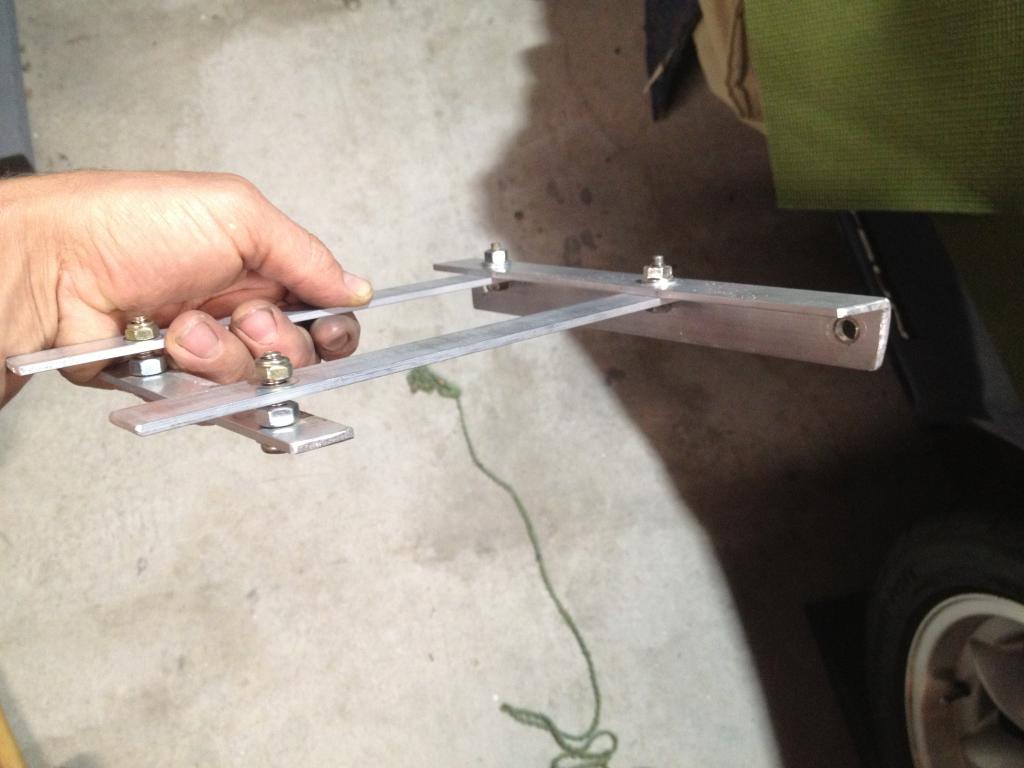
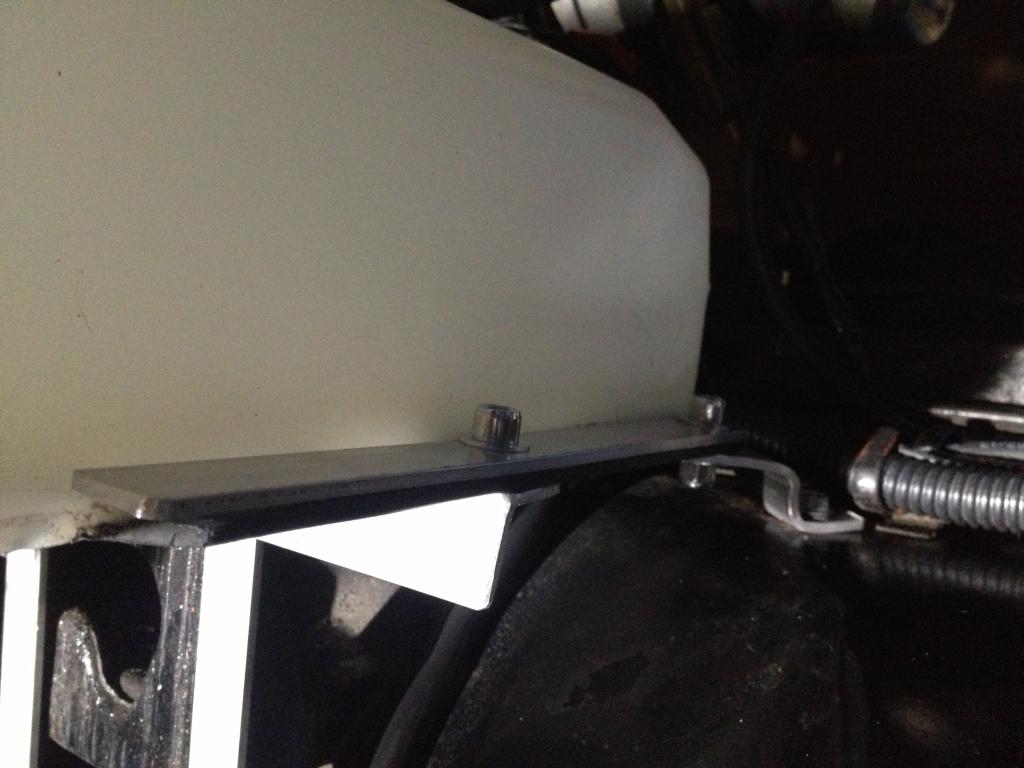
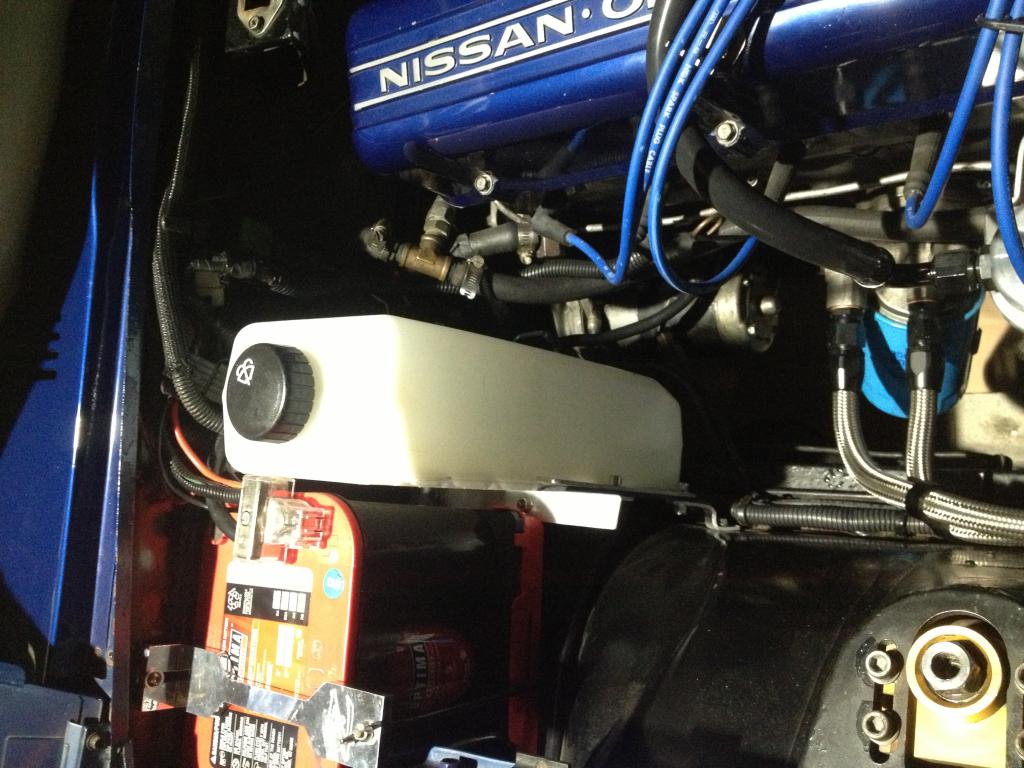
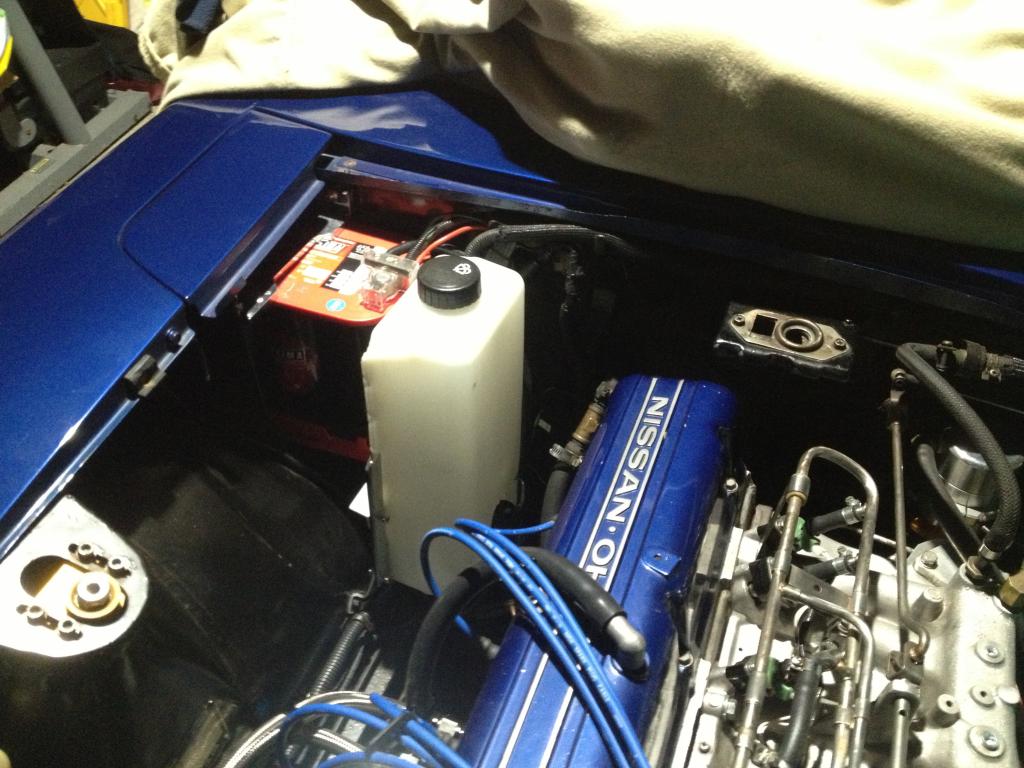
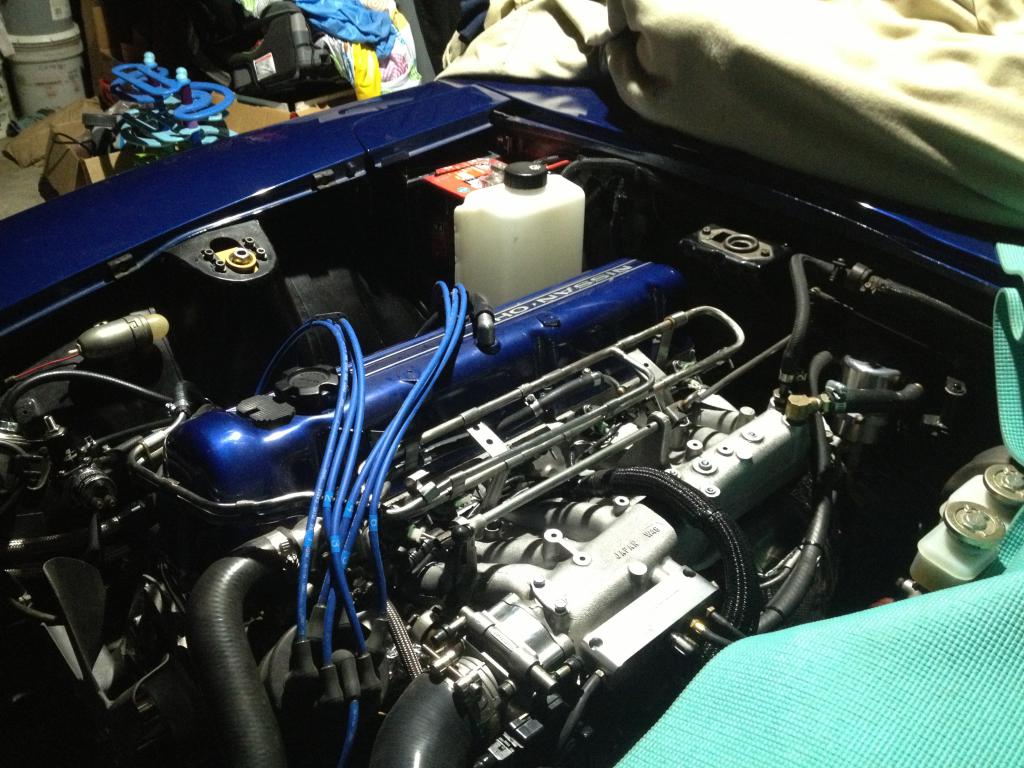
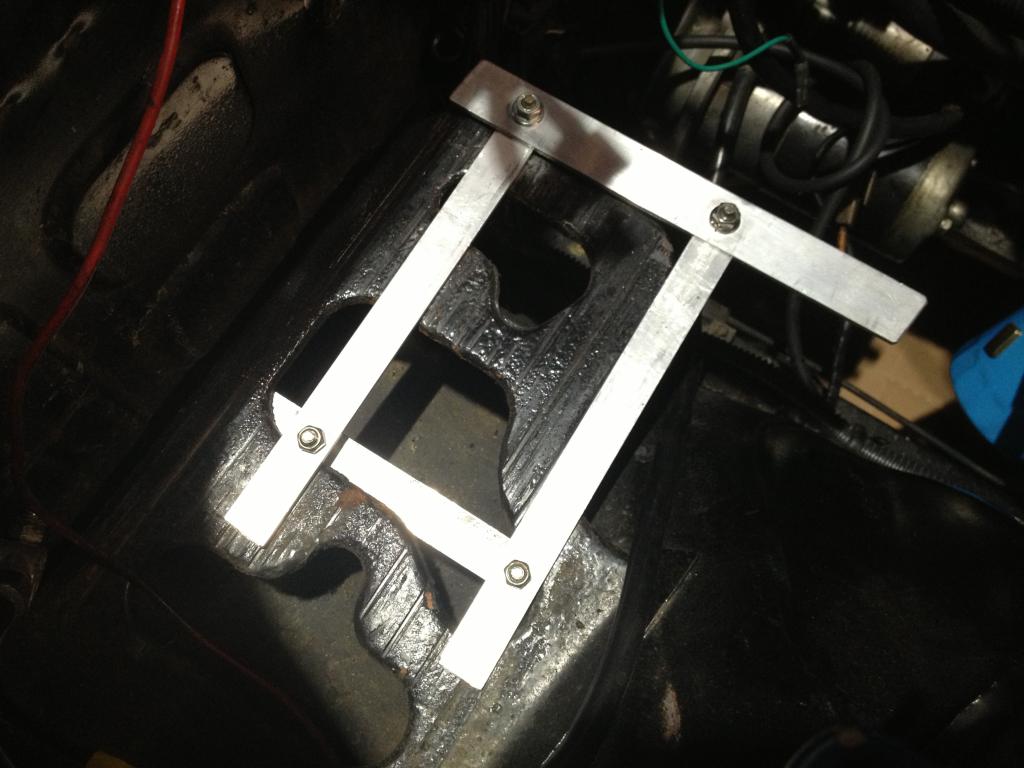
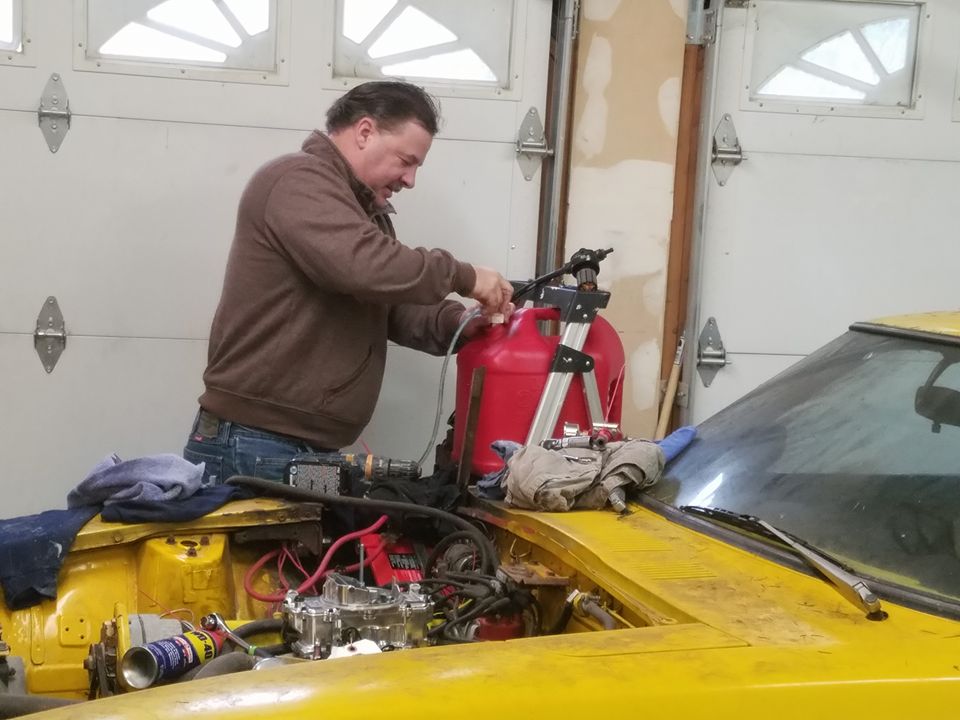
I want to share with everyone my DIY intercooler sprayer. I went to find a windshield fluid reservoir from a junkyard but couldn't find anything that I liked. Then I ran into this: http://www.midwestbusparts.com/index.php?main_page=product_info&cPath=16_319&products_id=2046 My Streetsmart boost controller controls a relay that powers the built in pump and activates at certain boost pressure or RPM. I made a bracket from cutting up a straight price of aluminum from the Home Depot and bolted it to the factory battery tray and a factory hole in the fender.The size is awesome and it fits perfectly using factory mounting holes. I have two patio mister nozzles each attached to the front license plate mounting tabs. With my setup, if I put them higher than this, the water sprayed all over the hood/engine leaving spots every where. This initially created a syphon when first kicked on as well but I fixed that with a simple anti syphon/drip valve designed for backyard misters. Theses where hard to find ironically and only found them on Alibaba Express and I had to buy a 50 pack for $10 but only needed one. Windshield washer fluid has worked the best when it comes to minimizing water spots under the hood. Alcohol would be better but washer fluid is cheap. I haven't measured the benefits yet but when I do I'll post it, I can't imagine it's not effective. It drains quickly if I set the boost controller to activate it at lower psi, slower if set to higher pressures. Same would go for RPM triggering. This same system can work with a basic switch versus using an electronic controller if so desired.

-
 UPDATE: After completing the install my alternator isn't charging the battery. Please see the post at the bottom of the page So I have a '75 280z and recently I've noticed my headlights get brighter when I rev the car. (Both in neutral at stand still and in motion) I also noticed that my dash lights and interior lights get brighter as well. The headlights are also very dim whether or not the car is revving or not, revving only brightens them a little and overall they're still dim. The A/C fan also gets louder and blows harder when revving. So somehow all of these problems are connected to something and I'm at a loss on what to do next. I've been reading a lot about this and my best guess is there's a problem with the grounds. If so, where are the grounds located? My problem isn't with the lights/fan getting brighter, but a possible problem with low voltage getting to these systems at idle (or in general) What do you guys think could be the source of all this? Sorry for the barrage of questions but I'm new to electrical gremlins and it's all especially confusing to me. Thanks for any help
 -
Hey, i was planning on getting Work Equip's 03 replicas for my Z -Cosmo Racing Coilovers (already installed) -15x8 et0 FRONT (wheels that i'm planning to buy, equip's 03) -15x9 et0 REAR (wheels that i'm planning to buy, equip's 03) I'm planning to buy them and go with the 205/50/15 or the 225/50/15 to have some stretch and fit under my stock fenders, i'm currently on Cosmo Racing Coilover's for s30 that they can be dropped on 3'' Let me know your answers and if you have pics it would be better.
-
I need a 280Z front grill to go on my chump car. Please message me if you have one you'd sell. Thanks, Greg
-
I have an old school JTR conversion i started ~15 years ago. (No LS's motor's back then!) After i put 1,000 miles on the car i transferred to Australia. You can see that effort here: http://aka.ms/chuckscar In the process of driving it to the storage facility the fuel line was pushed off the regulator spraying fuel on the headers and -well you get the idea instead of a Datsun going into storage i have a burn victim. Fast forward to today with a couple of mice playing house in the rear quarter panels for the last decade+ resulting in some slow cancer I am trying to figure out what to do w/ the car. So far i have changed the carb from the Edelbrock to a brand new Summit Racing/Holley 750cfm vacuum secondary carb, ran a fuel line to to plastic bottle w/ a hand pump, pulled the plugs gave it a shot of Oil in the cylinders, turned it over for a minute without the coil, put the spark plugs back in and started it -YEAH! At this point the plan is to strip it down, fix the rust, reshoot it and make it into a sunny day toy. My question is should i start a single build thread or post as i progress? Thanks Chuck
-
Another pipe dream? Possibly. Another inexperienced V8 280z fan asking already answered questions? Definitely. So let's get started and see what you all have to say, shall we? Disclaimer: the guy behind this computer screen has no mechanical/engineering knowledge/skills/abilities/powers and is merely a mortal with an obsession with the 240/260/280Z cars (they're so, so, sooo sexy) so if you can find it within yourself to not COMPLETELY destroy my child-like dream, it would be much appreciated! As stated above, I have no mechanical experience beyond the very basics: changing sparks plugs, oil, fuel, and air filters, brakes, and putting gas into the gas tank. Several of my close friends and family members are mechanics, however, and others have done various performance modifications to their cars (mostly Mustangs). These people will be beside me every step of the way if this fantasy gets put into motion. The goal would be a reliable LS3 280Z that must be street friendly and would spend little time at an actual track. There's a stroked LS3 from Late Model Engines that has been increased to 416 ci and is putting out 626HP. If anyone knows of it, would it be considered a reliable, street friendly engine? Would it be any different installing this into a Z than a non-stroked LS3? What modifications would be needed for this specific engine (transmission, headers, exhaust, tires, ECU, etc) to handle that power and put it to the ground? What is the recommended tire size for a build like this? What would be the biggest available brake size for the recommended tires? Any other comments on something I'm missing would be appreciated to fill in the gaps. Just off the top of my head, assuming a rust-free 280Z chassis can be found for around $7,000, the Stroker LS3 costing around $16,000, plus the cost for other necessary upgrades and modifications, the cost for something like this, especially since I'm inexperienced and would have to pay for installations and fabrications, would be somewhere in the neighborhood of $30,000 for a complete build. Would you all say my assumption would be correct? Any comments? Yeah this is probably absurd. If you all know of other cheaper, easier, and non forced induced builds that can achieve similar power output, please direct me!. Don't even get me started on dreaming about making it all-wheel drive...
-
Looking to buy a front wheel hub for a 280Z. Went to replace front wheel bearings and discovered that the inner race no longer seats snugly on one of my hubs. Seems some movement still allowed even when a new race is seated in place. If anyone has a spare they'd be willing to sell, I would appreciate it. Thanks
-
 Welcome gentleman! (+Ladies?) I have had my '76 280Z for a few years now. Ran a bigger turbo L28 for all the time I've had it. I have recently restored the body and paint, I now need the heart and brains to go with this broad of mine. I have just pulled out my L28 and now need to have a few questions answered. Here is my situation: I can attain a full GTO/C5 LS2/T56 from salvage auction. Or I have a few local engine options I can go with. But I can't find a T56 for the life of me (in Canada, just over the pond from Detroit, A.K.A the gutter of Ontario) First question: I have taken the ECU box of out the drivers side and fed the engine harness through and have taken it all of from the engine. The passenger side however - do I take ALL of the harness out? The pass. side routes to the starter, body grounds, this junk fuse panel (for lights?) alternator, lights, turning signals, etc; do you guys take that all out and run a whole brand new harness from the passenger side connections under the glove box? I've heard of the EZwiring kit, is that something to run for the lights/signals with the LS? Secondly: if I were to go with the LS2 from the salvage car is there somebody or a company that revamps the harness for these engines? My goals for this swap are simple. Have a GOOD running engine and car in a whole. I don't need a wireless engine bay, just clean. I don't need over 450hp either. I want the engine and harness set up to be reliable as possible for I am wanting to go on long drives with this and drive it almost daily in good weather. I want everything I need (aside from odds and ends)before I start putting the LS in. I am going with the JCI mounts and drive shaft for what it's worth as well. I have a good amount of money set aside for this whole ordeal, it my 4th engine swap (rb20, SR engines previously) so I know how somethings are done,! but I do not want to cut any corners with this swap. I want things done right and done right the first time. I have also been looking at a million threads on this but I can't seem to find a few things I want to now. I already have more questions but I want to see the reply I get with this first. Thank you very much for your time and effort in advance. Cheers.
 -
Week 1 (Just one Saturday): Purchased rolling shell. Week 2 (Friday and Saturday): Tear-down and removal of all that old dry hard sound deadening
-
I just bought a 1975 Datusn 280z and i drove it home. It ran well beside the exhaust leak that i will be attempting to fix in the future. I took off the front and rear bumpers first thing. I had to remove the gas tank to remove the rear bumper shocks. After reinstalling the tank, i put some gas in for a total of around 3 gallons. The engine took a while to start and ran kind of crappy so i thought it might need more fuel so i put 2.5 gallons more in. It started and idled fine so i figured it i would drive to gas station to fill up. less than a 1/4 mile from house it started cutting out on me. I started to turn around and it died a few times before I got it back home. I put 2.5 gallons more in the next day and it would idle fine for a long time but still cut out when i tried driving it once it got to higher rpm. I cleaned out the fuel filter and then it ran good for about 3 or 4 high rpm pulls before it started to cut out again. this time it started to idle kind of crappy too. Anyone have any advice? it never cuts out at high rpm when idling though, its just under load. Any help would be greatly appreciated.
-
Hello, I am new to this forum. So far, I have found the search function doesn't work as well as some other forums I am on. So if this topic has been beaten to death I apologize, but I did look (both on here and through google). As many posts here have acknowledged, the stock alternators on the S30 leave much to be desired (particularly at idle). I found sites discussing swapping to smaller diameter pulleys, but only in a generic sense. Therefore, I don't know what the alternator on a 1975 280z can handle ...or if it would even help. Has anyone tried putting a smaller pulley in to increase the idle alternator RPM? What are your thoughts and what size might you suggest? Obviously, it will wear faster and I don't want to over spin it. On the note of wear, what do you think of swapping for a clutched pulley while I am at it? If no one answers, I will just try swapping in a internally regulated 70-Amp alternator from a 1986 300zx.
-
Hi Guys Can anyone tell me the engine origin of the codes cast on L6 crankshafts. Is there a list I could look up? I bought a lot of stuff from Electromotive in the late 80' early 90' when they were clearing out their racing Z program. I have 15 cranks of various type including P30 and E31, even some with no cast marks.
-
-
Edit - First, thank you for any replies and to anyone who read my original post. I am learning this with the FSM and two repair manuals. I used a second set of eyes to go out and triple-check that I hadn't made a bunch of mistakes. The first cylinder gets a compression reading on the gauge at about the 45 mark (if it existed). When bringing the pulley mark to zero with the help from my second eyes, I get a completely different and much less dramatic looking scenario. The timing mark on the chain is a V (sitting at 2) versus a shiny which I couldn't find before. This looks less problematic than the crazy scenario I originally posted about but is still puzzling to me as the PO's mechanic didn't work on the timing but said there was a definite issue. Do these markings look off to you?
-
Hi, my '75 280z makes a horrible squealing sound whenever you engage the A/C. If you set the climate control to vent or any other setting the noise doesn't happen, only when its on A/C with the fan on. I heard it could be the belt so I sprayed a generous amount of water on the pulleys and belt and the sound persisted. The noise gets louder and changes pitch when I press on the gas. If I get out and look at the belt when the A/C is engaged I can see the belt slow down/catch on something. I've driven it with the A/C on for a few minutes to see if it would ever stop but it hasn't. At this point I'm kinda lost as to what it could be and what I should do about it. I'd love if you guys could give me some advice.
-
Hello all, I've had a 77 280z for a few months now. It's got a 75 L28e motor with the non exhaust lined head. Since then, I've converted it from automatic to 5 speed, 3.9 R200, decent paint job, etc. My friend and I were getting the car ready for a long trip (1500 miles) doing routine maintenance when we heard what sounded like rod knock. Well, a 2 hour basic maintenance trip turned into a 10:30AM to 5:30AM bottom end rebuild. This was 3 days before my 1500 mile trip. Regardless, the car made it with no issues!! Essentially, everything has been touched in this car except for the wiring. It runs great and is my daily driver. Now I'm looking for some more power. I've already done the basic stuff (auto to 5 speed, 3.9). I do like the L28 motor, but I have no issues swapping in something better. I am not looking for a crazy drag strip beast, just maybe upwards of 200whp with decent gas mileage (20+ would be great!). I know generally power and gas mileage don't go together, but I know some of the Chevy V8's can get you 28+ on the freeway. For a budget of $1000, what is the best way to go? From everything I've read, it seems an L28ET may be the best option. If I don't do a swap, will any upgrades to the L28 give significant gains within this budget? There are still intake, headers, megasquirt, cam, headwork, etc. My goals are a 'quick' daily driver, so I would prefer to keep the power band lower rather than higher. Torque improvements would also be nice. I'll be happy to give more information if necessary!
-
Hey guys, I've got a 78 280Z with a V8 in it but my goal is to style it in JDM fashion, big flares, airdams, spoilers etc. I have a build log you can check out here: www.vvise.net/z.php I'll try to keep this thread up to date with an image or two when I make progress on the car. Just last night I rebuilt all my gauges with new white faces that I made and LED lights. I think the effect is amazing.
-
 I've never seen a thread where someone documented how hawks mounts actually mount up and are installed. So I took a bunch of pics when I did mine for all to enjoy. Chassis Mounts Here's how the mounts look in your hand. I'll explain what each location really does as we move along. And here is the back of the plate that you must weld onto the frame. As you can see, you must clearance the frame in order for the plate to site flush again your frame rails. But before we get into that, lets see how we locate the bracket (front to back). So here is the mount just resting on the frame rail, without the backing plate, You can see now that the lower location of the bracket lines up perfectly with the lower control arm bolt. Now all you have to do is loosen the LCA bolt, remove the nut, and thread the bolt into the bracket (yeah its threaded down there). Once you have it threaded in and snugged (not tight), you've got it located front to back. So then I attached the backing plate to the bracket and swung it back into place on the frame rail. Obviously the backing plate wont sit flush until you clearance the frame. So now, mark the front and back of the backing plate on the frame like so. Now remove the backing plate from the main bracket, also remove the main bracket from the LCA bolt. Place the backing plate on the frame and mark the hole locations. Note that they will be off because you still cant set the bracket flush. So here are my marks. Let me save you some time and suggest that you cut the frame like the pic below. I tried counterboring the holes to make room for the tacked on nuts, but its harder to get the position correct. Notching the frame is easier and much faster. Now you can check to see if the bracket will sit flush. It might not sit perfectly flush, but pretty close. Heres how mine looked. If its good enough for your taste, put the main bracket on the LCA bolt and bolt it back to the backing plate. This will ensure that when you weld it, it is in fact correctly positioned. You probably want to go ahead and grind off the paint on the frame as well, I dont have a pic of that but you get the idea. Now your ready to weld. Just for reference, the side of the frame rail is twice as thick as the top. So you can get a little more heat into that side. Here's my ugly flux core madness, but it will get the job done. The second one turned out much prettier after I found a rhythm. And here is the finished product. Engine Mounts The mounts on the motor are fairly straightforward but I figured I'd show them for documentation purposes. Here is where the original mount goes. And here is the backing plate for the new Hawks mount. Dont put that lower right bolt in though, that comes later with the actual mount. And here is it all bolted together. At this point, I dropped the motor in to position the trans mount. I'll write more on that in the Trans Mount section. Here, its just to show you how the motor sits in the bay.
 -
So smoke started coming from my steering column one day ... My right turn signal does not work and my left "freezes" . Has anyone else had this problem with their 77? I'm suspecting it short circuited . Is there any KEY areas to check ? Any help is greatly appreciated
-
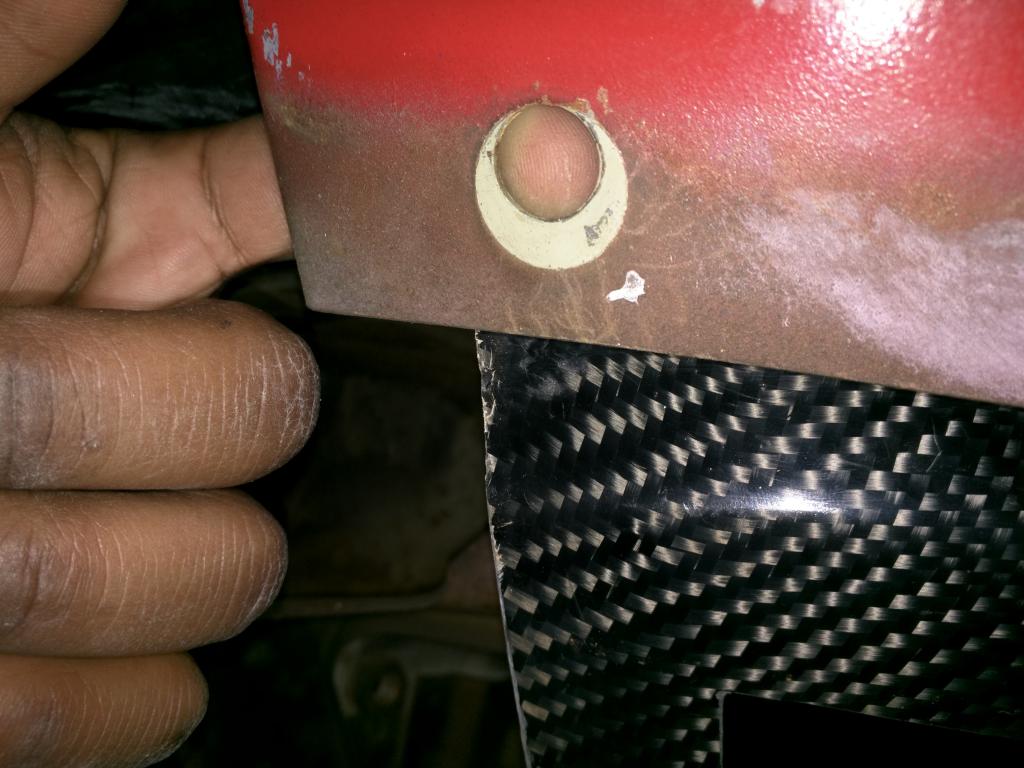
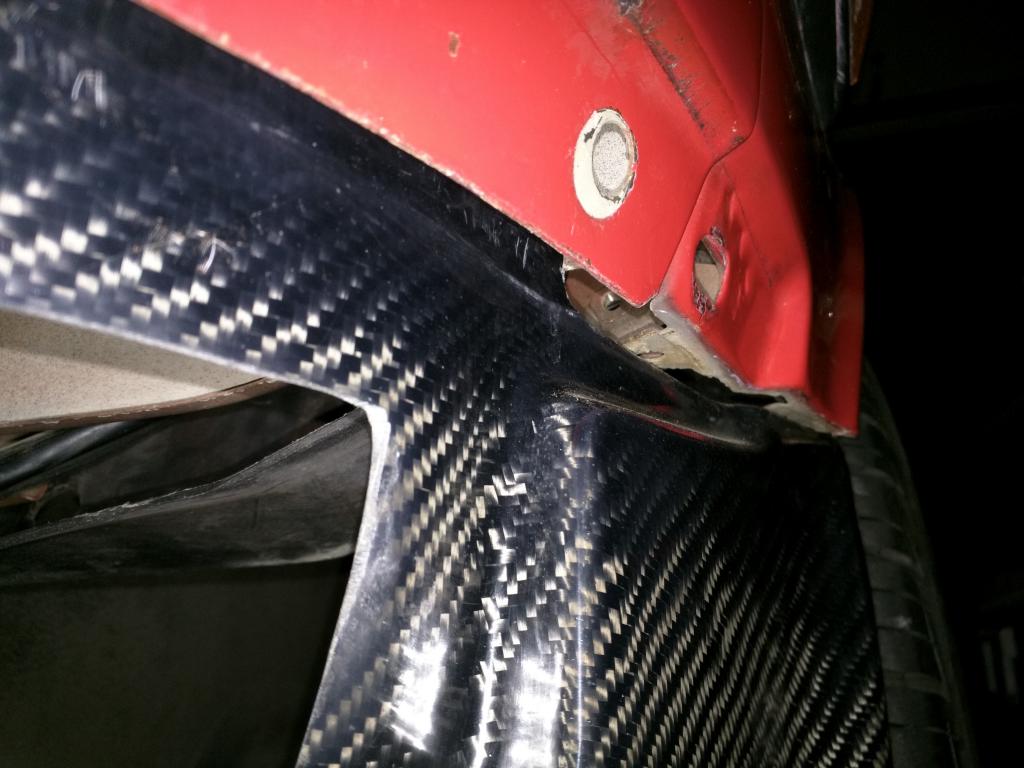
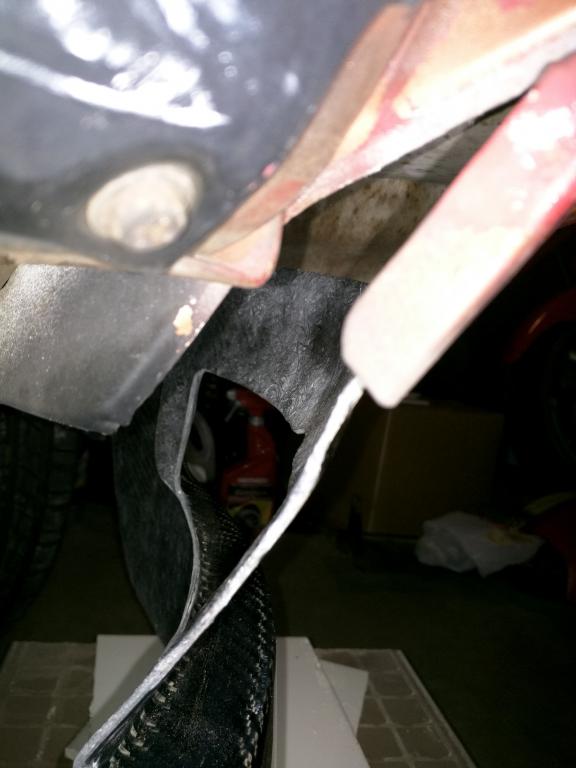
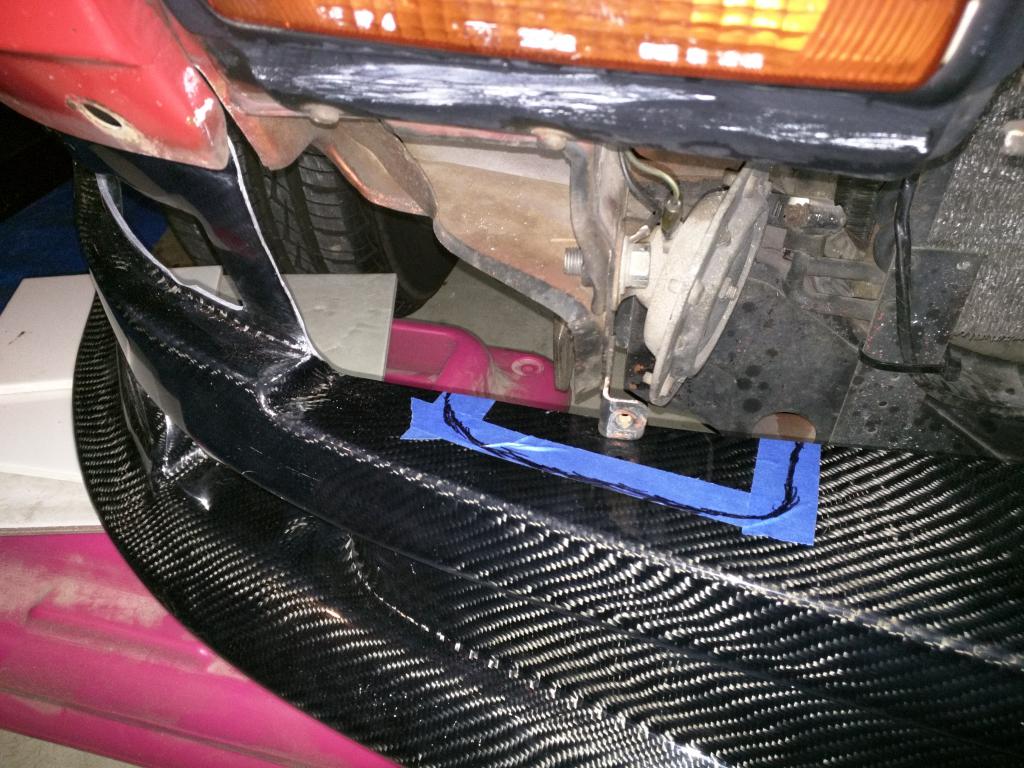
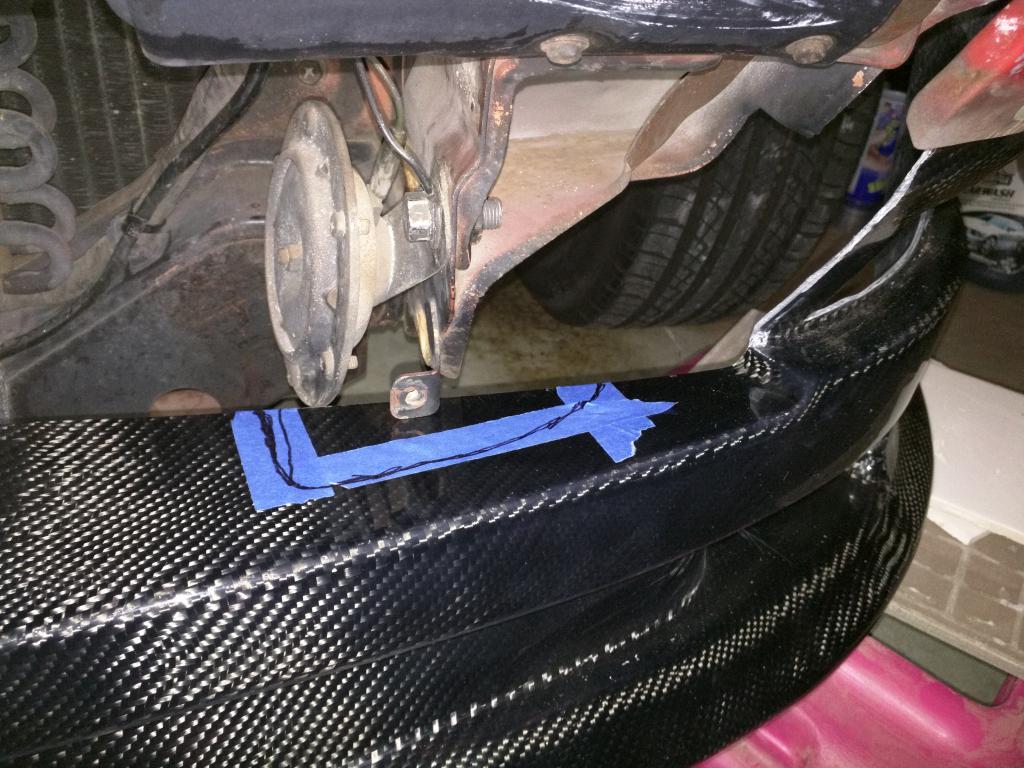
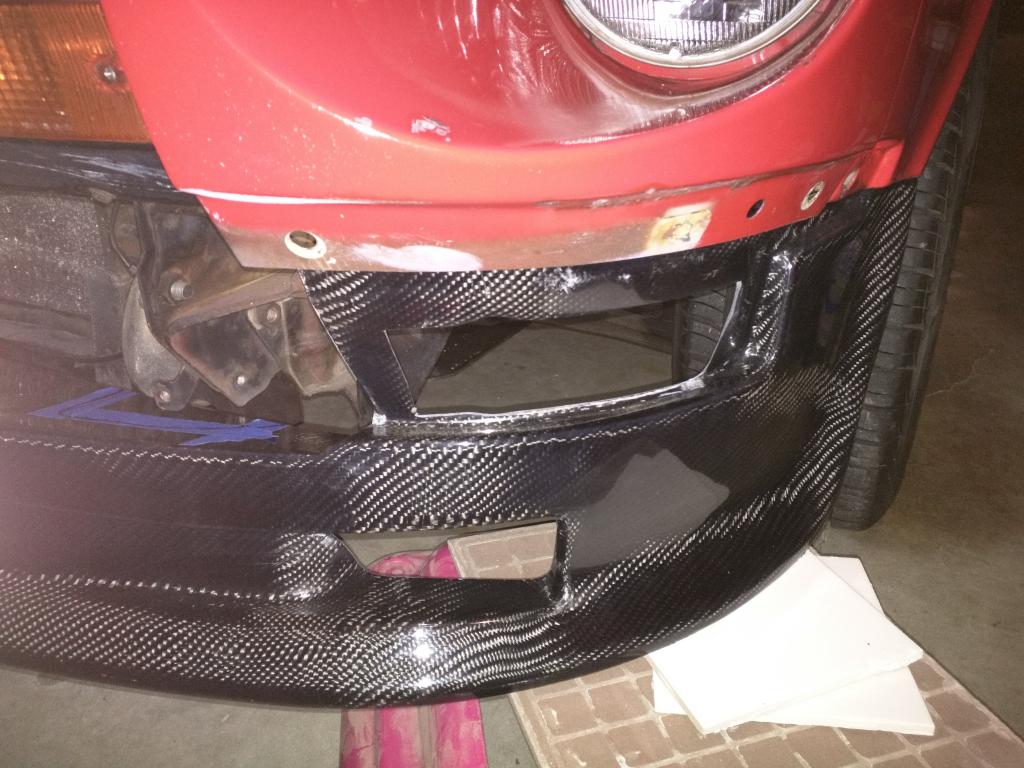
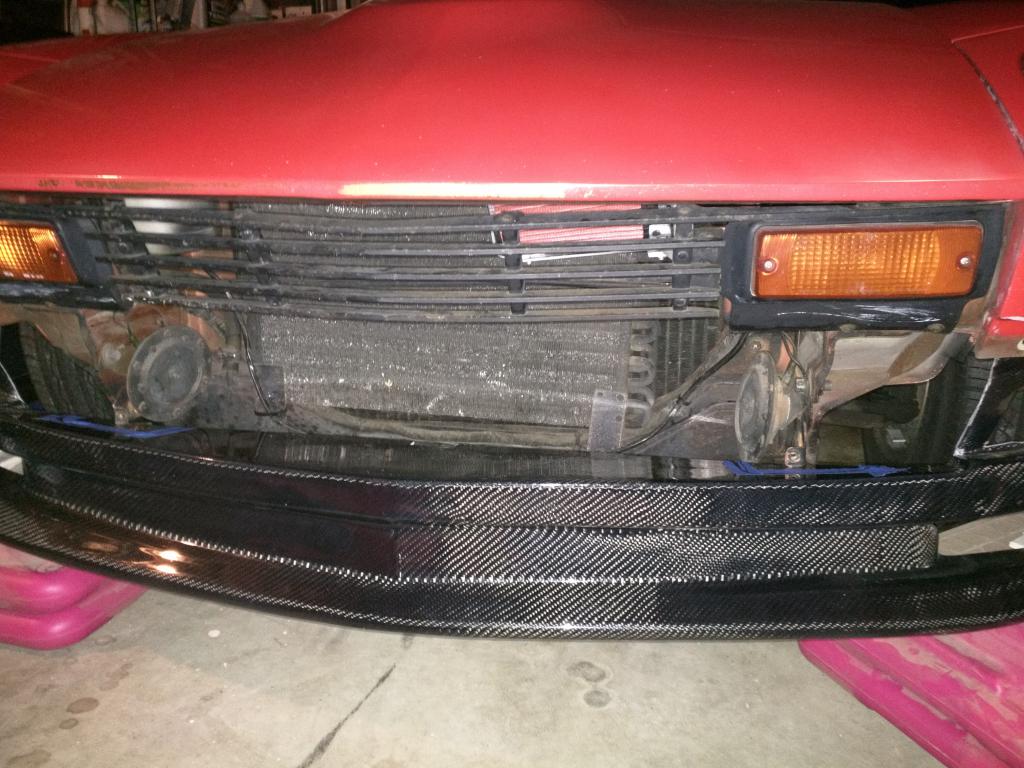
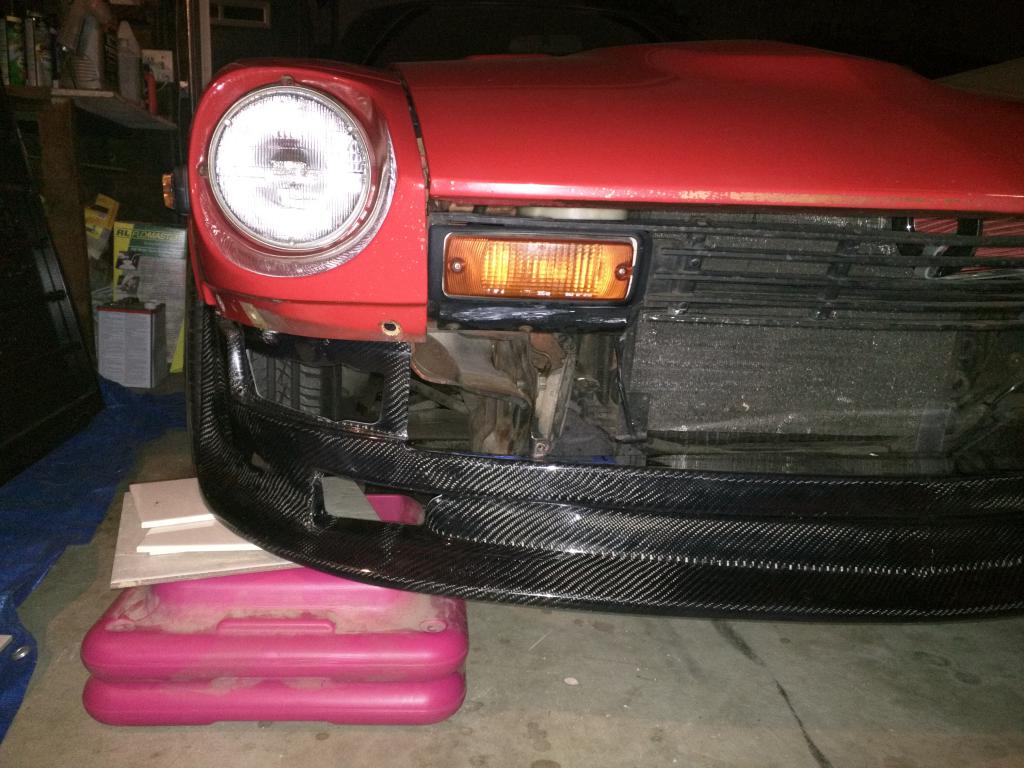
So I had bought an S30 air dam from Japan this past summer but never got around to mounting them to the car until this past winter. I originally got air dam with turn signal cutouts because I was planning on doing front turn signal swap and going for a 240z set, now I'm not so sure. Anyway, upon install I realized that the air dam doesn't come close to the sitting flush against the mounting points near the headlight buckets. At first, I figured it might be because there's extra material on bottom of the mouth of the air dam but I assume that even after cutting it it still wouldn't sit flush on the mounting surface anyway. Additionally it seems as if the vertical faces on the inside of the turn signal cut outs aren't long enough to sit flush with the inner most edge of the mounting surface. Also when you have one side of the air dam seated flush along the fender lip, the other side is pushed away from it, which leads me to believe that the air dam's overall size is too narrow. Am I wrong in assuming that the 240z and late 280z air dams are similar in nature? I'm very close to just purchasing a fiberglass 280z air dam and redoing it in carbon. Apologies for the lack of light in the photos, I was doing this at about 11 at night.
-
1971 240z "Kirin" Hi there! This is going to be my little Z build. Picked her up as a gift to myself after coming back from Japan. Today she sits eagerly awaiting to be fixed up and driven. After months of sitting I decided it was about time to get a move on it, so here we go! Last Updated: Dec 1st, 2016 - added a couple notes to self May 21st, 2016: Got it running after sitting for 9 months! Now it's sitting again -- Crank Keyway worn-out Note to Readers: I've linked most of the things I've purchased with their part number and a website. If you see something that isn't linked, or want to know where I purchased something, let me know! Exterior -Chassis: rusted -Body: dented steel panels, cracked fiberglass head buckets -Bumper: deleted rear bumper, ugly stock front still installed -Spoiler: Fairlady 432R Reproduction -Grill: Fairlady Z432 Reproduction (1 tuff z) -Paint : 918 Orange (original) -Misc: (order weatherstripping you lazy fool!) / (research rust prevention) / (research body work & paint) Interior Everything was stripped! Lend me your dry ice... Electrical -Battery: New Battery - Optima Red Top 25 / Autozone Universal Battery Mount / (correct size battery cables) -Alternator: upgraded alternator - 140Amp -Wiring Harness: stock (order pretty rainbow colored one - EZ) -Audio: no stereo -Lights: Headlights: Dapper Lighting 7" Classic V2 + White LED Halo (Halogen) / Tail lights: Dapper Lighting Sequential LED -Gauges: stock -Switches: stock -Sensors: Crank Pulley Flying-Magnets system -Ignition System: Distributor-less Simple Digital System Coil Pack Ignition -Spark Plugs: NGK Iridium IX Spark Plugs (PN 739-BPR6EIX) -Spark Plug Wires: 8mm Street Thunder; Spark Plug Wire; Custom Fit 6 cyl.; Black (PN 895-51090) (soon to be removed) -Misc: deleted external voltage regulator / (research windshield wiper motor) Engine & Exhaust - Acc. Belt: Napa (PN _____ ) -Intake Manifold: Mangoletsi -Carburetor(s): Triple Dellorto DHLA 45M -Jets: -Air Filter: K&N re-usable air filter (x3) -Cam: stock? not sure -Block: P30 L24 (Matching #'s) -Head: E31 - Ported (size) -Distributor: stock (delete & plug) -PCV Valve: Valve Cover Breather PCV K&N (PN 800-613) / Crankcase Vent Breather Filter PCV K&N (PN 800-406) (re-route to exhaust) -Exhaust: (research heat shield) -Misc: deleted random wires and screws in engine bay Cooling / Fuel / Oil -Radiator & Plumbing: Mishimoto radiator (PN MMRAD-DATS-70) / Upper & Lower Mishimoto radiator hoses (PN MMHOSE-DATS-70) / 1.75" Mishimoto radiator Tension Clamps / (install custom overflow tank) / (research fan shroud) -Thermostat: 160 degree thermostat & new gasket / 1/4" BSPT Alloy Steel Hex Plug w/ Plumbing tape (x1) -Fan: stock (order electric fan(s) x2) -Water Pump: stock (order gasket) -Misc: deleted manifold / carb coolant line & plugged thermostat housing hole / rotated 90 Deg elbow towards water pump - new 5/8" rubber hose [on order] hose brackets --- -Fuel Tank: stock (research fuel cell) -Fuel Pump: stock (research electrical/mech) -Fuel Regulator: none (research bypass 4+ PSI w/ gauge adapter) -Fuel Filter: Autozone (generic) -Fuel Rail: (removed) -Choke: stock (need to tuck) -Misc: new fuel sending unit, o-ring & lock ring --- -Oil Filter: Fram (size) -Oil Pan: stock -Misc: n/a Suspension / Tires & Brakes -Axels: -Suspension & Steering: clunk. clunk. clunk. -Braking System: I'll eventually stop..(all stock) -Rims: -Tires: cheap Goodyears (insert size) -Misc: n/a Drivetrain -Clutch: custom clutch hardline (3/8-24NPT to M10/1.0) -Master Cylinder: Tilton-76 7/8" Master cylinder (PN 76-875) / adapter (3/8-24NPT double flare to 3/8-24NPT bubble flare) / Girling reservoir, offset 7/16-20 outlet, 5oz -Slave Cylinder: Beck Arnley slave cylinder (PN 072-1258) w/ adjustable rod & return spring / SS clutch hose (PN 21-2170) (order mounting shims) -Throttle System: -Transmission: '77-80 "wide ratio" 5-speed -Differential: not sure yet -Misc: n/a Miscellaneous -AC: none -Heating System: deleted -Bolts: Replacing all bolts with ZCarDepot SS Bolt Kit (PN 650-000) -Hoses: Replaced most fuel vent hoses Going to have to backtrack a little, I hope you don't mind...
-
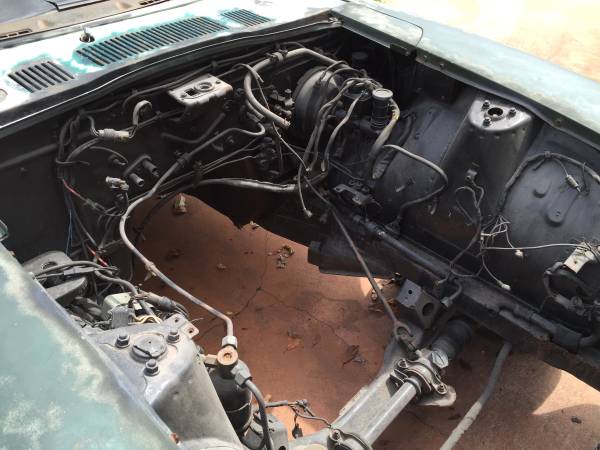
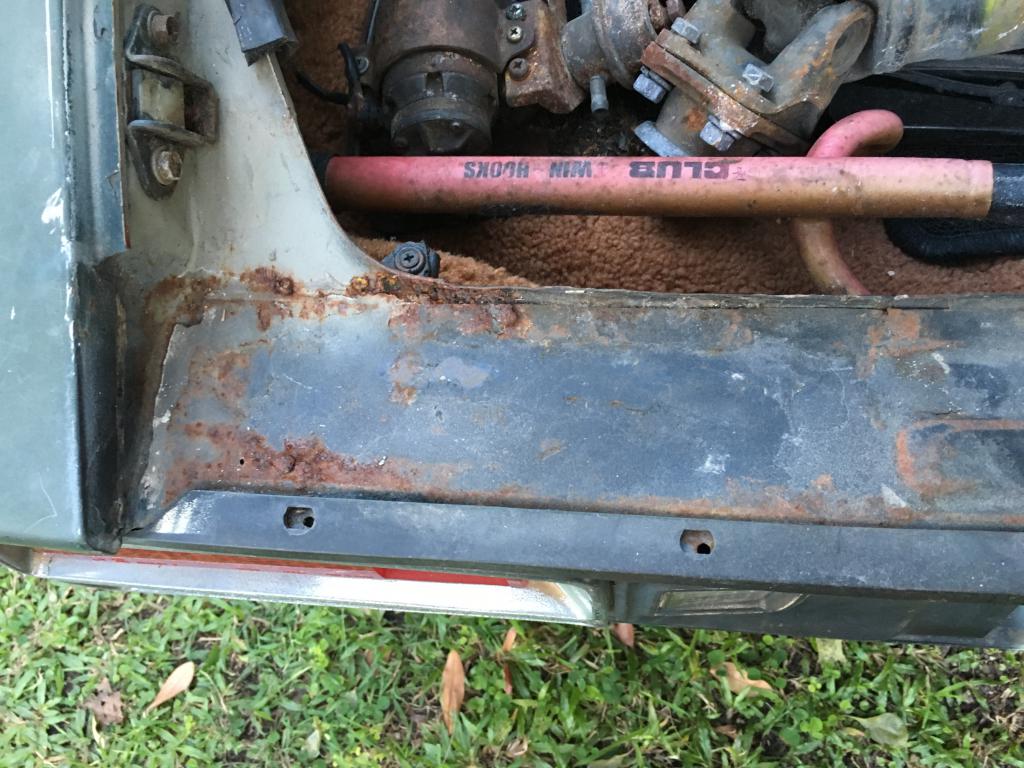
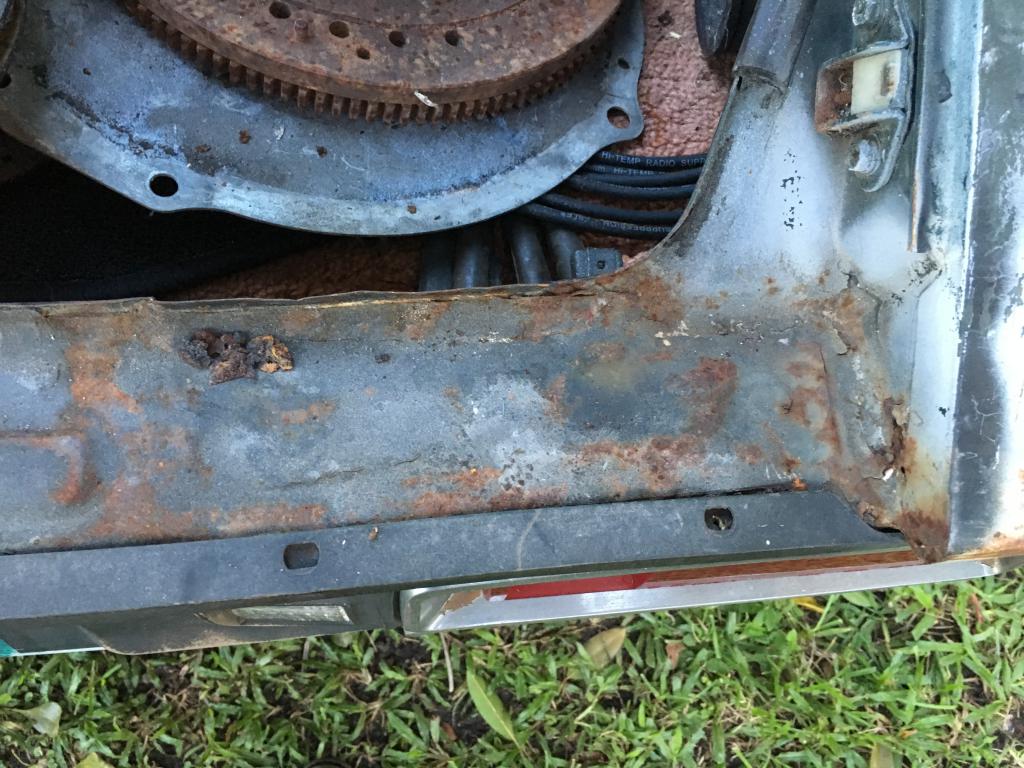
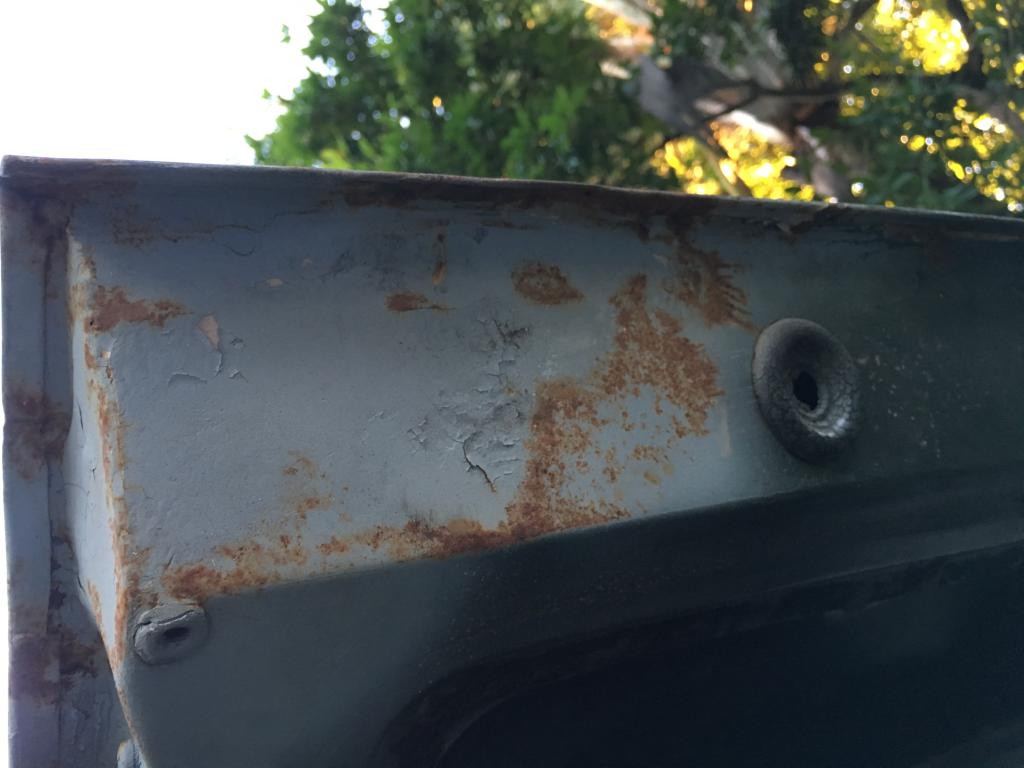
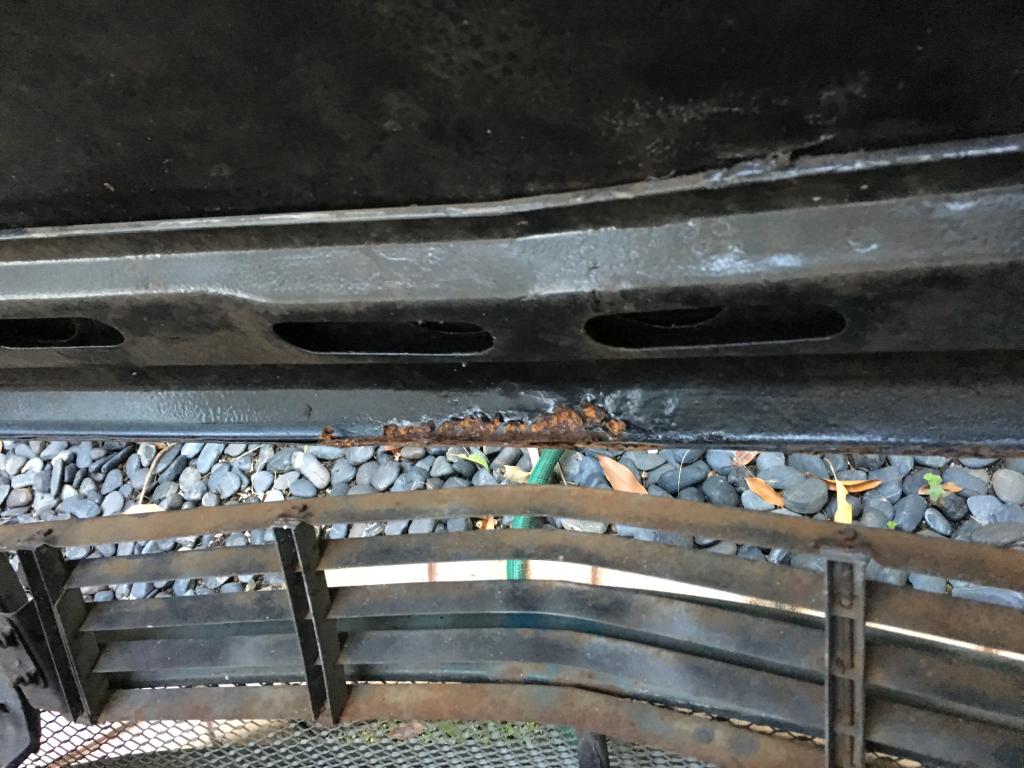
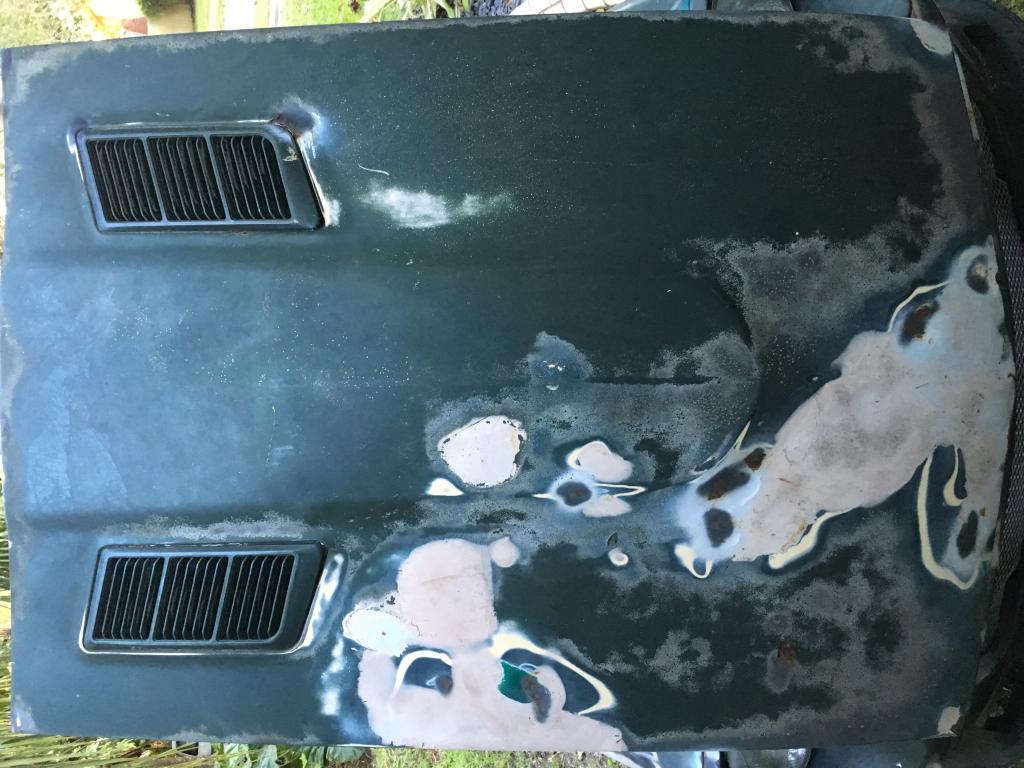
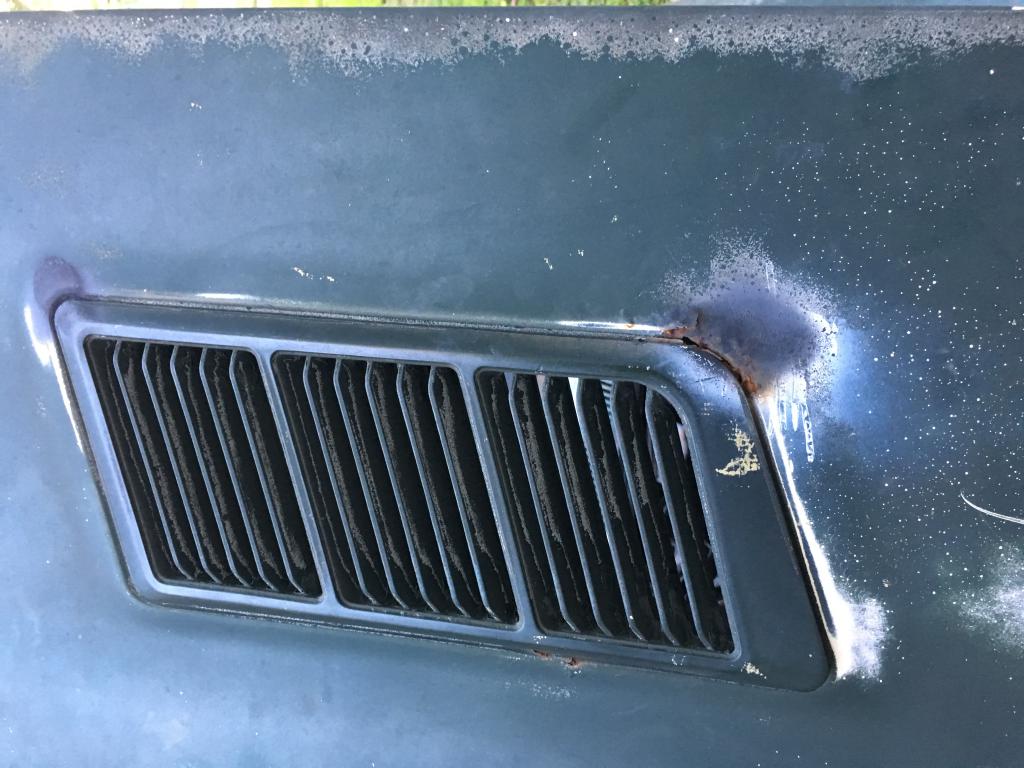
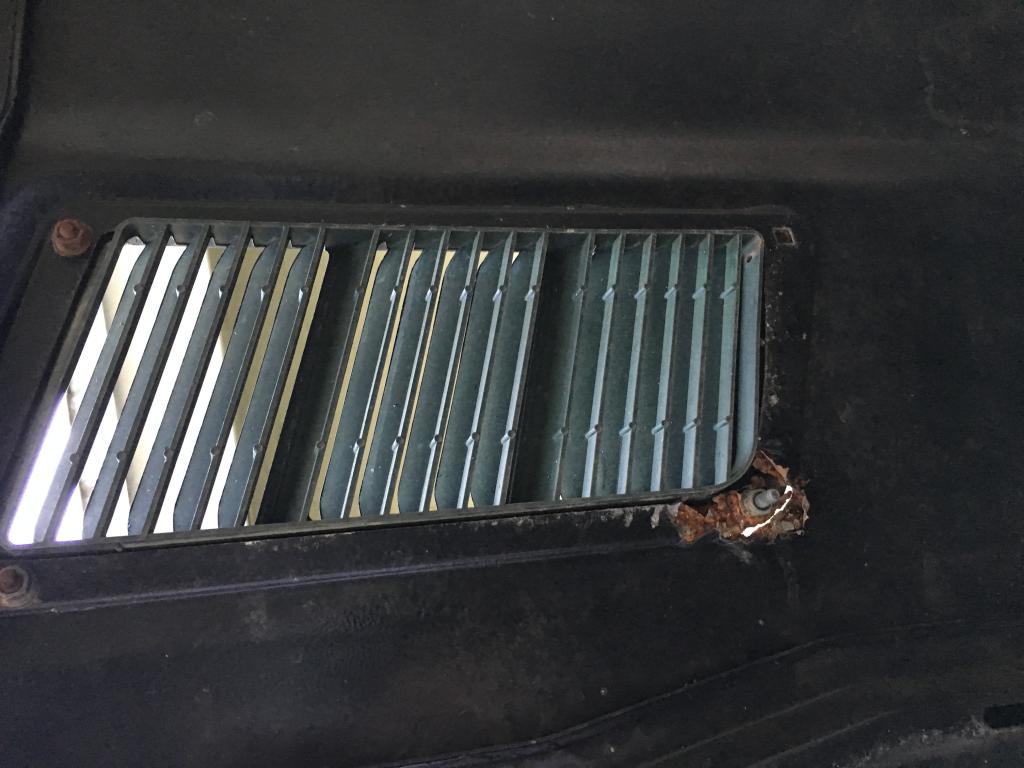
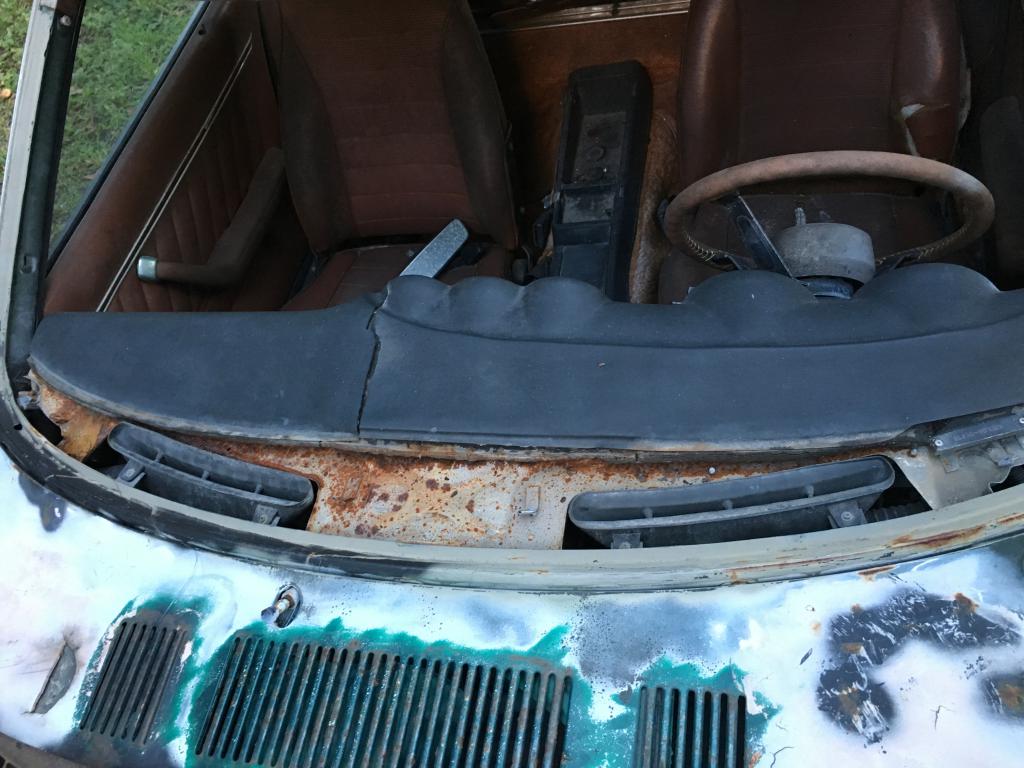
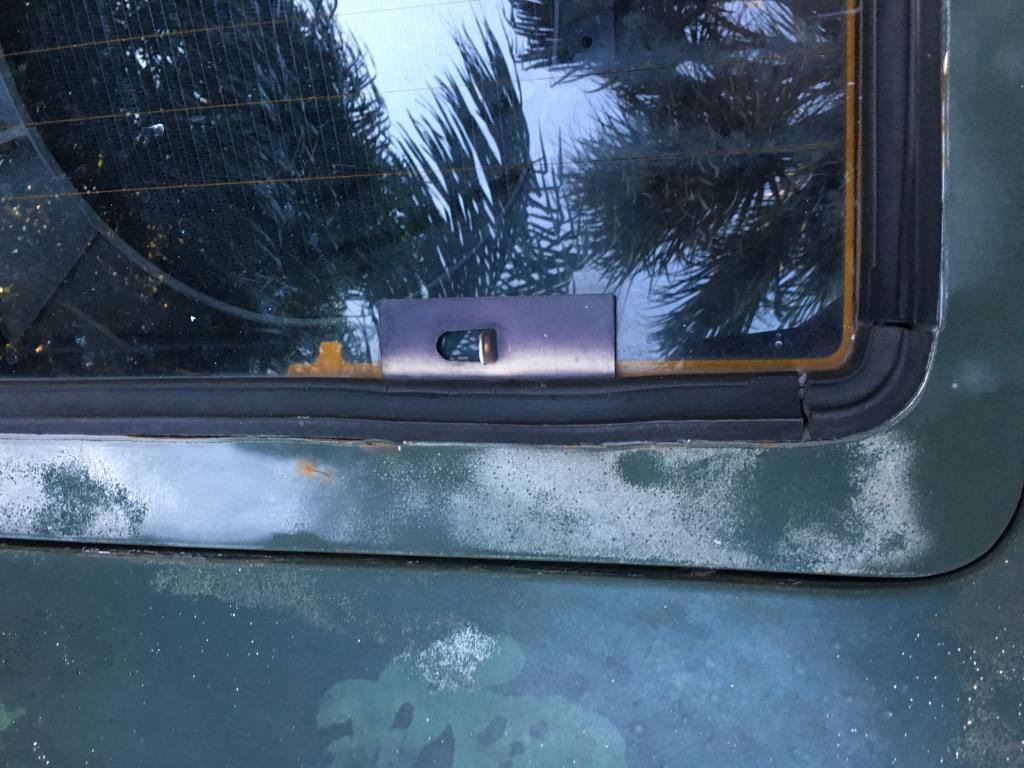
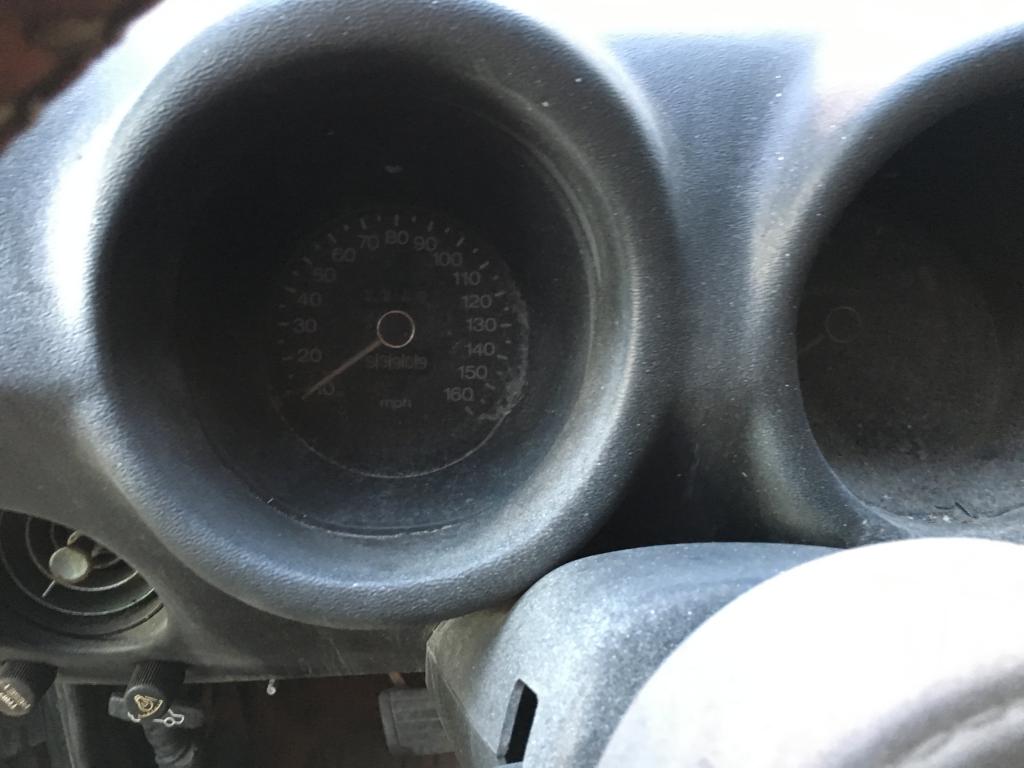
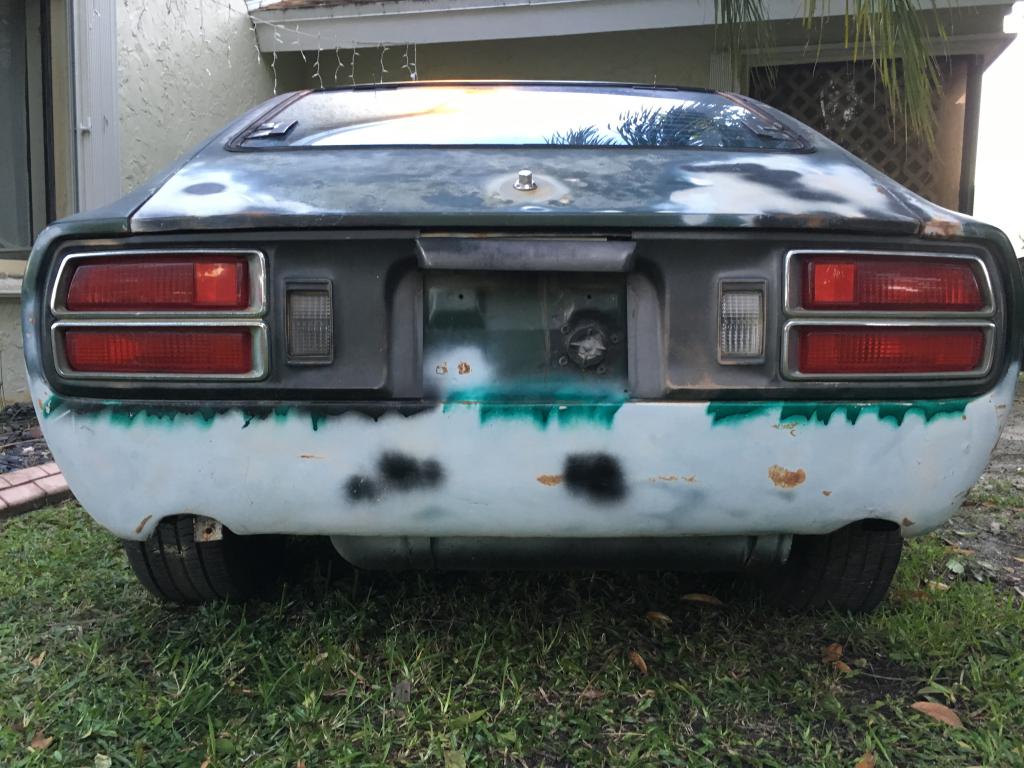
So I've been debating pulling the trigger or not and have finally found my favorite year of the 280z's and i must say in decent condition with minimal rust and for $2,000 must say it was definitely a good find. On to the details..The frame has 53,909 original miles and came with vin matching Motor and Transmission (4spd) previous owner also threw in a 5spd transmission. The motor was rebuilt using flat top high compression pistons, all work done by previous owner. Most of the rust found on the car was surface rust but no real rust except from the Radiator support in the front which seems to be a bit more severe. The interior is complete although the car has a missing front windshield so the interior has gone to shit but the good news the floor panels seem to be in great condition, found no holes on the underside of the car. Now onto the Project - My intentions are to do a 2JZGTE VVTi swap with the Getrag v161 6 speed transmission and a ford 8.8 differential (still haven't decided on gearing). I know in order to surpass the 1000whp mark I'm going to need to increase head flow, pistons, rods, springs, valves (3 angle valve job), retainers, cams, single turbo exhaust manifold and lastly the turbo still debating but will AT LEAST be starting with a 72-85. As far as suspension goes definitely open to suggestions. ....and some pictures
-
Reading at 0 throttle is 220 and at full throttle is 1238. Is that correct? Keep losing signal, have traced it through a spade connector that was loose. Once I have reset the signals is as above readings. Throttle application seems accelerated, as in 1/3 is half.
-
 As the title suggests looking for a z that's swapped clean would be a plus. As much as possible no rust. Willing to travel for the right one
 -
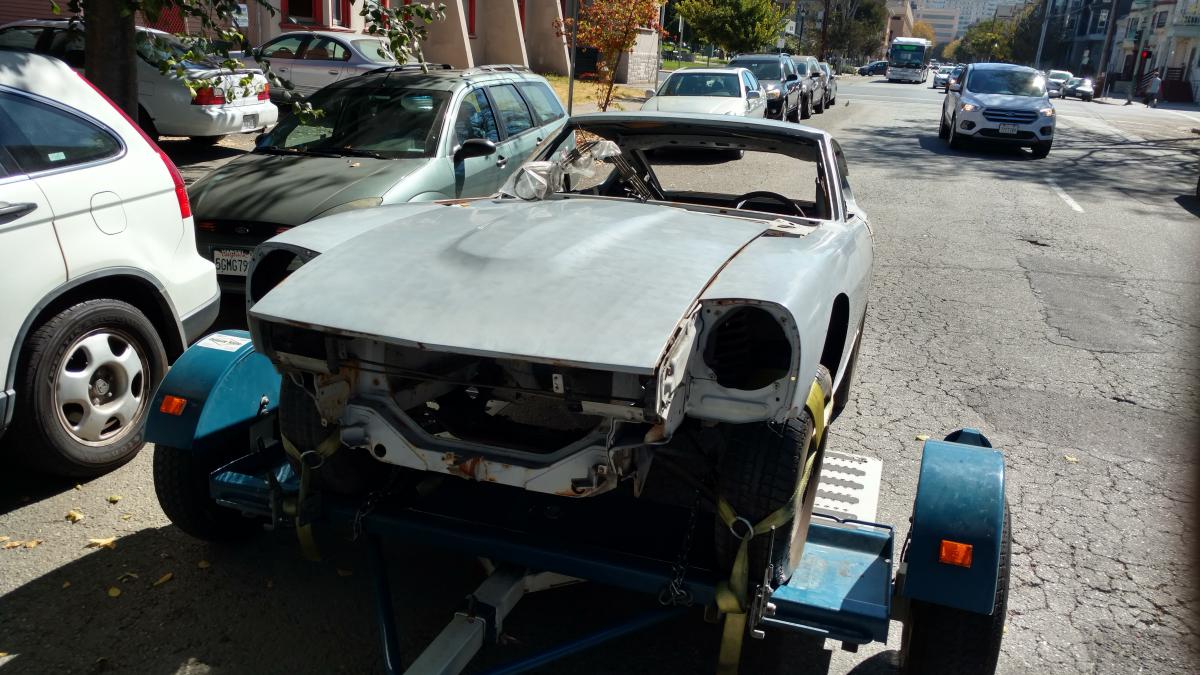
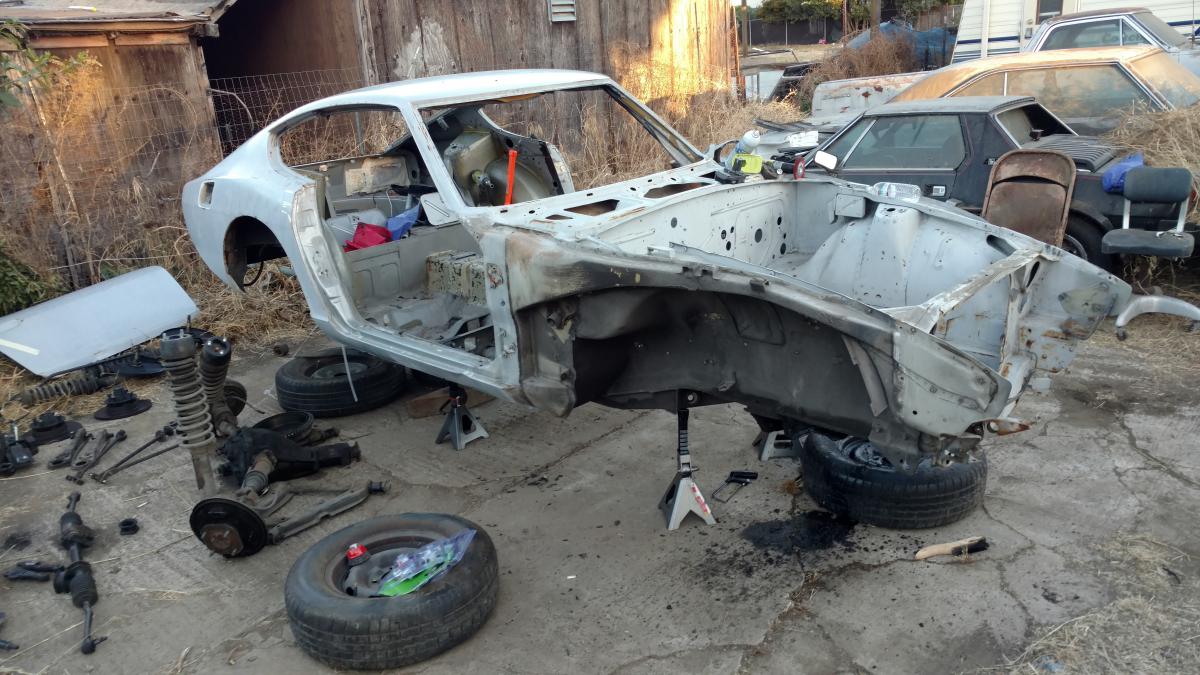
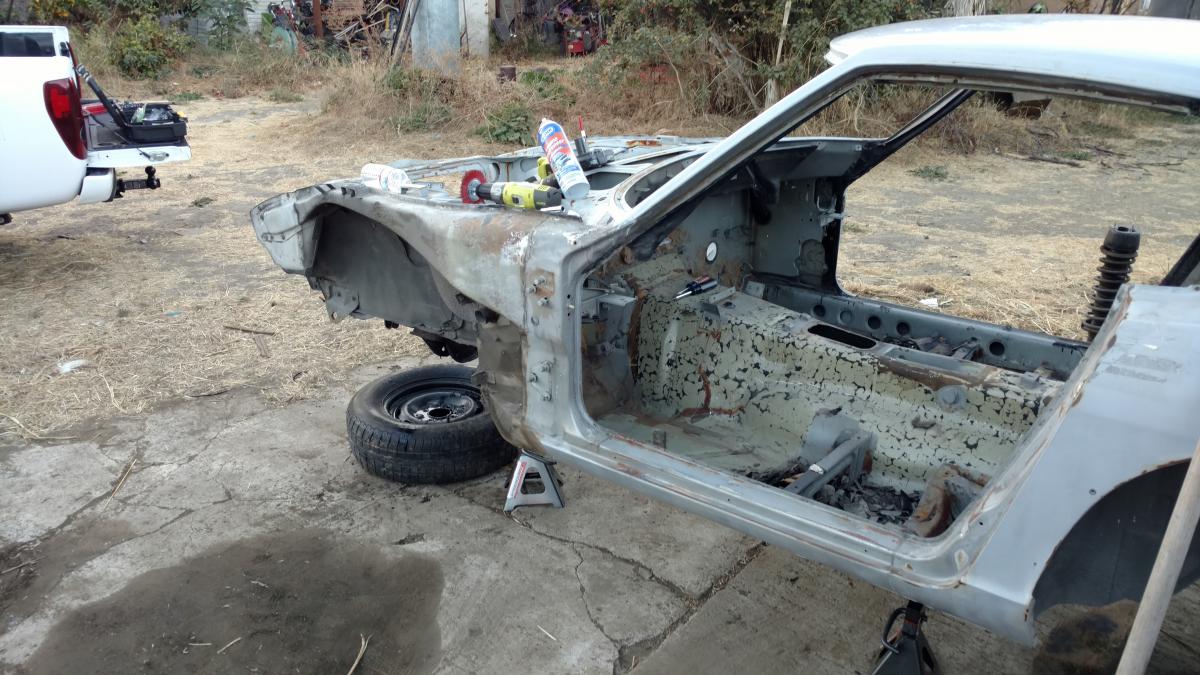
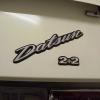
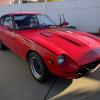
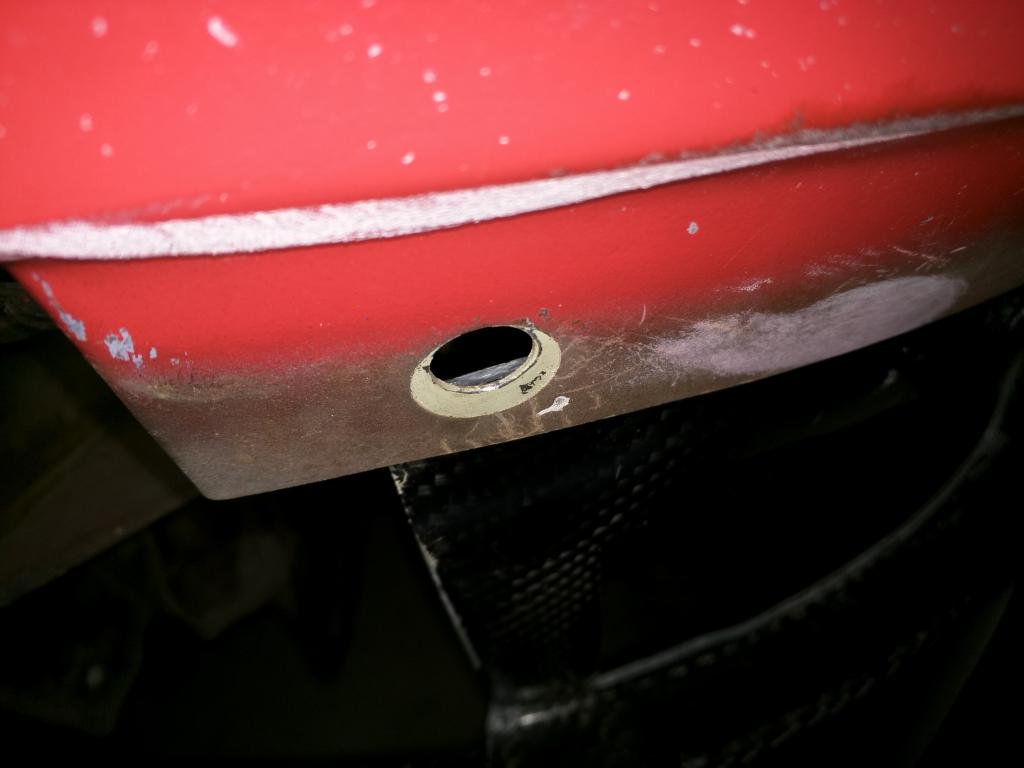
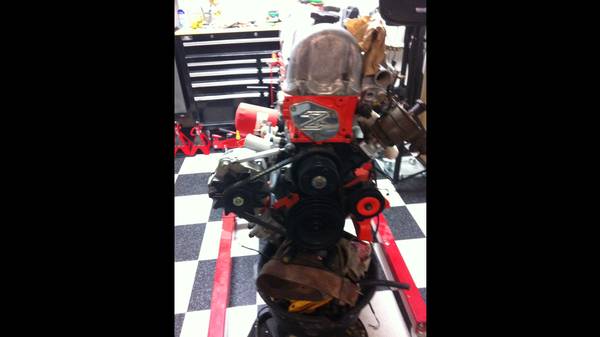
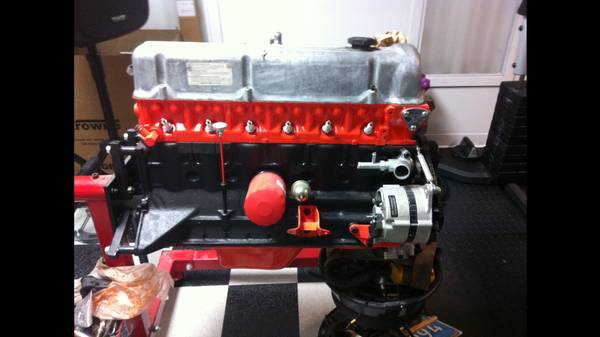
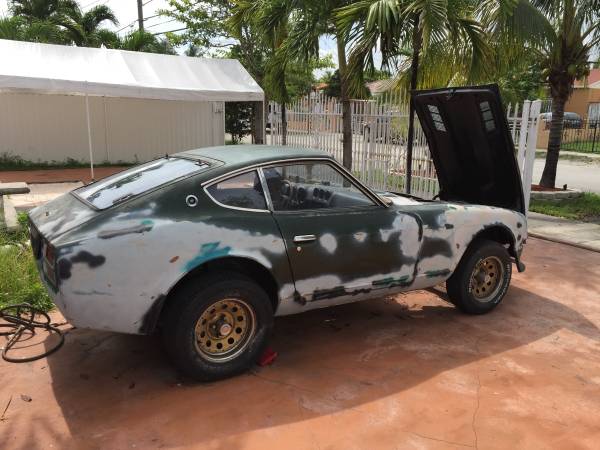
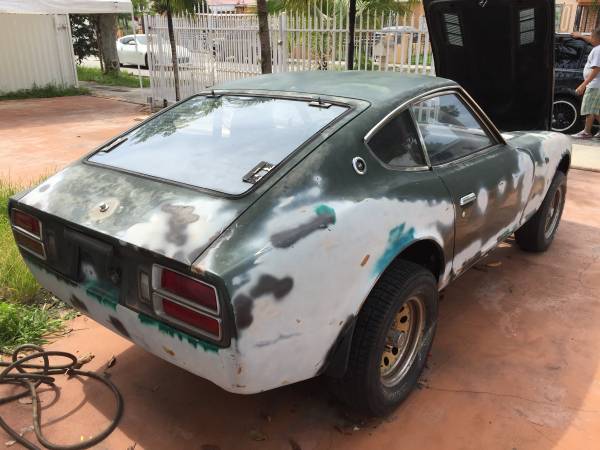
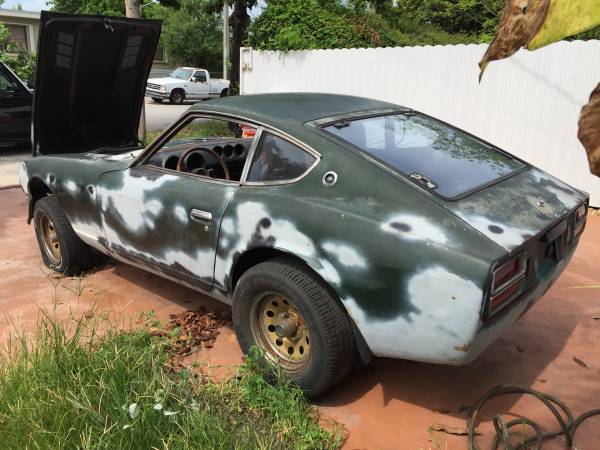
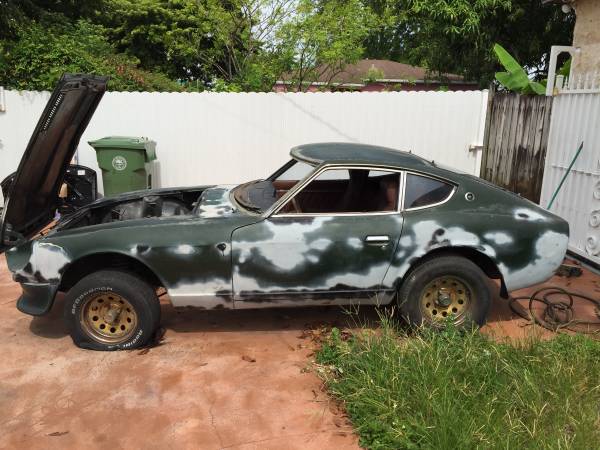
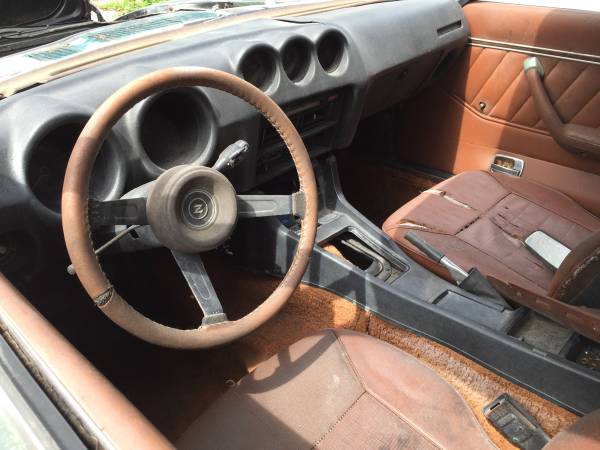
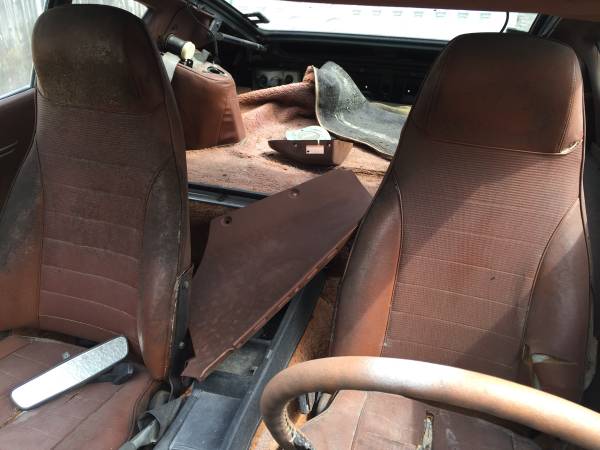
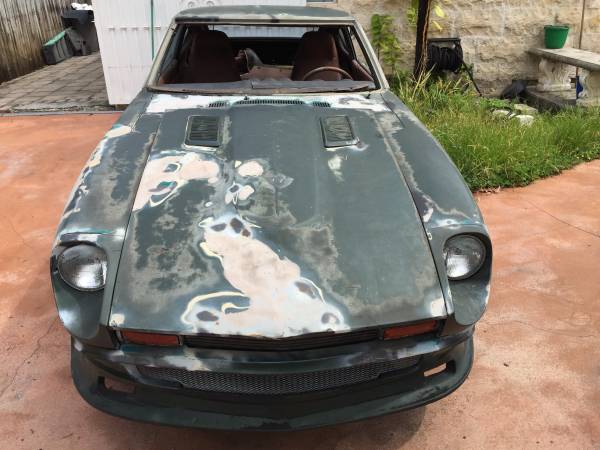
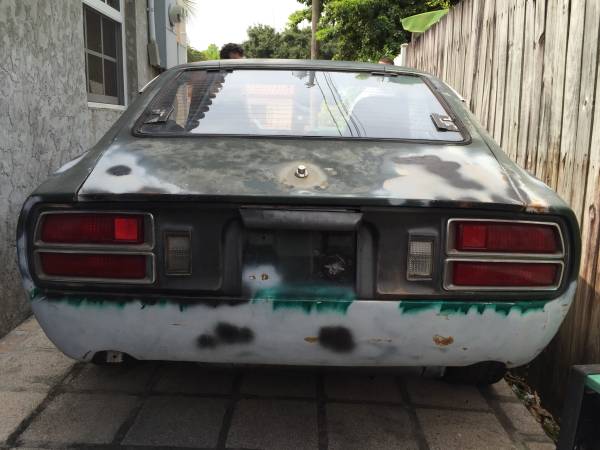
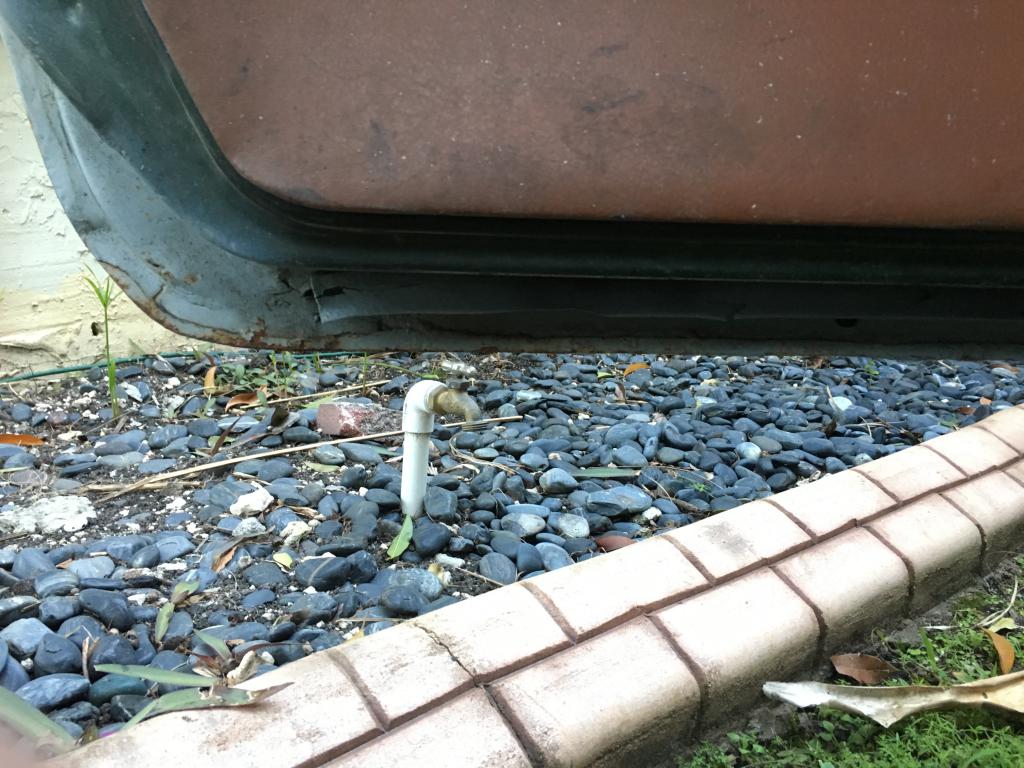
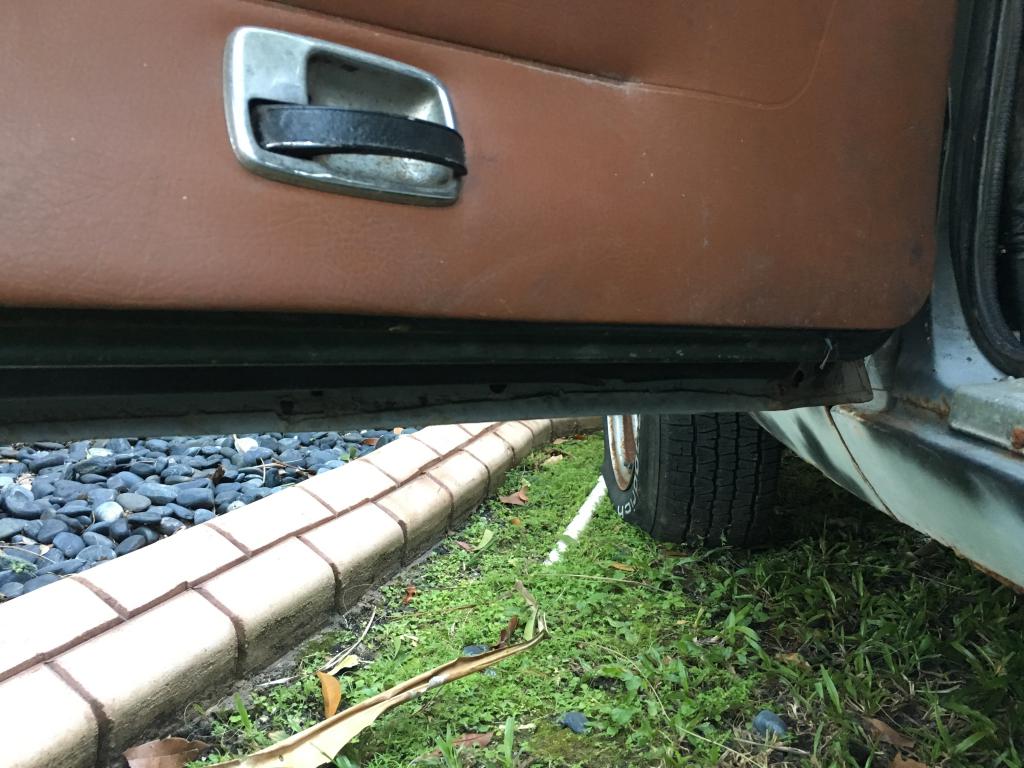
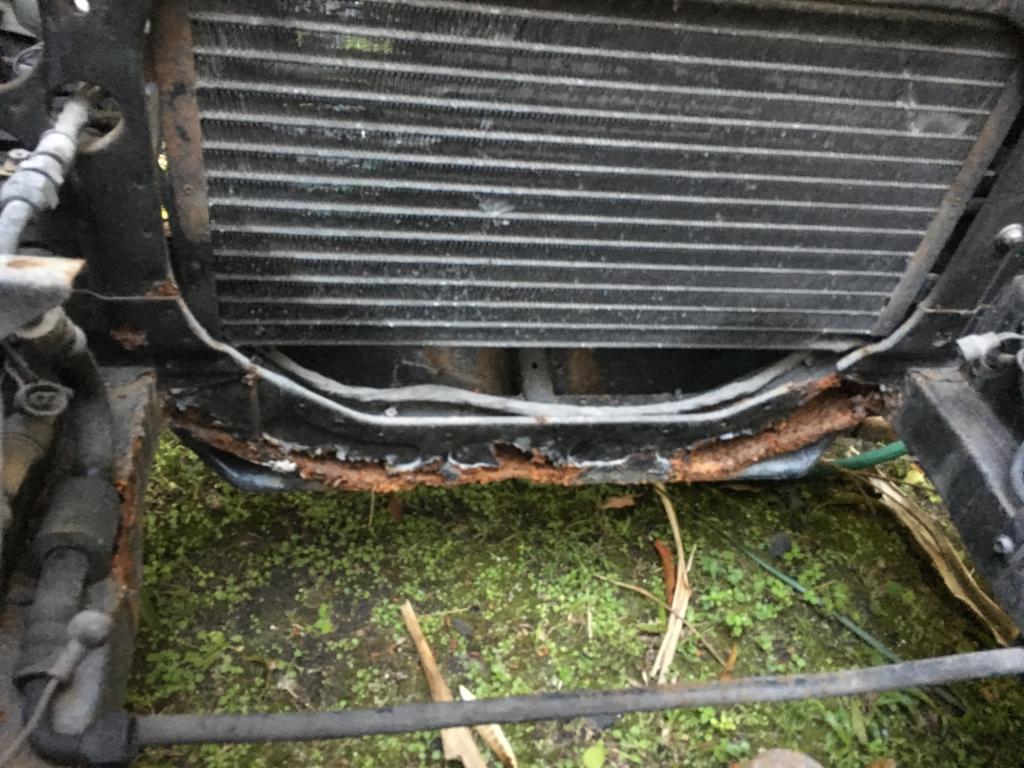
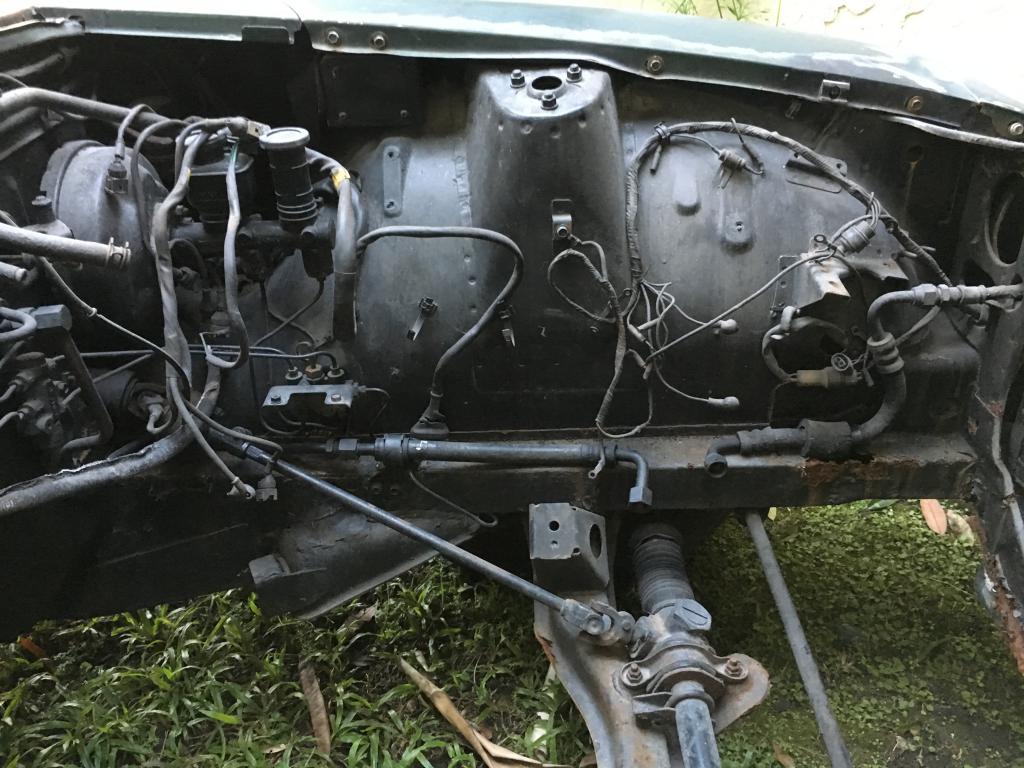
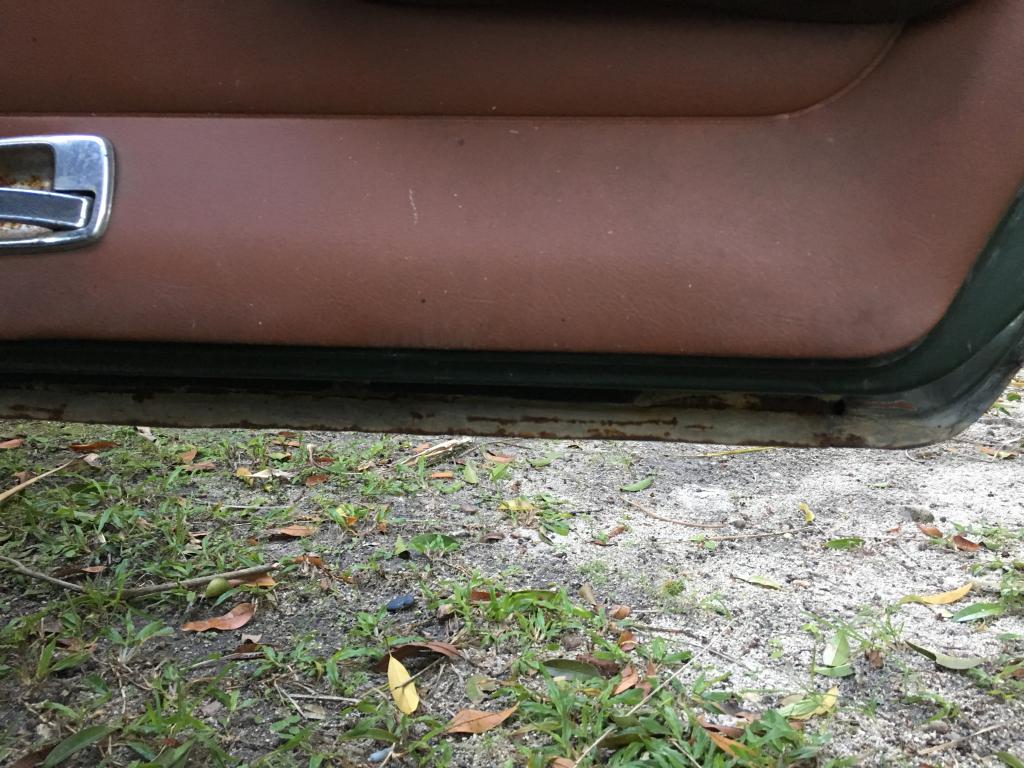
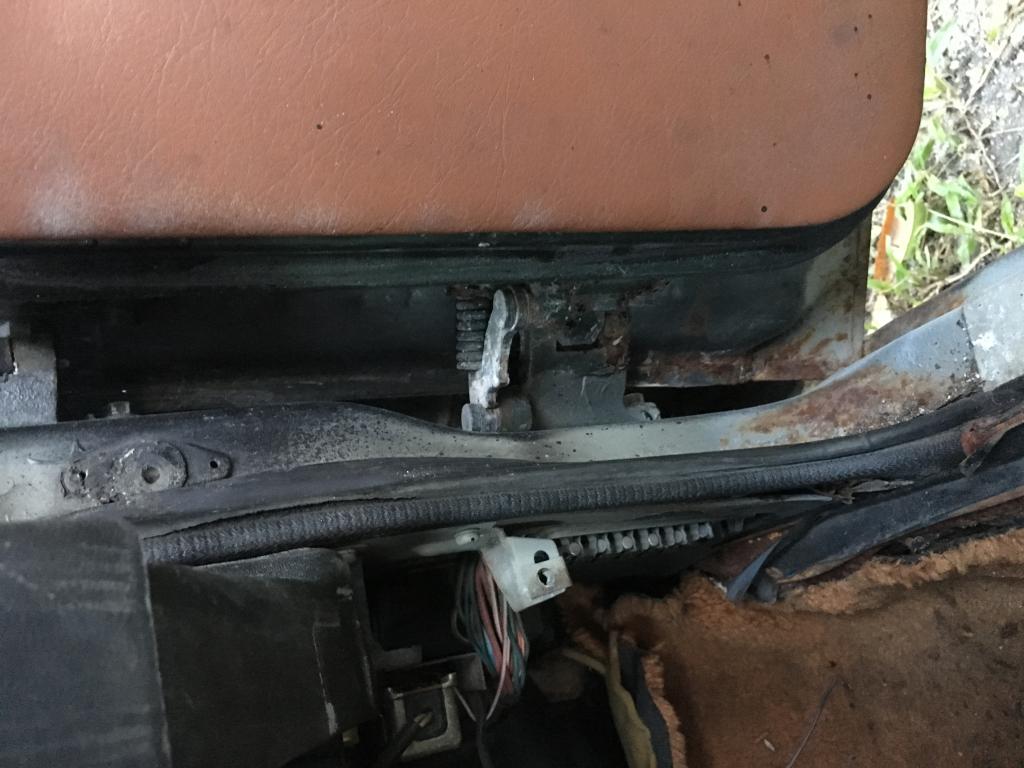
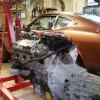
From the album: 280Z Project - in progress
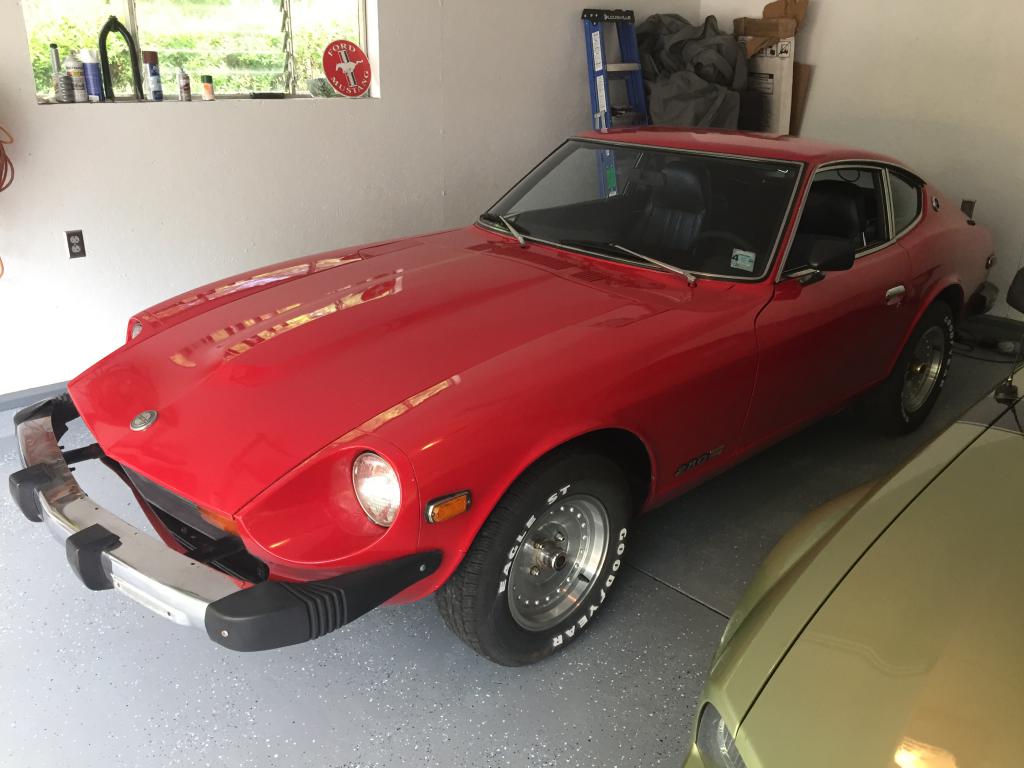
1975 280Z with 3.1L stroker in Infiniti Beryllium