Zman83
-
Posts
7 -
Joined
-
Last visited
Zman83's Achievements
")
Newbie (1/14)
0
Reputation
-
I didn't tap that one, just left it blank. I think it will have enought bolts in it to handle the torque of the 5.3.
-
While the Camaro one fits, the steering comes very close to the exhaust flange, ended up cutting it off and welding on a longer flange for now, probably end up having to have a set made unless I luck up and find something that works. You might need wheelie bars on the back with a 6L turbo. I'm just aiming to surprise a few mustang/camaro guys.
-
Sounds like you lucked up on your ls1 find Domzs, I don't really want to do a T56, because of the cutting/beating of the transmission tunnel. I think a nice new 5-speed tremec with a good overdrive will work just fine and require alot less work, that's another reason I chose the T5 initially because it is very close to the dimensions of what I will be putting in it. I'm thinking the LS manifolds from JTR will clear the steering on the ZX, so I'm thinking I will go with those later on, or maybe even a custom set. For now, a 2010 Camaro driver side and a 2000's Corvette pass. work alright. No, my ZX was a N/A car, as far as I can tell there's not any difference in the two chassis. I can't wait until I get it painted and on the road (probably about 2 years off). Can't decided if I want to put an old style "Z/28" logo on the side of it or something else, regardless it'll say "280ZX". ha ha Your install looks good.
-
Naptown Dave, right now it's just open exhaust, I haven't decided if I want to just run it out on the driver side with a magnaflow or attempt a dual setup yet, that's after all the paint/bodywork is finished. My main emphasis so far has been to get it moving/steering/stopping, and I have achieved that, so I can start saving for the rest. Domzs, while I agree that it might have been easier to find a camaro/firebird donor, I have to disagree with you on the cost, at least in my area. F-body salvage engines are rare AND expensive if you can find them. This whole swap has set me back less than $2k. As for the accessory drive, I am going to move the alternator down, essentially swap the position of the p/s and alt, but I haven't gotten to that part yet (it's the only thing preventing hood closure). And I do plan on eventually changing to a stronger driveshaft after I change transmissions down the road, this one is merely for moving the car around. Remember, some of the fun of these projects is designing parts for a rare set-up yourself and also saving some $$$. This car is going to be a street car, so it won't be seeing any drag slicks, but it will definitely be wider than the pizza cutter 205 width it came with stock. I definitely recommend the 5.3, if you can find one cheaply a 5.7 is a good choice because it IS all-aluminum and will save weight. Another reason I chose the 5.3? It's rated at about 285hp, so....it makes an honest name out of the 280ZX! ha ha
-
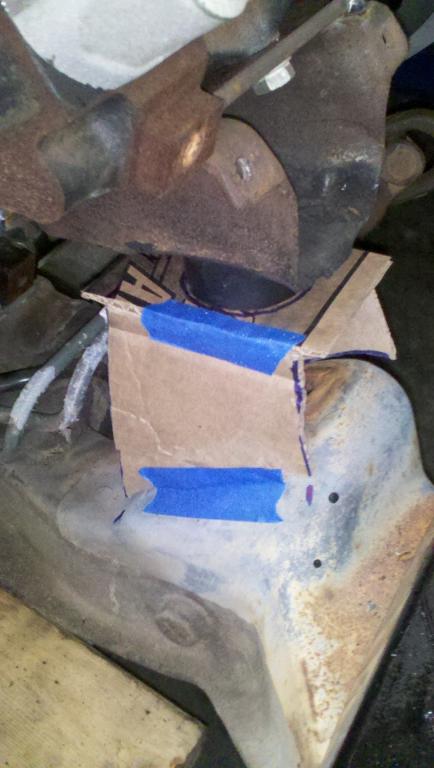
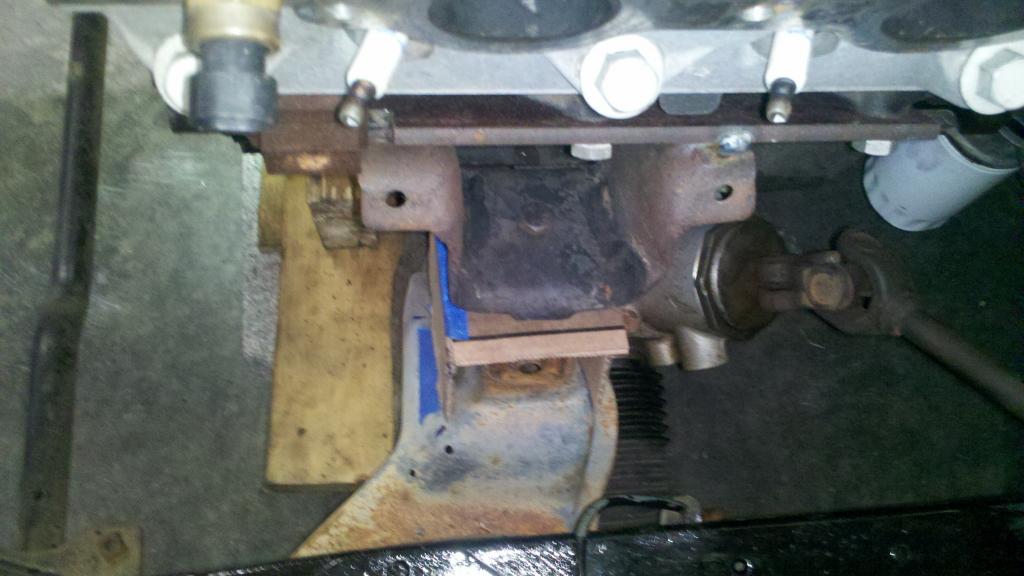
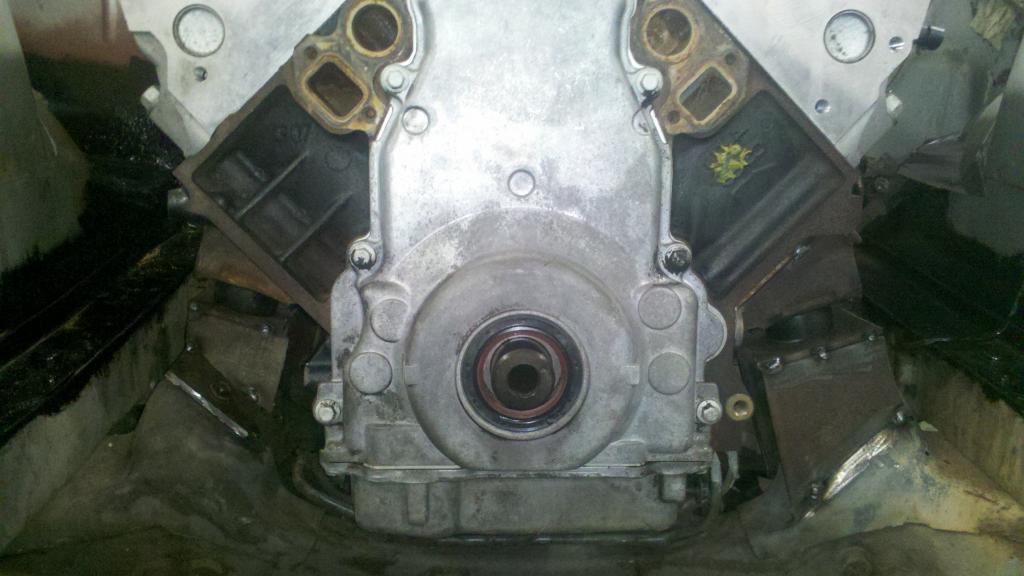
There's alot of parts involved in this swap, I will try to list some of the major ones, but will probably have to add some more later. Also, there are probably other applications which will work, these are just the particular pieces I chose. -The engine is out of a 2001 Chevrolet Silverado ("LM7" 5.3L V-8), and I'm using truck-style accessory drive with the exception of the 2010 Camaro W/P, which uses the same spacing as the truck water pump. -Bellhousing is from a old-style Chevrolet Big Block (they use the same bolt pattern, except one hole on the LS block isn't drilled/tapped) -Flywheel: early 2000's Chevrolet 2500 6.0L V-8 -Clutch/Pressure plate: early 2000's Corvette -Clutch Fork- NAPA# 6151057 (shortened to fit transmission tunnel) -Slave Cylinder: Wilwood Pull-type (external) -Transmission: 1984/5 Camaro V-8 T5 which uses standard saginaw Chevrolet bolt pattern (before I get a bunch of messages/emails, I'm fully aware of the early T5's torque weaknesses. This one is only going to be used to move the car around. I fully plan on swapping it out for a new Tremec unit down the road and want to use the T5 in another application, and not tear it up. -Driveshaft: factory Datsun, shortened with GM-style slip-yoke on transmission end. -Engine Mount Isolators: Early Chevrolet V-8 style (each side uses one big hockey puck and one small one). I would like to say that this project would not be possible without help from my friend Adam who did all of the welding (and much of the design) for the V-8 swap, and also my family. If you have any questions, let me know.
-
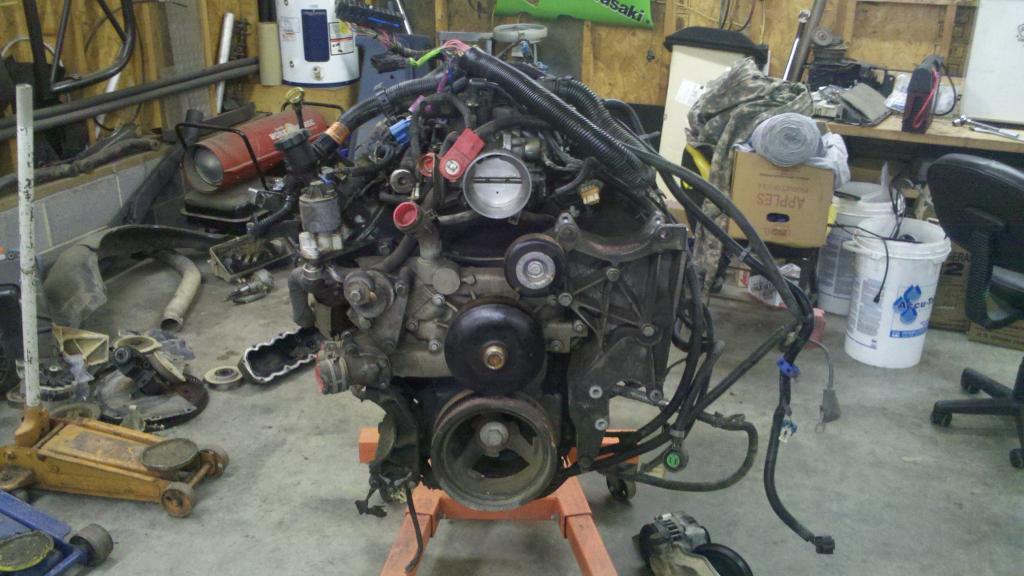
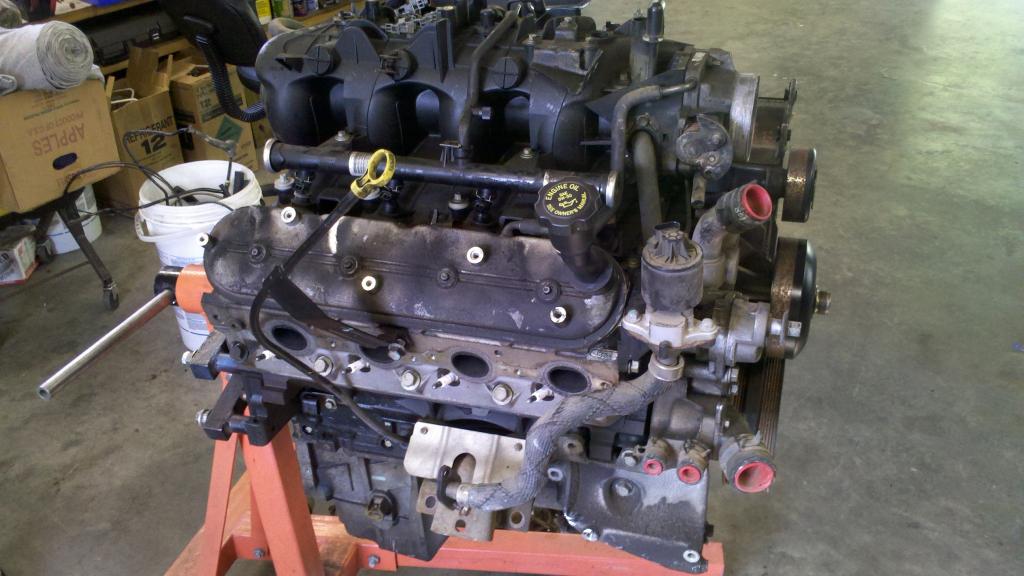
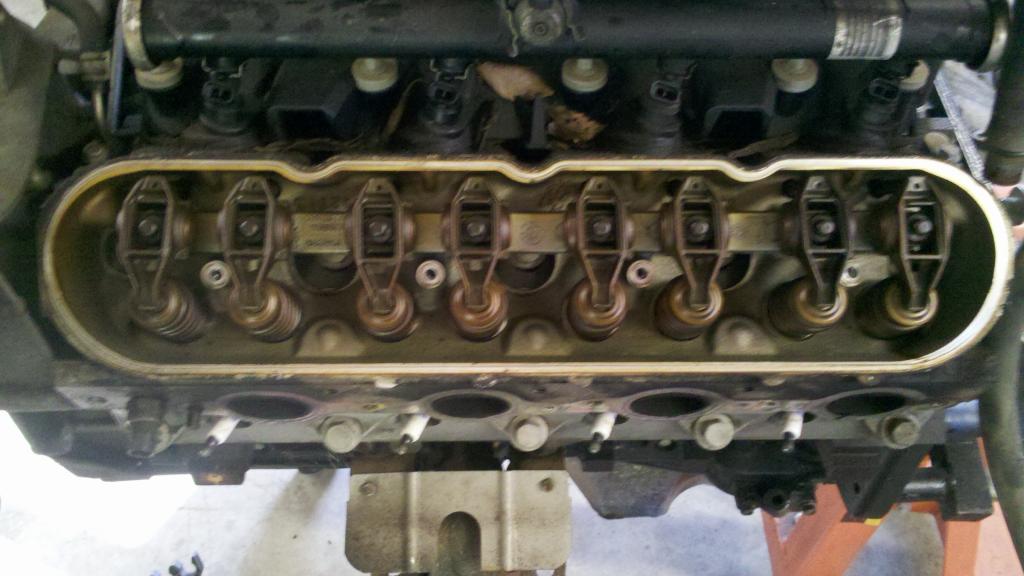
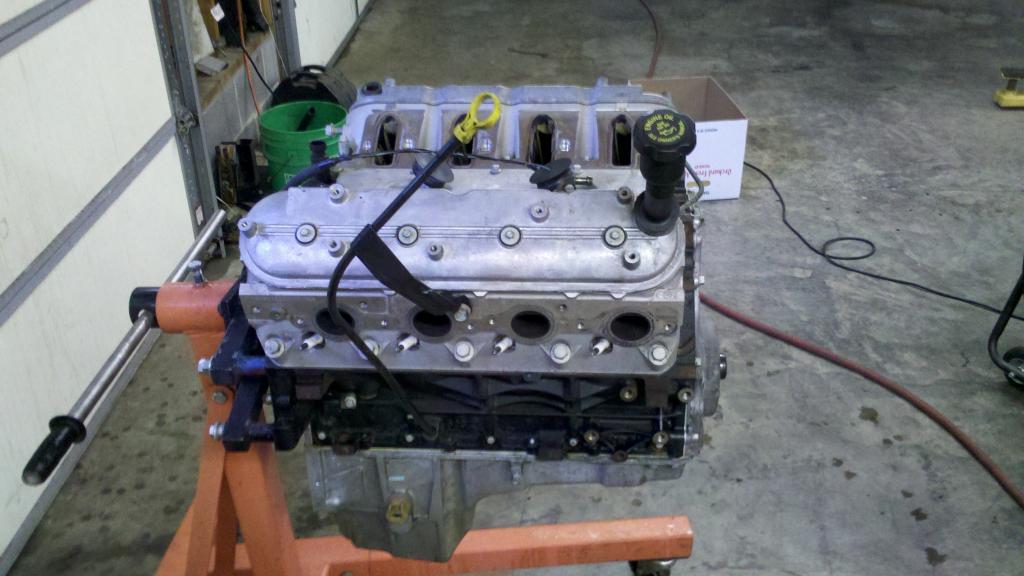
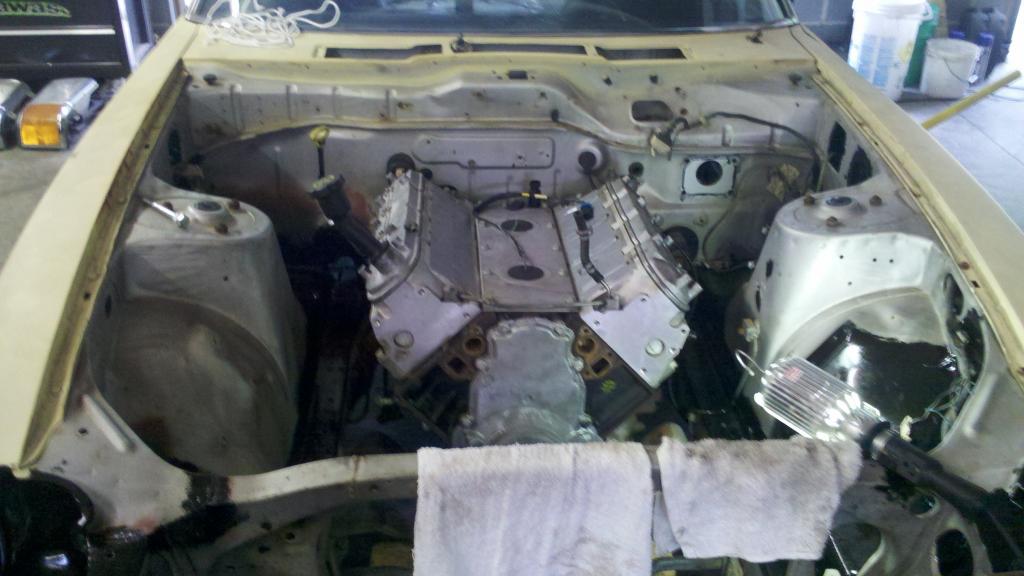
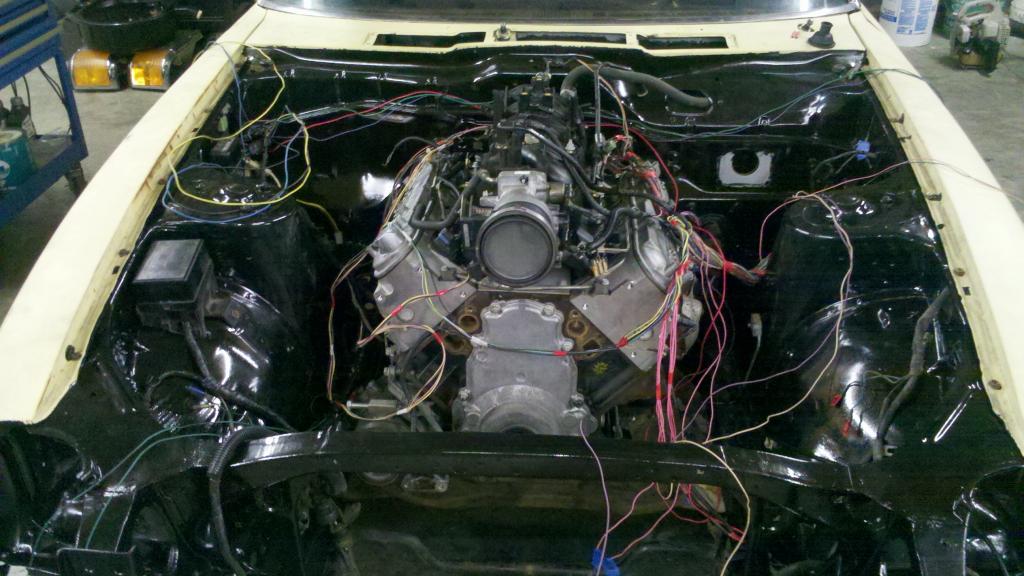
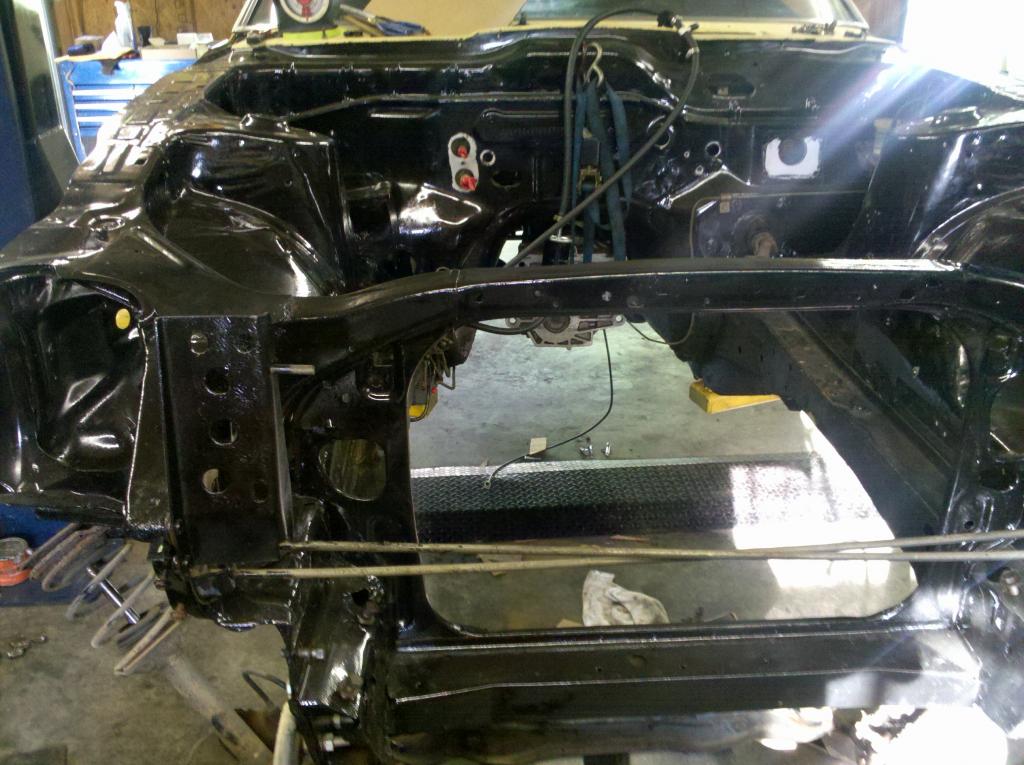
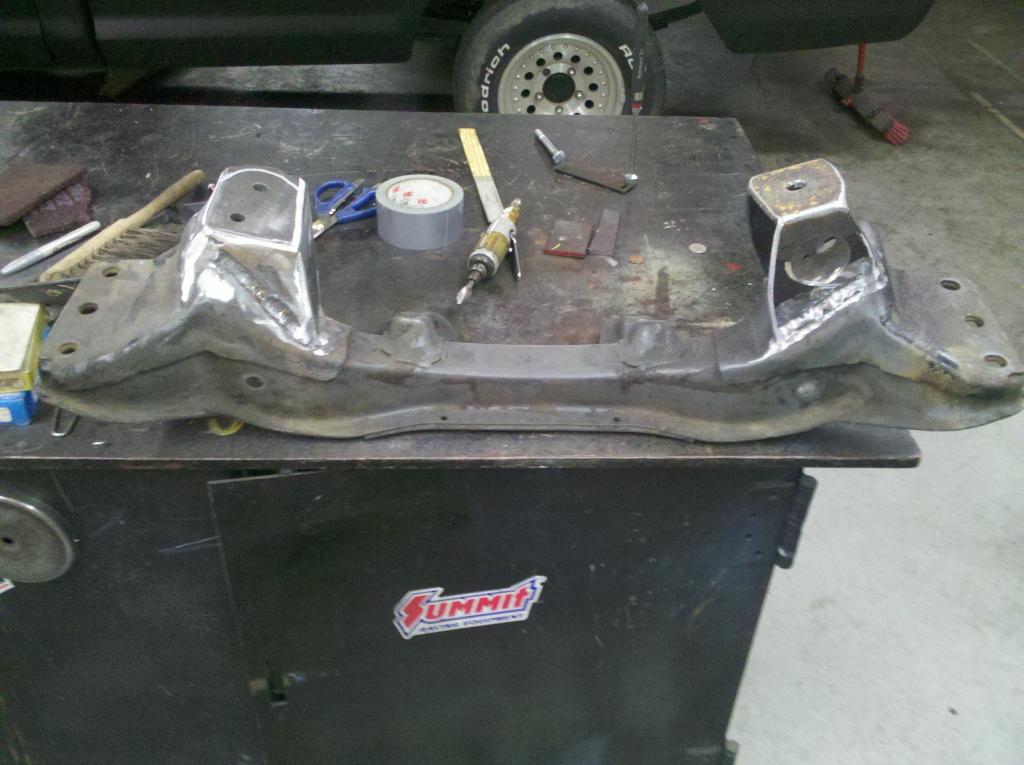
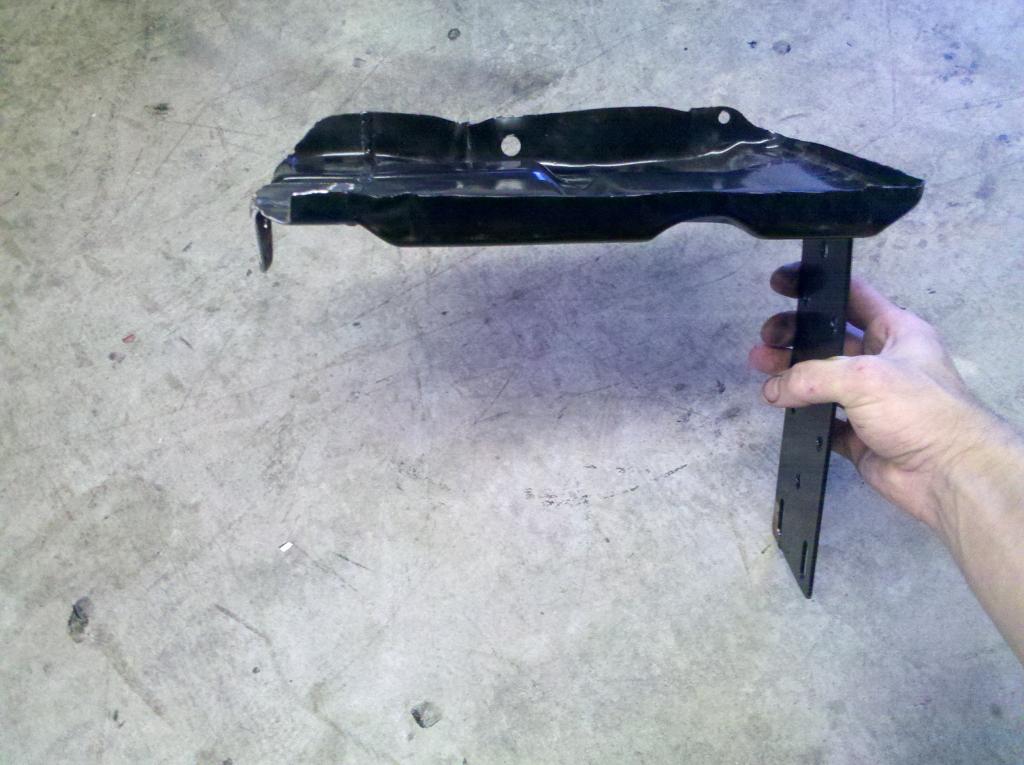
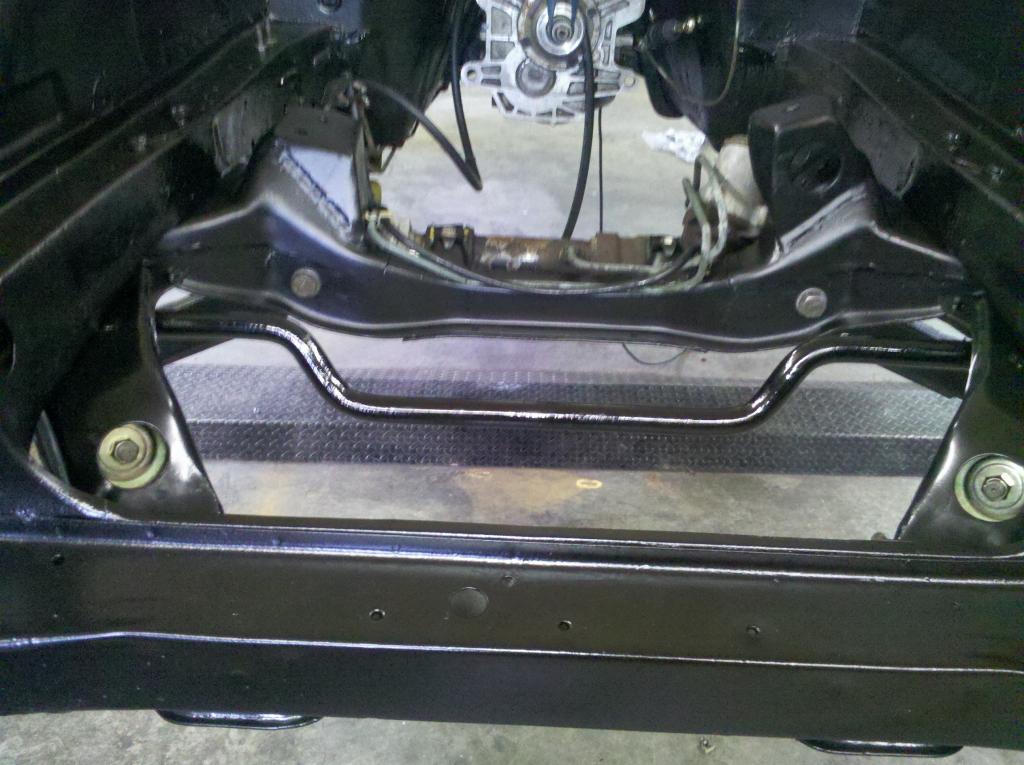
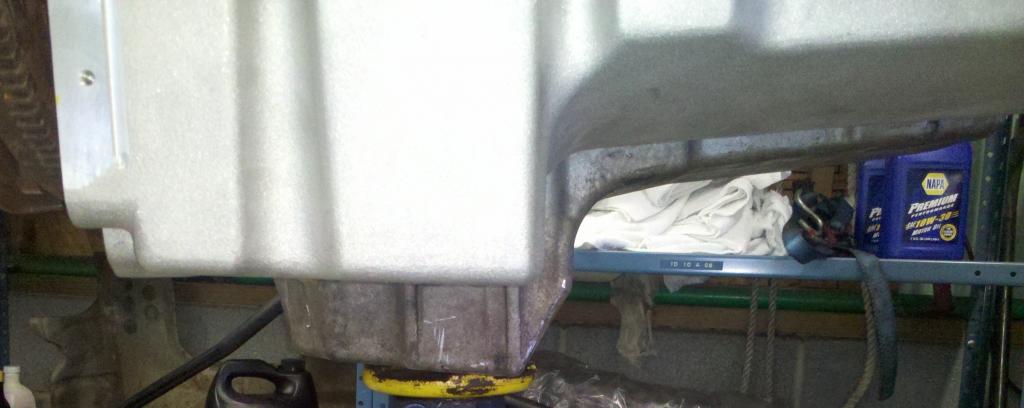
Engine: right after purchase (came complete with uncut wiring harness: After removing the harness and manifolds to clean it up: We removed the valve covers and oil pan to see how clean it was inside, it was this clean with 180,XXX miles on it! After cleaning up the outside: Once the engine was clean, we began mocking it up in the engine bay to make the engine mounts. This is the position we chose, it's low and set-back which is good for the center of gravity, shifter position, etc. Here are some of the views of the design: Driver side: Passenger side: Mounts tack-welded in place: After the mounts were welded in, I used por-15 on the undercarriage and the engine bay and we installed the engine and began the wiring: Summer 2013, Part II Pulled the engine, hopefully for the last time, to paint engine bay (a semi-gloss black epoxy): Removed cross member to modify passenger side mount, and clean up driver side, here it is before paint: Here's the custom battery tray, I had already cut the old one out because it was rusted beyond repair, this one is a reproduction for an early 70's Chrysler B-body that had good dimensions. My dad and I welded on a support bracket and shortened it, and then a bracket was added to attach it to the inner fender. The crossmember reinstalled, along with new front end parts: Changing out strut cartridges: One of the problems that I had to address was the truck oil pan, which does fit in behind the crossmember, but hung over 2" below it. So I purchased the Holley retro-fit oil pan and here is the difference in height and the installed view: Installed a 2-speed Taurus electric fan on original radiator (yes it stays cool). Installed 2010 Camaro water pump allow radiator to be highest point for air system, and discovered factory 280ZX upper hose fits perfectly (with about 2-1/2" cut off). Side view of engine with LS6 intake installed: In the next post, I will attempt to make a list of some of the parts I used to make all of this go together.

-
This post is to present some of the progress (with pictures that I have made (with alot of help) on my 280ZX. The first generation ZX (S130) doesn't get much respect from the early-Z crowd, but I have always preferred the more-finished look of the ZX. I got mine as my first car in 1996 and it hit 200,000 miles in 2001, I pulling the engine to rebuild it and decided I would clean up/paint the engine bay and restore the body. Here is some of the progress... This is just a test photo, since I've never posted before. I will post more pictures in the following posts...