clarkspeed
-
Posts
840 -
Joined
-
Last visited
-
Days Won
29
Recent Profile Visitors


clarkspeed's Achievements
")


-

240z SCCA vintage race car, restoration
clarkspeed replied to AydinZ71's topic in S30 Series - 240z, 260z, 280z
And engine oil...... I don't recommend additives. Best solution is buy an oil with everything in there to match your intended use. Synthetic has the additional benefits of not braking down over time and is unaffected by moisture. And get an oil with plenty of zinc. That should narrow your search down. I attended a seminar by Gibbs Racing oils and really like their stuff. I use the synthetic Hot Rod oil vs. their race oil to save a little $. Redline 40W is also excellent. Brad Penn is good synthetic blend that's a little cheaper. Sam Neive used to recommend it. Purple, Amsoil, and others out there. -
IMSA GTU vintage racer build
clarkspeed replied to clarkspeed's topic in S30 Series - 240z, 260z, 280z
IT LIVES! -
240z SCCA vintage race car, restoration
clarkspeed replied to AydinZ71's topic in S30 Series - 240z, 260z, 280z
Maxing out traxk width is way to go, but I have always had wide tires with relatively narrow body panels. I have never had the excess camber problem. If you are in a bind, just narrow the track until you figure it out. The brake bias knob obviously adjust f & r pressure. I typically set mine a little front heavy on the first day and forget about it for the weekend. Too many other things to worry about. But if you are looking for more linear adjustment it is possible to add a lever or screw style valve to the rear line. It adjusts the "knee" point along with pressure. Much easier to change if you are only taking out some rear if the tank is getting empty. -
240z SCCA vintage race car, restoration
clarkspeed replied to AydinZ71's topic in S30 Series - 240z, 260z, 280z
That is awesome! Let us know if you need any setup help. -
IMSA GTU vintage racer build
clarkspeed replied to clarkspeed's topic in S30 Series - 240z, 260z, 280z
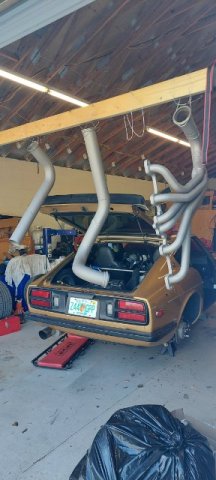
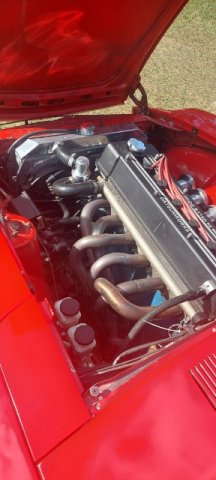
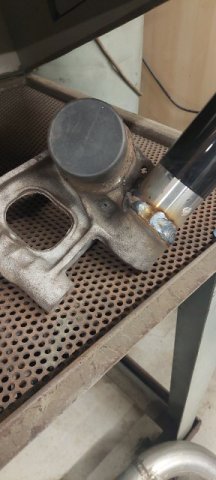
Exhaust blasted and coated. Decided to go with Cerakote in titanium. My first time using it. It's not a TBC coating but hopefully looks good for a long time. Its an air dry ceramic coating that hardens out once you run the engine. Easy to spray, and 5 day for full cure. Just wasn't in the budget to do a true TBC. Getting closer to first fire.
-
IMSA GTU vintage racer build
clarkspeed replied to clarkspeed's topic in S30 Series - 240z, 260z, 280z
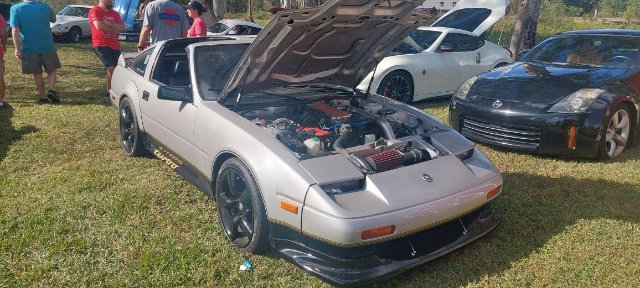
Another Z in the shop. 280Z with a Rebello 3.0 turbo setup and full TTT suspension. We put a new TTT steering rack in last weekend. Really nice new bolt in rack.
-
IMSA GTU vintage racer build
clarkspeed replied to clarkspeed's topic in S30 Series - 240z, 260z, 280z
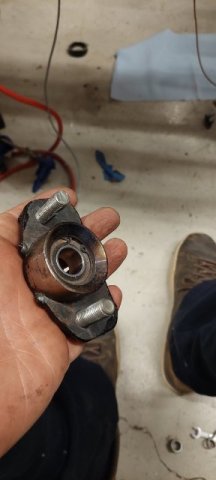
All the Z iterations can look good with minimal modifications. I personally think the z32 had perfect proportions not surpassed since. So simple but so exact. For this build as all of my builds, I am sticking with stock half shafts and Spicer U-joints. Never had a fail road racing yet. Cheap and effective only if you limit the angles generated and minimal power loss. I currently plan to raise/lower the diff as required to keep them in their sweet spot. They even withstand high power drag racing if you can keep them close to straight when launching. If it looks like I will struggle with this when I final assemble the rear, I will be scrambling for some CVs. -
IMSA GTU vintage racer build
clarkspeed replied to clarkspeed's topic in S30 Series - 240z, 260z, 280z
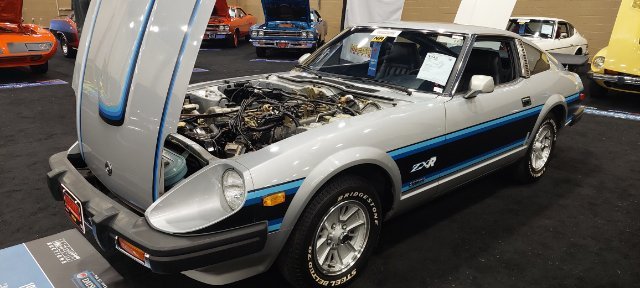
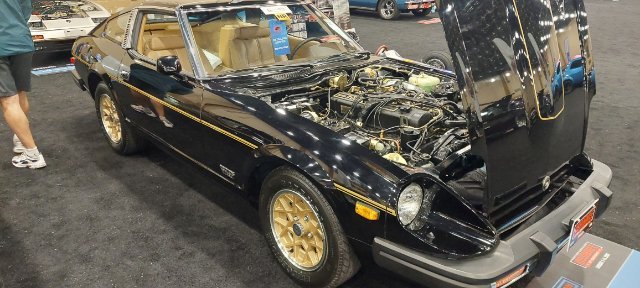
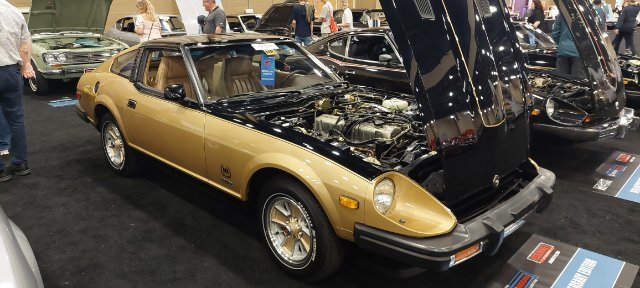
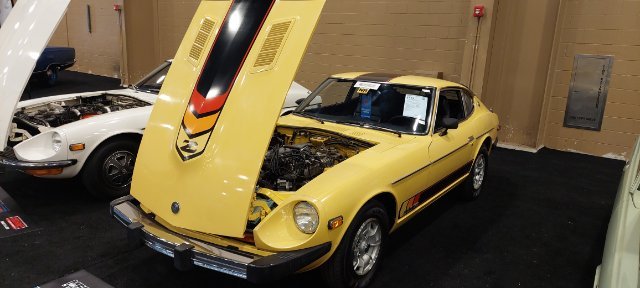
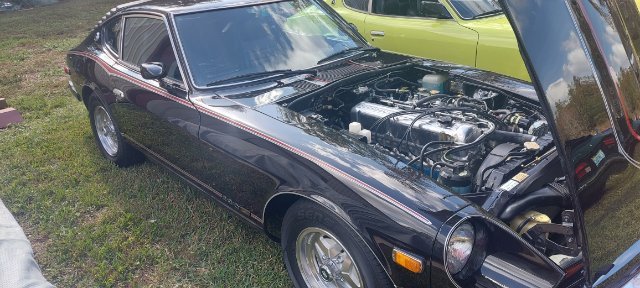
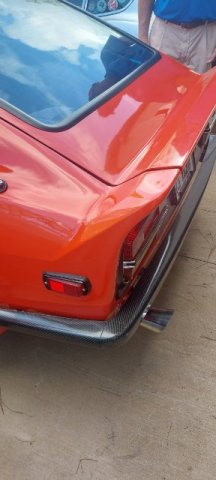
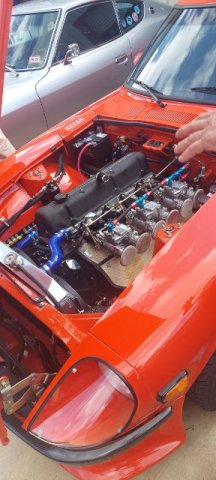
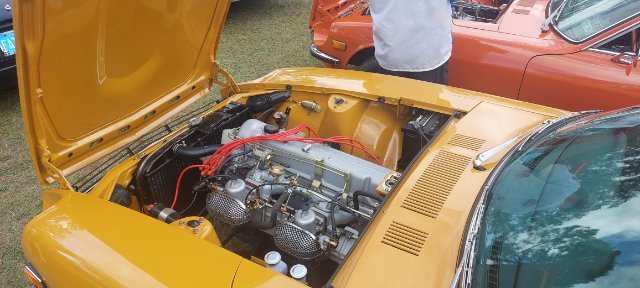
And here are a few shots from the Mecum Kissimmee auction. Impressive cars.
-
IMSA GTU vintage racer build
clarkspeed replied to clarkspeed's topic in S30 Series - 240z, 260z, 280z
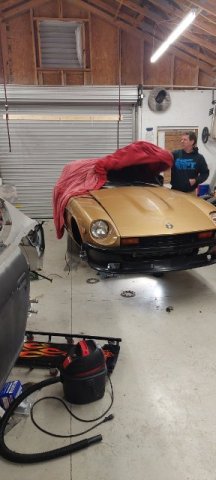
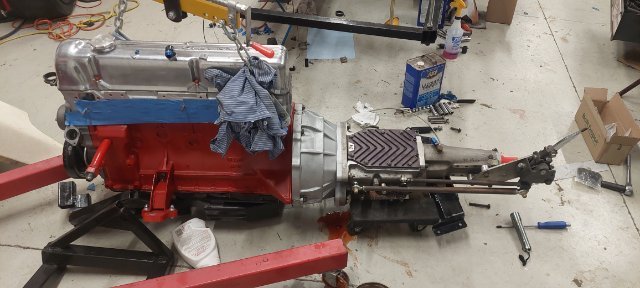
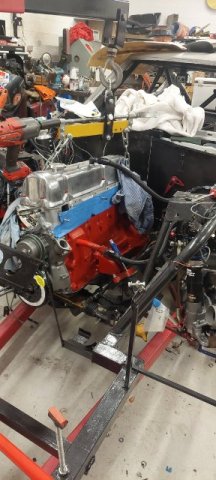
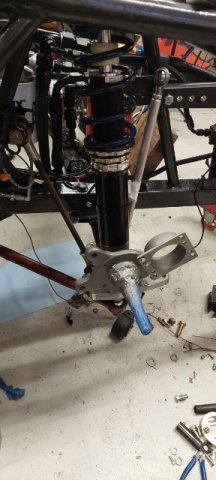
I suppose it is time for some updates. Lots of work accomplished since holidays but not much to photograph. Finished all the strut builds and got them bolted up. Completed the clutch build and mated the tranny. Dropped engine back in and found if I raise the engine mounts 1/8" on each side it will clear my steering rack. Yeah. Finally caught up from my last minute changes and medical setbacks. I feel 10 years younger now and kicking ass in the shop. Getting closer to first fire. Have a 2nd Z car in the shop now and a 3rd coming. More on that later.
-
Almost forgot about it. 1 t-shirt, warm grey, large, 32801
-
IMSA GTU vintage racer build
clarkspeed replied to clarkspeed's topic in S30 Series - 240z, 260z, 280z
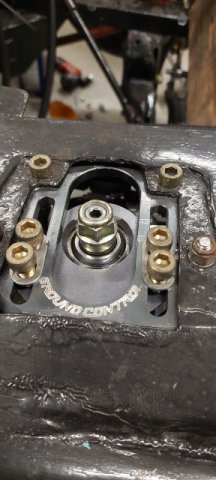
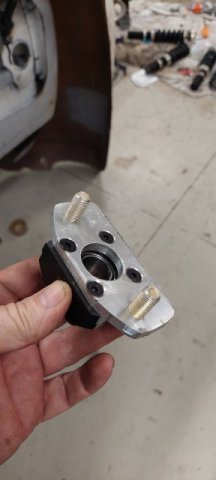
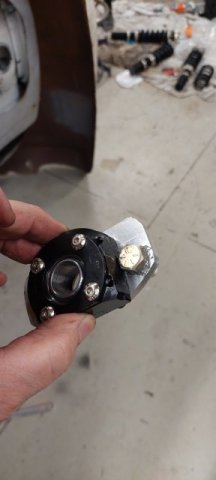
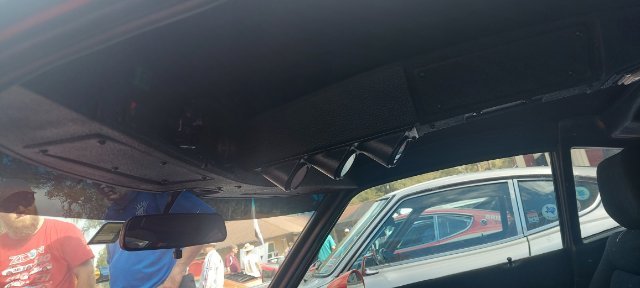
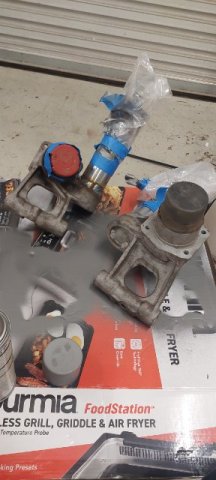
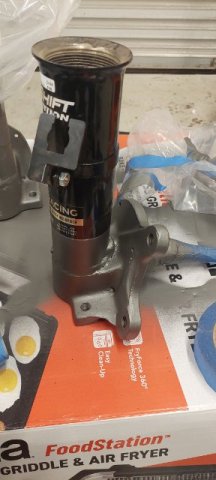
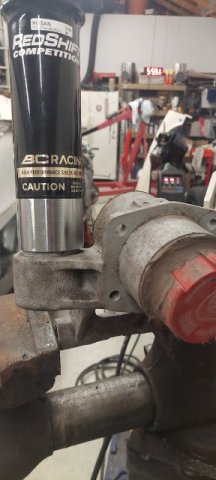
To fit the struts I had to get creative. I already had camber plates welded and did not want to modify those. The BC setup is nice but not a large amount of camber adjustment. Not much problem for the front. I only needed a 1mm thick bushing to fill the gap between the shaft and camber bearing. After I tried to drill something several times I ended up just 3d printing one. The rear required some fabrication. I had slotted the towers and built my own camber plate/spring perches. To retify I duplicated the plate in aluminum and bolted the BC bearing holder from the bottom.
-
IMSA GTU vintage racer build
clarkspeed replied to clarkspeed's topic in S30 Series - 240z, 260z, 280z
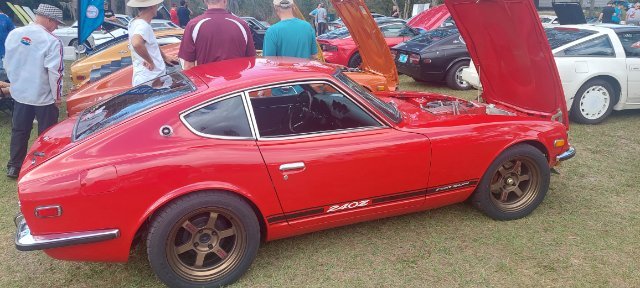
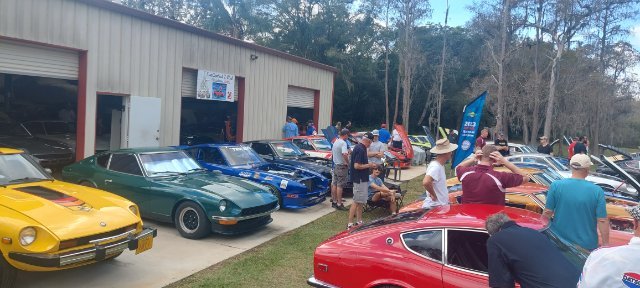
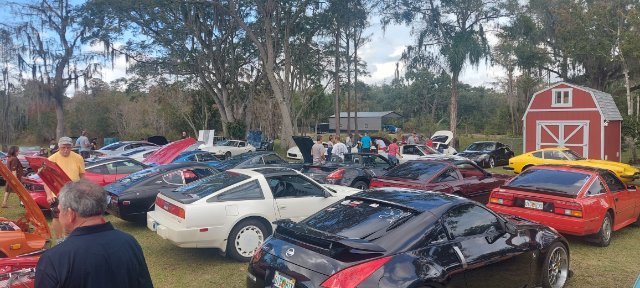
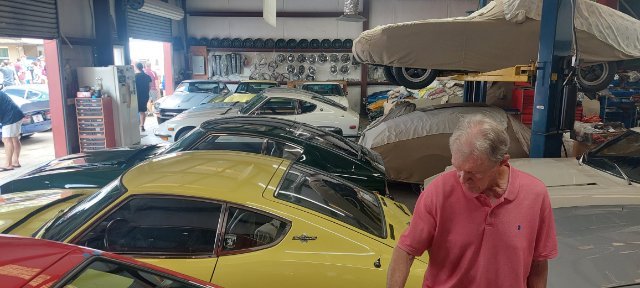
On a side note, I went to the ZMECCA Xmas party last weekend in Tampa. Some cool Florida Z cars for sure and got to see some old racing buddies. John Thomas and Bill Coffey representing. A few old HybridZ guys there also.
-
IMSA GTU vintage racer build
clarkspeed replied to clarkspeed's topic in S30 Series - 240z, 260z, 280z
Back on track so to speak, in a big way! Last weekend I suddenly felt like jumping back on the car work 100%. Building up the new suspension with the redshift coilovers. Once I get the camber plates figured out, final assembly.
-
240z SCCA vintage race car, restoration
clarkspeed replied to AydinZ71's topic in S30 Series - 240z, 260z, 280z
You got it! My timing plate is marked with a range for typical Datsun cams for the 4 timing events. Makes it a little easier wrap my brain around it. i like to look at it like this. Intake valve opening is the most important timing sequence. In the end you are really just trying to get that point to match what you engine needs. Not to early and not too late to maximize power. I set the cam to the CL like you described and then adjust the gear a little on the dyno to max out power and torque.If you plan to adjust at the dyno with a high compression engine, I always check valve to piston clearance with the cam gear in min and max settings.² -
240z air cleaner 3d print
clarkspeed replied to kawasaki808's topic in S30 Series - 240z, 260z, 280z
Nope. But I could probably come up with something if financially motivated. Of course it would not pass at a concours show. Not even close. It would need to be printed in multiple parts. I am currently working on a fairly large airbox using a big rectangular Audi filter element and a 4" hose inlet. Could easy adopt it to a SU's if I ever finish it.