Leaderboard


Popular Content
Showing content with the highest reputation on 03/26/19 in all areas
-
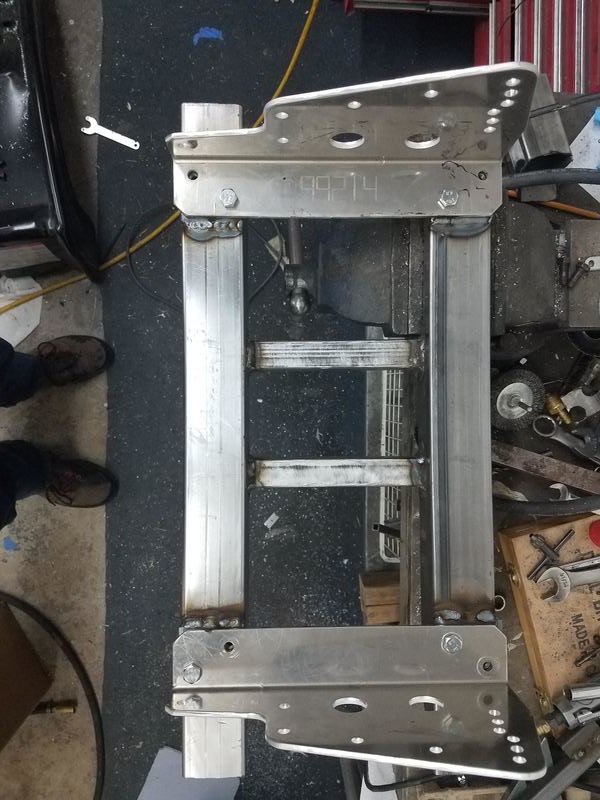
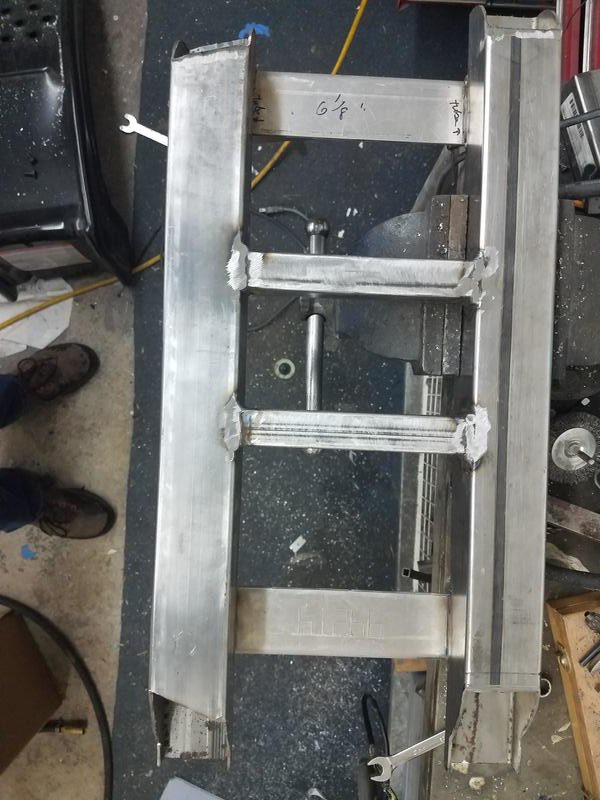
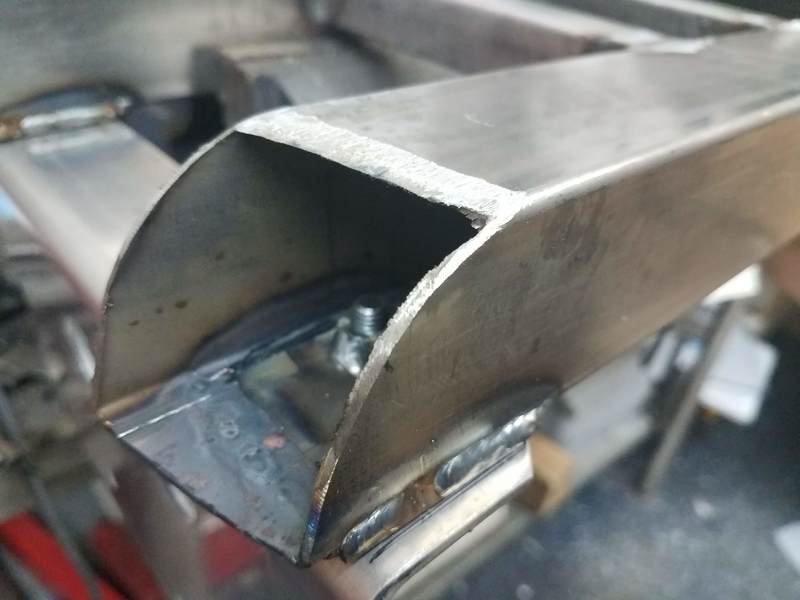
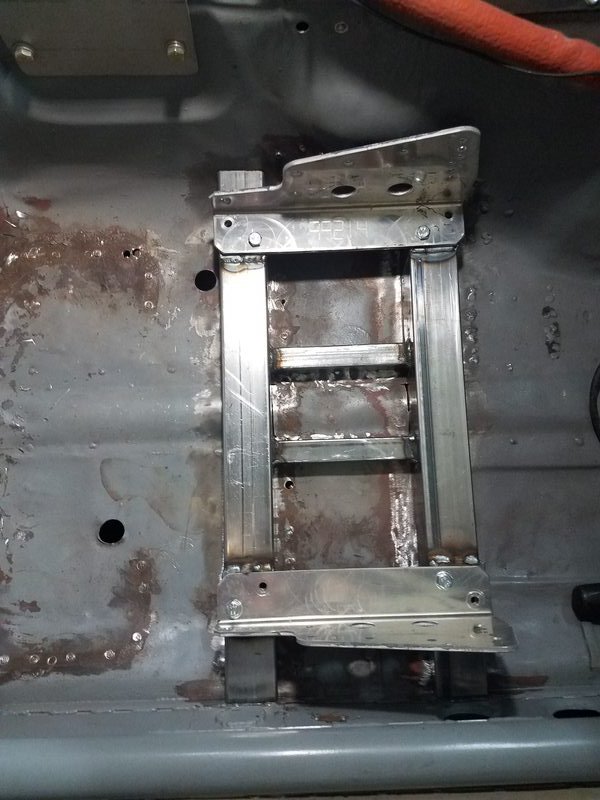
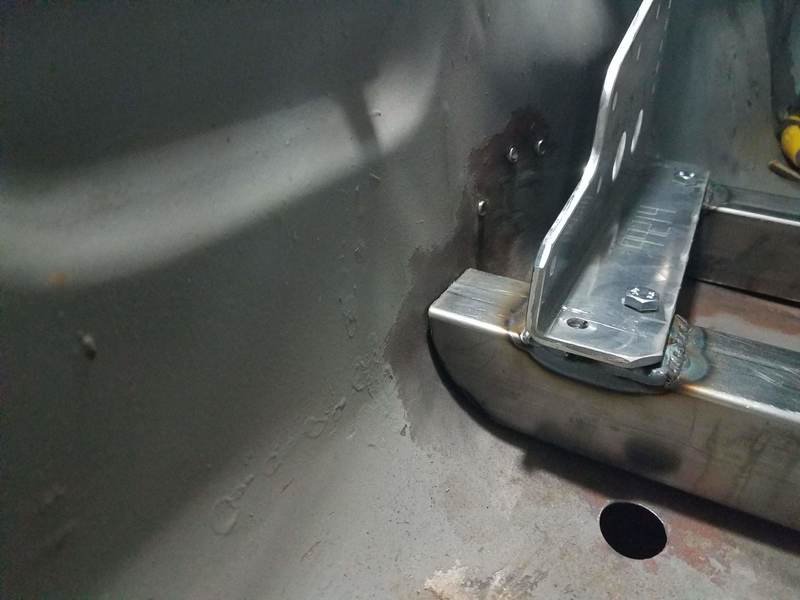
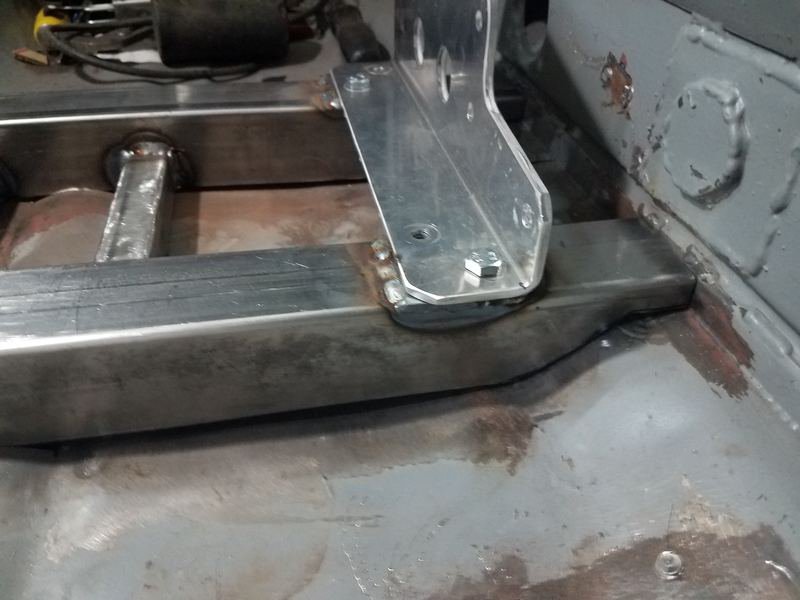
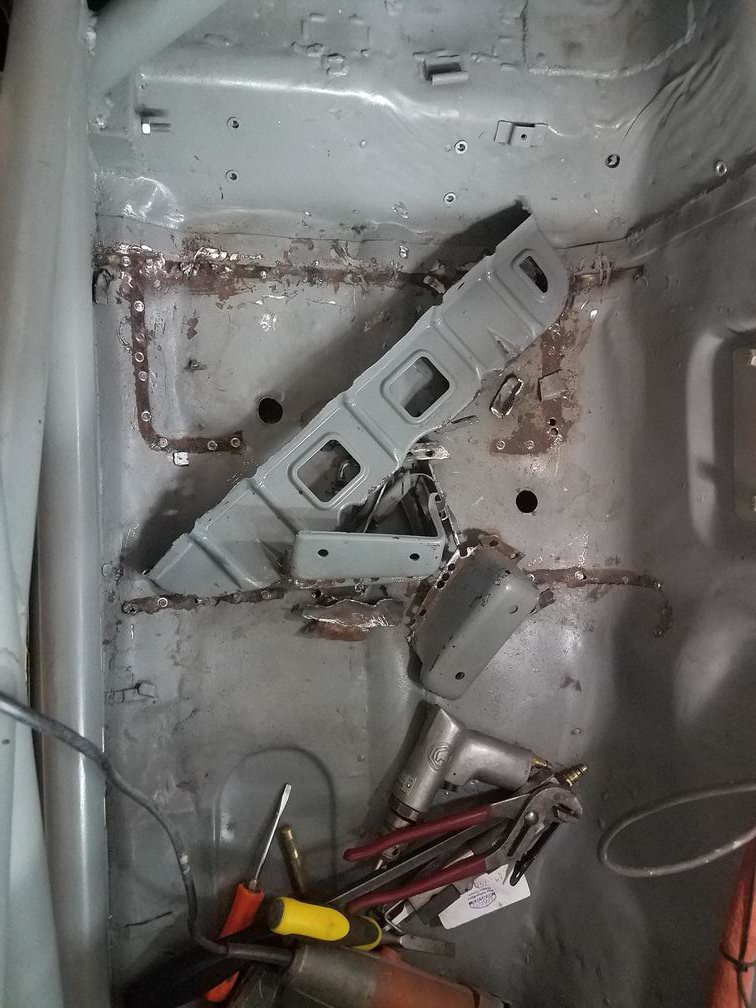
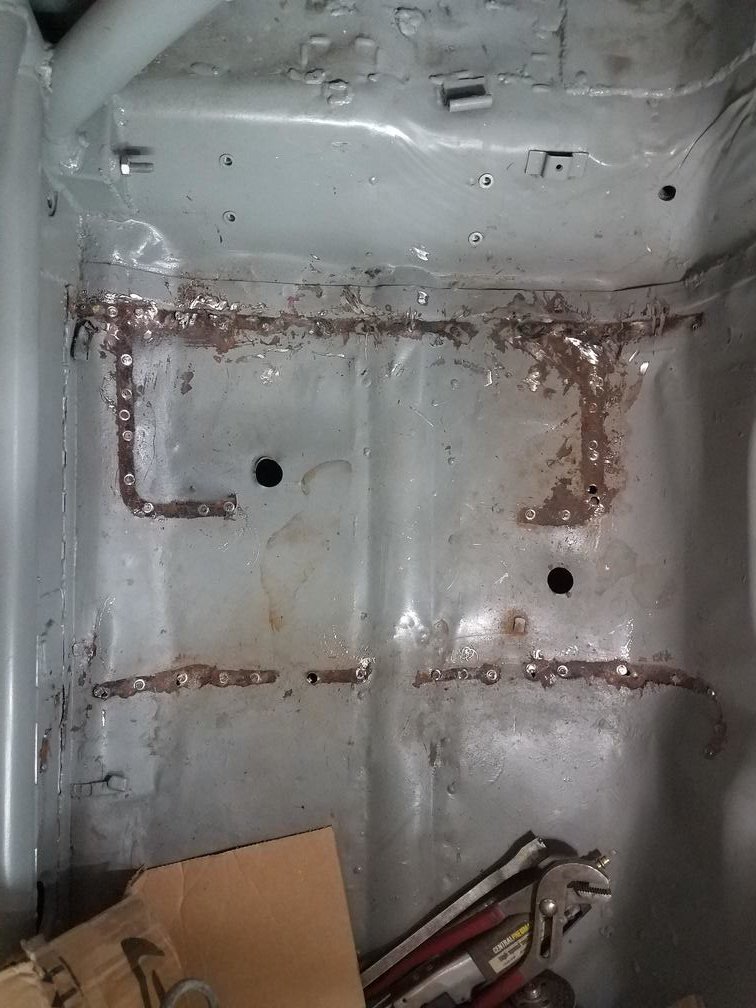
I am working on putting a passenger seat in my race car. Driver's side is on a slider and the mount on that side is totally different but thought I'd share how this non-adjustable pass side is going in. First thing was removal of the stock mount. I had done this on the driver's side 10 years ago or so and remembered it being a big PITA. I did not remember wrong. I really hate trying to get all the spot welds loose. I tried a spot weld cutter and ruined it after successfully cutting about 10 spot welds. Unfortunately there are a lot more than 10 spot welds holding the stock mounts in. After that I tried air saws and other tools, but finally ended up with the tool I hate (and use) the most: 4.5" angle grinder. I used a cutoff wheel and hacked the stock mounts out and ground down as much of what was left as I could. Pro tip: I had been using ear plugs but figured out I could use my new bluetooth over ear headphones to listen to music and podcasts, and I could hear my phone ringing and customers on my website chatting with me, etc. Huge upgrade. I cut the stock mounts out and stuck the seat on the brackets in the car to figure out where the seat mount would be fore/aft. Then I measured from the seam in the floor behind the seats to where the seat bracket would be. I drew a line on the floor where the rear of the rear mount tube would be, and another one 2" in front of that. I had already figured out that there was going to be 6 1/8" between the front and back tubes, so I measured another 6 1/8" and drew another line across and another one 2" in front of that. So now I've got 4 lines across the floor marking where the front and back of each tube would be. Then I cut long strips of 2" tall cardboard, and trimmed them to match the contour of the floor. I then traced them onto the 2x2 tubes and used an angle grinder with cutoff wheel to shape the ends of the tube. Getting the front and back templates lined up correctly is kind of a pain because the trans tunnel isn't straight, so line them up on the outside where they hit the rocker. and leave a little extra on and then grind to fit. On the driver's side I cut into the bottom of the mount tubes to clear the little hump in the middle of the floor. On this side I cut the hump in the floor. I think cutting the hump is easier. After the tubes were cut to shape and fit reasonably close to the contour of the floor, I welded in two 6 1/8" tubes to connect the two and spaced them to fit right where the subframe connectors are. Next I needed to locate the seat laterally. I put the mount in the car and set the seat on its brackets on top of the mount, and figured out where I wanted the seat, then drew lines on either side of the brackets. Knowing where the nuts needed to be to bolt the seat in, I cut square holes in the top of the tube. Then I cut 2 x 2 pieces of .100" sheet and welded nuts to them to bolt the seat brackets to. After that I bolted the 2x2 plates with nuts to the seat brackets and set them on top of the mount and tack welded them in place. I unbolted the seat and brackets and finished welding the plates in. Next I'll weld the top ends of the tube to the rocker and the trans tunnel. I'll stitch the two longitudinal tubes to the subframe connectors. I used a LOT of heat on the driver's side and melted through the floor to get good penetration into the SFCs. My floor was pretty bashed up when I got this car, so the floor doesn't fit perfectly on the bottom of the 2x2 tubing. Plan there is to beat the floor up to the tubing after the mounts are welded on the ends, then stitch across the front and back of the tubing to attach the tubes to the floor. That's today's project. The mount on the driver's side was as long as the slider for the seat, so more like 12". Like I said before, much different on that side.
 1 point
 -
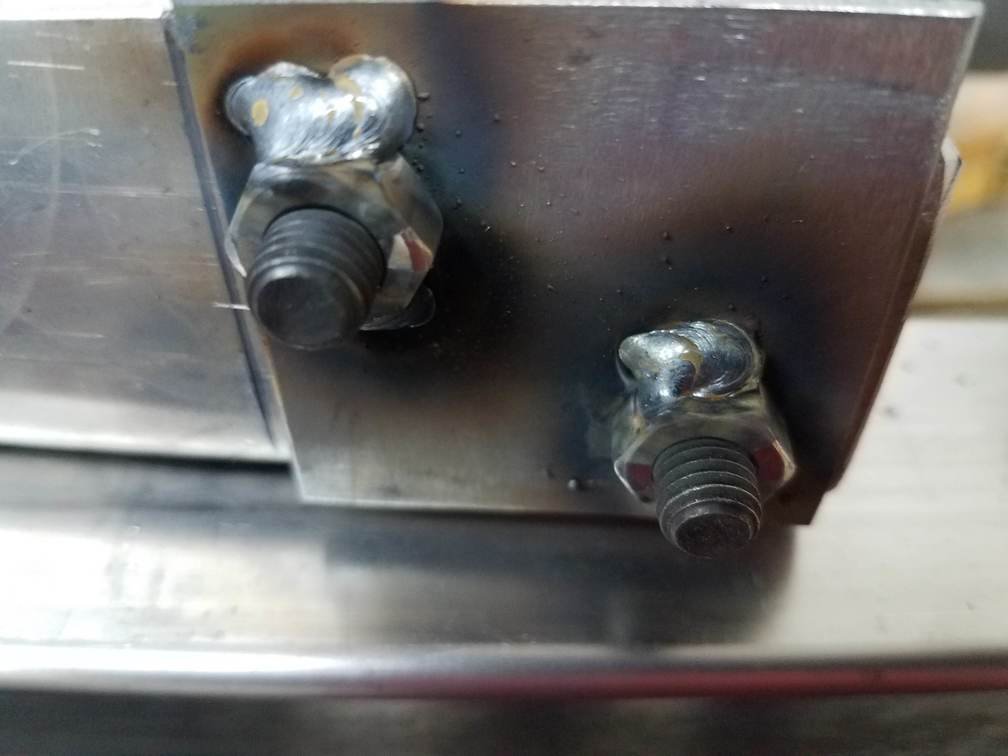
The current prototype... modified to use 5/8" bolts directly, without the sleeves on the Z31 mount, this saves some cost.
1 point