ryant67
-
Posts
355 -
Joined
-
Last visited
-
Days Won
4
Content Type
Profiles
Forums
Blogs
Events
Gallery
Downloads
Store
Everything posted by ryant67
-
NA 3.1L=>head & camshaft questions. No shortcuts, max
ryant67 replied to zredbaron's topic in Nissan L6 Forum
Awesome, congrats!!! Looking forward to reading about how the chassis dyno goes. Still lots of good weather left for you to enjoy the car before Winter as well! -
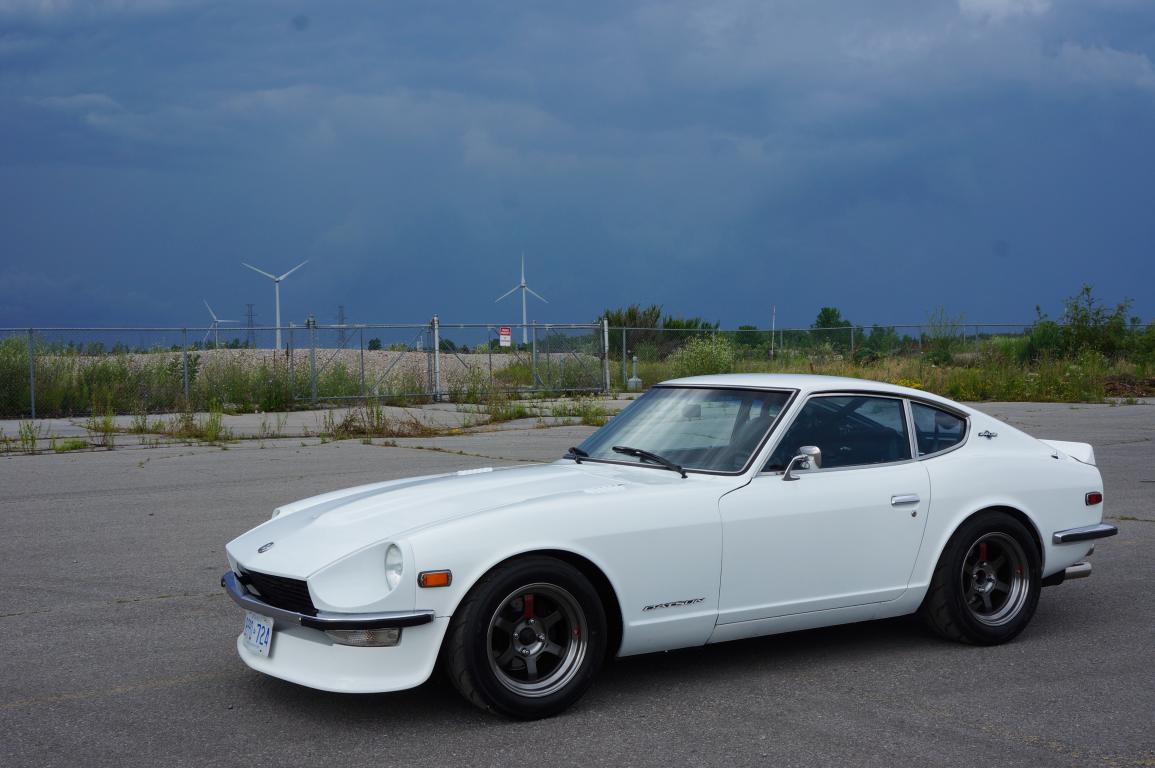
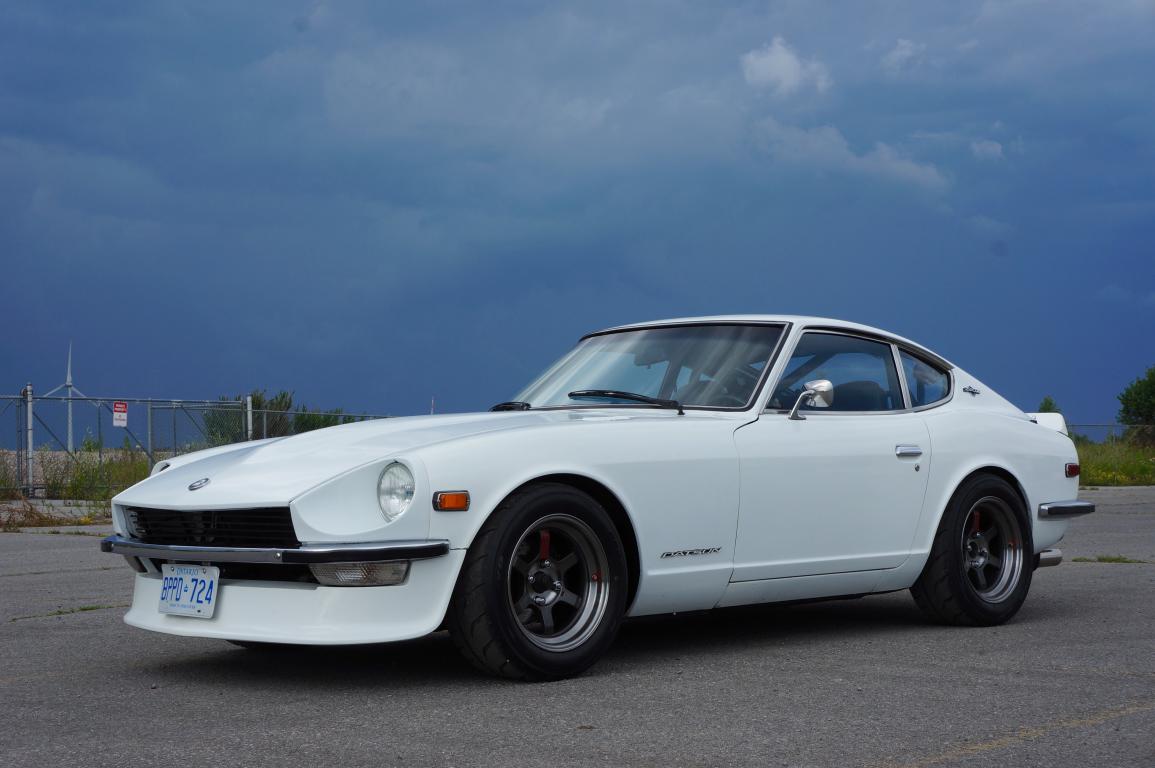
Thanks scartail! They are 15x8" with a 0 offset. The car is lowered about 2” all round, and I had to roll the rear fender arches for clearance due to tire rub. Grannyknot, can't wait to see your car - looks like you've got a very busy week ahead of you to get it all ready in time!
-
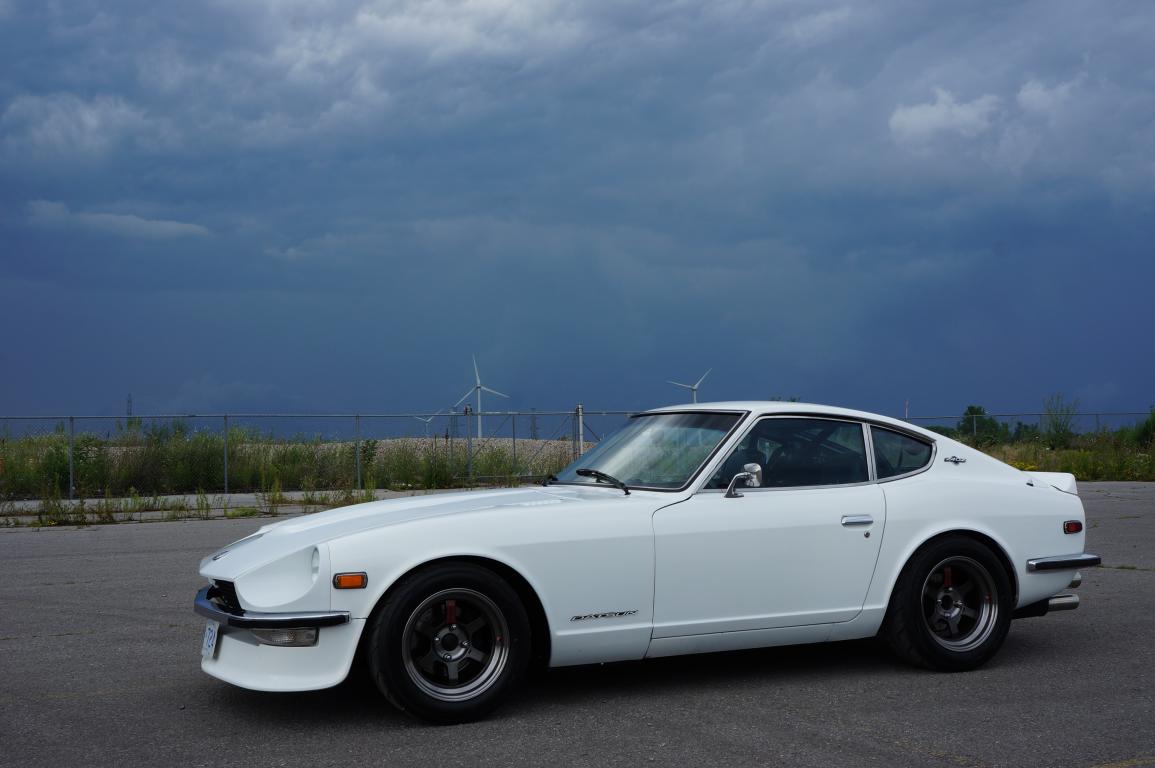
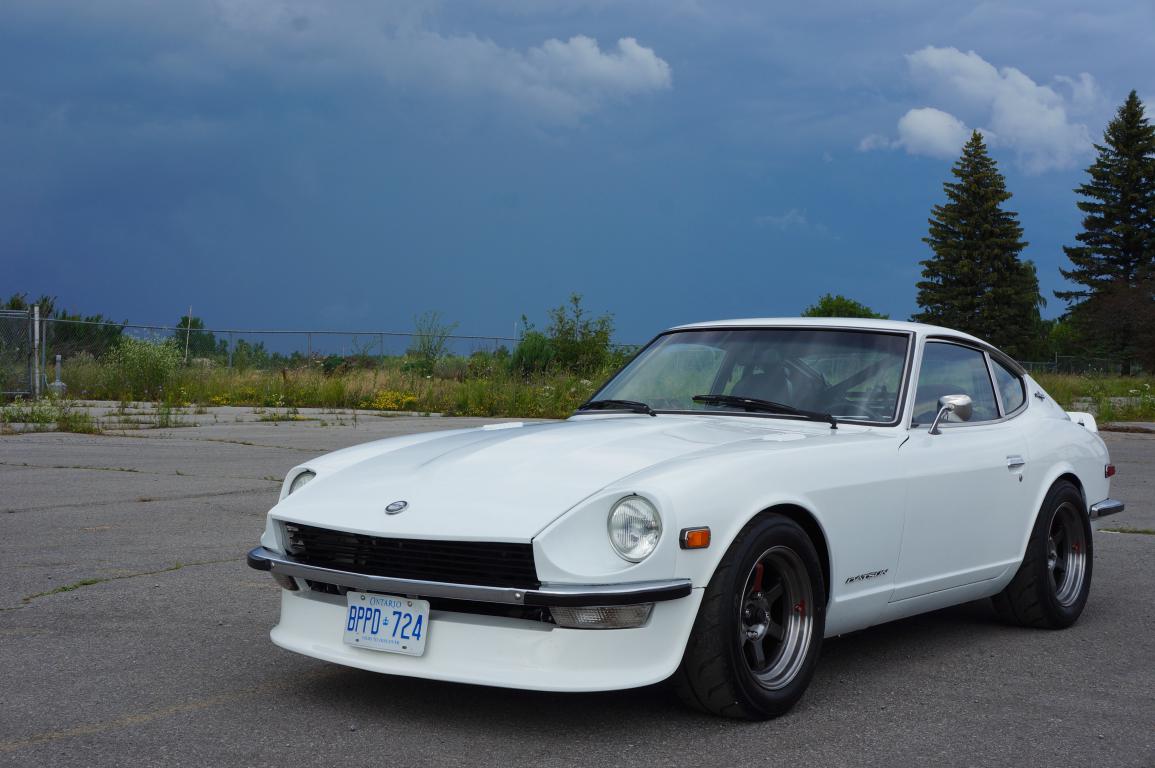
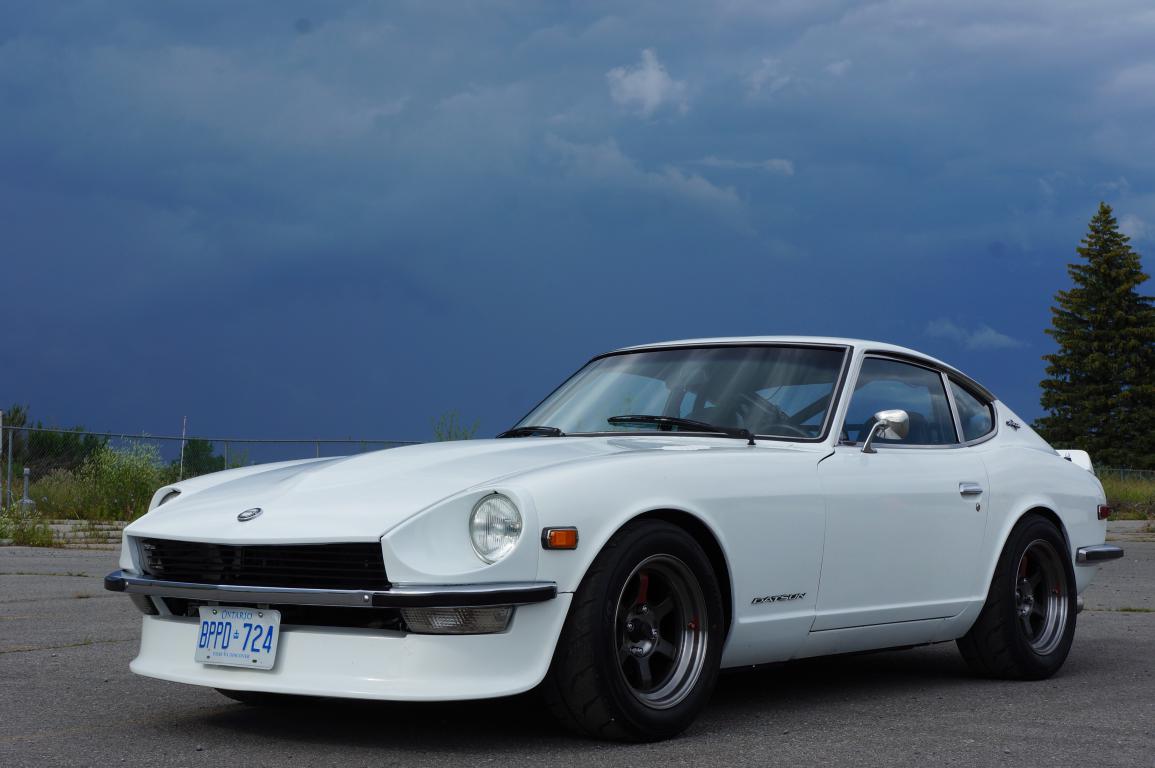
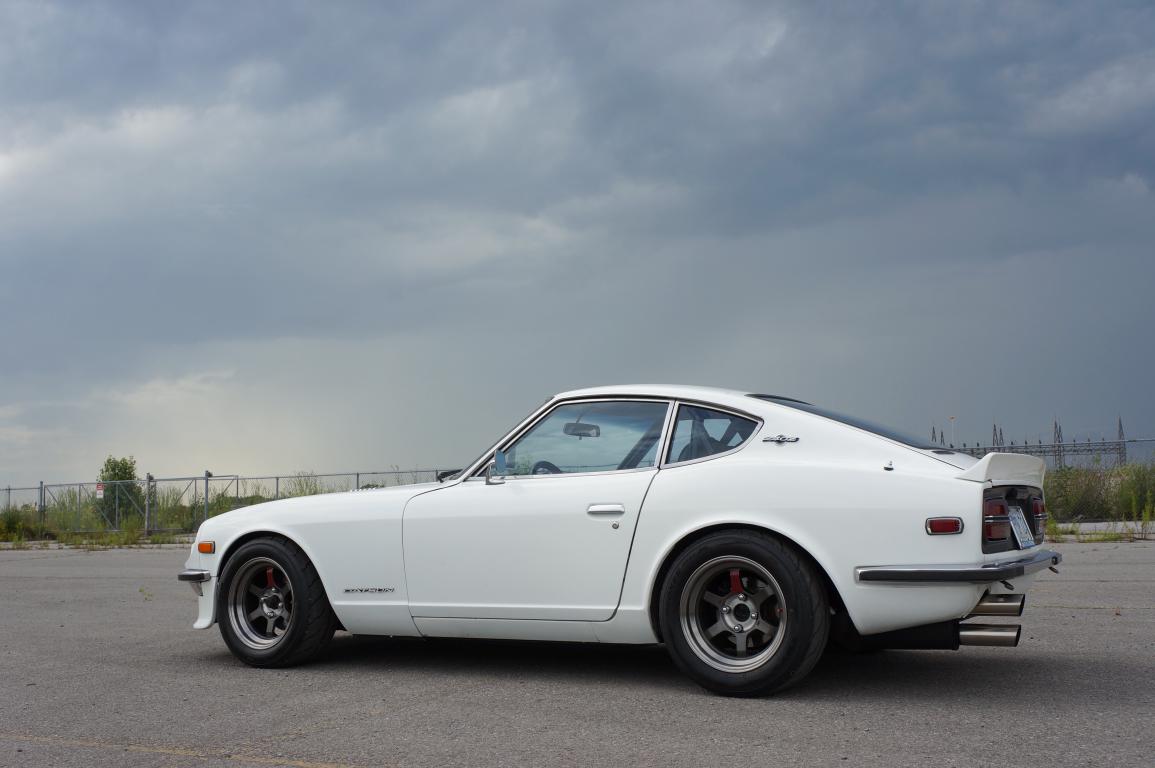
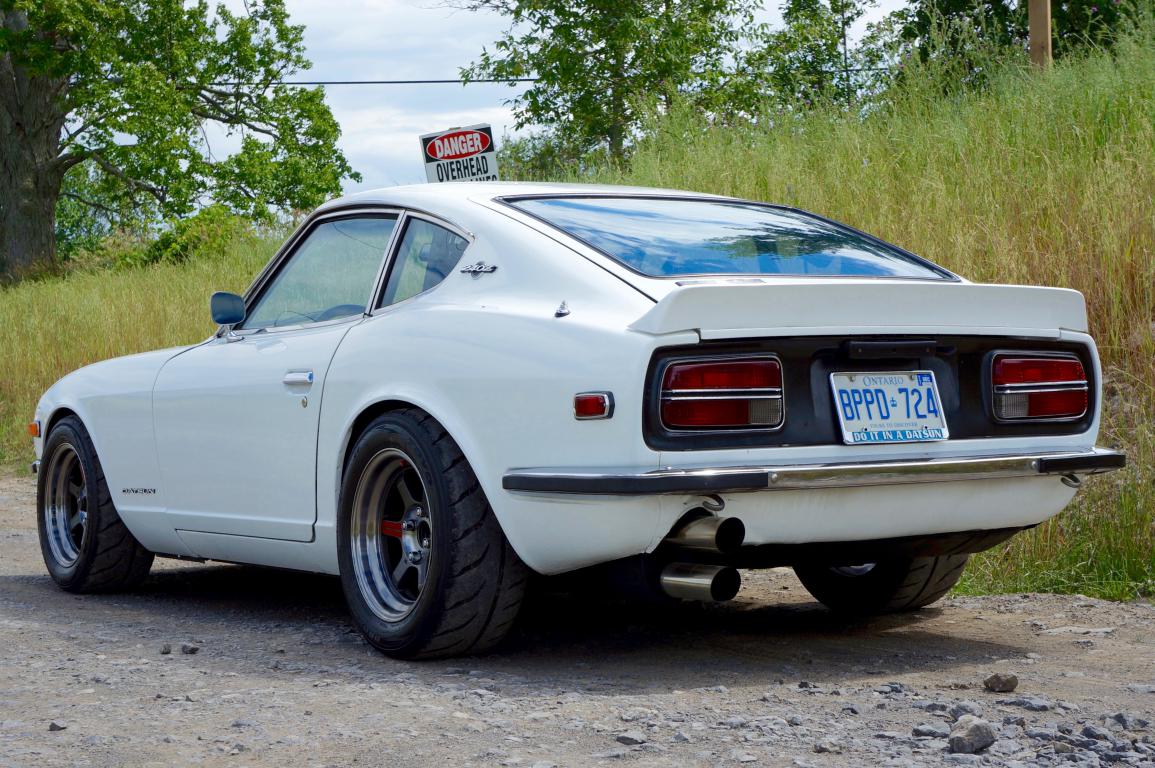
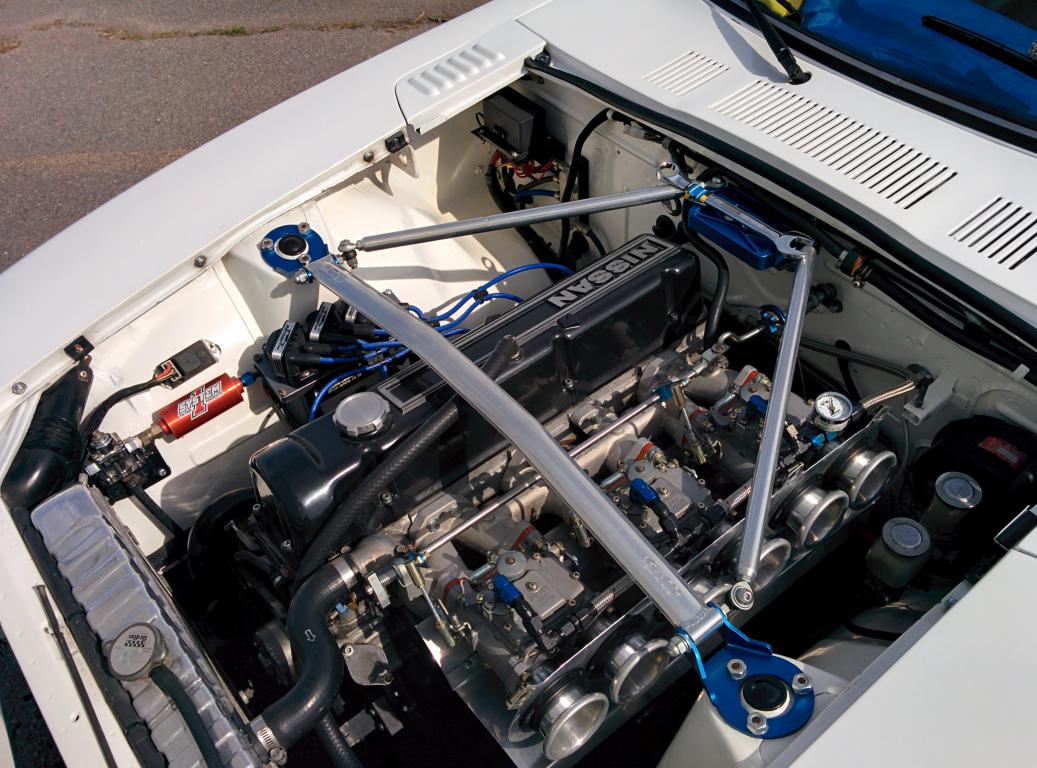
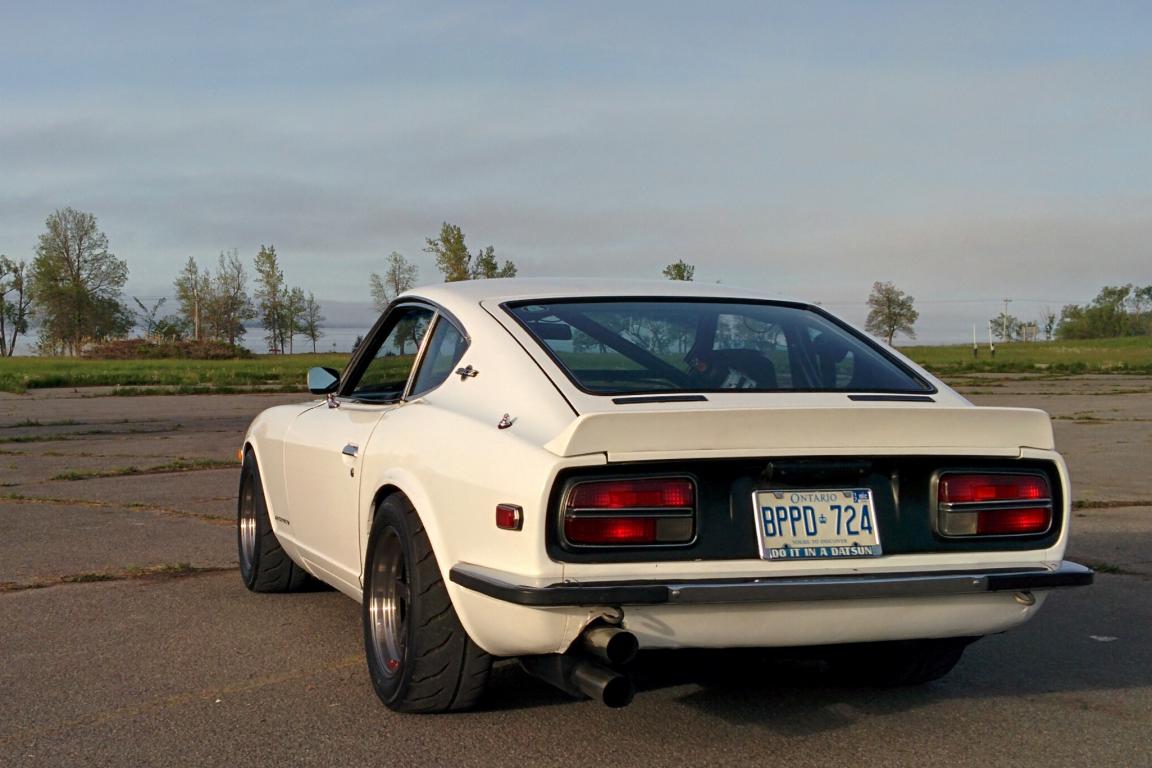
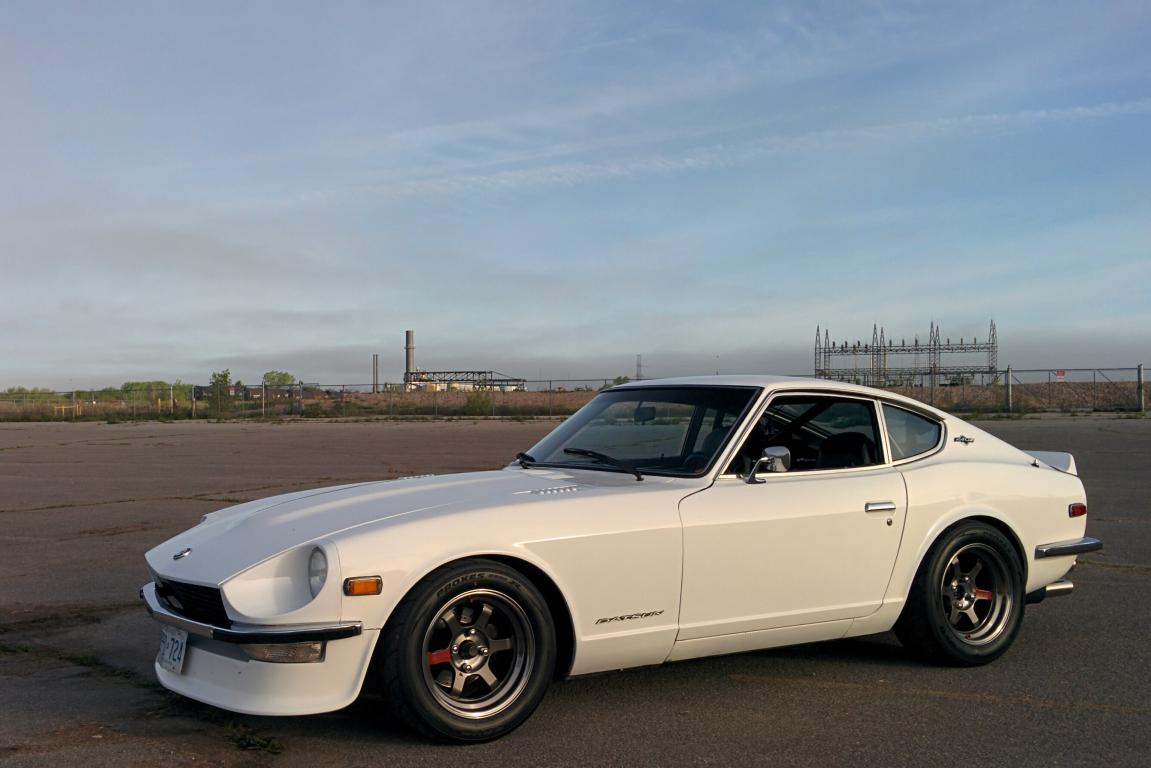
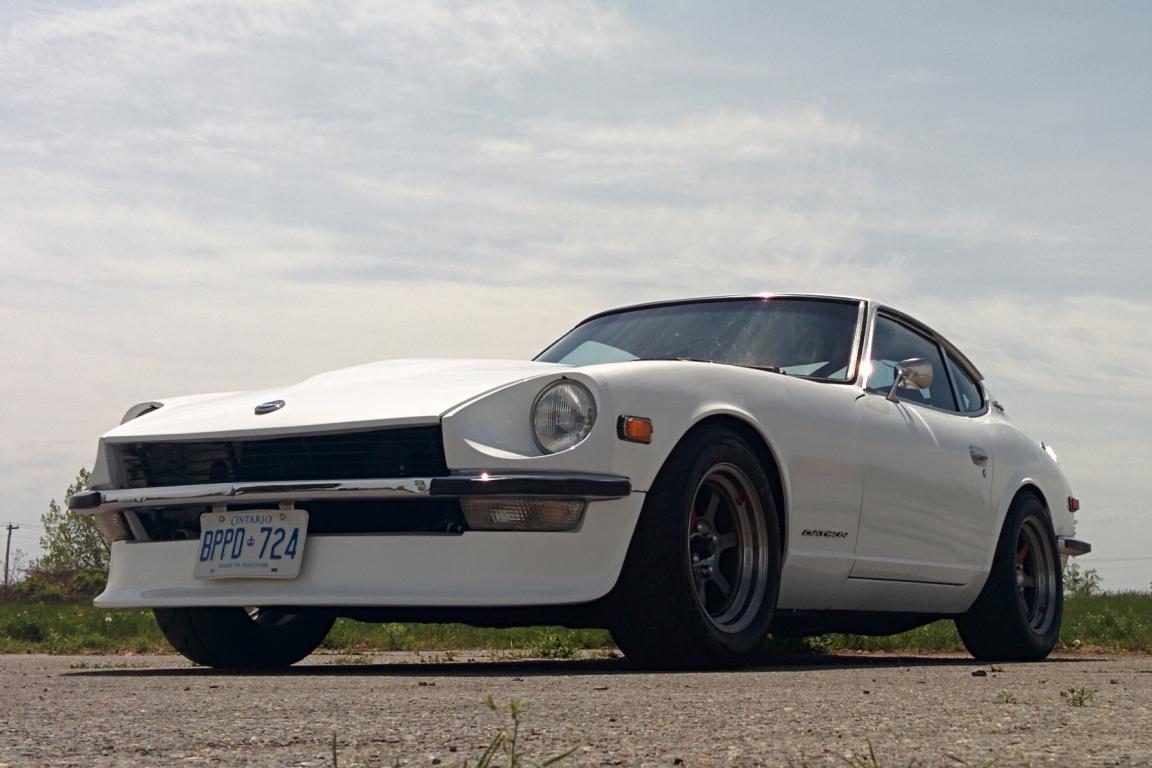
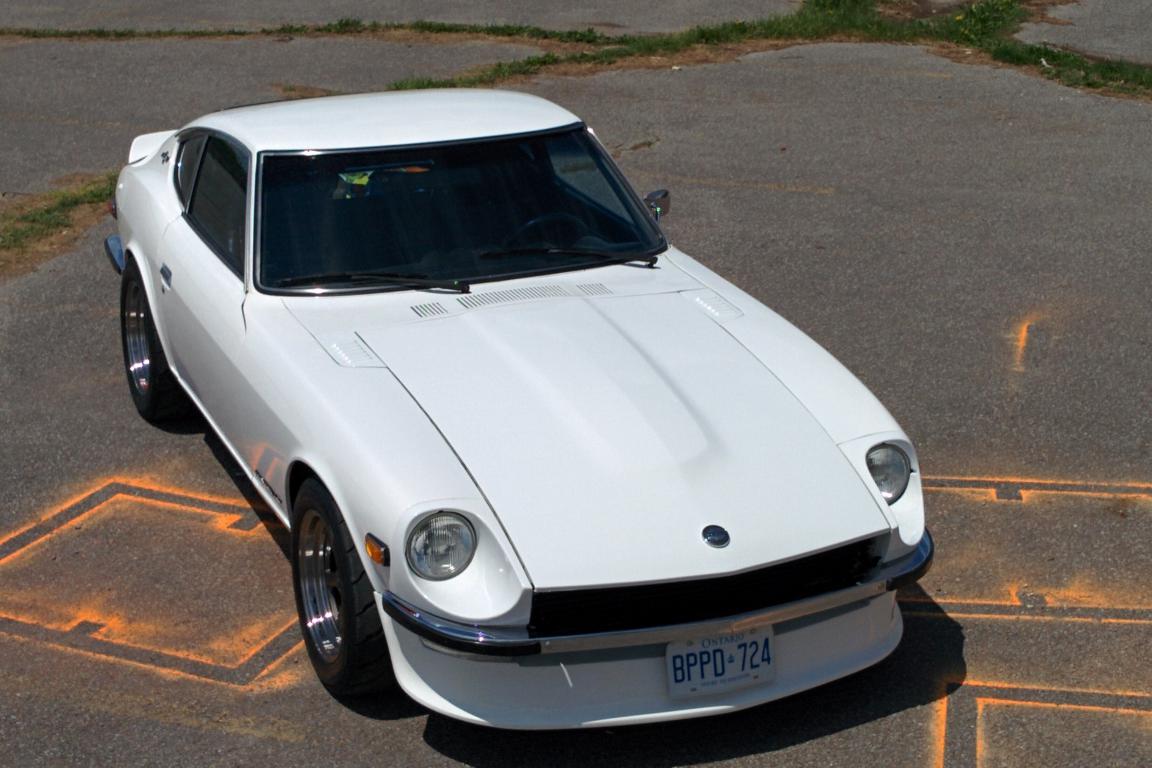
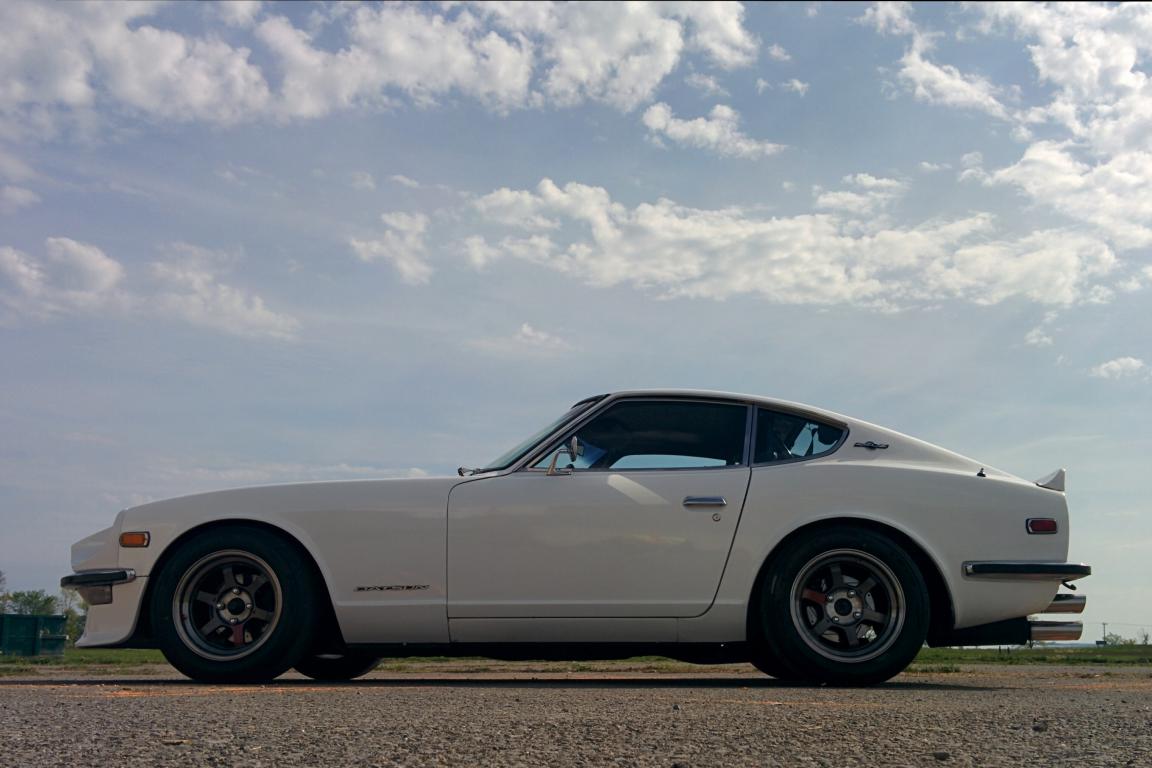
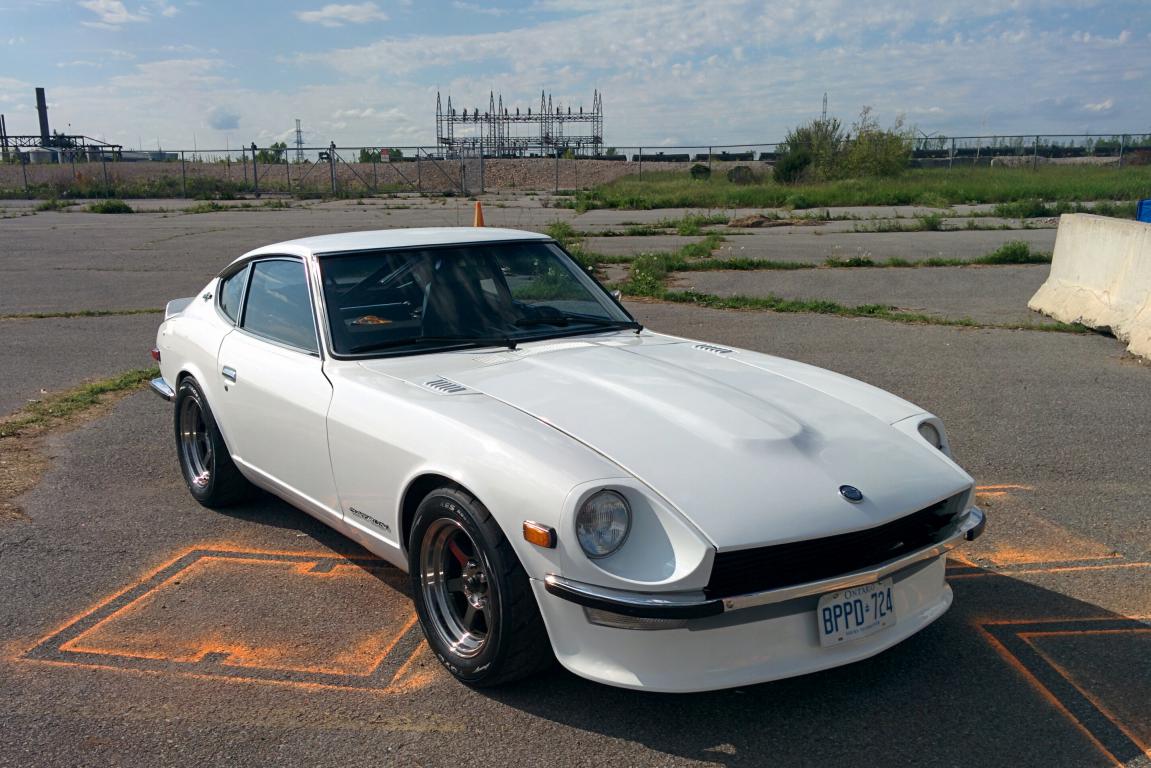
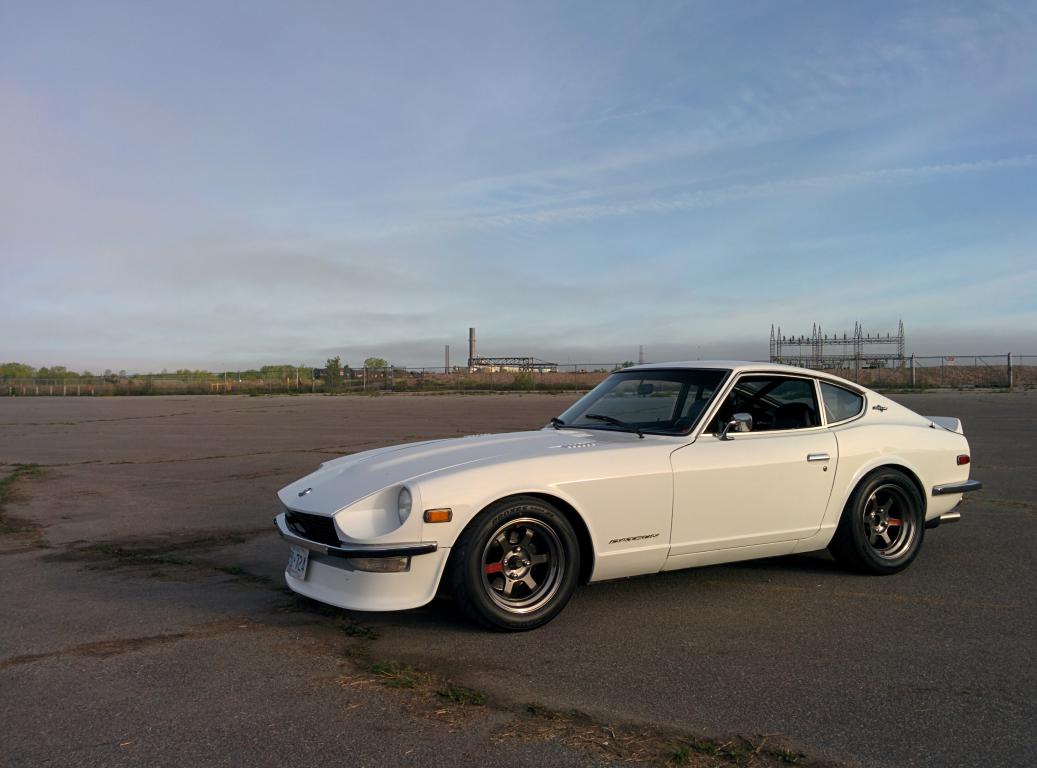
Nothing much going on, it's been the Summer of rain here in Ontario, so my time with the Z has been severely limited. A couple of weeks ago I did have my 60-2 trigger wheel fly off the front of the crank and knock a hole in one of the radiator tubes before hitting the road surface. I strongly suspect it was my own fault though, as I probably (in a hungover state on a Sunday afternoon) didn't use lock washers on the fasteners for the trigger wheel. Took about 5000 miles to walk the screws out of the harmonic balancer though. Easy enough fix, a $100 patch job on the rad at a local shop and a new trigger wheel. Rad still cools like a champ, and the trigger wheel is actually an improvement since Electromotive updated it's design some years back. I used red loctite on the screws this time, and also sourced longer hex cap machine screws, as well as fresh washers and lock washers. I'll keep an eye on it too the usual paranoia after something fails once thing... Took a few shots of the car this weekend. High res versions available on flickr here is anyone is interested: https://www.flickr.com/gp/10345500@N00/6v3057 The Ontario Z Car Club Zfest car show is on Sunday, July 23rd in Hamilton Ontario. I'll be taking the drive down for it, so hopefully I'll get to see a few other cars from on here while there. Excited for it!

-
All sold, thanks! I'll post again if I get more.
-
NA 3.1L=>head & camshaft questions. No shortcuts, max
ryant67 replied to zredbaron's topic in Nissan L6 Forum
Sometimes you just gotta focus on the positives. The new engine is in and running, no issues with it either, which is a huge step! So far as the electrical issues, I'd check your grounds. It's odd that multiple electrical systems would be misbehaving all of a sudden. You are running one of those fancy lithium batteries too I believe, right? They can be a real pain when they have been discharged. I'd also check that, or try throwing your truck battery in to see what happens. Hope it's not the battery though, those suckers are EXPENSIVE. Onwards and upwards! -
Bumping this, I still have 16 kits with lock washer for the air horns, and 11 kits with locking nuts for air horns. Shoot me a message if you are interested. Thanks
-
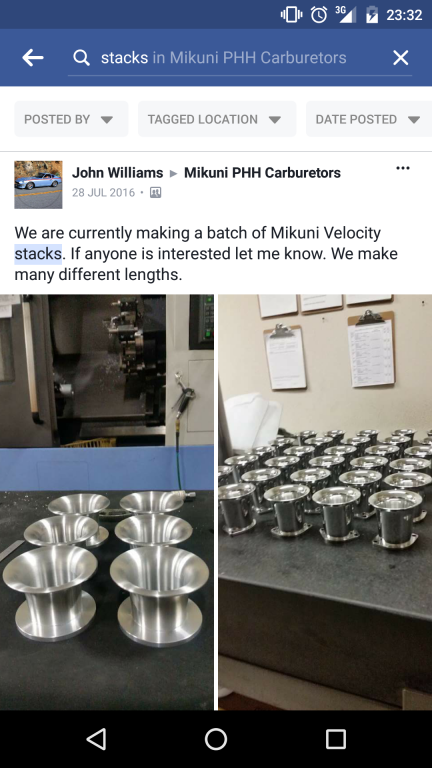
Did some digging, as I remembered a guy on one of the Facebook groups making them. If you are on Facebook, then I'd look him up and send a message. Here you go:
-
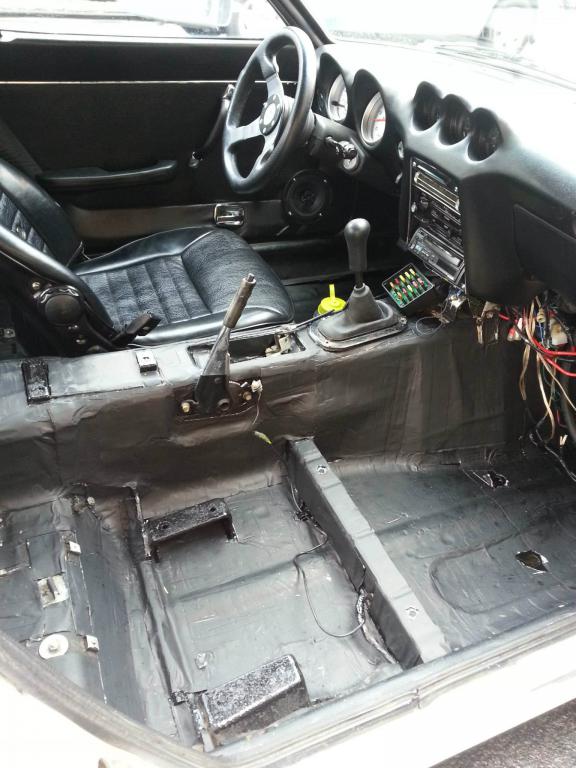
I used a product called Second Skin Damplifier, which is very similar to Dynamat. Specs pretty much match. I chose it over Dynamat because the back is unbranded and a flat dark grey color - nothing shiny to poke out front behind the floor mats. It's not cheap, but the quality was excellent and it works very well. I went to town with it when I installed it four years back, and it still works great, zero issues or regrets. 60 sqft should be plenty, by the way. I think I added about 20-30 lbs to my car using it, but it was worth it for the everyday comfort and the added 'solidness' feeling of the car. Besides, the tar crap it replaced probably weighed about 10lbs anyway. http://store.secondskinaudio.com/damplifier/
-
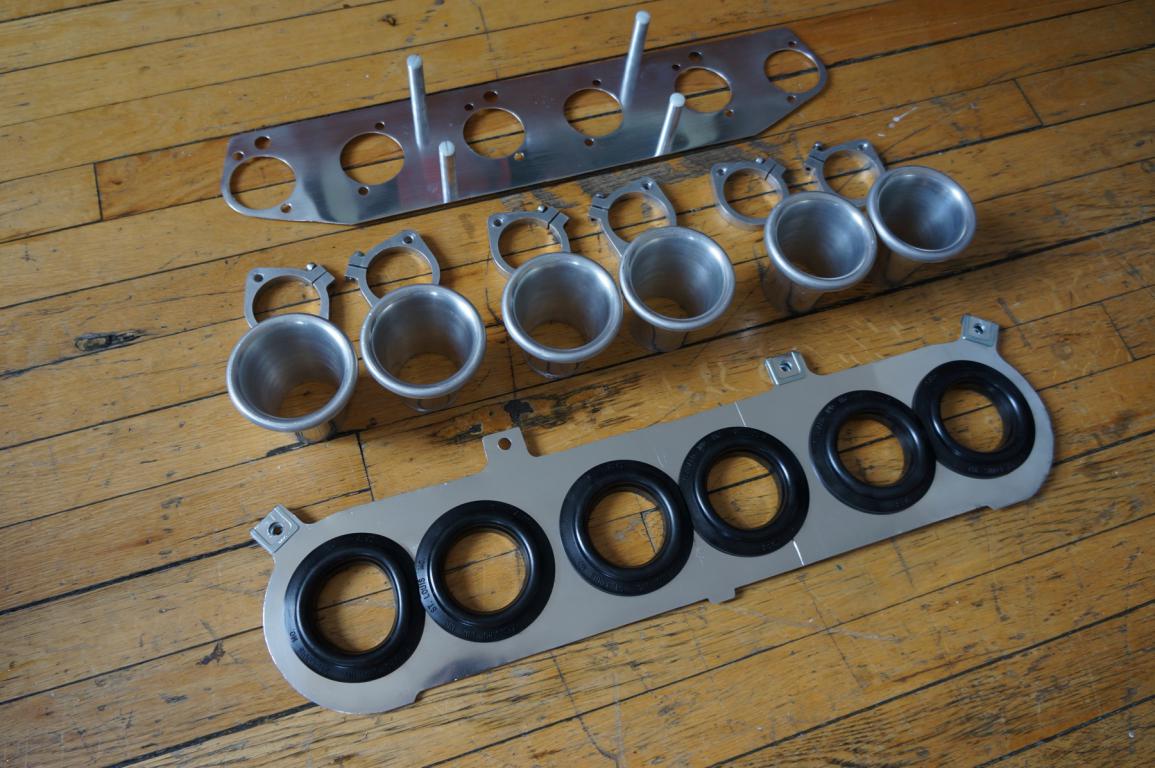
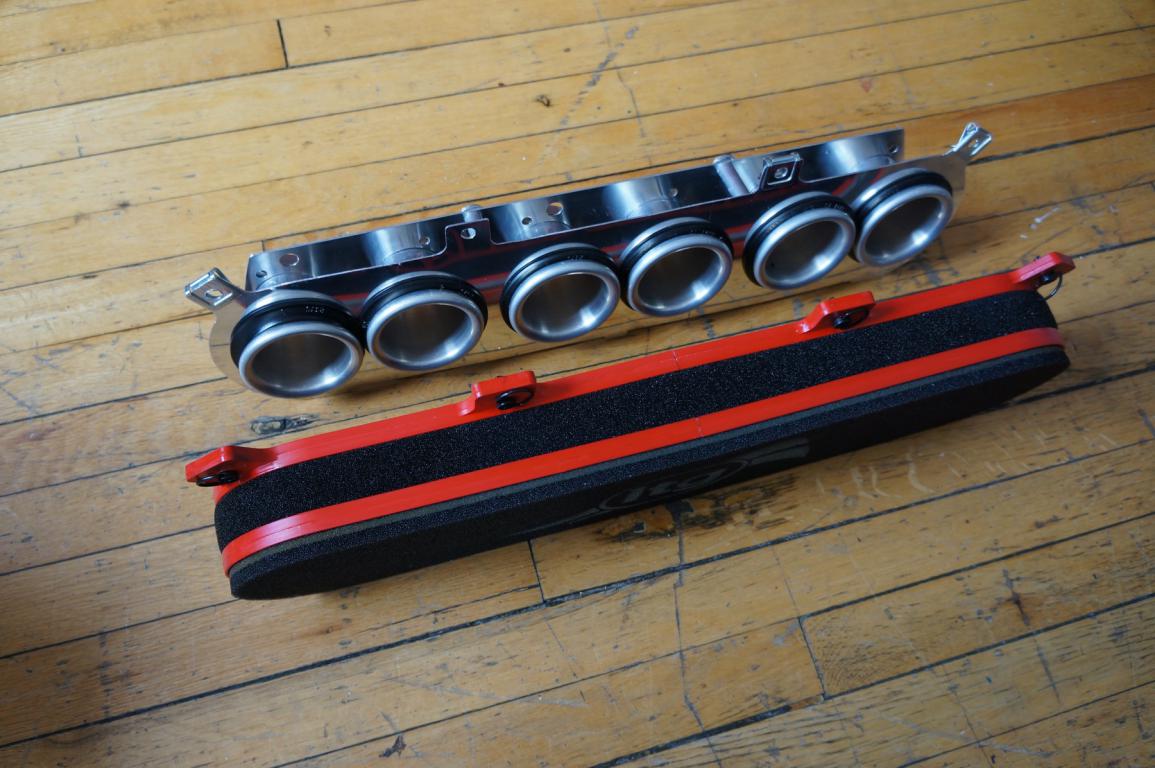
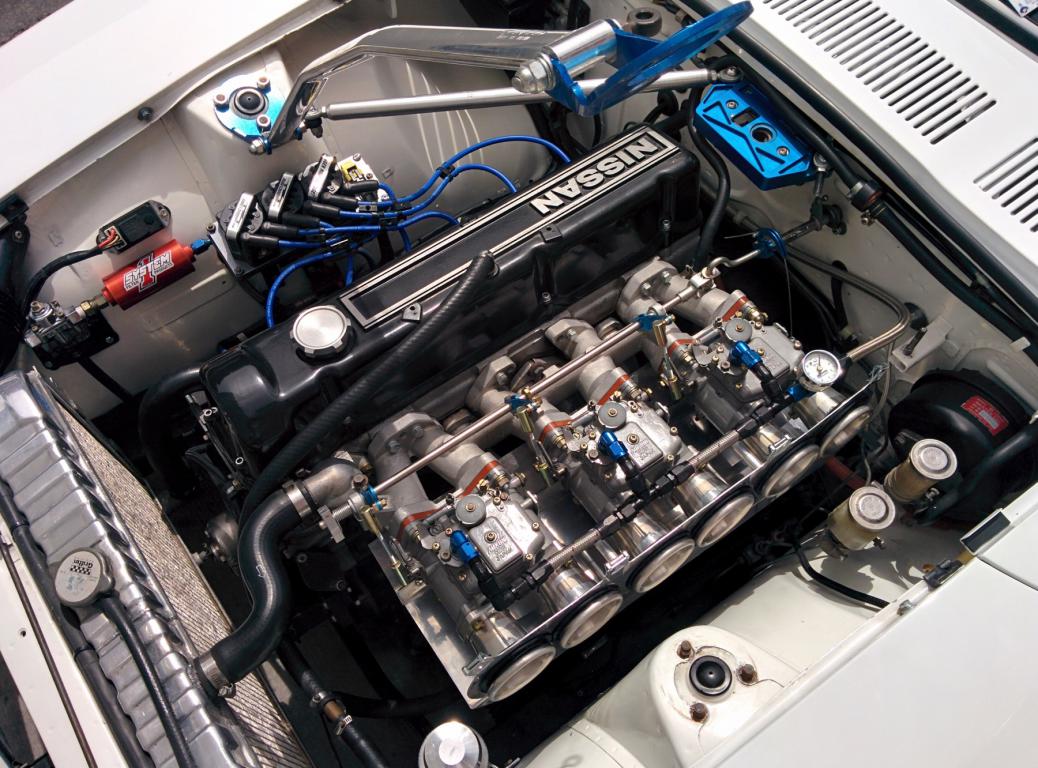
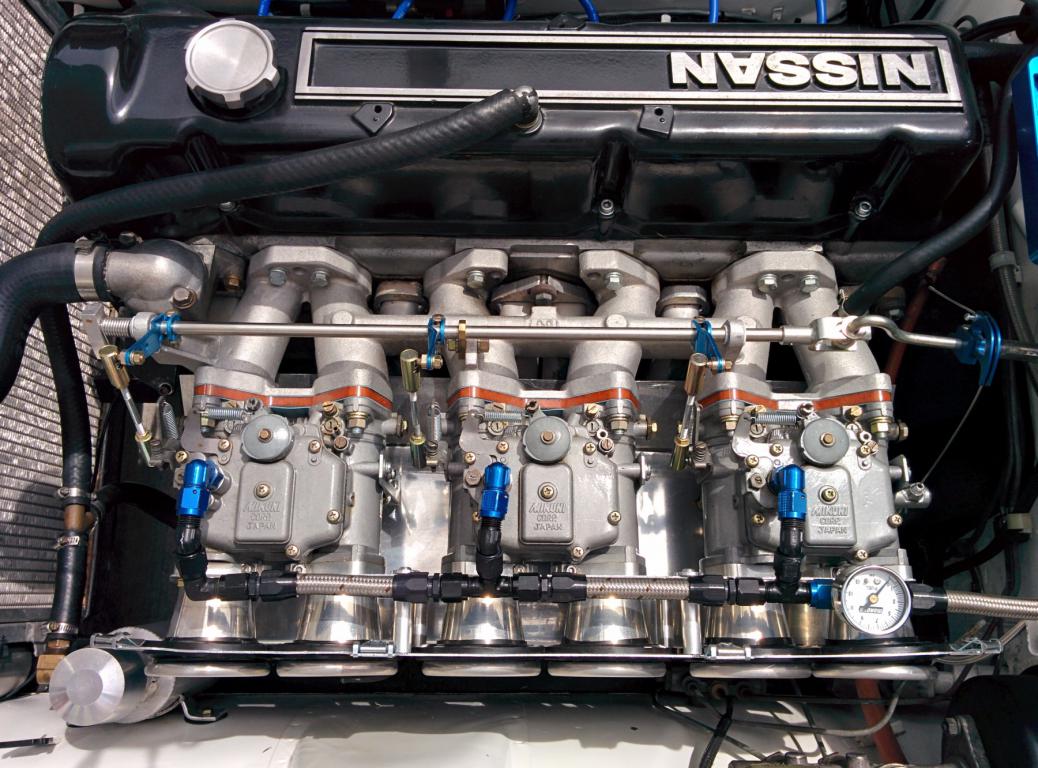
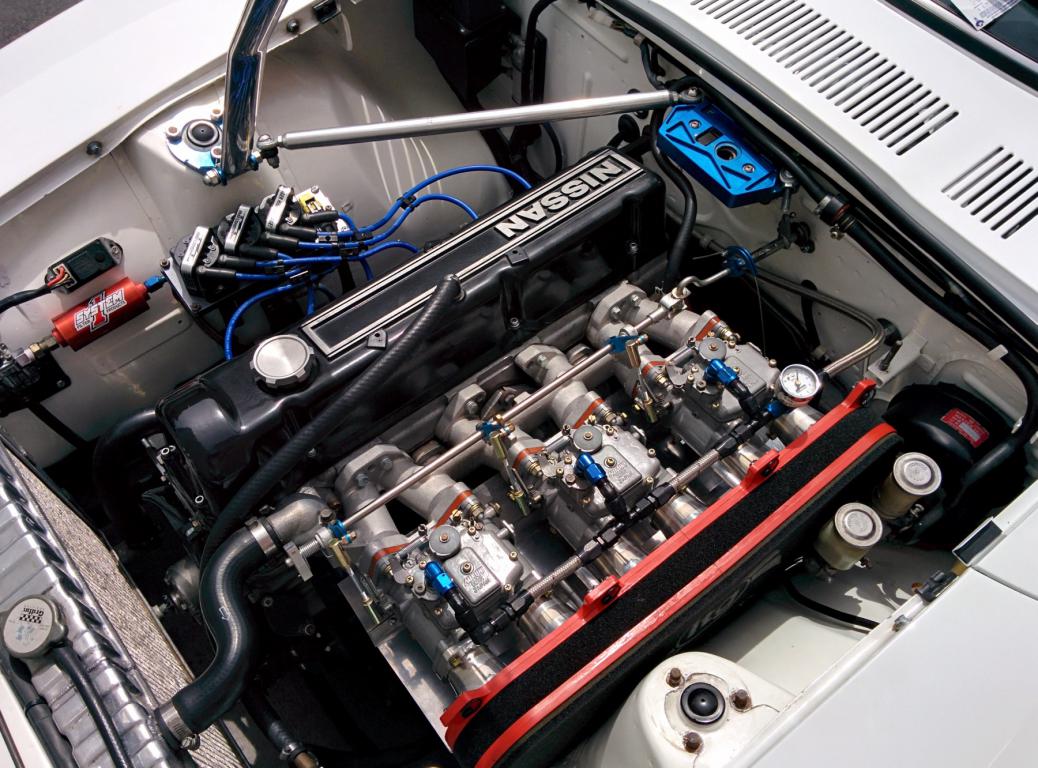
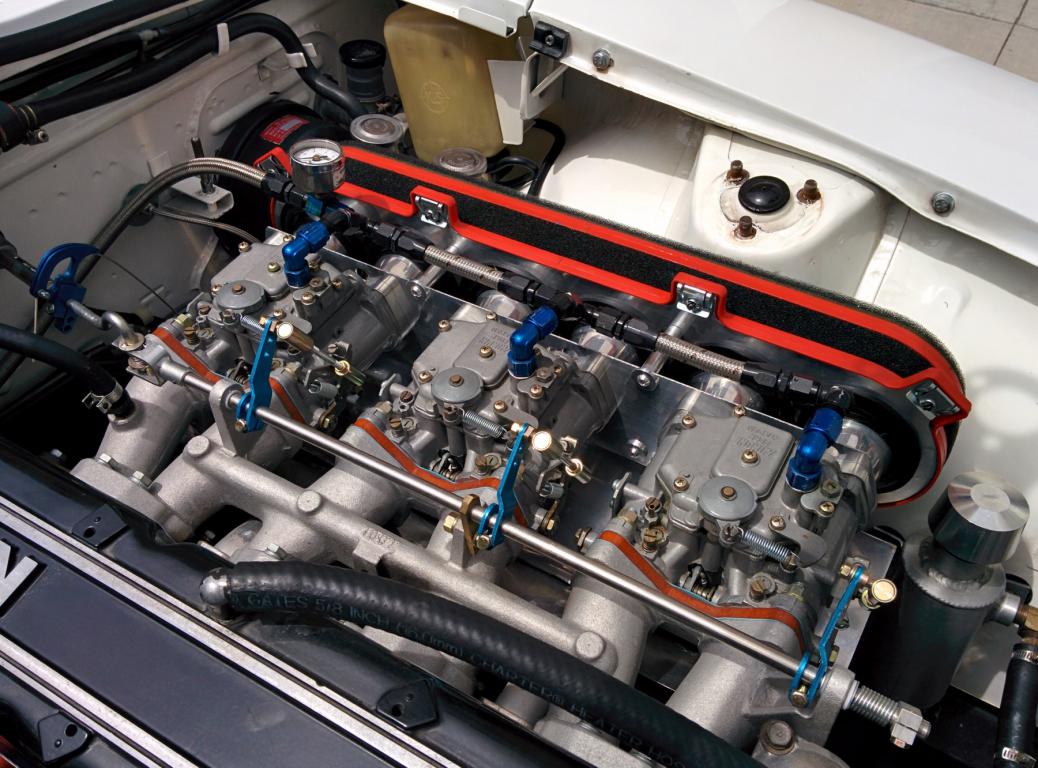
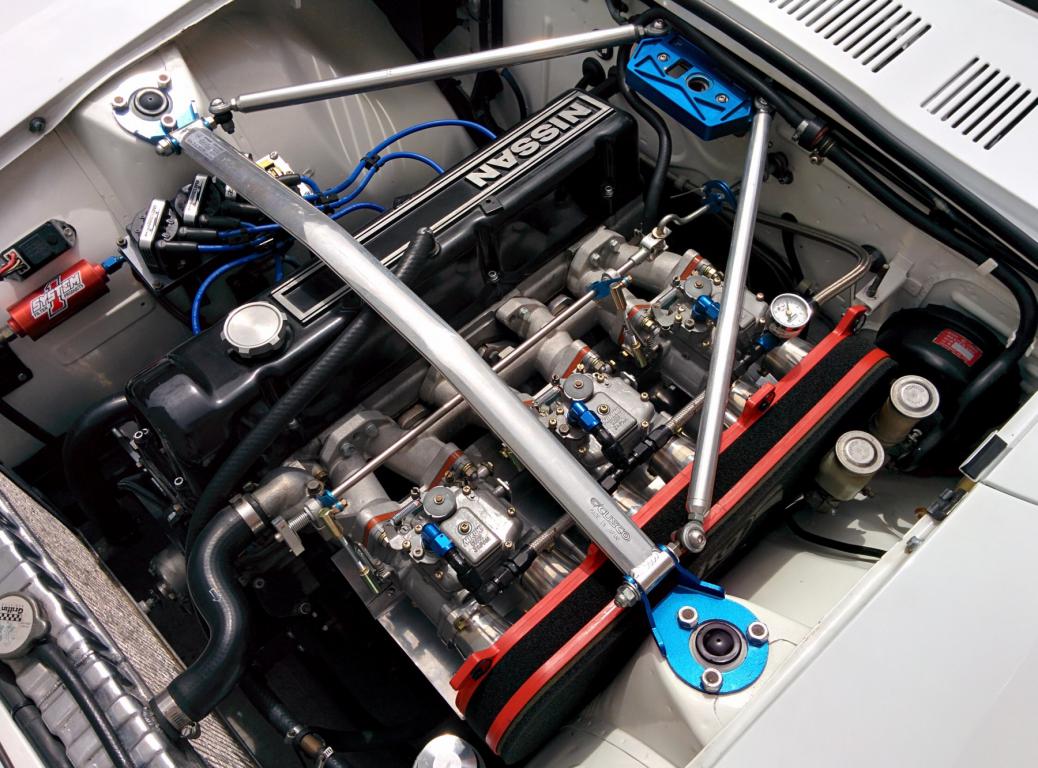
I wasn't entirely happy with how I had my triple carb air filter set up, so I reworked it today. Issues with the old setup: 1] Filter was 65mm internal height, and thus too deep to remove from the car without also removing the air horns. PITA! 2] I wasn't cleaning it as often as needed due to the above. 3] It was mounted solely on grommets, which were secured to the air horns. It would often shimmy its way down the air horns and then I wouldn't have the proper clearance over the air horn mouth - ITG states an absolute minimum of 19mm. I thought about ordering one of the carbon fibre "trumpet trays" from Reverie in the UK, but ultimately decided against it - too snug at the base where the air horns mount, I didn't want CF in my engine bay, and it hid the gorgeous air horns a little too much for my liking. So it was do-it-yourself time again. My solution was to stick with the grommet mounting solution, but to develop it a bit further. I created an additional plate that mounts onto the carbs, onto which standoffs are attached. These standoffs in turn hold the ITG filter backplate 60mm from the carbs. The air horns are 75mm long, so the ITG backplate being held 60mm from the carbs means that only 15mm of the air horn protrudes into the air filter. I have switched from the 65mm internal height filter to the 40mm one, so this leaves me with 25mm clearance between the mouth of the air horns and the filter itself. That works! The ITG backplate pushes against the standoffs with enough pressure to hold it quite rigid as well, so there is next to no movement of the filter, and zero chance of it shimmying down the air horns. The additional materials are all aluminum as well, so the added weight was maybe 100g total. With the shallower air filter I can now remove the filter in about 2 minutes, with most of the time required being the removal of the strut brace. Not bad at all
-
Reckon 260DET had a brain fart there and confused MCS with MCA. MCA is an Aussie company that most of the folks down there use for their coilover conversions. Supposed to be pretty decent, although I wouldn't know if their top tier stuff compares with Penskes or not. Site: https://mcasuspension.com/
-
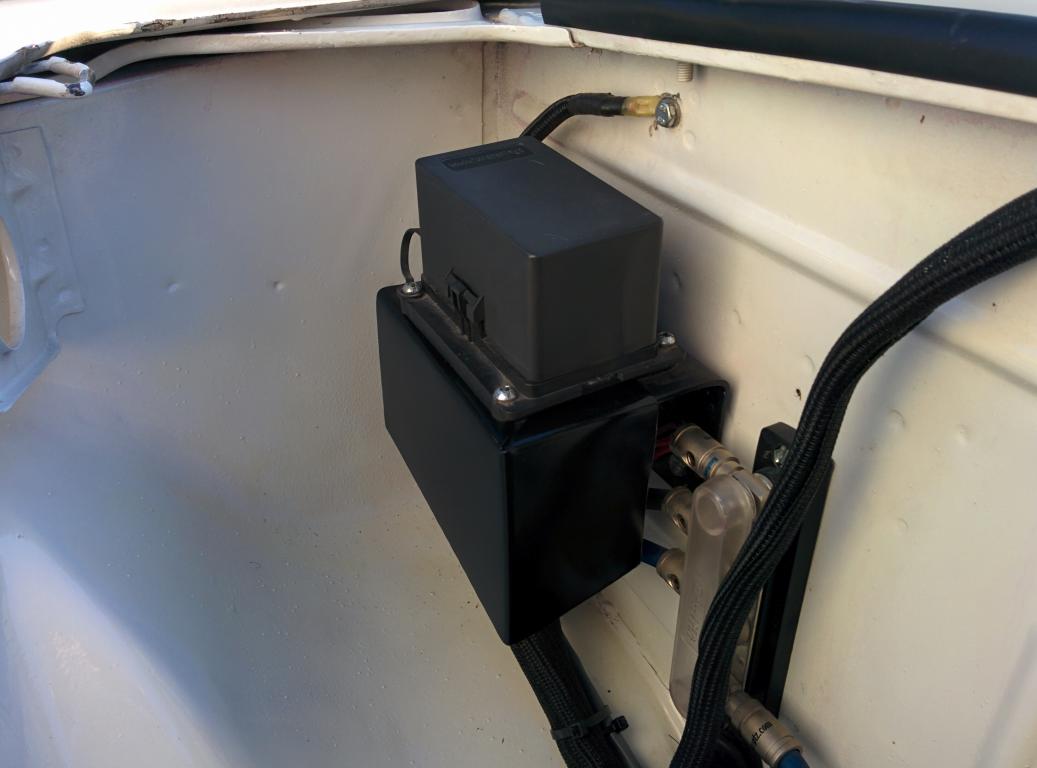
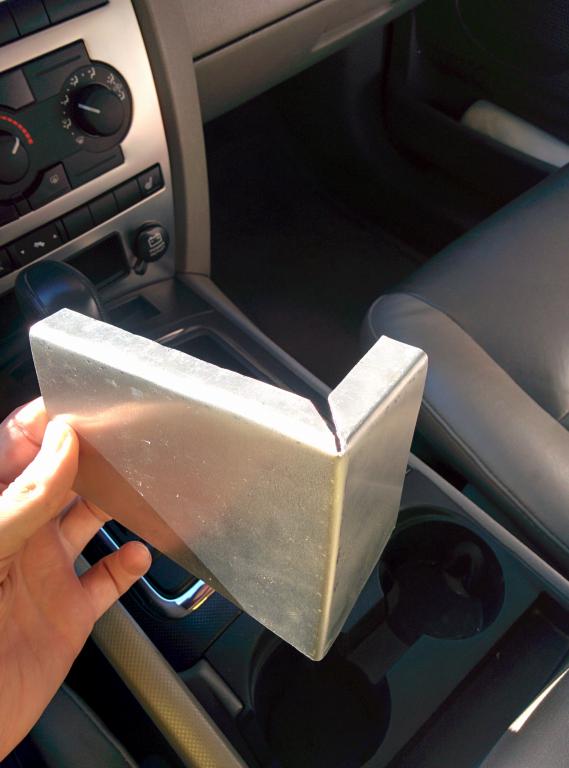
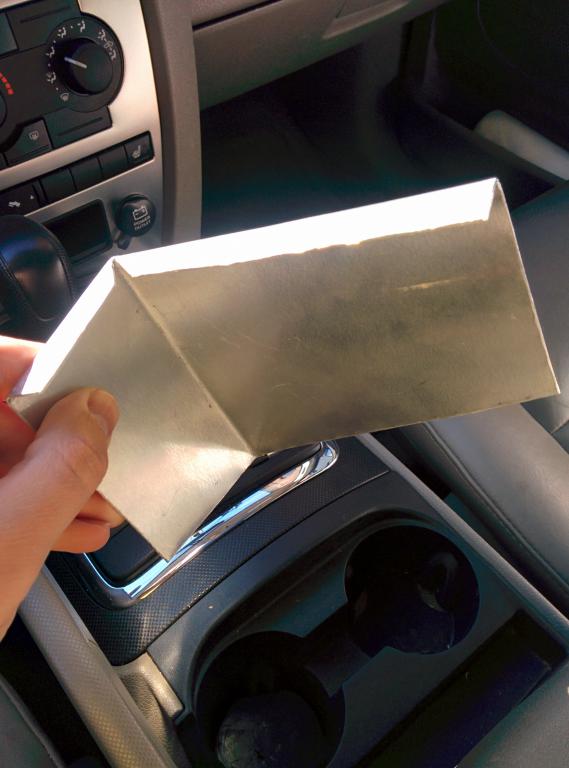
Got bored today and had a little free time, so I whipped up a simple shroud to cover the wiring underneath my fuse/relay box. I just used some spare aluminium sheet metal I had laying around, cutting to size and bending into shape on my coffee table, haha. Reckon it tidies up the look of the engine bay a little, so not bad for $0 and a half hour of time Before, after, and some extra shots of the shroud.
-
Or you can test the ignition leads by grabbing your multimeter and put one probe on each end of the lead to see what the ohm resistance is - if it's infinite or much higher than the other ignition leads, then you know it's faulty. I wouldn't be shy about swapping one carb over with another though, and seeing if the problem moves with it. It's not a lot of work and will let you know whether the issue is air/fuel related, or spark related. Even brand new Webers have been known to have issues - quality control isn't what it once was...
-
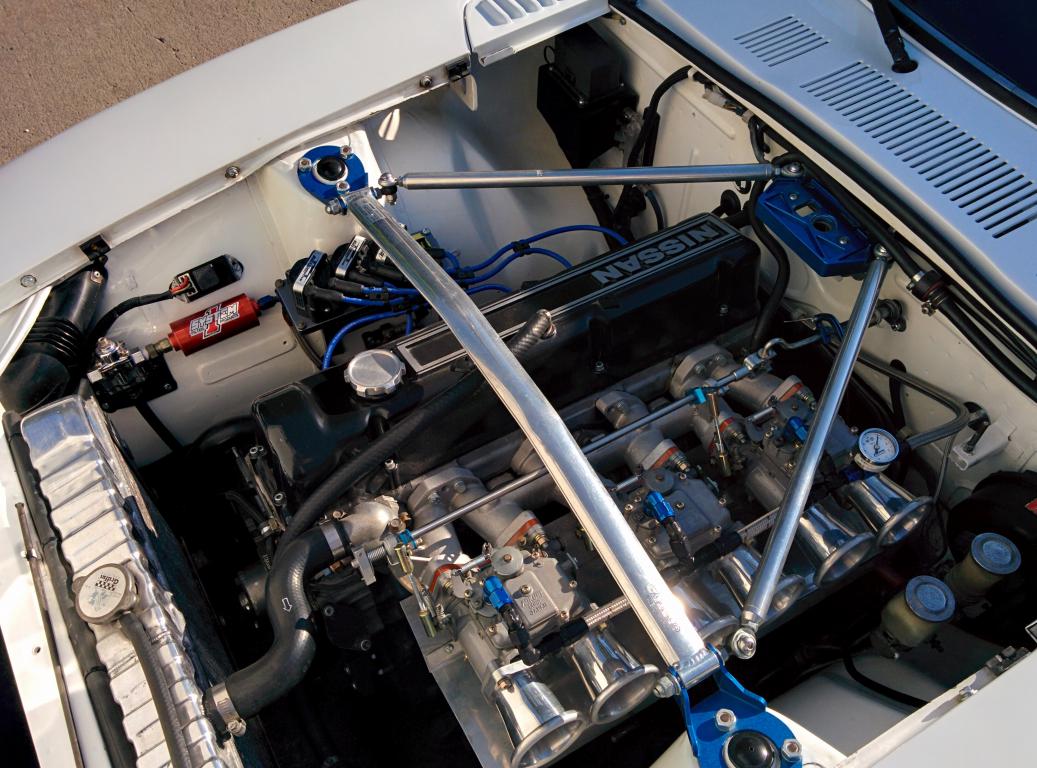
Cheers Chris, sounds simple enough! Thanks Jay - I take loads of pics, but just don't share them for some reason, haha. Here's a few I took last weekend.
-
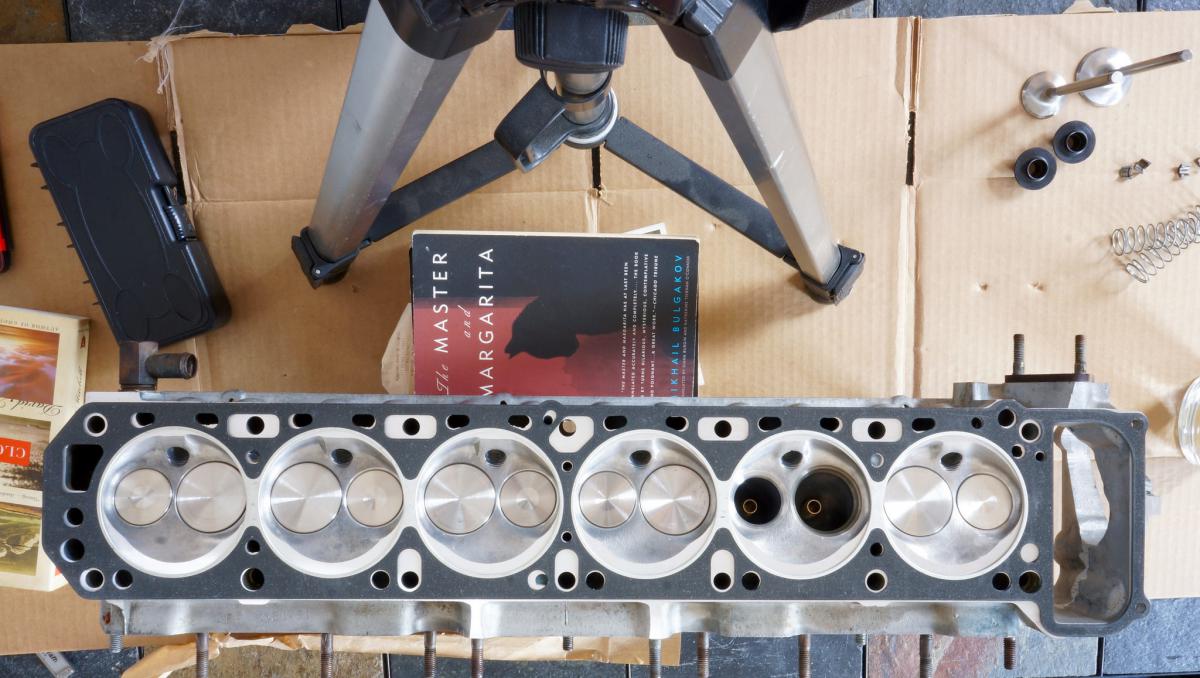
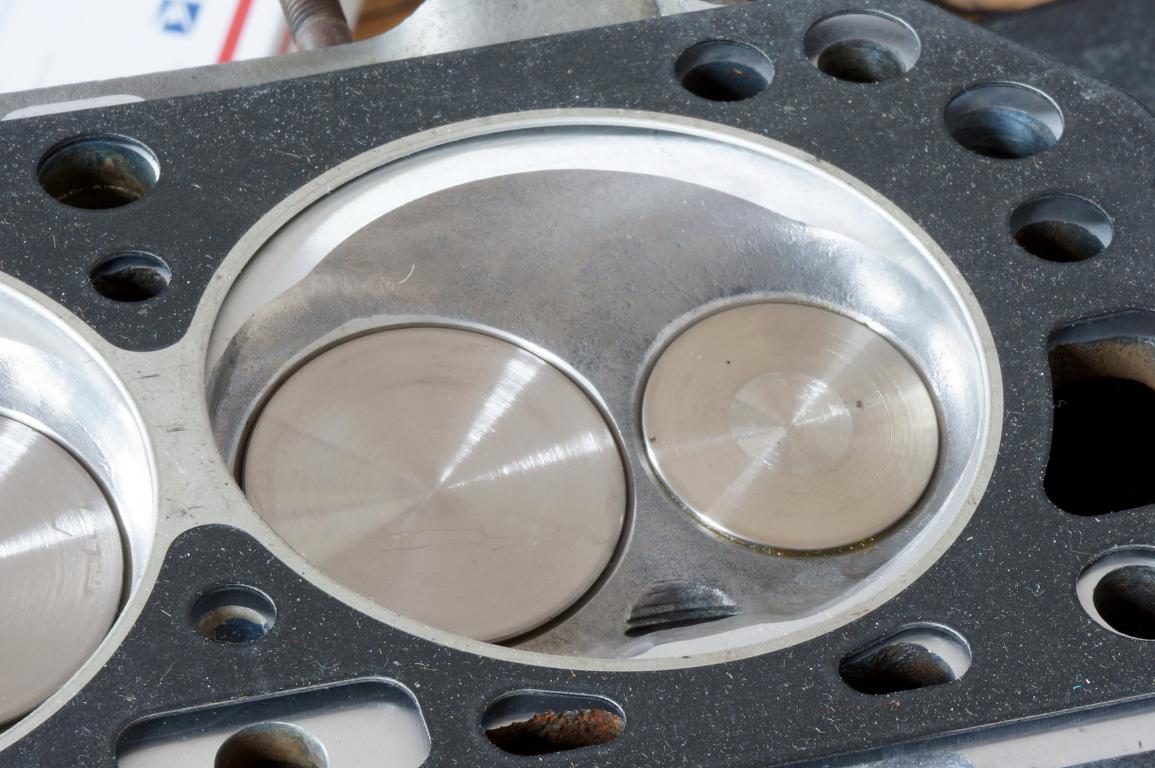
Good to know, Chris. Thanks! Did they suggest any prep work before reusing it? If I could get the shop that measured the other two heads to measure the N42 quickly, it would be good. He's crazy busy though, and it took him 6 weeks to get around to measuring last time. I guess I could just wait until the off season, then it wouldn't mean losing drive time. Or find a different shop that can test all three heads with a quick turn around time. If neither the N42 or E88 seem particularly strong, then give Slover's a call. On the positive side of things, the weather looks like it will be great on Friday, so I should be able to dyno the car as it sits while at the track that night
-
Not sure, as it's an engine I bought from a fellow Z car club member, who bought it from another Z car club member. It popped up for sale a couple of years back right when my old engine spun a bearing, so it was as quick way to get the 240Z back on the road. I have no paperwork for it, and neither does the guy I bought it from. That said, he did indicate that it was running at 10:1 compression and he had some pinging that he couldn't tune out, so he swapped out the 1mm head gasket for a 1.5mm Kameari one to get it down to around 9.5:1 compression. So I would suspect it's about the stock N42 cc, 44.6, or maybe a teeny bit more. I'd rather not pull the head solely to examine the combustion chamber when it has that expensive head gasket on there and cylinder compression tests great. Apparently this engine put down 188hp at the wheels while running SU carbs. I've seen the dyno sheet for that. All I know from my own personal experience is that I'm running high 14s/low 15s in the quarter mile with it, and that suggests I'm not putting down too much power - or I'm a truly terribly driver. I emailed Whitehead Performance in Toronto, who put the engine together for its original owner, and they suggested that their ported heads generally see flow increases of around 25% on the intake side and 40% on the exhaust. That seems pretty optimistic. I like the guys at Whitehead, but they generally strike me as one of those shops that make outlandish claims. It currently has a .460 lift Crane camshaft in it, with 262 272 duration. The camshaft I have will be .535 lift and around 270-280 duration I think. Wish I had the income to just write a check to Rebello and be done with it. It would save a lot of this farting around with used parts I'm doing. Haha, but I guess I'm learning in the process.
-
Yeah, there is nothing to lose by at least seeing what the N42 is capable of. After all, I could always swap the cam, rocker arms and such over to another head if the N42 isn't cutting it. Pity about that E88 though, it looked like such a nice head!
-
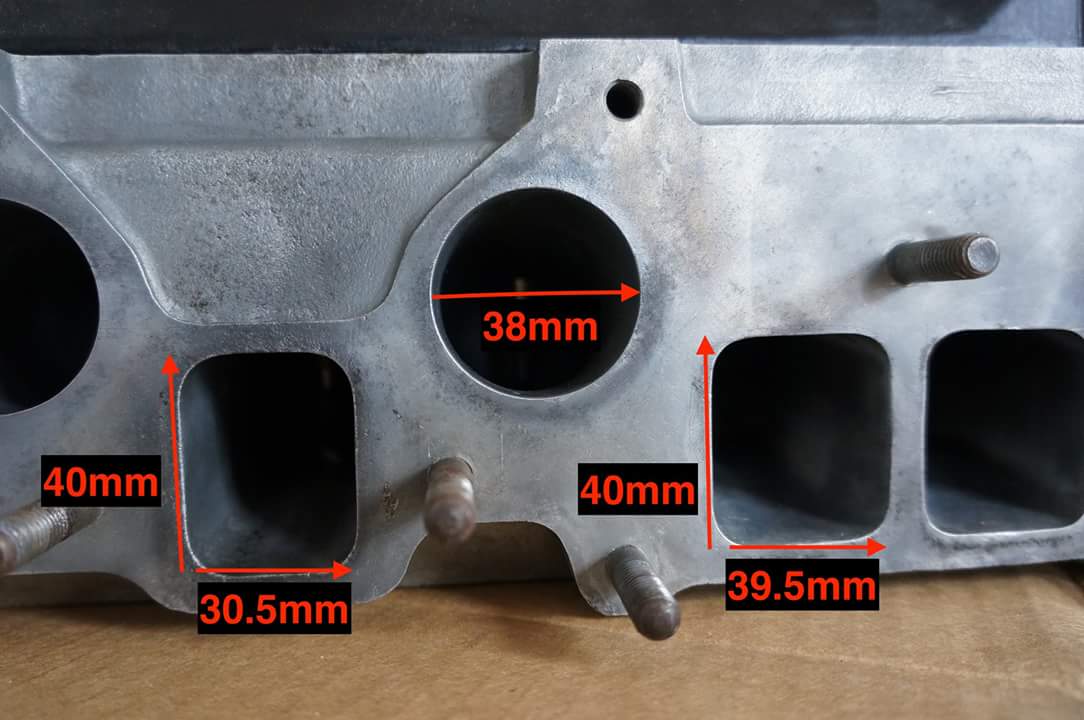
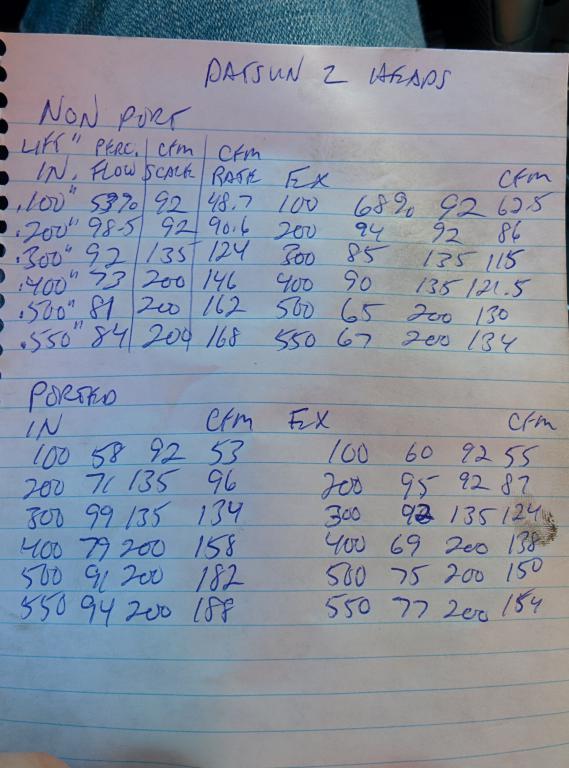
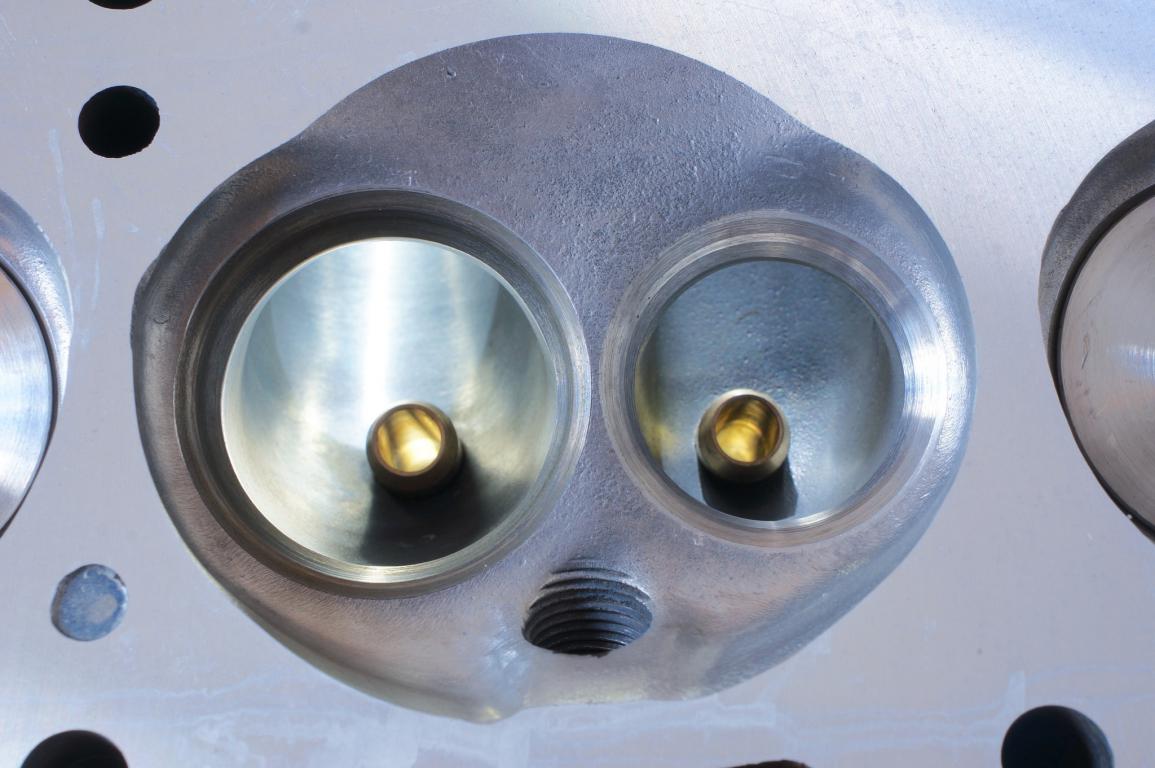
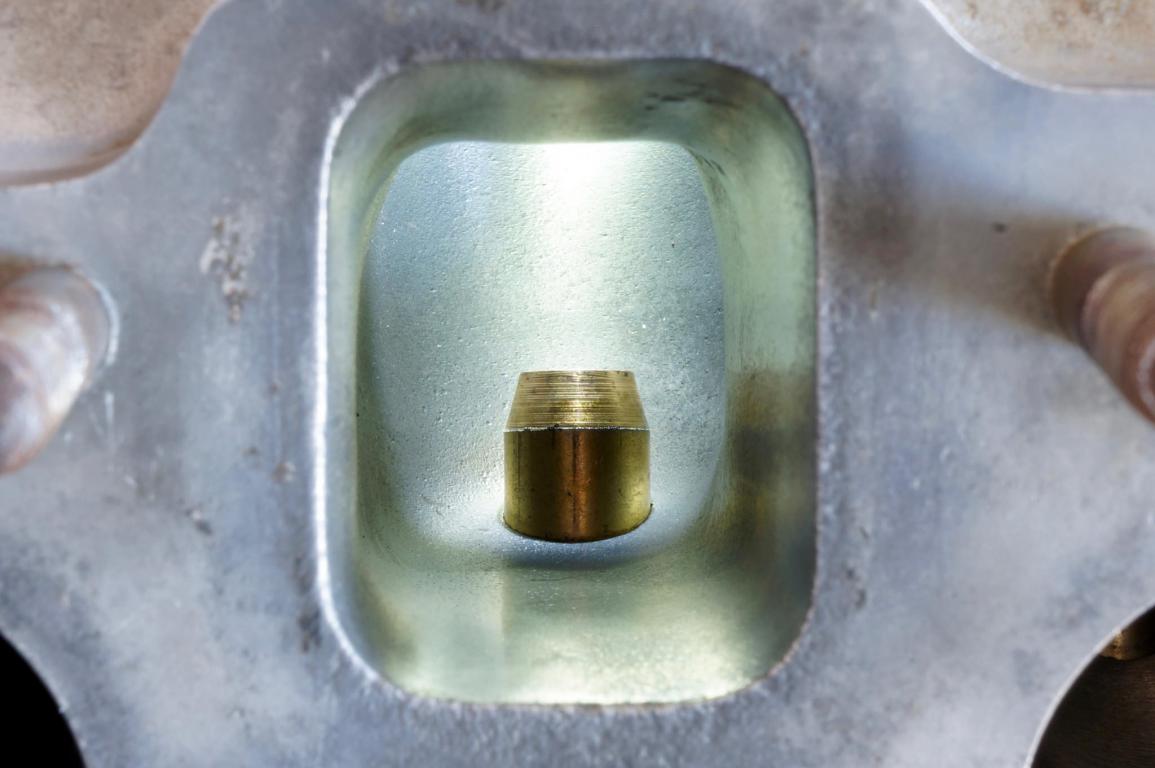
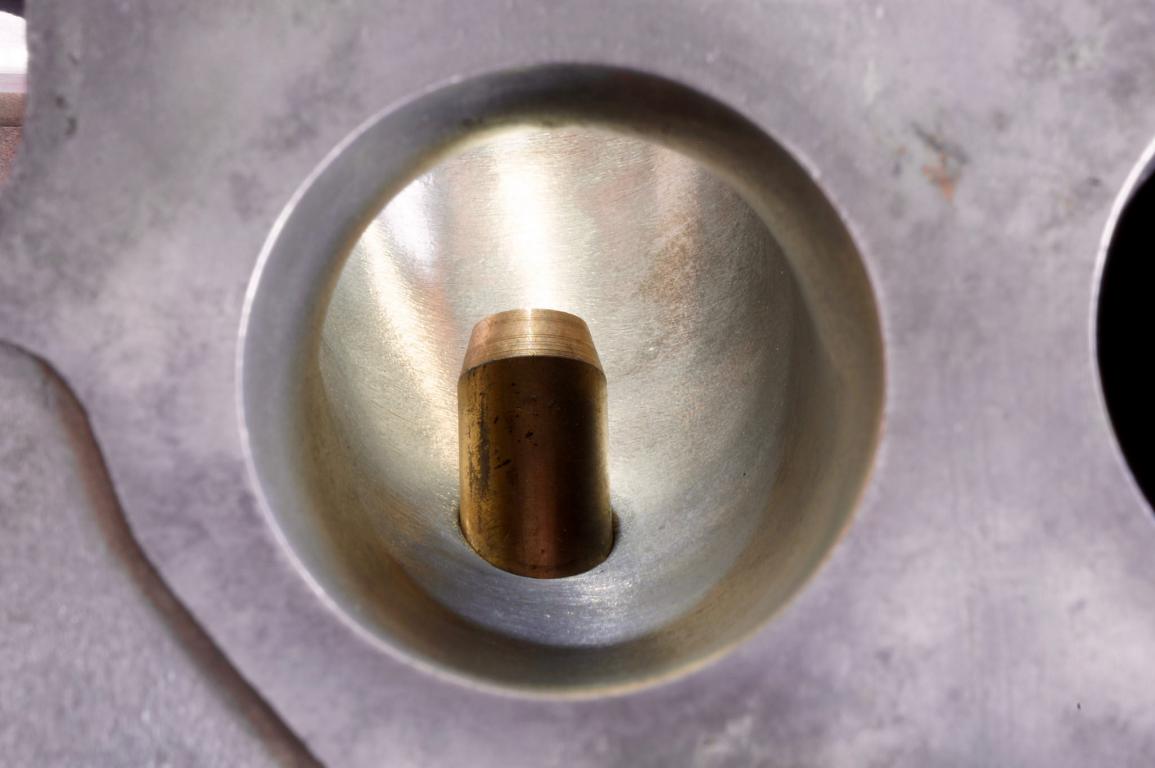
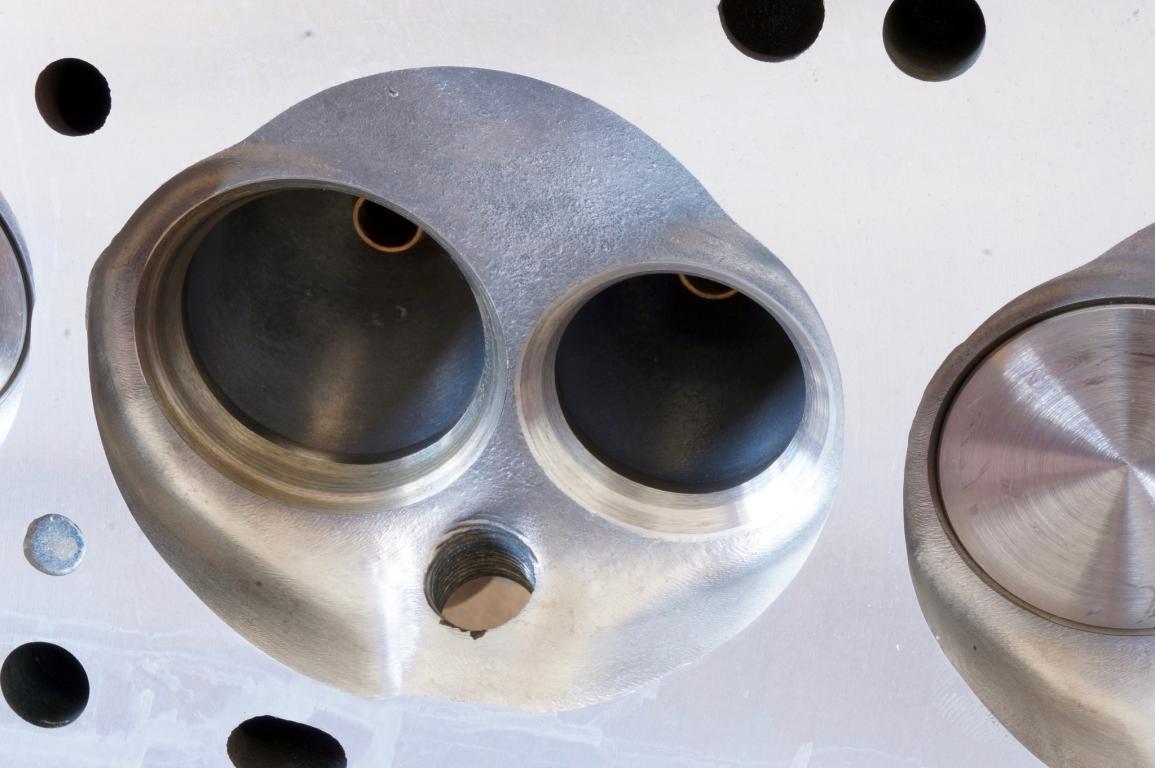
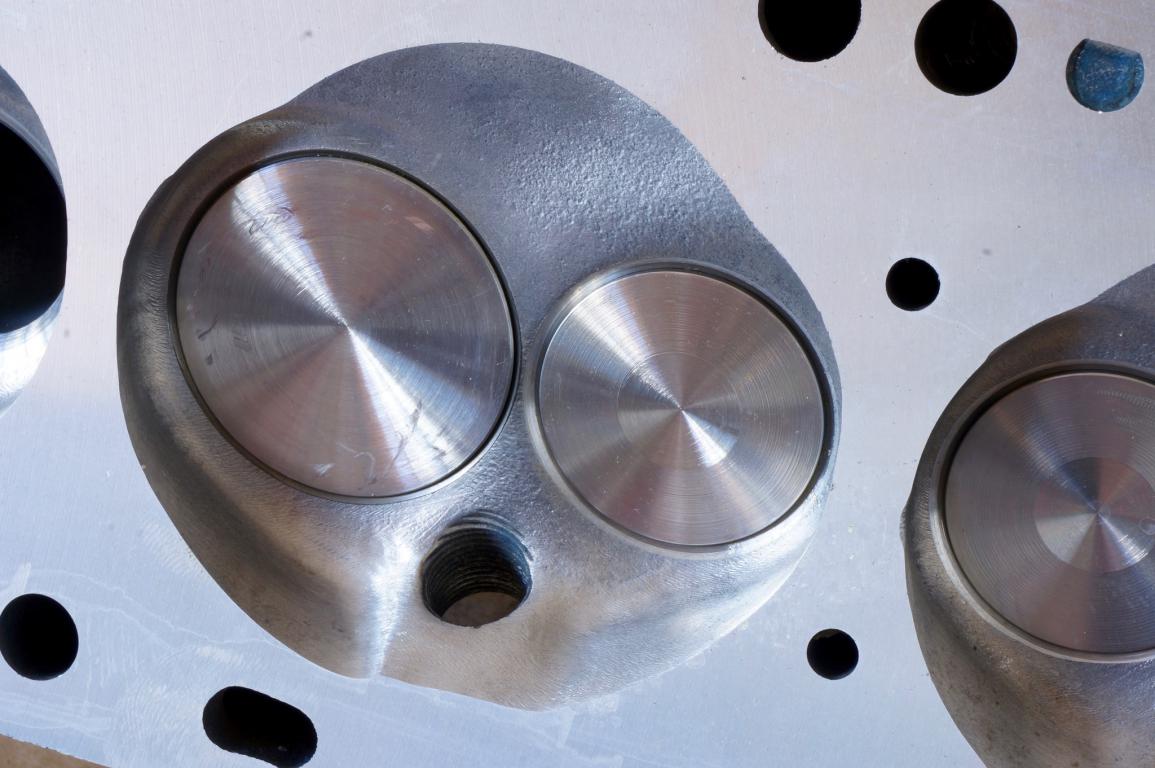
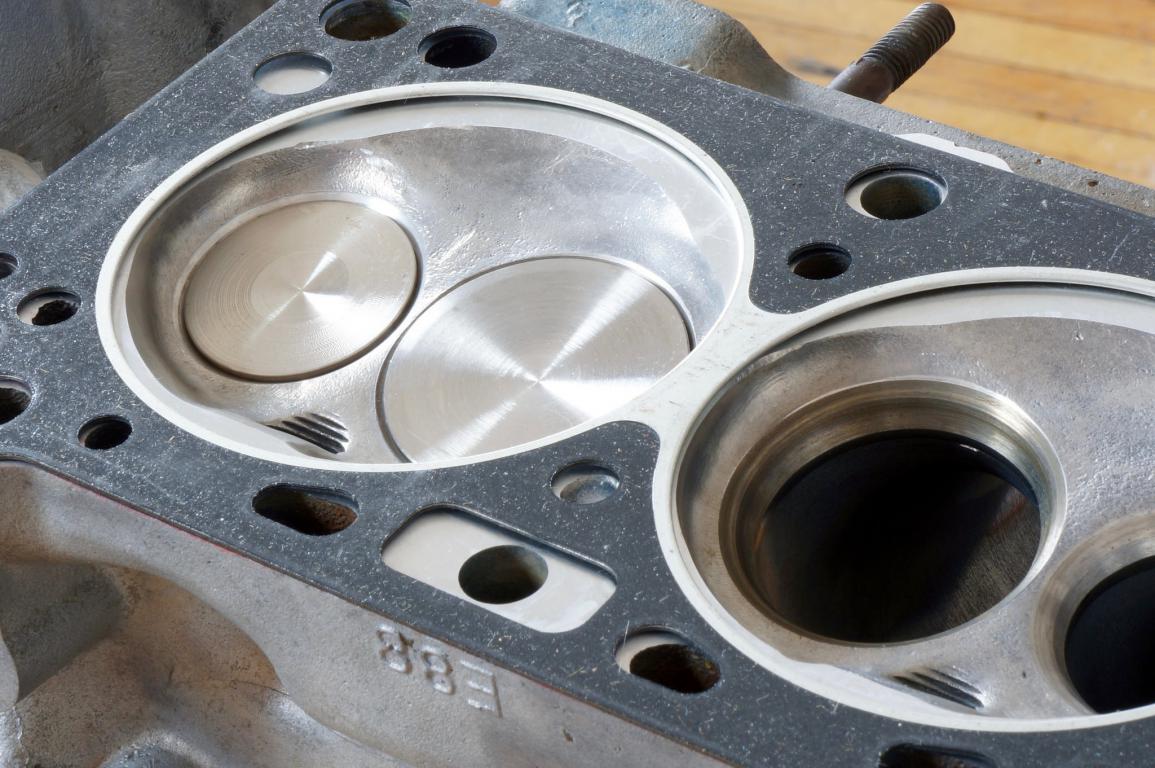
Got my E88 head back from the machine shop and the flow data isn't quite as good as I was hoping for, but it's still decent. I had the shop flow test the ported E88 and also an unported E88 I happened to also have laying around. This way I could compare the numbers on the ported head against a (mostly) stock head. The unported E88 has been modified with the same L28 size valves as the ported head though, so it's flow figures are probably a bit above stock, which could potentially make the ported flow increase look a little smaller. Keep in mind that the flow figures were measured at 25", so they will seem a bit lower than what you typically see, since most places measure at 28". At .550 it looks like a gain of 12% on the intake and 15% on the exhaust. Nothing huge. I'm now torn between a few choices: A] Call the ported E88 good enough, set it up with the new camshaft and run it. Sell the Whitehead Performance ported N42 that's on the engine right now. B] Stick with the Whitehead Performance ported N42 that's on the engine right now and swap the new camshaft into it. Sell the E88. C] Send one of my stock heads (or even the ported E88) to Slover's or Rebello and have them work their magic. Sell what I have to help fund this work. My horsepower goals aren't crazy though, 225whp would be nice. Anything above that is a bonus. What I already have might be capable of that much. Anyway, that's enough rambling for now... The attached images are of the ported E88, its flow figures, and I threw in a couple showing a felpro L28 head gasket laying on it - looks like it's been opened up right out to the ring.
-
Got the go ahead from insurance and I'm just waiting for the body shop to give me a shout when they are ready to do the work. Enjoying driving the car in the meantime anyway. Didn't make it to the Armdrop event, so no dyno run. That said, there will be a mobile dyno at the local track this Friday, so it might happen then.
-
Wheel Show! Post your pics of you wheels
ryant67 replied to k3werra's topic in Brakes, Wheels, Suspension and Chassis
Haha, pretty much. They do pretty much look identical. We can compare them at Z-fest! I wonder what the weight difference is? Probably not as much as I would hope.... I actually thought about removing the red sticker as I think it looks a bit silly, but replacements run about $200 and the resale value of the wheel would probably be hurt without them. -
Wheel Show! Post your pics of you wheels
ryant67 replied to k3werra's topic in Brakes, Wheels, Suspension and Chassis
I guess I haven't posted my new wheels on this thread yet, here we go! Rota Grid V Volk Racing TE37V SL in 15x8 ET0
-
It's a hassle, but swapping around the carbs to see if the problem moves with them is useful to see the problem is carb related or not. If it is, it's going to be a little work to sort out. Lots of trial and error. One of my Mikunis was misbehaving once, same issue as you - fine on heavy throttle, but not firing at idle. I tried to be methodical in my approach and nothing worked. What did work was stripping the carb to the body, submerging it in water, then blowing air from a compressor through each passage. The thought here being that the water in the passages will grab more detritus while being blown out. In this case I rebuilt the carb afterwards and it worked perfectly. Presumably some dirt was blocking one of the pilot jet passages. Good luck!
-
I was curious, so I did a little googling for you. Found the thread and company for you. Thread: http://forums.hybridz.org/index.php/topic/96955-a-%E2%80%9Cstock%E2%80%9D-fuel-tank-solution/ Company: http://www.boydwelding.com/
-
Not sure about the one you are looking for, but these ones are on eBay. He offers an EFI version too. No idea on quality. http://www.ebay.com/itm/Datsun-240Z-fuel-tank-/262576810592?hash=item3d22cc2a60:g:F00AAOSwGotWmXfz&vxp=mtr
-
No sir, but maybe these guys could help you out: http://www.ztherapy.com/
-
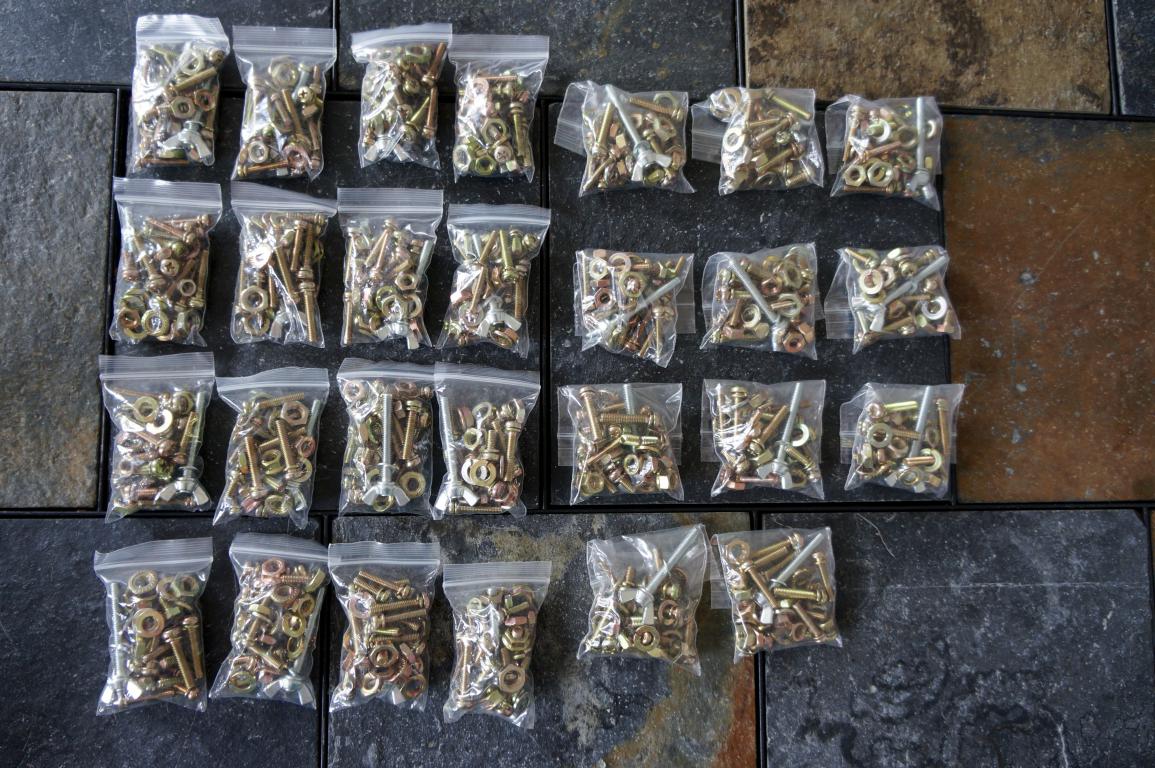
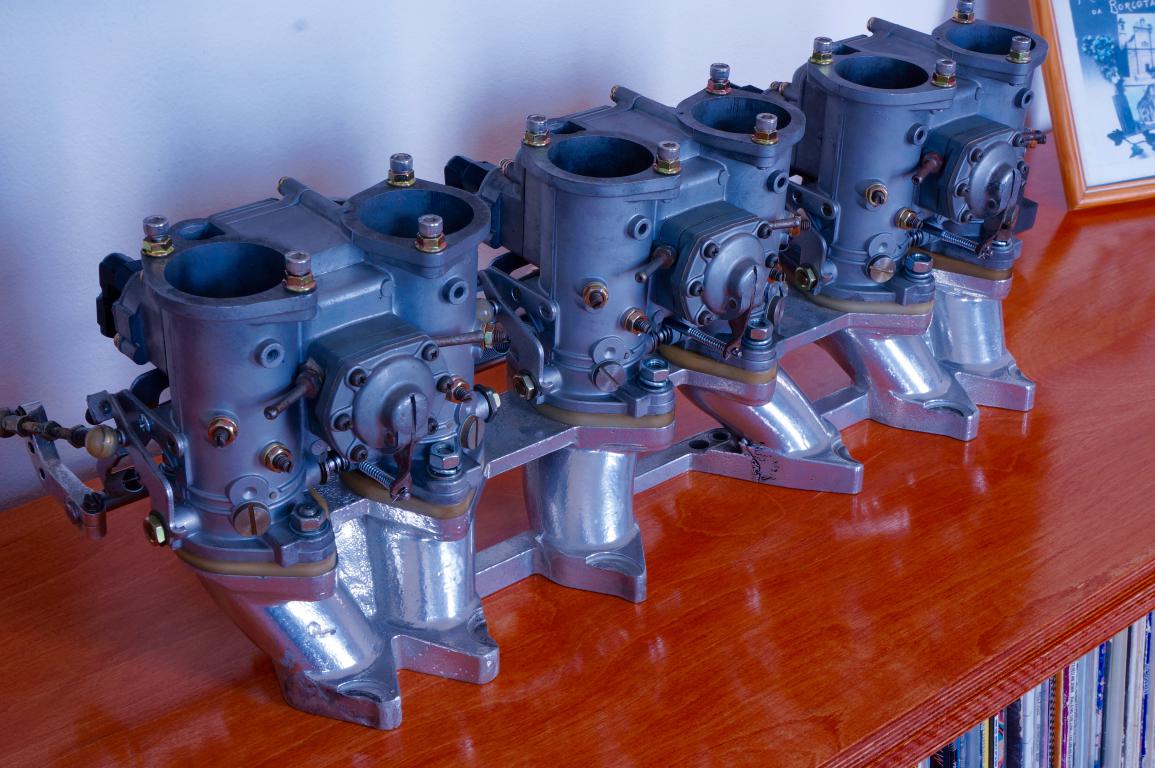
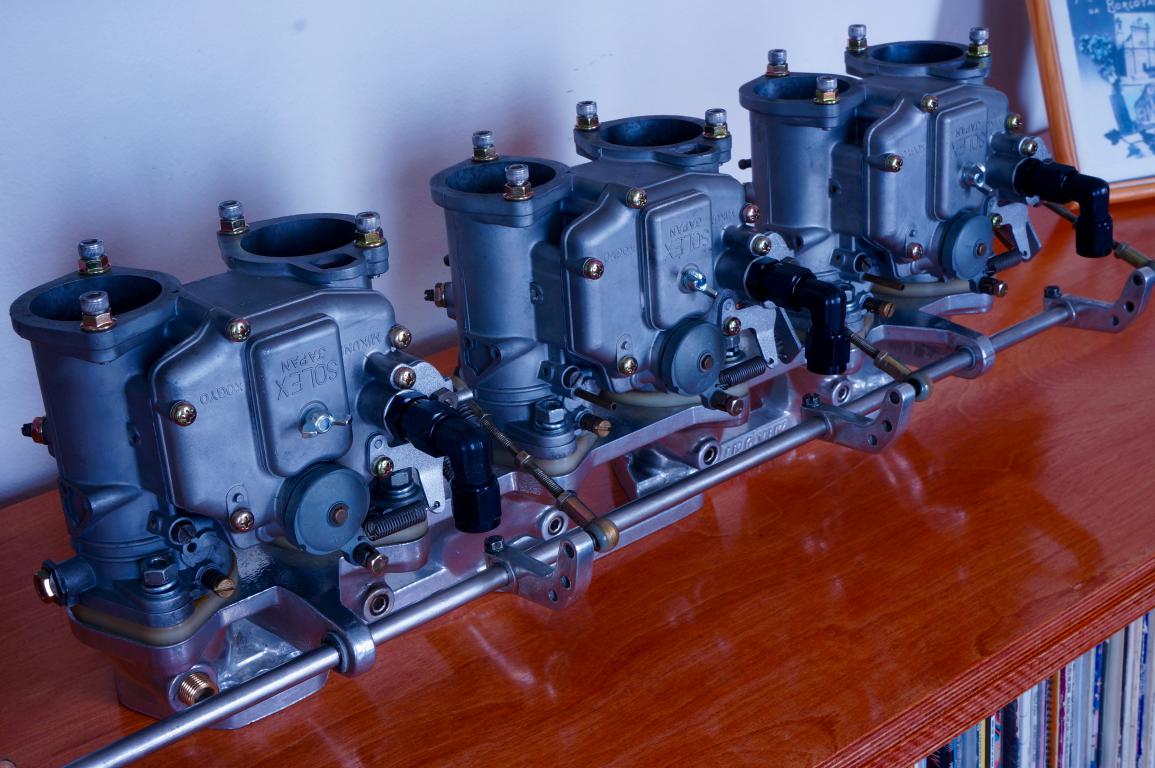
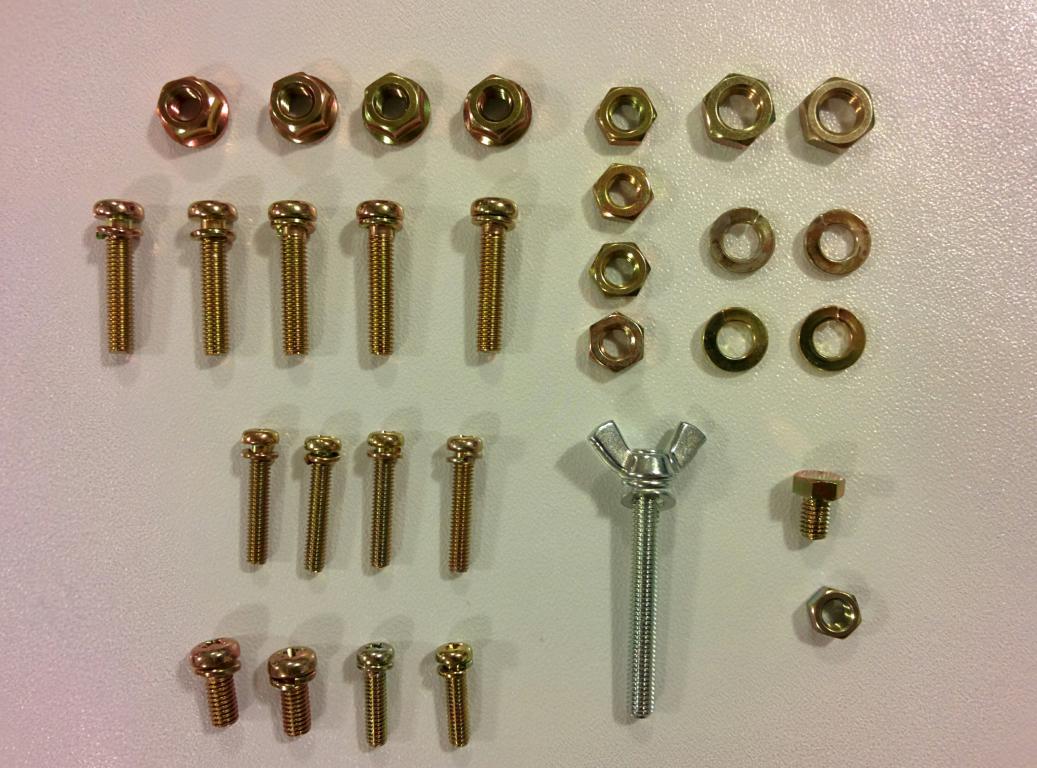
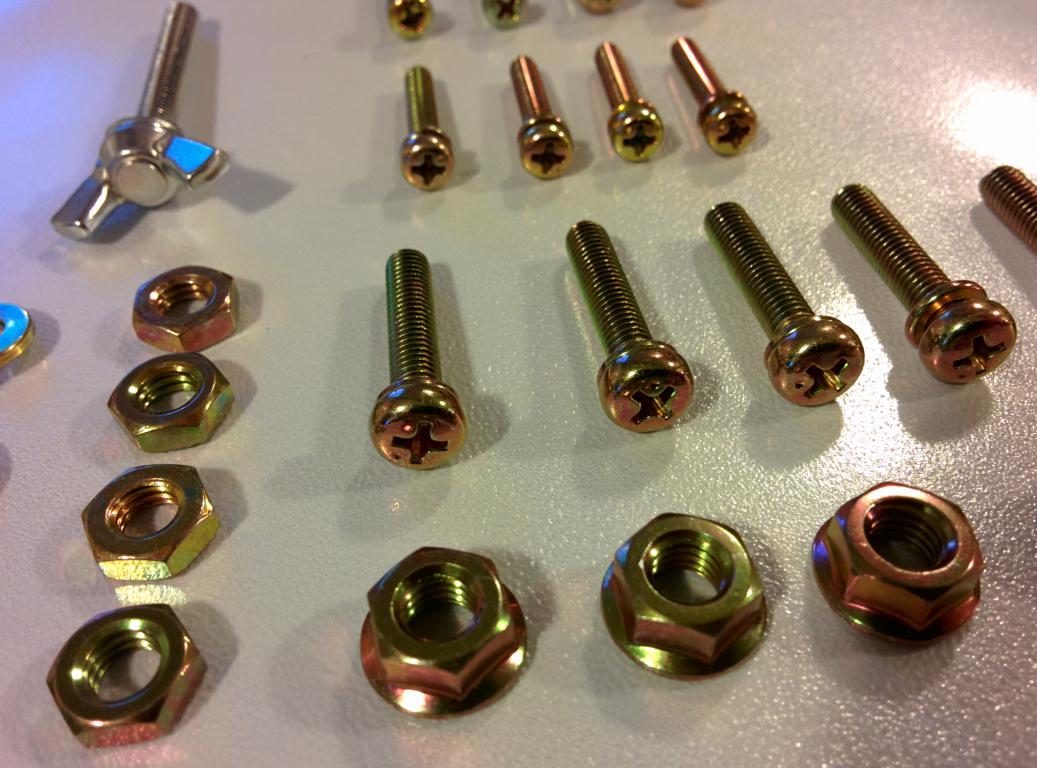
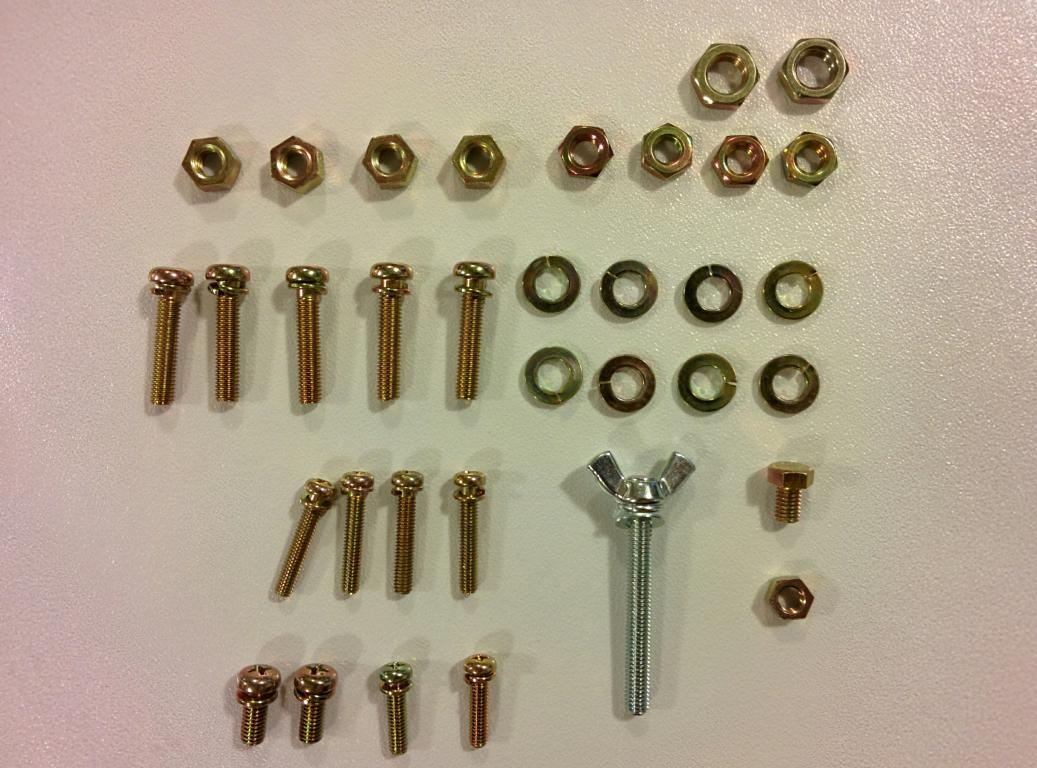
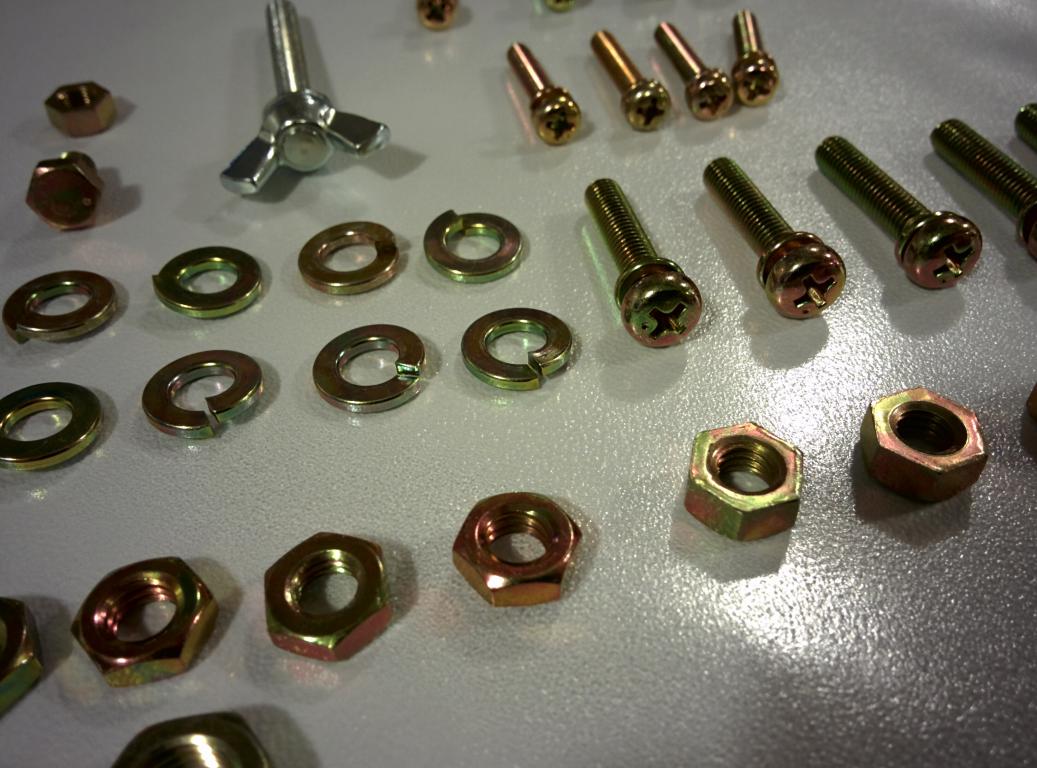
Freshen up the look of your 44's with some new plated fasteners. Each bag has the hardware for one carb: 5x #75 top plate 2x #10 float adjustment plate 1x#12 float adjuster lock nut 1x #1 (butterfly screw) 1x #81 choke 2x #42 throttle rod nut 4x #31 washer 4x #46 venturi nut 4x #30 air horn locking nut 2x #50 pump body 4x #49 pump body These are proper JIS screws, as indicated by the small dot on the head. NOTE: The four screws for the pump body are the short style ones. If you are running cooling bodies, then they won't be long enough. Not terribly important as no one sees them on the underside of the carb anyway I guess... I priced these all out with some Mikuni parts suppliers and buying from them it would tally up to about $40 per carb. I'll sell each bag of hardware for $20 + shipping. Shipping is from Kingston, Ontario, Canada and looks like it should run about $12 for three bags within the lower 48 states and Canada. See the pics to understand what you are getting. I've also attached some pics of a set of 44's I rebuilt and used these kits with, for reference.