

locodrftr
-
Posts
59 -
Joined
-
Last visited
Content Type
Profiles
Forums
Blogs
Events
Gallery
Downloads
Store
Posts posted by locodrftr
-
-
thanks johnNice work!
-
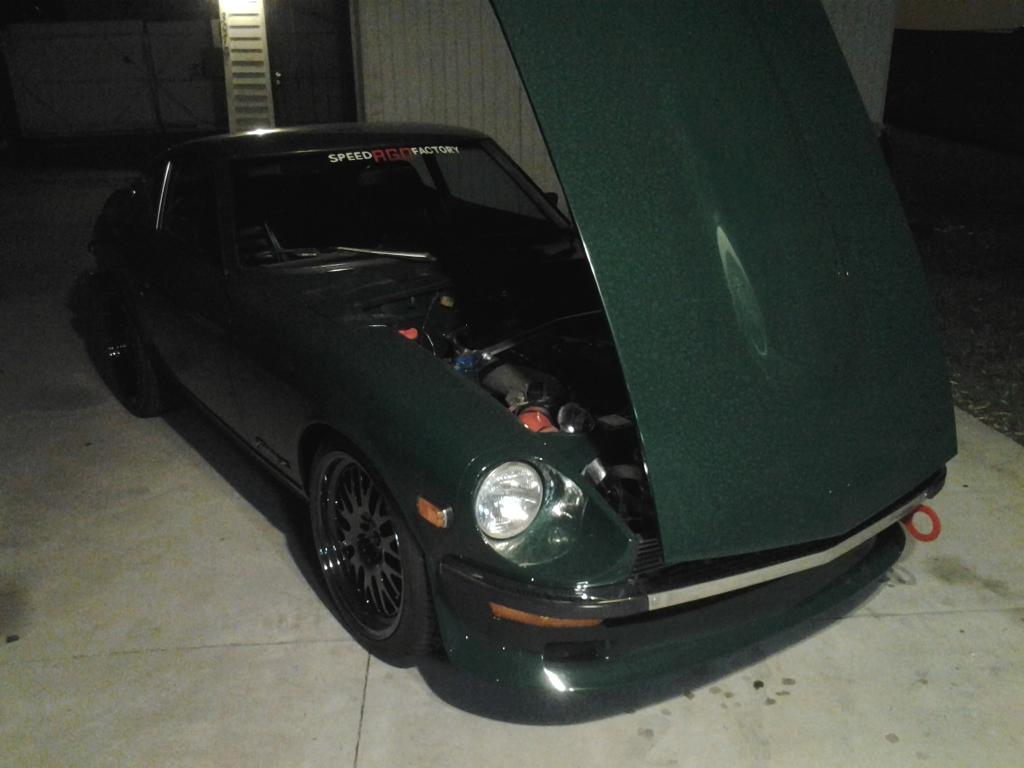
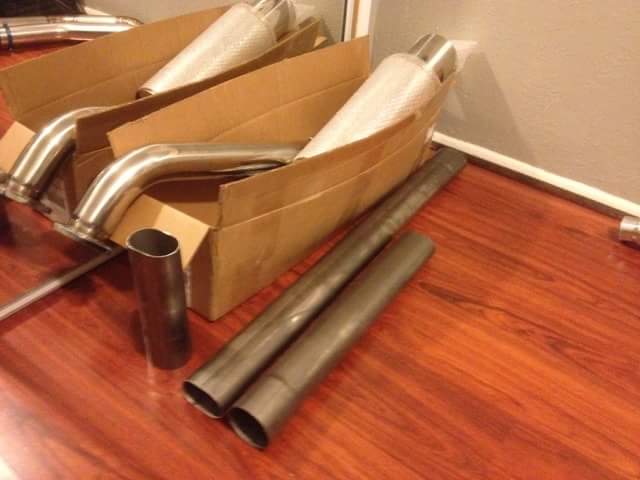
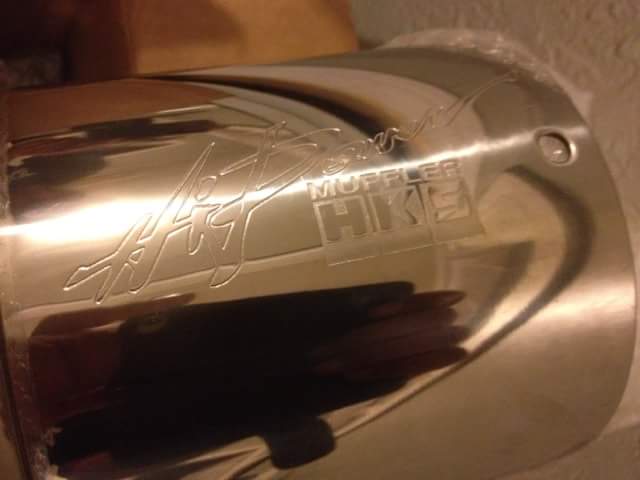
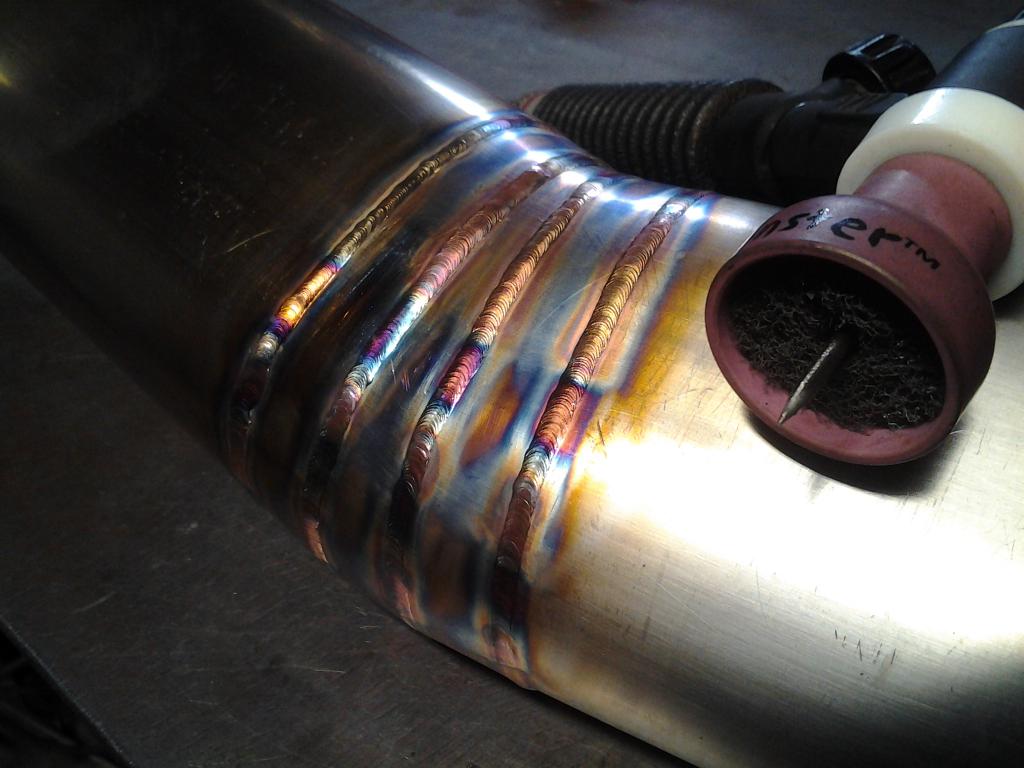
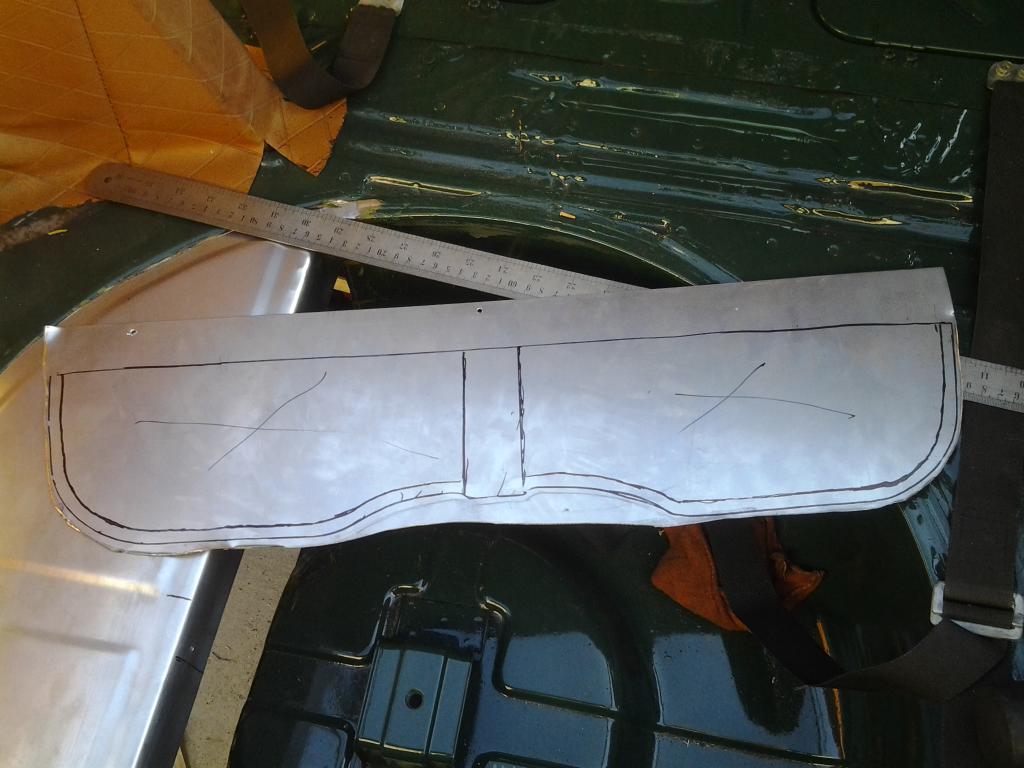
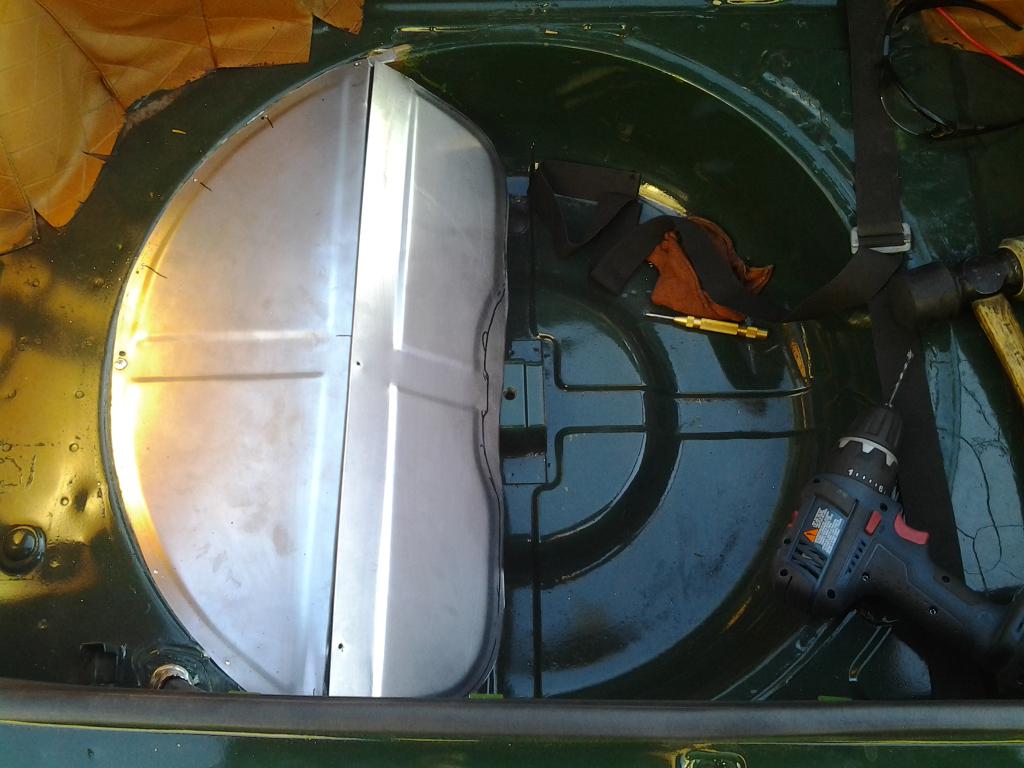
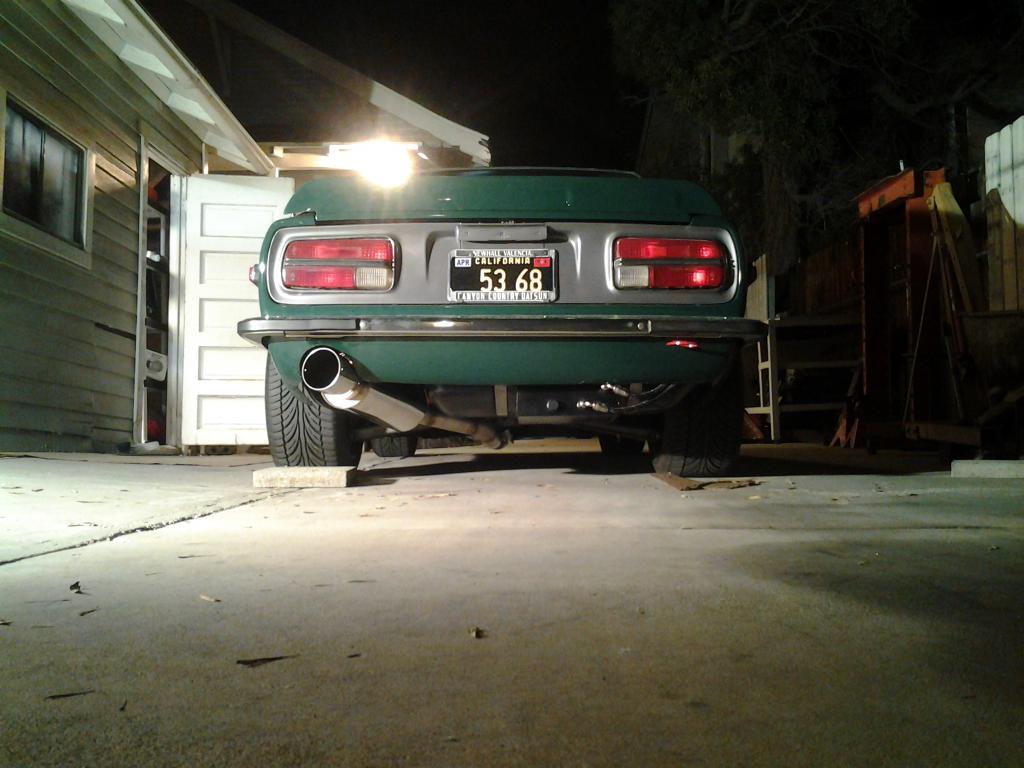
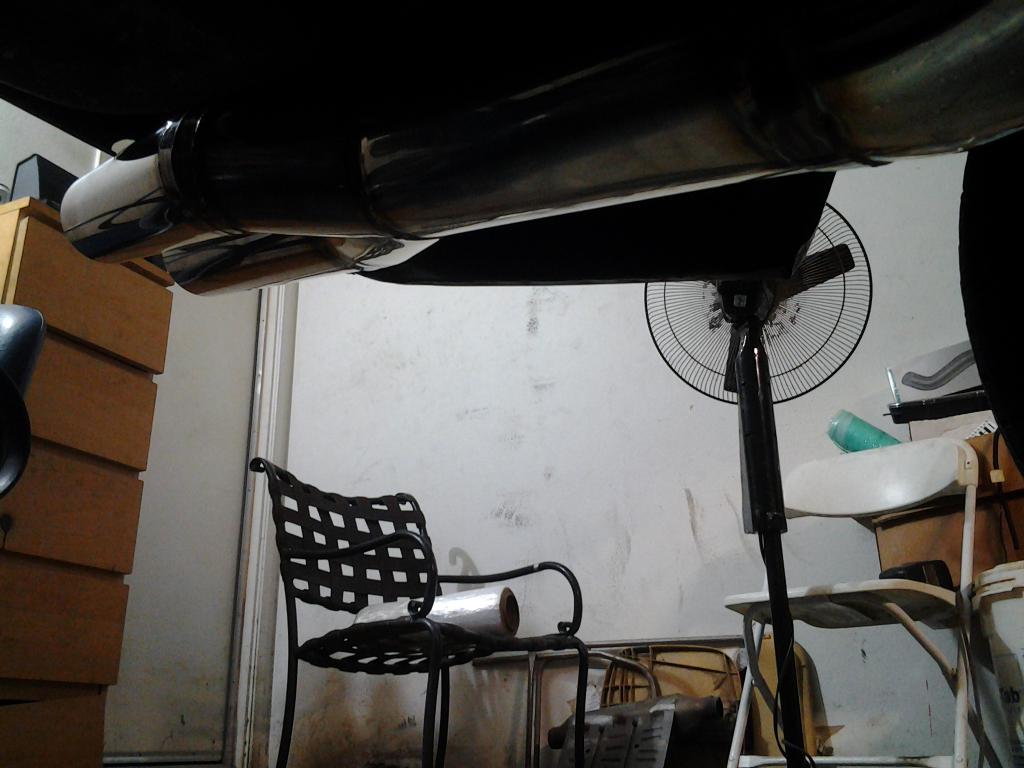
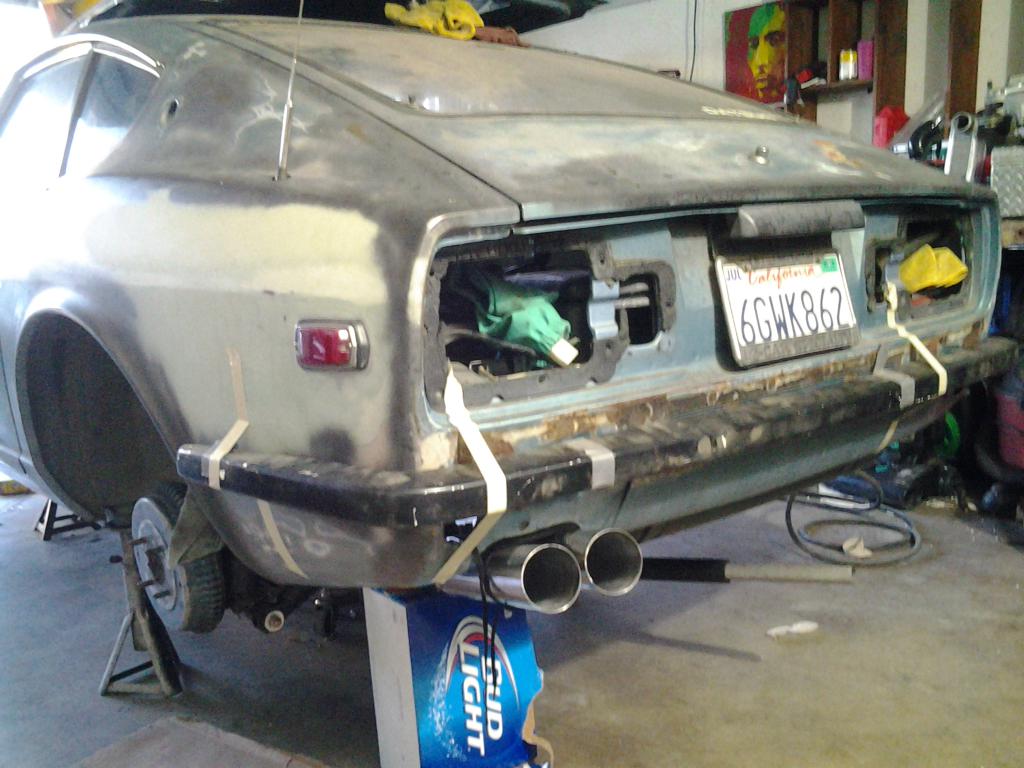
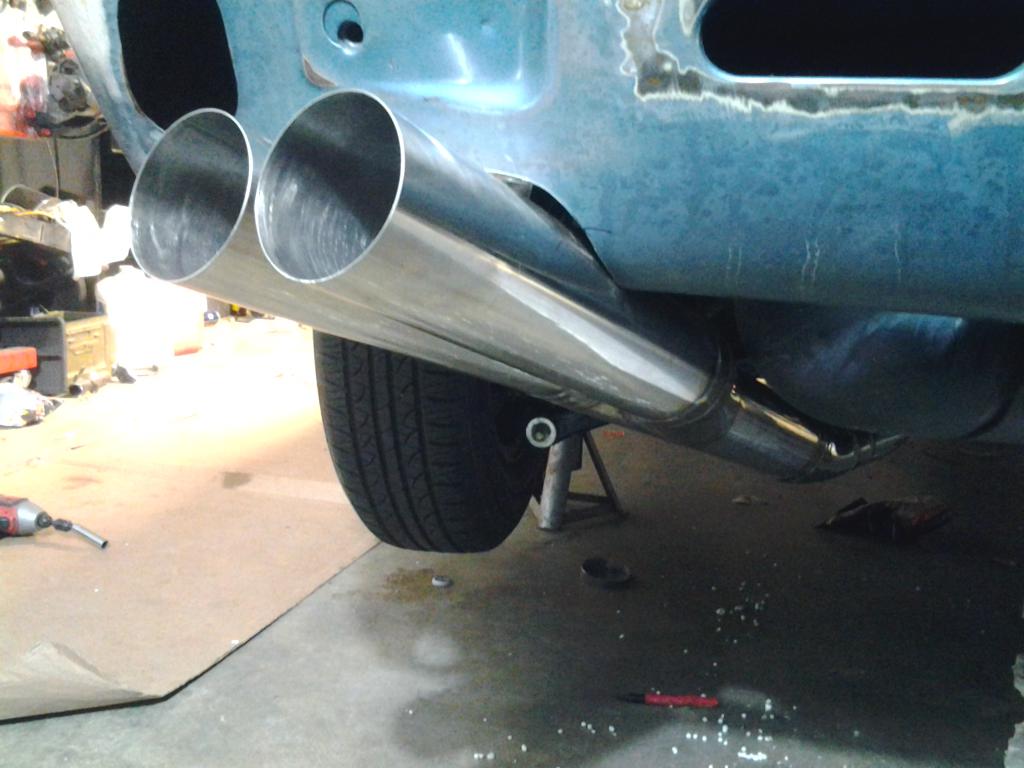
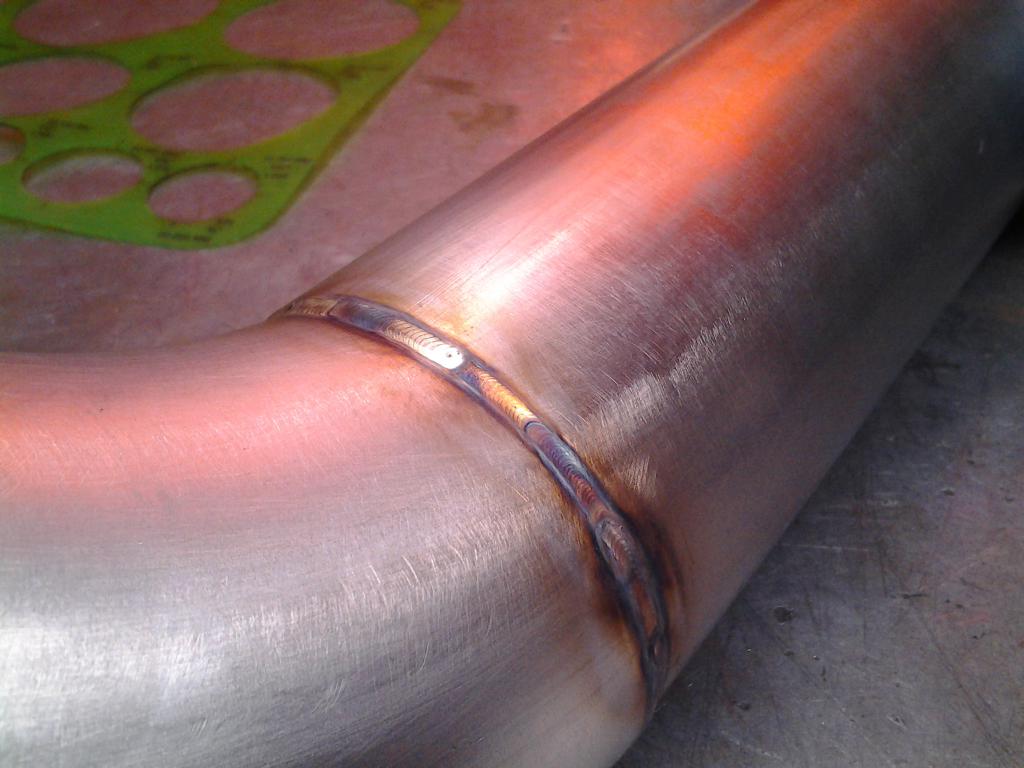
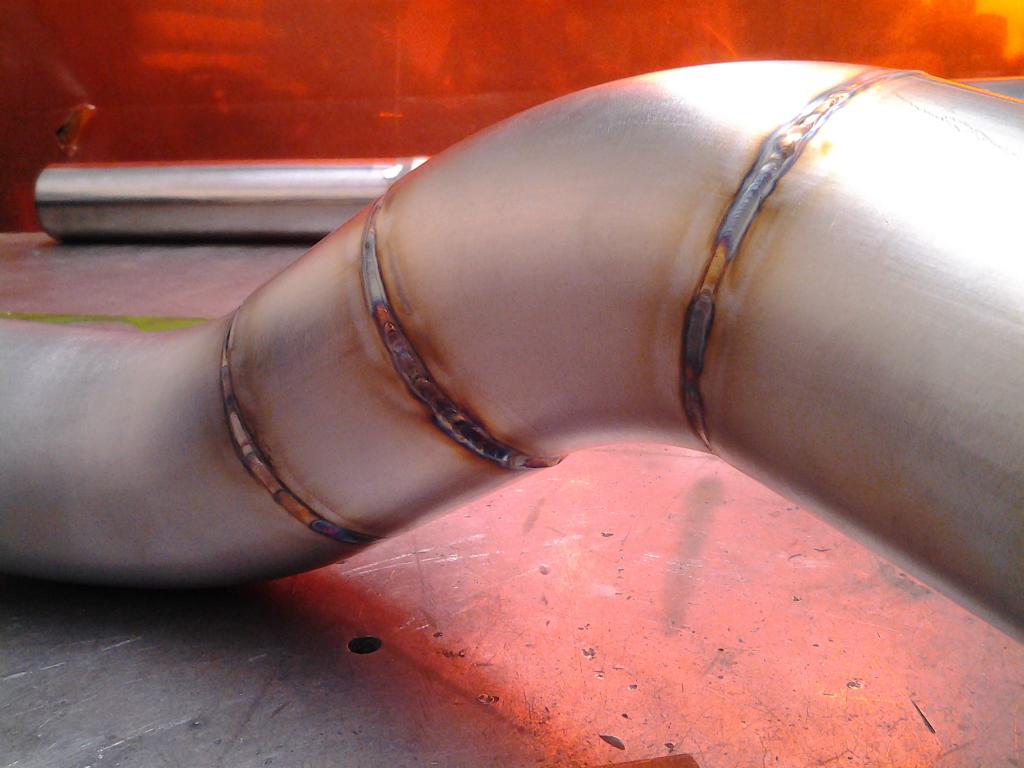
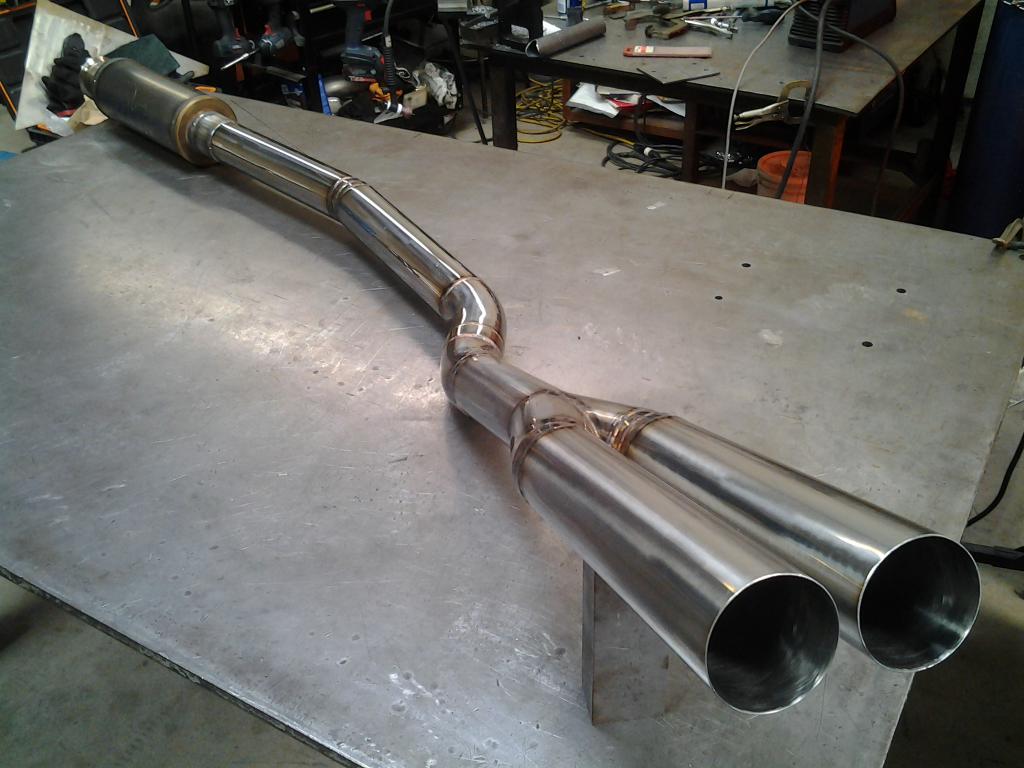
Made this turbo back exhaust for this Rb powered 240z, it's made from oval tubing and round tubing. Fully tig welded stainless steel. A HKS Hi-power muffler was used at the back. Rear spare tire well was cut in order to clear the enormous muffler ( customer didn't realize how big the canister was) Cut some sheetmetal and Beadrolled it for strength and style. Came out pretty clean and it sounds awesome! I will try and upload a video here or link to youtube.

-
Heres some pictures, getting it tucked up nice and tight was a challenge but wasn't too bad. I'll post pictures of the rb25 240z exhaust i did as well on another post. Now that one was a challenge
-
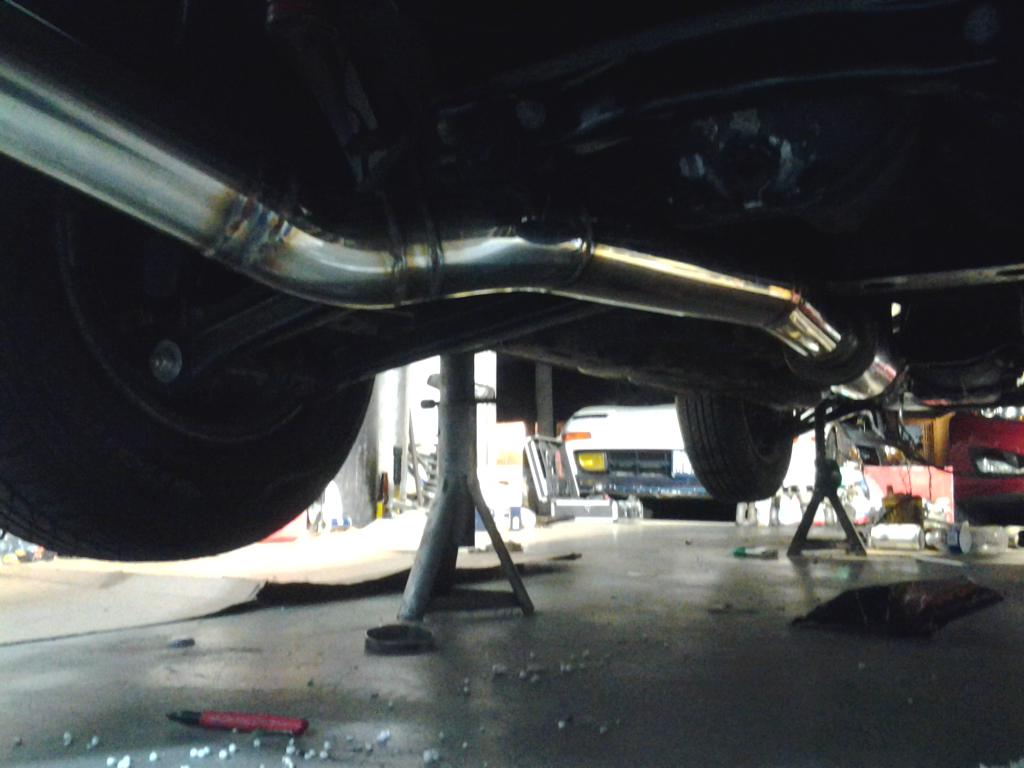
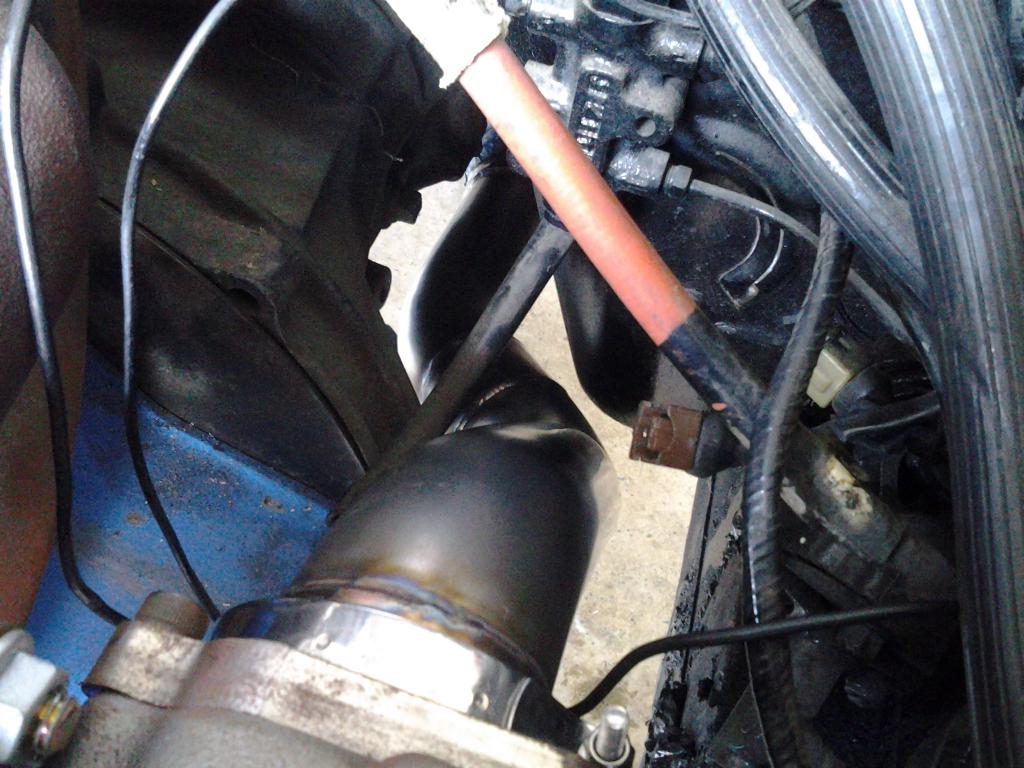
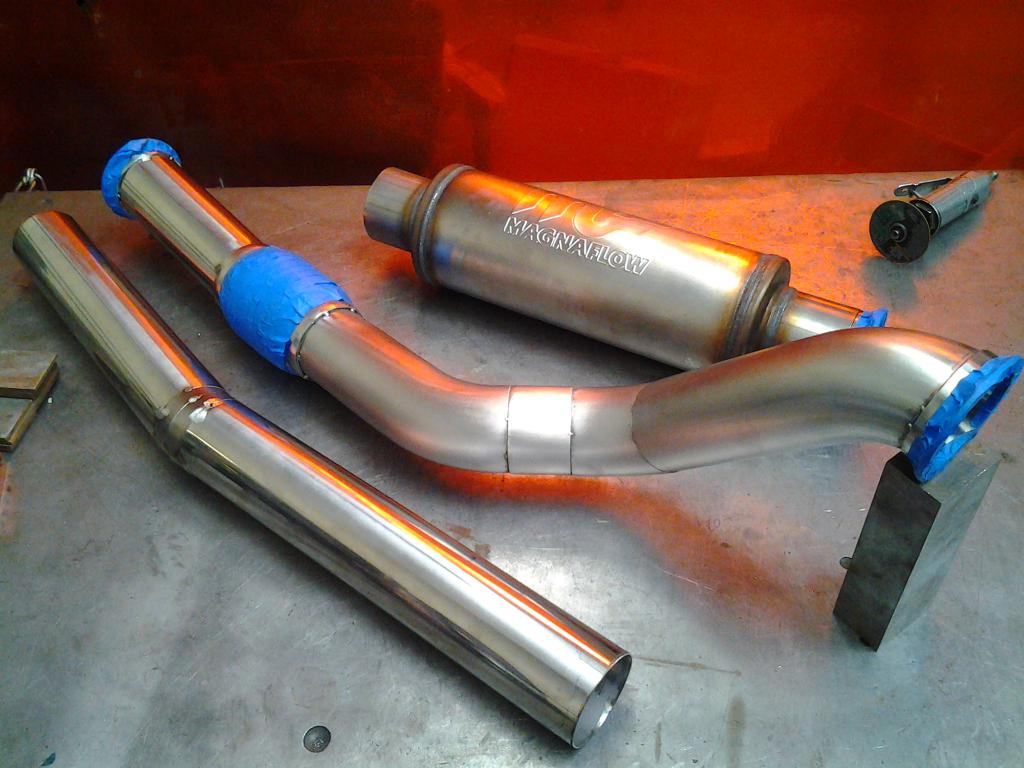
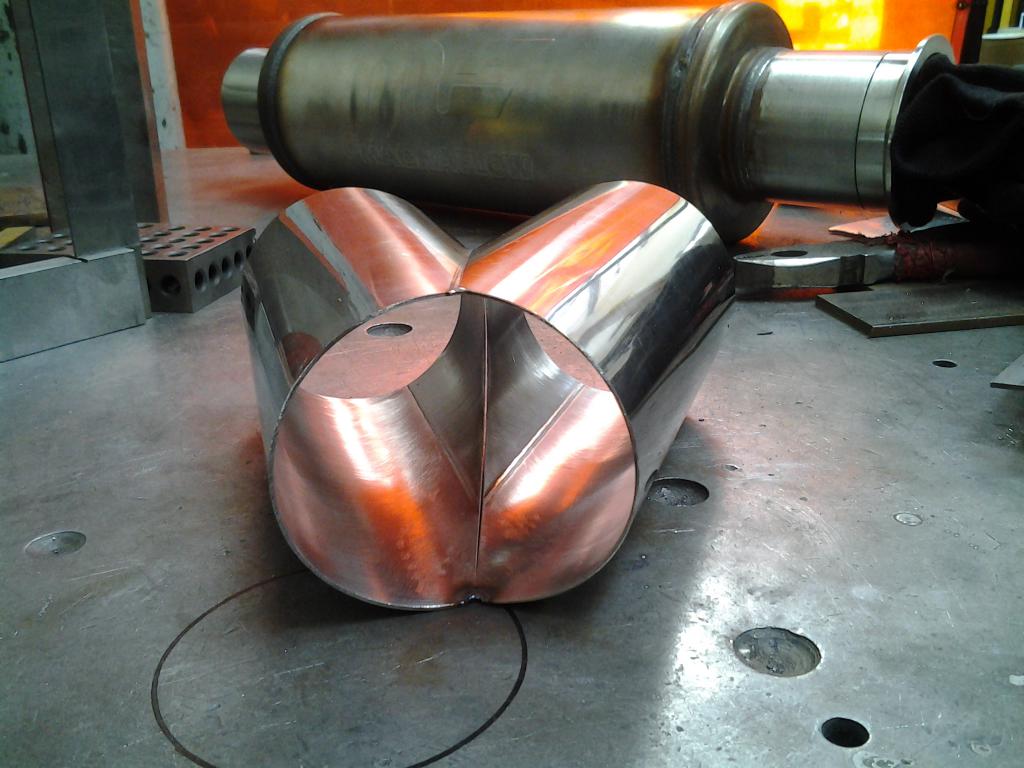
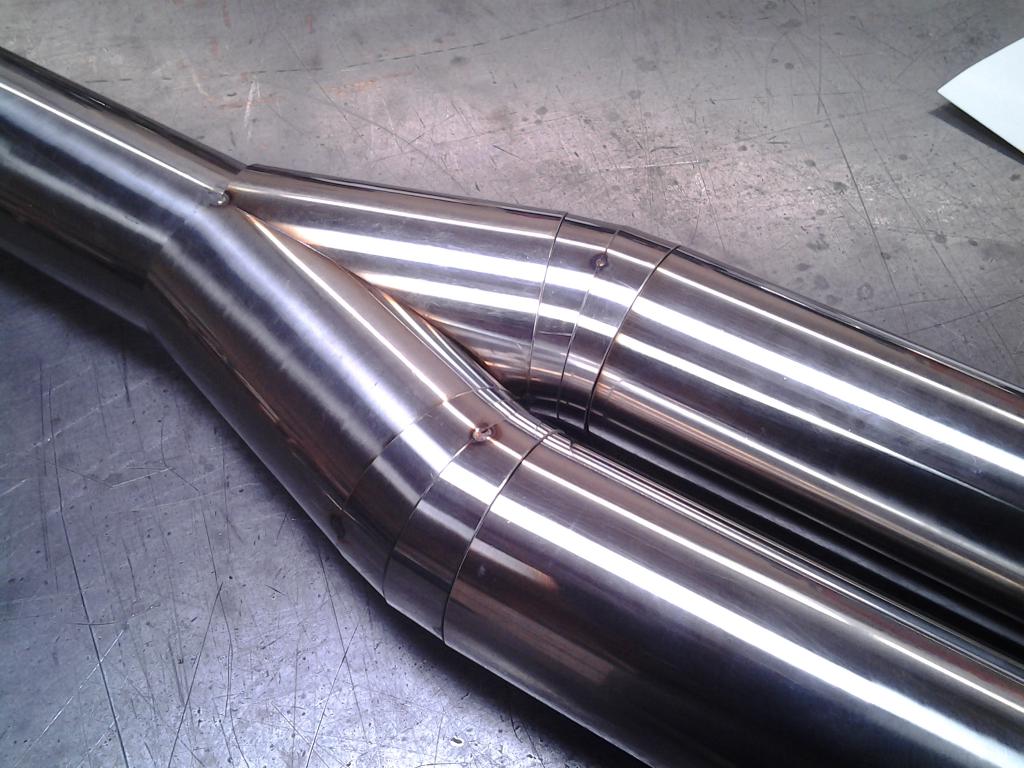
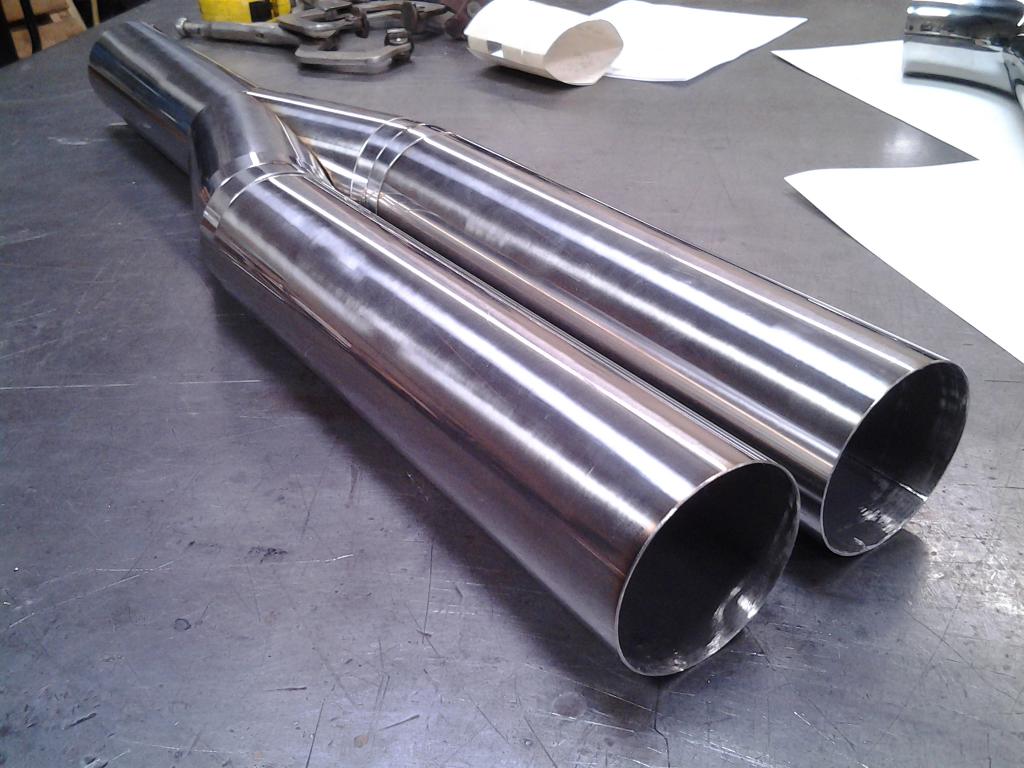
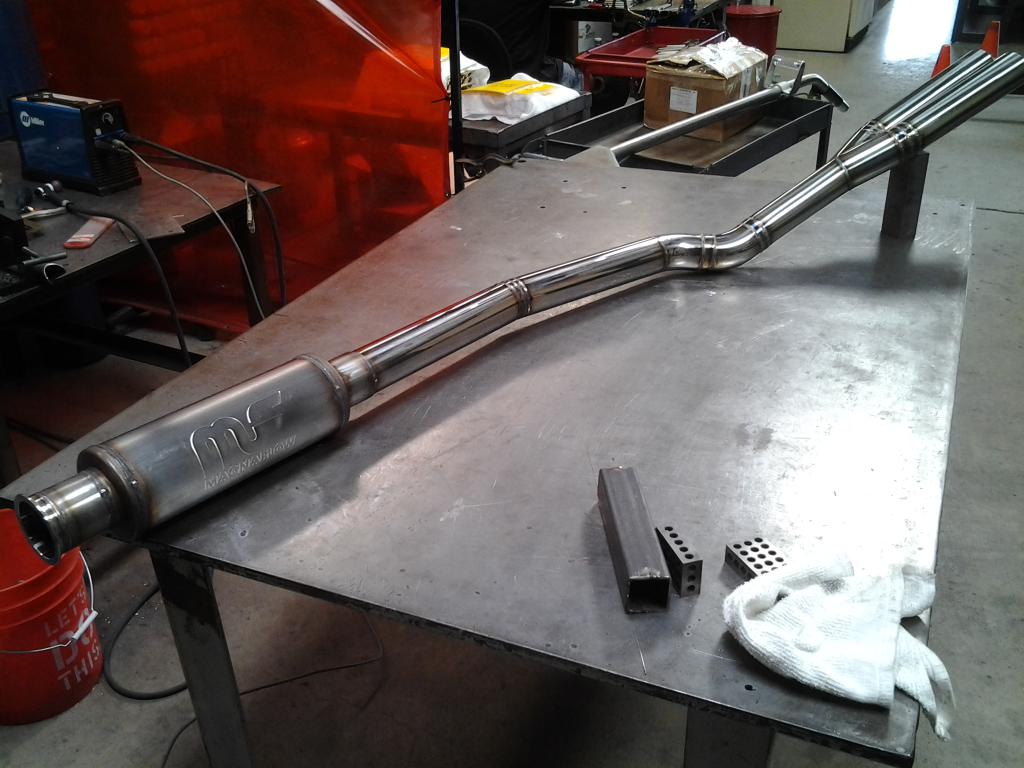
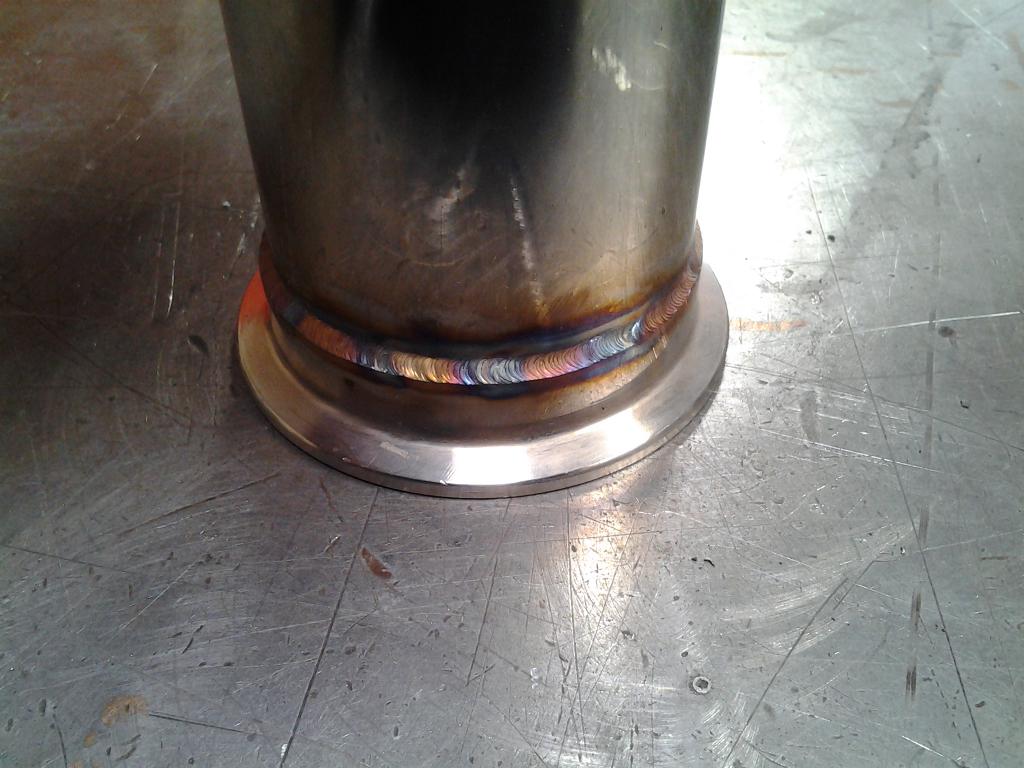
Heres a custom exhaust I built for a customer for his 280z turbo.
Starting from the hx35 turbo back. Using v-bands, magnaflow muffler, flex pipe and all 304 3" stainless steel tubing. Everything was tig welded and hand fitted.
-
The cool factor is way up on this one
Thanks
-
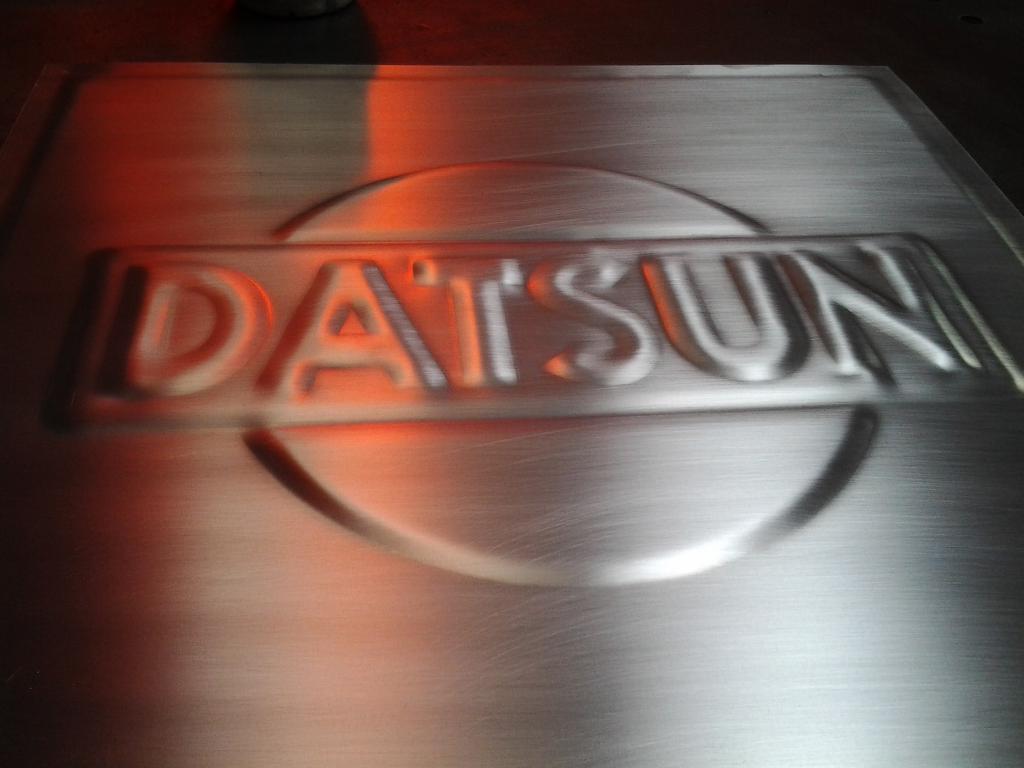
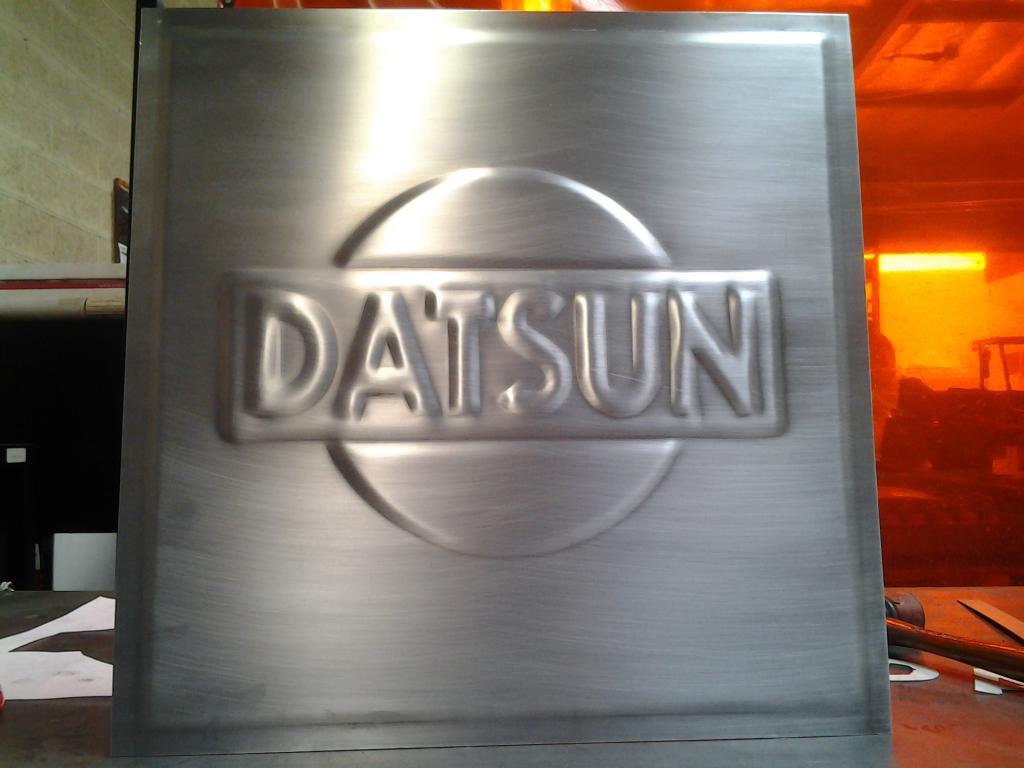
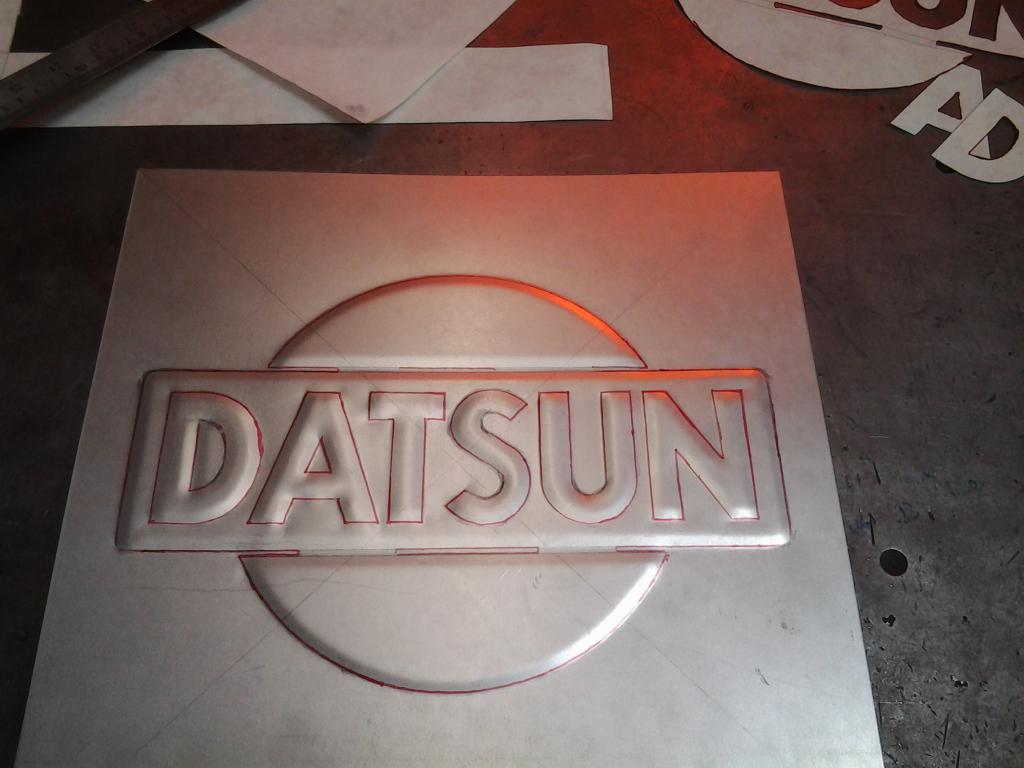
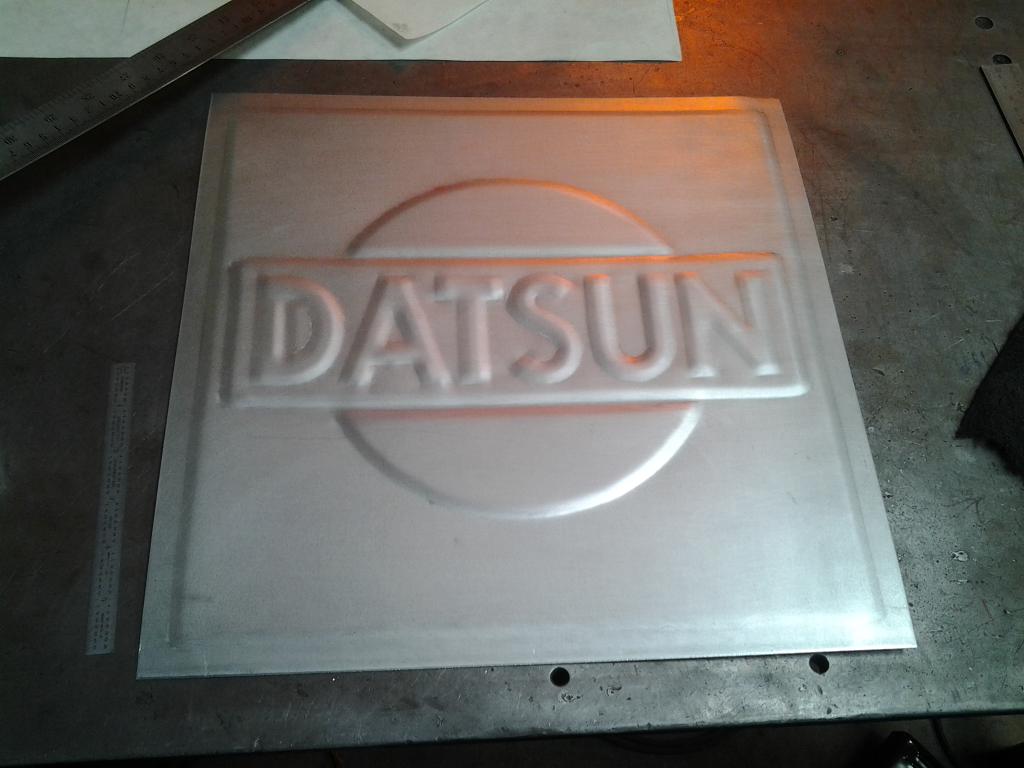
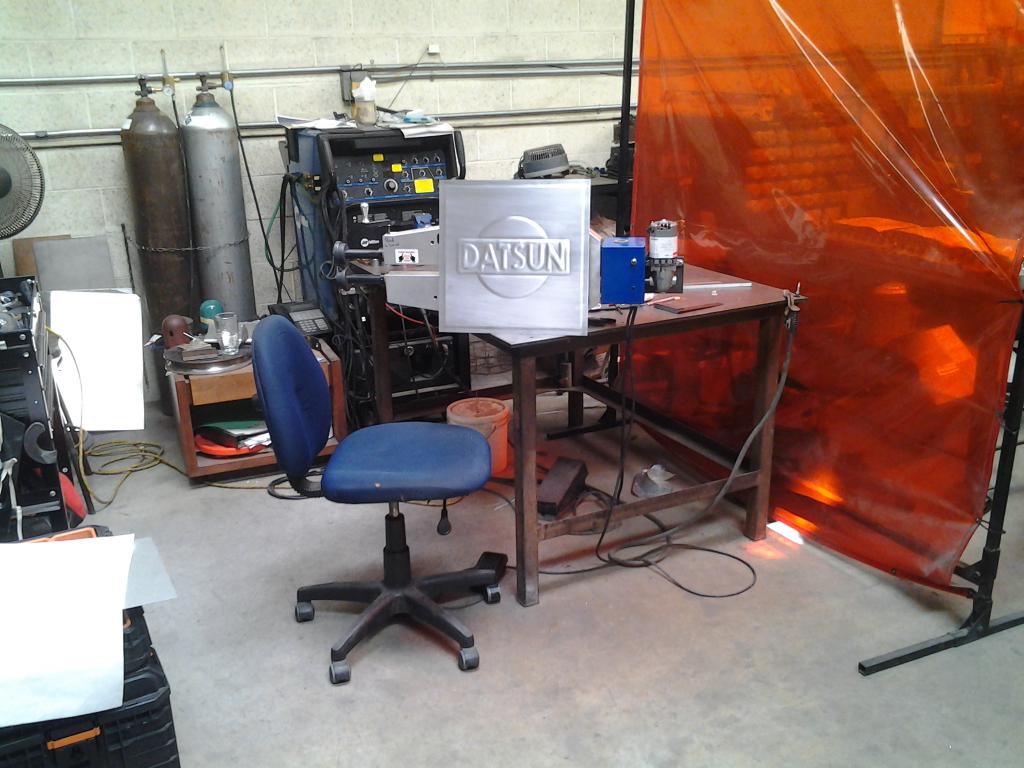
Better shots of the aluminum sign.
-
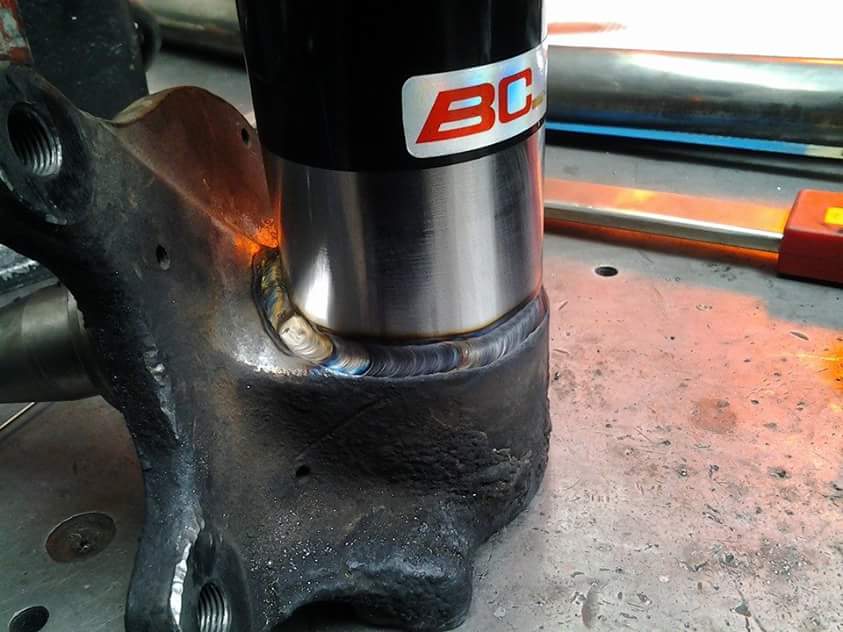
lol yeah no worries, I will also do a write up on the sectioning type. Here is a preview pic.Thanks. I was thinking of sectioning actually, not dropping the BC tube over a stub. My mistake. Nice work.
Also I cant give all the secrets, please keep in mind its how I make a living. So I wont go into what filler material is used and what few other special steps are taken to ensure a strong weld. After all if something goes wrong peoples lives can be in danger!!! Anyway enjoy some general info picture browsing and general time wasting on my posts.
-
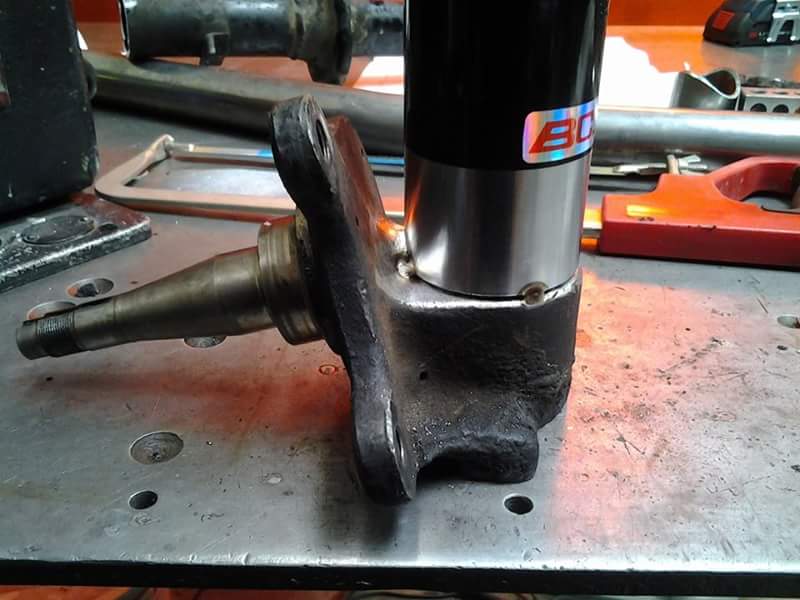
Oops, yeah forgot to add that picture. I did it at 1-3/4" up, you can probably go slightly higher or lower. It just helps locate coilover on knuckle.
Also this process is not for beginners. Modifying, cutting and welding on suspension components should be done by a professional...like me.
-
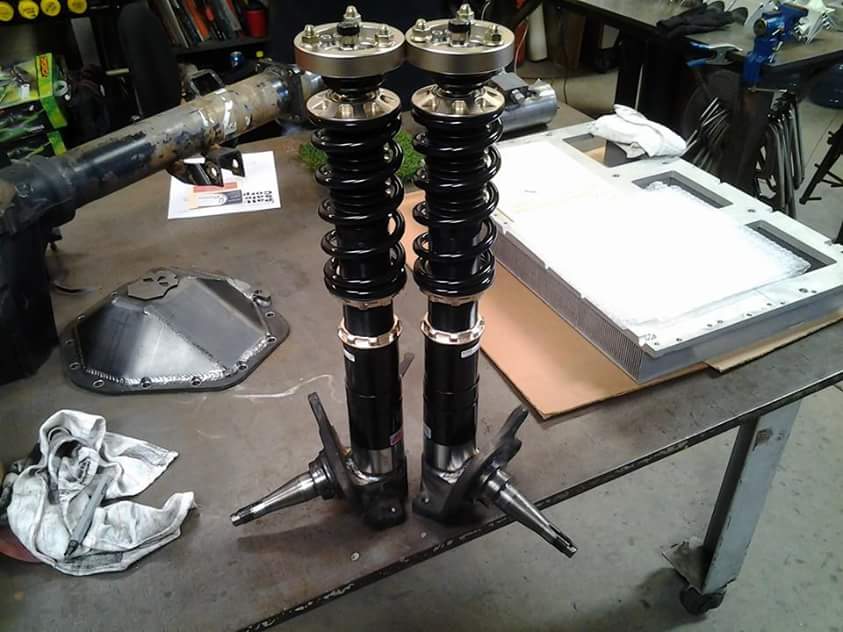
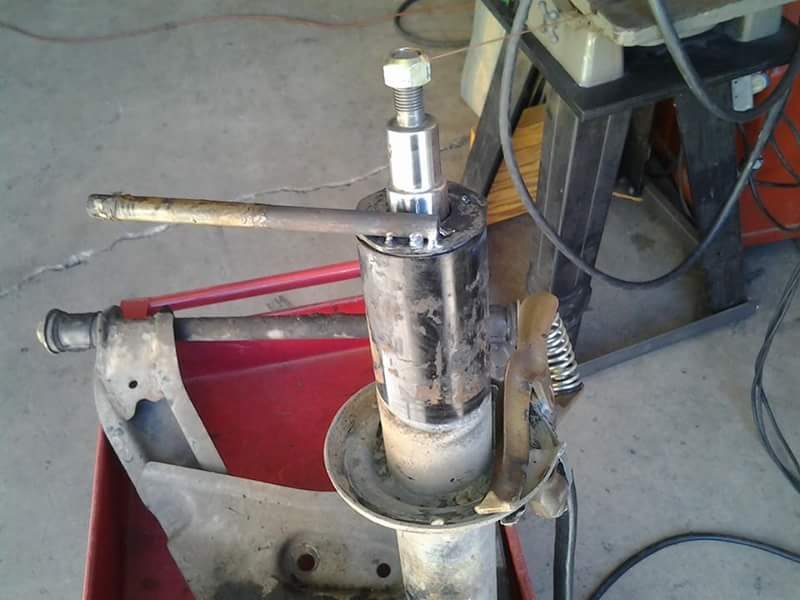
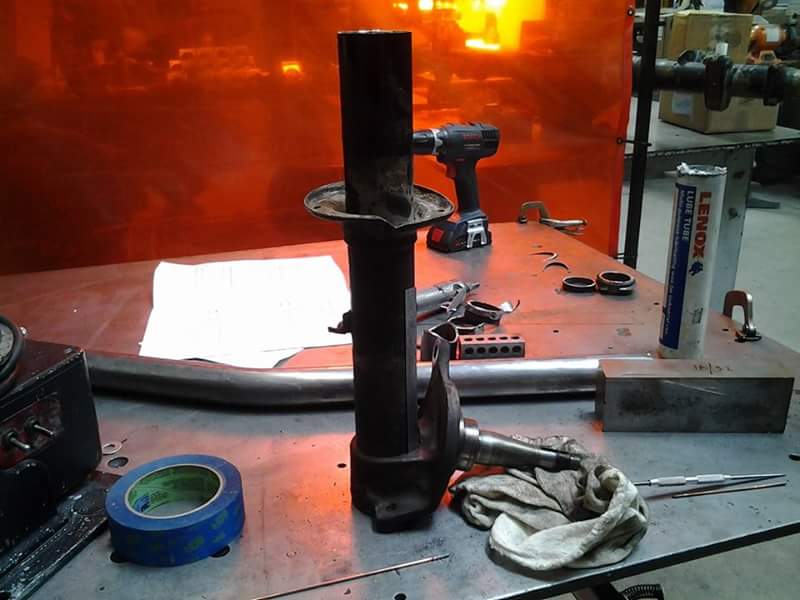
Going to share what it takes to install these things.
I did a coilover conversion on a 280z using BC Coilovers
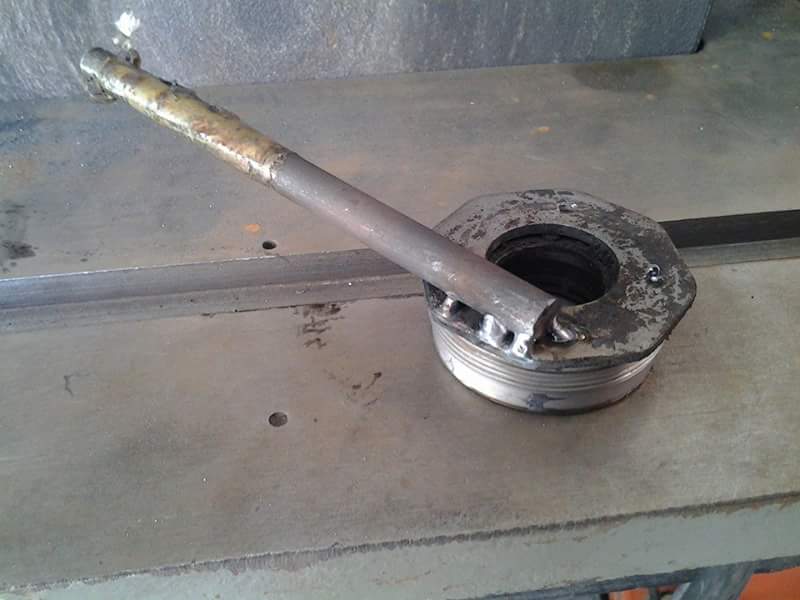
1st step was getting the gland nut off. Just tacked some round solid stock to gland nut the smacked it with a hammer to unscrew it.
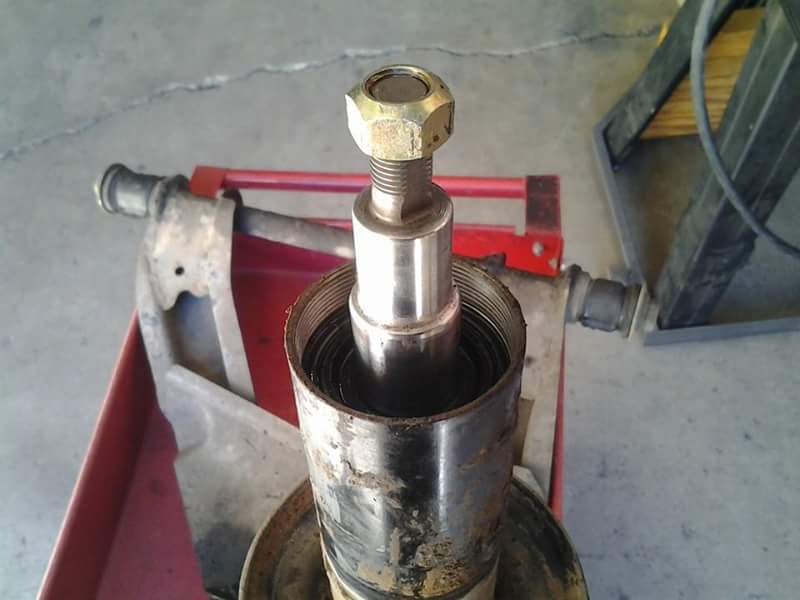
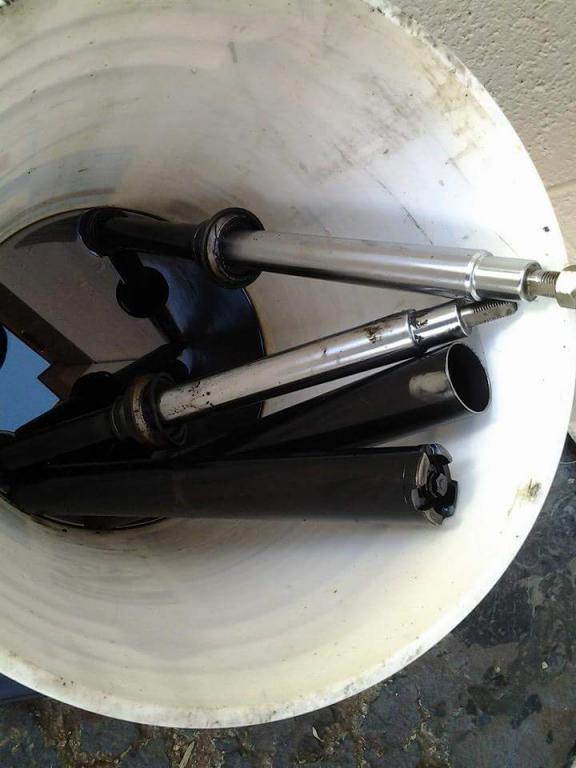
2nd step was removing and draining the old strut cartridges.
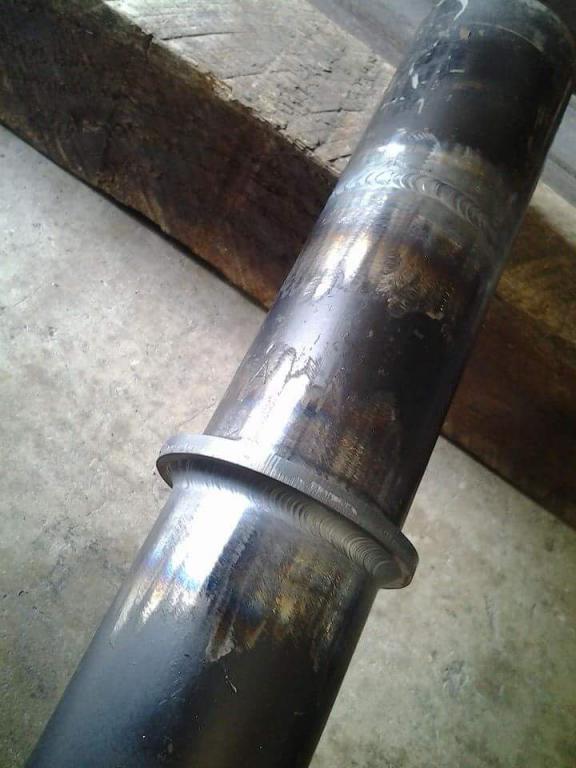
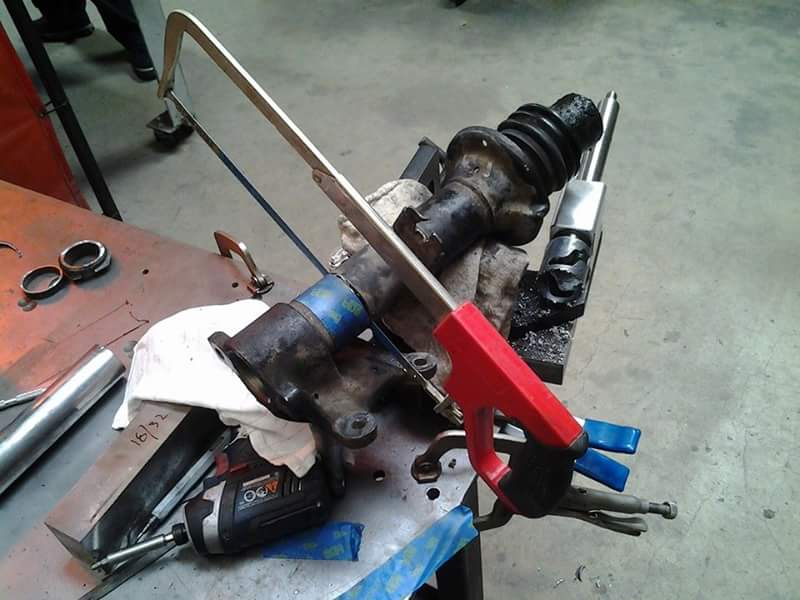
3rd step was measuring where to cut strut tubes and cutting it up. Most of the cutting was done with a cut off wheel then finished last little bit with a hack saw.
4th step was cleaning up, deburring and prepping area for welding.
Should look something like the picture.
More pics and final steps coming soon.
-
Very nice work! Love seeing people still using metal works instead of just cnc ing the world...
Thanks,Yeah it's always nice to do things by hand. Maybe not the most efficient way but it's a lot more fun sometimes.
-
Nice work. I'd be interested to see the bead dies you used for that one
Pretty simple, just step dies and tipping dies.
-
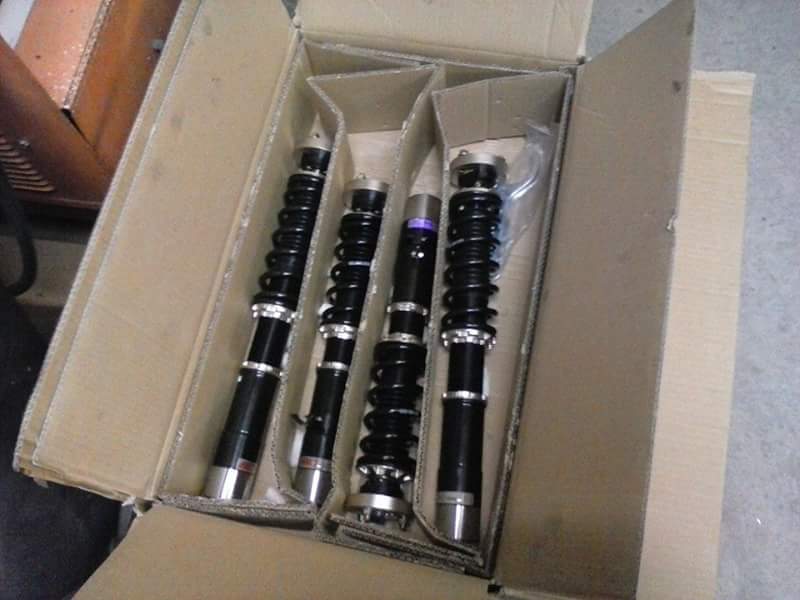
Been years since I have posted but I have been busy welding, fabricating and started my own business! Here are some signs that I recently made. Will also be posting the BC Coilover Conversion for a 280z that I did.
** Sneak peak **
-
Try some starting fluid...see if it starts when you spray some in all the throttle bores....if it does then maybe the pump jets are not spraying fuel...check to make sure all bolts that should be tight are tight you could have a big time vacum leak. Use the chokes if you have the cable hooked up or just try and hold them manually while someone turns the car over...why did you get the bleed valve changed or taken out?
-
Nice video phil, i always enjoy them.Hope to see it running once you get your driveshaft....and make sure you do a nice burnout.lol Keep up the good work..hows the painting coming along?
-
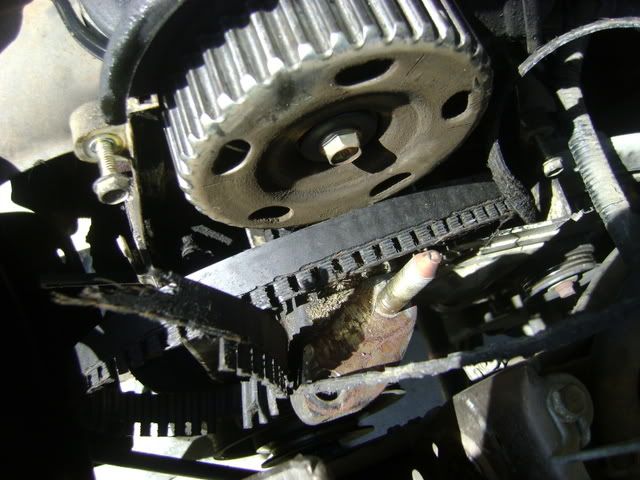
Very busy weekend...and not in the good way...
I didnt have a chance to do anymore work on the box due to the fact that my brothers honda got a busted timing belt. I never really liked honda's and now i really dont...what a pain it was to change the belt....and the water pump driven off of the timing belt??? whatever its done i finished and it runs...until next time hopefully i post some progress as oppesed to this....
-
Gnosez:
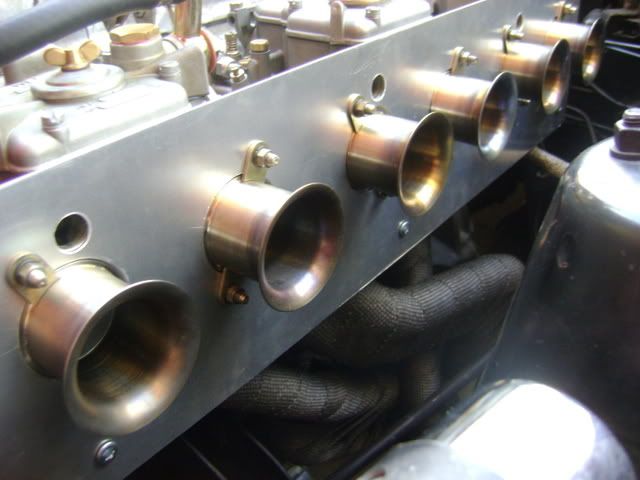
yeah i still might taper down to the last air horn as i have seen it done on just about all aftermarket manifolds for Rbs....as for the smaller air horns i eventually will get smaller ones but i just dont feel like forking over the extra cash right now, these will have to do for now....
Proxlamus:
Thanks,and everything that you see was tig welded......I always avoid mig welding anything i do....i just hate it lol
Garvice:
thanks man, In a few years i hope i would have made a ton of parts...parts that work well that is.
Mayolives:
Yeah alot of skilled people on here im just trying to pretend to be one lol Its a learning curve i guess...thanks for the support
Josh:
hey thanks man, how's the sanding going? you done yet?lol Good luck and i hope to see your car finished soon.
-
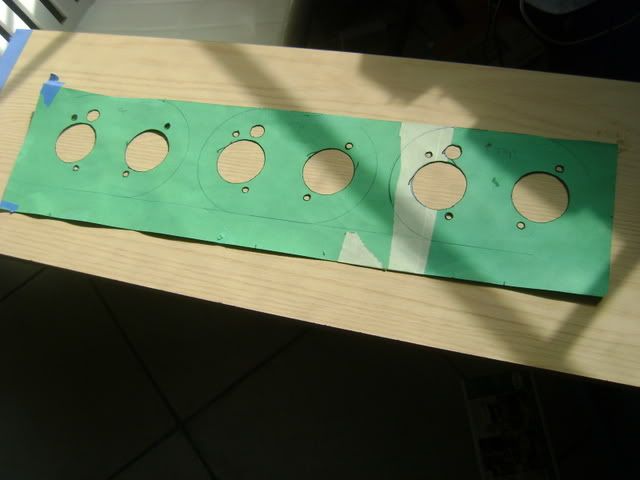
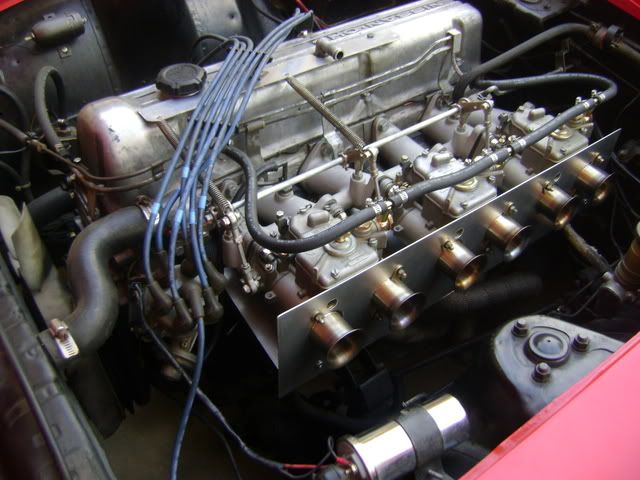
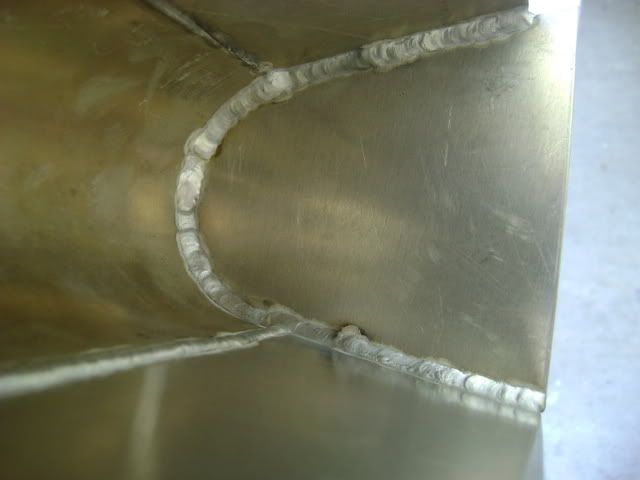
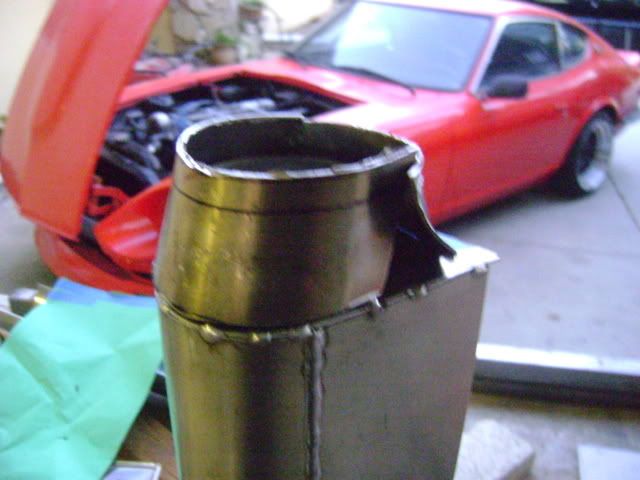
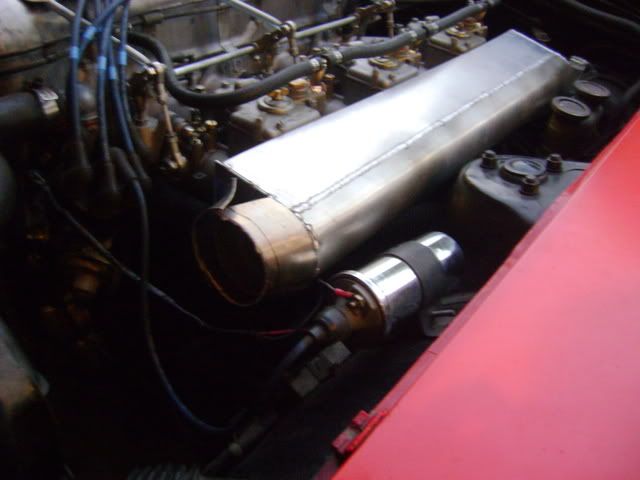
Well it was time i tried my skills at some fabrication work....and one of my first projects i thought of was to make a sheet metal manifold. I saw Zredbaron's twm induction box and thought i could make something similar except in aluminum. I didn't go off any blueprints or any realy serious calculations just what i have seen other do and what ive seen. Whether this thing works or not i have no idea until its done..i hope it does but only time will tell. This manifold is for my 40mm webers with the stock airhorns so my concern still is how im going to seal everything and still have access to the horns but i got an idea floating in my head for that problem. Aside from that, all this is a learning curve for me and i hope it goes well because i already have another design in head for another one. Anyway on with pictures of my progress so far...feel free to give me input or call me an idiot...worst case scenario i'll have a nice paper weight.lol
Started with paper template...
Cut out patern on aluminum for airhorns and rivited a stainless piece to go under the carbs for a heat shield
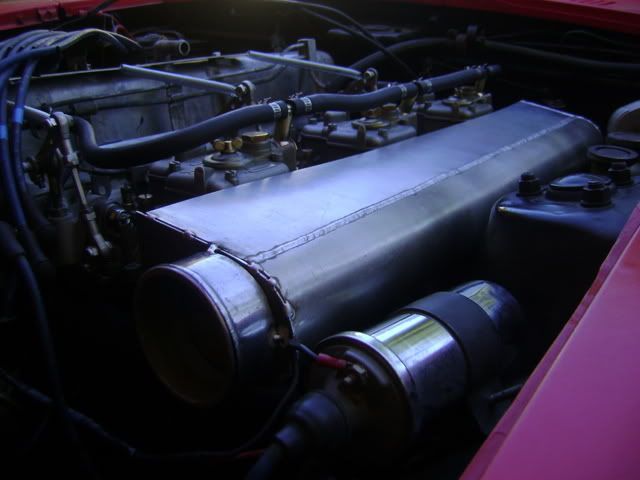
here it is installed
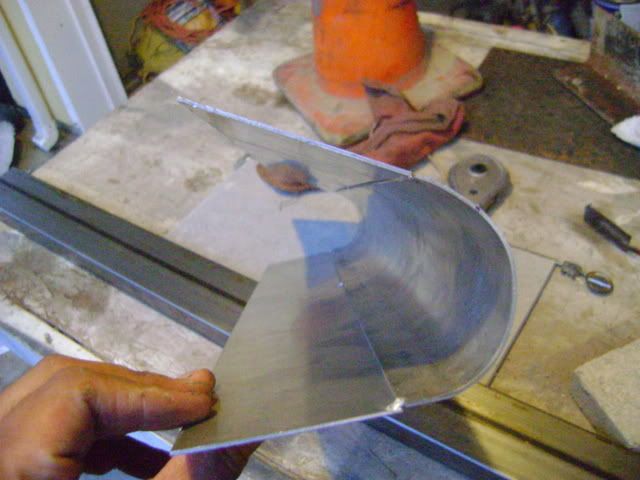
now here is the hand rolled aluminum and two sheared pieces of the main manifold tacked together
me excited and doing a test fit lol
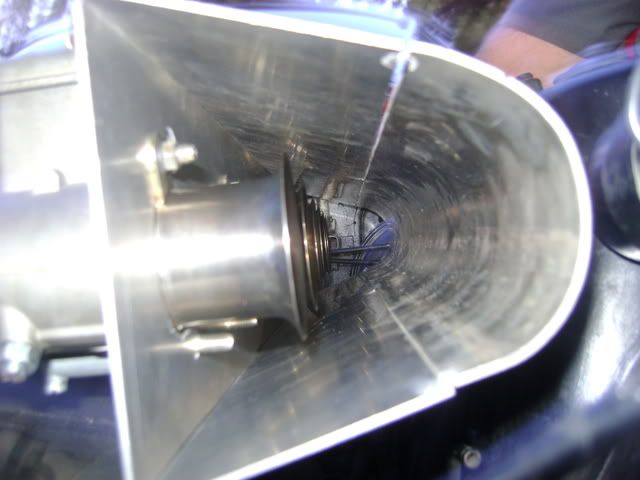
A inside look of the shape and airhorns
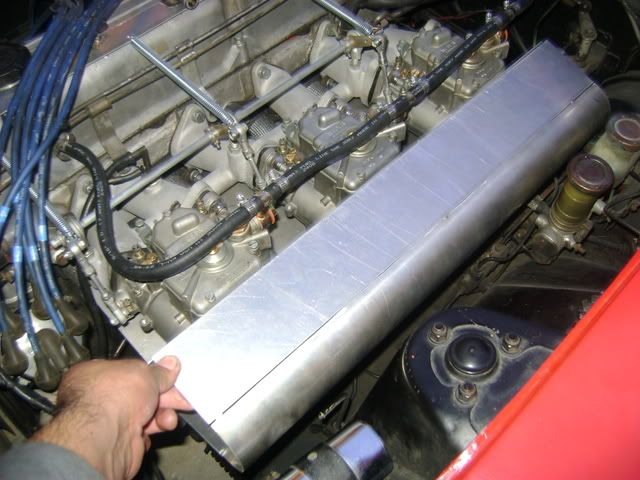
Here is the three pieces partially welded together
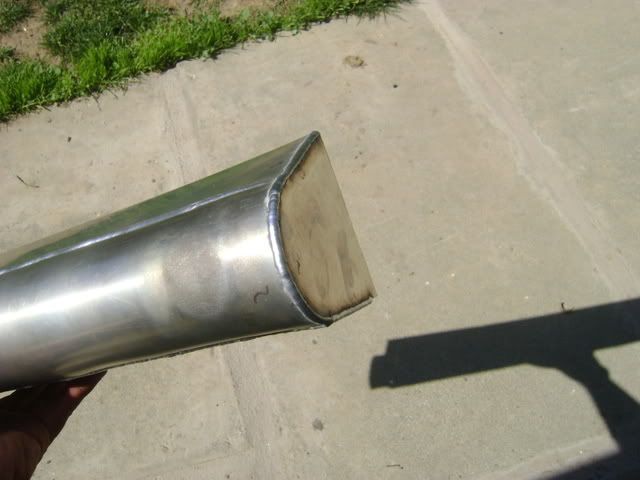
end piece welded in..kind of a pain with limited space...
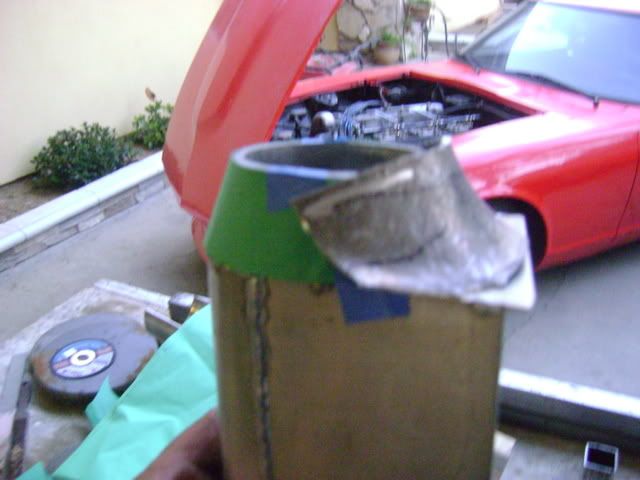
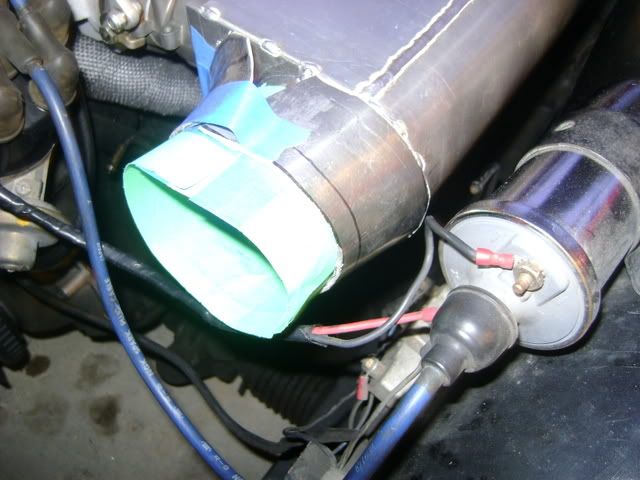
3" inlet mocked up....i dont like the round to square transition so its just a mock up for me to form the aluminum into a taper....paper came in handy at this point.
And finally were at today..... a mock up of what the round to the tapered entry will look like... the round part will be for a silicone hose to connect to some duct work i'll run to the front and have that ram air effect i think...lol
-
Did you fab that airbox yourself? I'm looking for one for my 40mm's.
lol Not an airbox yet but will be pretty soon....i hope.
Anyway, yes i did make it myself, i started with paper then moved to the alumminum.If i finish it soon enough and it works well enough i'll give you one seeing as its for my 40mm webers so i'll make two maybe more...
-
I wanted to wait till i got my valve cover polished and redid my fuel lines but ehhh im bored here's mine...
-
Hmmm i think most people do spot welds every inch or so kinda like...
---0---0---0---0---0---0 as opposed to ---0000000---0000000---
lol dont know if that helps or not but its done that way to as to not cause
distortion in the metal from the excessive heat from a full bead.
I assume you are trying to stiffen up the chassis right? If so then go with the stitch welding, thin gauge sheet metal warps like crazy. If you must weld a full seam the go with the stitch welding and keep jumping around to avoid overheating the metal and making it warp kinda like..
---0---0---0---0--- then --00--00--00--00--- then -000-000-000-000- finally 0000000000000 then u have a full seam....
hope this helps.
-
Stumbled upon this video on youtube, hopefully it will inspire everyone,
this guy Carlos is really good at what he does....i cant get enough of the videos and all the progress...awesome!!! I like the datsun but he really shows his stuff on the bug....
-
Looks pretty good, a bit of a lean spike though at the 2500rpm though....Be as accurate as possible setting the floats, i recently checked mine and they were off a bit......setting the float heights alone had a tremendous effect on the off idle to 2500rpm range. It definately takes some time to do it right and get them all the same but it absolutely payed off...... I set mine at 12mm fuel shut off and 26mm droop but yeah check the float height for sure since you removed the needle valves and see if it helps...
keep up the good work Matt
-
Hello all i am fairly new to the whole weber scene as well but like everyone here i got my own problems.....anyway so far here goes my setup
L24 up to 2.5 and some sort of regrind on the cam e88 head, 6-2-1 msa header
40 dcoe 151
40 pump jet, air corrector 180, f11 emulsion tube, main jet 120, idle jet 50f9
30 mm main venturi and 4.5 auxilliary venturi, 50 bleed valve basically a stock setup,
the carbs originally had 110 mains and was crap above 4000rpm now the 120 mains are much better however im thinking of going to 32mm main venturis car still feels like it has more in it....dont know for sure but only changes will tell. Like everyone else here the car has a slight stumble from idle to about 3000rpm dont know if its the throttle plate setup or idle jets or what.....when i setup the throttle plates to just cover the first progression holes the car will idle but seem a bit too lean as i will get some poping in the exhaust at idle and mixture screws are about 1 full turn out from the seat to idle about 1000rpm. trying to drive the car like that is horrible however if i barely set the throttle plates to just before the first progression hole and have the mixture screws 1 1/2 turns out the car is pretty good but still a slight stumble from light pedal to wot to 3000rpm but its the best setting the car likes so far. any inputs?
im thinking maybe bigger idle jets or a bigger pump jet, maybe a longer stroke on the pump jet rod? Any input is appreciated, and im gonna wait a couple of days before i start ordering jets and venturis online....
2eighTZ4me
more info on all the jets and emulsion tubes and engine specs would help everyone give you some more advice.....from what i know the main jets affect the entire main circuit (2000rpm) and up while the air corrector jets are mainly for higher rpm range..
anyway have u thought about changing the accelerator bleed valve to one that doesnt bleed back as much or any fuel? It could maybe be the needle valve that isn't keeping up with the demand of fuel.... hard to say but maybe even changing float heights to hold more fuel might help.... i wouldn't think keeping stock specs of certain things would apply to an all out race car....just some food for thought maybe it will spark some idea's for you or anyone else here, good luck and keep us updated on the progress...
-
Filling up the holes with material should be ok on your valve cover 4043 should work just fine.....as far as your concern with wether or not it will polish the same i think you'll be alright. Ive done this to a couple of valve covers that had bad gashes in them, welded them up and polished afterwards and wasn't noticable. Unless you are anodizing the aluminum in which case the welding rod does matter. The only problems ive had with valve covers was grinding off the raised letters and then polishing. I did this to a sr20 valve cover and grinded off the raised letters and sanded smooth and polished and ended up still seeing the letters like ghost paint or something, kinda weird. You shouldn't have to worry about that since your painting over that area but just giving you my experience.And not using filler on aluminum is doable but there is no strength to those areas and will usually crack right away. If your ever near upland area i'd help you with any welding you needed see my sig.
Anyway good luck with everything and keep up the updates.


240z/280z BC Coilover Conversion
in Fabrication / Welding
Posted