-
Posts
77 -
Joined
-
Last visited
Content Type
Profiles
Forums
Blogs
Events
Gallery
Downloads
Store
Posts posted by PerformanceVH
-
-
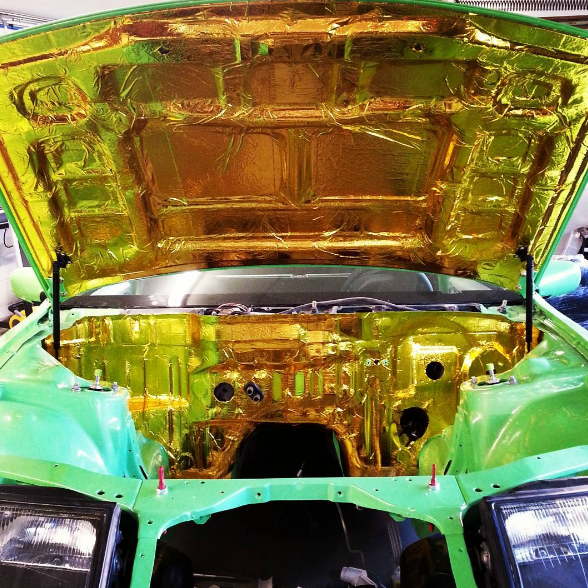
I've been making some small progress with the Z. Have a few other spring projects going on at the moment.I was able to install some gold foil tape from DEI on the hood and firewall to keep the heat out. It came out pretty good. The foil tape does not have any stretch at all and was a pain to install on the hood.
Next I need to get the steering rack modified for manual steering, and then the clutch & brake master cylinders installed along with the hard lines.
-
-
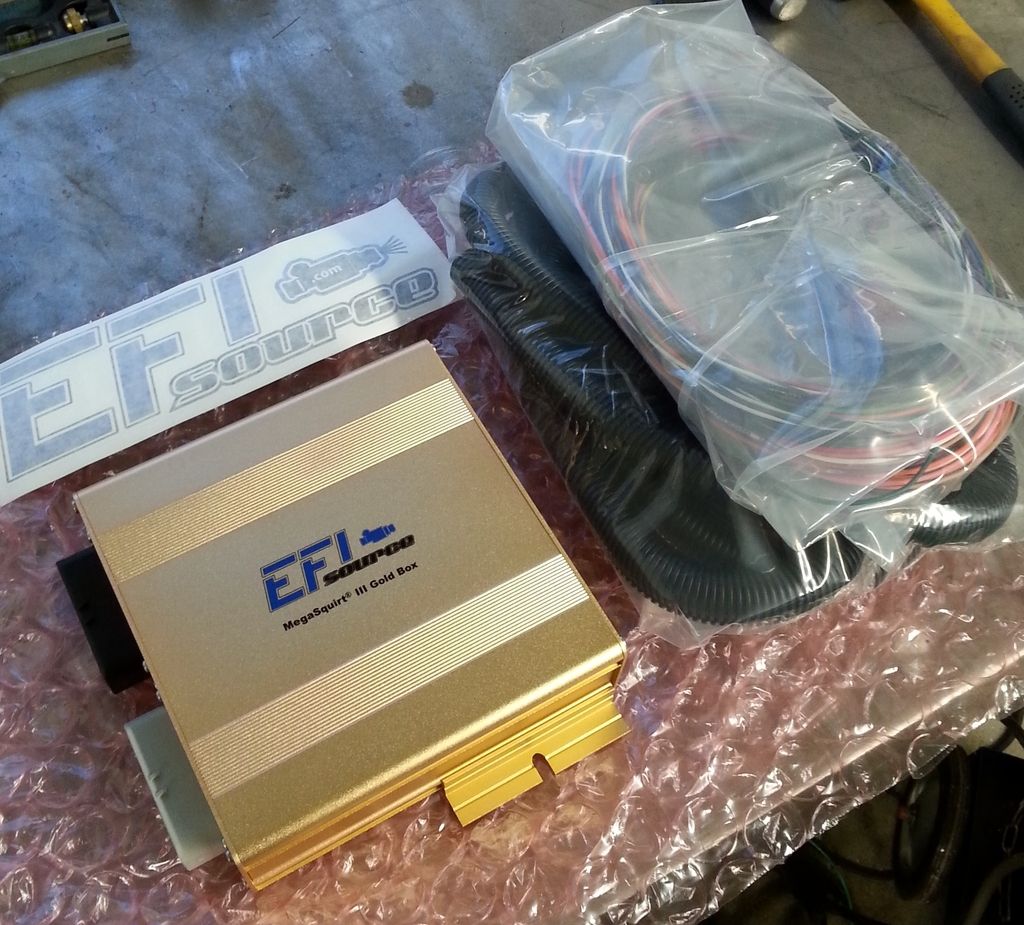
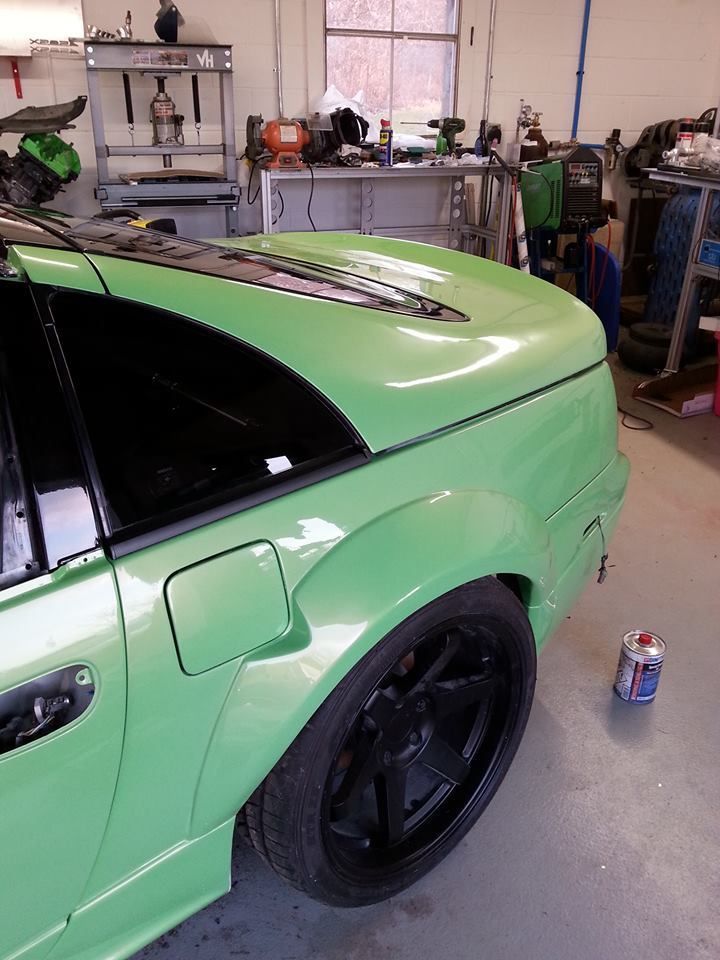
I finished up installing the new door glass, door gasket, handle, mirror. Next will be the driver side. Everything is going together quite nicely. I am picking up my MS3 Goldbox ECU and harness tomorrow. Engine should be done soon, and I should be getting my engine paint this week. Things are quickly coming together!
-
-
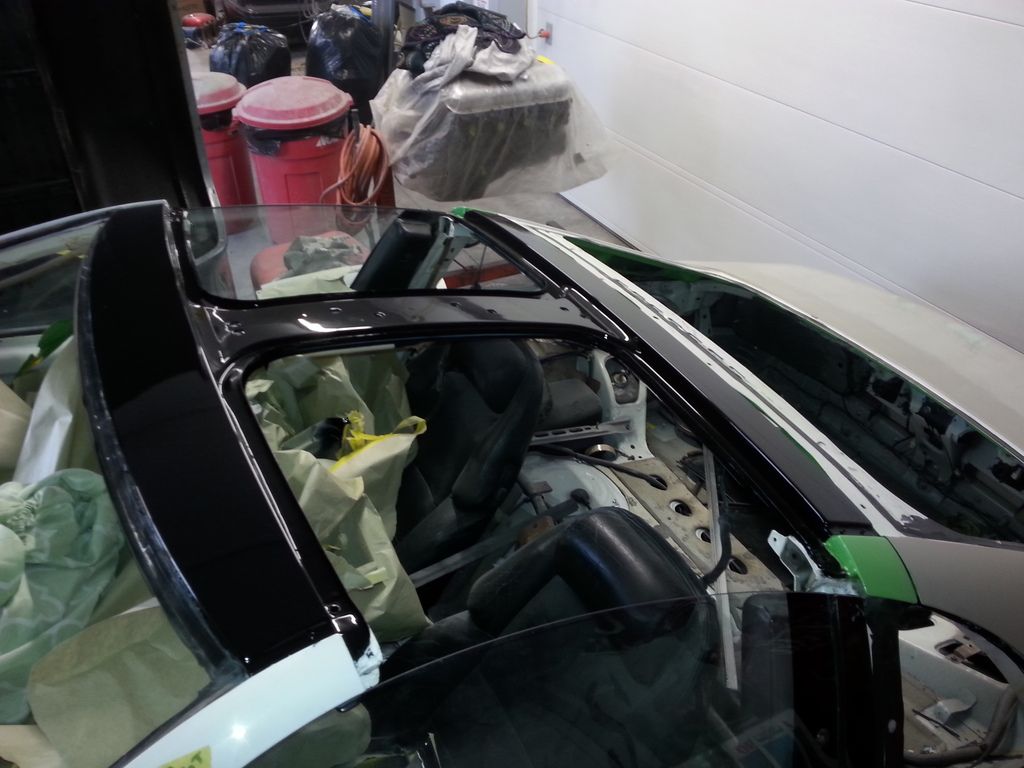
This weekend was a big step in the right direction! My buddy came over and installed the windshield, hatch and quarter glass. It's really starting to look like a car again! Once the glass was in, I finished installing all the rear trunk and hatch panels. Then I rebuilt the T-Tops. I am hoping to pick up the engine & MS3 Goldbox ECU this week.
Next up is reassembly of the doors and installing the new door glass.
-
-
Thanks 1969honda! Yes, I was very surprised/happy with how the entire roll bar fit. It was by no means a walk in the park though lol!
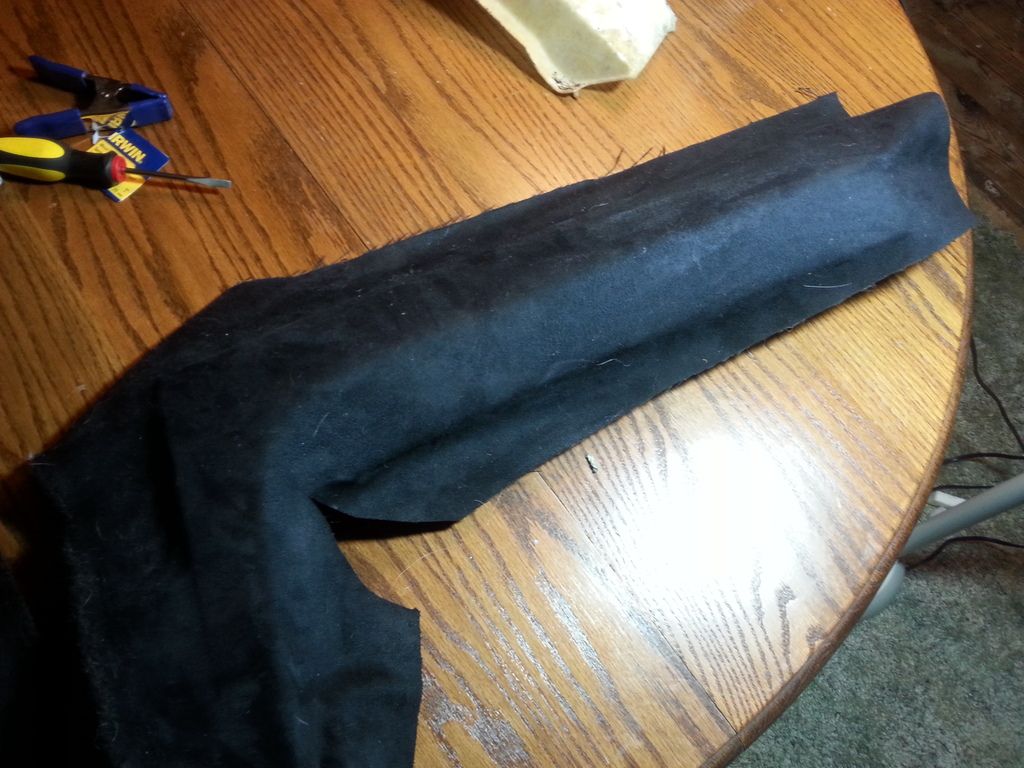
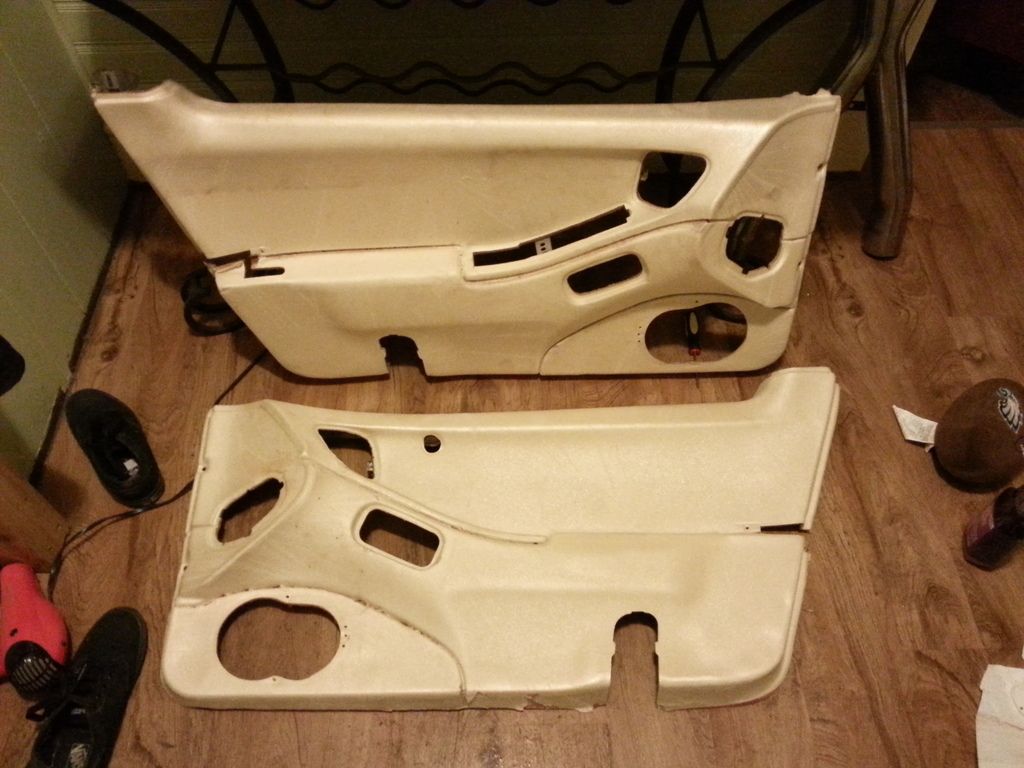
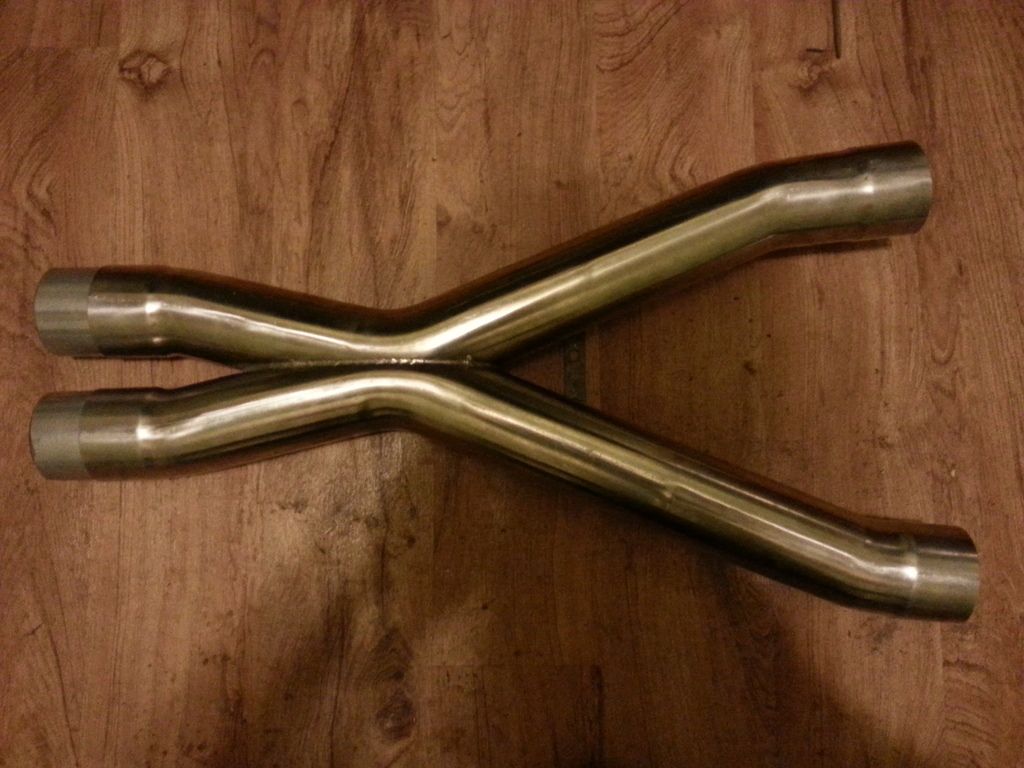
Some more progress.I removed the old material from the door panels. It was a bit of work but ended beautifully. All the original foam stayed in place. Now time to shave the seat belt holes and then install the new material!I've been searching around for 3" Stainless universal X-Pipes and I stumbled upon brand new Melrose C5 3" 304 X-Pipe on eBay $75 shipped. Most budget friendly purchases made for this project to date! Not quite ready to put it on but I'm always looking out for deals I'll need in the future. -
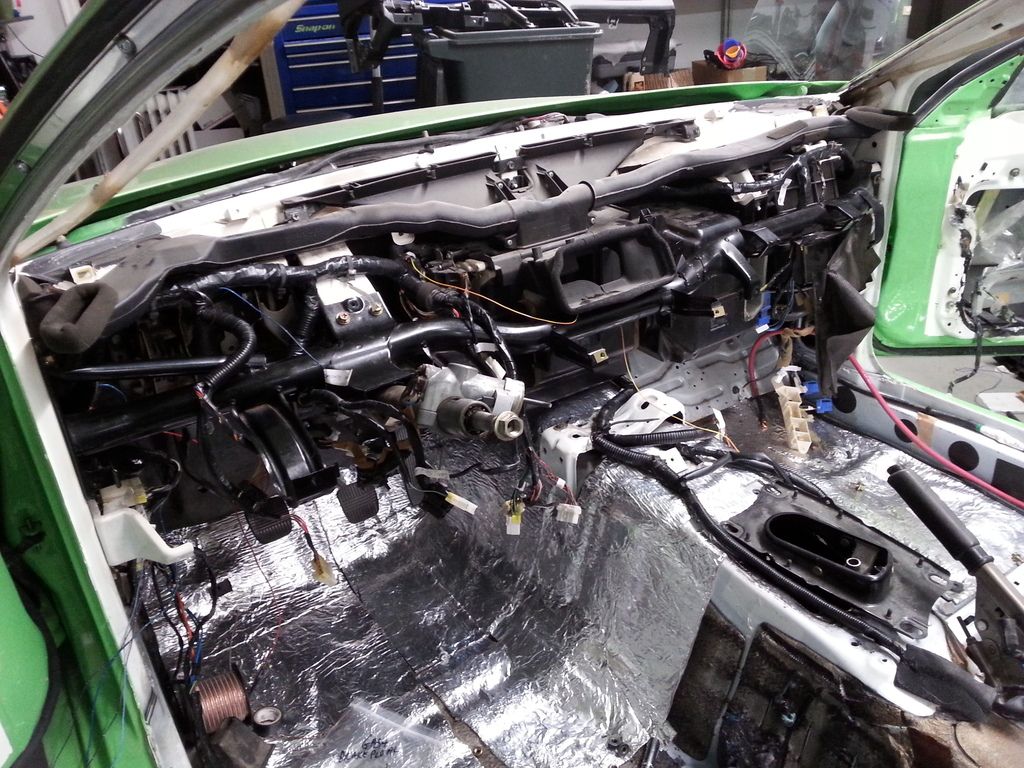
Updates!I made some great progress. The harnesses are almost all complete, some odd's n ends that I need to straighten out but nothing major. I started putting the dash back together & added some insulation to keep some of the heat away from my feet.
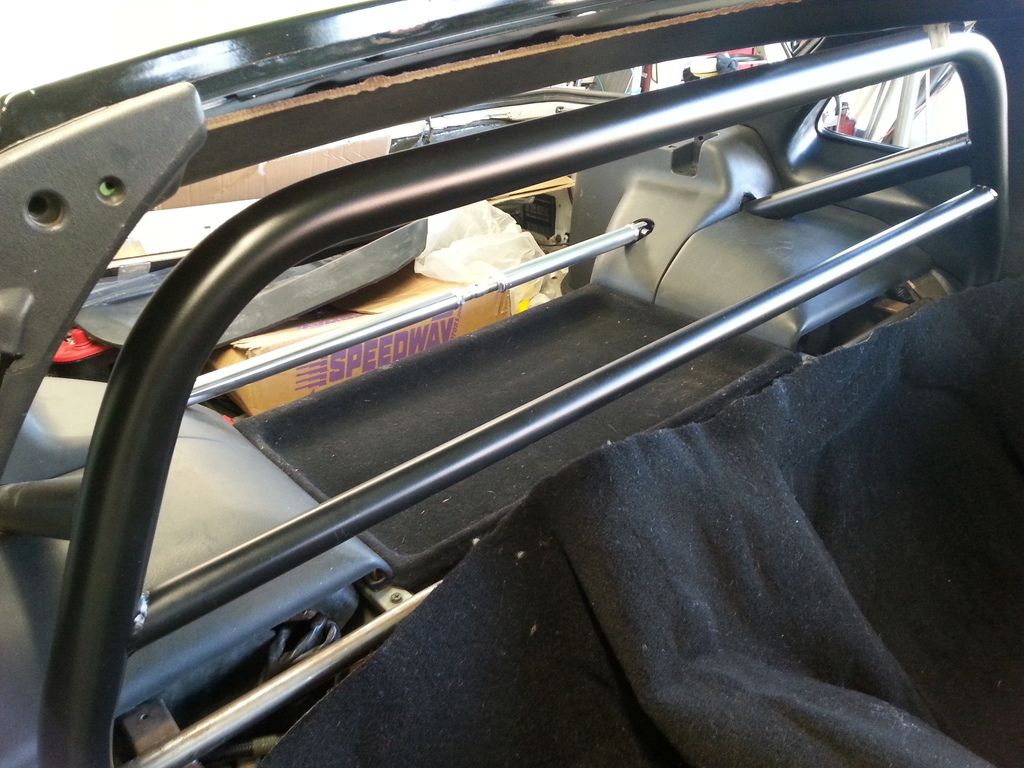
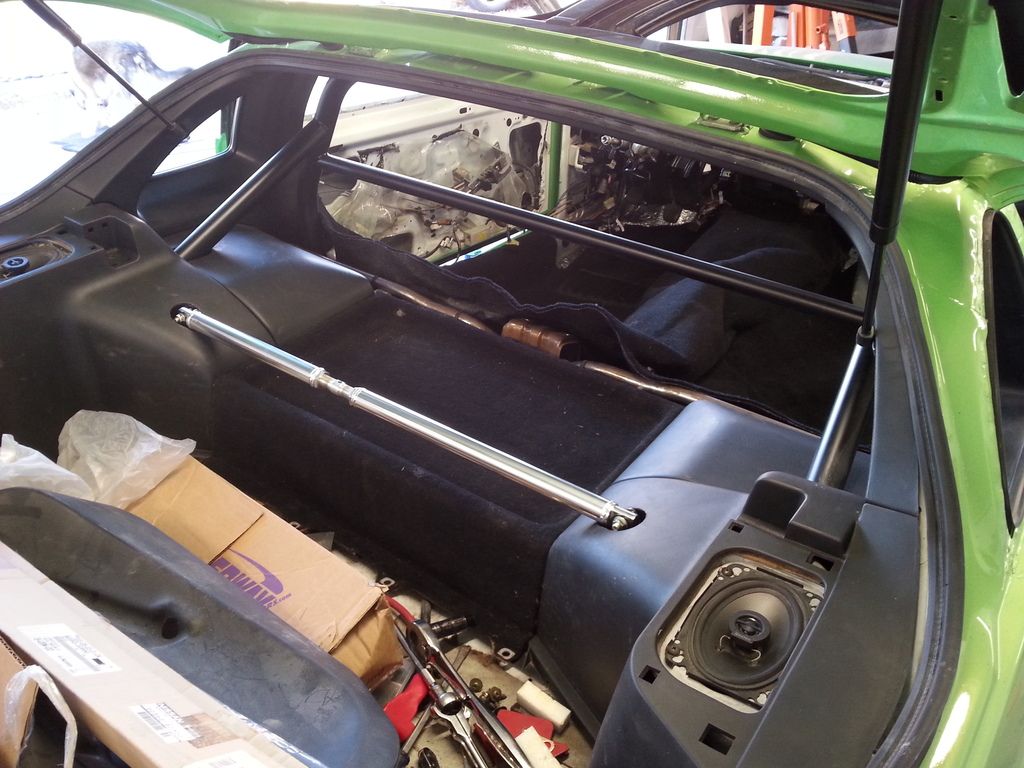
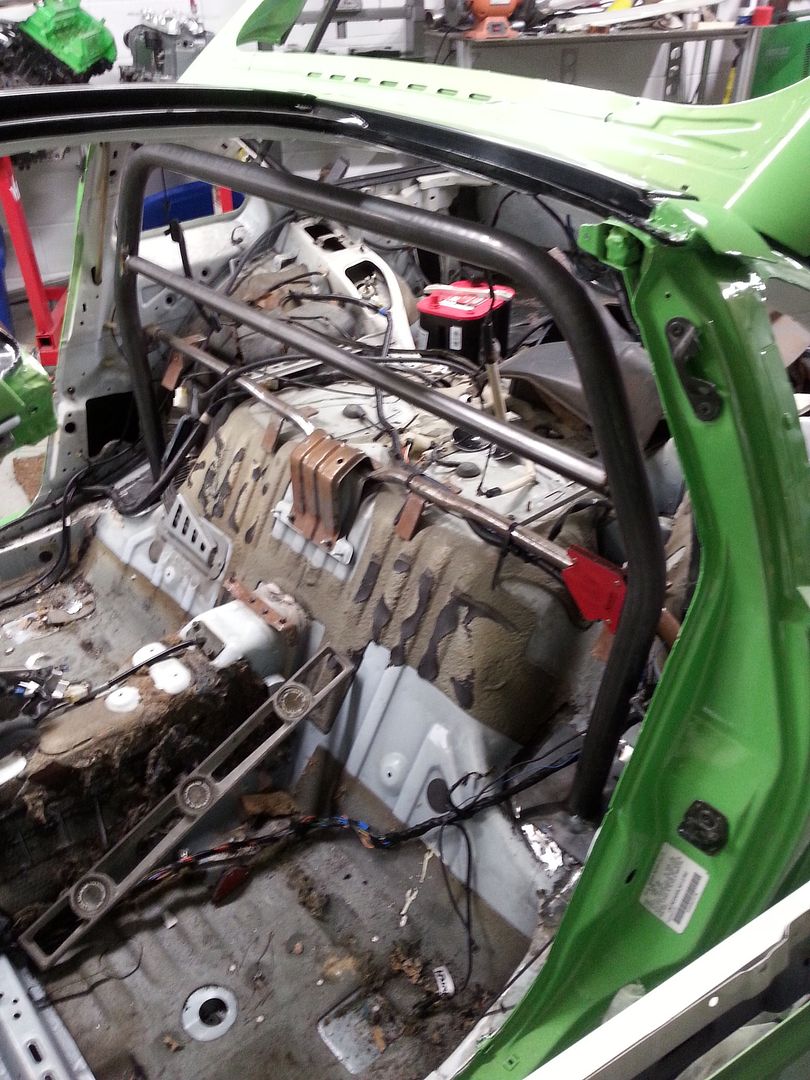
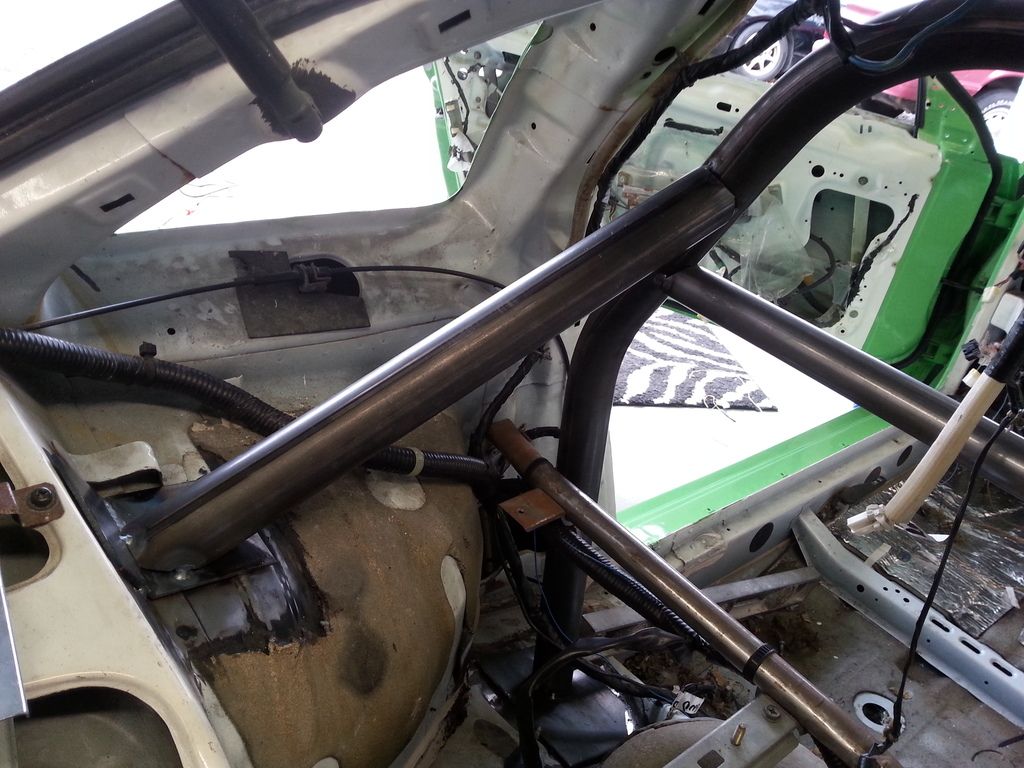
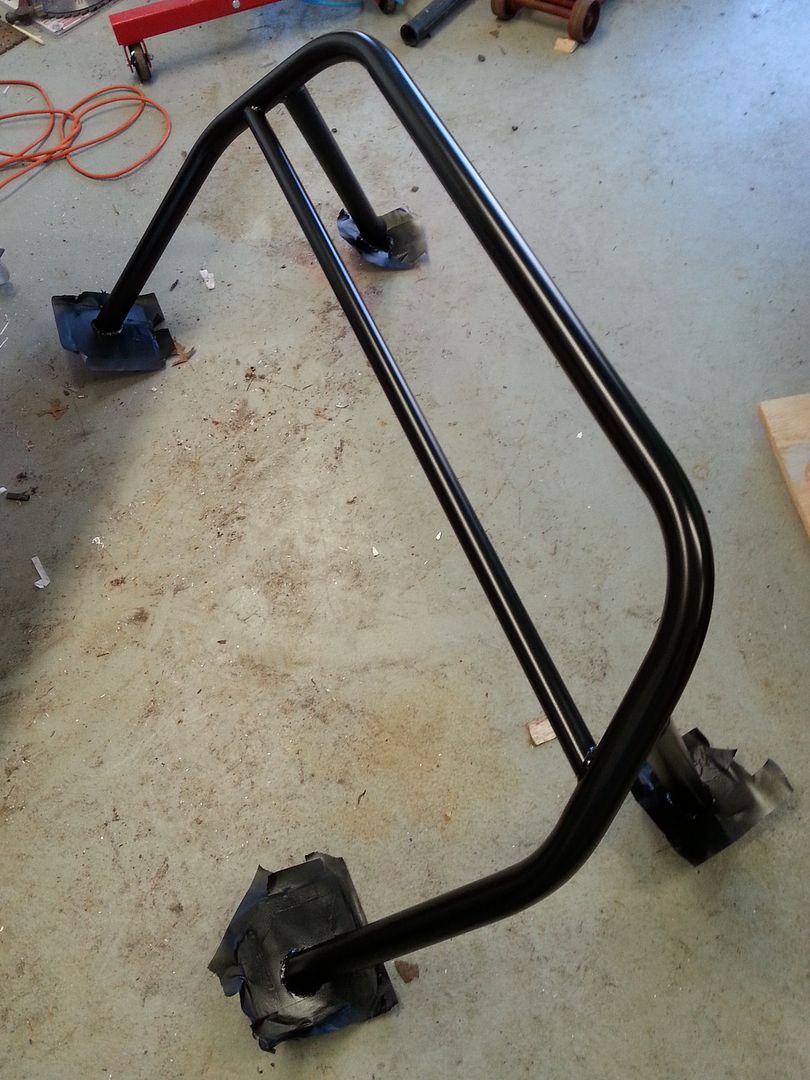
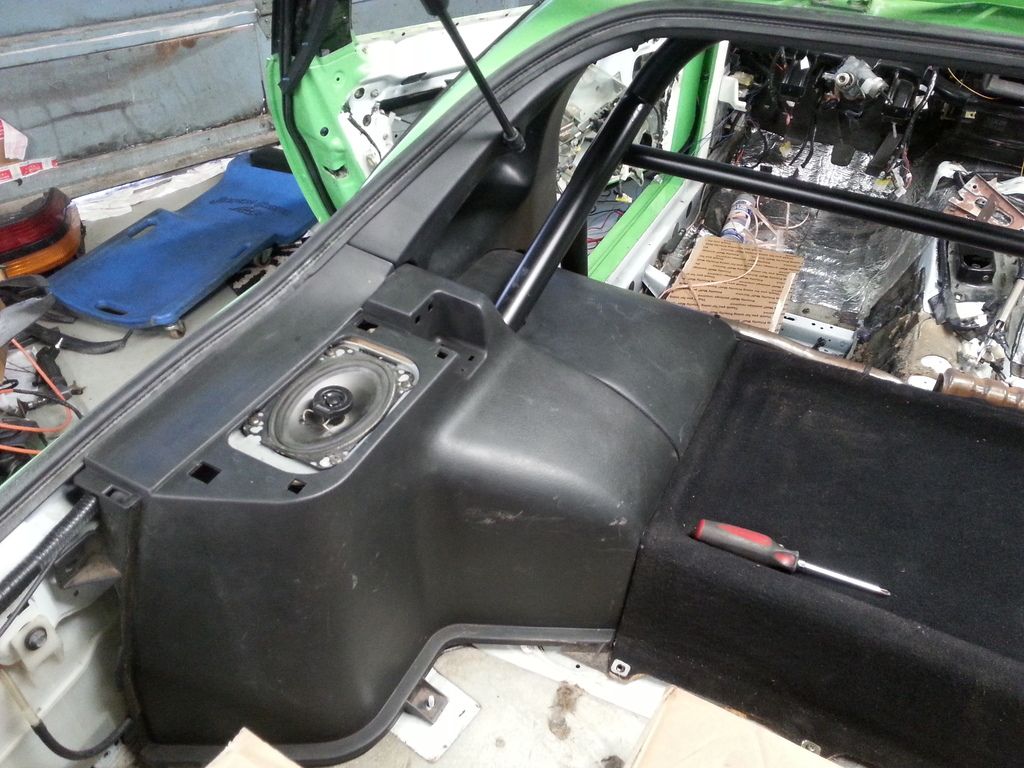
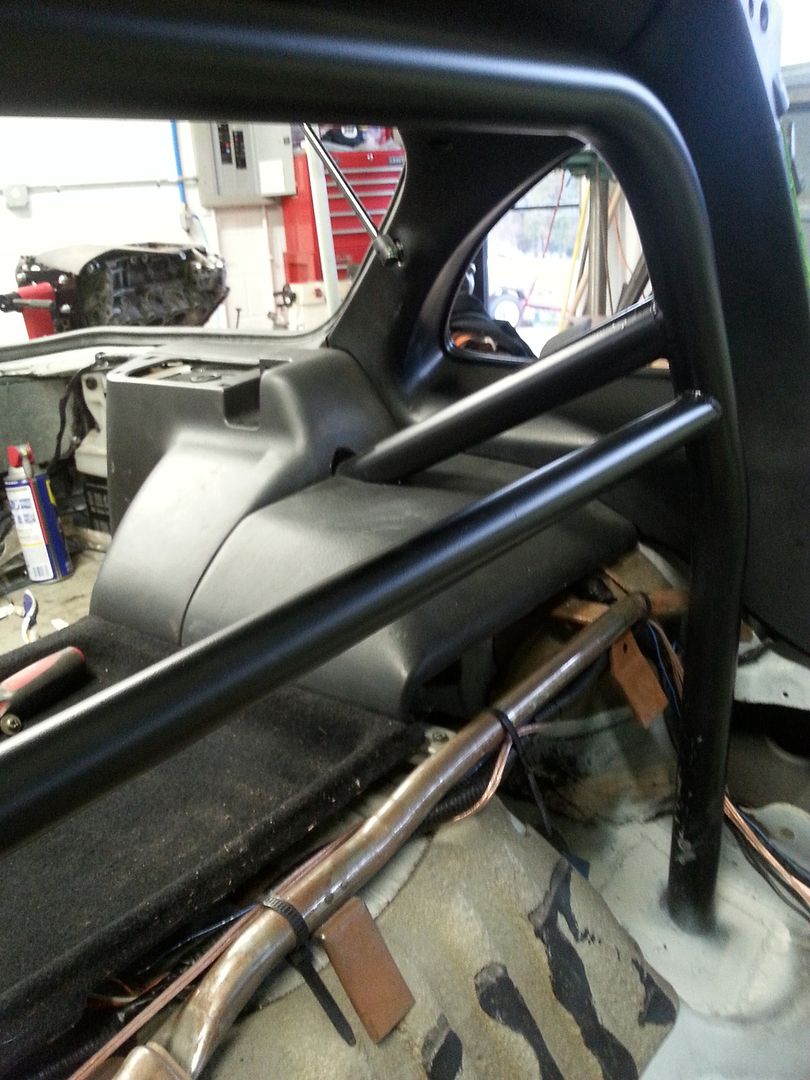
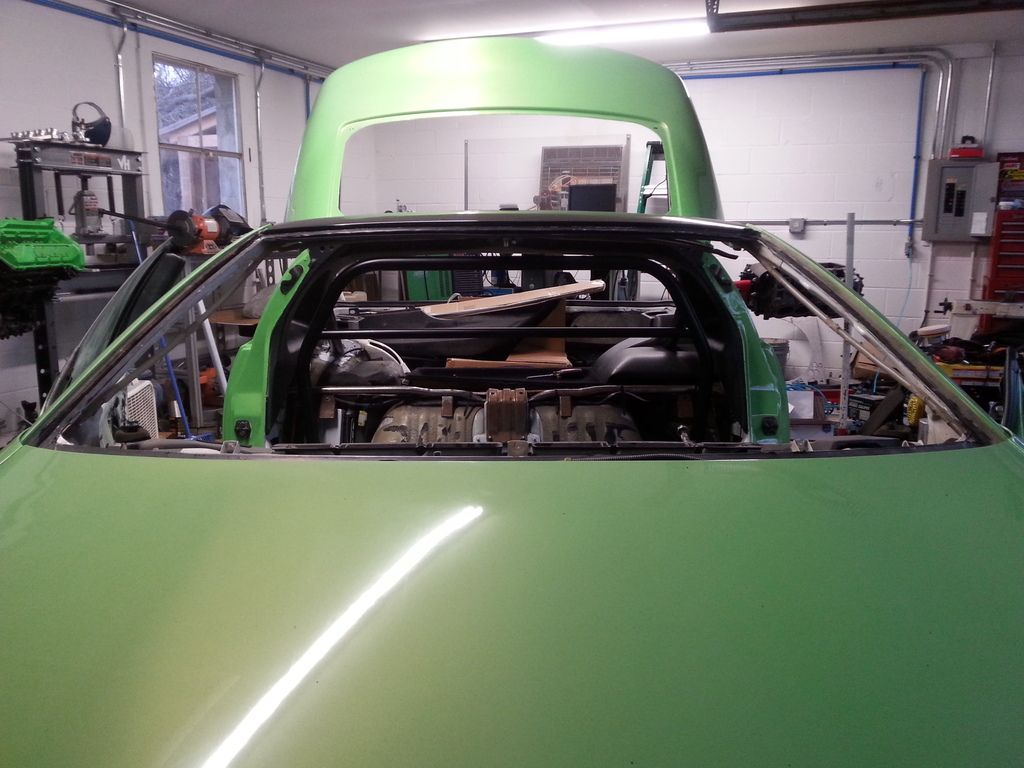
Then started the roll bar install. I decided to go with a Jegsters 4PT kit from a fox body mustang. It fit quite nicely after some measuring and cutting.
Painted and ready for install:
Works perfectly with the rear panels. I am going to recover all the plastic panels in the back eventually. I just want to get everything back together for now.
Next I will be tackling the new carpet, and re-upholstering the OEM seats. WISH ME LUCK!
-
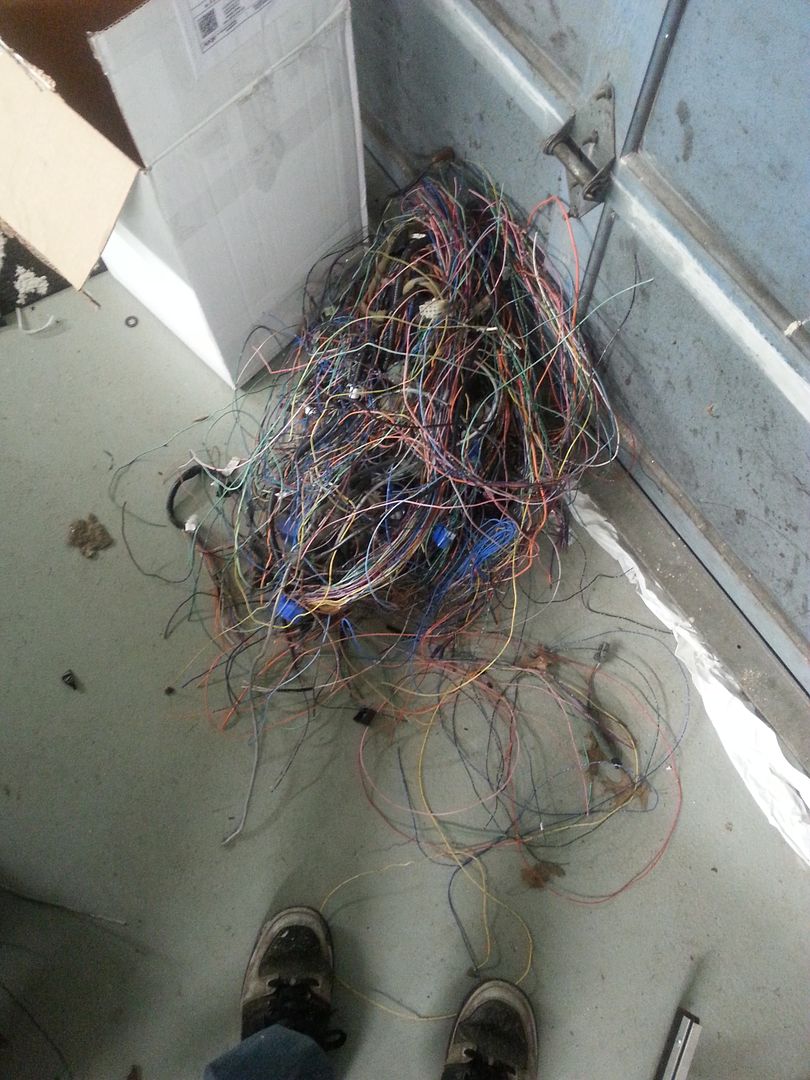
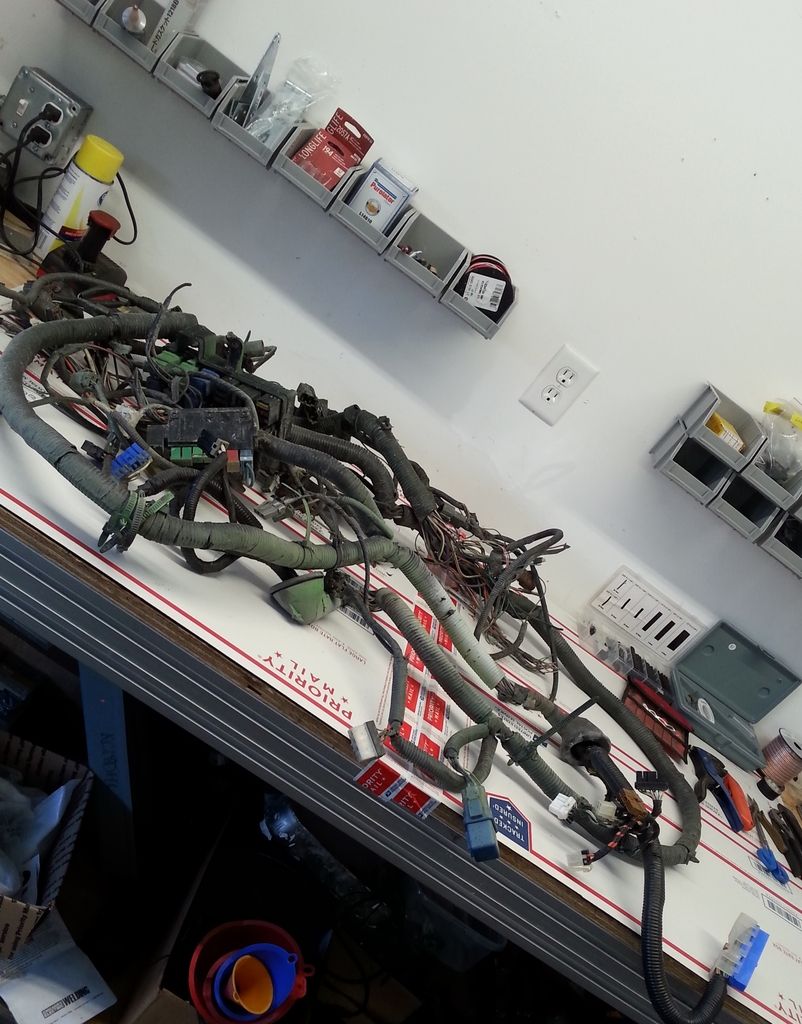
Wiring update! So for the past week I've been going through the wiring and removing anything that I didn't want/need.Systems/Modules Removed:-E.C.C.S.-Automatic Transmission/Shift Lock-Power Steering-Cruise Control-Air Conditioning-Seat Belts-Fuel Pump Module-Rear Wiper/Washer-Fog Lights-Rear Power Antenna(I'm sure I'm missing others)I was able to finish the front body harness, and I am about 90% complete with the dash harness. I hope to have all of the harnesses complete by this week. Then install the new carpet and start going back together with the interior!Here's a picture of what all was removed... I am so glad I did it!
-
Finished up the rear body harness, now on to the front body harness and then the dash harness. It is annoying trying to trace the SB kickdown signal wire from the driver side front harness to the passenger side harness then into the passenger side dash harness to the gas pedal! Talk about the long way around! Anyways, it is very nice to see all of the automatic transmission wiring removed from the vehicle as well as many other unnecessary systems.
-
-
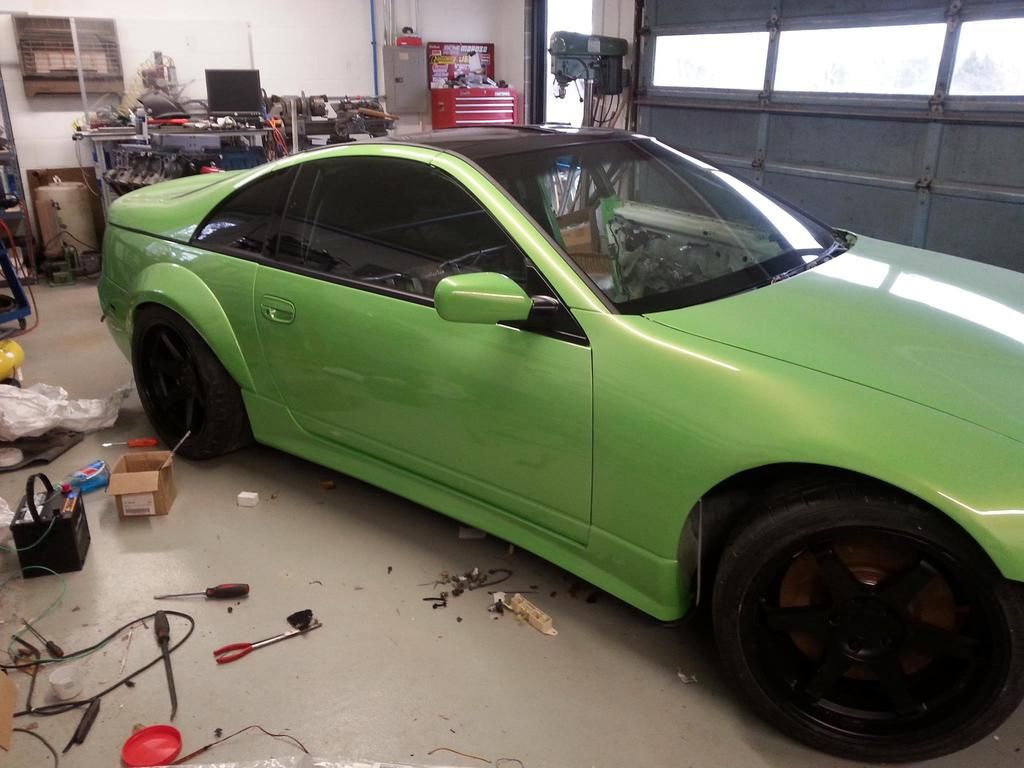
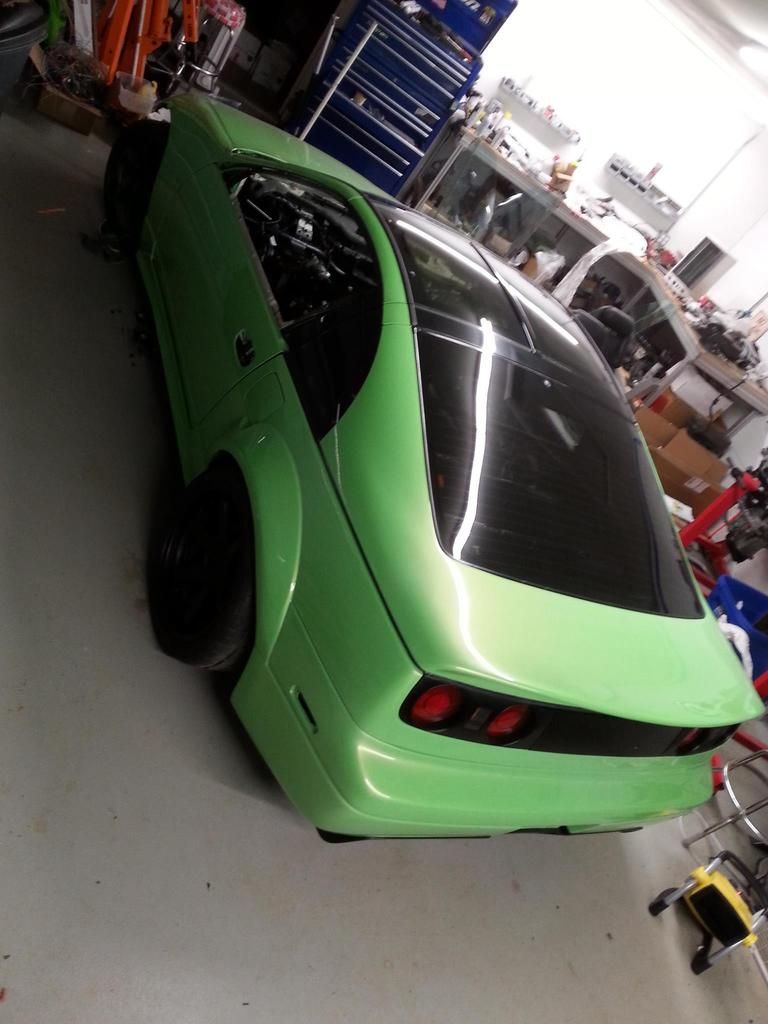
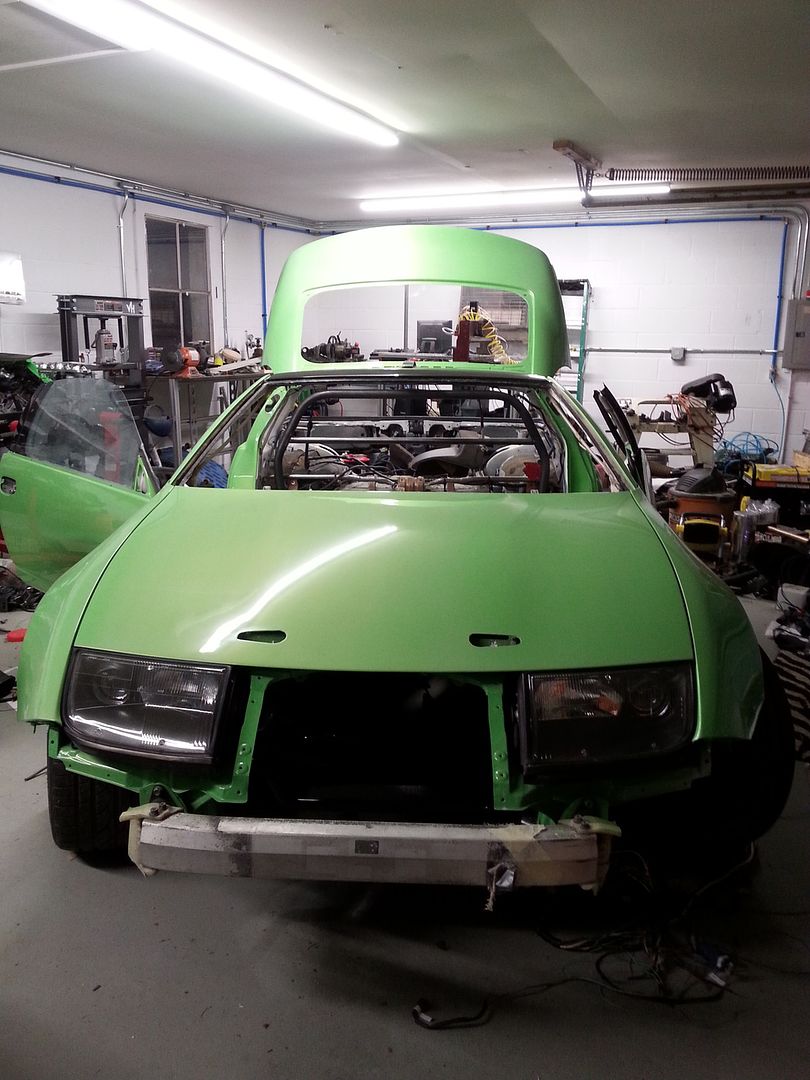
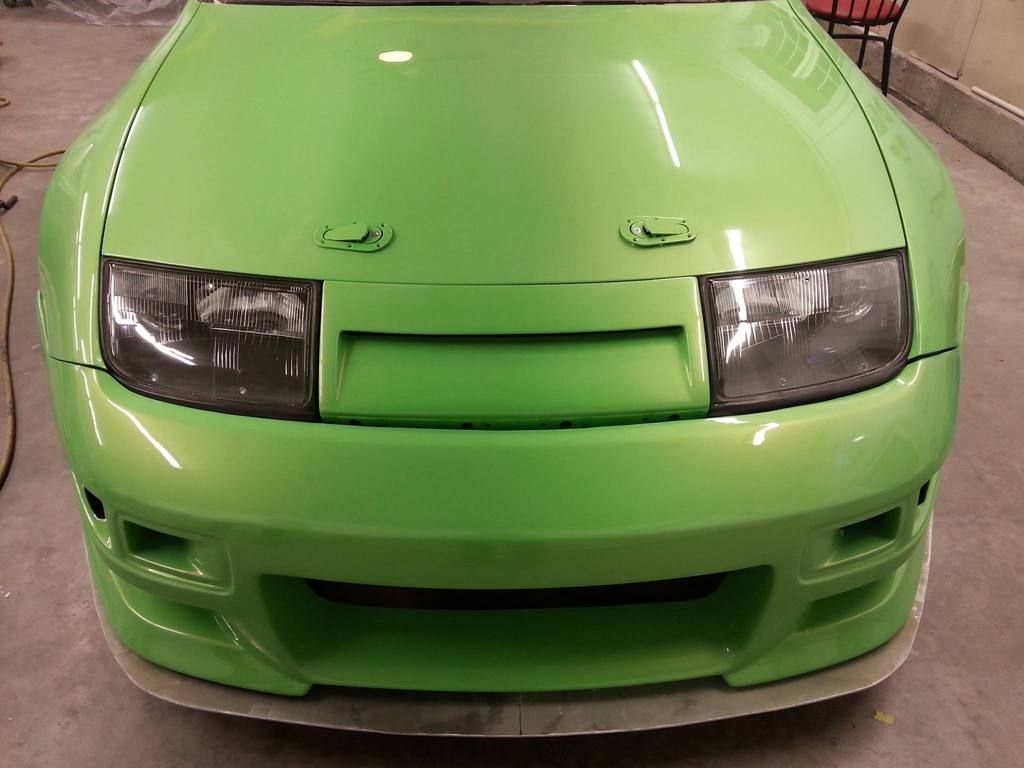
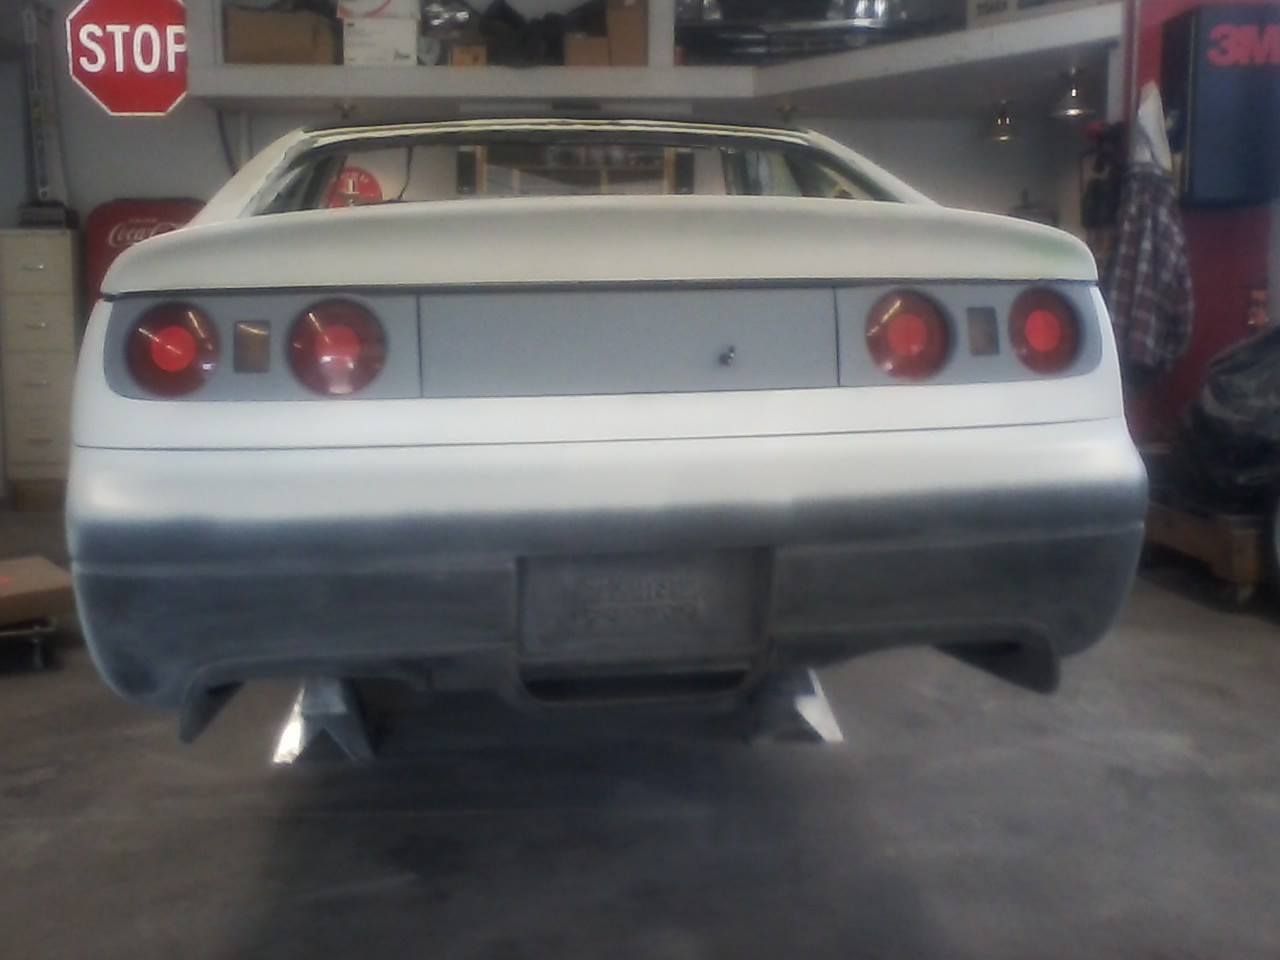
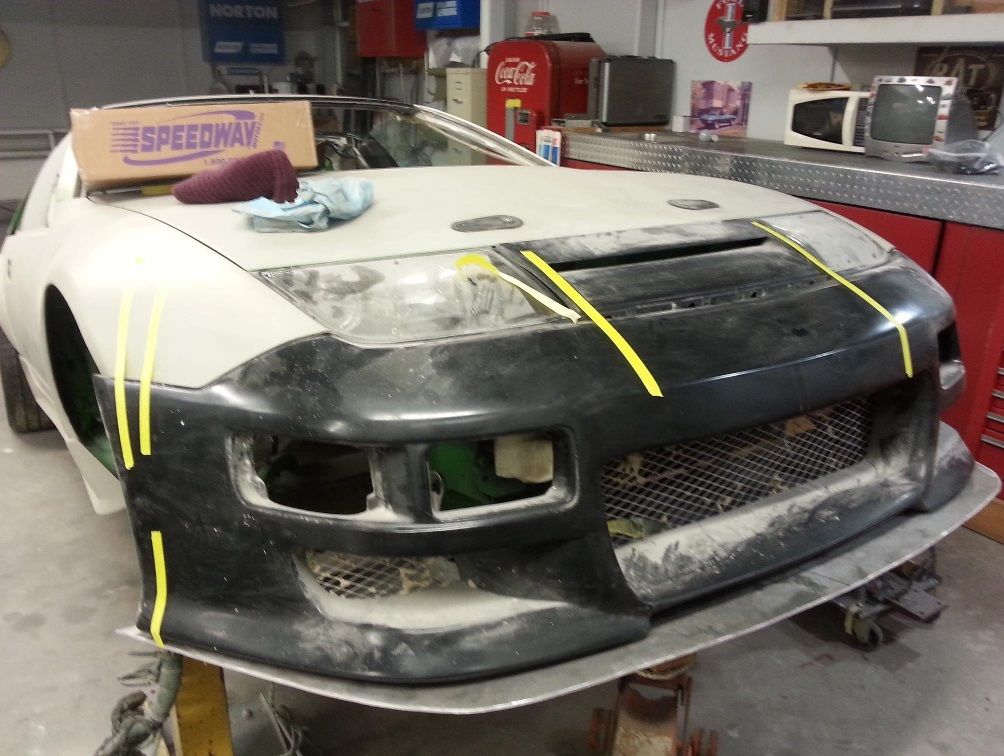
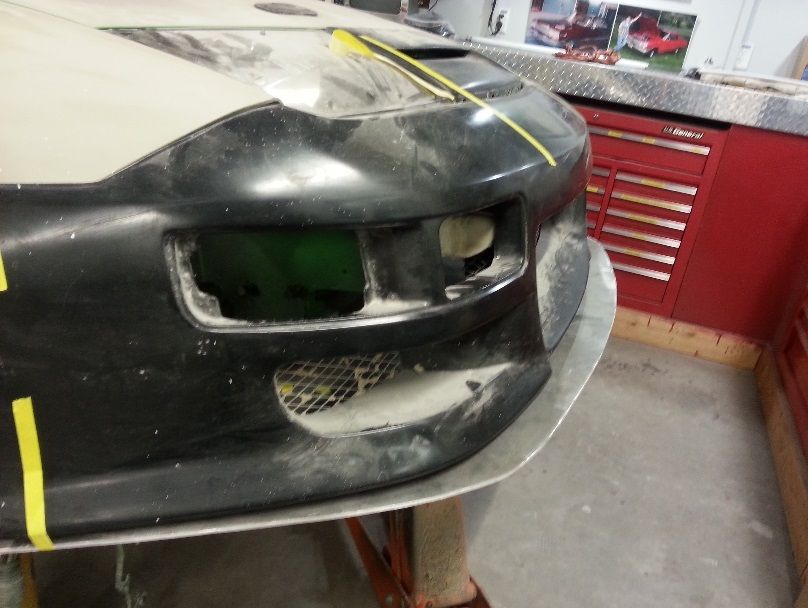
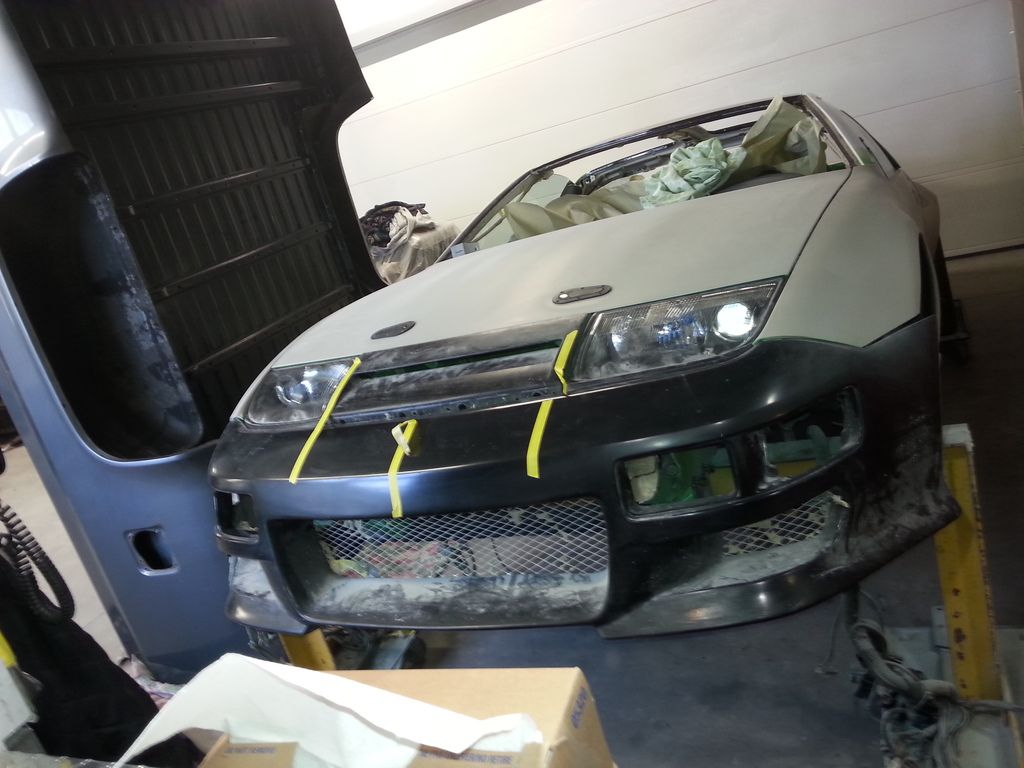
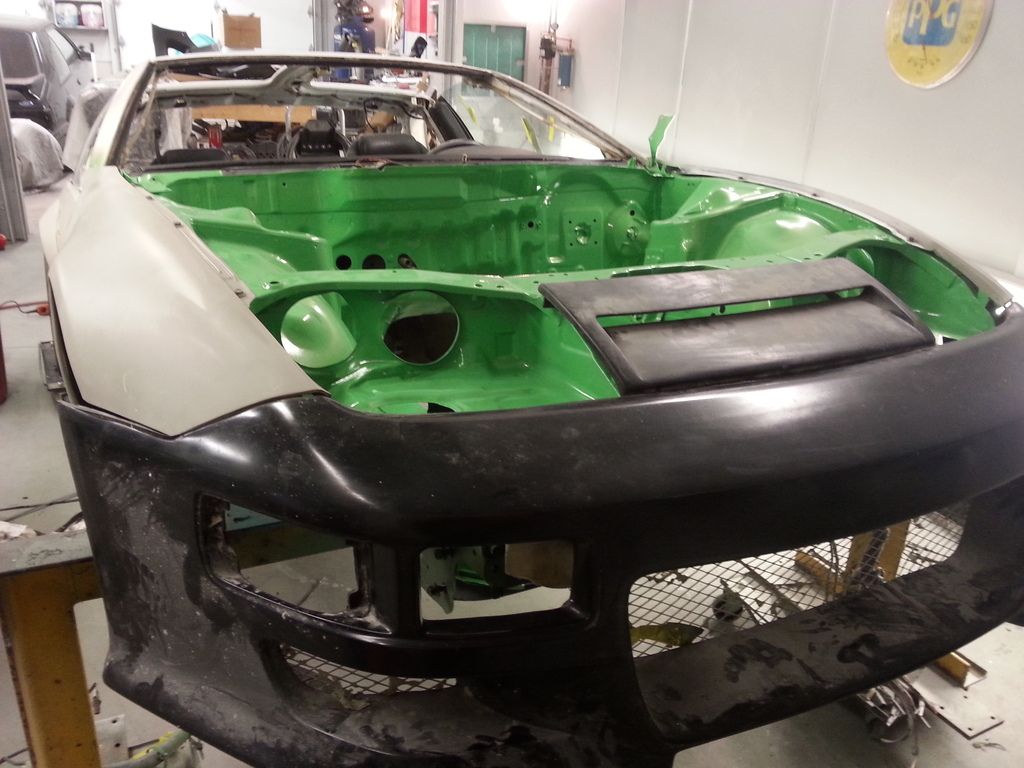
Alright guys! I brought my Z home from the body shop this weekend. Here are some pictures with the bumper placed on the front splitter. Not bolted up, but I had to see what she was going to look like! Enjoy!
Started to remove the body harness so I can start fresh. Still have a long road ahead of me. Getting the project to this point has really brought back my motivation. More updates to follow!
-
-
-
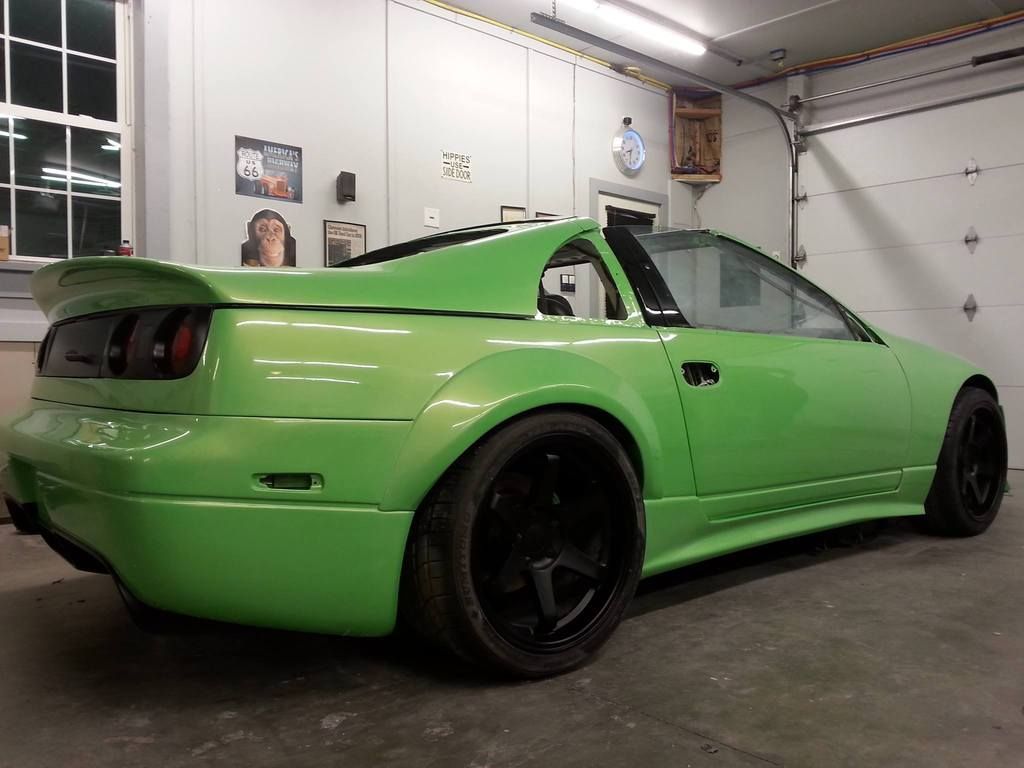
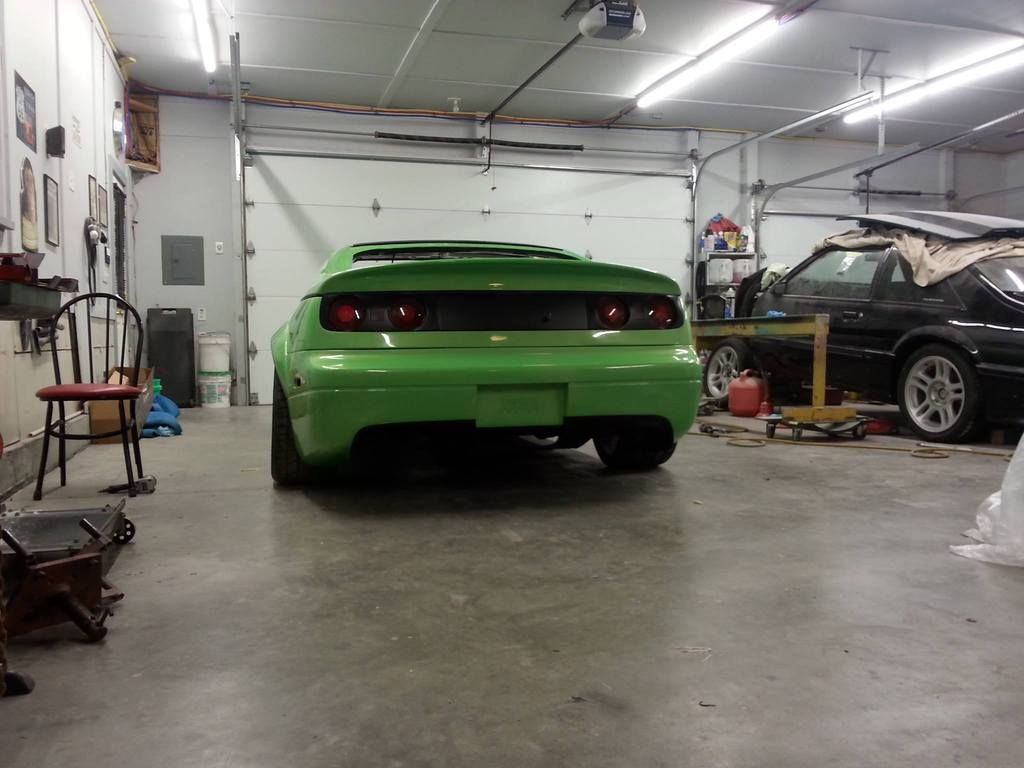
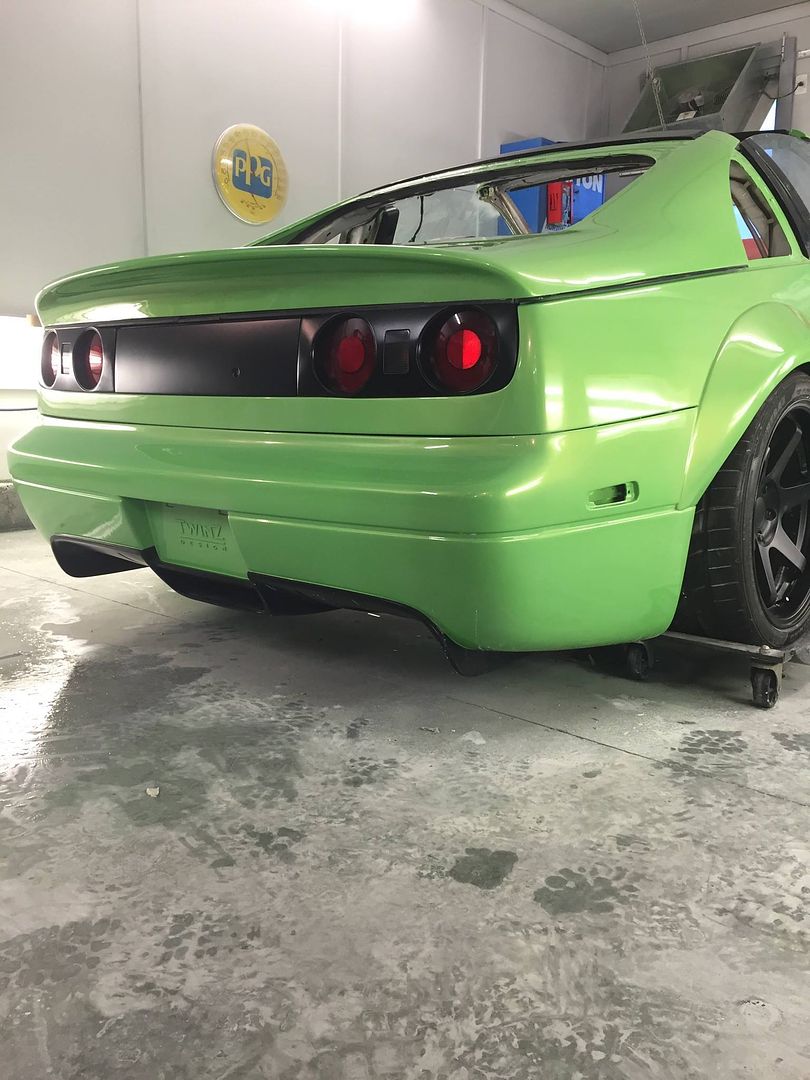
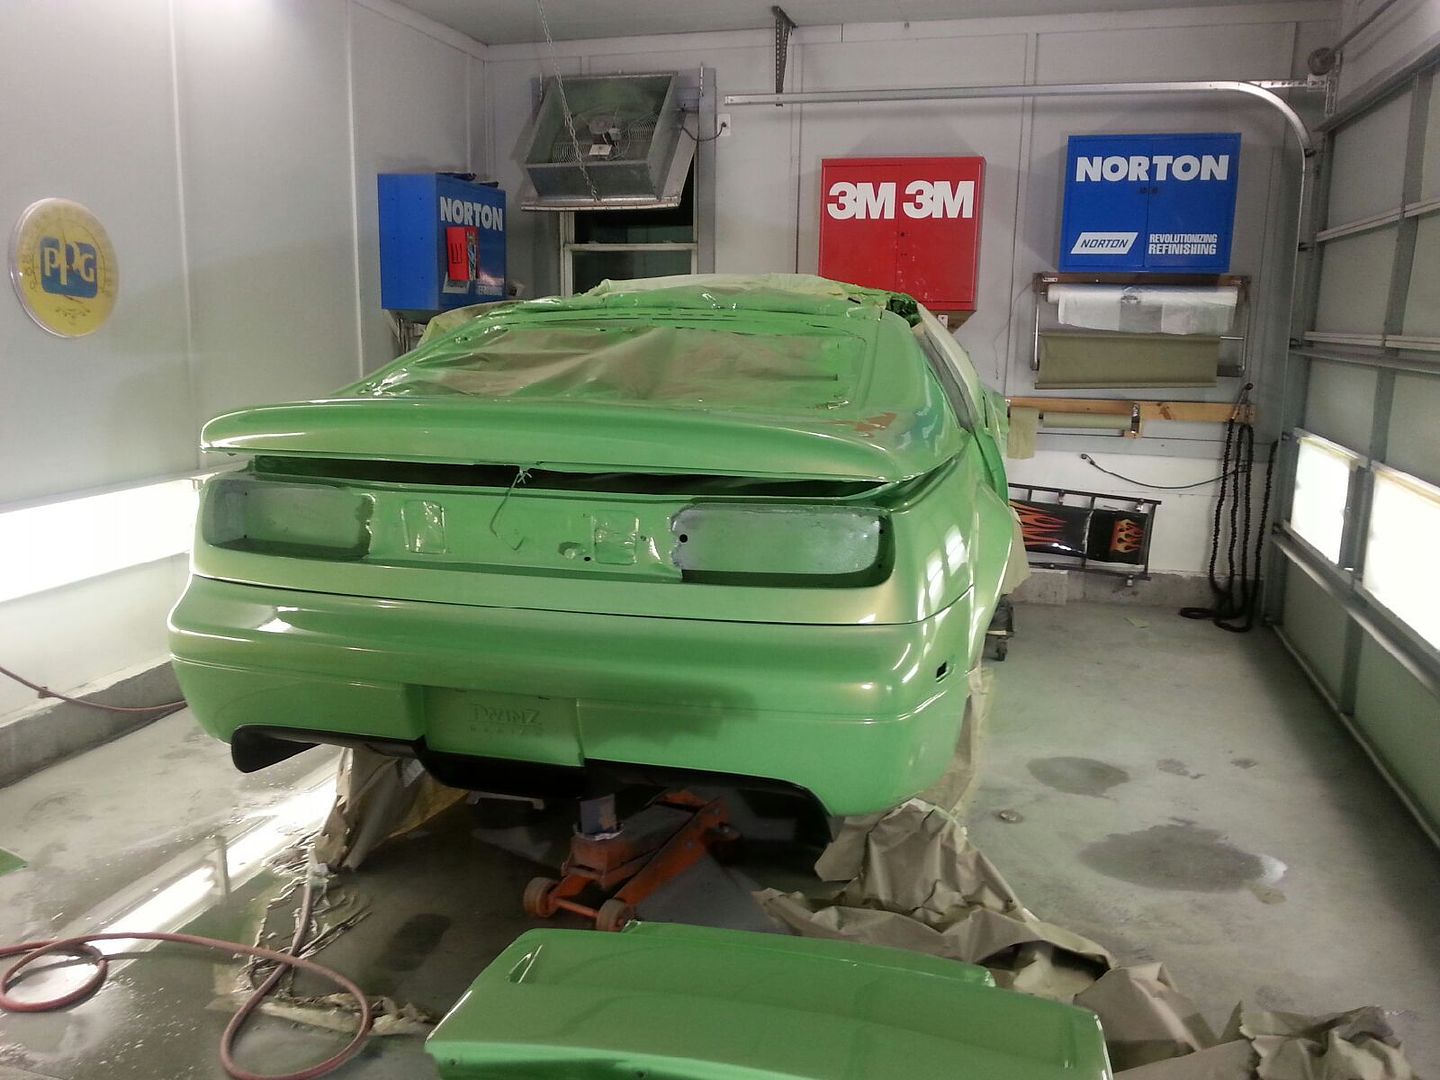
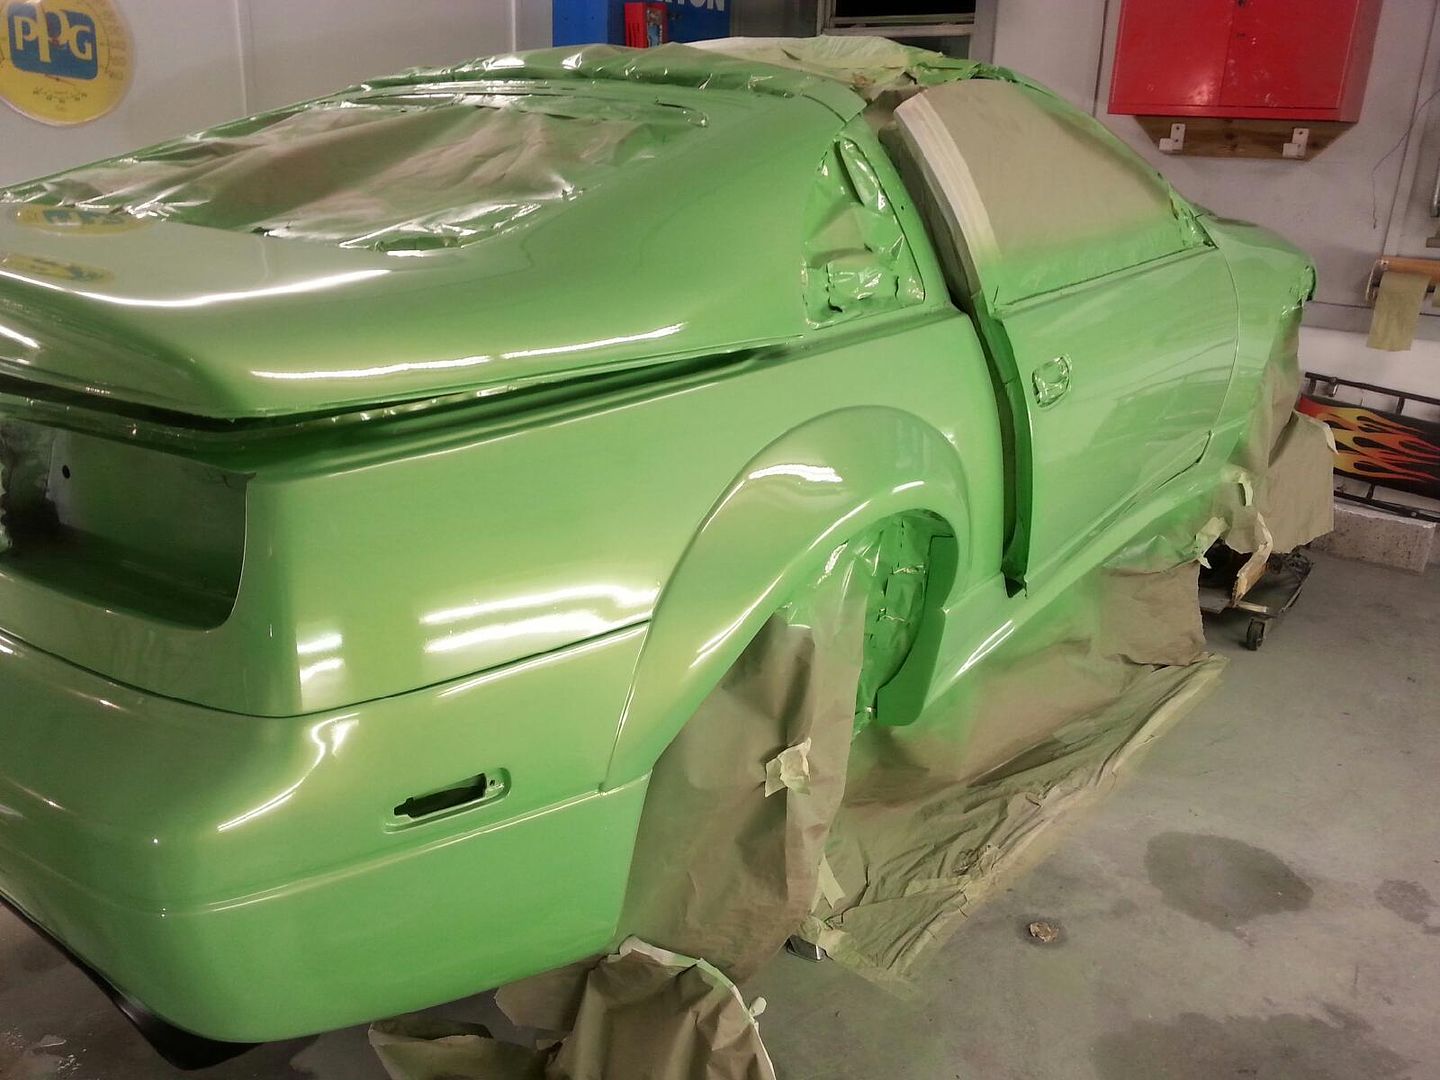
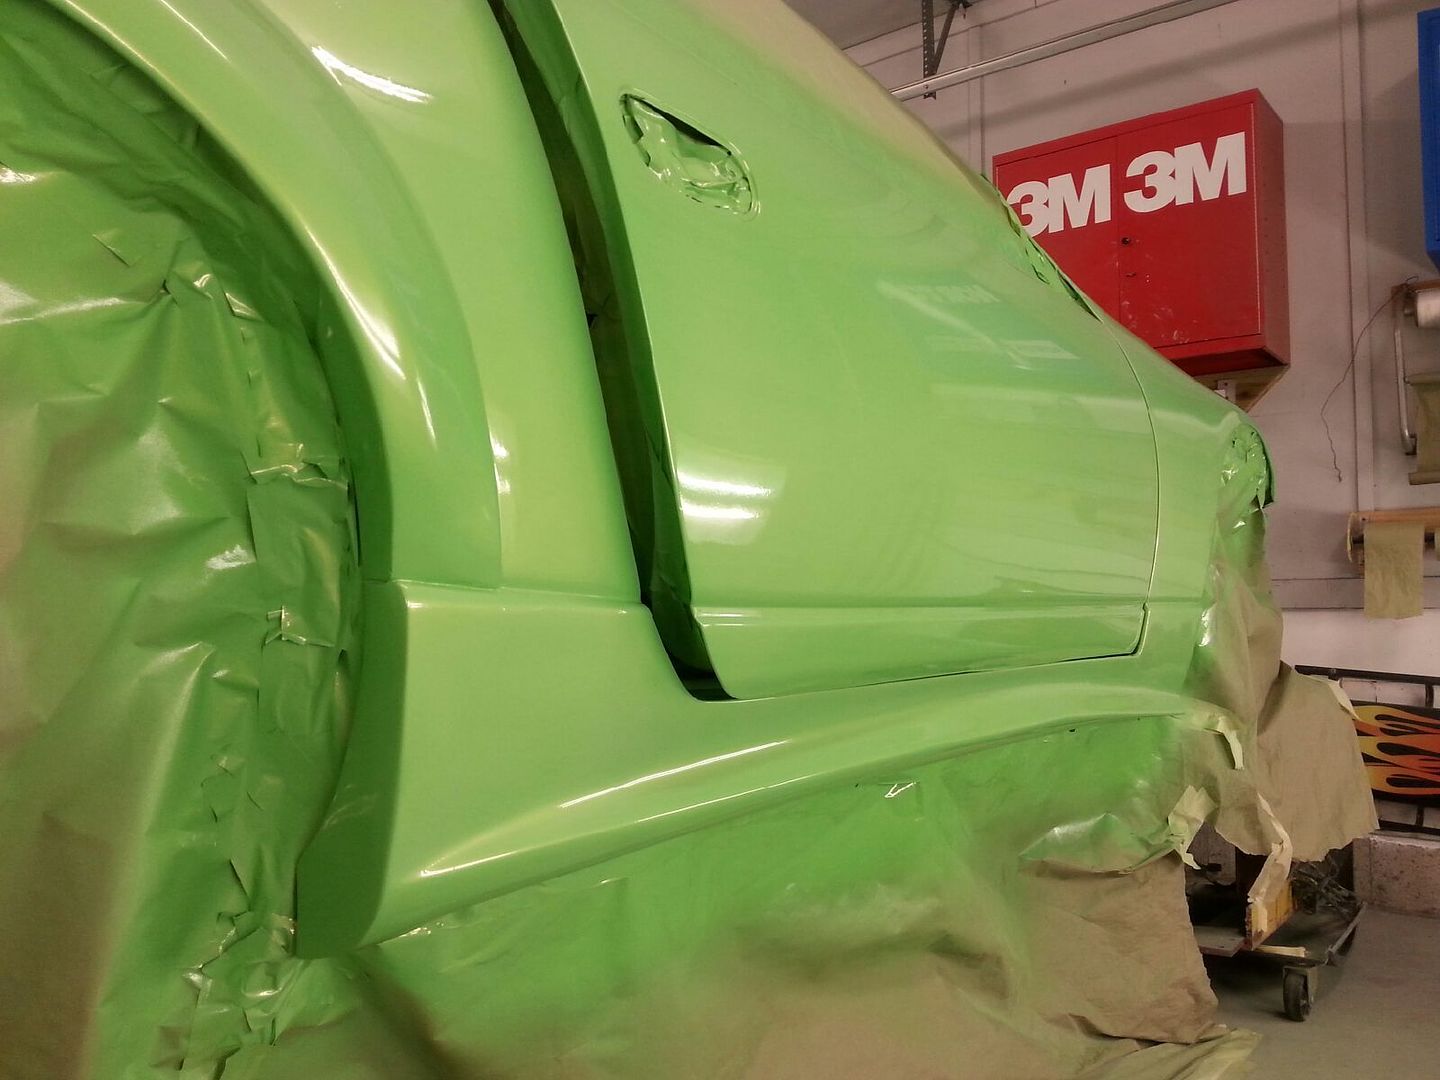
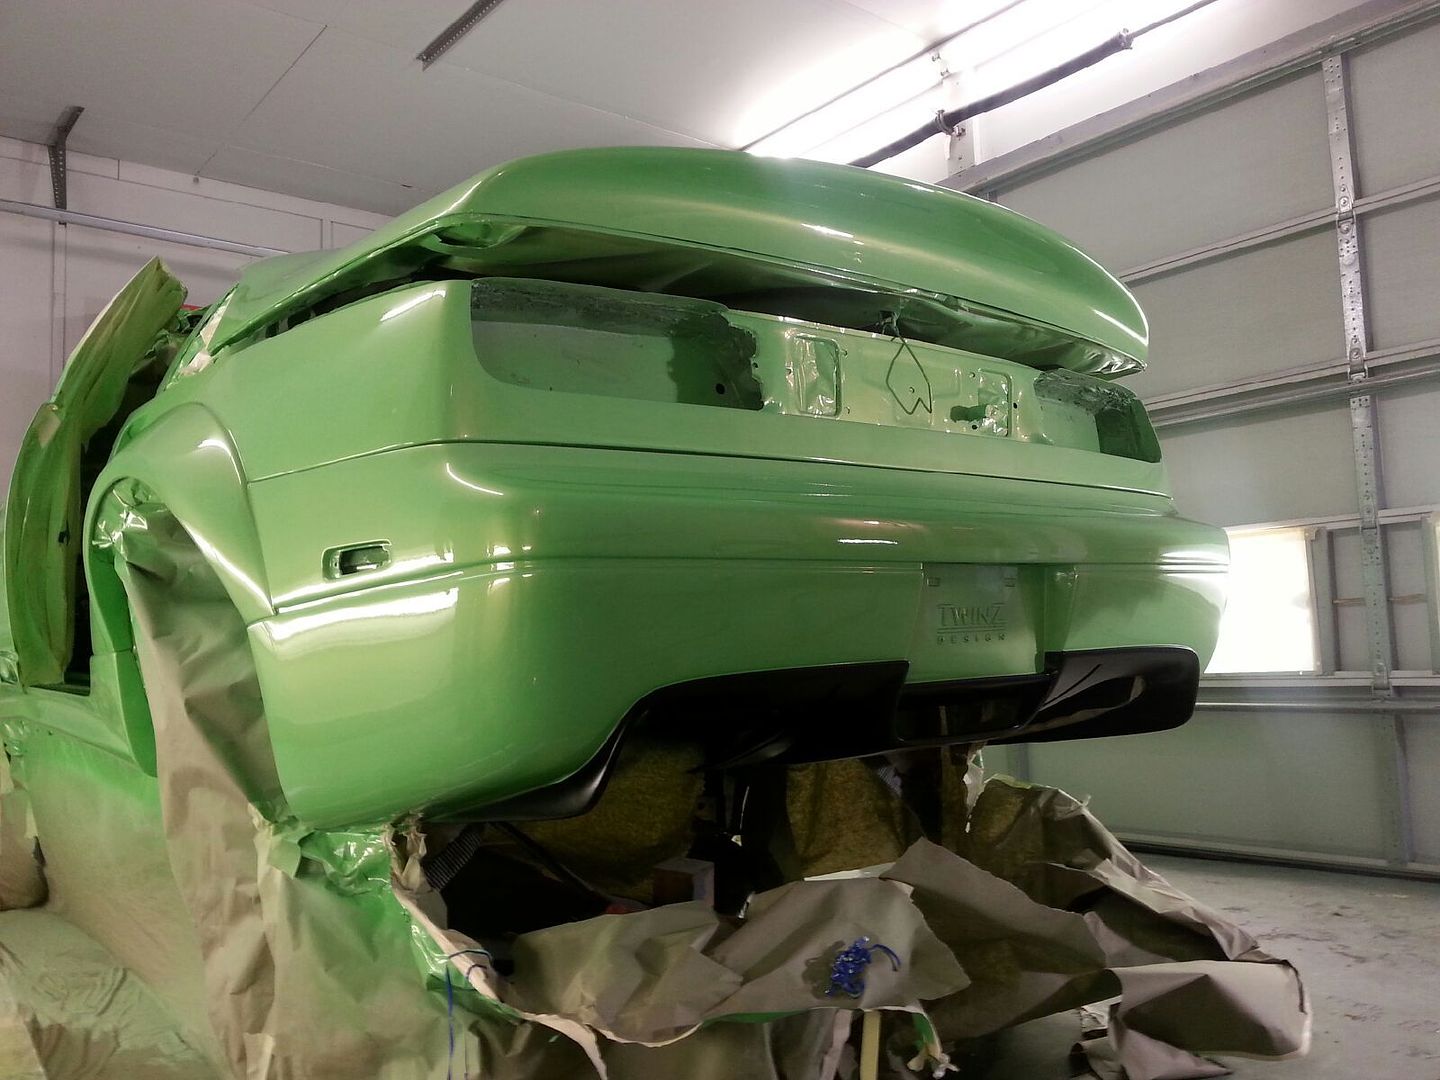
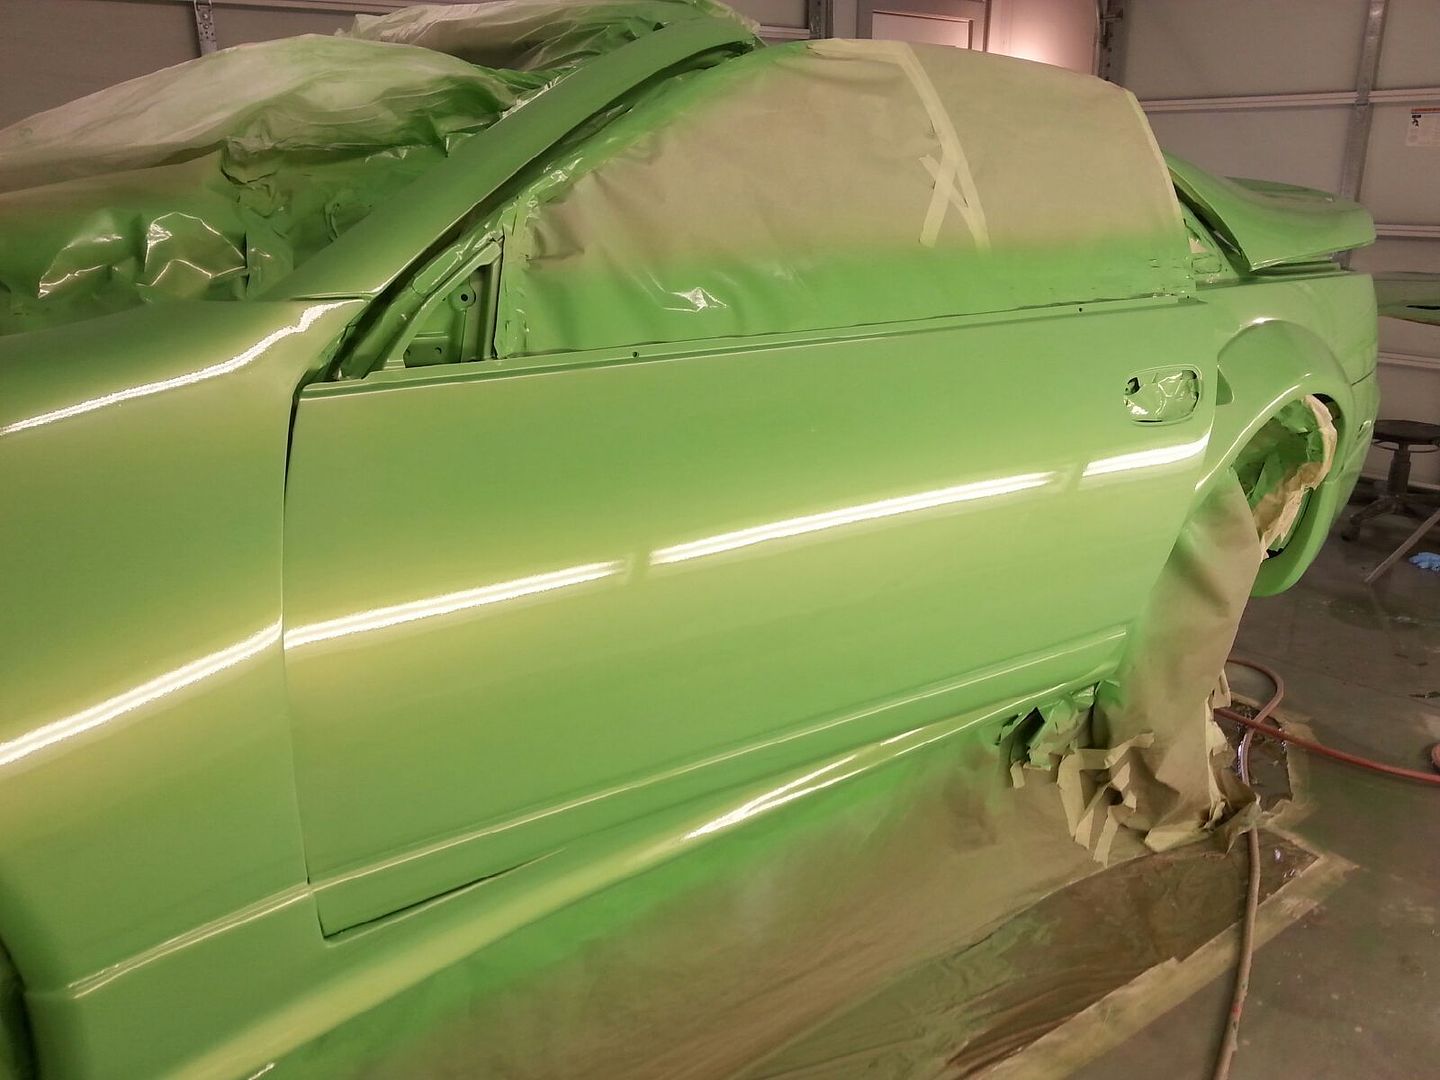
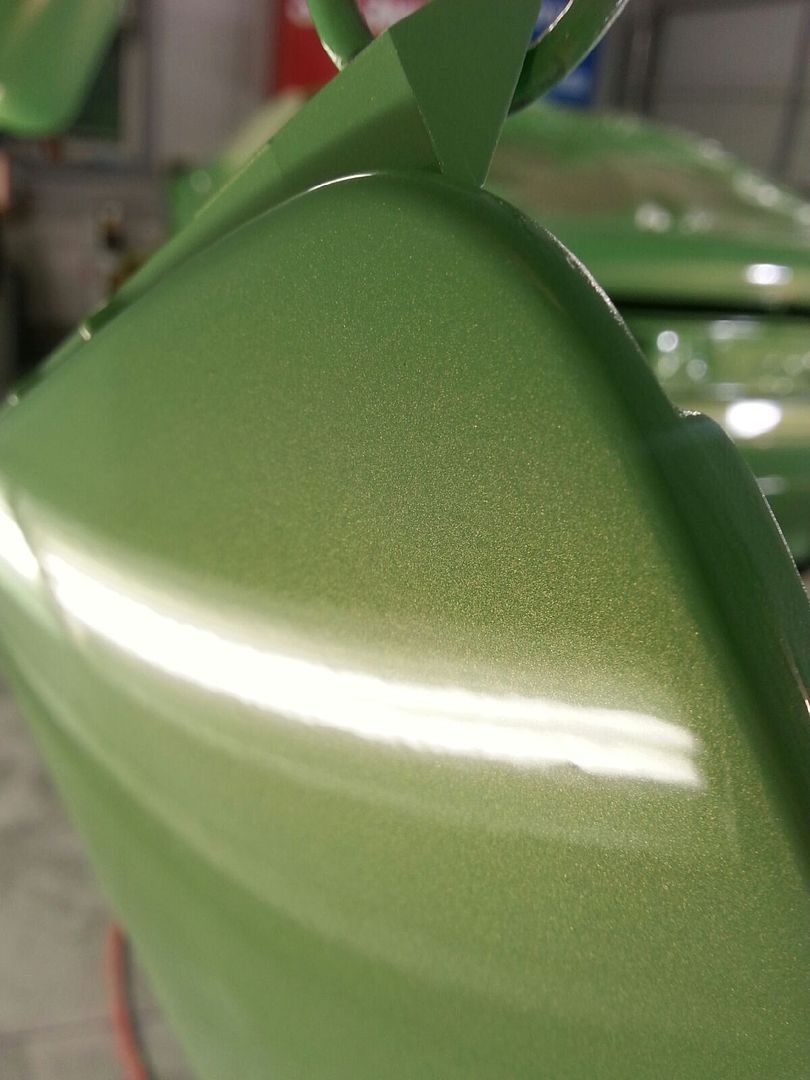
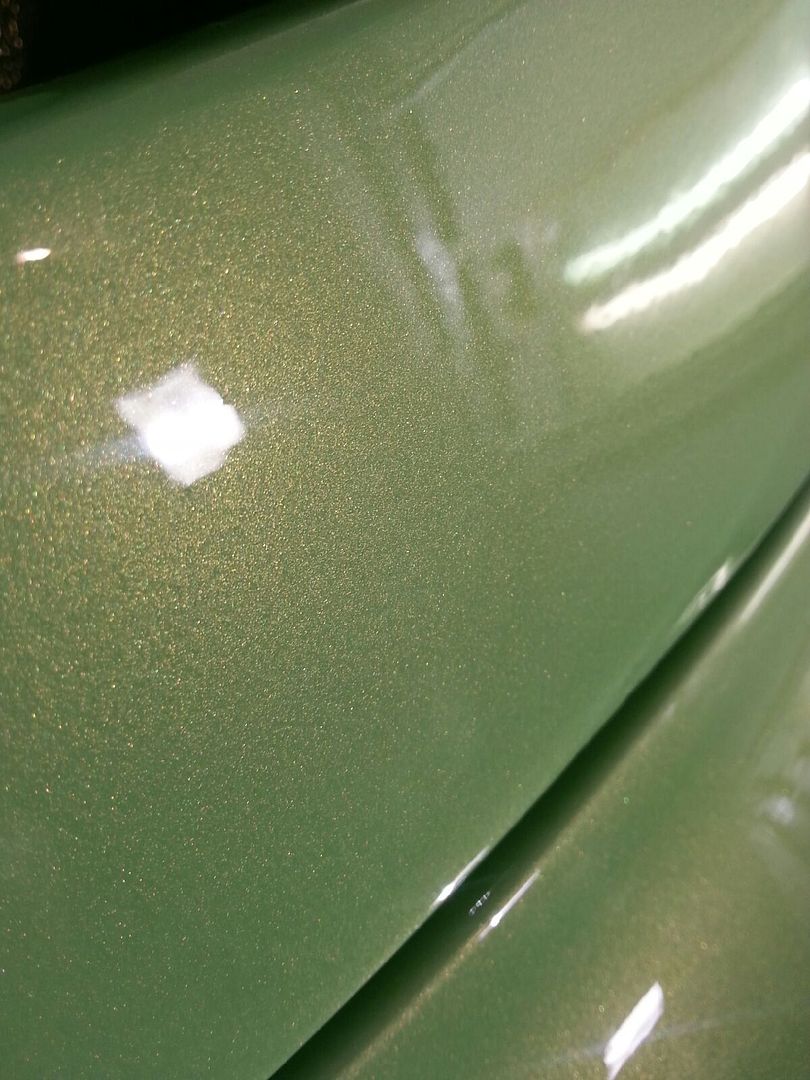
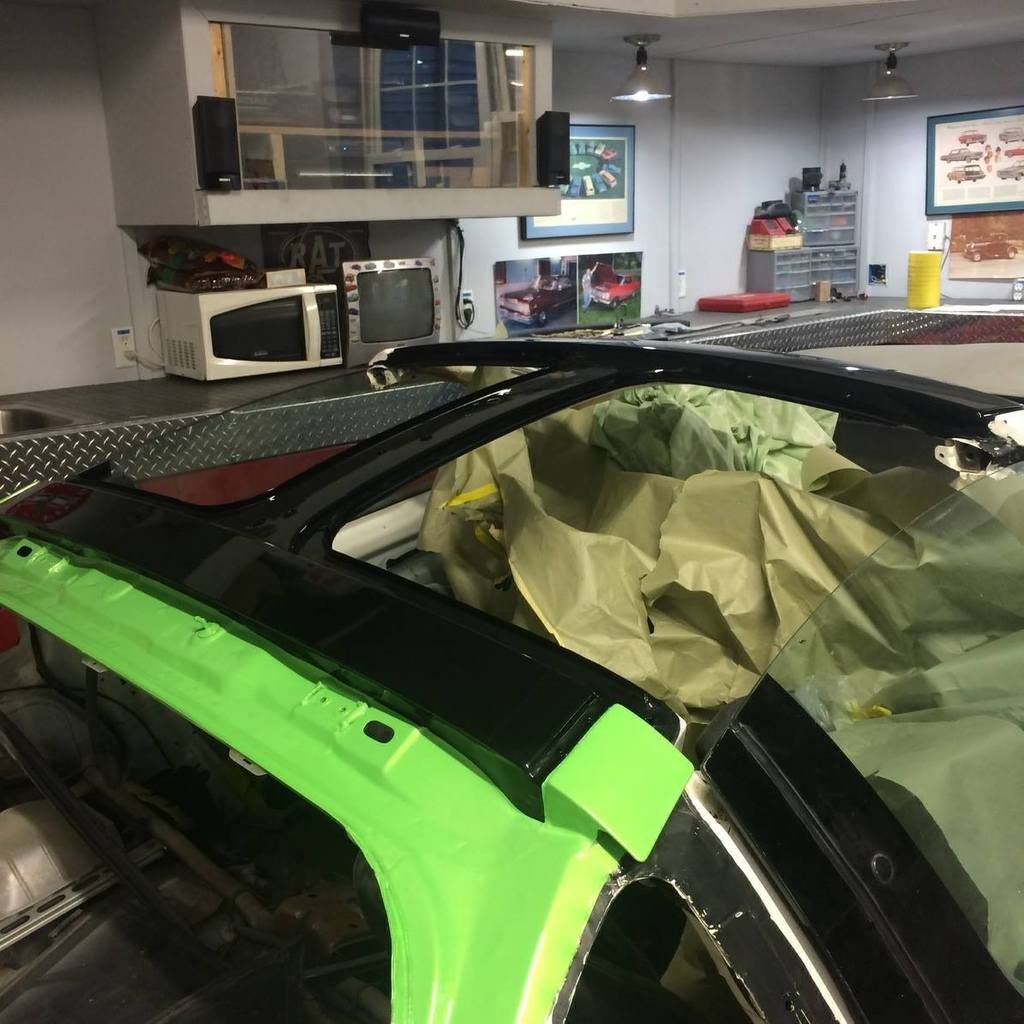
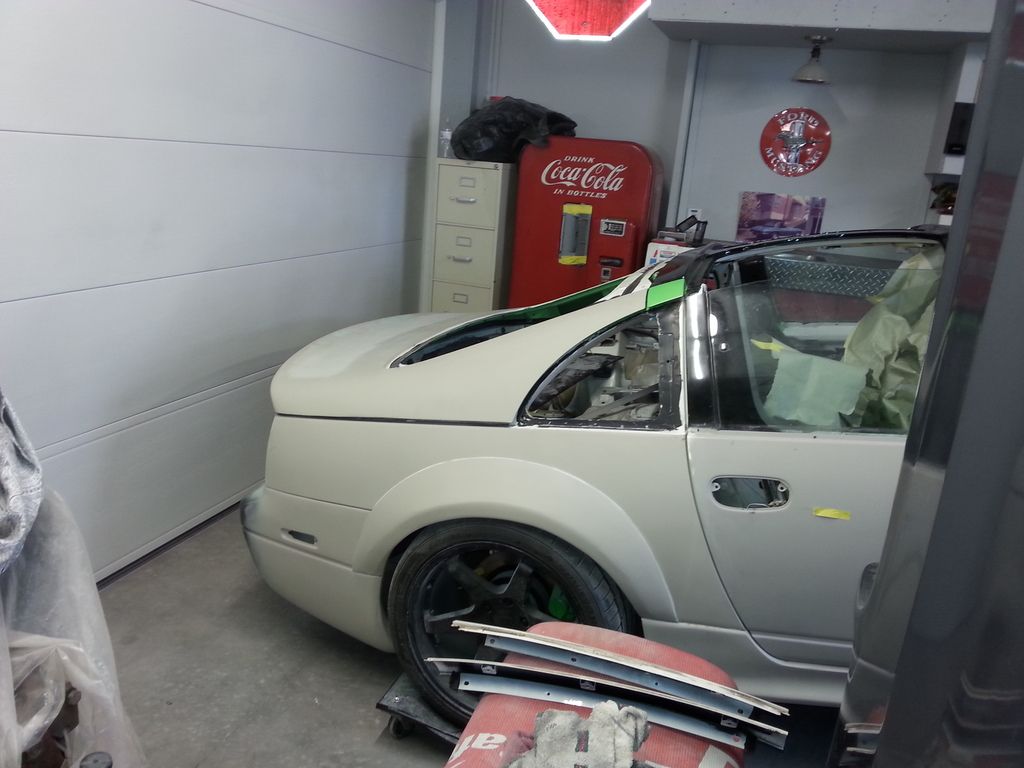
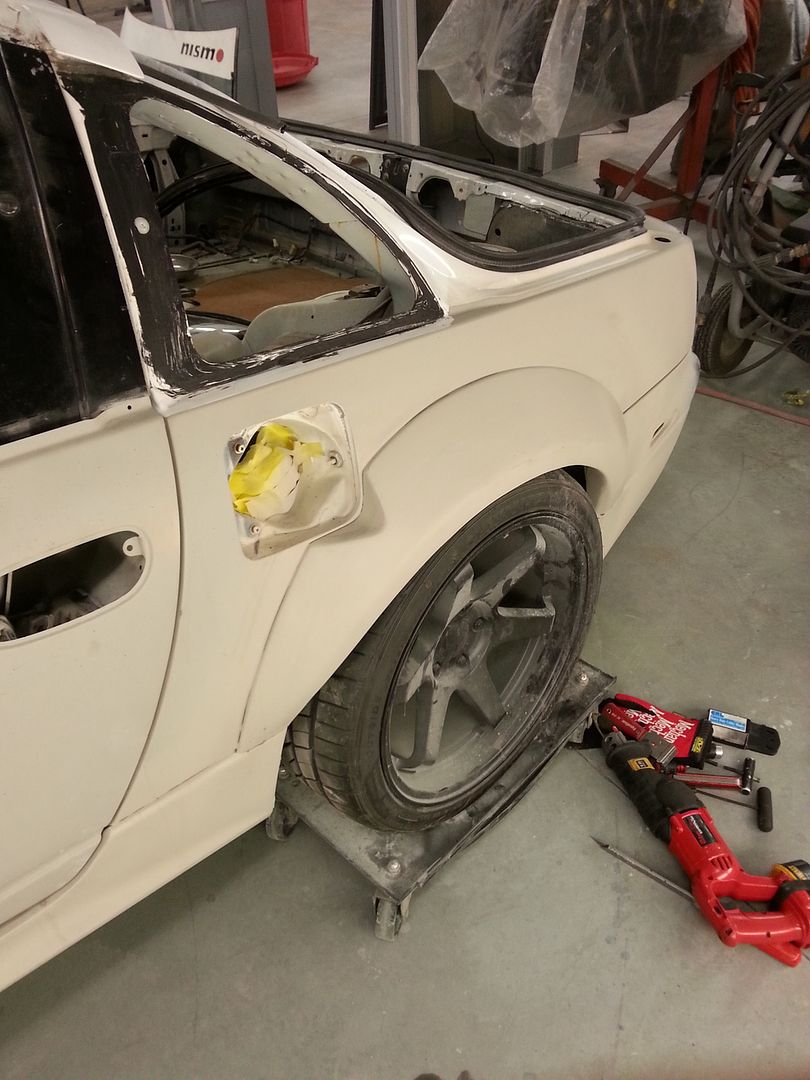
Big shout out to my body shop wizard Greg Howard for getting the chassis painted over the holiday weekend! These pictures were taken right after the clear was sprayed. It still needs to be wet sanded and buffed. Pictures do not do the paint justice, it is absolutely insane in person! Can't wait to start putting it together!Ford "Gotta Have It Green" Metallic Pearl Tri-stage
-
-
-
-
-
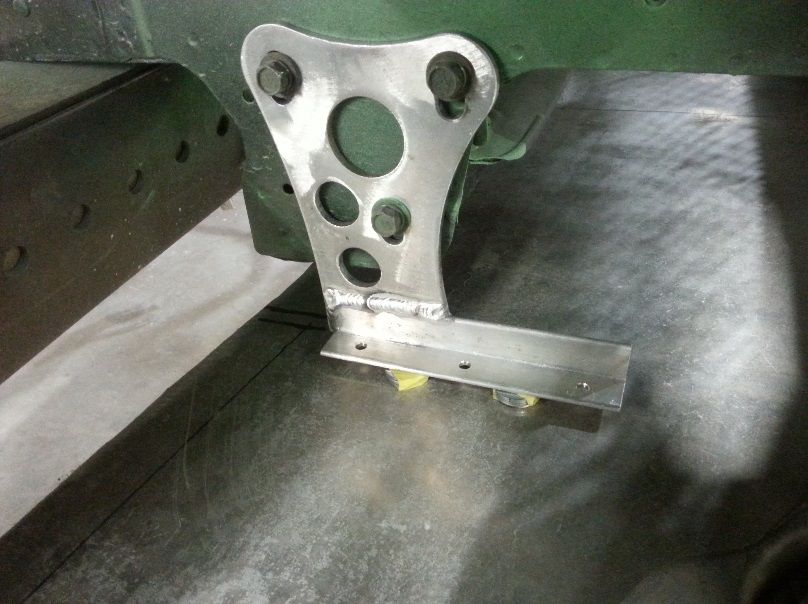
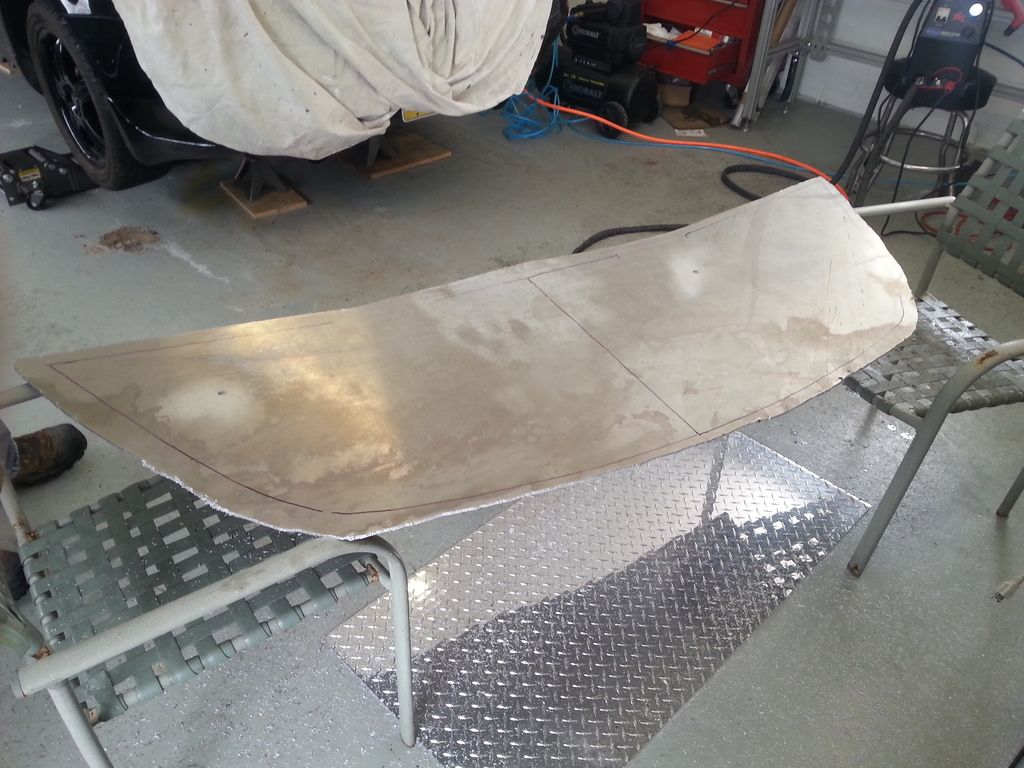
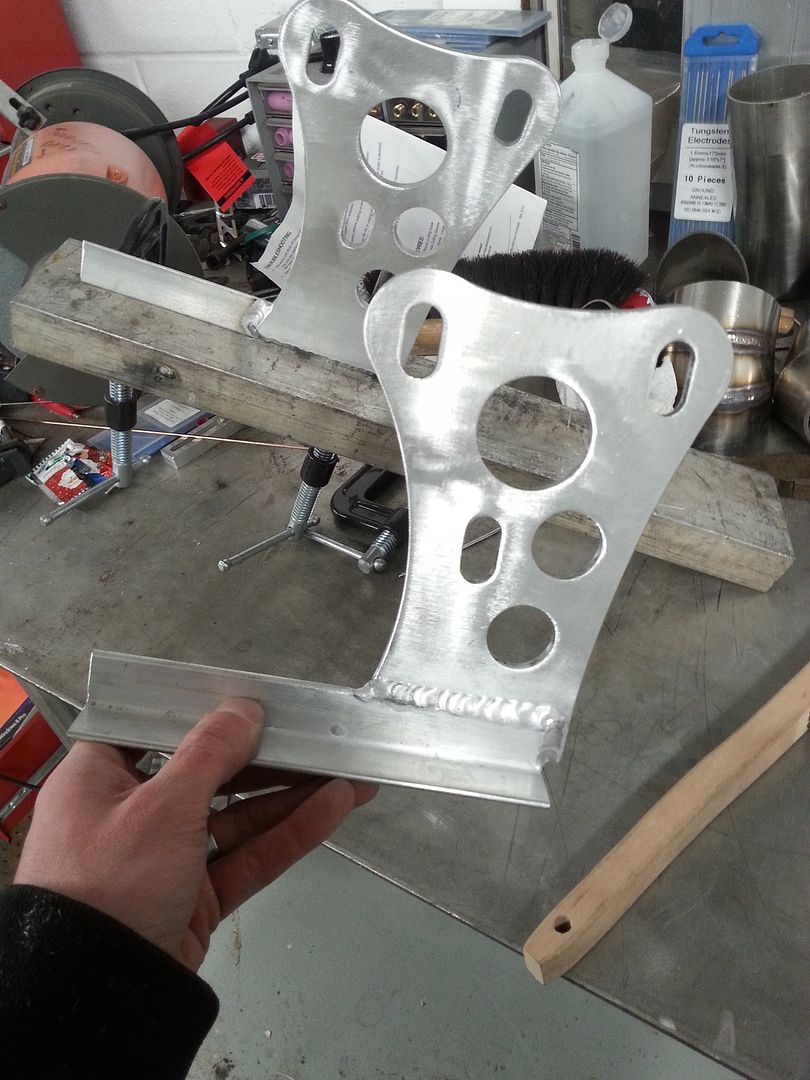
Well I finally got back over to the body shop last night to work on the front bumper of the Z. I was able to fit up the brackets and measure everything up for the front splitter (or as I like to call it... my bumper shelf) I'll be drilling everything out tonight to fit the splitter to the mounting brackets. Once this is installed we can do the final bumper fitment and get the Z in paint! So very excited for that day to come. Here are some pictures.The splitter is rigid enough to support the front bumper and will allow me to mount the oil cooler and other accessories to it. It's pretty light too considering the size and thickness of the aluminum.
-
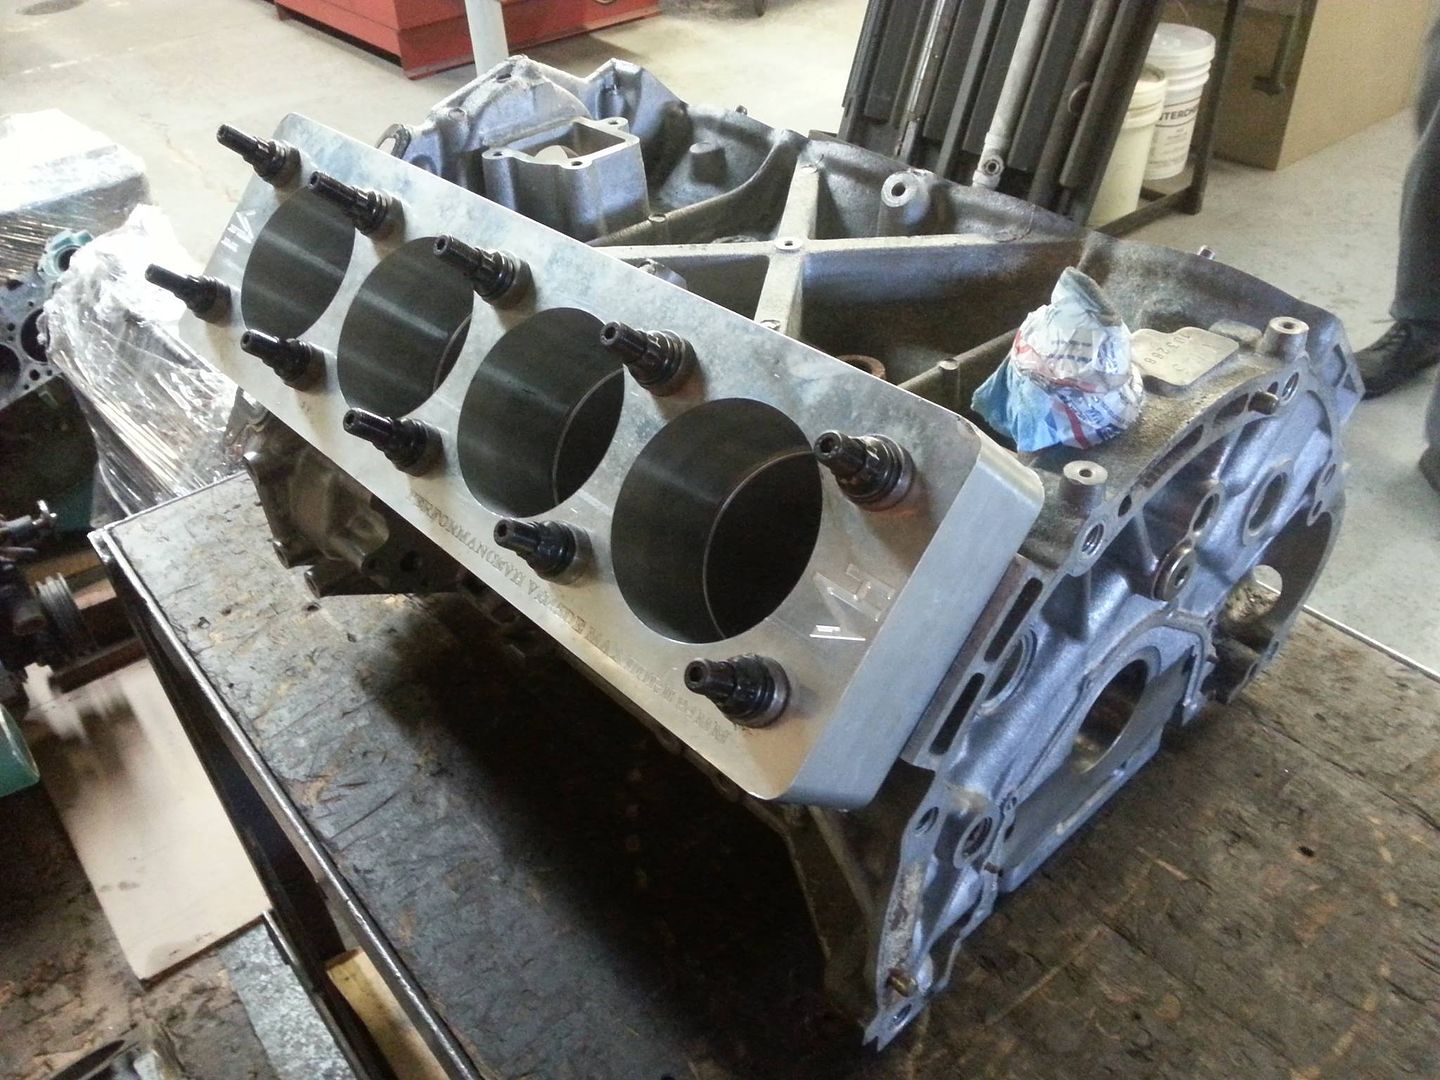
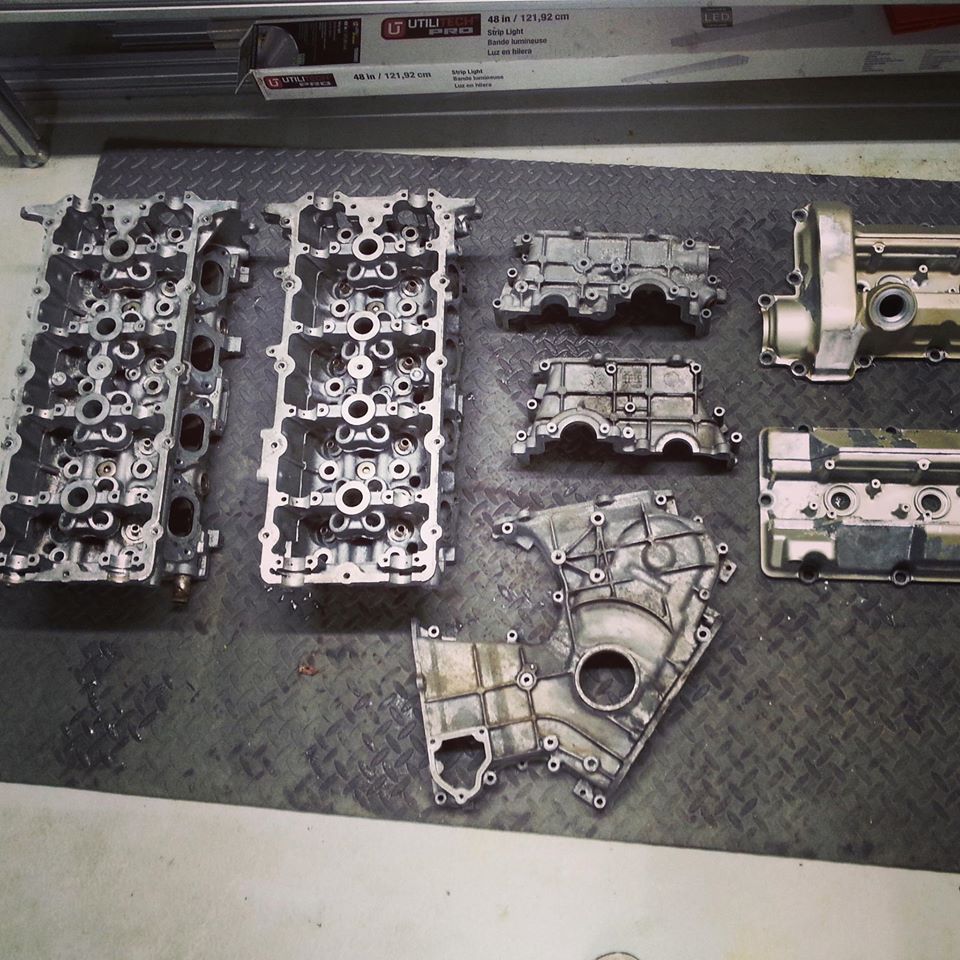
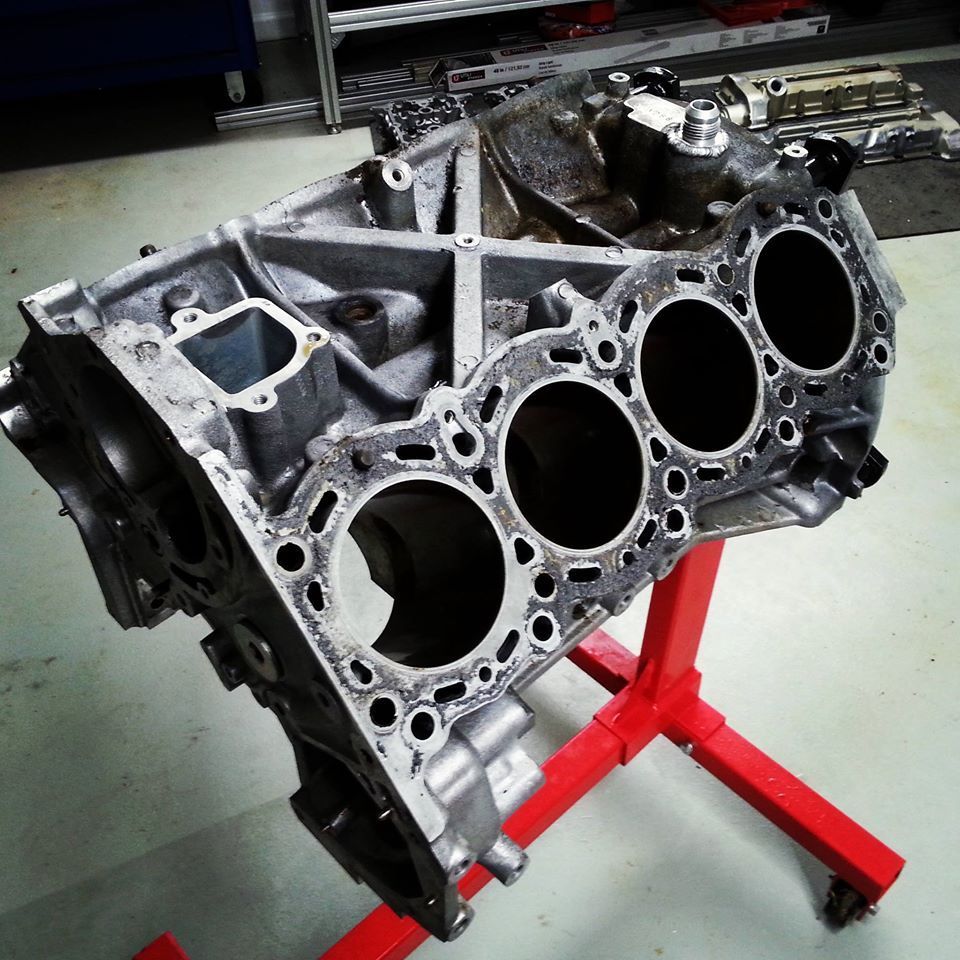
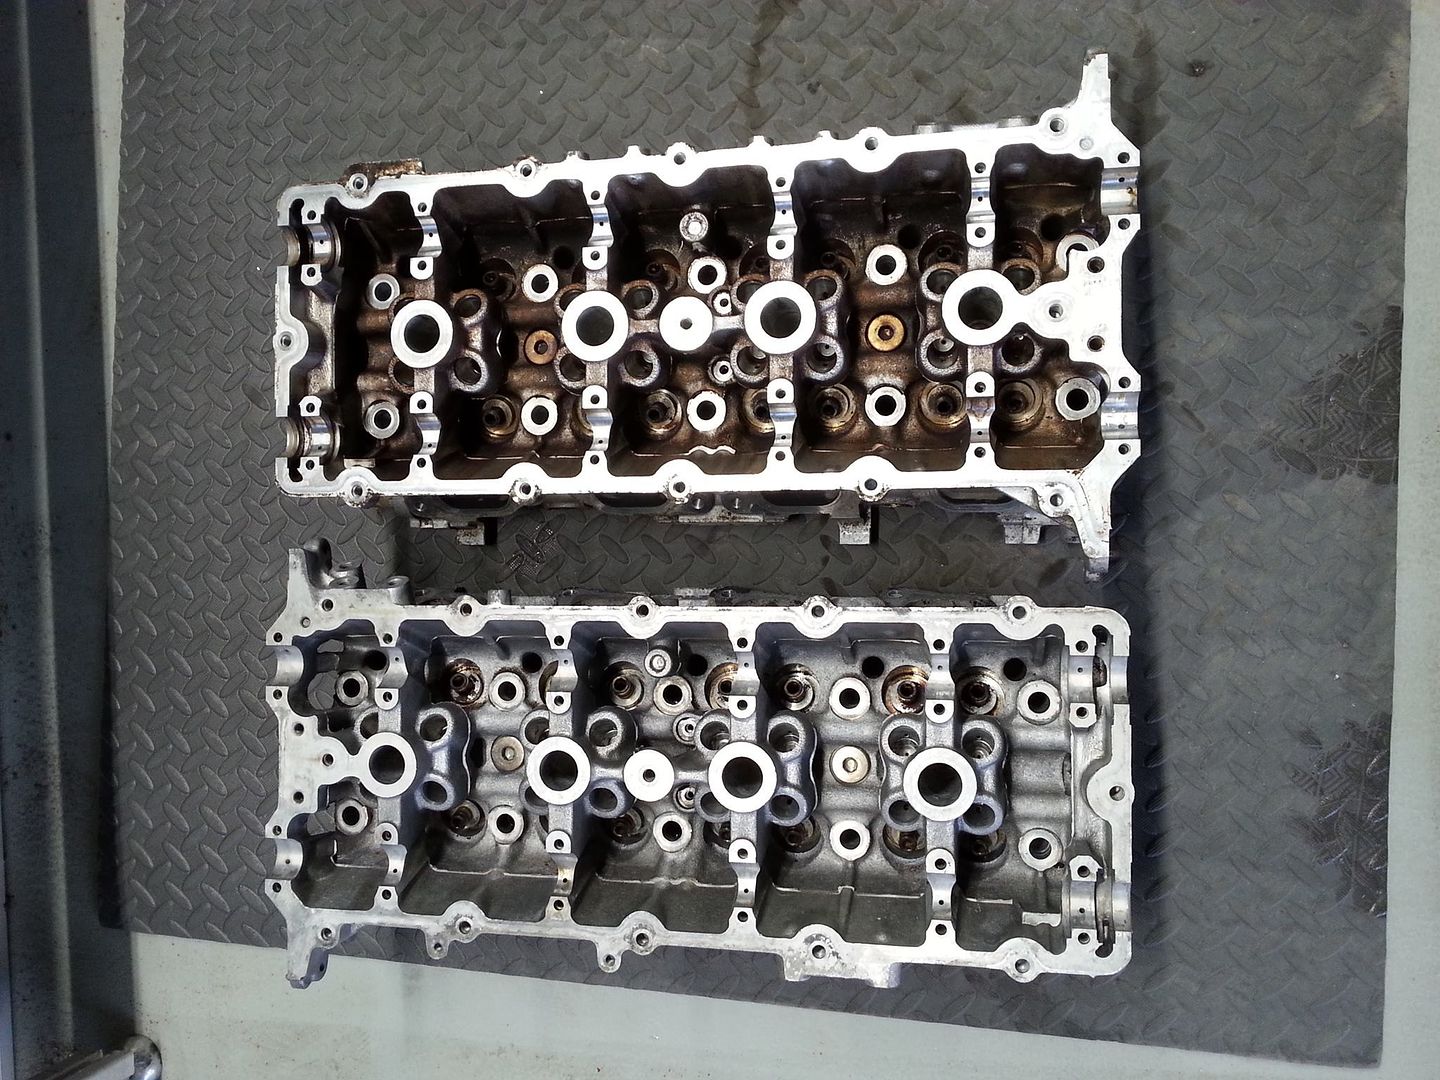
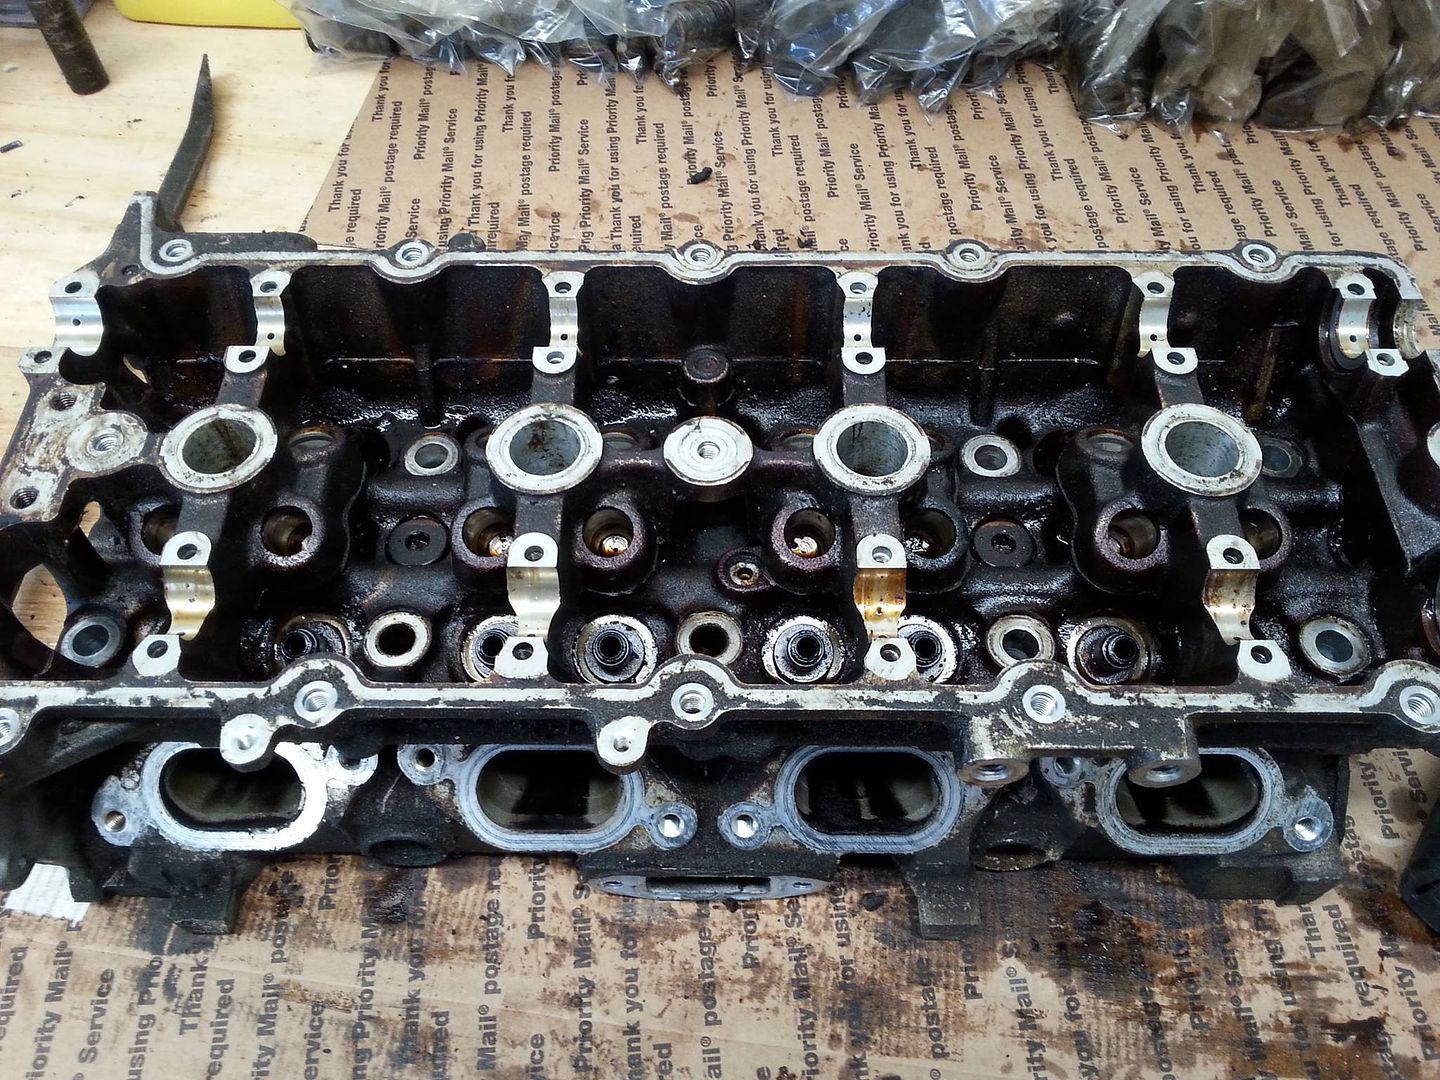
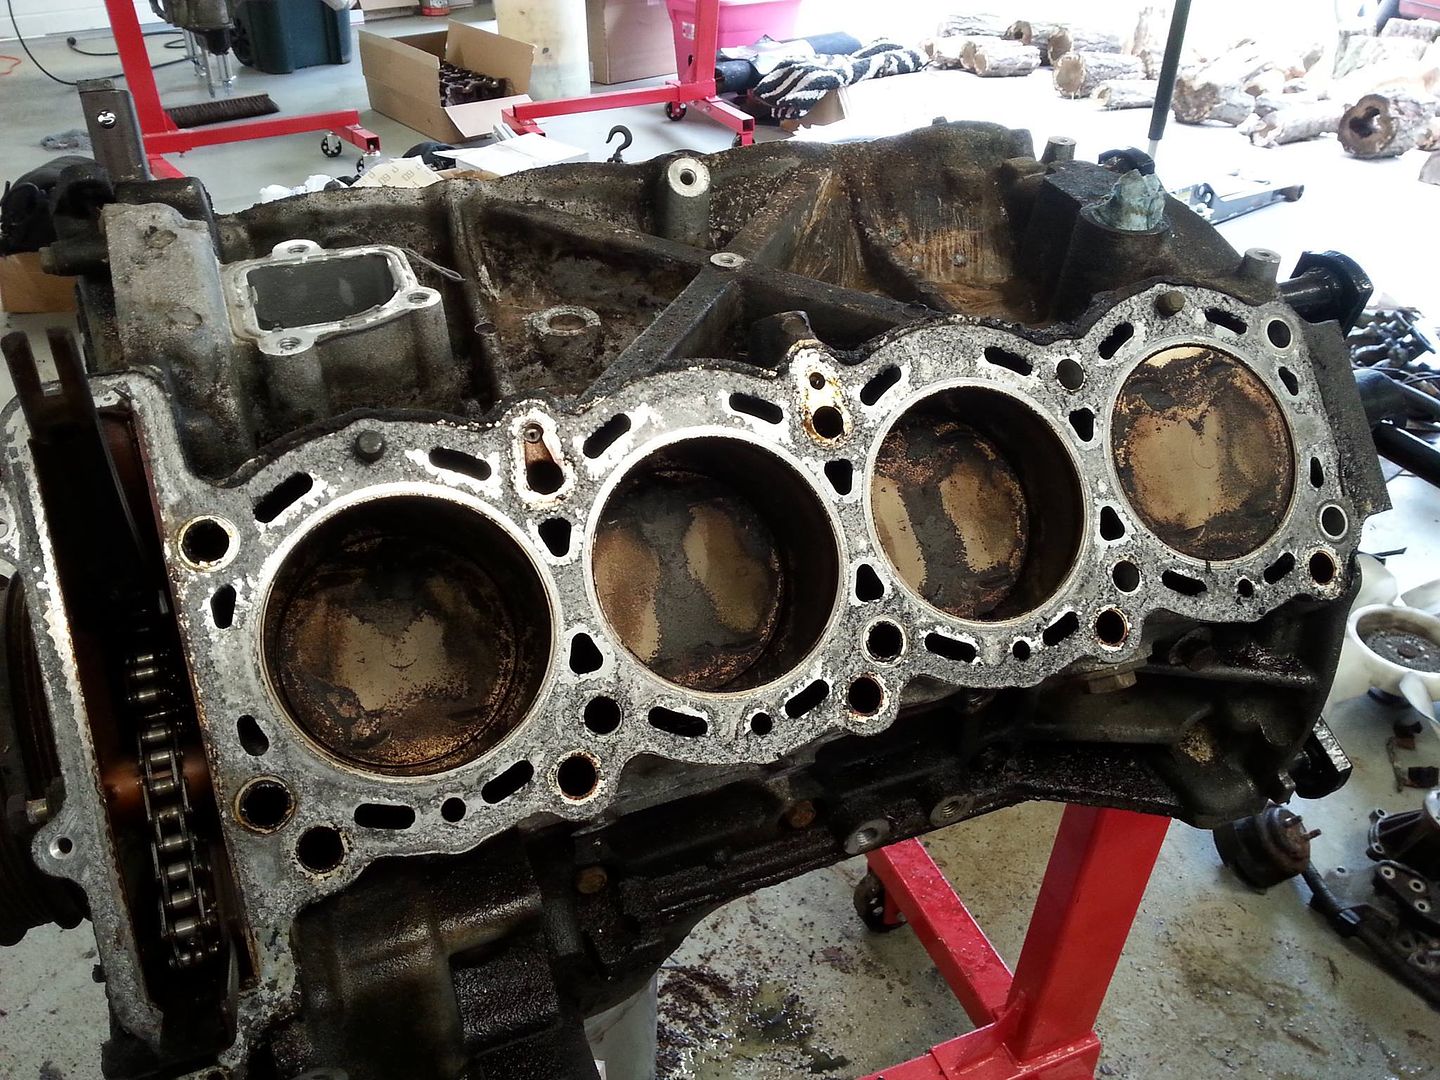
Got the heads and engine block completely disassembled over the holiday weekend.
Got ARP stud sizes for the main caps.Ordered the AN fittings for the crank case vent setup.Figured out the best way to remedy the oil starvation issue these engines have getting sideways at high rpms. I'll be plumbing in a 1qt. Accusump to the front of the block where the main oil gallery is located. Any loss of oil pressure and the accusump will flow directly to the crankshaft. My larger capacity rear sump oil pan should also help with the problem as well.Next step is to get this engine cleaned up!
-
So I decided to go a different route with the car. I was hoping to finish it up later this year, but with my new idea it might be a few months longer. Not that bad in the grand scheme of things.So, since I am this far into it. I am going to rewire the body harness. I will be using a megasquirt stand alone MS3 ECU for the engine. This decision also prompted me to switch to the newer style S2 engine 93-96 as I was using an S1 1991 engine. I don't want to have to build a second harness down the road. Also the new intake flanges that I have designed fit the newer style engines. So I will be building another engine and selling the current one. The MS3 will also allow me to run a MAP instead of a MAF sensor
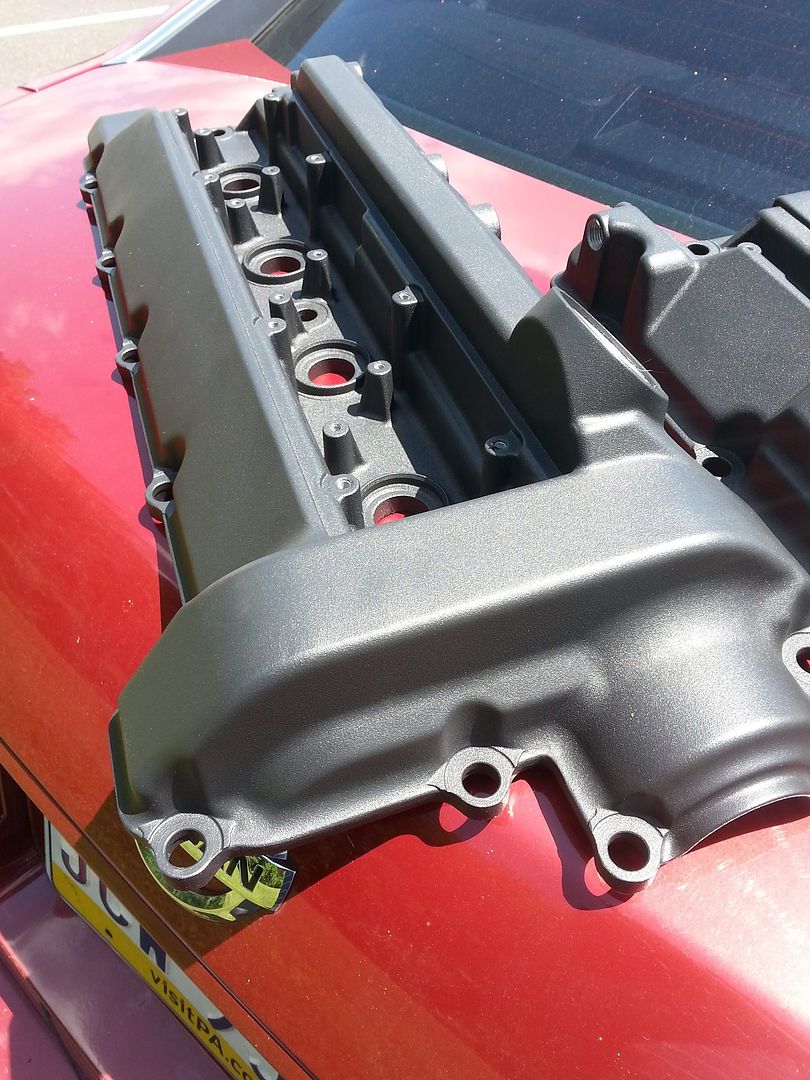
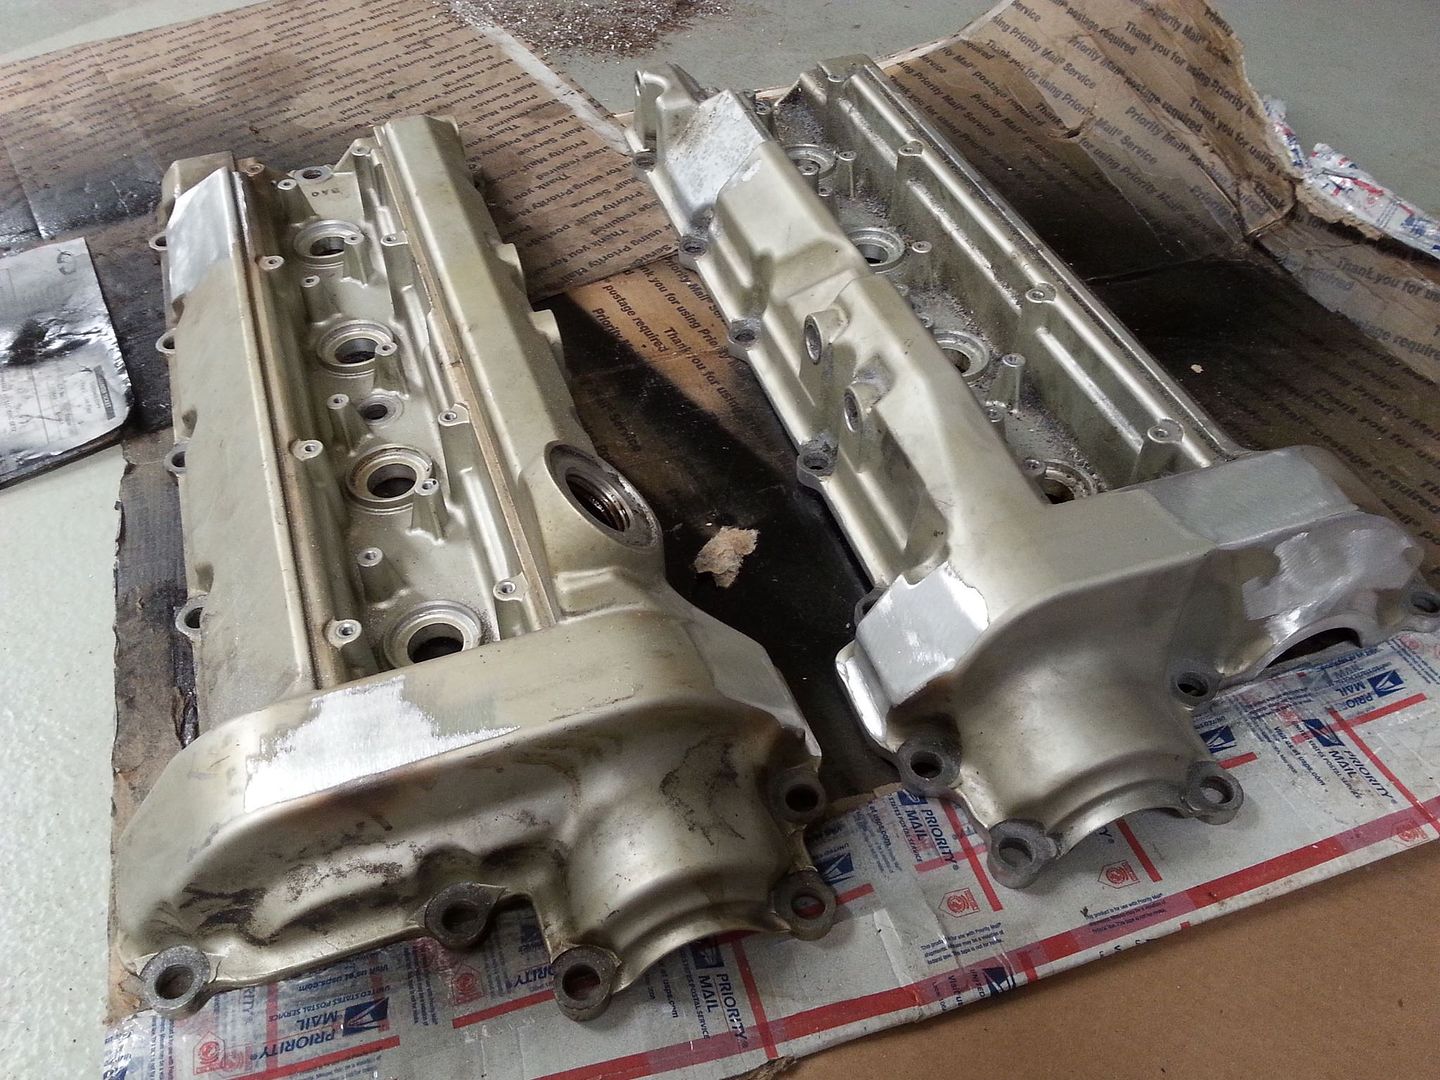
 So current to-do list looks like:Finish Front Bumper SupportsMount Front BumperPaintRewire body harnessFuel SystemRebuild new engineFabricate Intake ManifoldFabricate Header back exhaust 3" stainless w/ X-pipe (I'm thinking SLP LM-I mufflers)Build Engine Harness for MS3 ECUReupholster Interior panels & seatsIt doesn't sound like much, but that's the plan! I don't have much time to work on it (between working full time, renovating a house, running Performance VH, and spending time with the wife) but I've been trying to keep things moving.So started working on the new engine already... Got the valve covers shaved! Off to be powder coated!
-
-


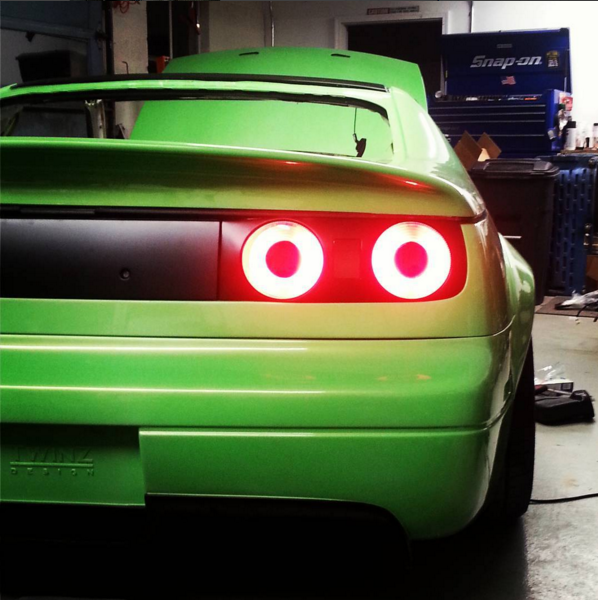
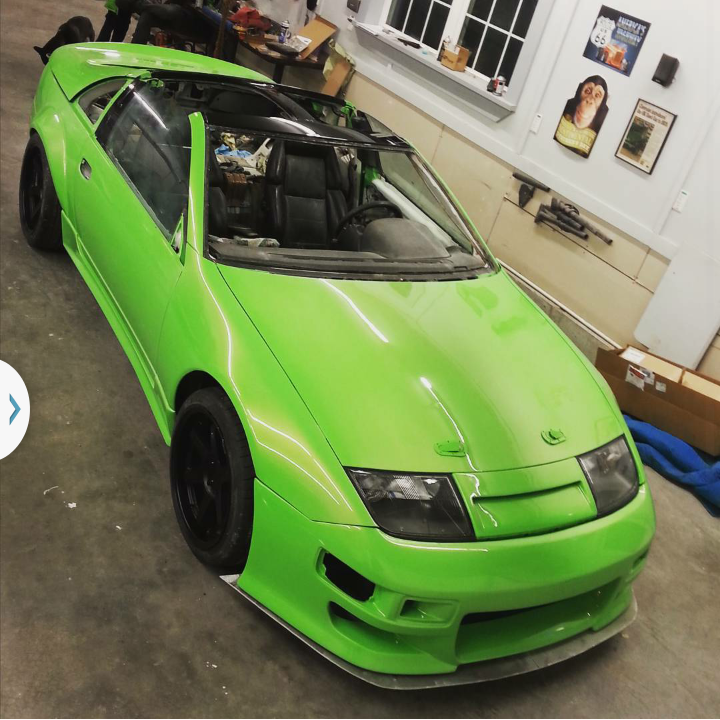
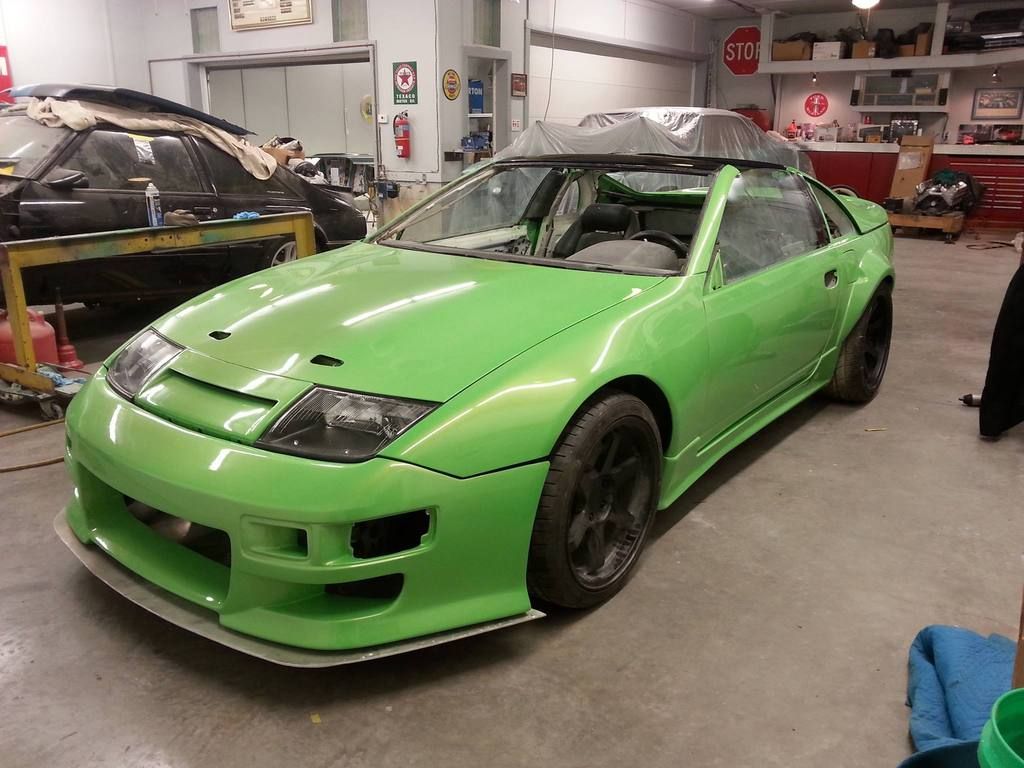
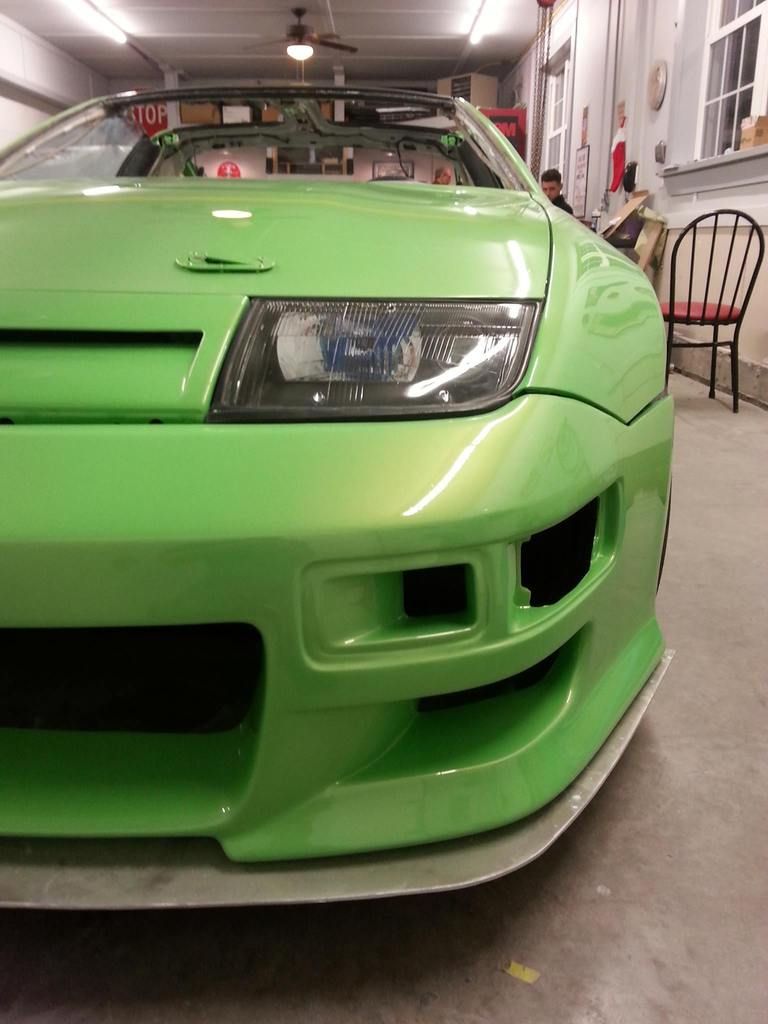
My not so Fairlady Z...VH Swap
in Other V8Z Tech Board
Posted
Hey guys! Sorry for not keeping you all up to date! I made a career change and I don't sit in front of a computer all day anymore. So in the past few weeks I have made some very good progress on the car.


I put the engine back together and spray painted the block with 2K epoxy primer and 2K Titanium Metallic. Stuff works amazing! From now on that's how I am going to paint engines. It dries super hard and doesn't chip up when you tighten bolts down. Nasty stuff so make sure to use a respirator.
I Finally made a set of engine mounts for myself! Also modified the oil filter housing to accommodate -12AN fittings for the filter housing/thermostat.
Finally dropped the engine in!
I modified a Nissan Rogue manual steering rack to fit into the Z subframe. It works amazing! 255's on epoxy floors with the engine in and I can turn it with my left hand. It's tough but much easier than the Z32 steering rack with no P/S.
I found a Non-Cruise Control OEM 3spoke steering wheel center section. I couldn't be happier with how it looks!
Next I need to get the braking system in, then I can start to figure out how I am going to run the exhaust. I am going to have to run the steering shaft between the headers. Should be interesting!