

mr.mike
-
Posts
24 -
Joined
-
Last visited
Content Type
Profiles
Forums
Blogs
Events
Gallery
Downloads
Store
Posts posted by mr.mike
-
-
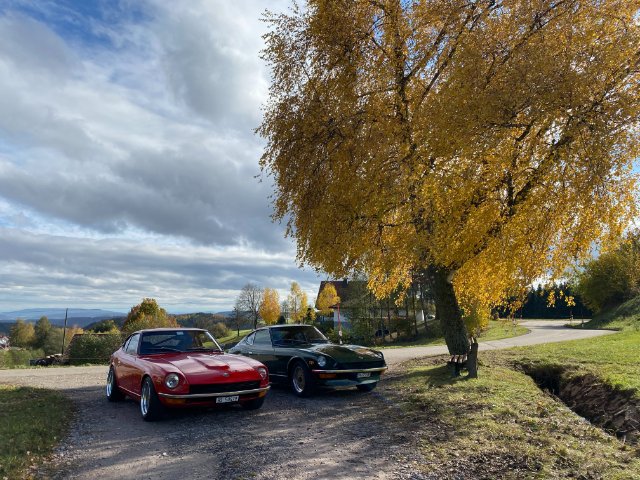
I like to share some Pics with you to keep this topic alive.
")

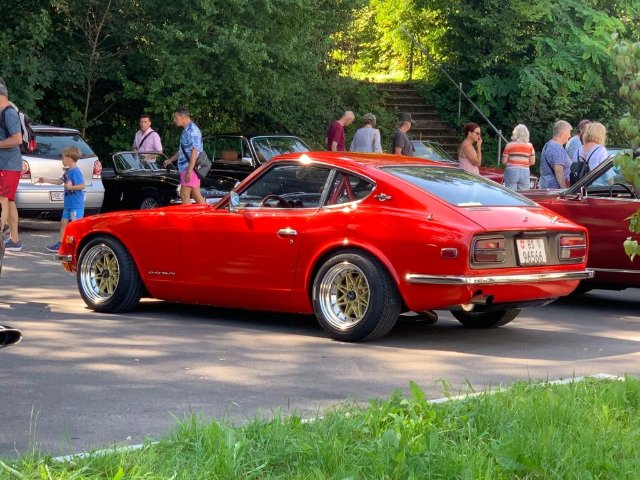
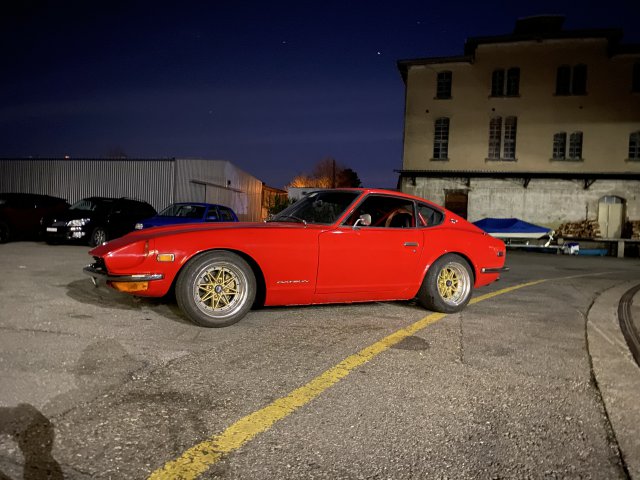
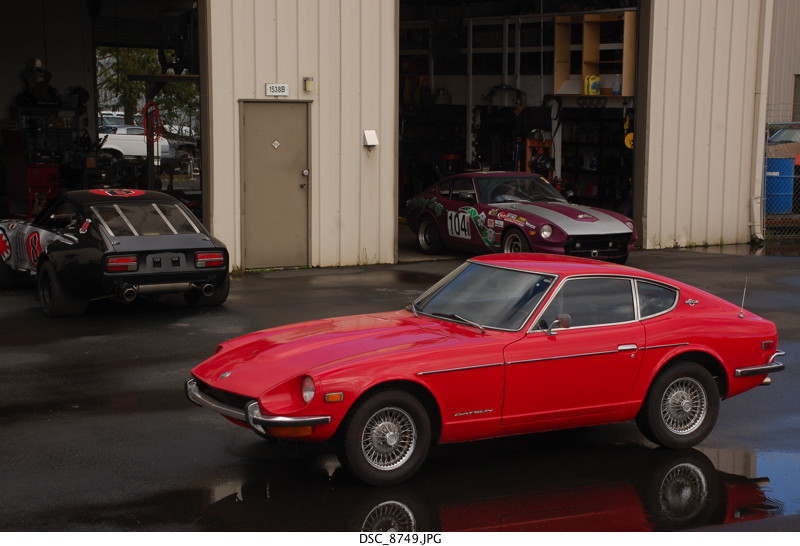
End of season pics...
-
-
Just wow, next level build.
-
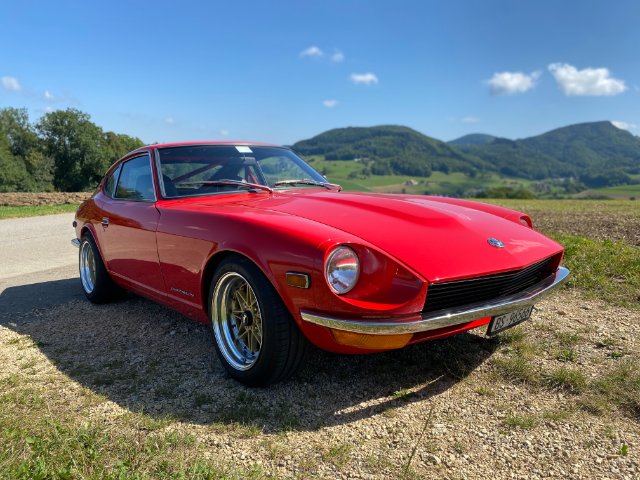
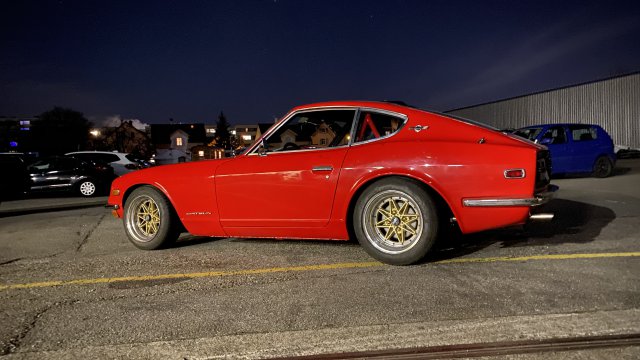
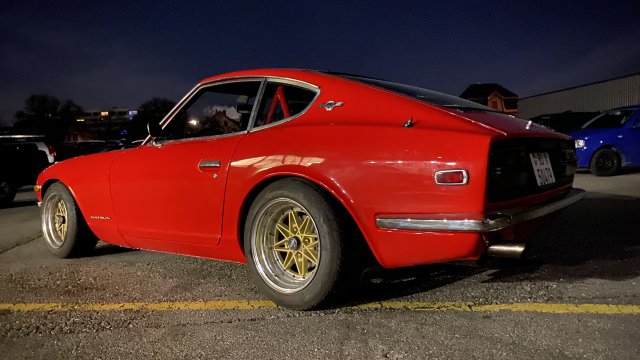
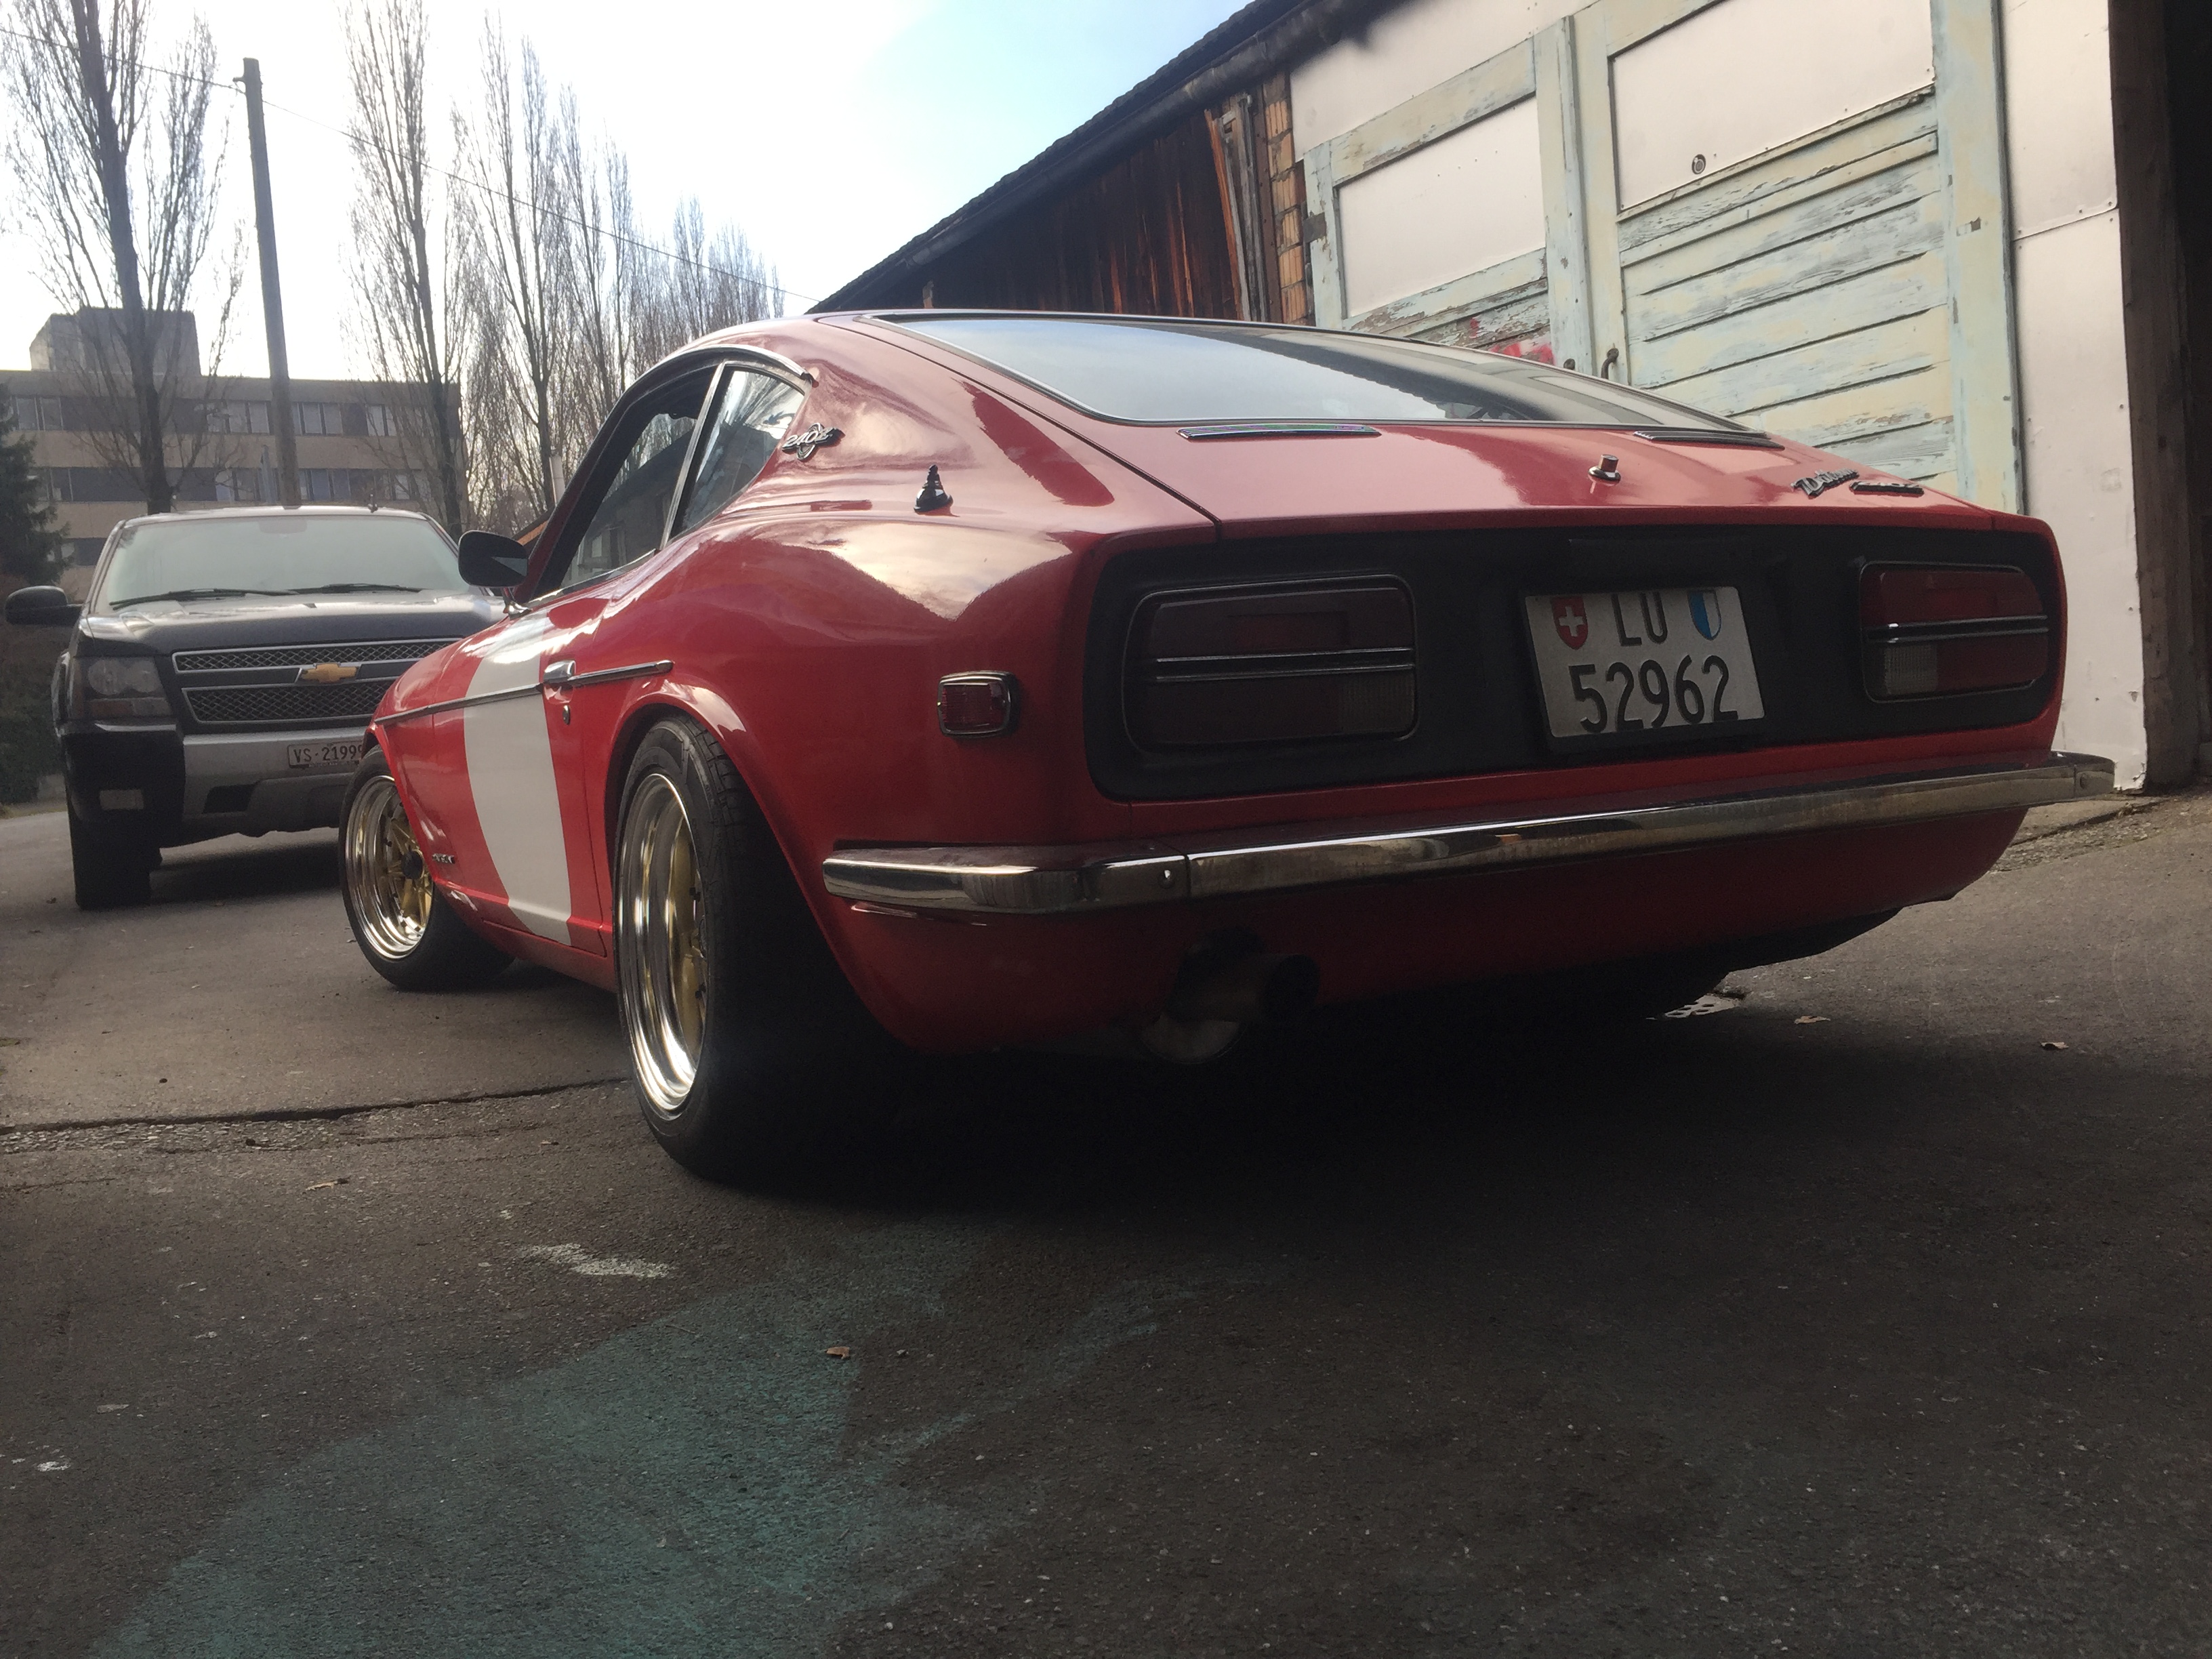
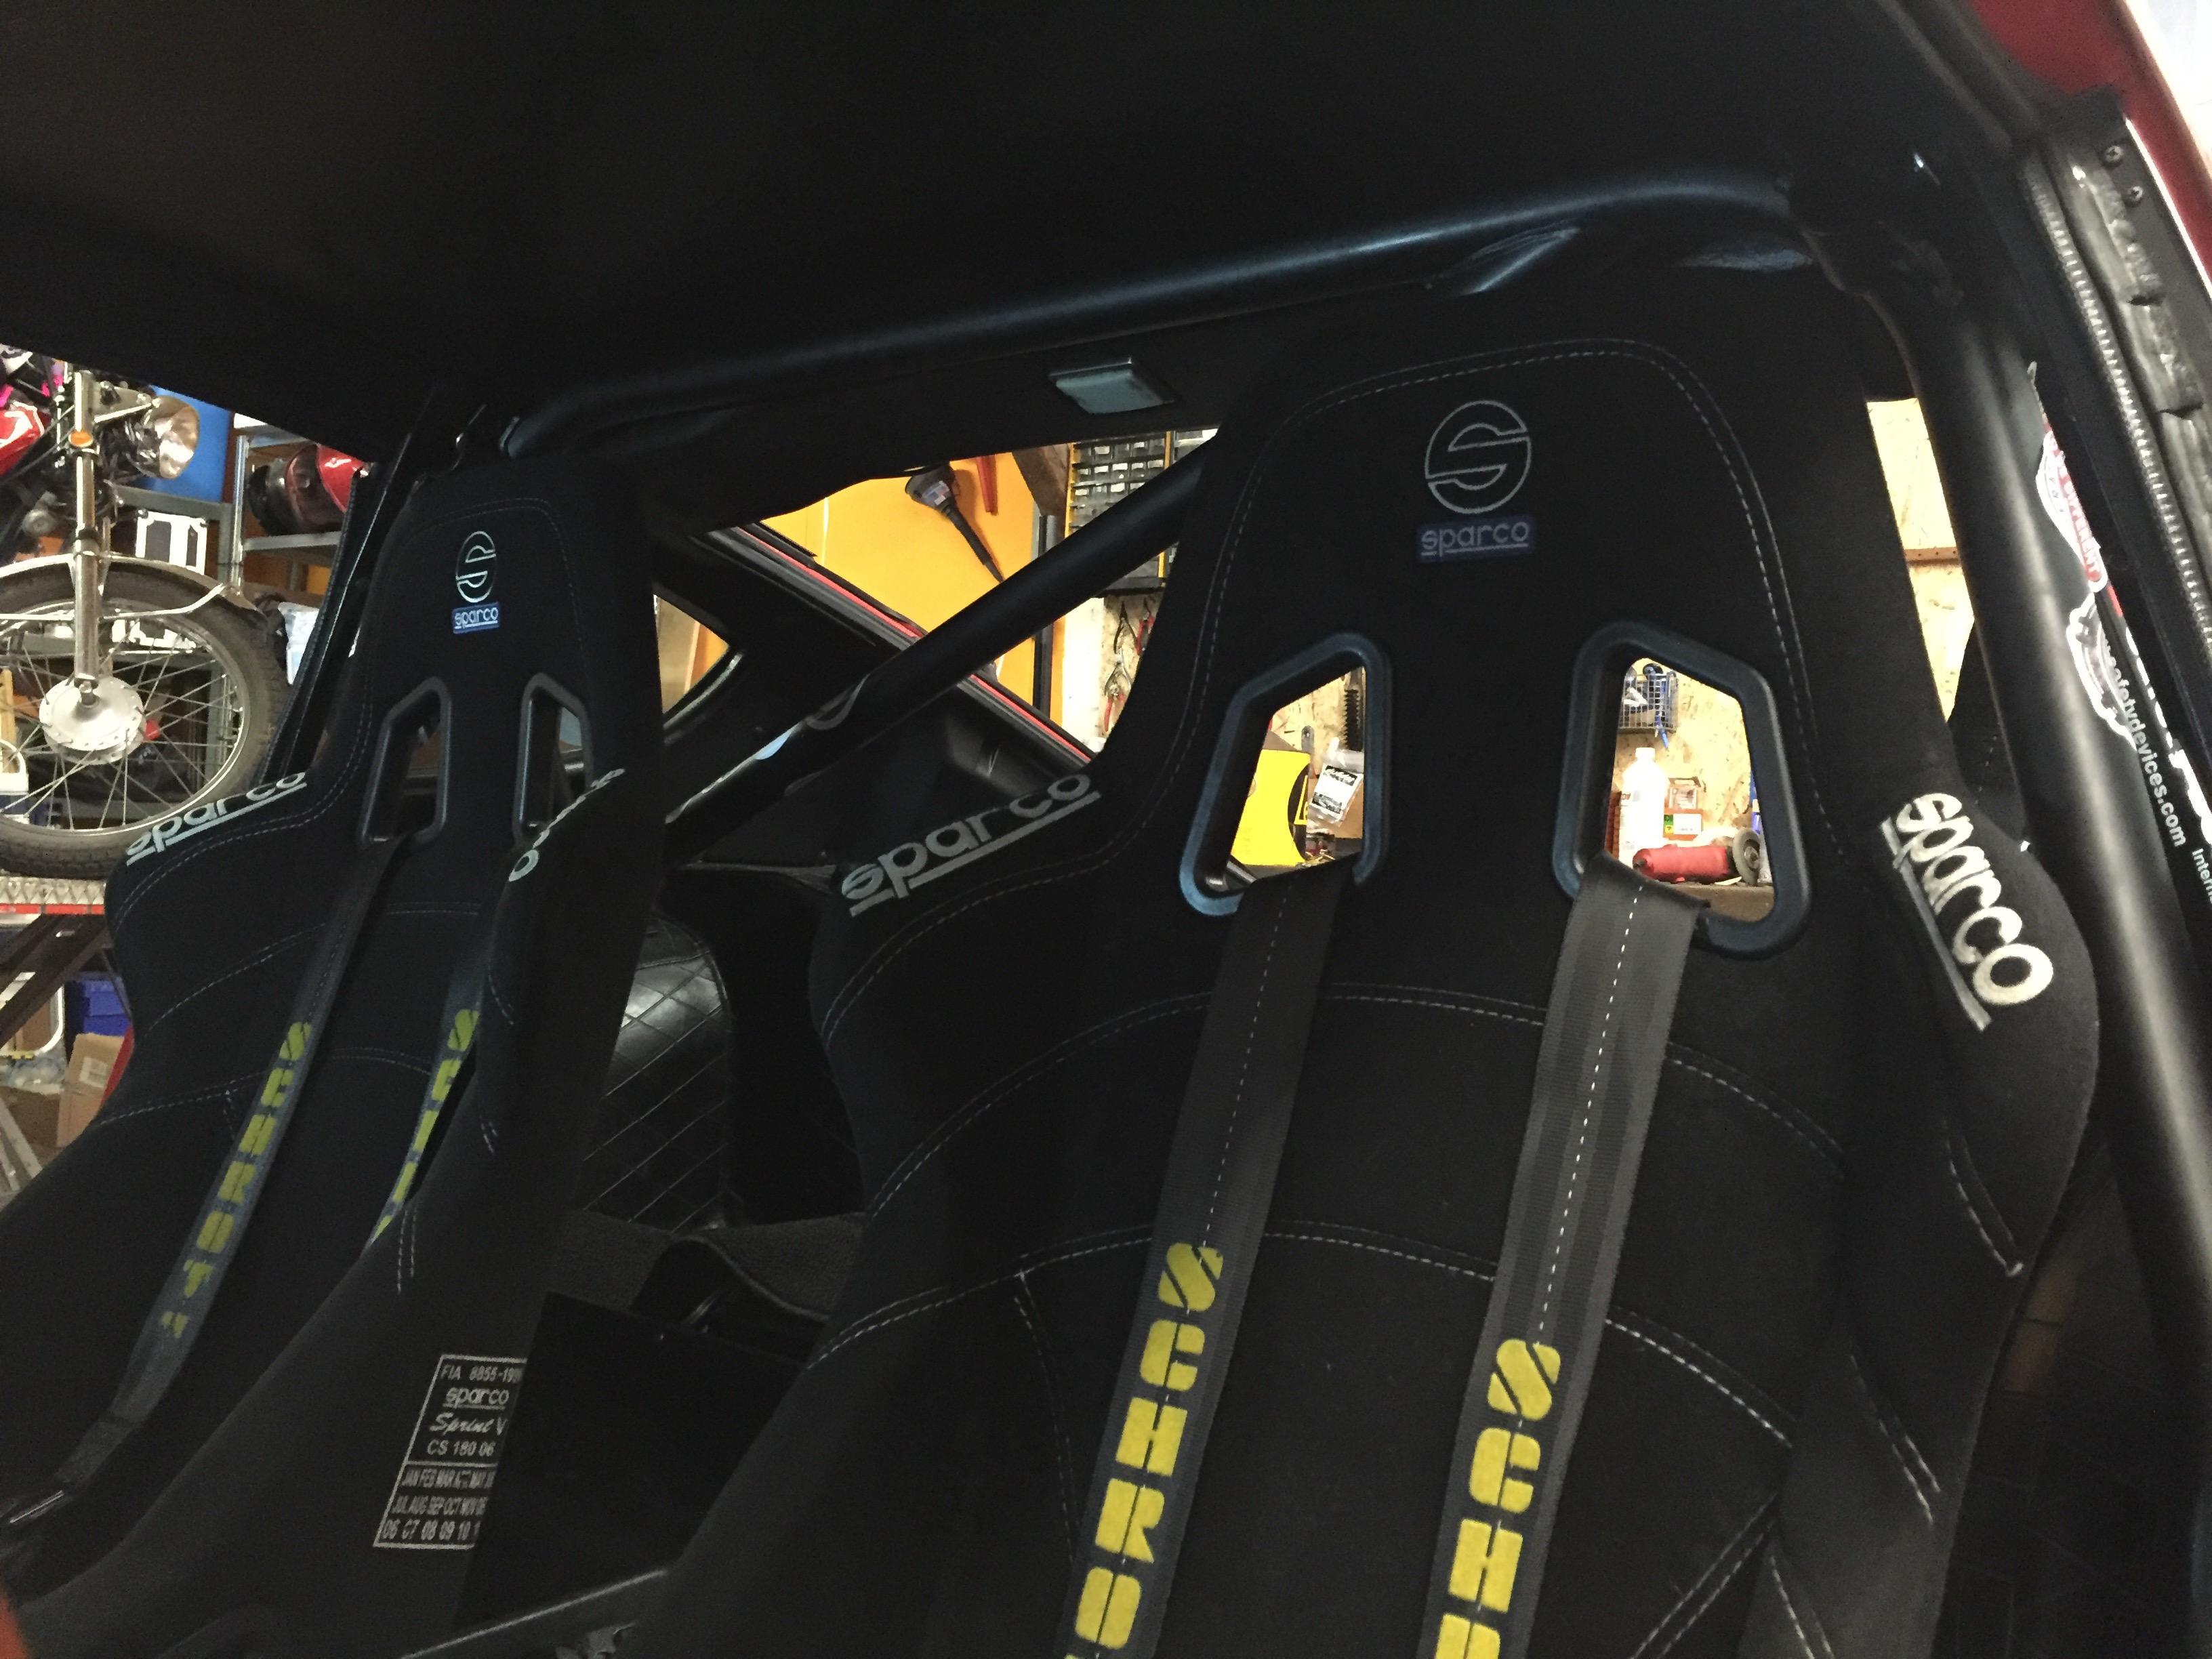
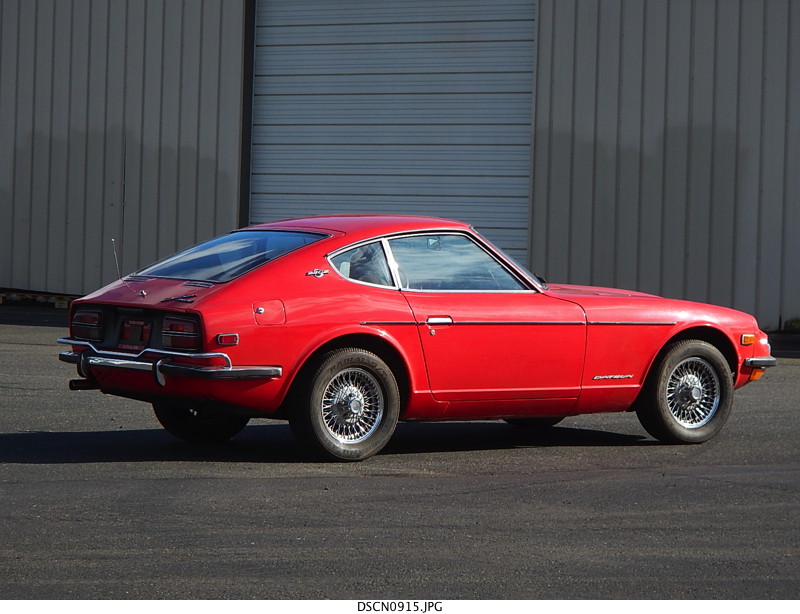
Coilovers are back in! The car is now finished, at least for a while... Thanks for joining.
-
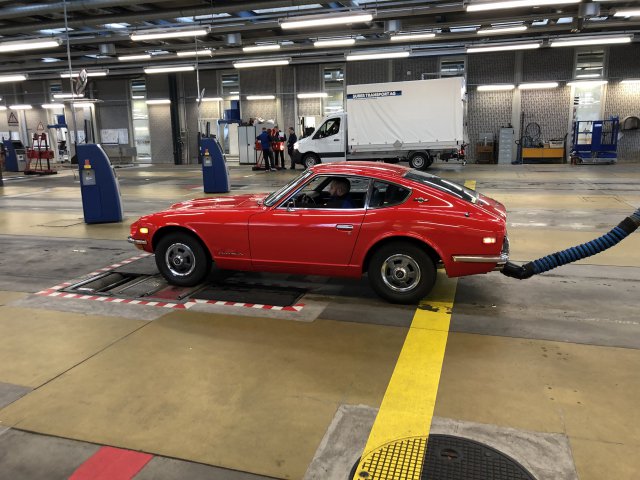
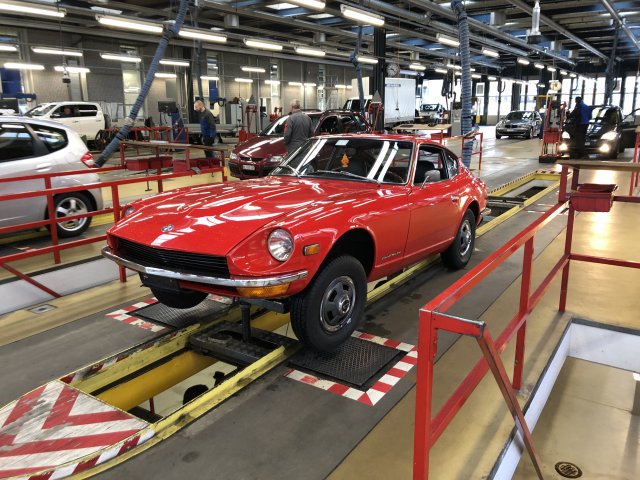
I had to swap all the T3 parts back to original, otherwise not legal. Next weekend I will install all T3 parts again.
The thing is, because of its good condition, I got the "Veteran" registration, which means the next vehicle test will be in 6 years.
Unfortunately I have a kilometer limit of 3000 km per year with the classic car registration, but a second speedometer solves the problem.
-
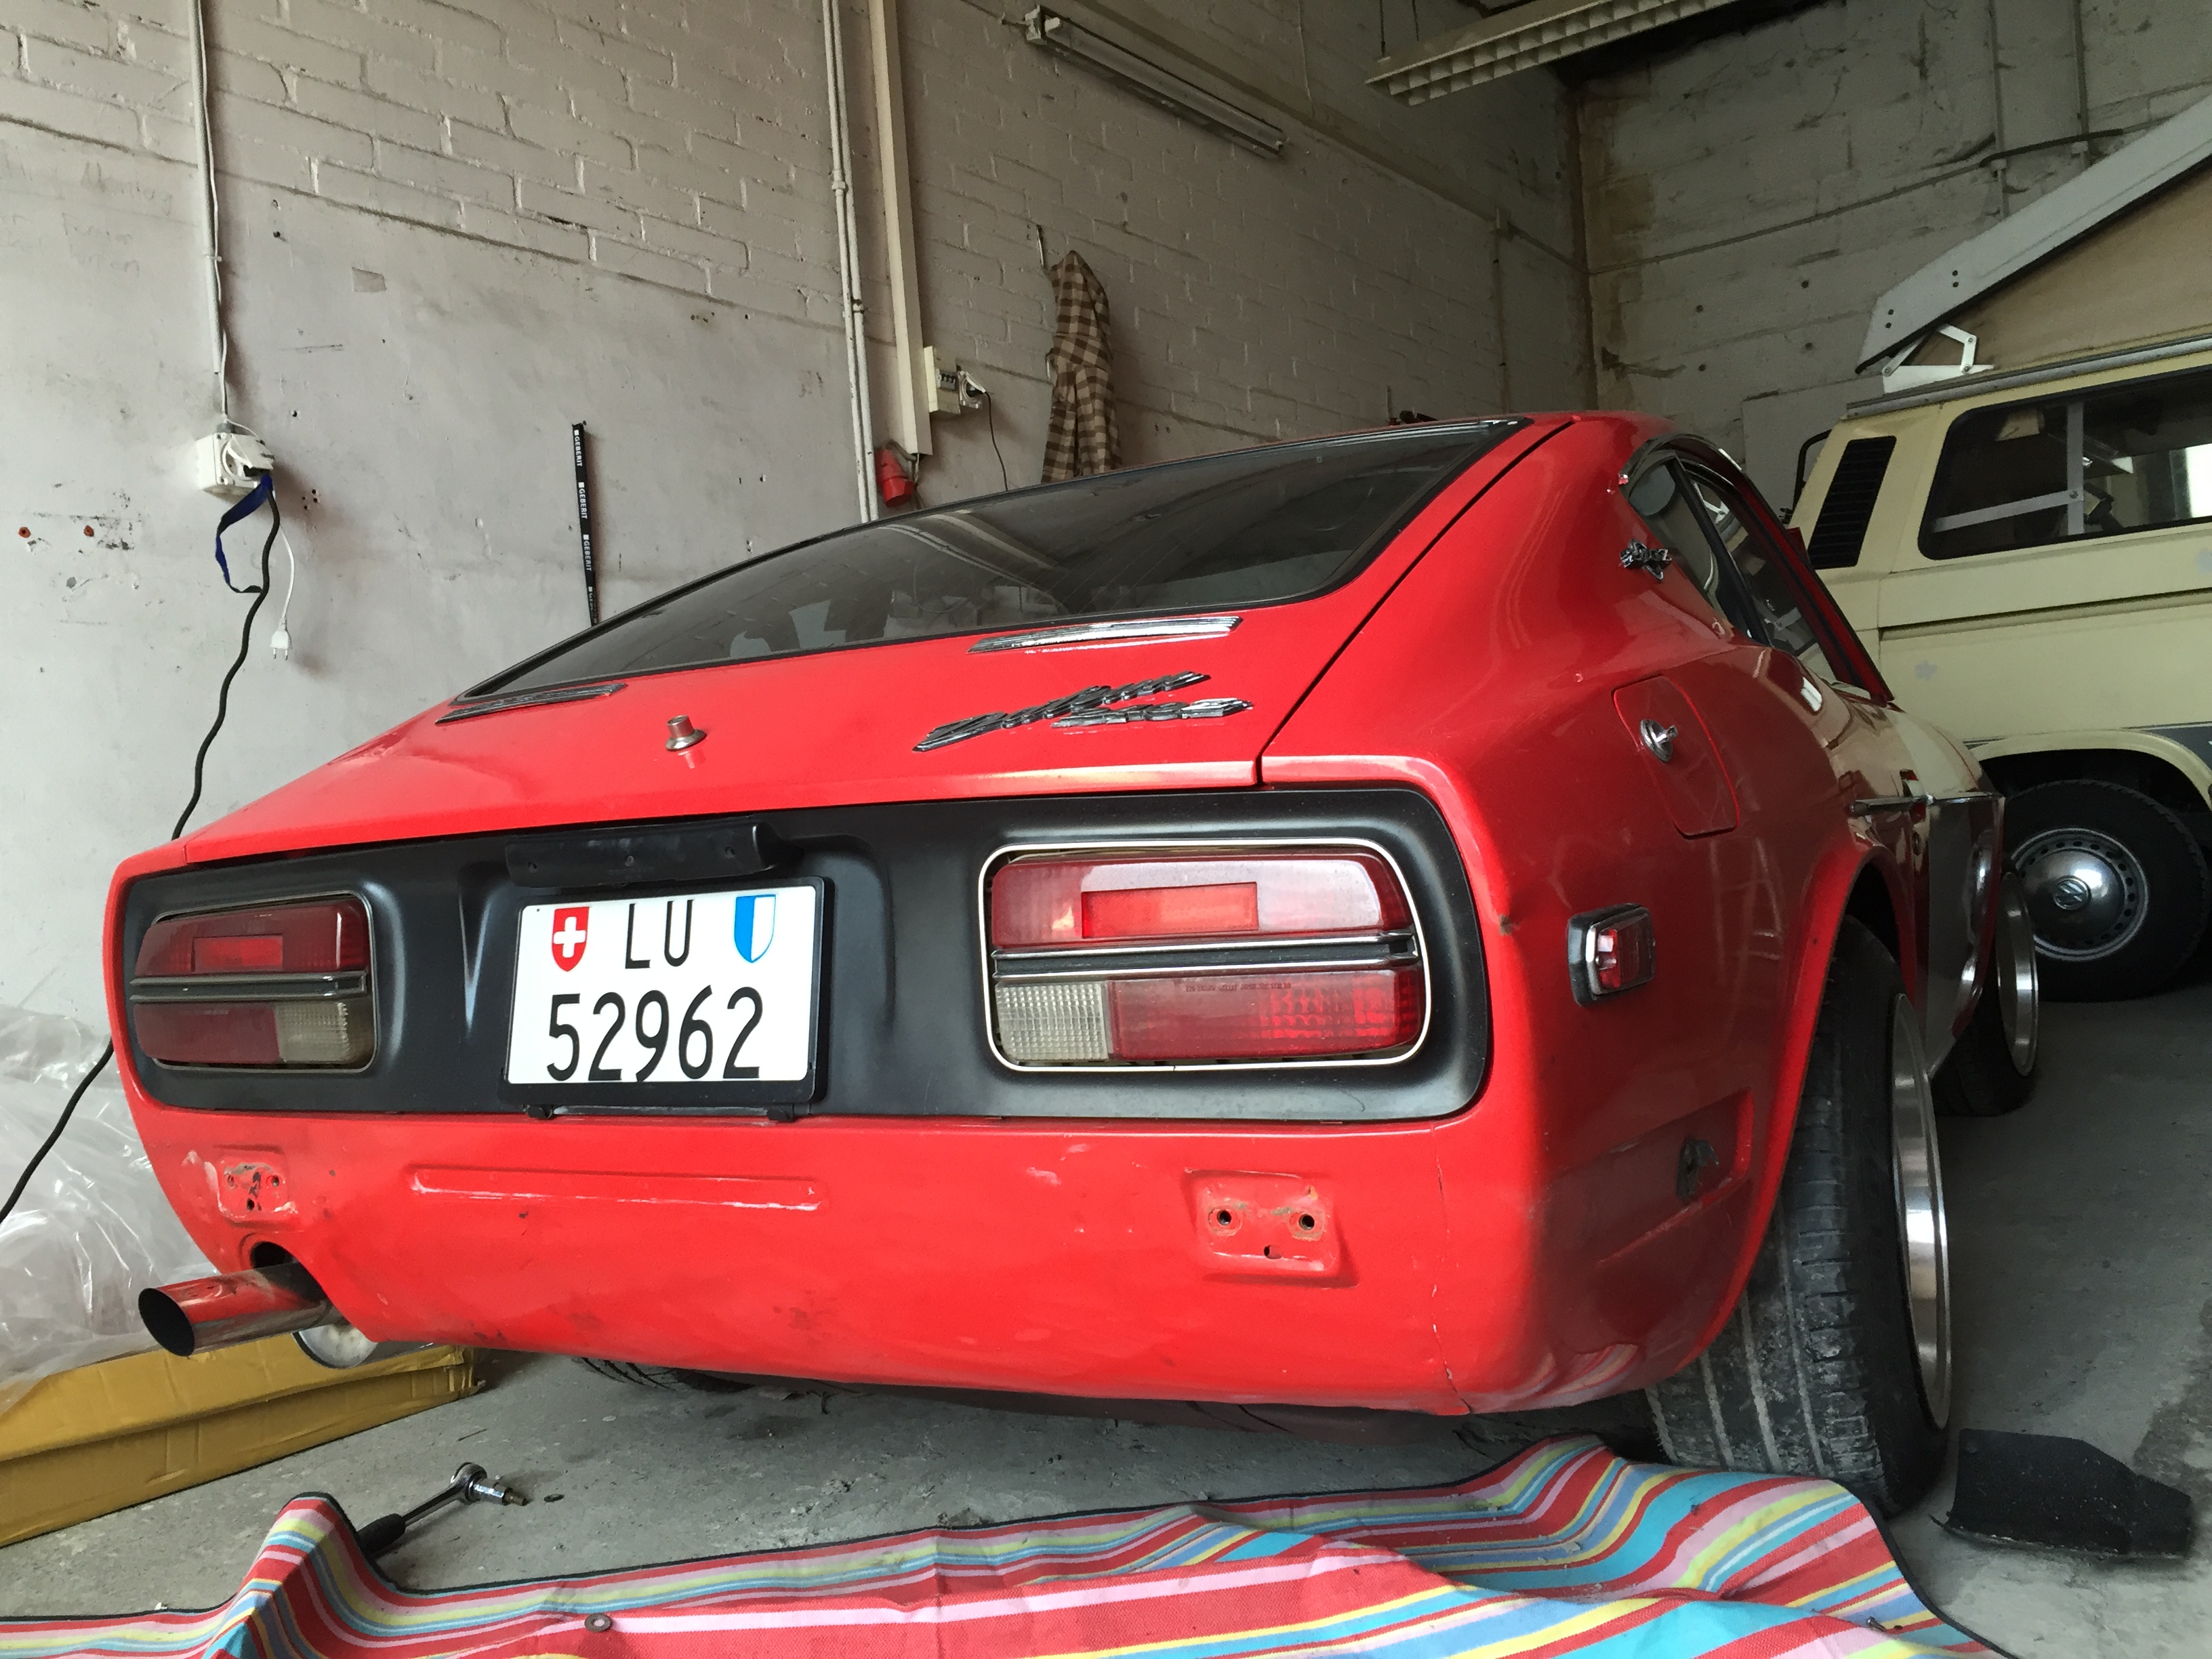
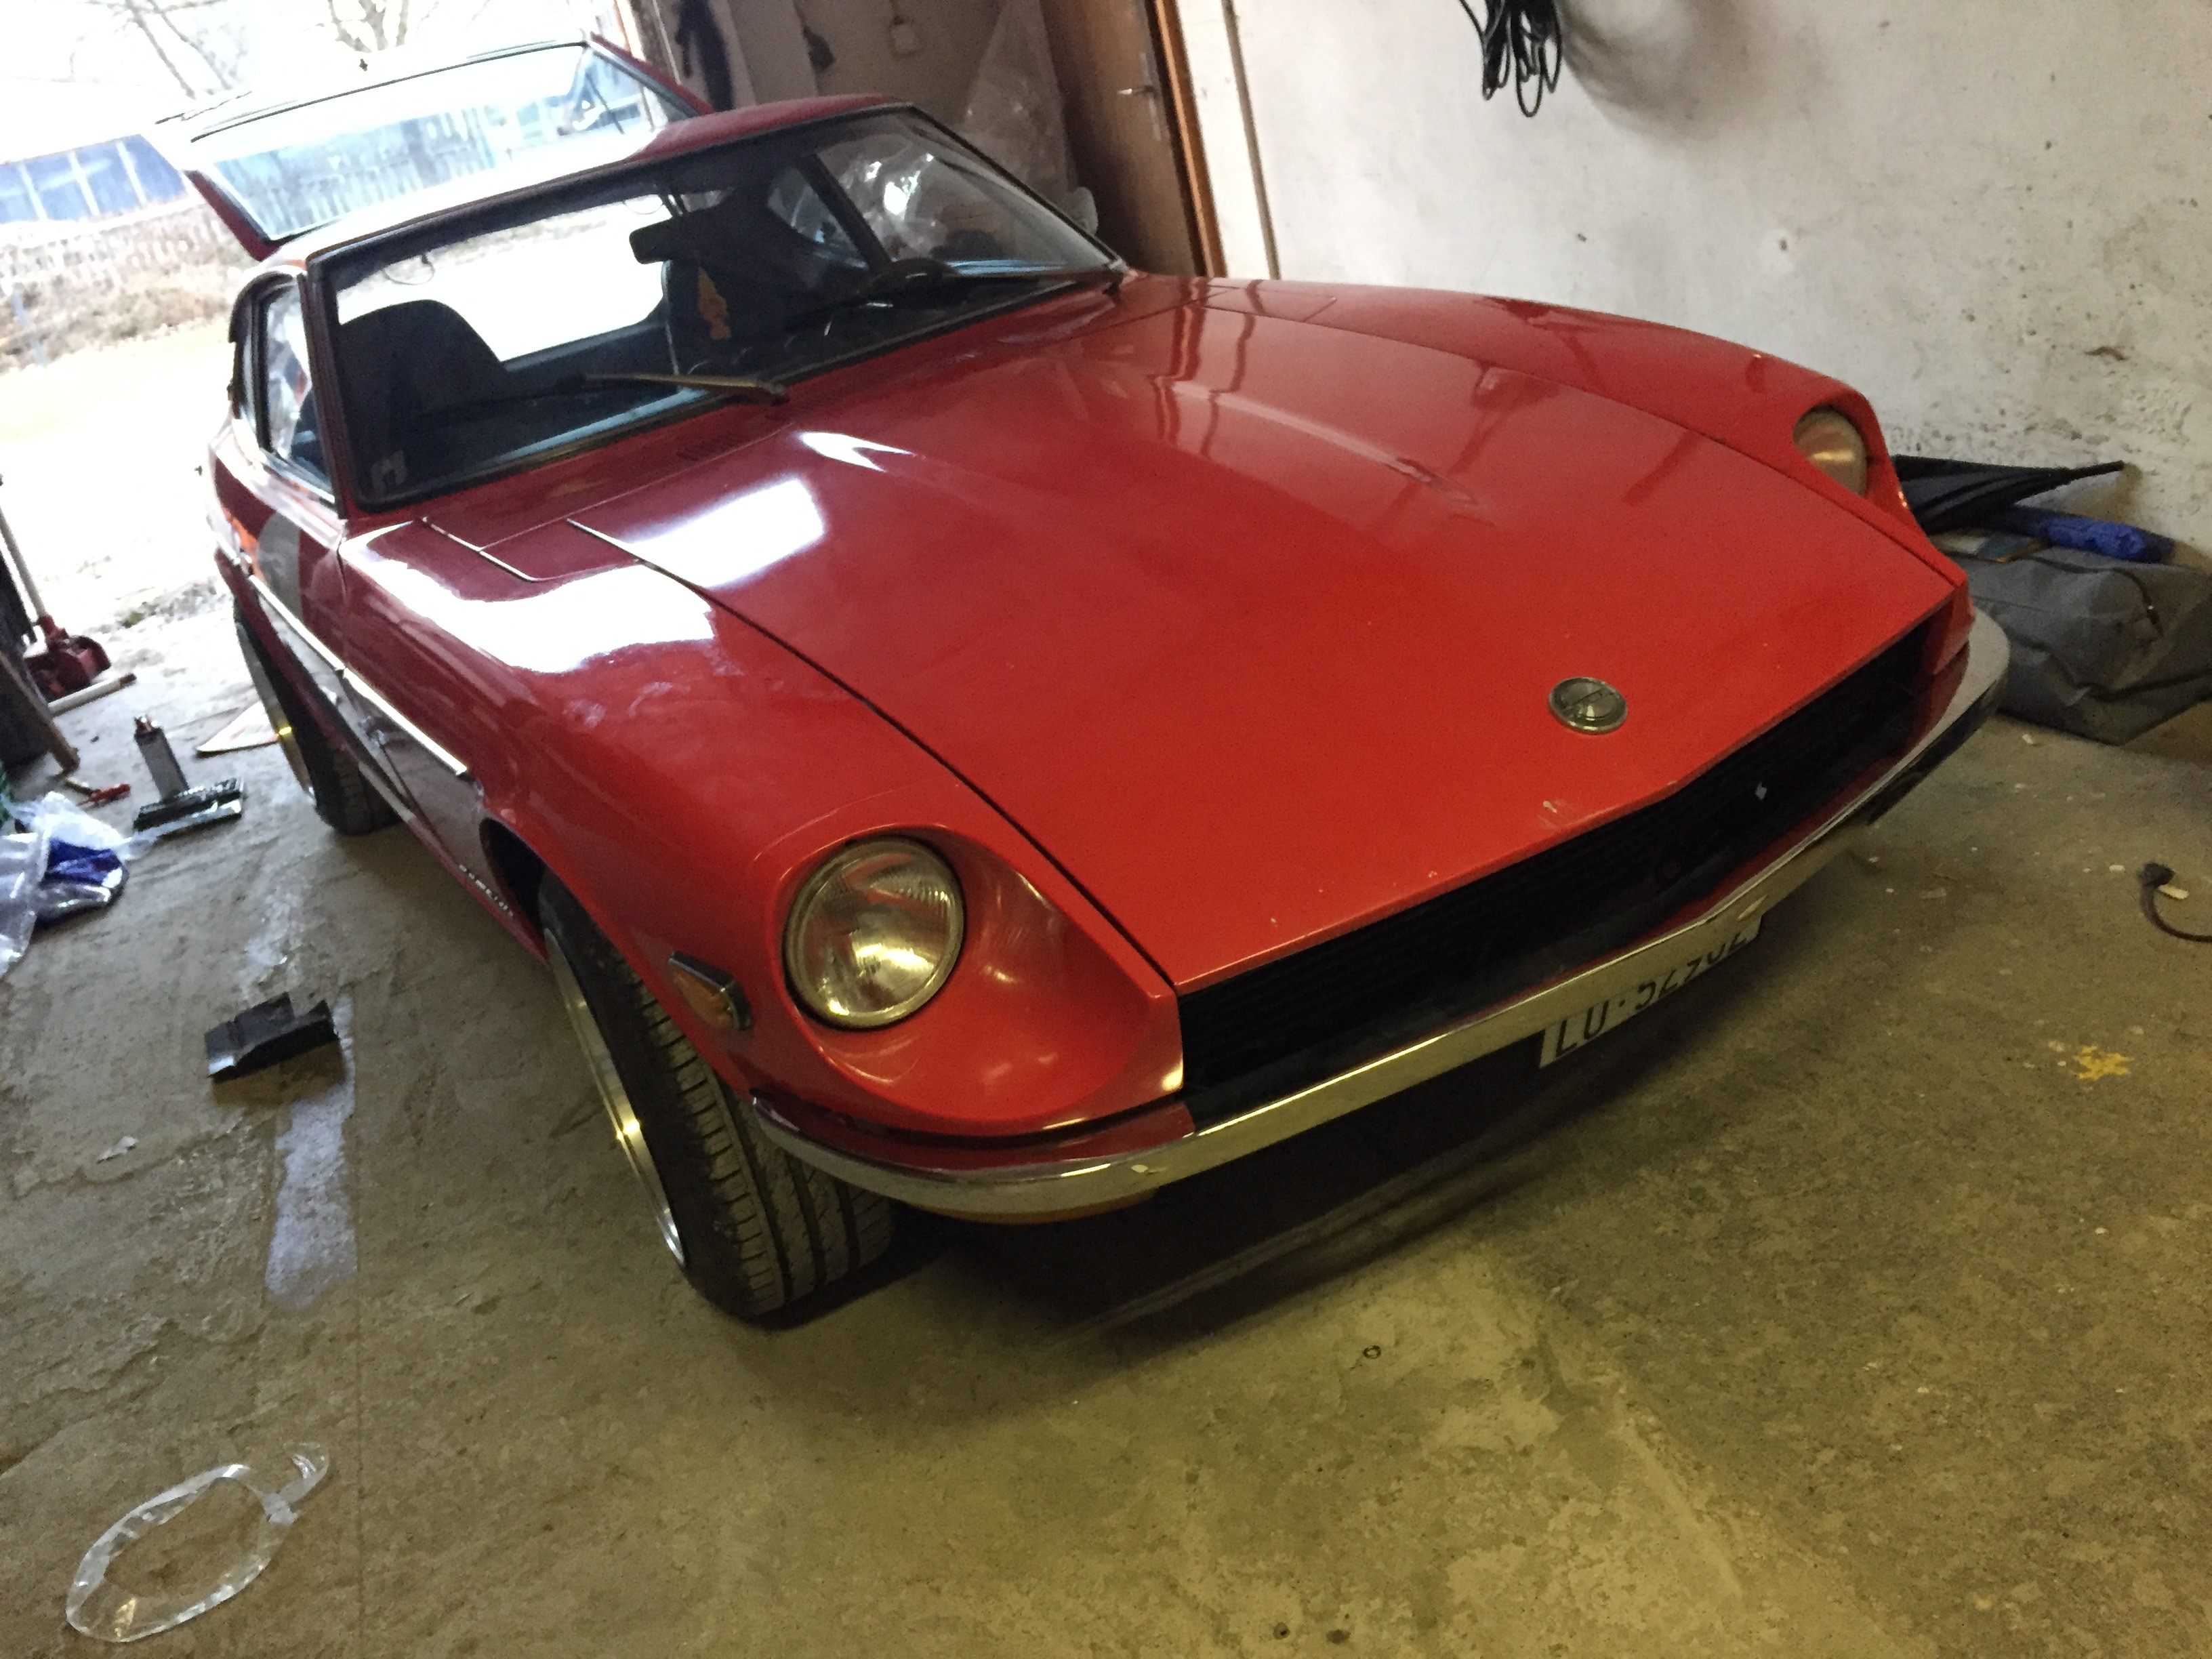
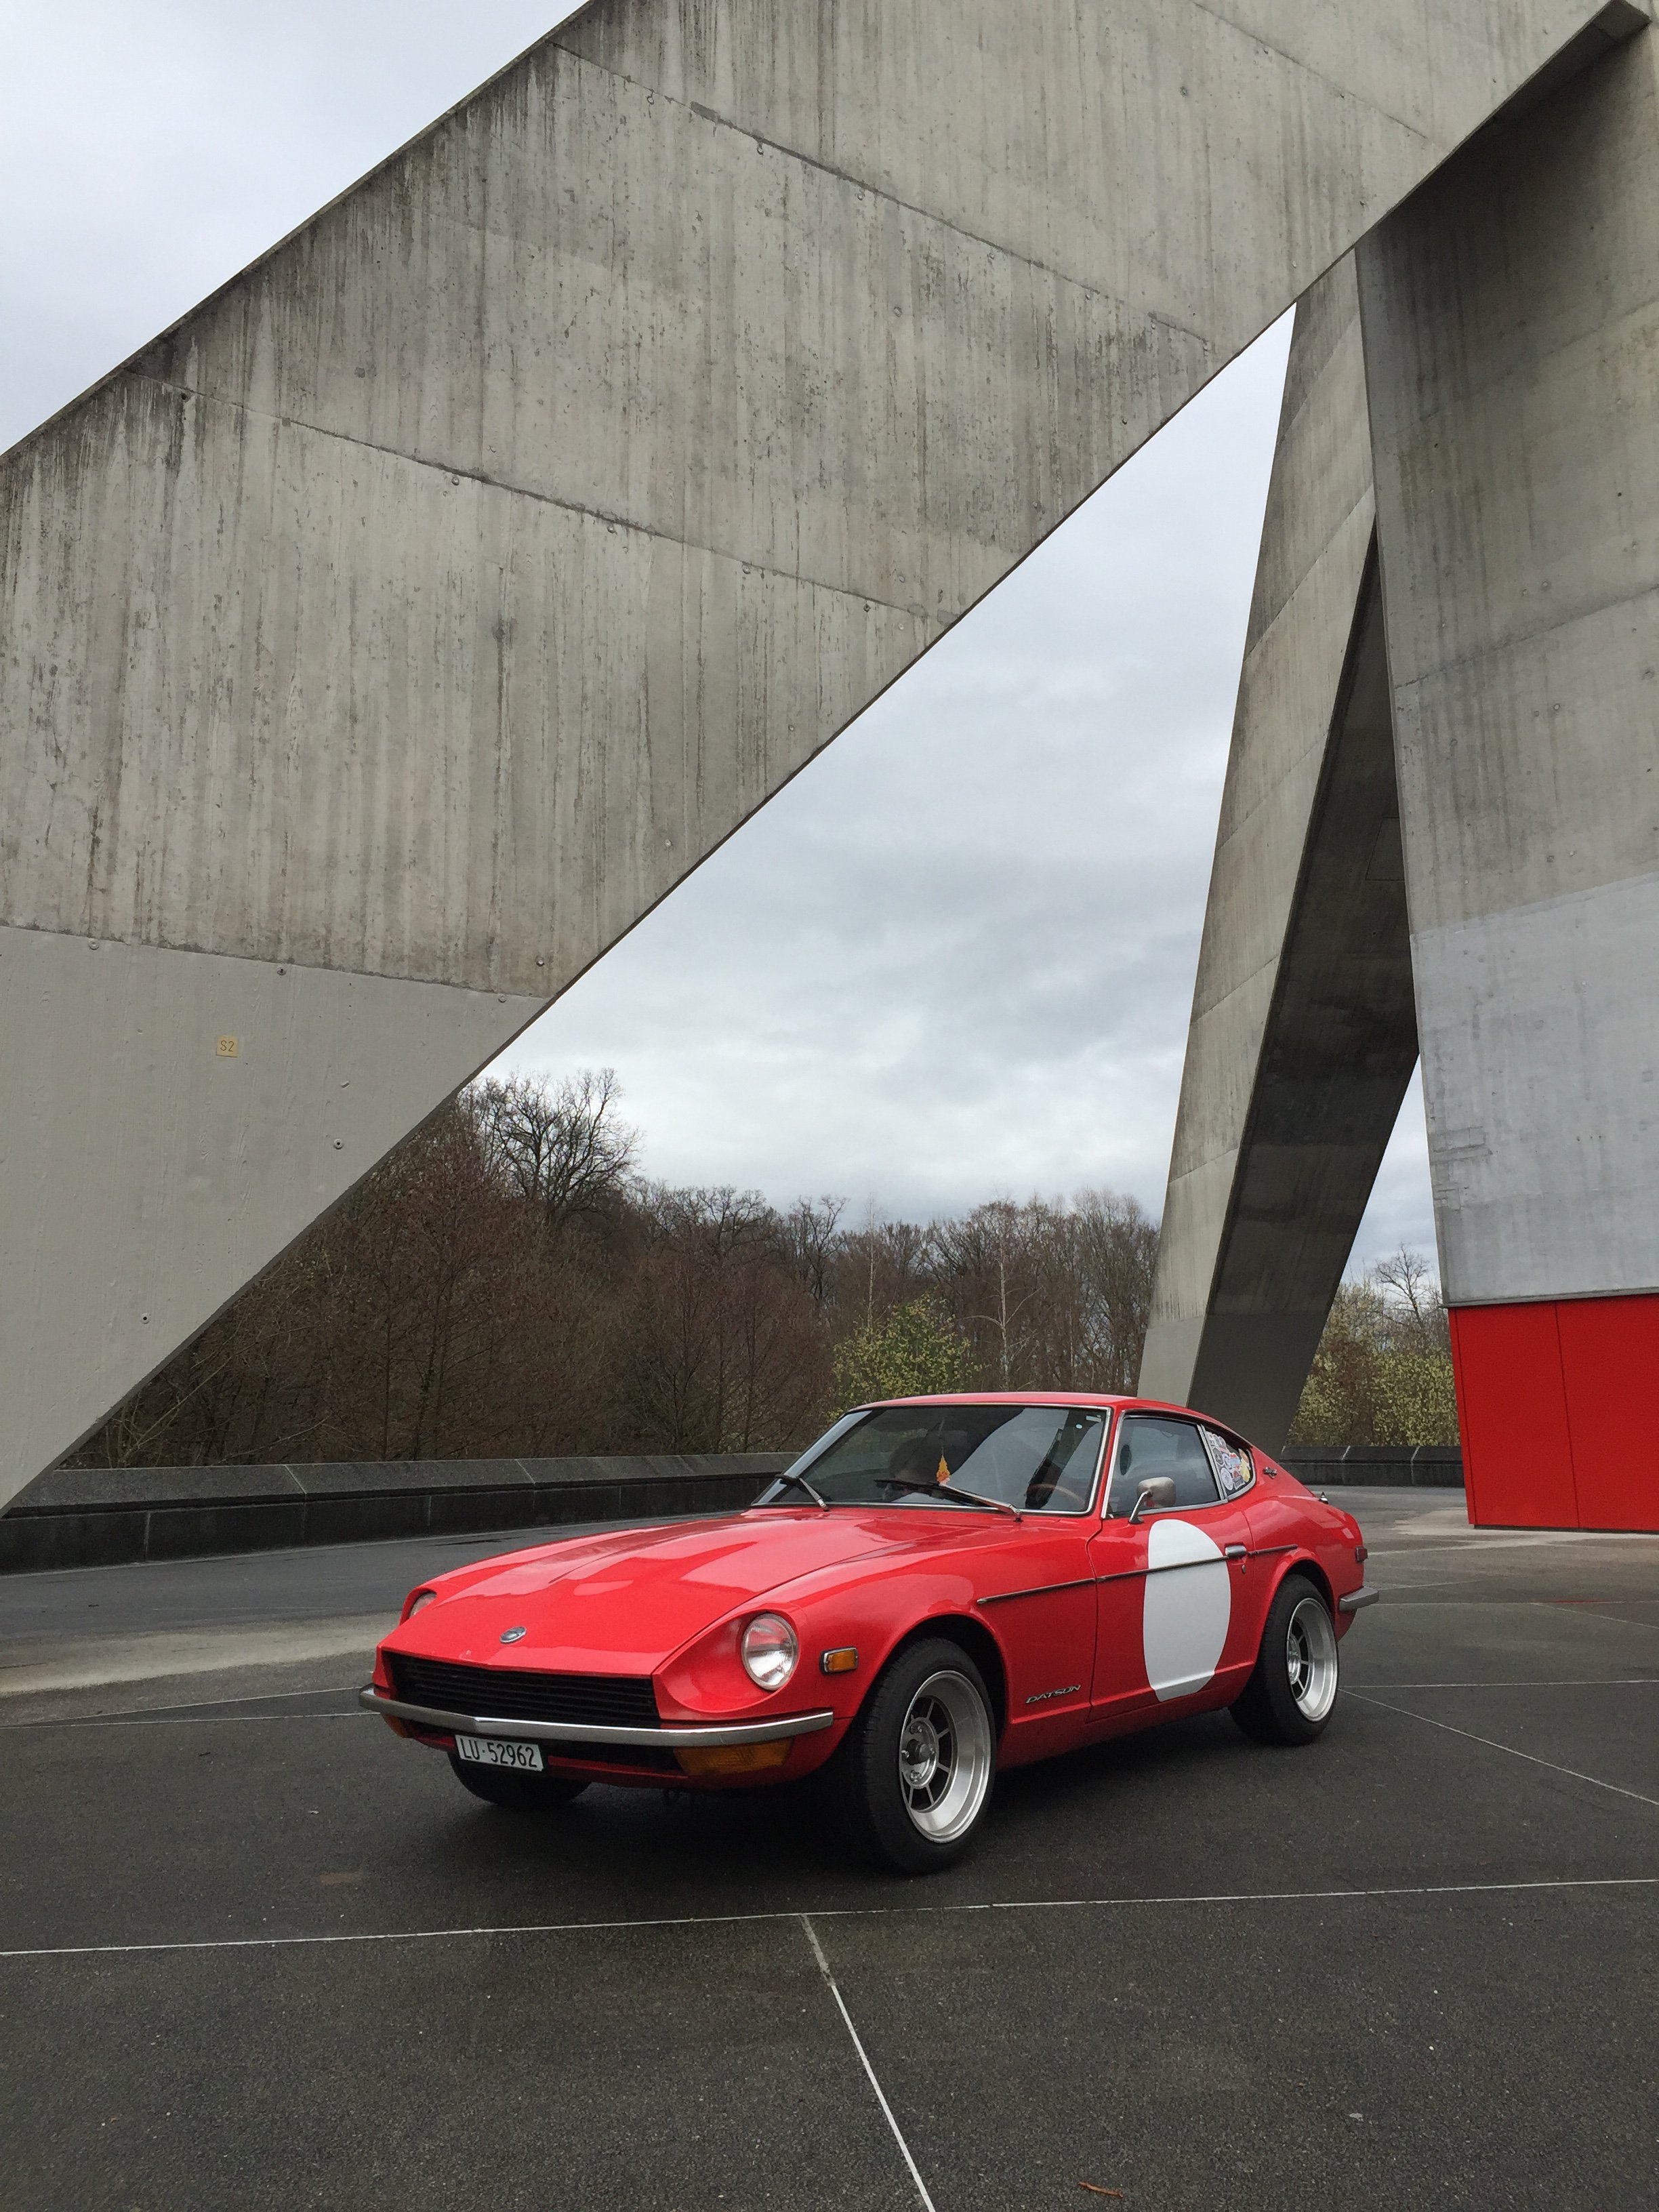
Finally street legal in Switzerland!!!!!
-
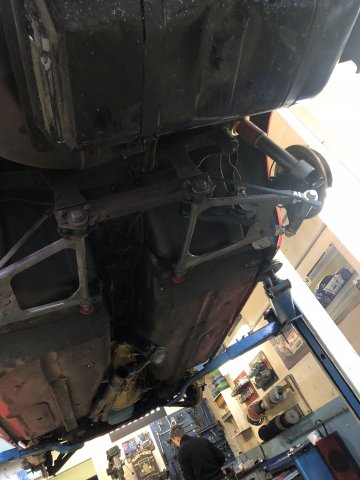
Hello!
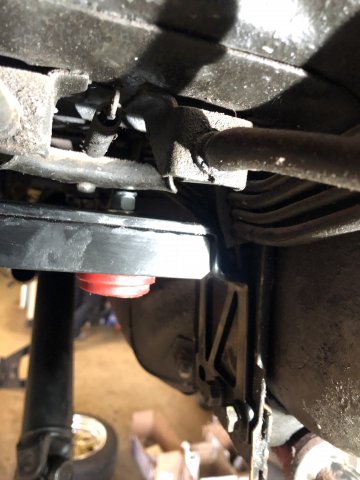
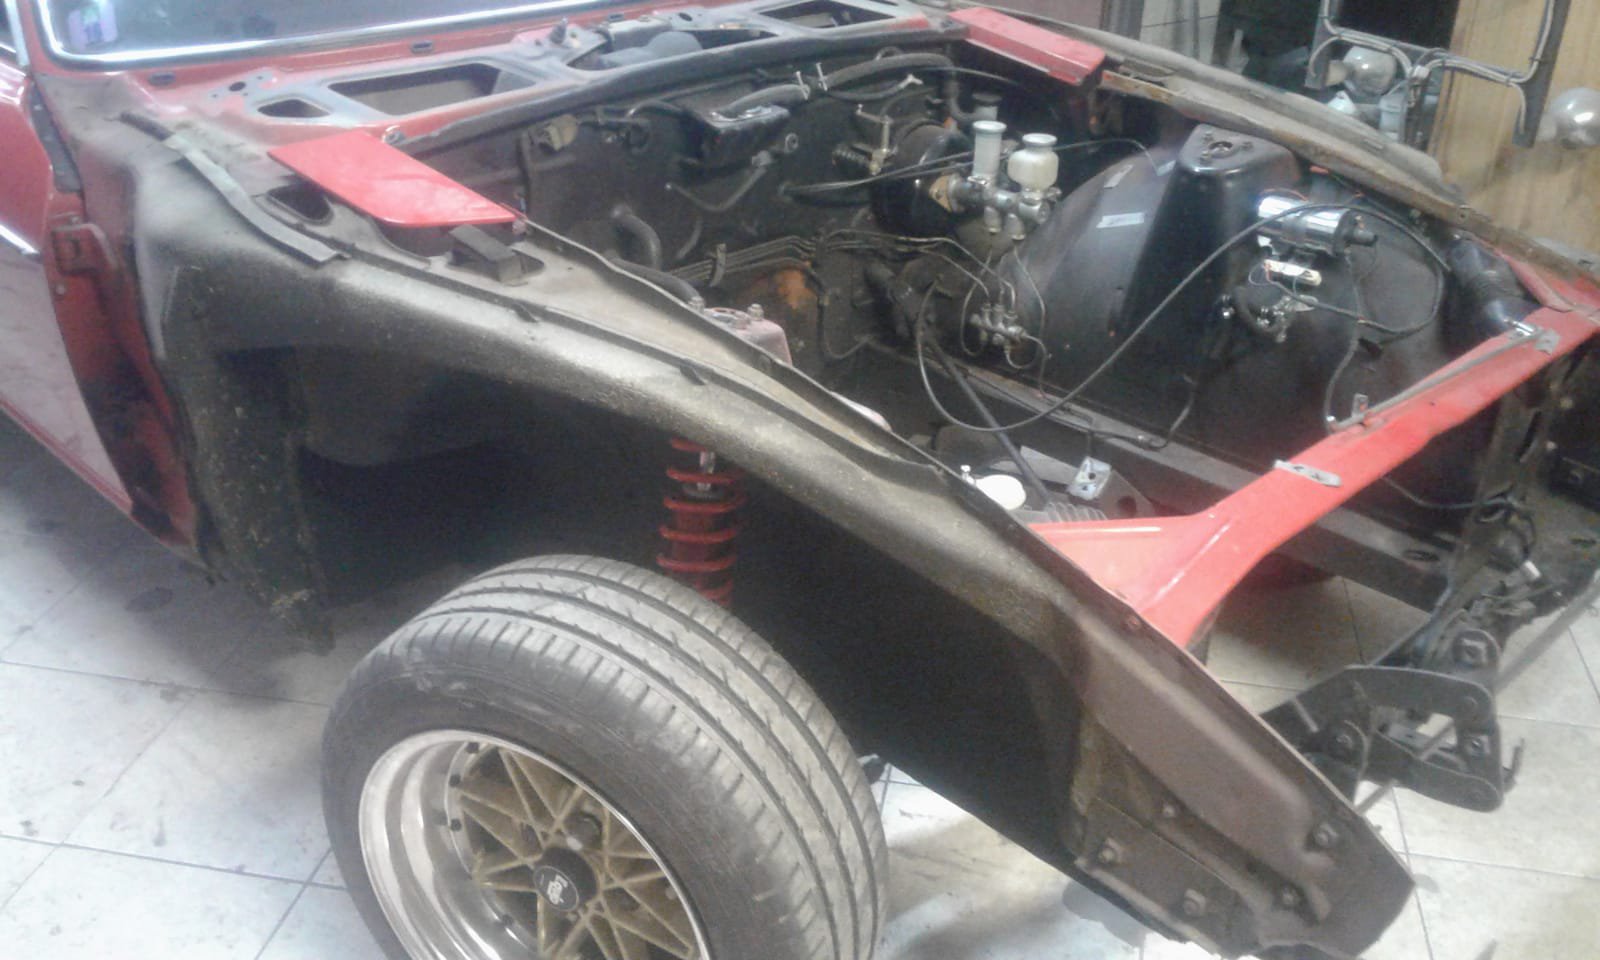
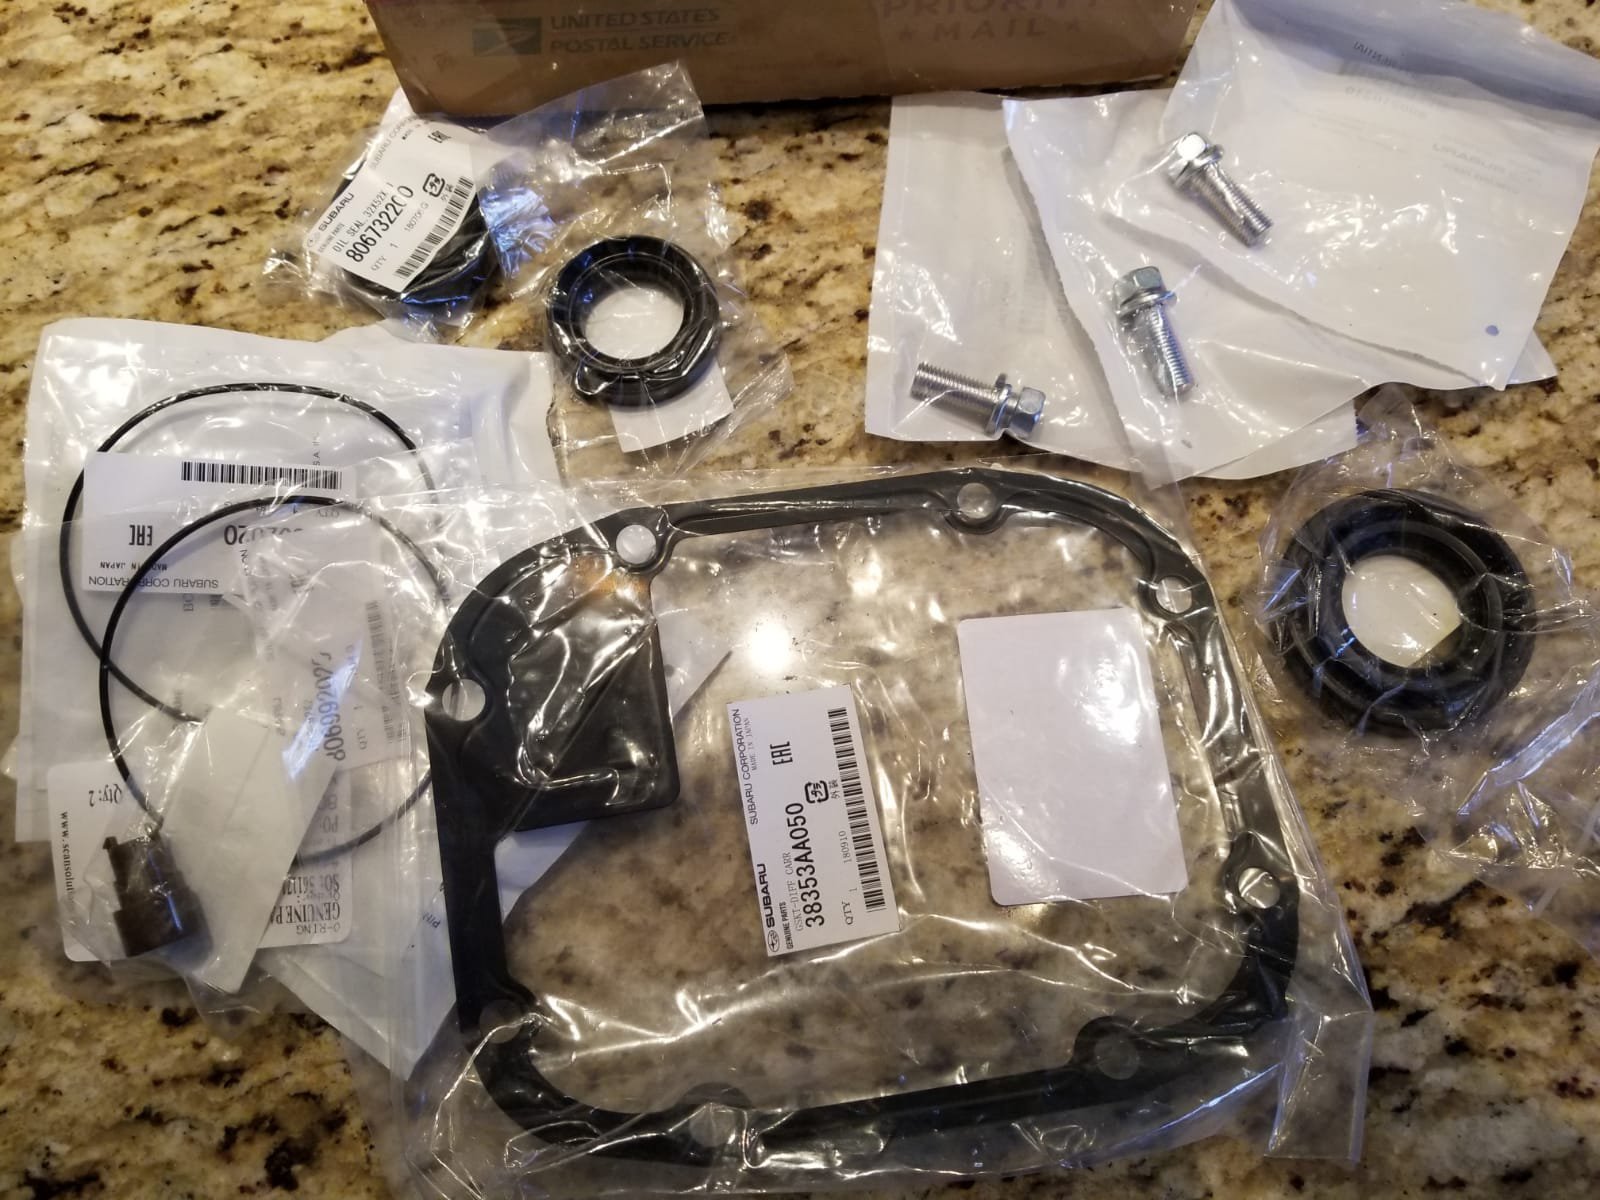
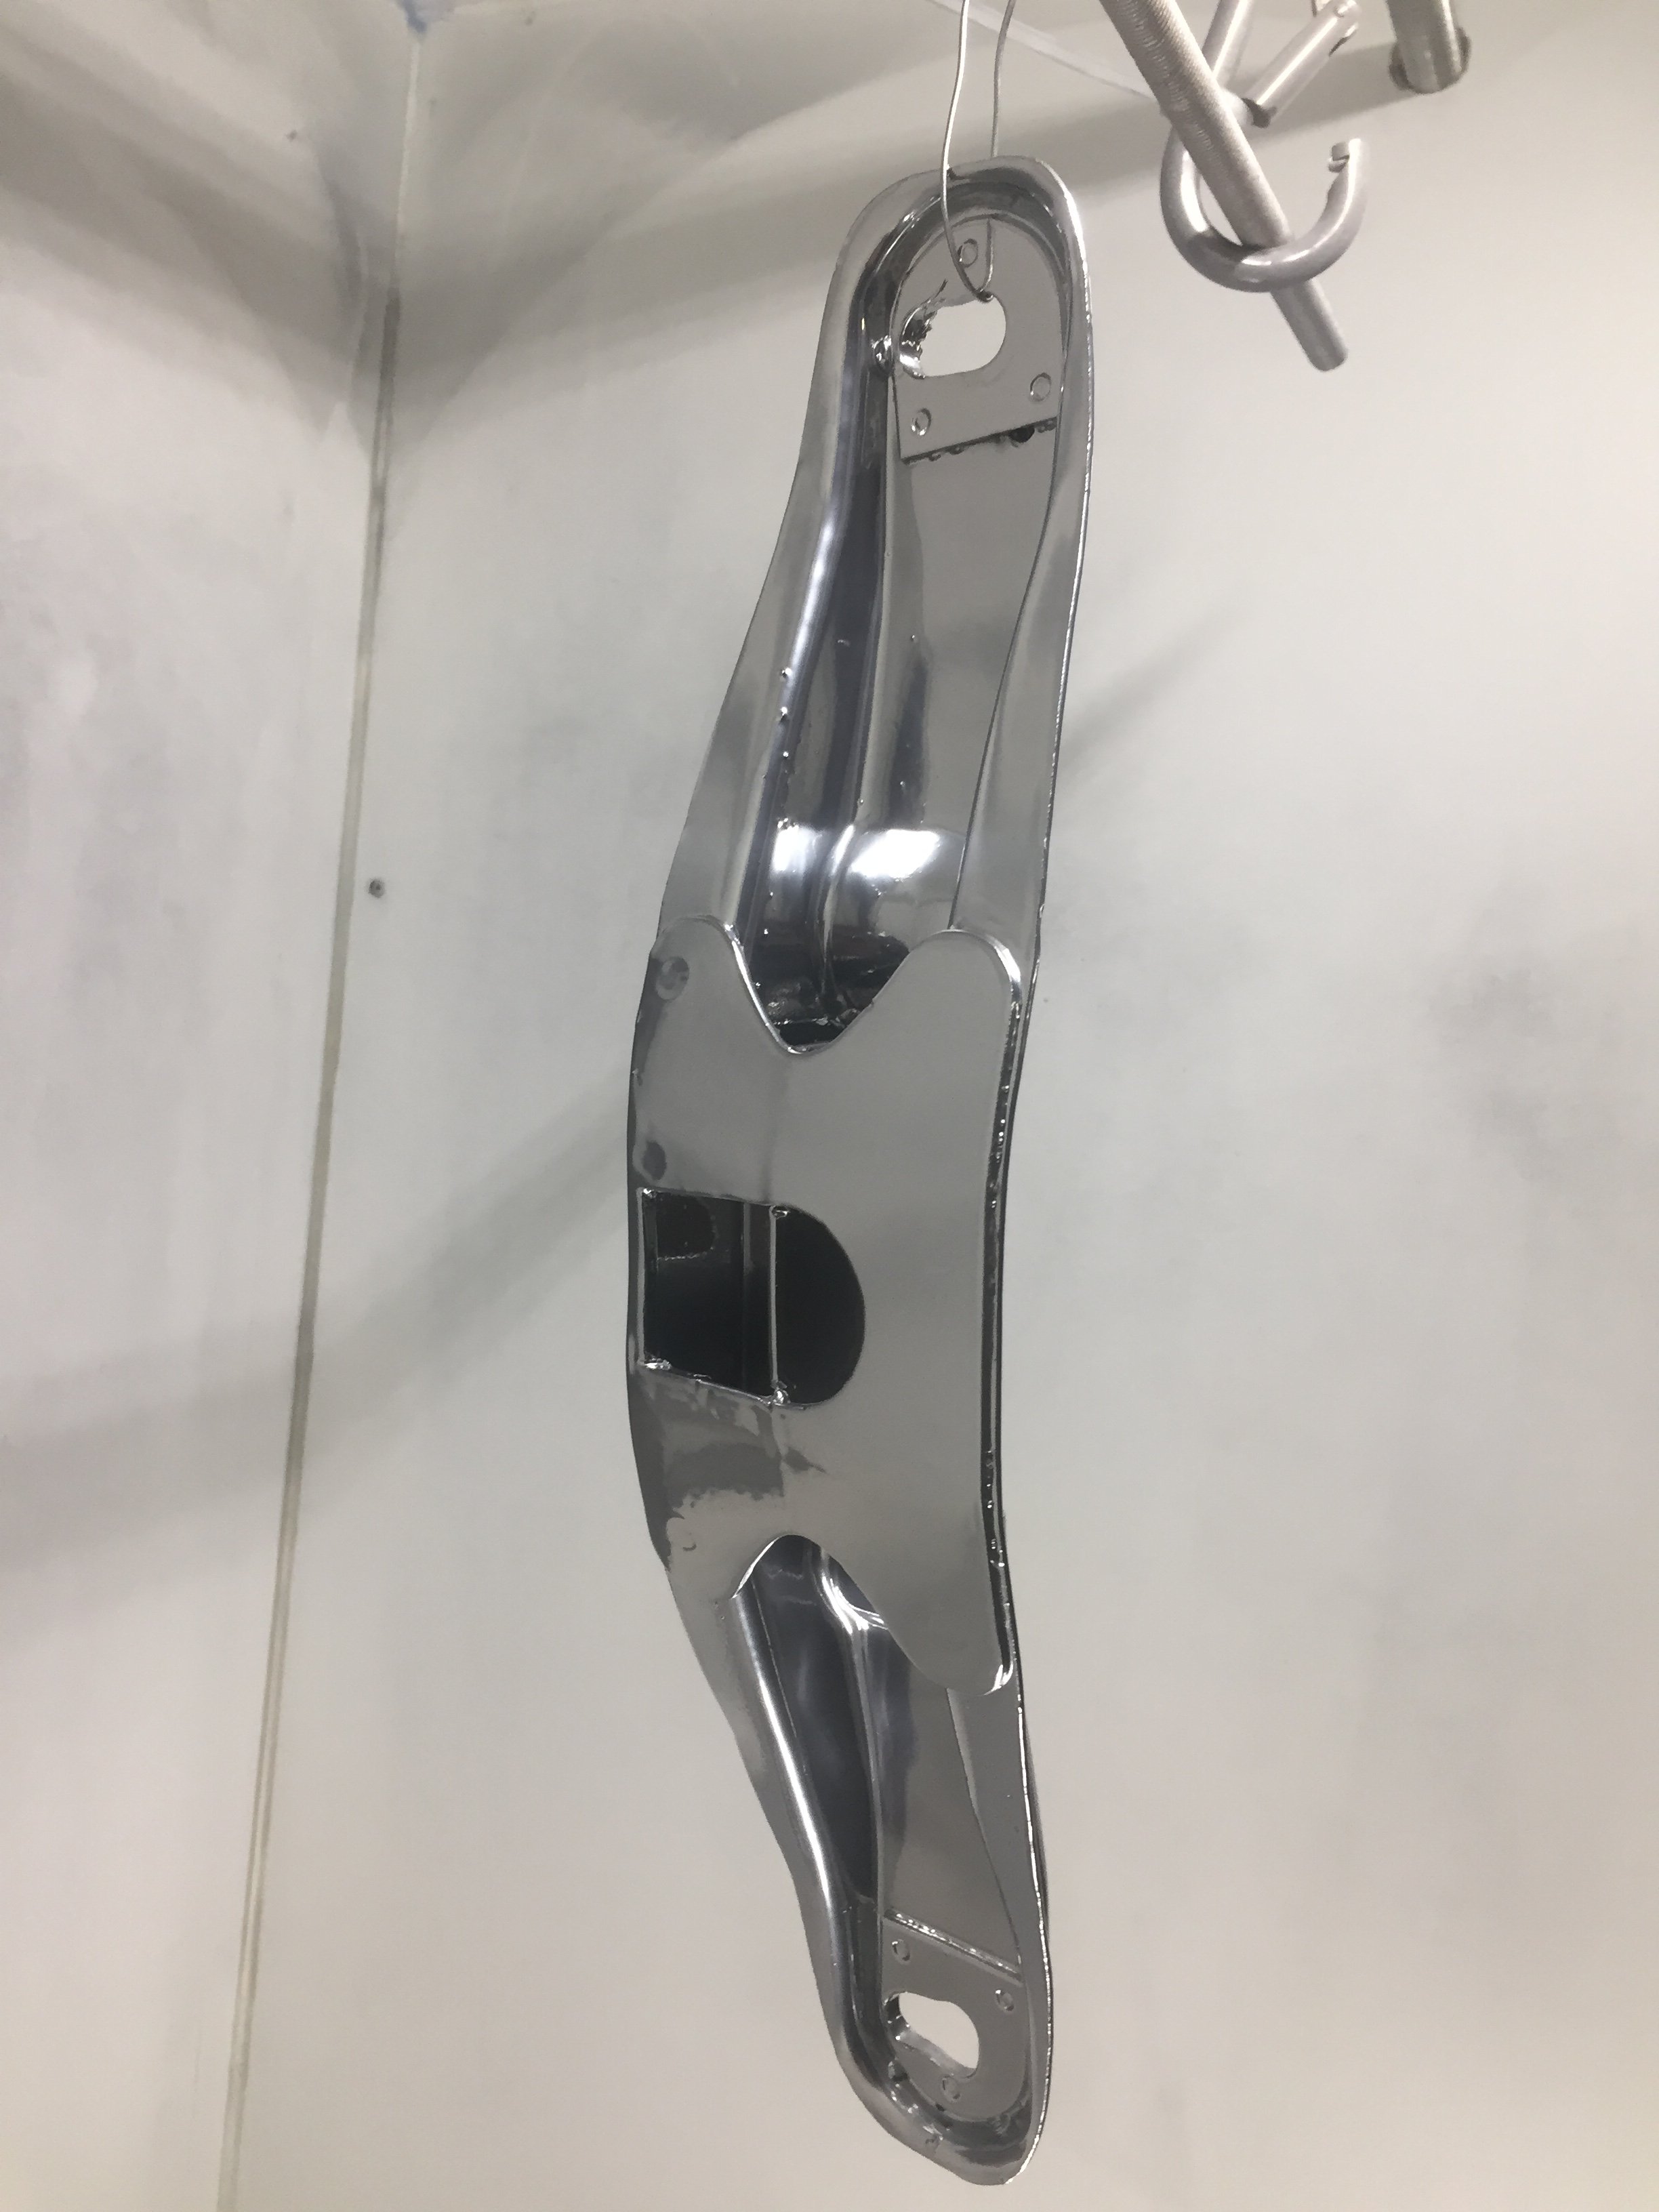
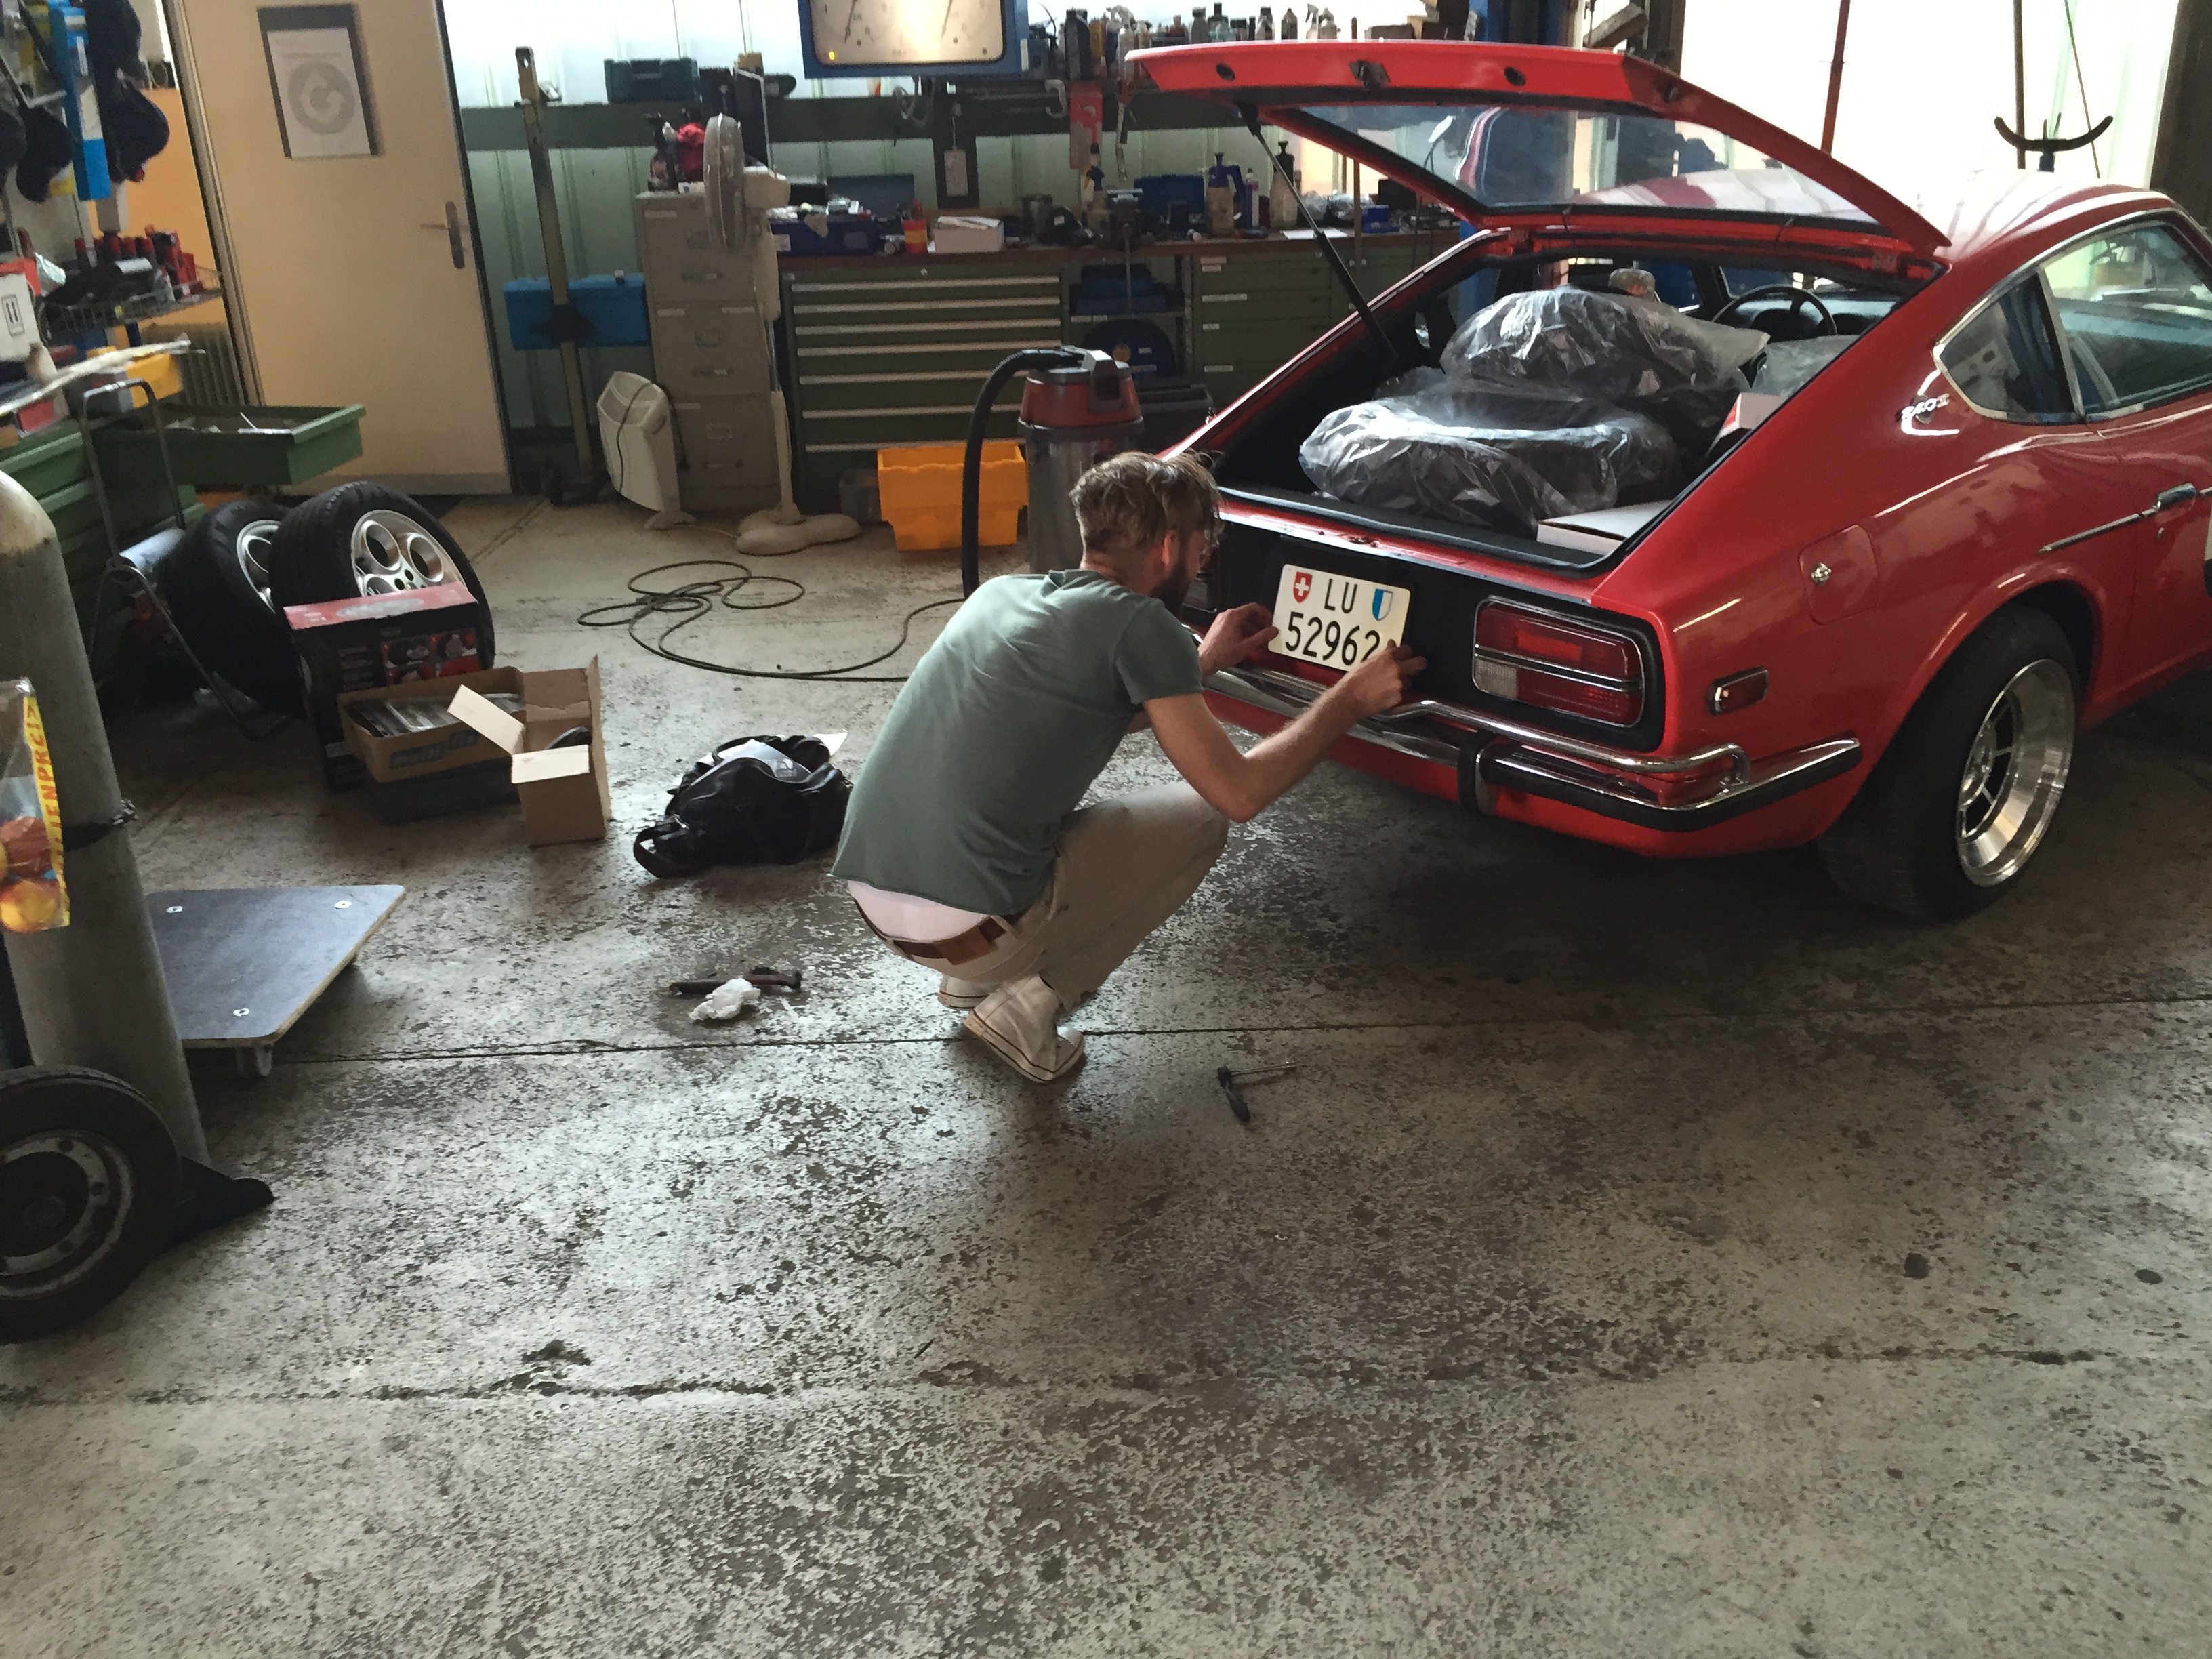
Finally I had some time to finish the diff swap.
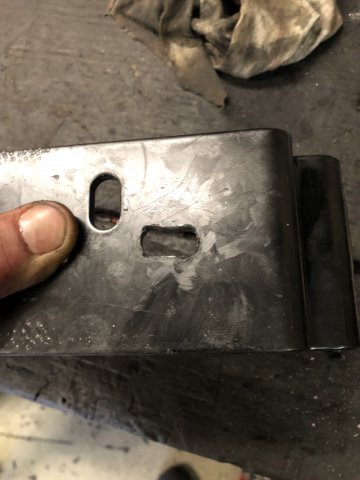
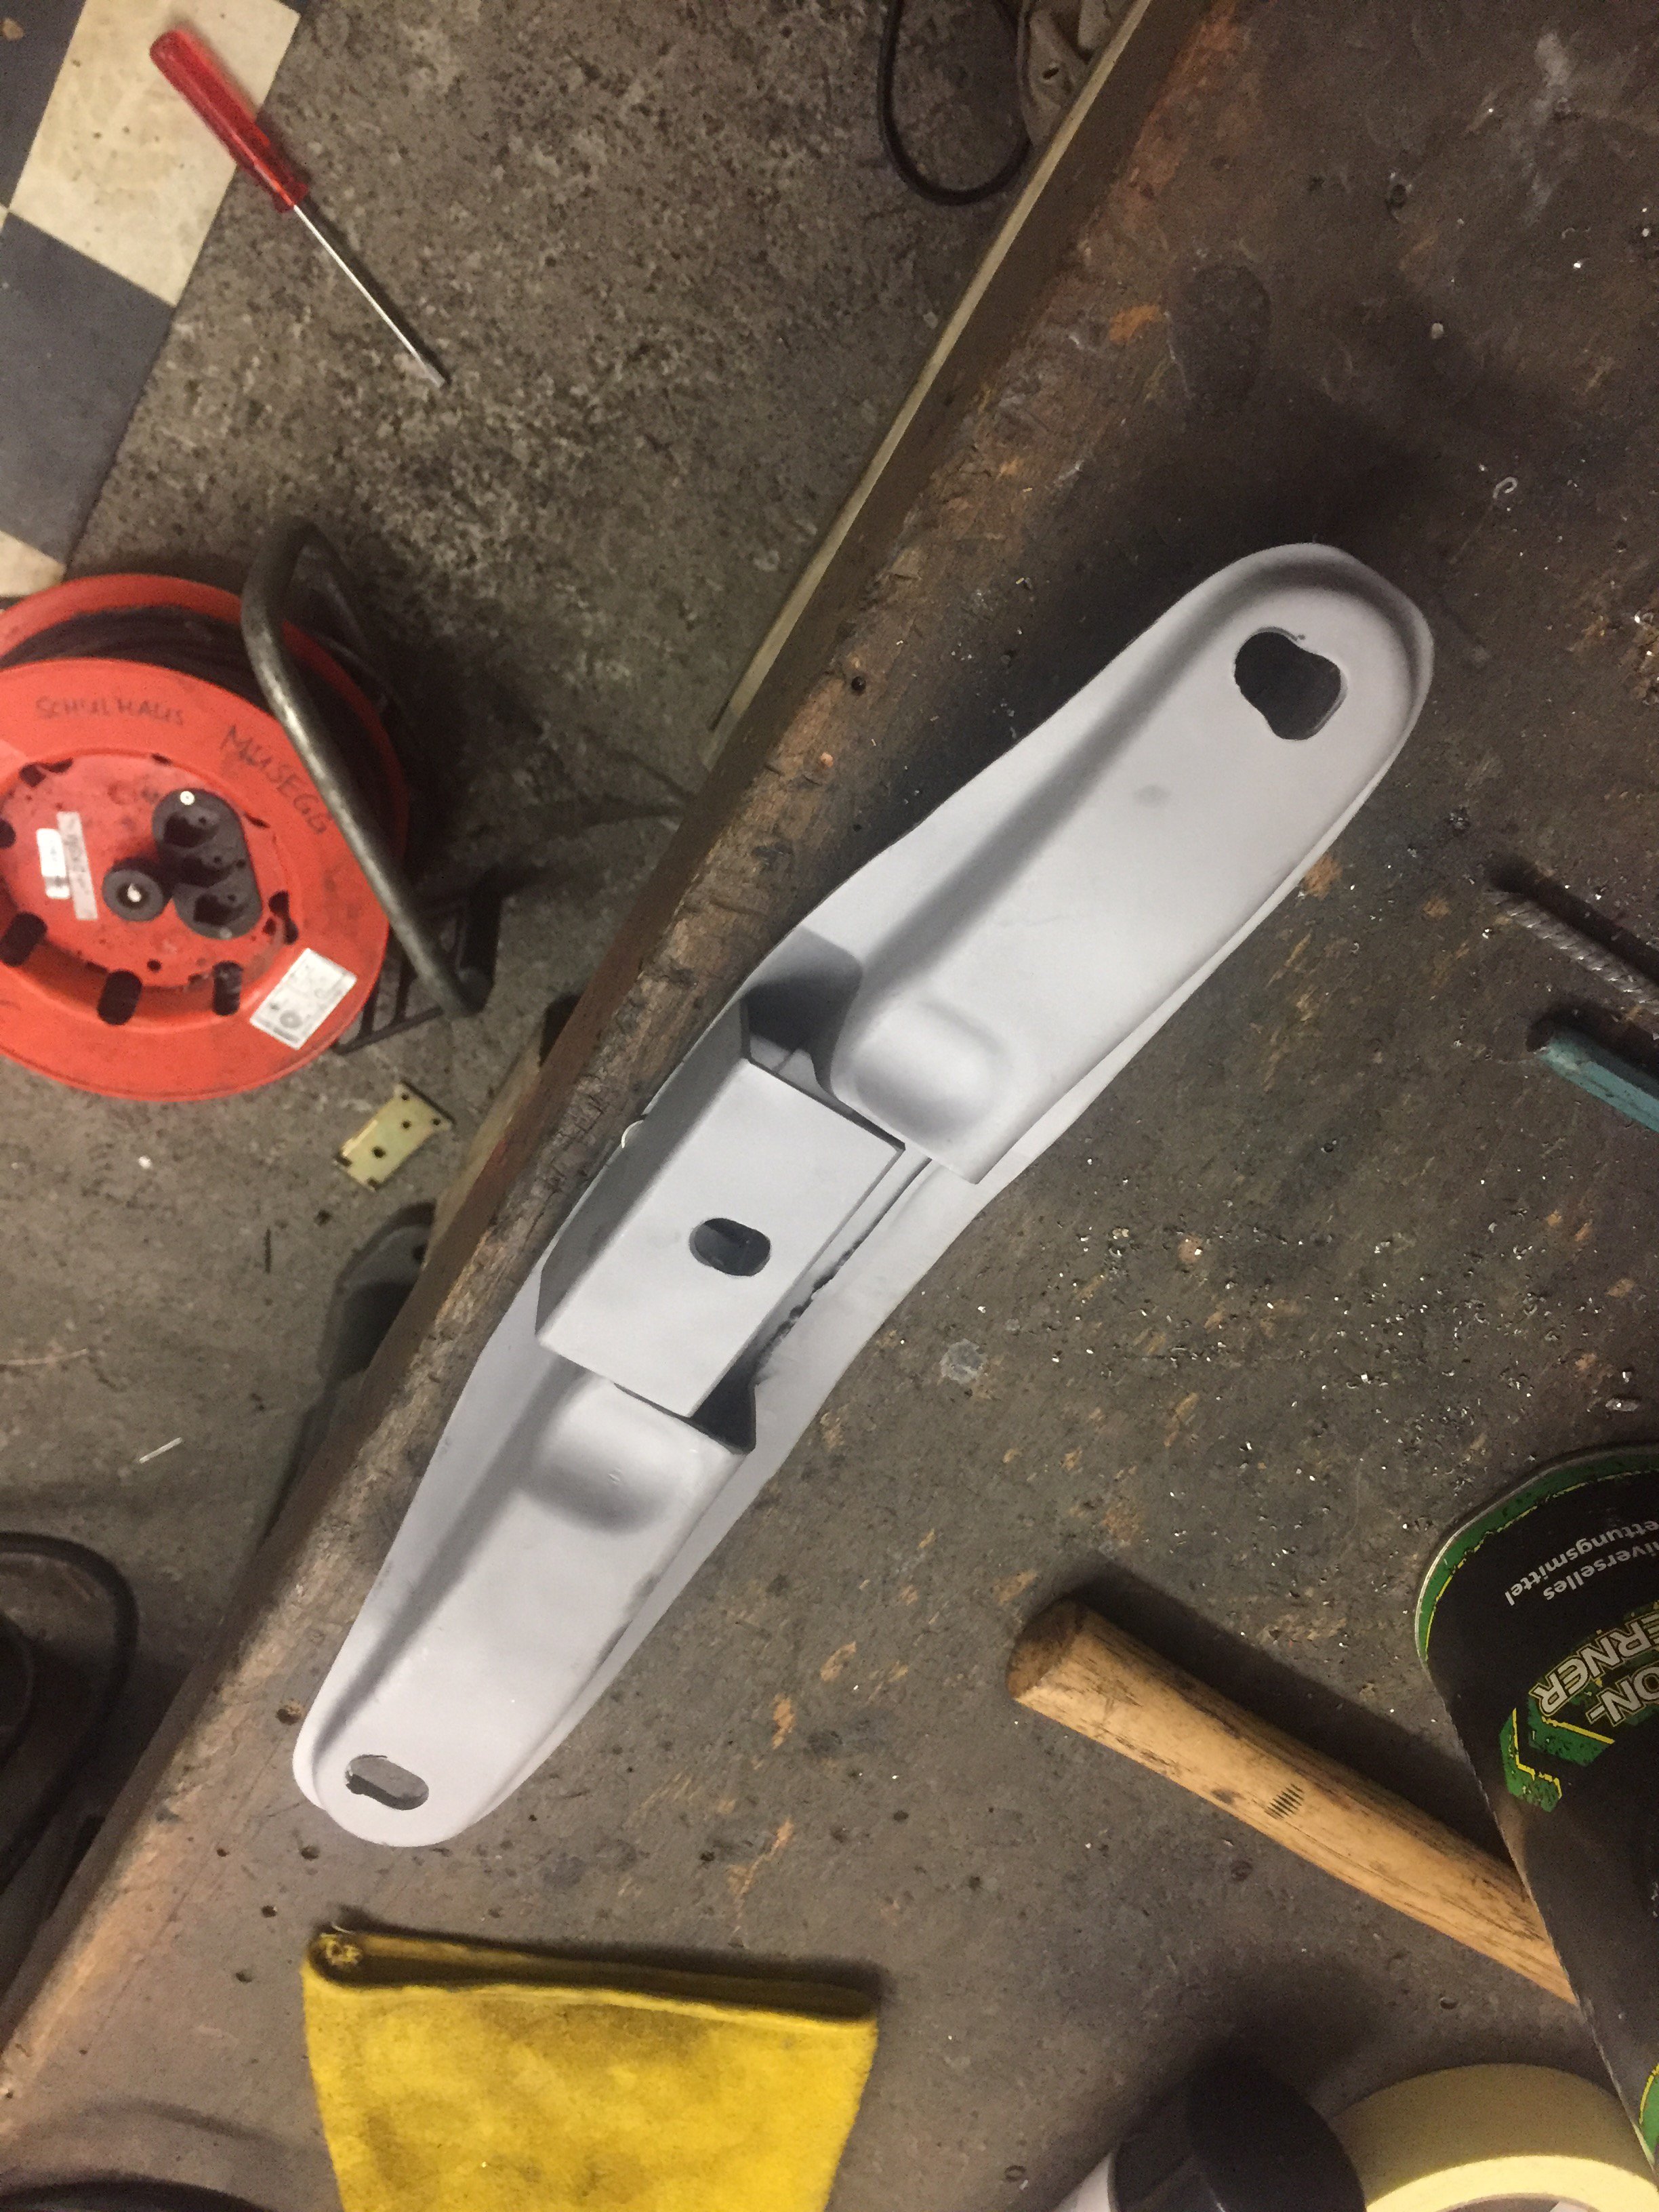
As usual, the series one chassis forced me to adjust the RT mount, but at the end it worked out fine. The bumpstop is now located 2cm more to the right side, so the ebrake clears the upper bolt.
The final ratio is now perfect for my taste and I can enjoy the highway and the curvy roads as welll. The old 3.3 ratio was way too long combined with the s14 5-speed.
Maybe its useful for other people who had the same problem with the Rt mount on a series one.
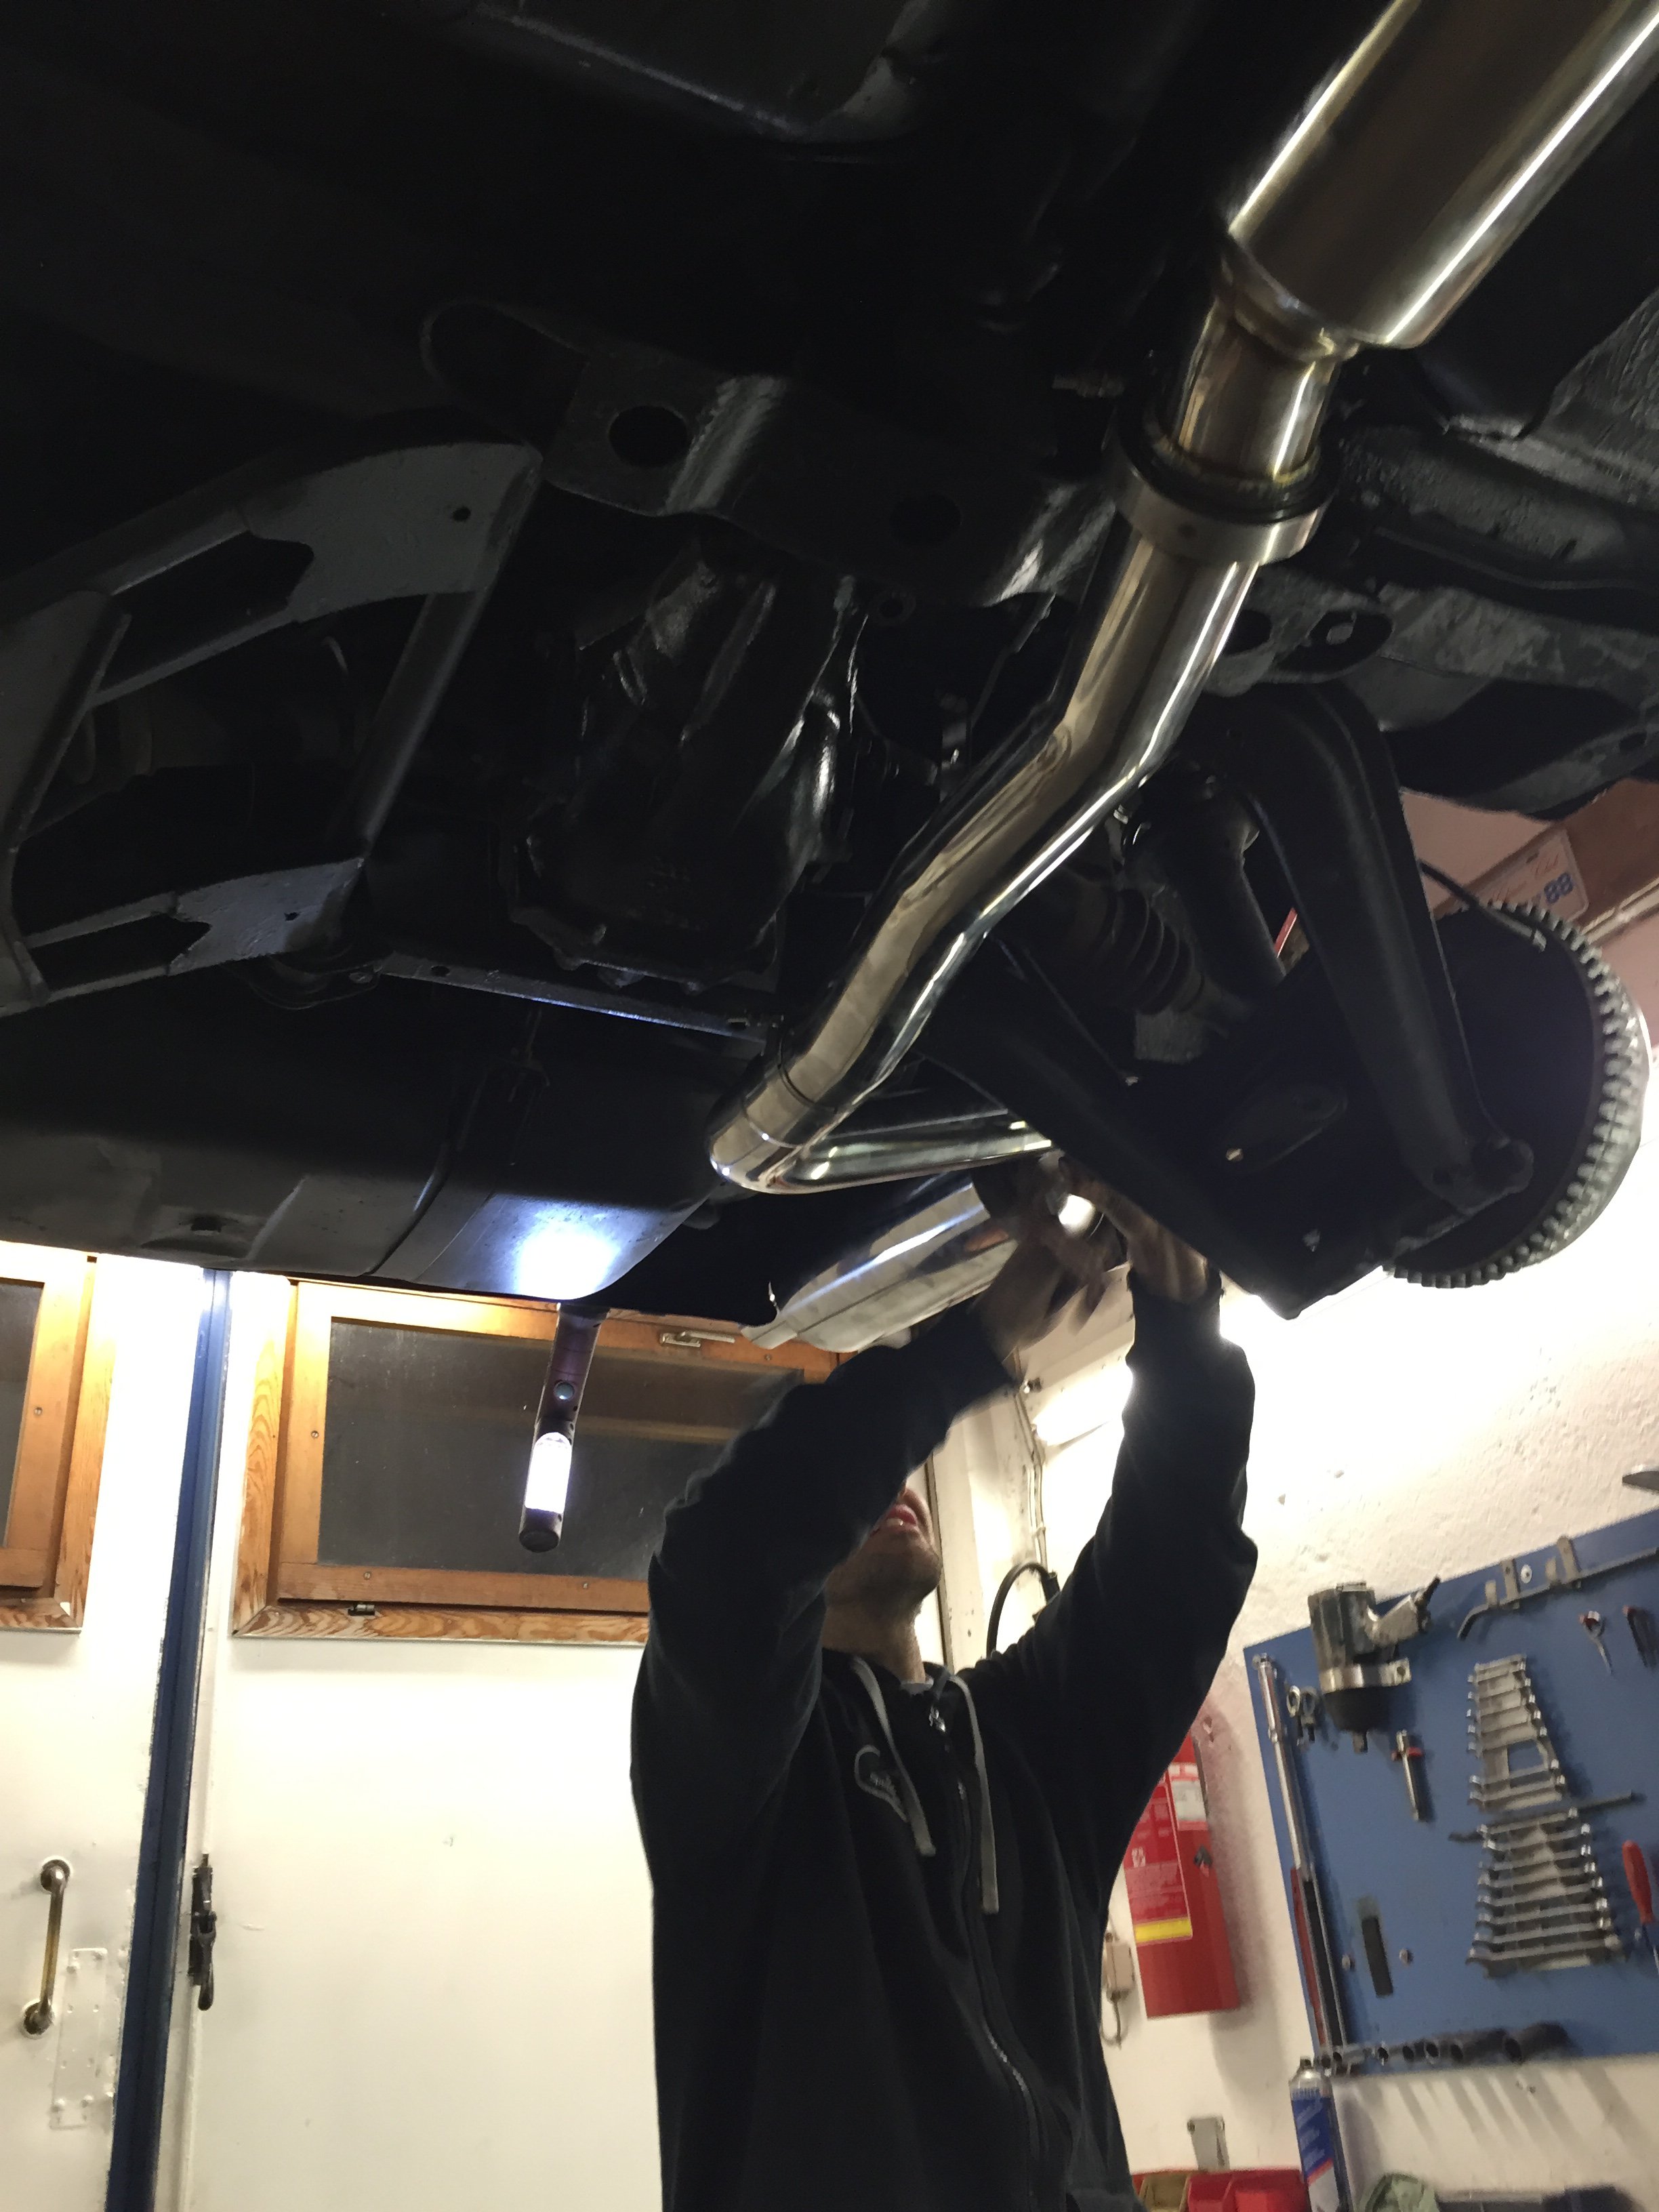
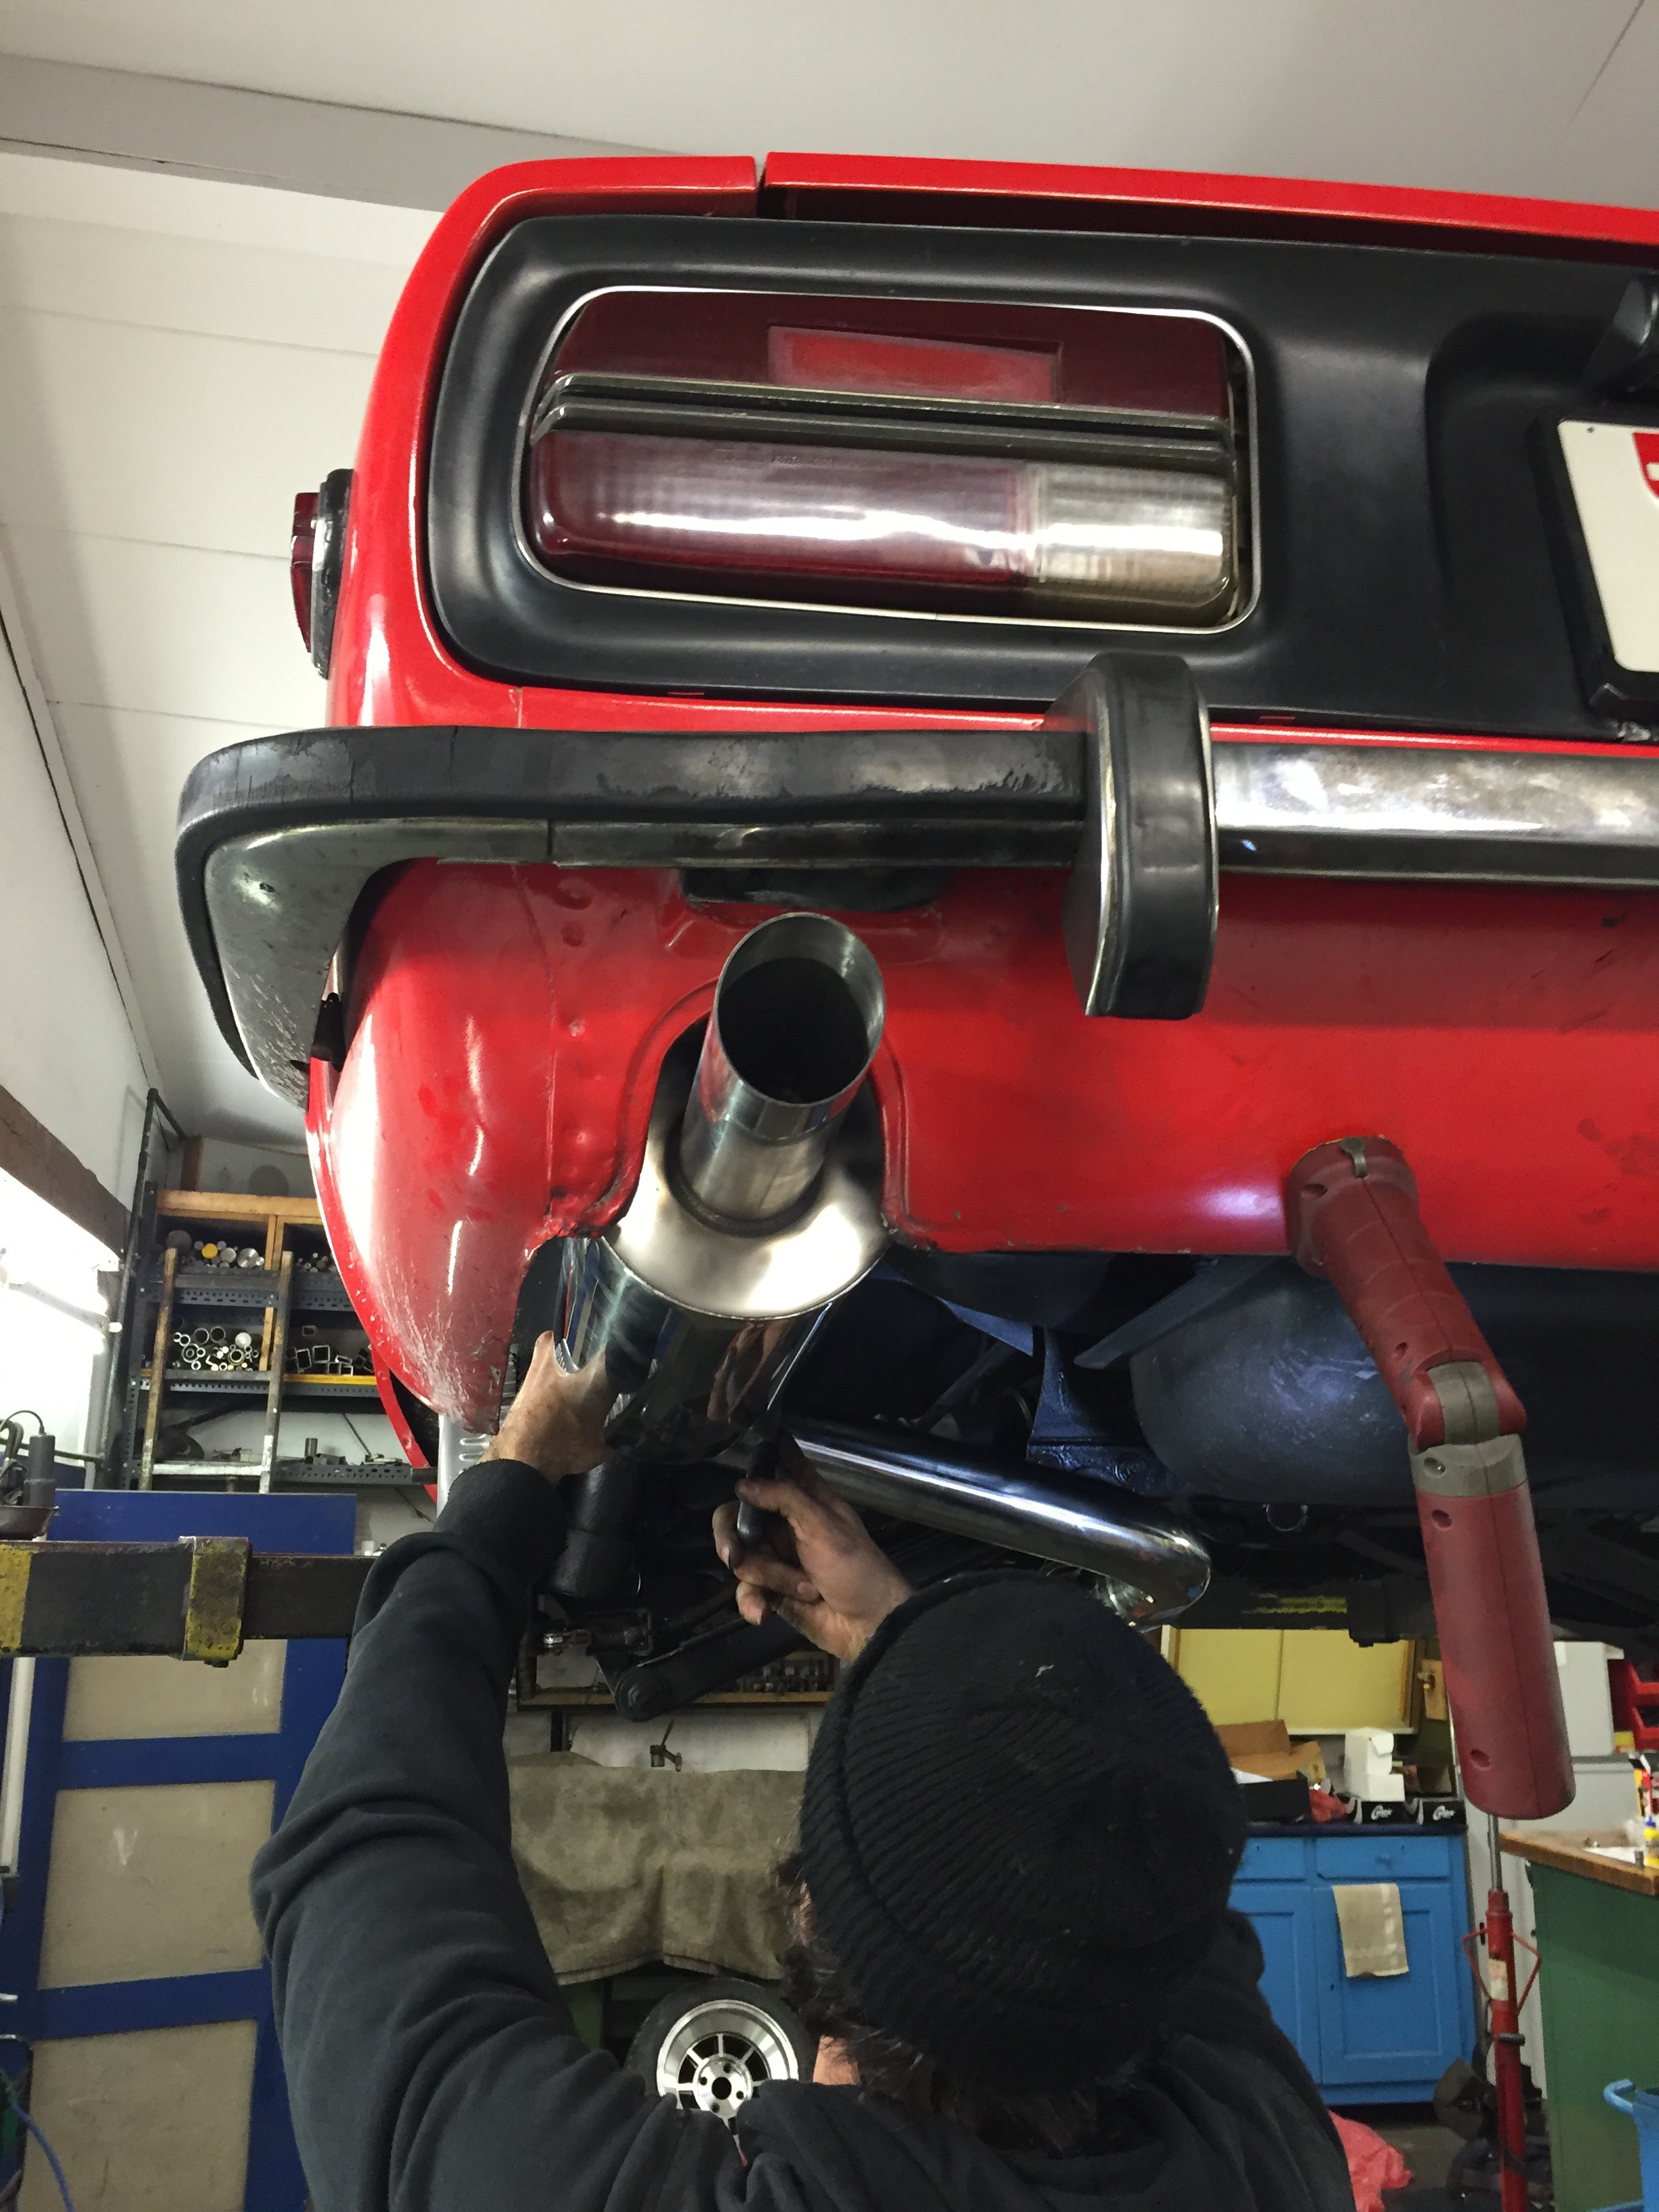
Here are some pics:

-
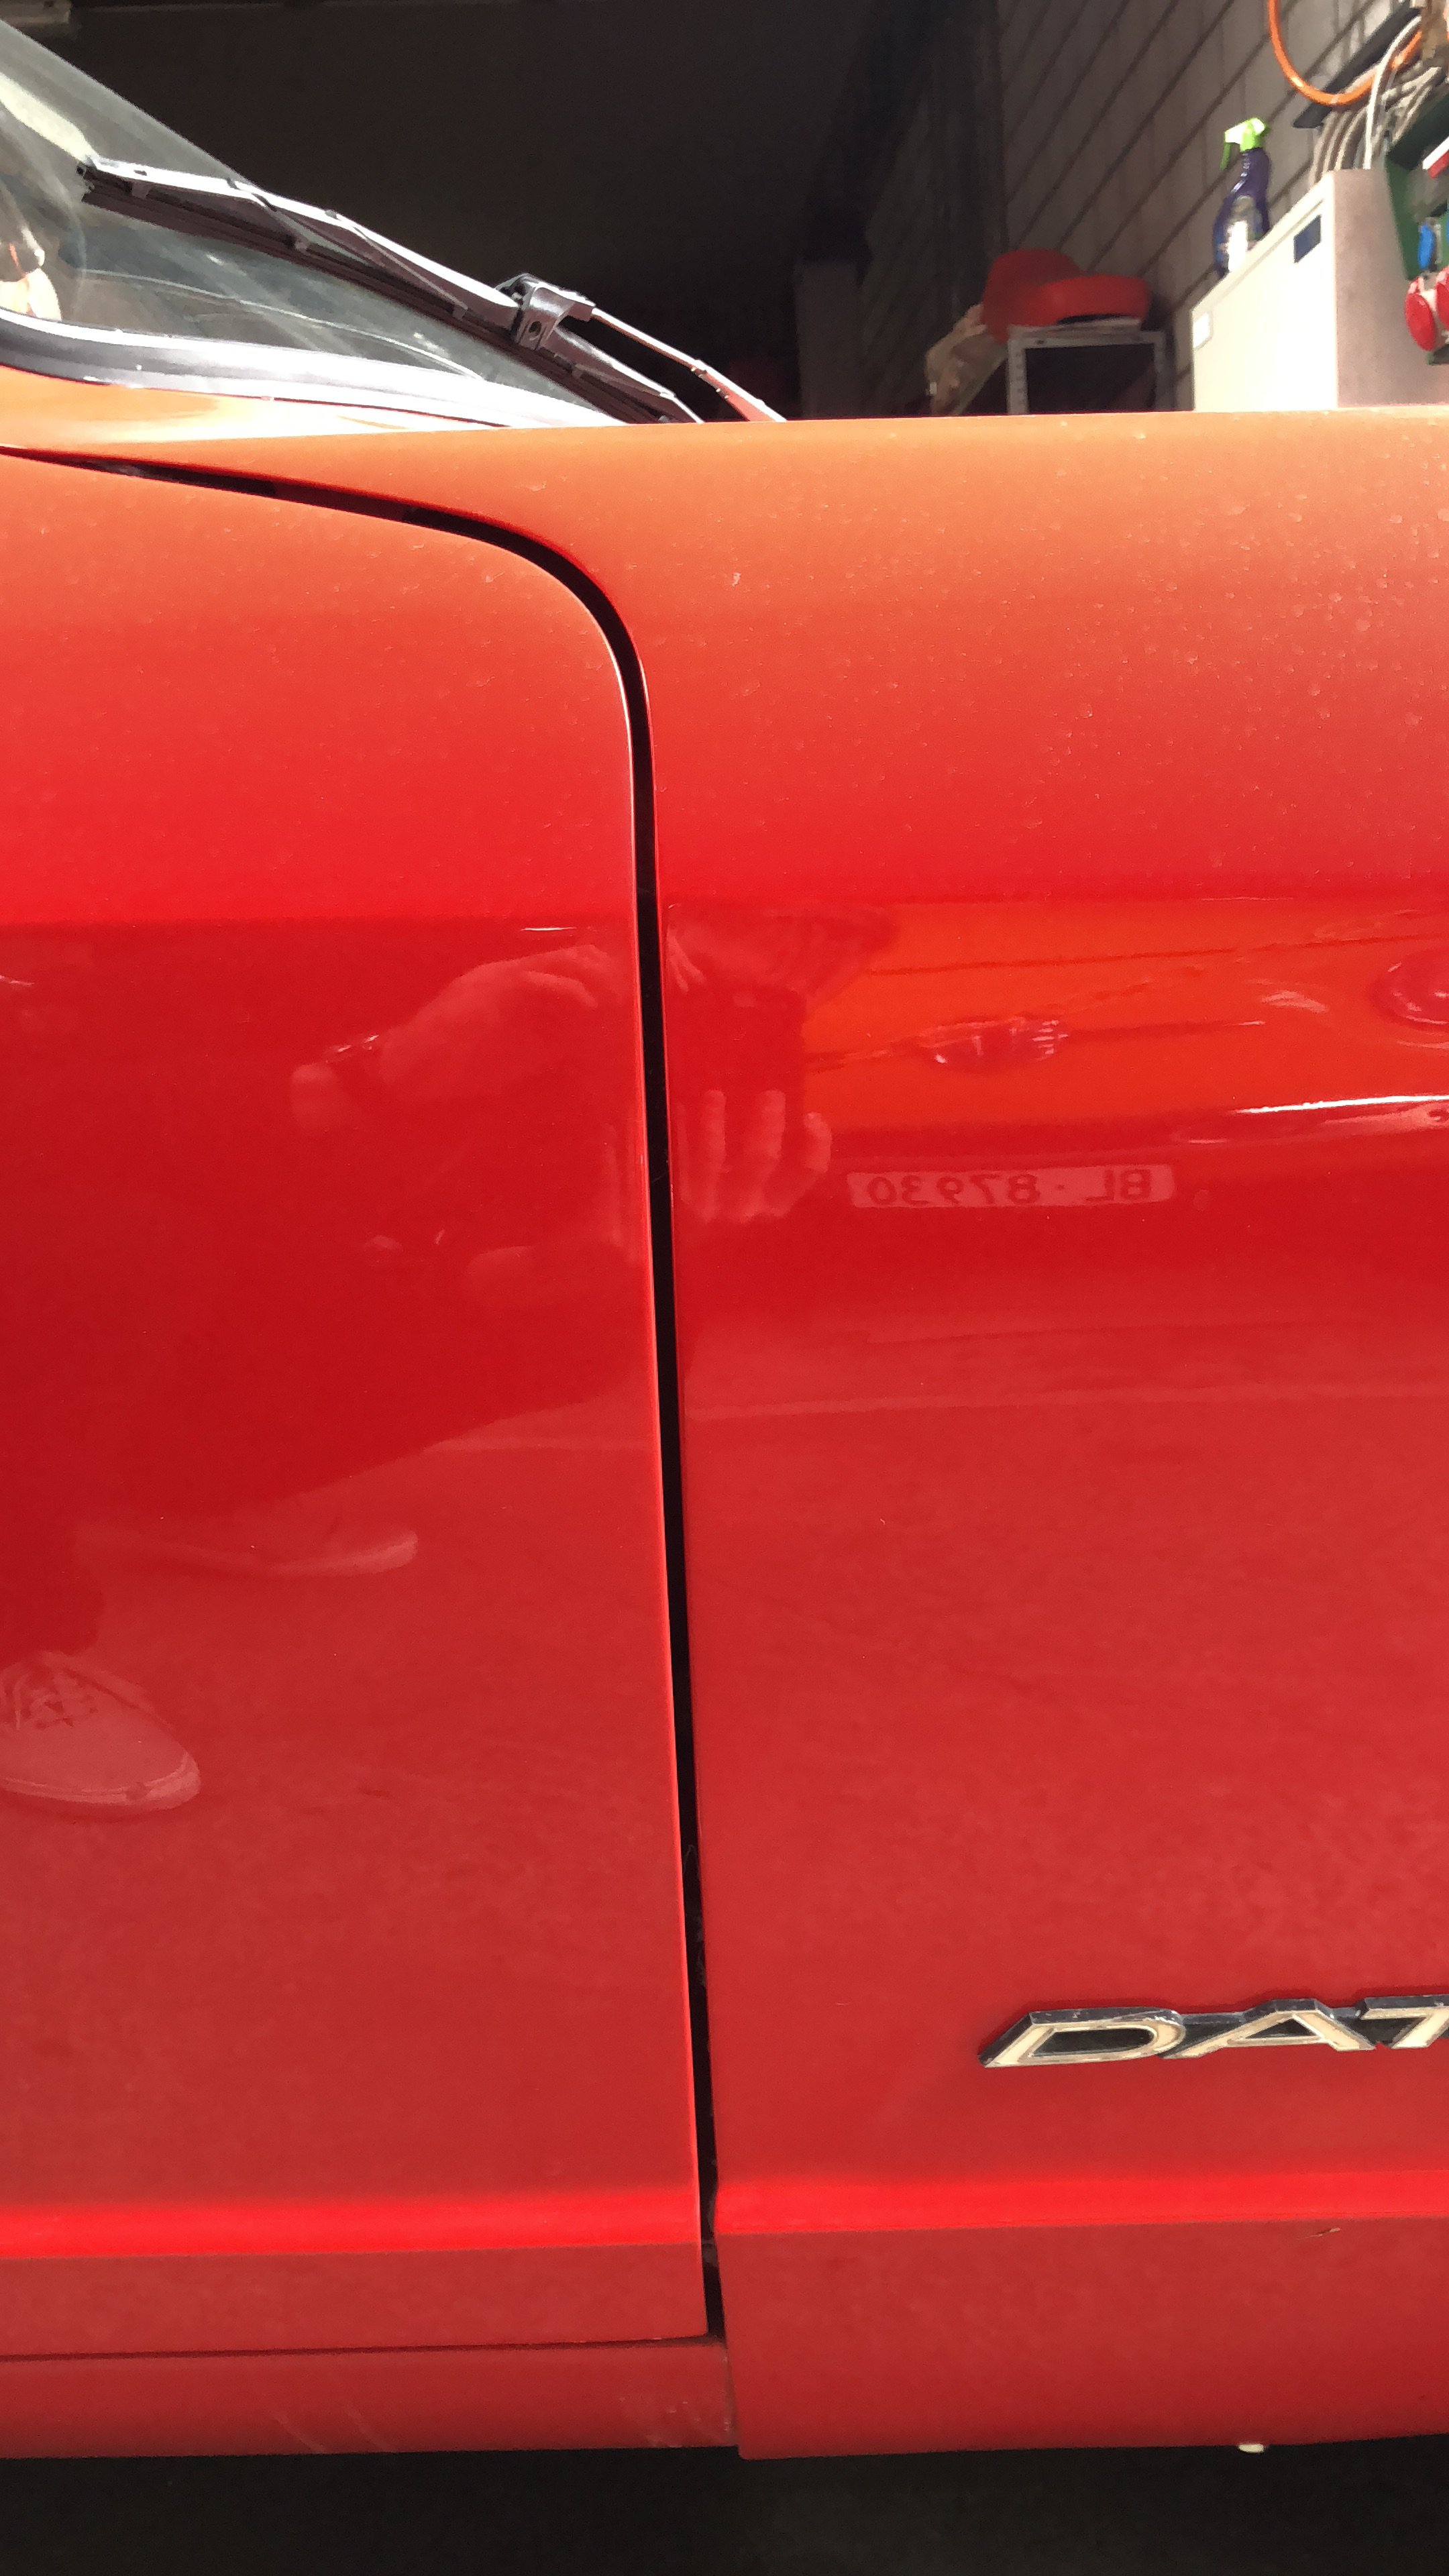
Done! Final wash and polish will follow.
-
Short update, enjoy:
-
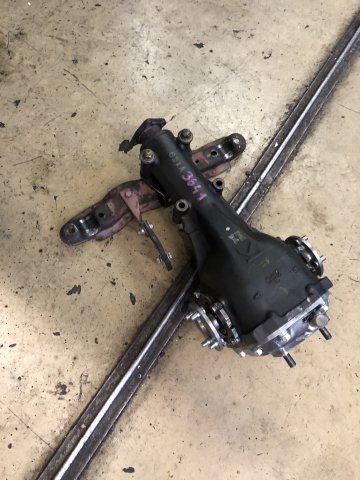
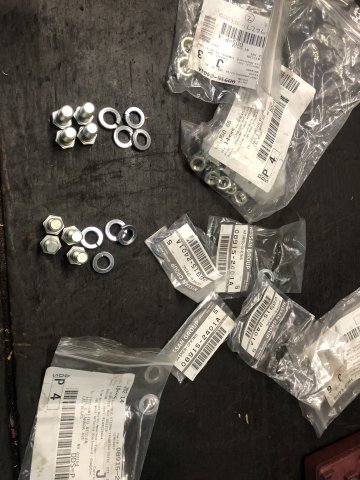
Here is the full parts list for the diff swap:
-
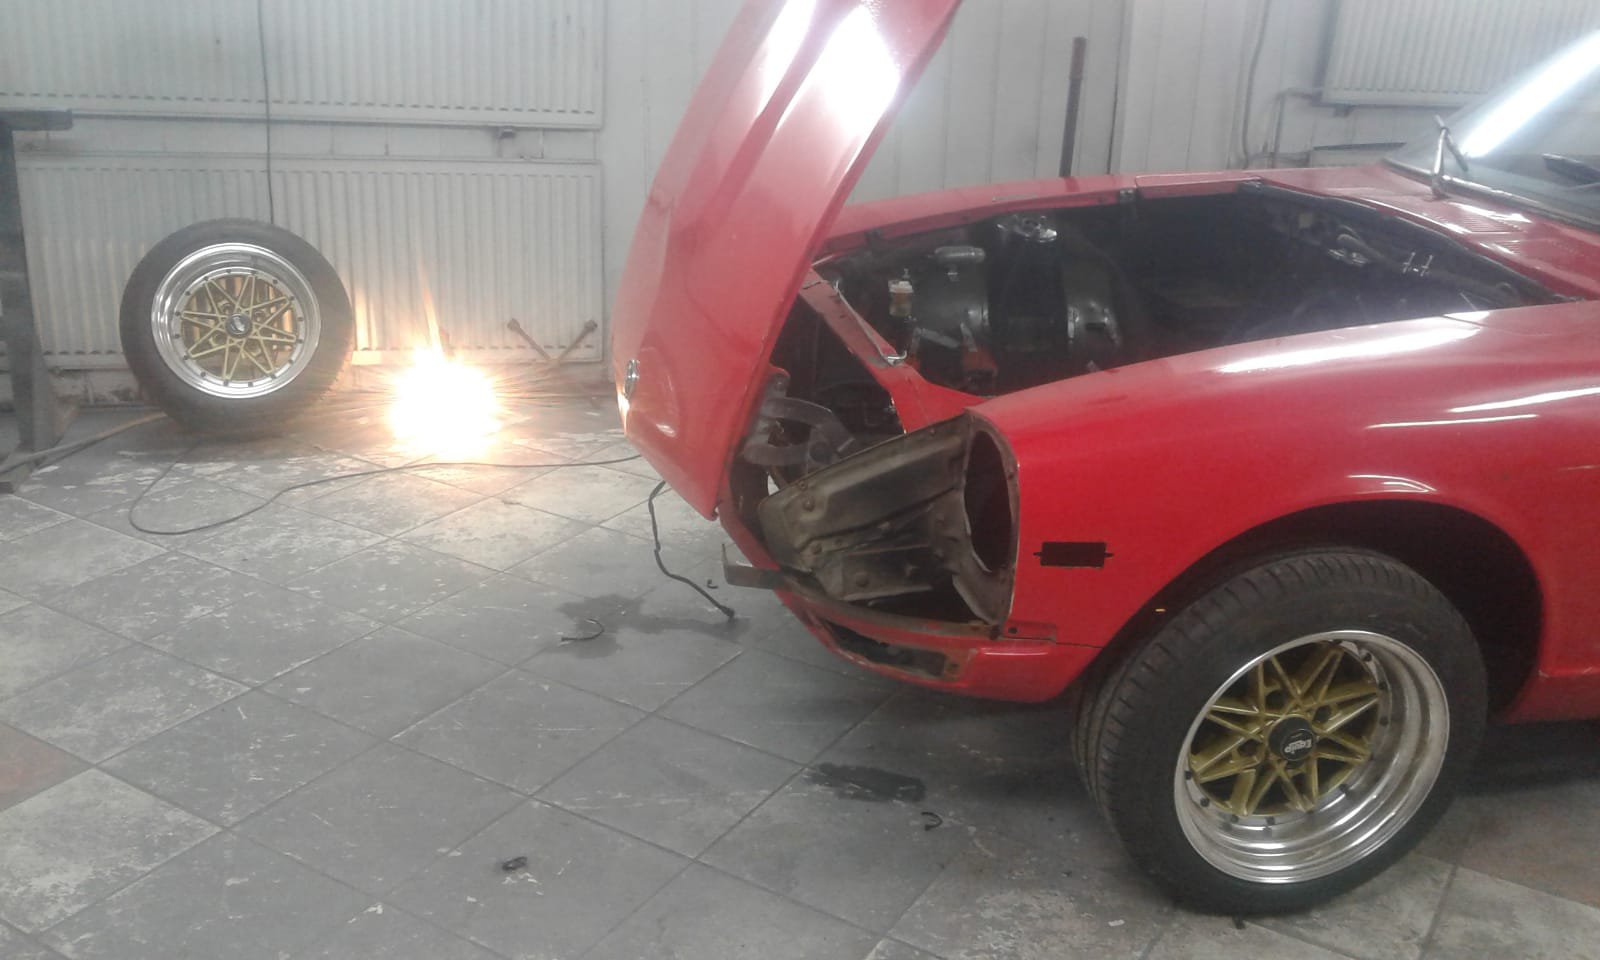
Hello people
Update time!
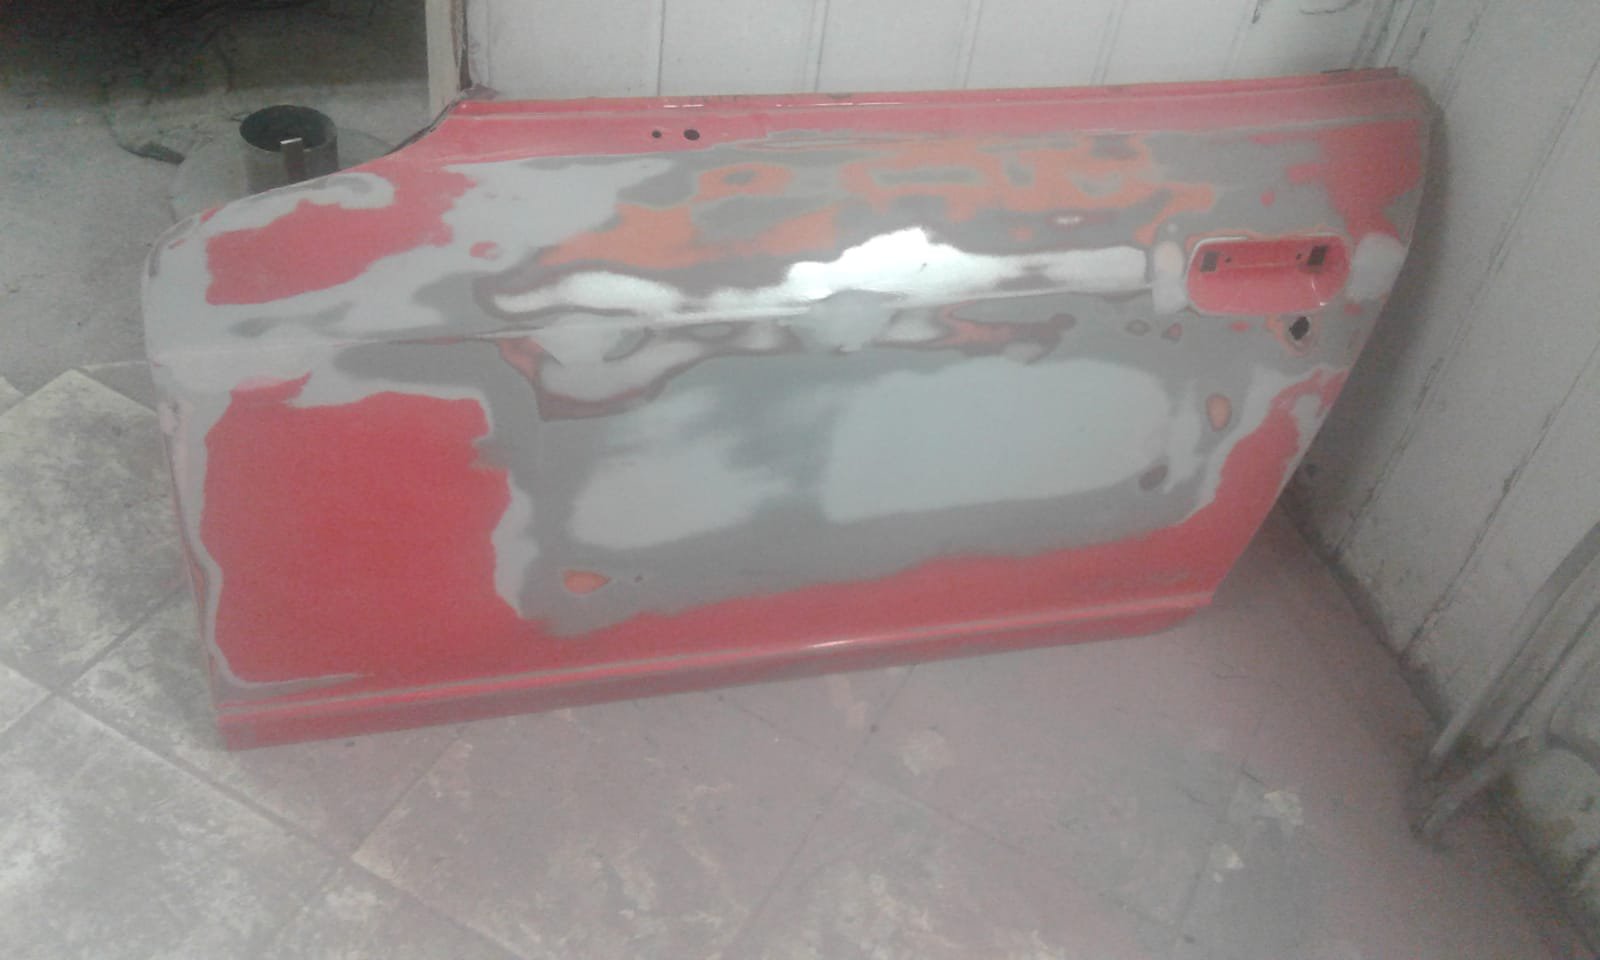
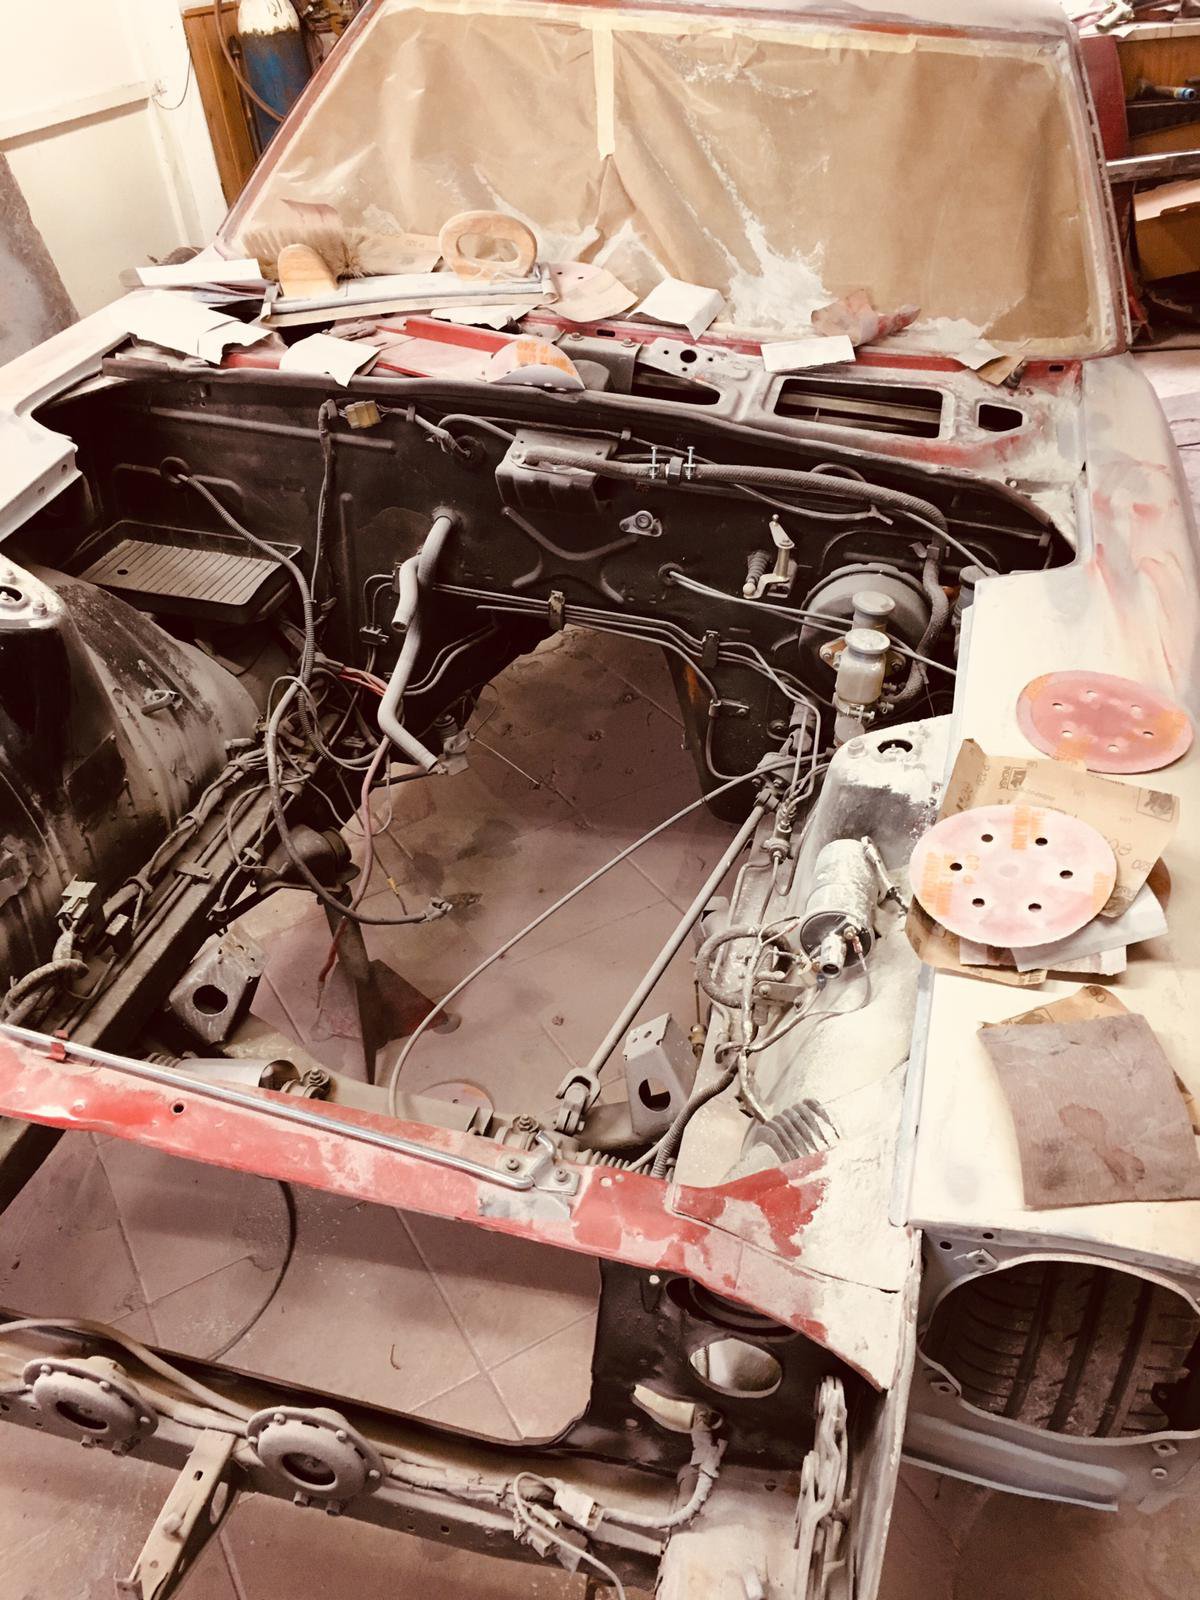
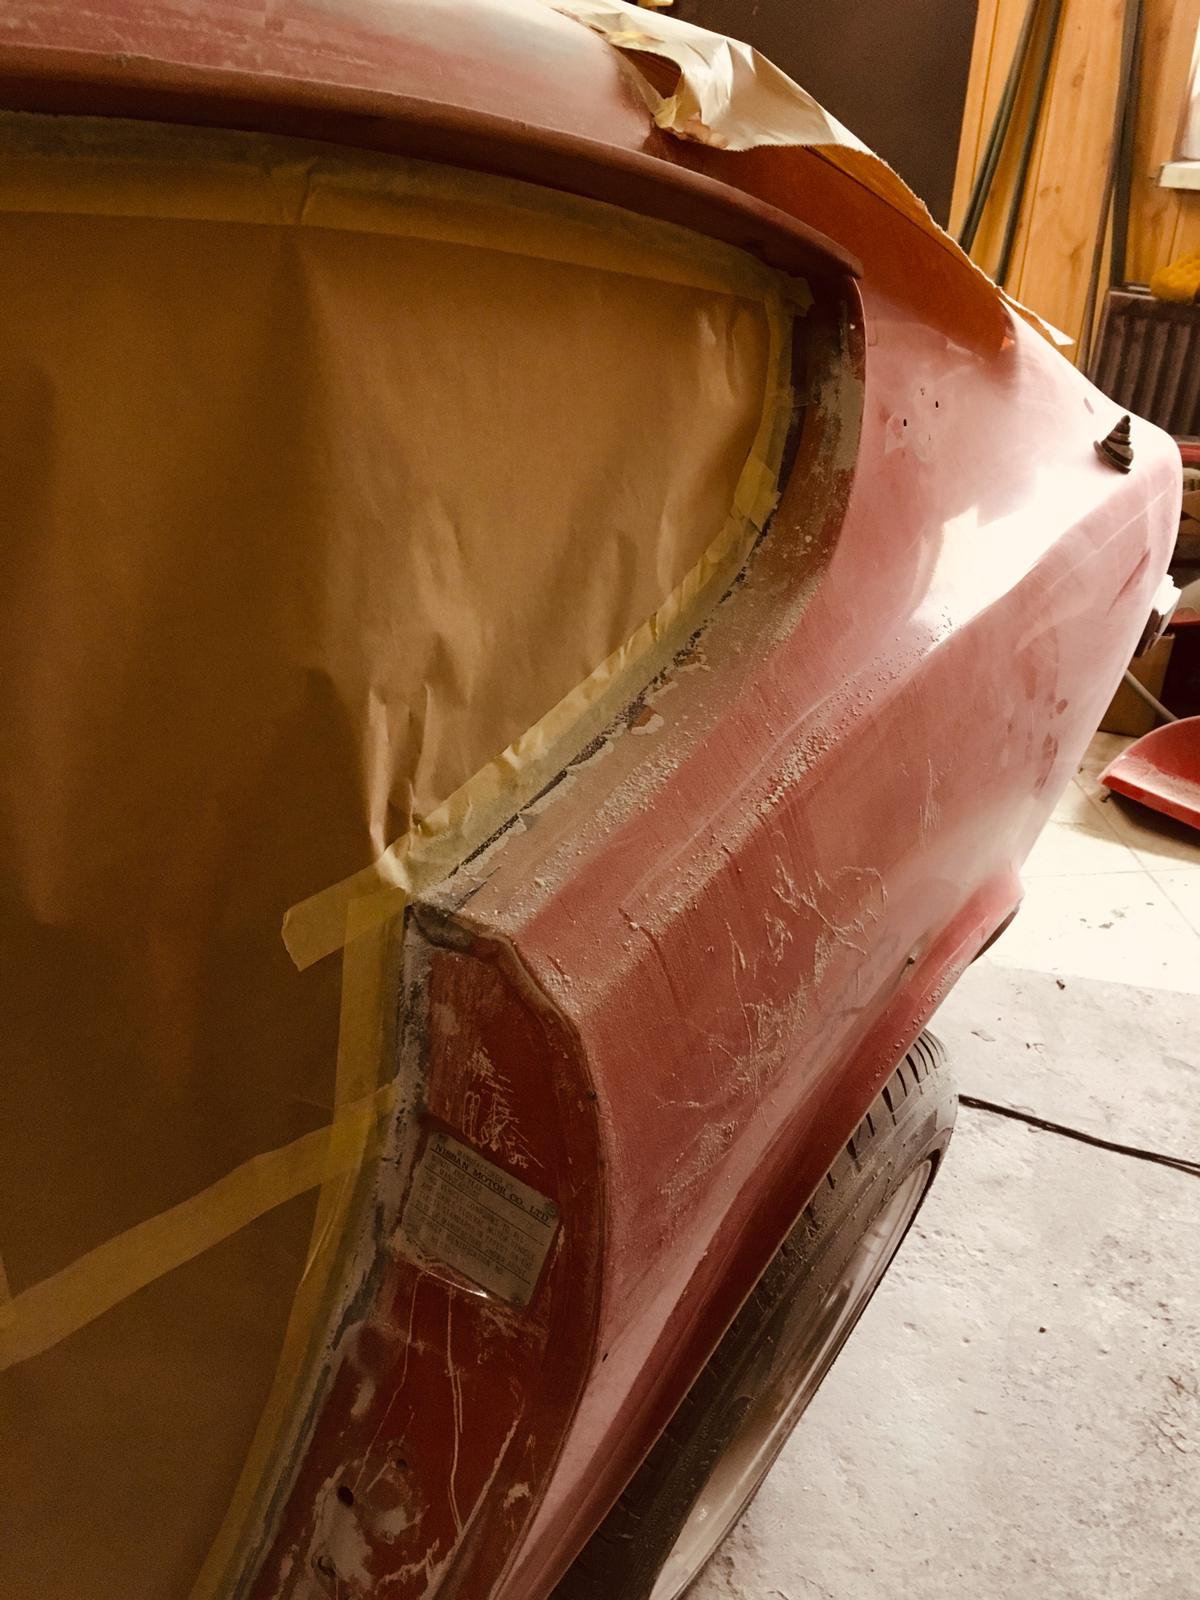
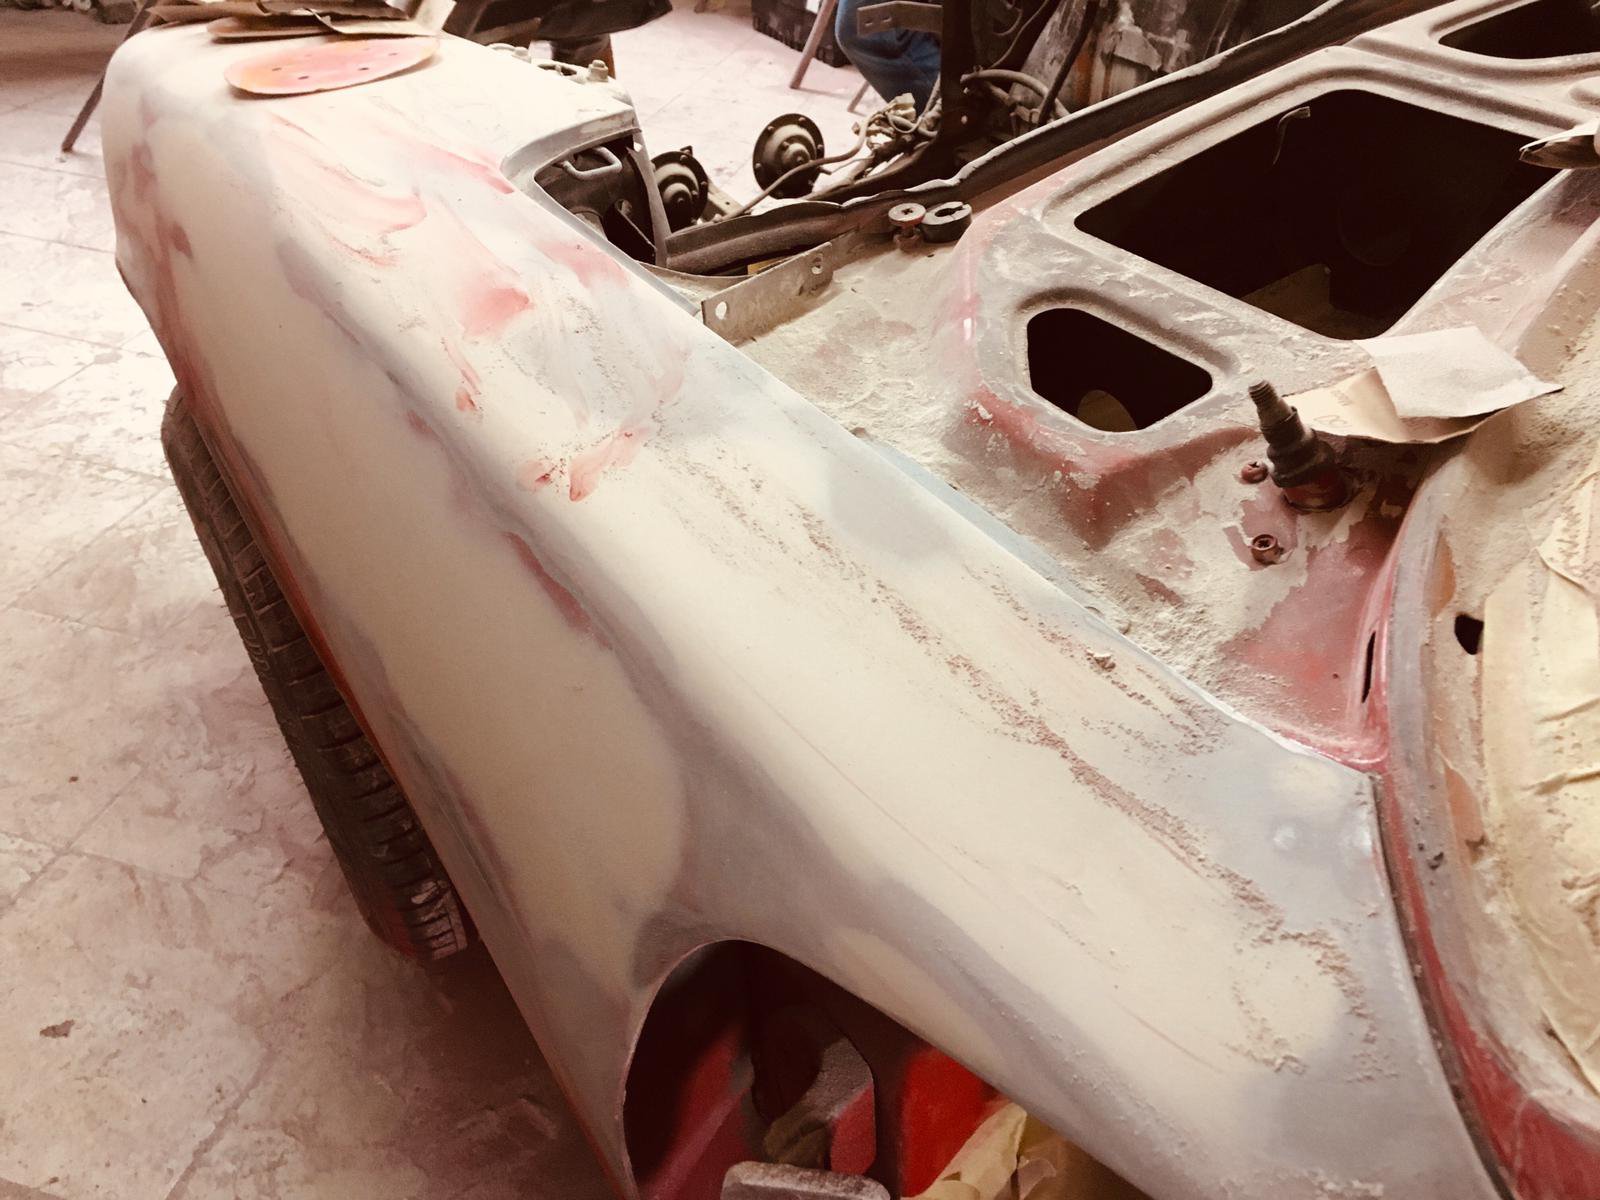
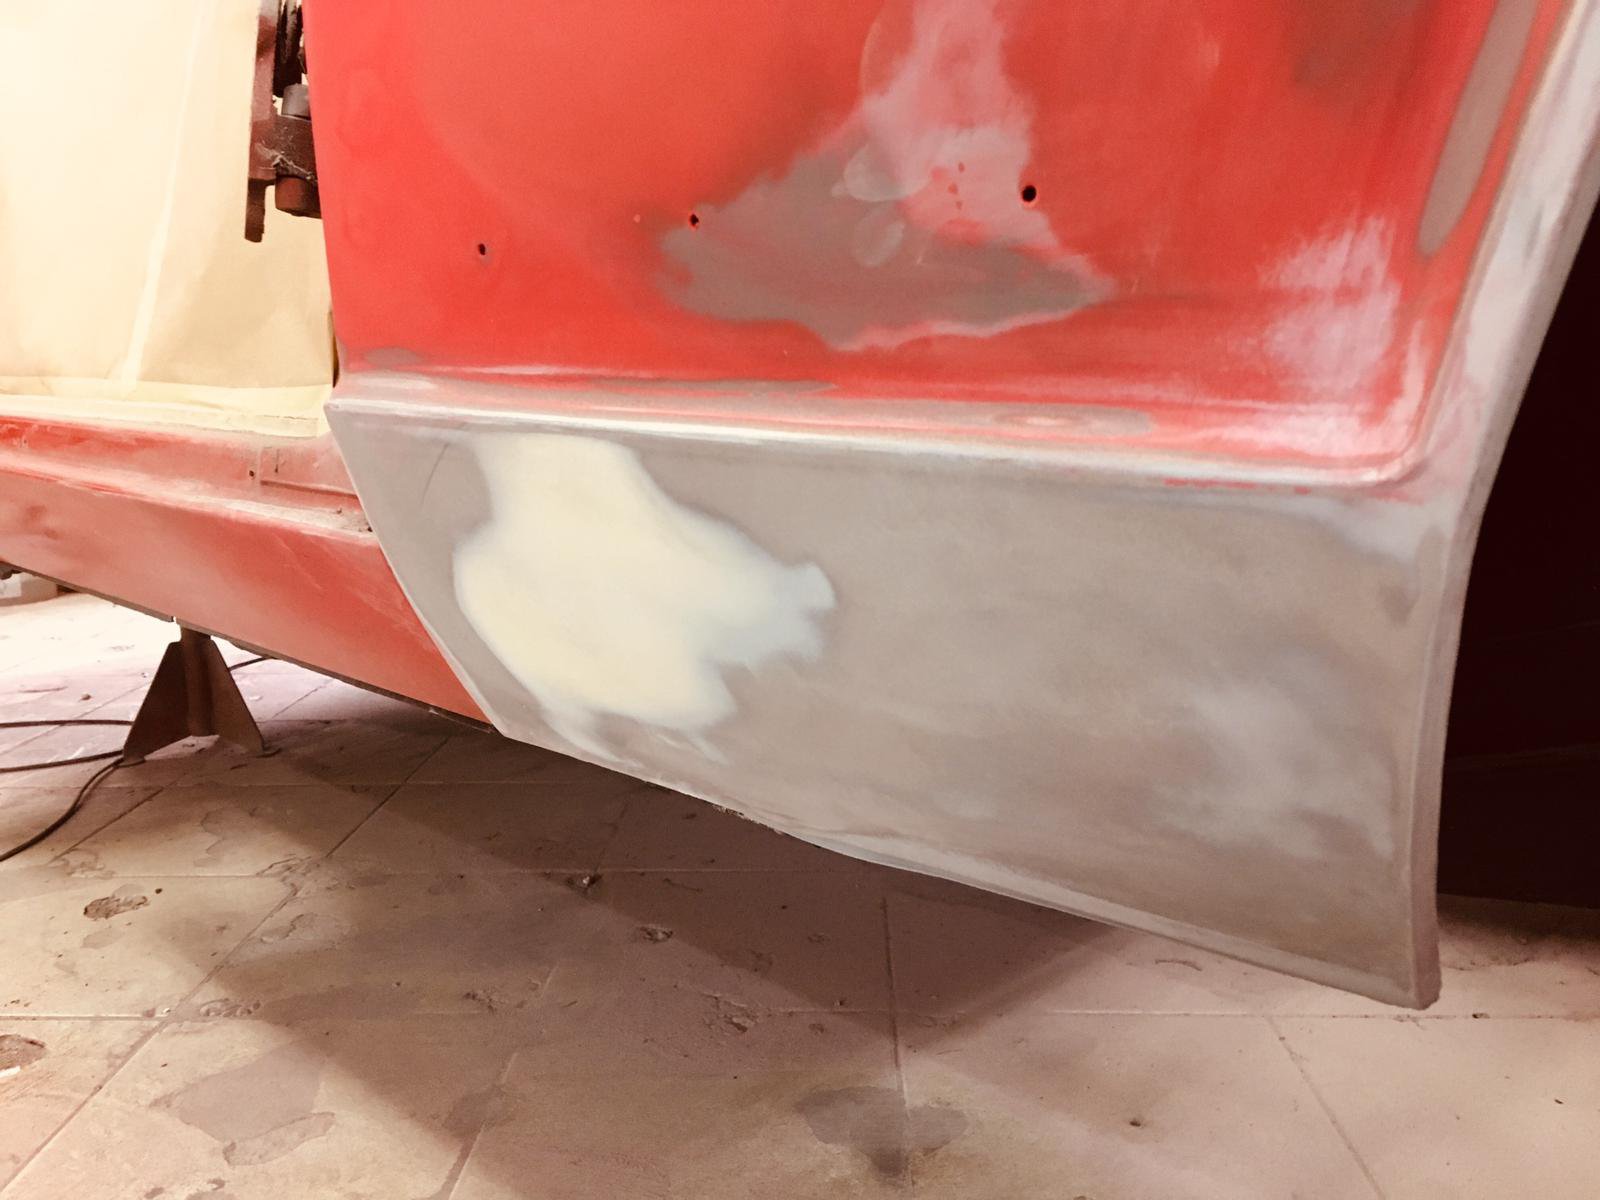
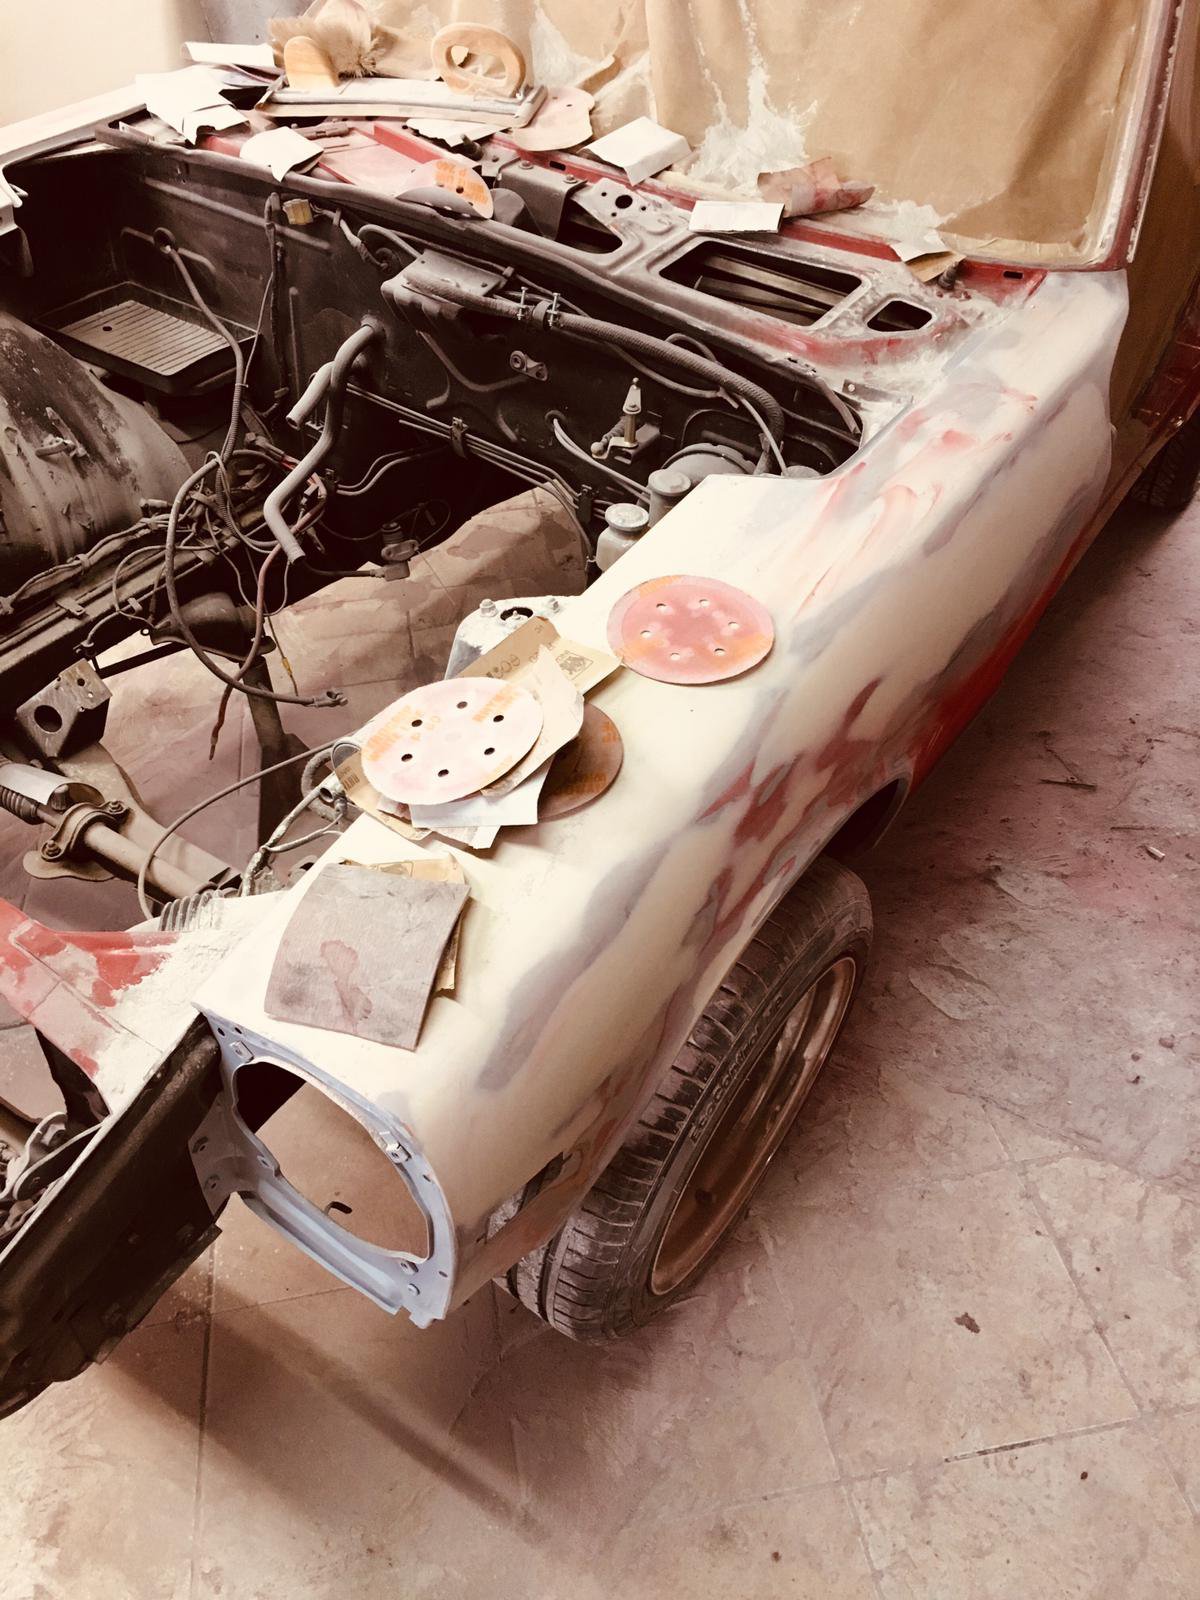
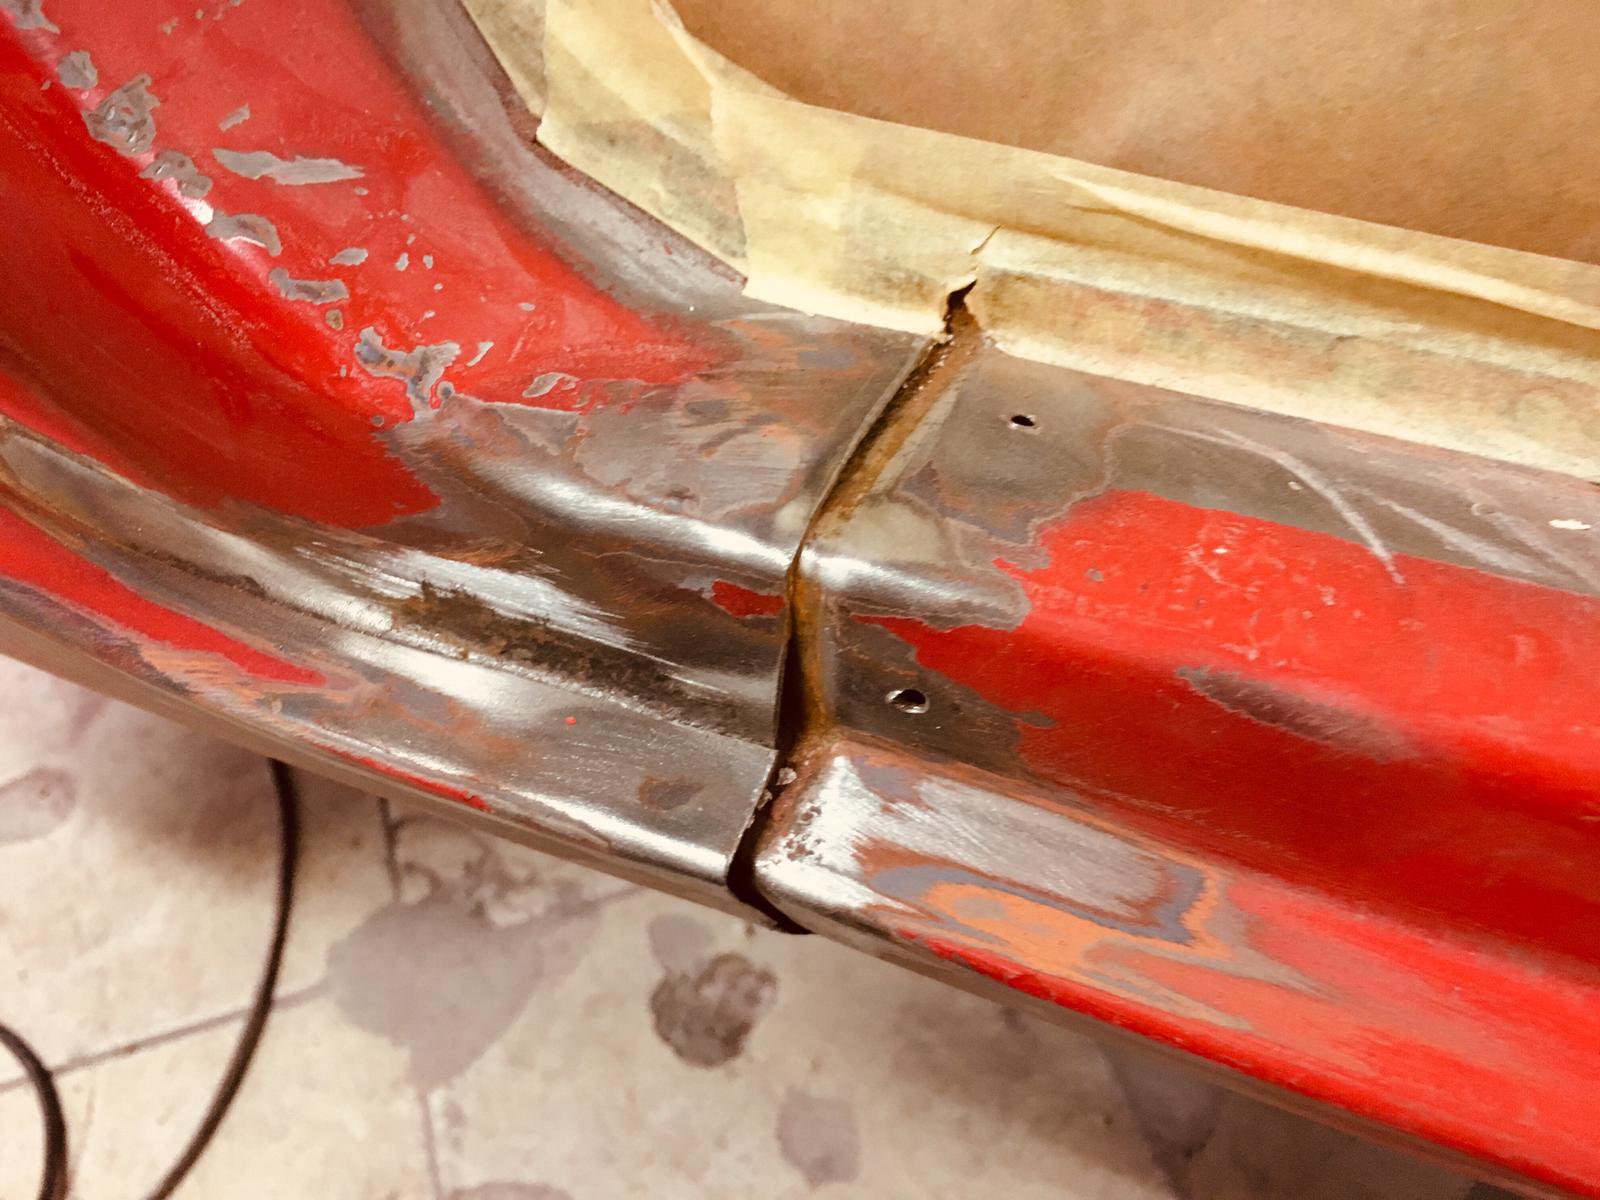
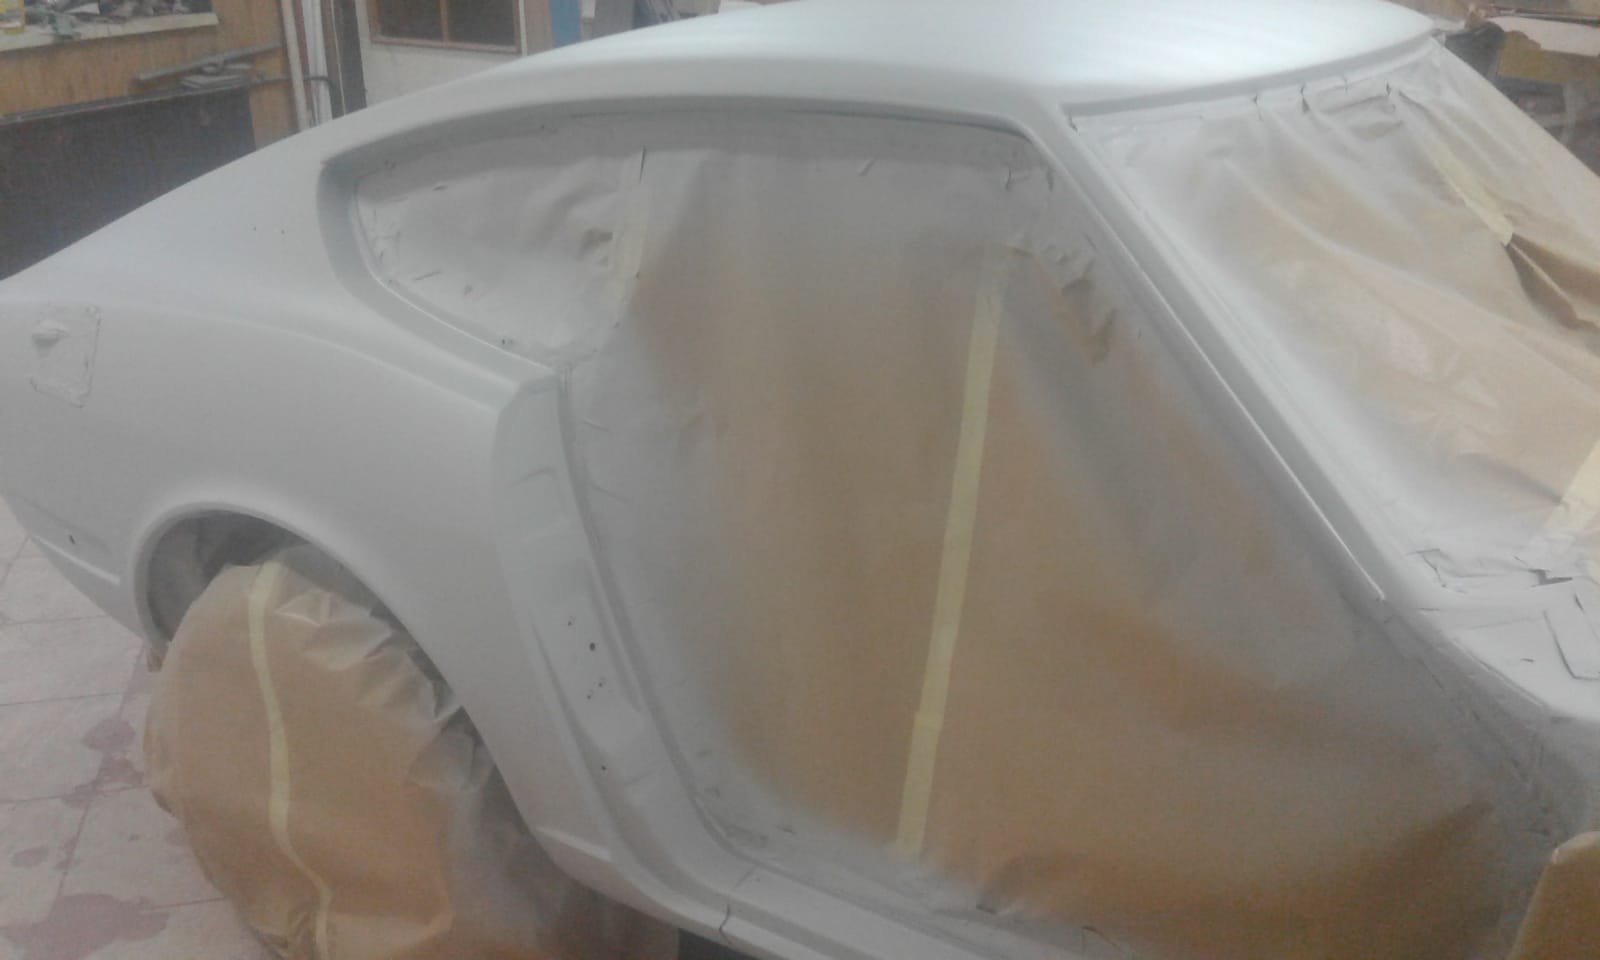
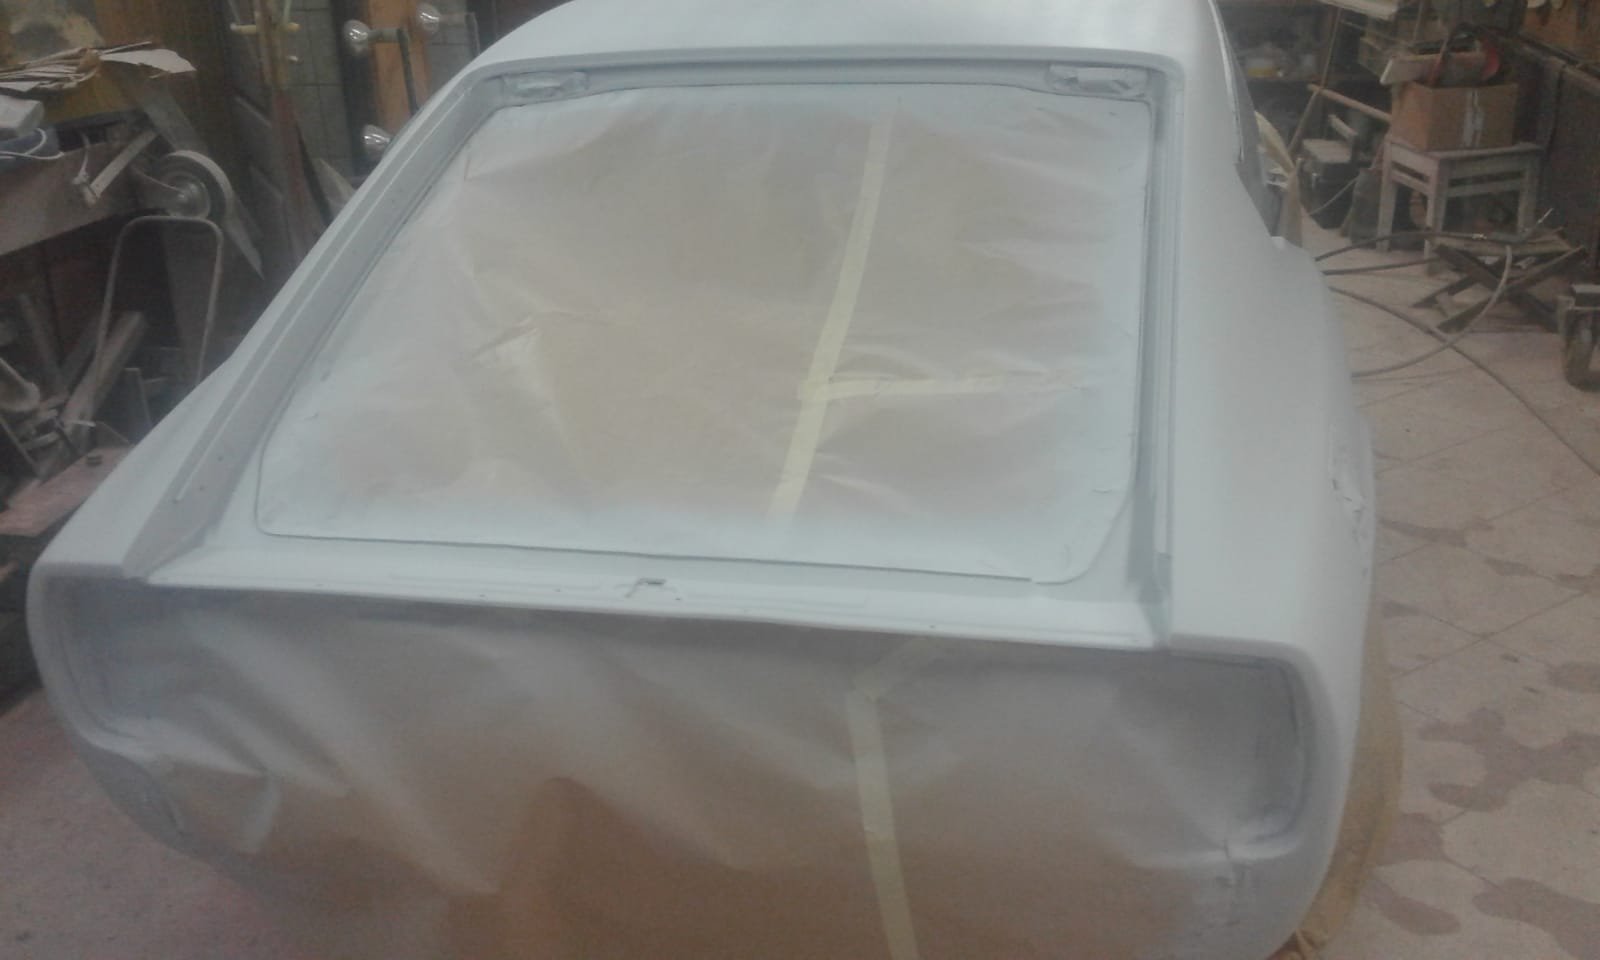
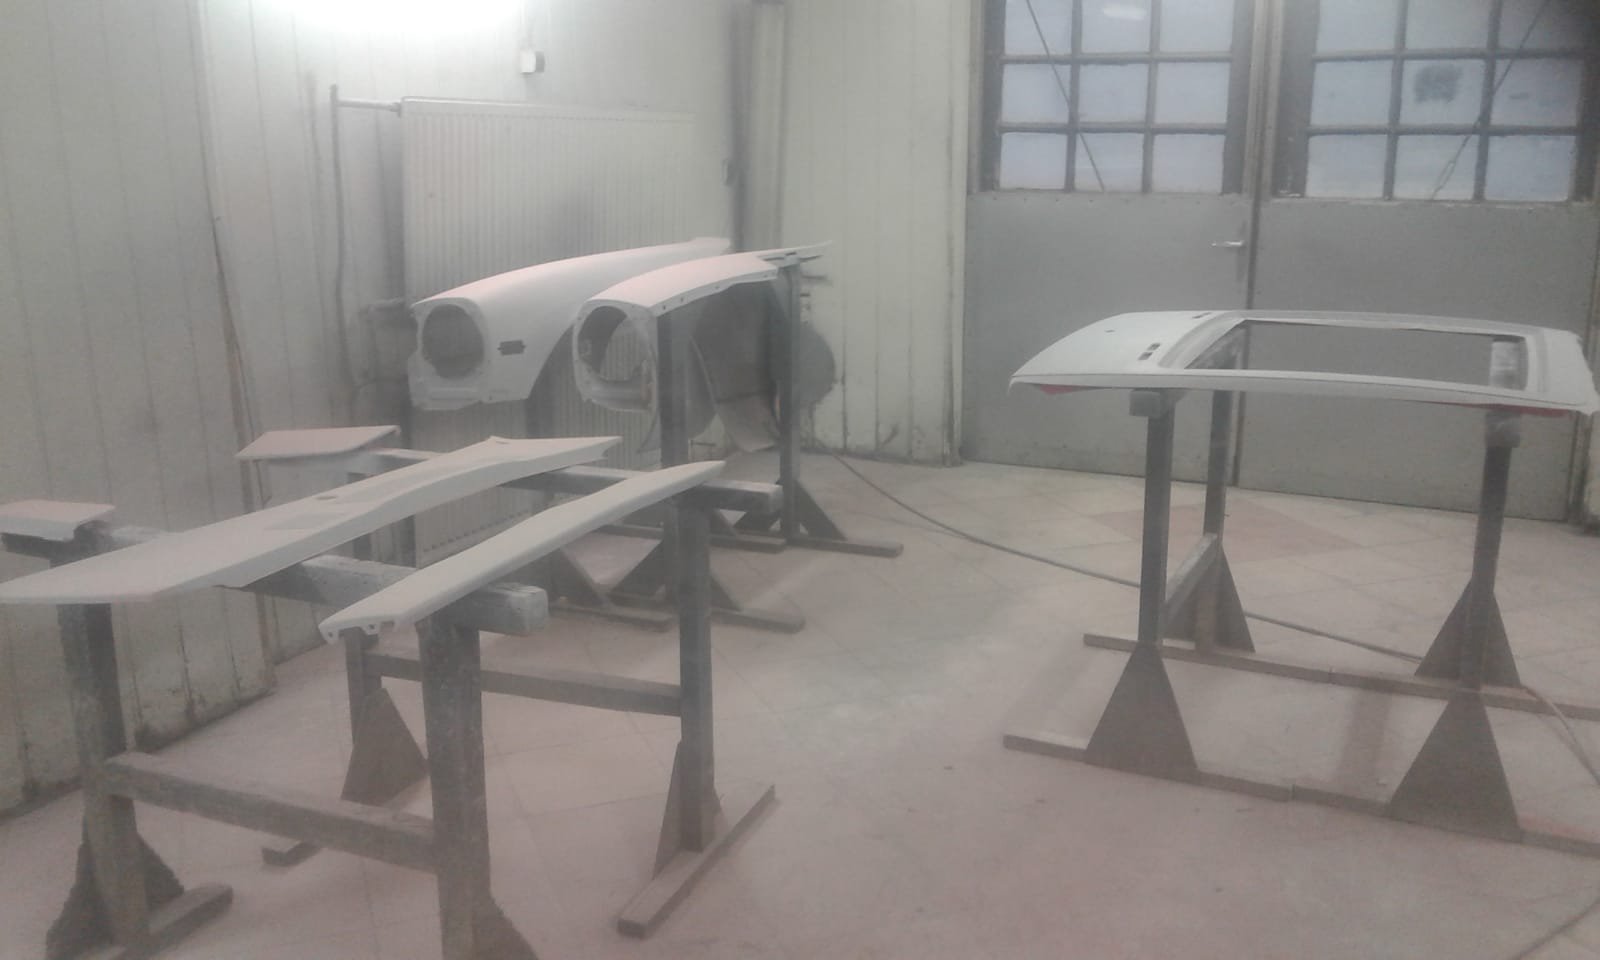
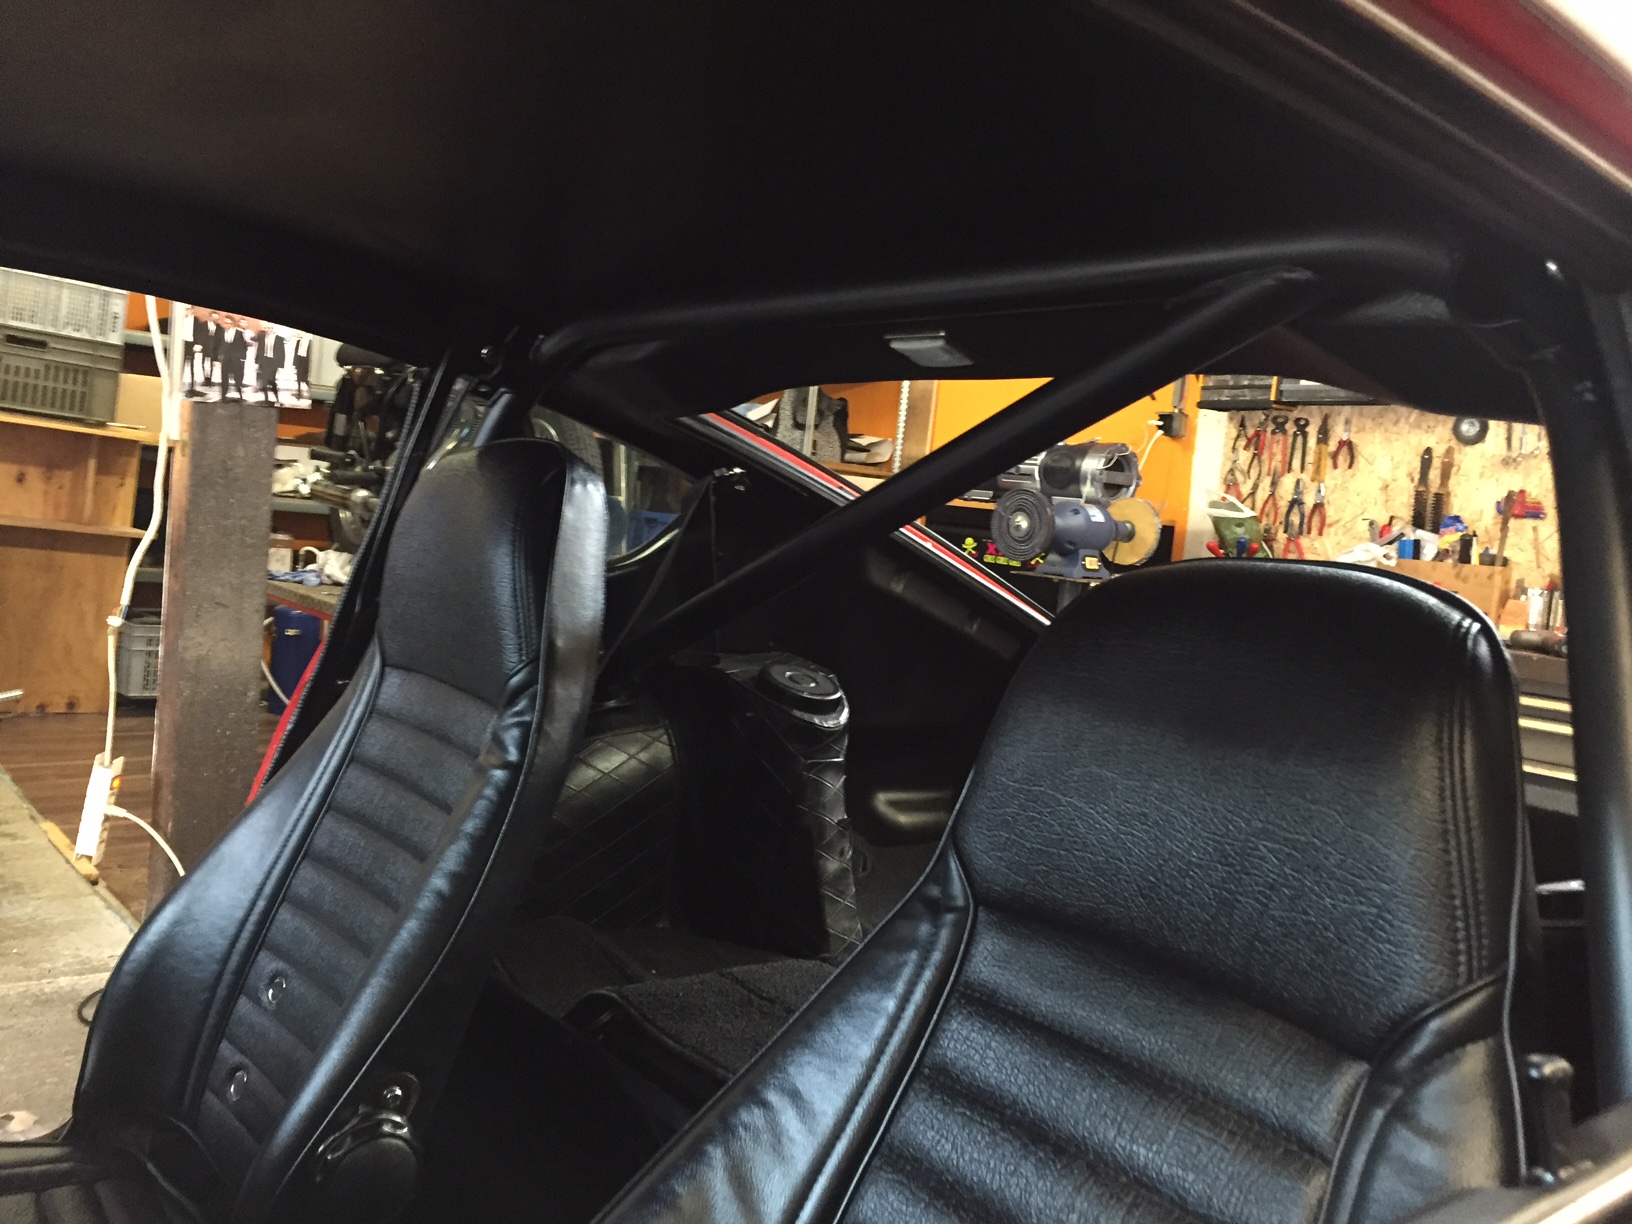
I was able to organize some professional help to get my Z to the next level with a restauration and shaving of the engine bay.
Further I wanted to remove the chrome stripes on each side for a cleaner look. Which was alot work, because filling up all these small holes without stressing the metall too much was not an easy task.
The old paint overall was really bad and some rust underneath the paint was also found.
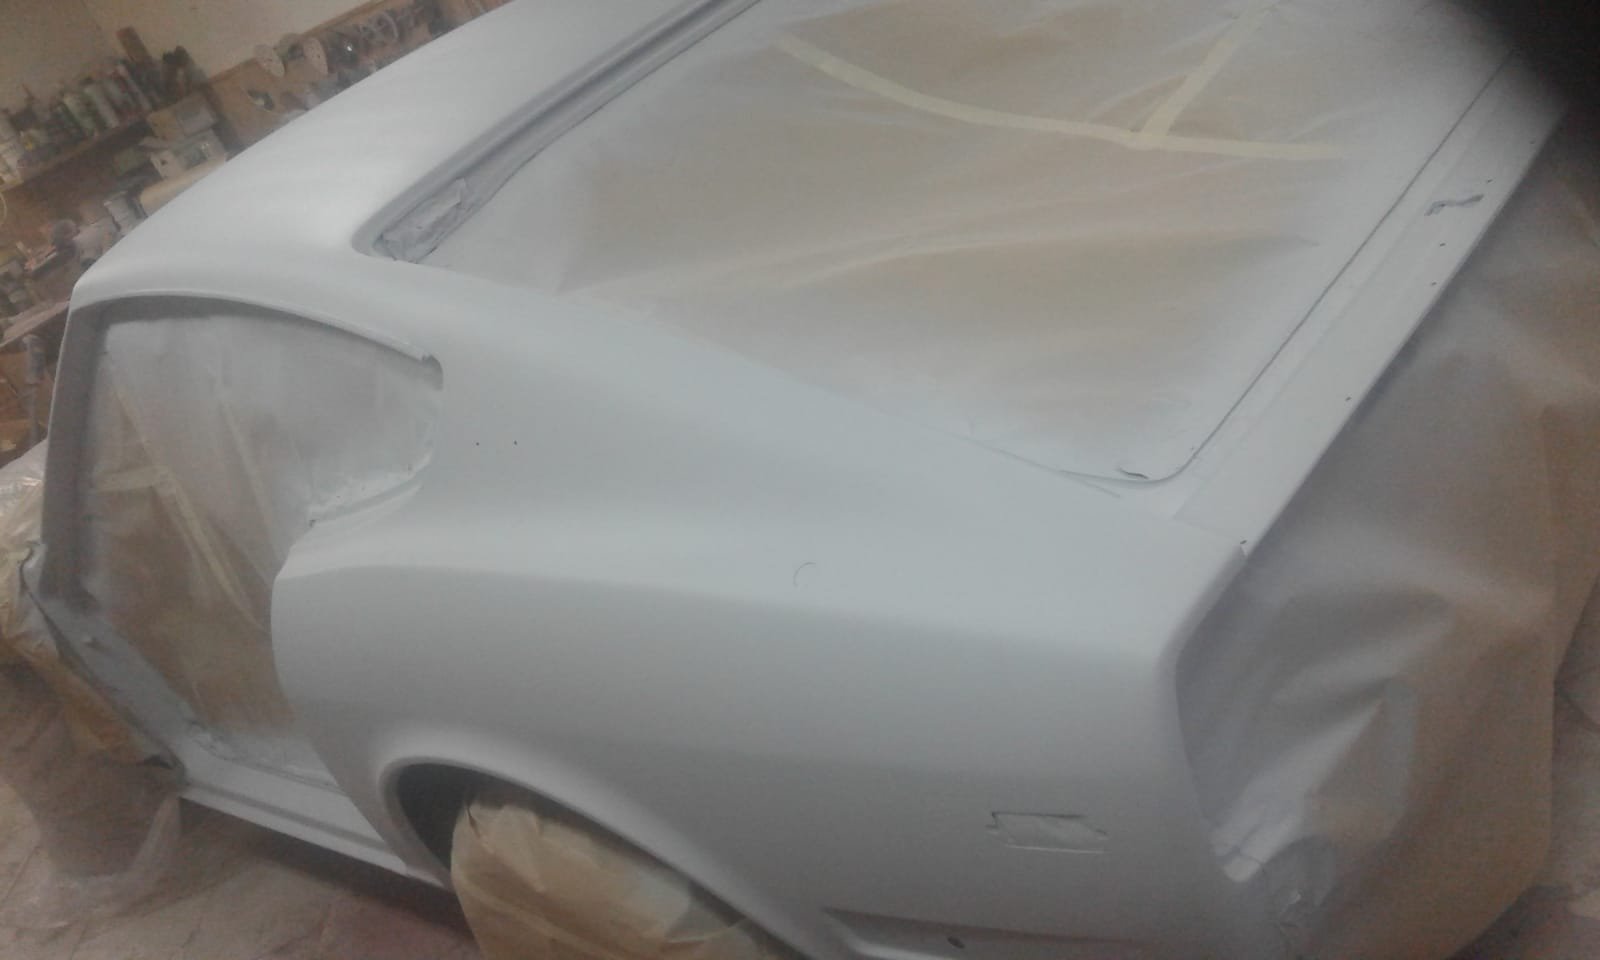
And first layer of primer.
I also sourced all the parts for a diff swap:
2005 WRX STI 3.9 diff
RT Diff Mount for replacing the upper strap
FutoFab conversion axles
U-Joints for rear axles
NOS 1970 diff mount insulator
link for further interesting details: (https://www.classiczcars.com/forums/topic/52894-differential-front-mount-insulator-for-a-1970-s1-240z-nla/)
Stay tuned for the next update, with fresh paint and hopefully a redone engine bay.
-
Hi
Im looking for a Subaru Impreza WRX STI 3.9 diff (2004/2005).
Thank you for your message in advance!
-
-
nice work, keep the updates coming!
-
I love this wheels
-
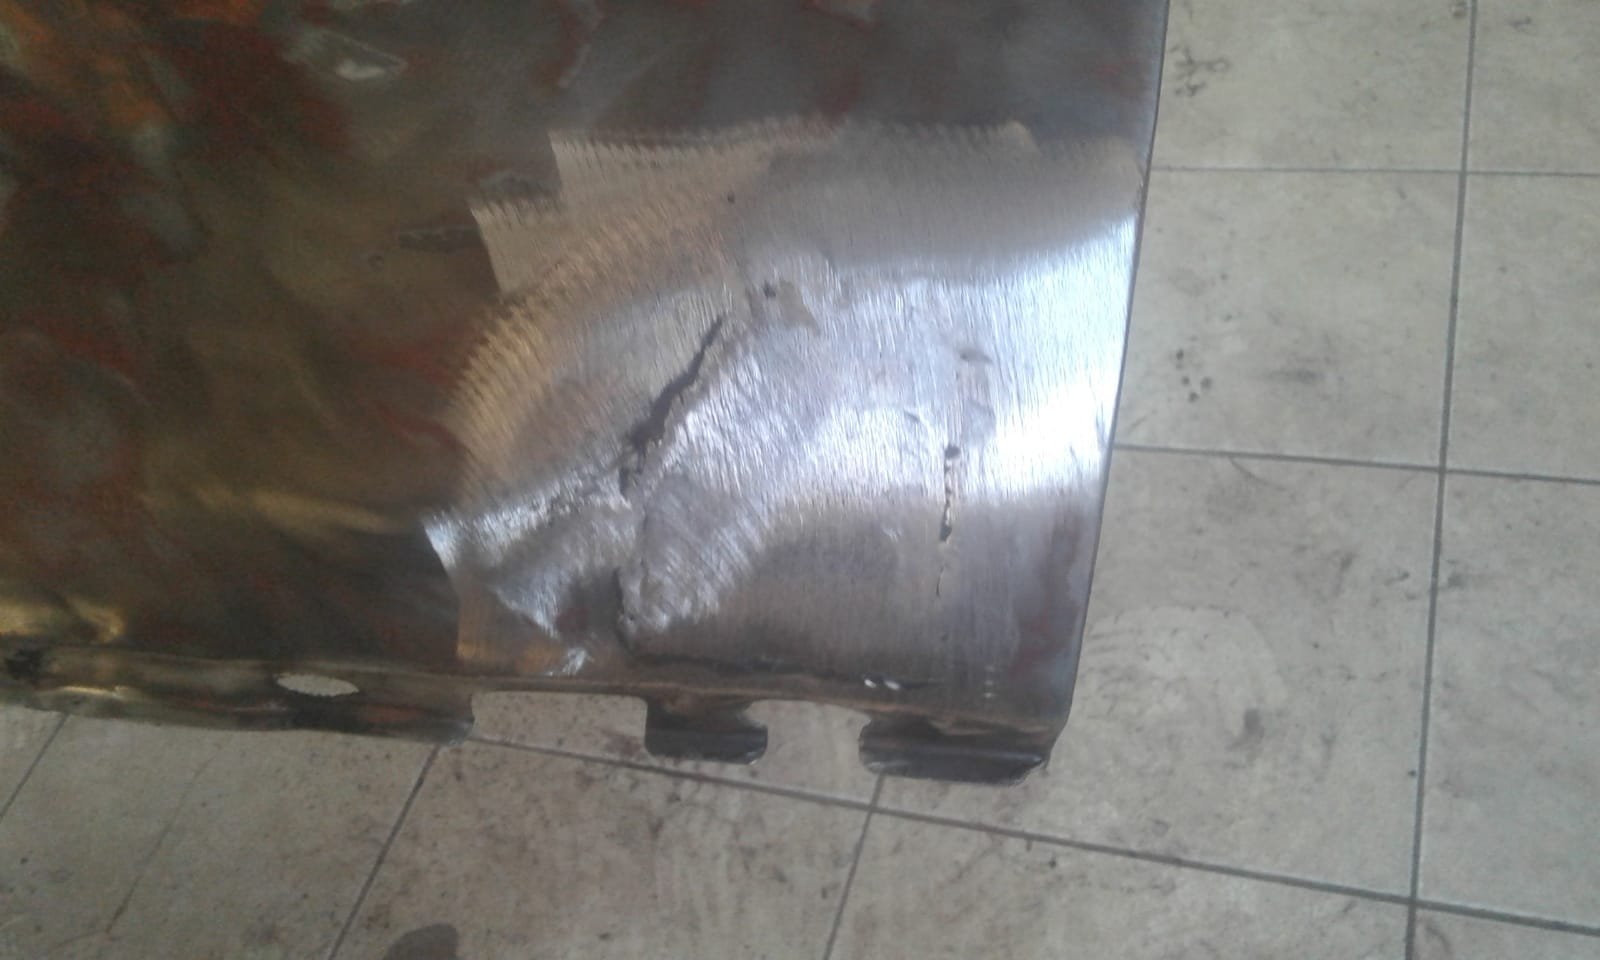
better thick than thin, it doesn't need to be perfect.
You also can grind down the worst parts.
Built not bought! Thats the way to go.
-
This is my favourite build thread. Keep the pics coming. Cheers
-
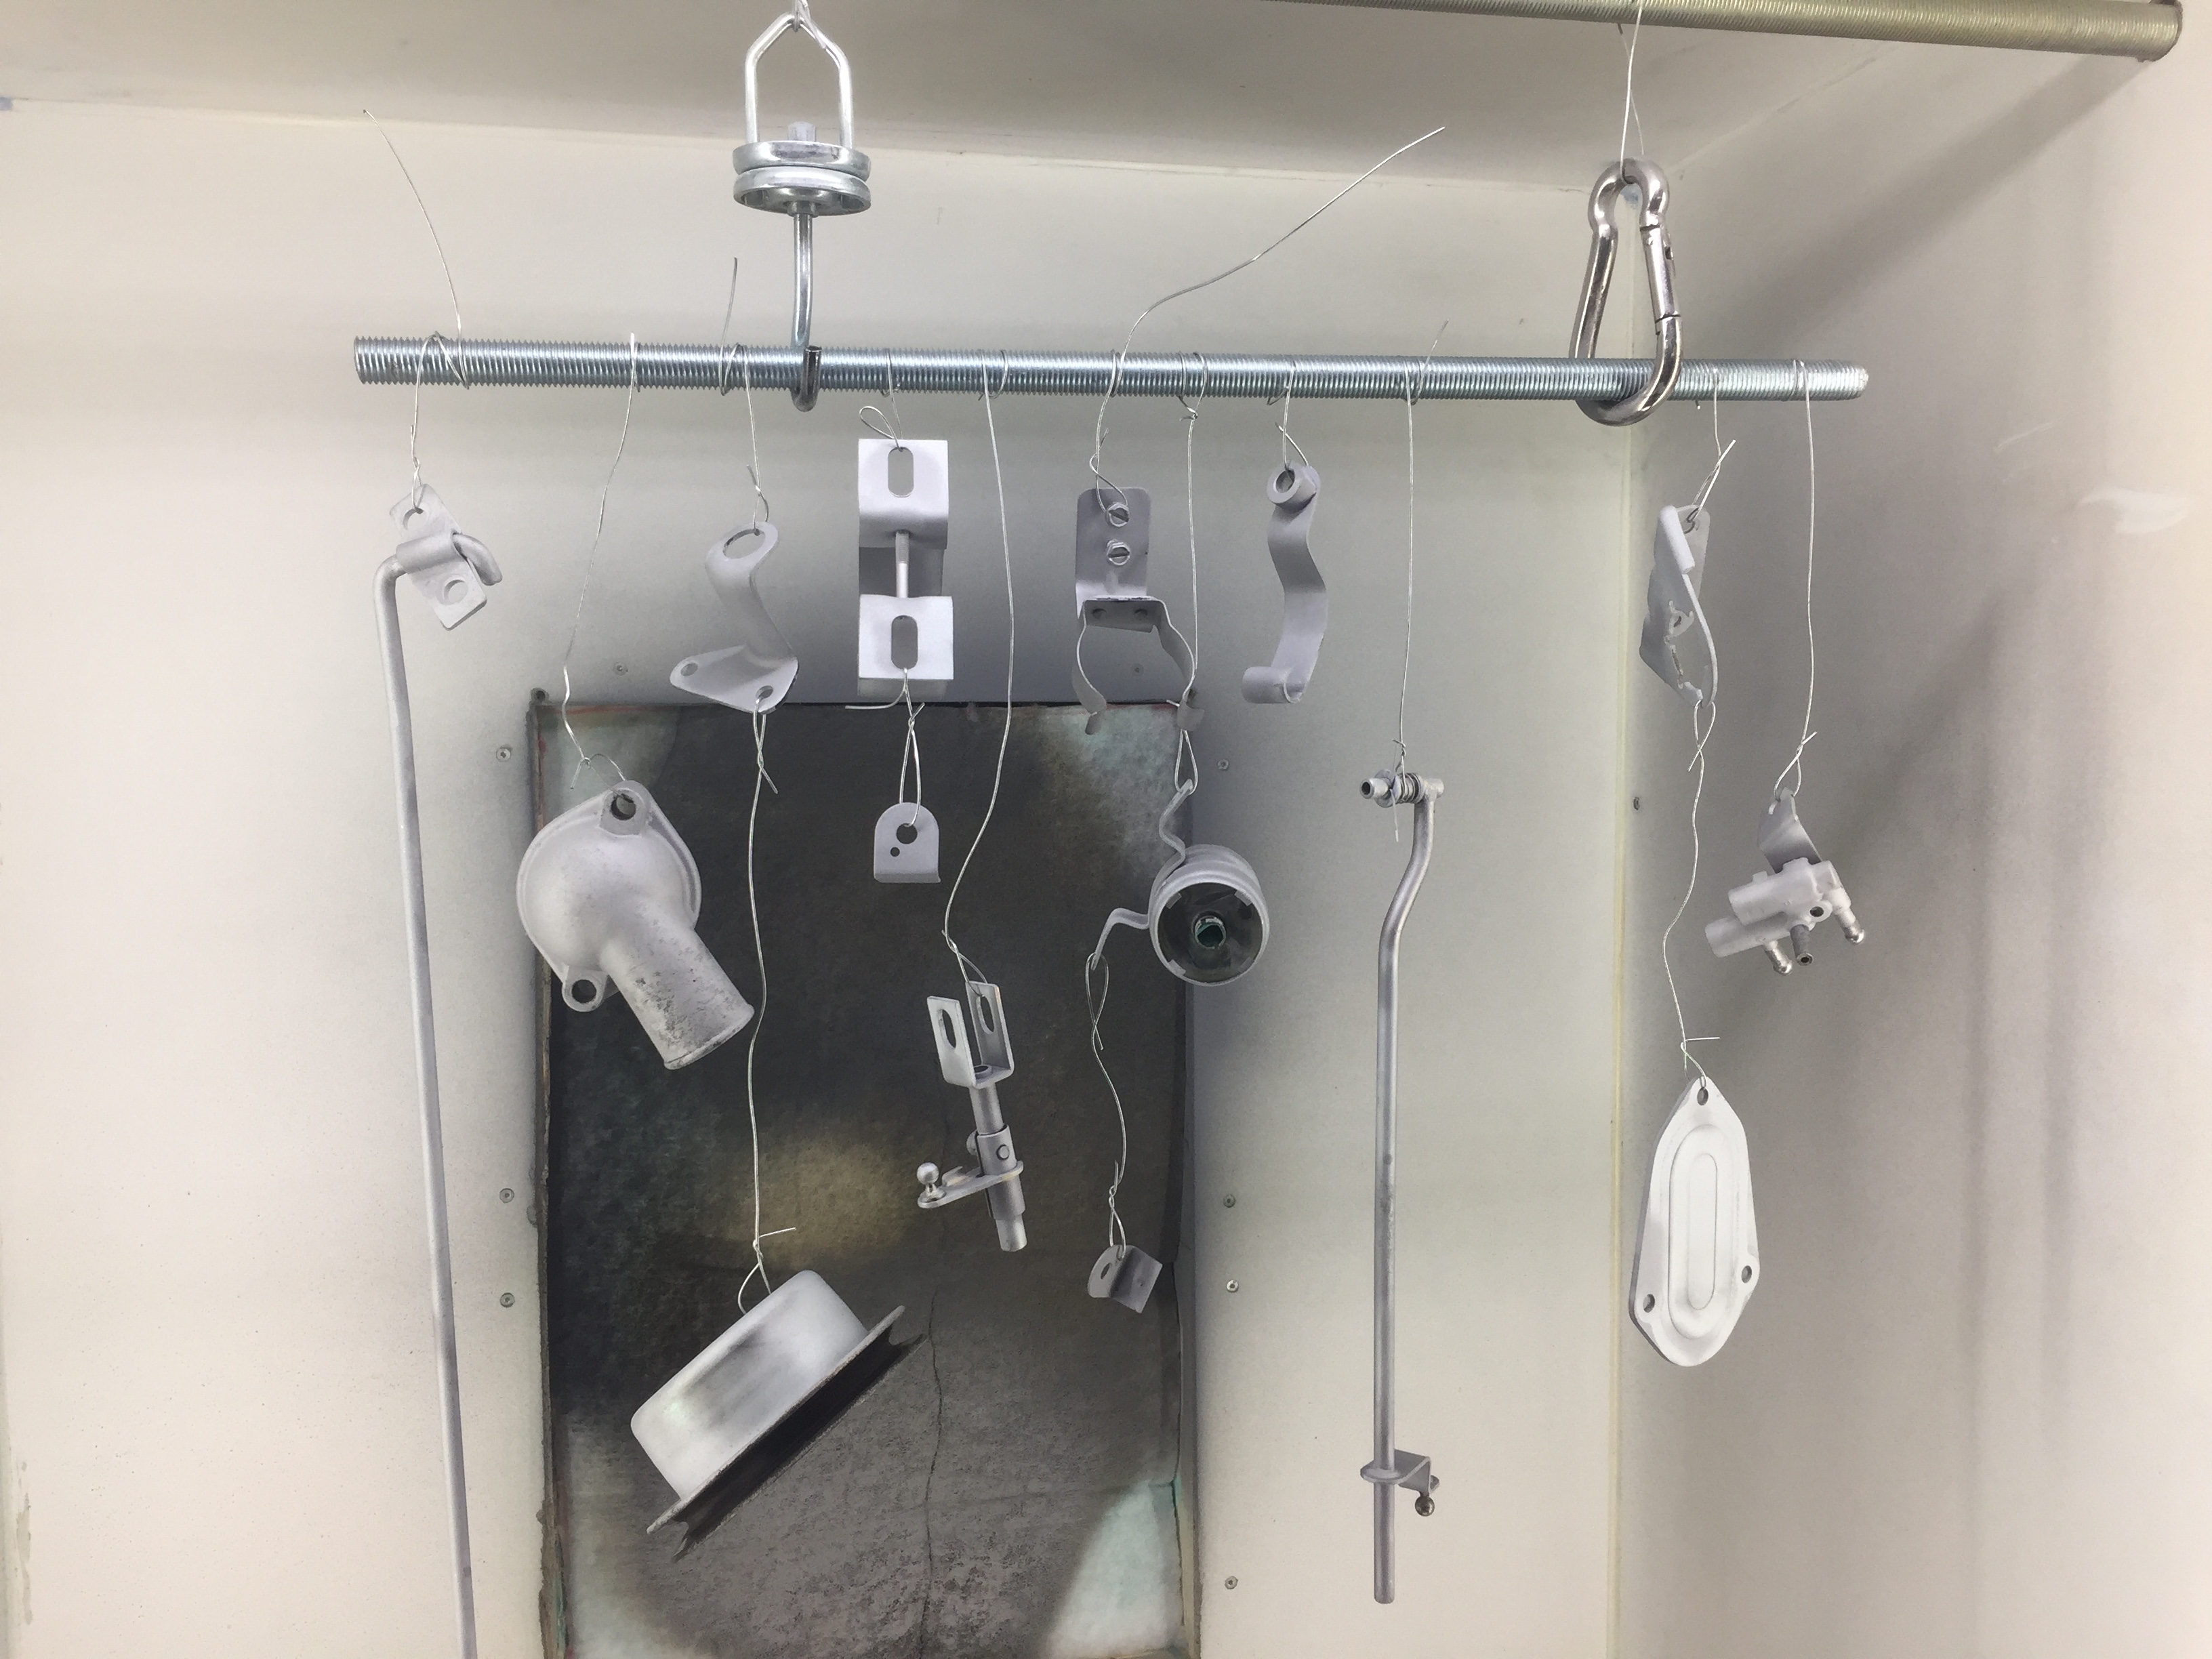
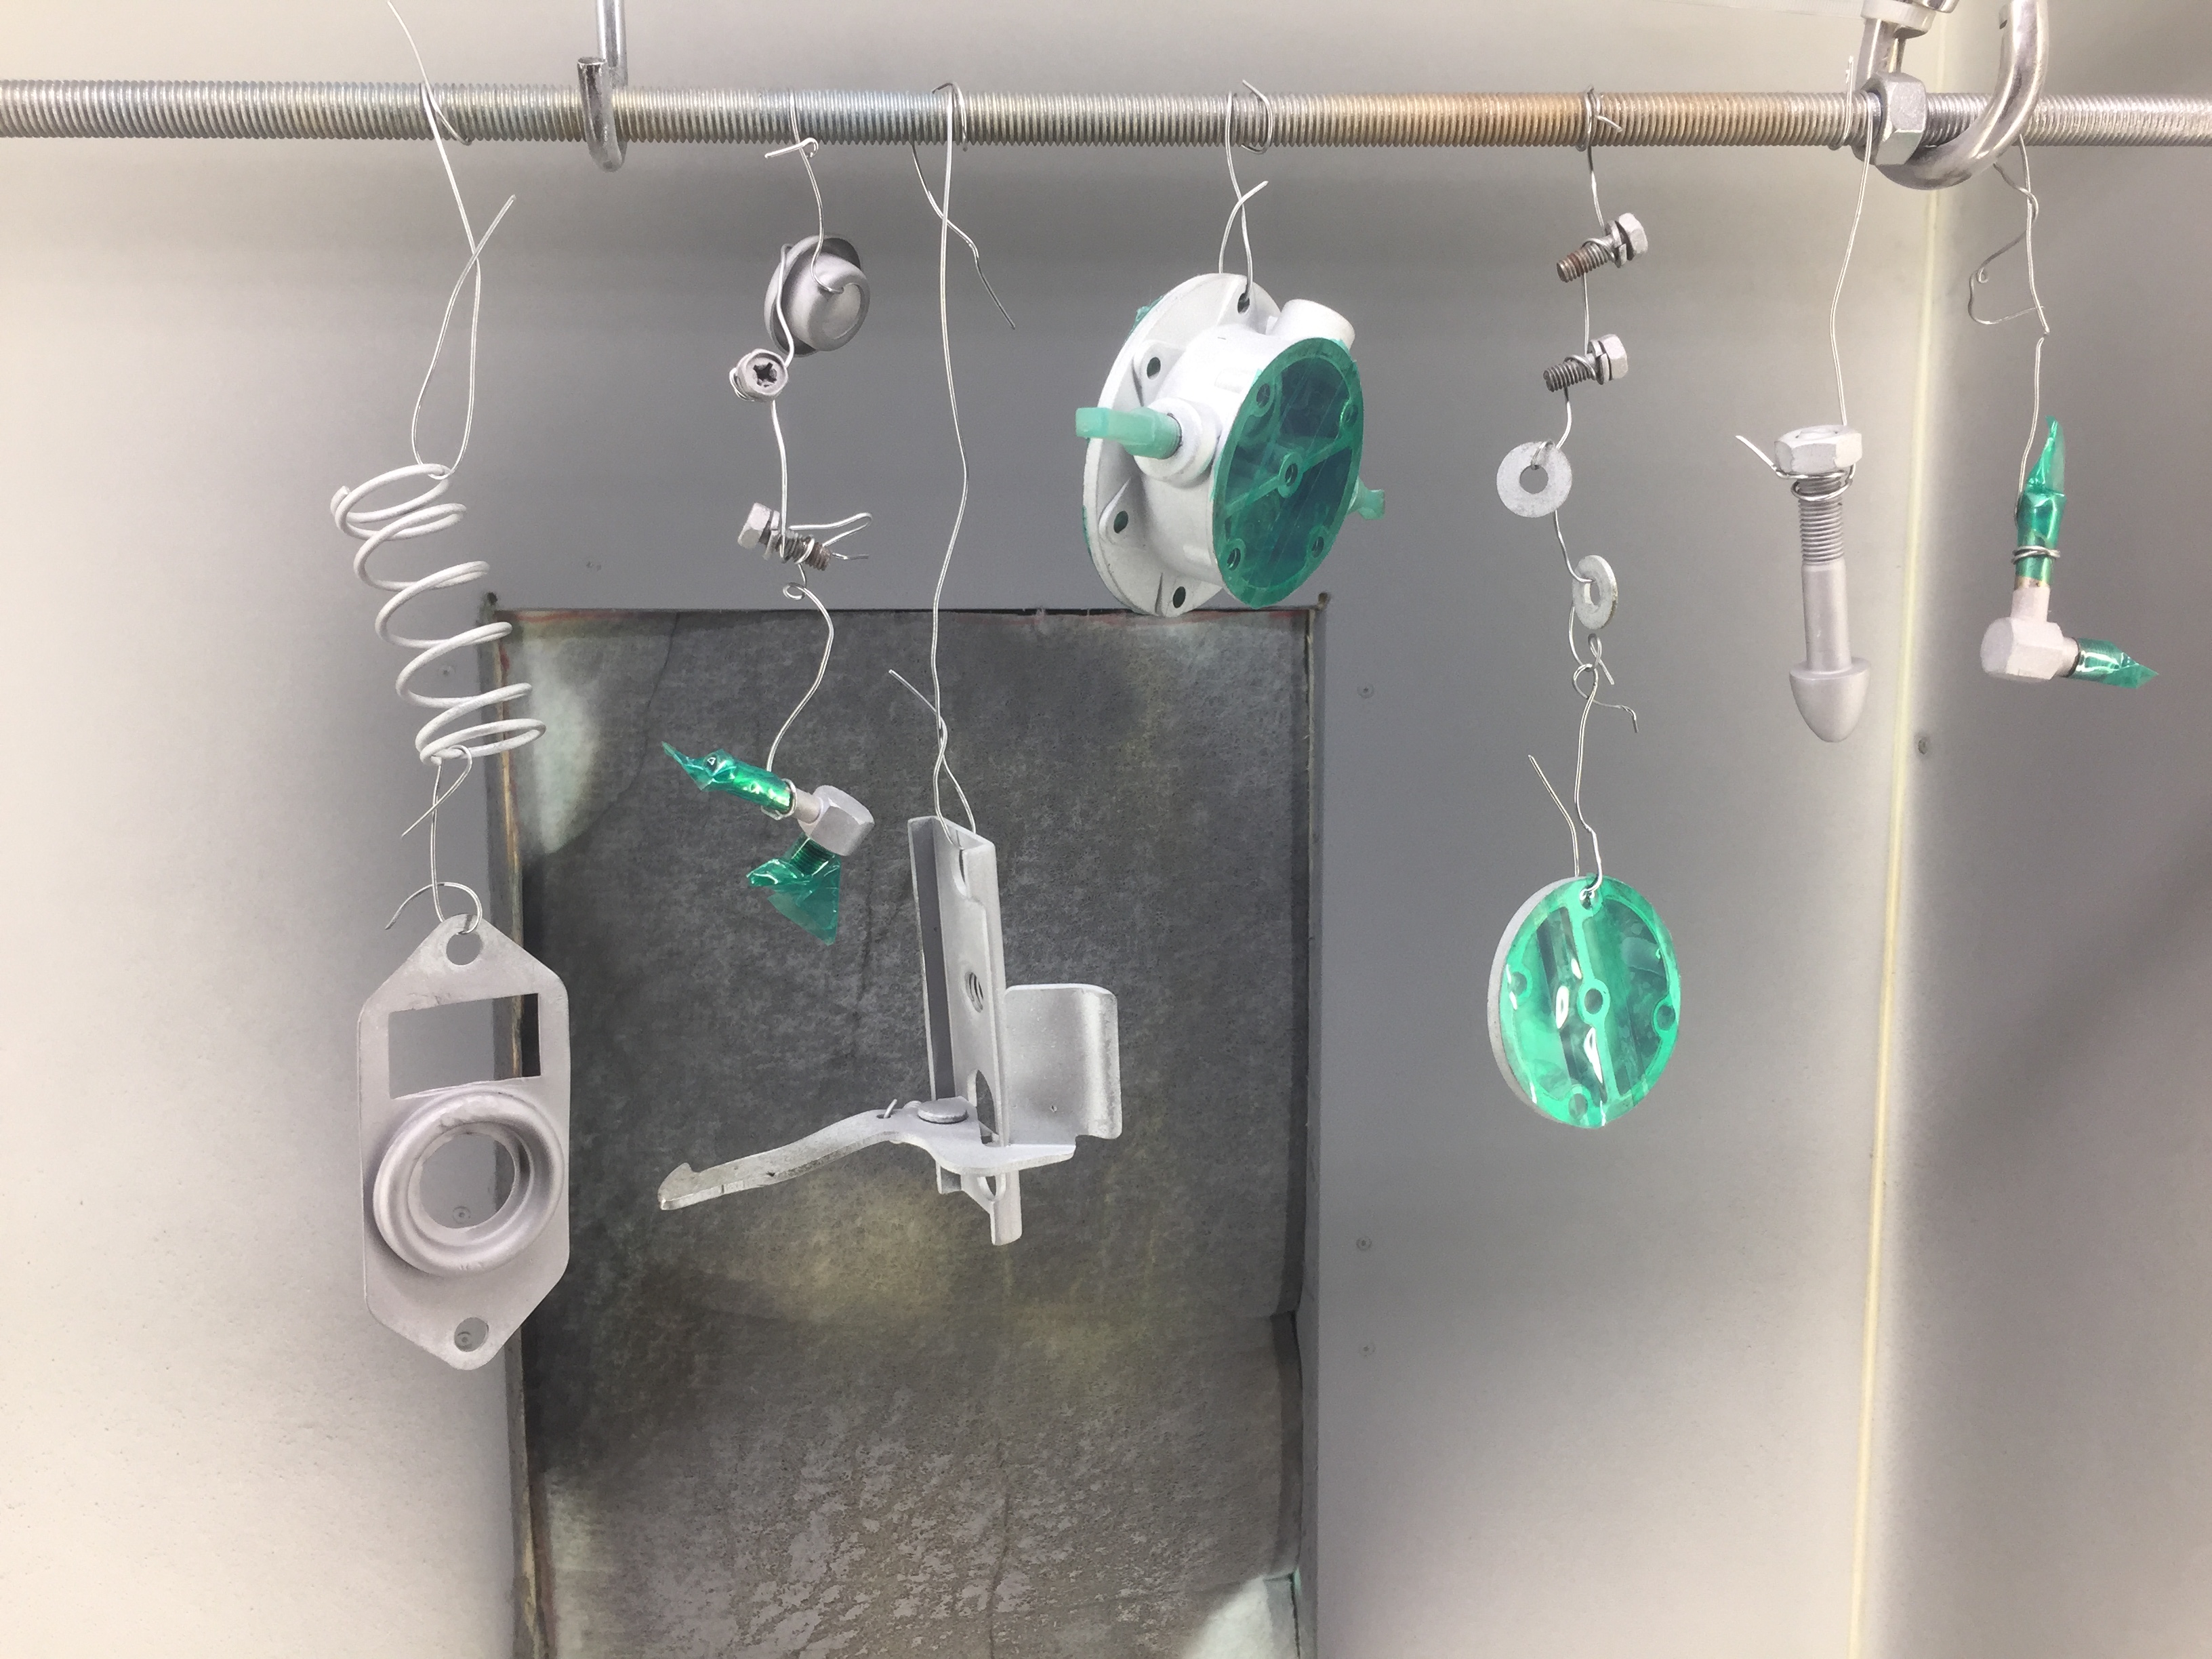
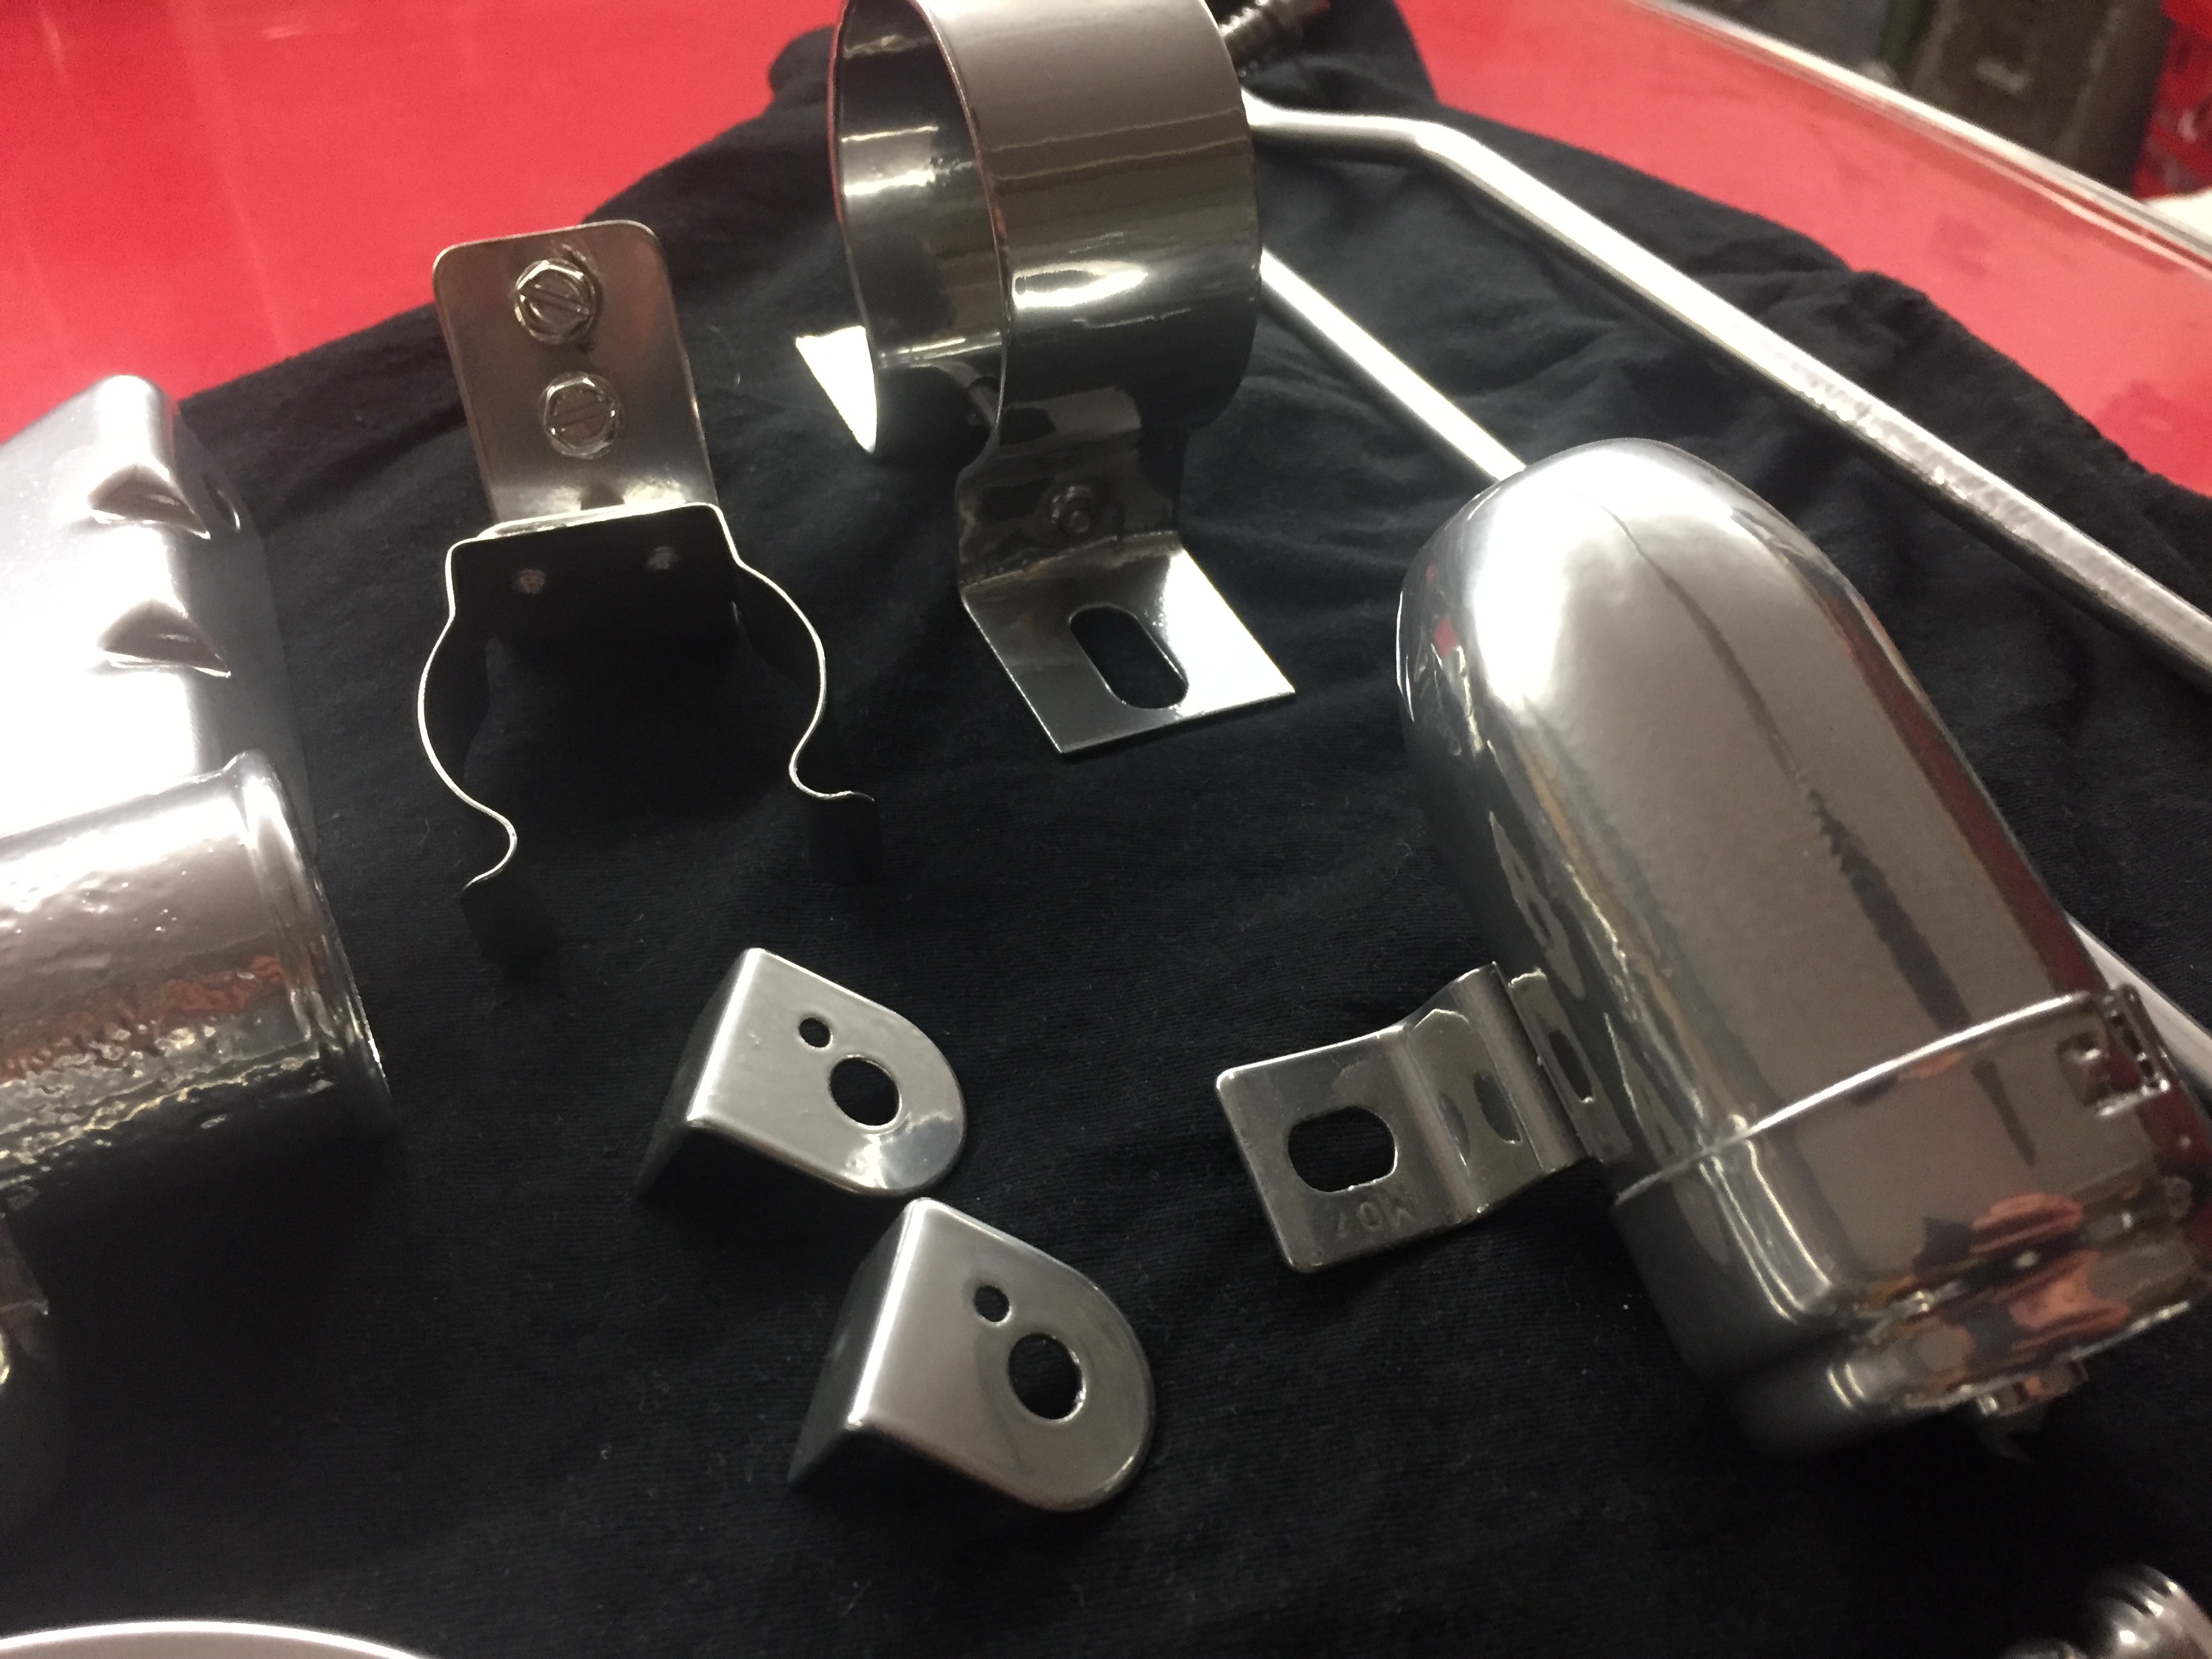
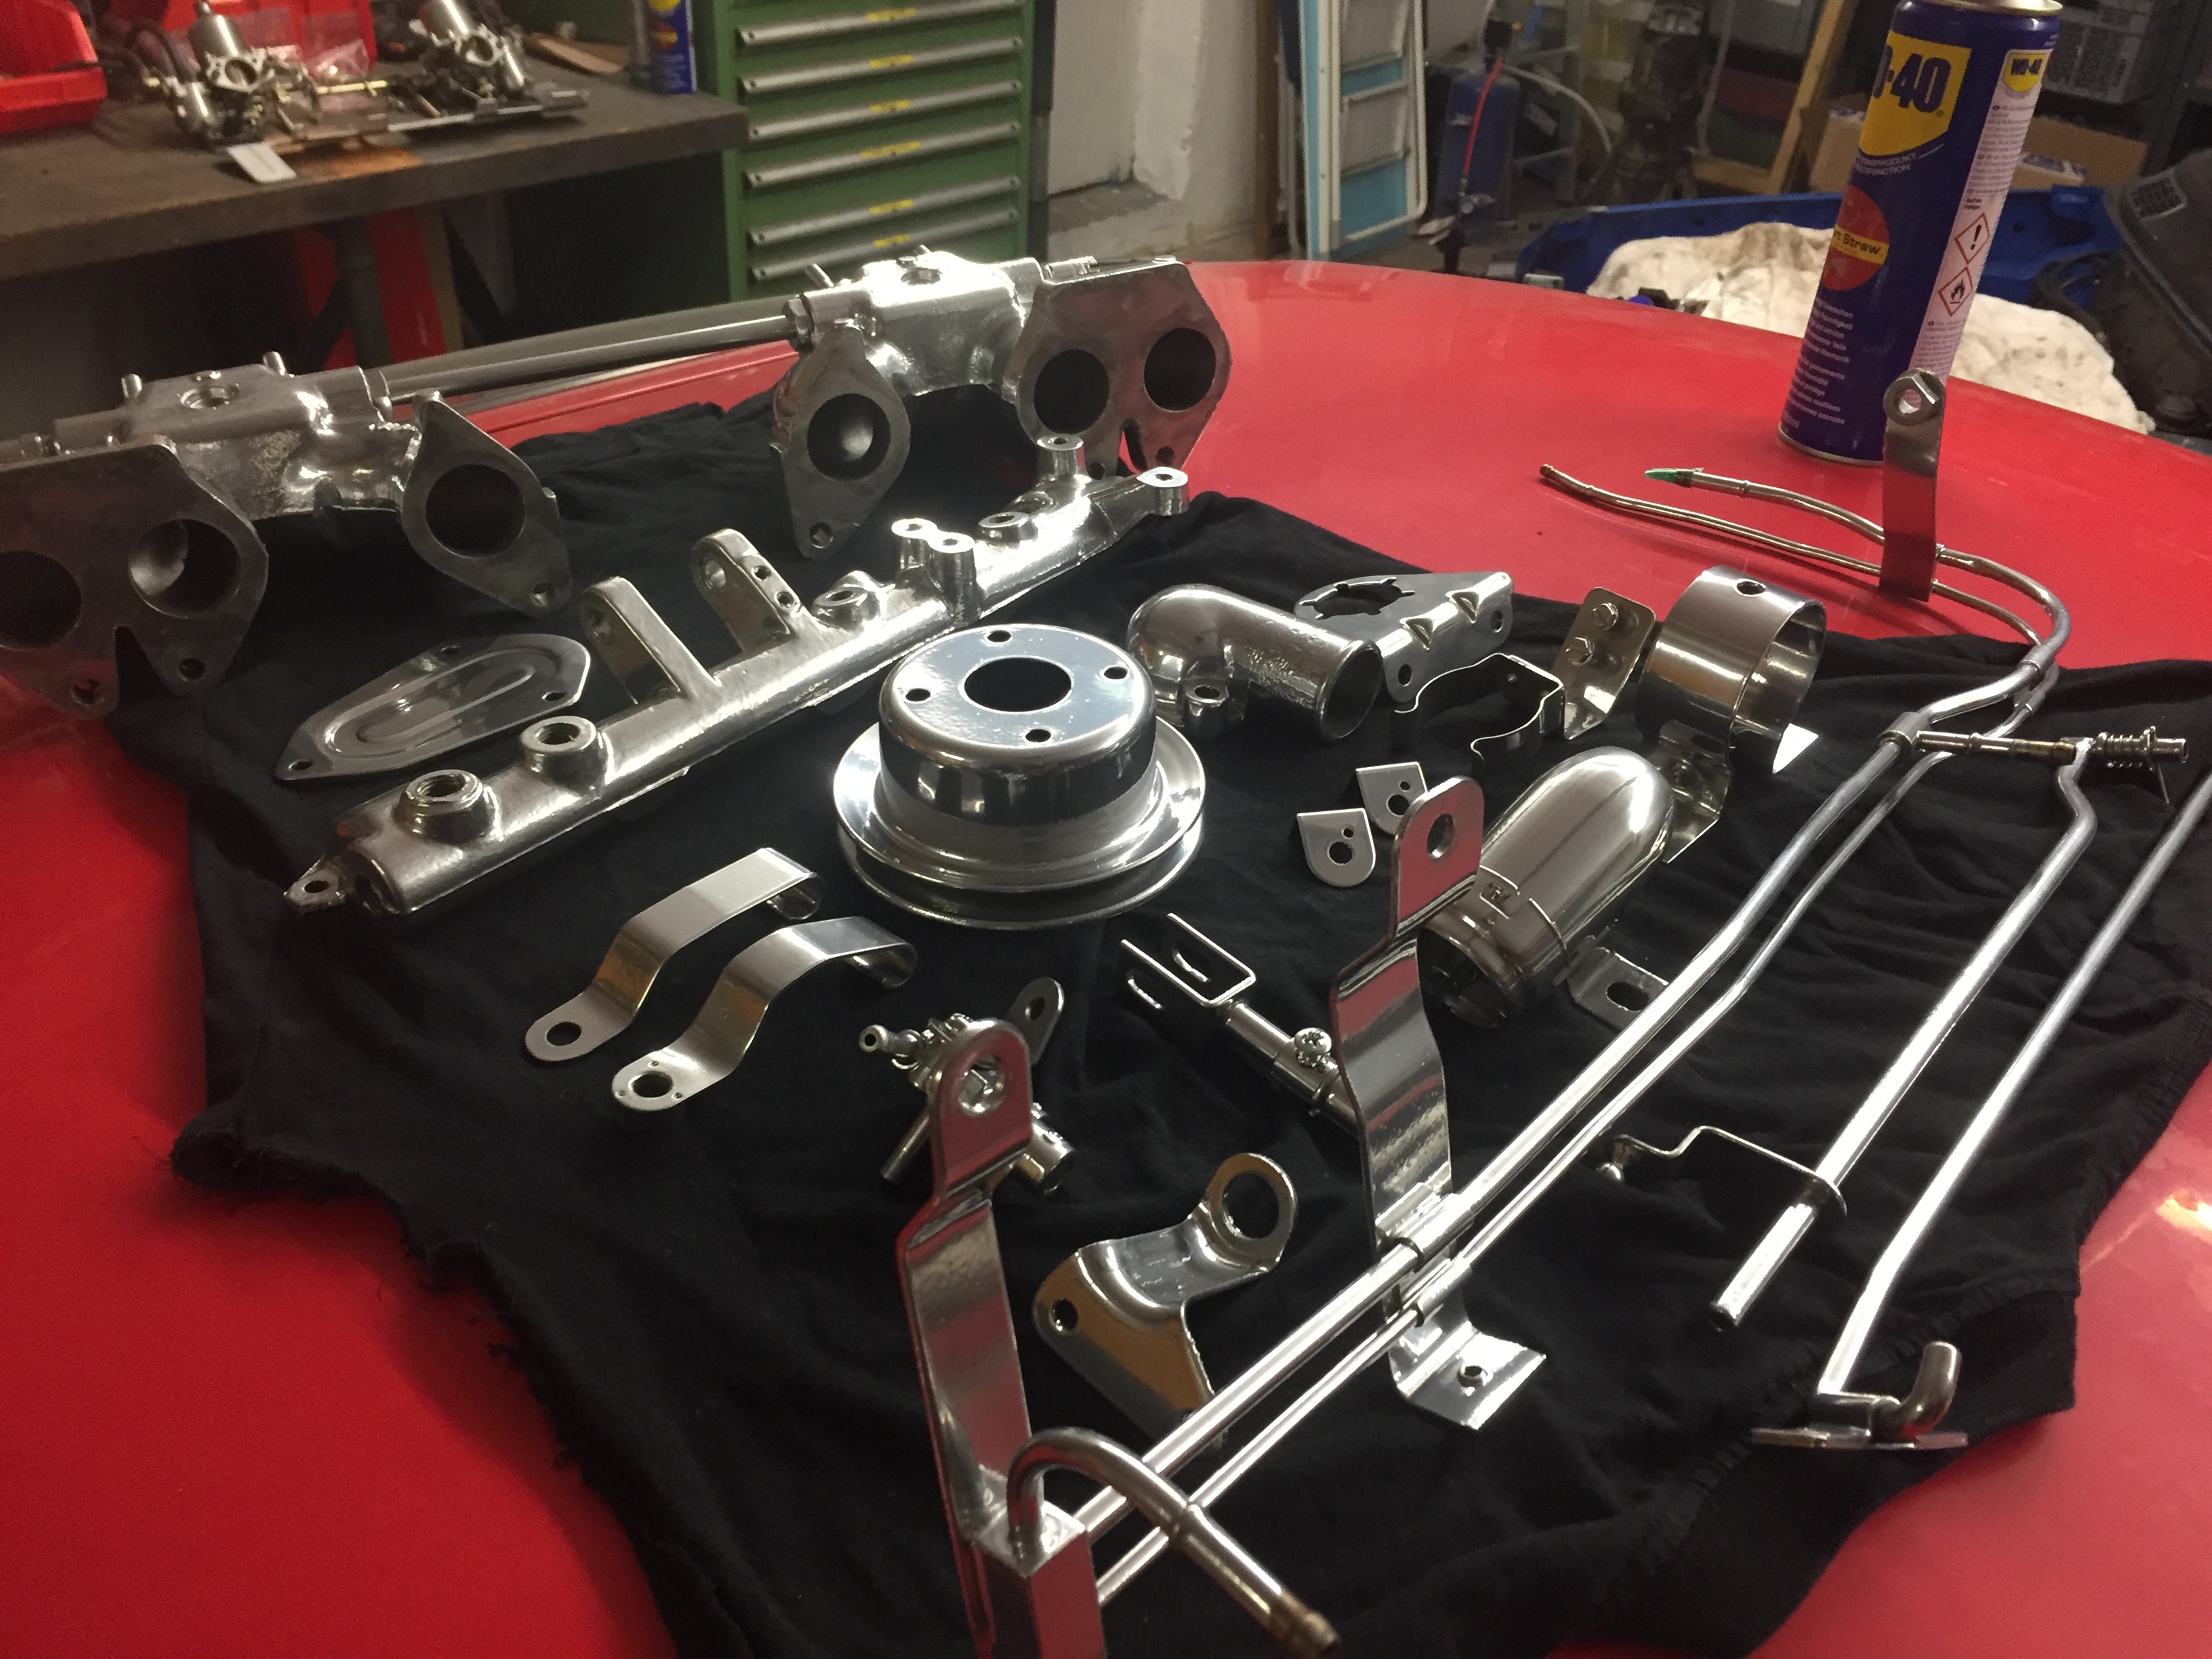
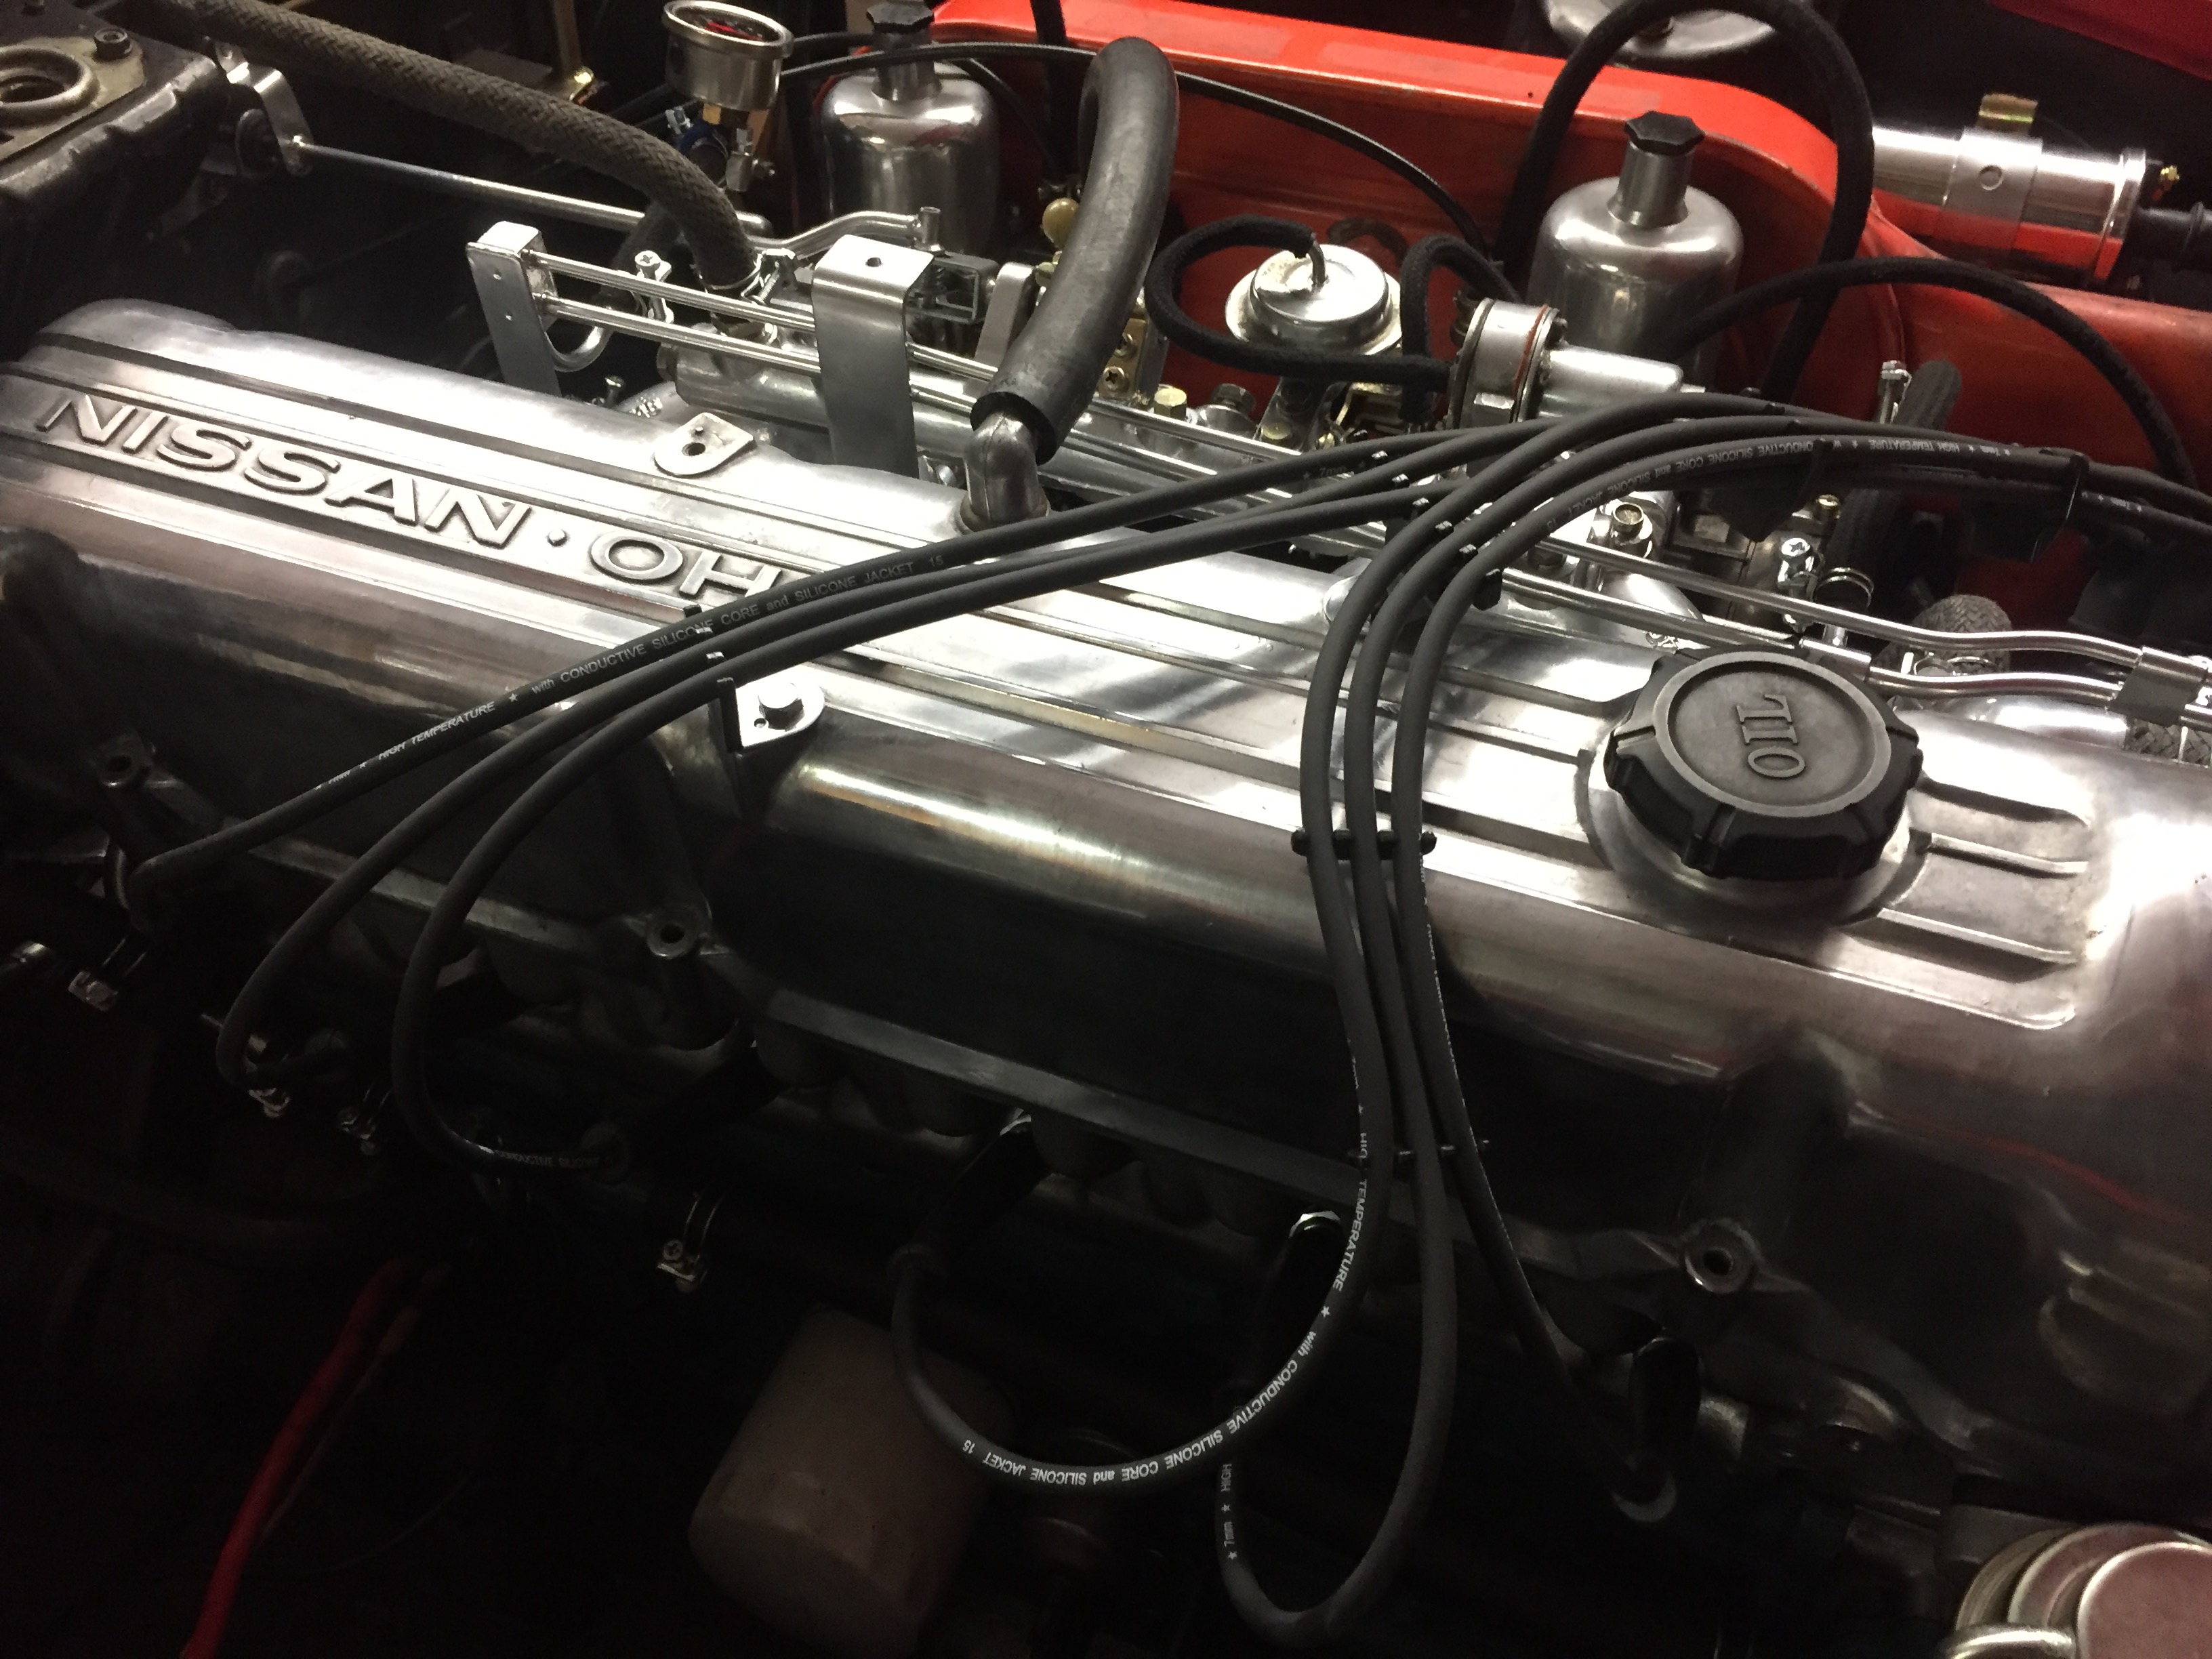
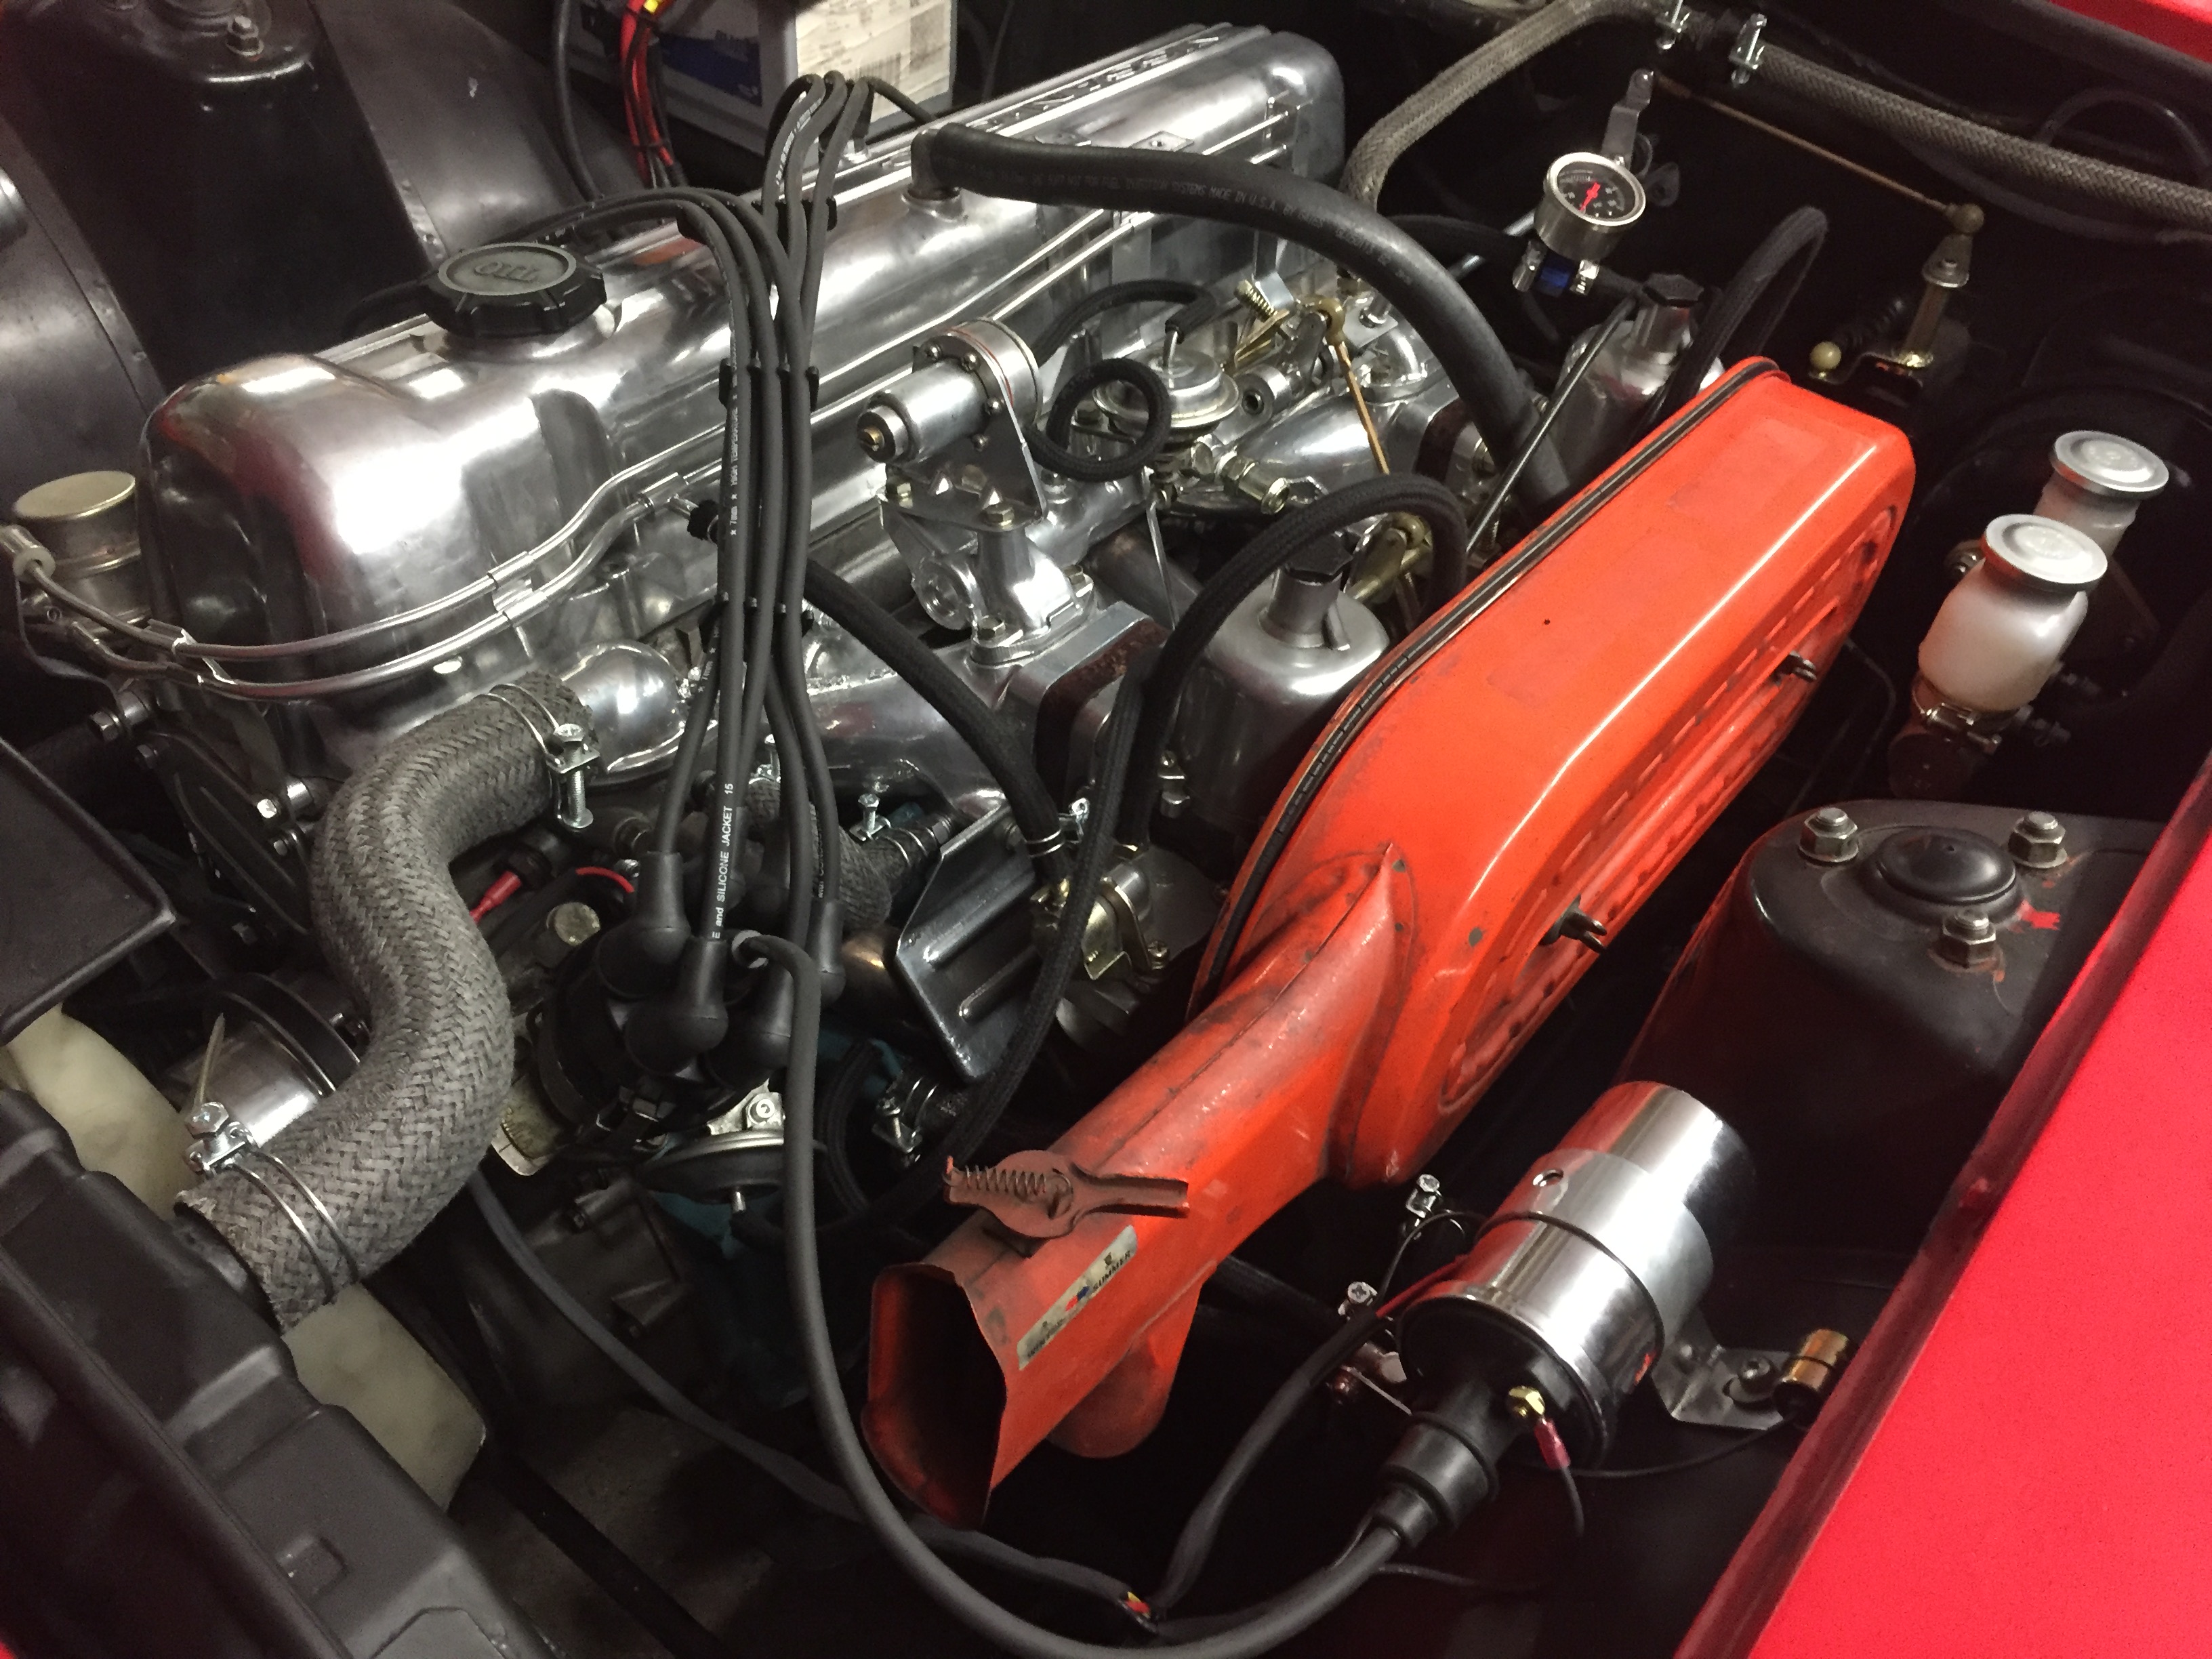
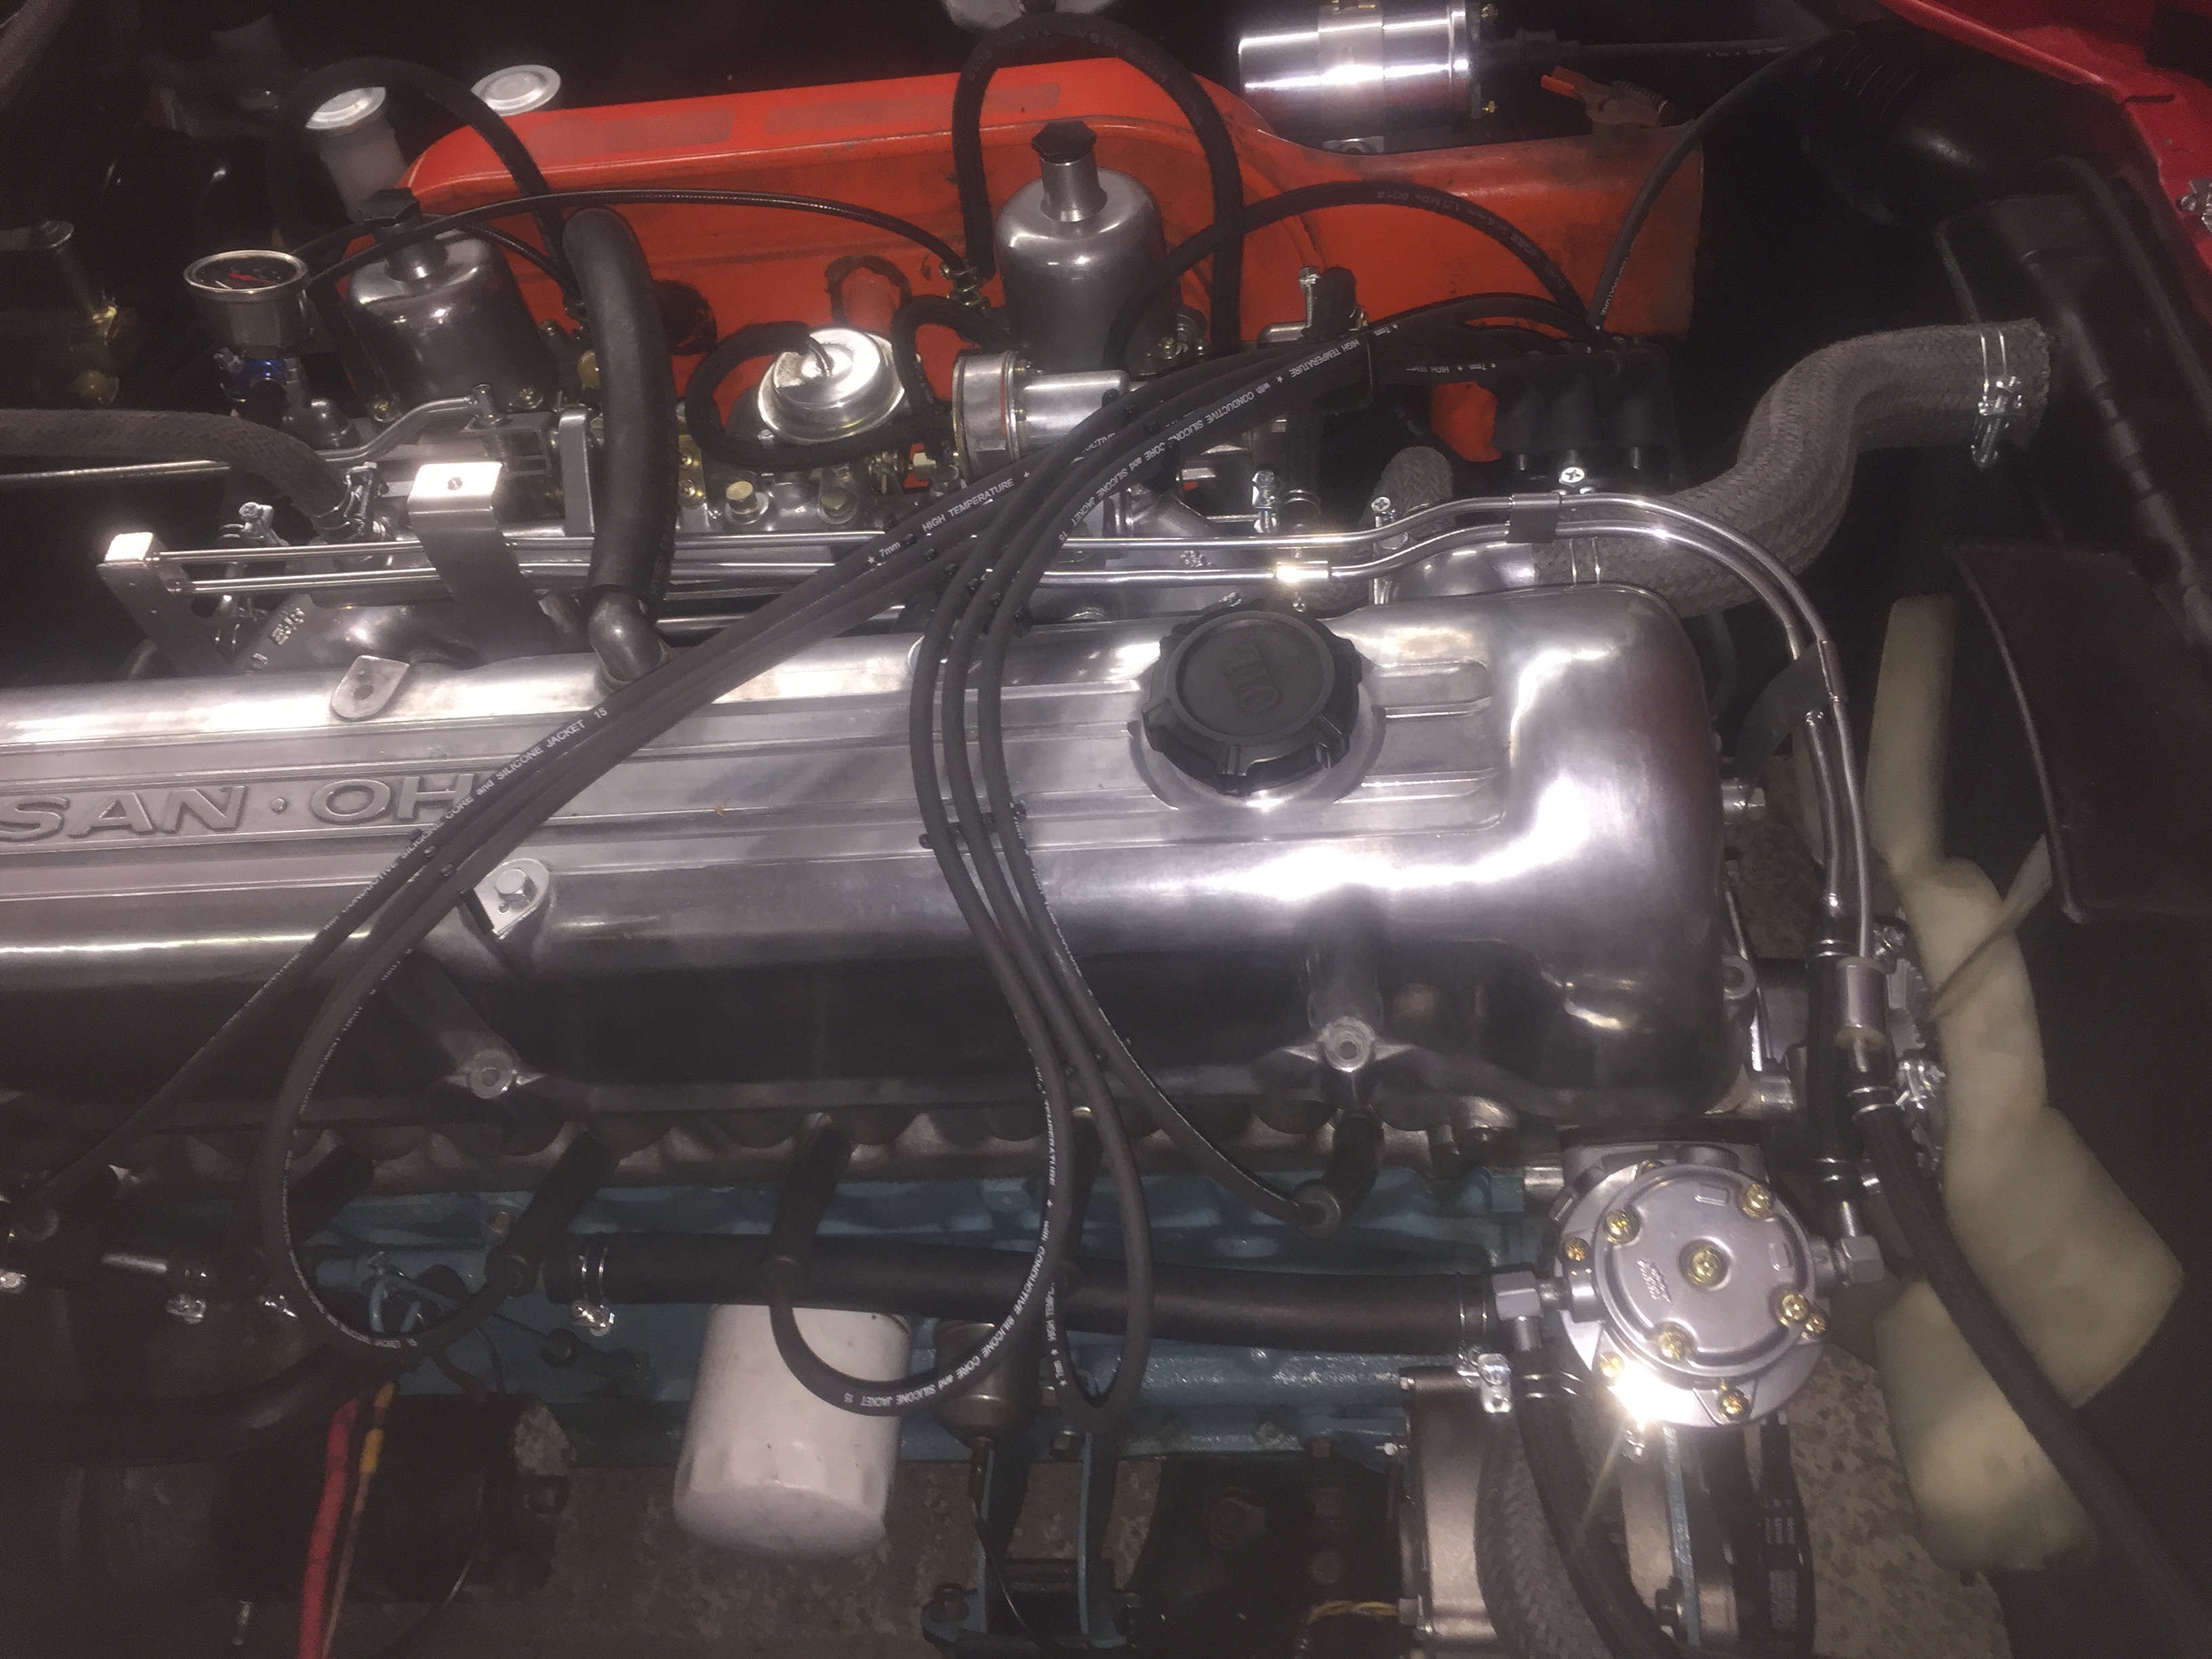
Engine bay clean up
After glass blasting:
Chrome powder coated:
Before:
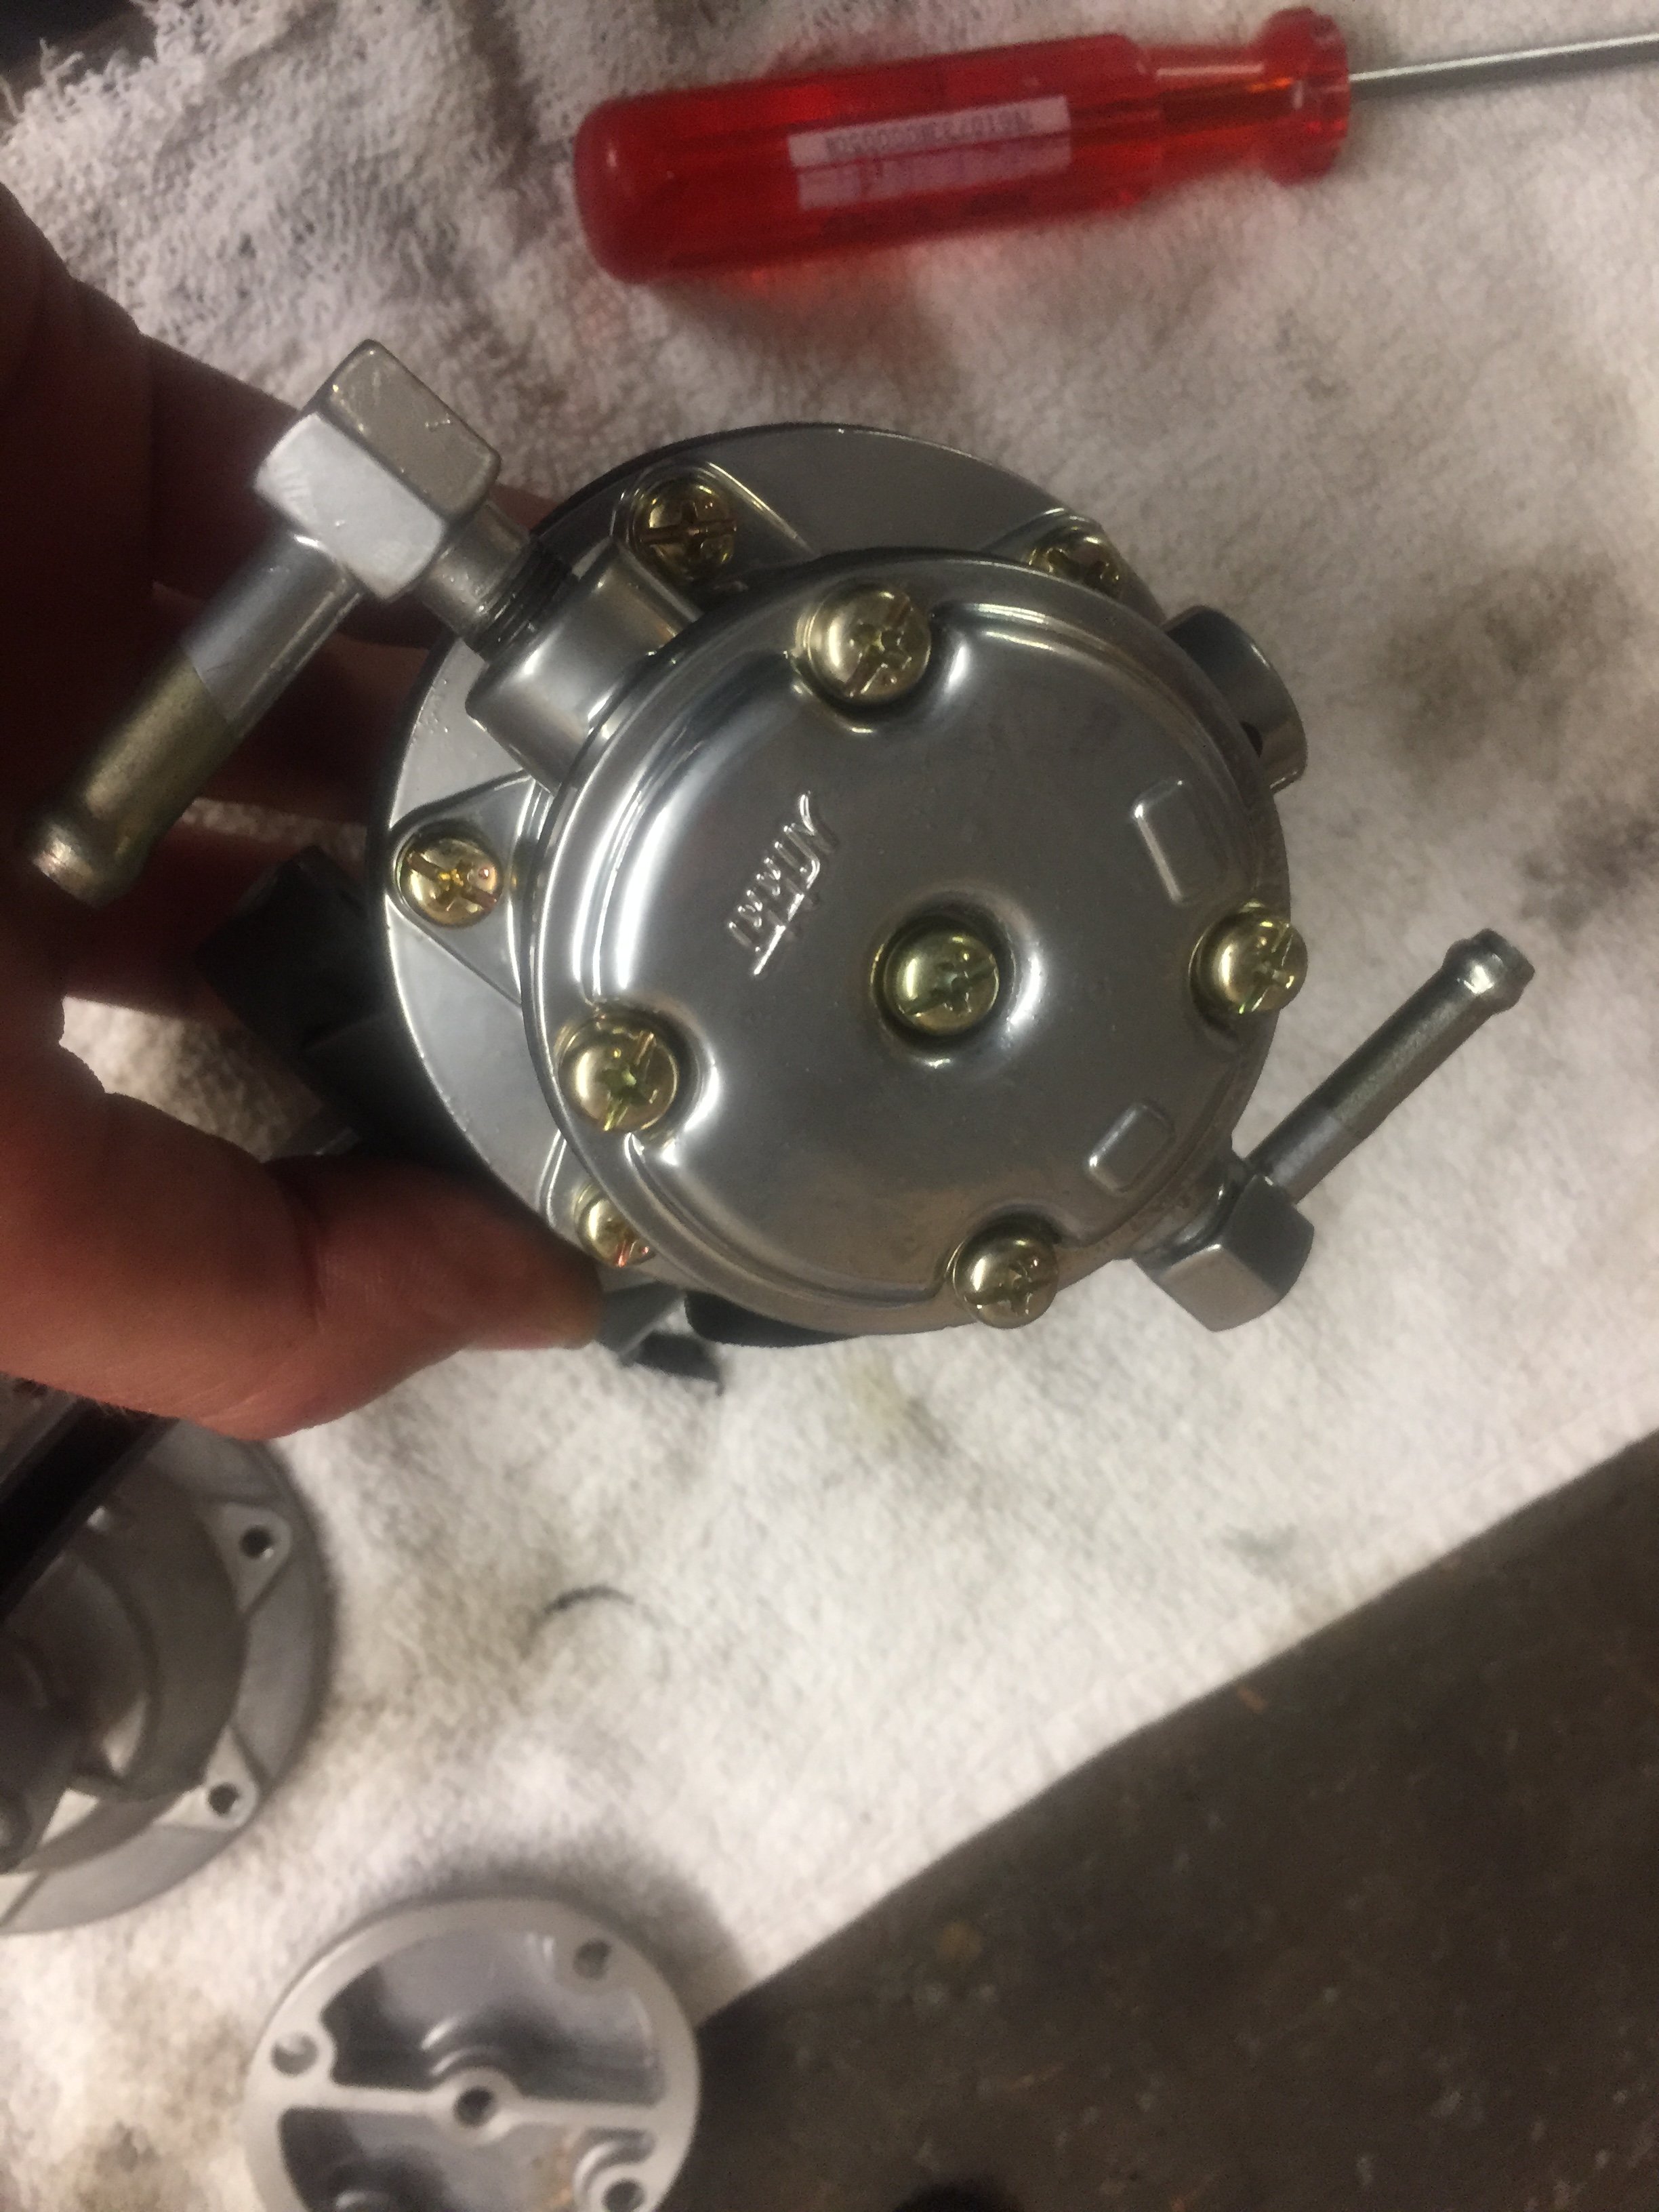
After, also Pertronix installed:
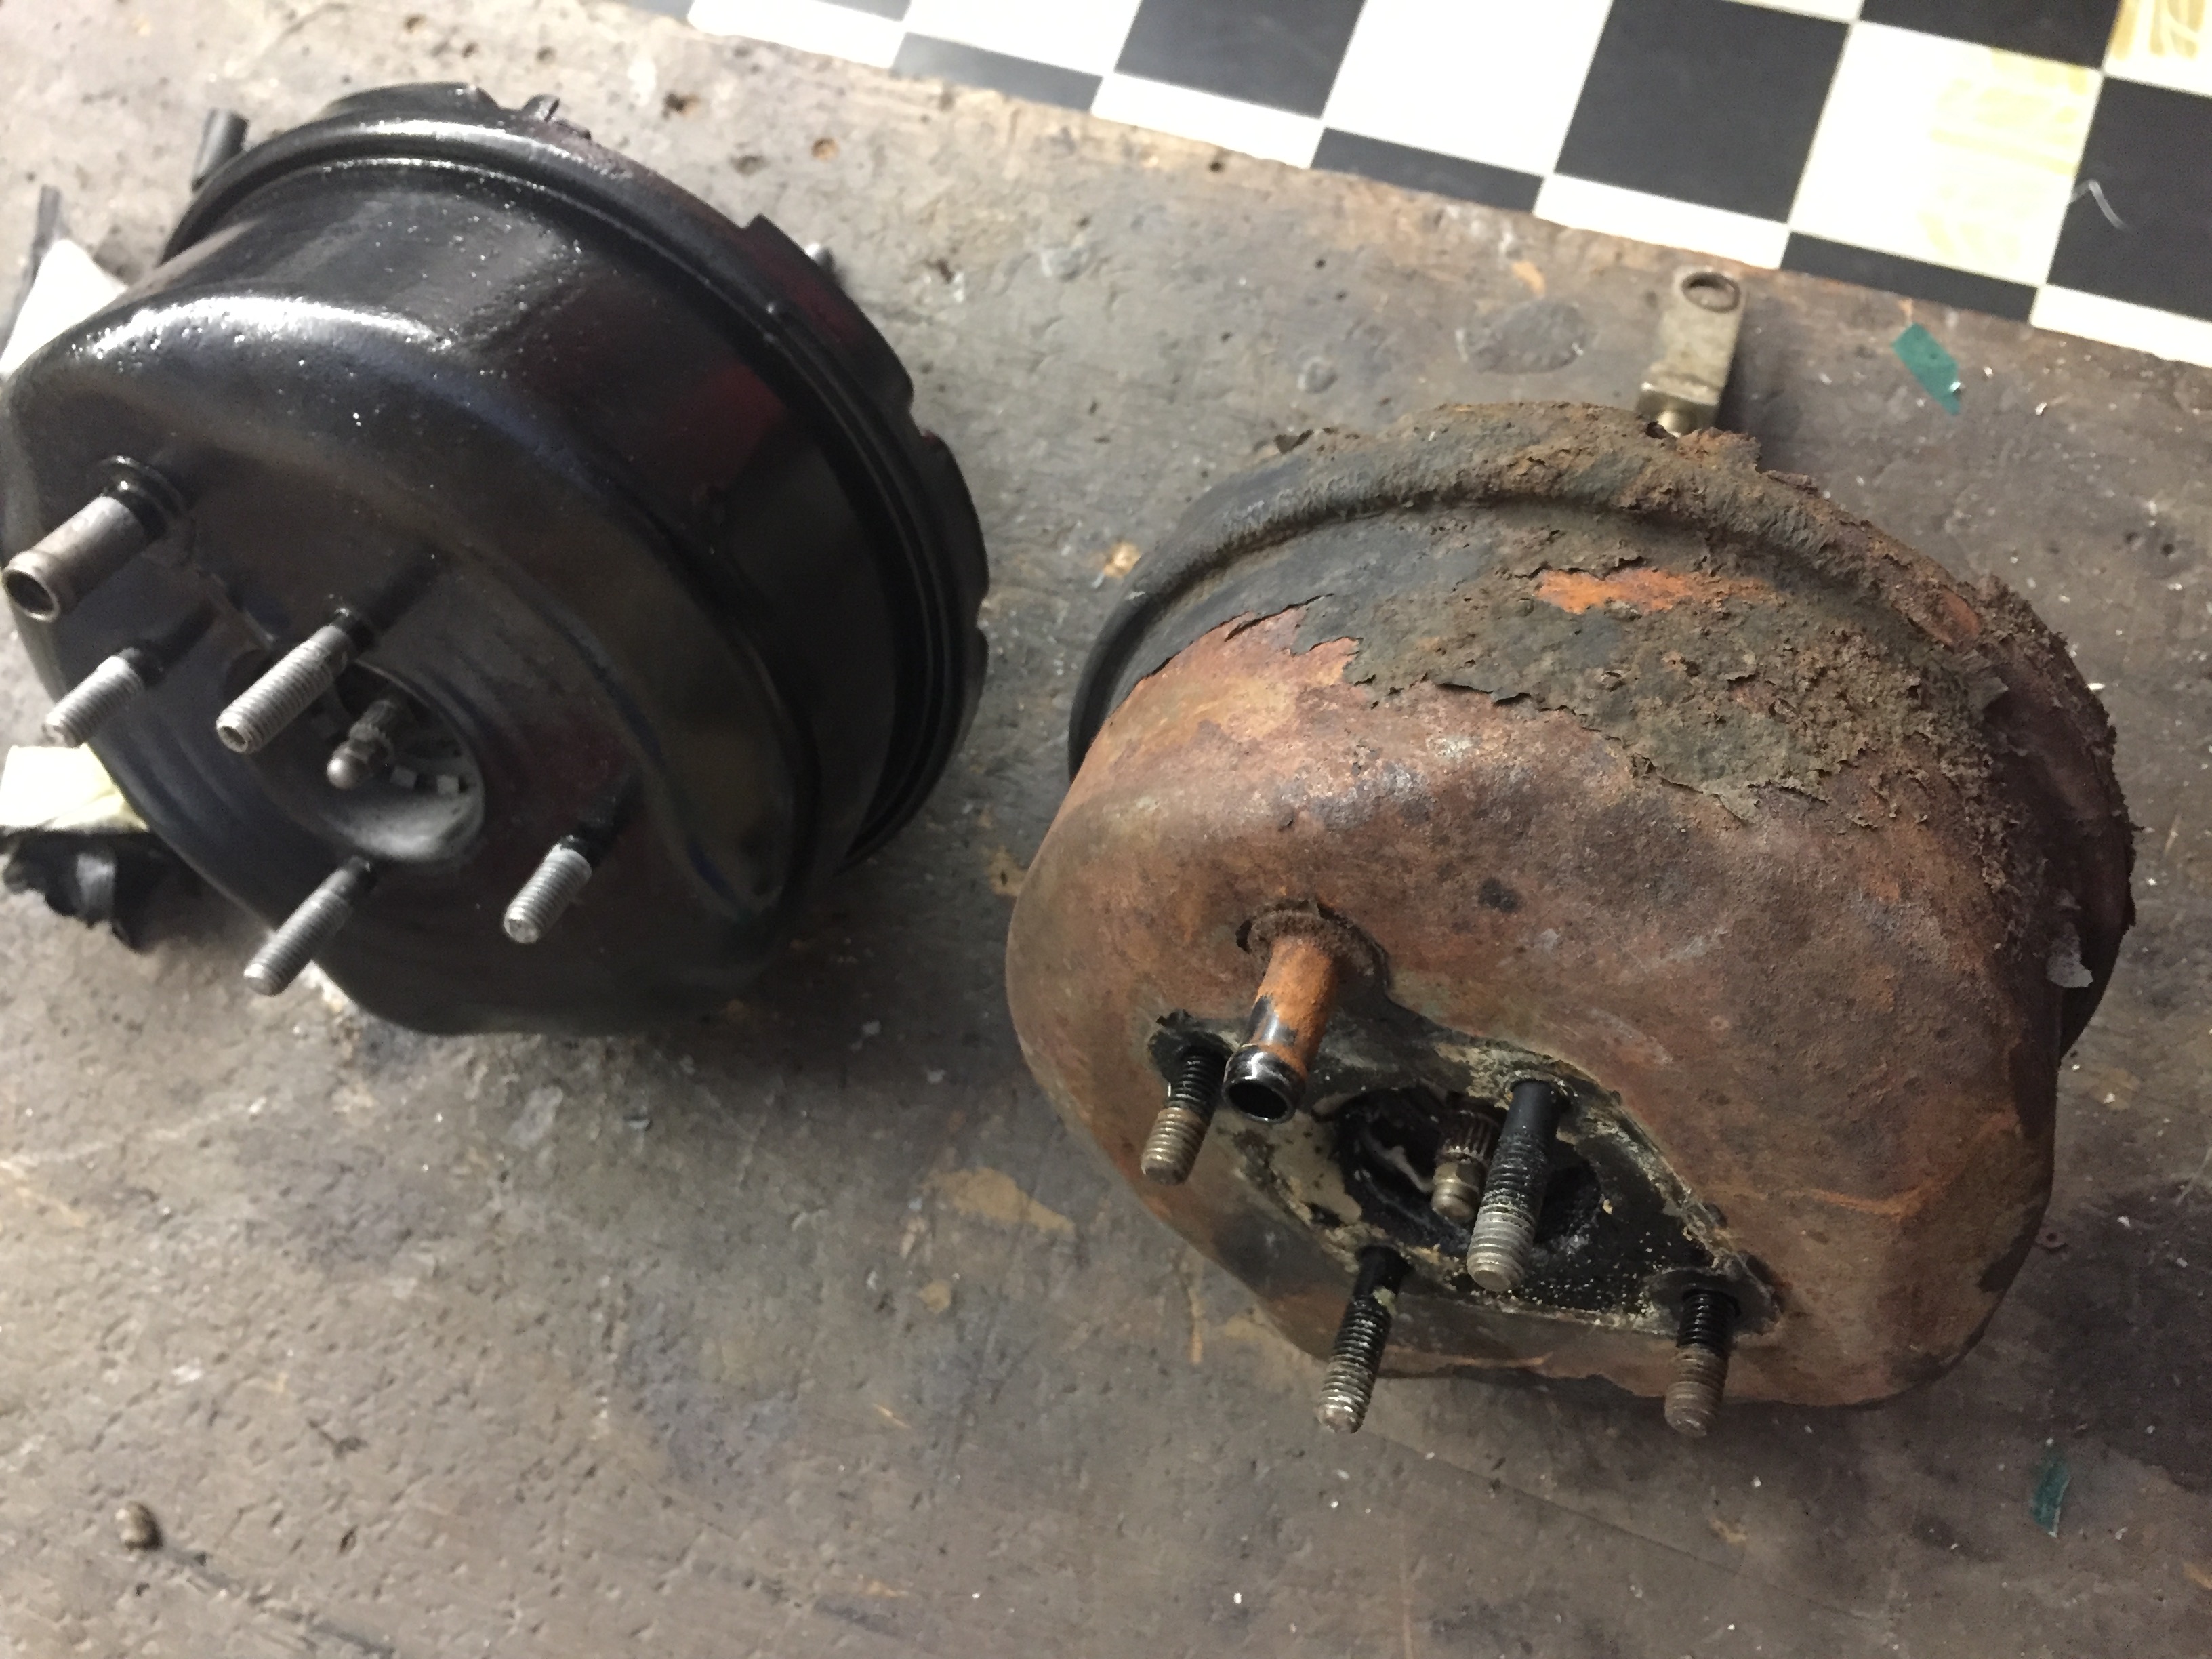
Only litte rost spot on the brake booster:
-
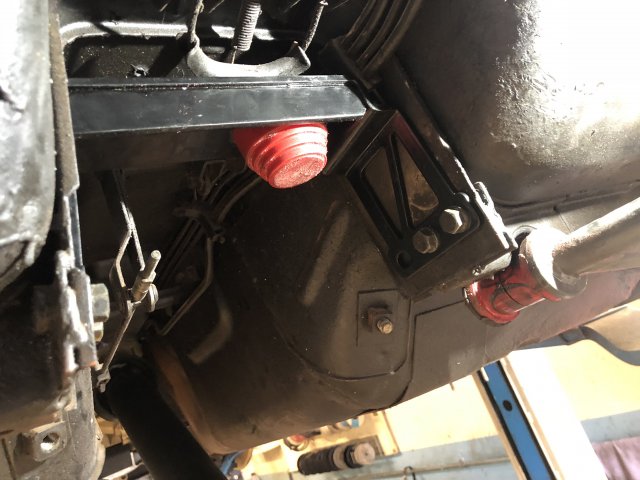
Next, I wanted to finish an easy fun project.
New leightweight battery holder for an EU-Spec battery.
-
Hi Guys
I'd like to share some updates with you:
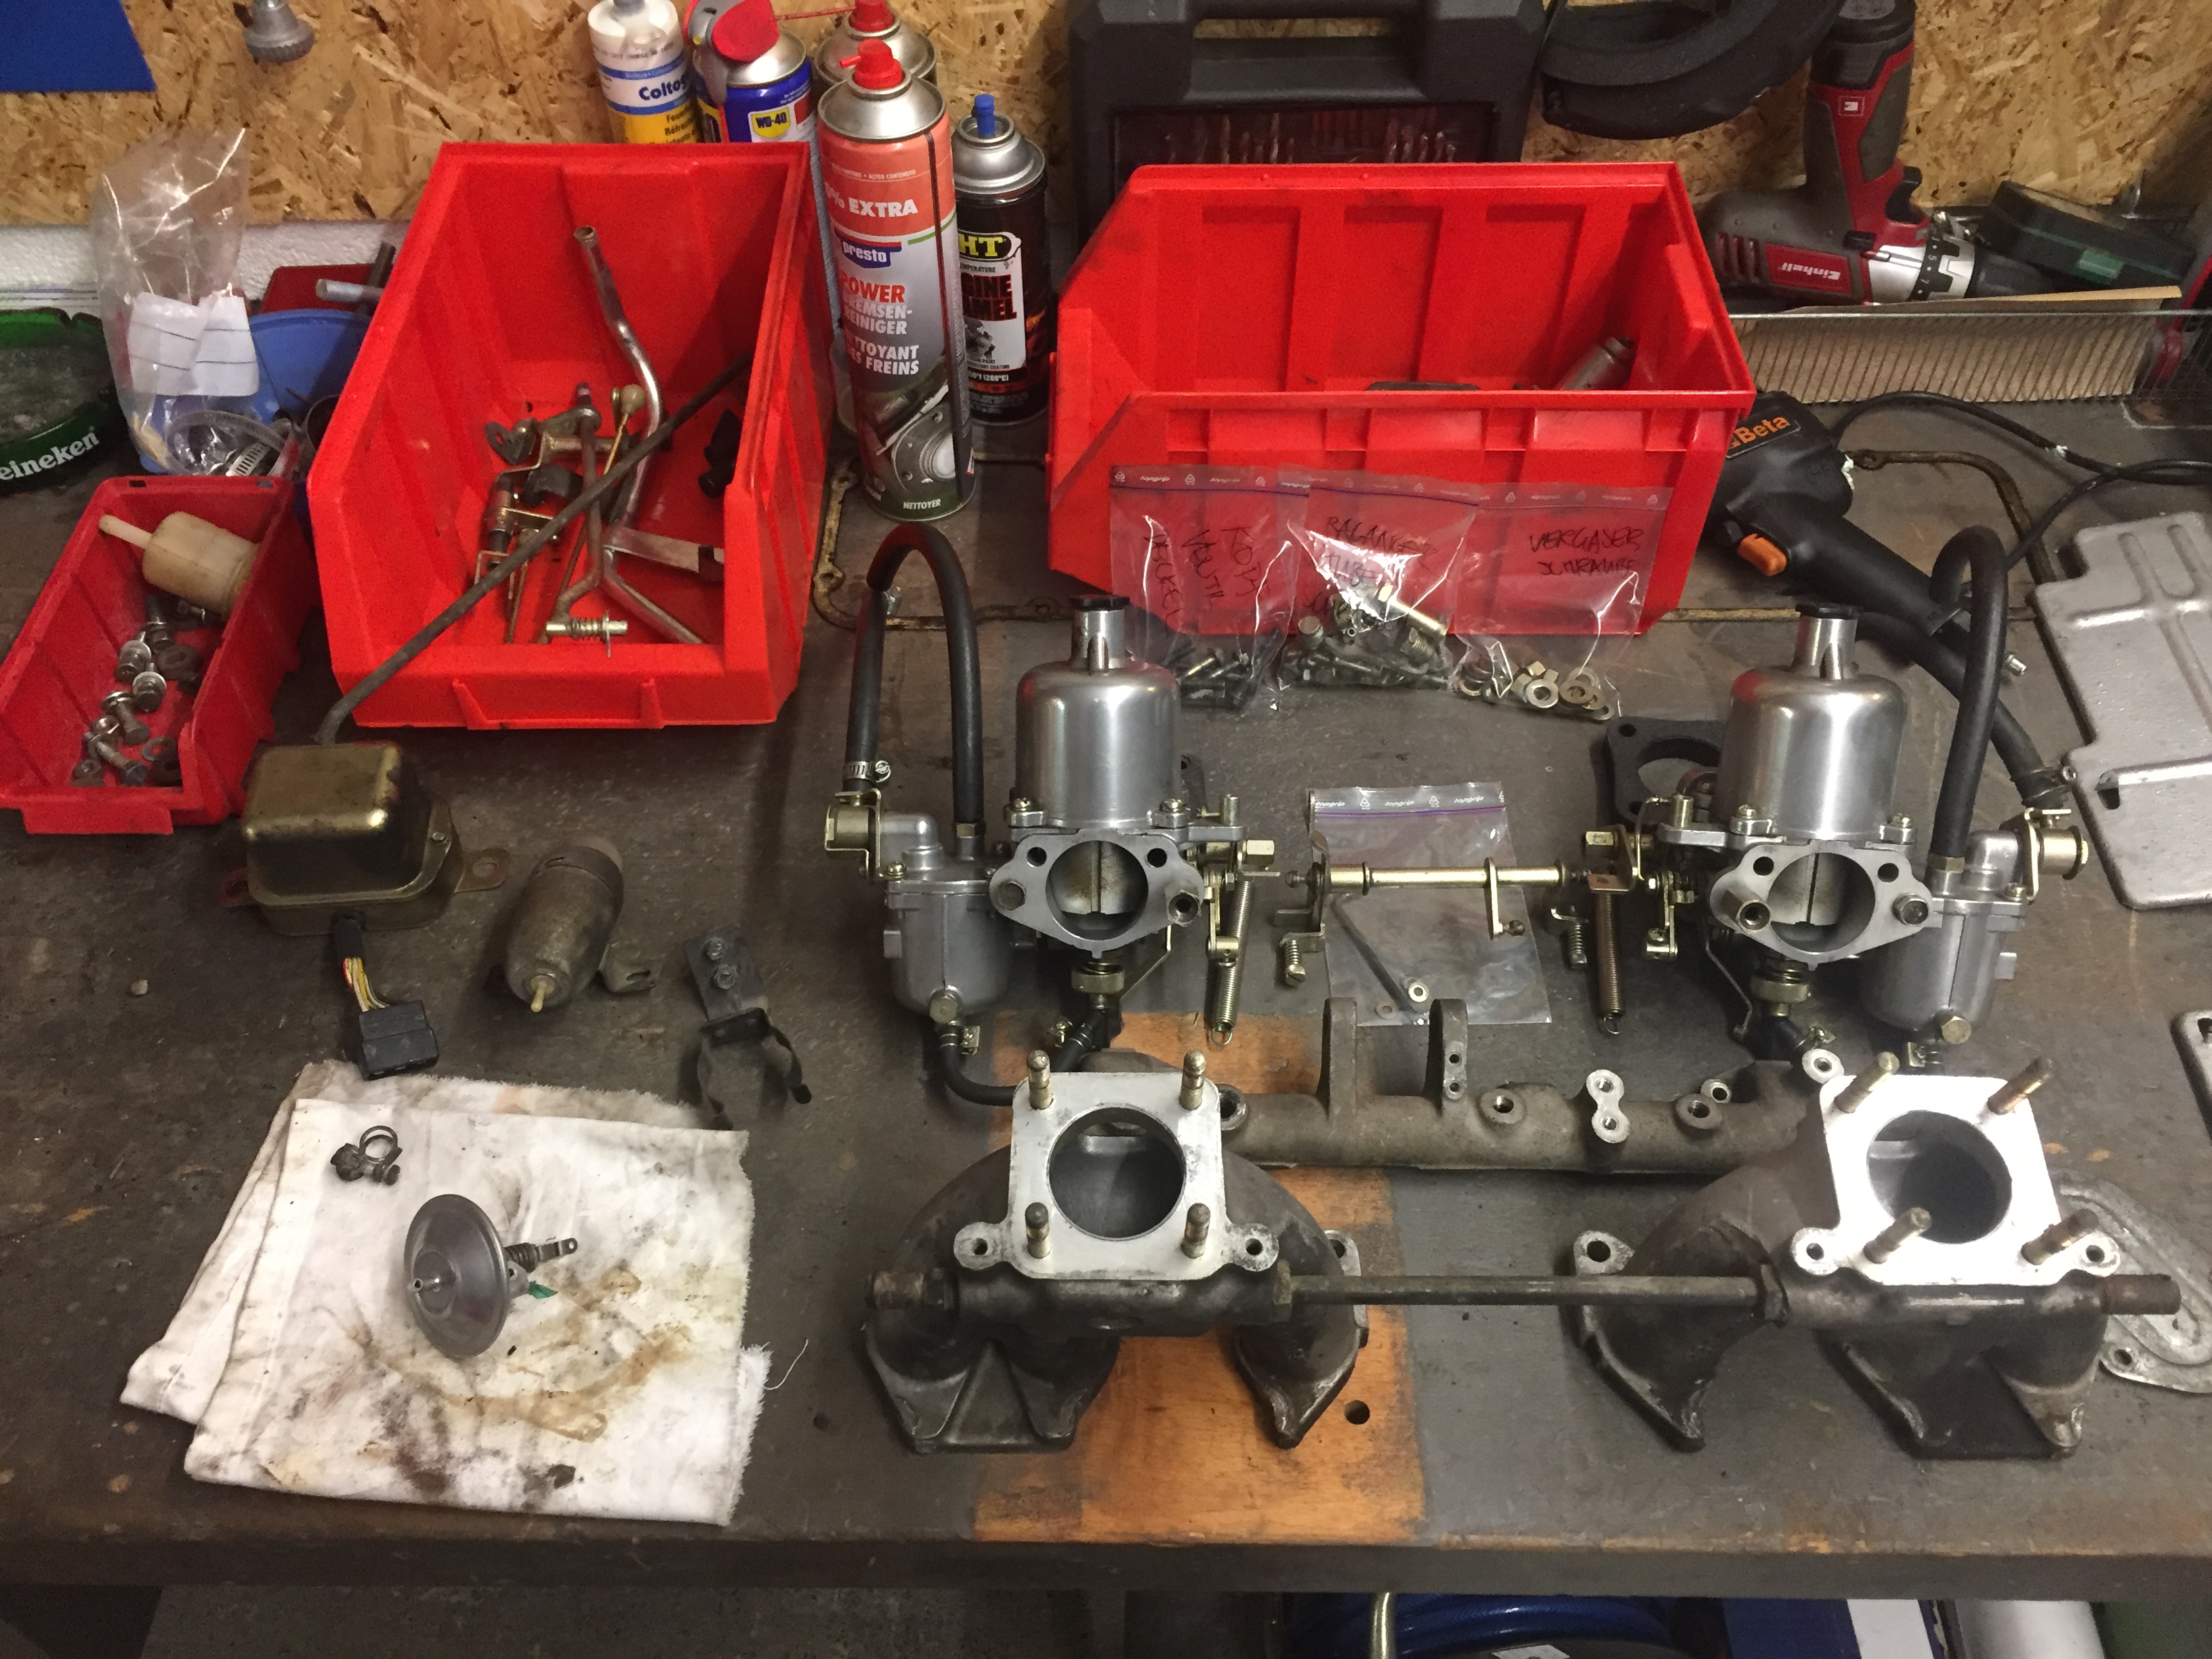
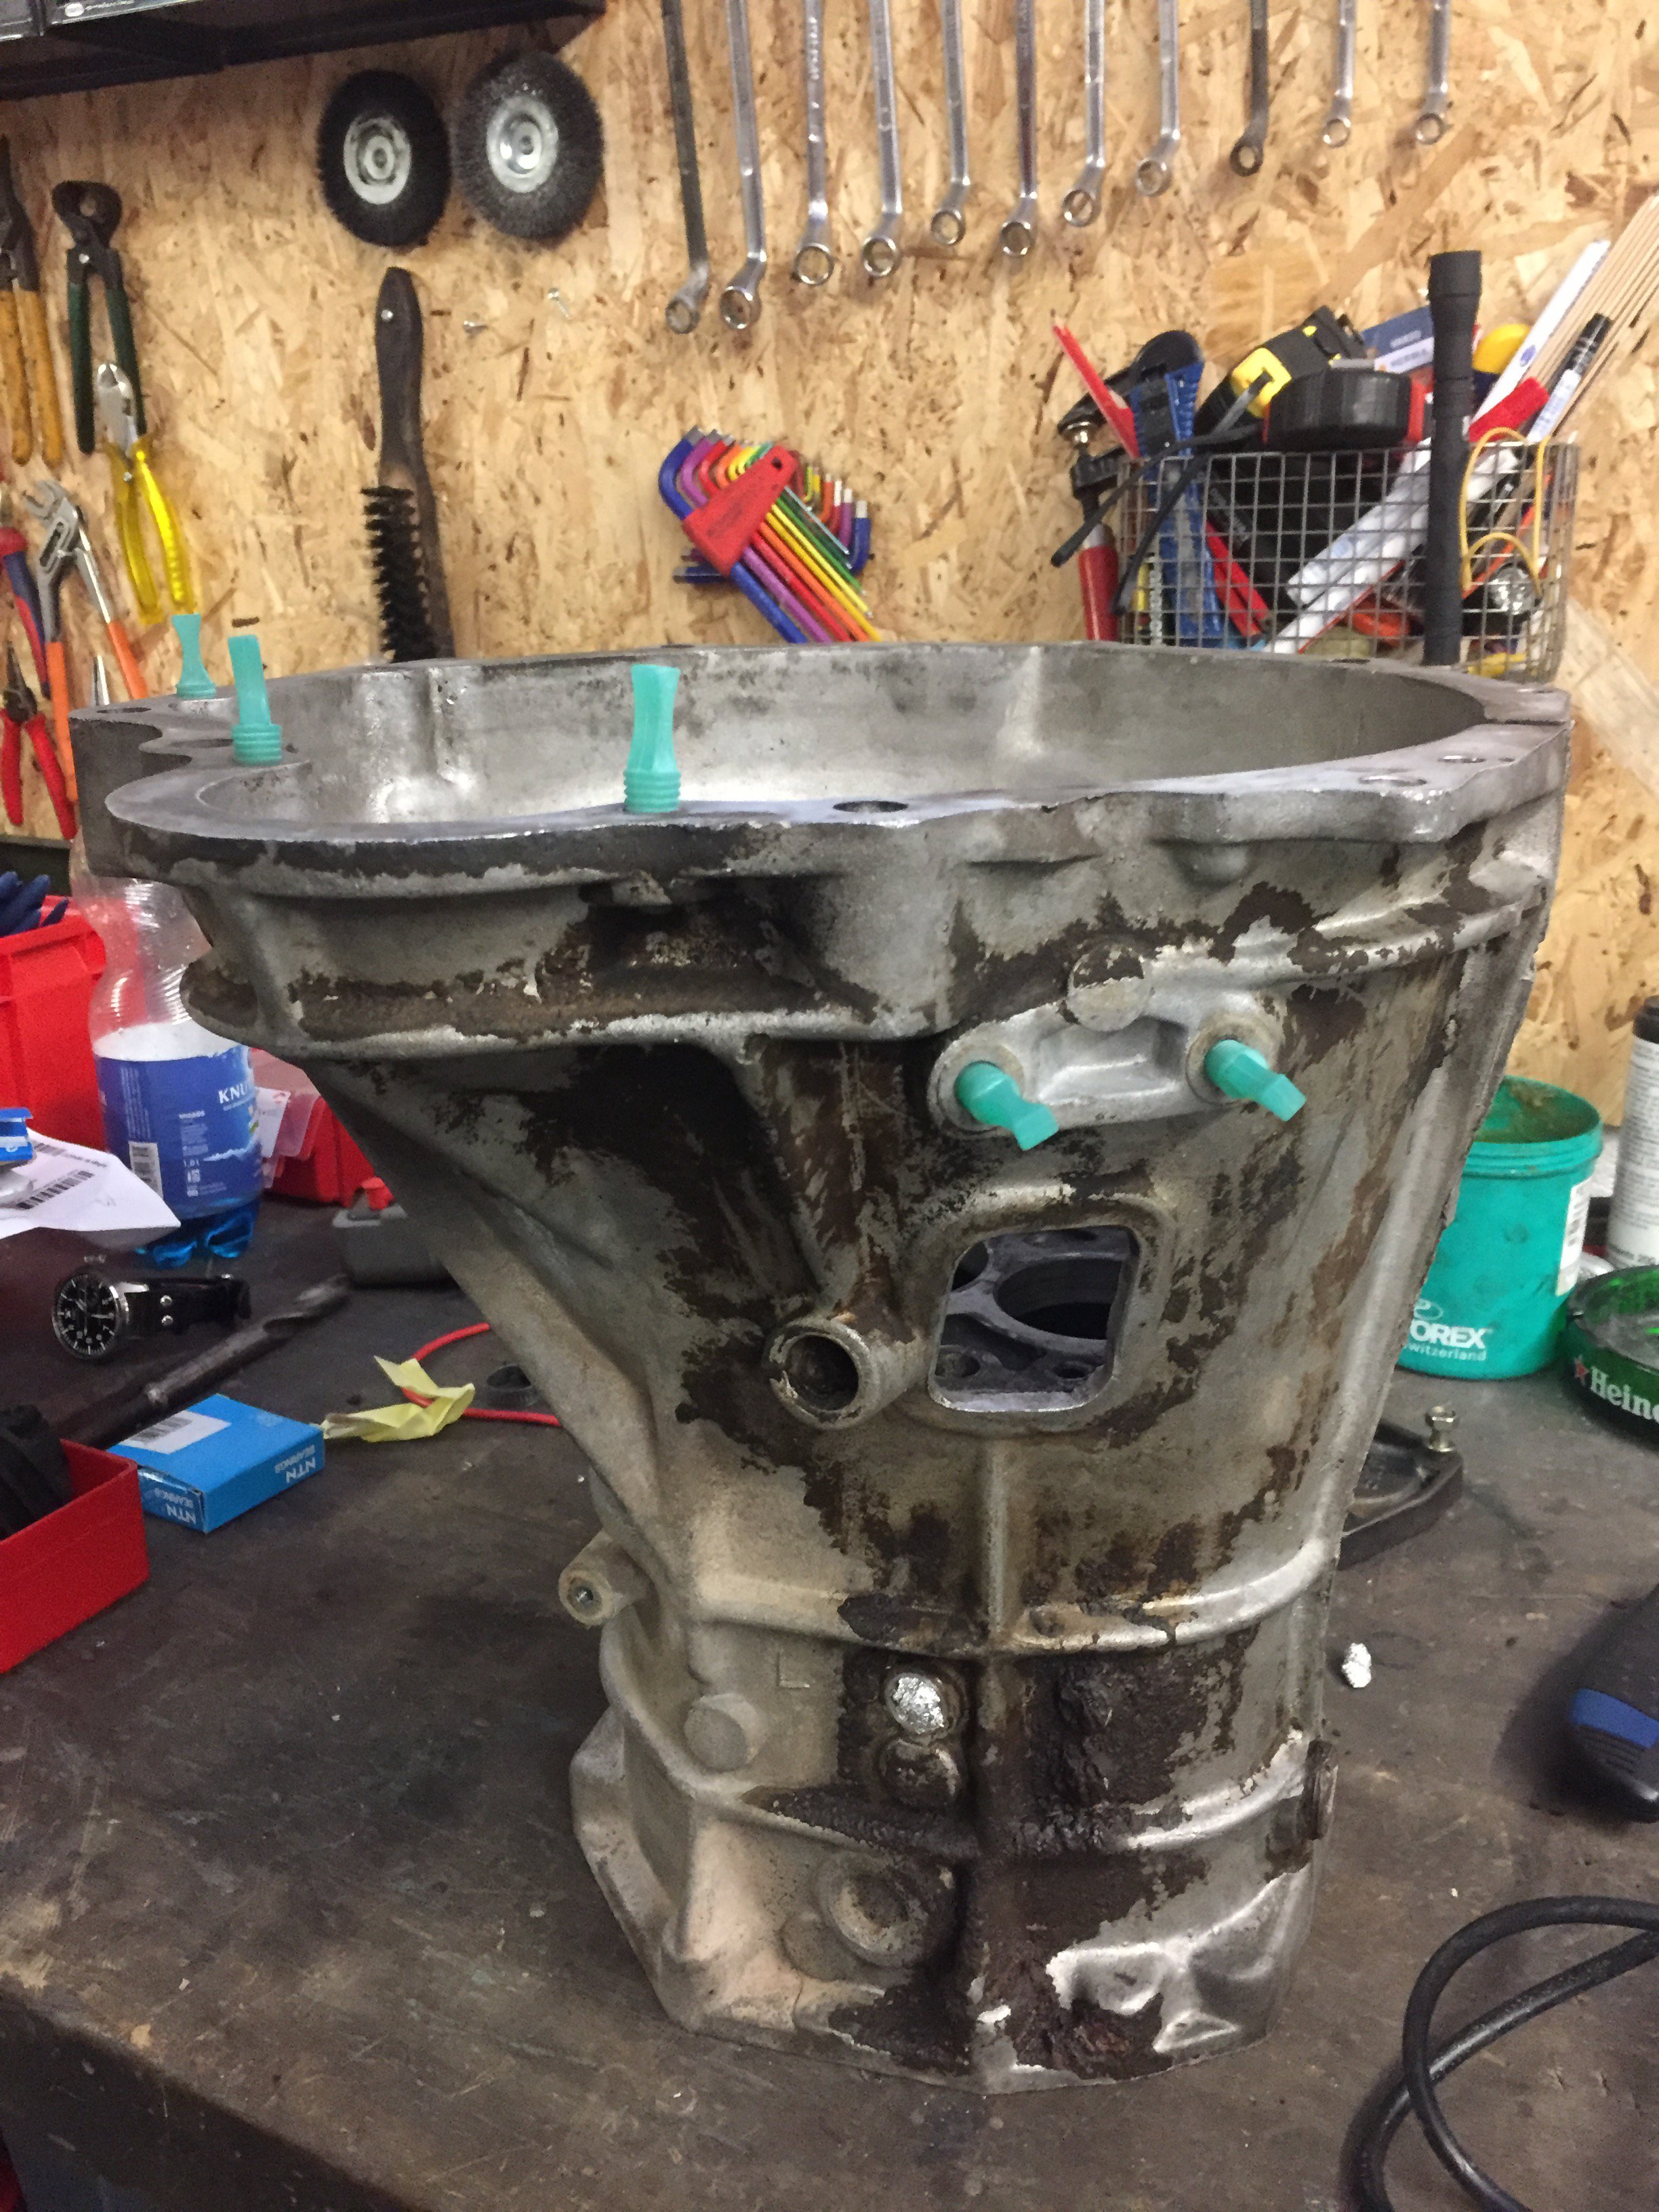
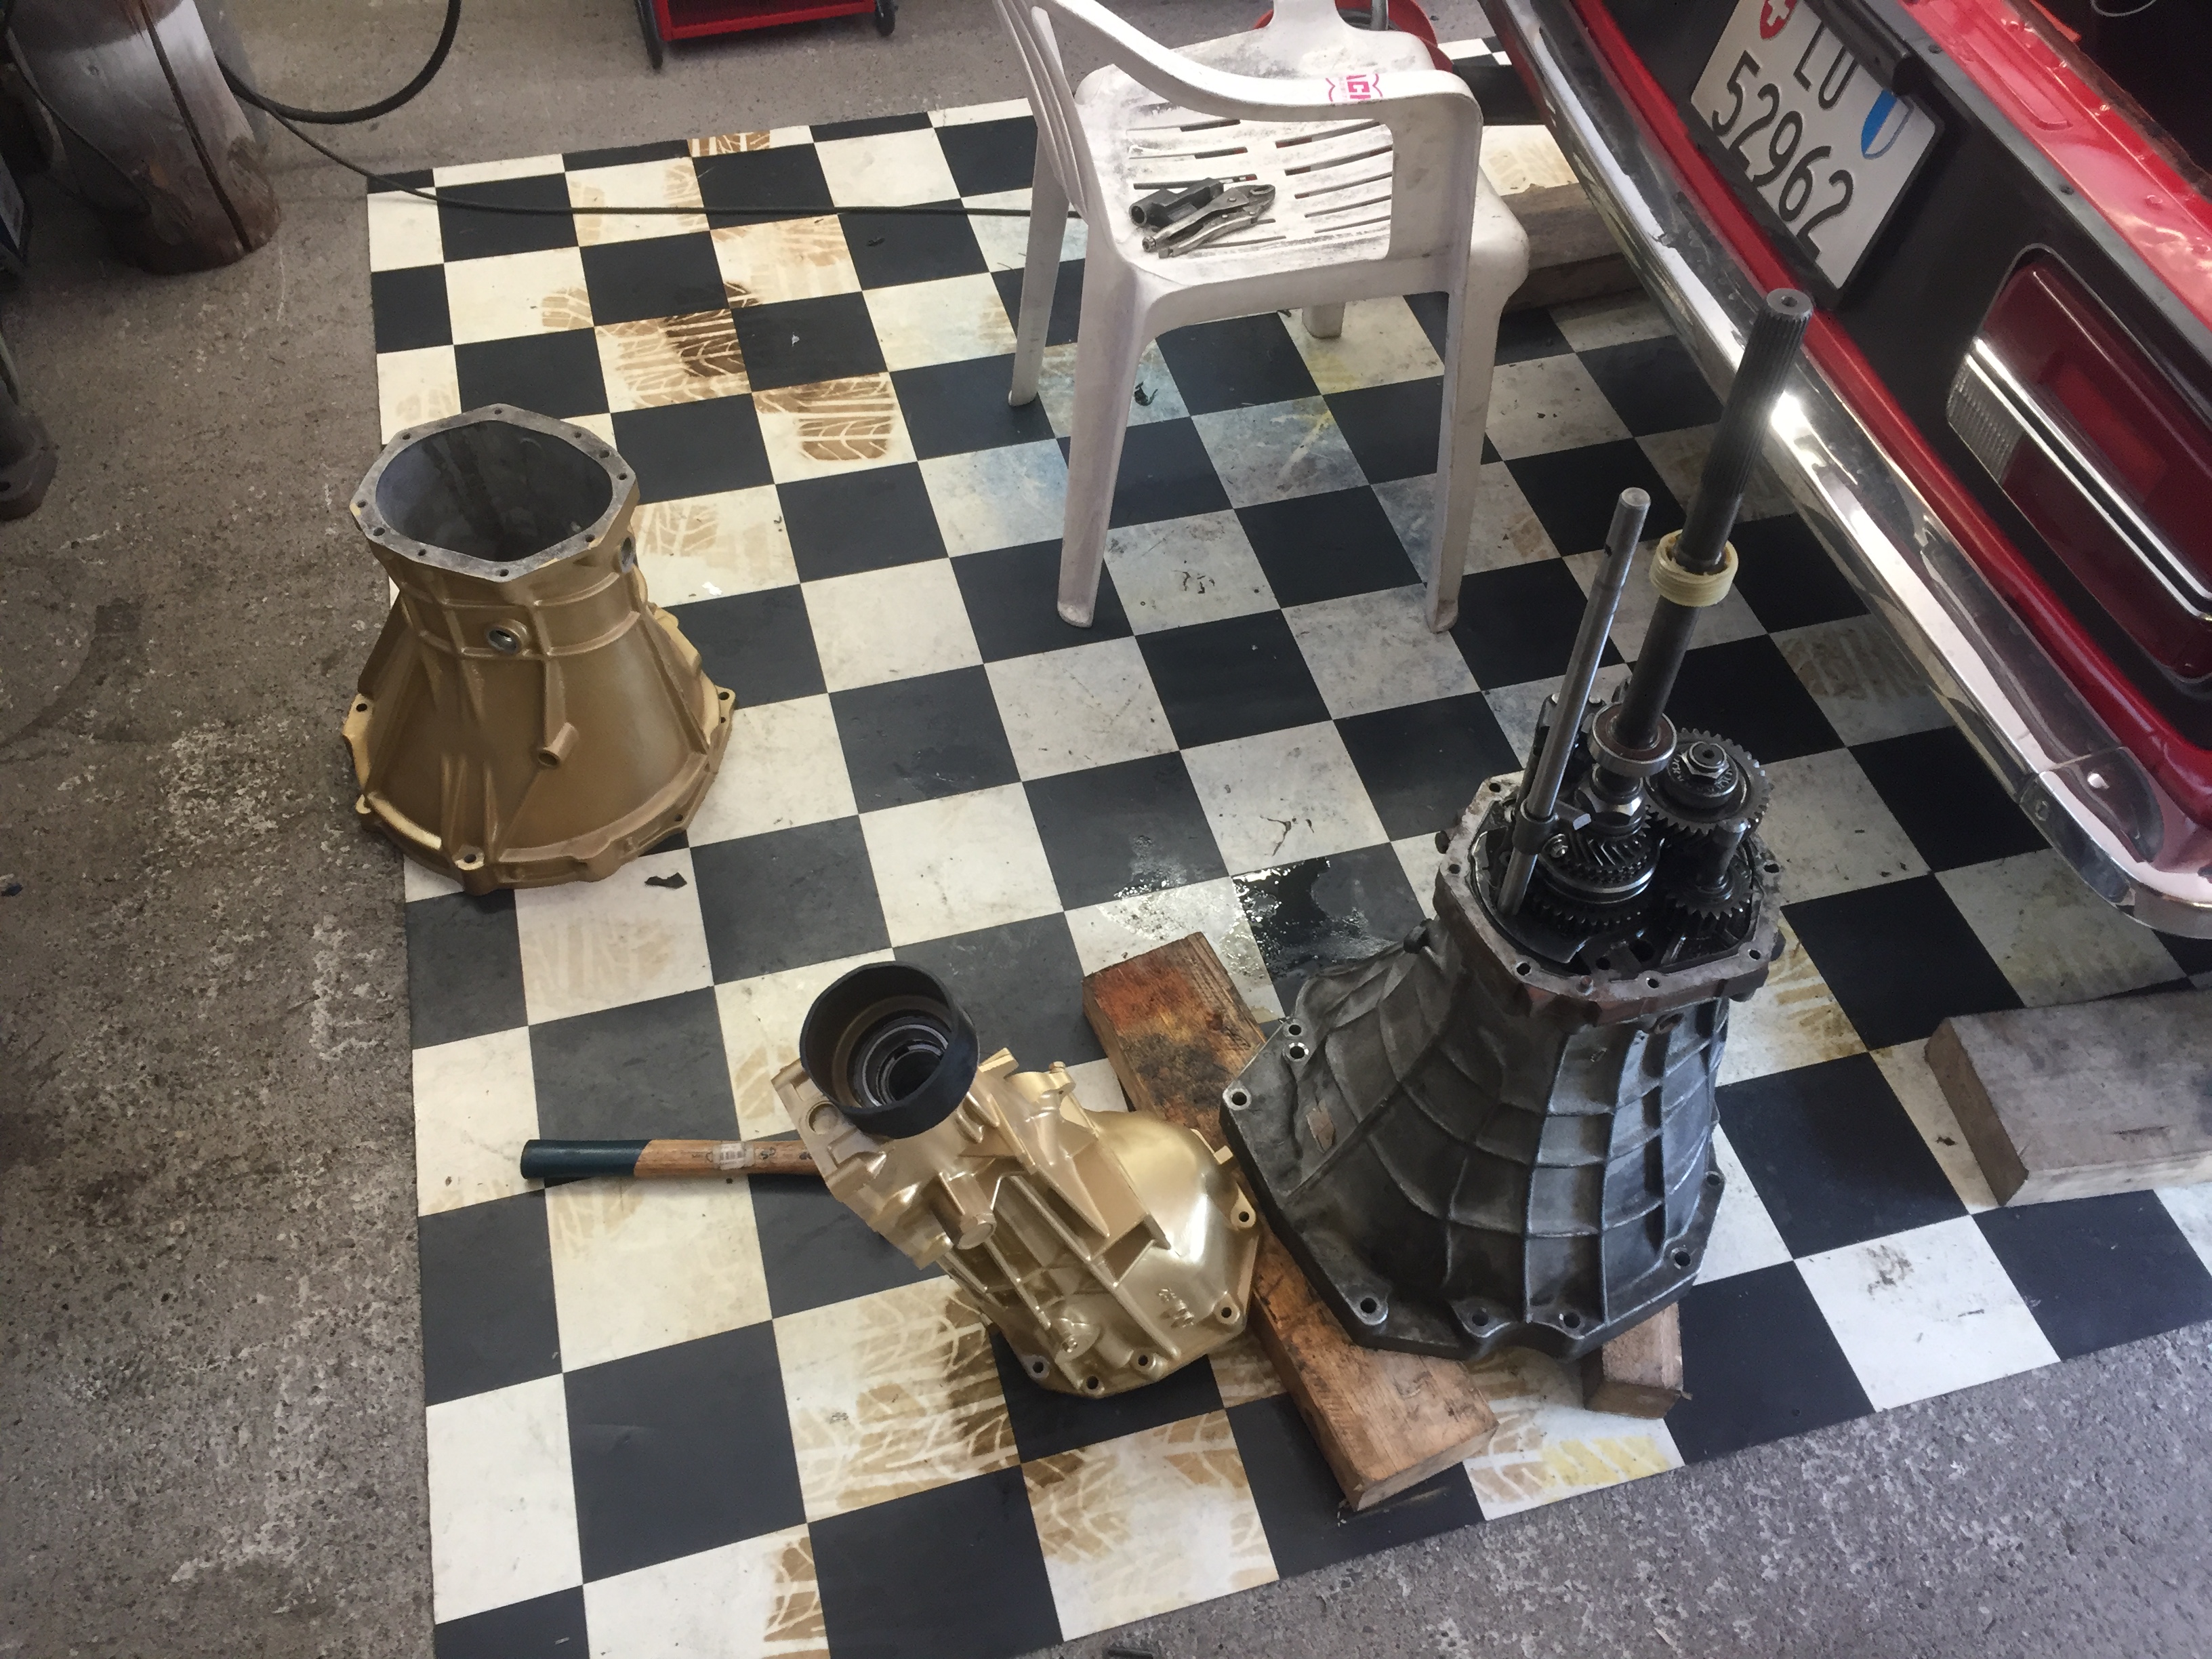
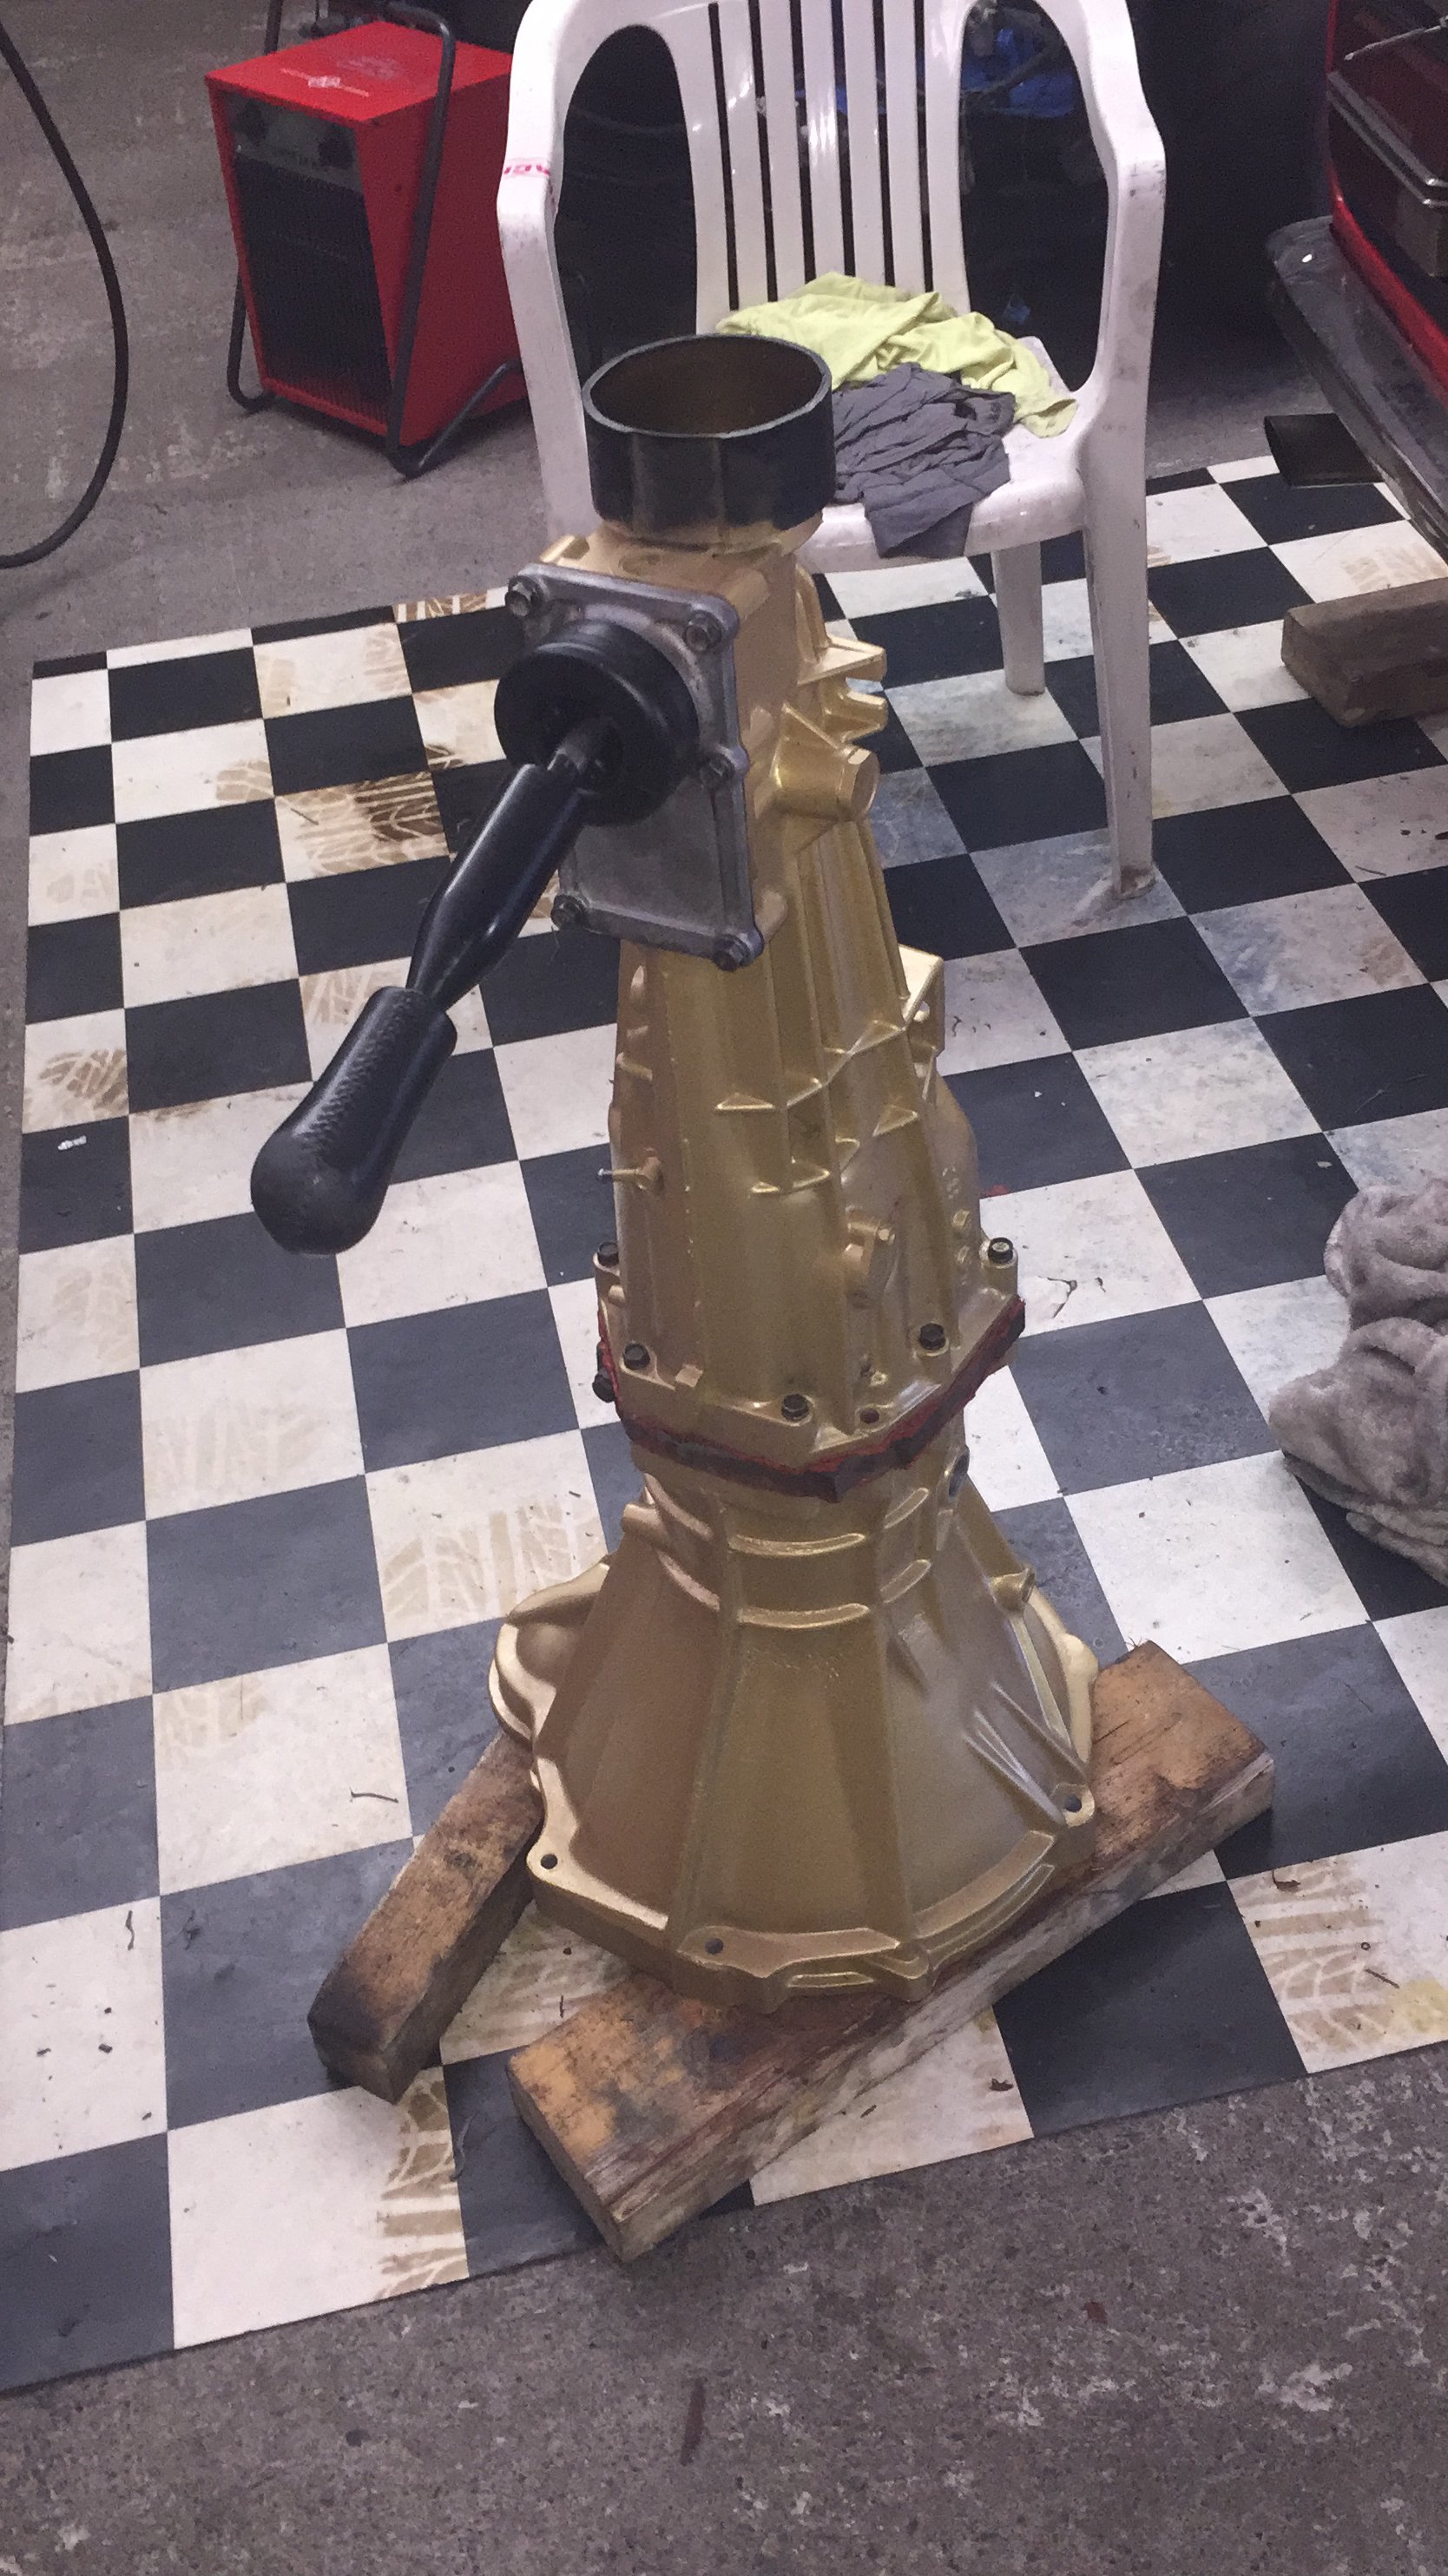
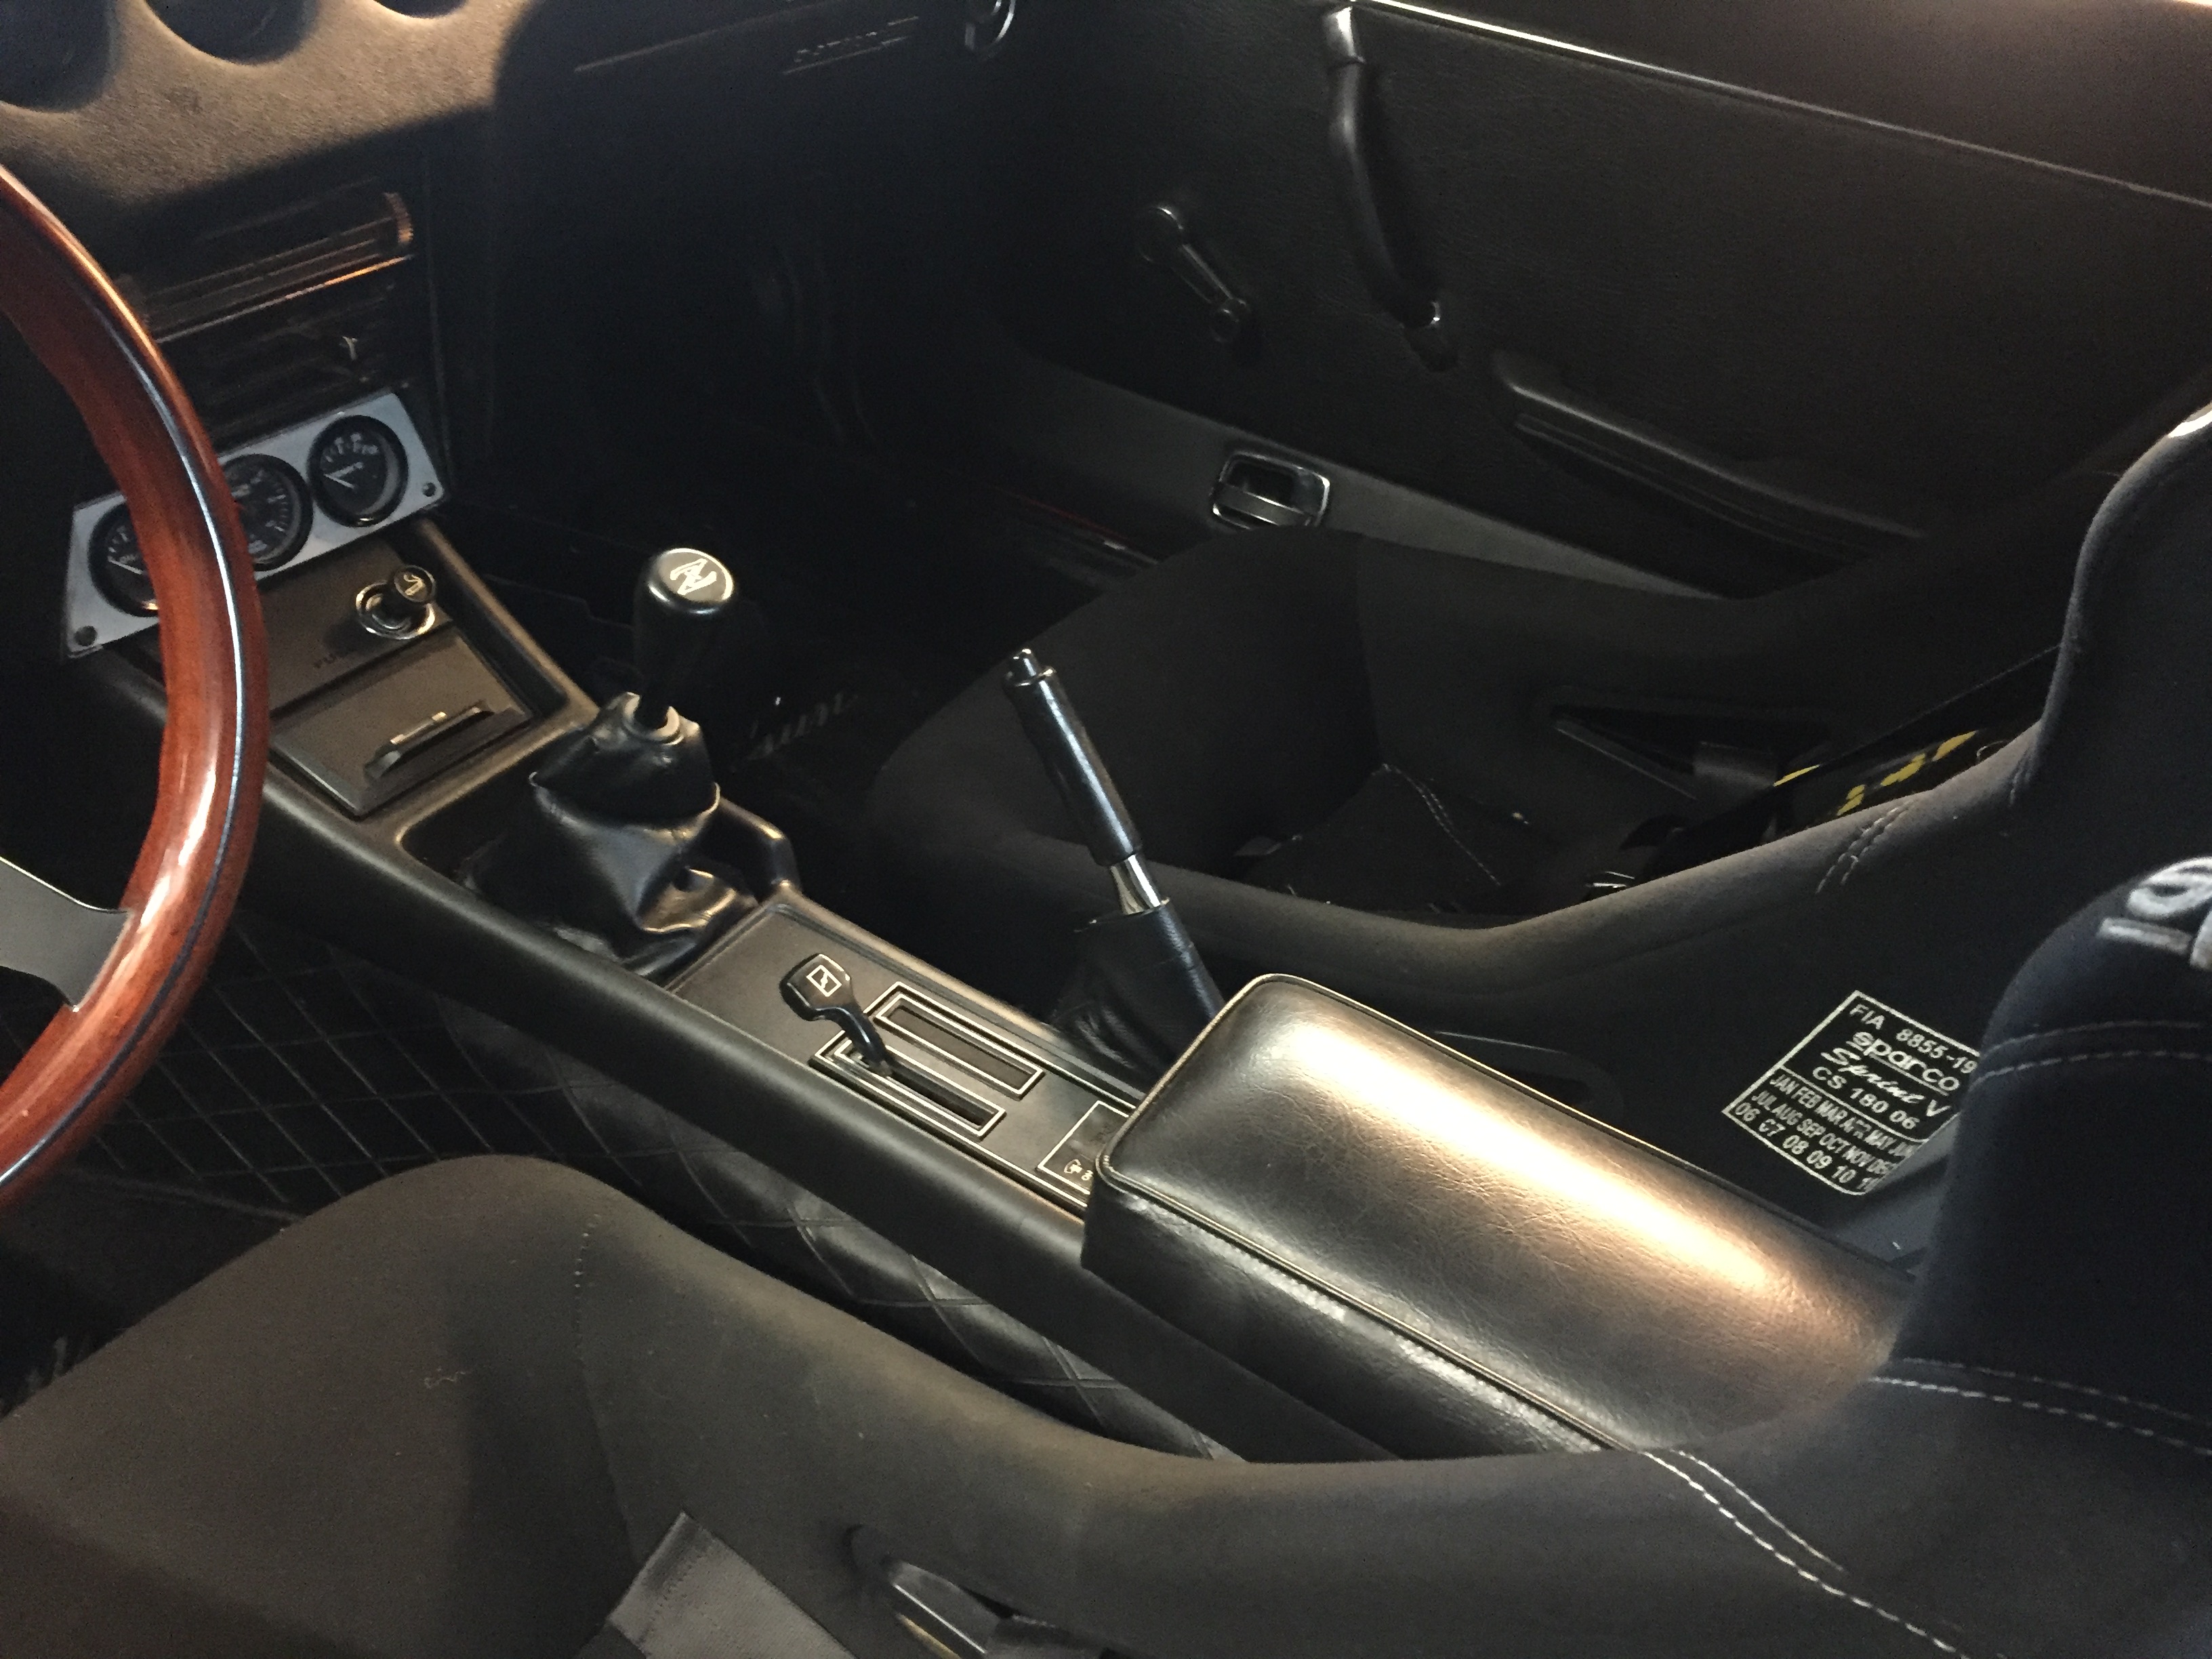
FS5W71C 240SX S14 5 Speed Swap:
New Bellhousing needed, because I've got a early series 4 speed.
Found here in the forum.
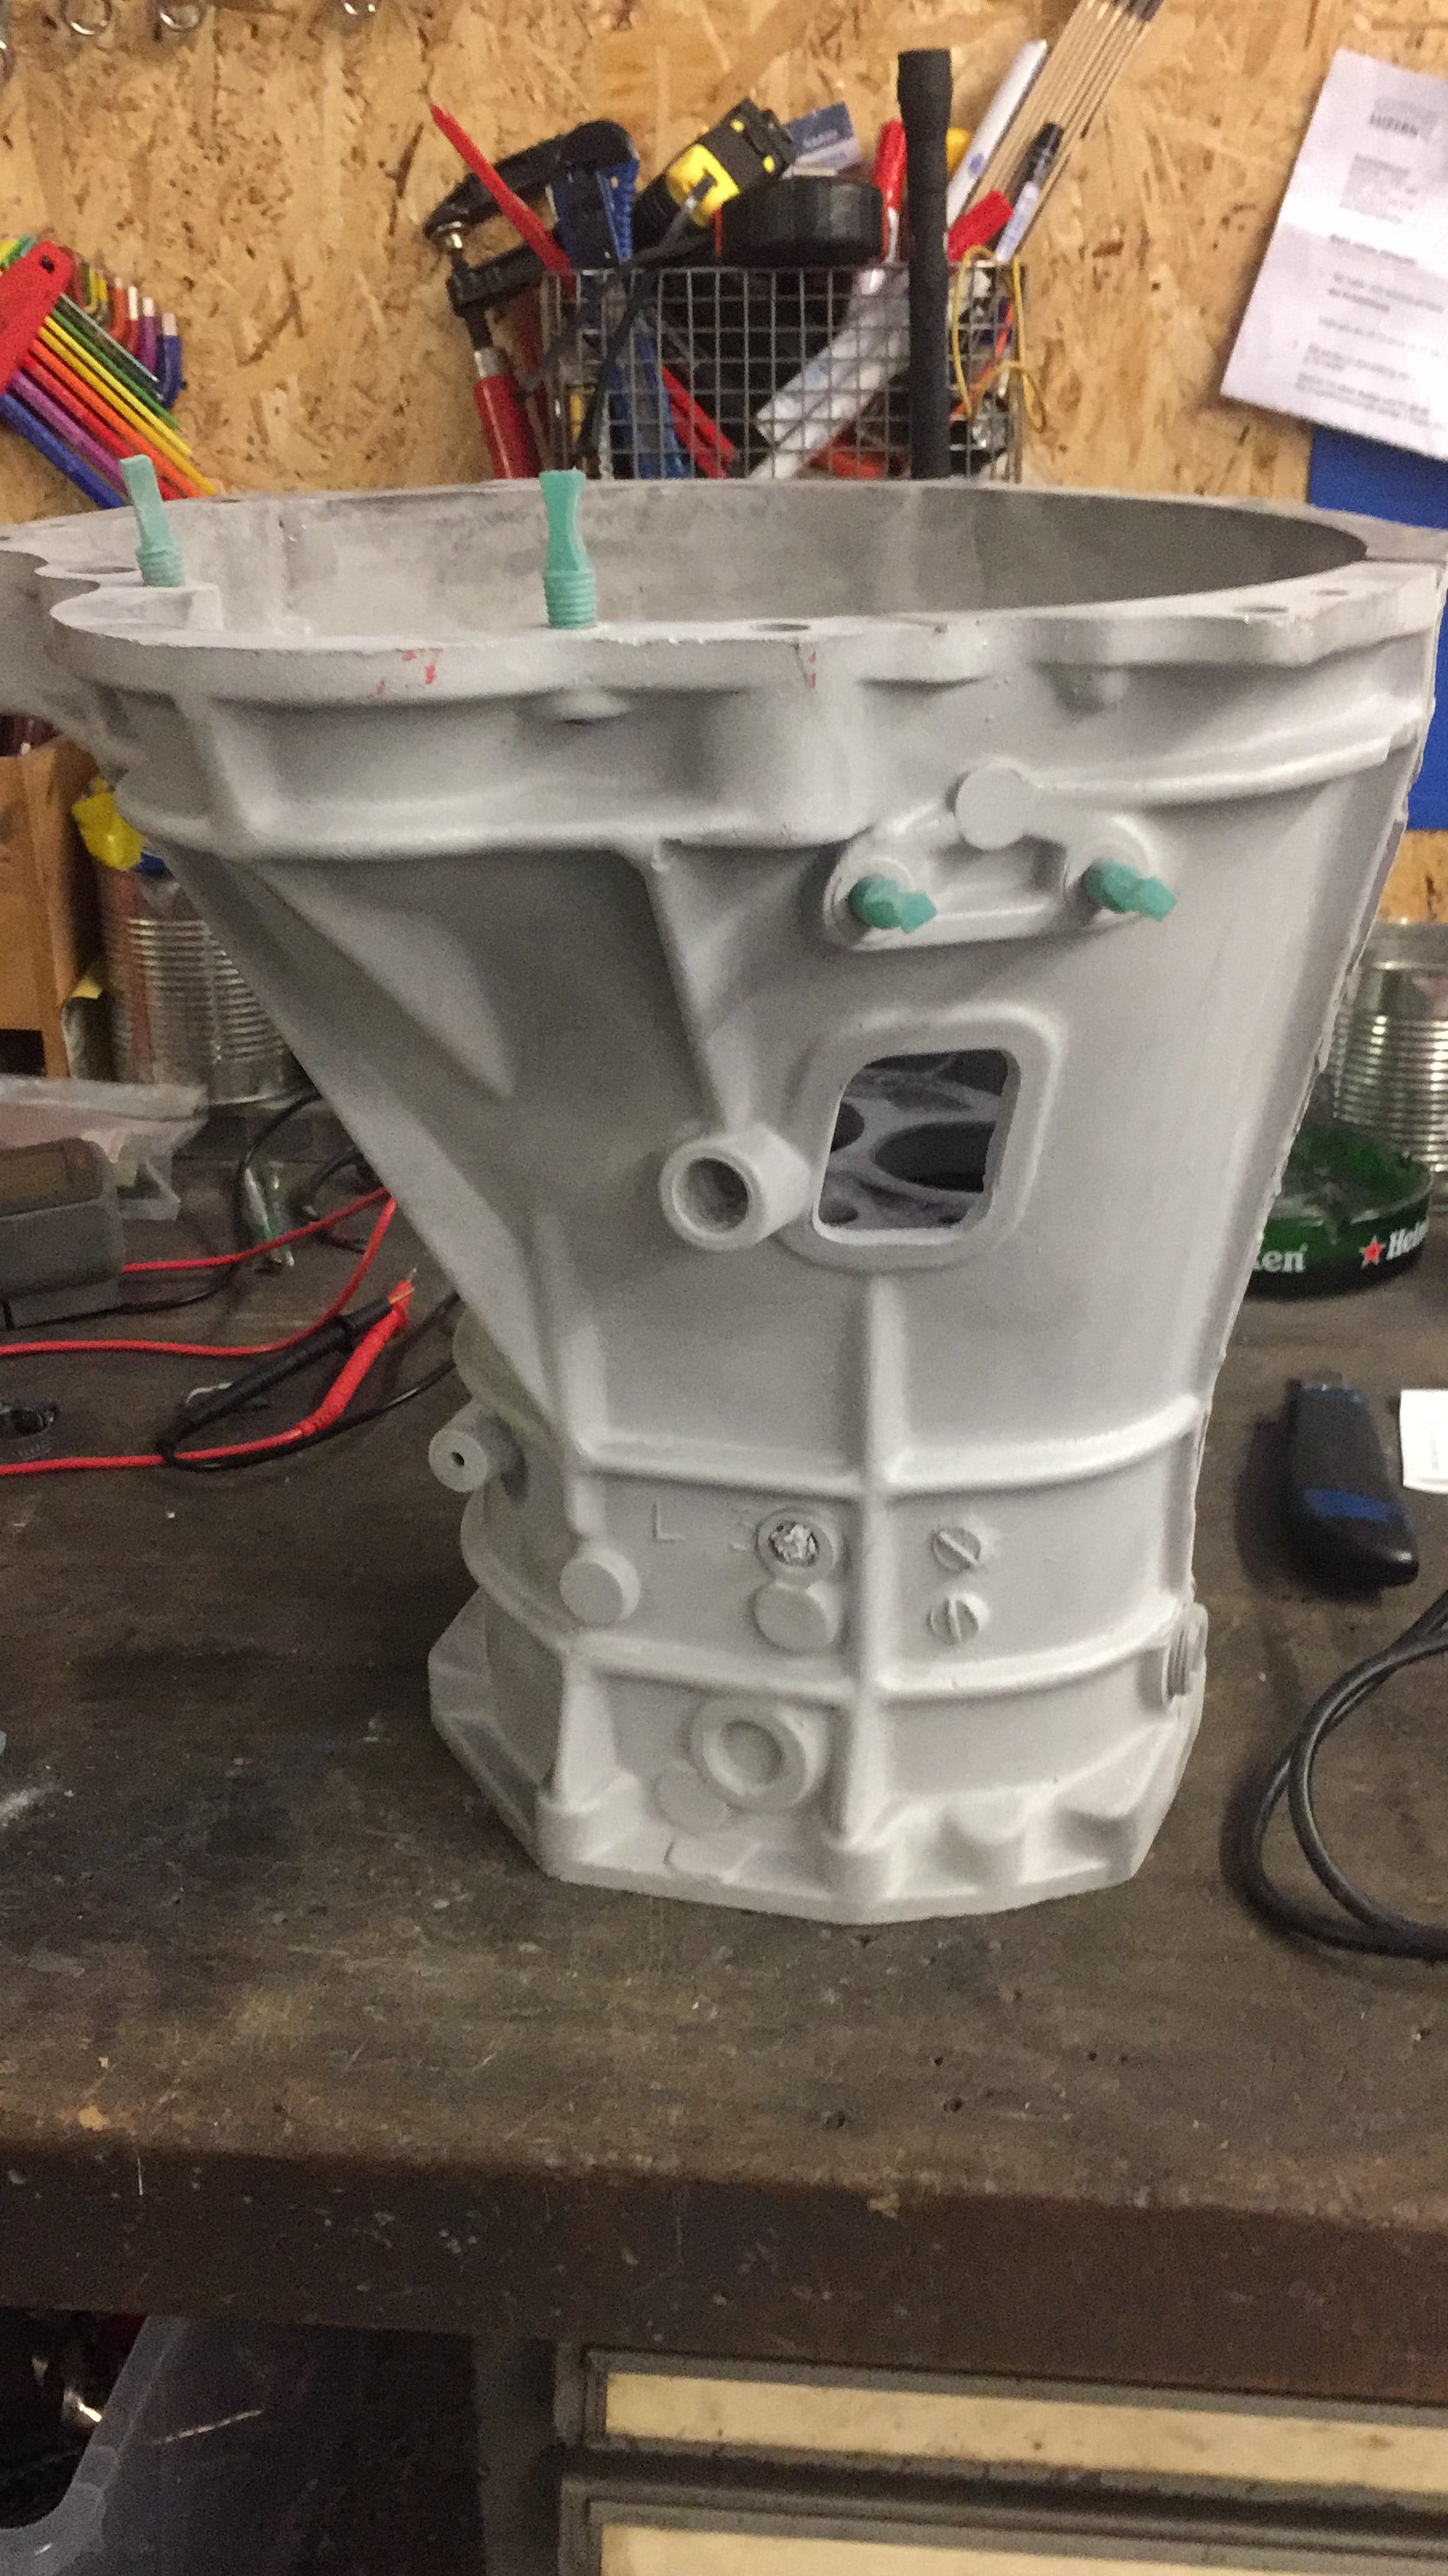
Prepare for blasting:
Fresh powdercoat:
Ready for swap the housing, new seals installed.
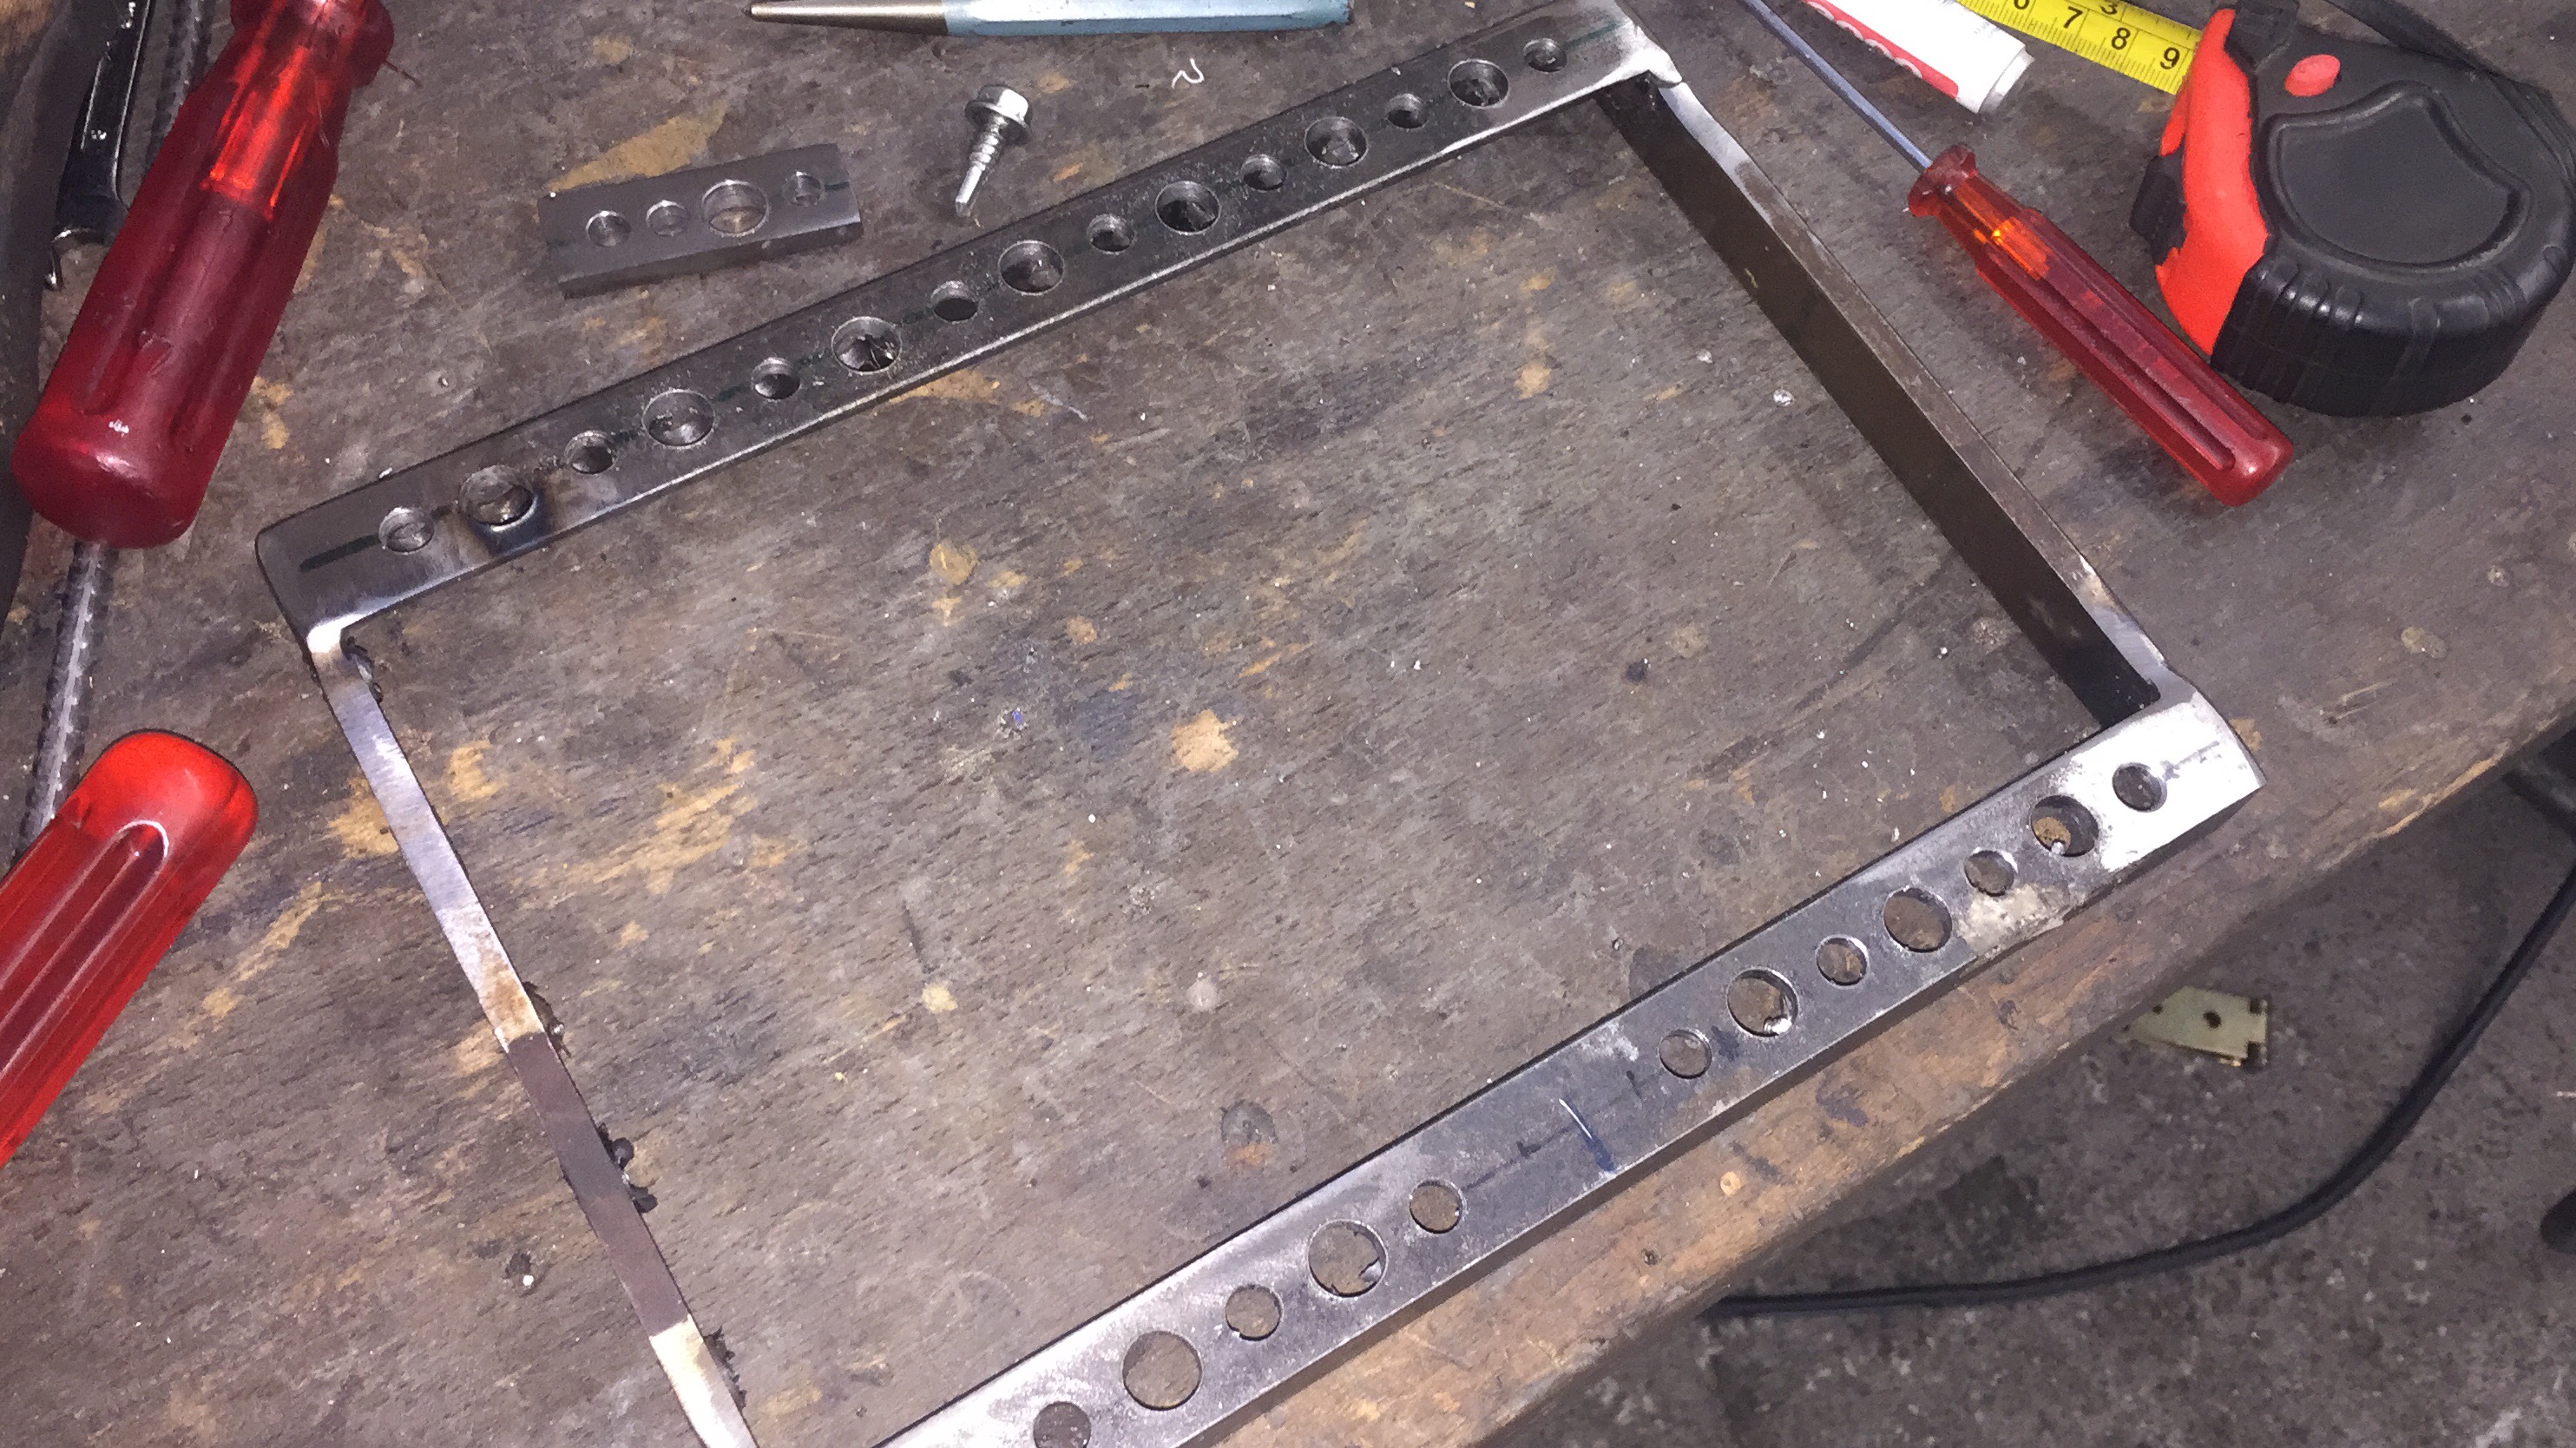
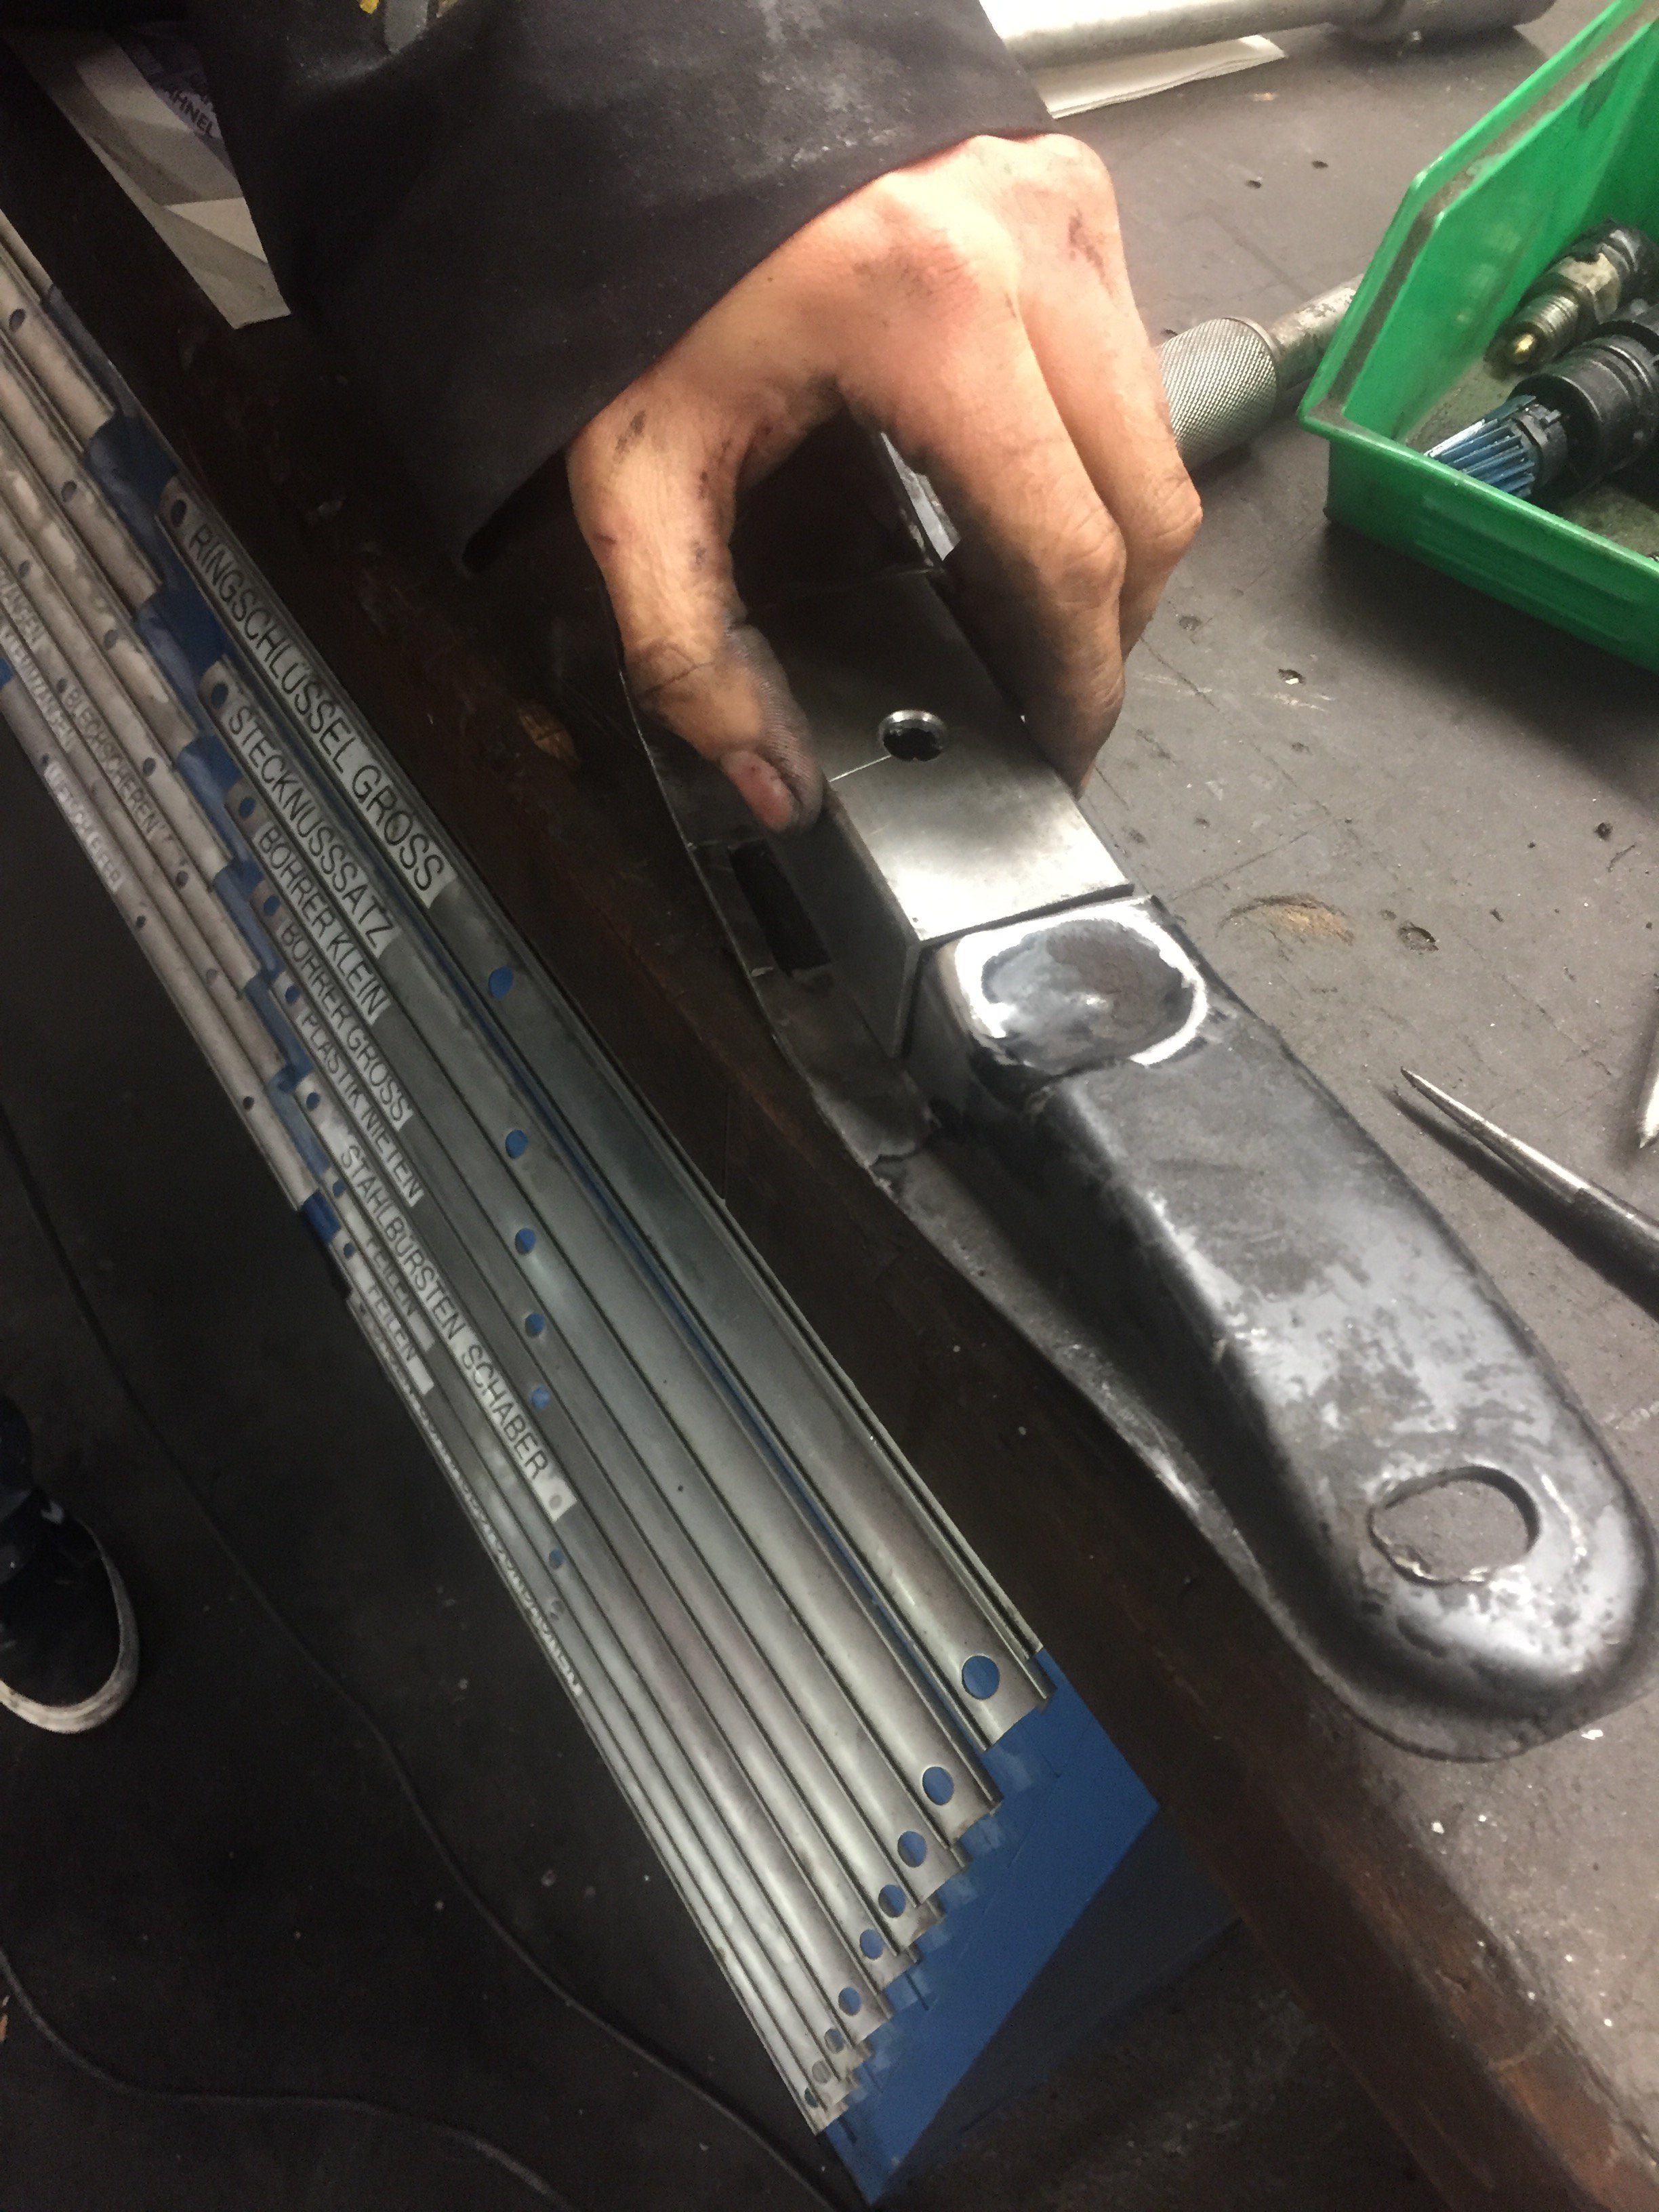
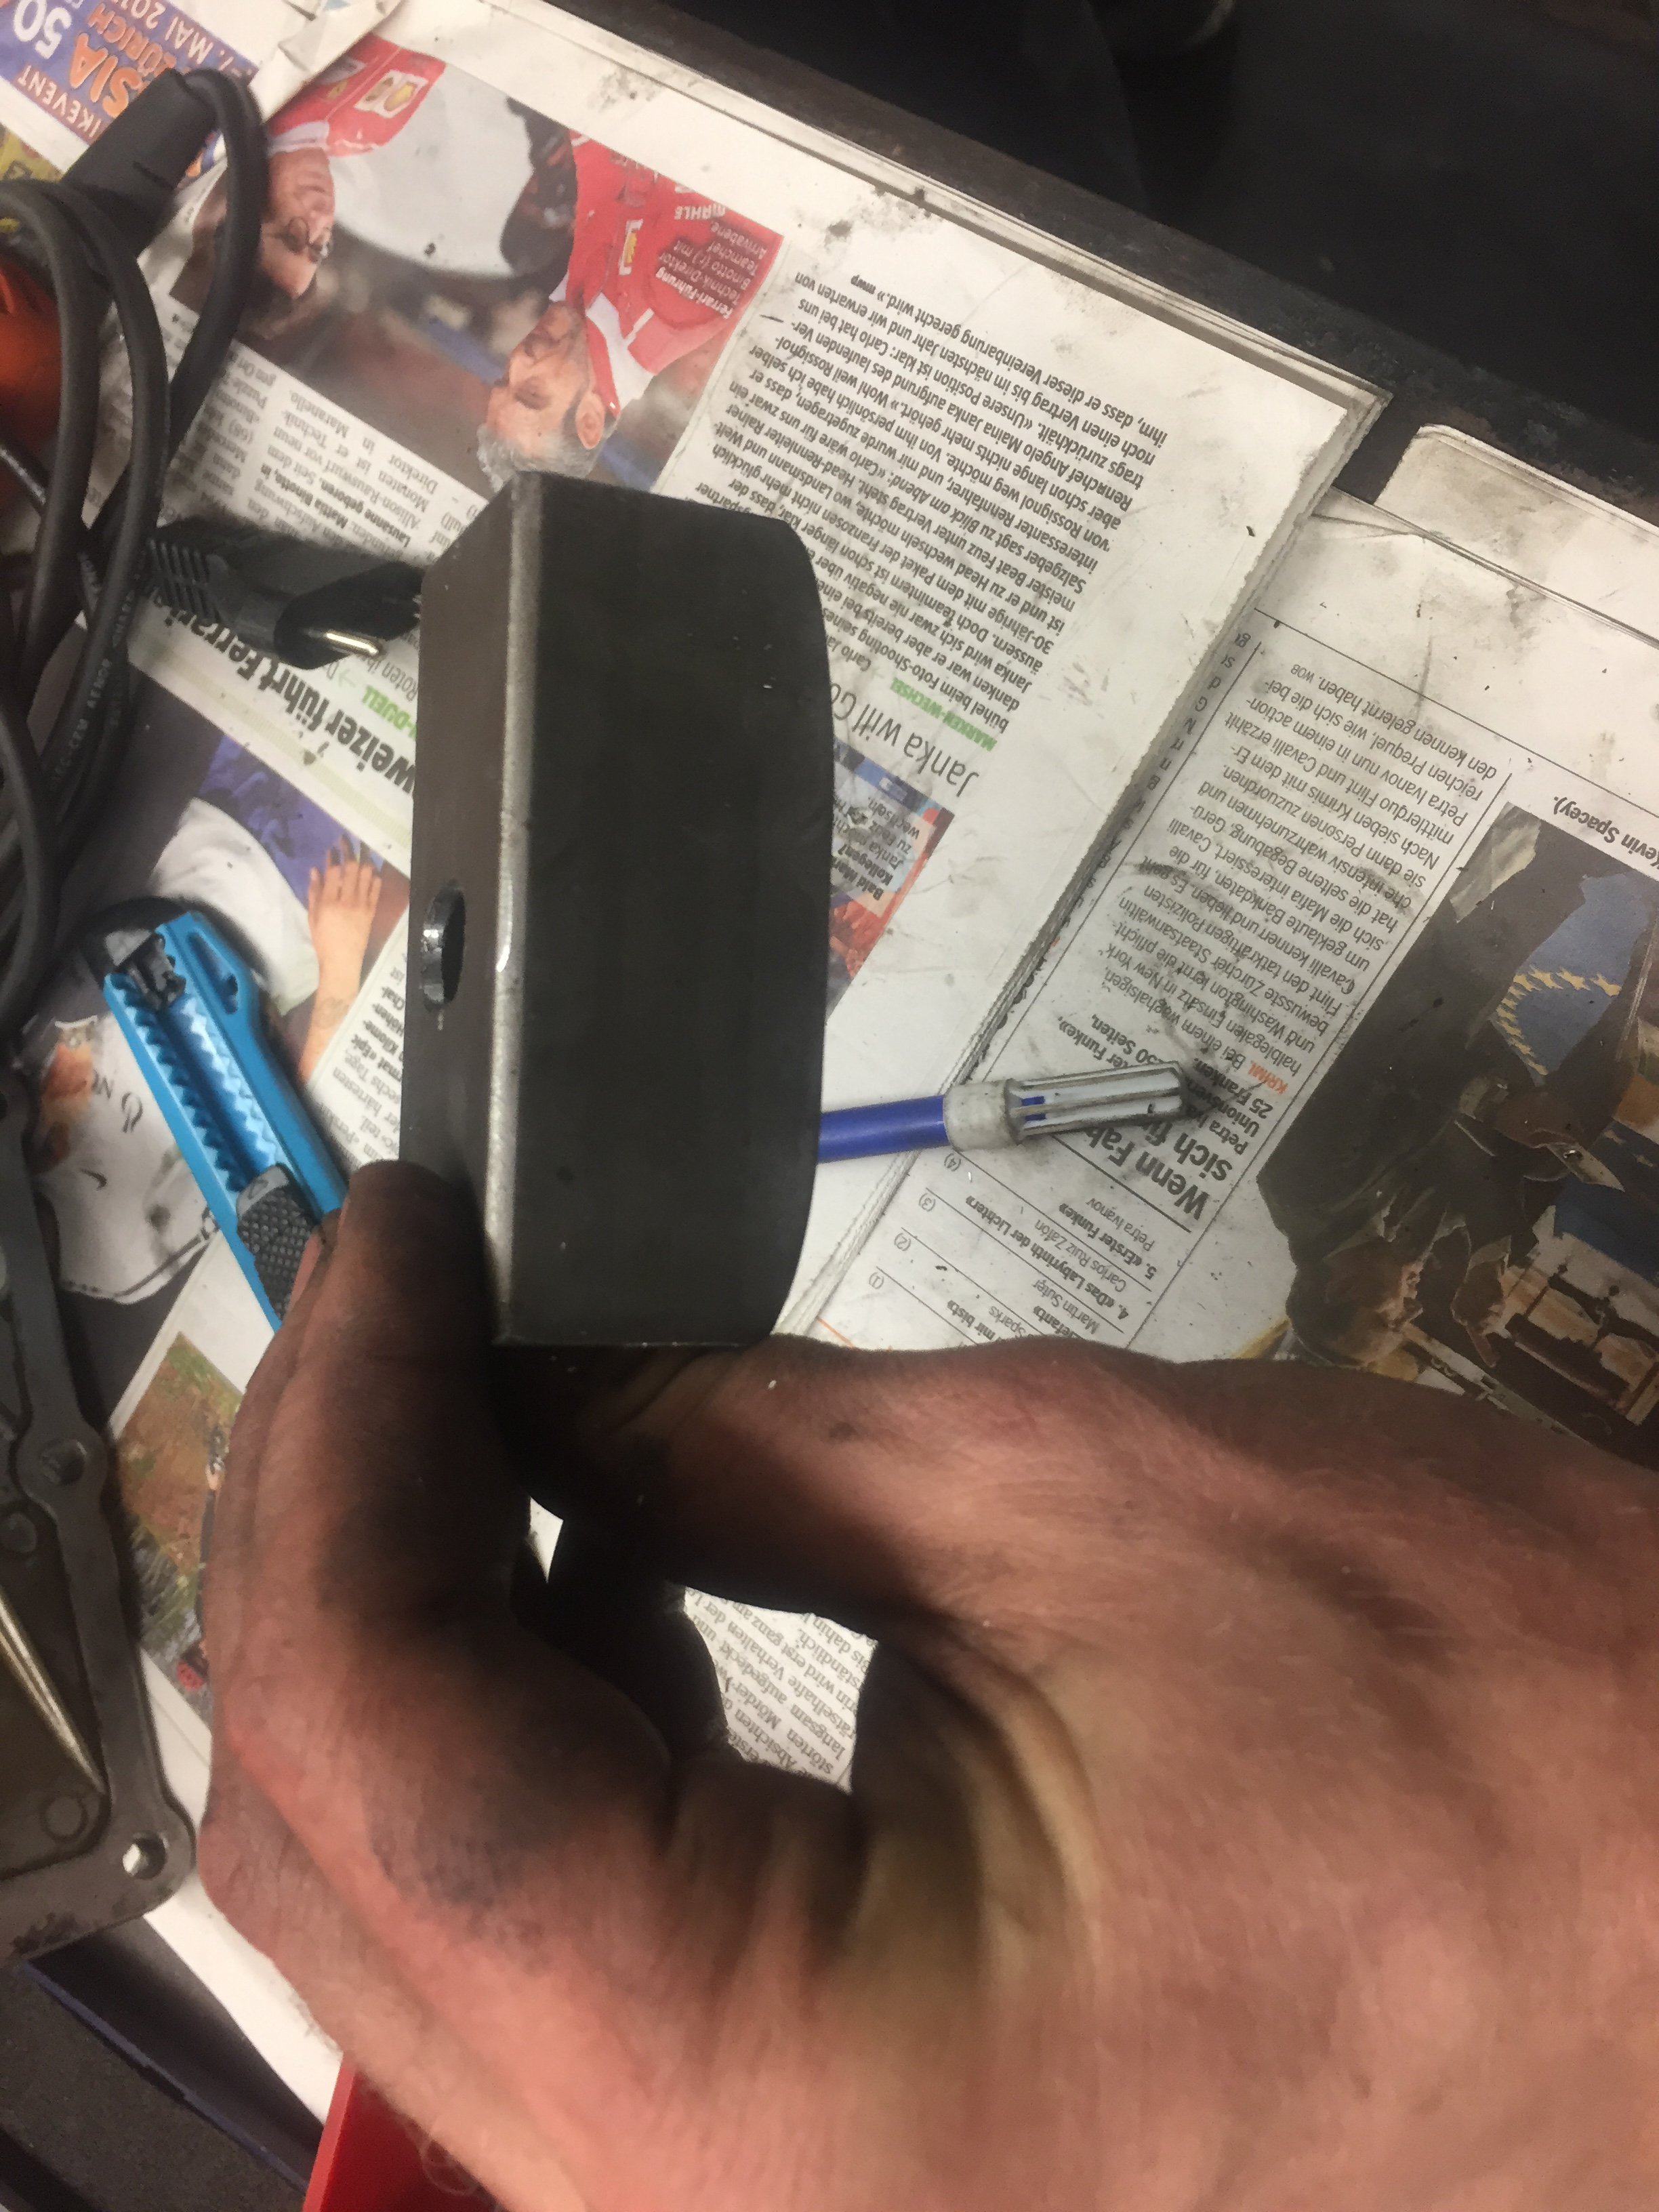
Next step, transmission mount:
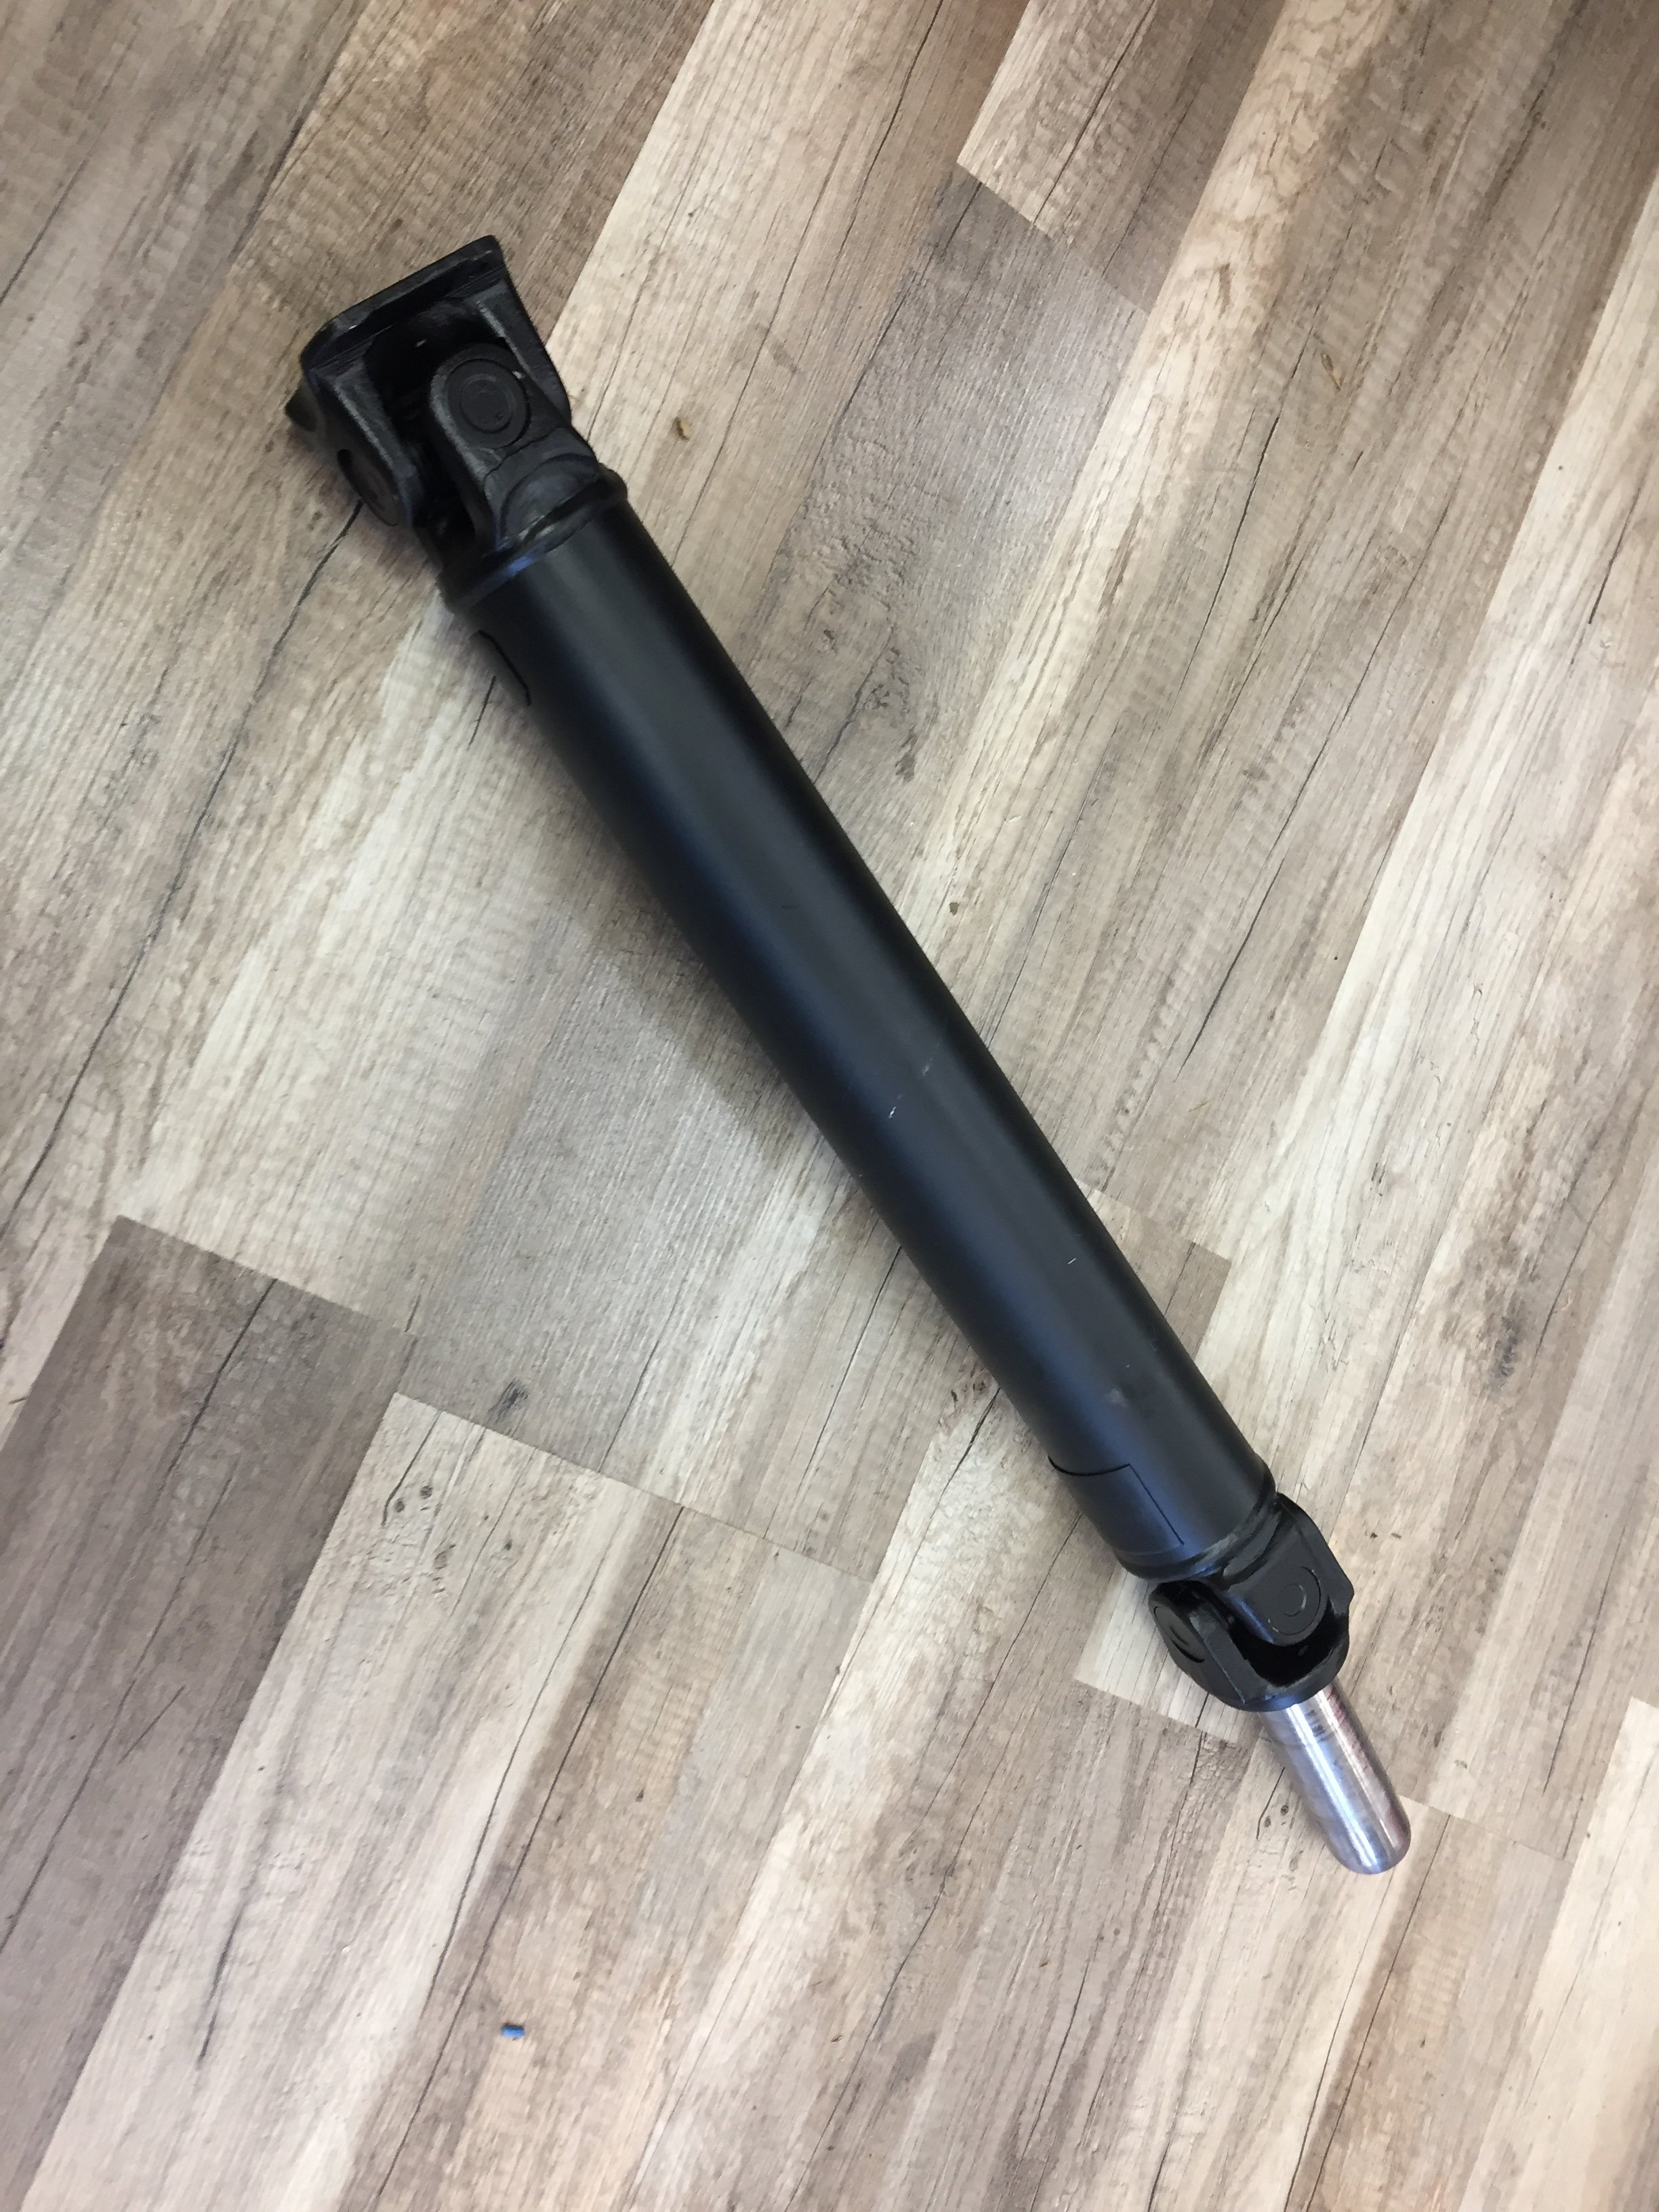
New custom driveshaft needed, made locally, did cost a fortune. lol
Finished product:
It was a nice and easy task. The only issue was to find a driveshaft shop... All the needed modifications did I find here in this forum and here:
http://atlanticz.ca/zclub/techtips/240sxtransmissioninstall/index.html
http://forums.hybridz.org/topic/128100-240z-fs5w71c-swap-using-fs5c71b-bell-housing/
http://zhome.com/ZCMnL/tech/240SX5spd/transmission.htm
Hope you like the finished swap too.
-
Thanks guys! Next update is coming soon!
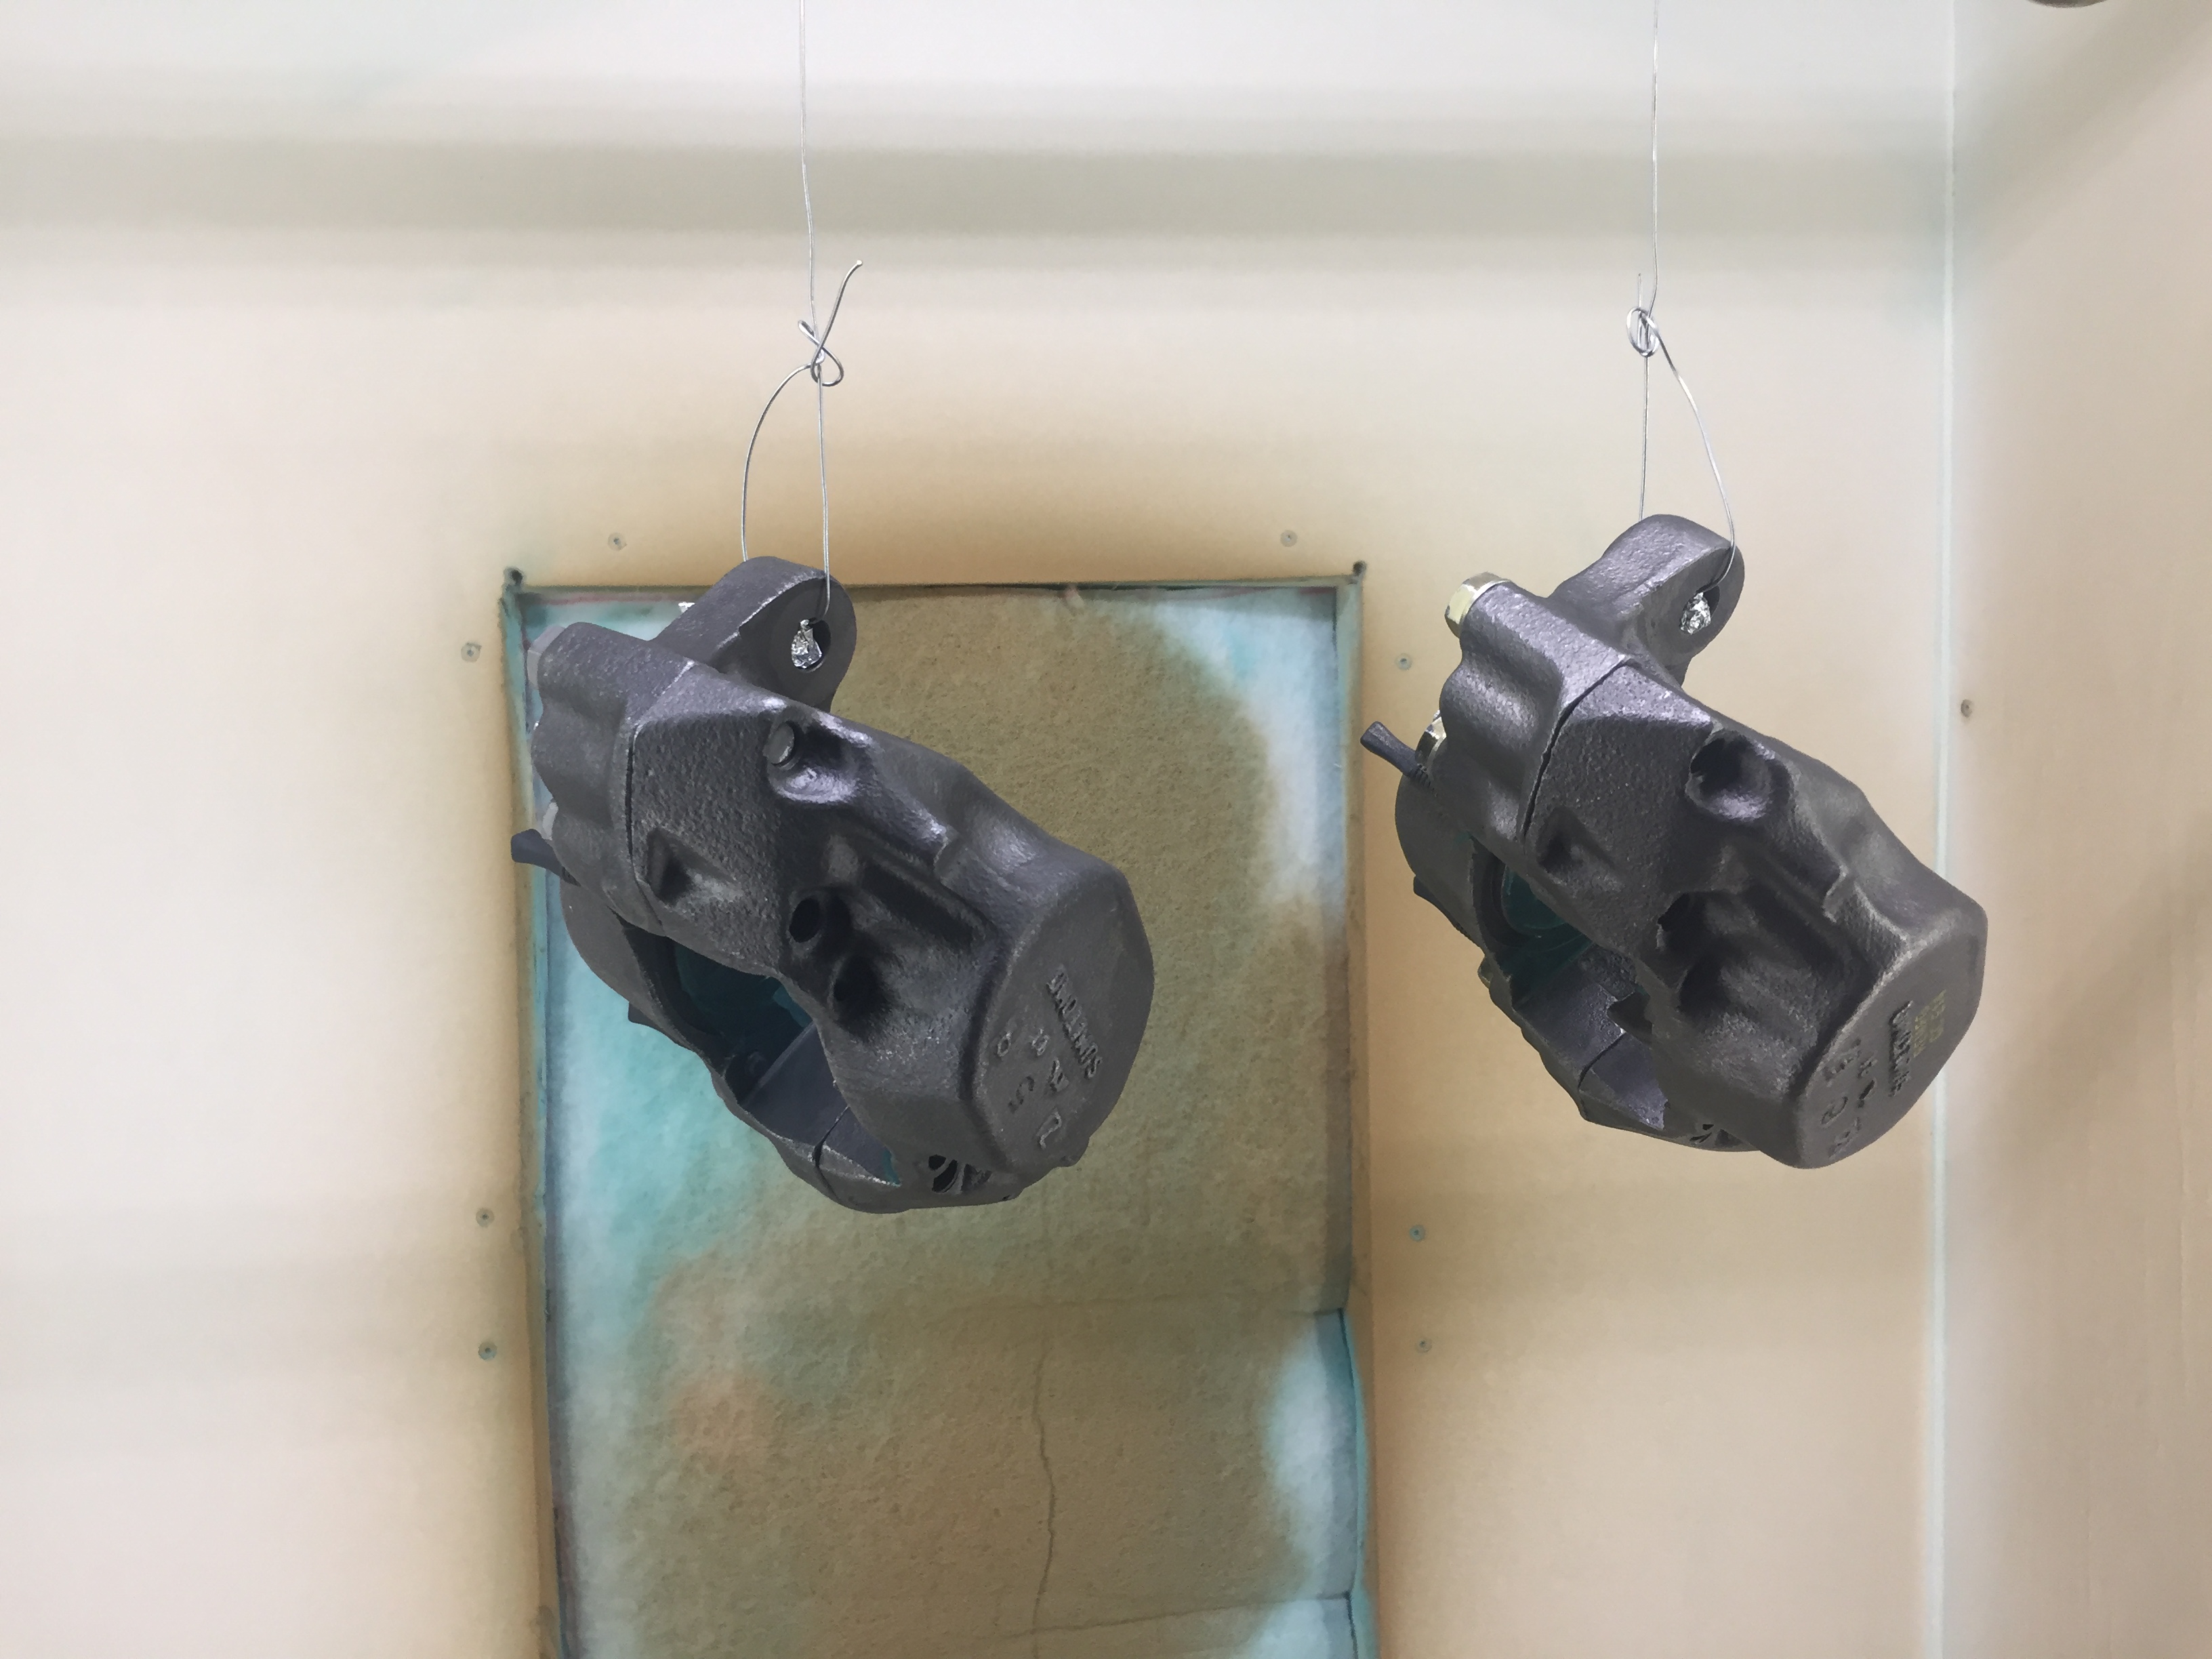
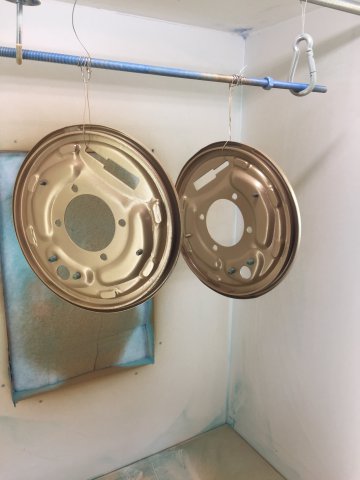
I spend alot time with my sandblasting cabin and powder gun. I swear, this is the best thing I ever bought for my men cave.
Finally I can dismantle some parts, clean, blast and powder them on the same day, so I can really make some progress in just a few hours.
If you don't have the possibility to clean and powder your parts in-house, you have to bring the parts to a shop and you have to wait a few days until they finished their work. It slows you down...Also next thing I'm planning to do is to swap the turnsignal switch from a 280z. I'm tired of cleaning my original turn signal switch.
-
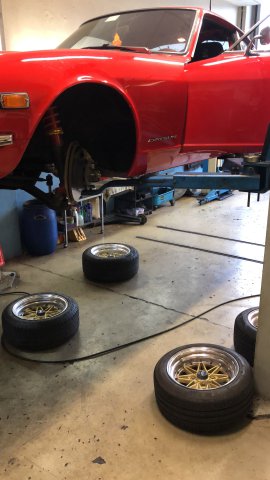
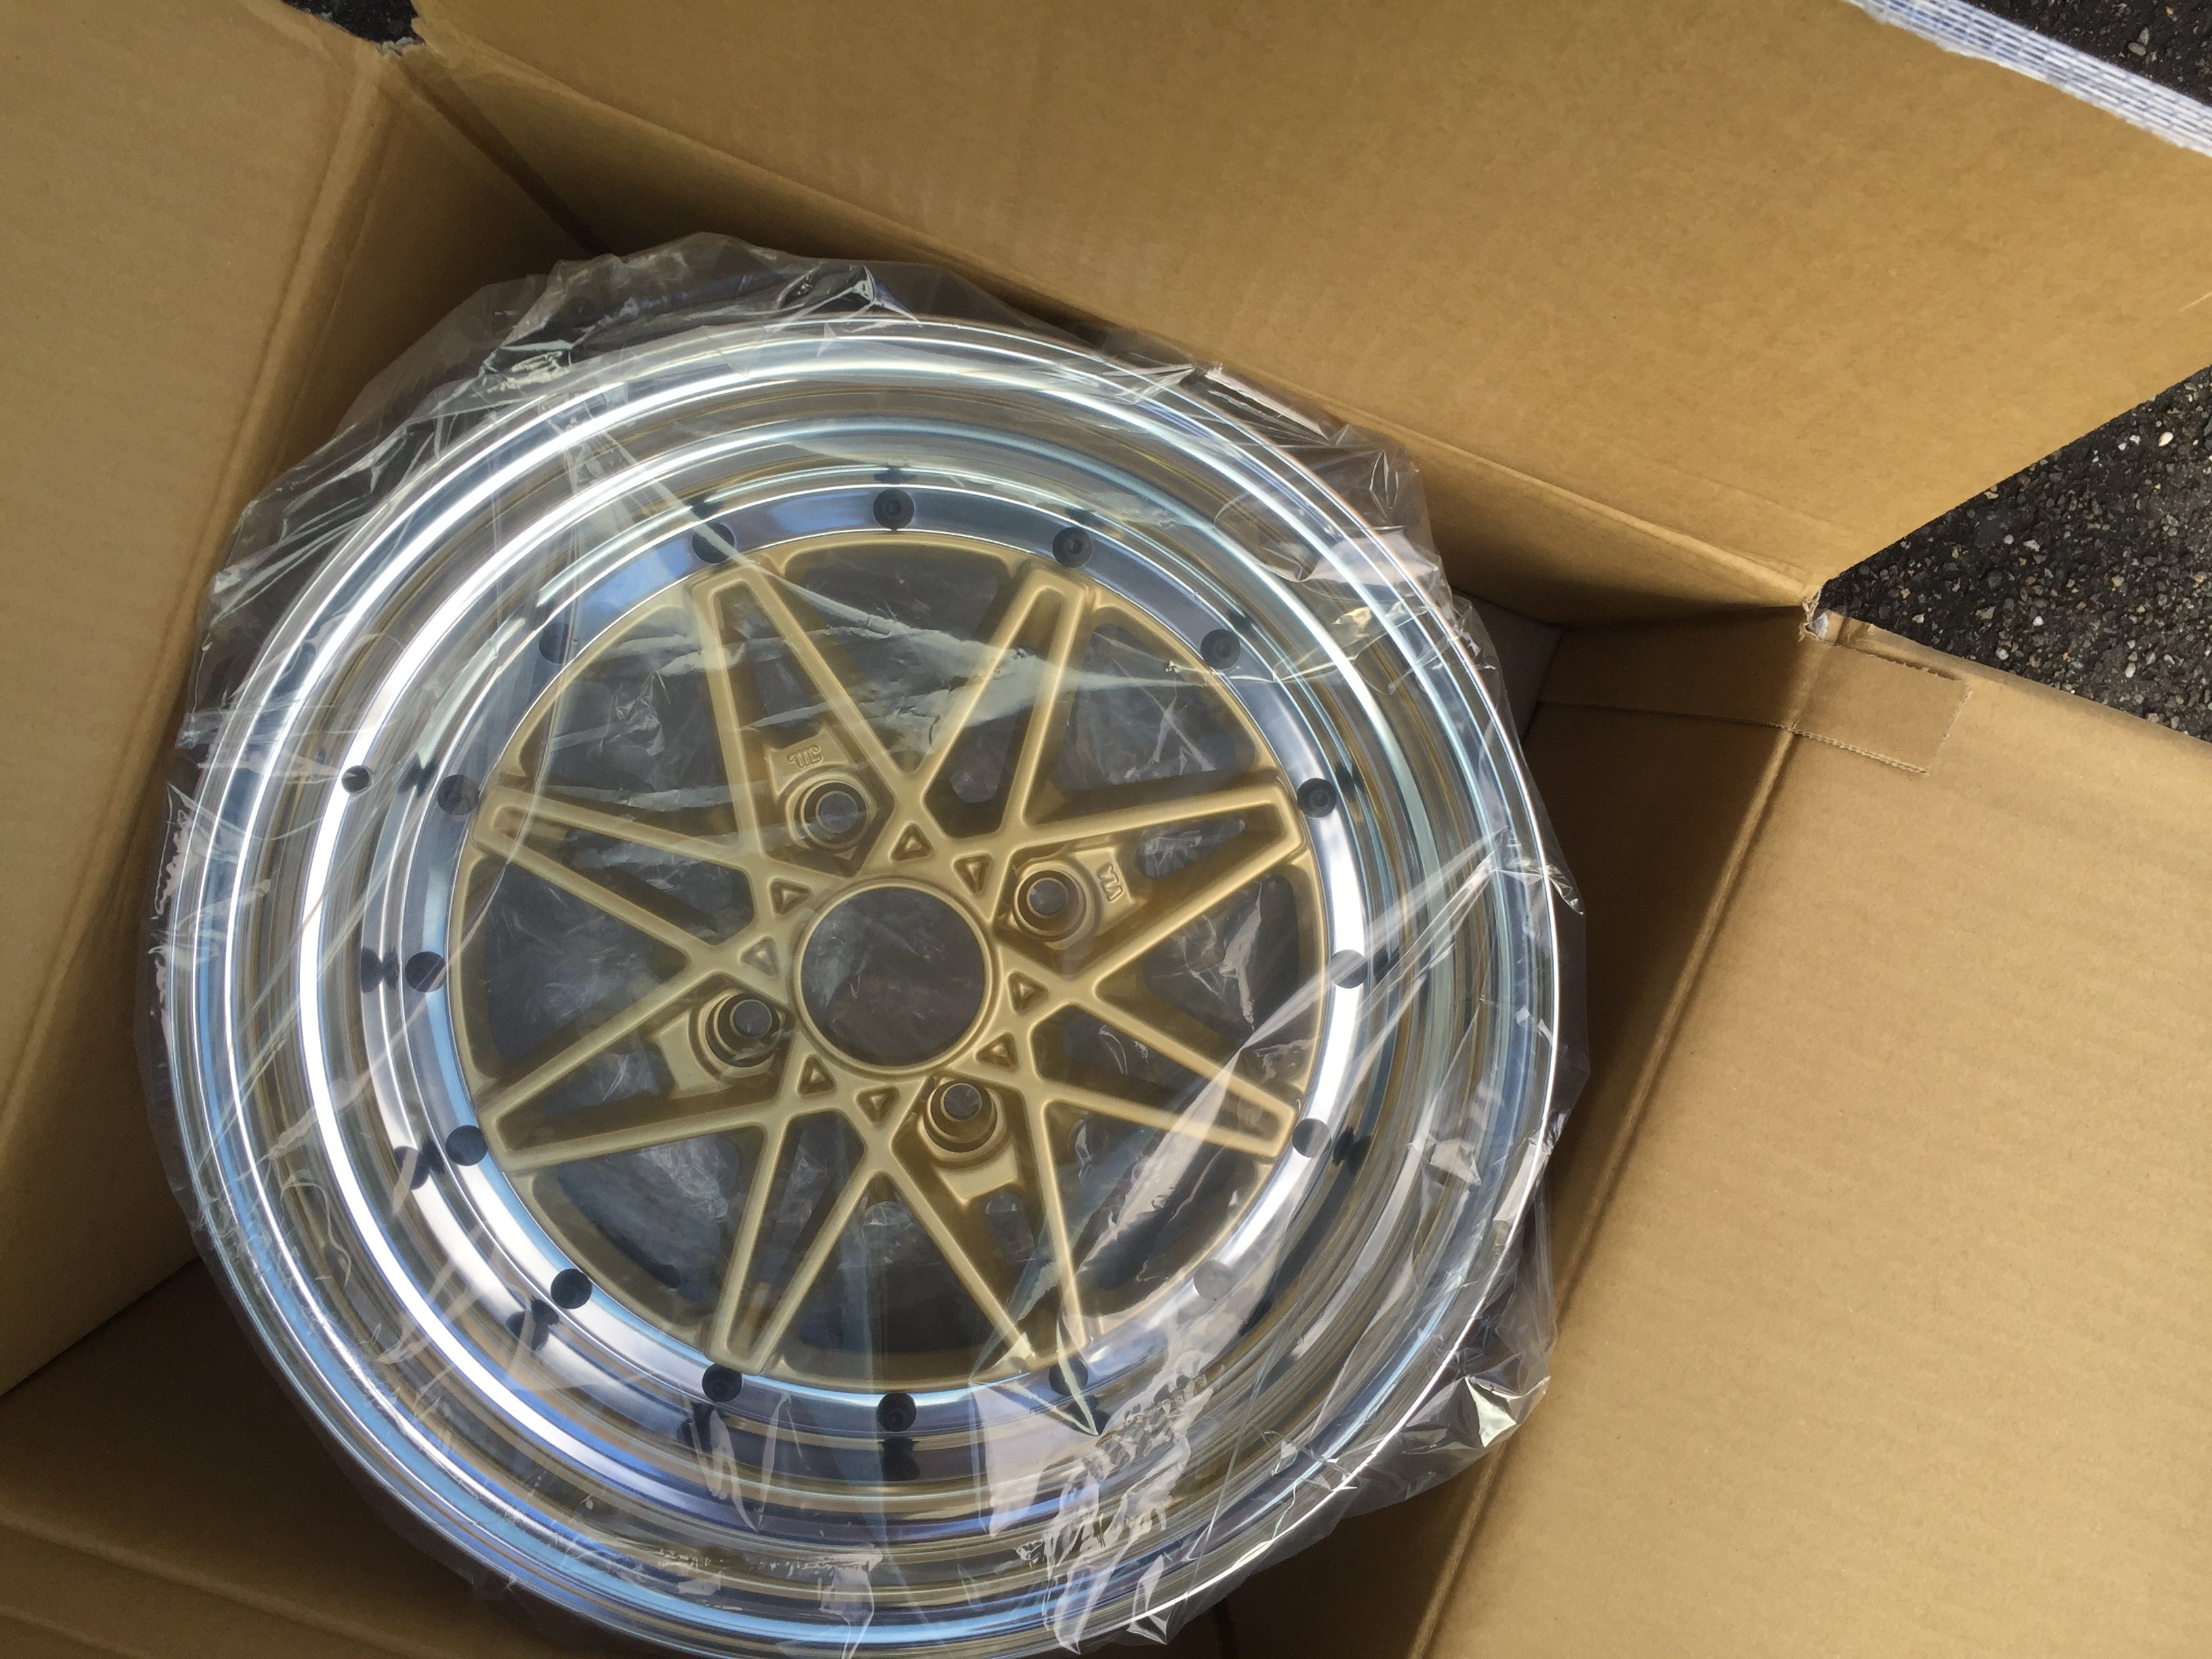
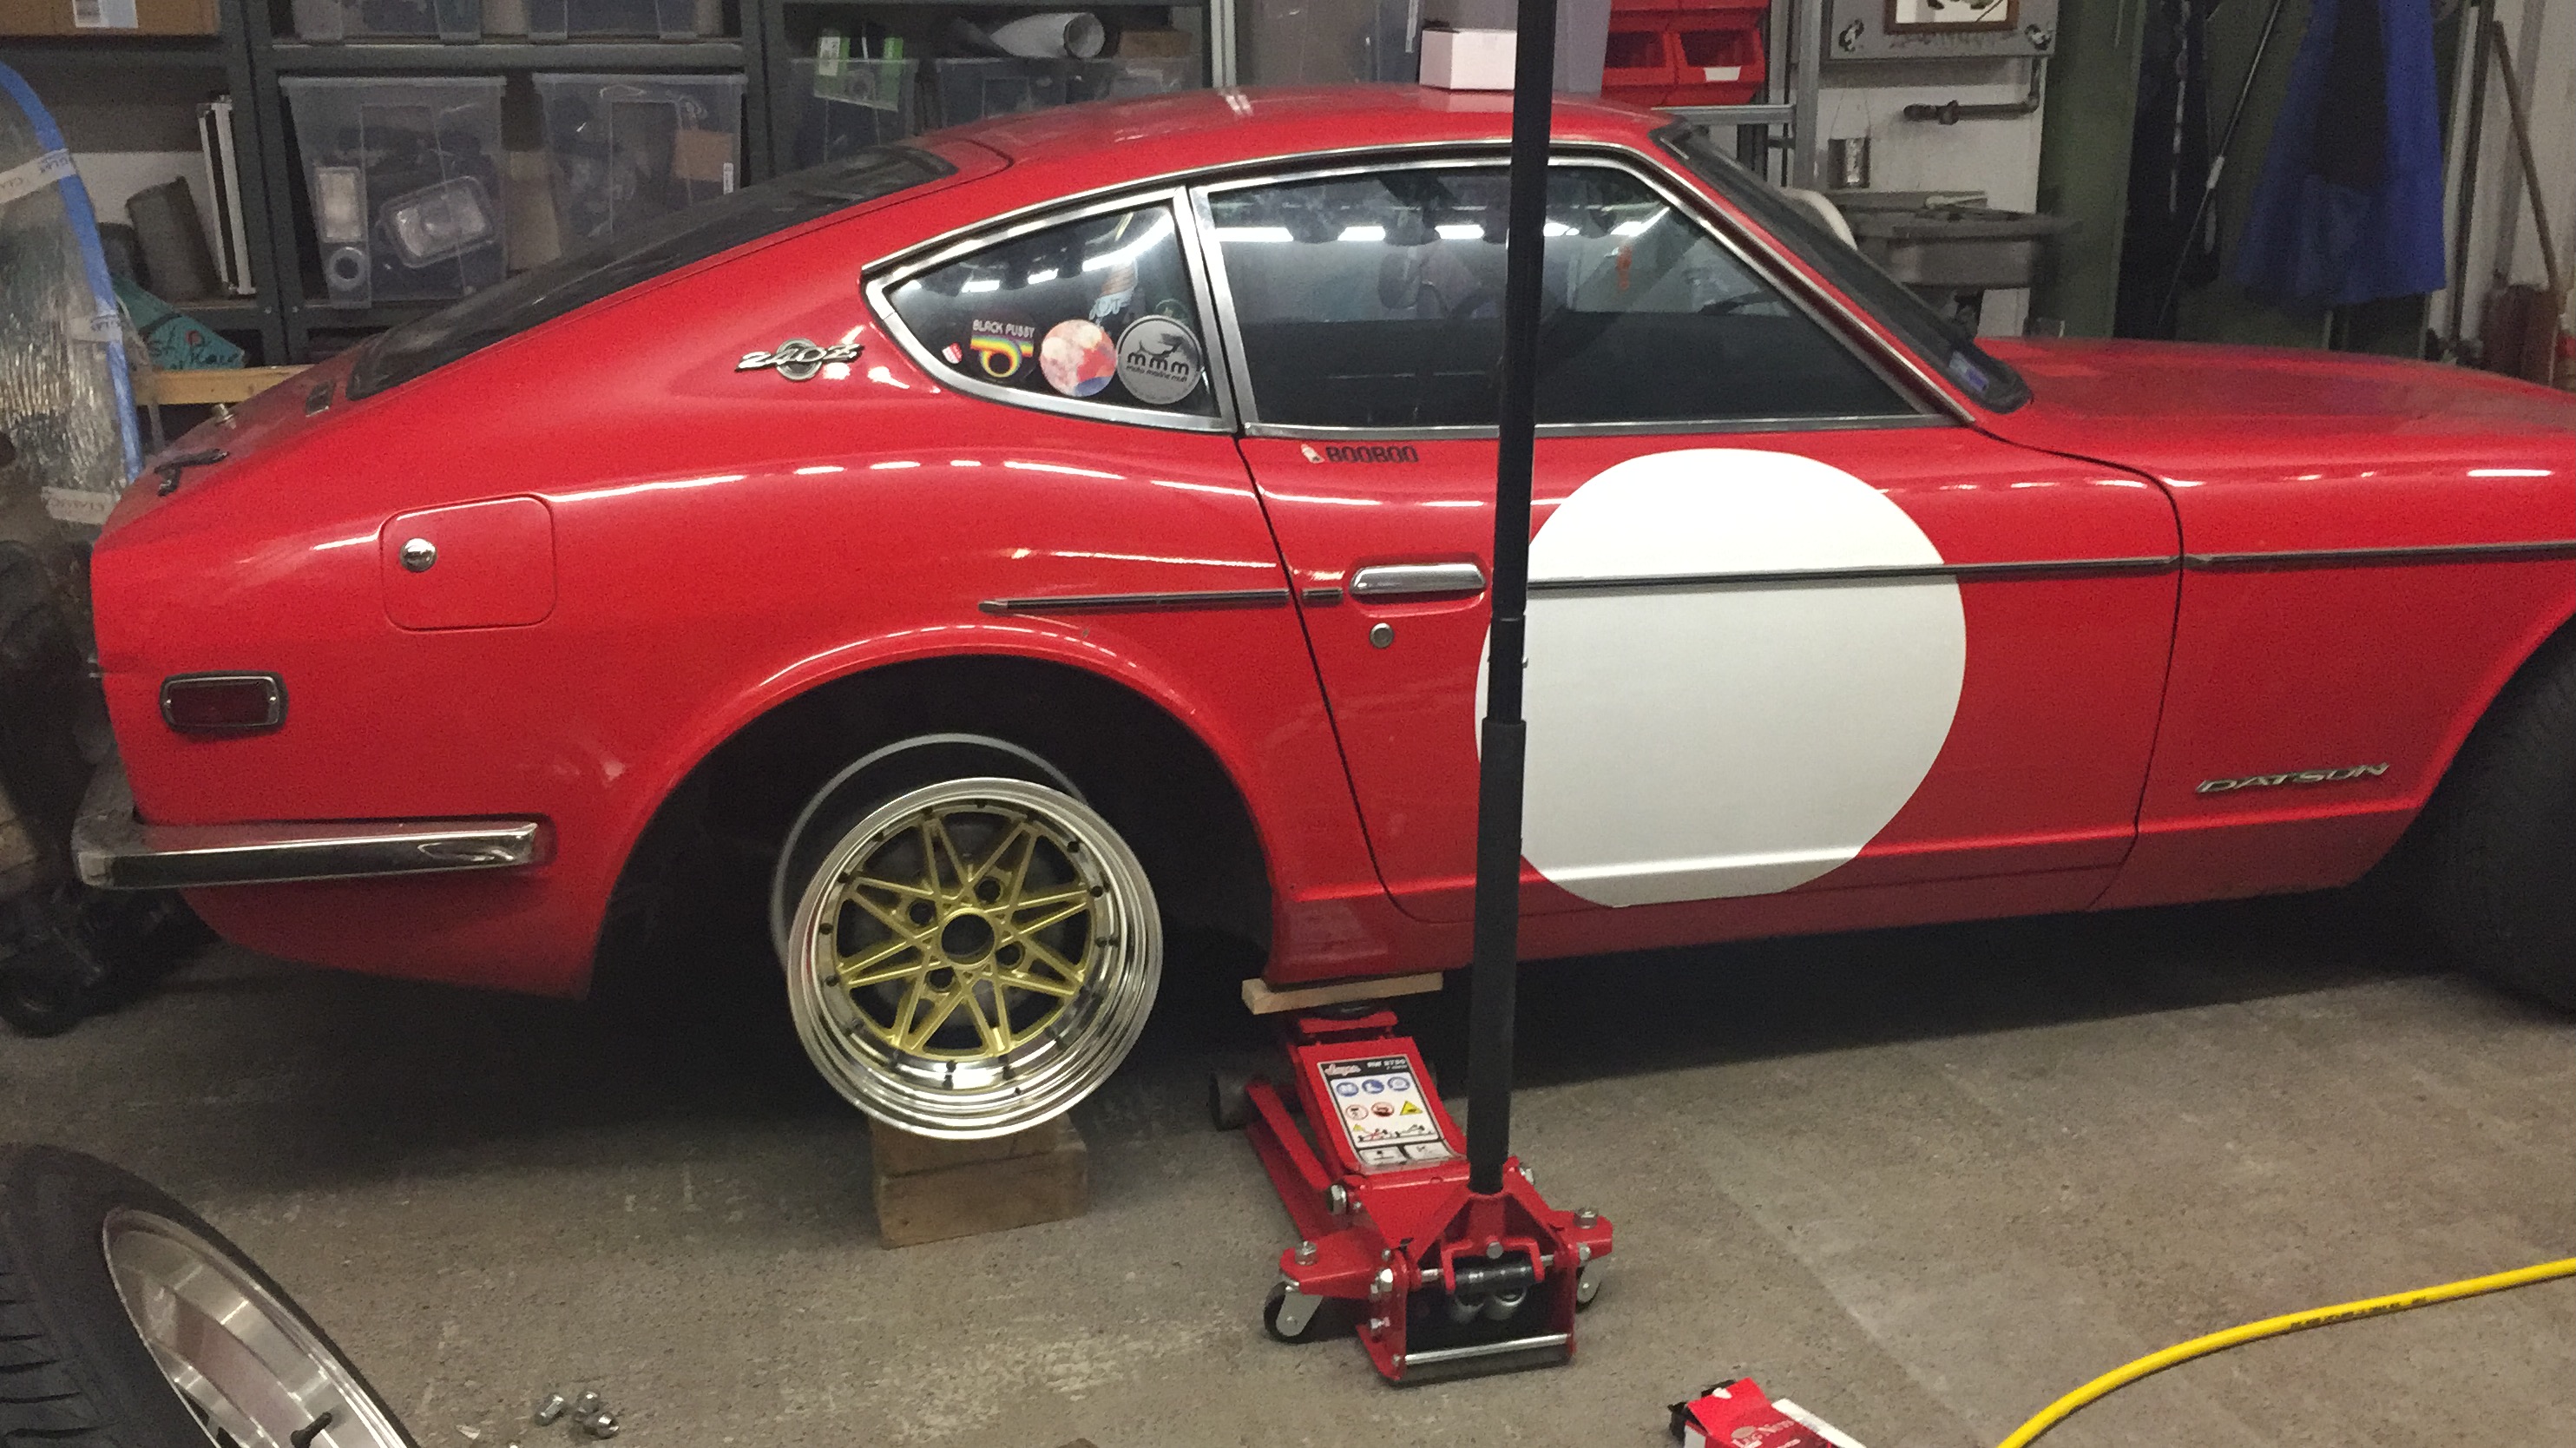
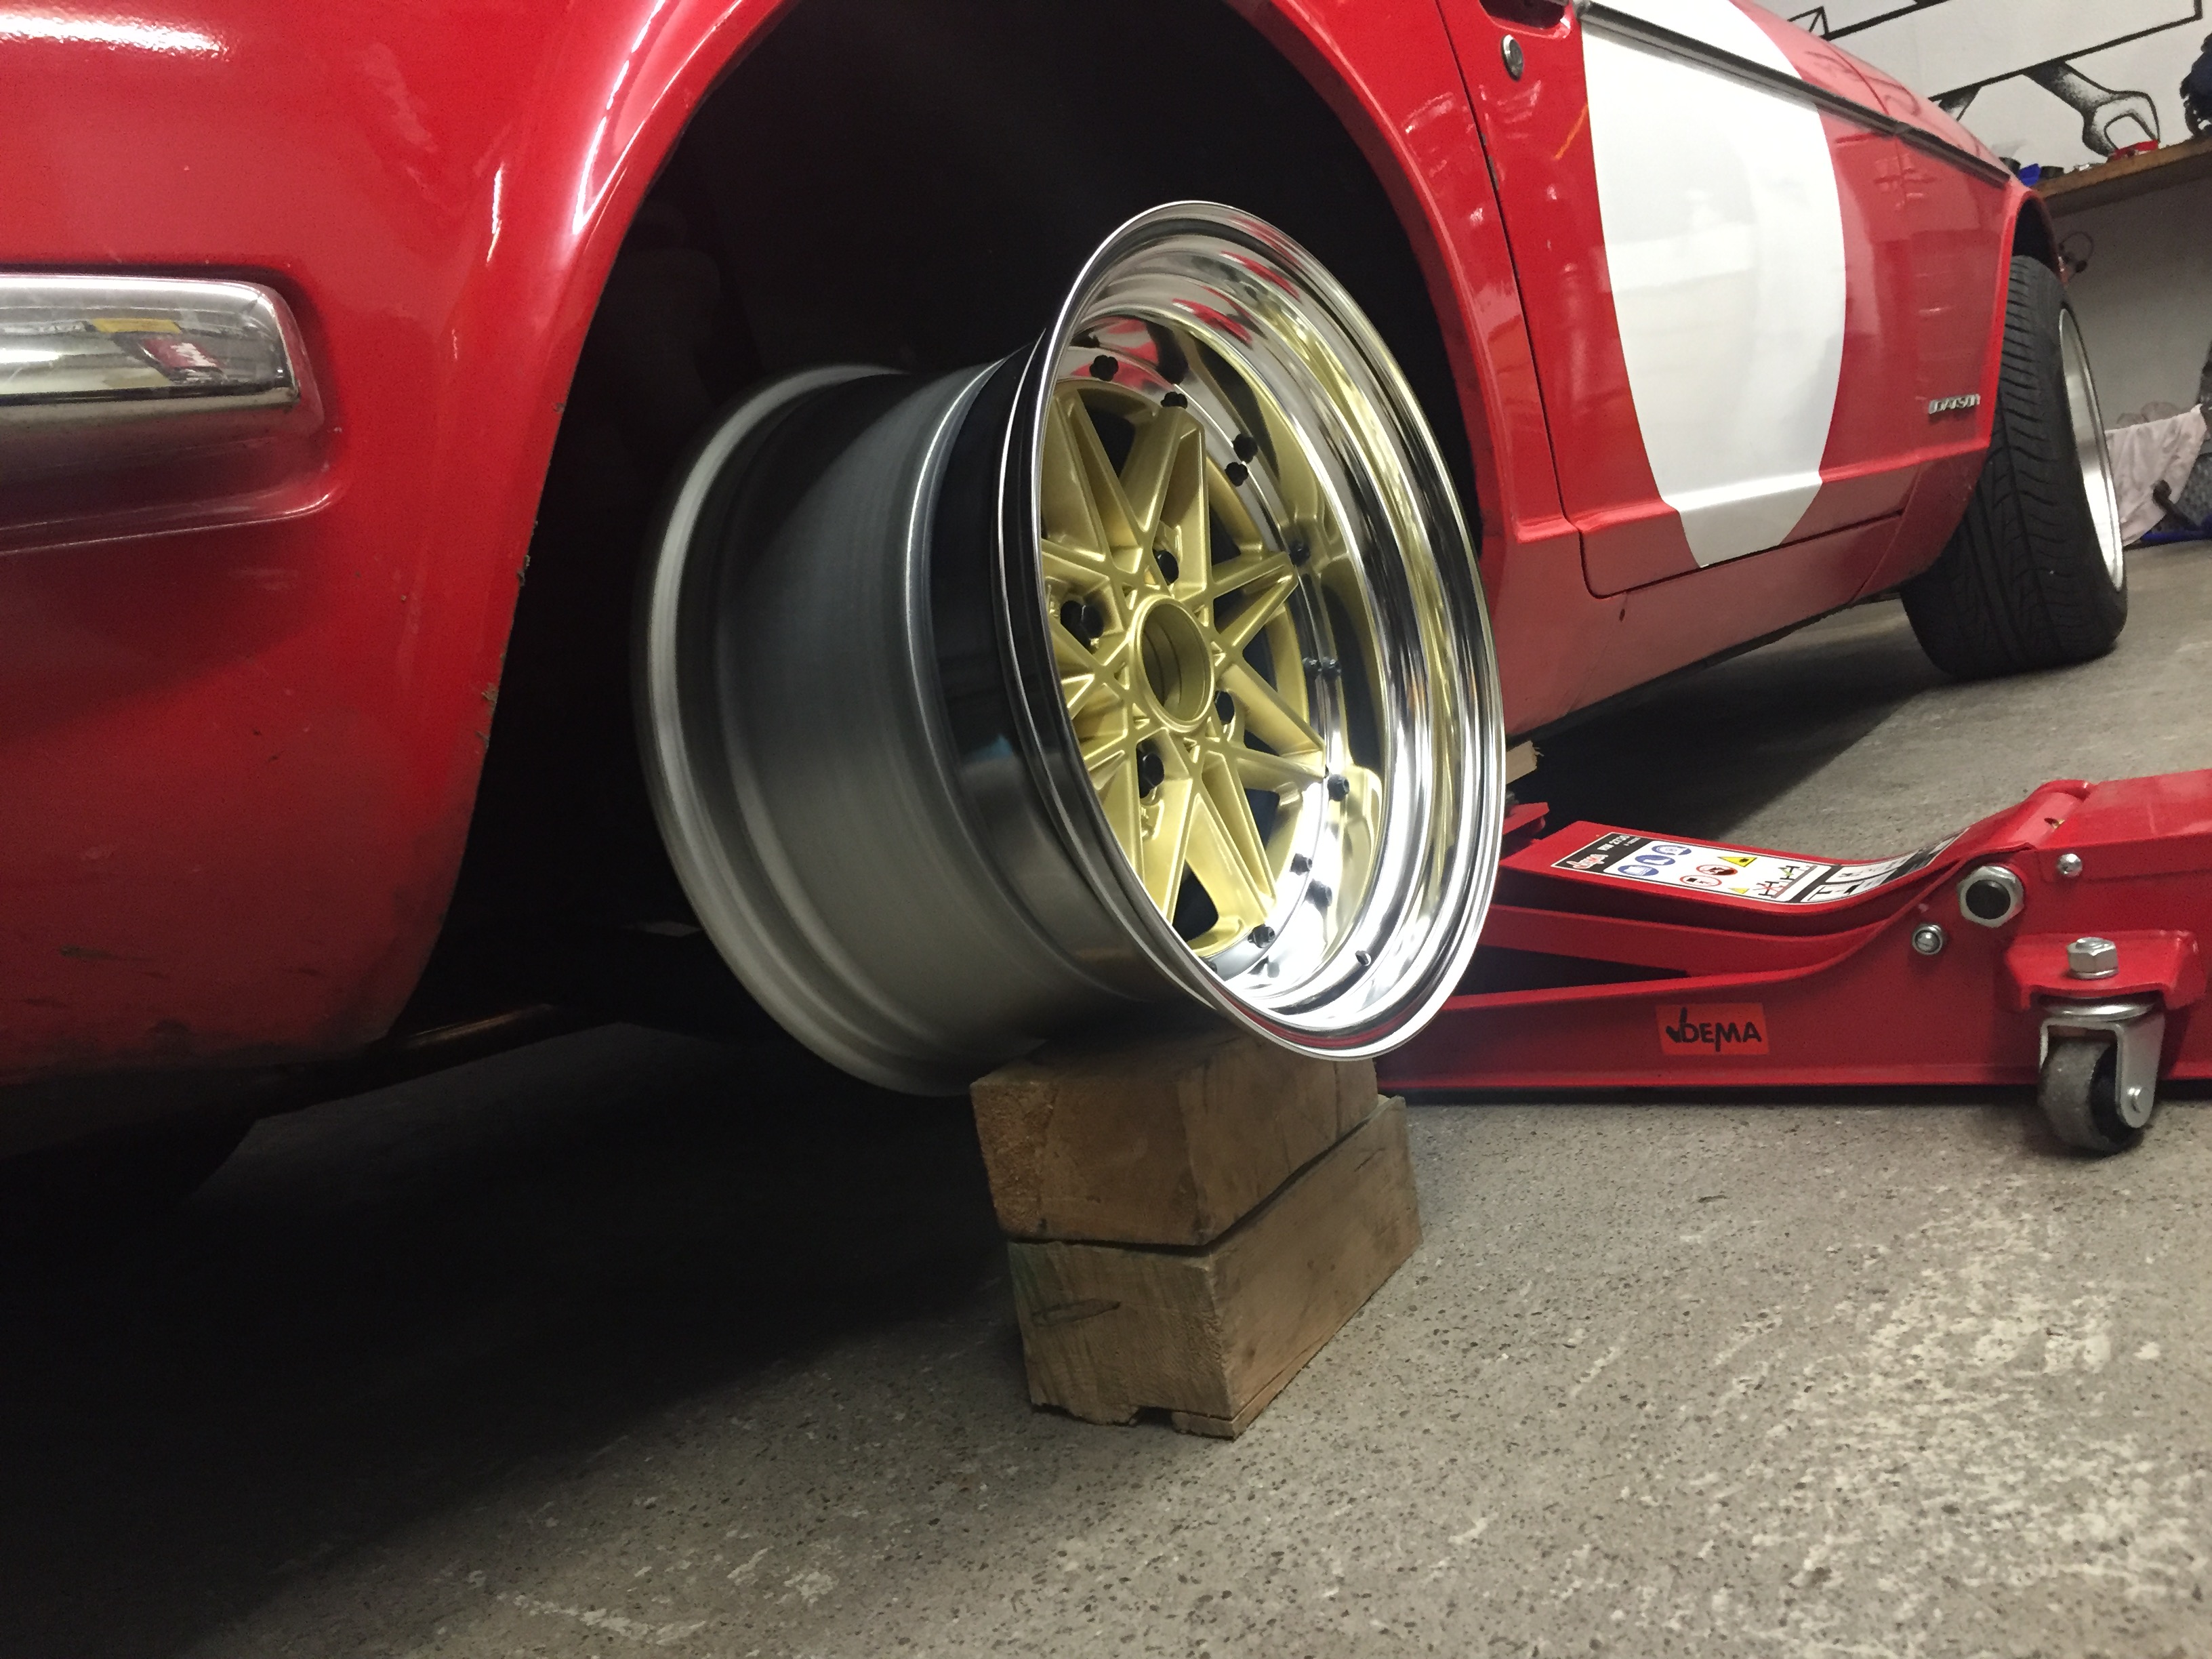
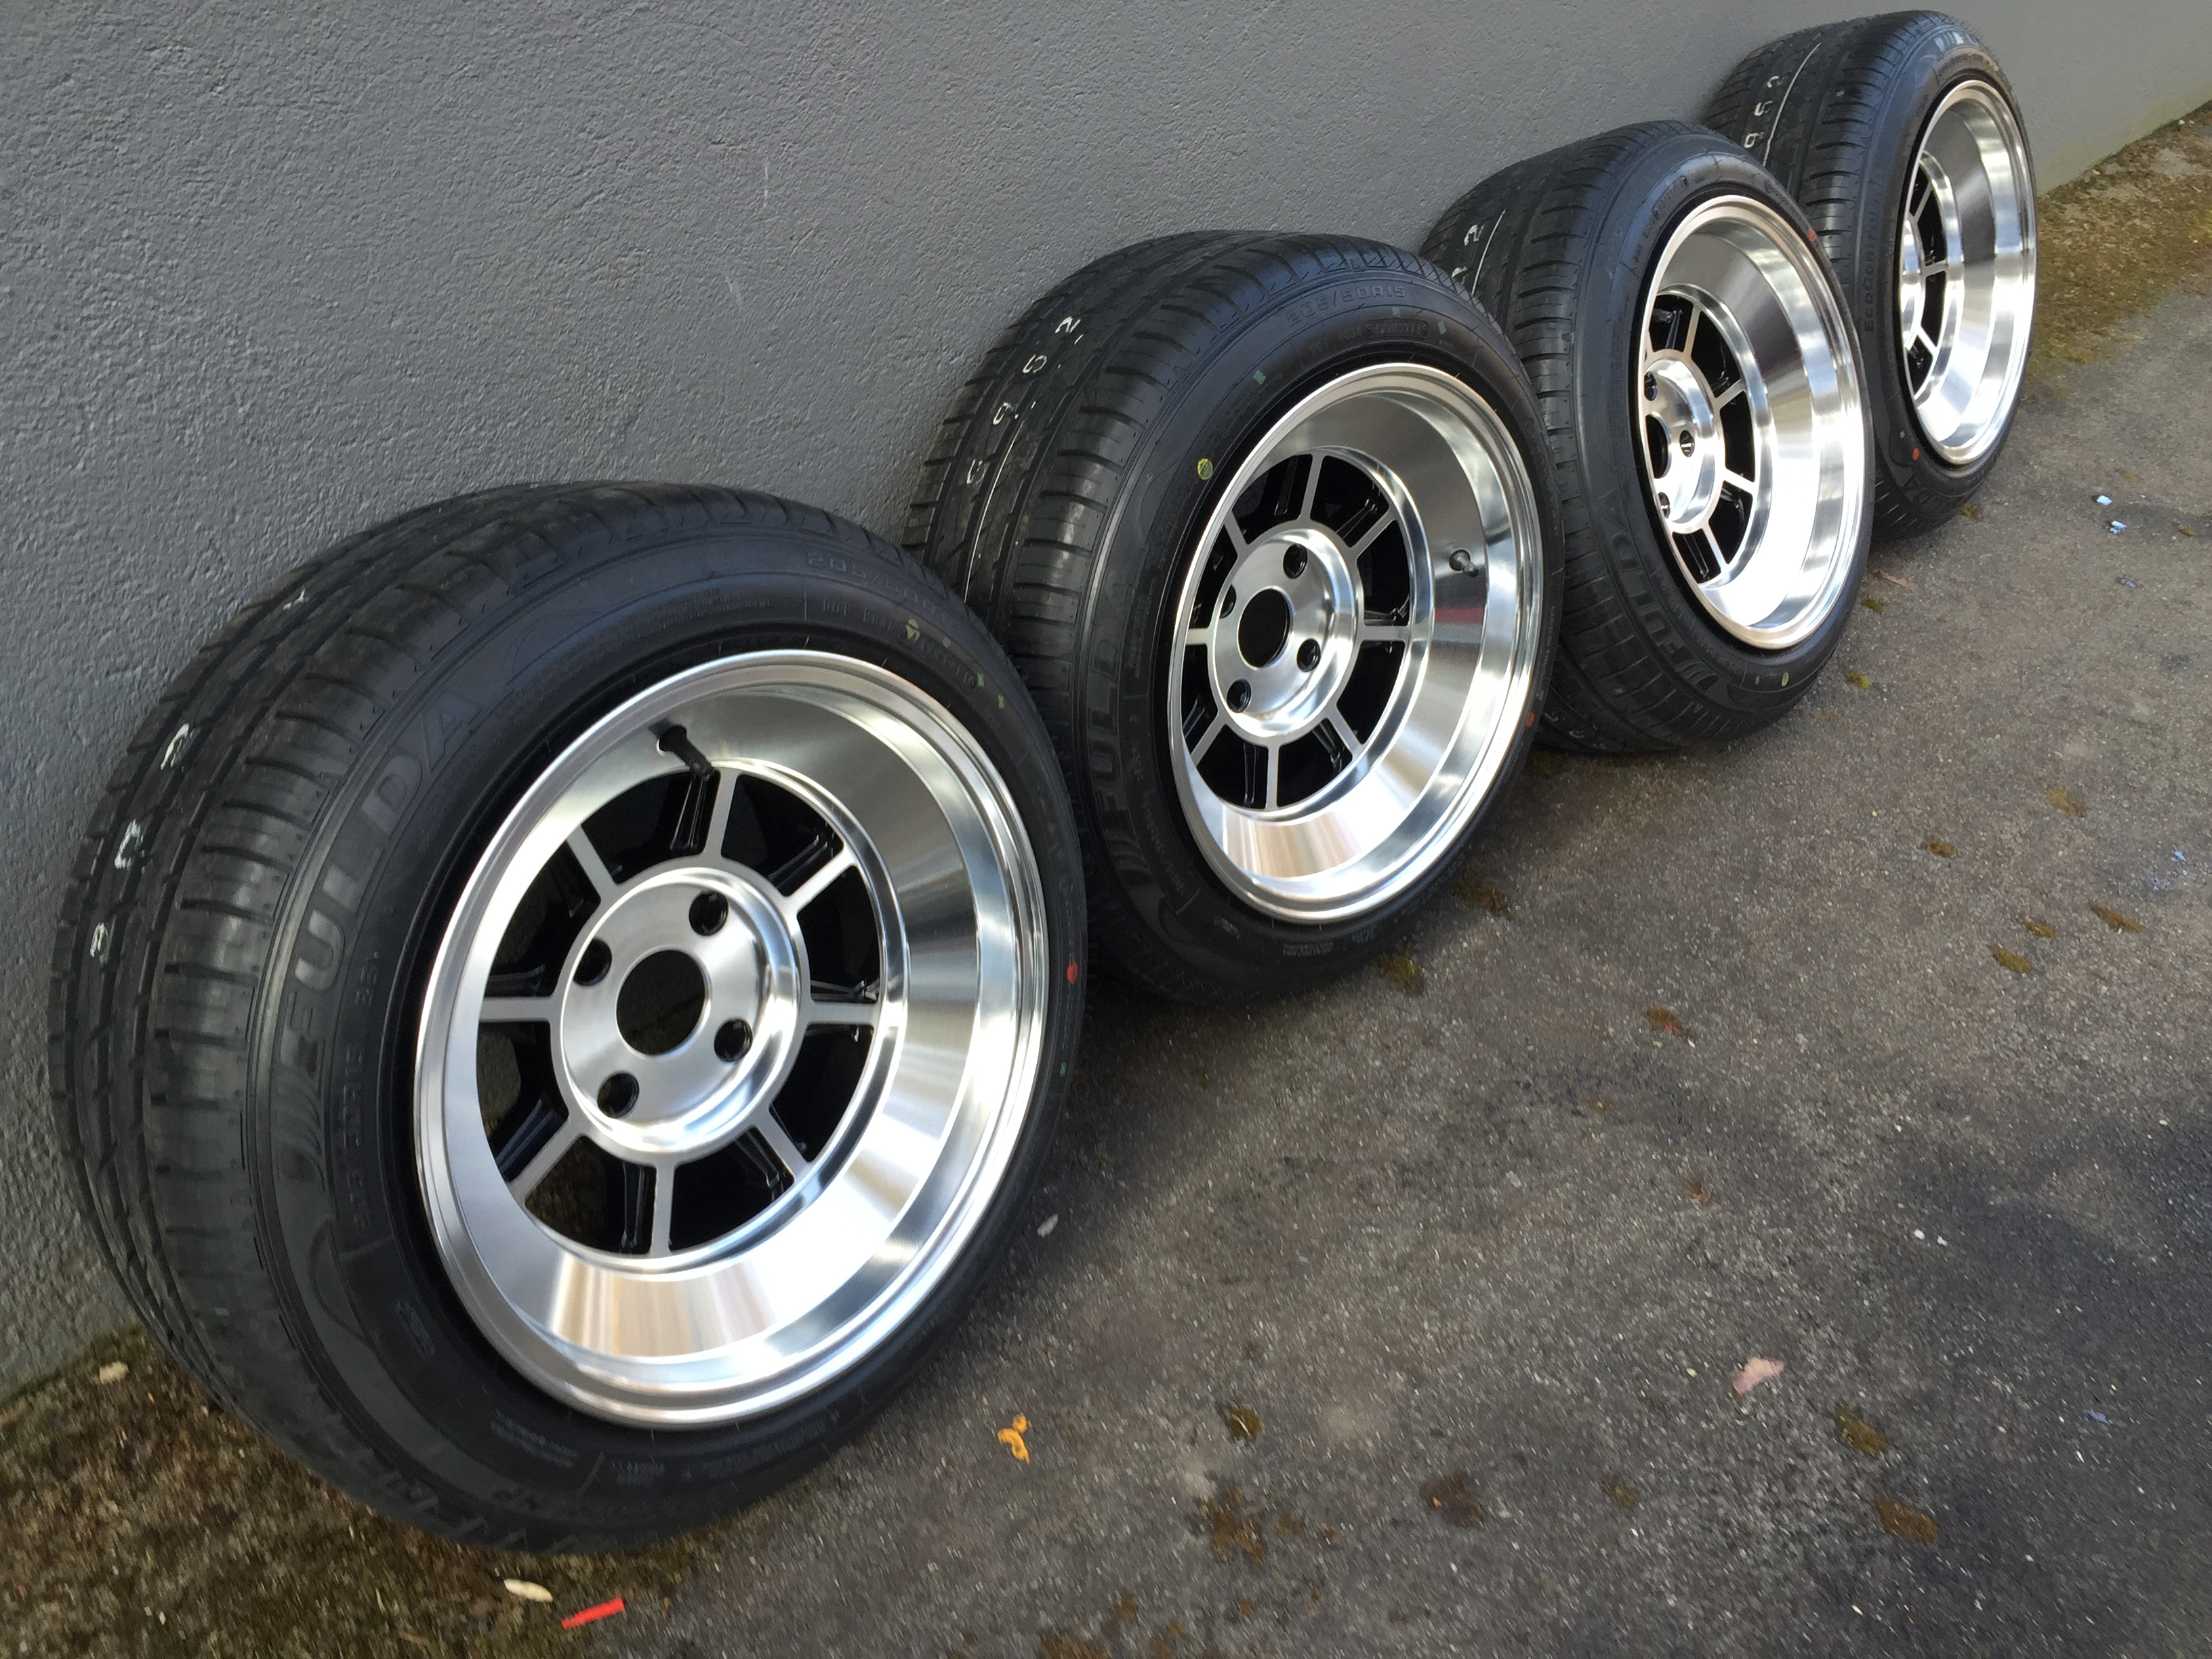
After 16 weeks, the new wheels finally arrived:
Work Equip03 8.5 -3 and 9.0 -8 with 205 and 225 tyres.
After struggling to get streched tyres on, the Z finally stood on the new suspension.
-
After all these upgrades, I really enyojed the car and drove it all the time, everyday. What a blast!
But I couldn't stop and bought more Upgrades...
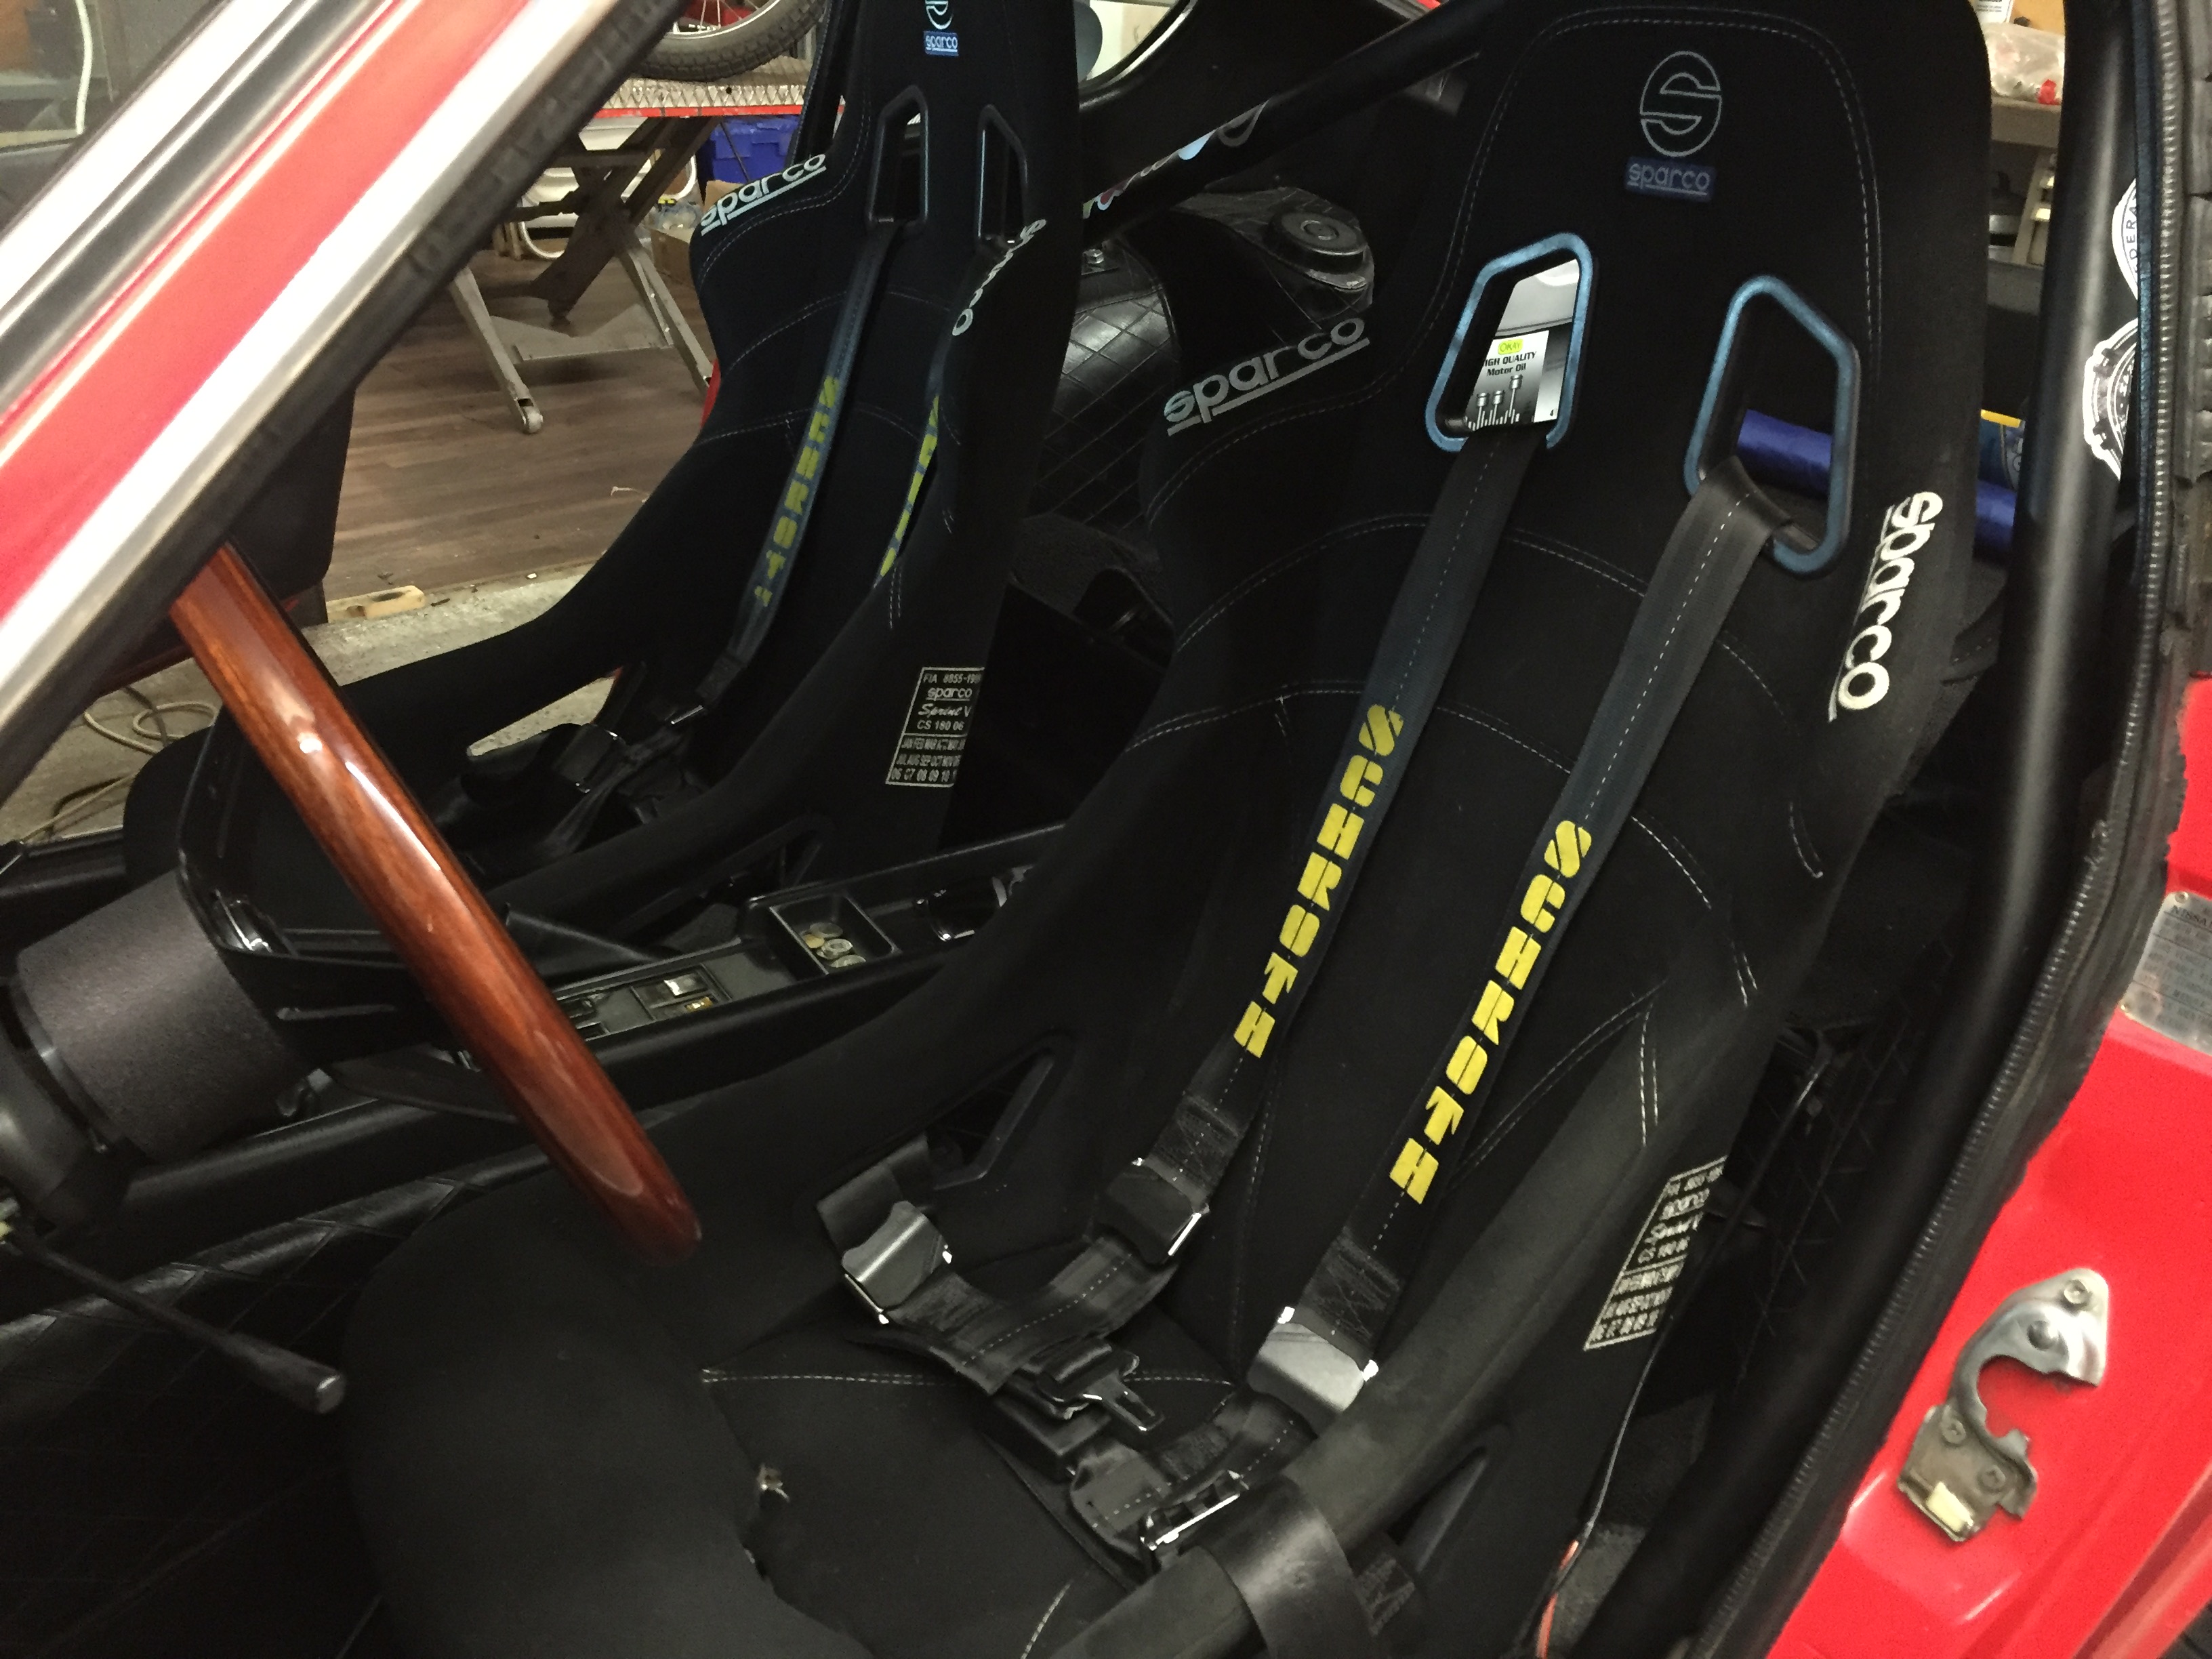
Then I thought, I need new seats:
After few weeks I bought a sand/glas blasting cabin incl. a powdergun...So the first things had be powdered:
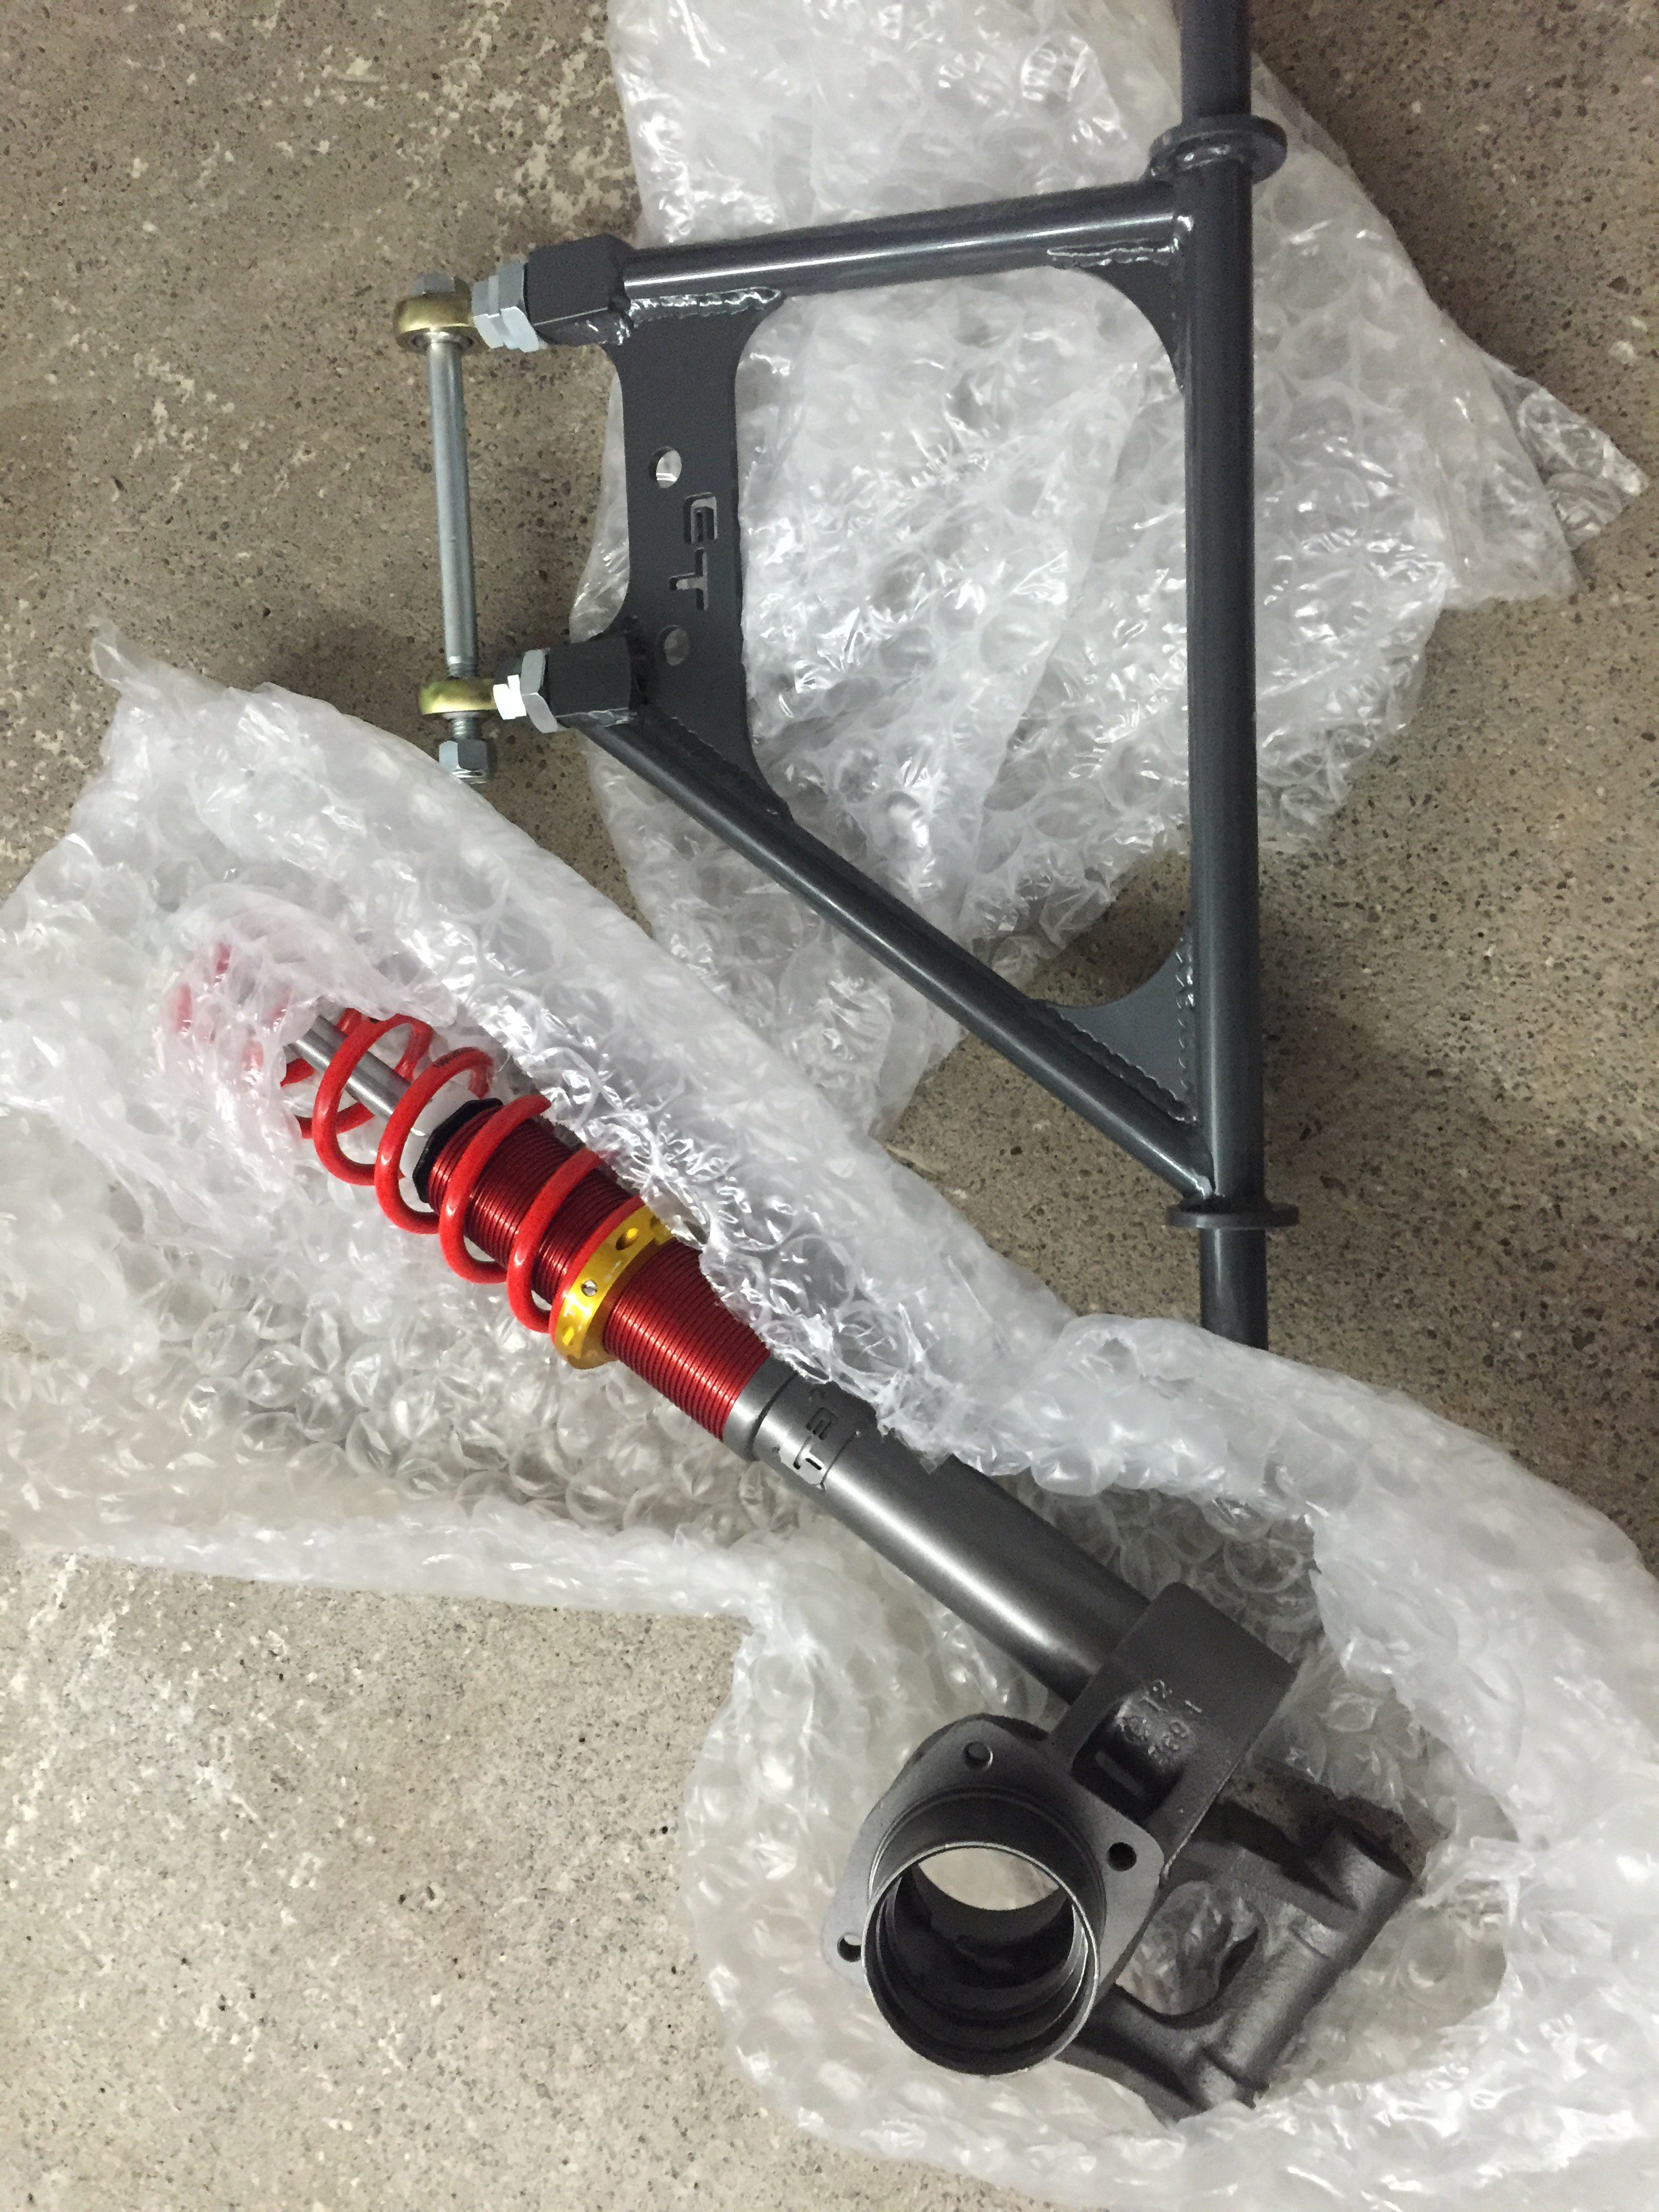
Things getting serious, so I bought something that I always wanted:
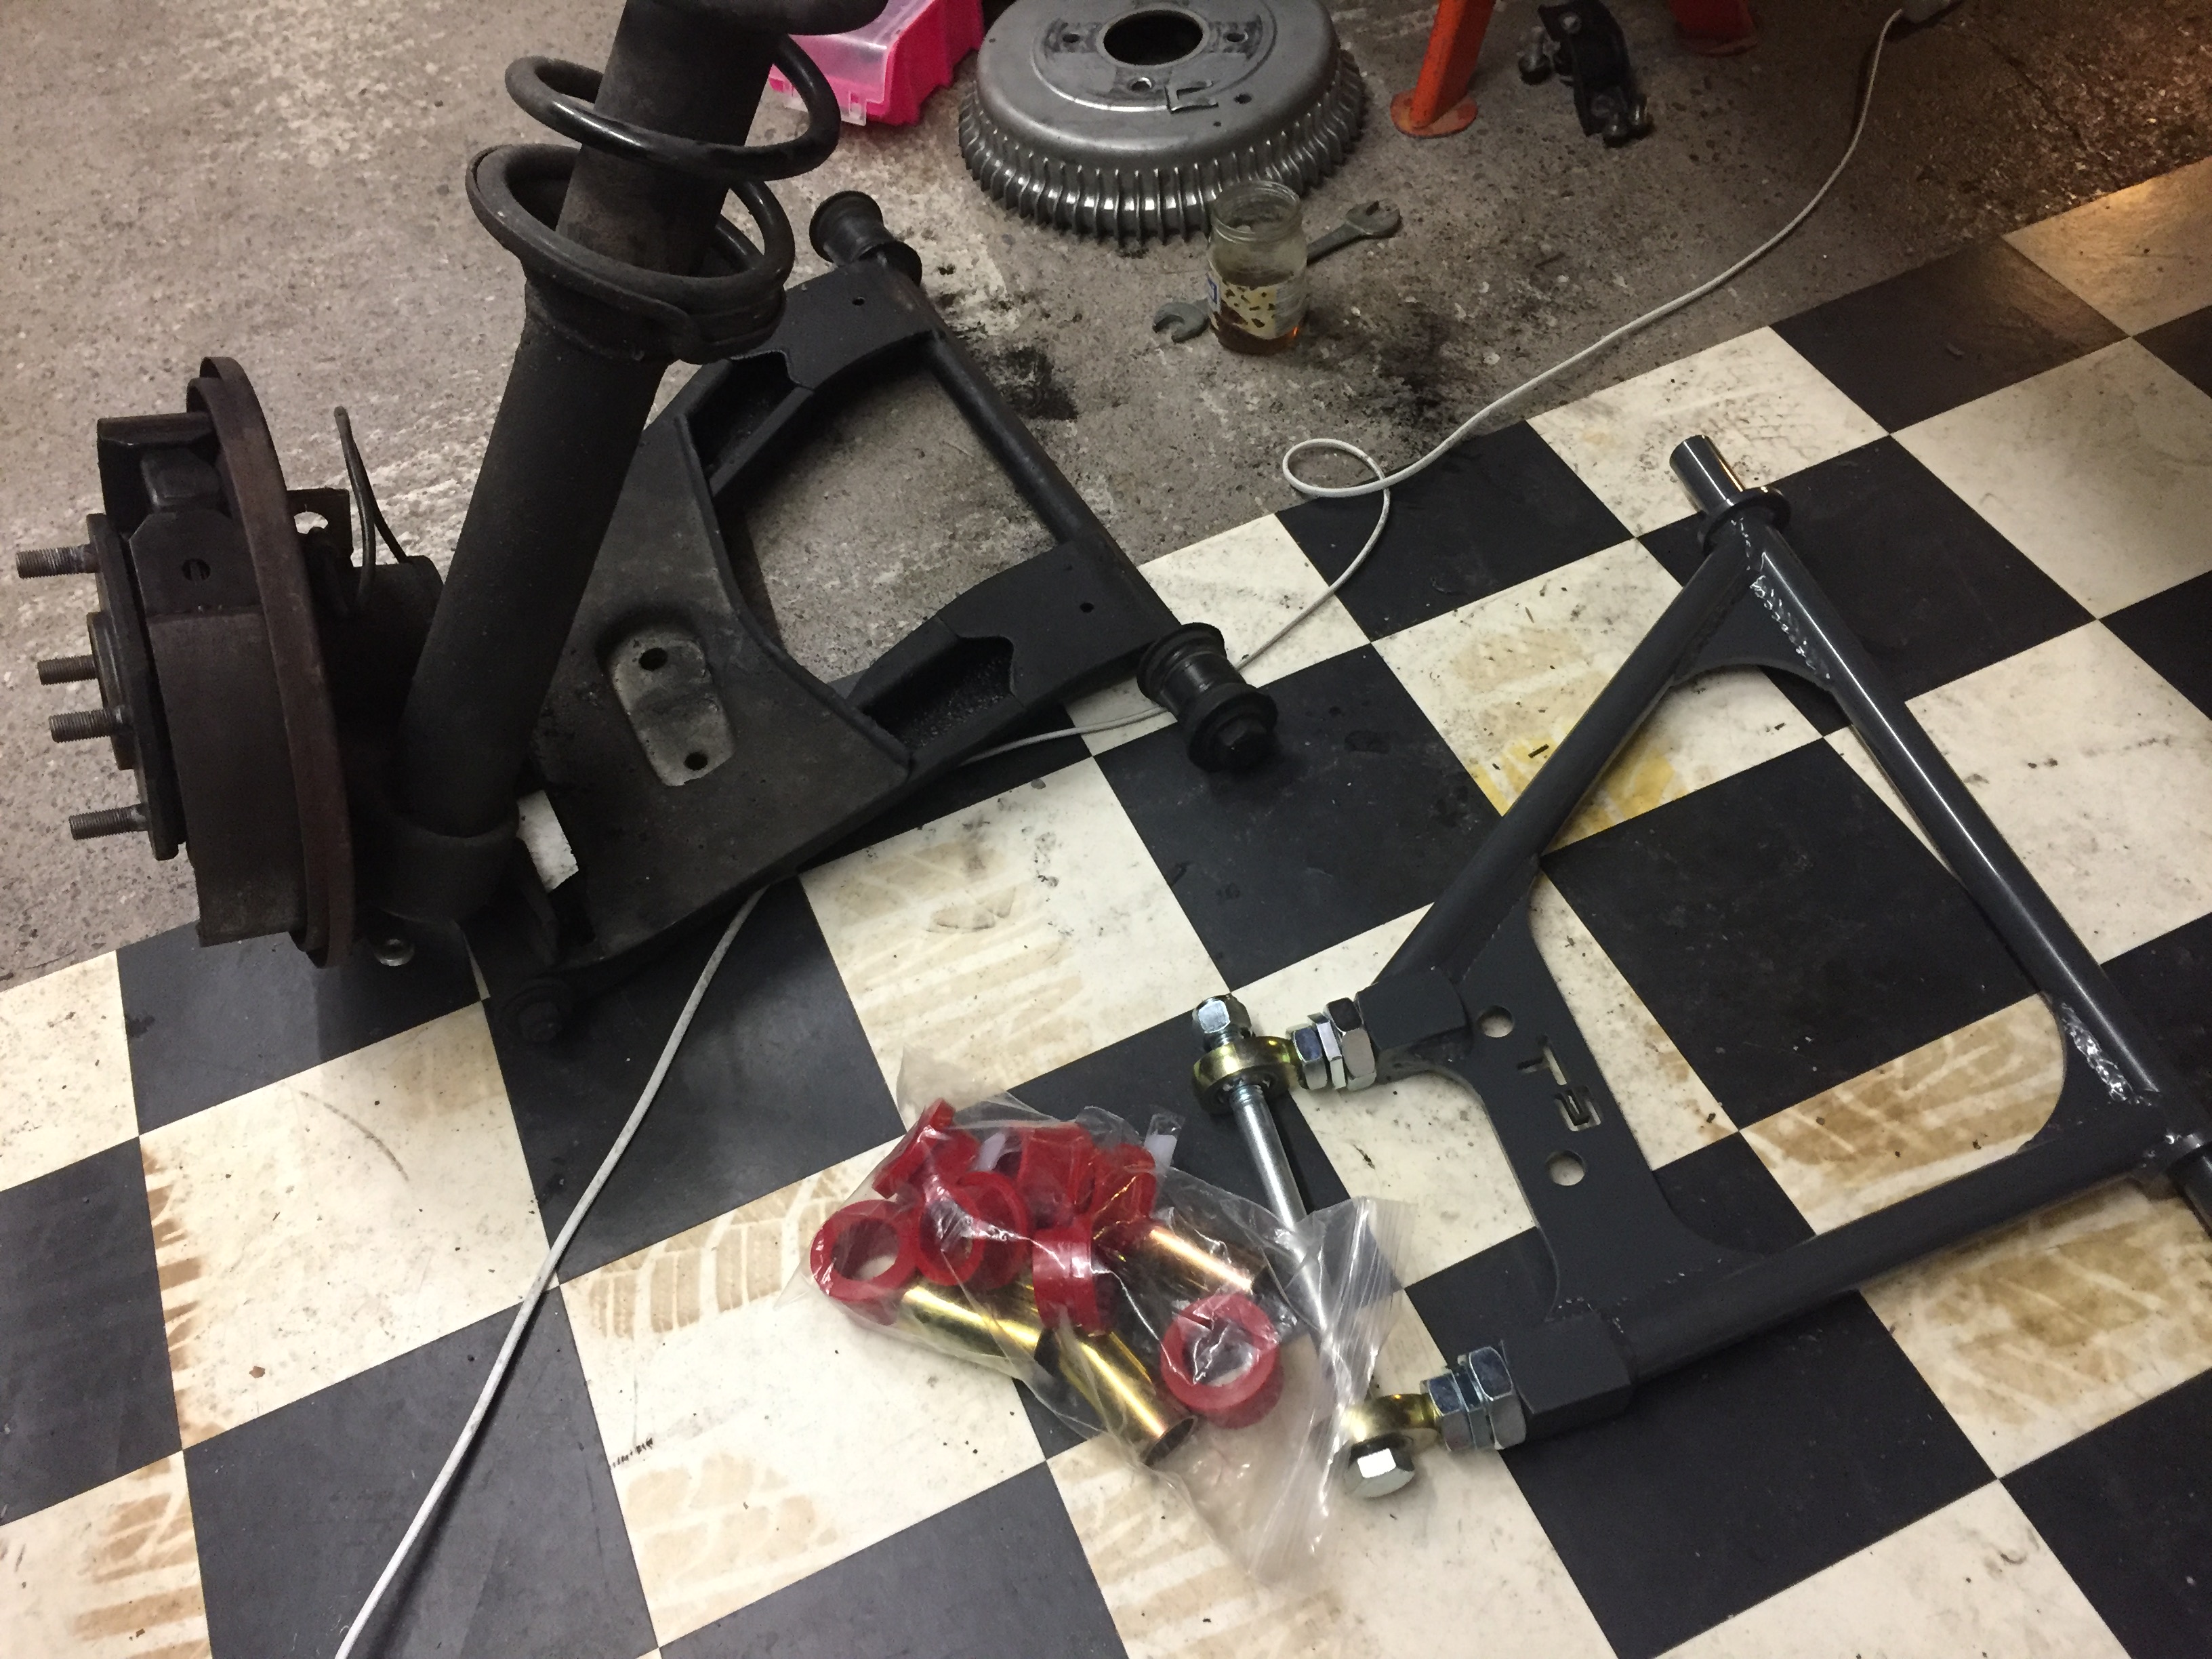
Complete coilovers from T3, rear adjustable arms, positiv camber adjust. adapters and bolt on camber plates.
Adding some personal style:
-
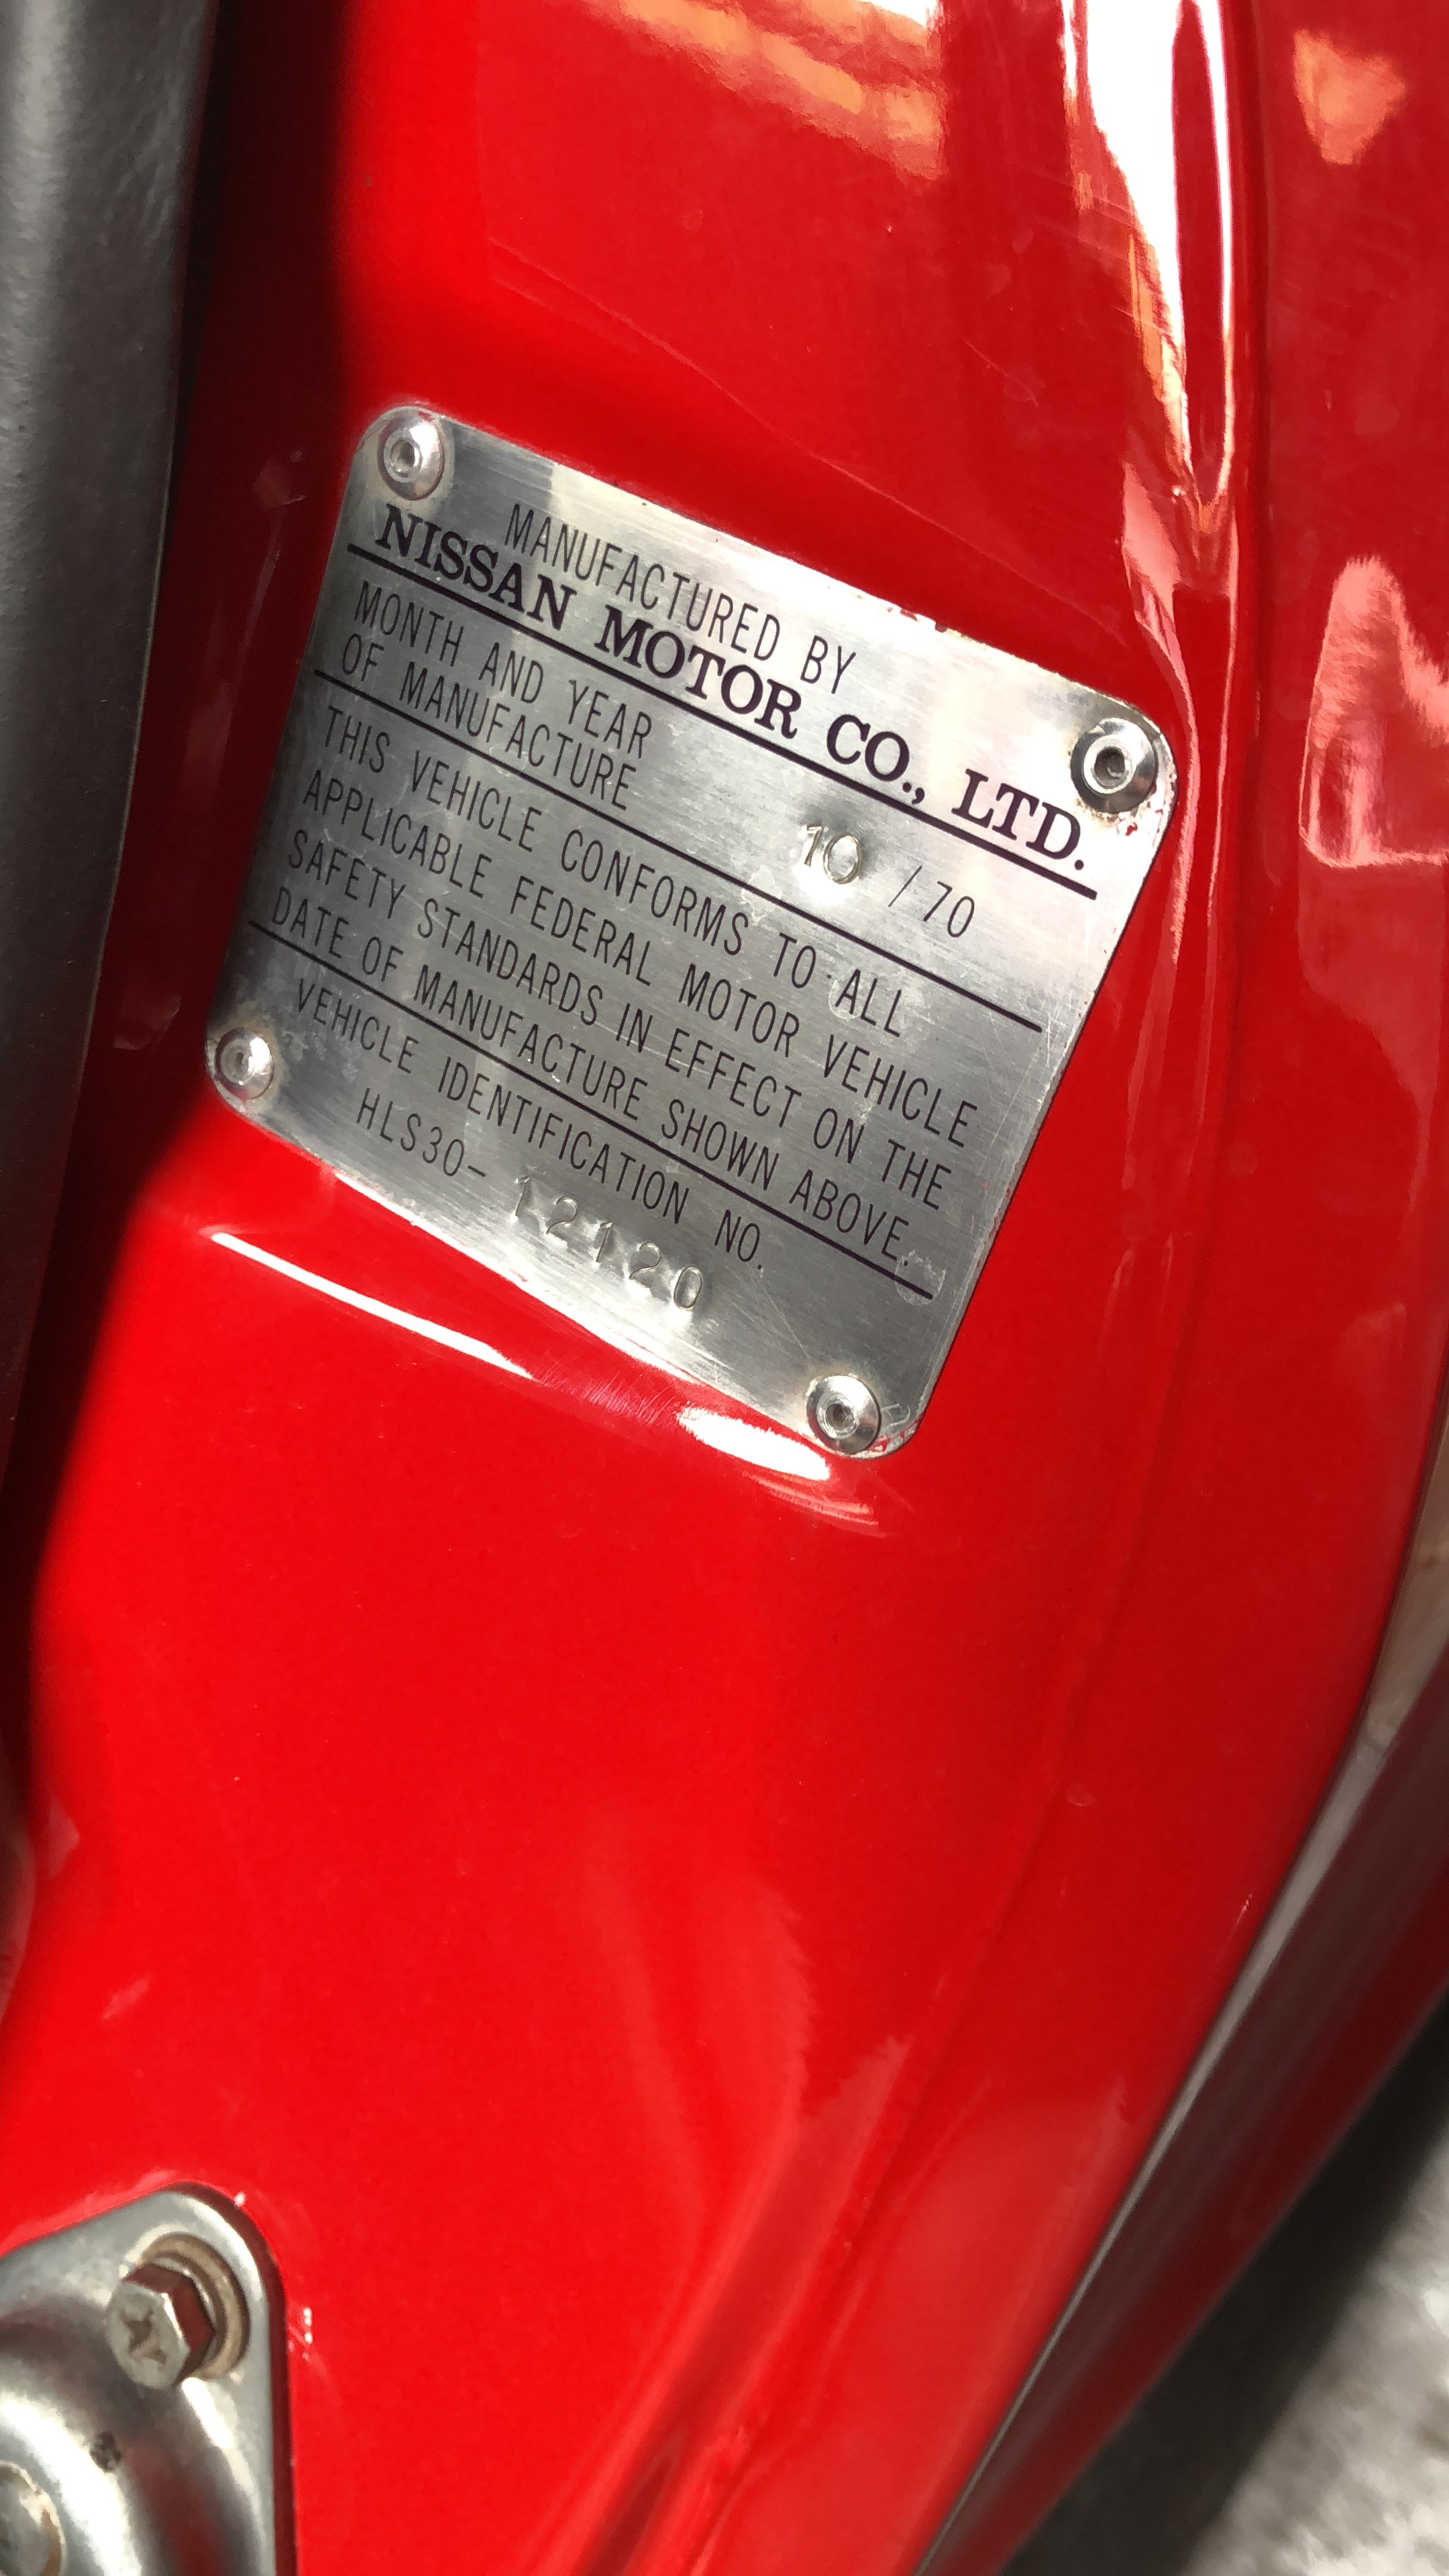
Hi Z-Lovers!
I like to share the story from my 240Z, which I bought 4 years ago in Bend, Oregon.
This forum with the huge knowledge helped me several times, so thank you all and I hope somebody will find usefull informations here in this topic.A friend do own a Rebello 3.1 240z, this is why I felt in love with the Datsuns.
In Europe, nobody drives a 240z, so it's really a rare car for us.
One year ago I moved from Lucerne to Basel, Switzerland and I'm 30 years old.I hope you will enjoy this topic.
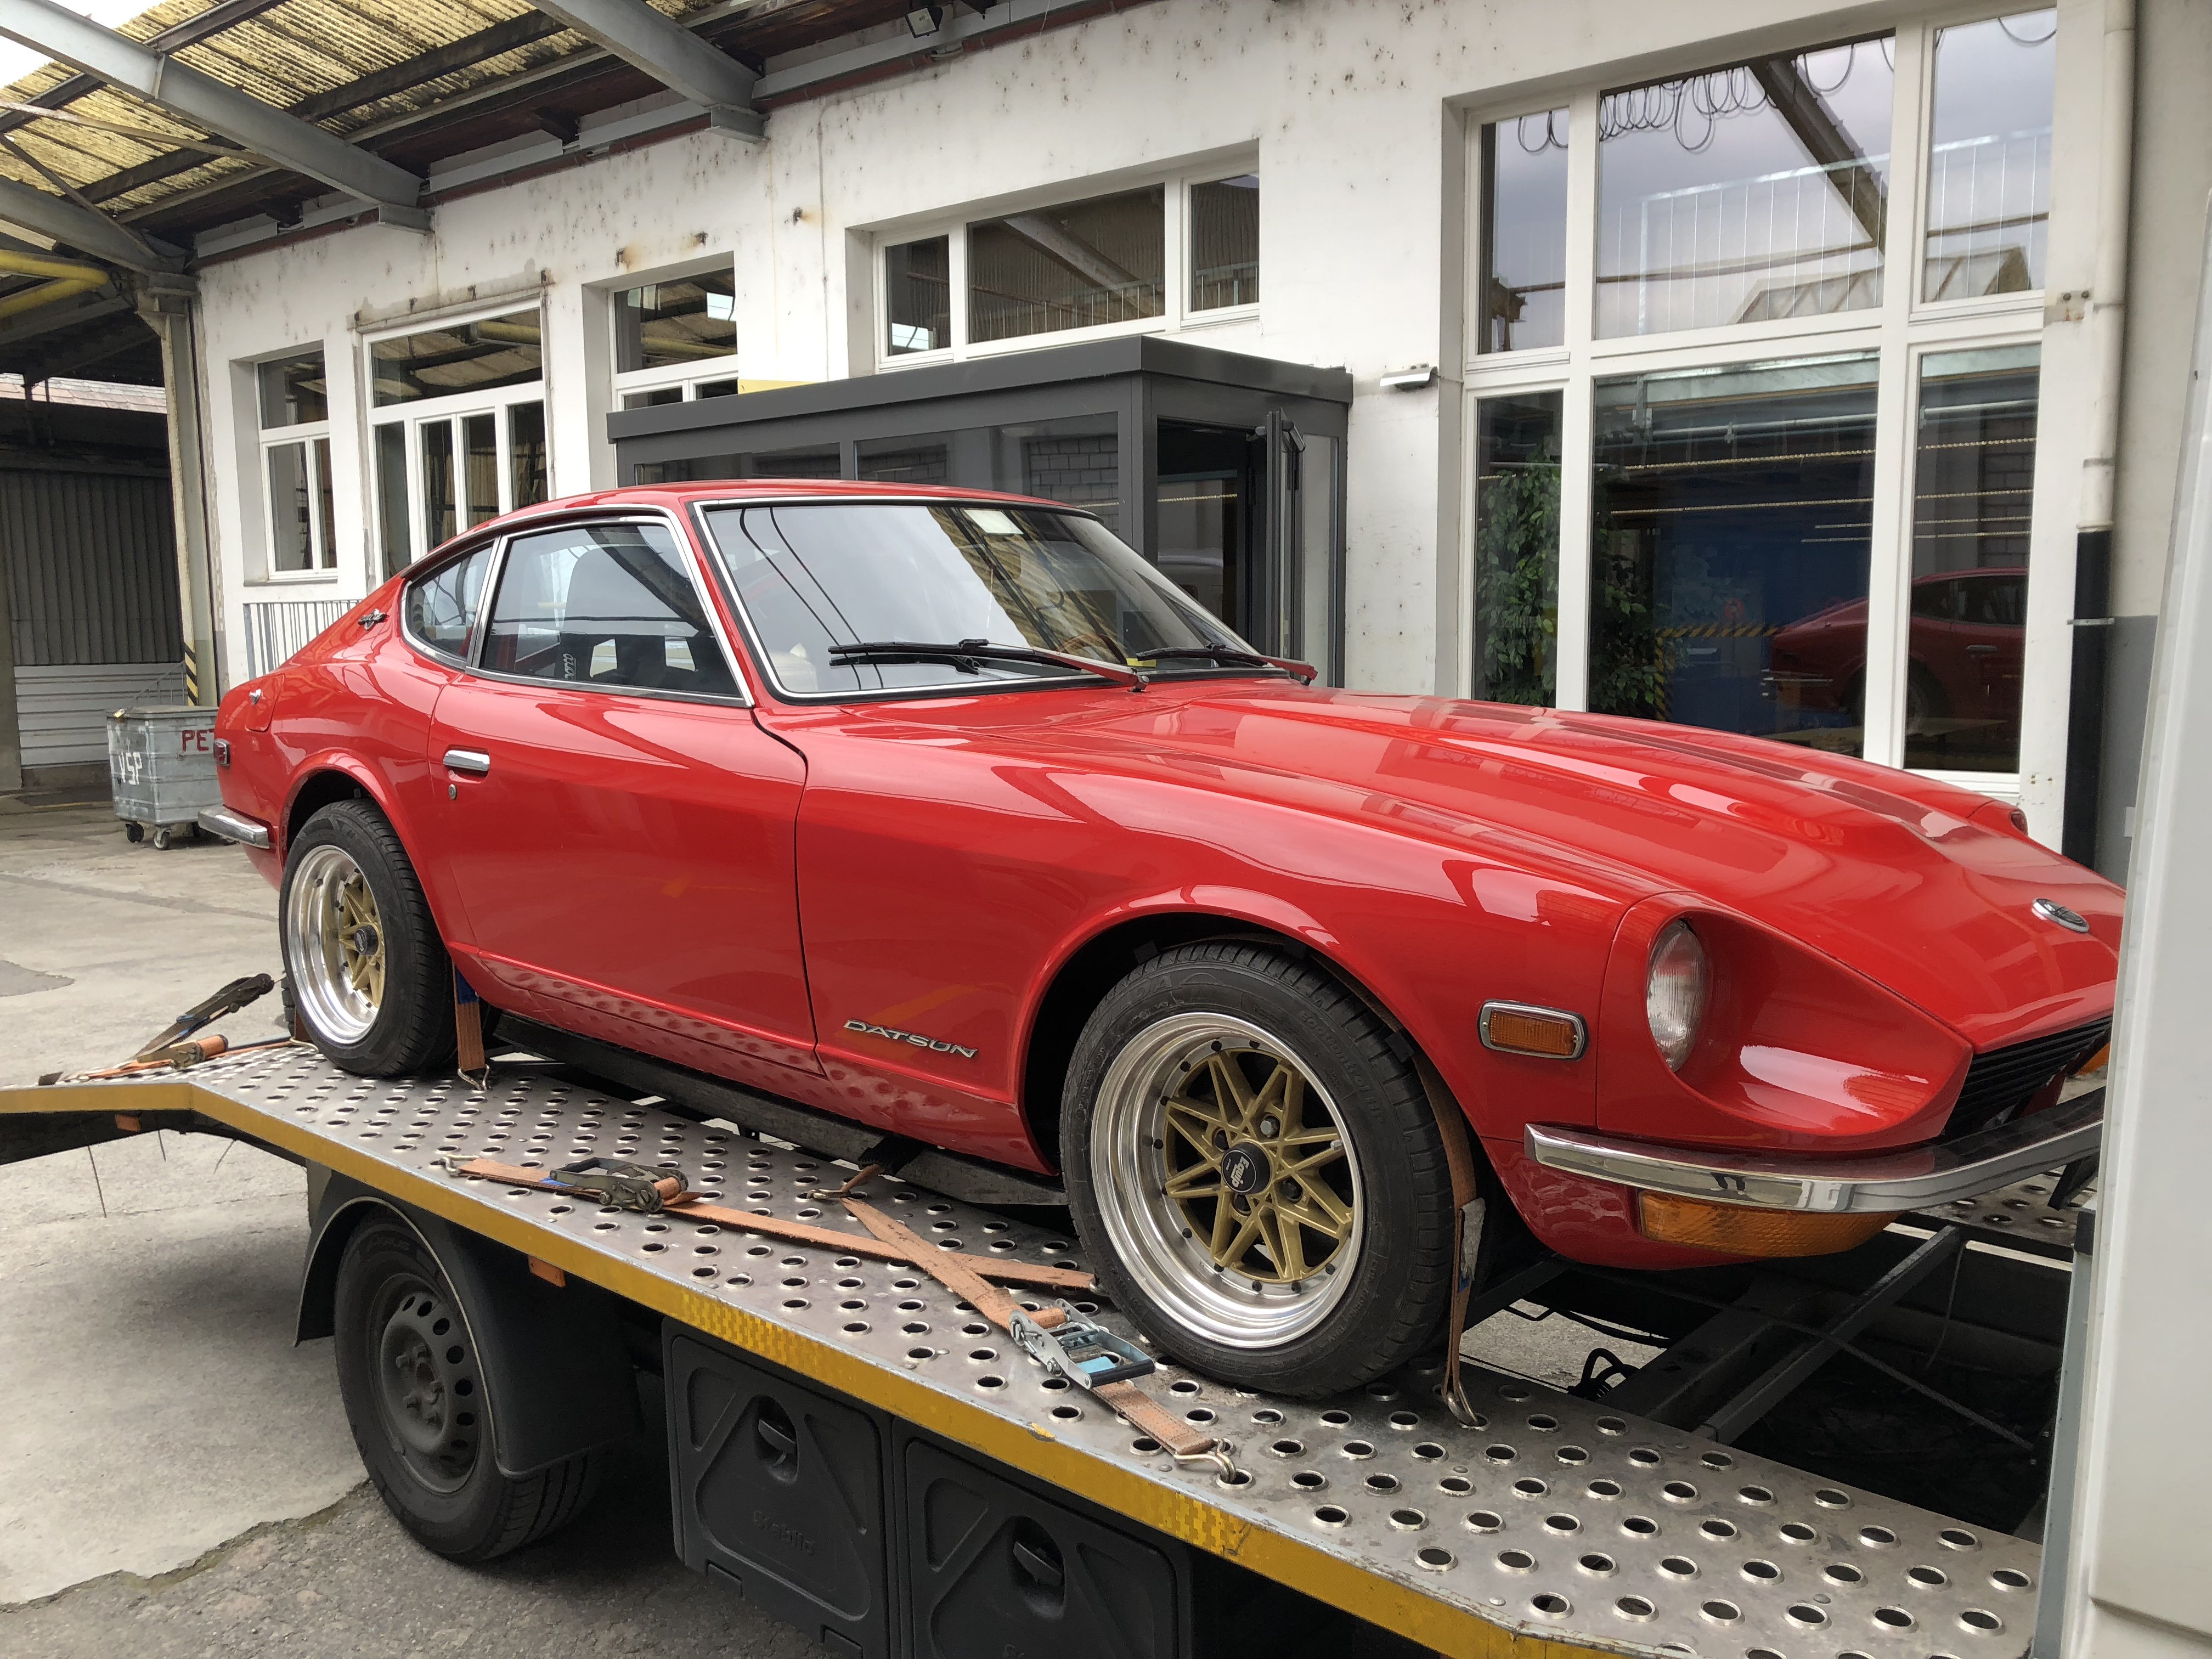
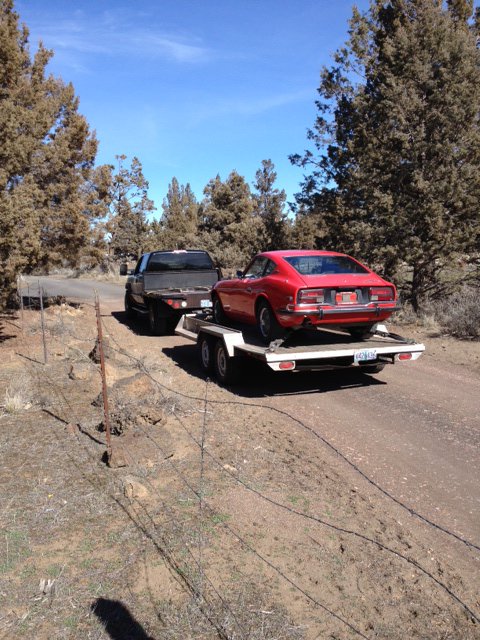
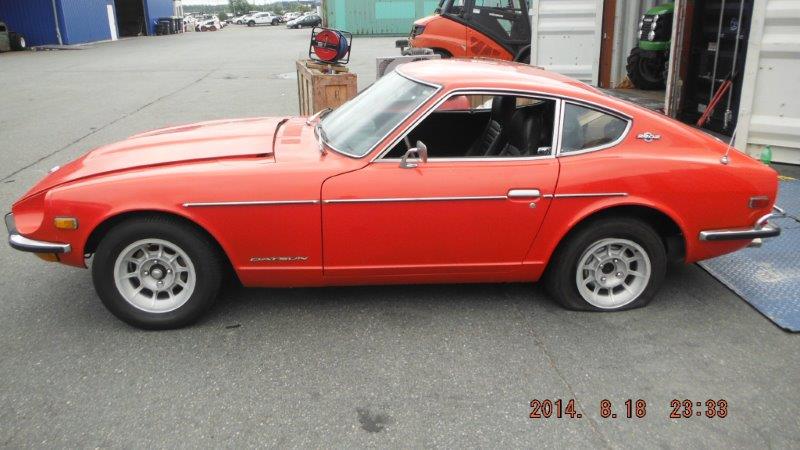
First of all here are some Pics, when I bought the car. I bought the car via Skype and never saw the car in real life.
A really friendly shipping company and some local Z enthusiasts helped me to get the car from Bend, OR to Switzerland.
The car was shipped from Houston, TX directly to Bremerhafen, Germany. From there with a truck to Zurich, where I saw it for the first time in real.
Arrived in Bremerhafen like this:
It took 8 months to ship the car, until it finally arrived in Switzerland.Of course I was disappointed, because everything was "well" used. Unfortunately the headlights, hazard switch, stoplights and turnsignal didn't work when I took it for the first drive.
After some research, I learned that these are the most common problems... so the story began.
After I solved the first electrical Problems, I got really excited.
Only had to swap the speedo vom MPH to KMH and change the headlights and turnsignals to EU-spec. Finally I can drive it!
Then I bought the first upgrades:
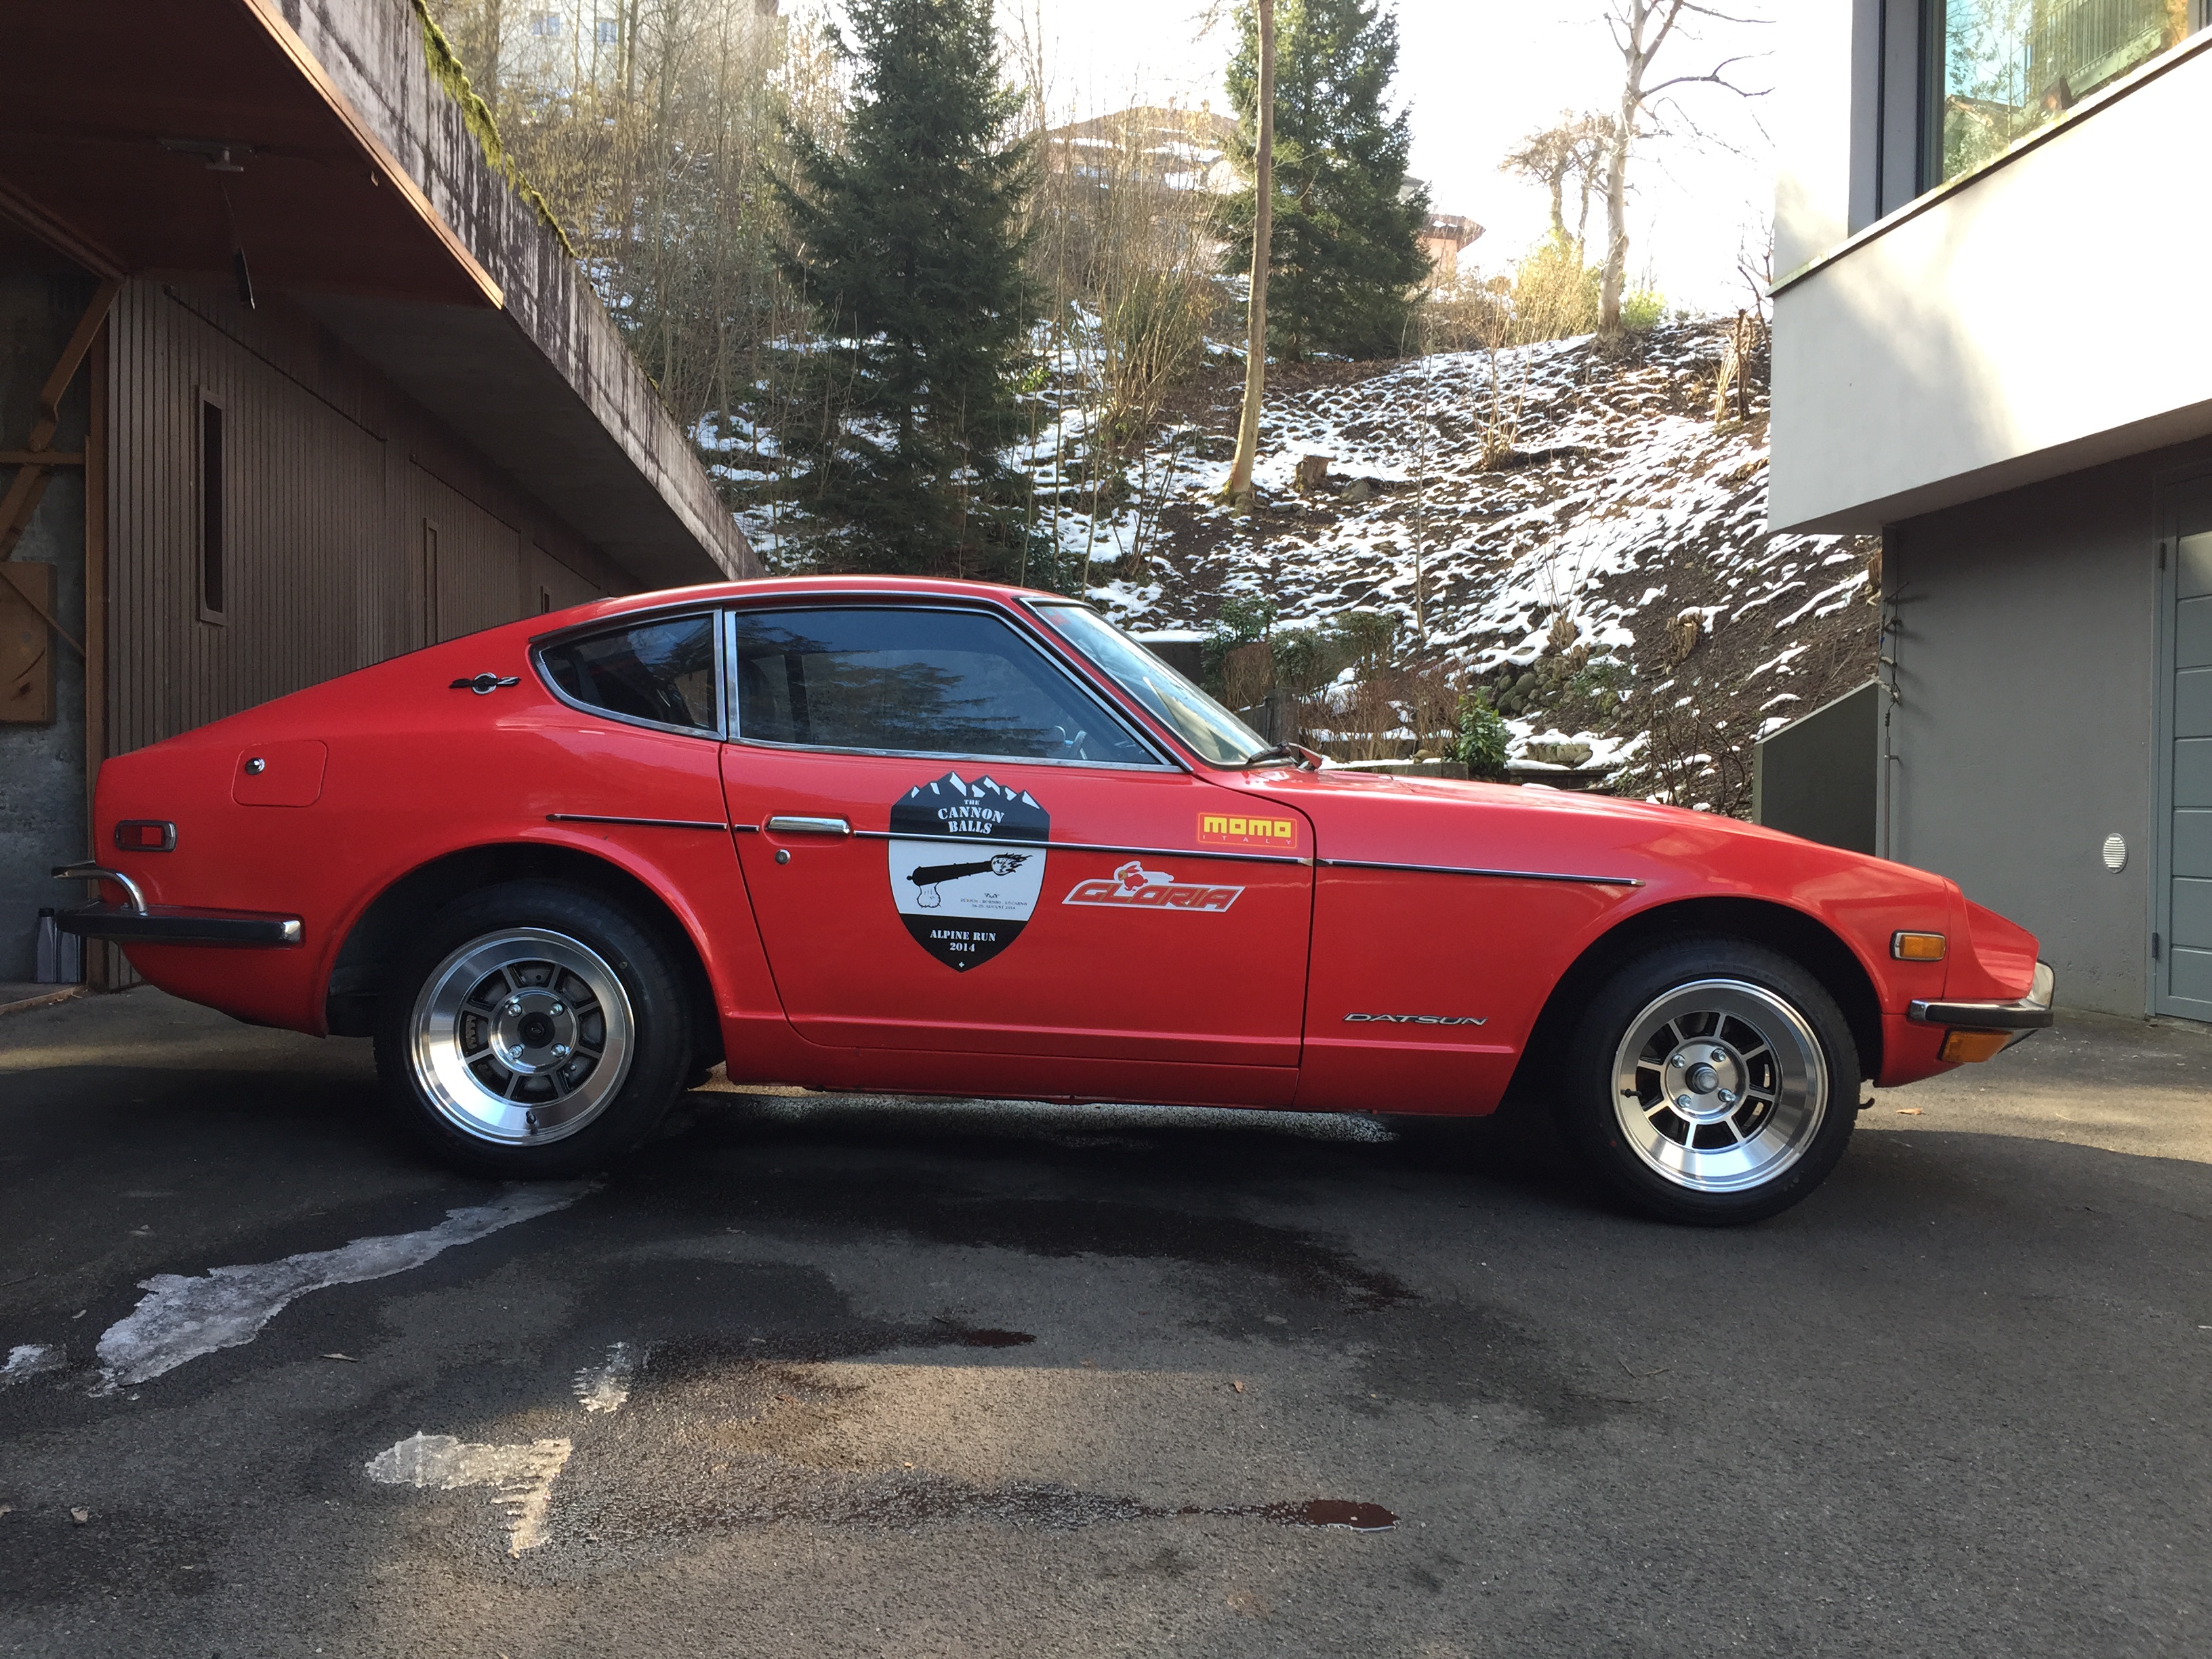
Rota Shakotan 15x9 ET0 with Fulda 205 tyres, bought from driftworks.com
Really nice complete stainless steel exhaust System from Sean Dezart.
New bumpers needed, for a better JDM look:
I realised, that the car sits way too high, so I installed new shocks and springs, like all do.
Then it looked like this... getting better and better!


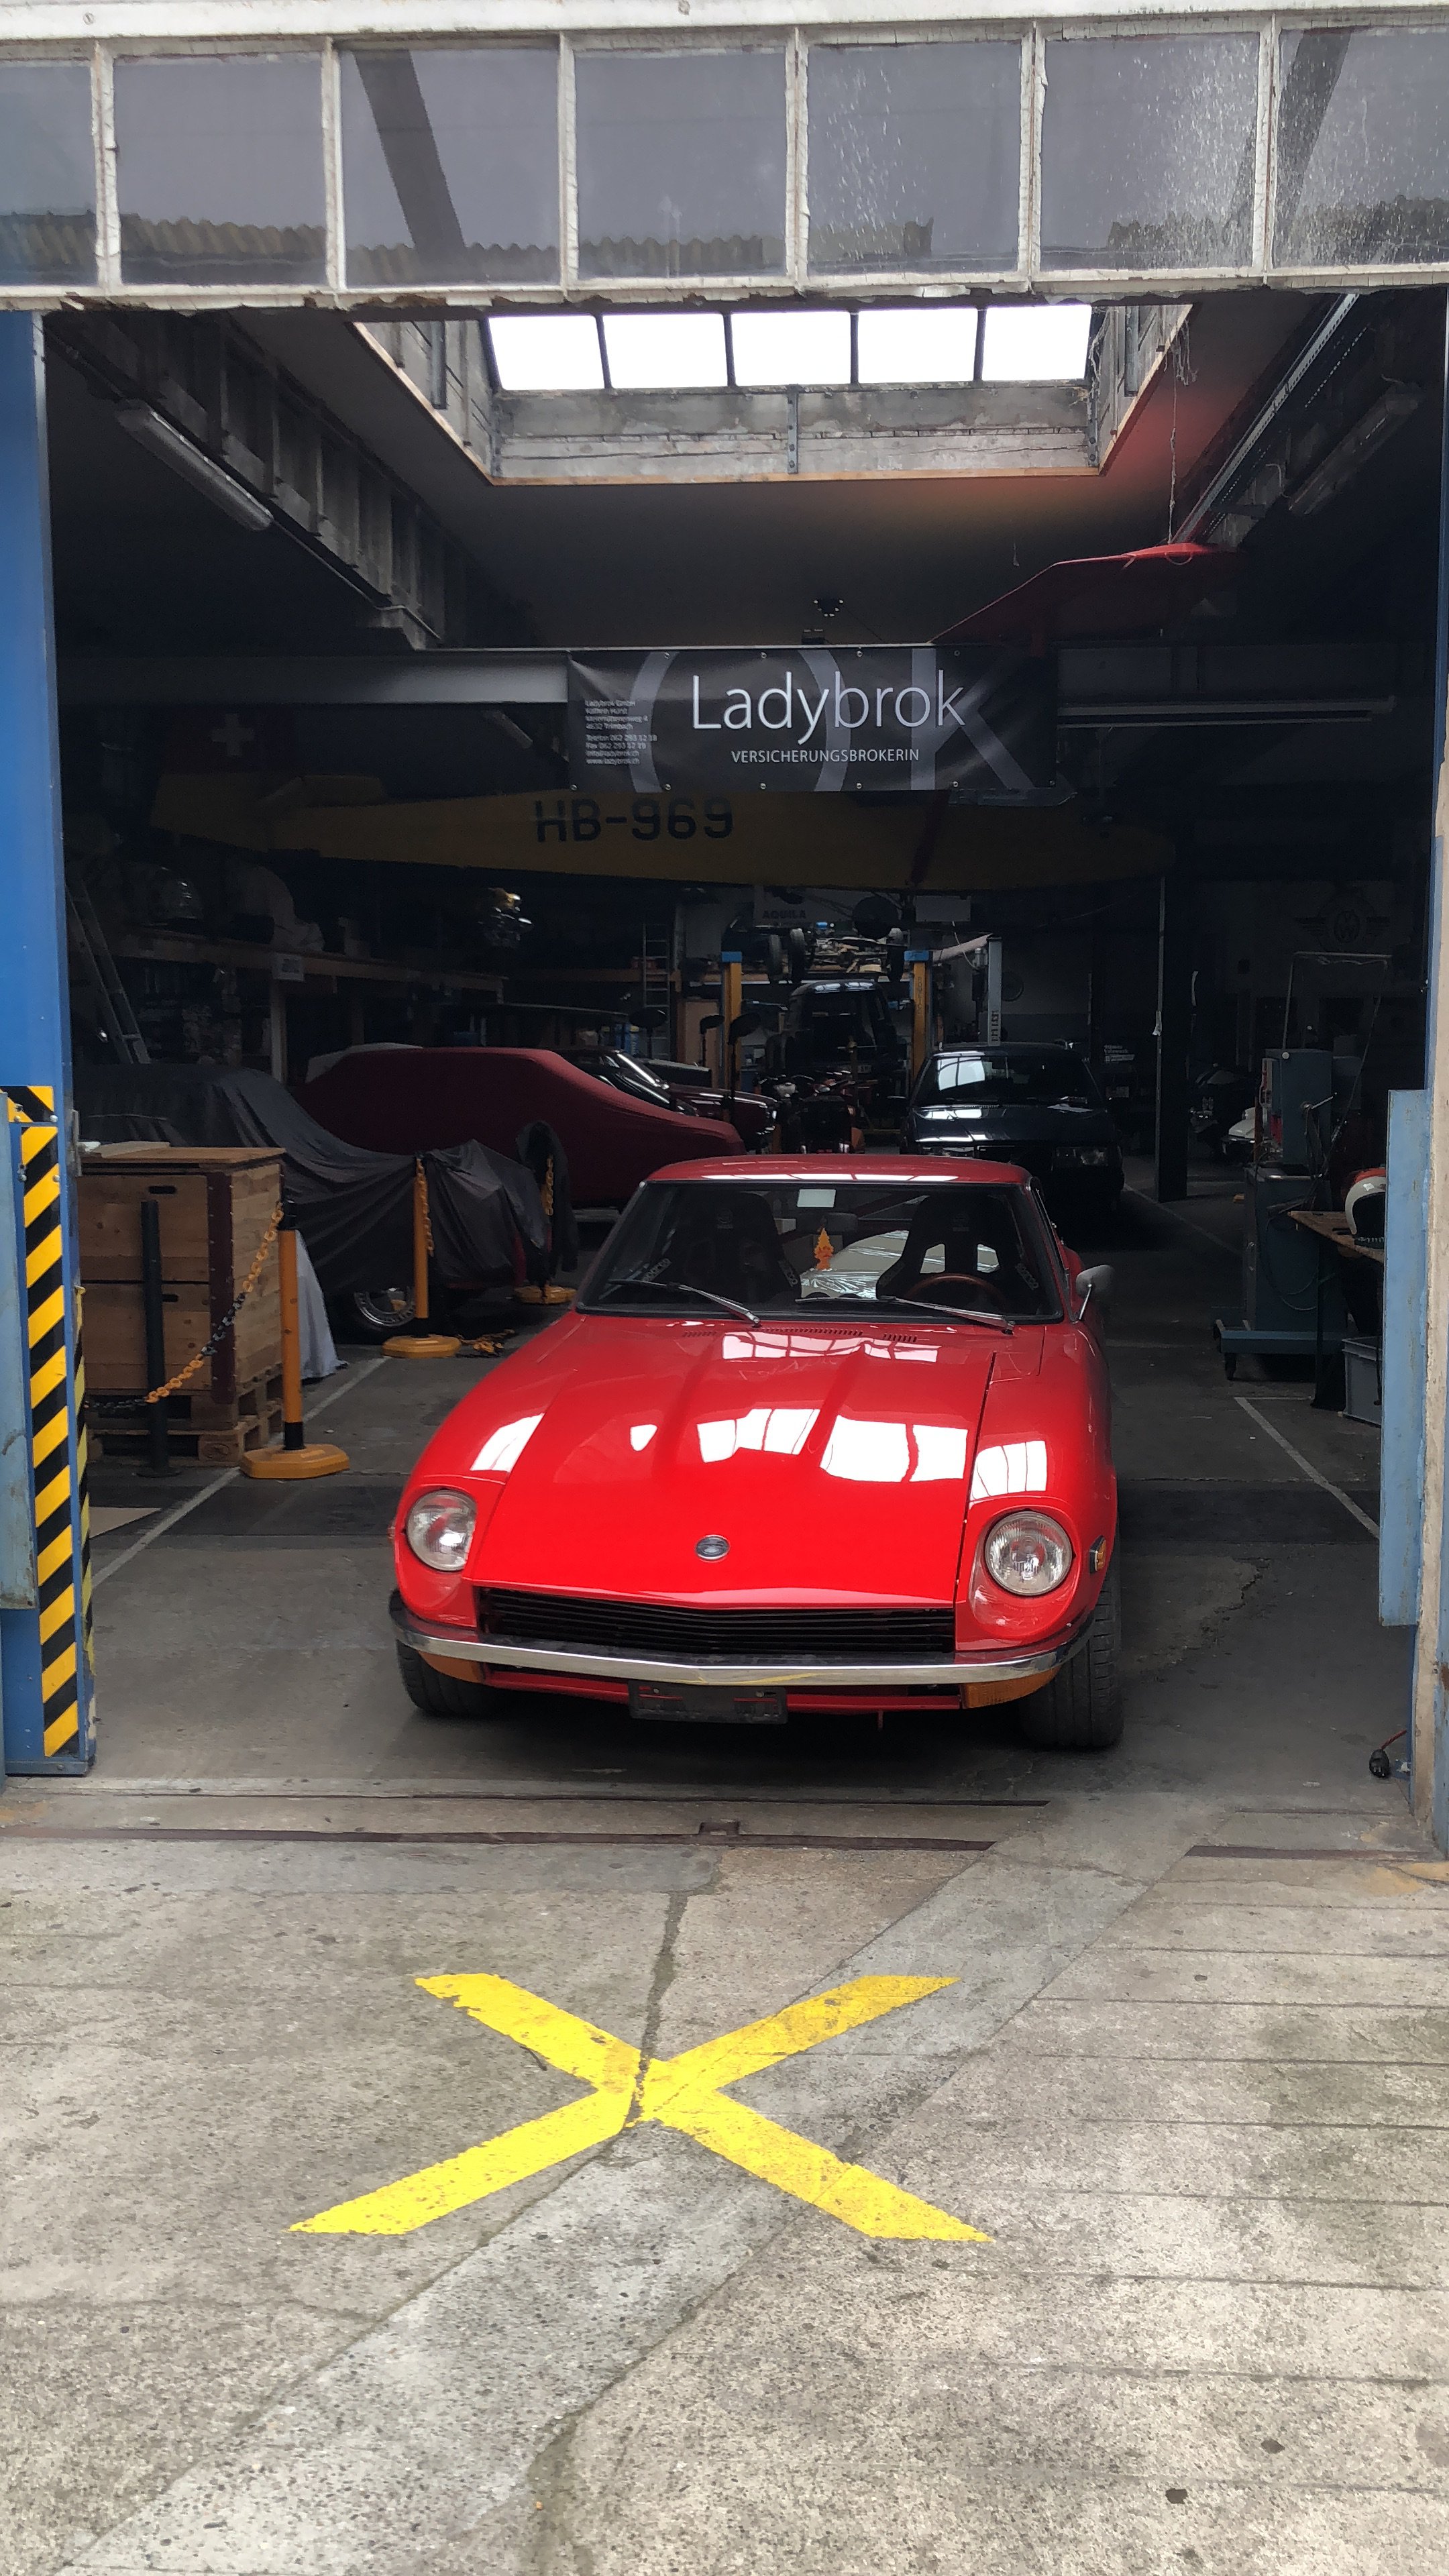


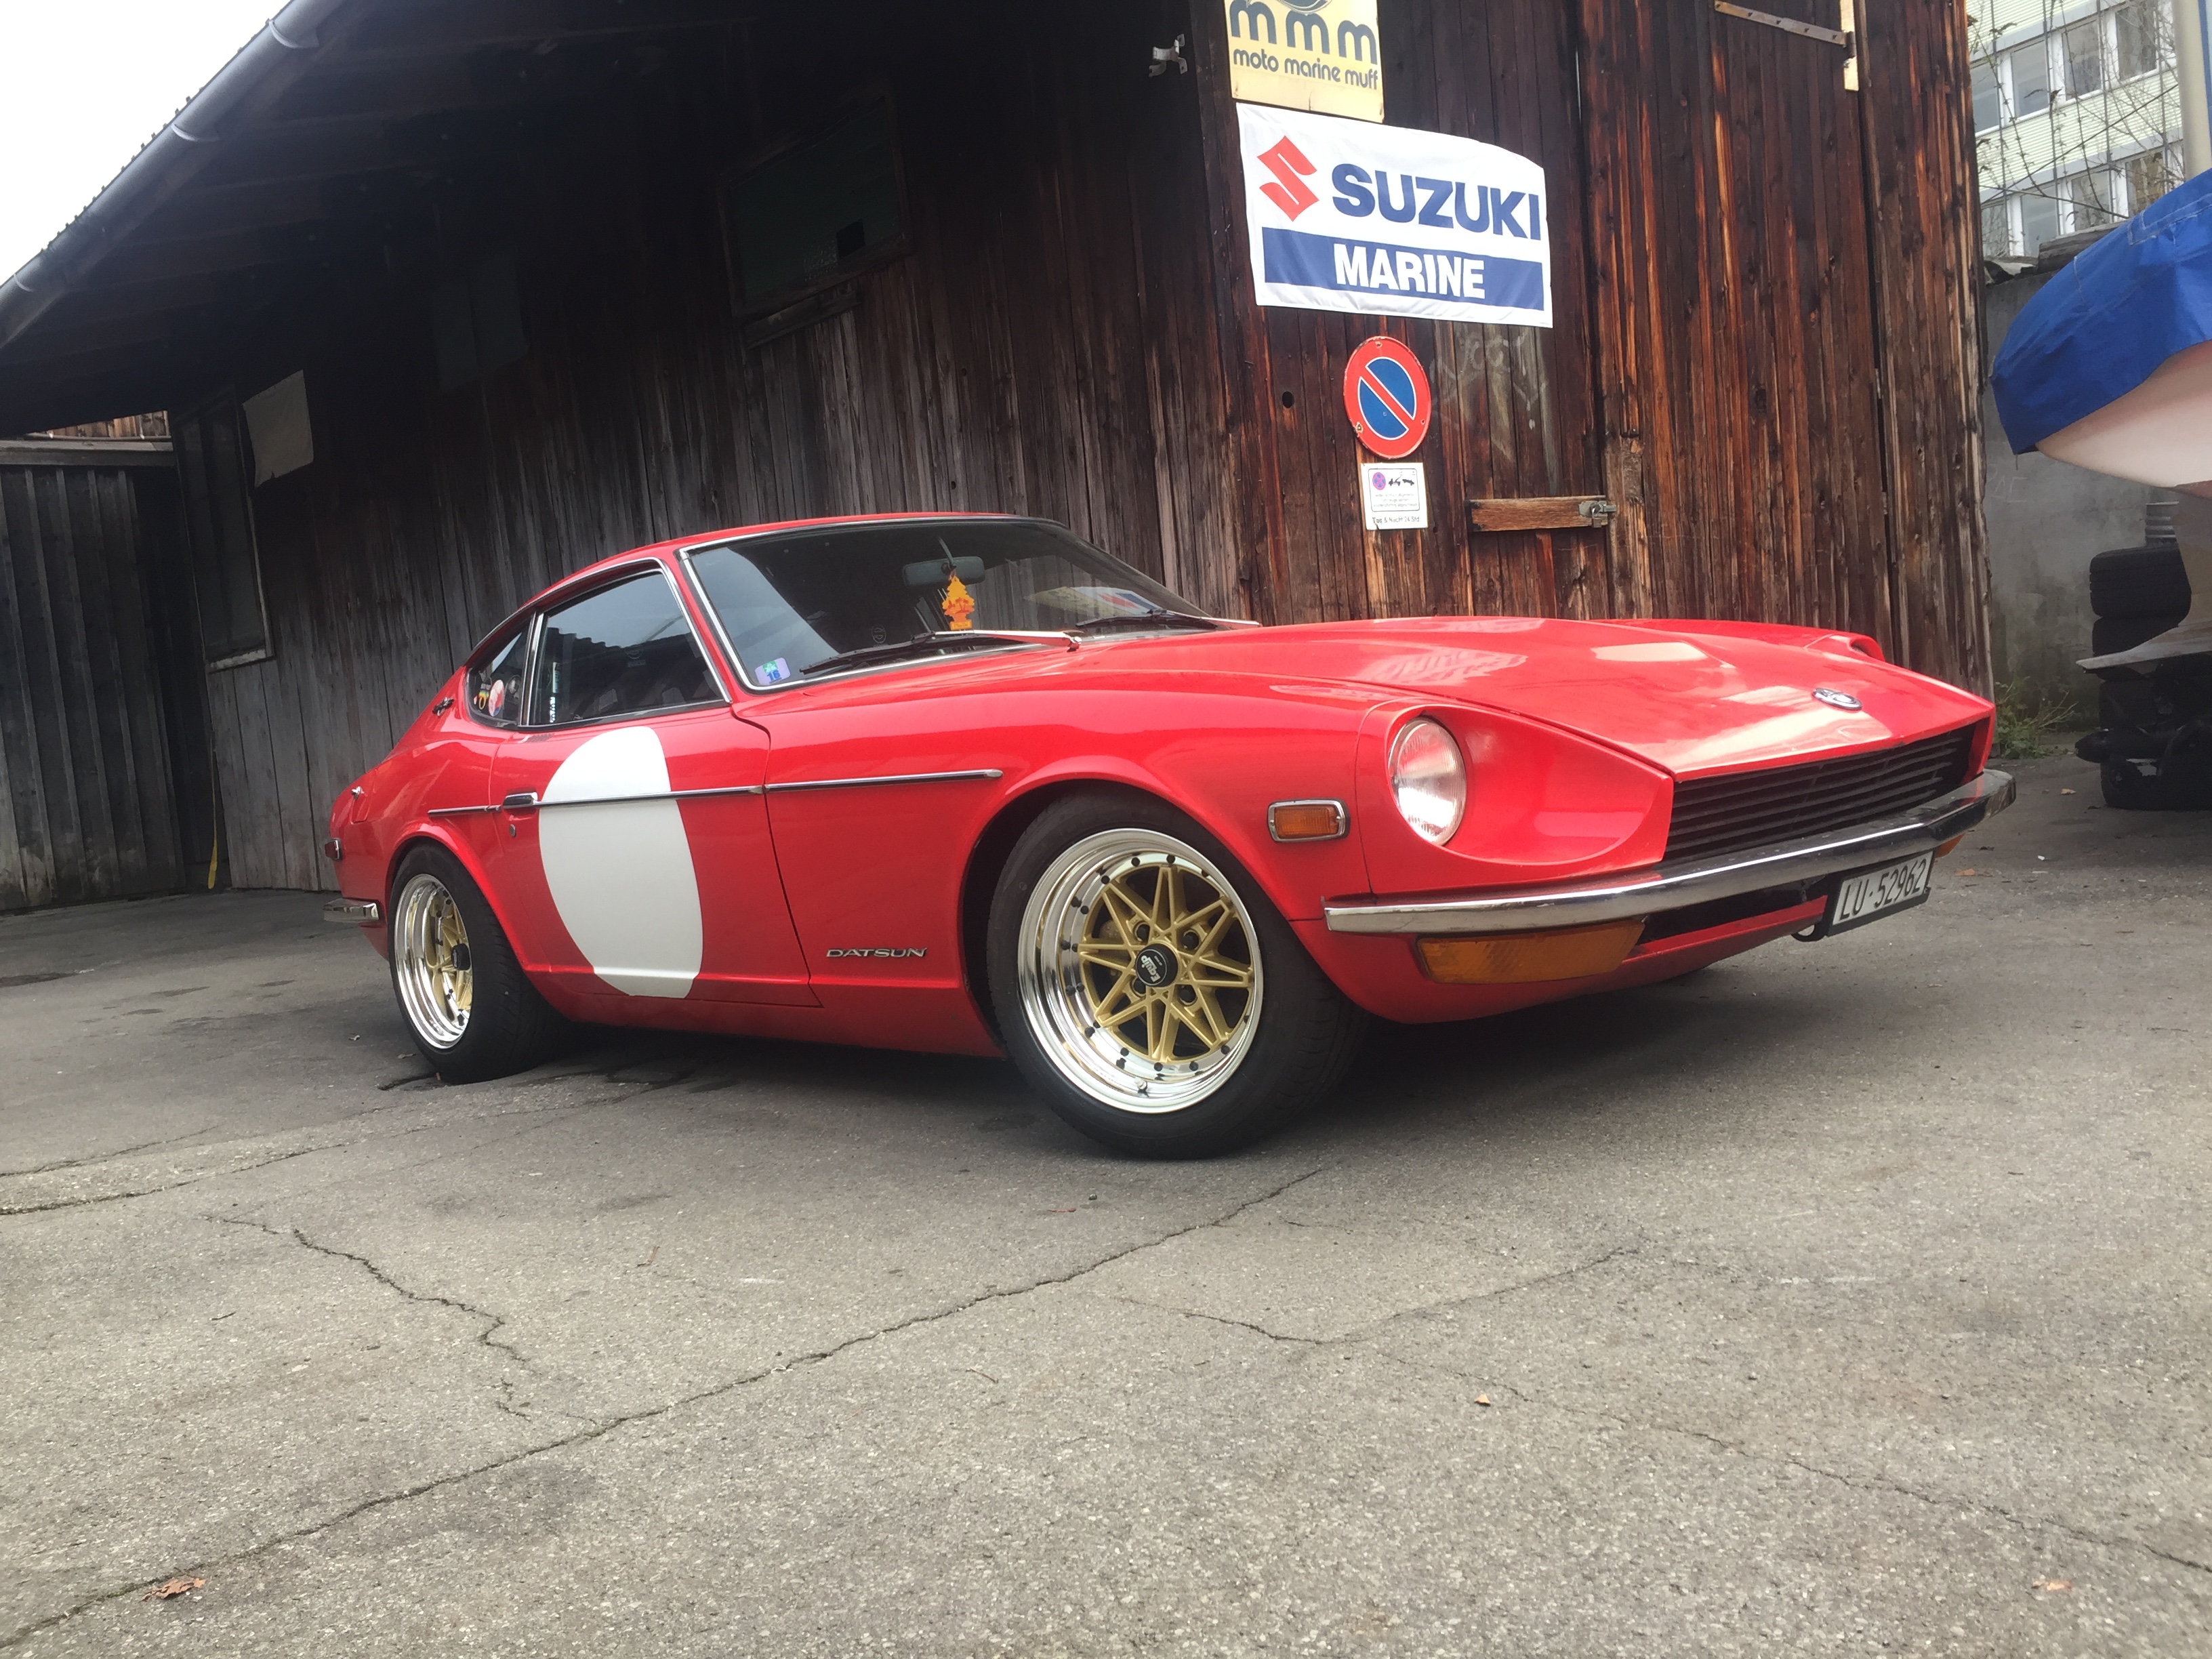


I'm Back, 1971 240Z and Yes, it will be TurboCharged
in S30 Series - 240z, 260z, 280z
Posted
Please stay old school! 🙂