

5.3swapped260z
-
Posts
34 -
Joined
-
Last visited
Content Type
Profiles
Forums
Blogs
Events
Gallery
Downloads
Store
Posts posted by 5.3swapped260z
-
-
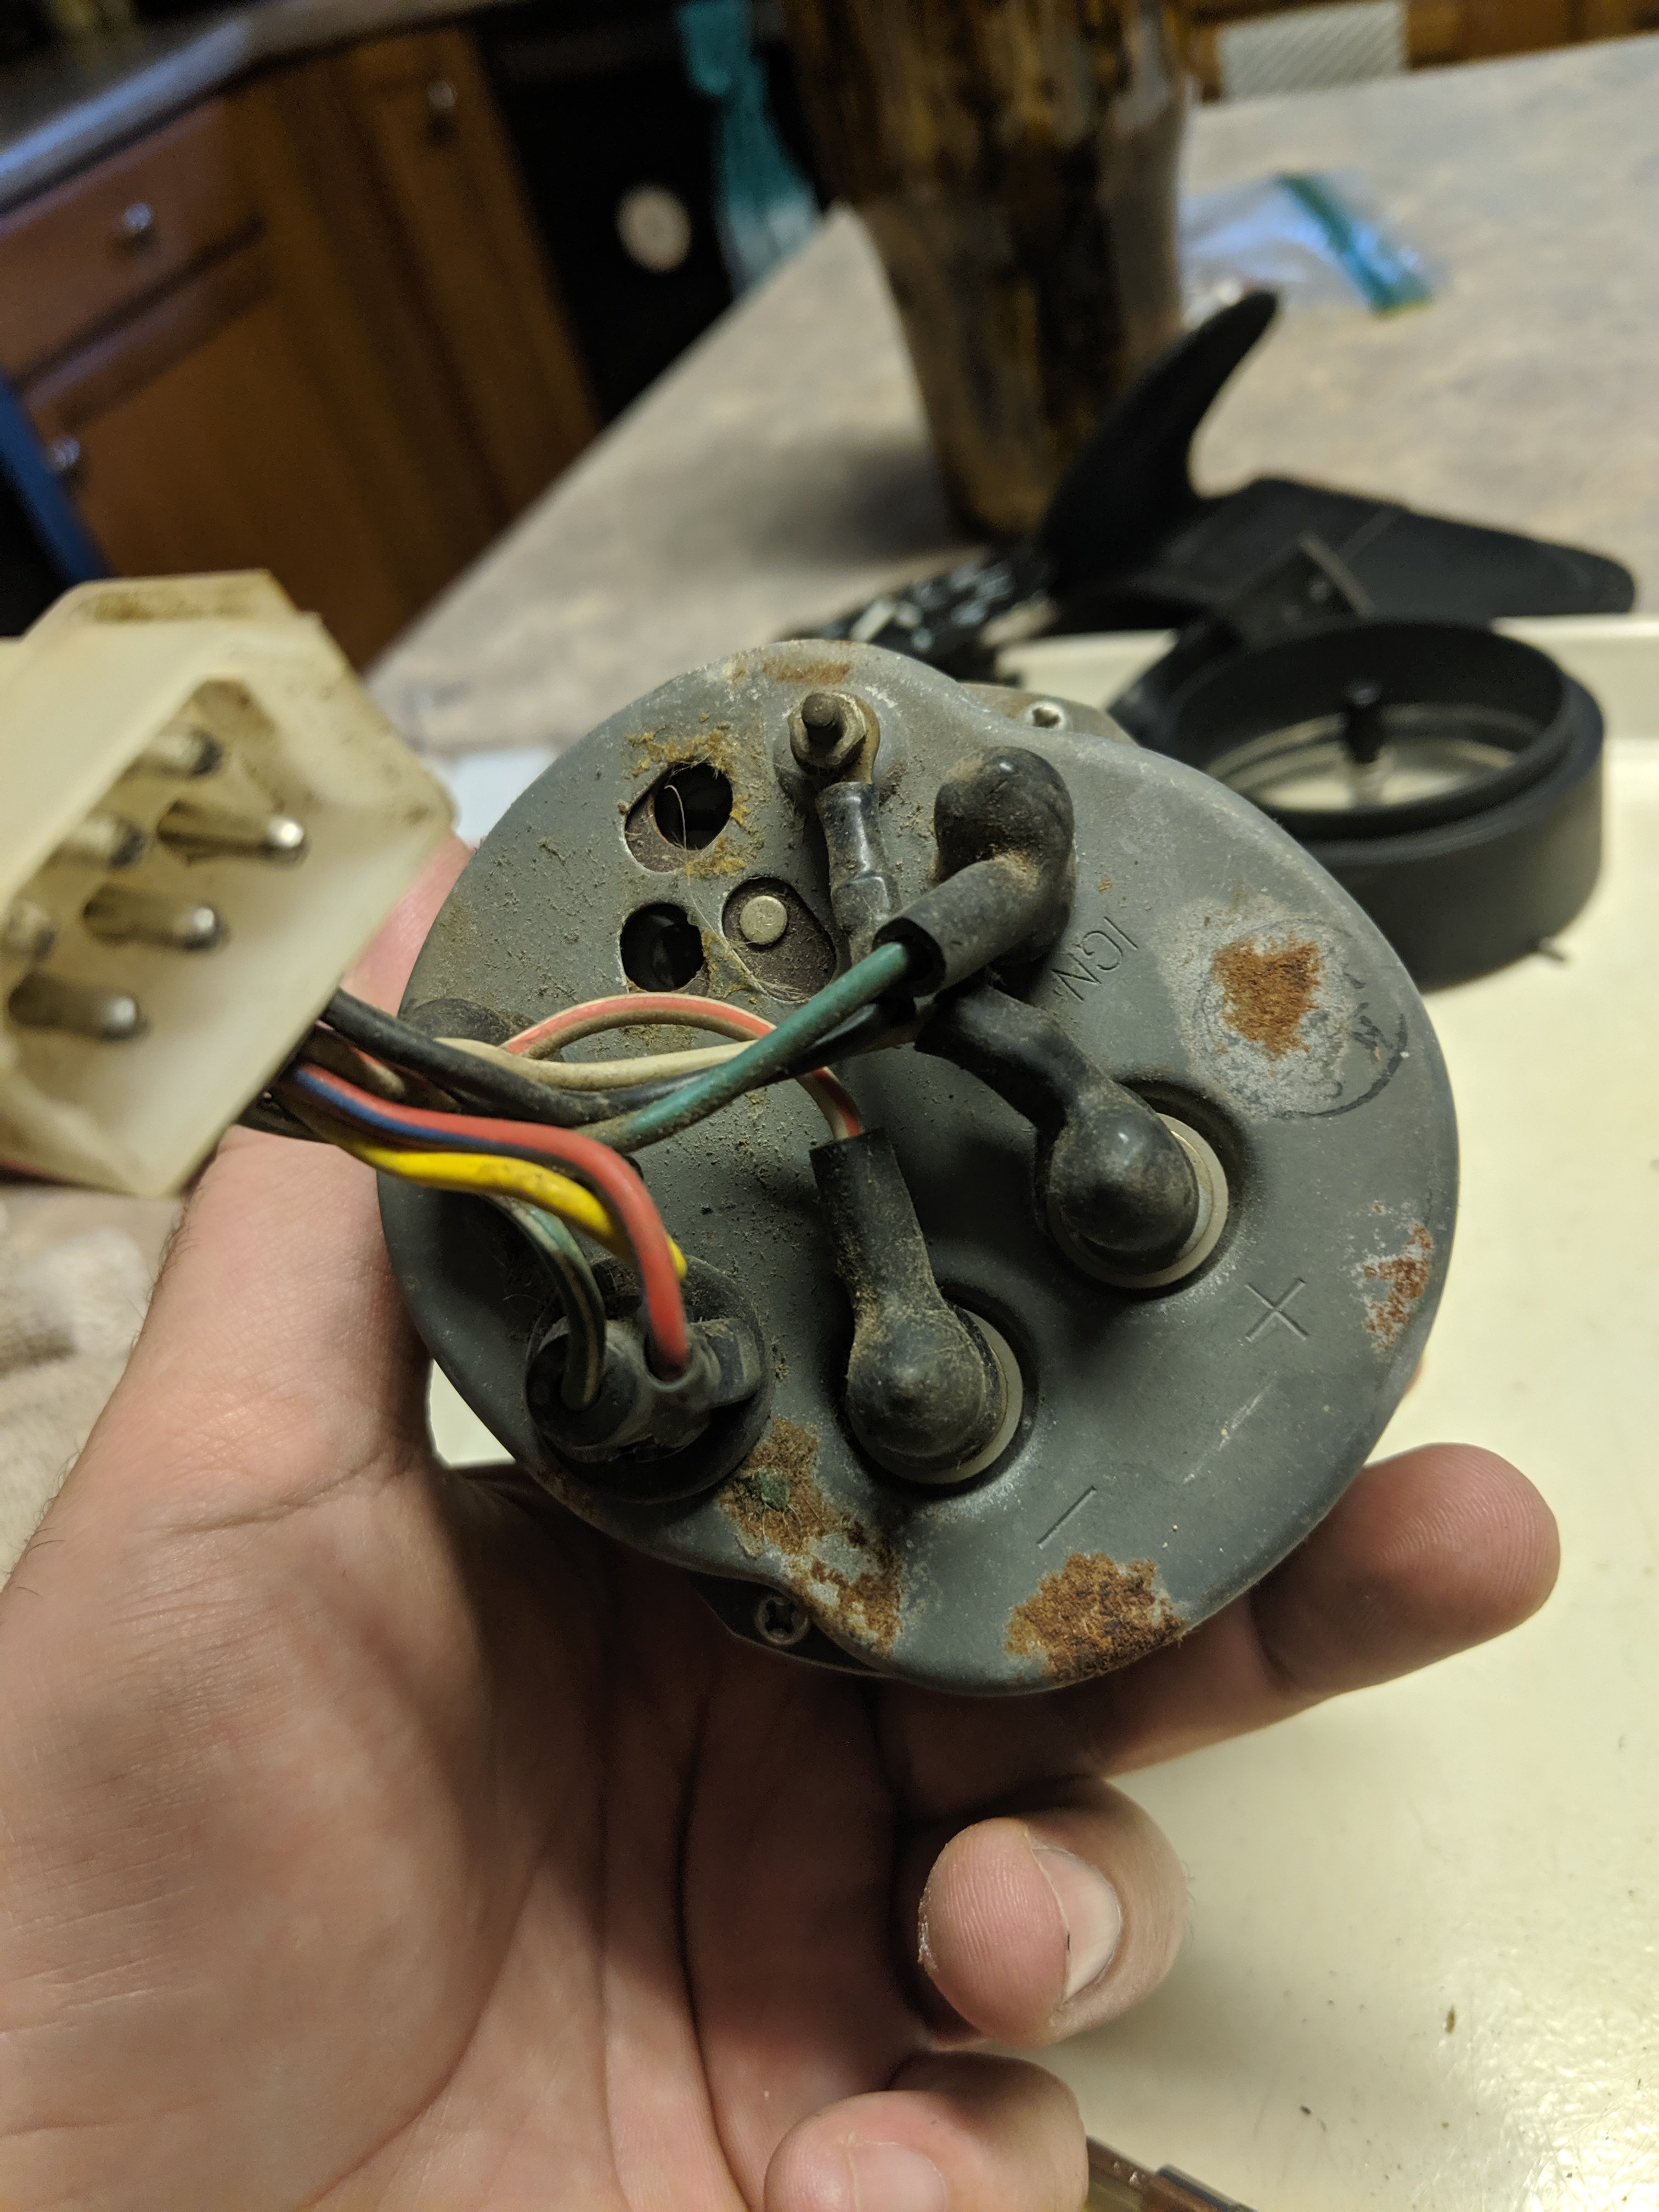
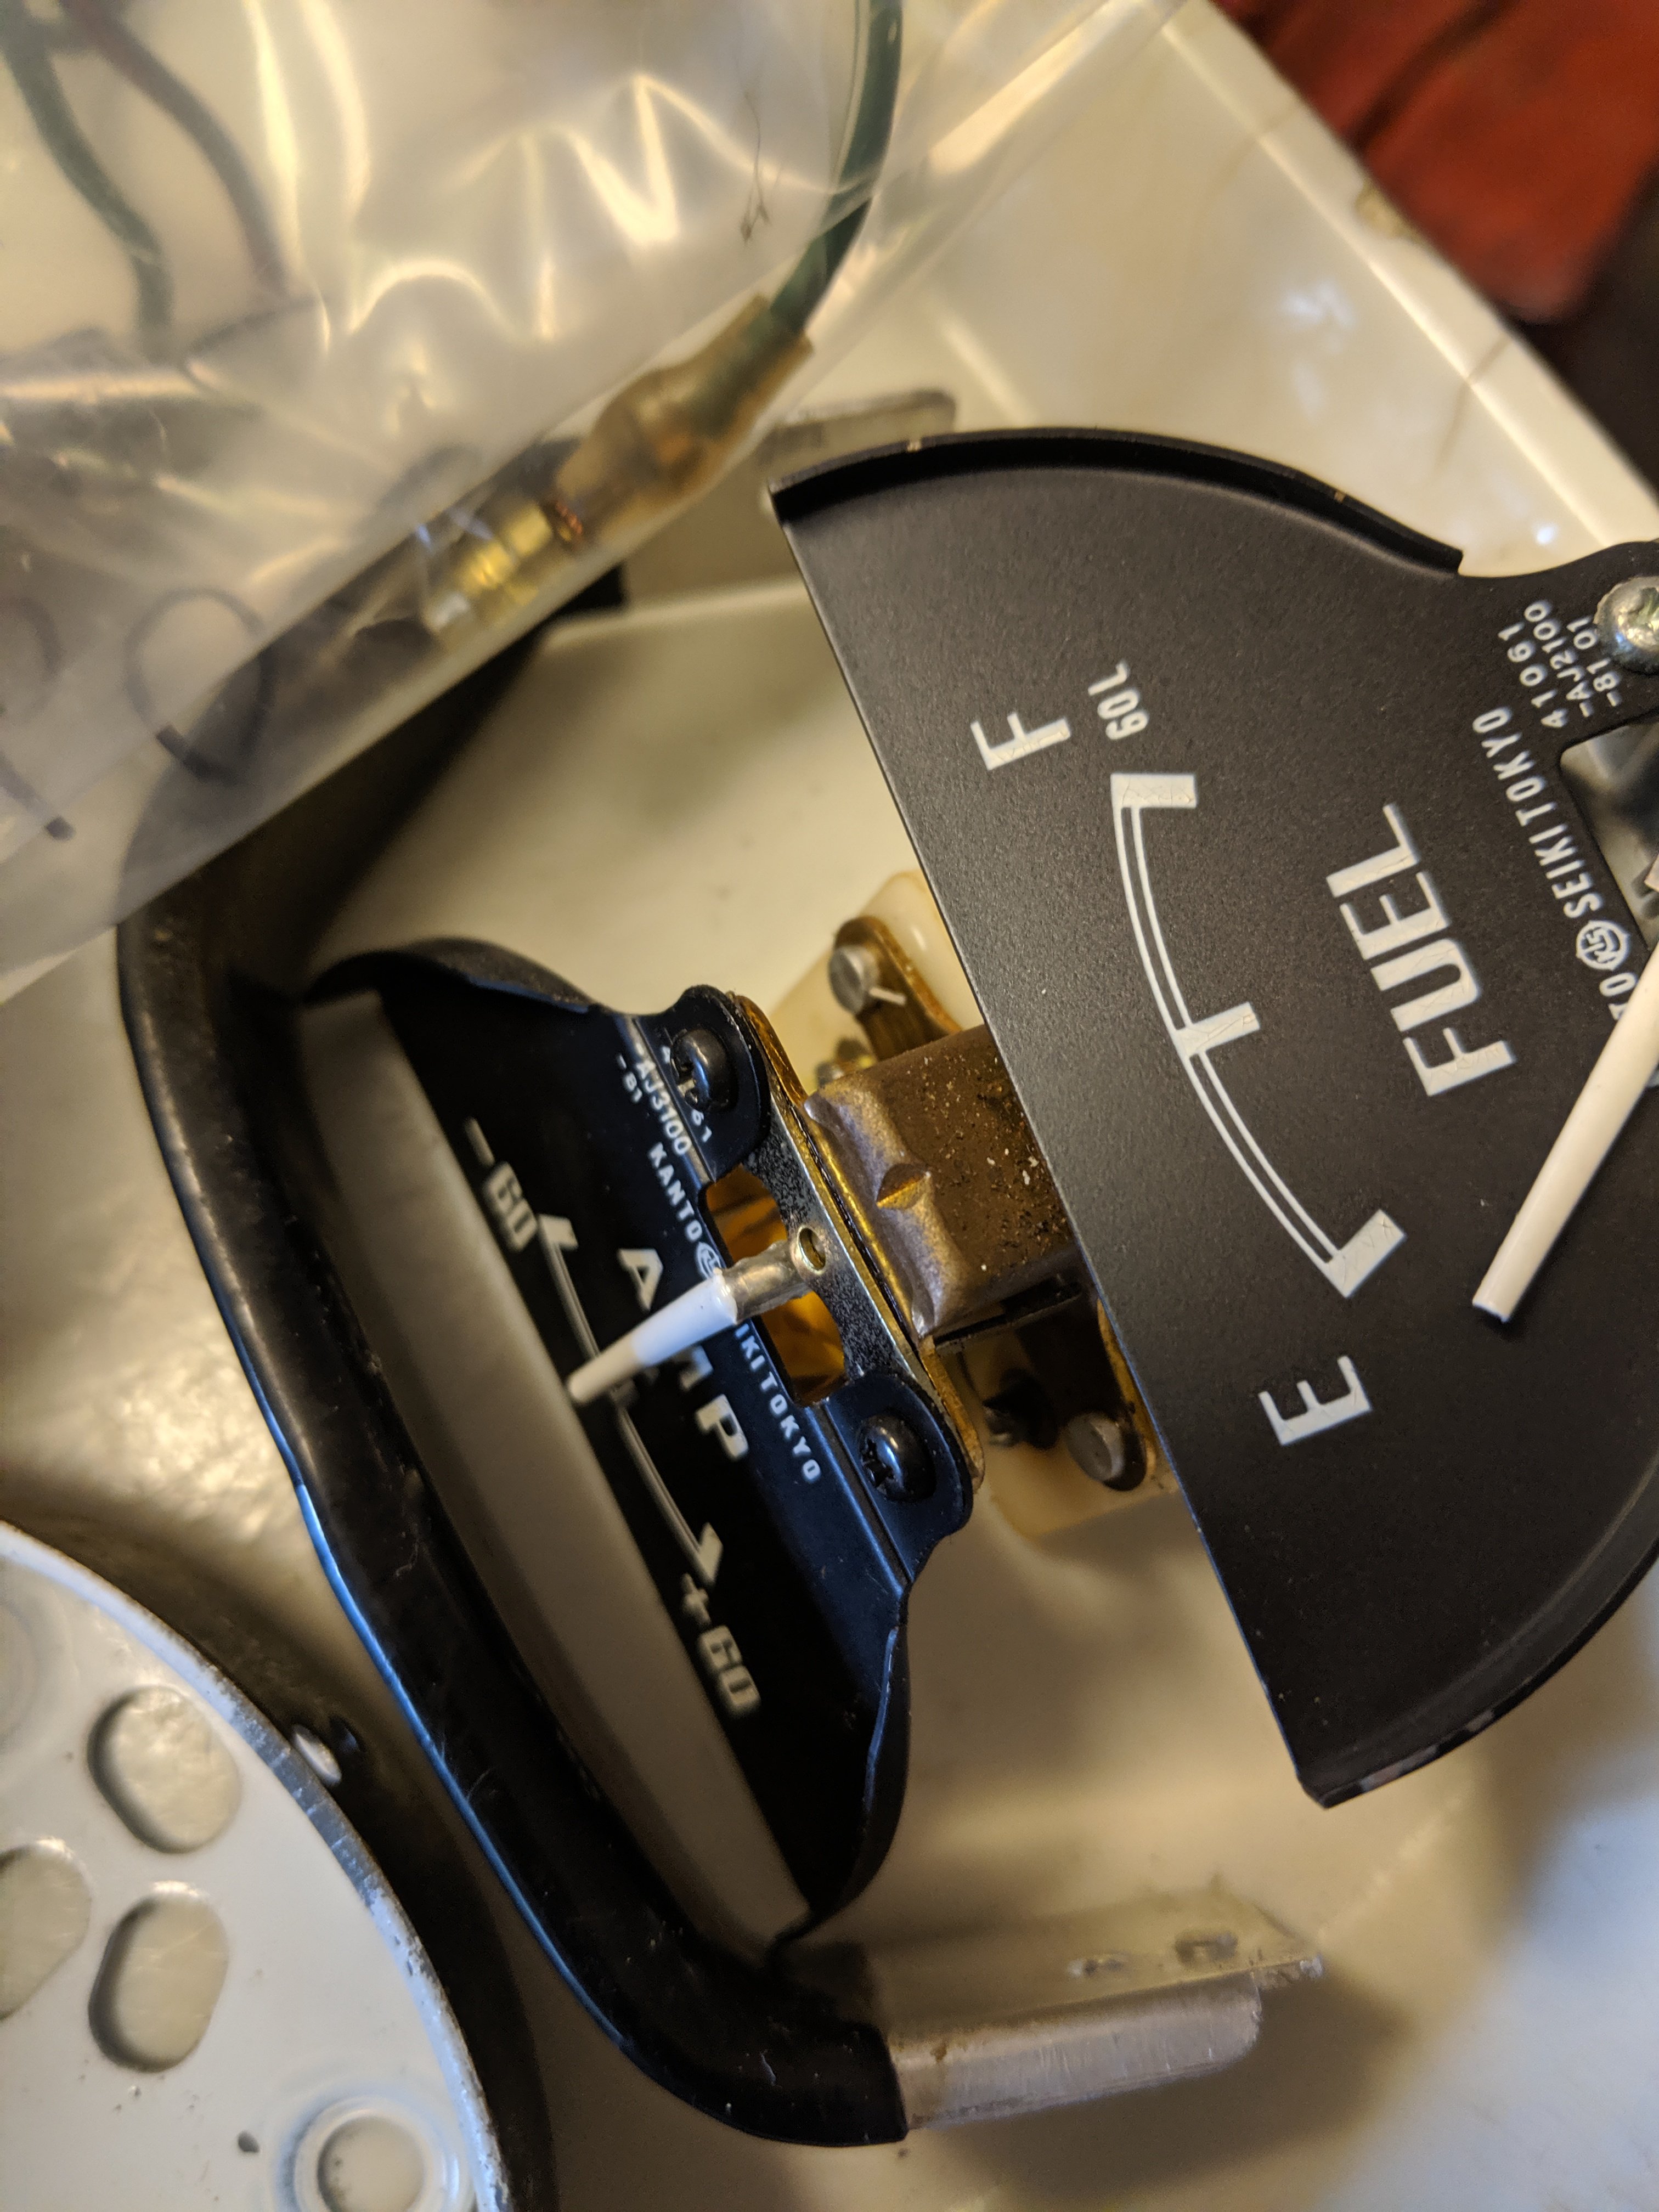
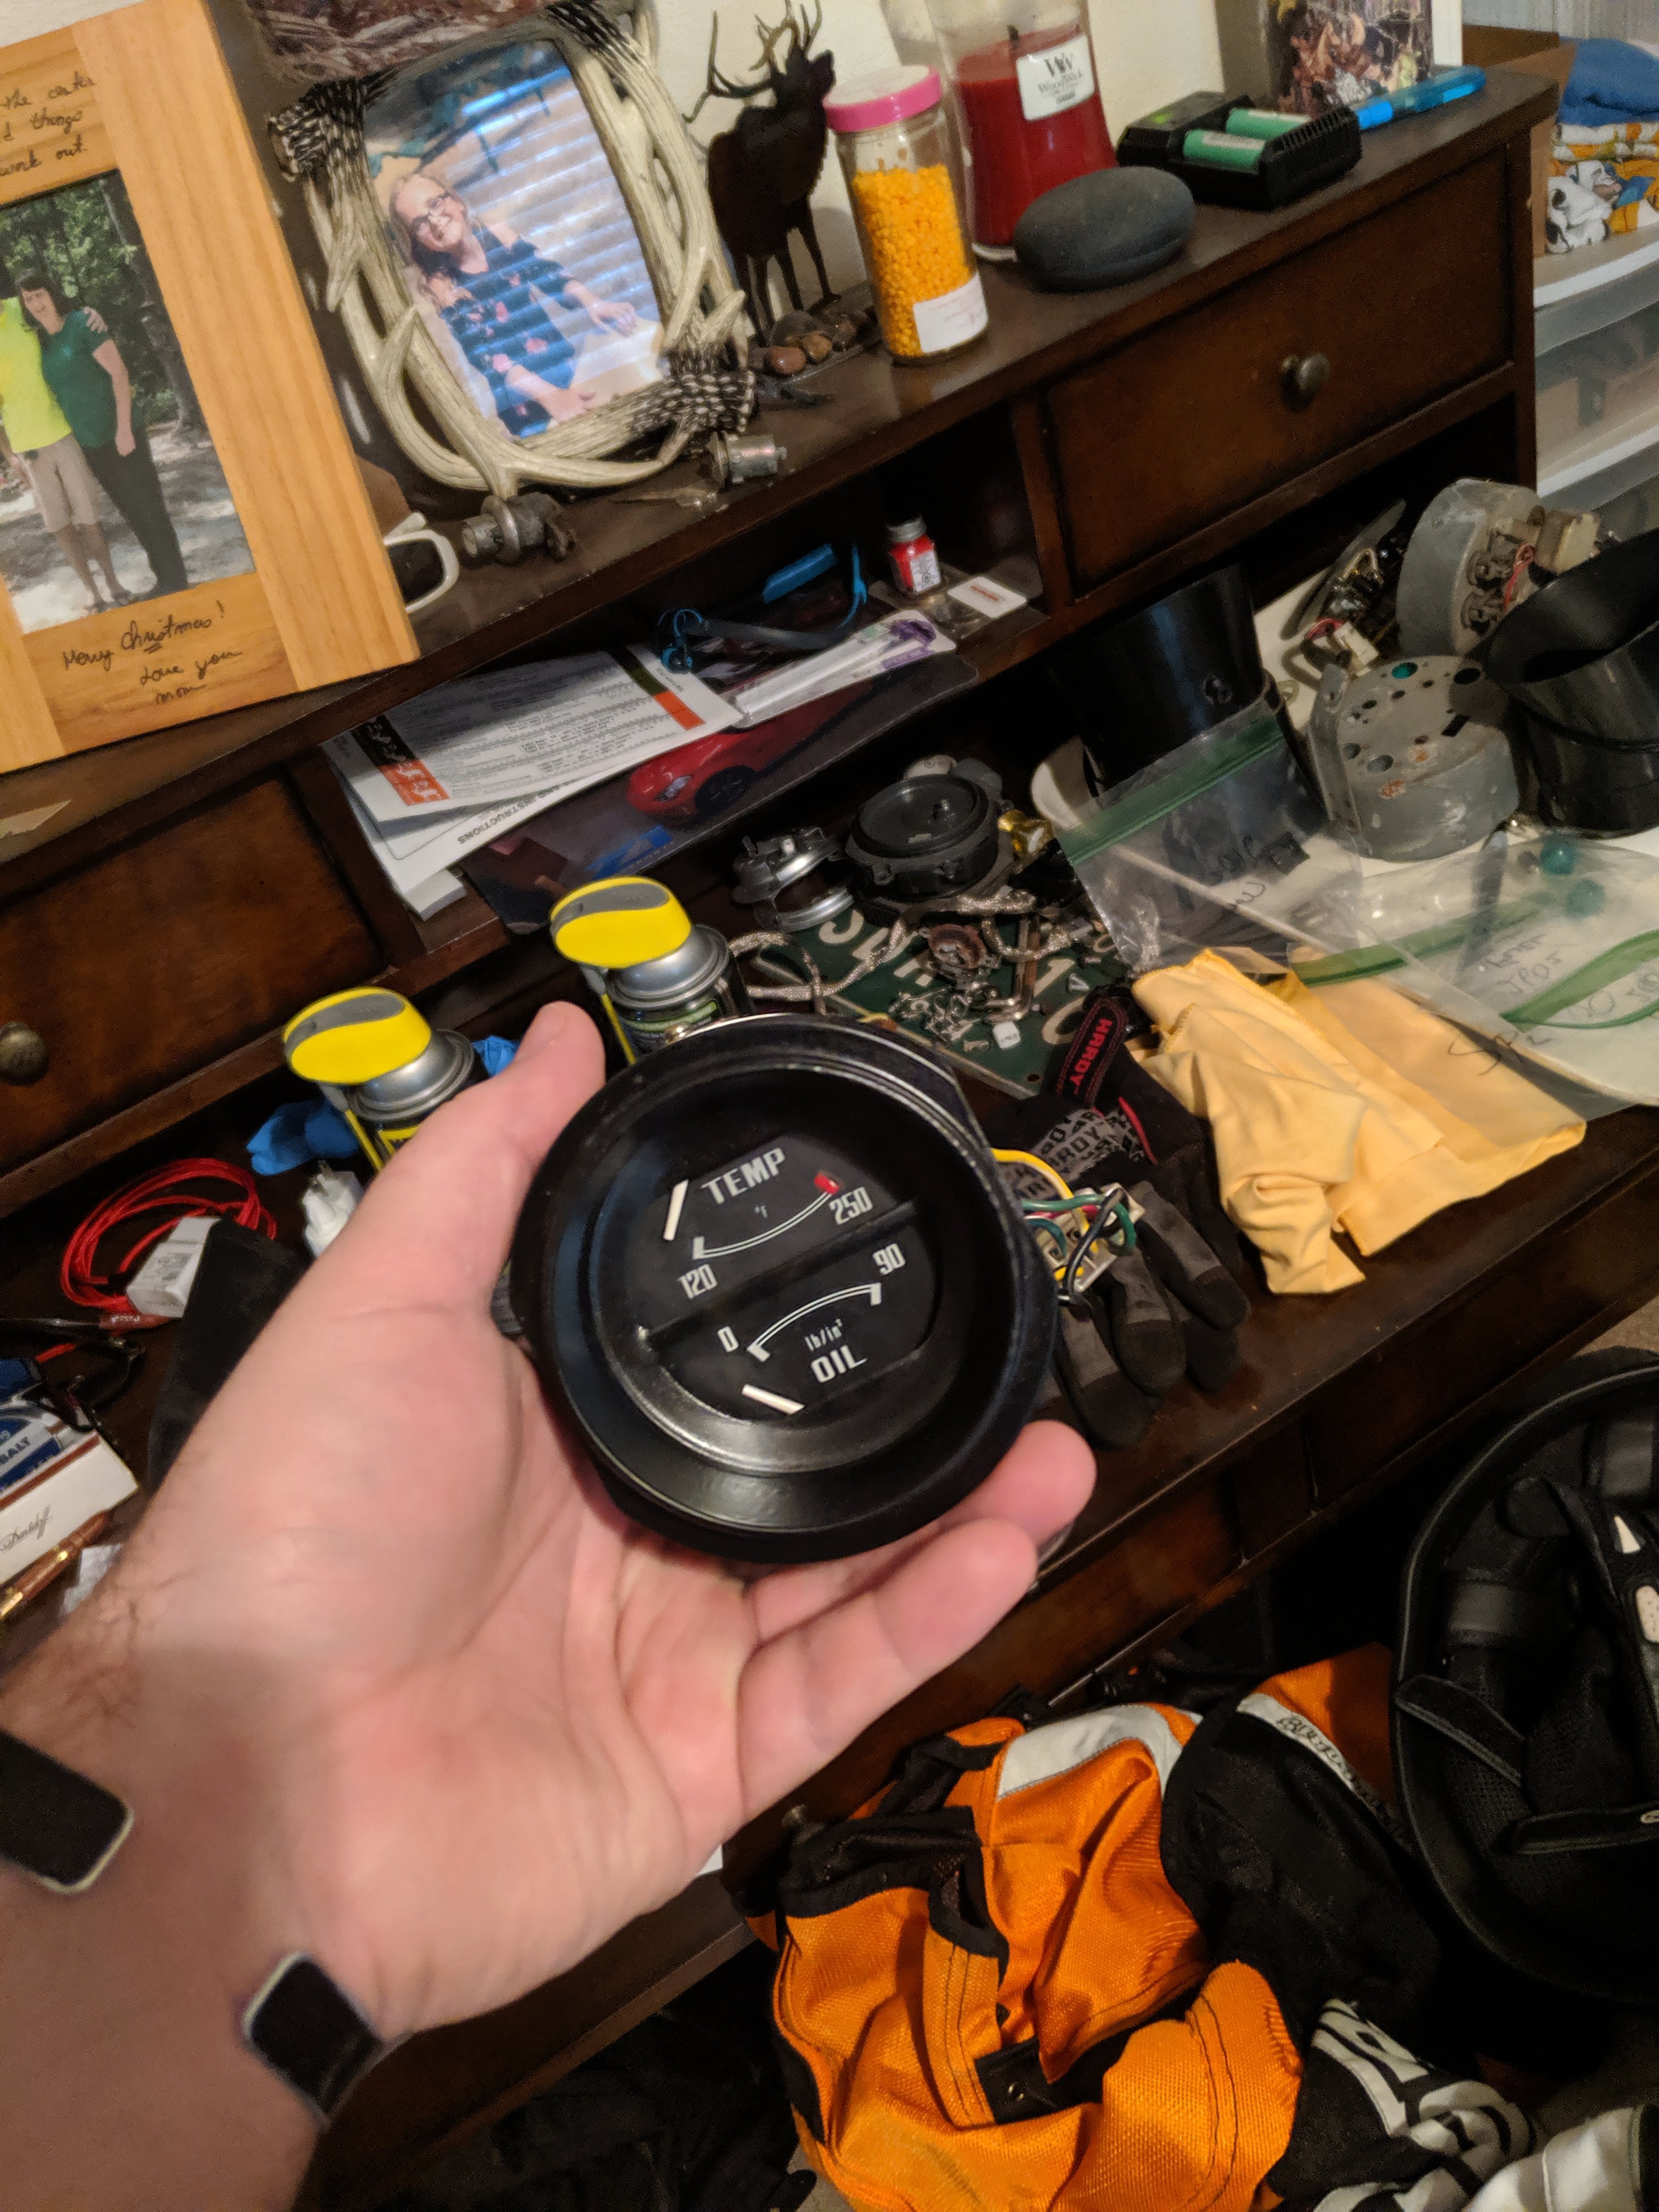
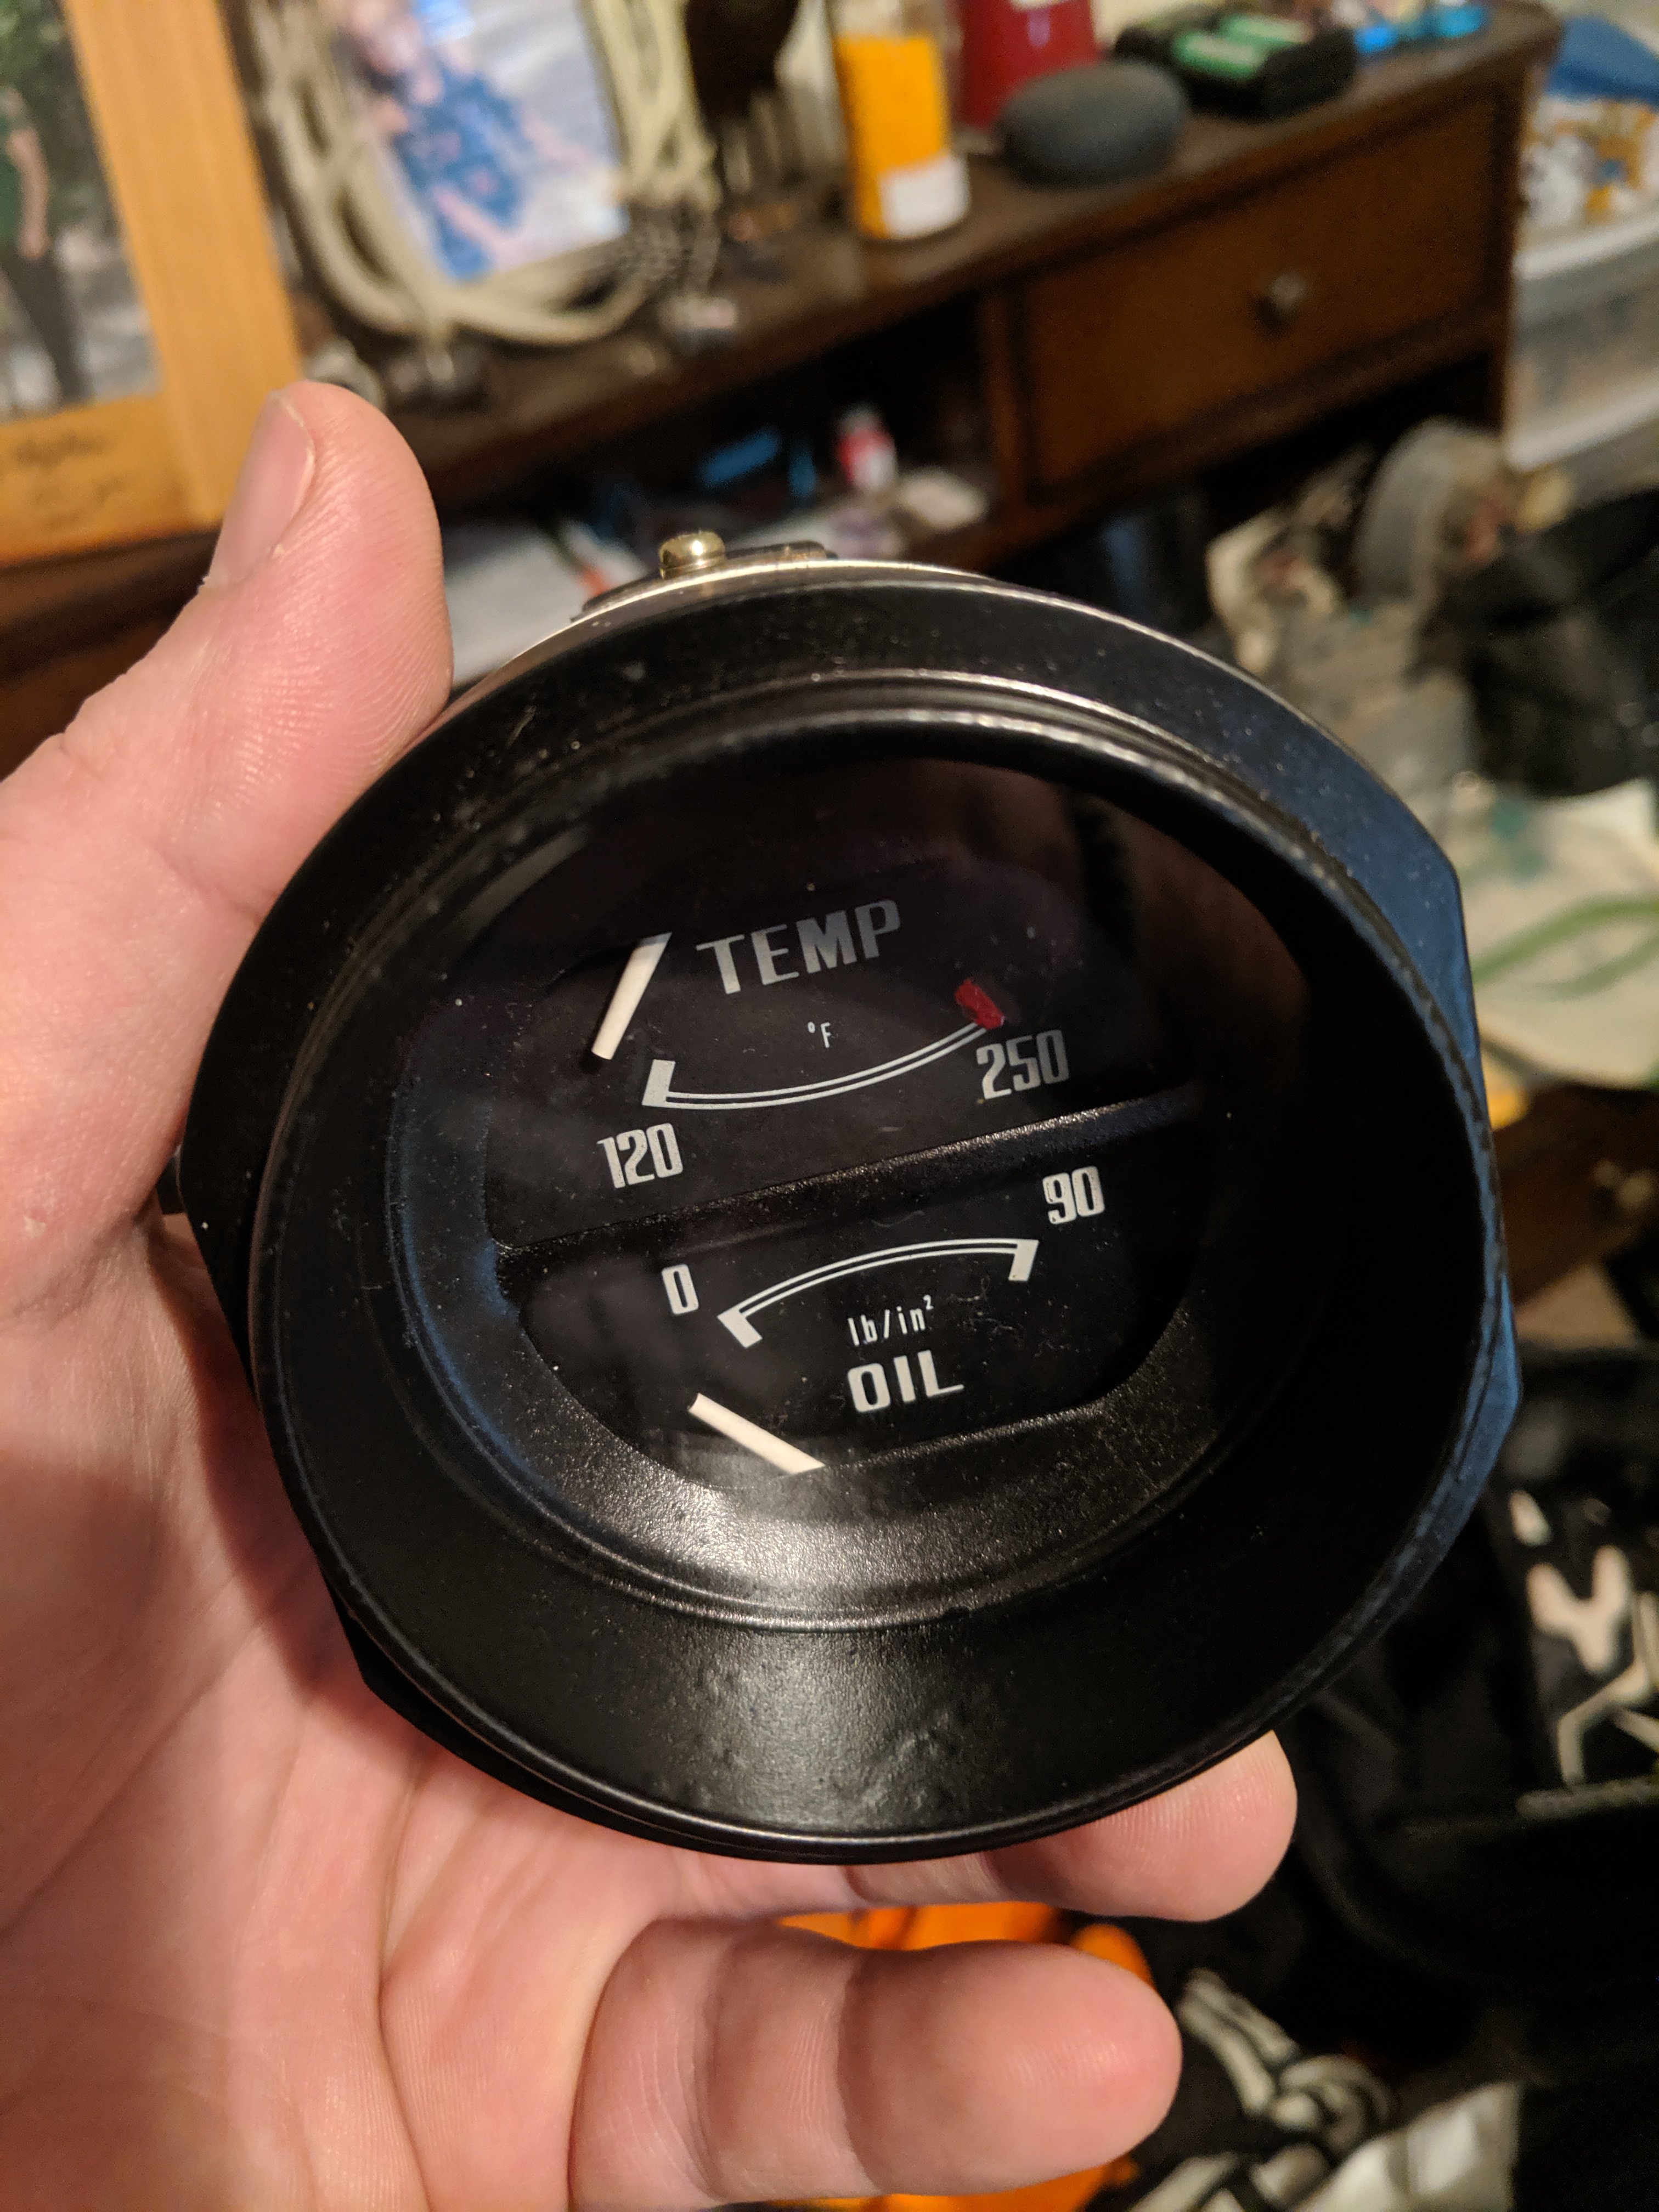
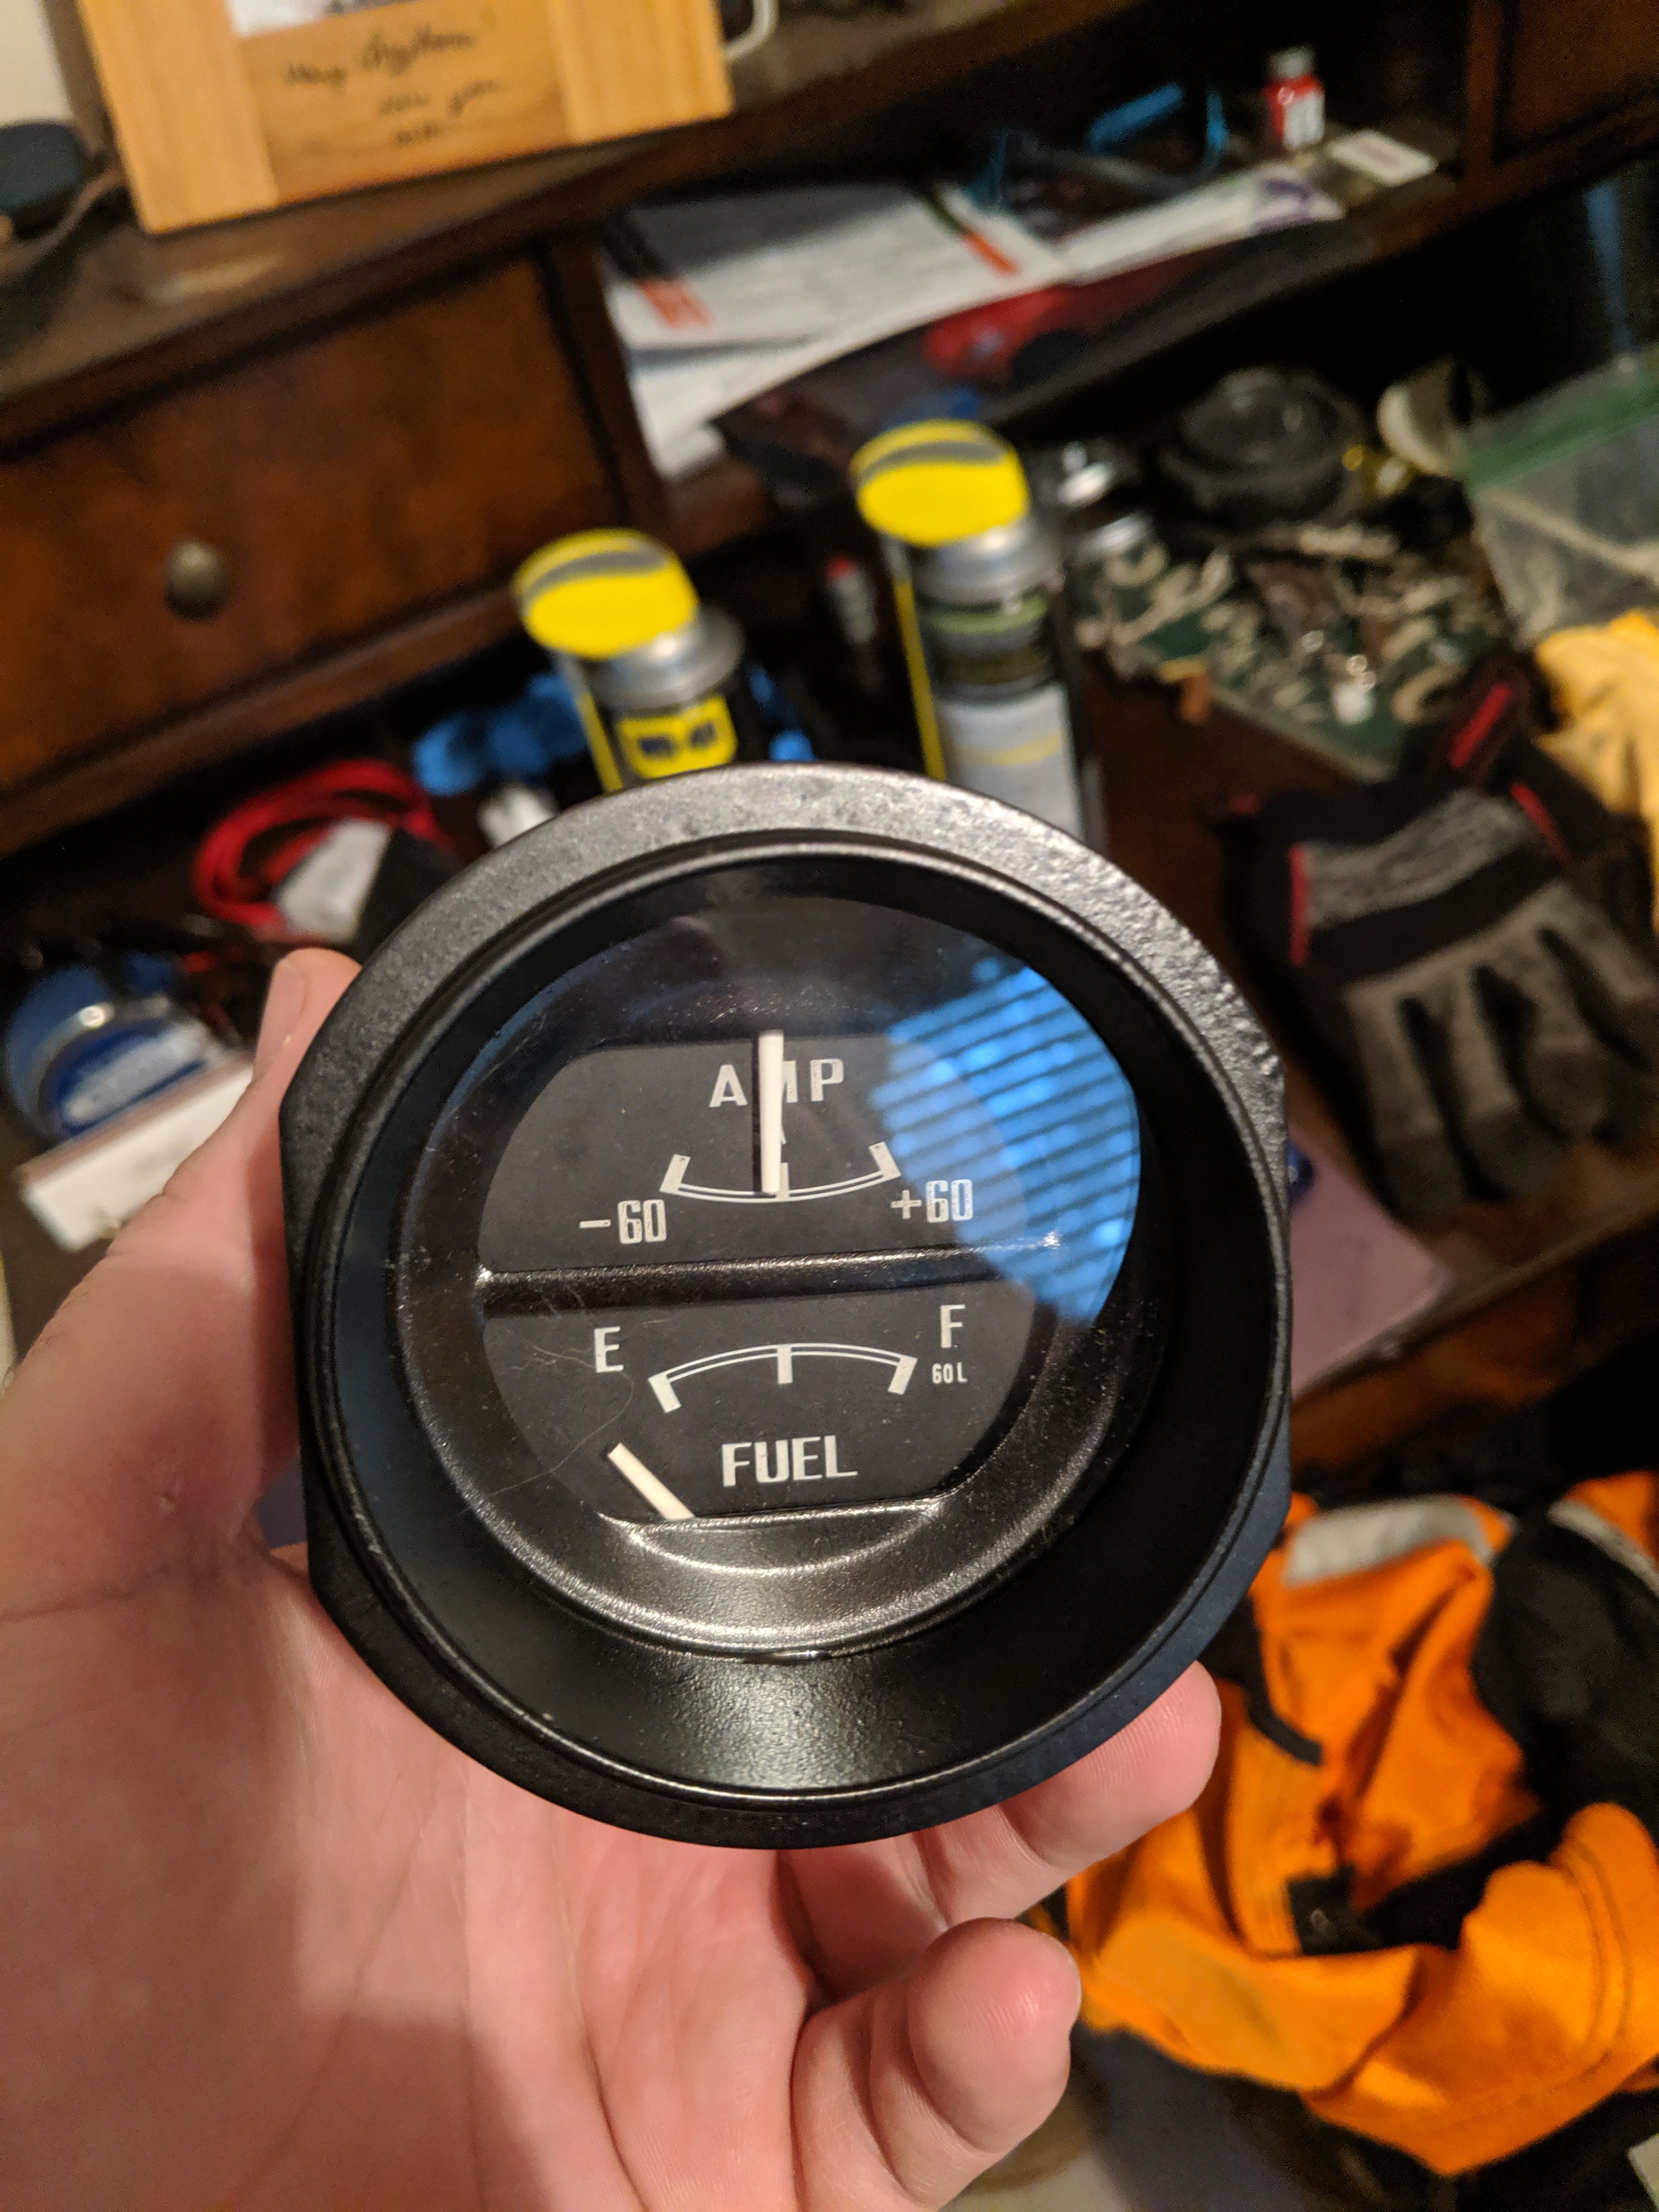
So this isn't the best write up but when I started restoring these gauges there was nothing anywhere with this type of info so I felt I had to.
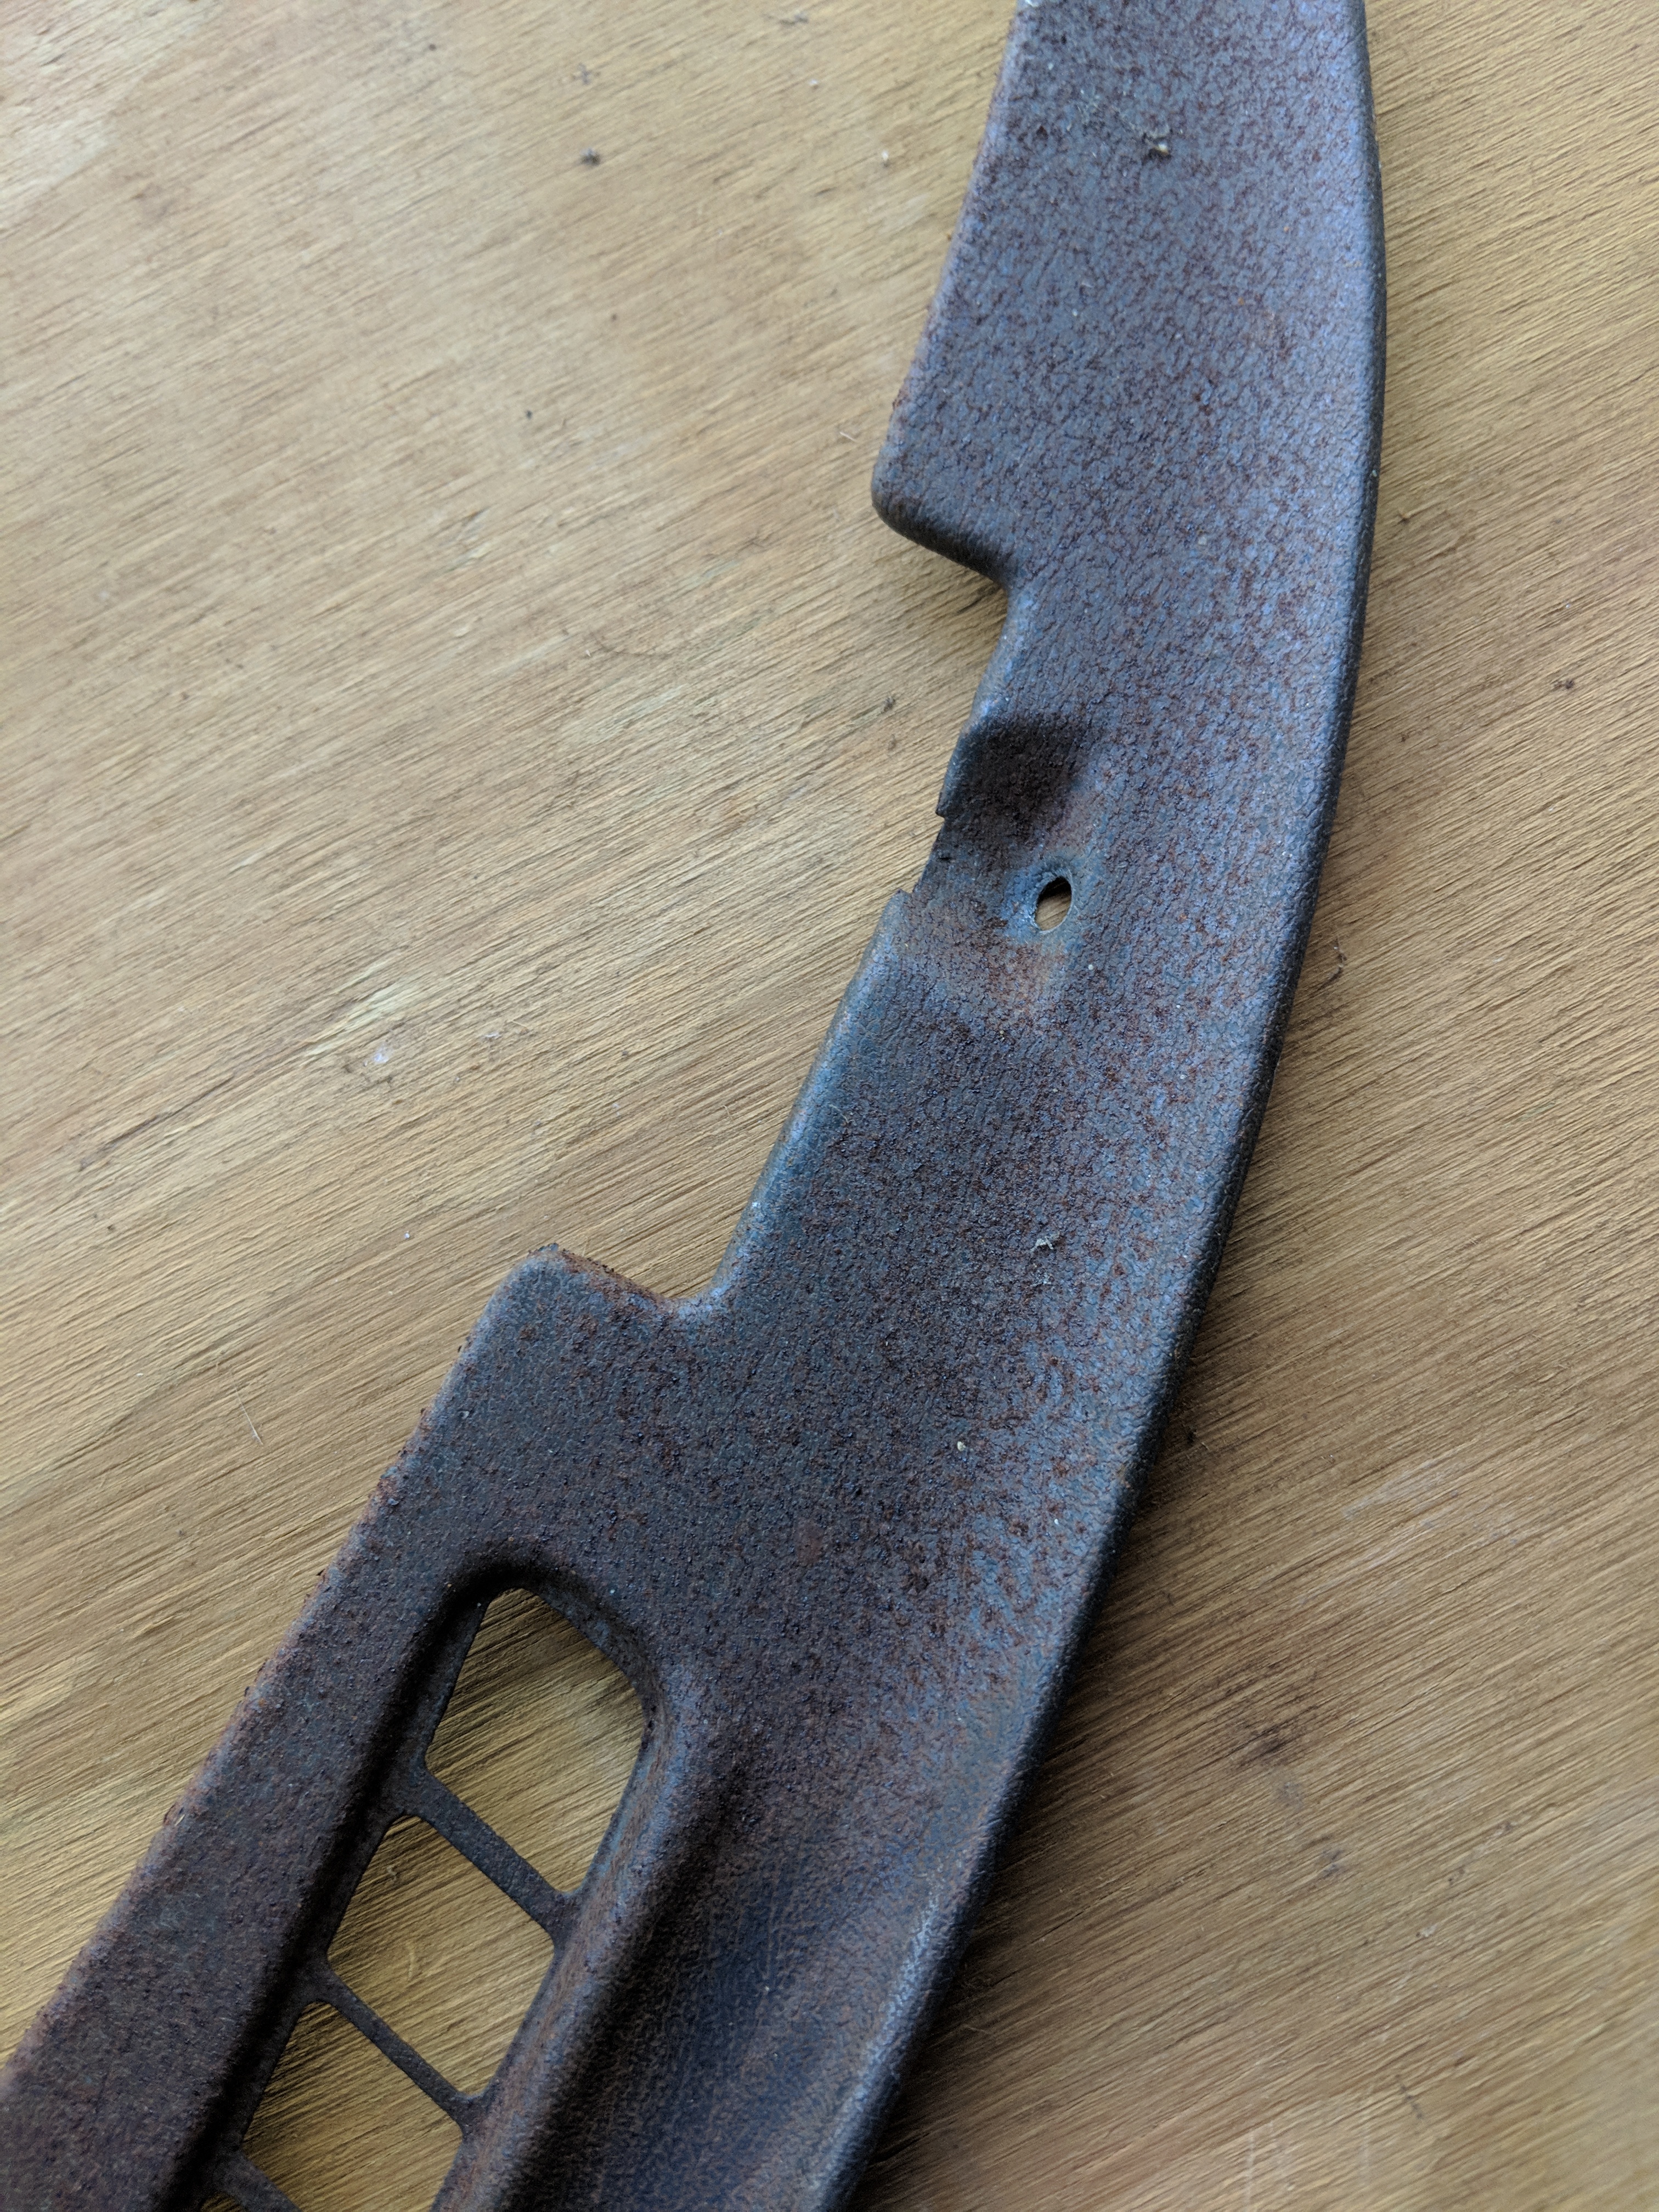
They started off like this.
The most important thing to do in any electrical restoration is to:
A - take lots of pictures for reference. The more the better.
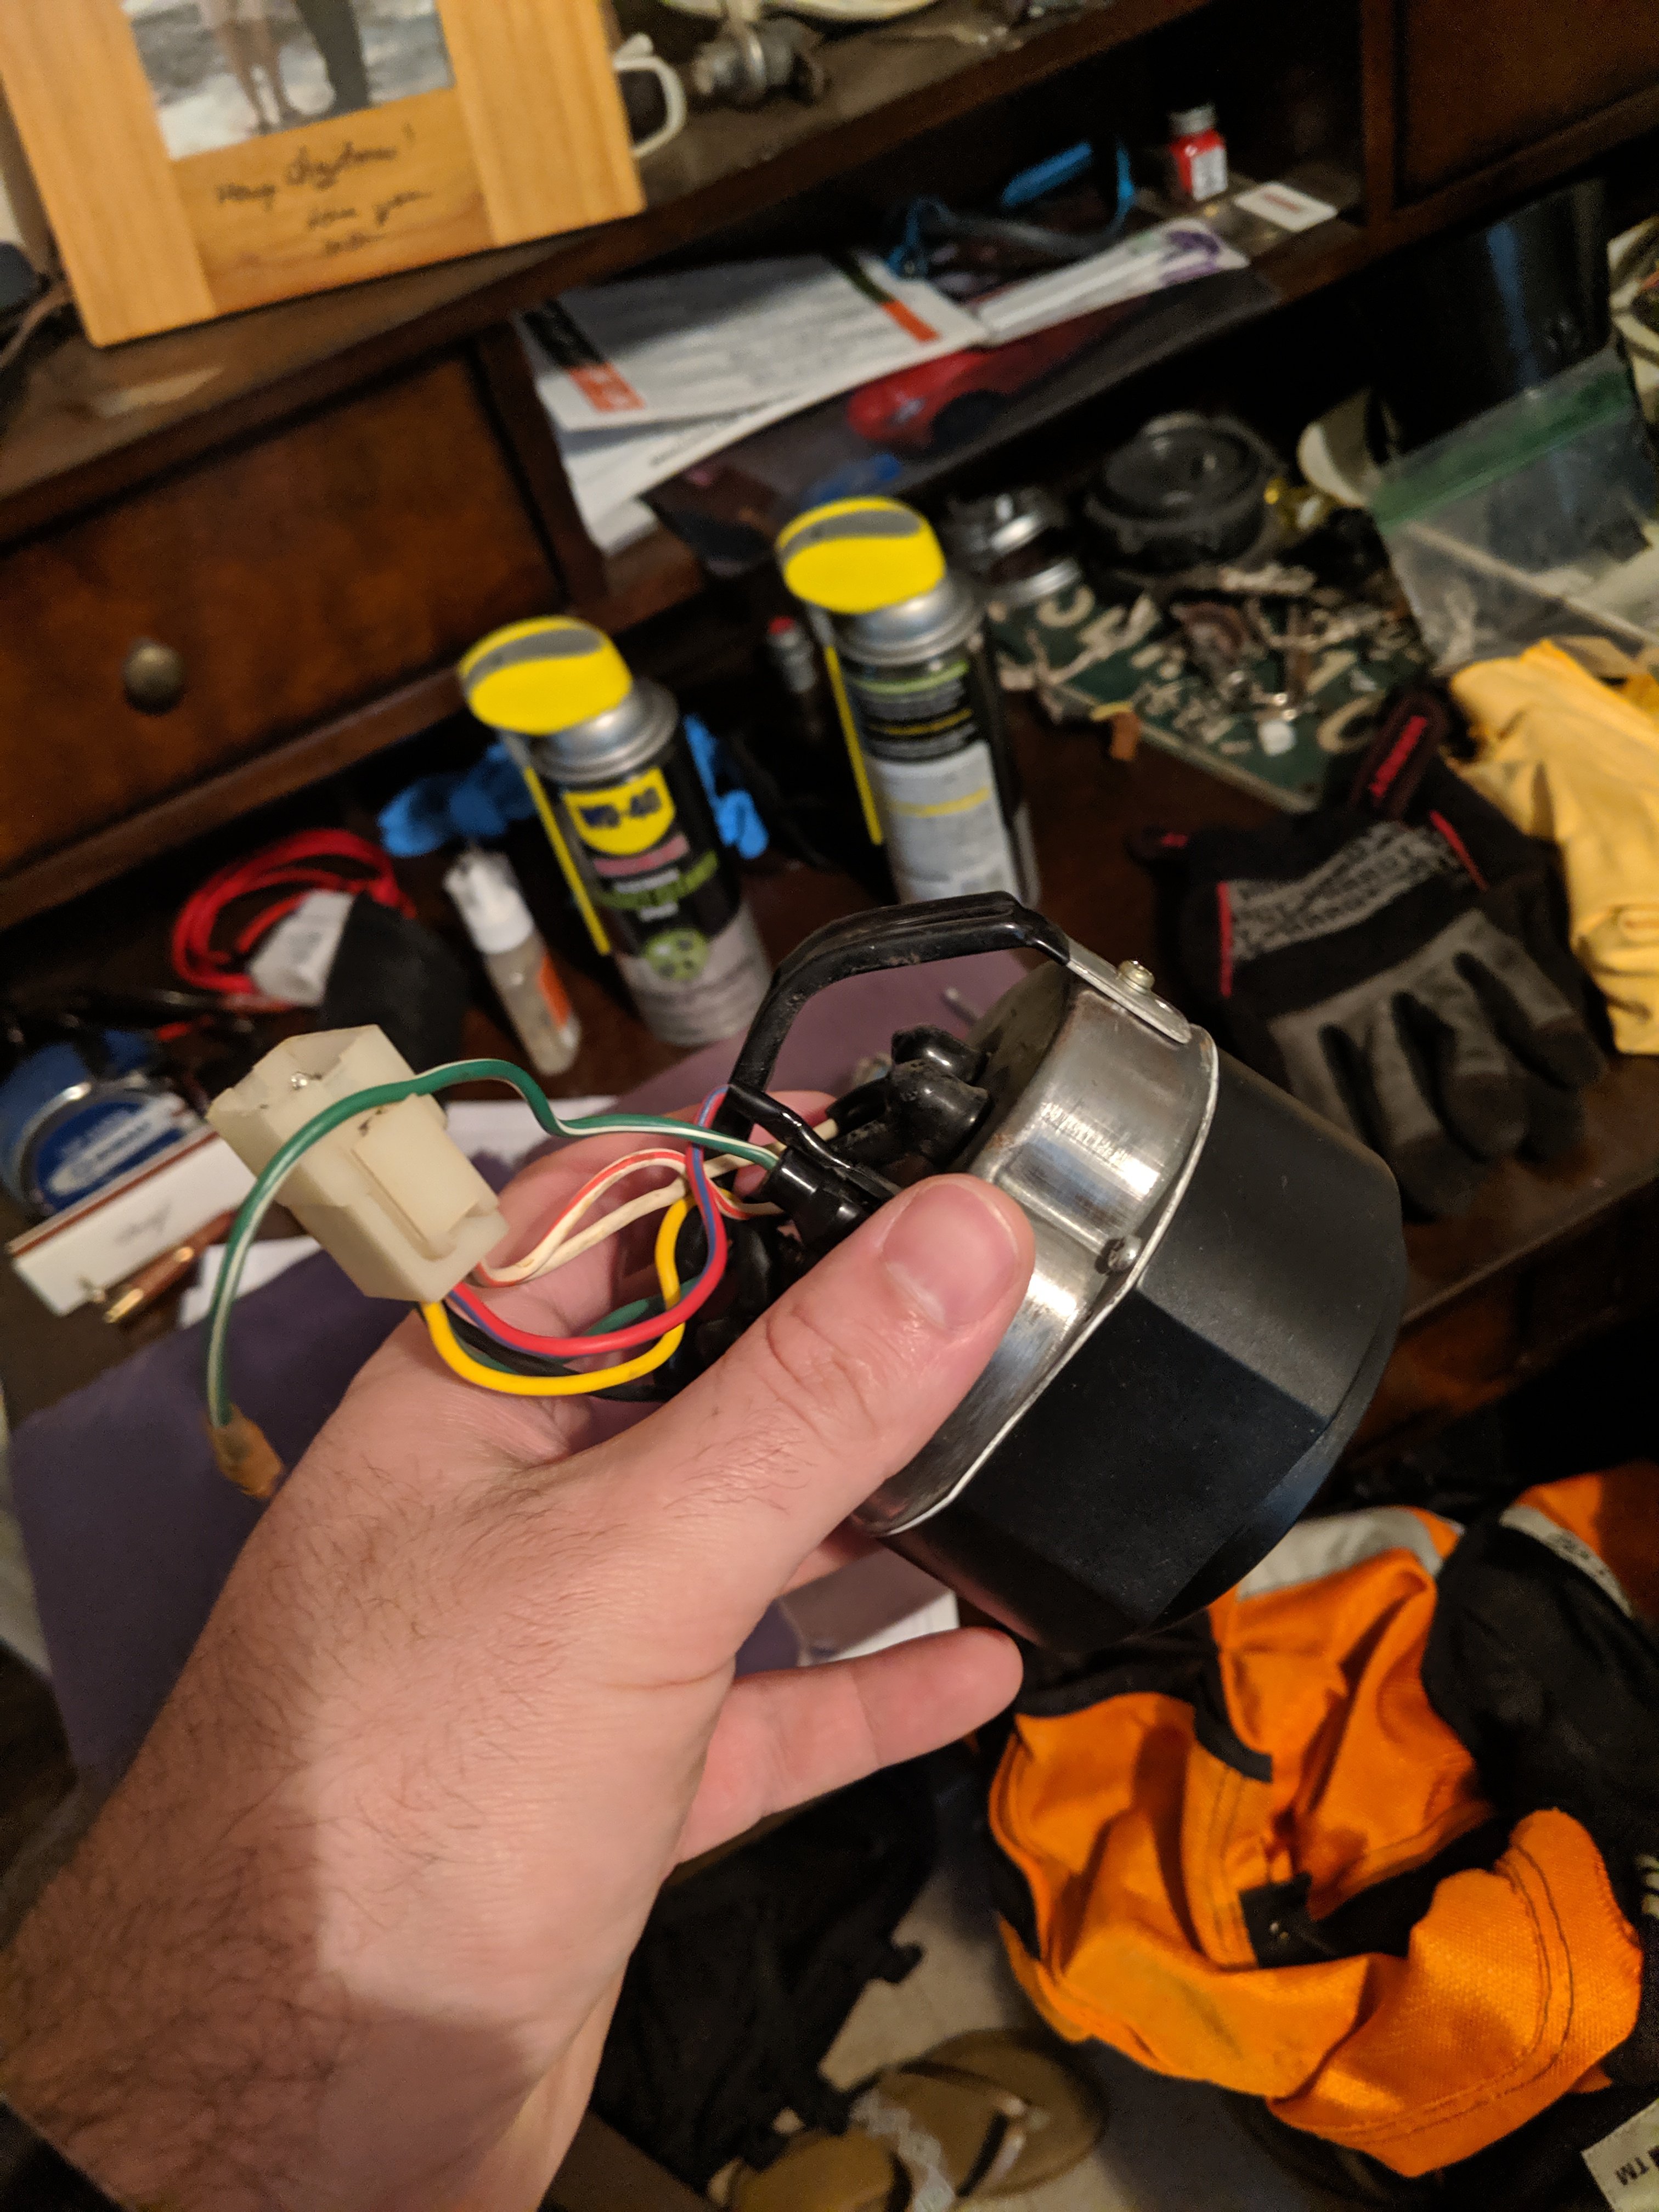
B - label or draw a wire layout, I drew mine out because I needed to deep clean the connectors and wires.
C - don't rush yourself. Take all the time you need and if you get frustrated take a break.

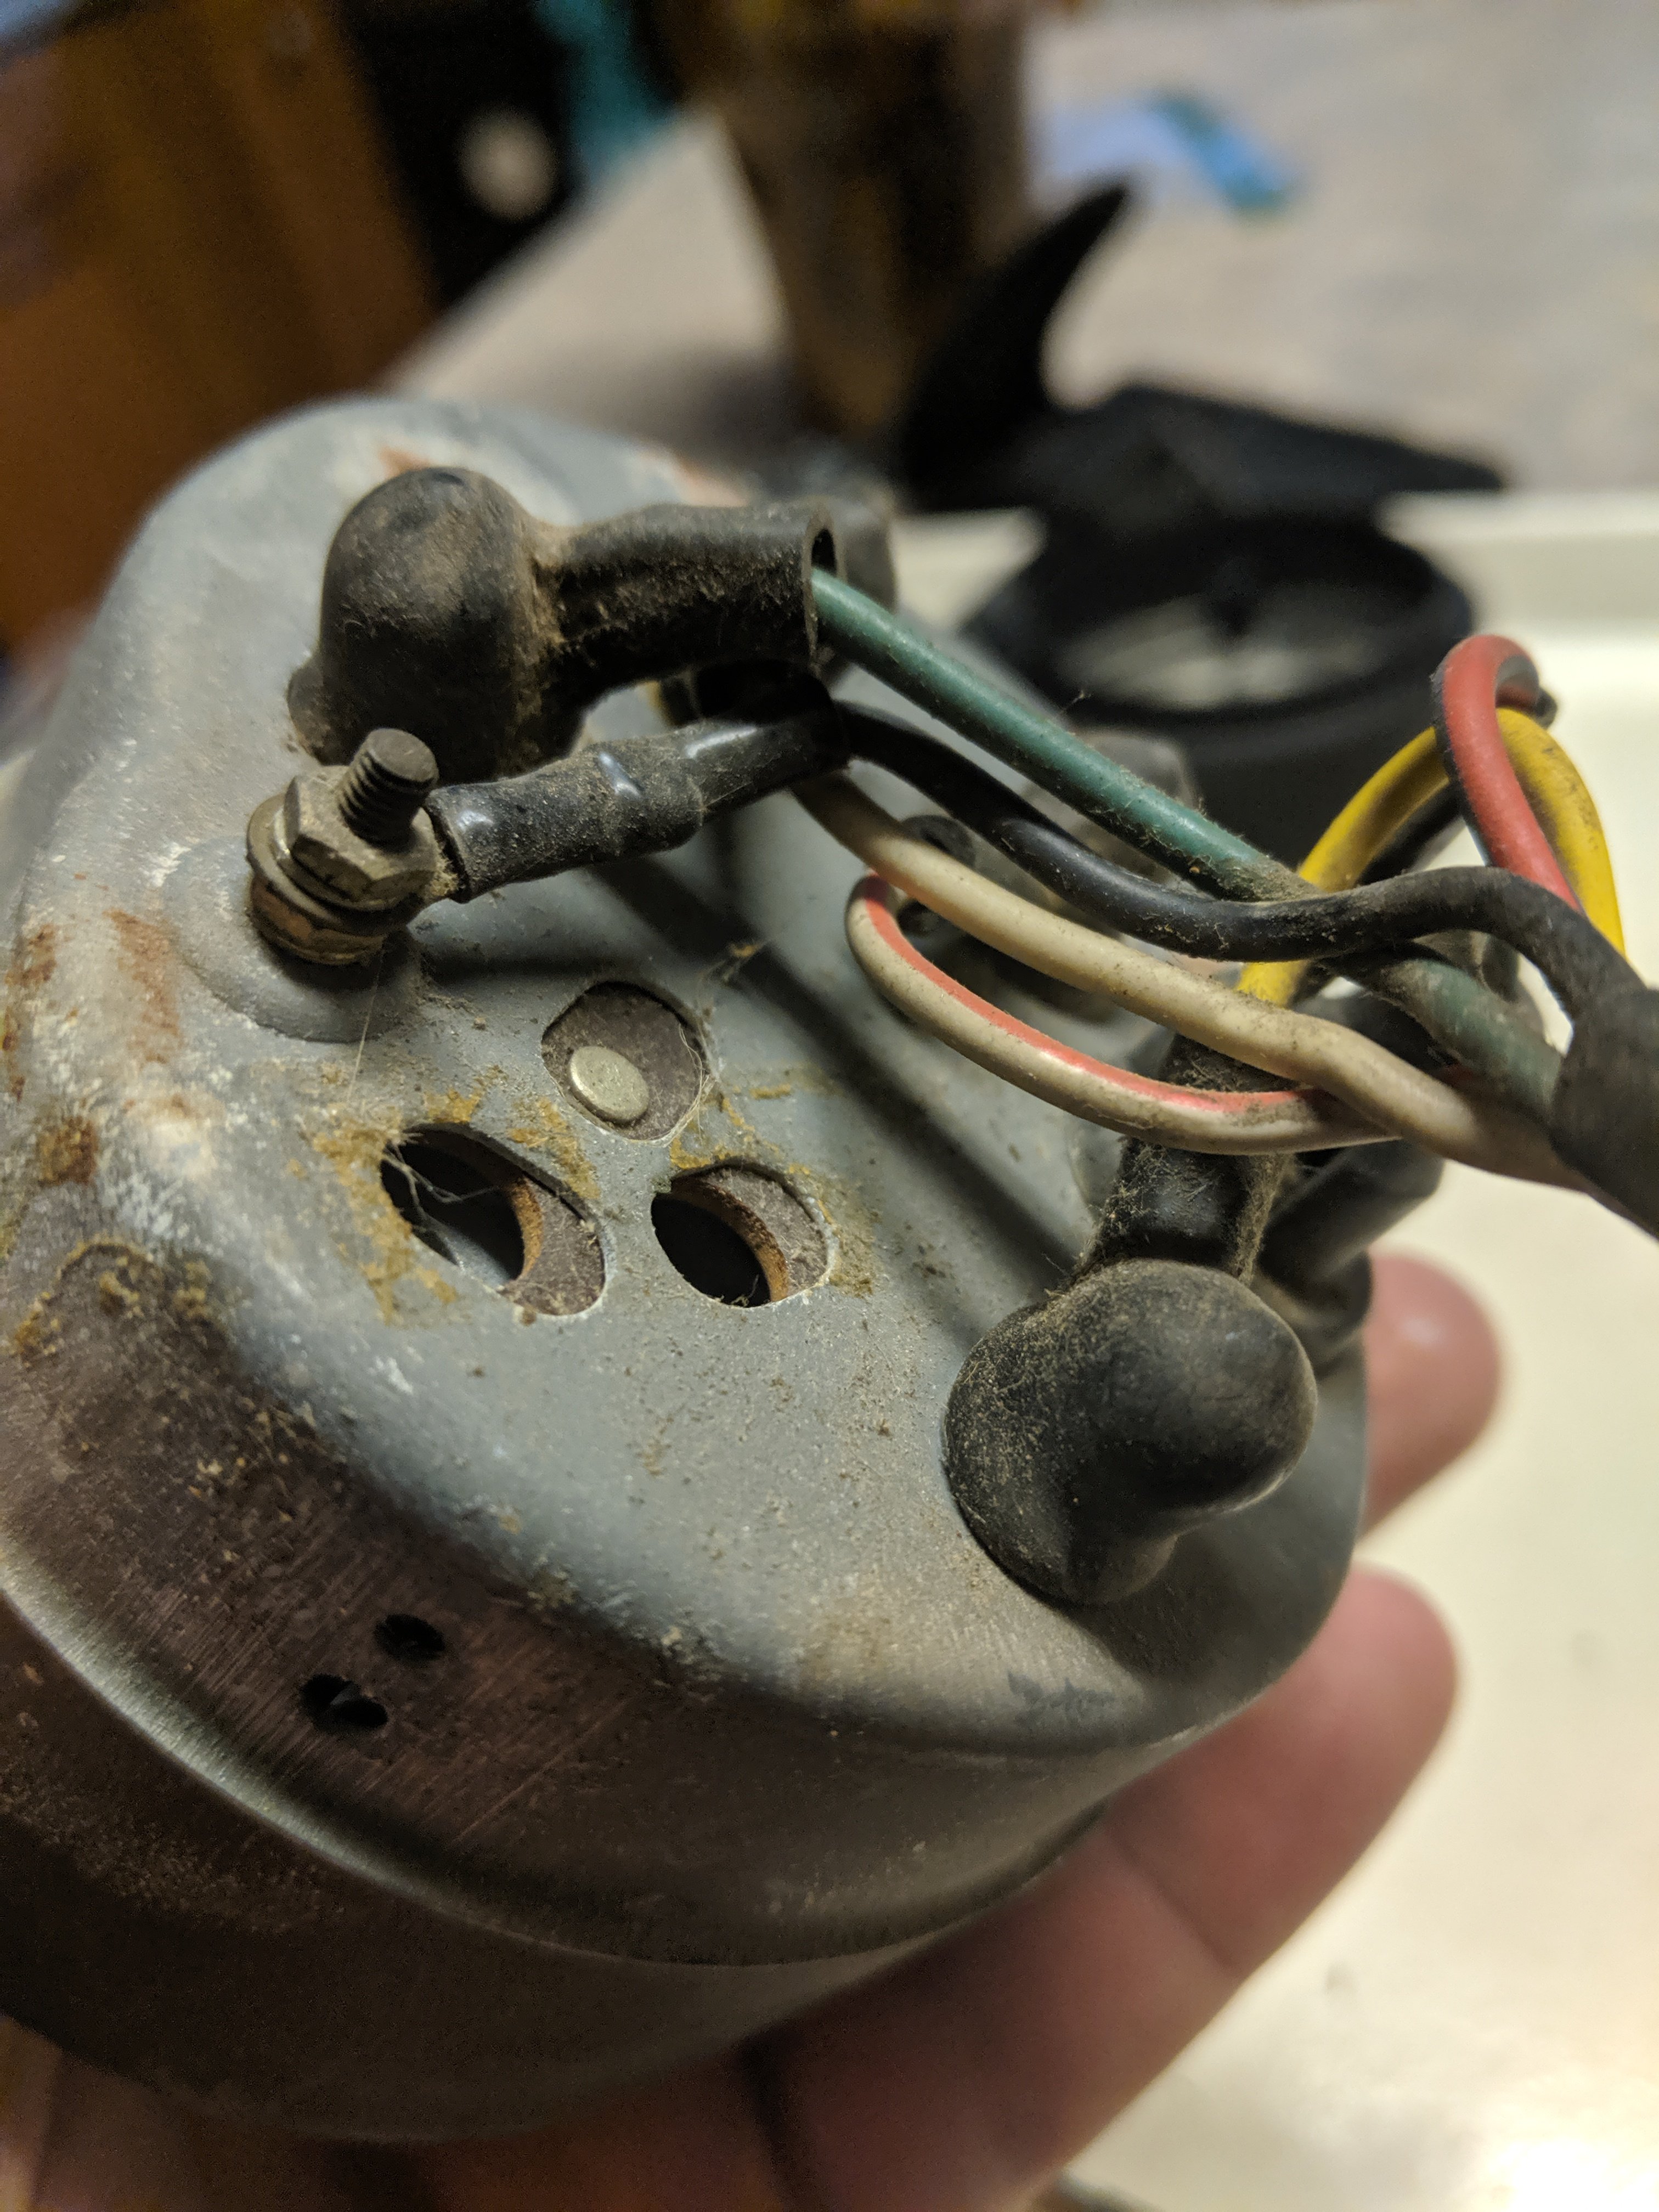
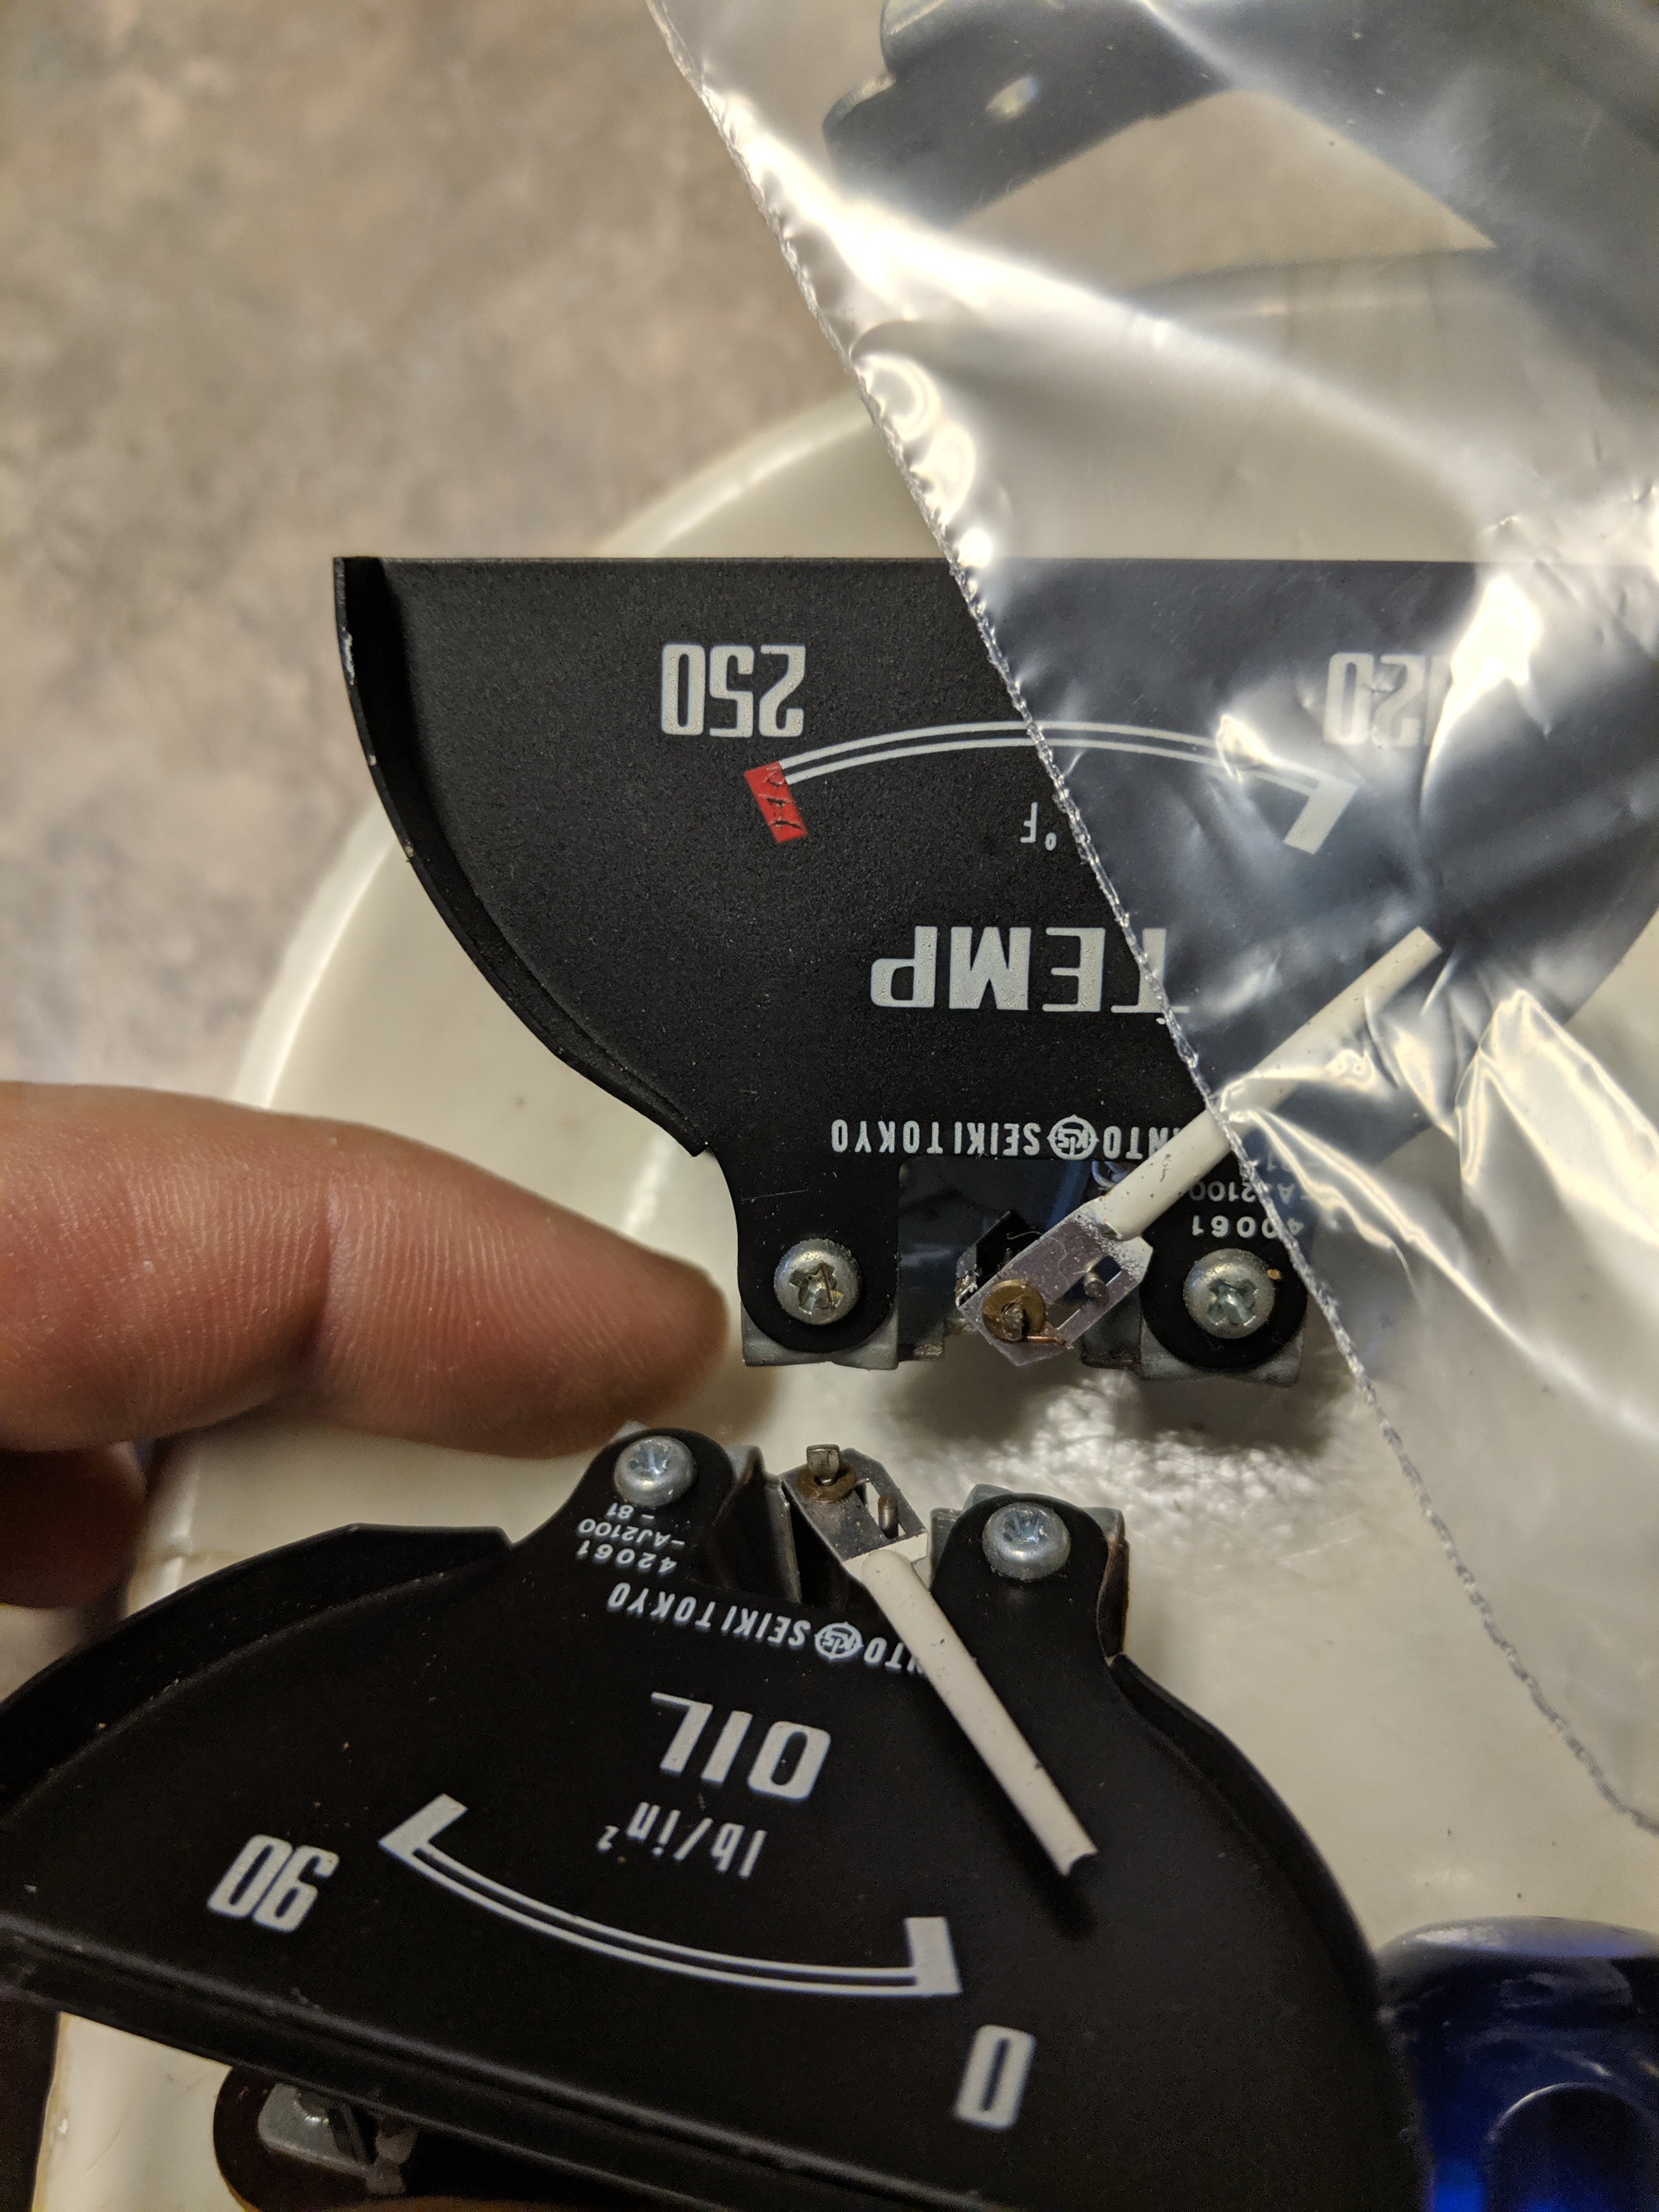
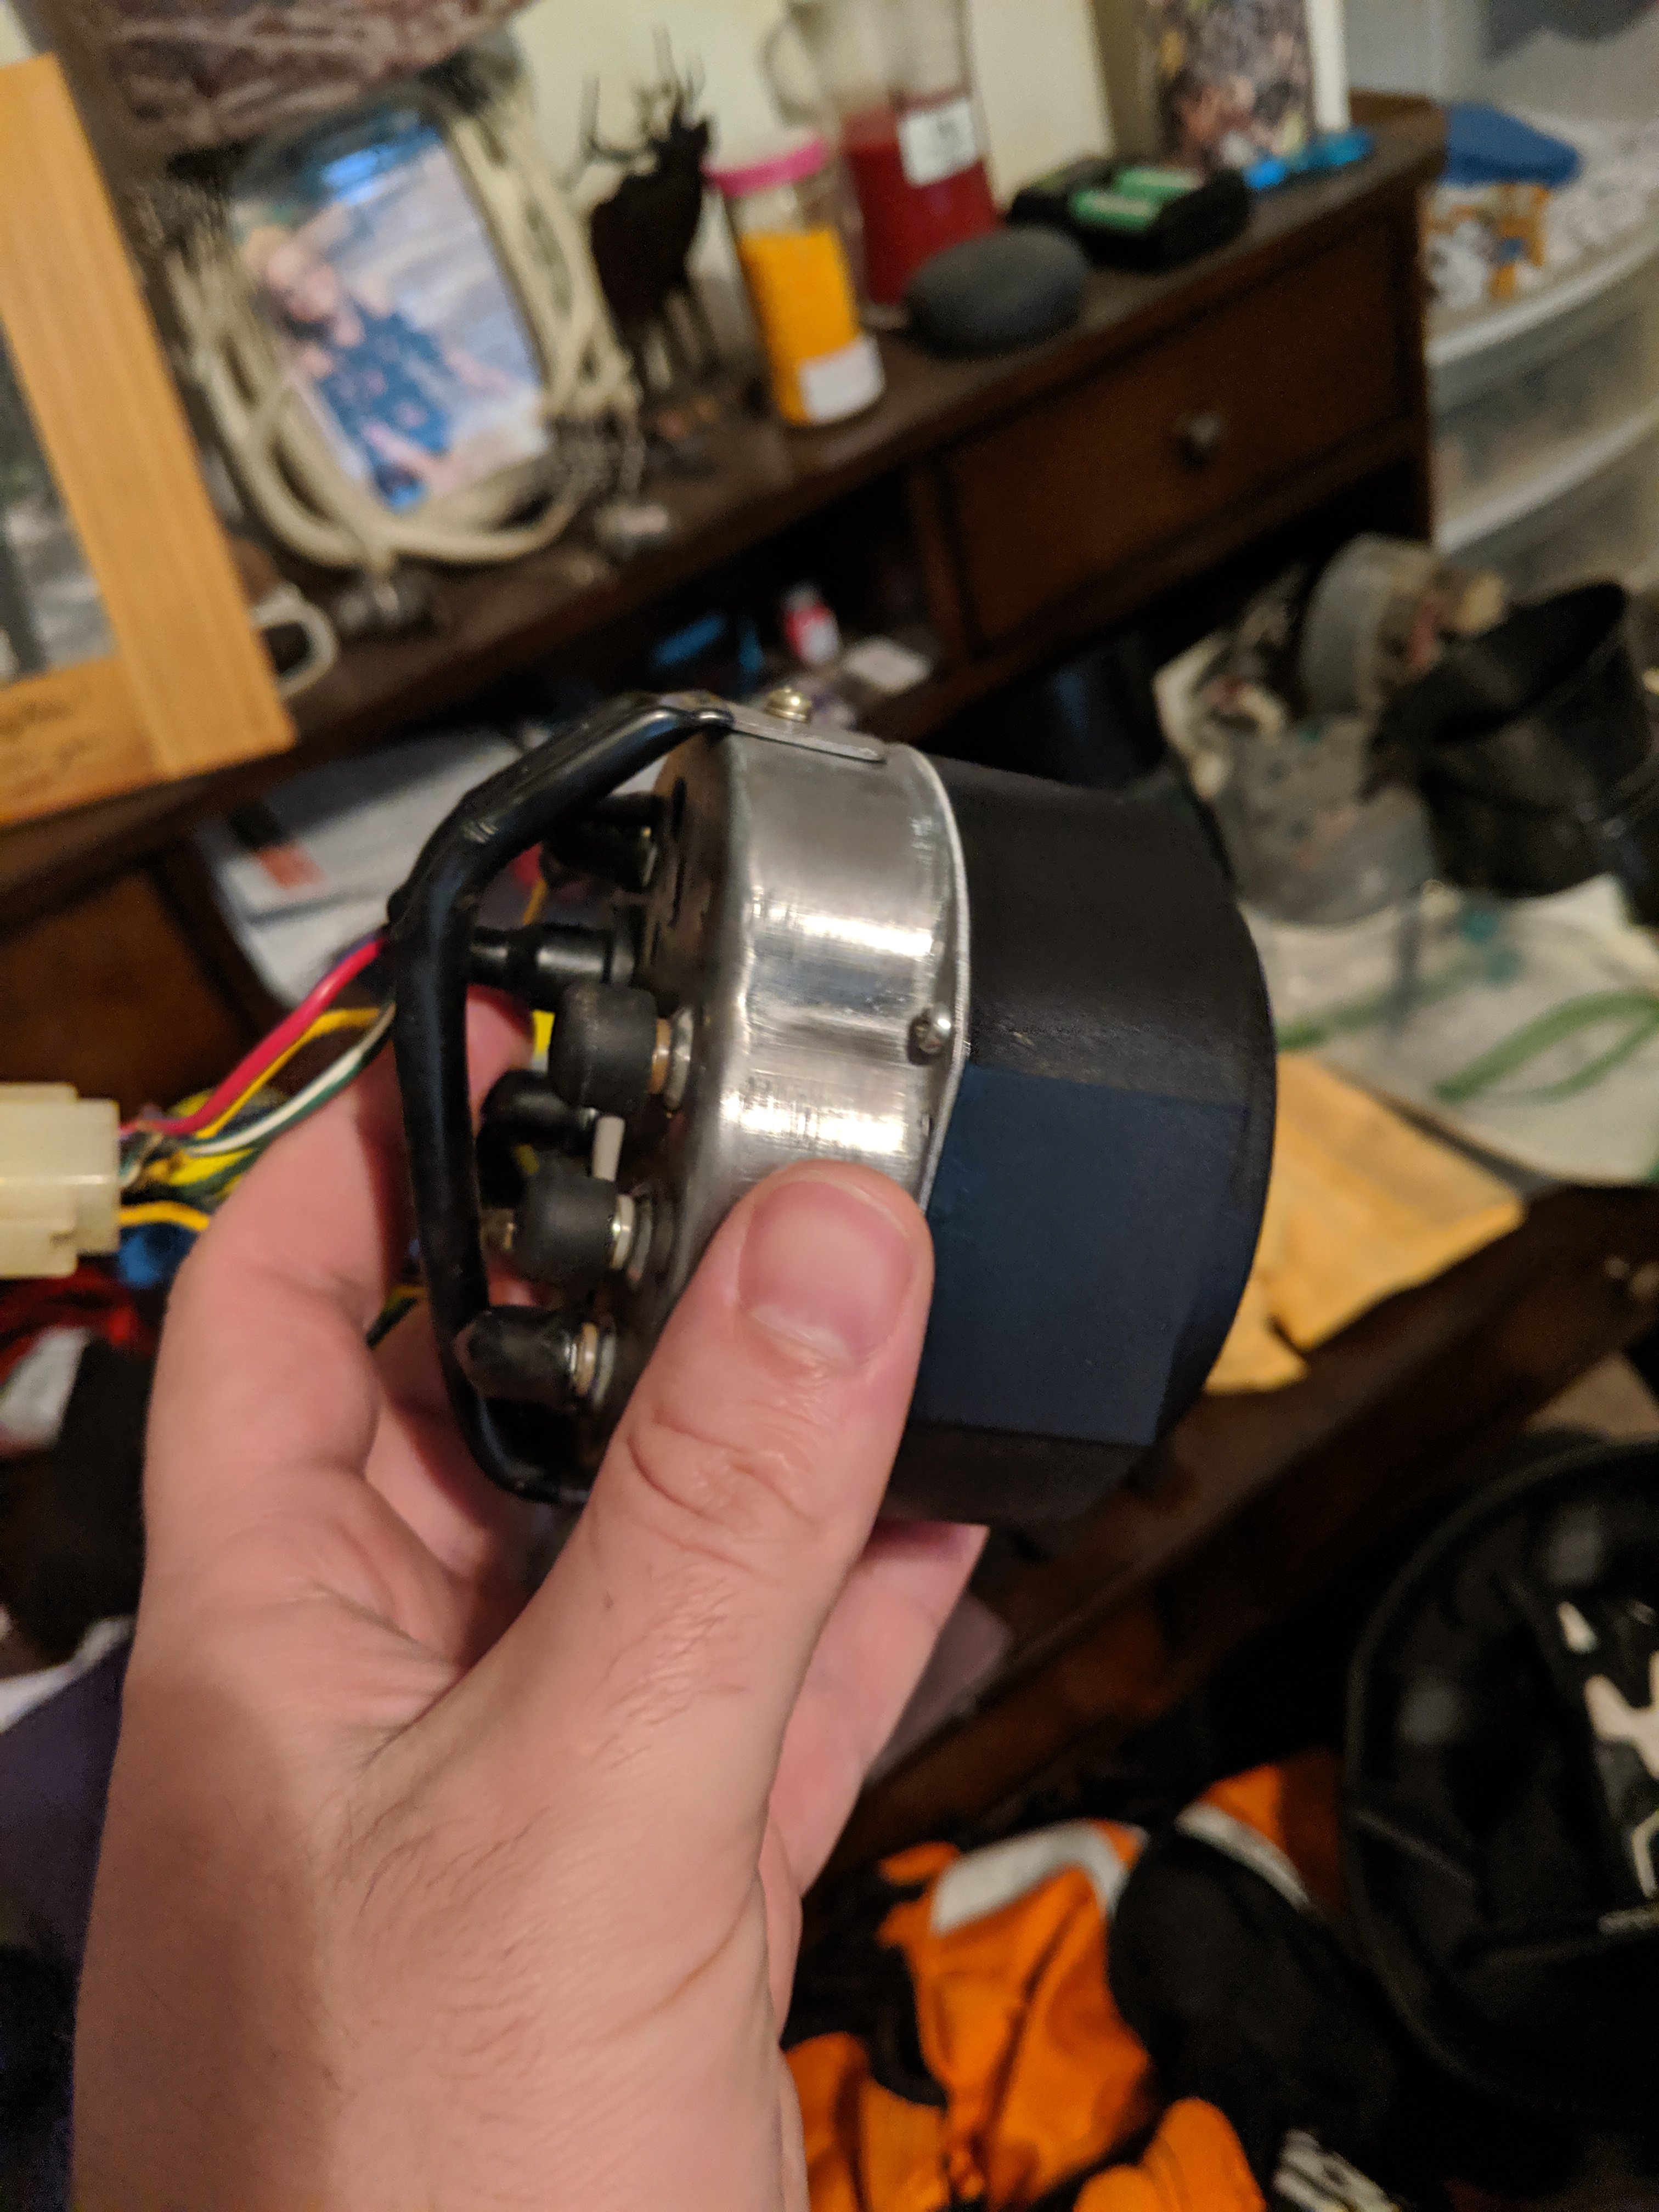
Slowly take apart the wiring harness and remove the bulbs. Remember to label everything.
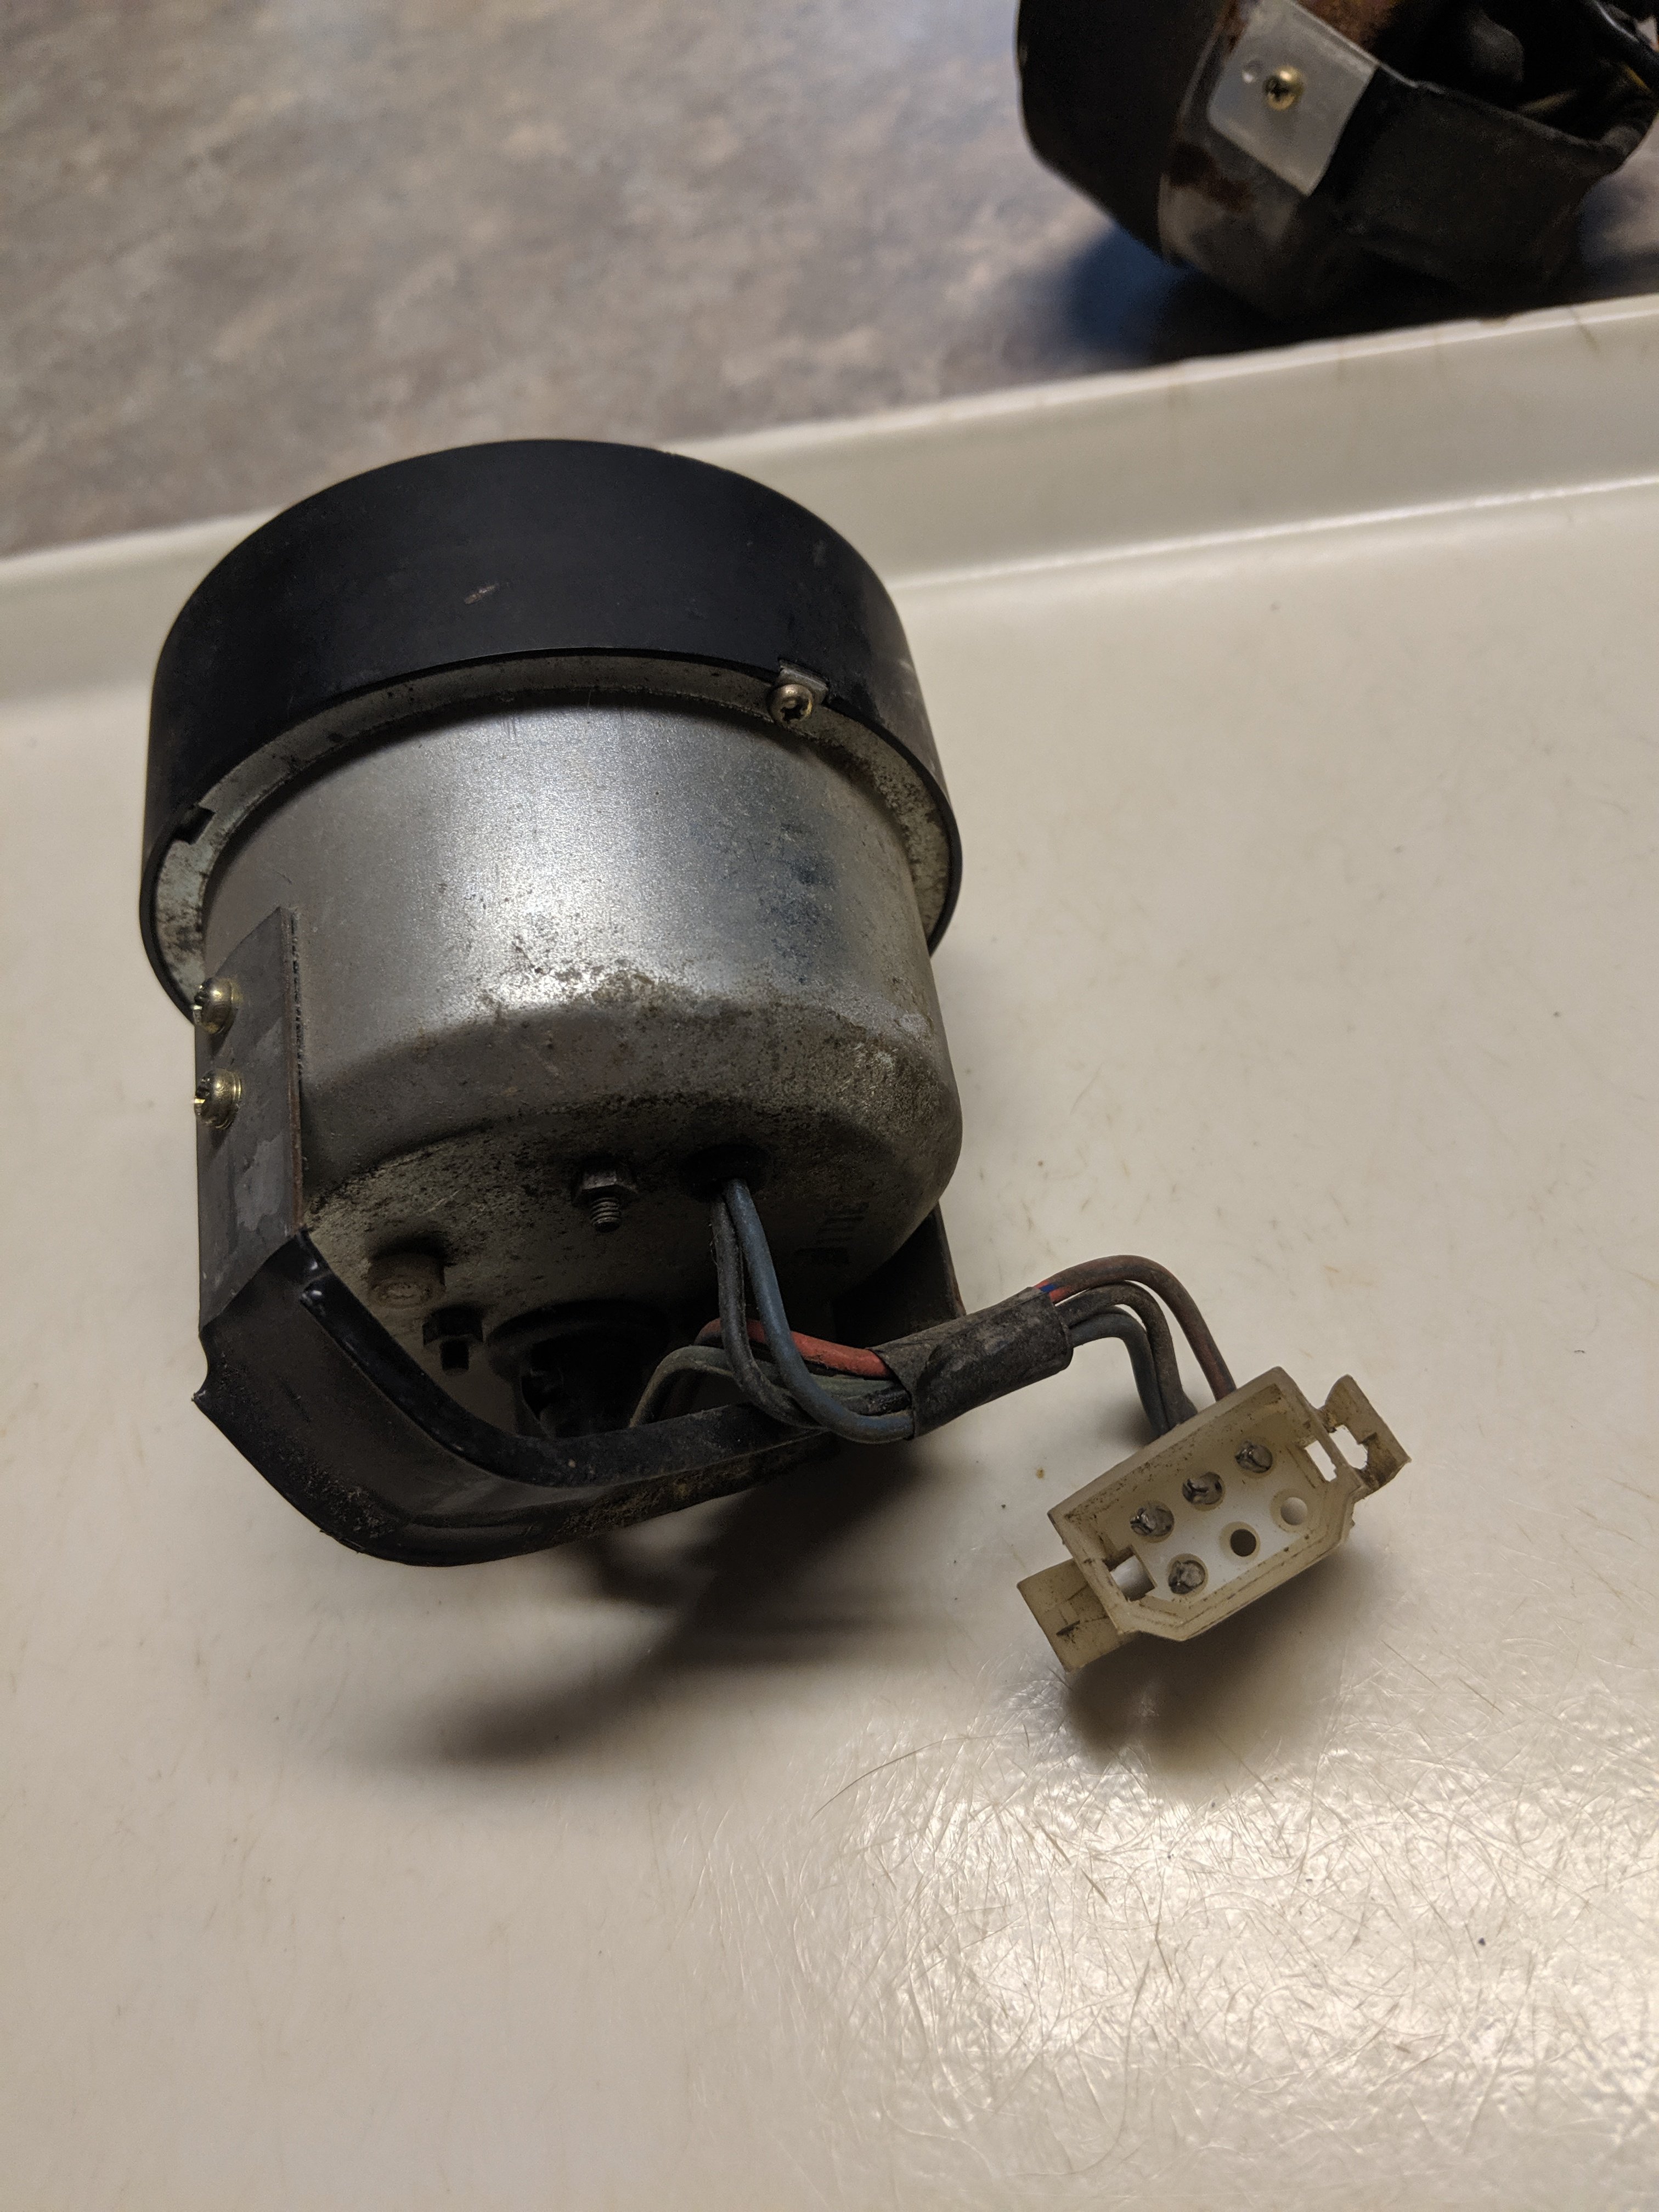
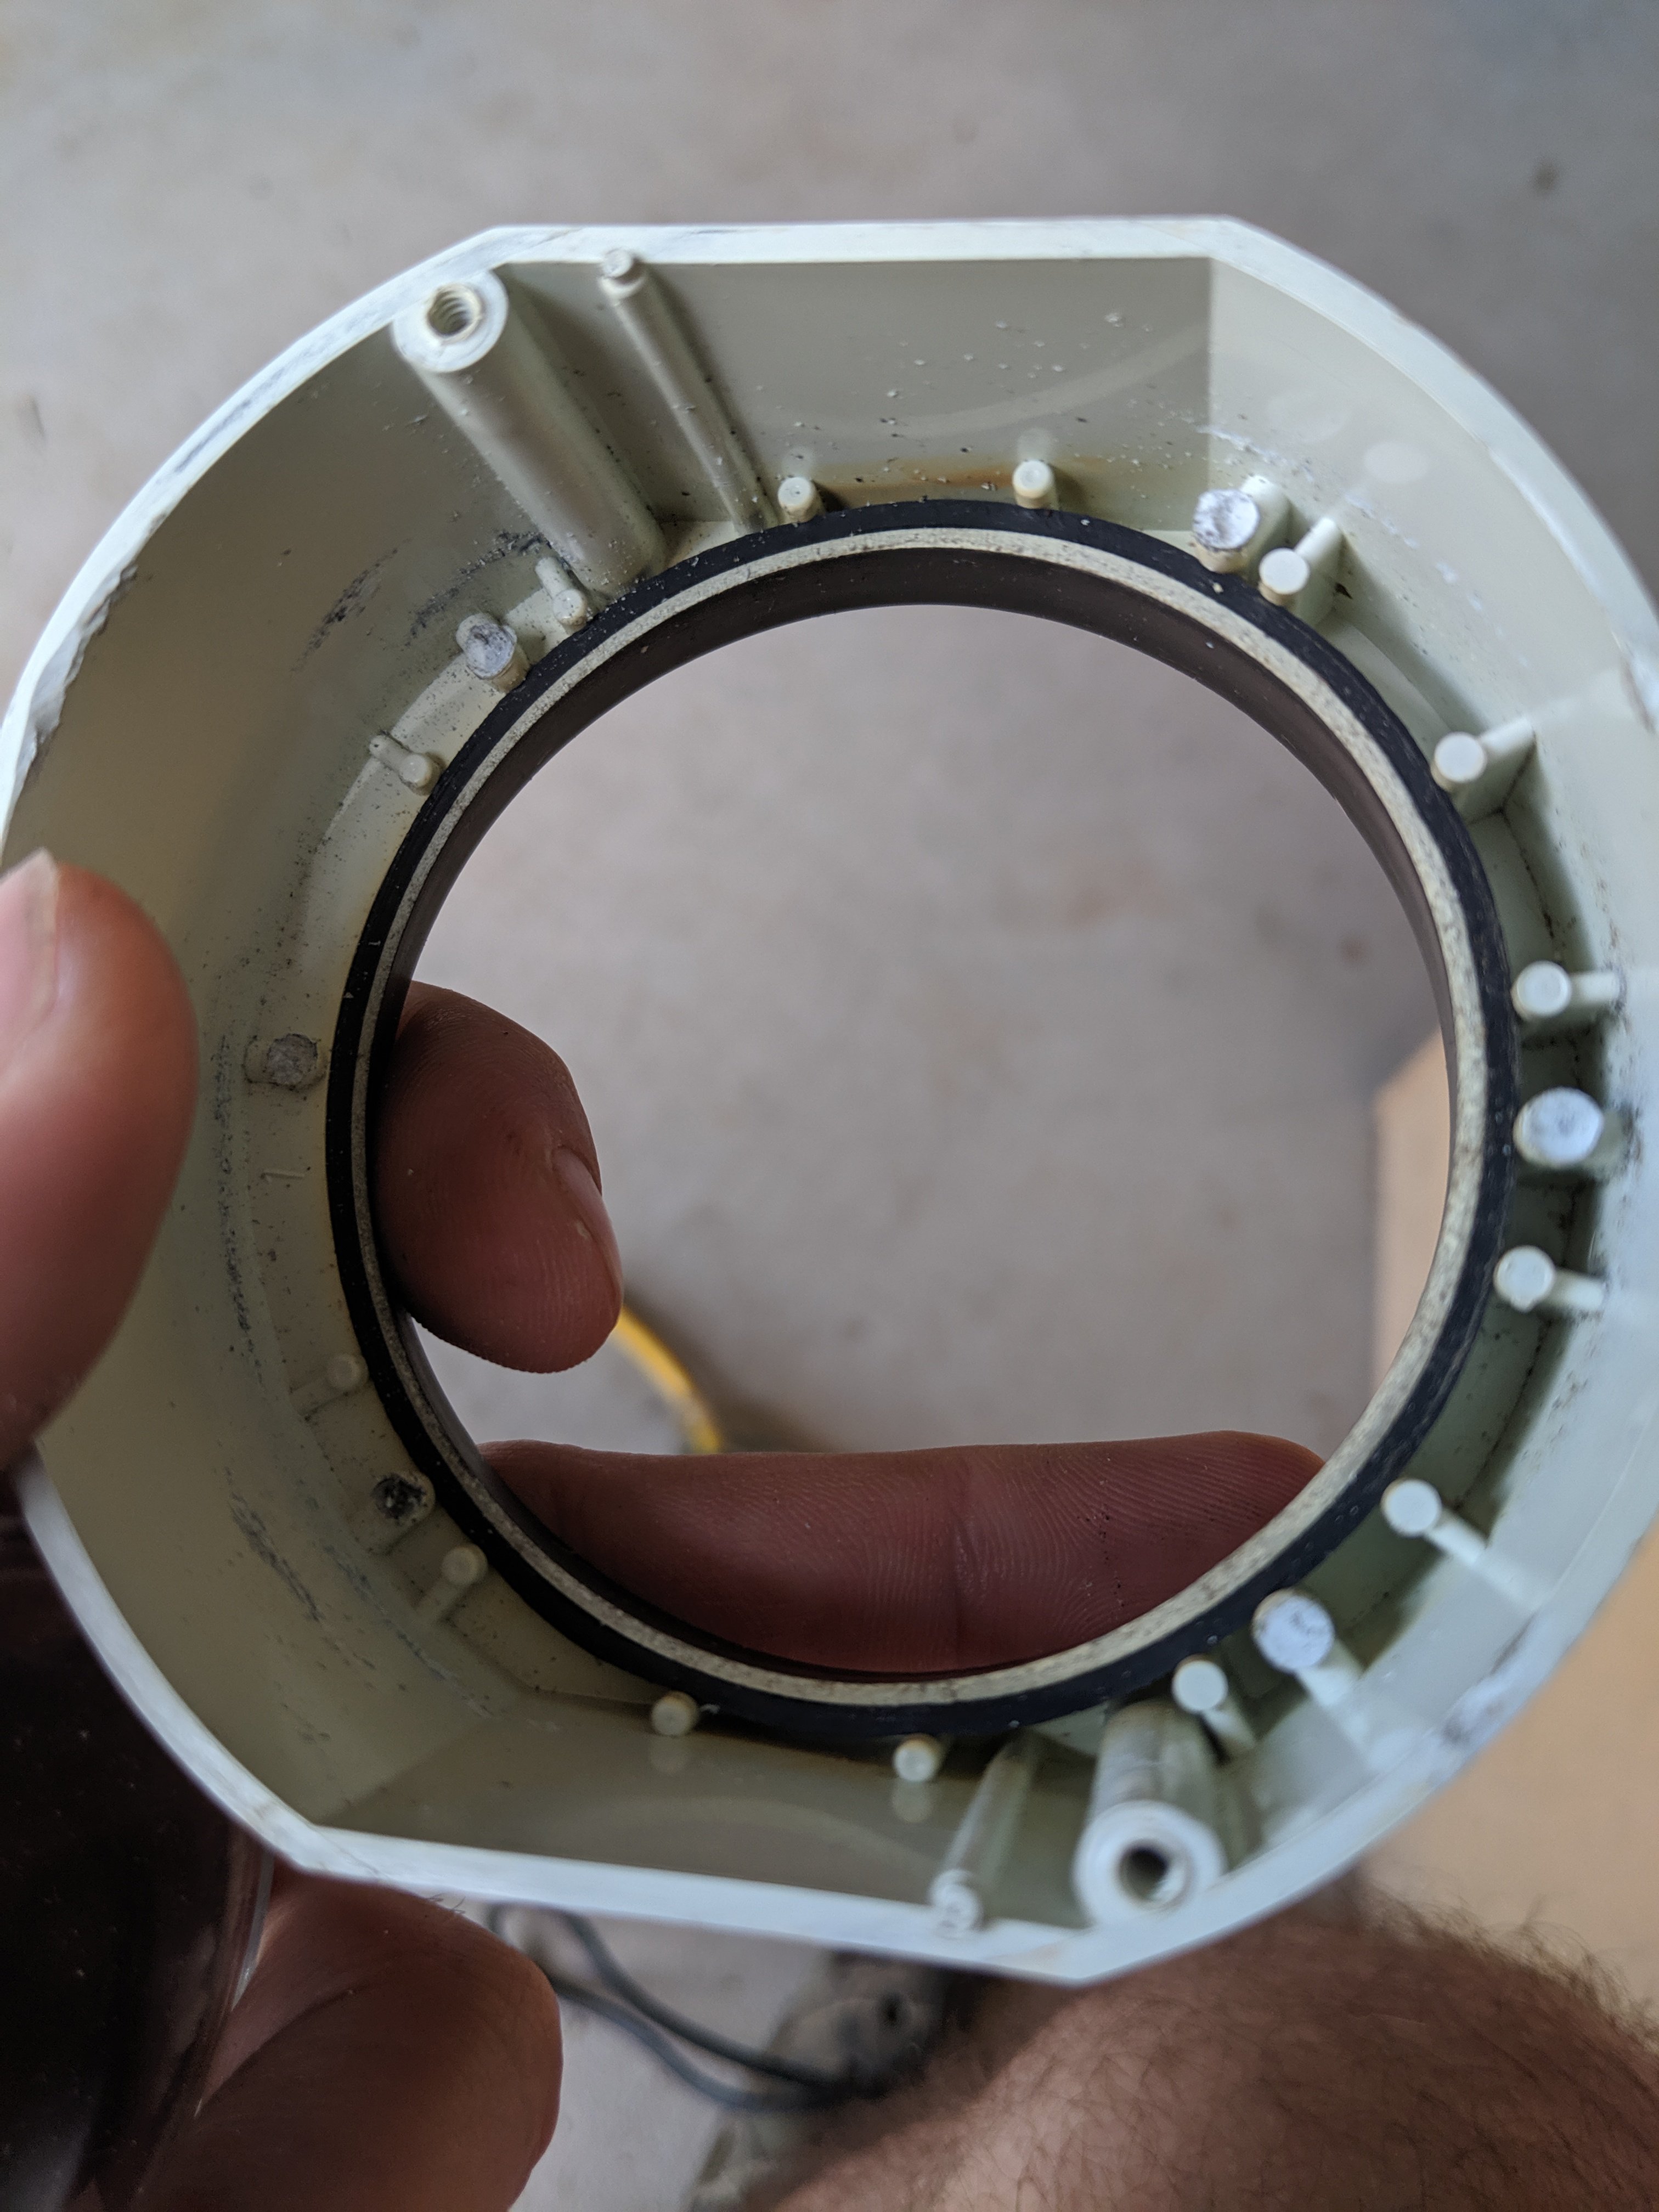
Next take apart the two screws that hold the front housing onto the back gauge plate. It is only two small screws on each.
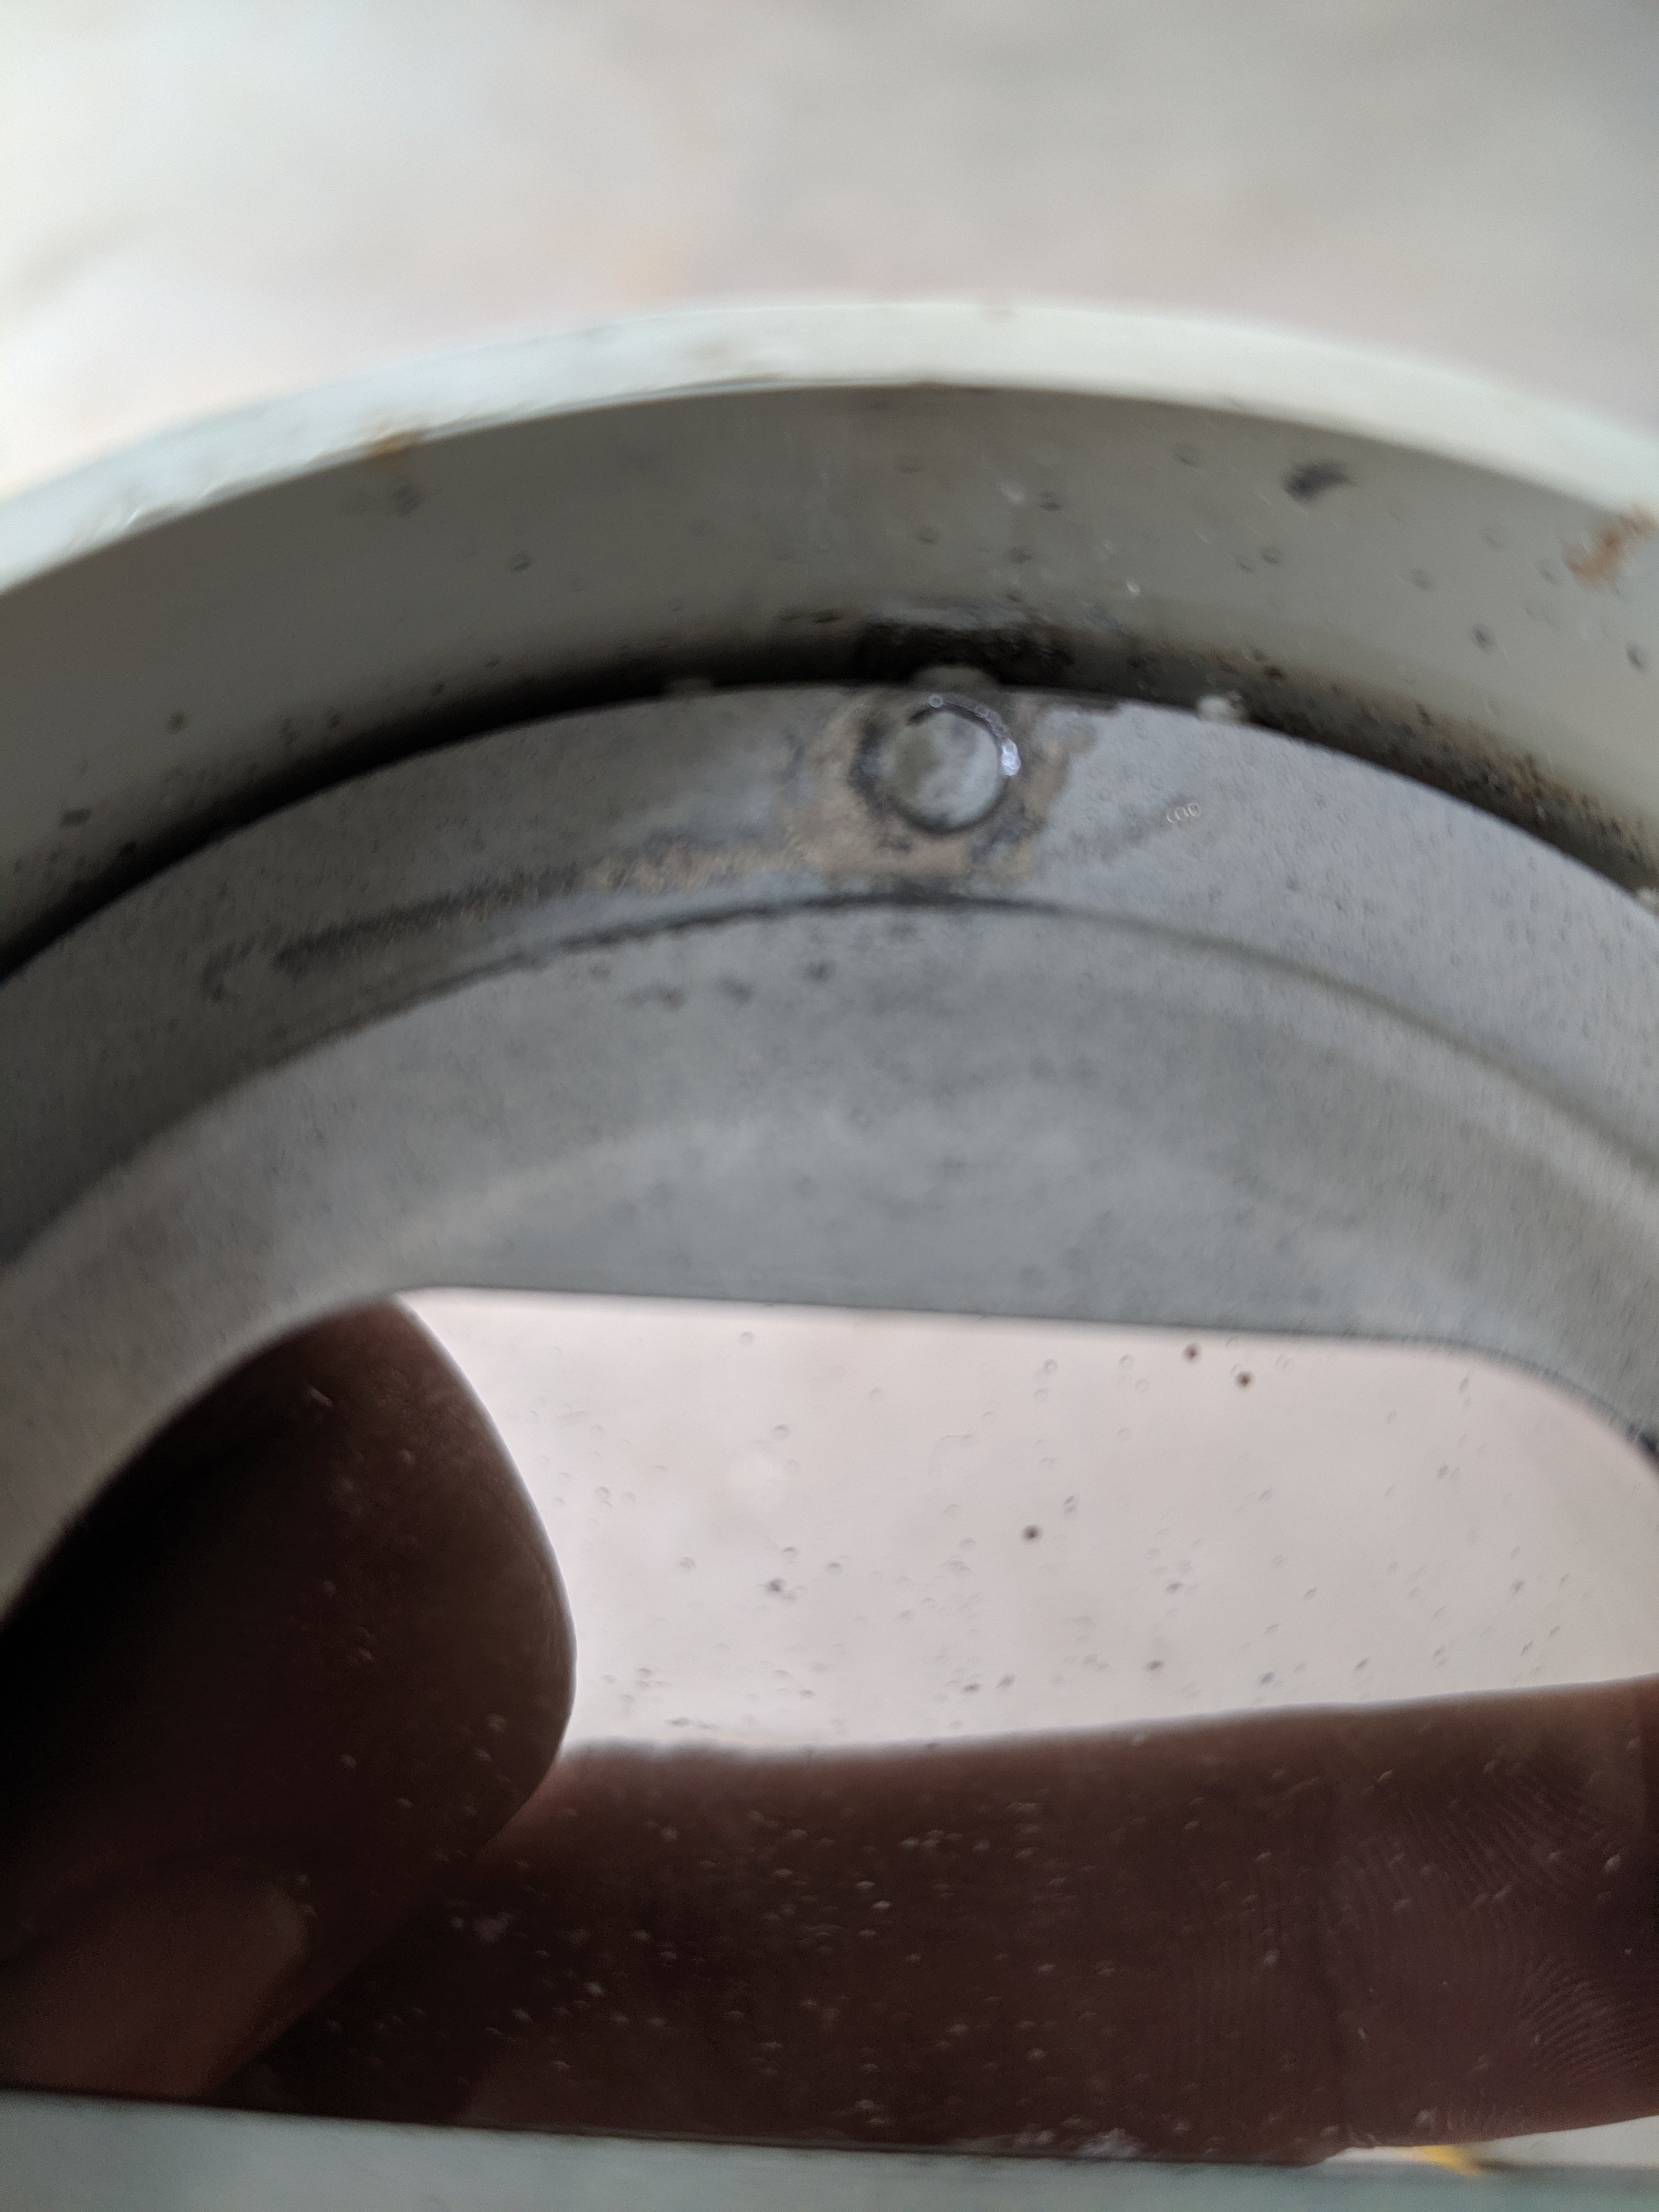
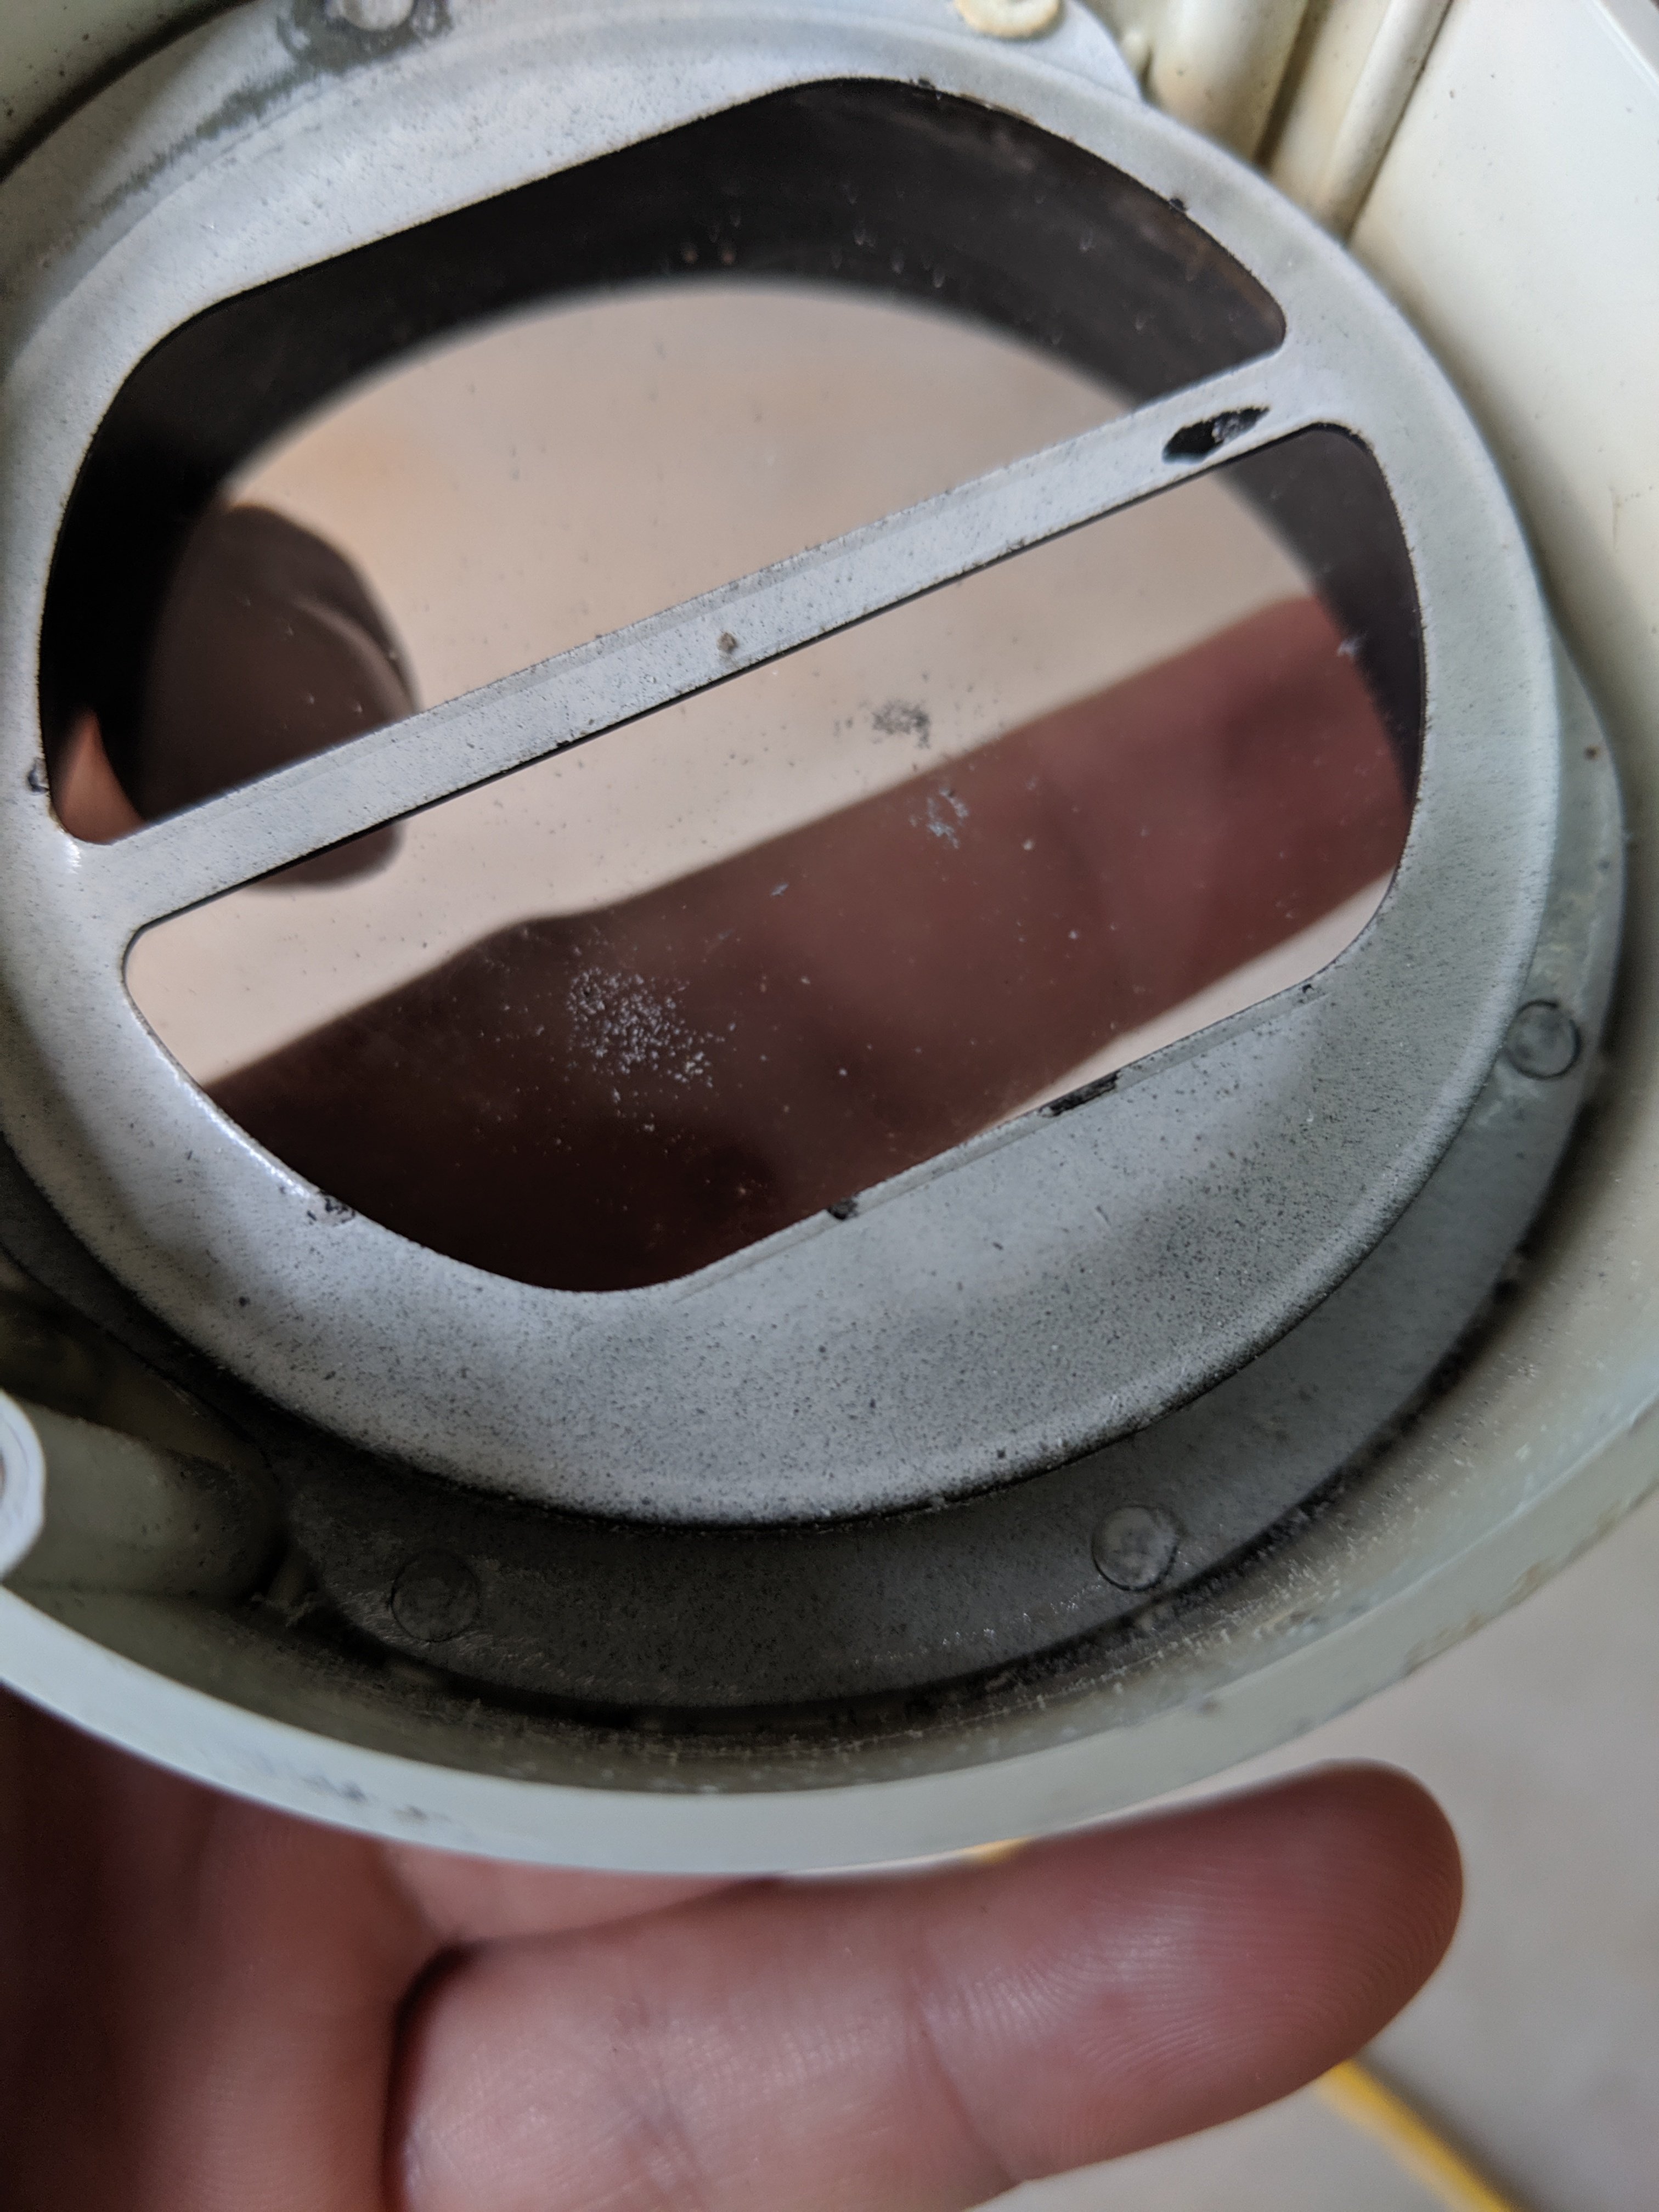
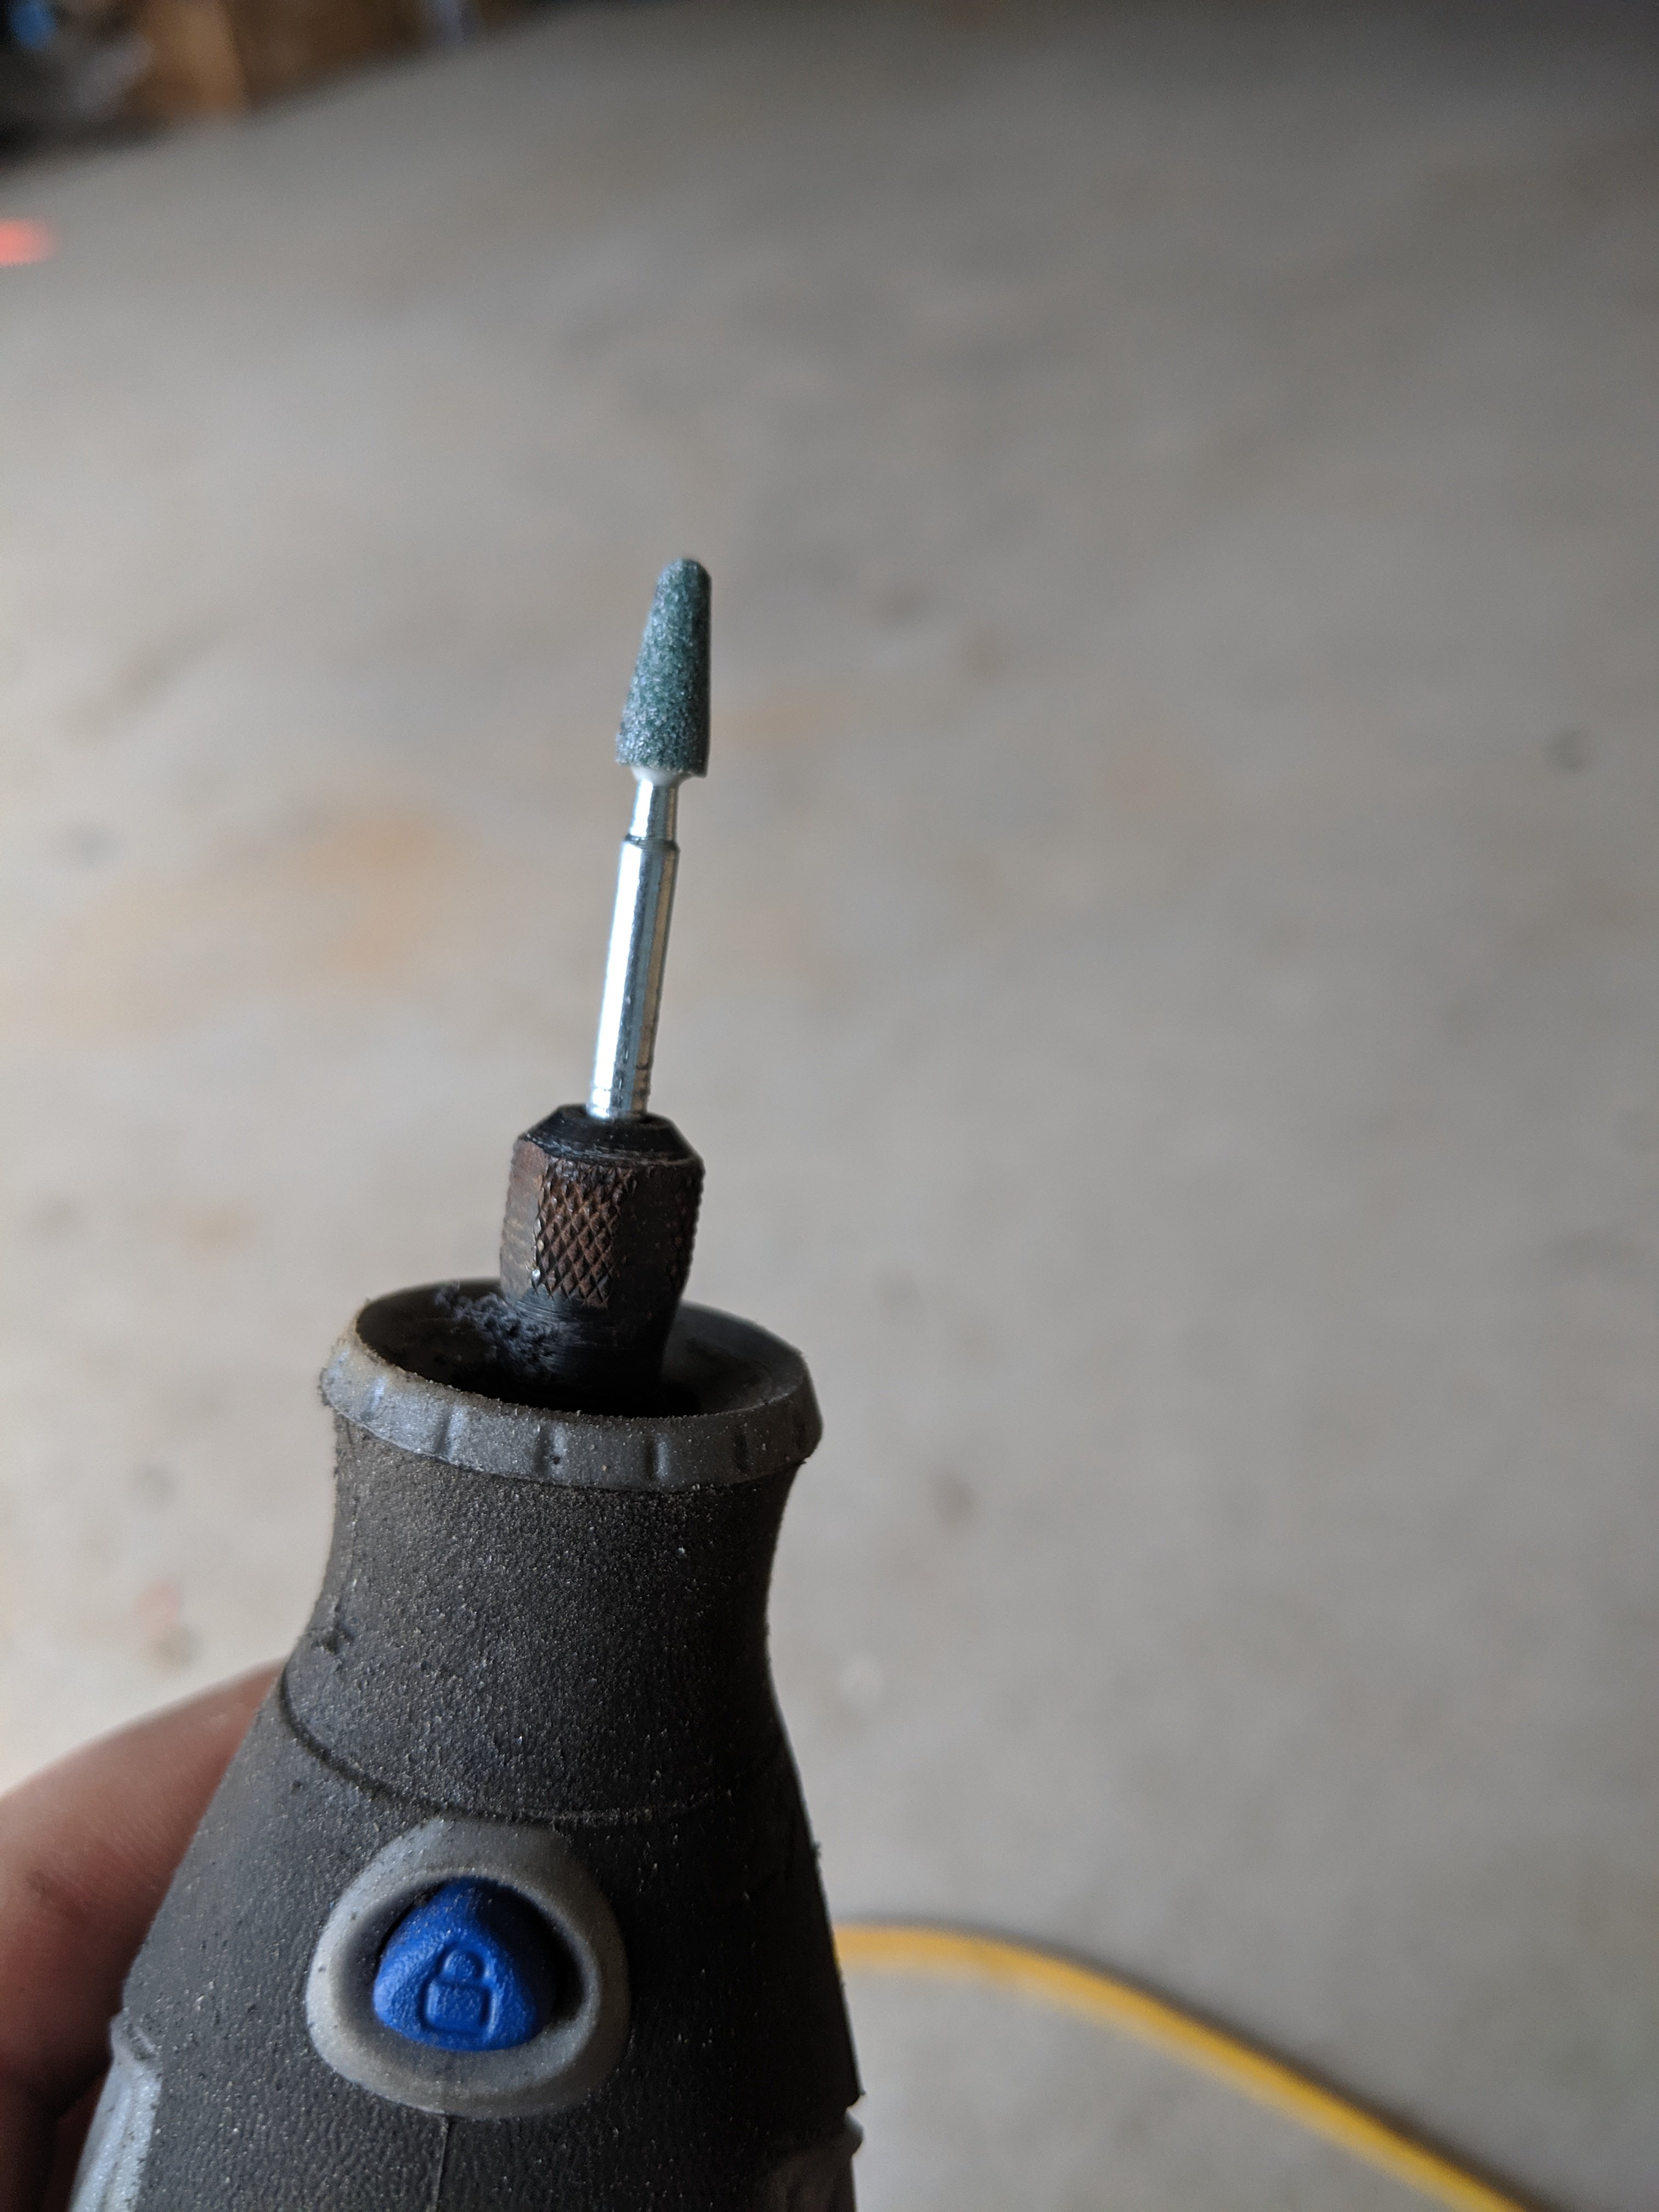
Once disassembled, to this point there is 6 tabs on the dual gauges that need to be drimmeled out to remove the glass and metal divider. Be careful.
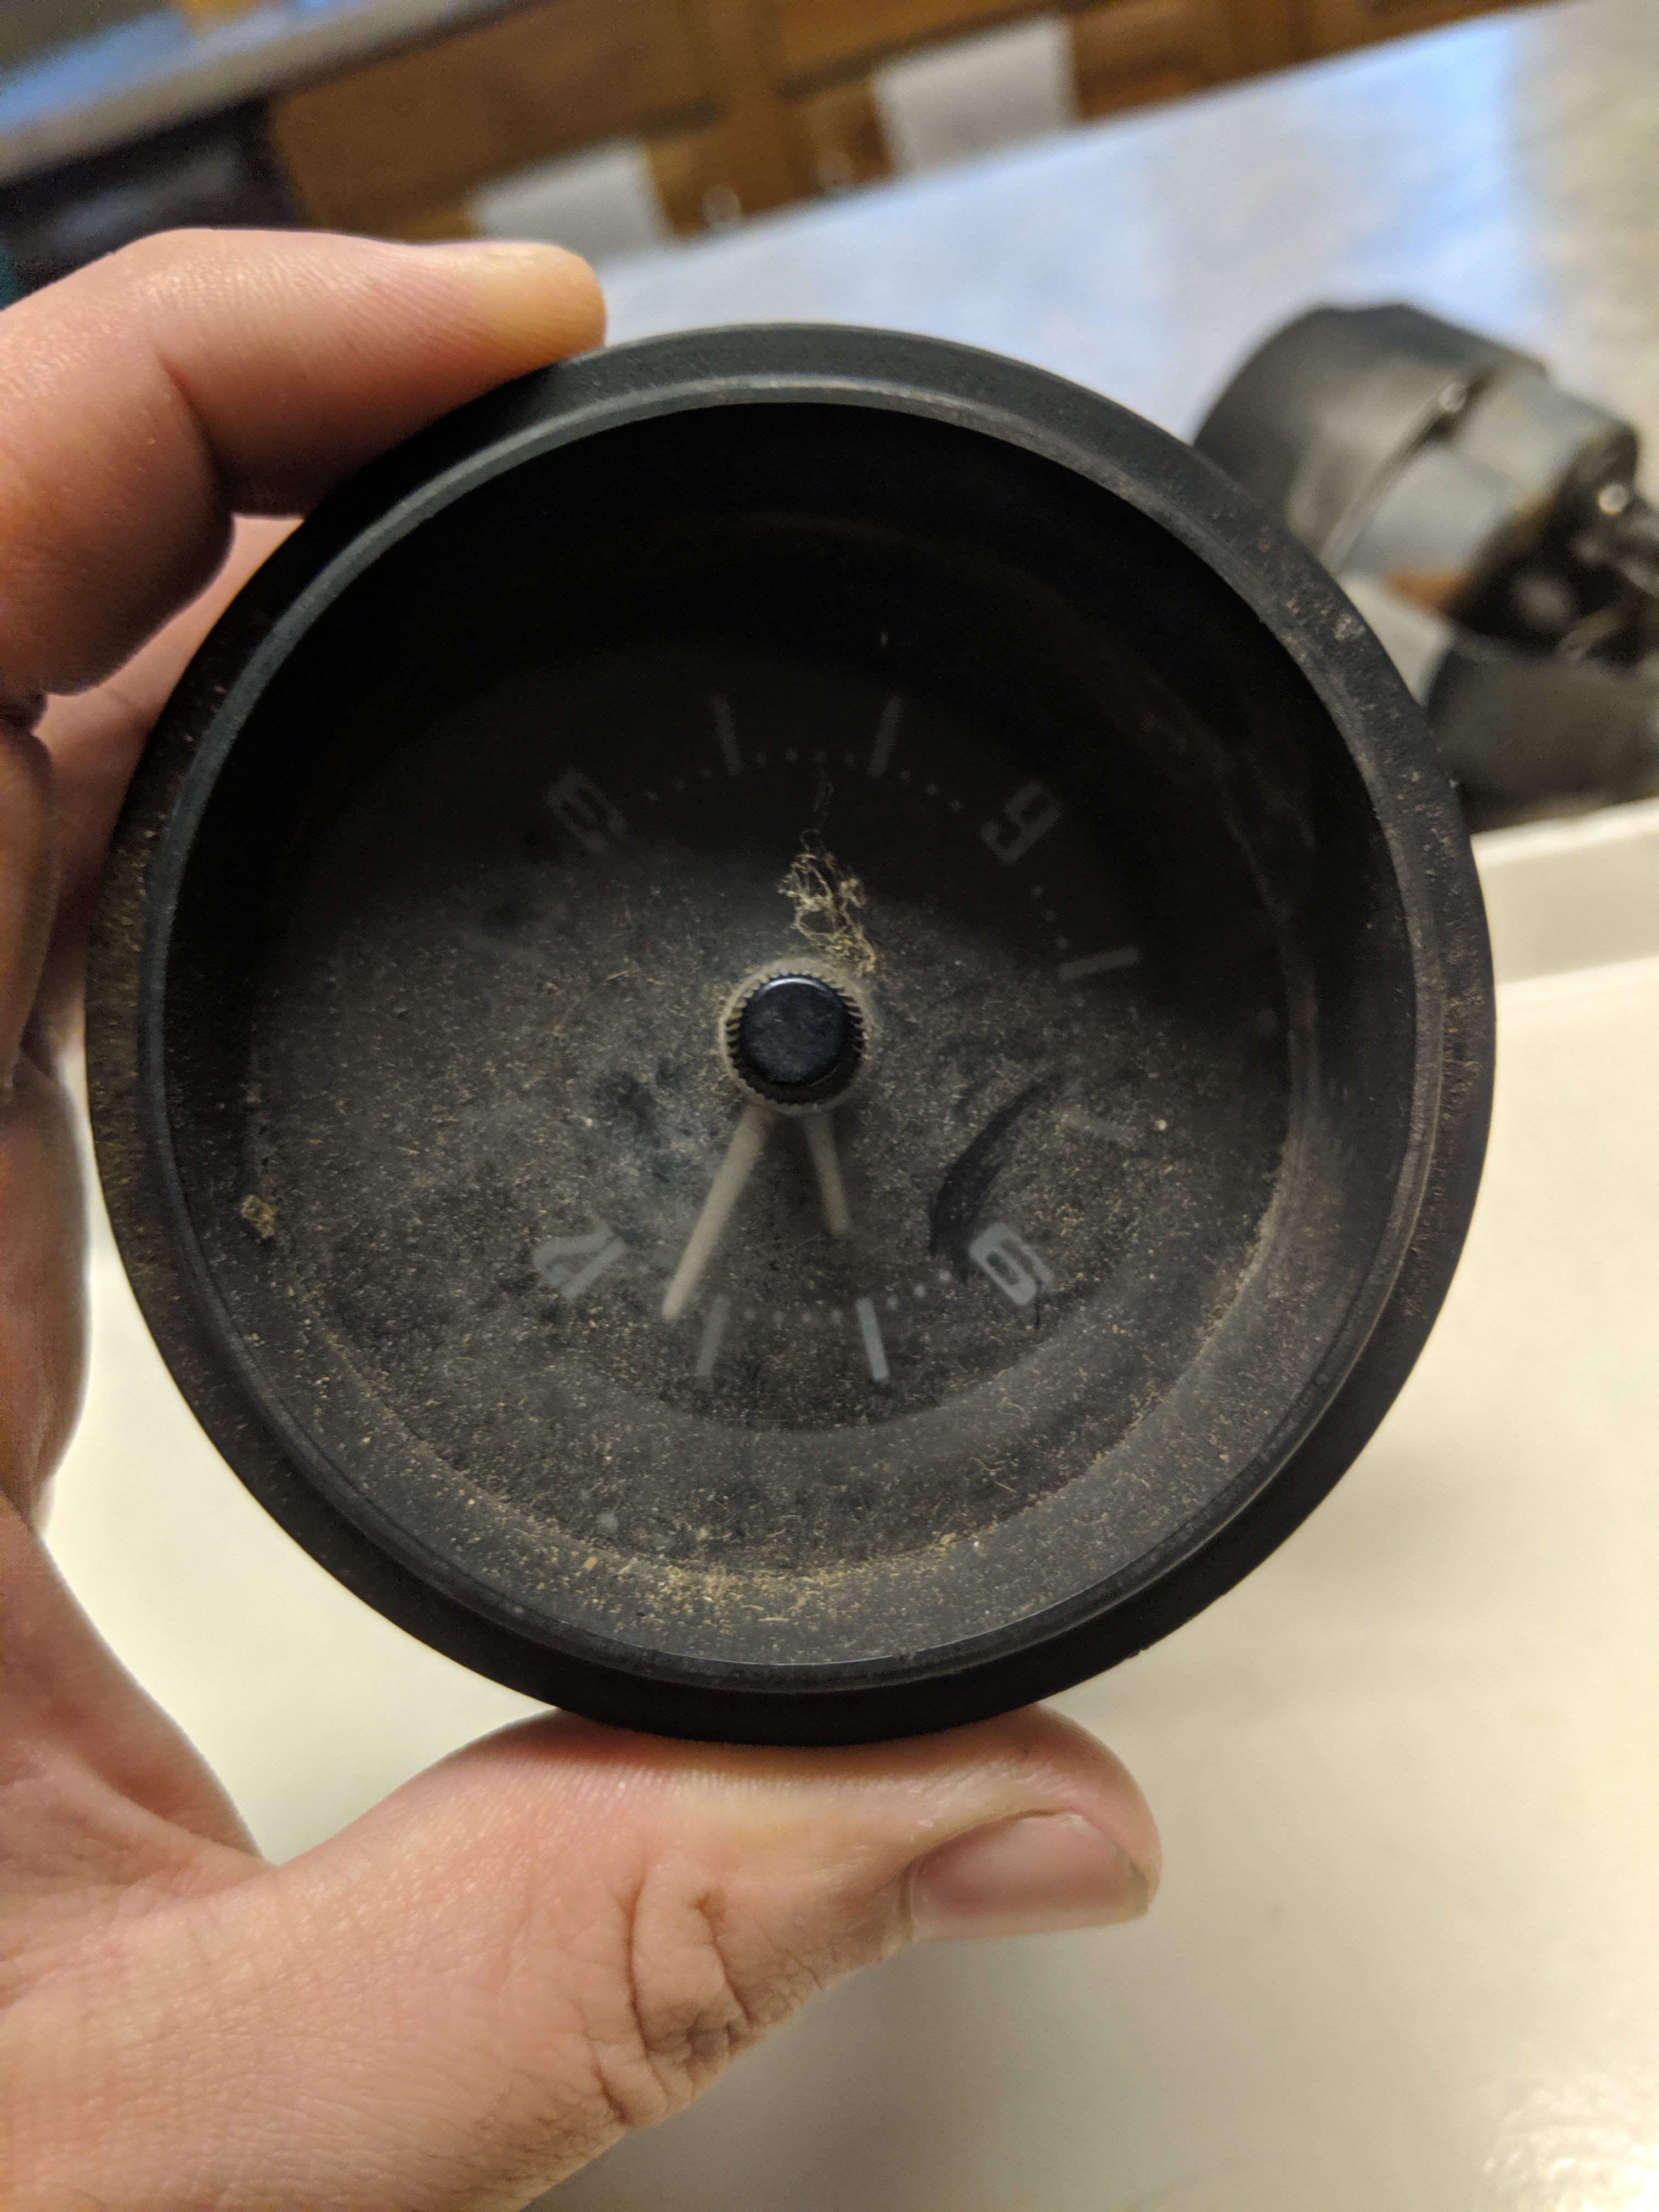
The clock takes pressure because it's glued. Be careful not to brake the lense. Apply nice even pressure.
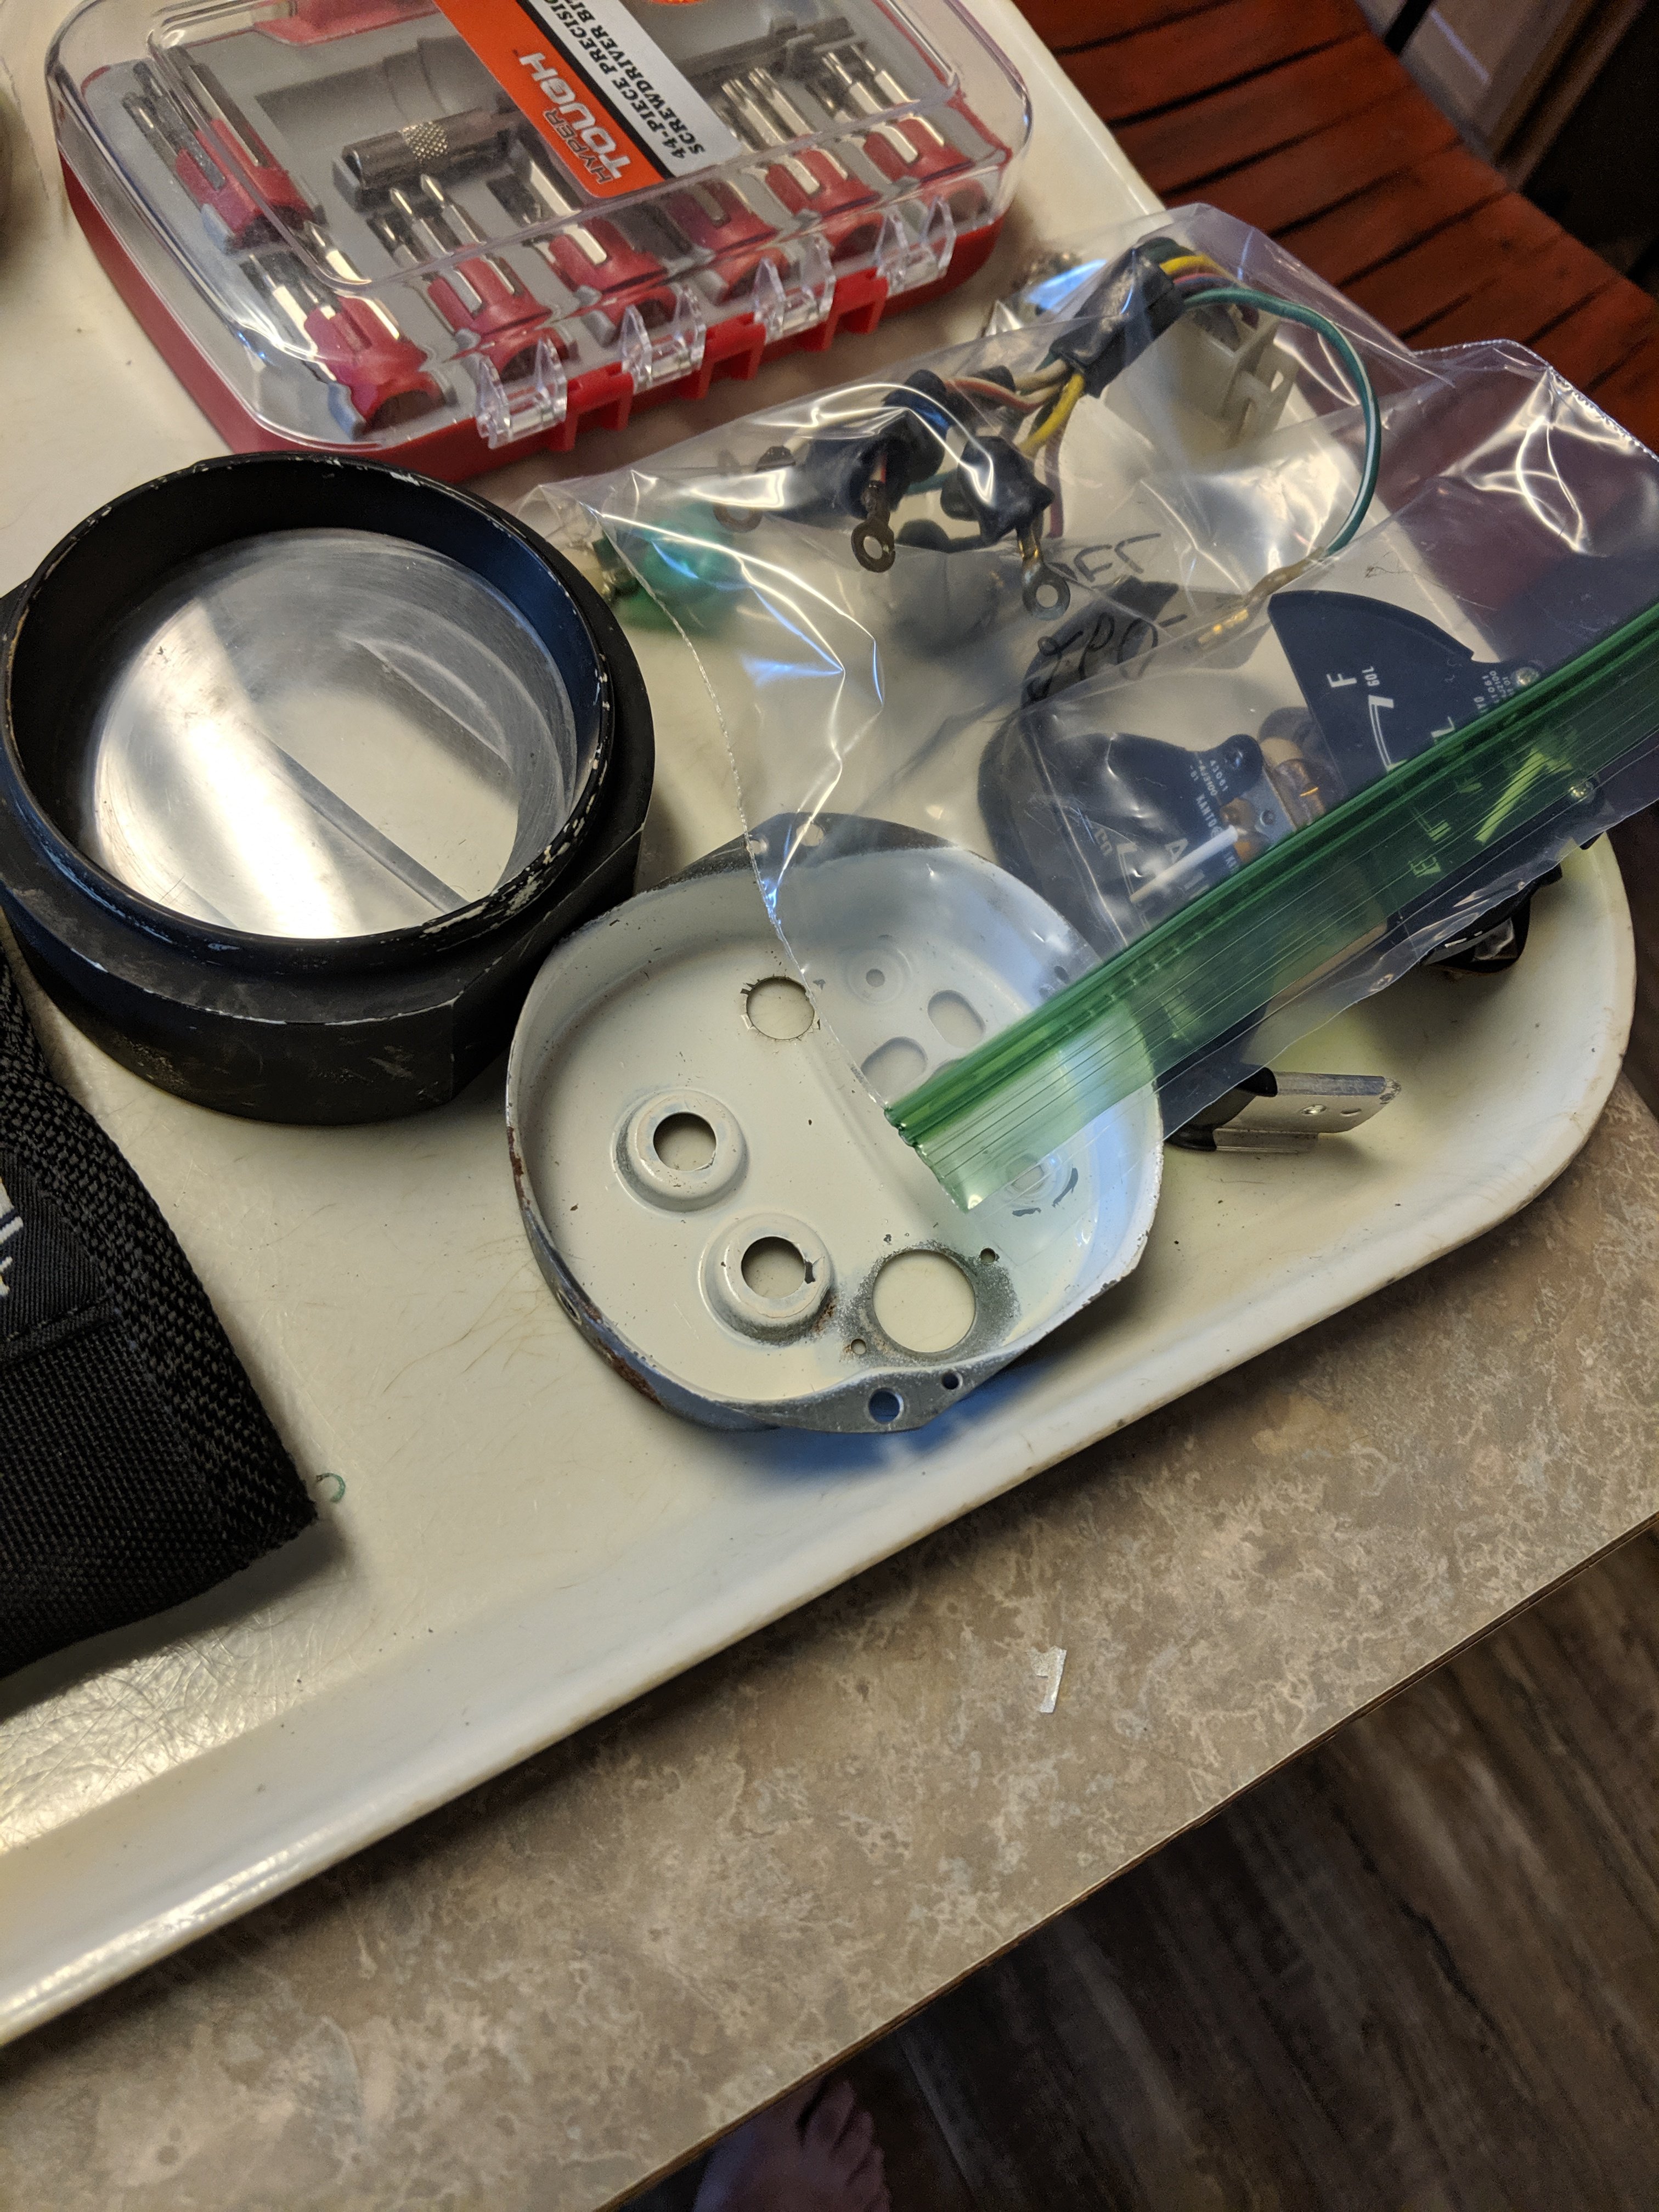
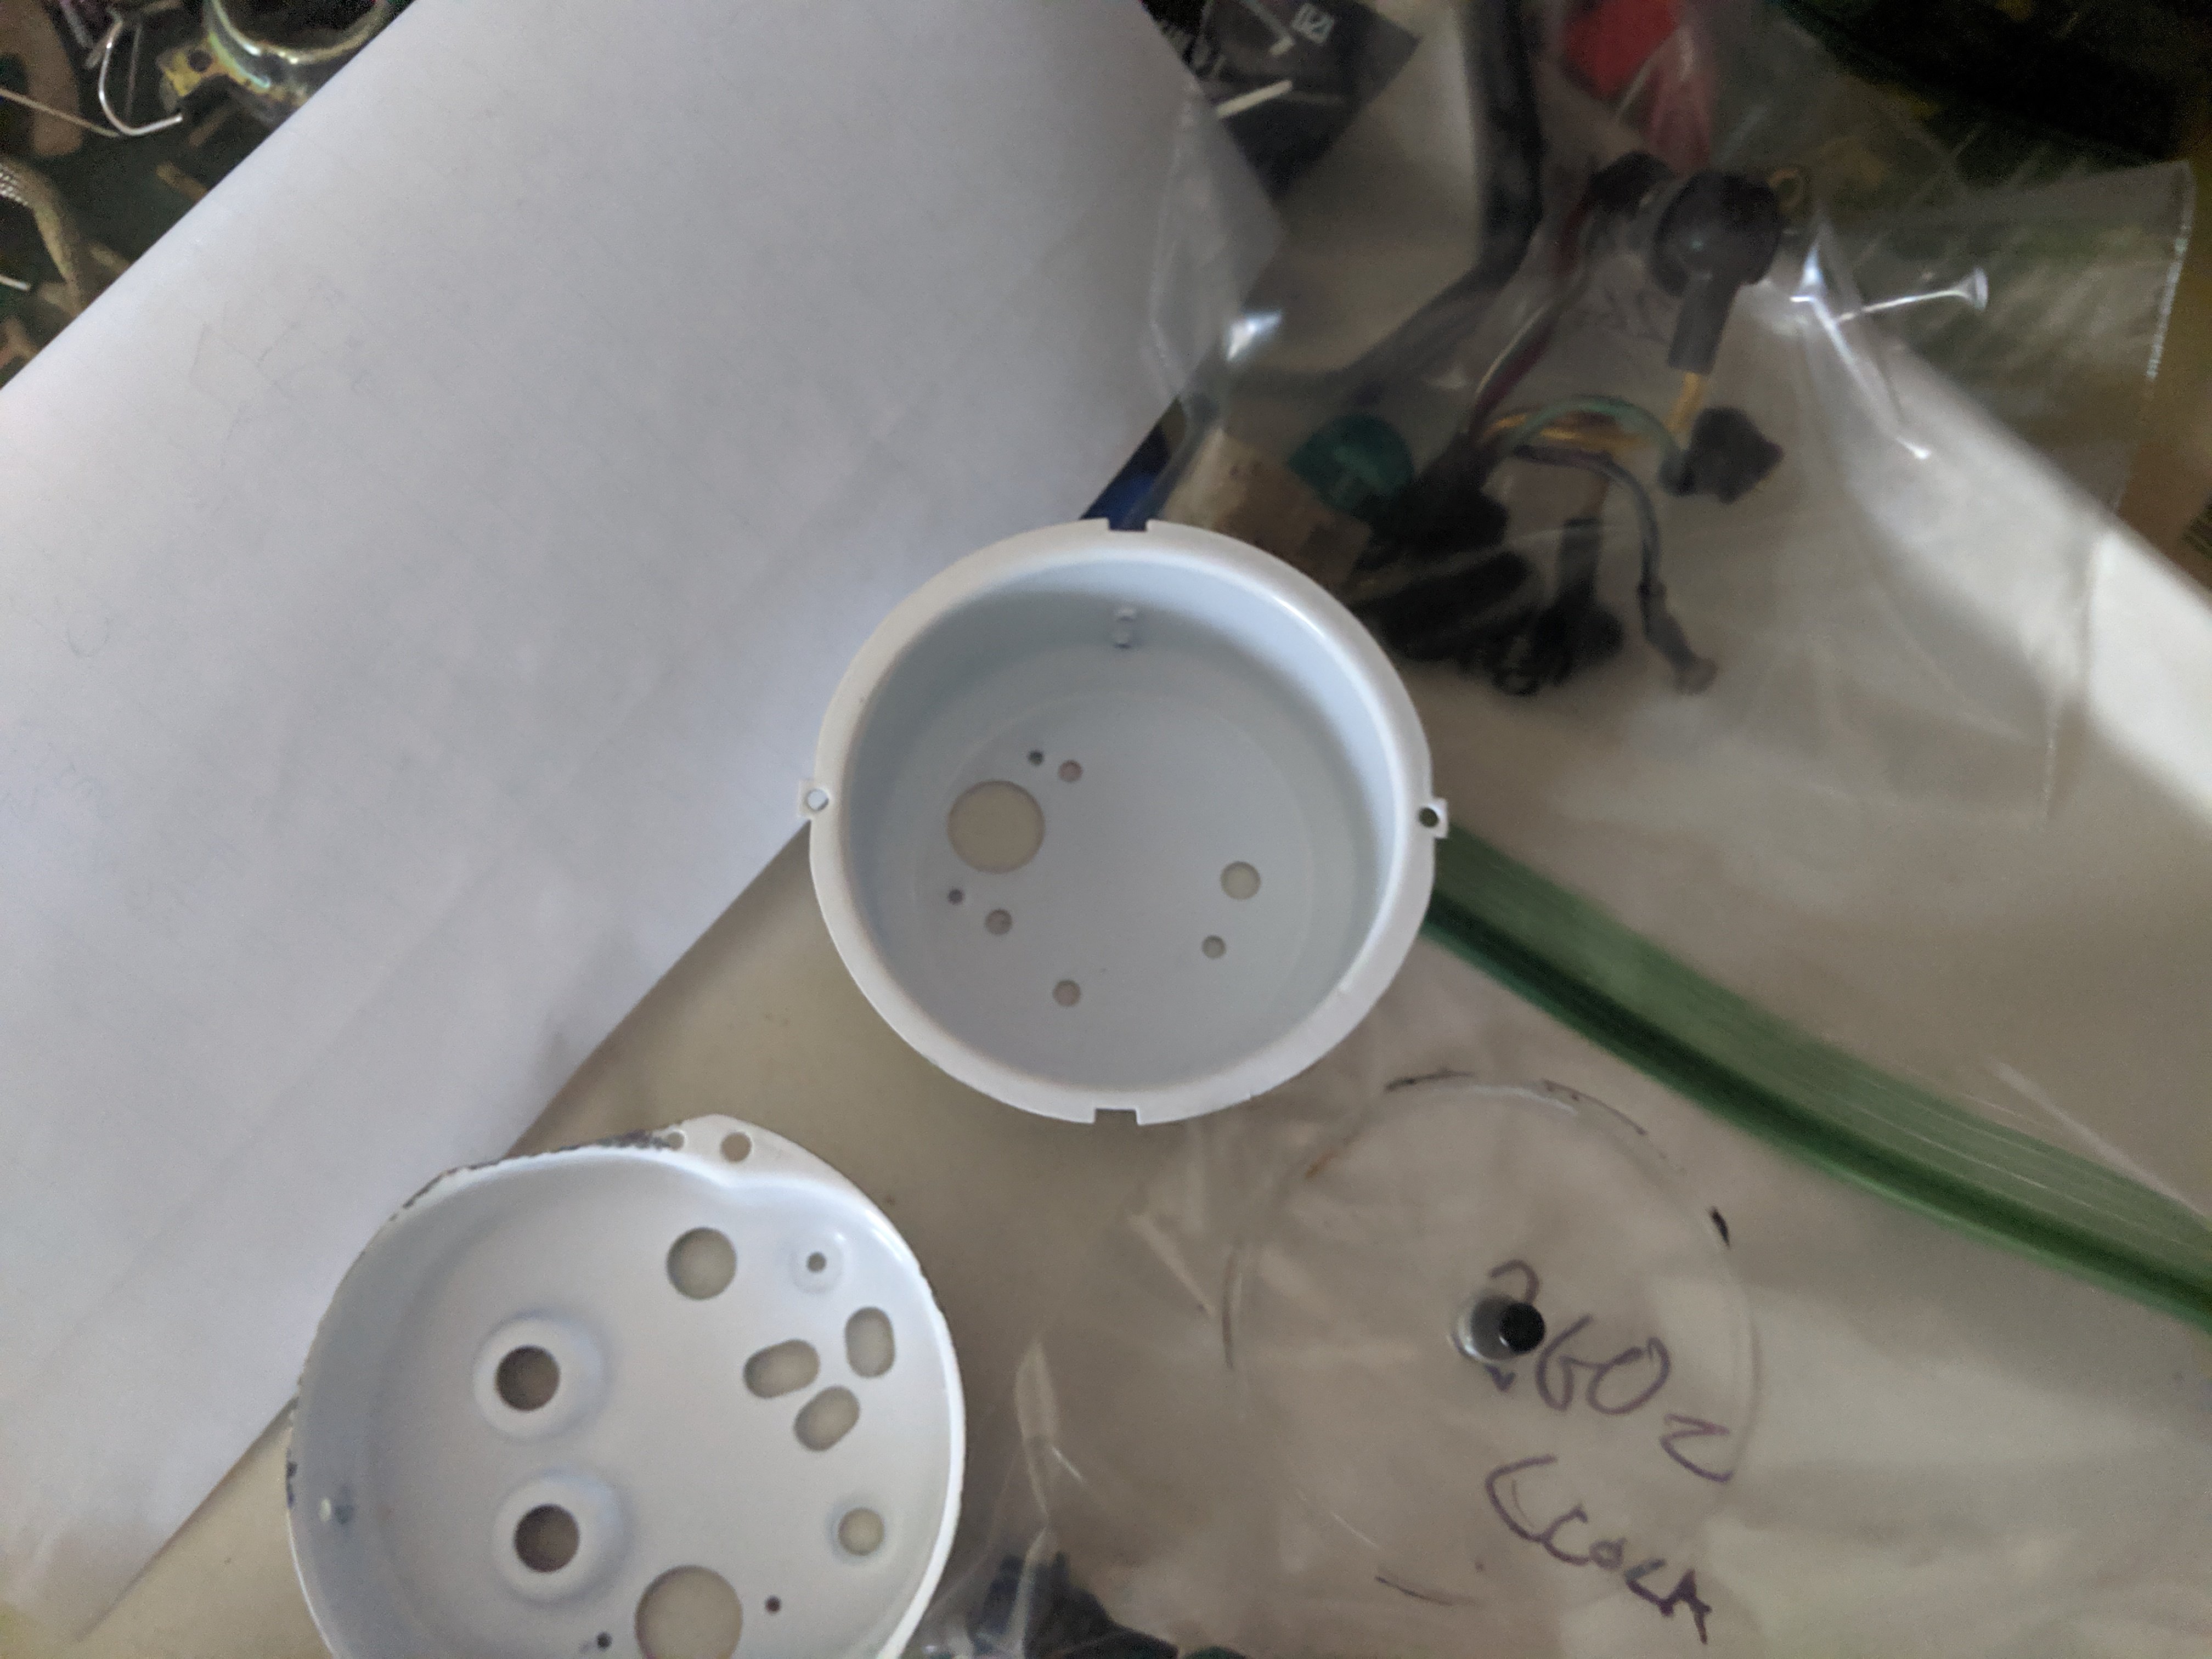
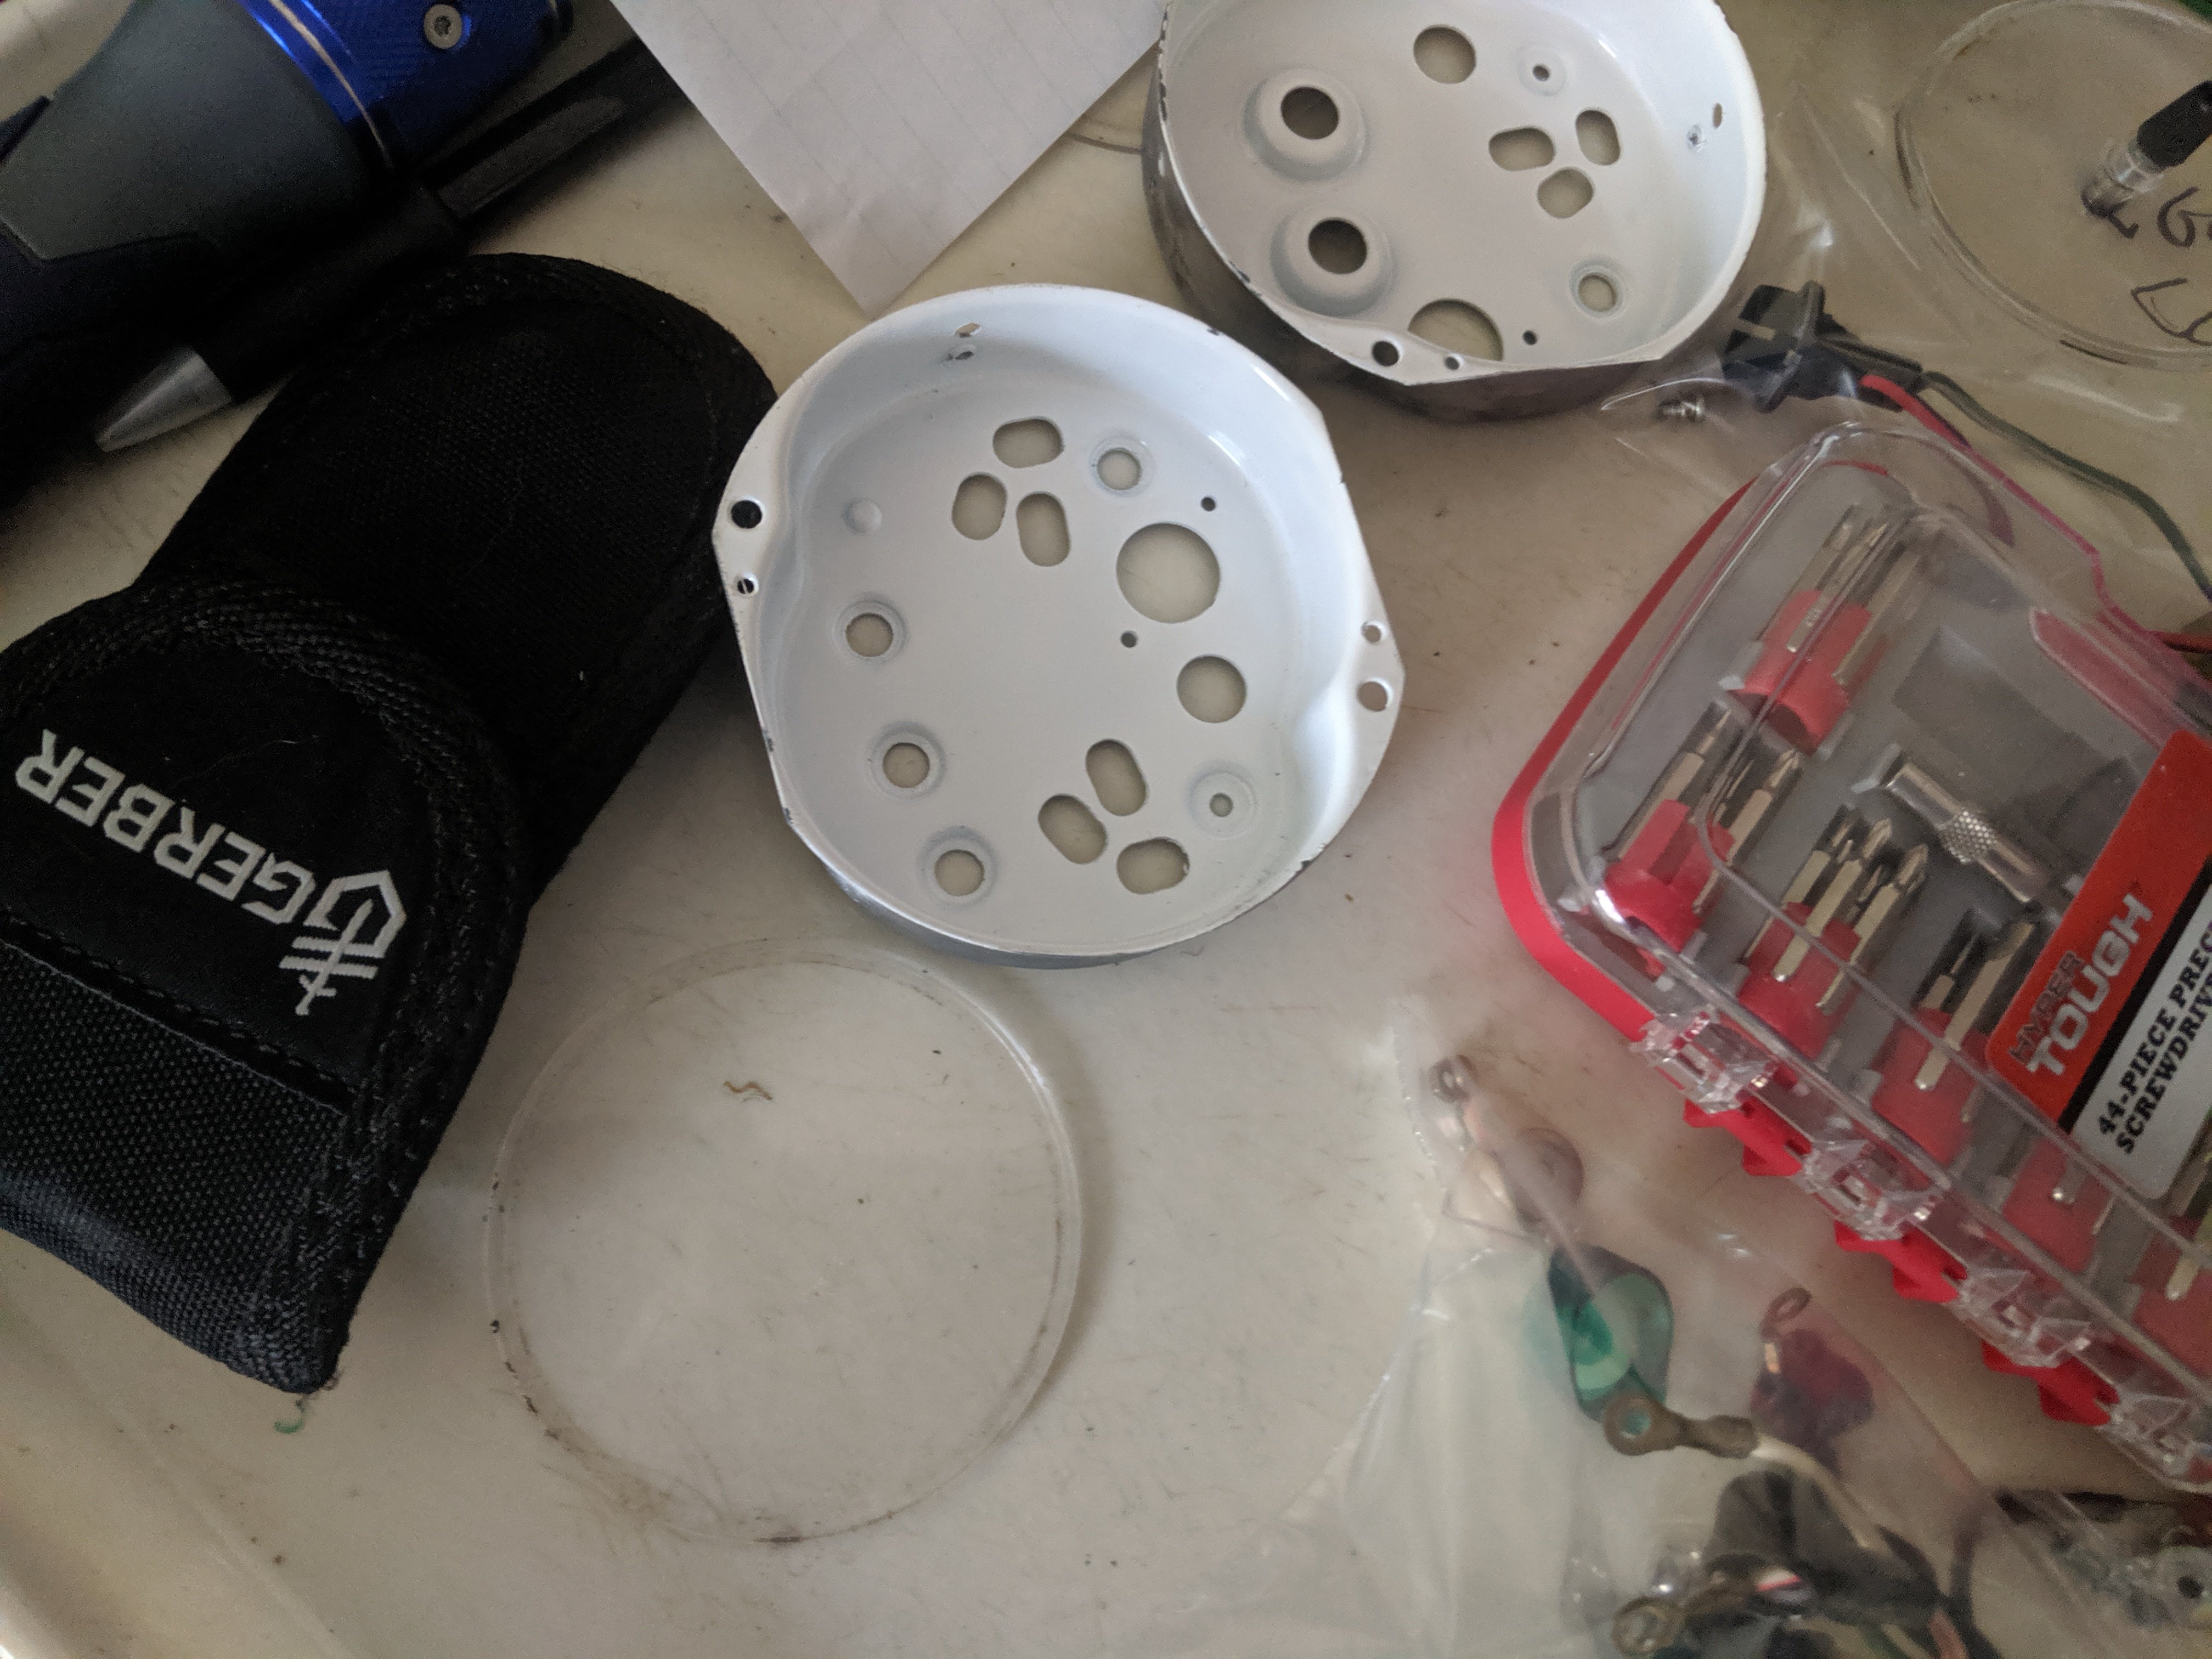
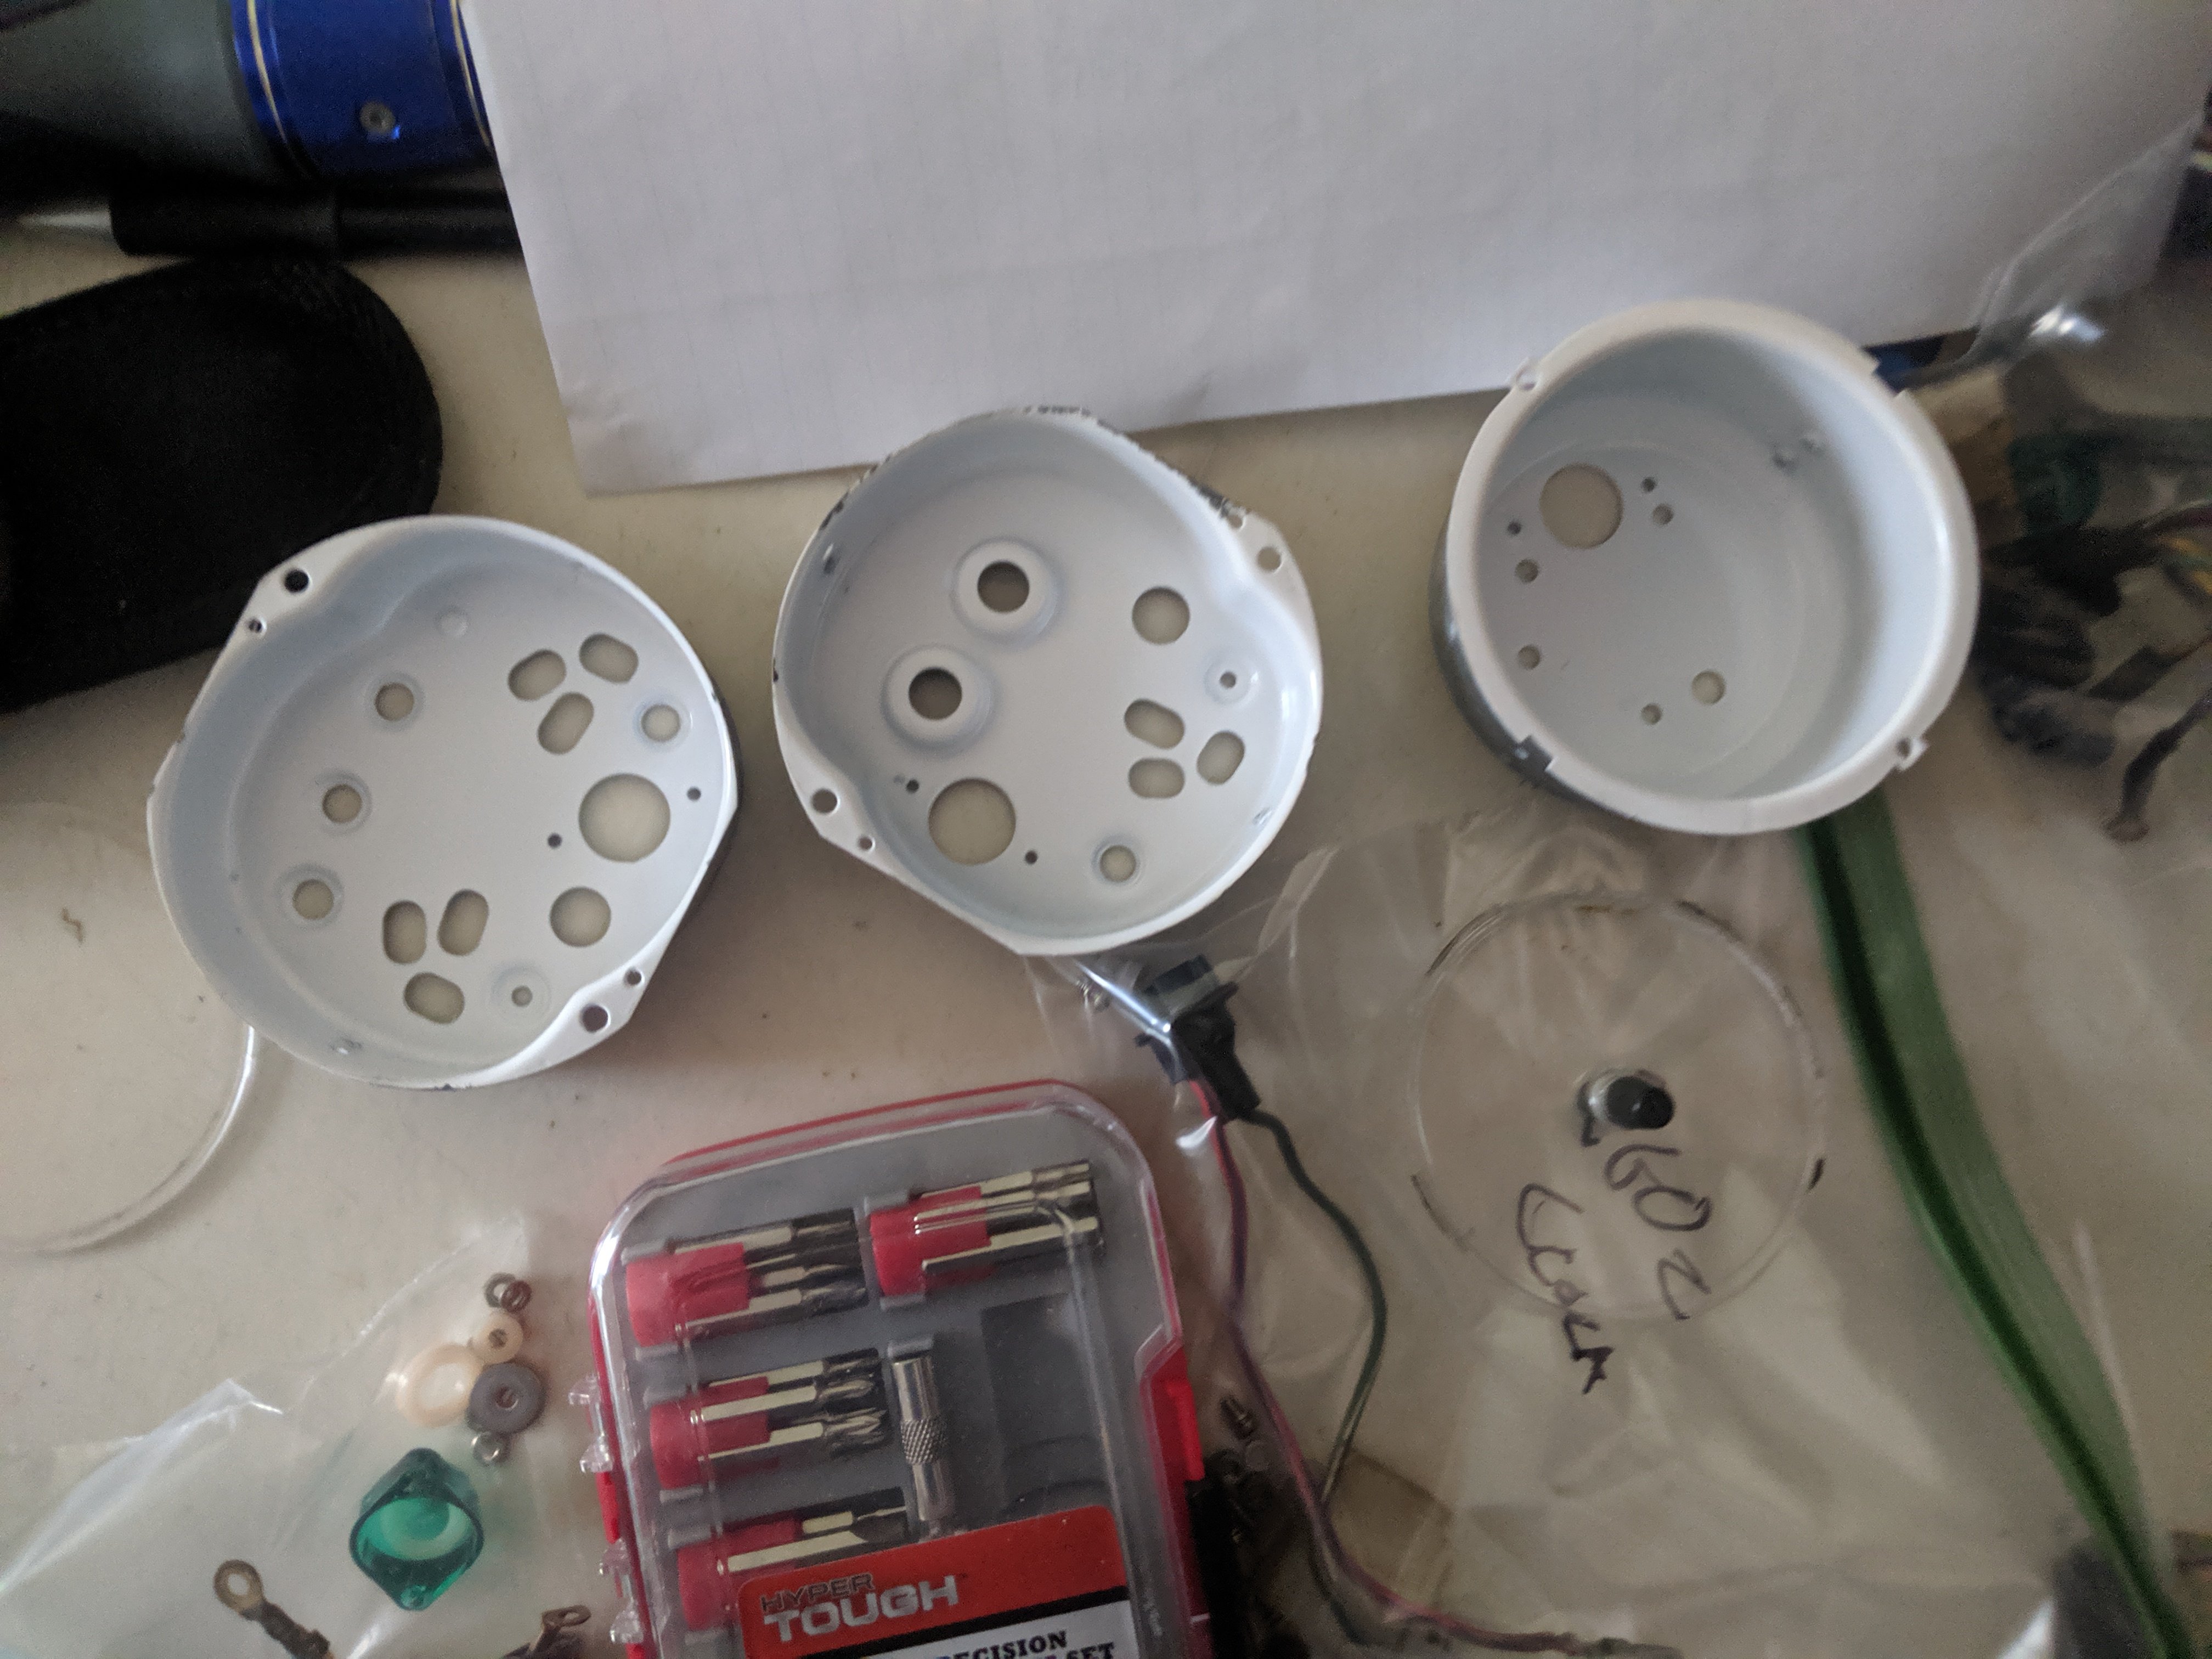
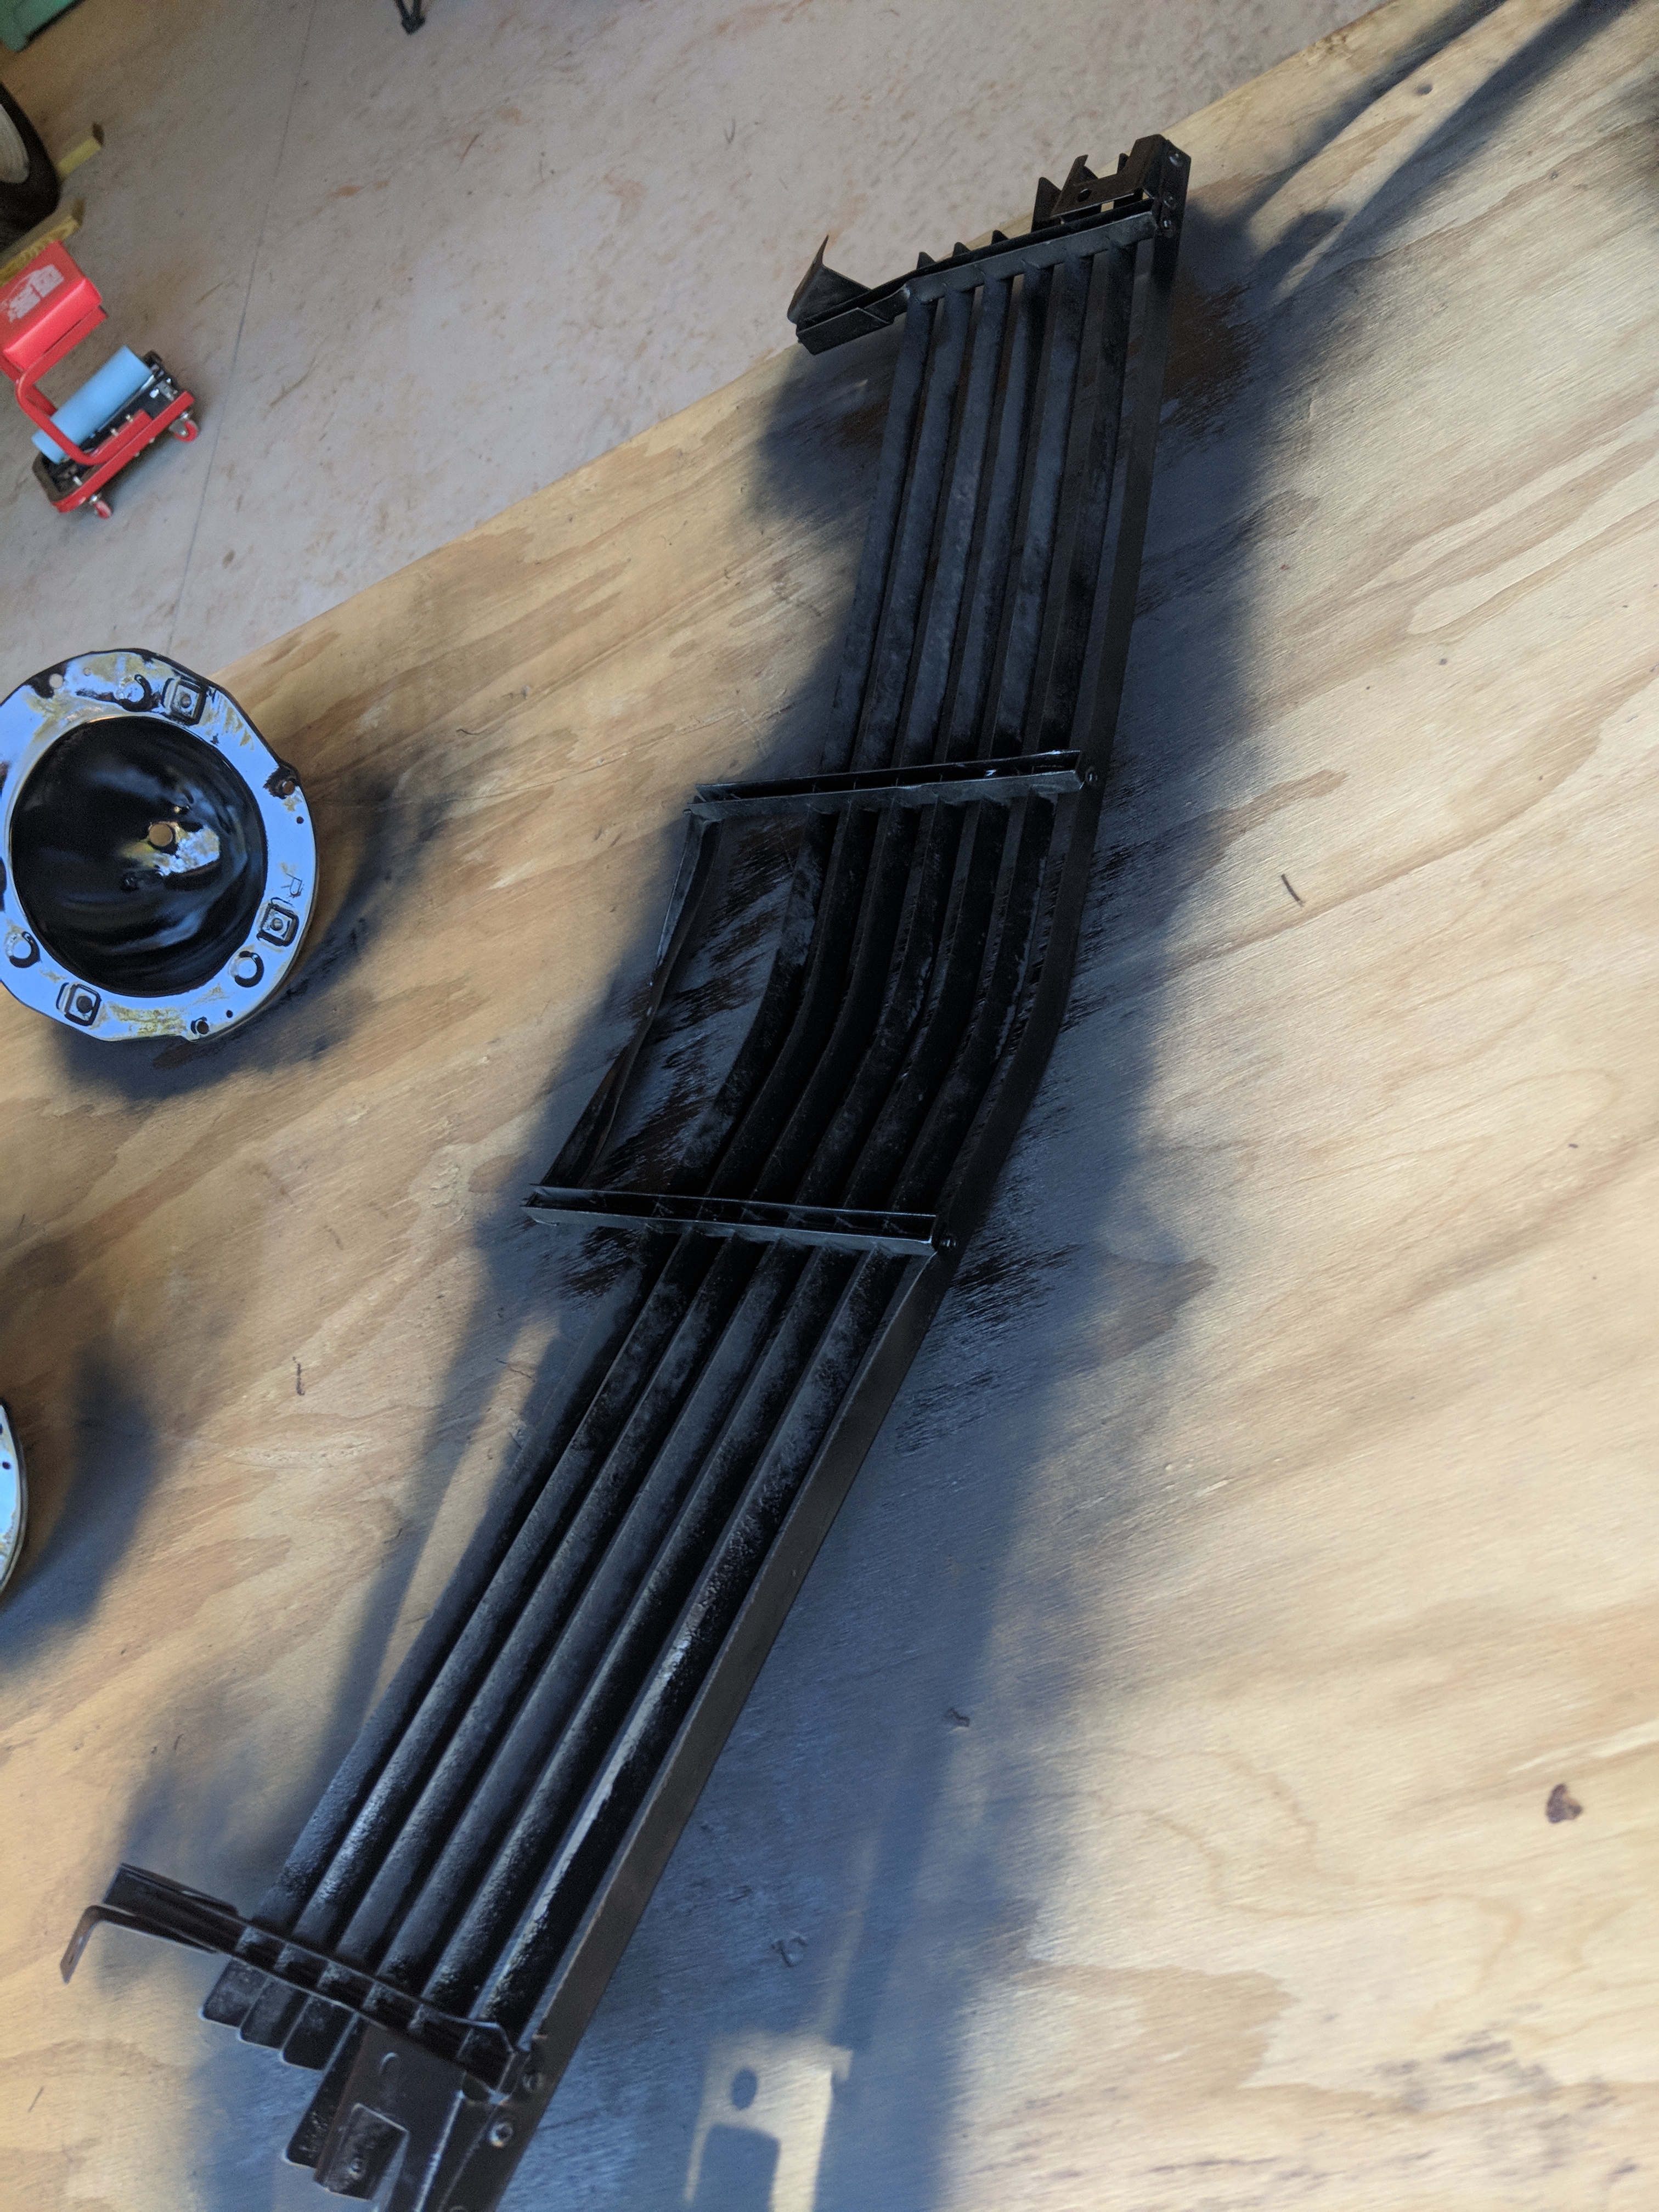
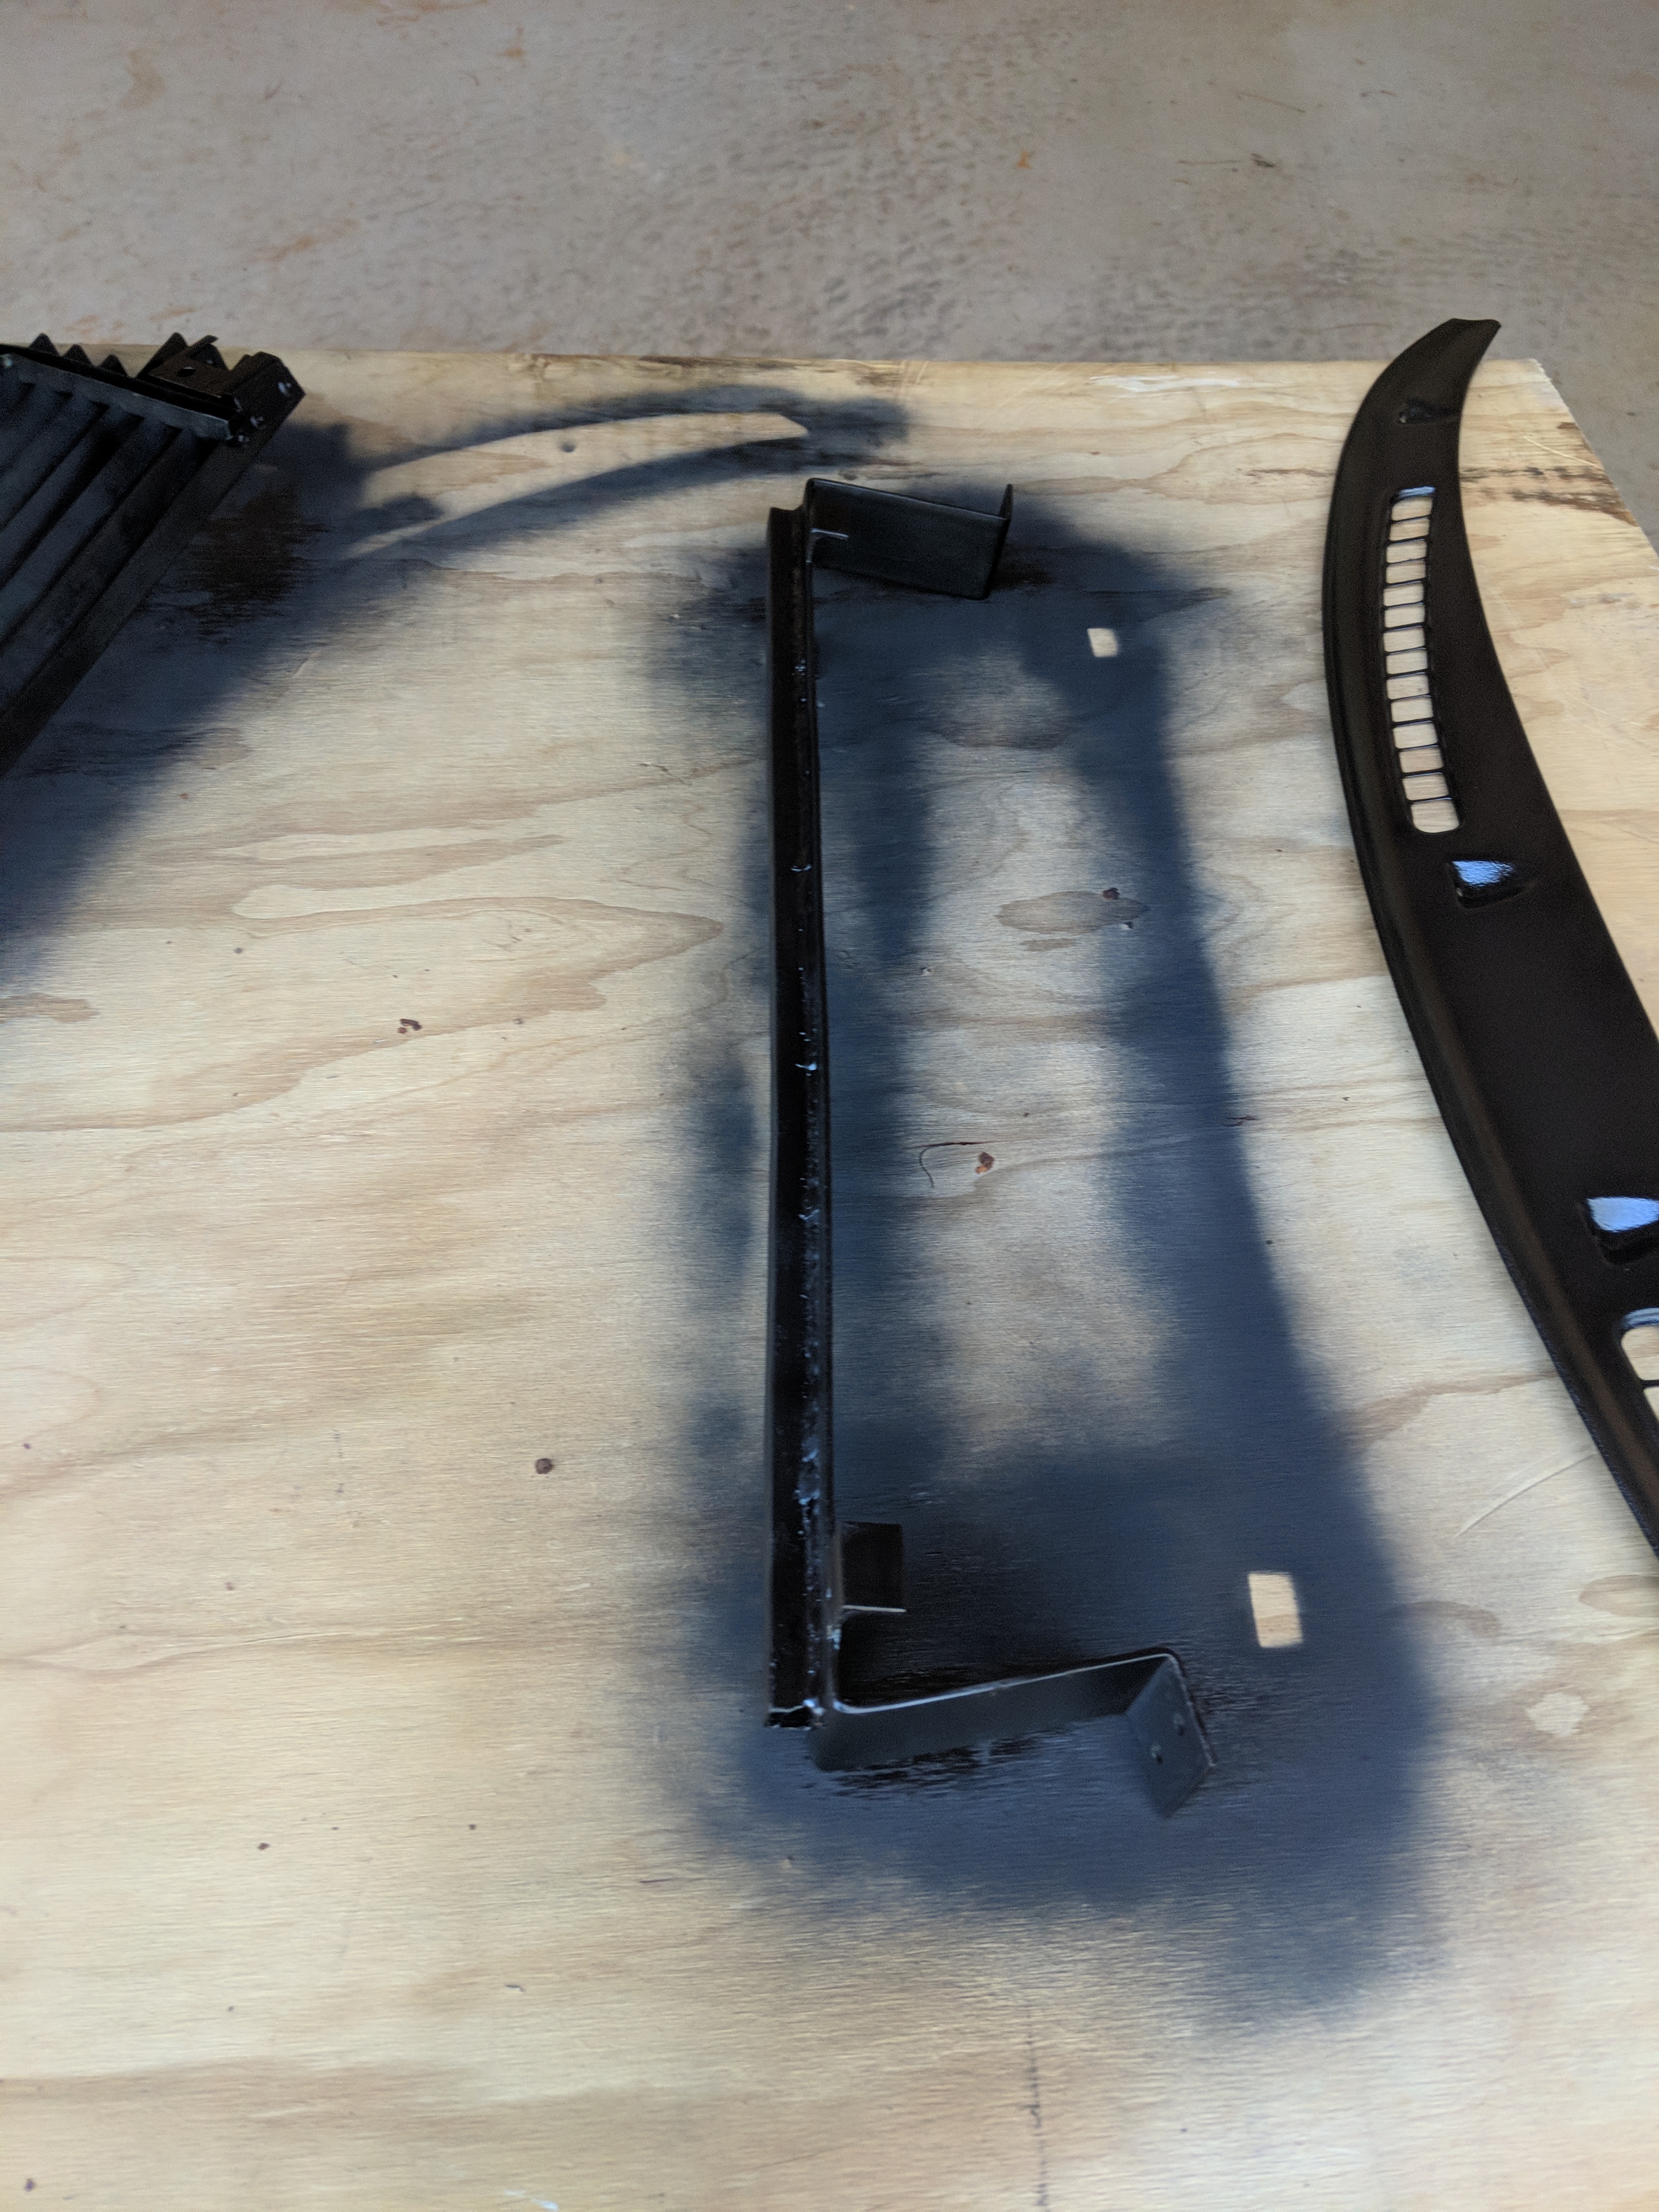
Next I removed all the paint from the metal piece before applying a high filler primer because of the wire wheel lol.
Then I sanded down the plastic gauge cover. Prepped them all and applied the primer to both side. Remember which side needs to be black and which white on the gauge divider.
I used a satin black for all the parts requiring black paint, and a nice gloss white for the rest. The white is what helps reflect the OEM lights.
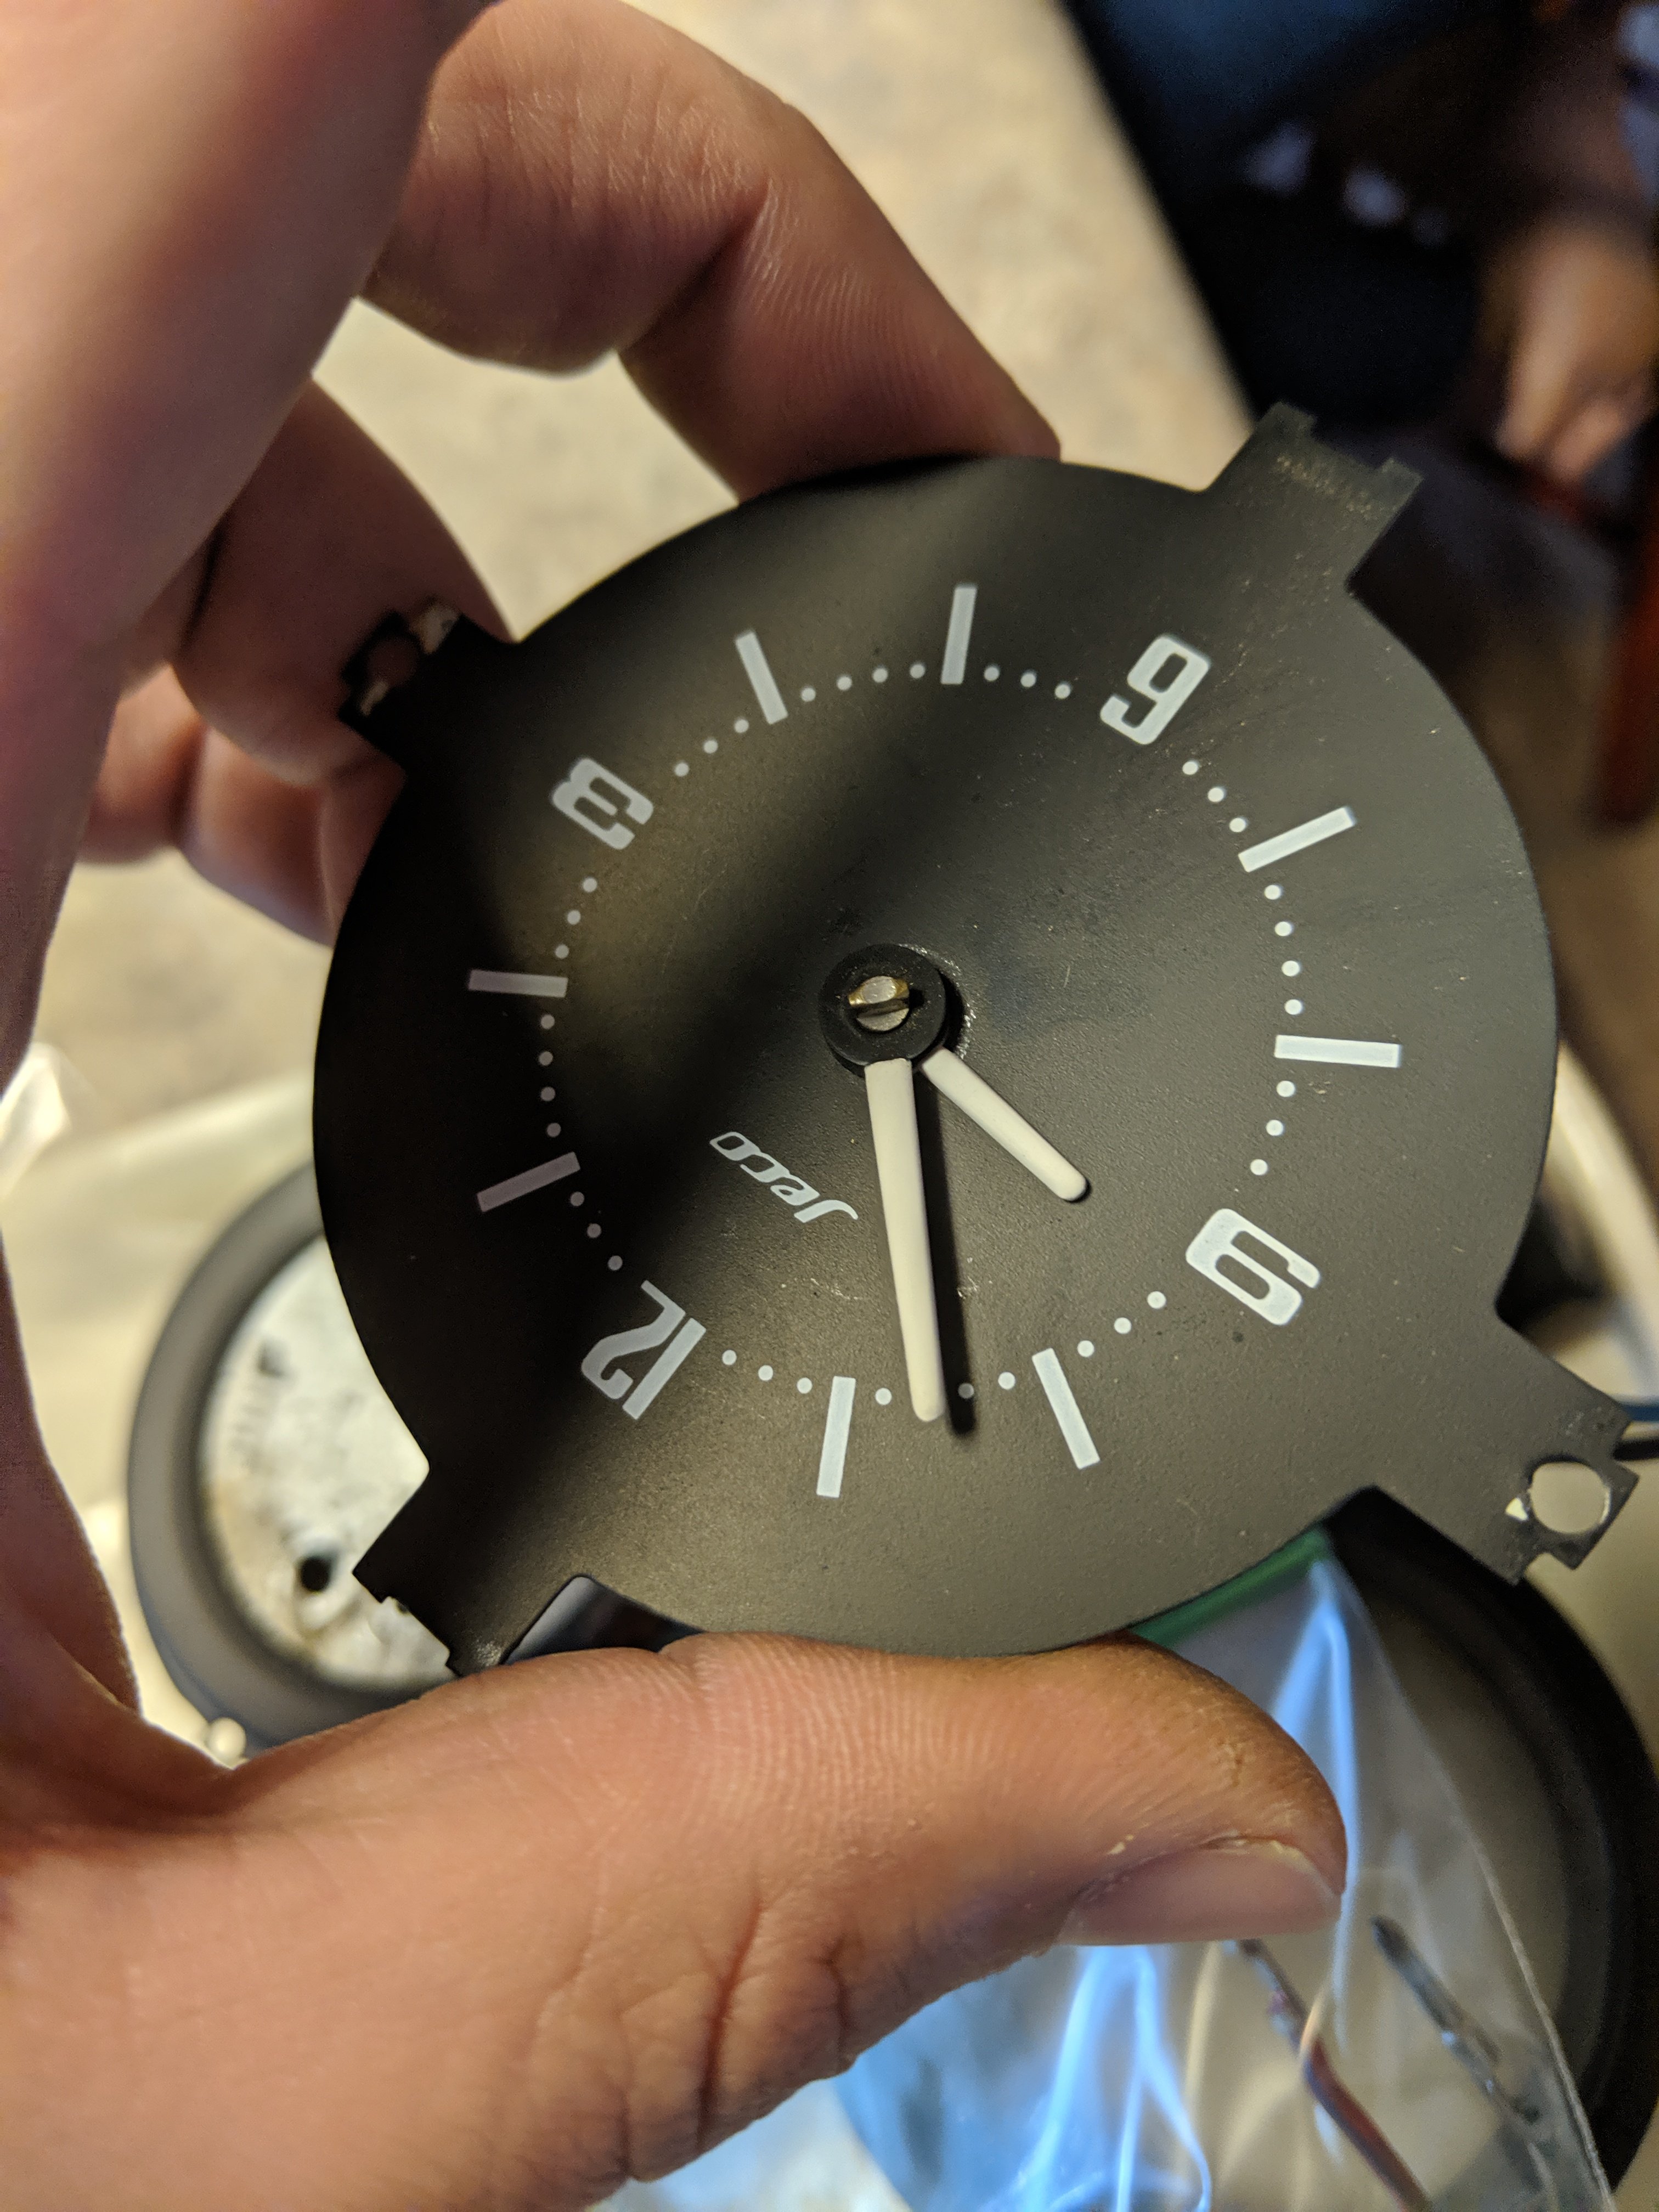
To re attach the gauge lenses to the housing I used a high heat, clear gorilla type glue. Be careful applying it because if it gets on the lense you won't be able to fix it.
I re used the clock lense and had a local glass shop cut two new Plexi lenses for the dual gauges which cost me 8 USD.
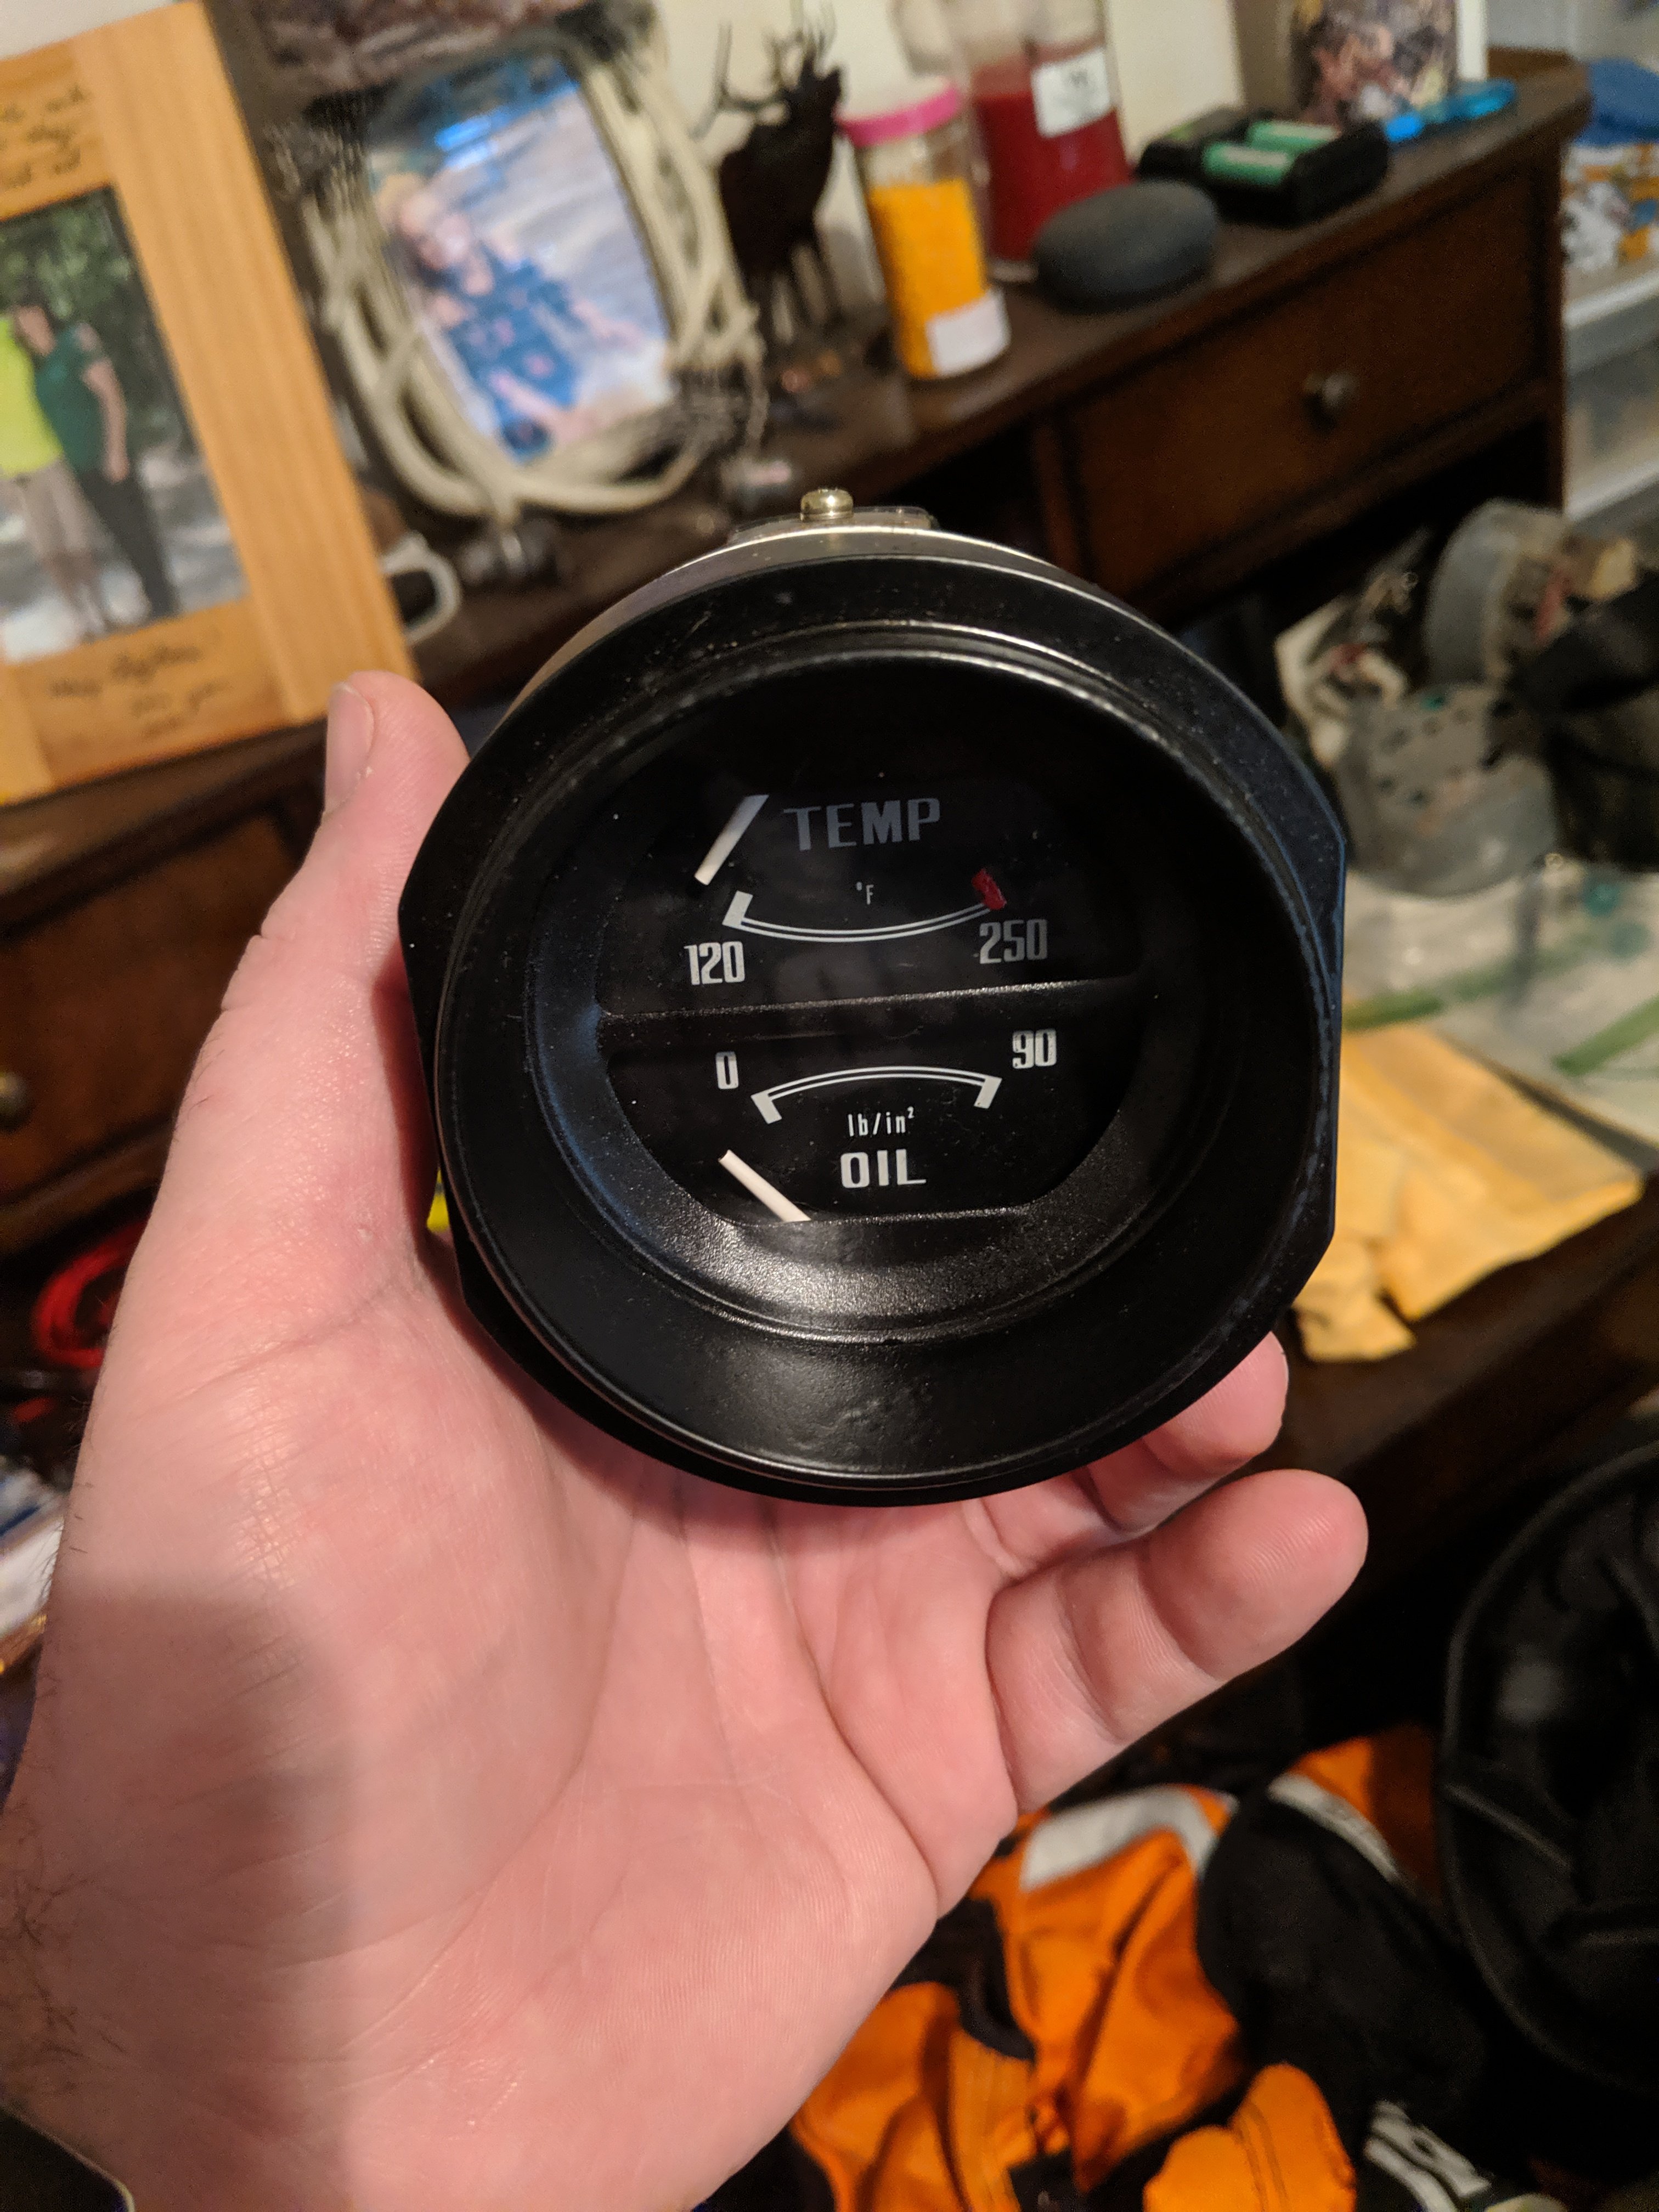
Take your time putting everything back together and the finished project will look like this or even better.

-
I am about 30 days out from being home thank God for short deployments. I will be posting tons of pics of all the work I will be done plus all the goodies I have aquired while I was deployed!!
-
Thanks marks. Maybe once im done we will setup a datsun meet for us guys in the Carolinas
-
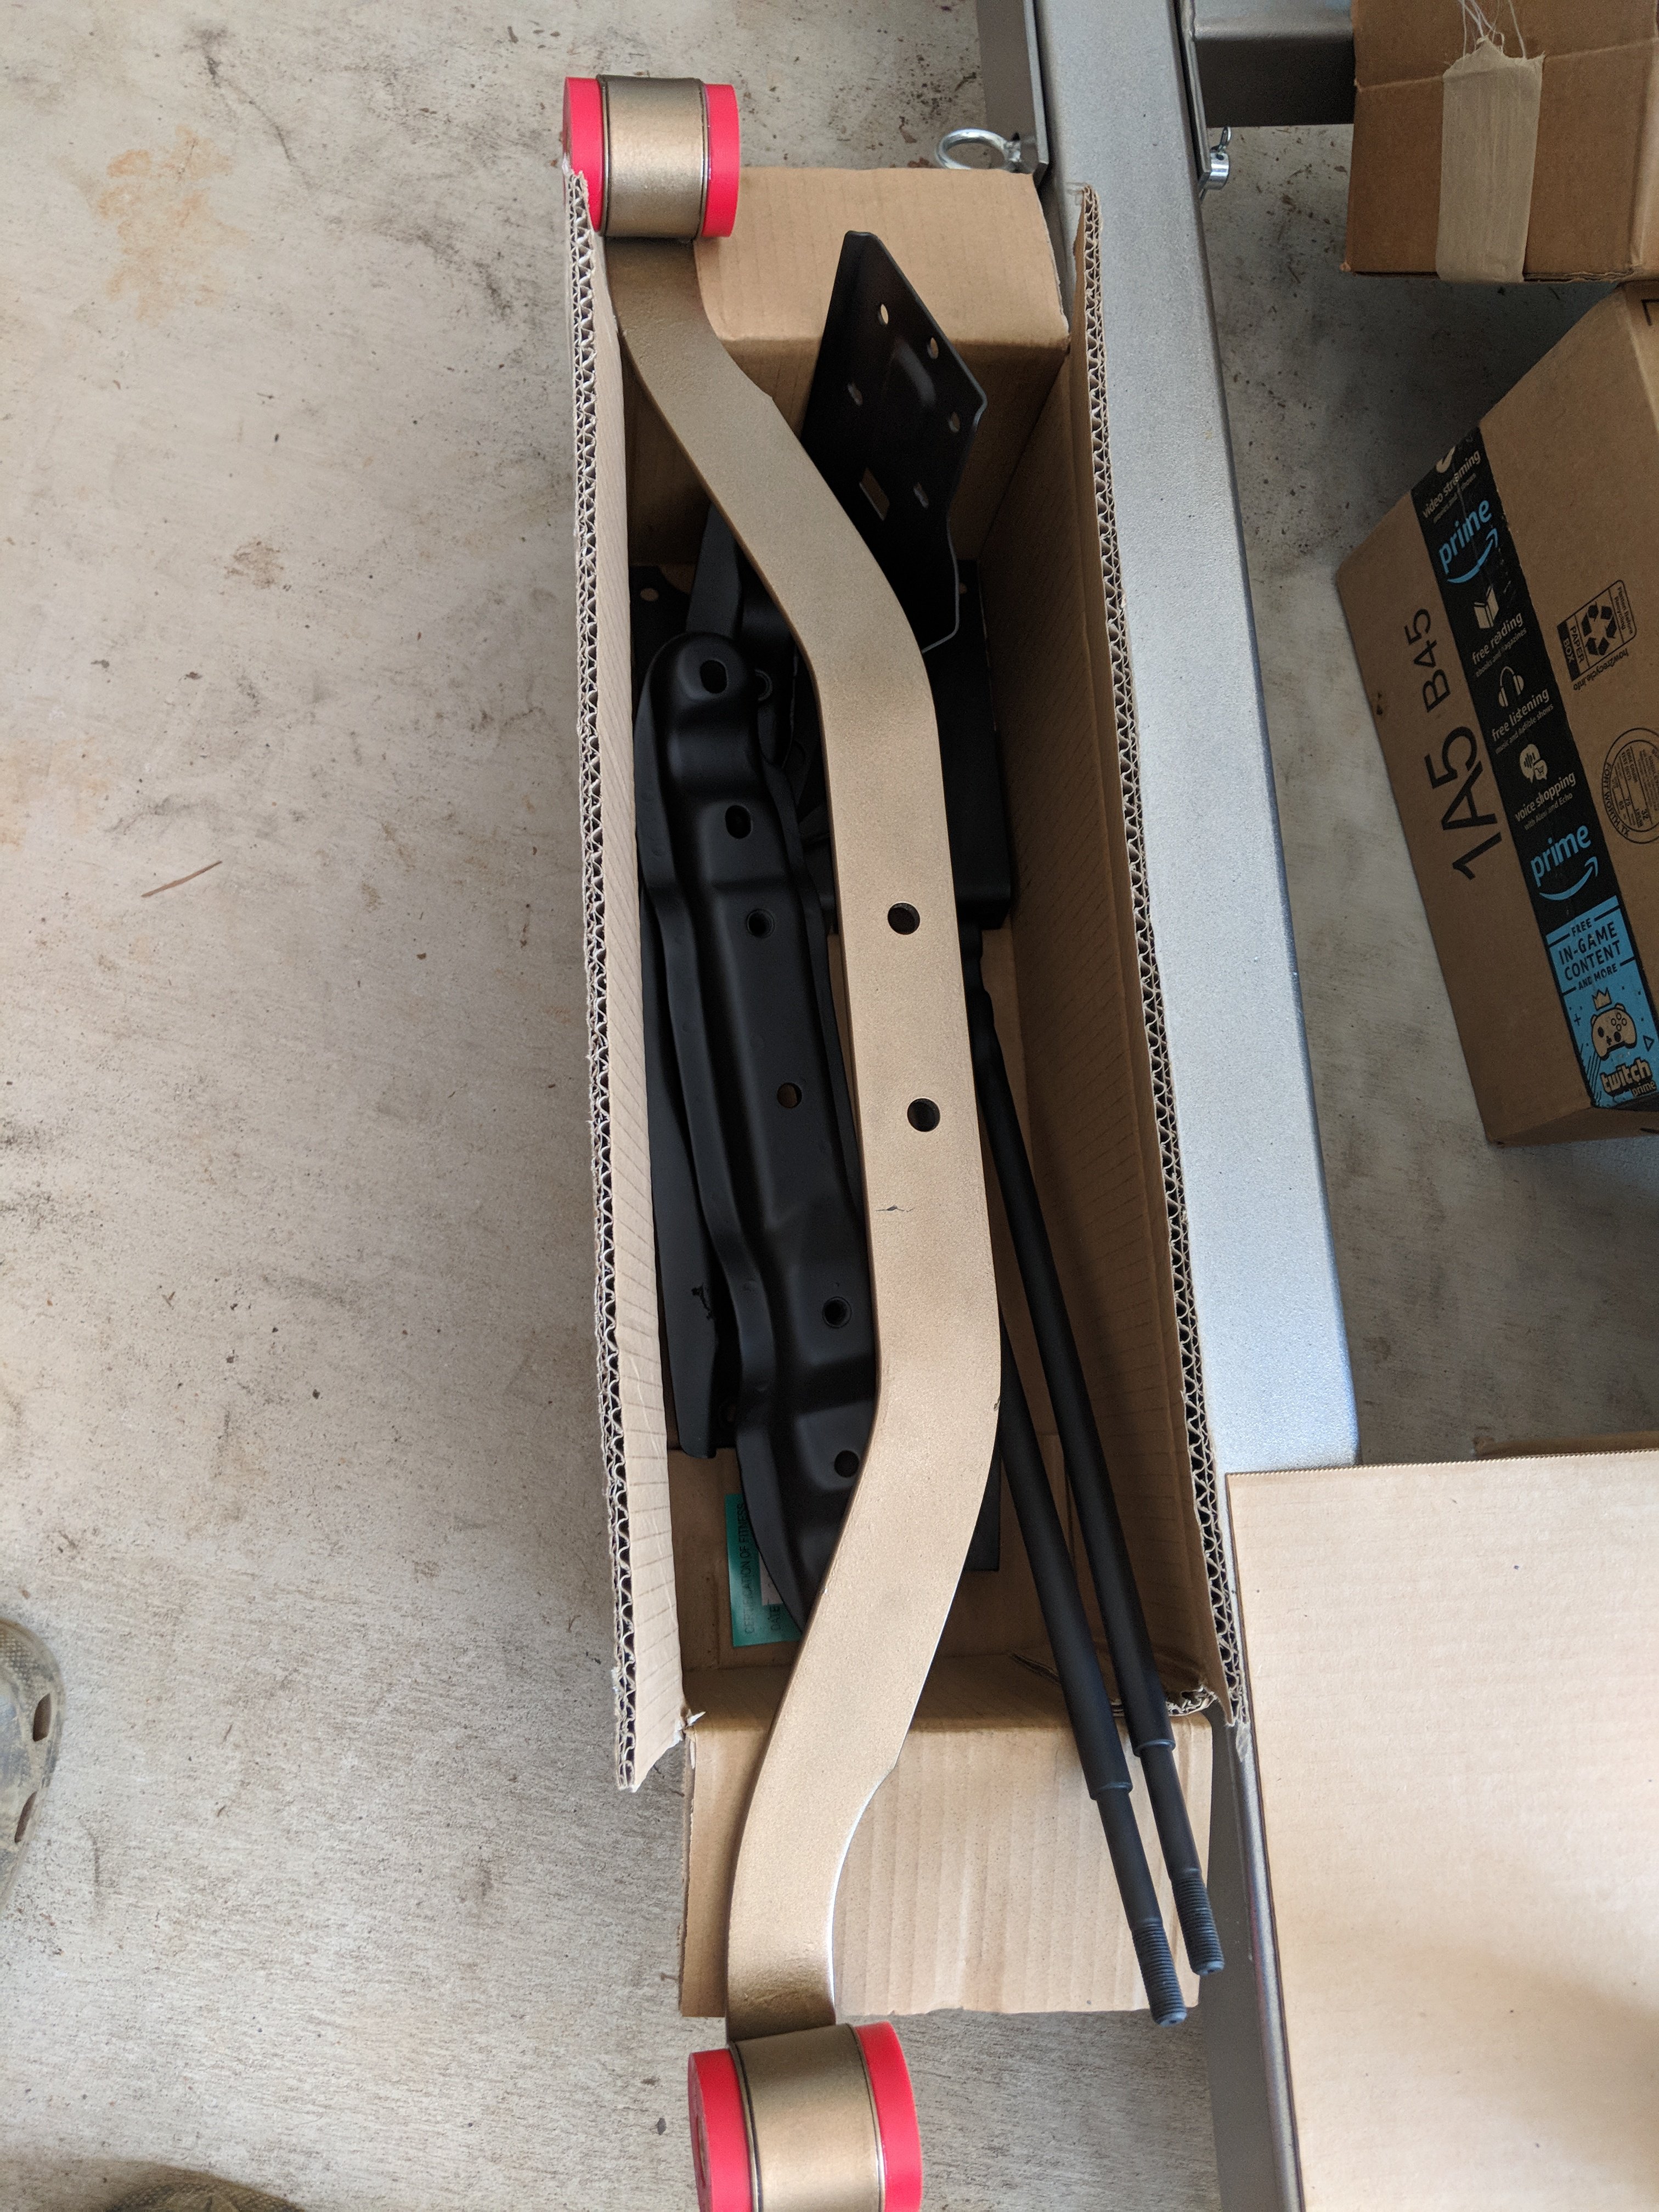
Got another decent size order in. Plus looking for some advice. I'm going with a 16x8 0 offset wheel. What is the best tire combo to run I'd like to go beefier in the rear. So floor pans and frame rails are at the house to start on when I get home. Plus those wheels will be ordered next month. Then a mandatory sandstorm pic.
-
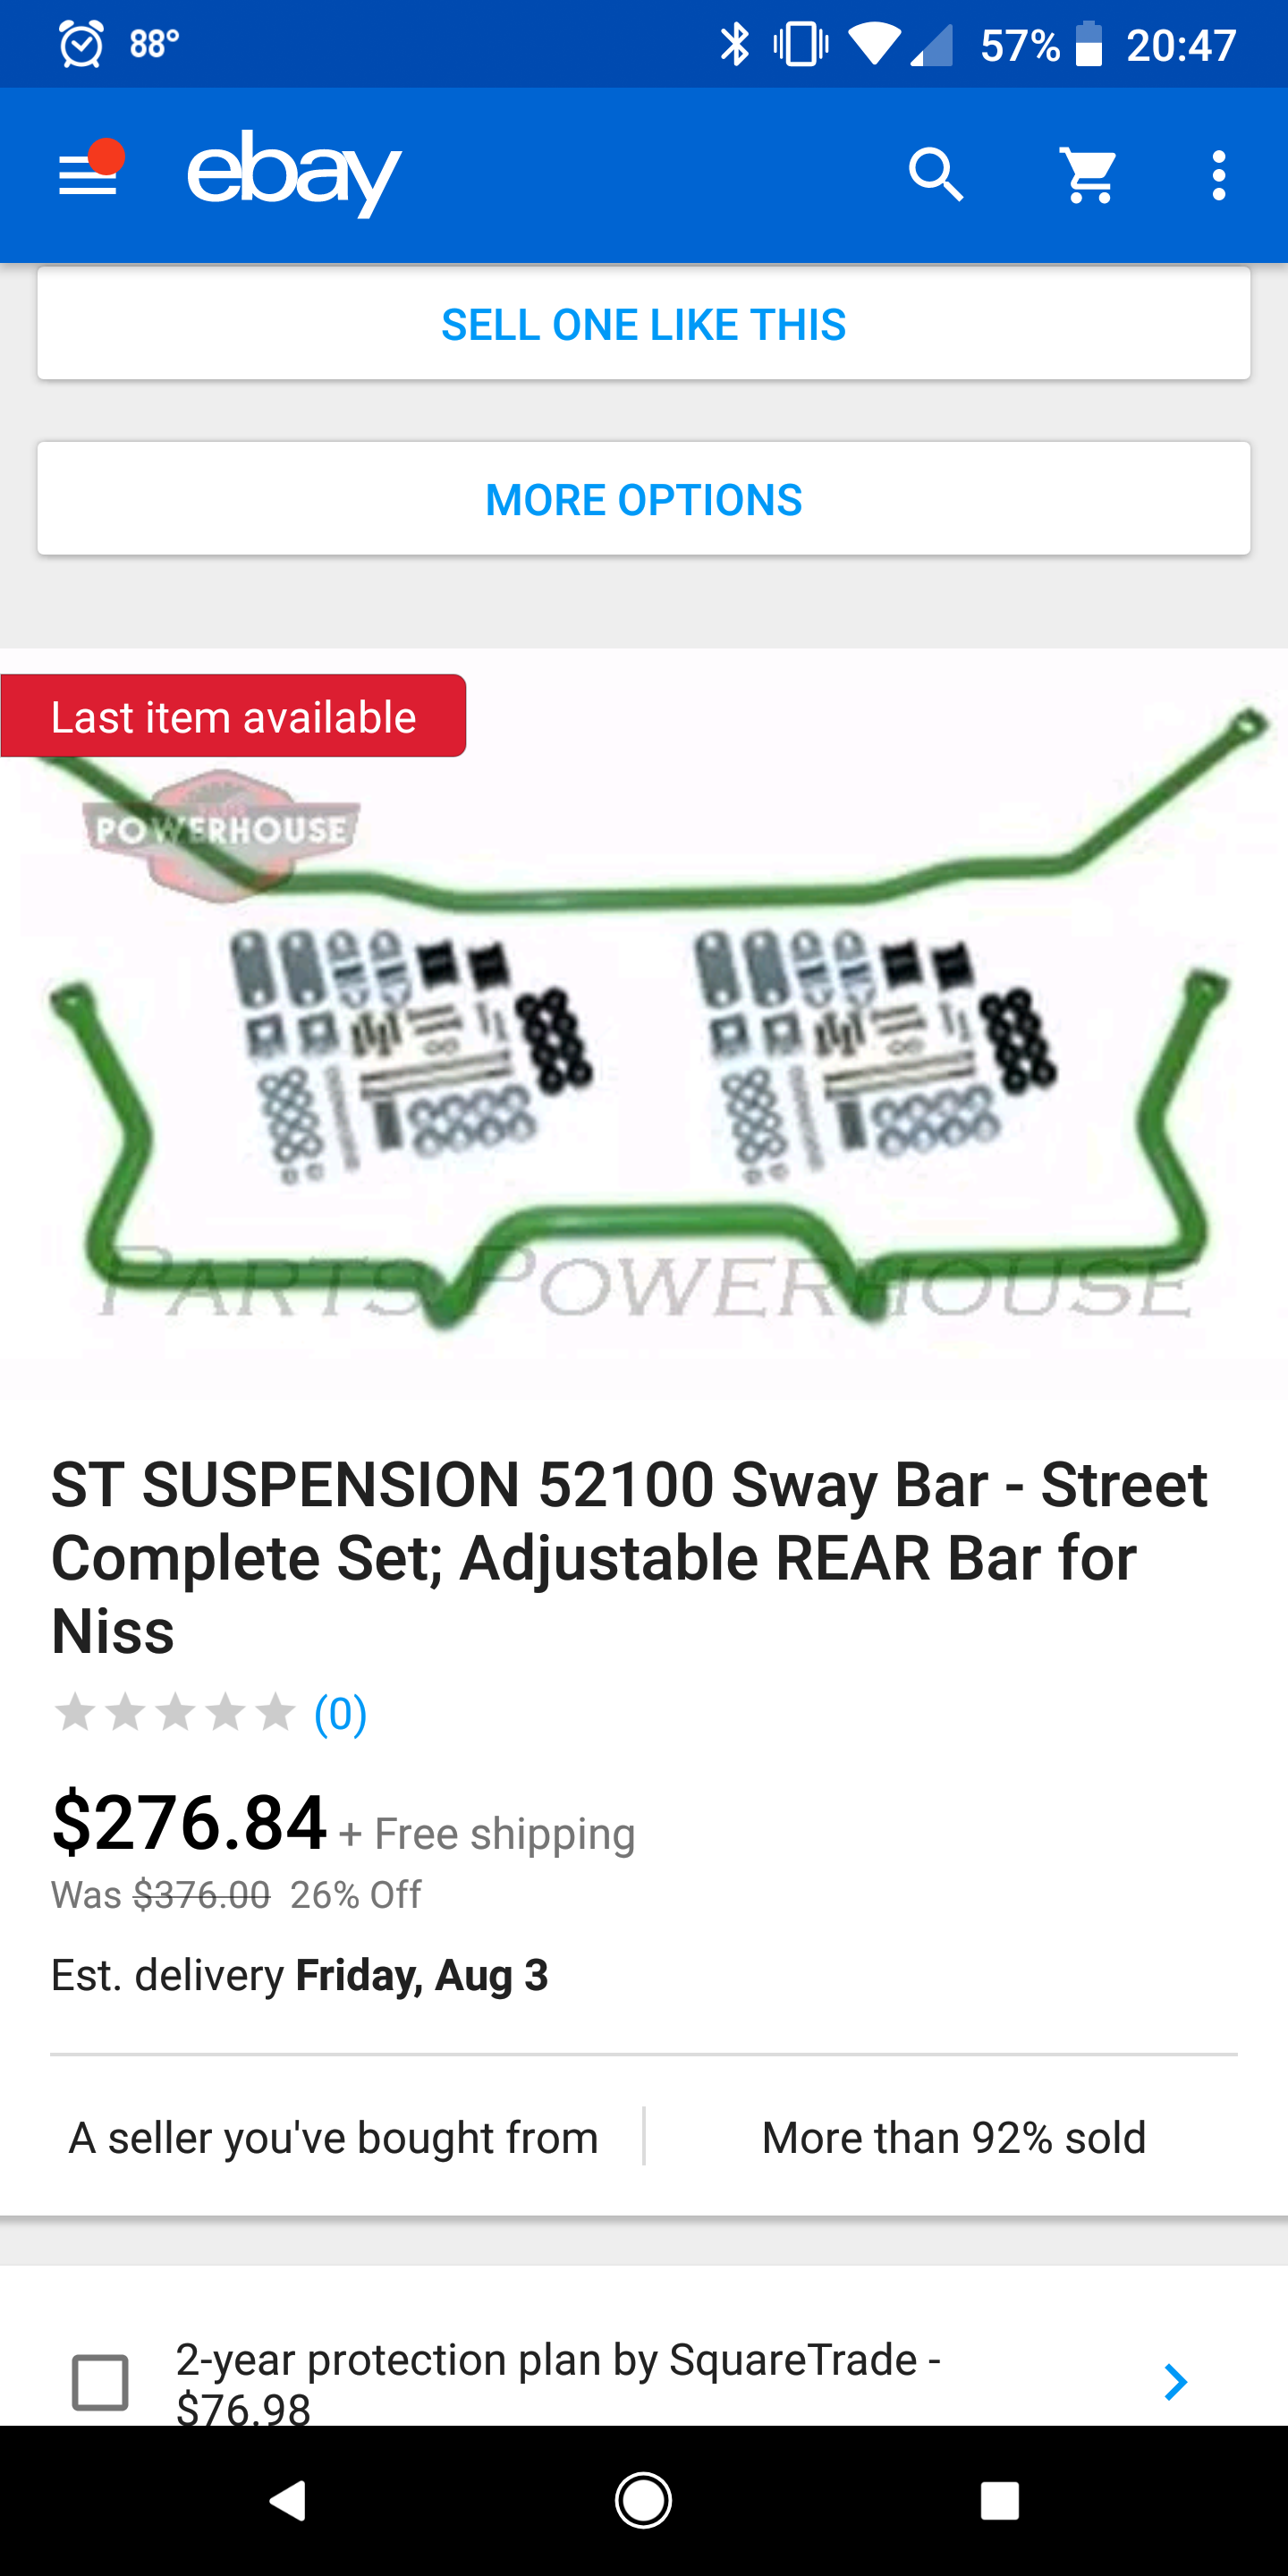
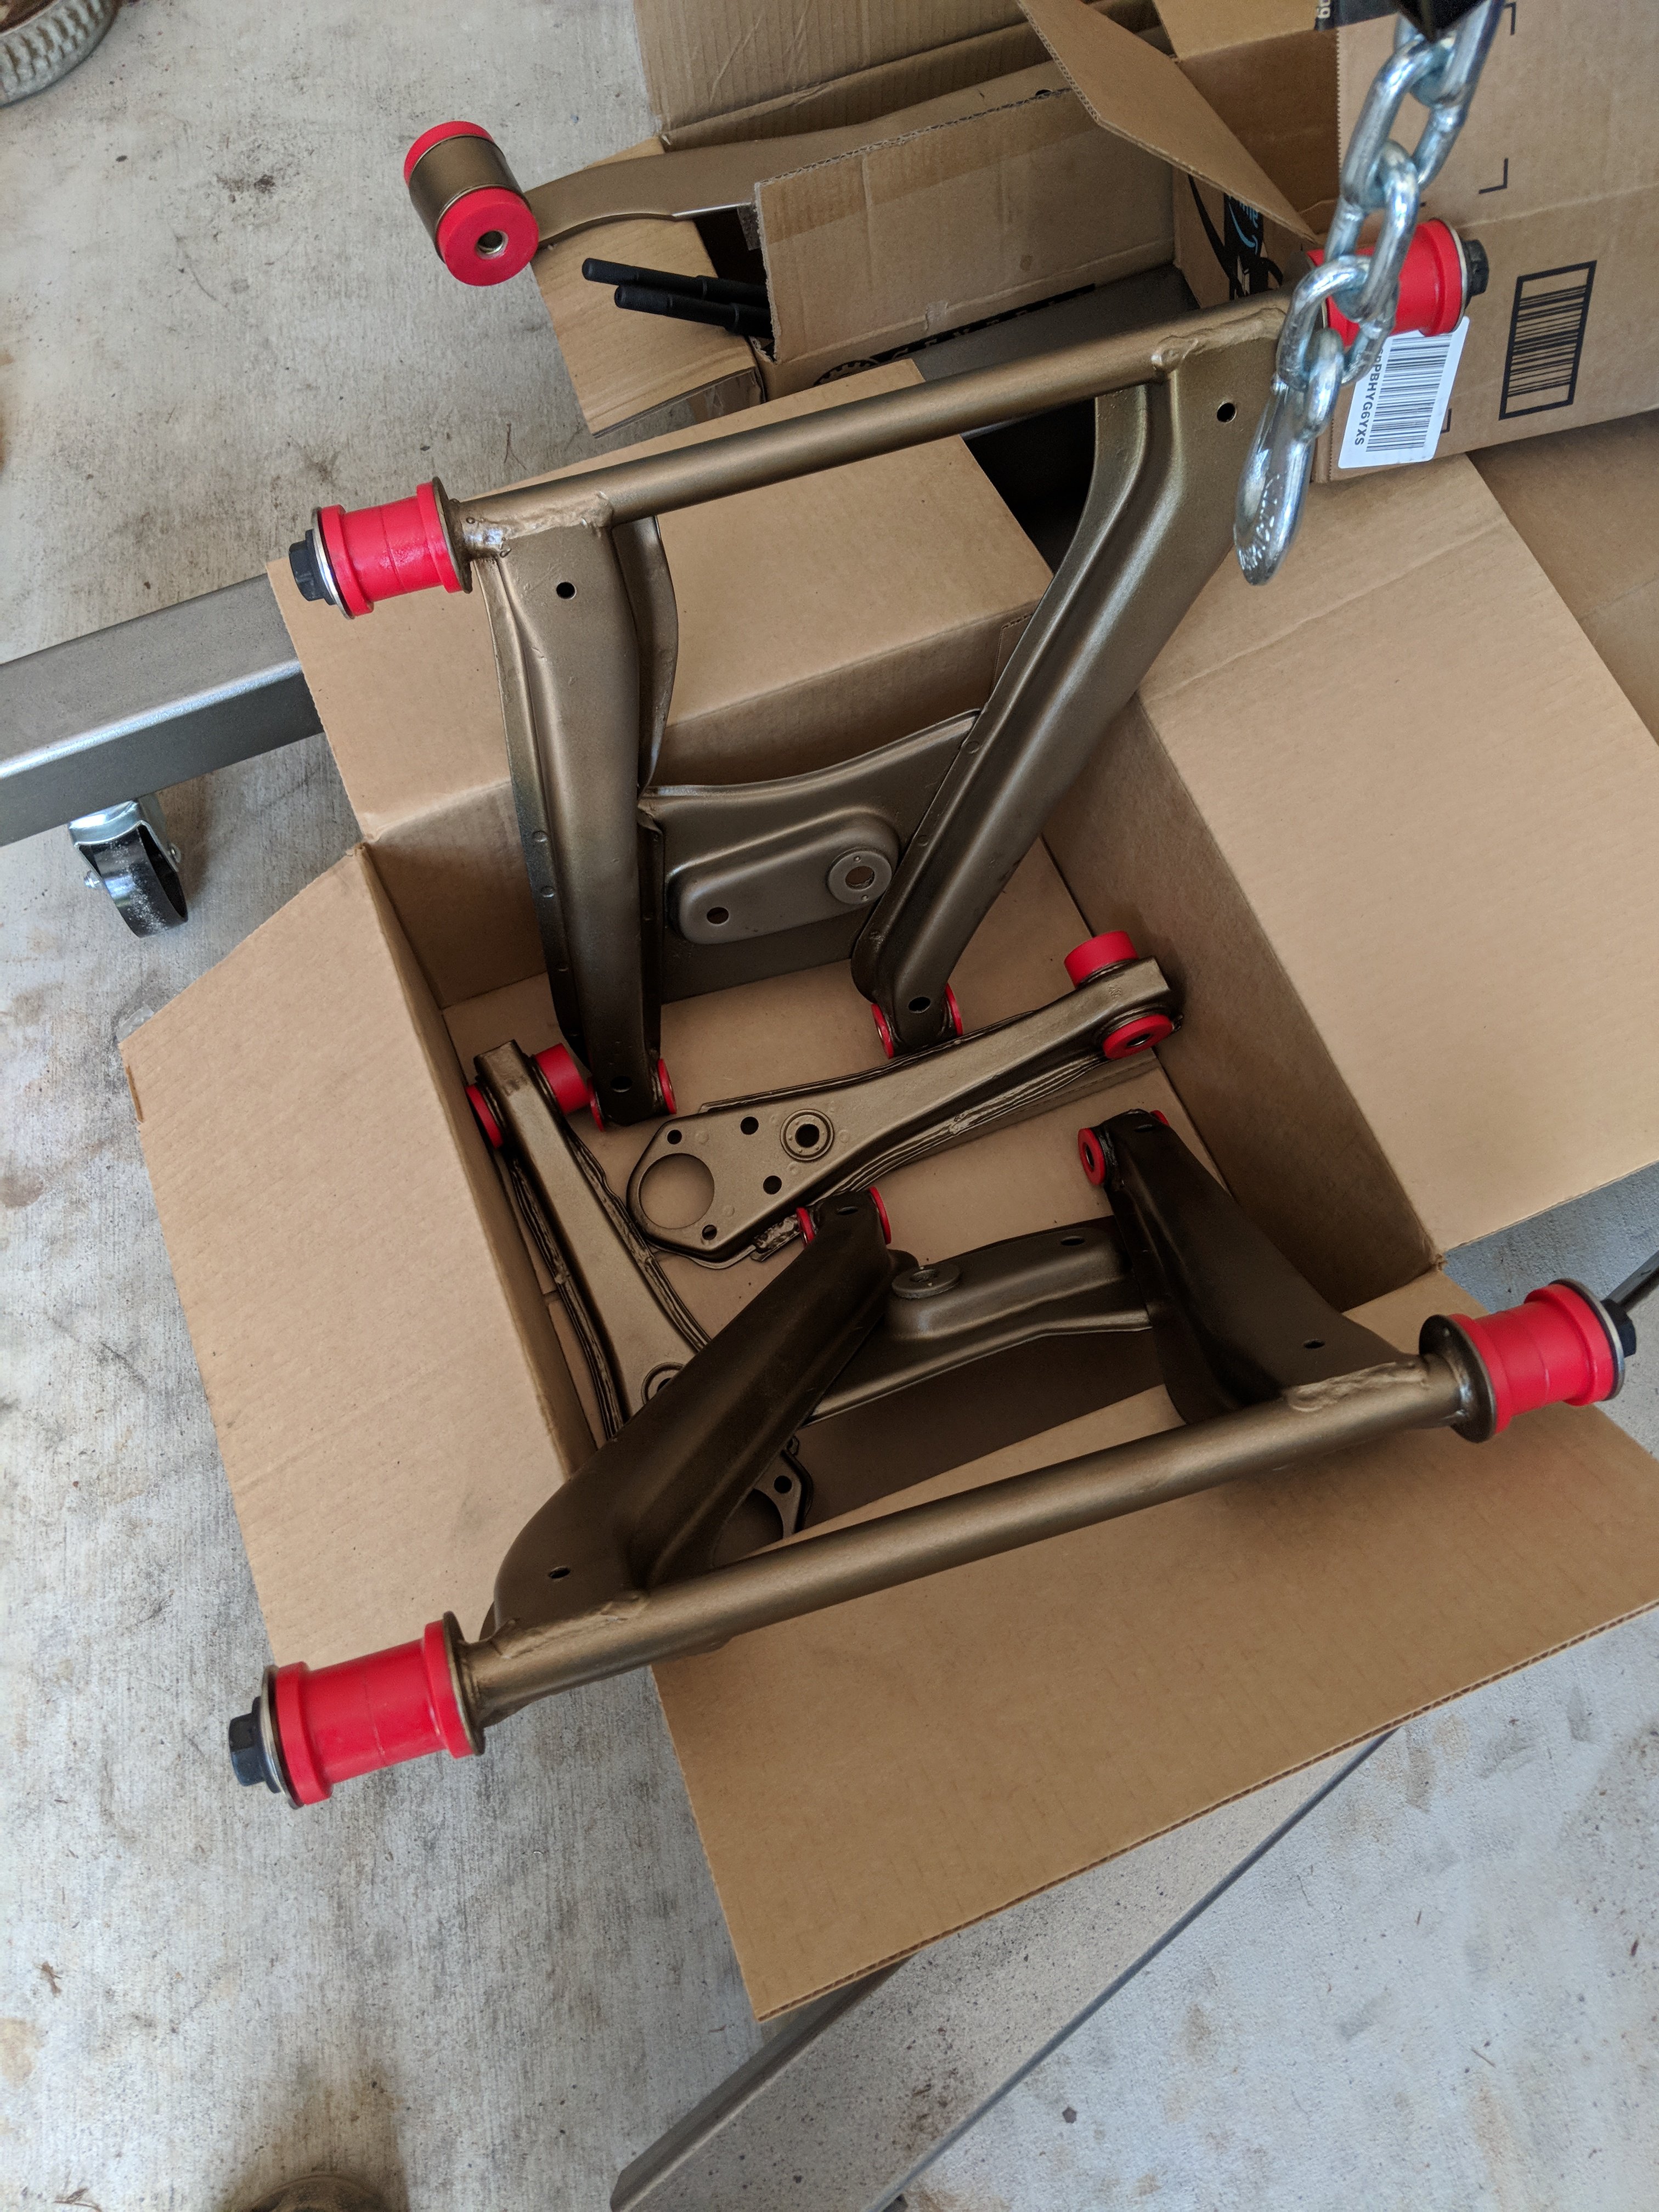
Got two packages in for the great work to be started when I get back to the states. Sway bars. And goodies to rebuild my r200 and my new bearings and seals for my rear hubs
-
4 minutes ago, juxsa said:
did you have to swap the 5.3 intake manifold and use an ls1 intake manifold?
You do unless u are running a hood cowl of some form the truck intake is a bit taller. However I am not even close to starting the engine side of the building and the yet
-
Made it over to the dessert safe guys, got my welder and plasma cutter in right before i left. cant wait to get home to use them. will be ordering a pretty big order in the next few days containing my rebuilding stuff for my r200, and the stuff to redo my rear hubs and spindles. hope all is going good for you guys.
-
S12w vented n t3 setup. Thanks I'm trying to do a little here and a little there
-
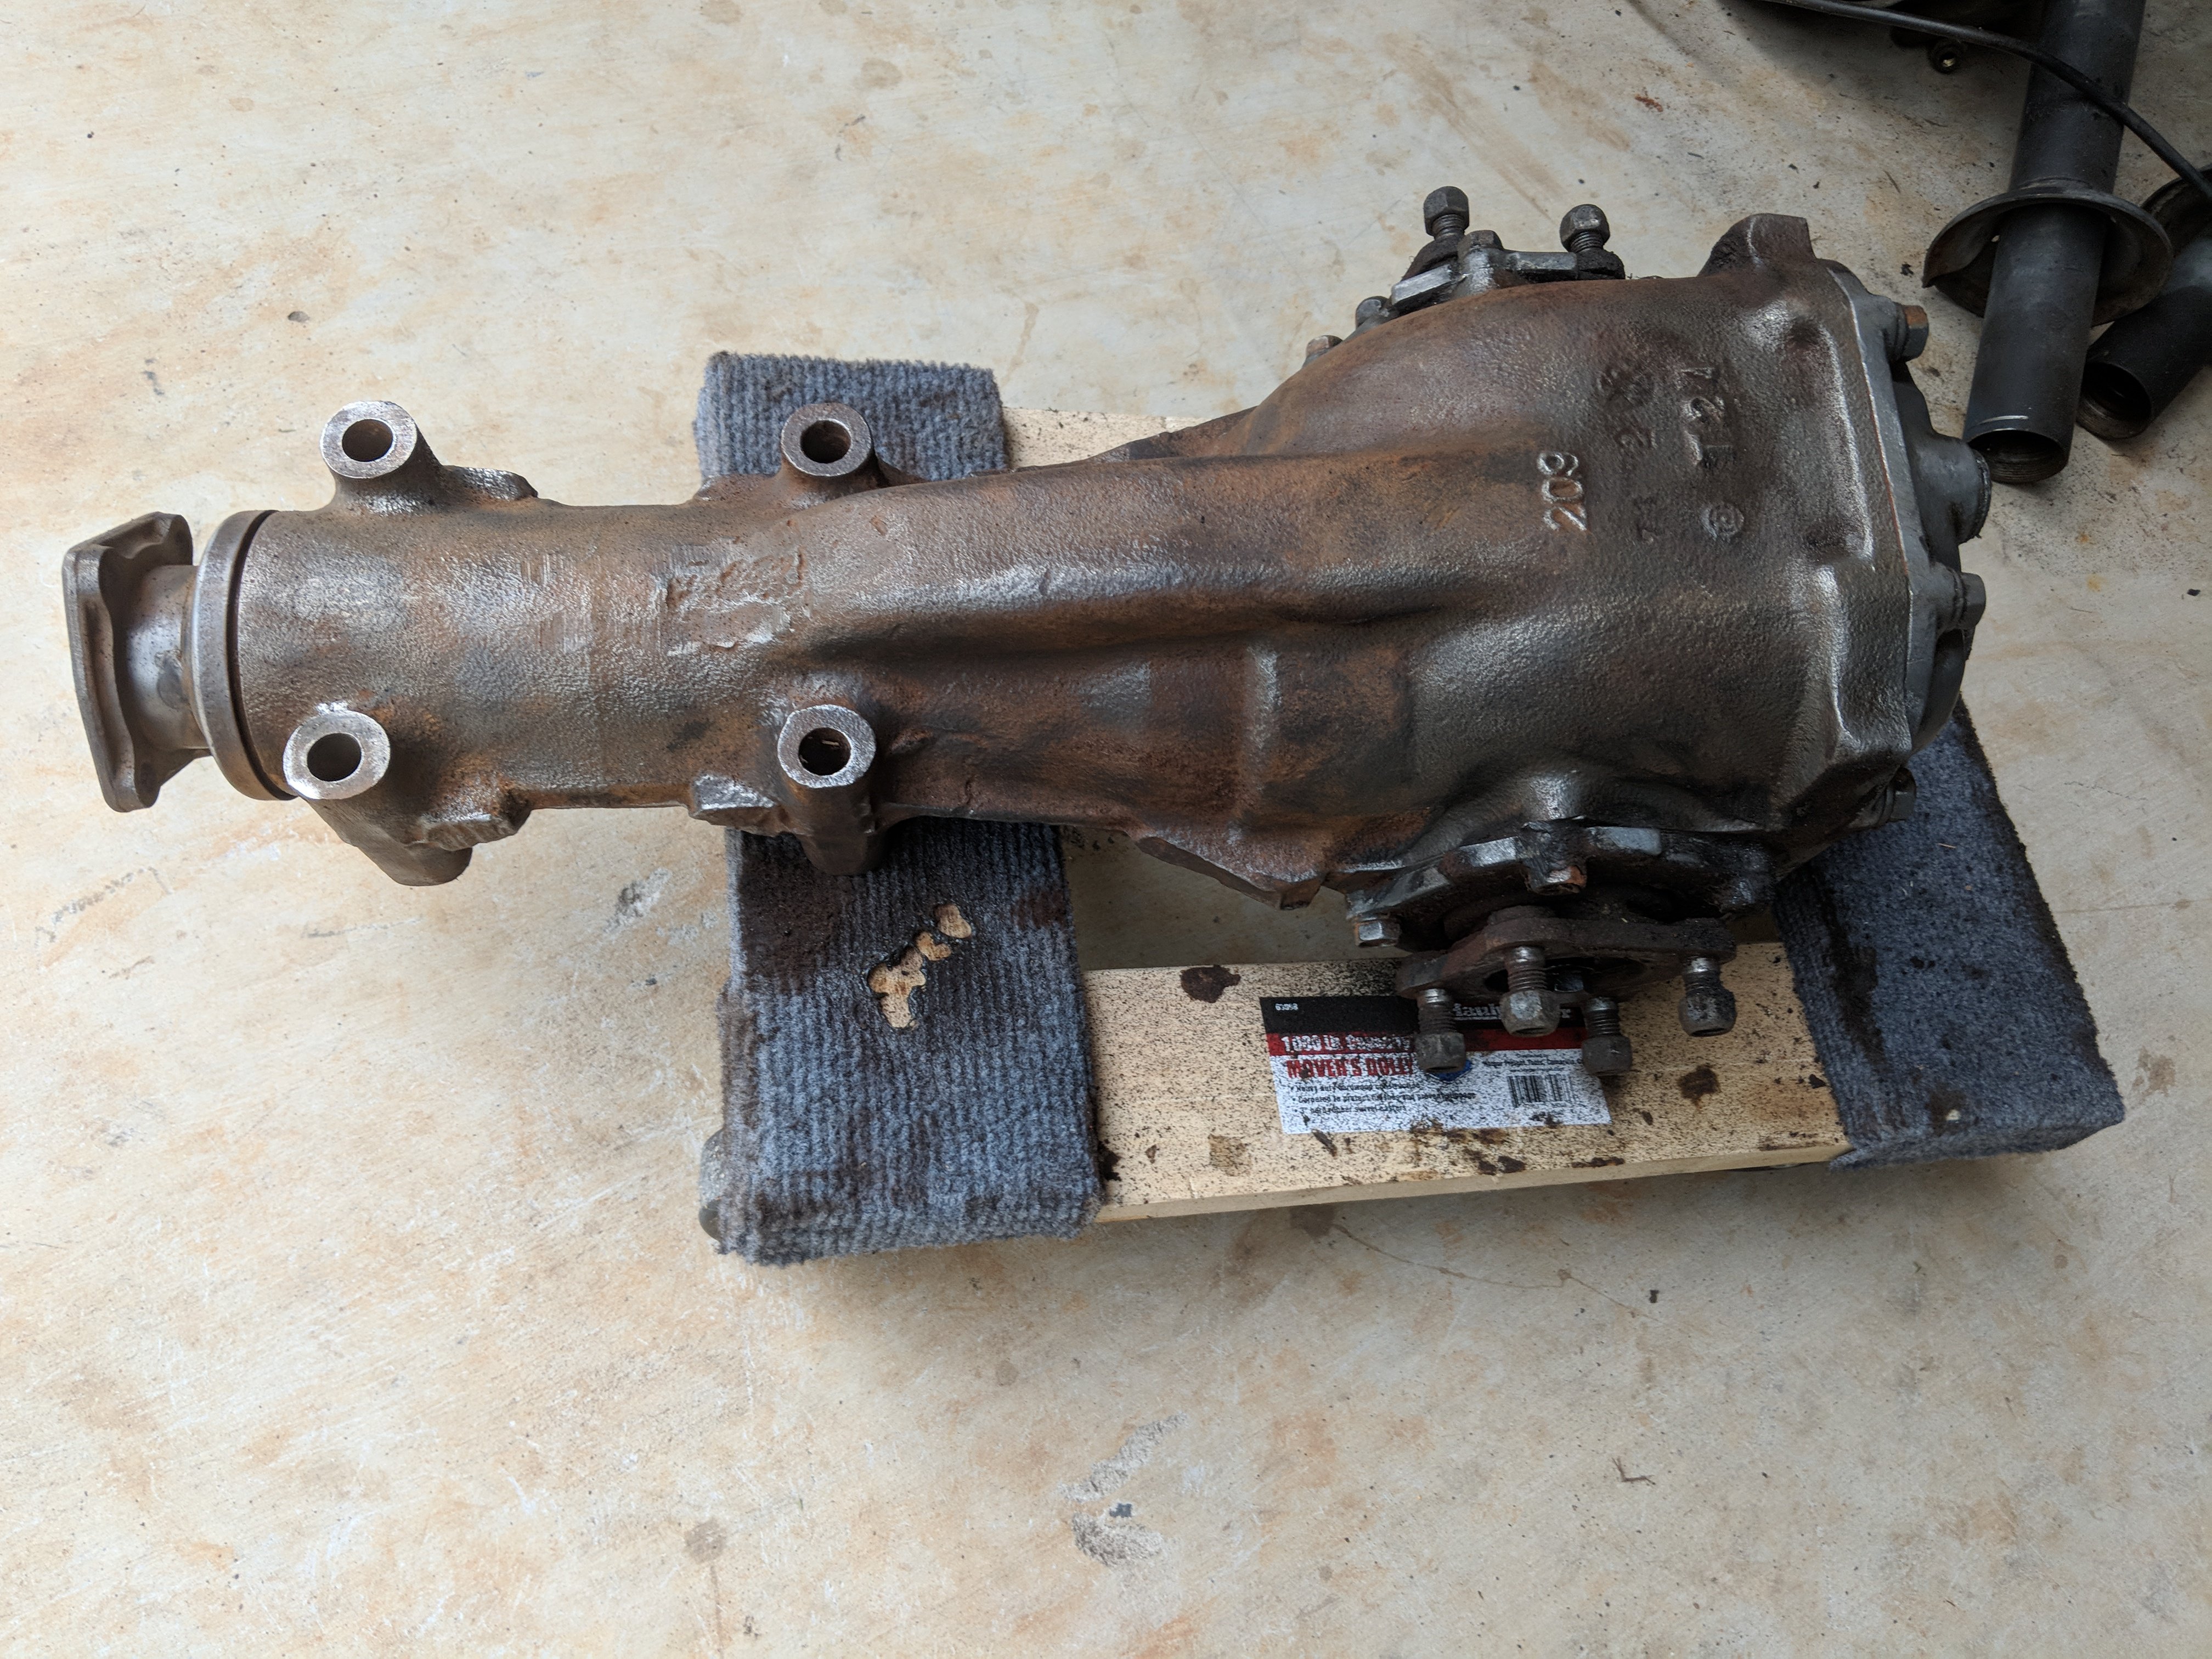
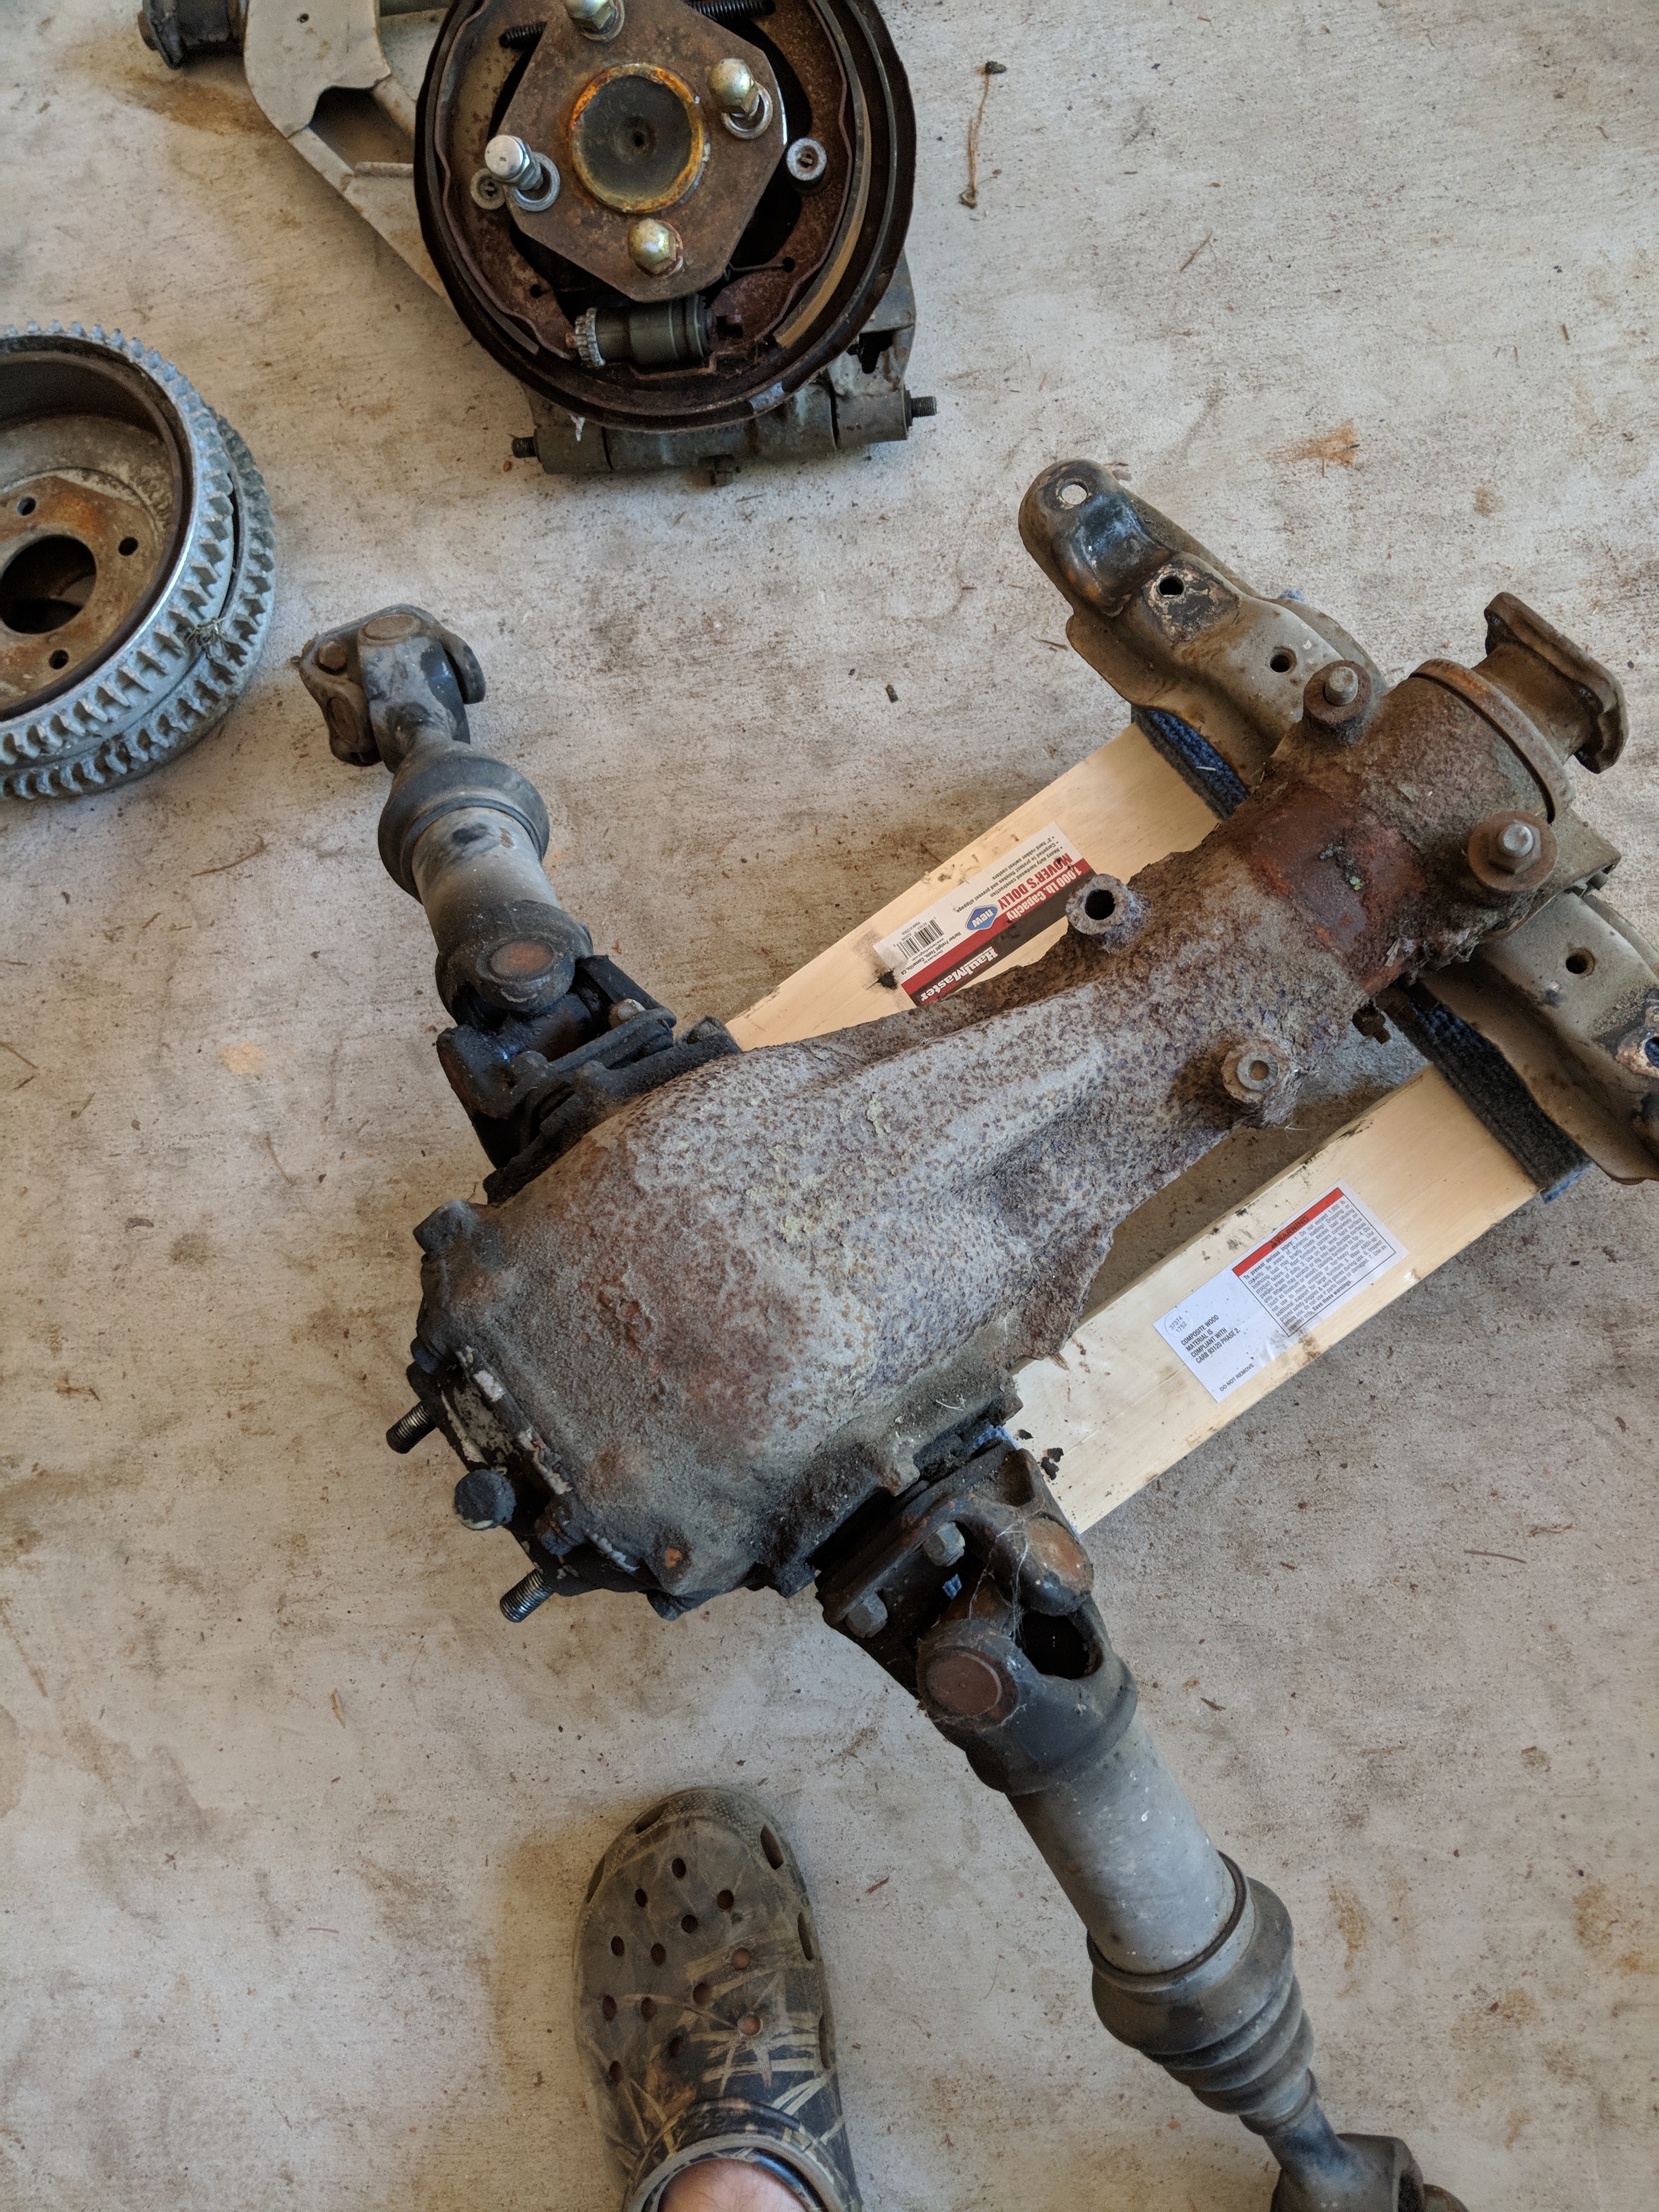
Finally got my stuff from T3 they look good. But dang it was slow. Started on the diff also.
-
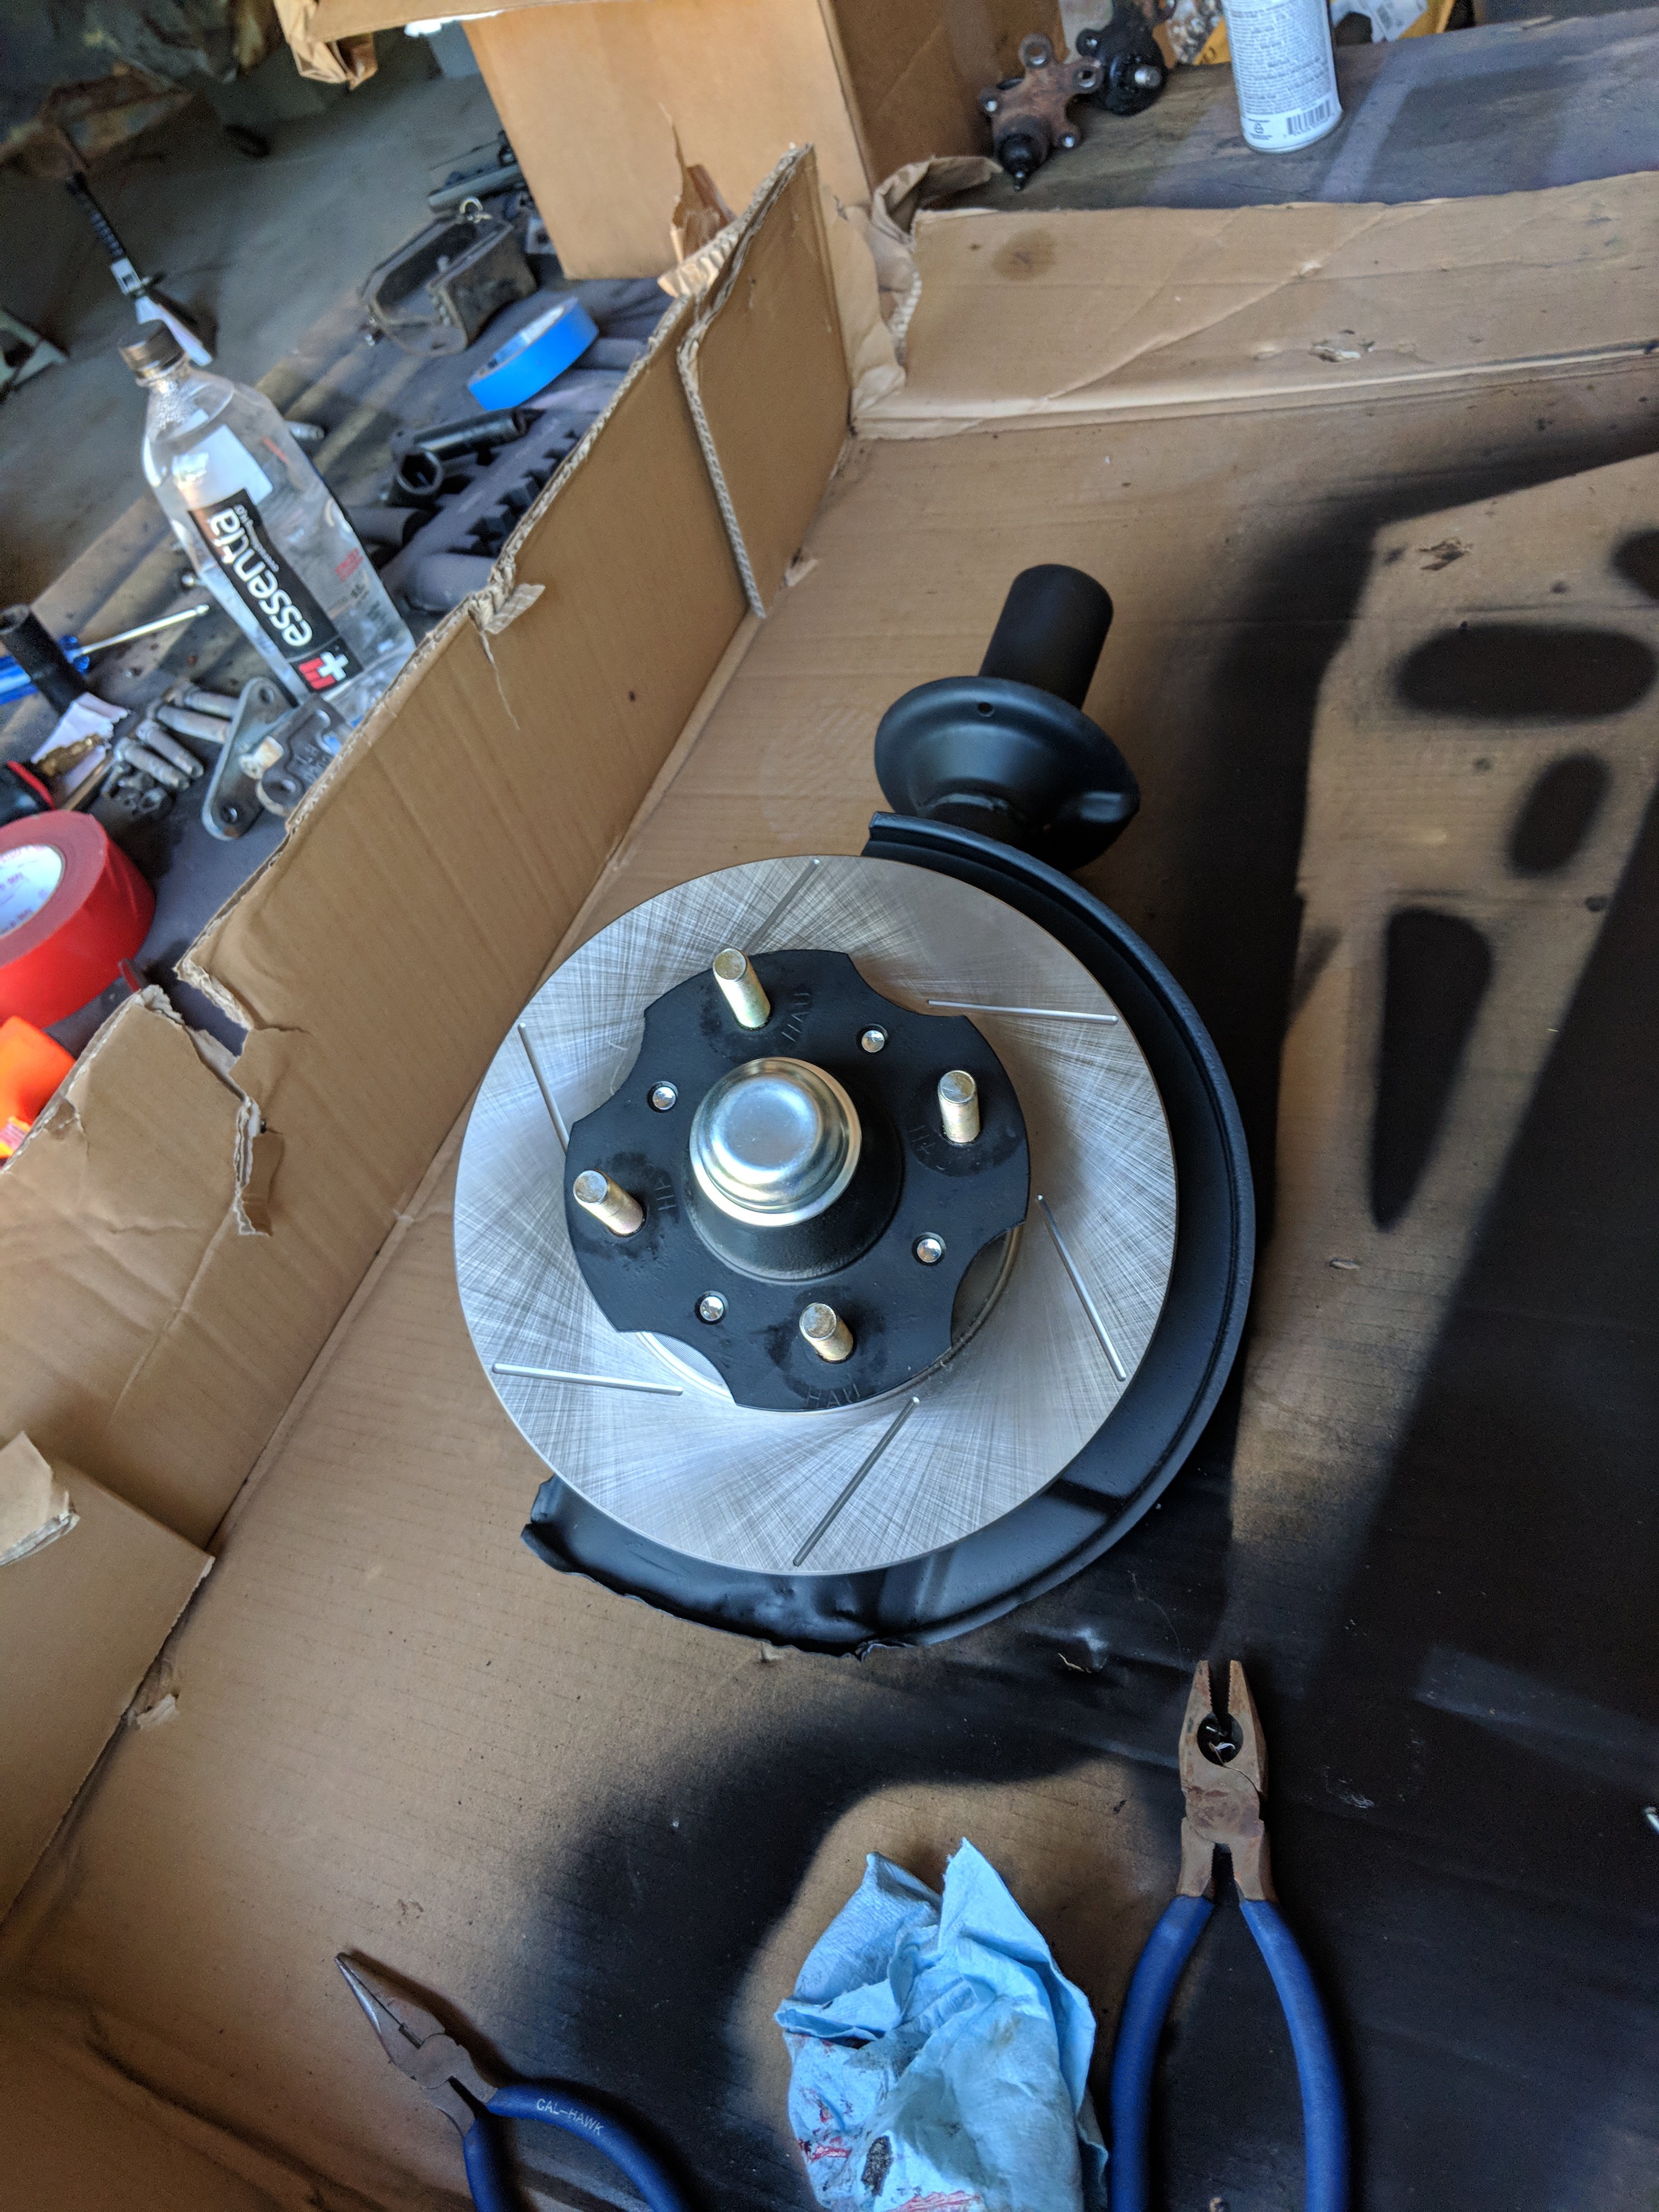
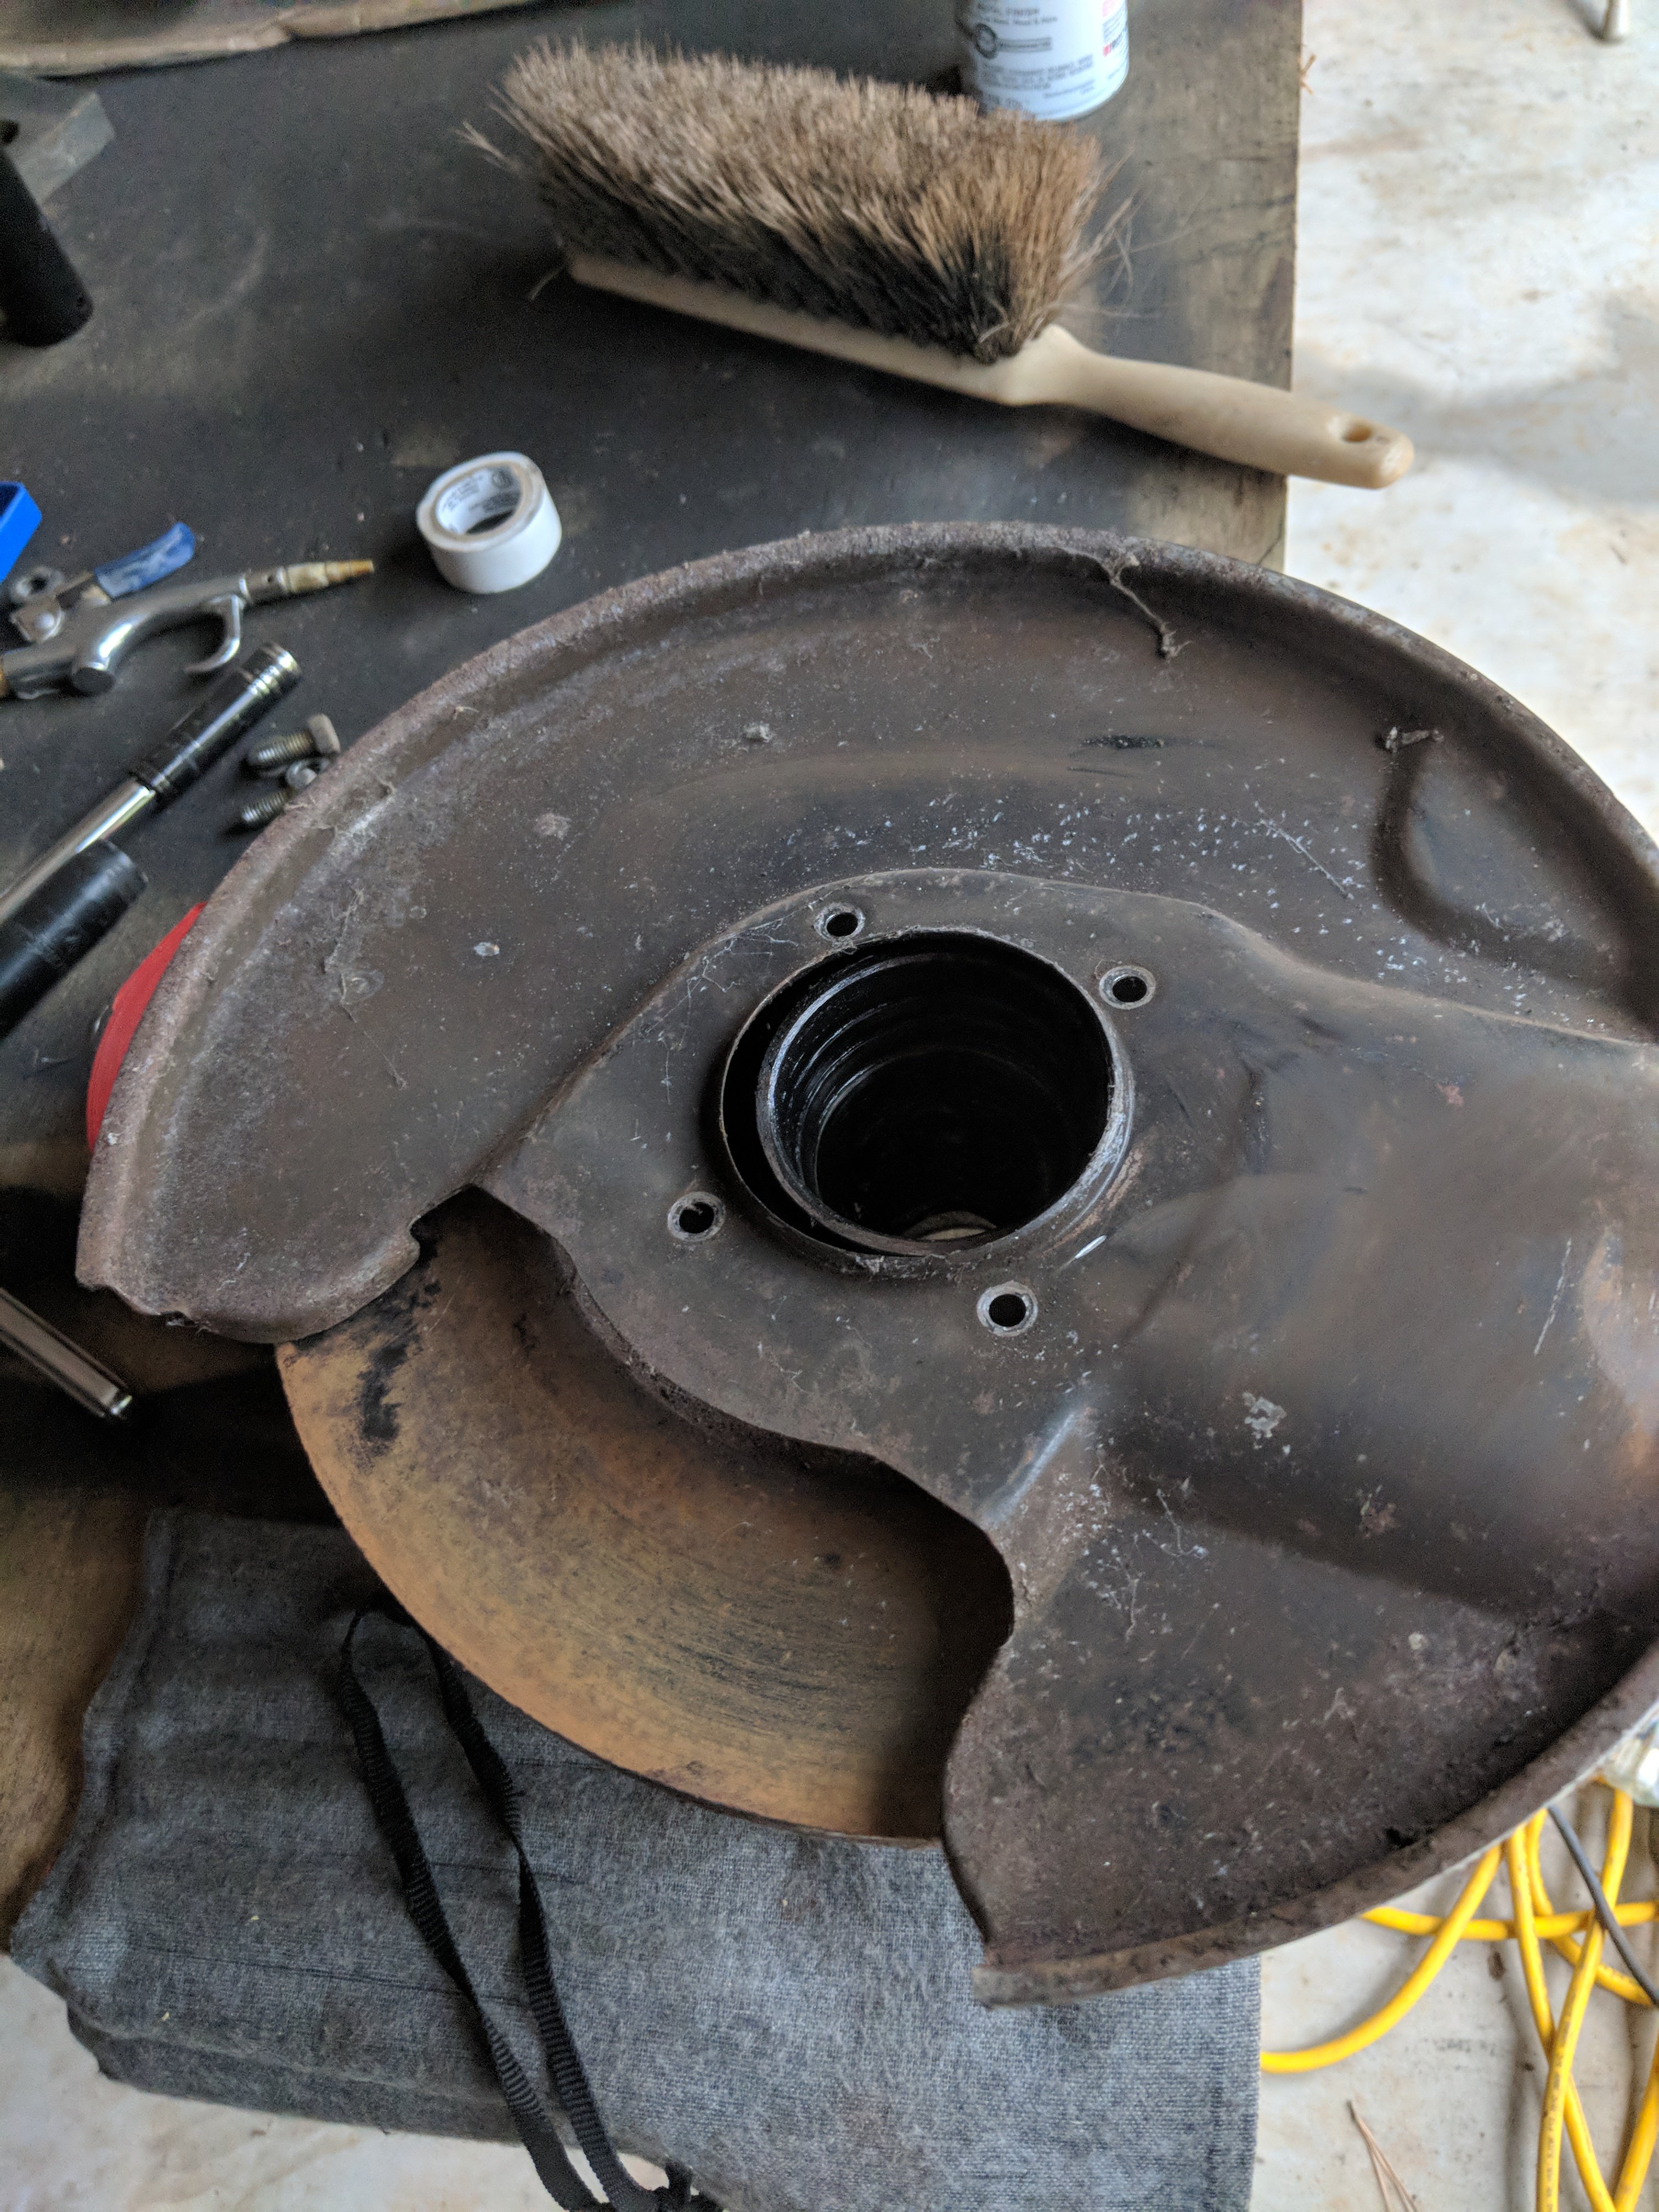
Gonna start cleaning up the diff on the outside getting ready to take it apart to check her out and get her cleaned and sealed back up. Still waiting on t3 to send my rotors and spacers to finish my front hubs...god they are slow.
-
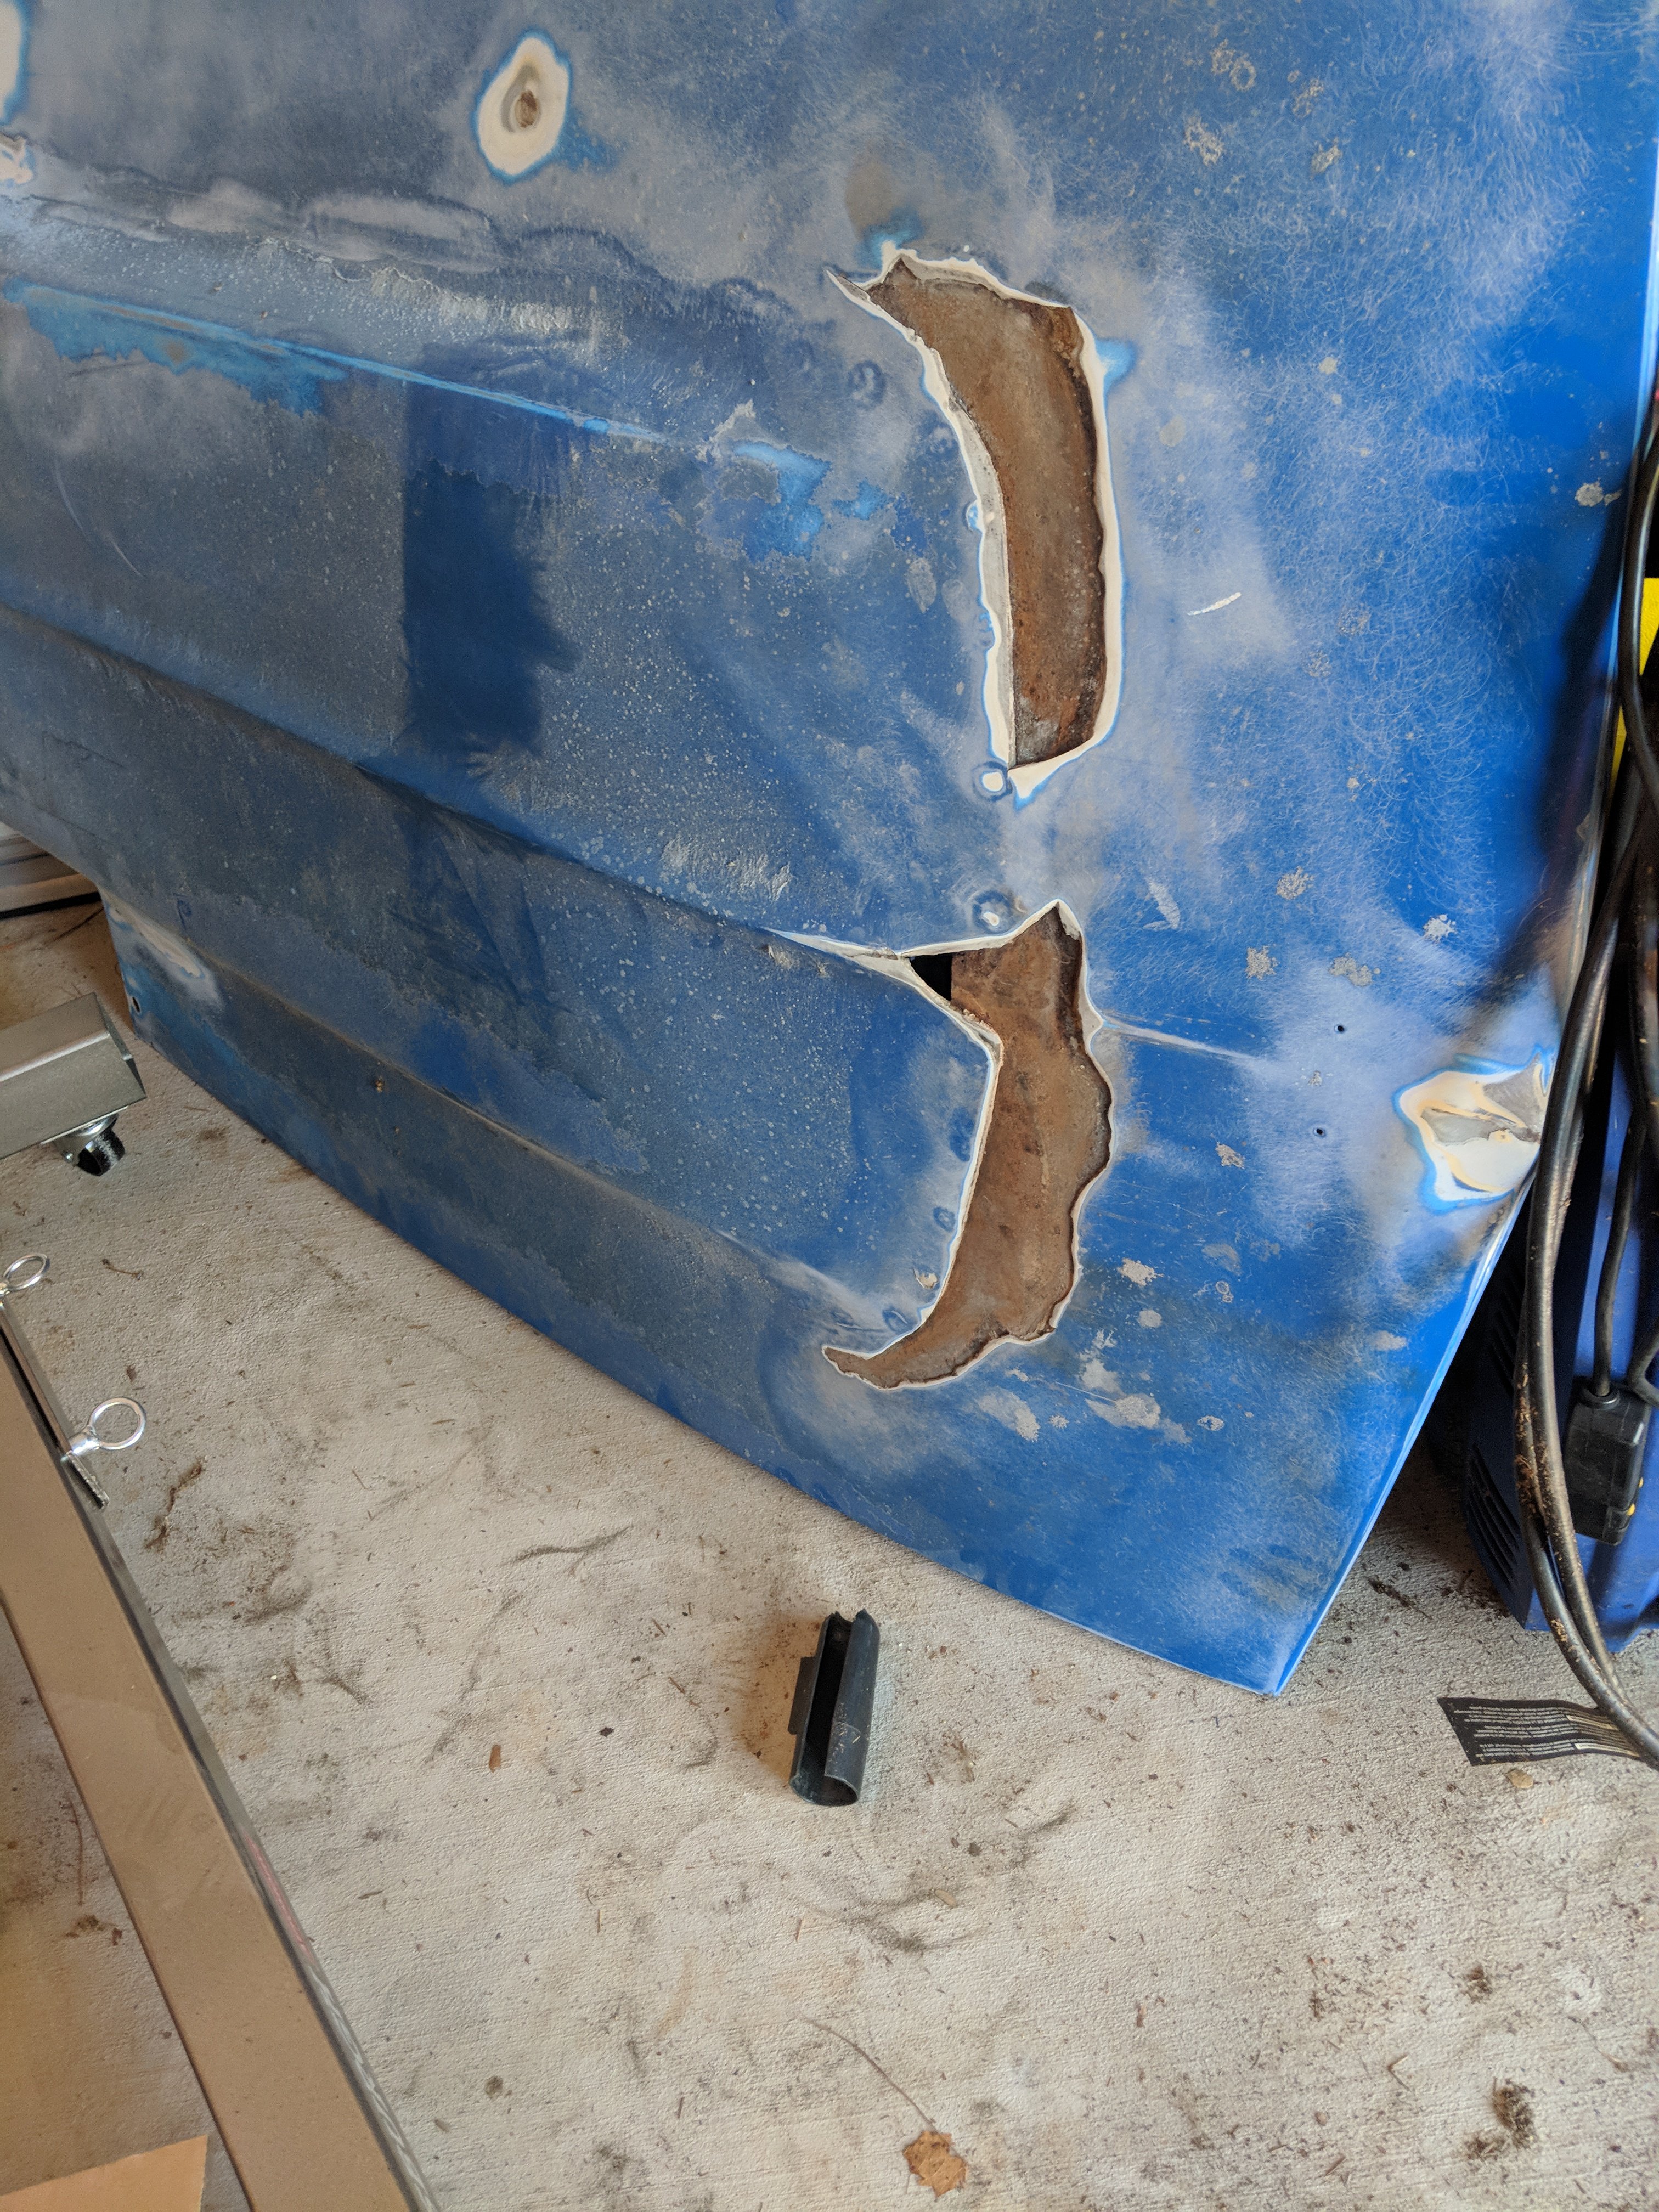
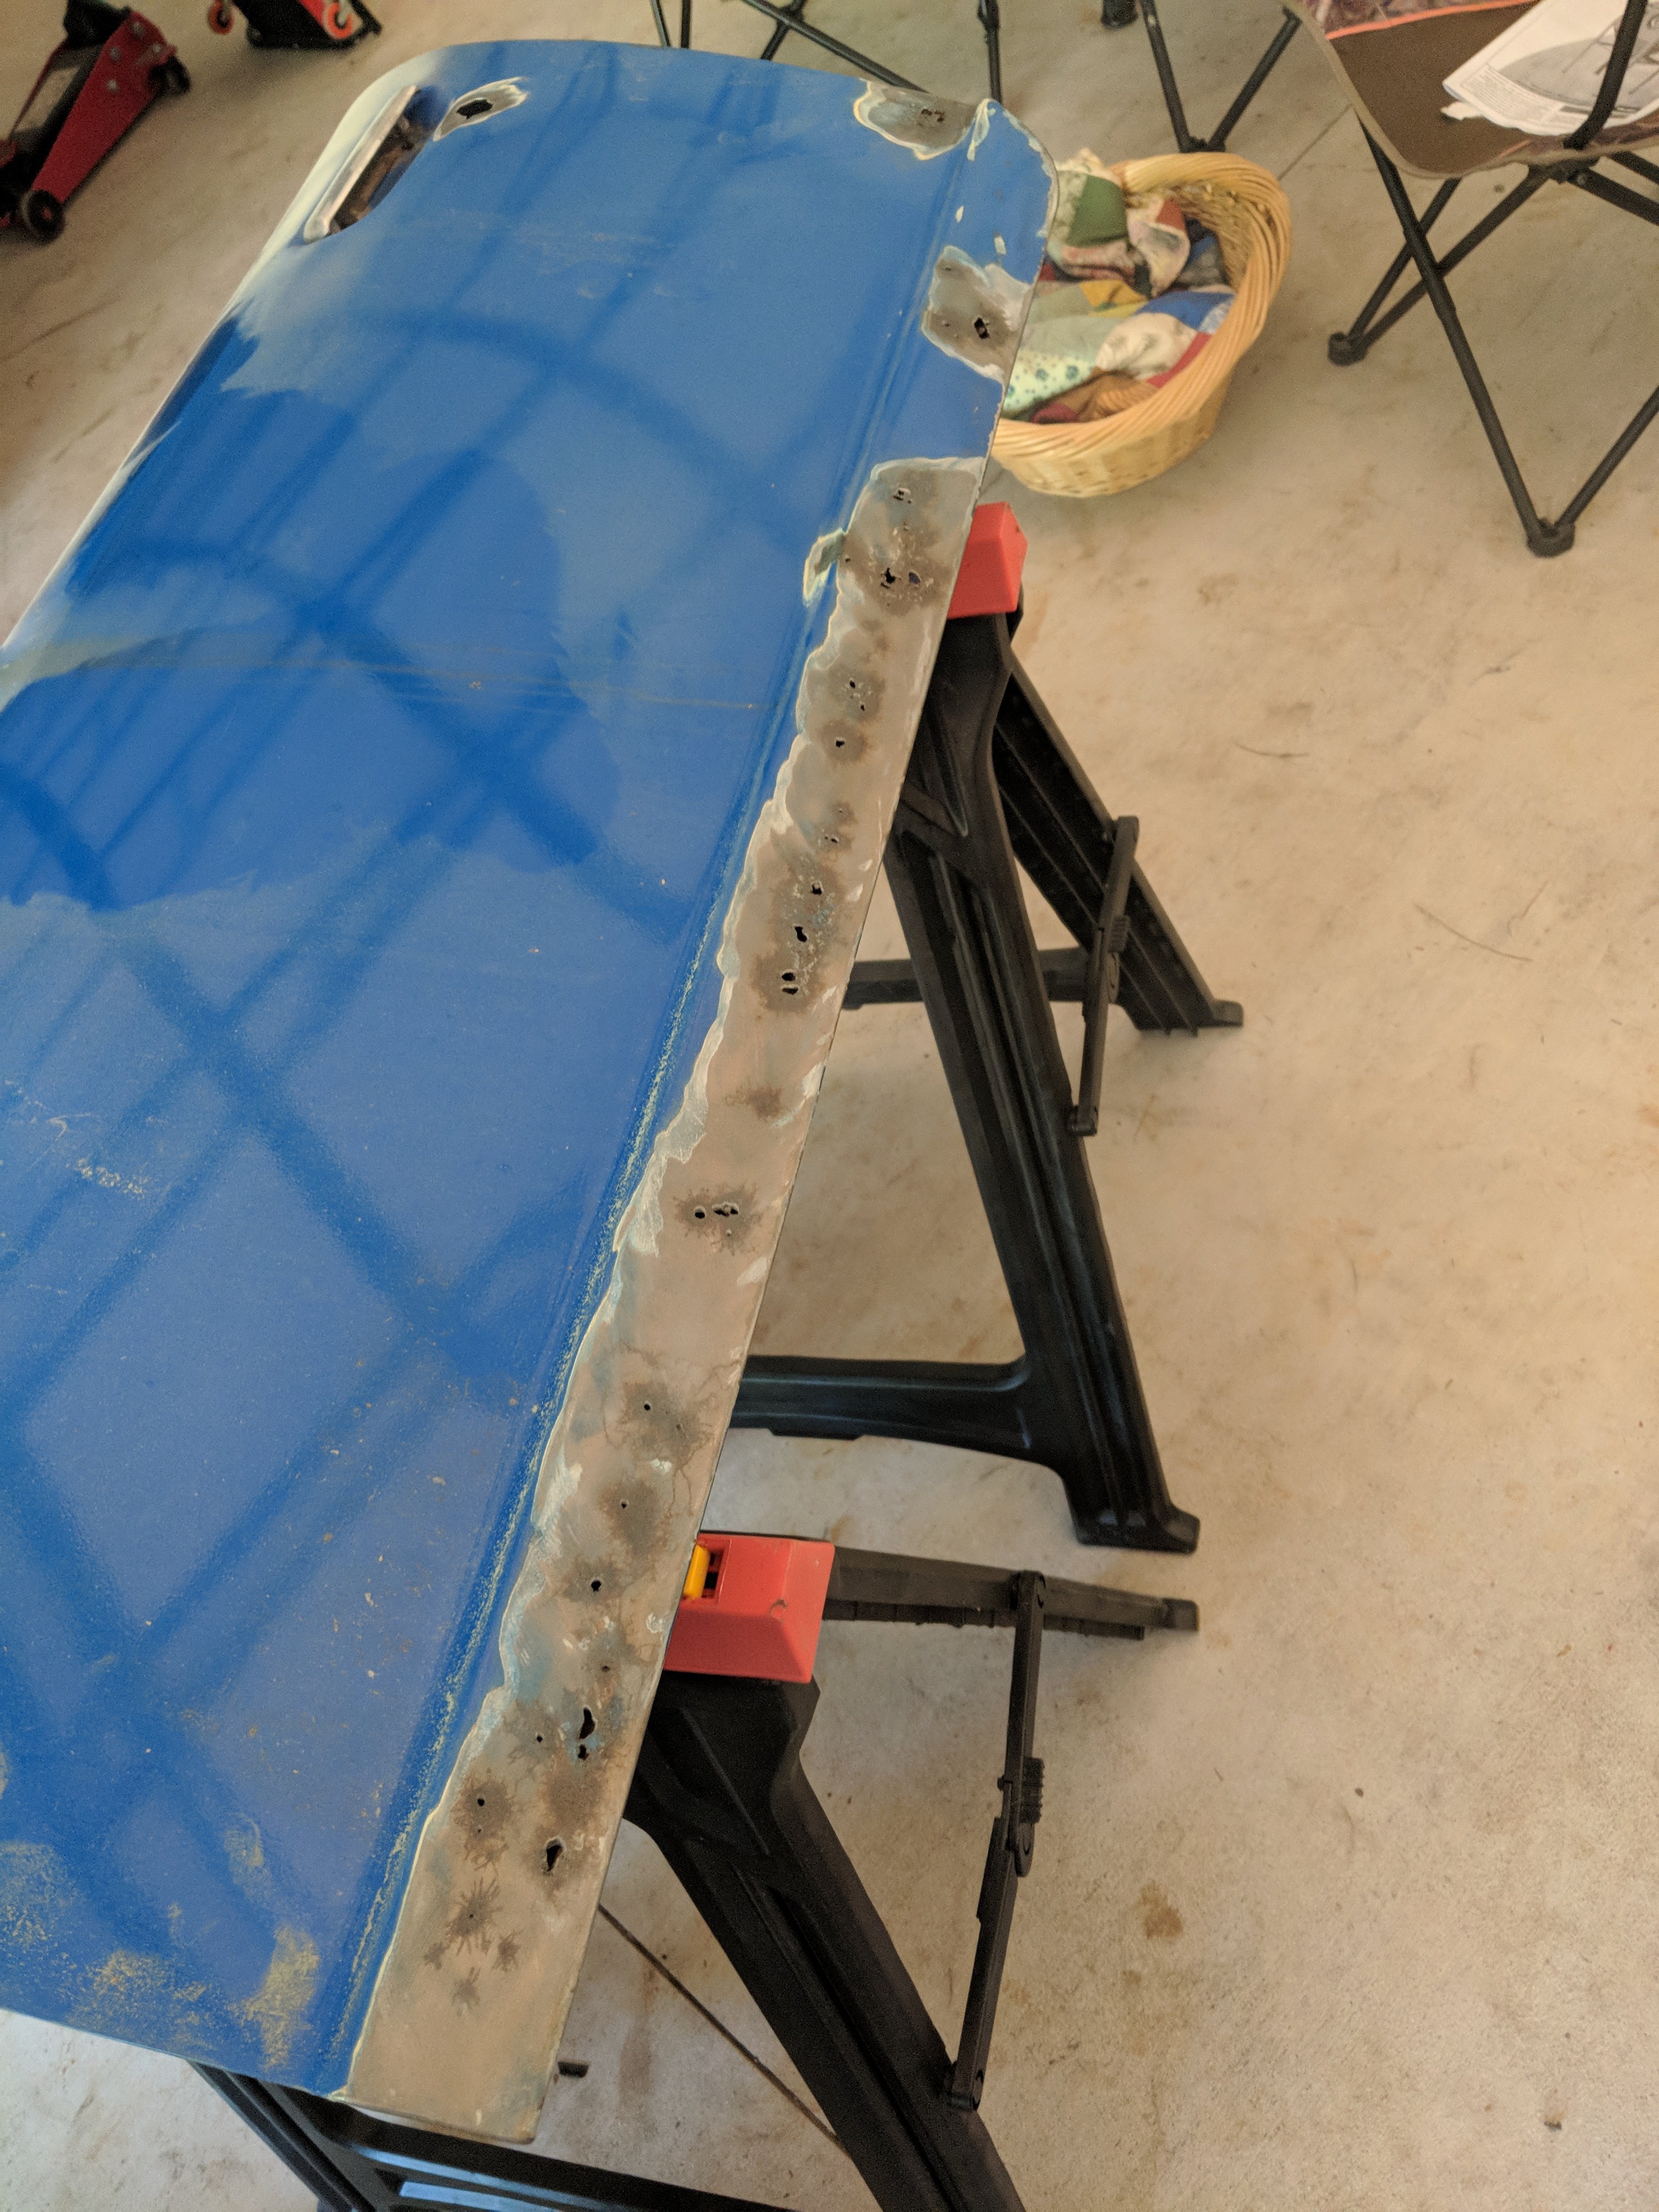
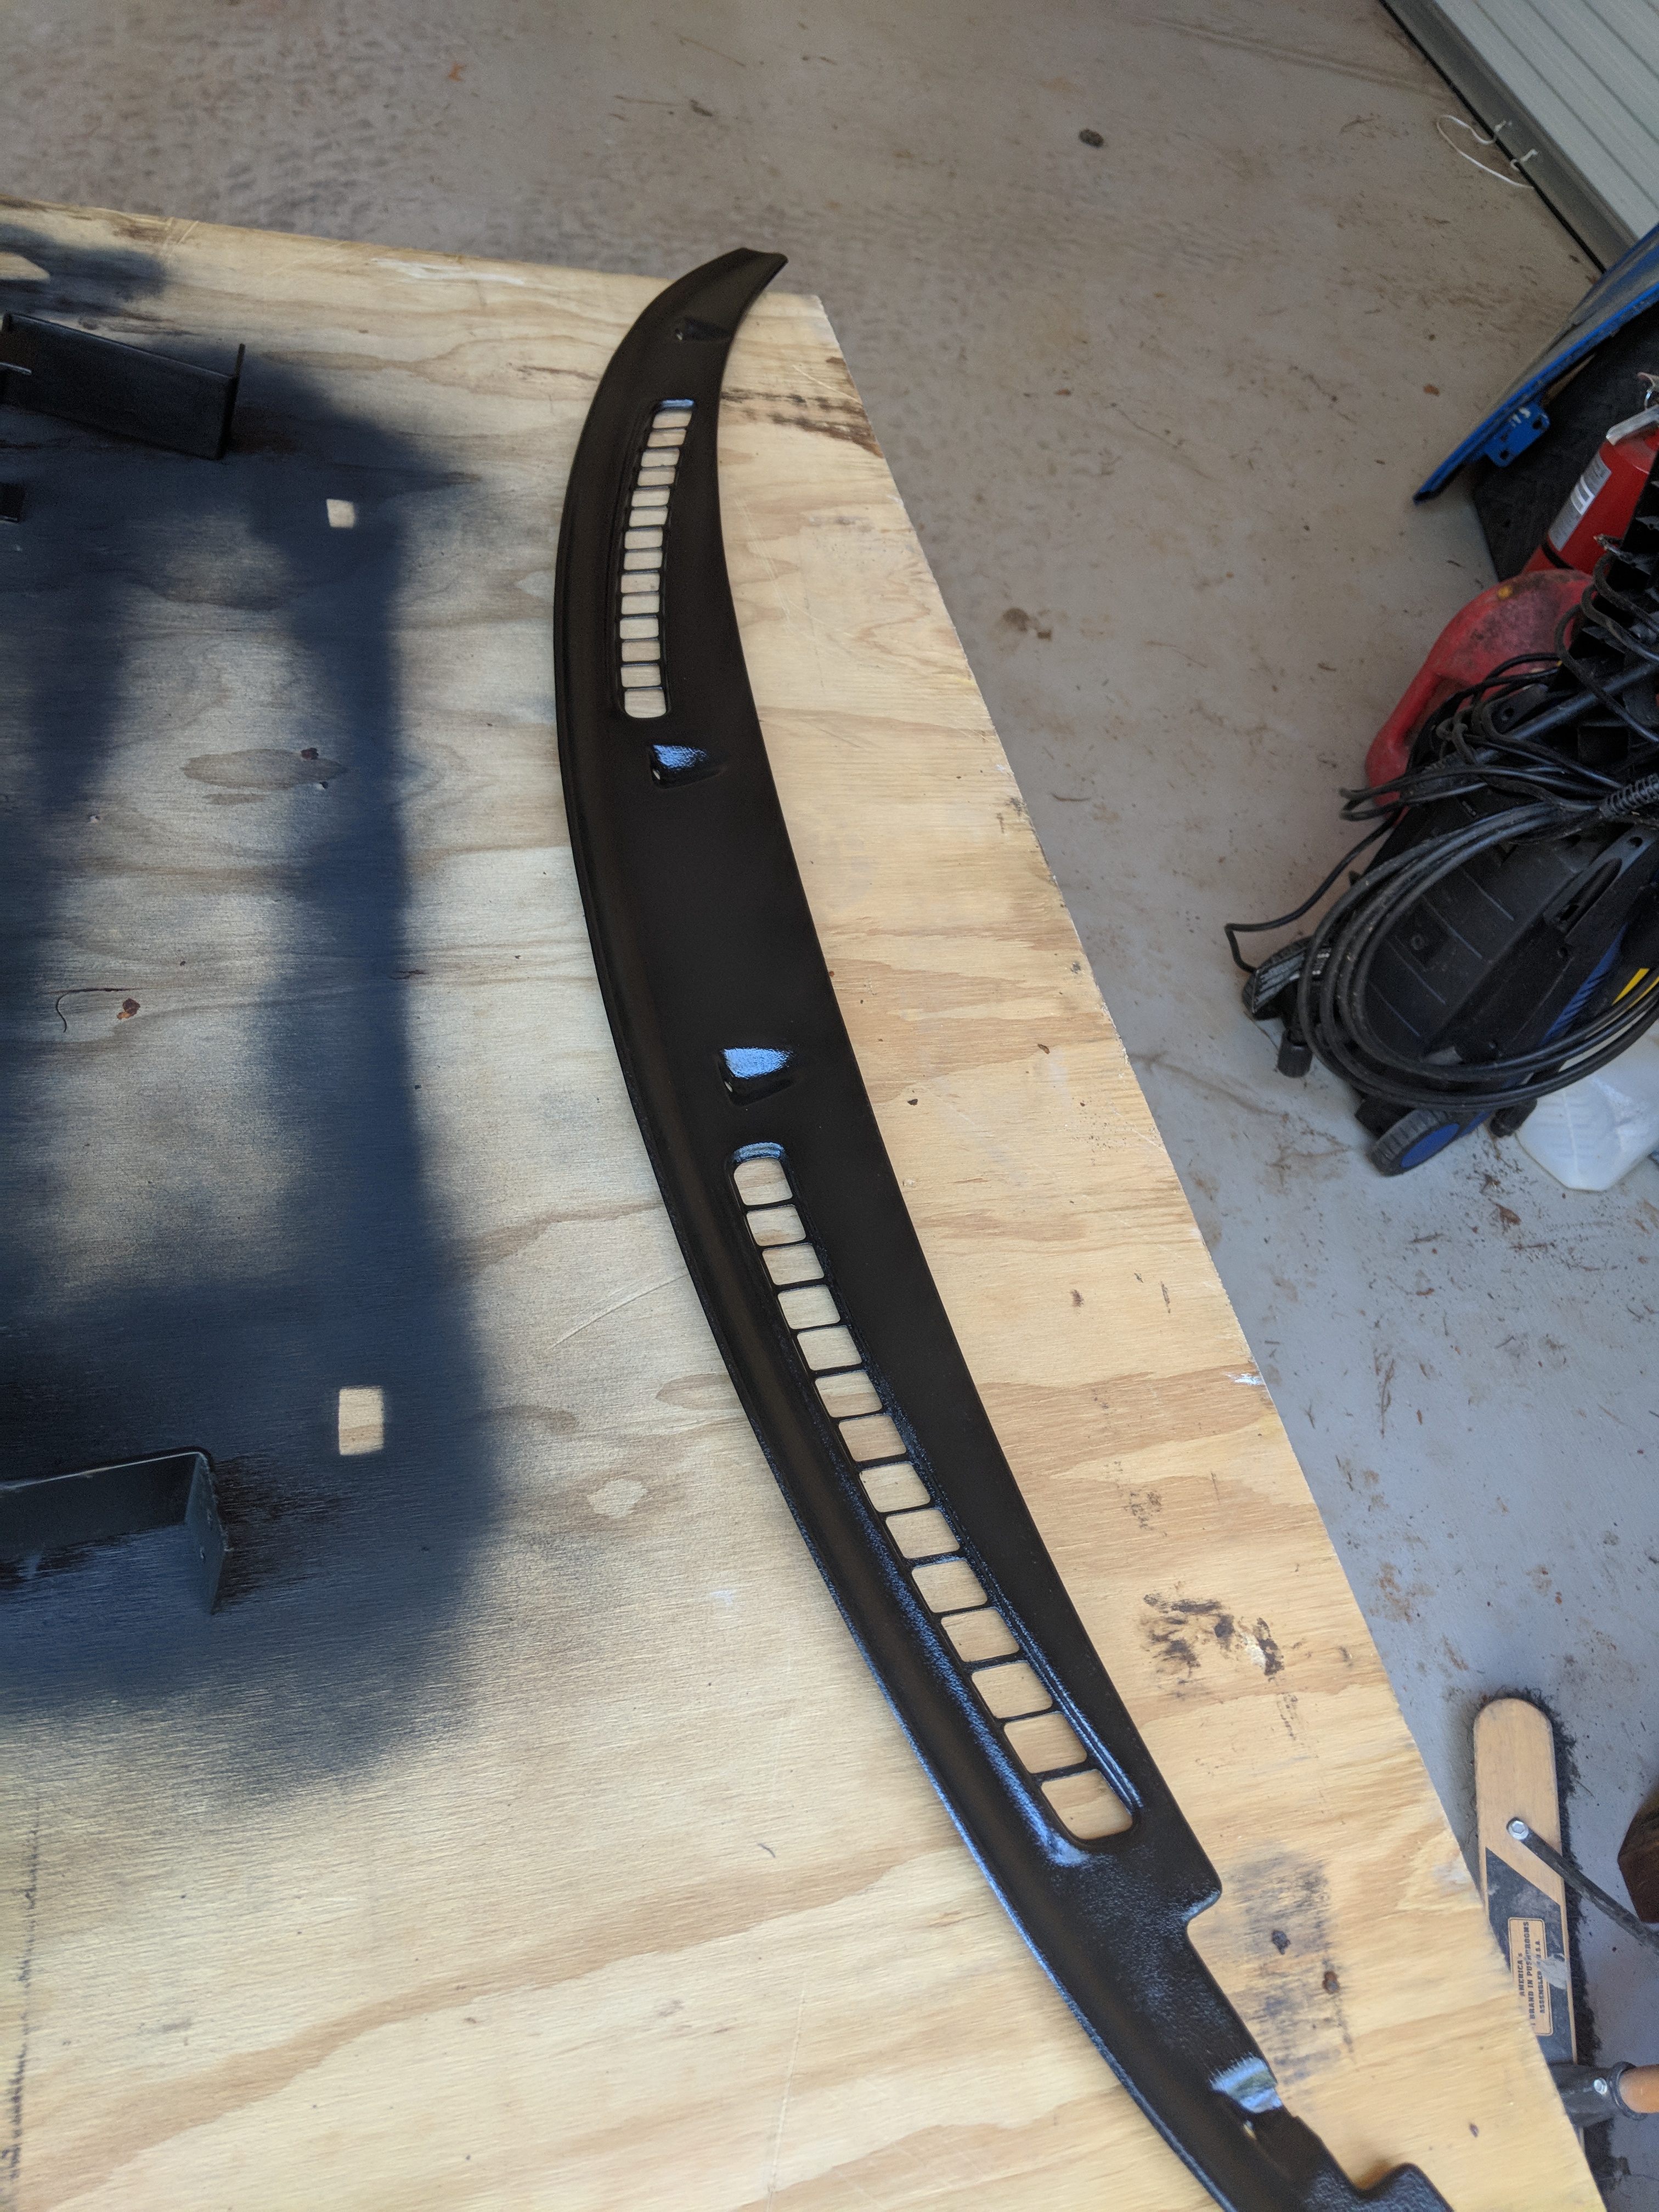
So got some more stuff done today. Gonna start sanding the hood tomorrow I decided I'm going to keep the cowl hood. So time to fix the fiberglass areas. I was in harbor freight today and the sandblasting cabinet I wanted had the wrong sticker on it. So instead of 179 i got it for 119 plus 20% off that. Score!!
-
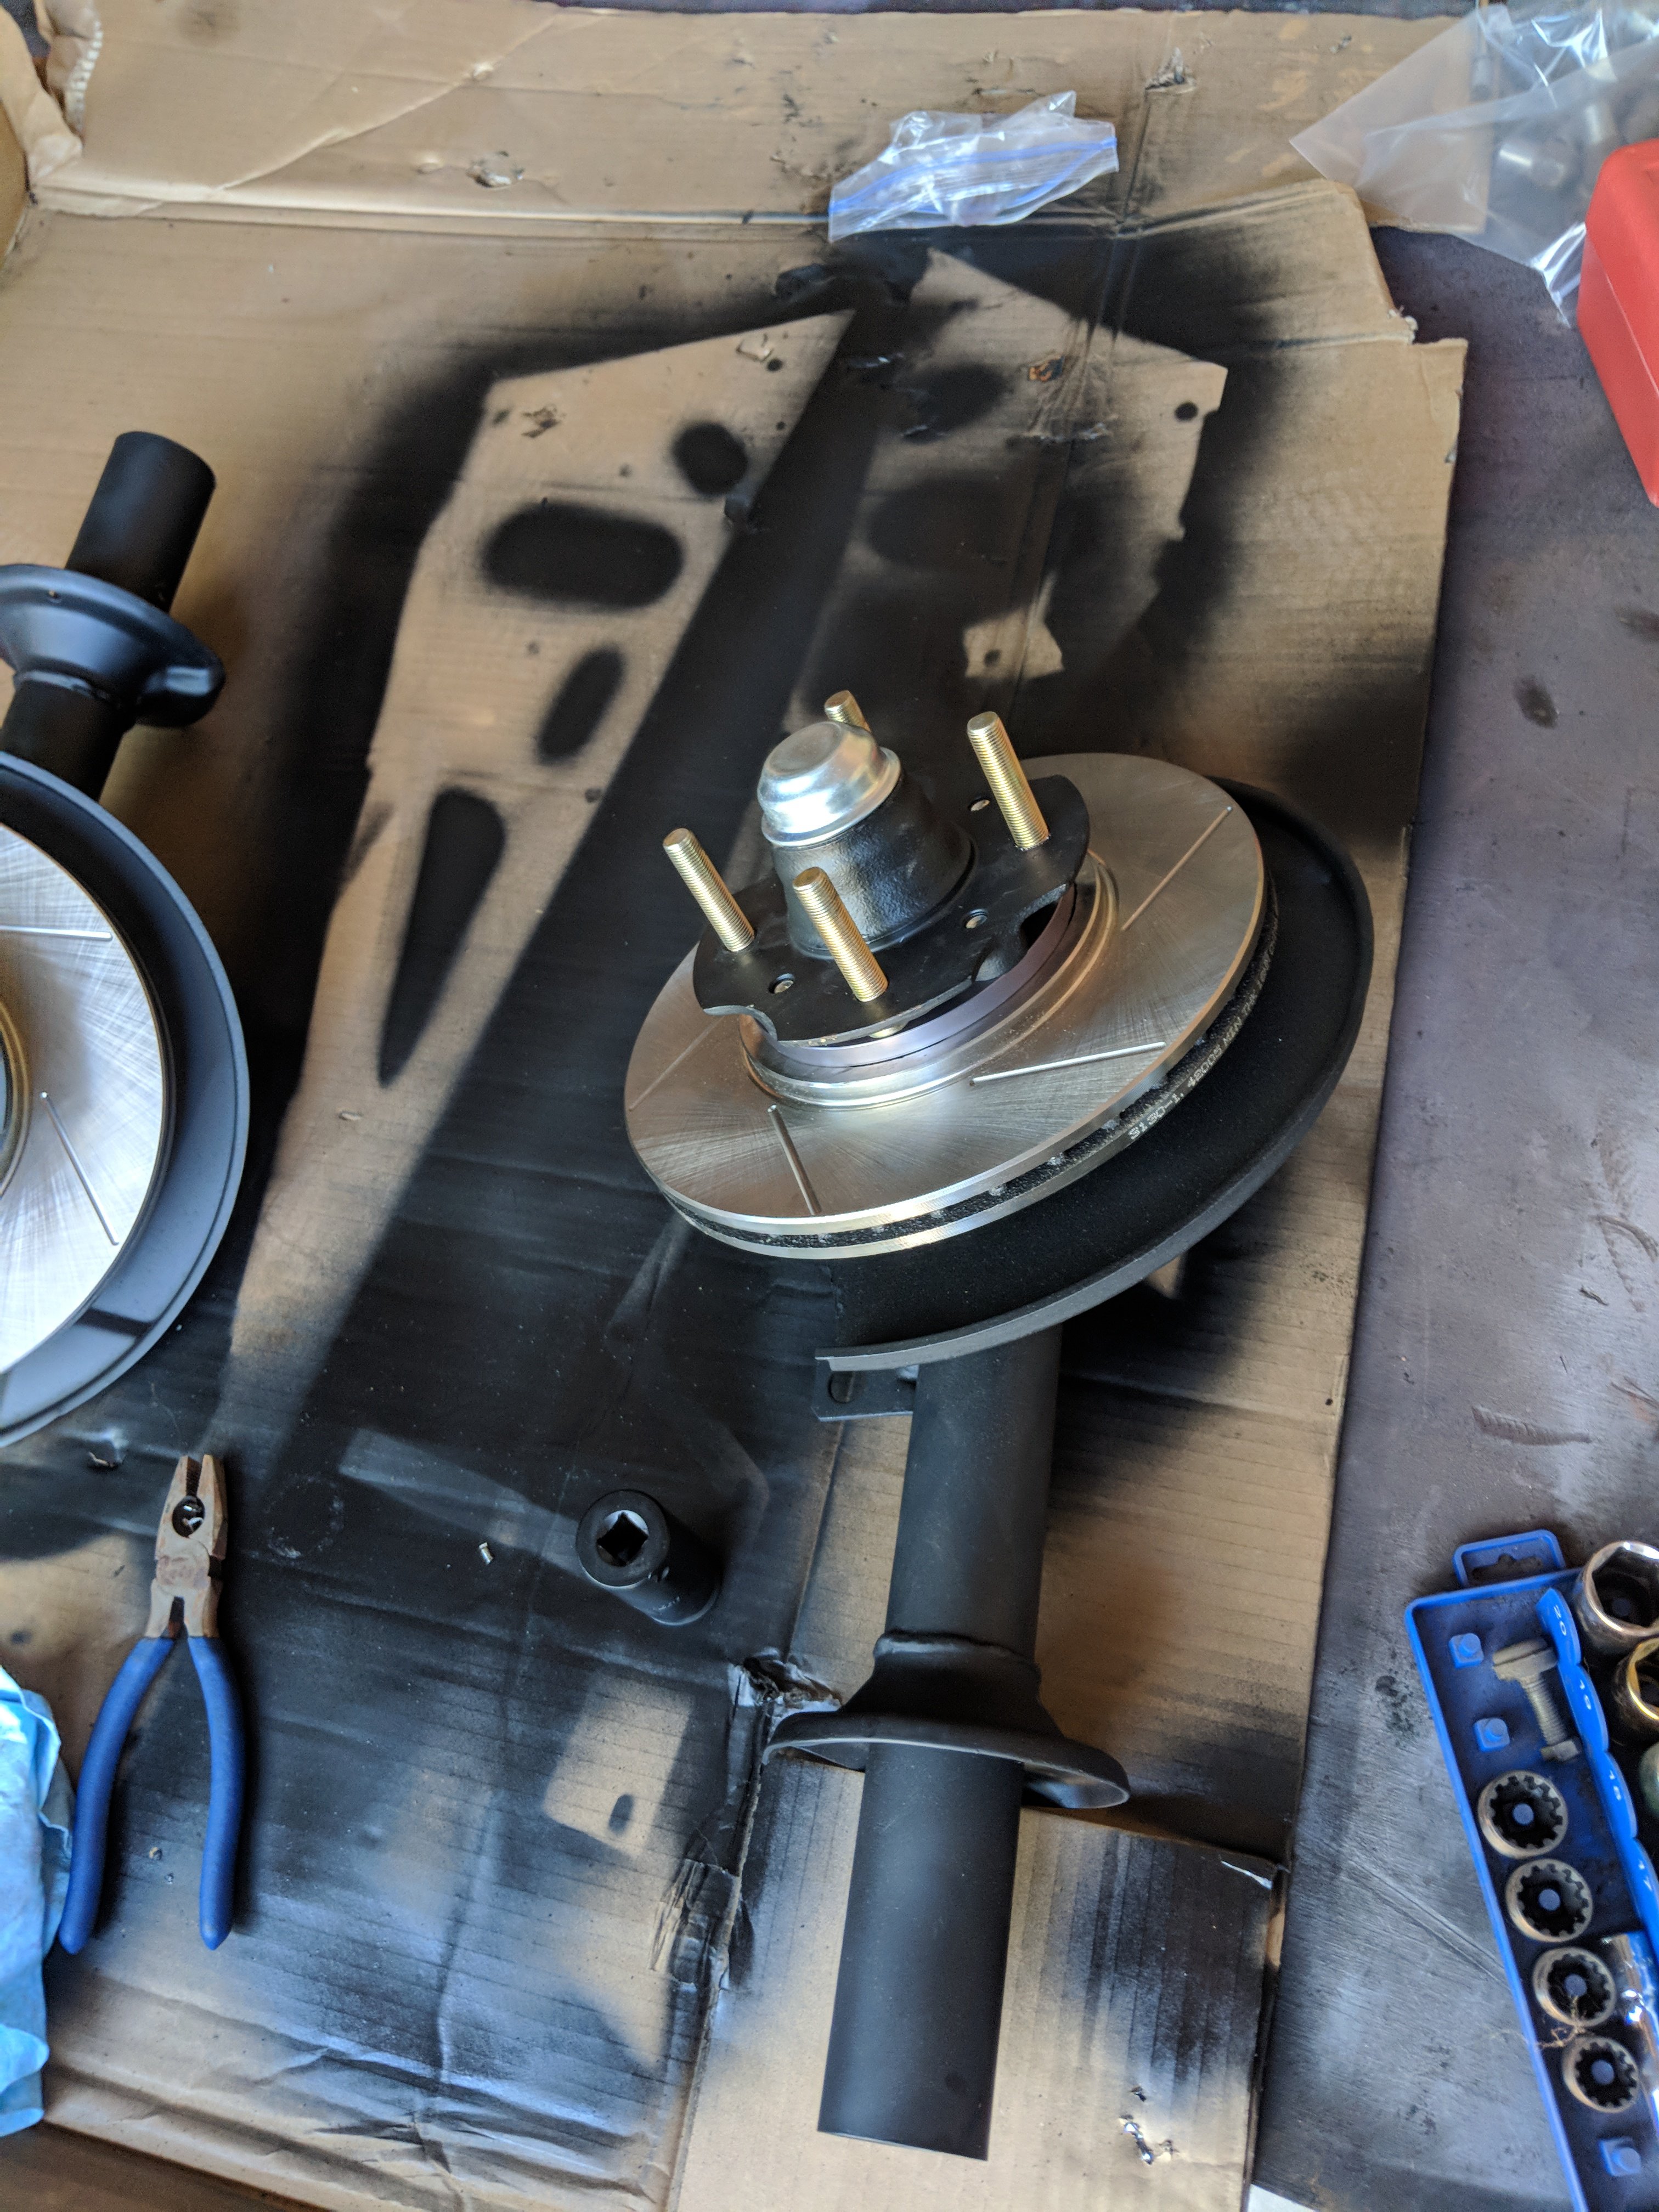
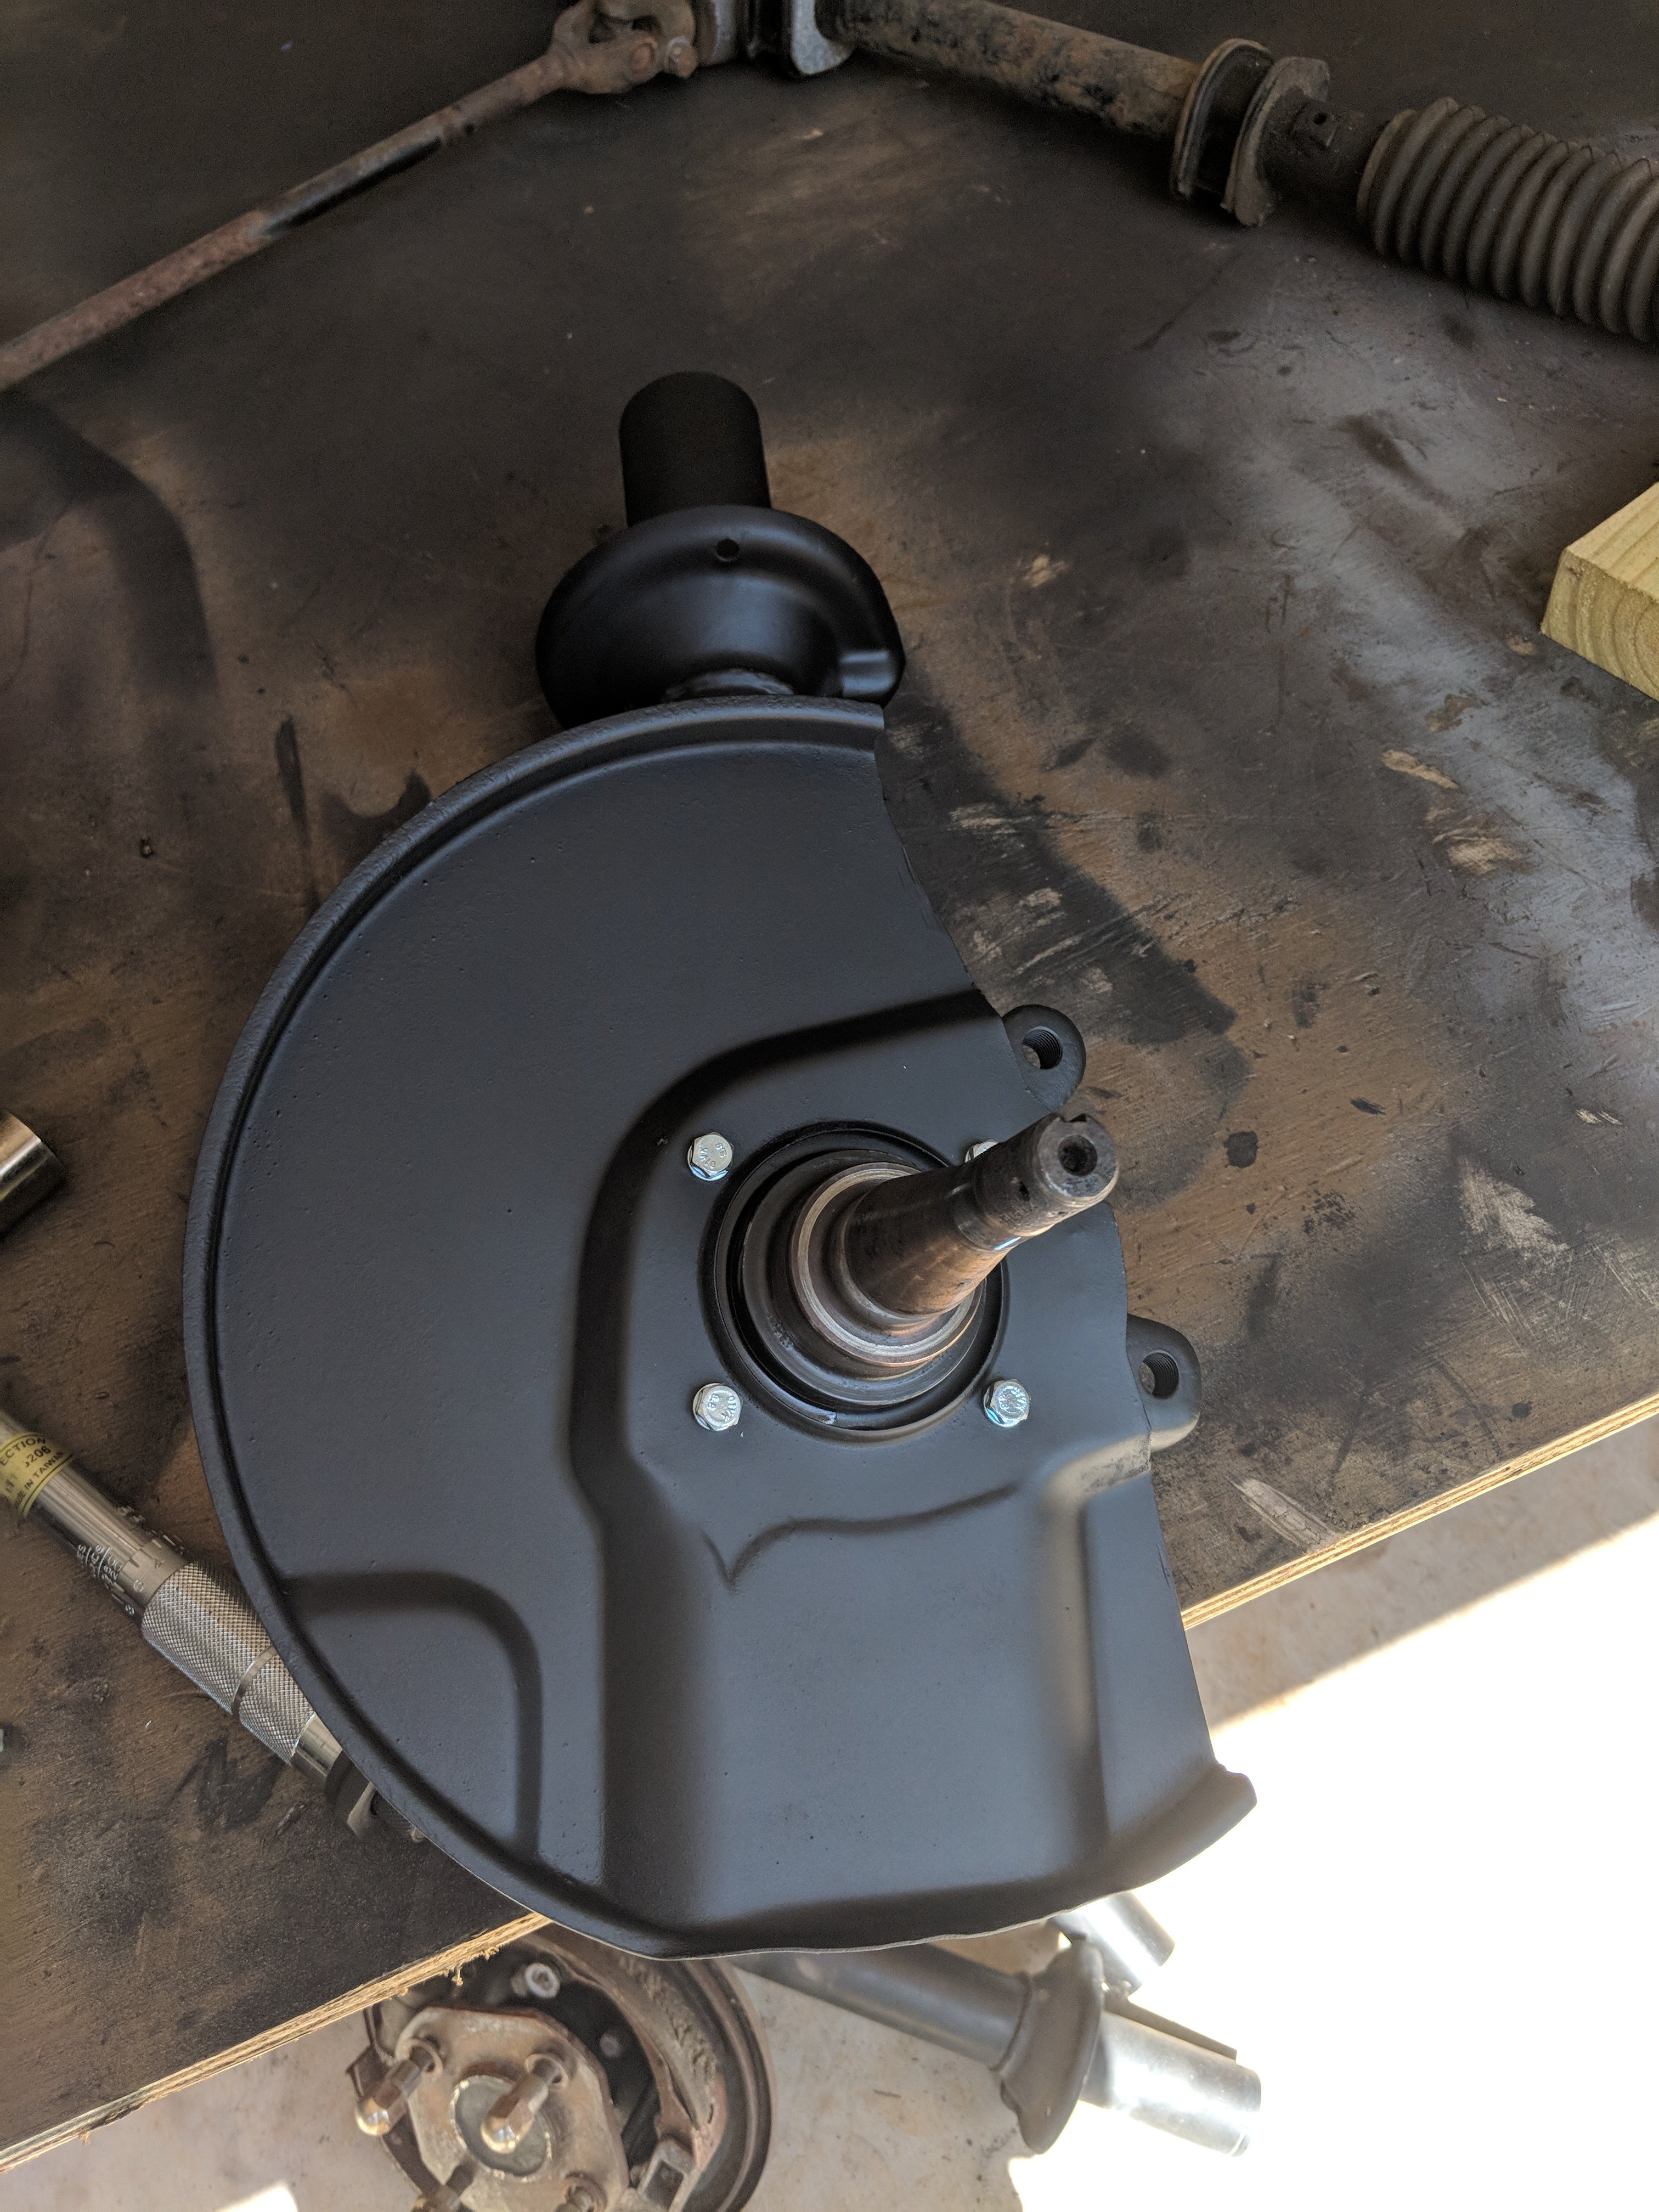
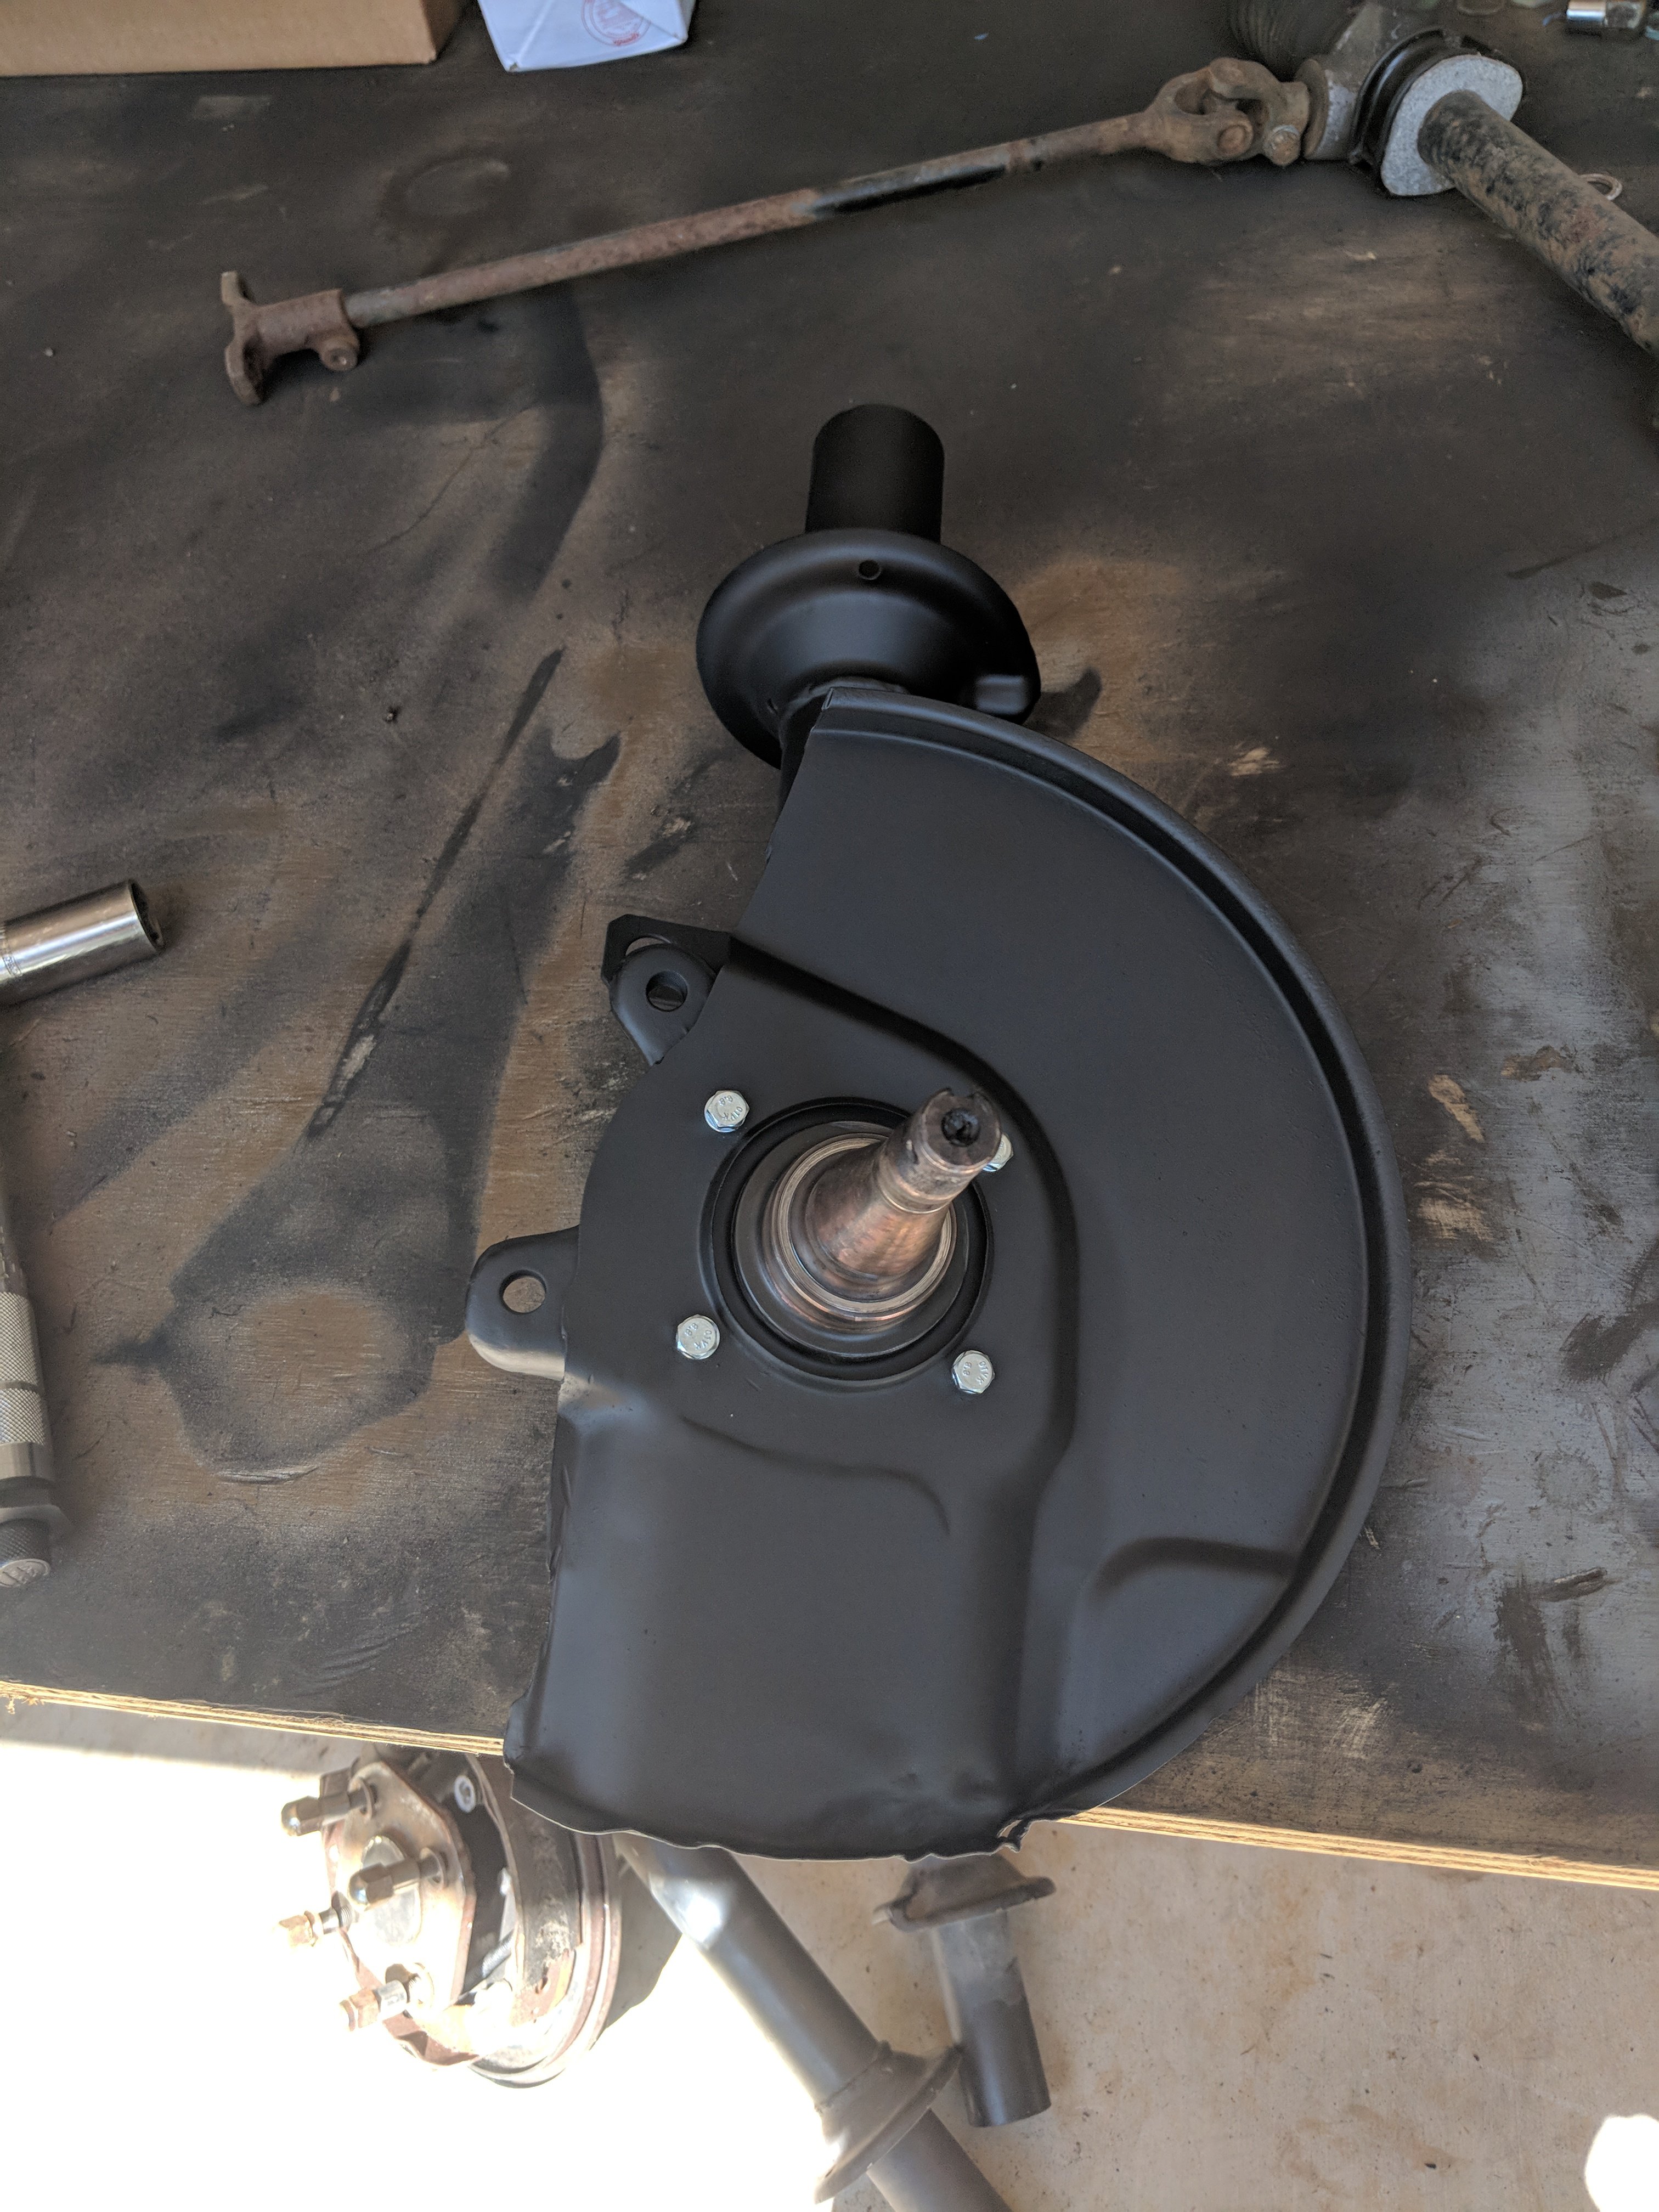
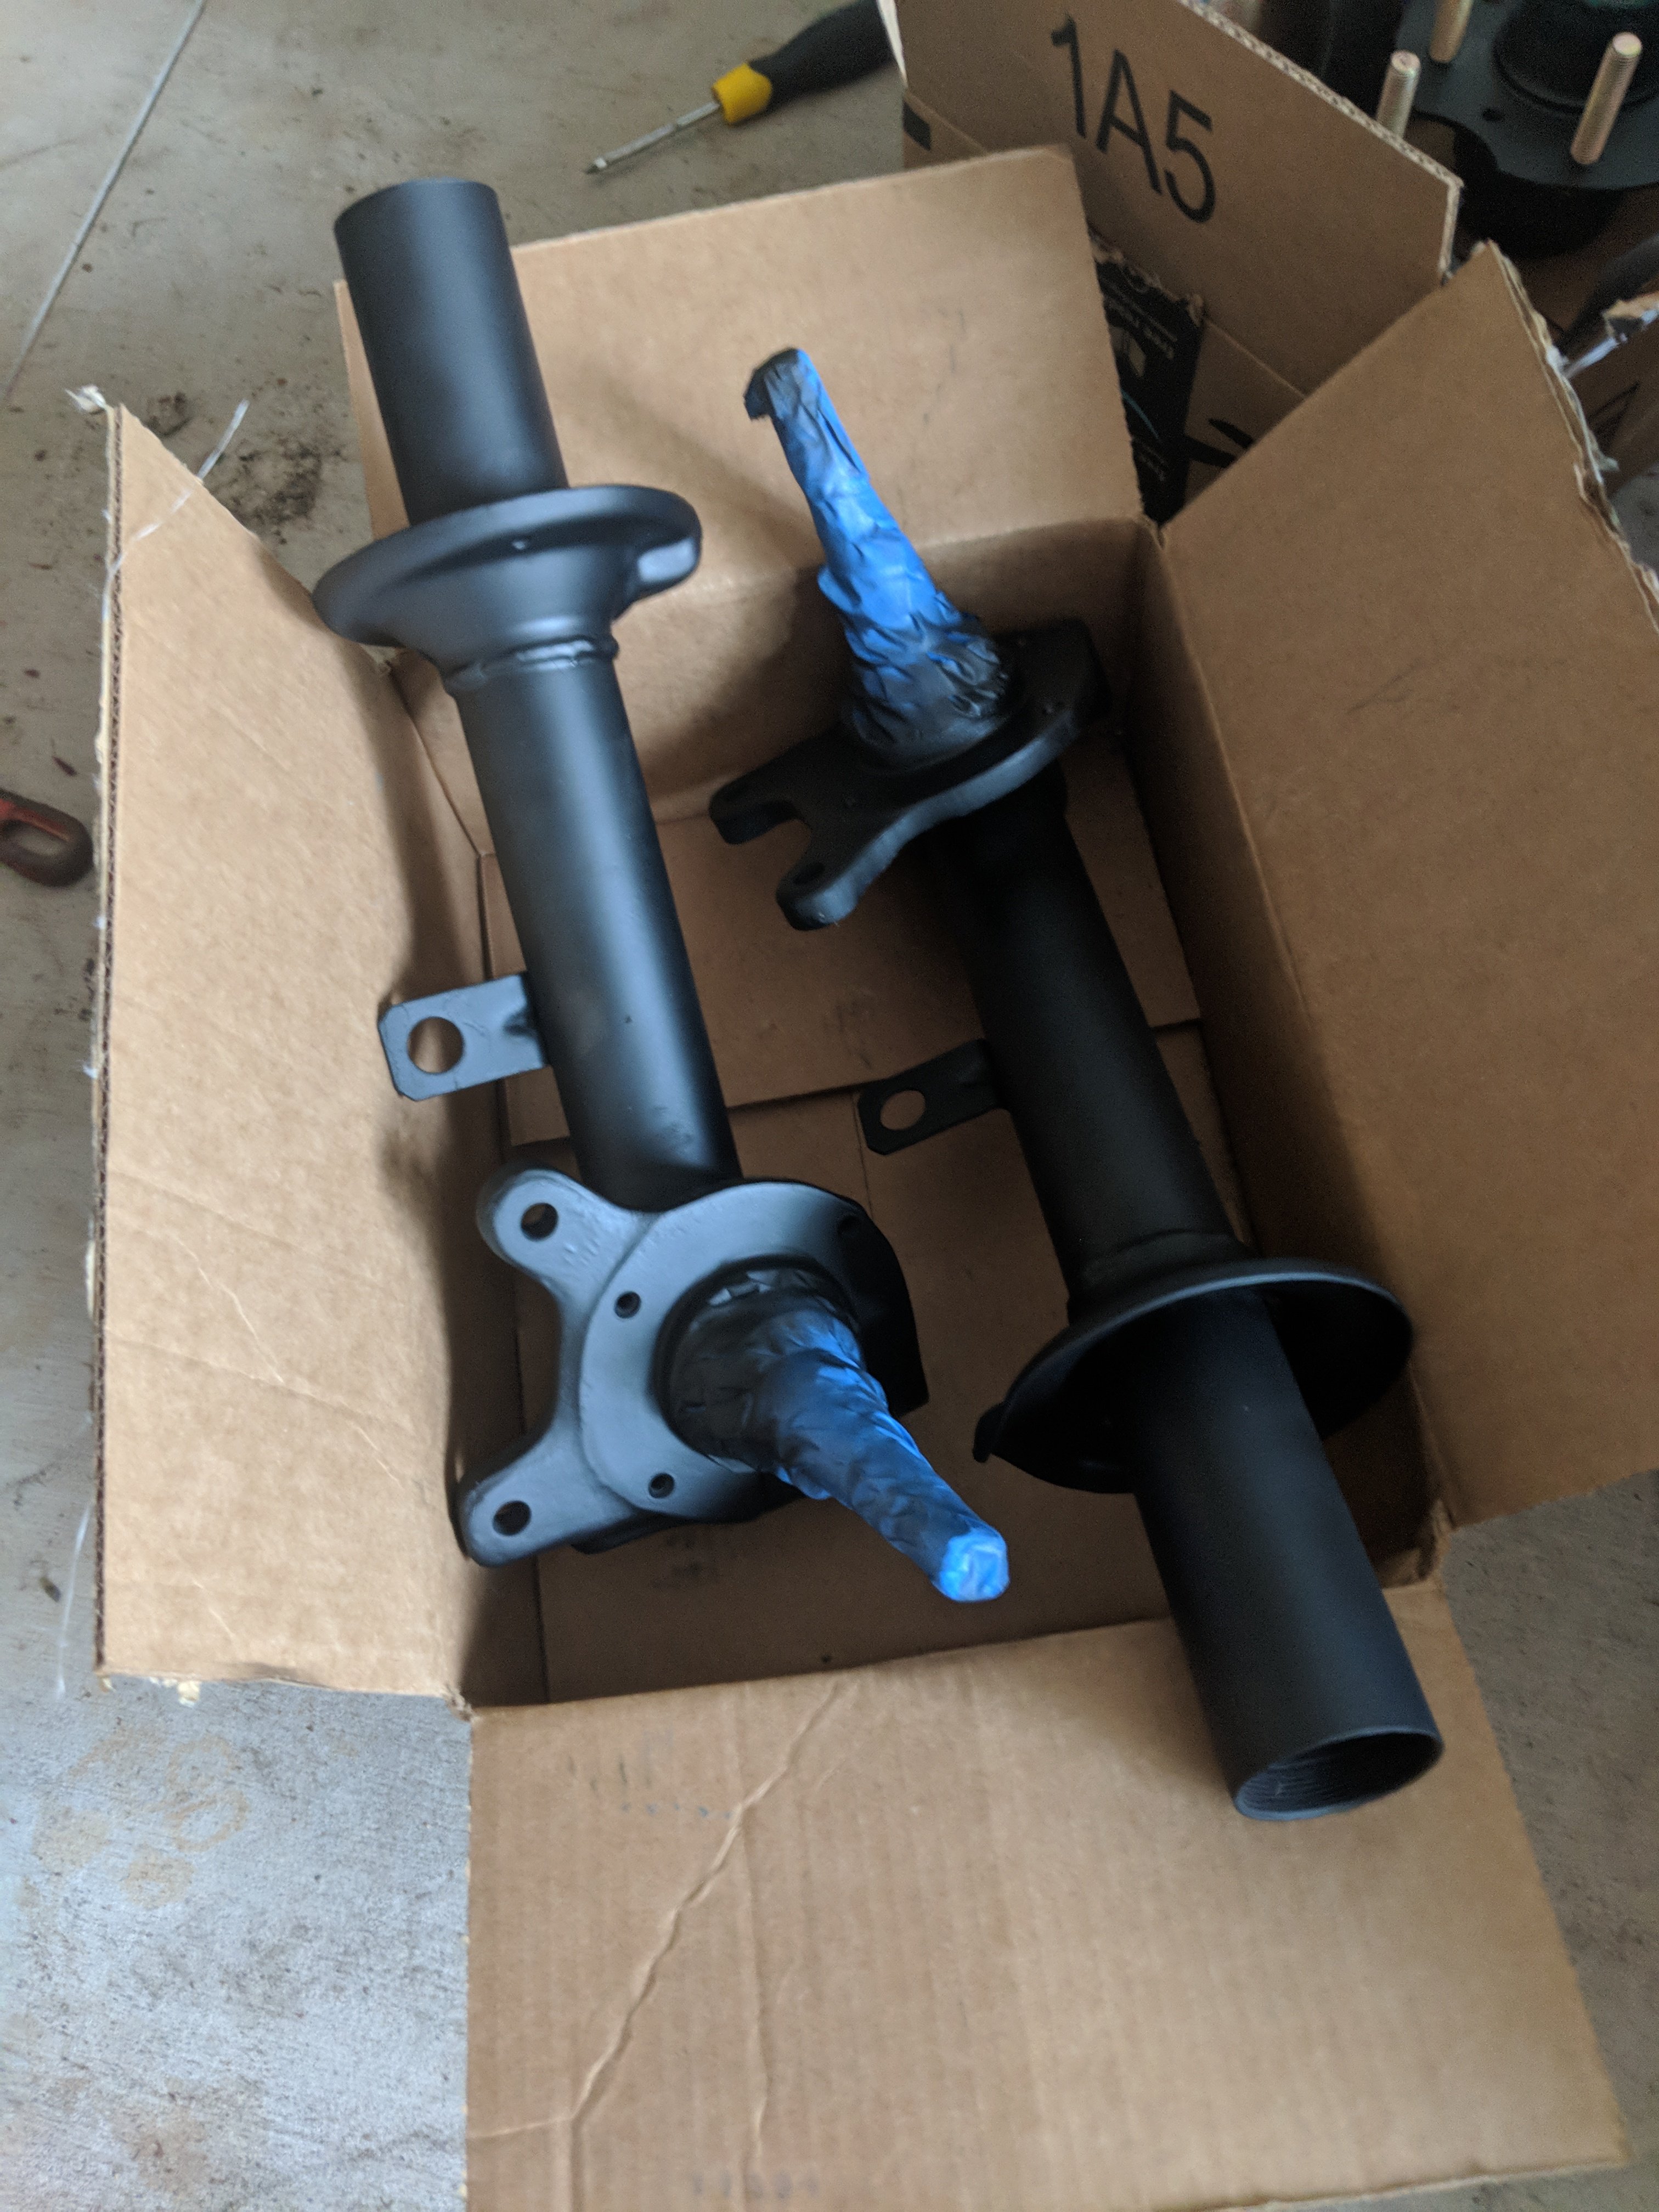
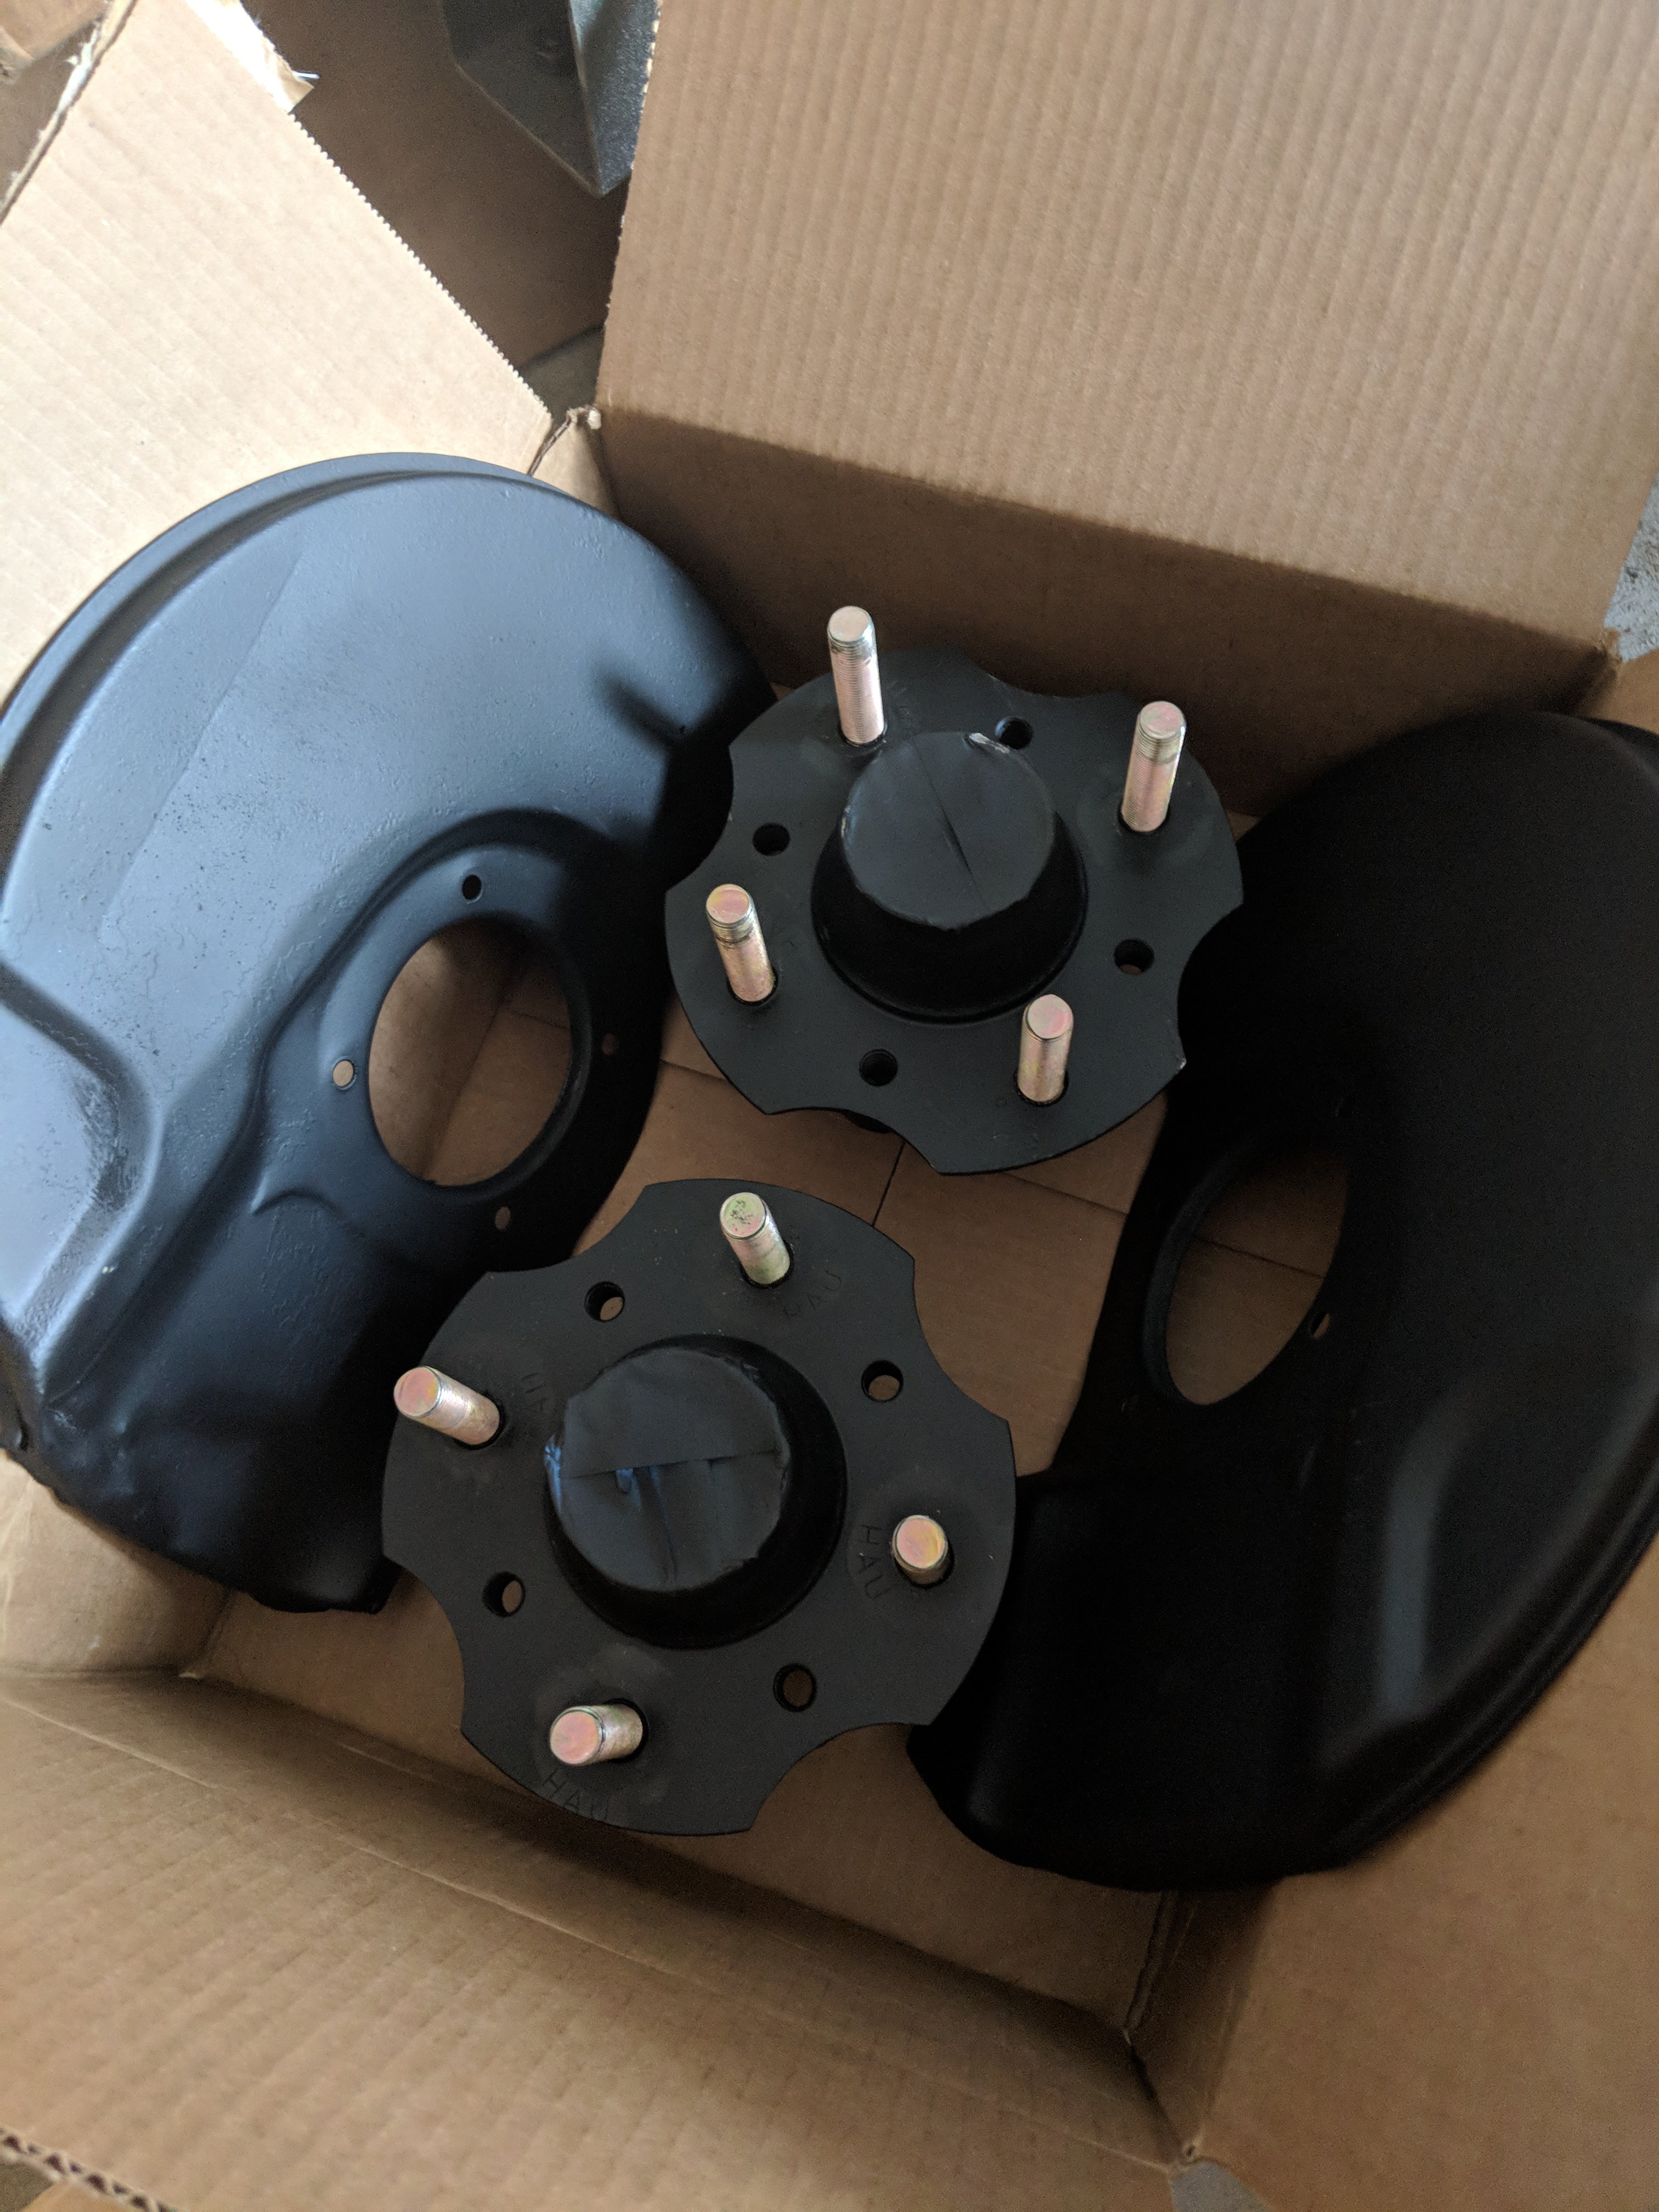
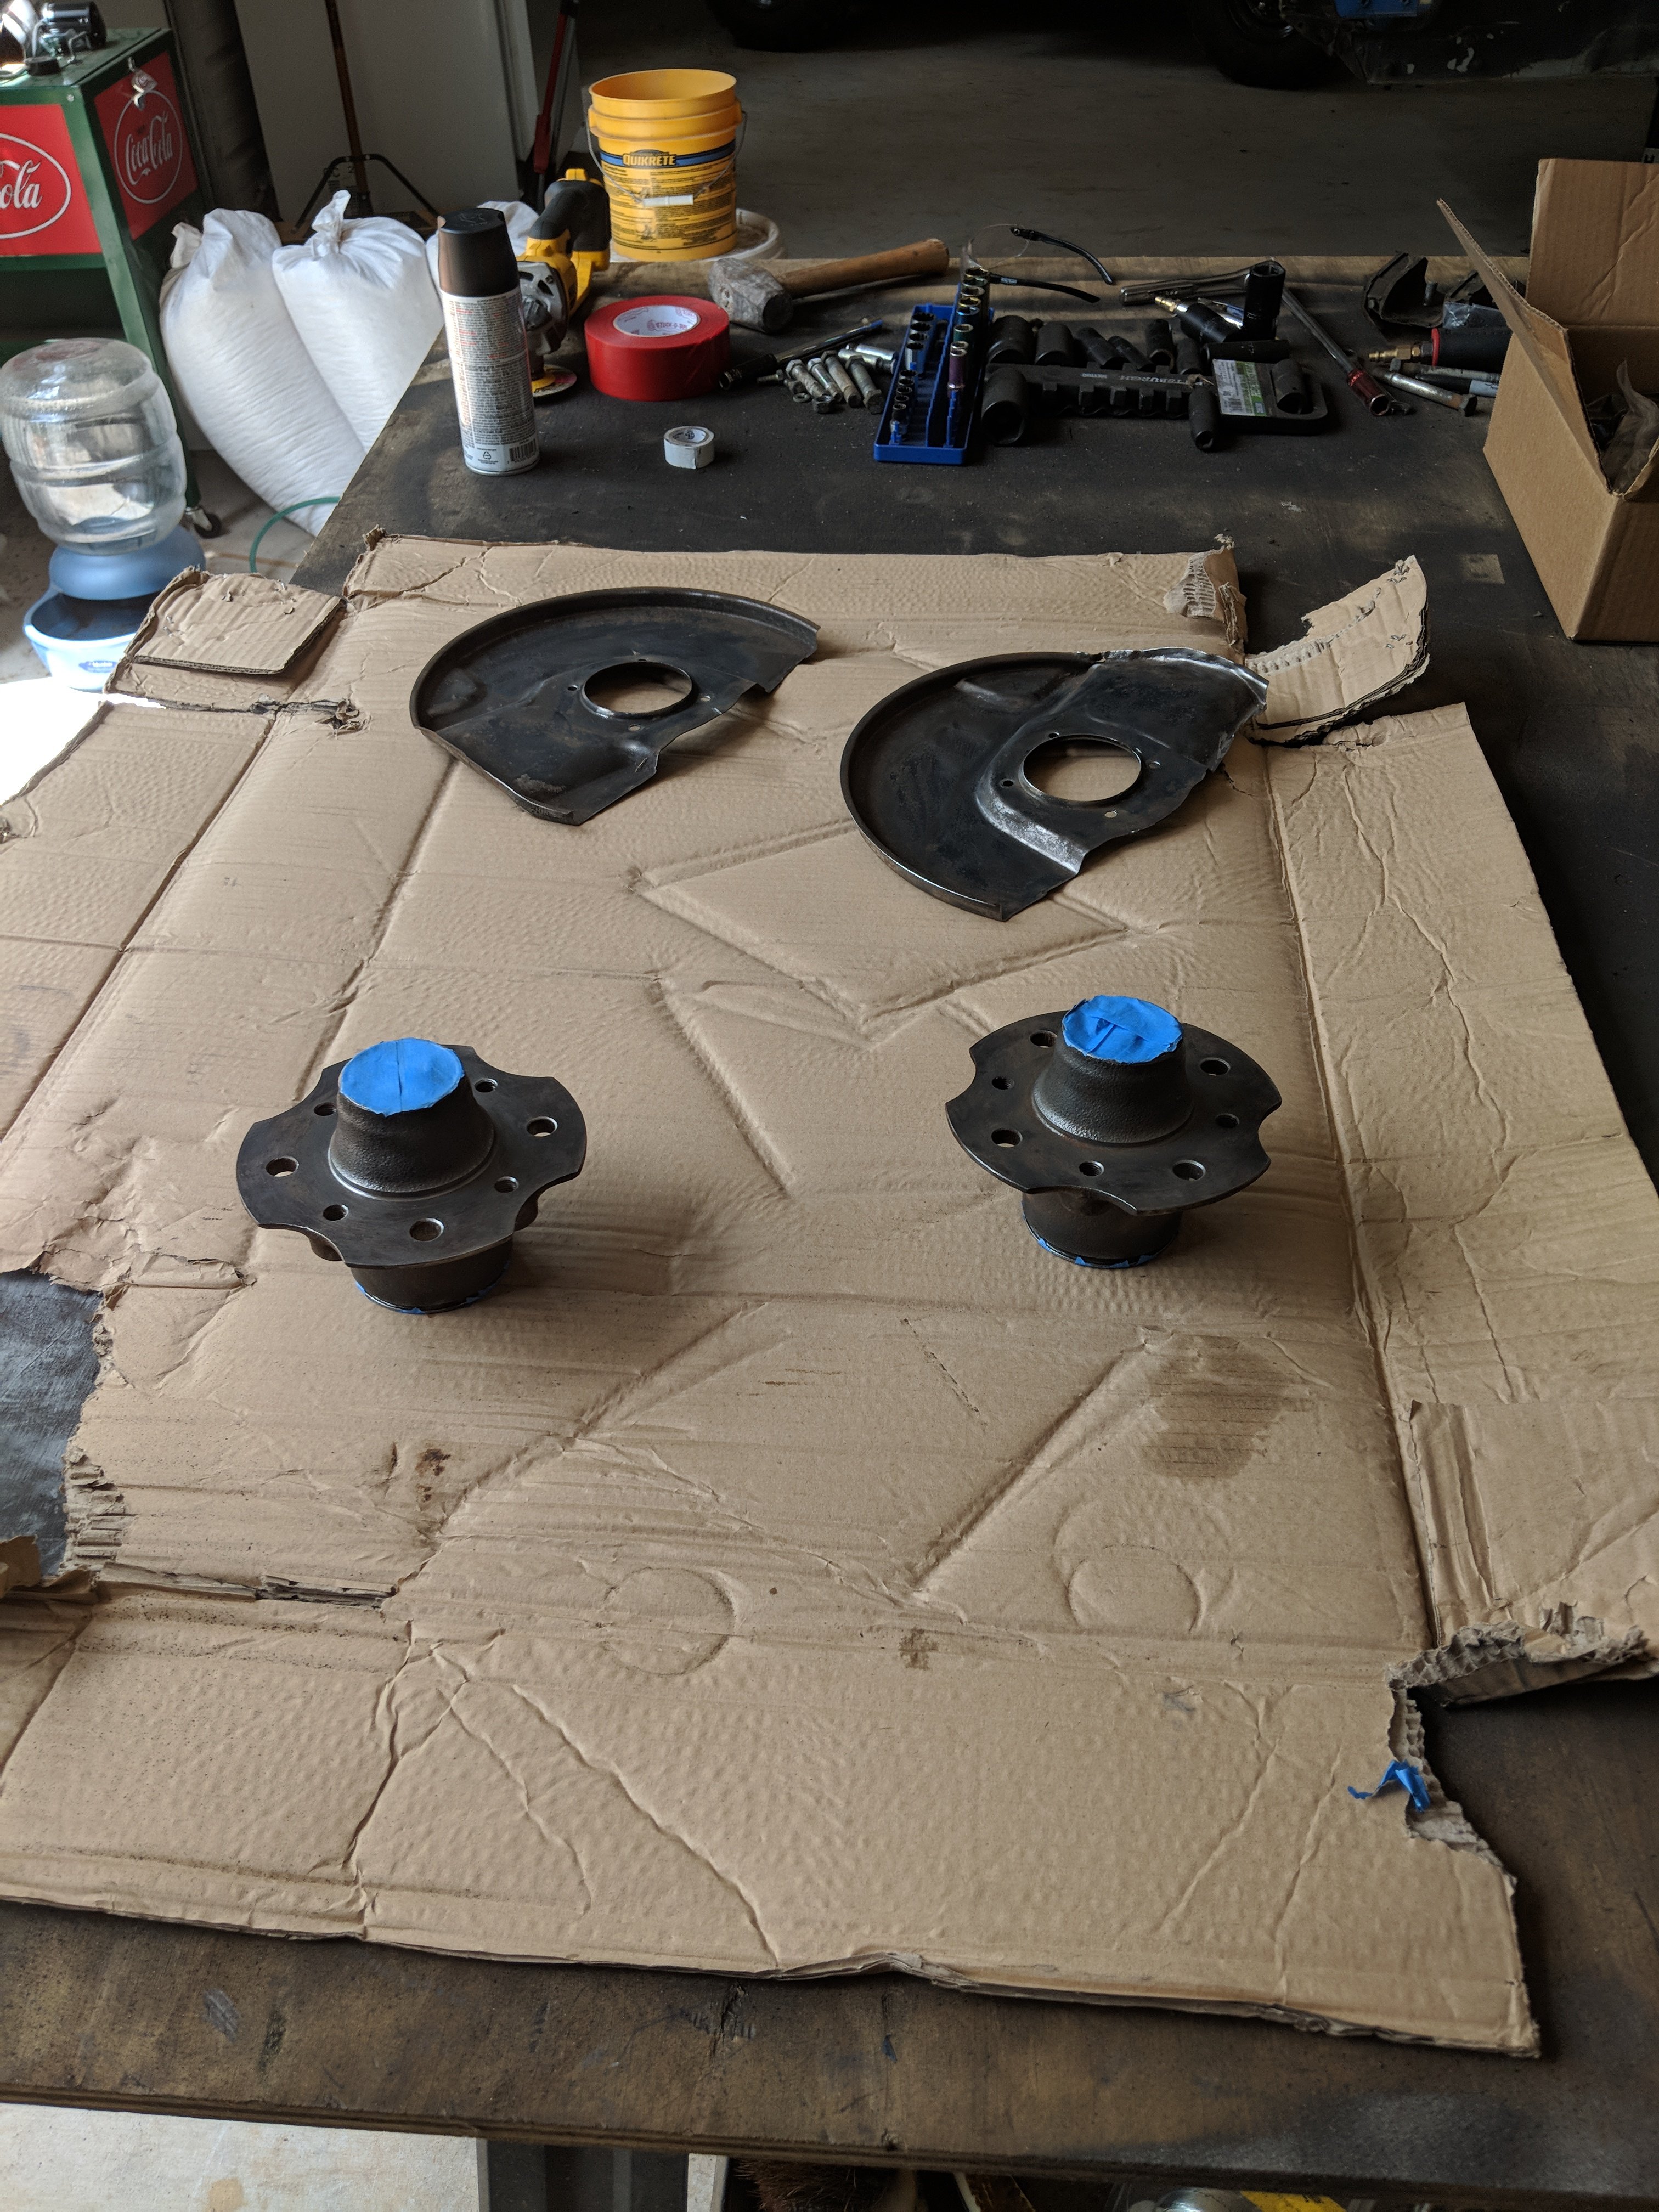
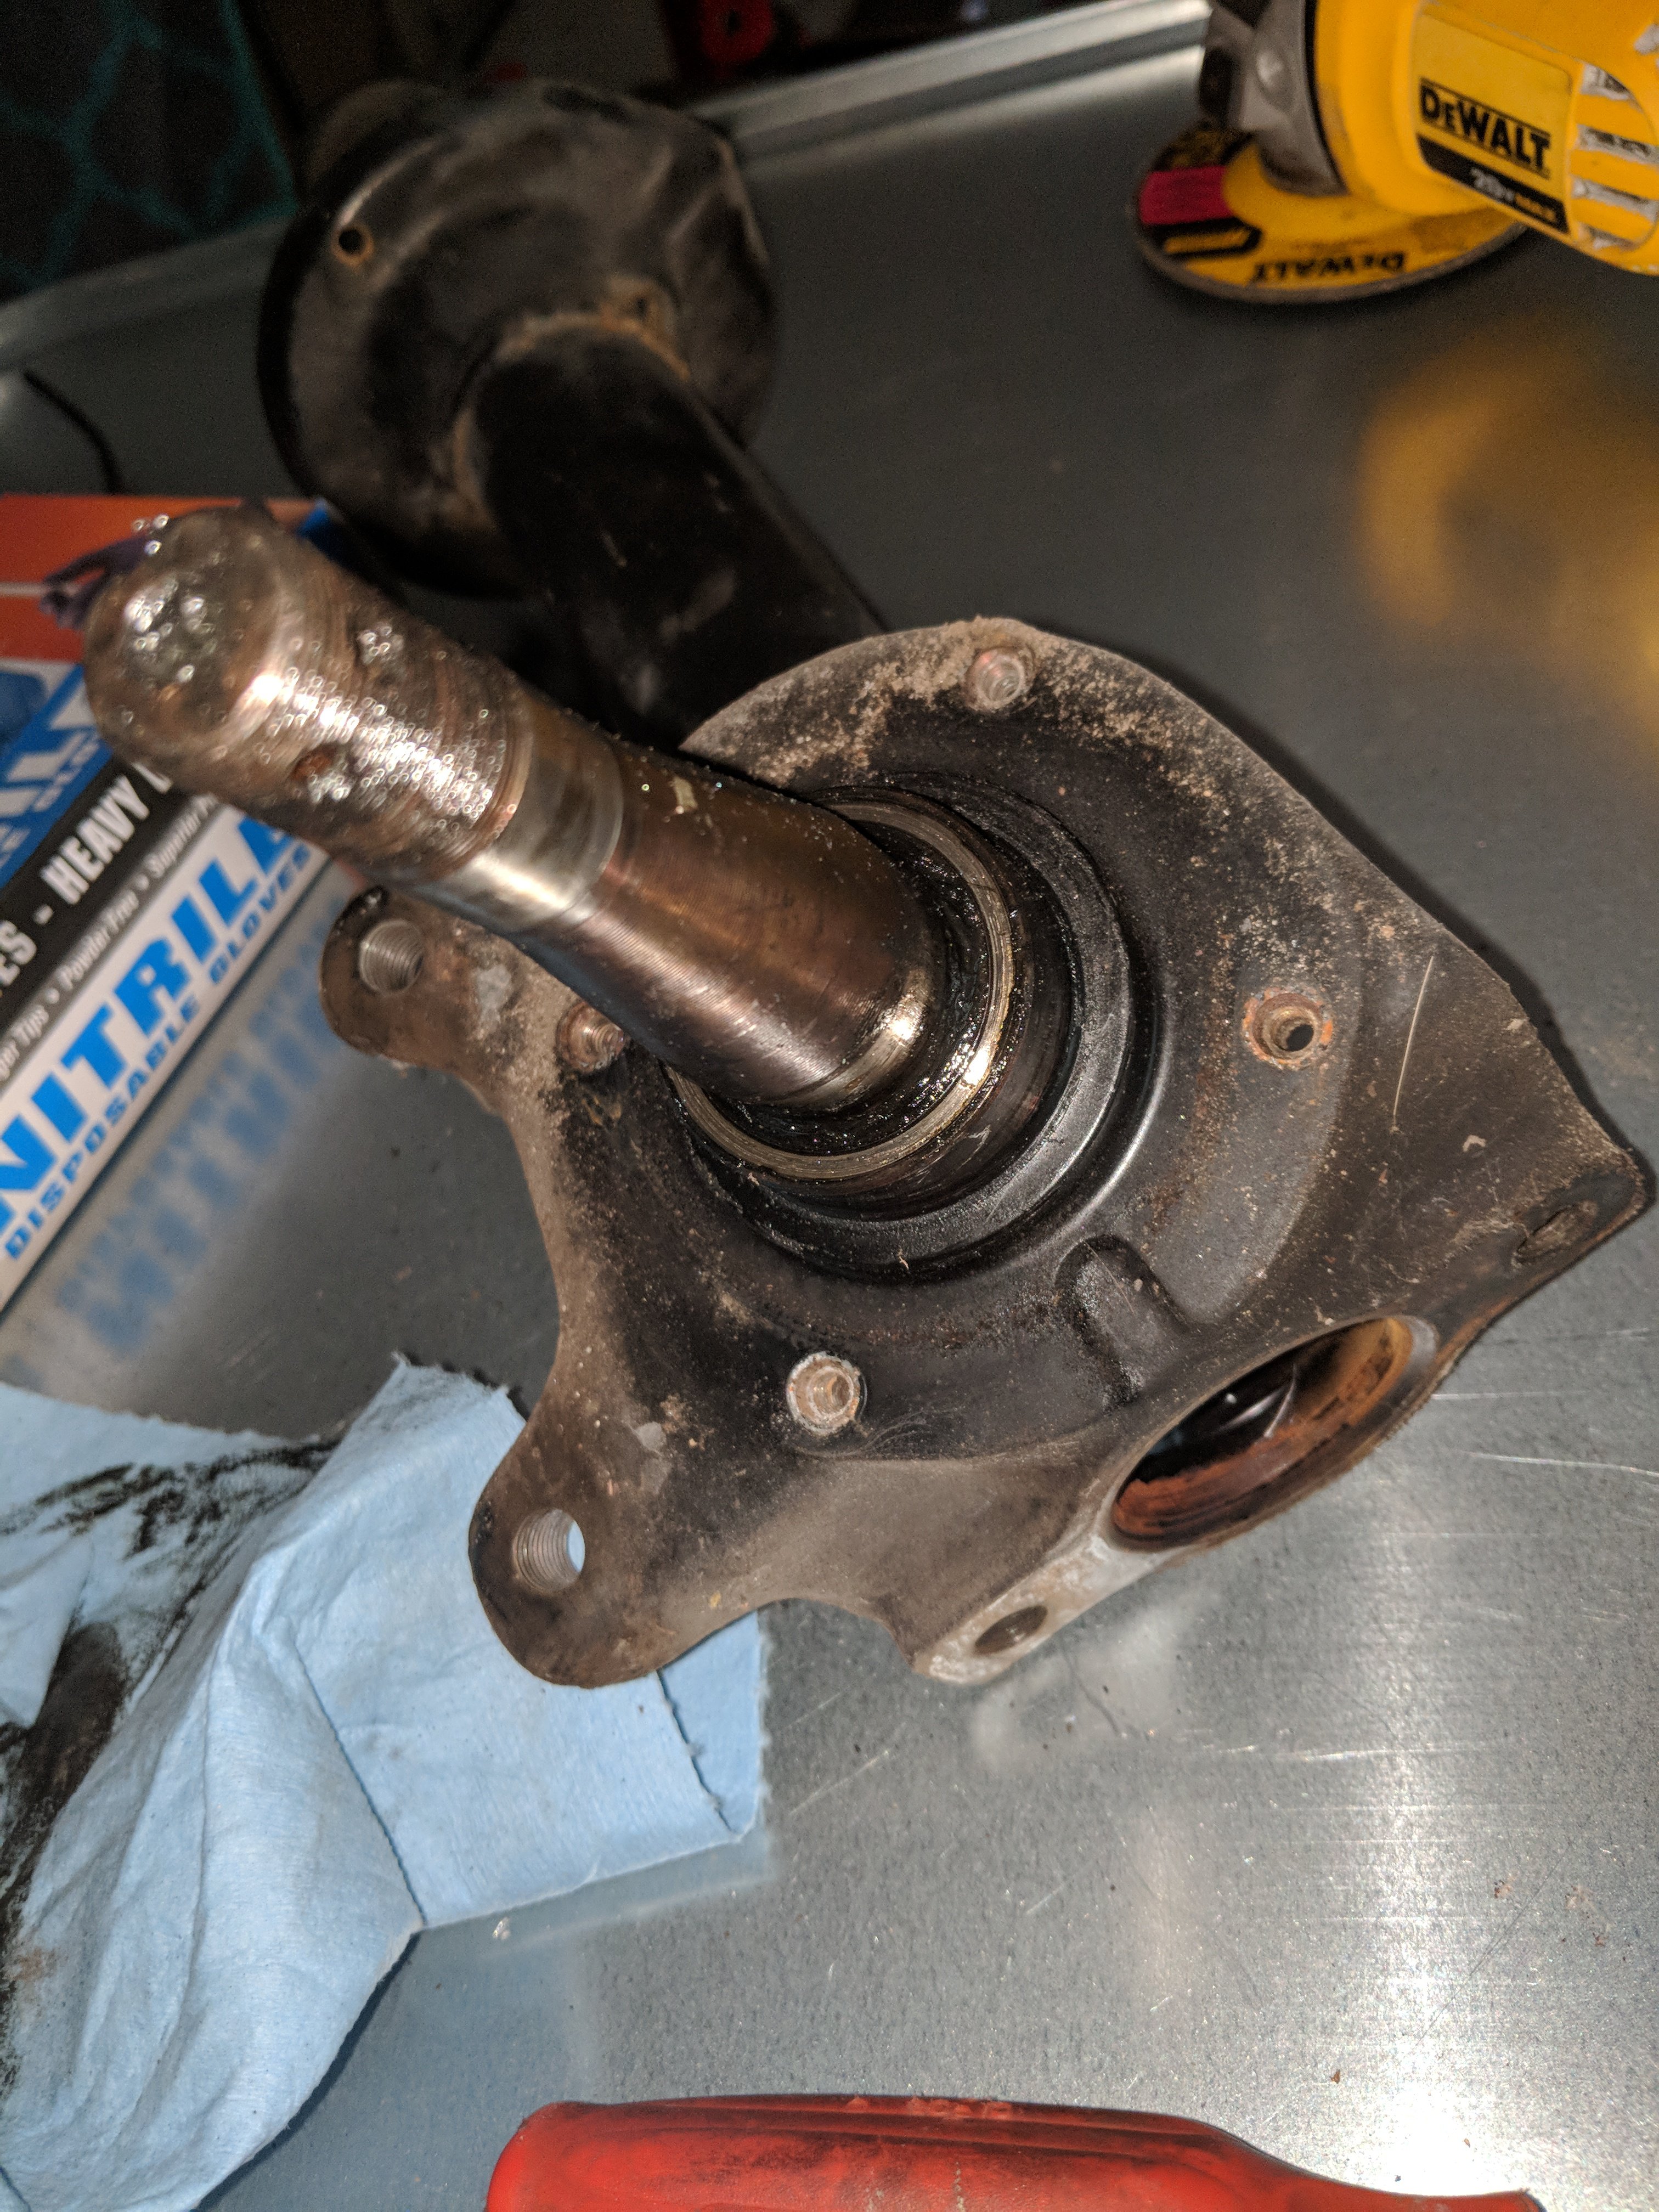
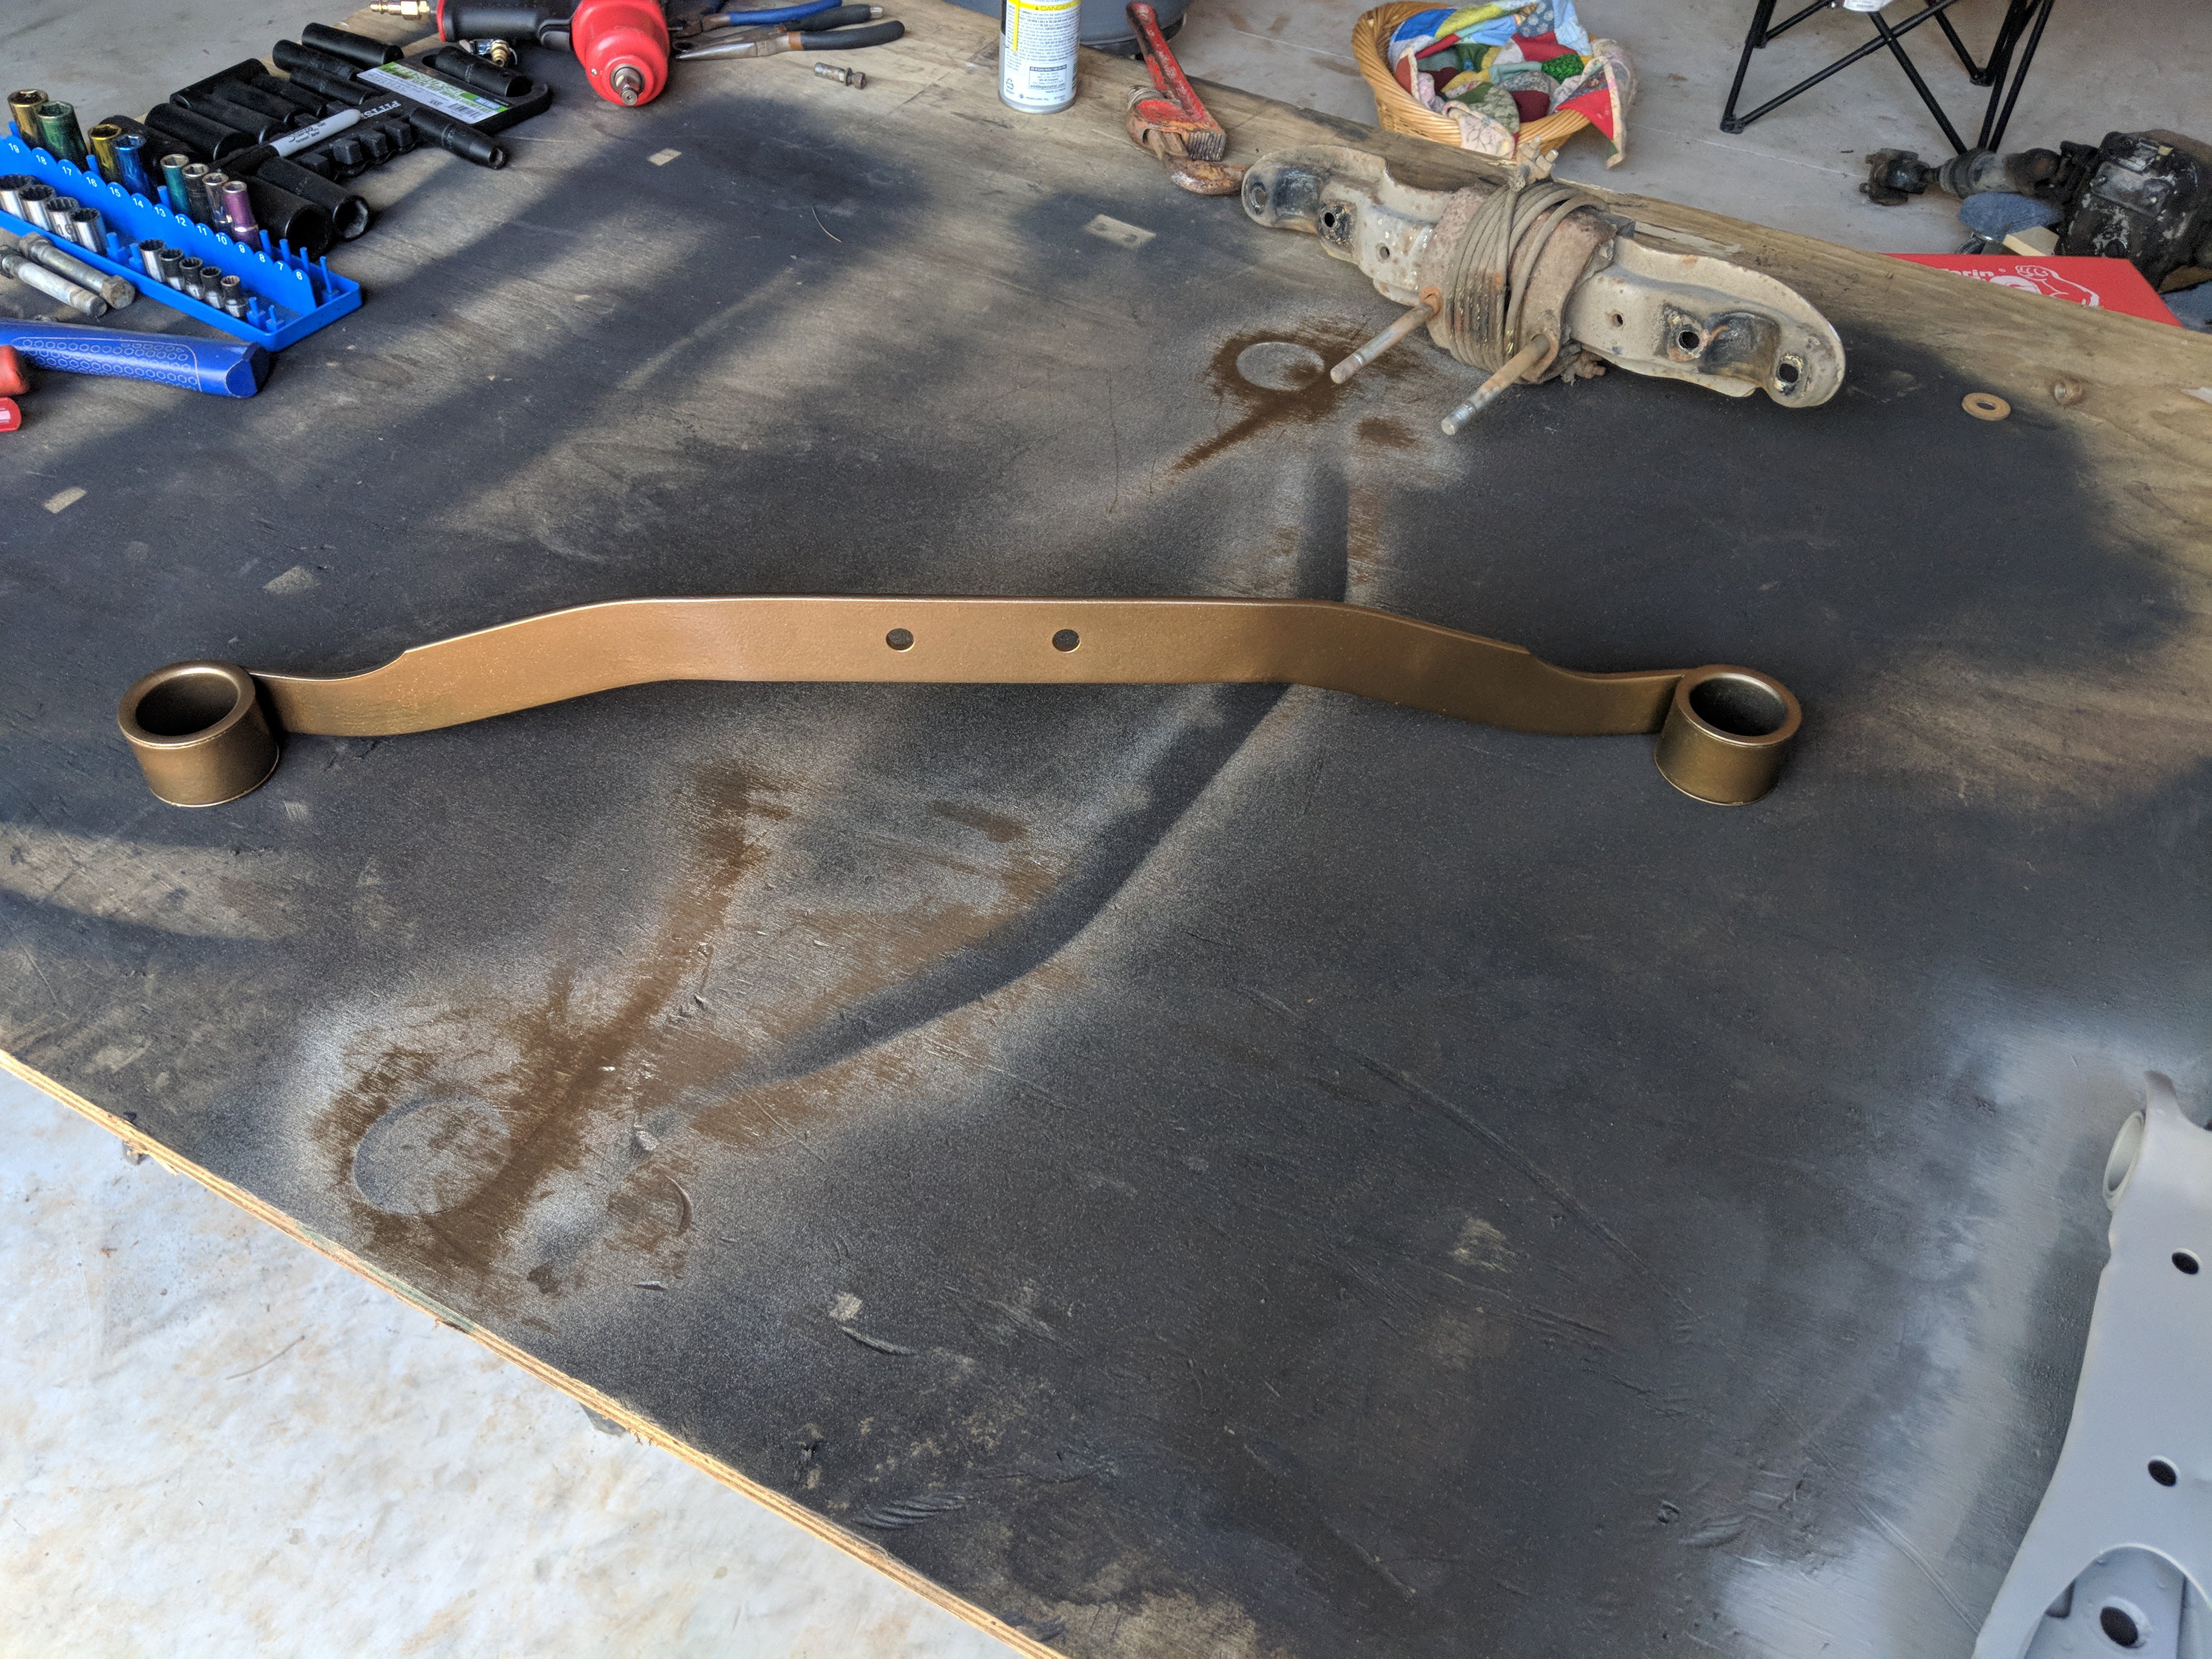
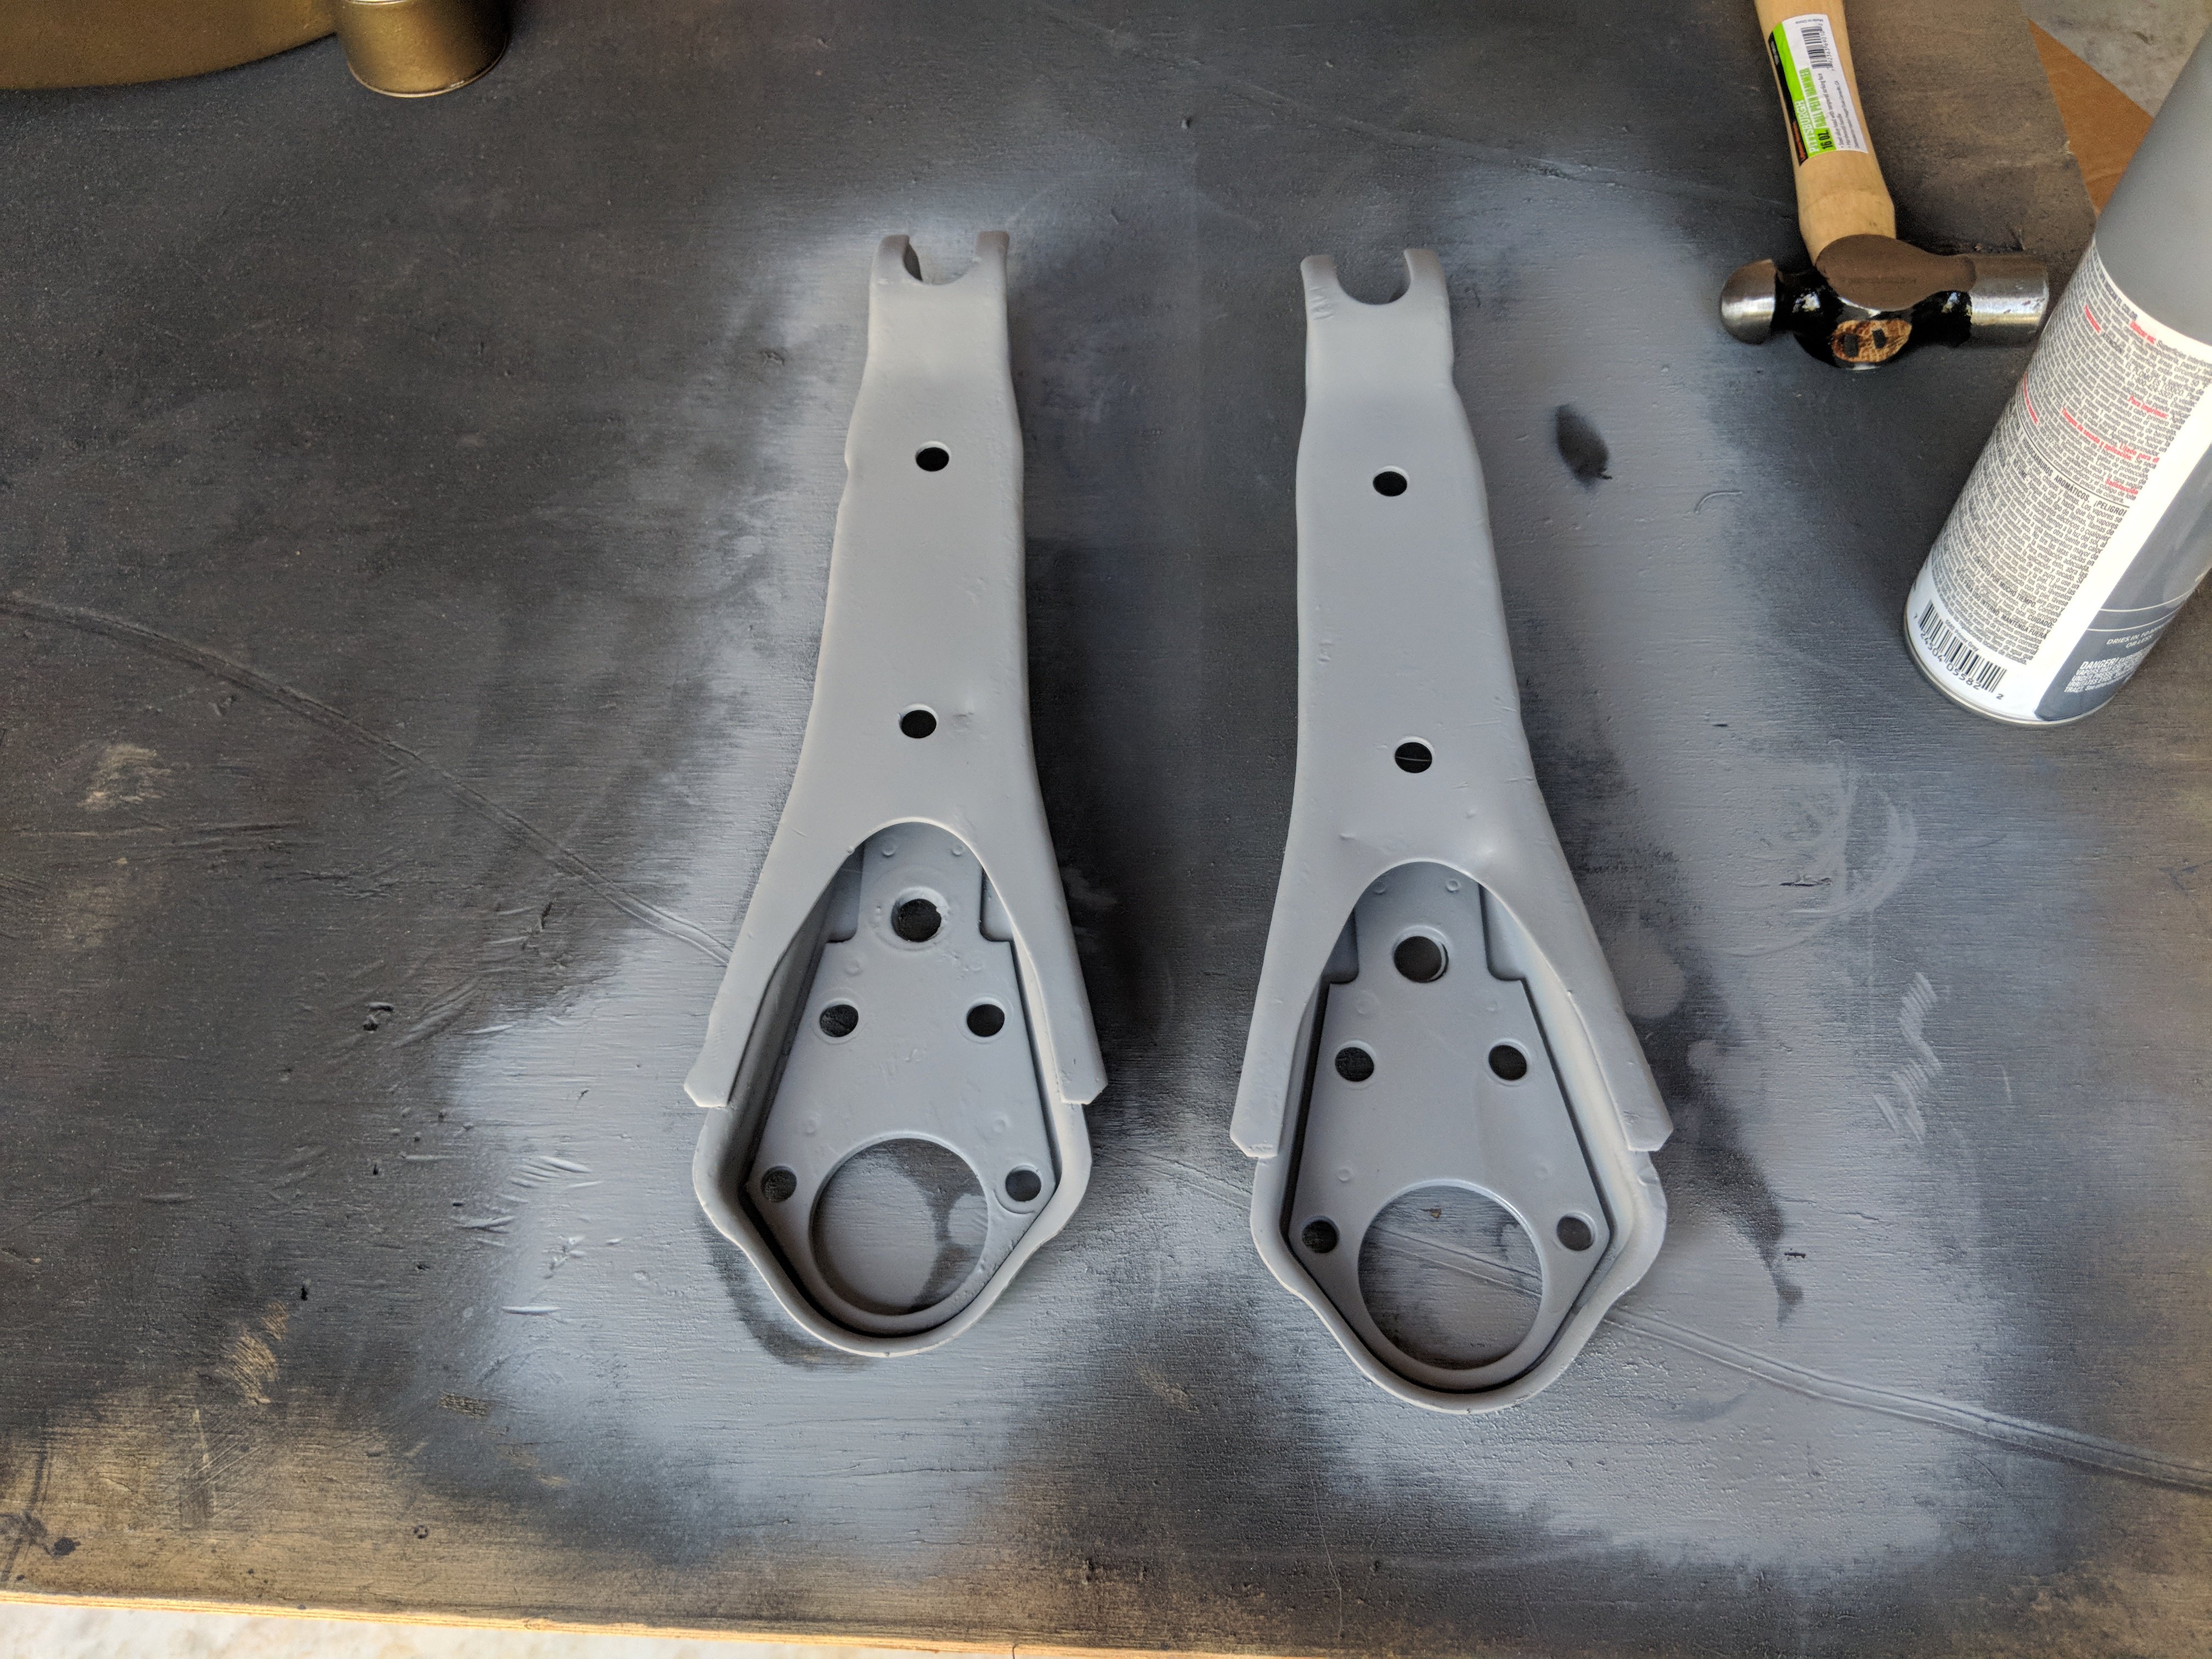
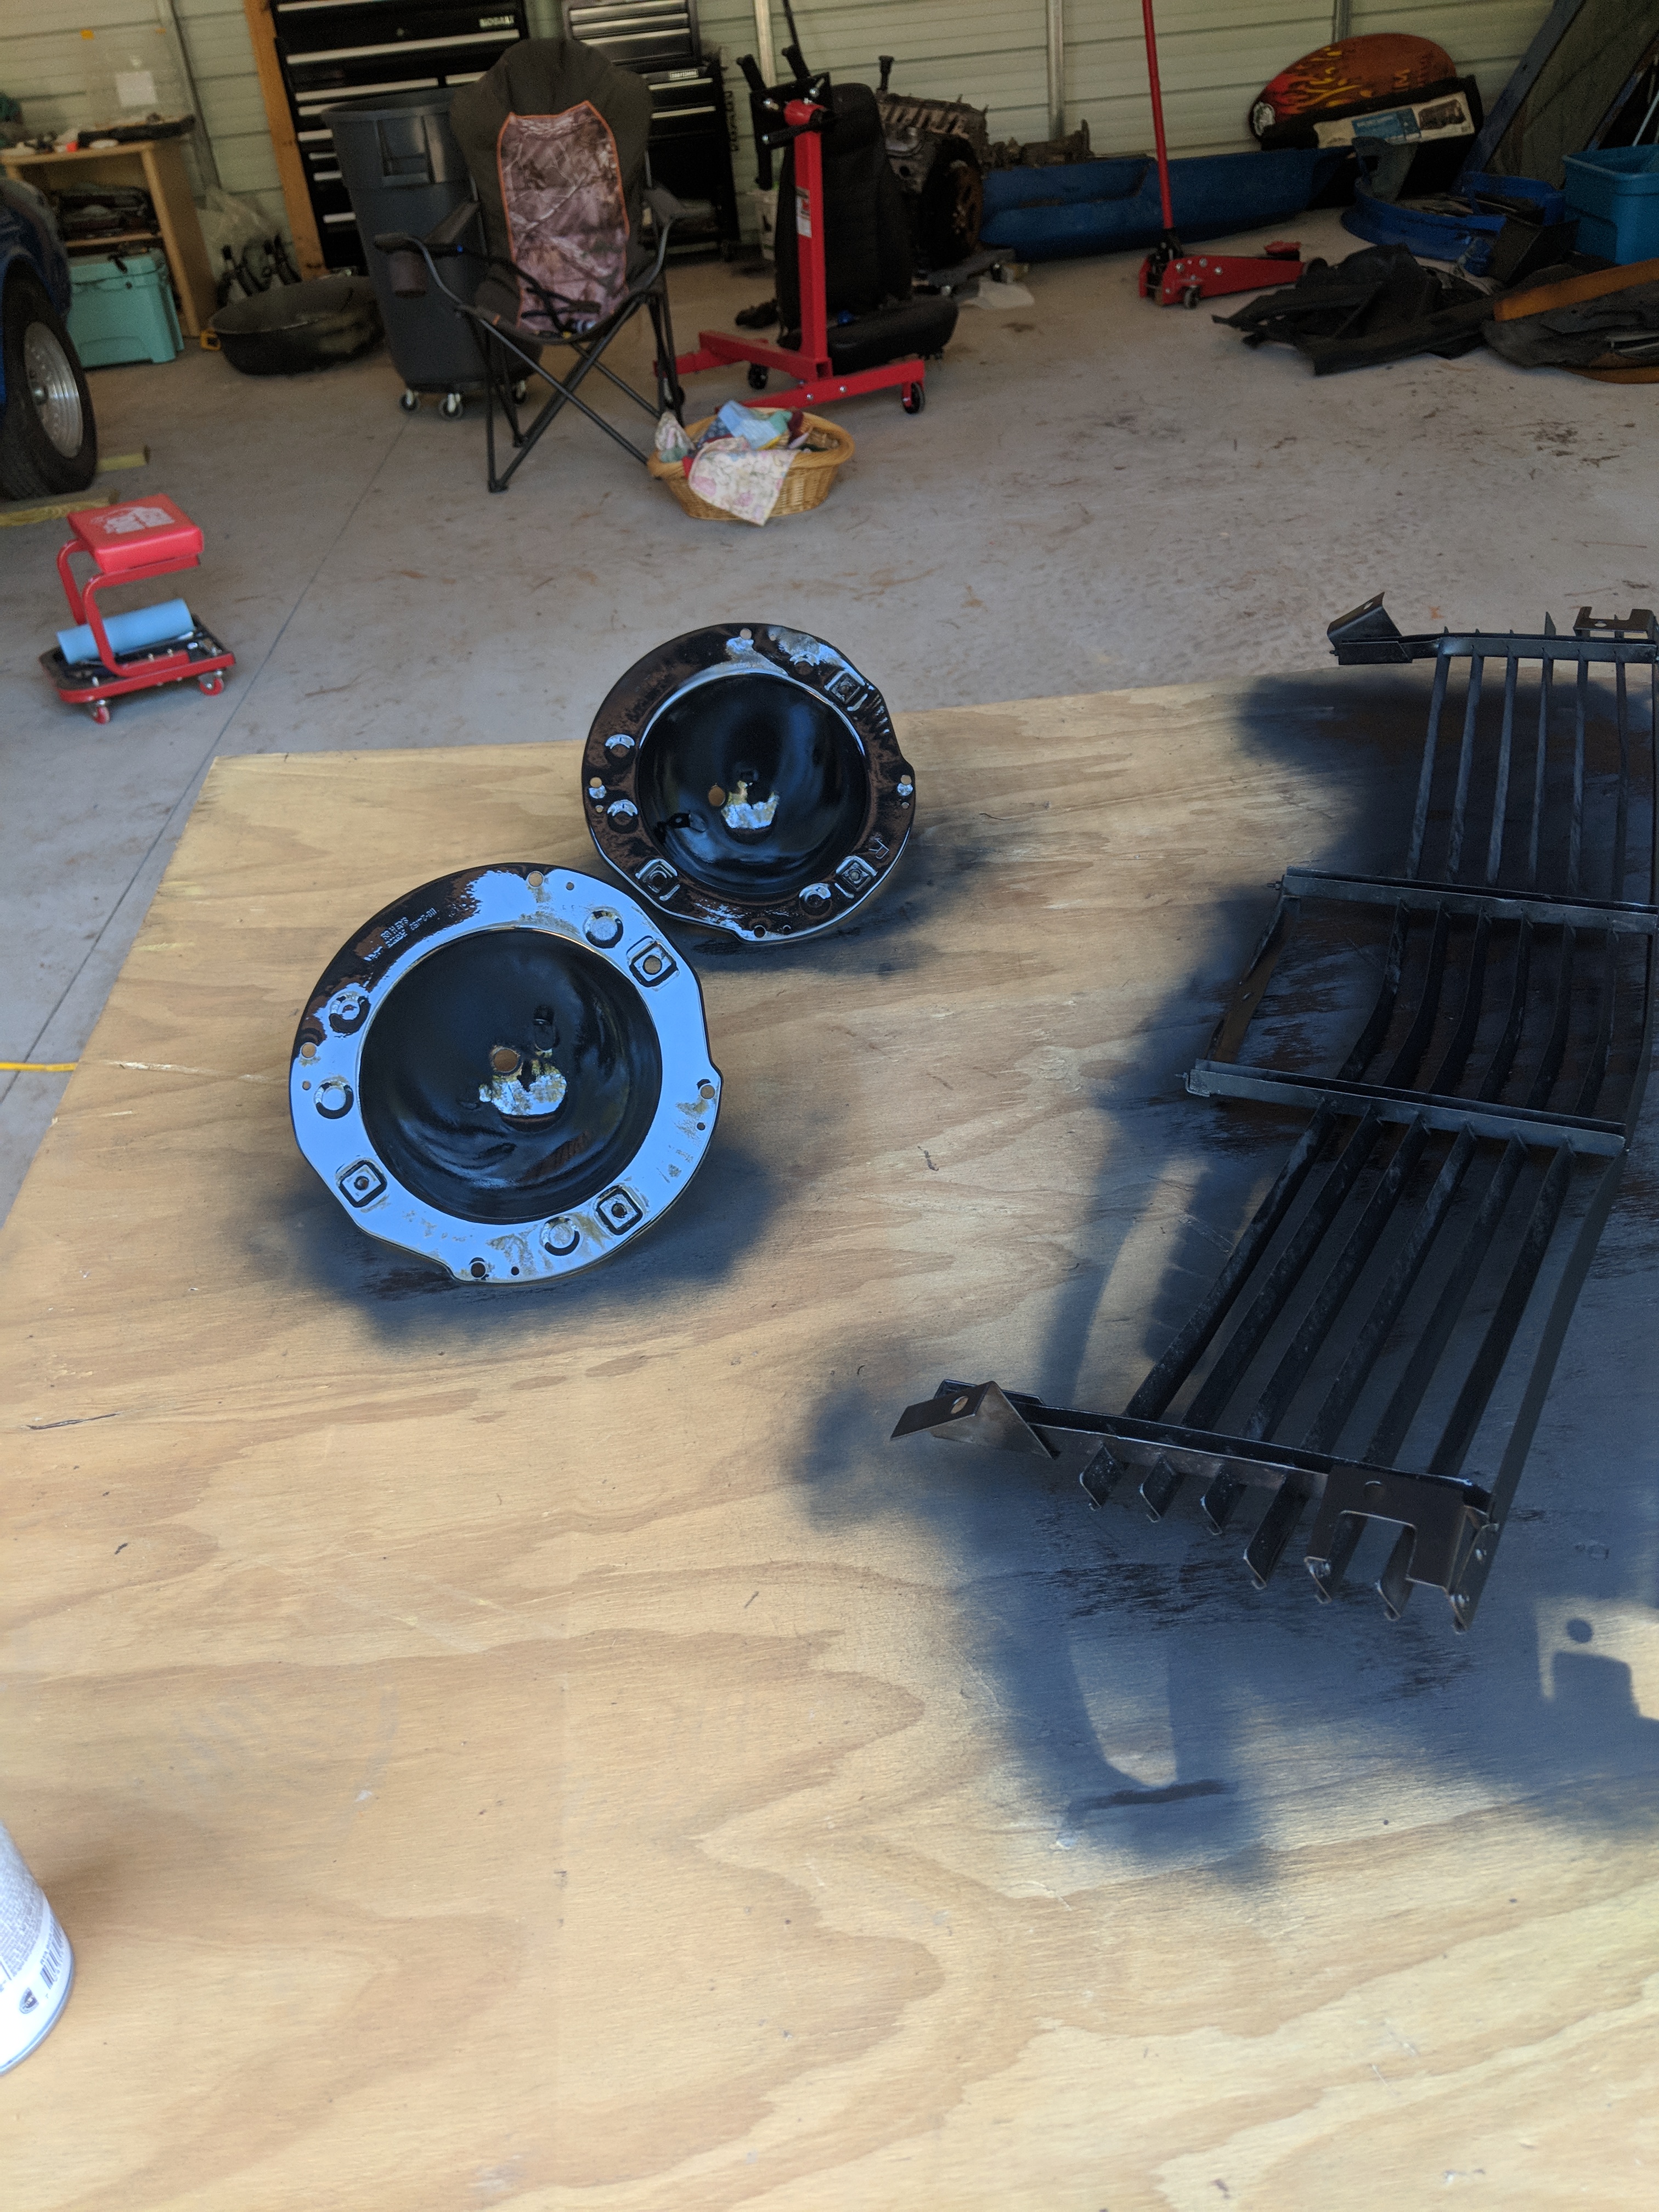
So I got a decent bit of stuff done today. Cleaned the front hubs, cut the dust shields painted both, got my front and rear control arms buttoned up. Here are some pics. My hubs were terrible
-
Looking for advice before I buy new wheel studs. I am replacing all 16 of my studs during the resto. Should I go with the OEM length or should I purchase the extended ones. Need a answer pretty soon as I am almost done with the front suspension. I will be postings a bunch more pictures in the next couple of days. I ended up taking my rear stuff to a local machine shop and they got the spindle pins and all the bushings out for 40 bucks so I am happy.
-
1 hour ago, juxsa said:
With the 5.3 do you need to use a ls1 intake manifold? Are you going to build your own mounts or getting a kit?
I will be using ls1 accessories for my swap. And I believe I'm going to go with the cxracing full kit. But I'm extremely far off from that point in this build.
-
3 minutes ago, trackzpeed said:
new lower control arms will solve the problem too...... I gave my stock one's away otherwise I would have sent them to you.. Jim
I was going to go with fully adjustable ones. But I did pros and cons and it's just not worth 500 extra on top of this build for a Cruze around car.
-
So I took a sawzaw to the first pin. It's almost like it's welded in the strut tower piece. So I'mma get some heat on it and try to get it expanded a little and punch it out. Any tips on those bushings?
-
5 minutes ago, trackzpeed said:
Crazy mount! Try heat to the spindle pin housing and a bigger hammer 😂.... or use a press.
Track I tried to use my press but I can't get it level so it isn't really working. I only have a small 12ton manual press. Would it be worth buying the tool for 60 bucks?
-
15 minutes ago, northwoodz said:
Did you take the small bolt out of the middle? I believe it is there to keep the pin located. That mount certainly is interesting.
Yessir the pin is out. And I have been putting penetrating oil on it for about 3 days or so. And yeah the mount kinda blew my mind as to why haha.
-
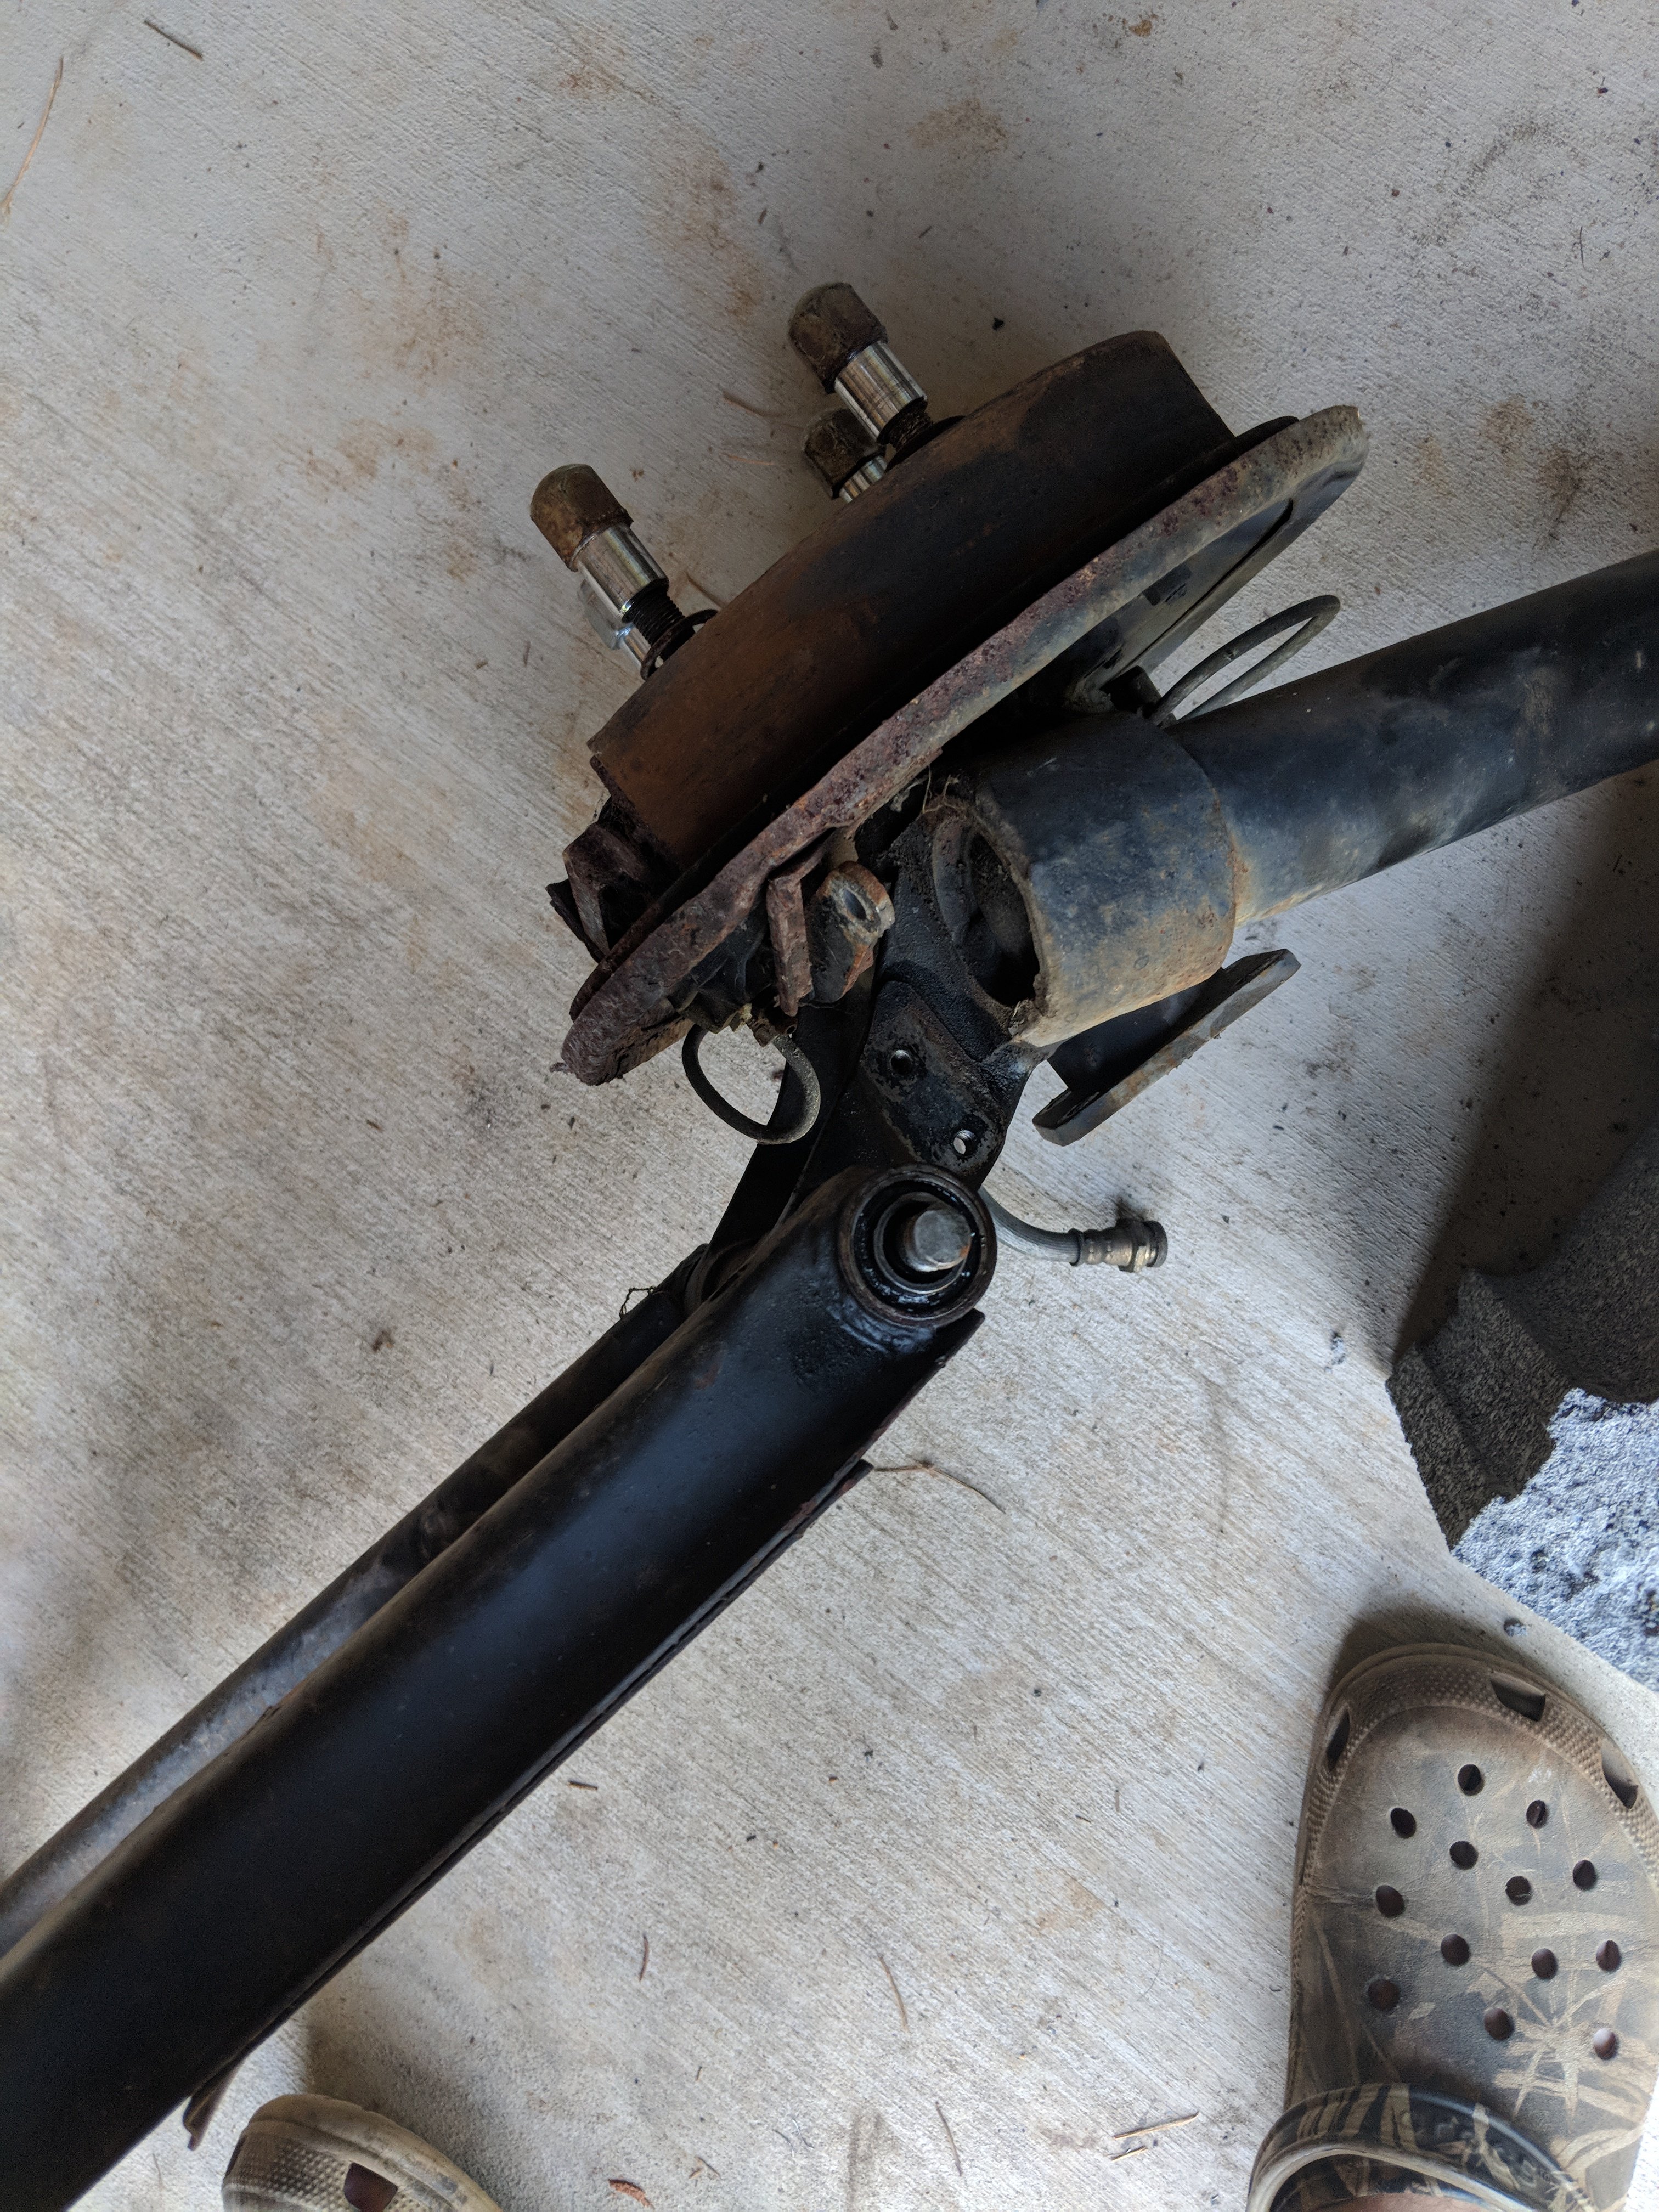
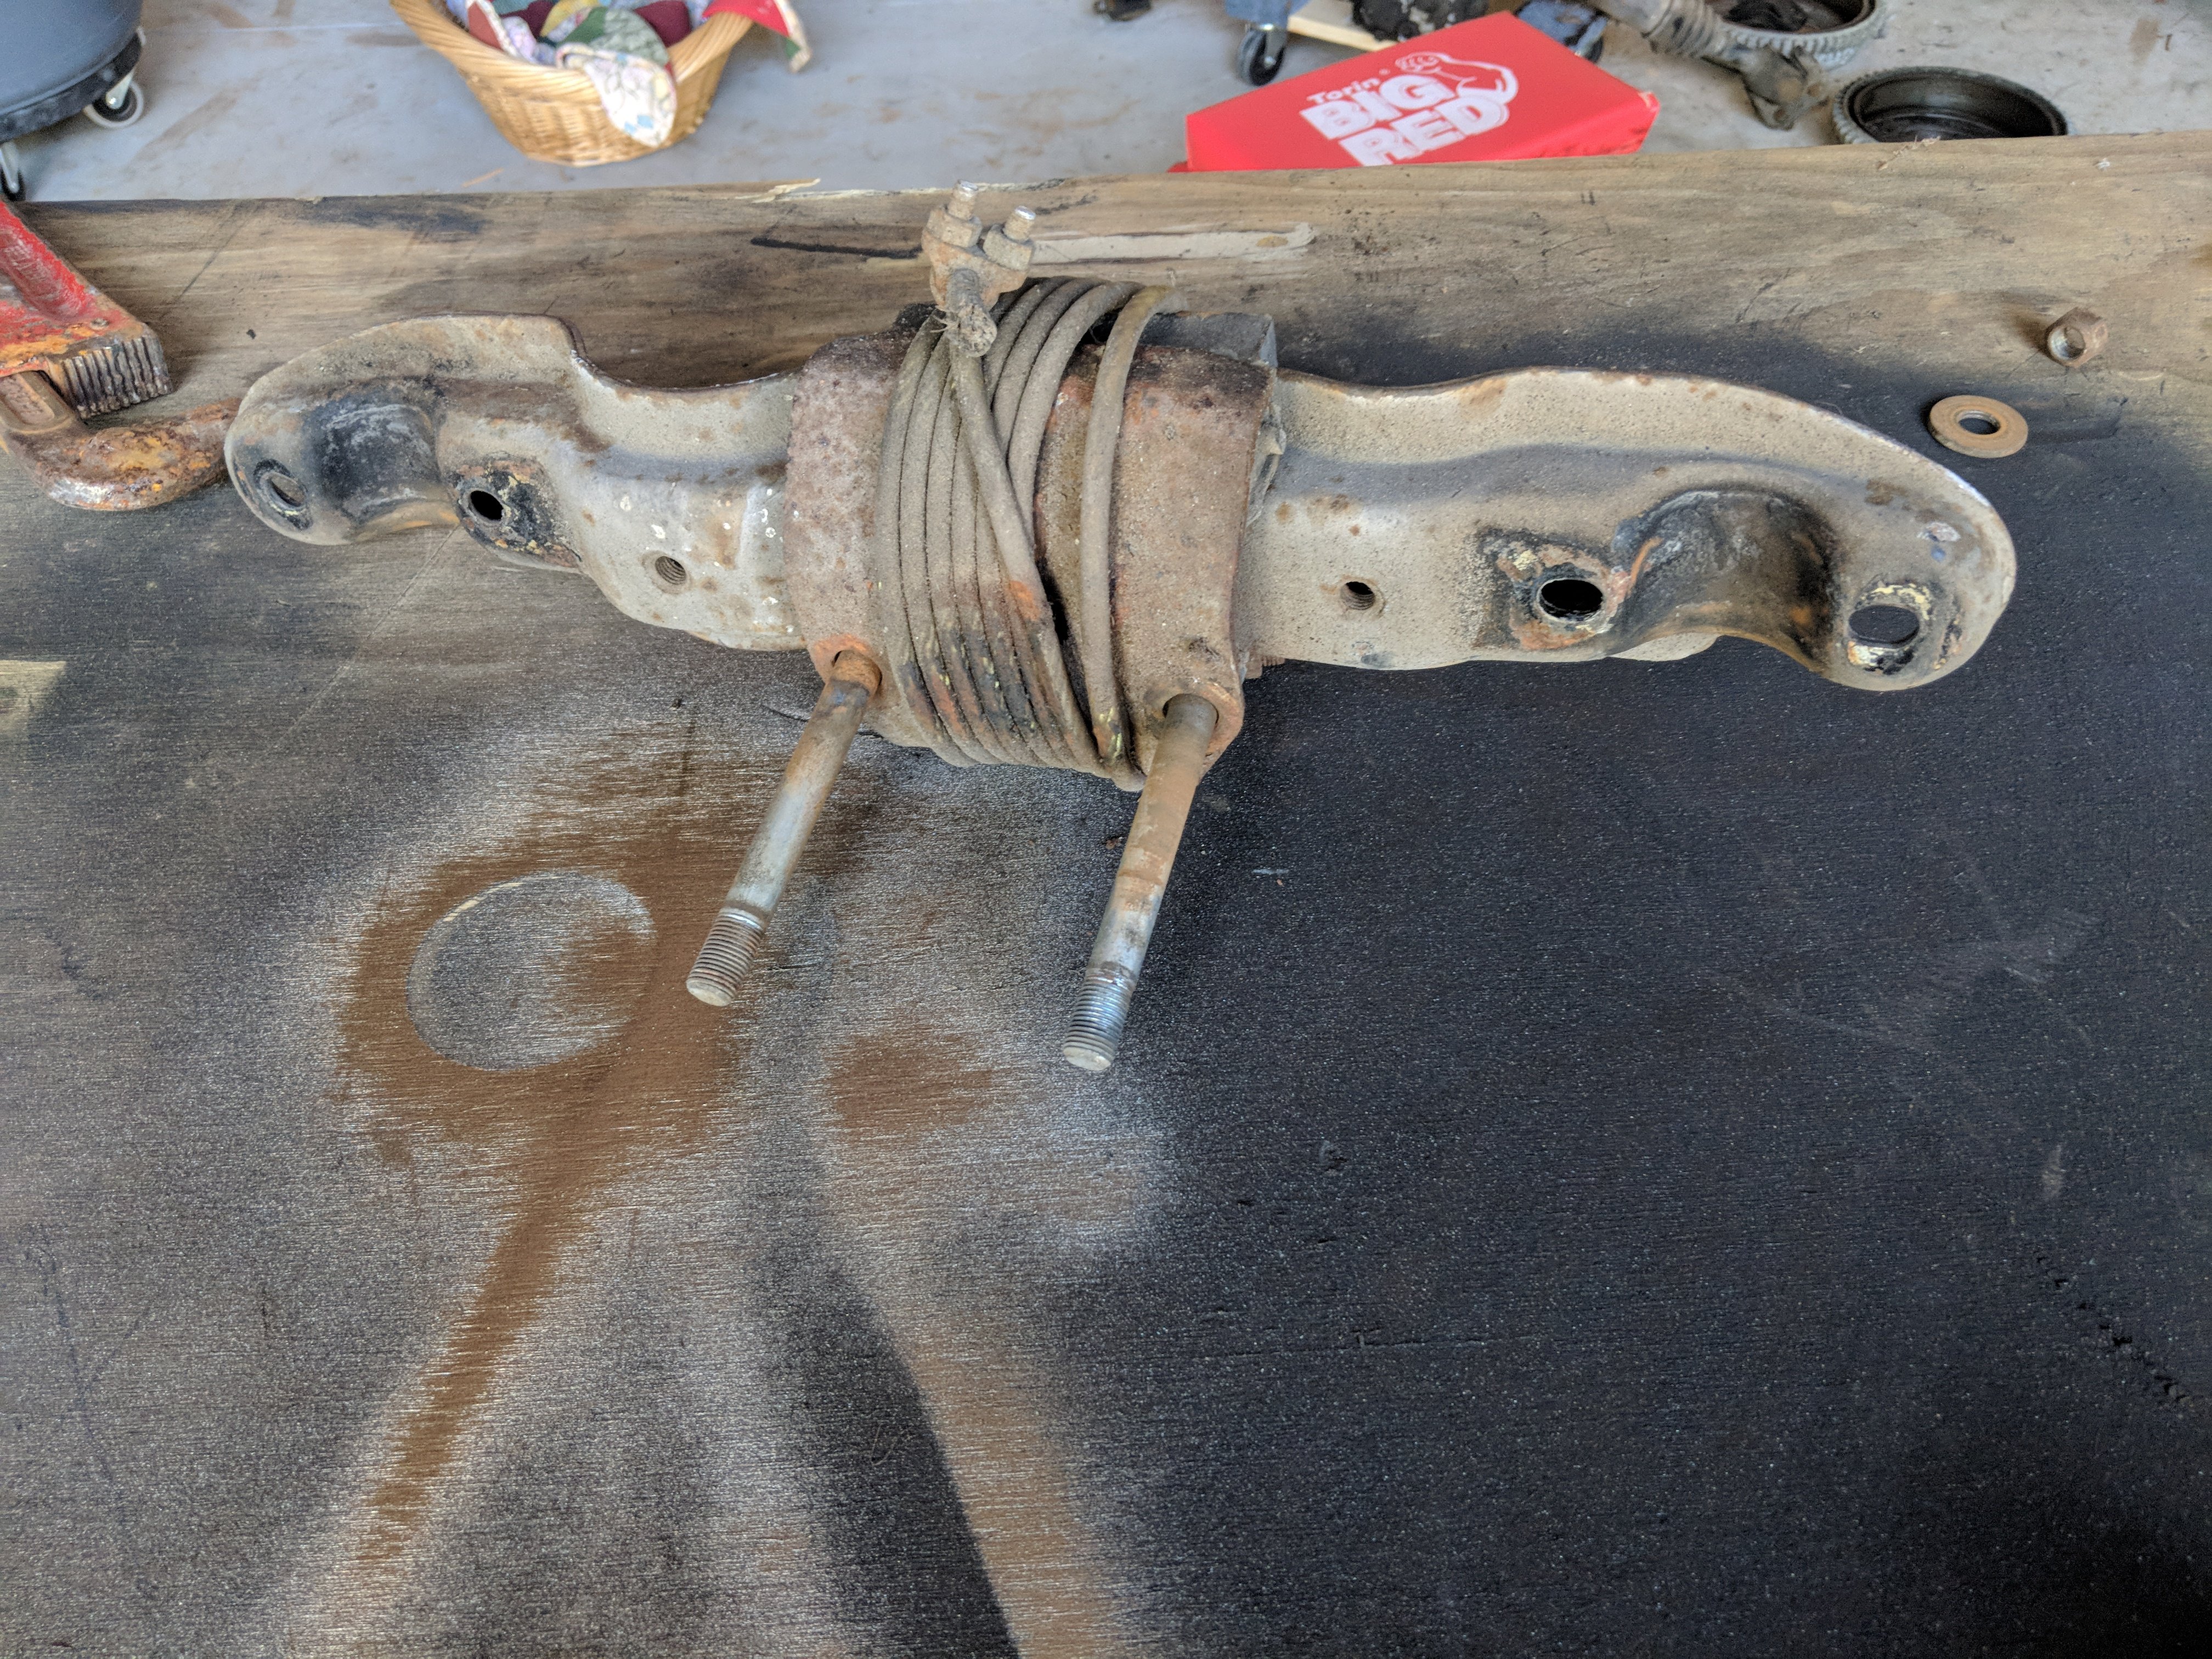
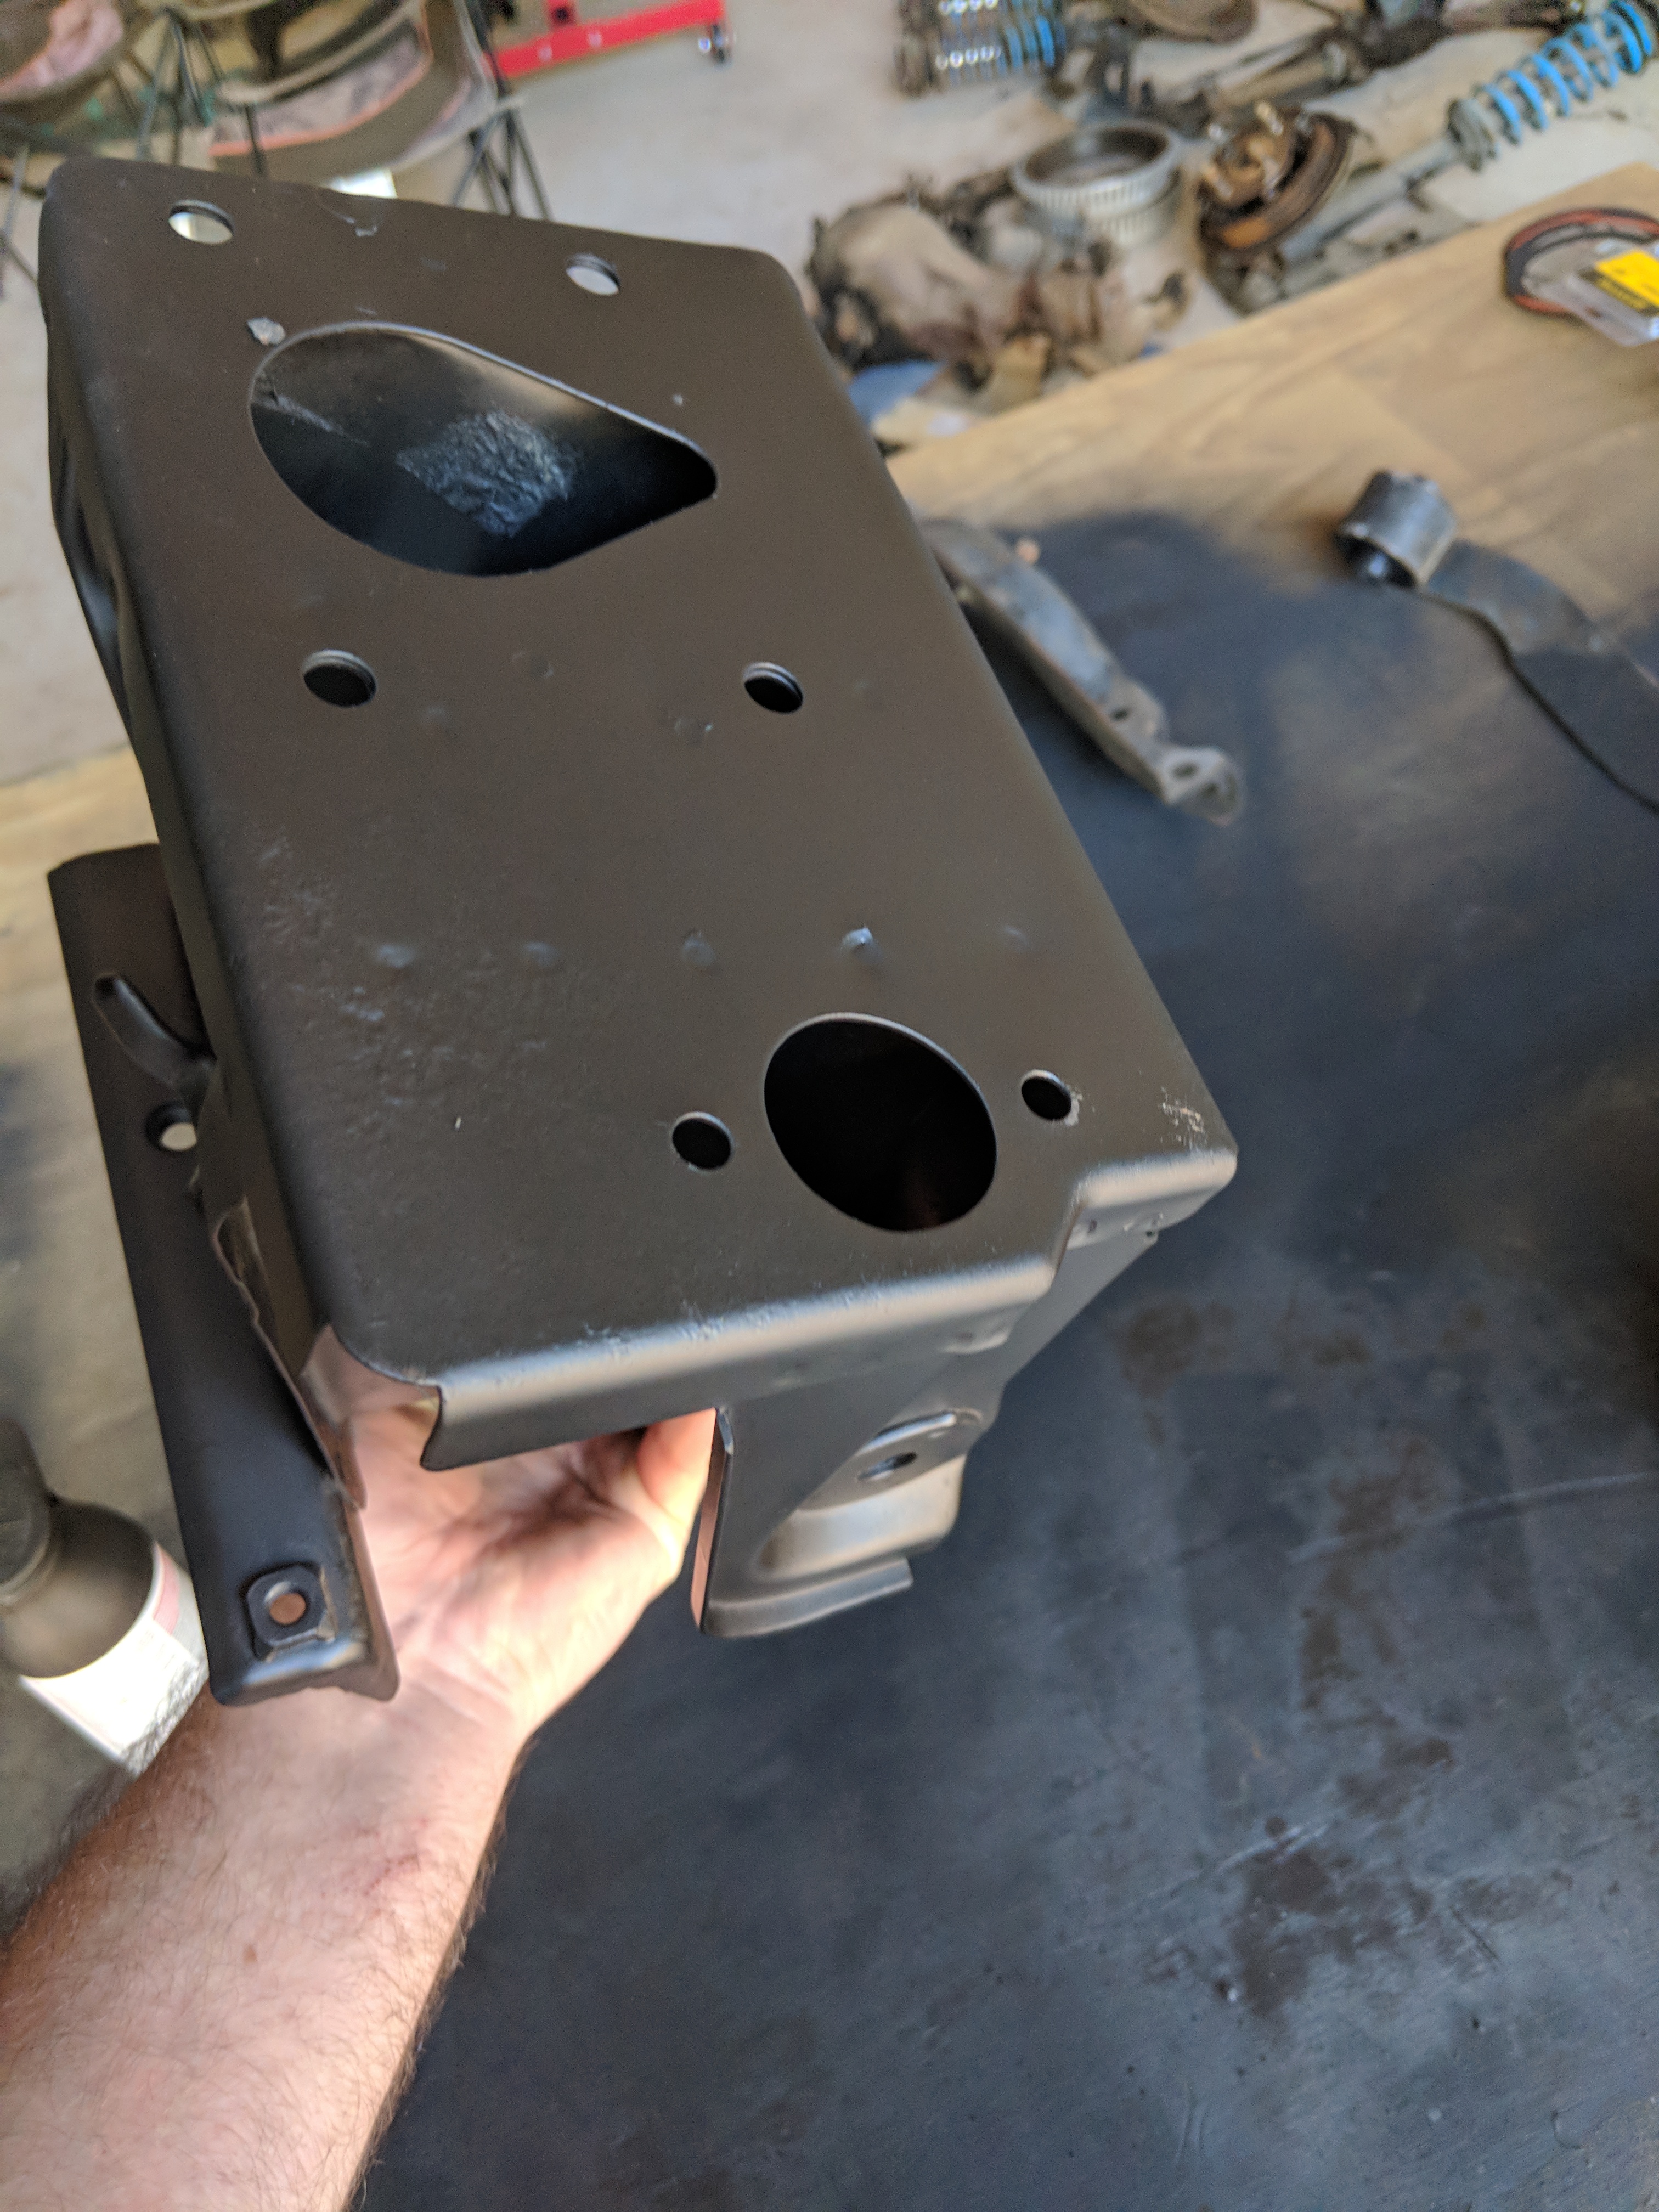
Alright guys I have two questions I've done alot of research on the spindle pin, mine will not budge an inch even with a hammer, how should I get them out.. Second on this diff/suspension mount have y'all ever seen them wrapped before like in the pic.
-
Thanks trackz I will stay safe. I'll have some more paint and new bushing updates around next weekend.
-
Thanks Richard and track.im trying my best to work on it as much as I can before I deploy in July because it's going to sit for awhile and I'd like it to be in a good place before I leave so I can stockpile parks while I'm gone.
-
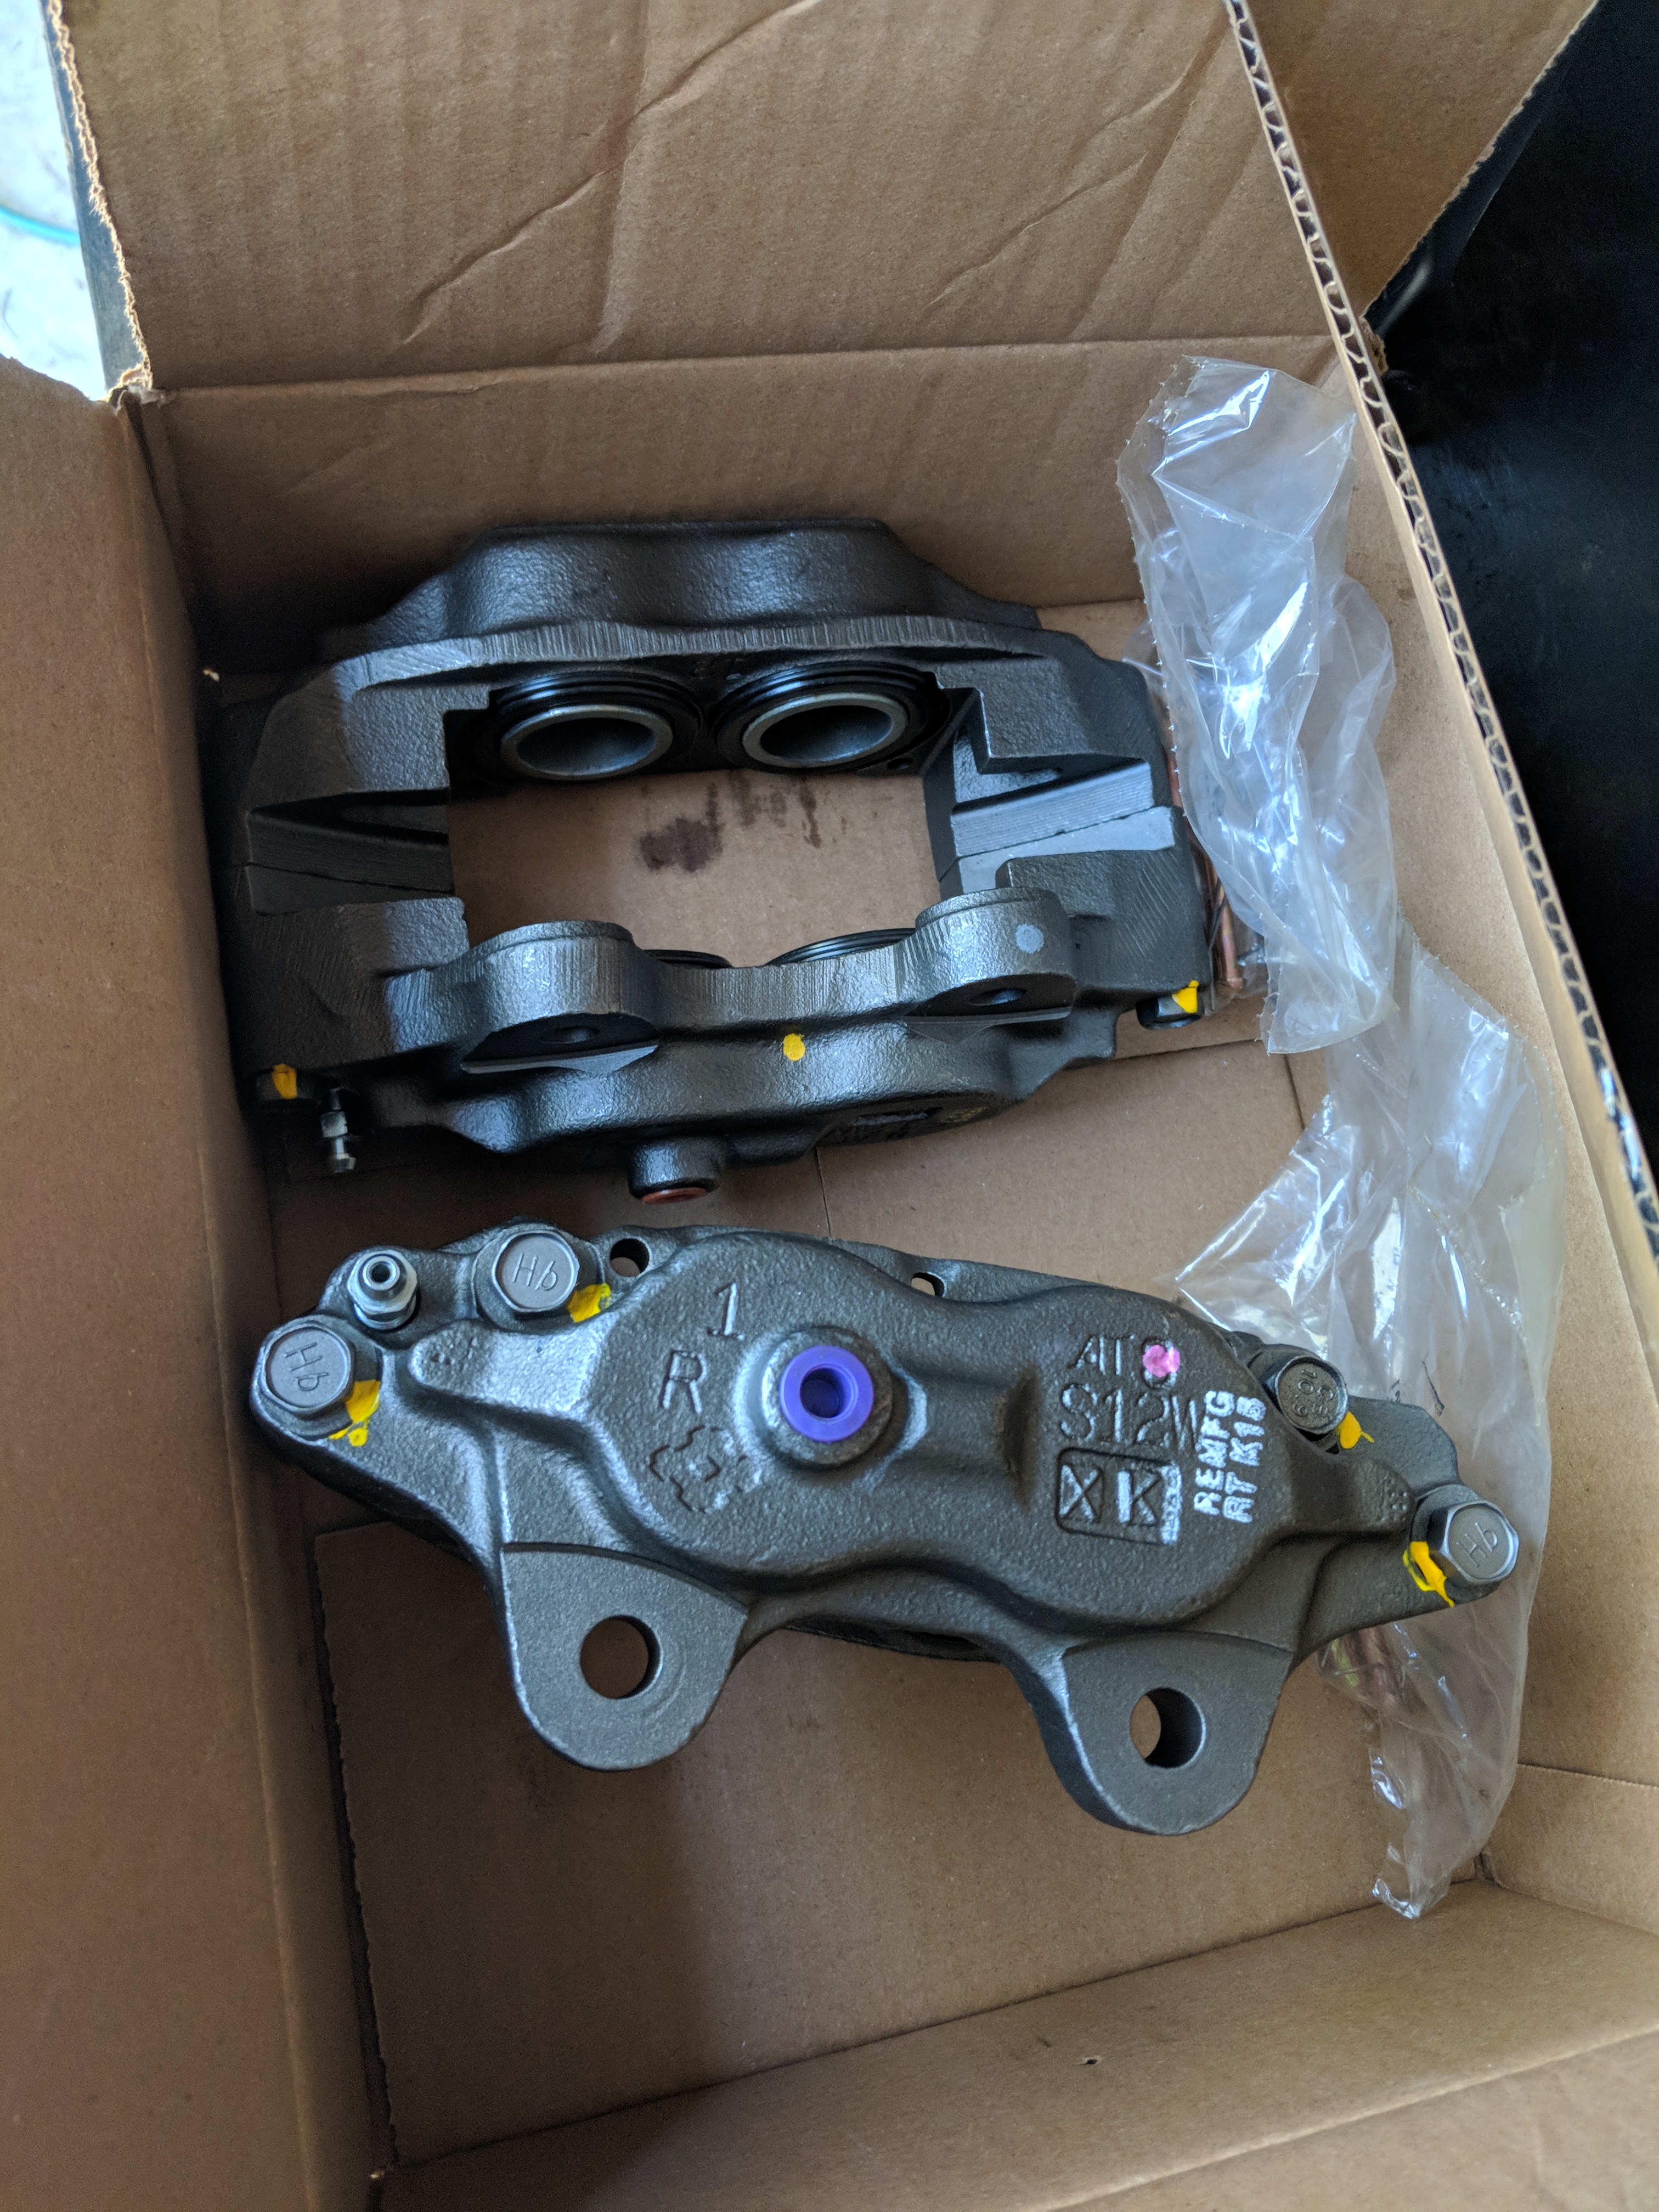
Another update.
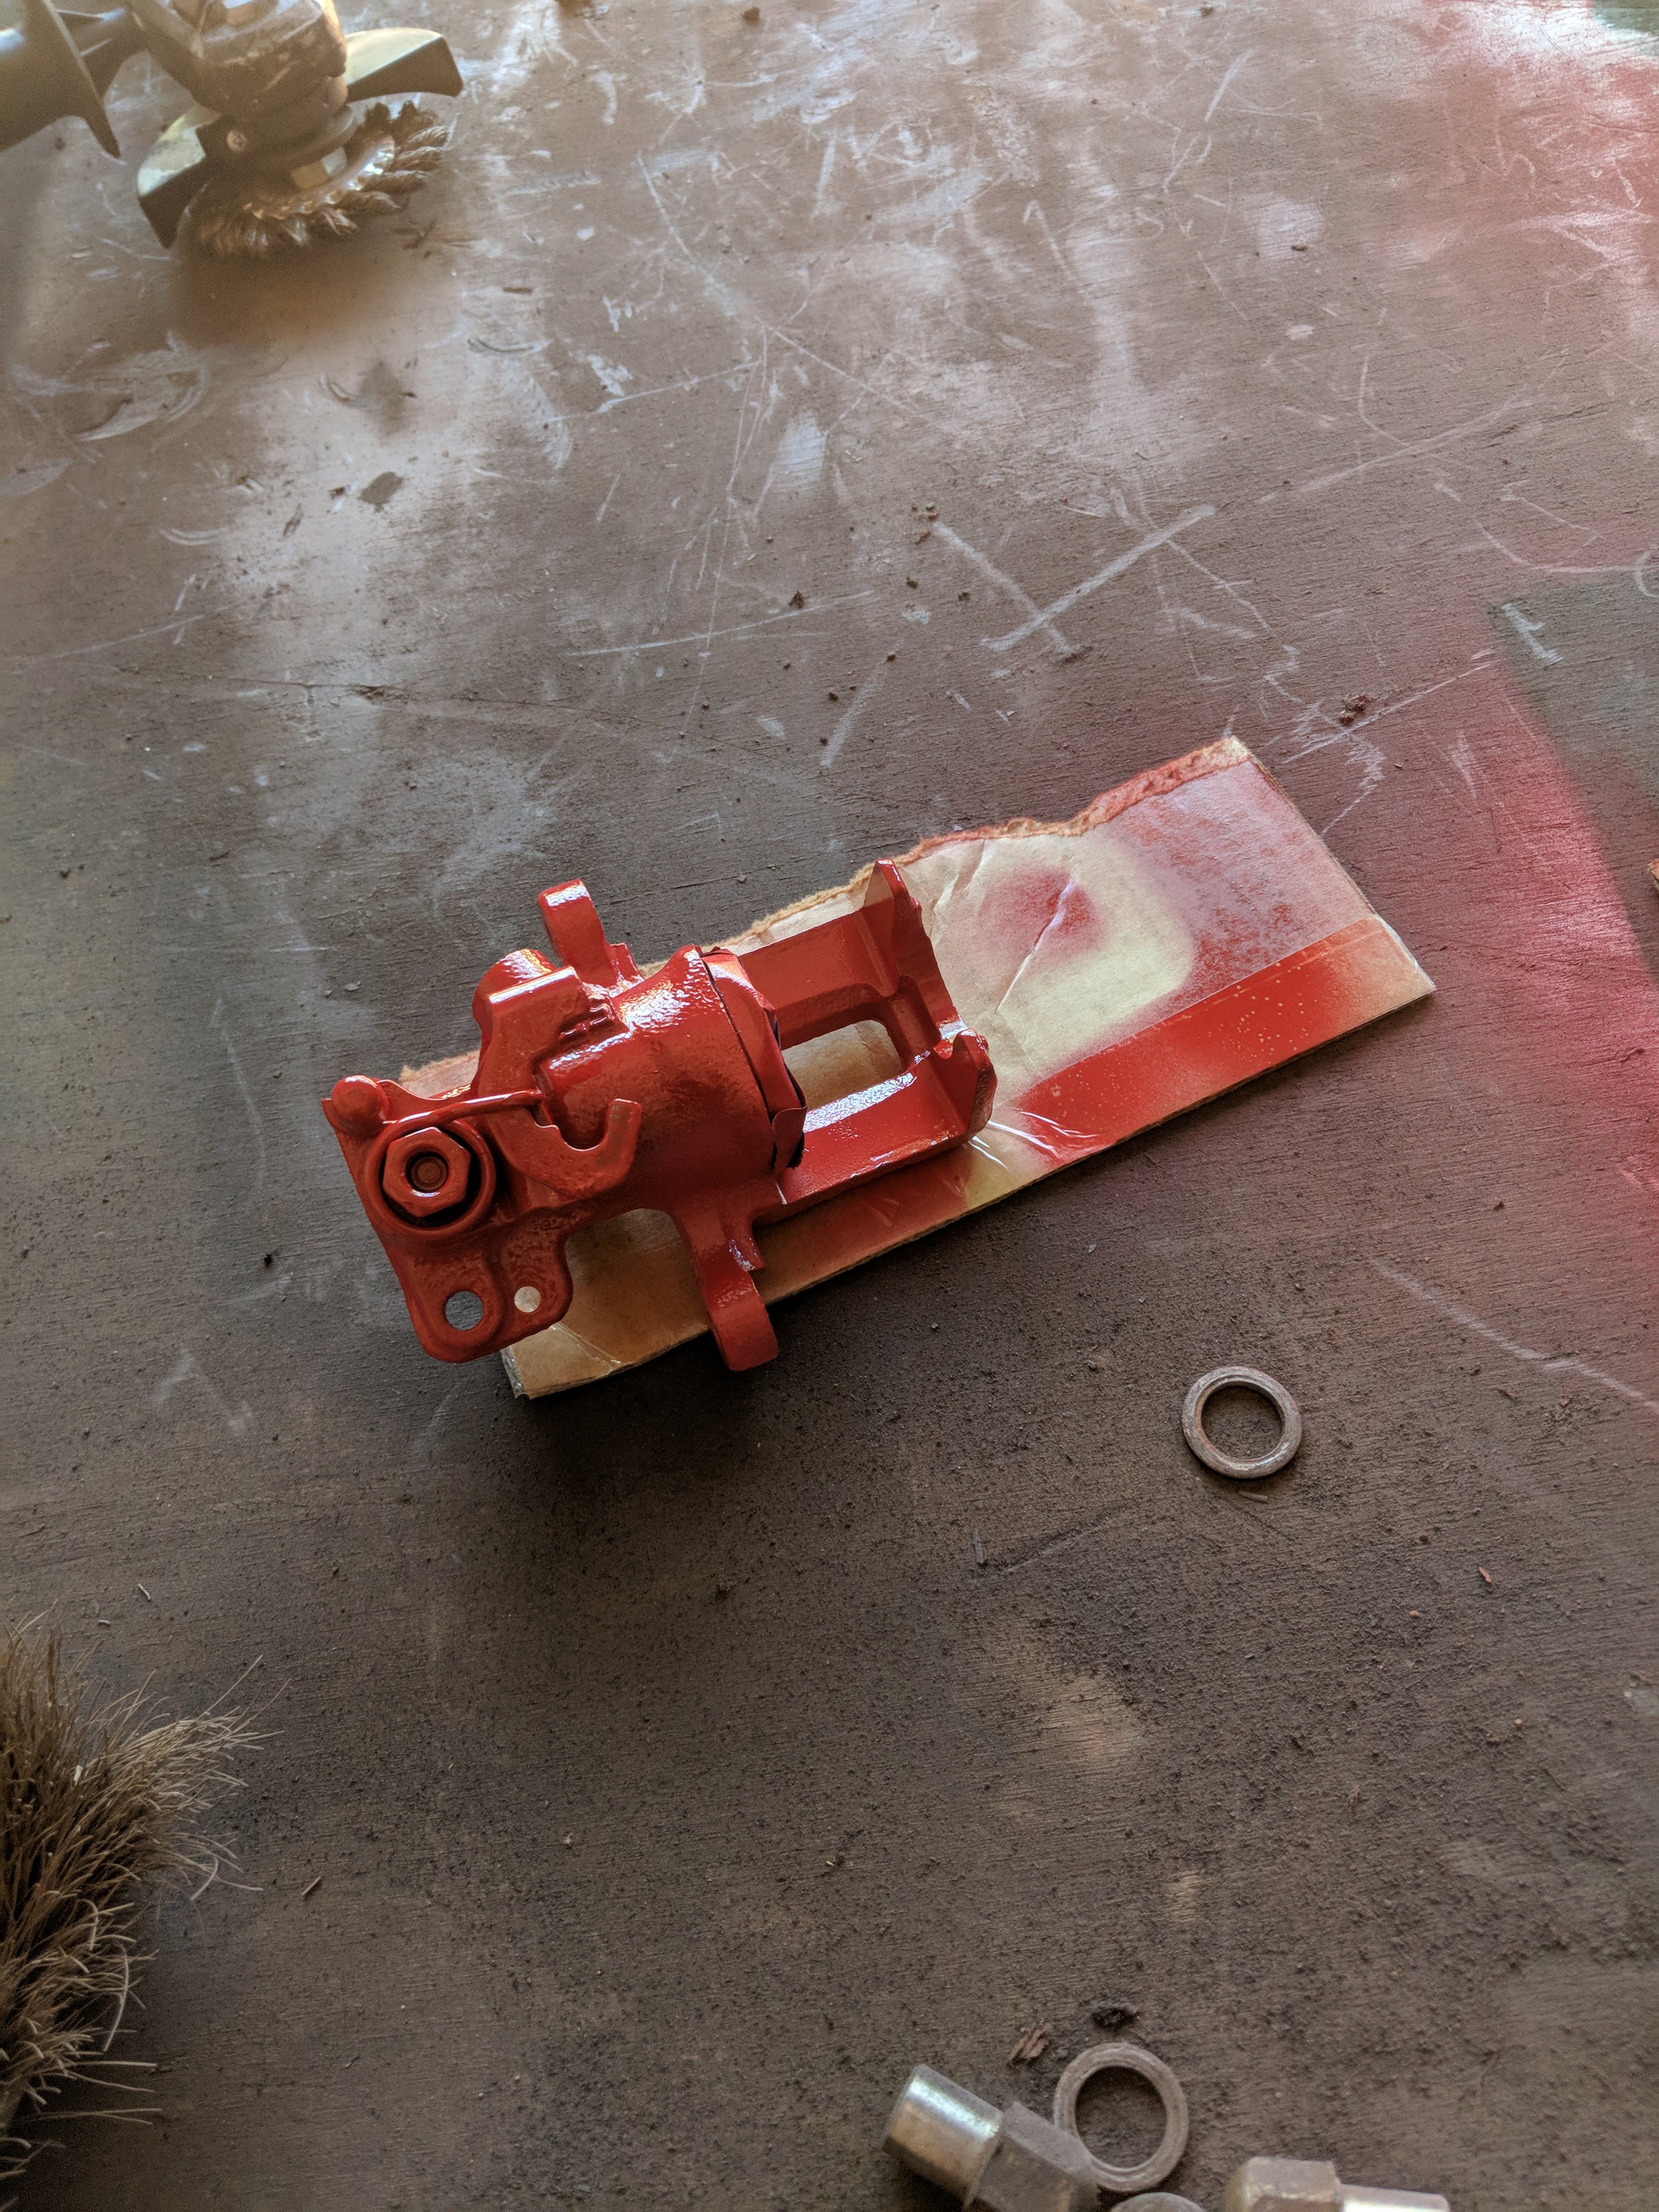
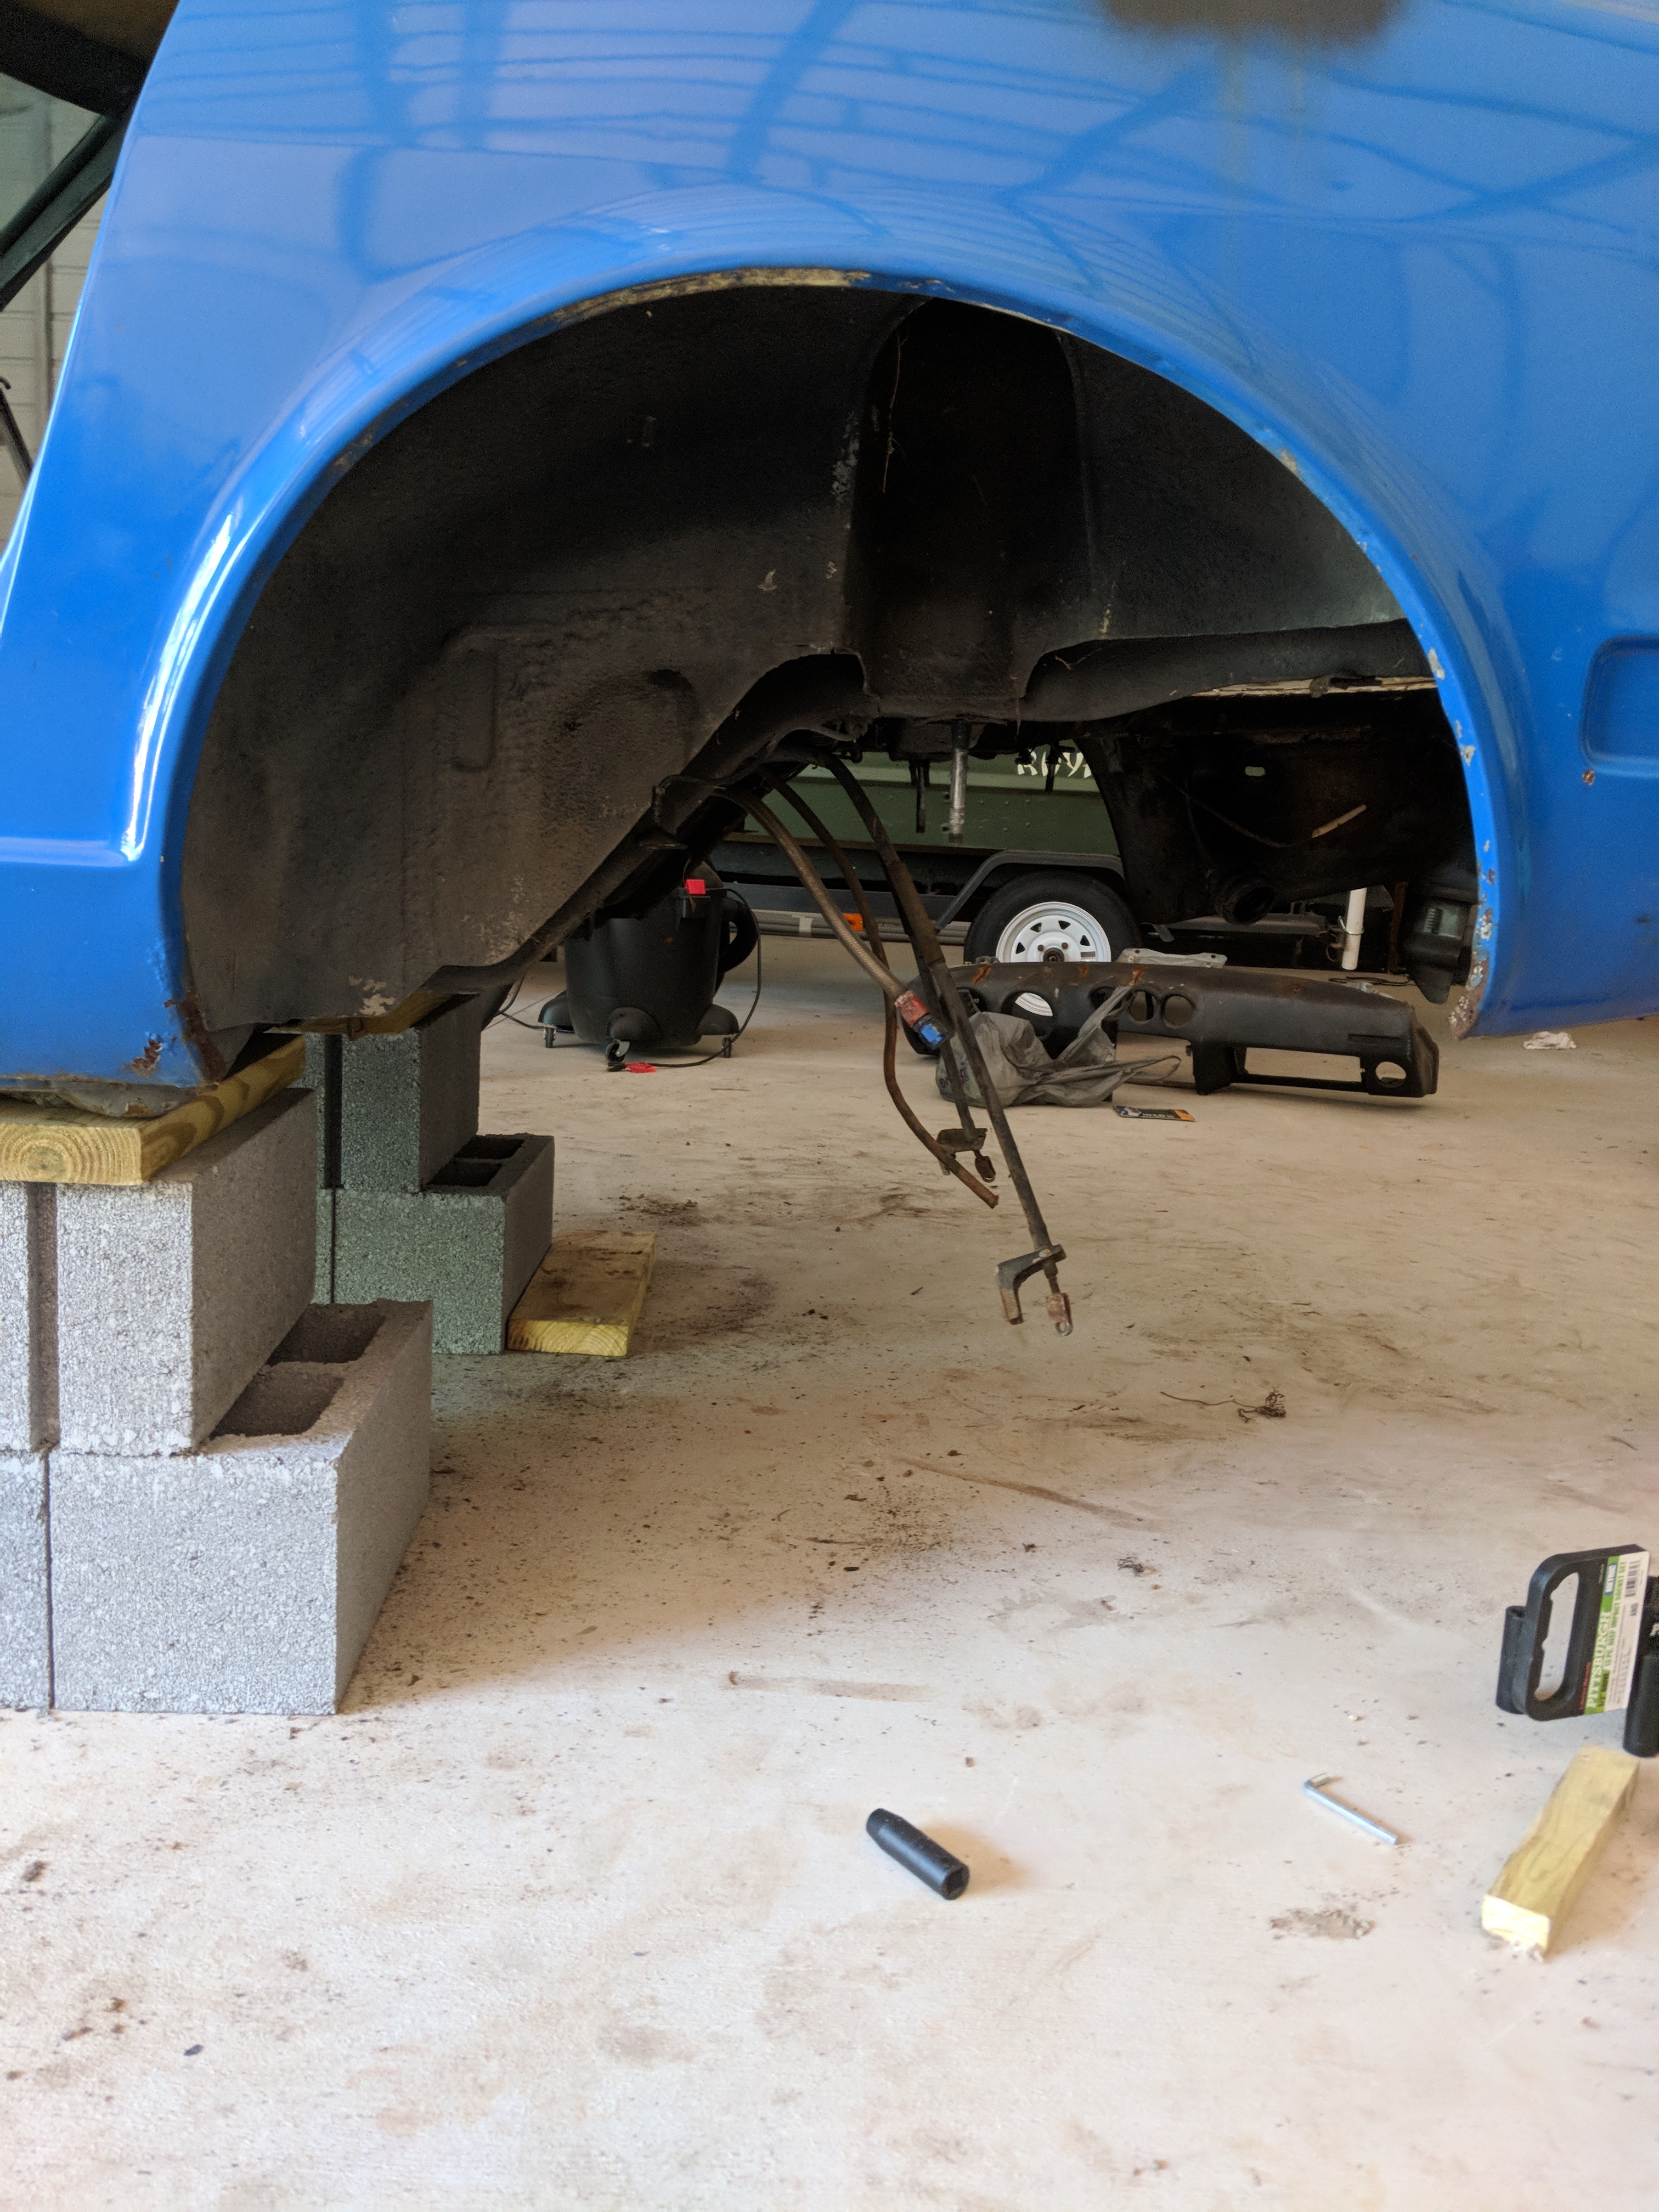
Ordered new front rotors from a 300zx and the spaces from T3 and got the new s12w calipers from O'Riley. Plus all of the suspension is off and the diff is out. Ordered all new red poly bushing which should be here soon.
-
Got a good bit of stuff done to the car since the last post. And hopefully all the suspension and the diff will be removed tomorrow.
-
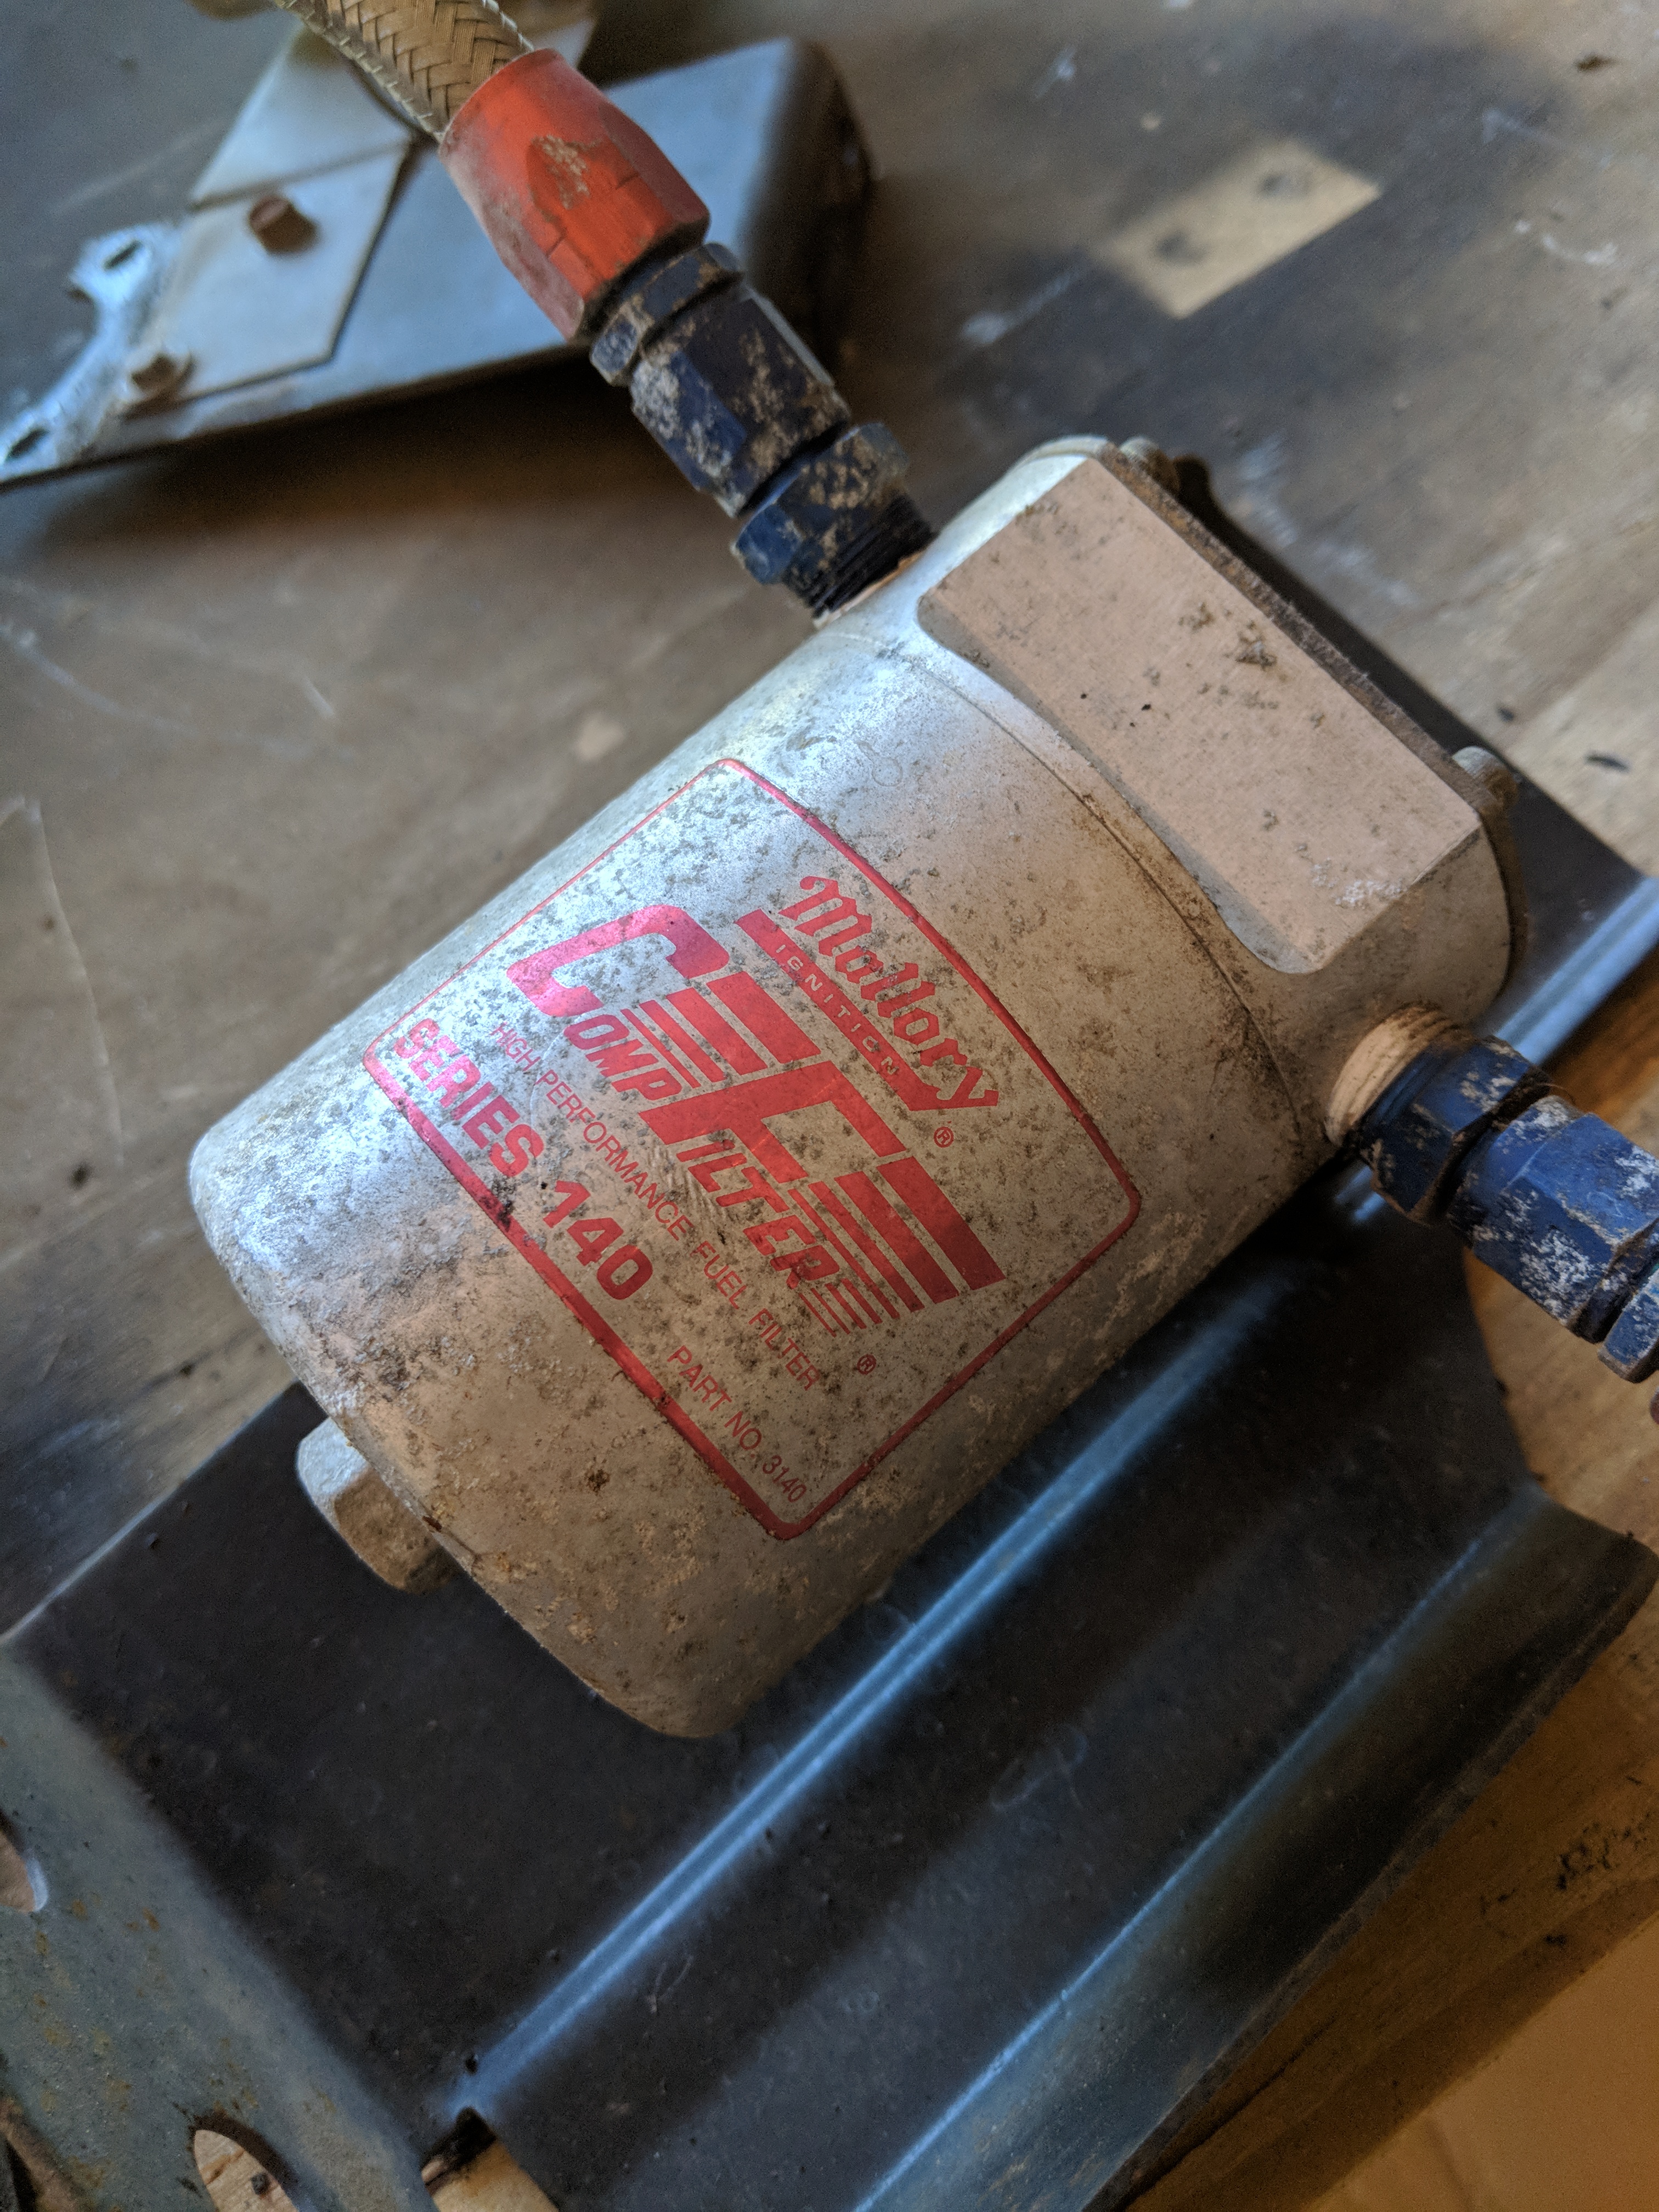
Socorob I am going fuel cell. I hate that spare tire well. Waste of space. Thanks for the offer. I need to find a matching lock set for my doors and hatch.


74 260z 5.3 resto mod
in Gen III & IV Chevy V8Z Tech Board
Posted
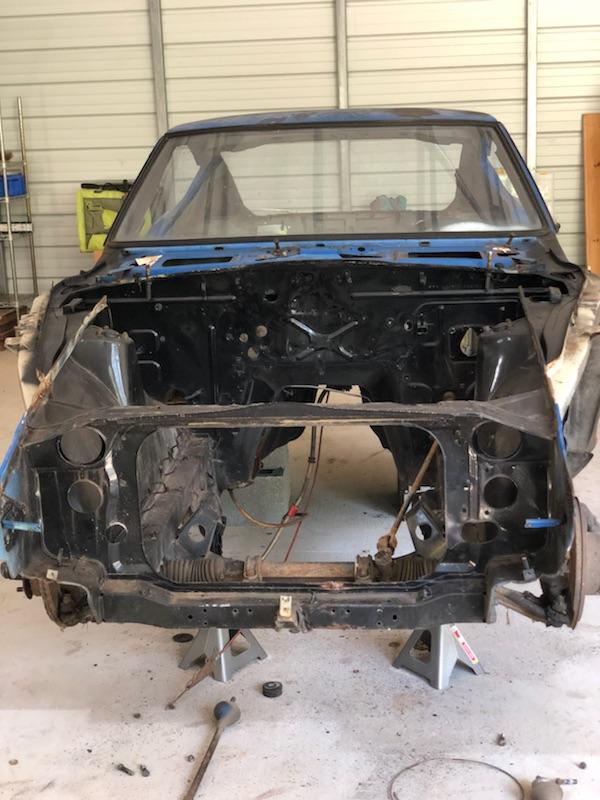
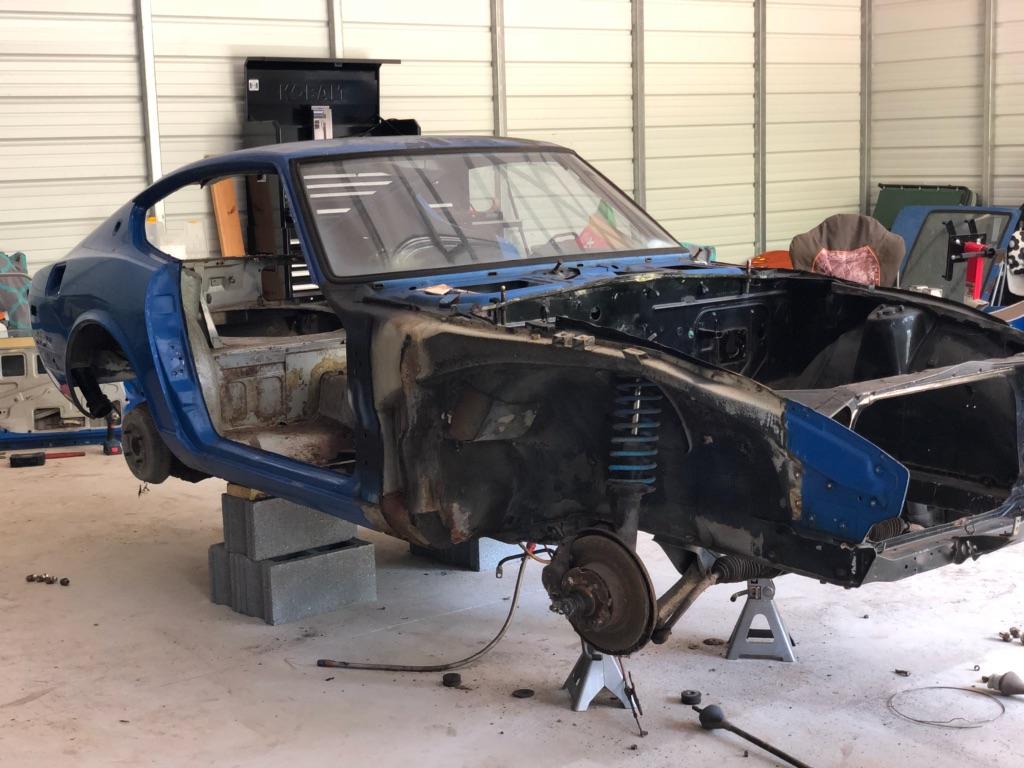
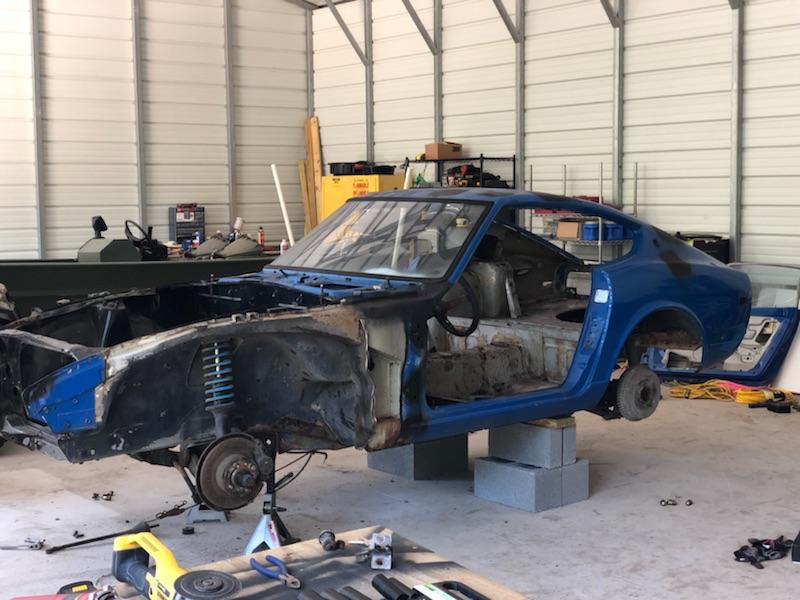
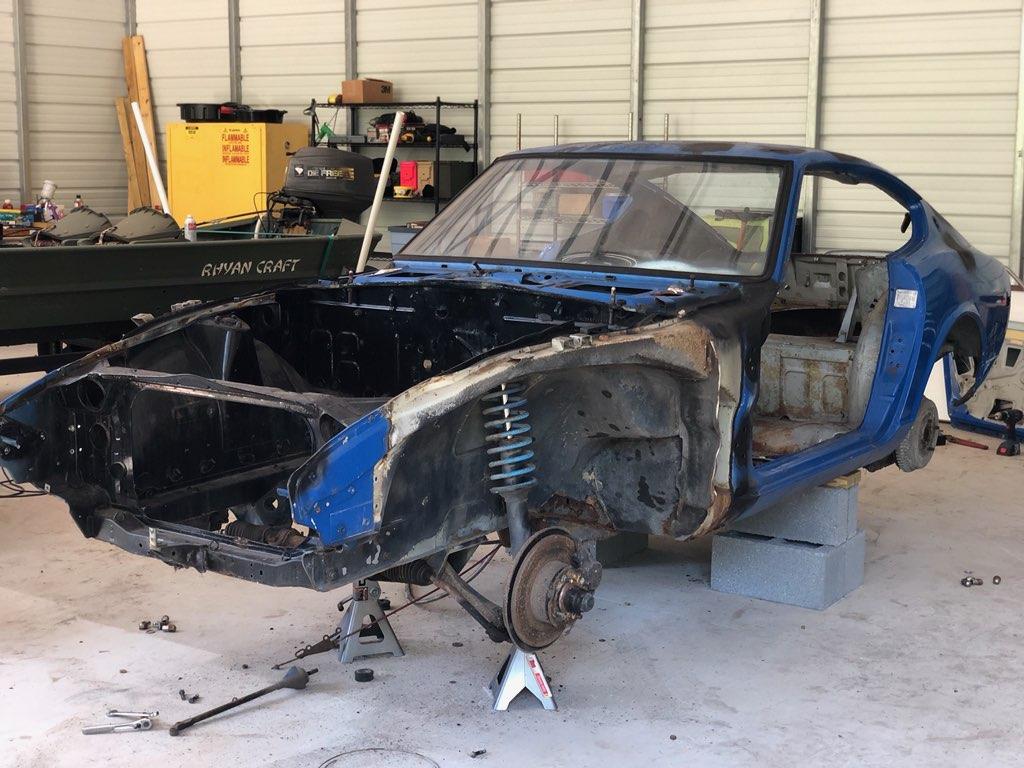
It has been far too long since I've posted anything new on here but the build is moving but slowly, got back from deployment and had a ton going on. So I'll post up all the pics and progress I currently have. I completed the refreshing of my r200 diff to find out that it was an r180, so I made a trade to a guy in town that owns a massive amount of z's and parts. The r200 is almost complete now along with getting the stubs welded to my caveman adapters for my 300zx axle conversion. Also I completely restored my 3 smaller gauges to like new condition and I am working on the speedo and tach. I did a full write up over in the interior faq section
so if you have any questions go take a look. Also, I've completed the disassembly of the 5.3 which had dropped a lifter. I purchased 243 ls6 heads for 50 bucks and have new valve train to go in them and they will be off to the machine shop in the next few months. The engine block will be after that which will be getting bored to 5.7l and new components. Welding on the project starts shortly as I'm currently completing mods to my shop. And funds are low due to the new baby.