

Tanuki
-
Posts
135 -
Joined
-
Last visited
-
Days Won
1
Content Type
Profiles
Forums
Blogs
Events
Gallery
Downloads
Store
Posts posted by Tanuki
-
-
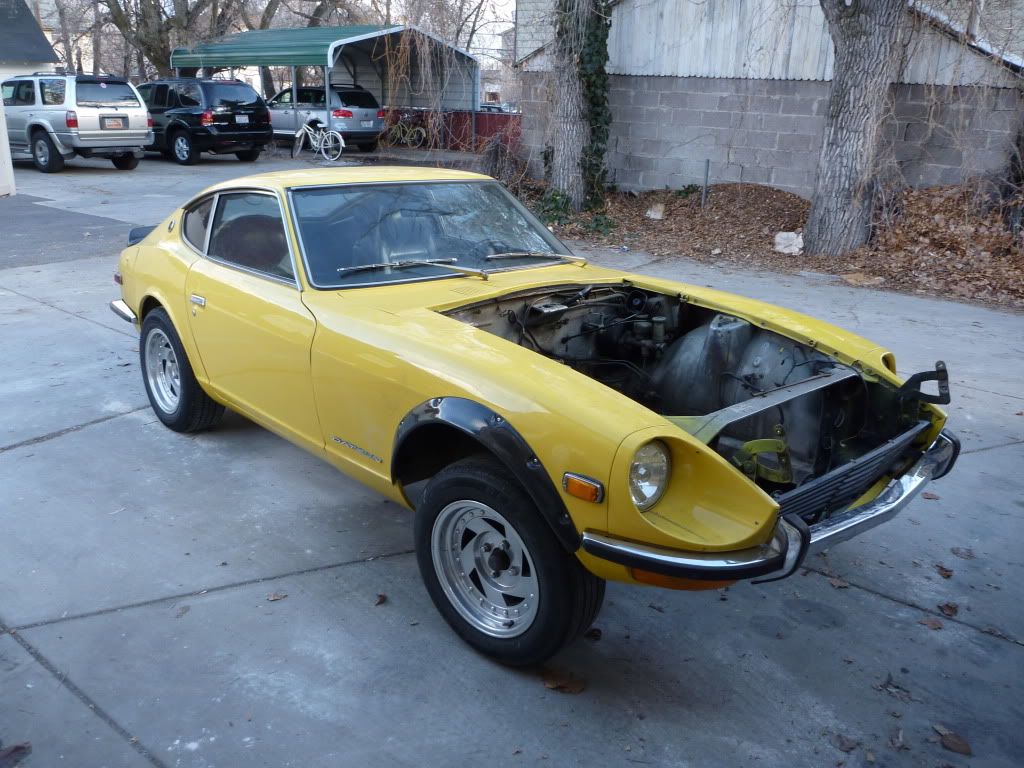
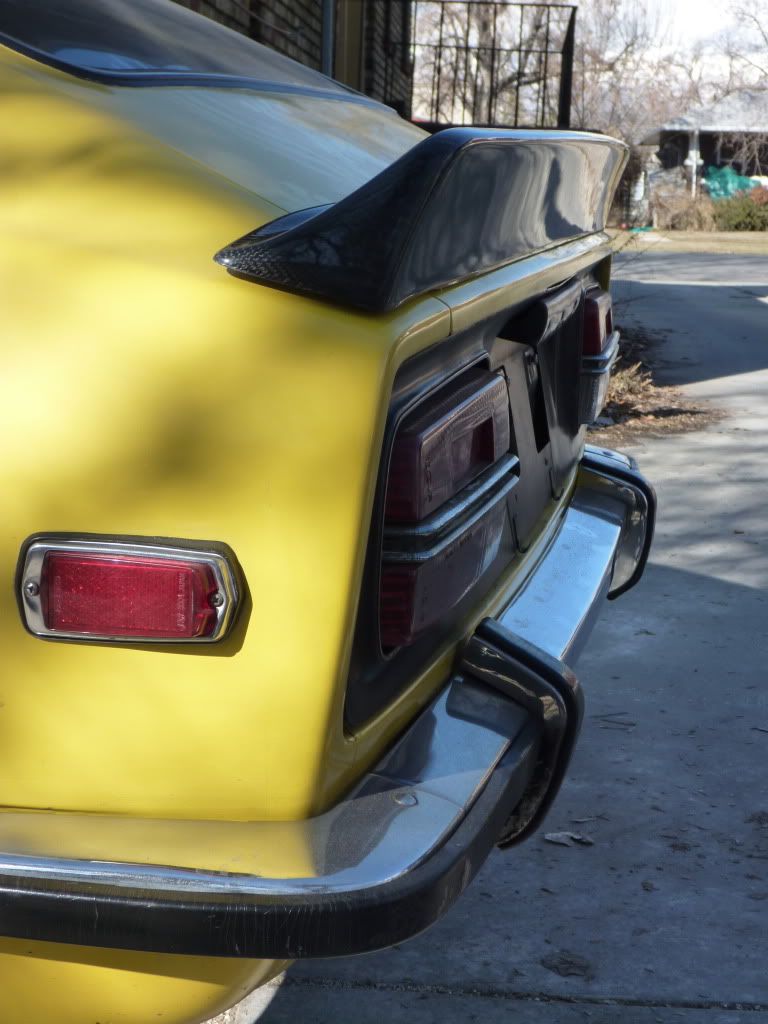
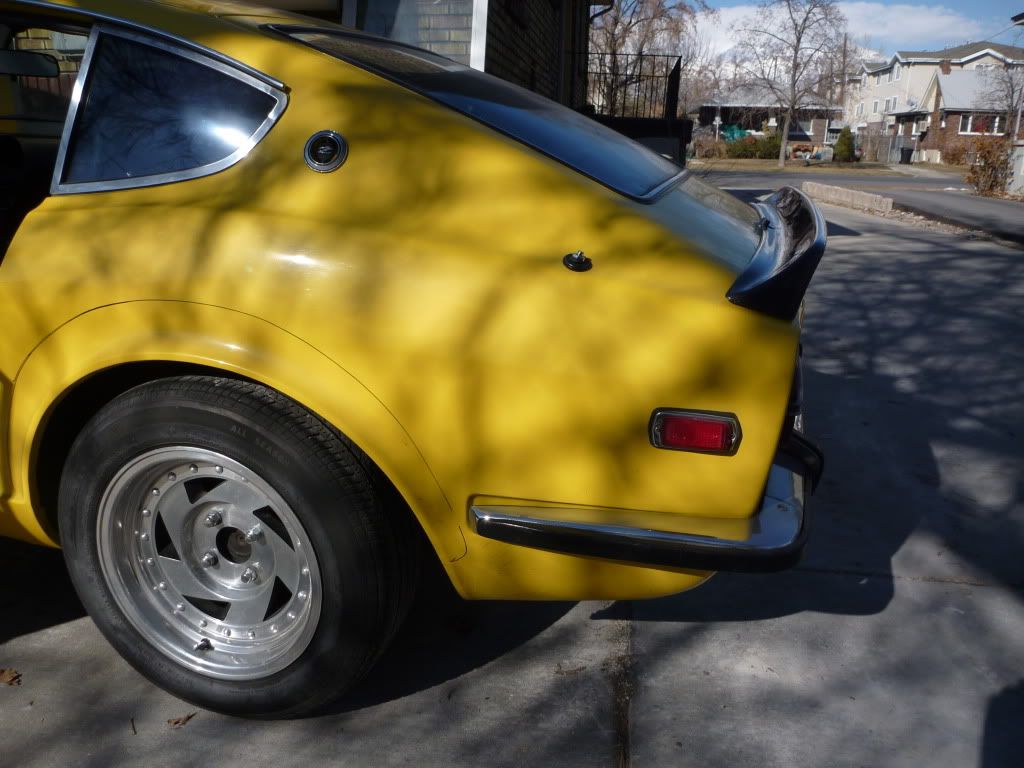
So you may or may not know about the Virtue Z I am building, but I found another clean one locally that I am really considering picking up and leaving stock.
I think it is a great car at 3k, but do you think it would be worth it?
http://www.ksl.com/index.php?sid=0&nid=443&tab=list/view&ad=2356885
He claims it is pretty rust free, but that being said he also told me he cut out the floor pan and welding in a replacement. Also that rear wing looks like it may be from a Mustang or something? The other change is that he went through the 4 speed transmission and replaced it with a 5 speed. I'm not sure what vehicle that transmission is from?
-
hey nice to find you guys here.
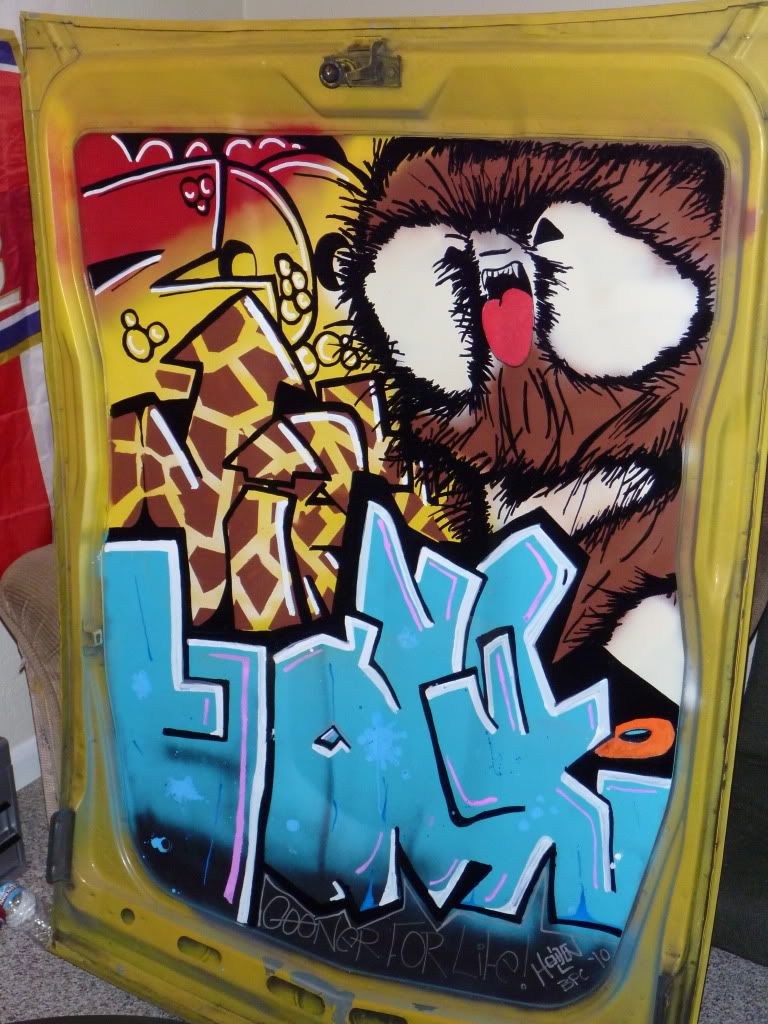
I love the hood like that bro.
Gives it a little funck to the vibes hehe.Sweet.
Well thank you! I clear coated it today in fact! I also started prepping the motor to go in, but have to hang ups; 1) I can't for the life of me get the oem oil pan off, and 2) The motor mount on the driver side is under the turbo so I will have to remove all of that to take the mount off and change it. I
-
Yeah to me it is one step at a time. Just make sure you aren't missing steps in between that will make u go backwards!
-
^well you can't love a team and not give them any street taggin' credit at all! Come on then! Plus its like 2 inches haha.
As for the IC piping, not sure yet. I want to get it all situated in the bay so I can start measuring and deciding. Did you do yours already?
-
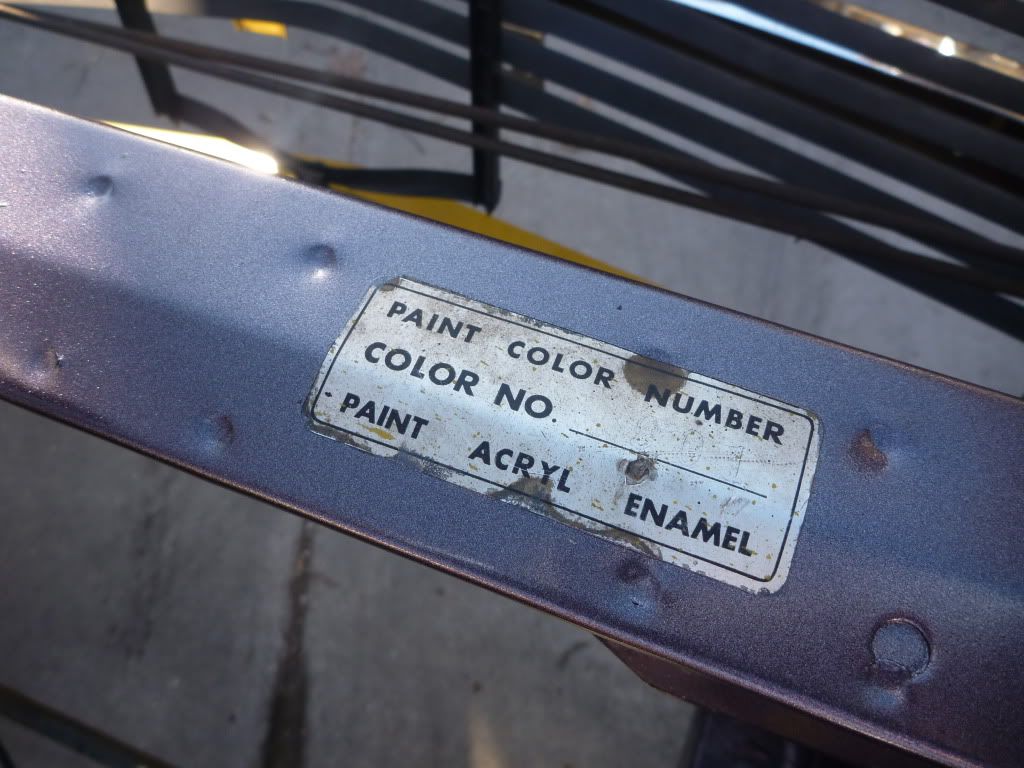
The r35 gtr gunmetal. I'm painting the whole car that color.
-
Ok I cleaned it up...

-
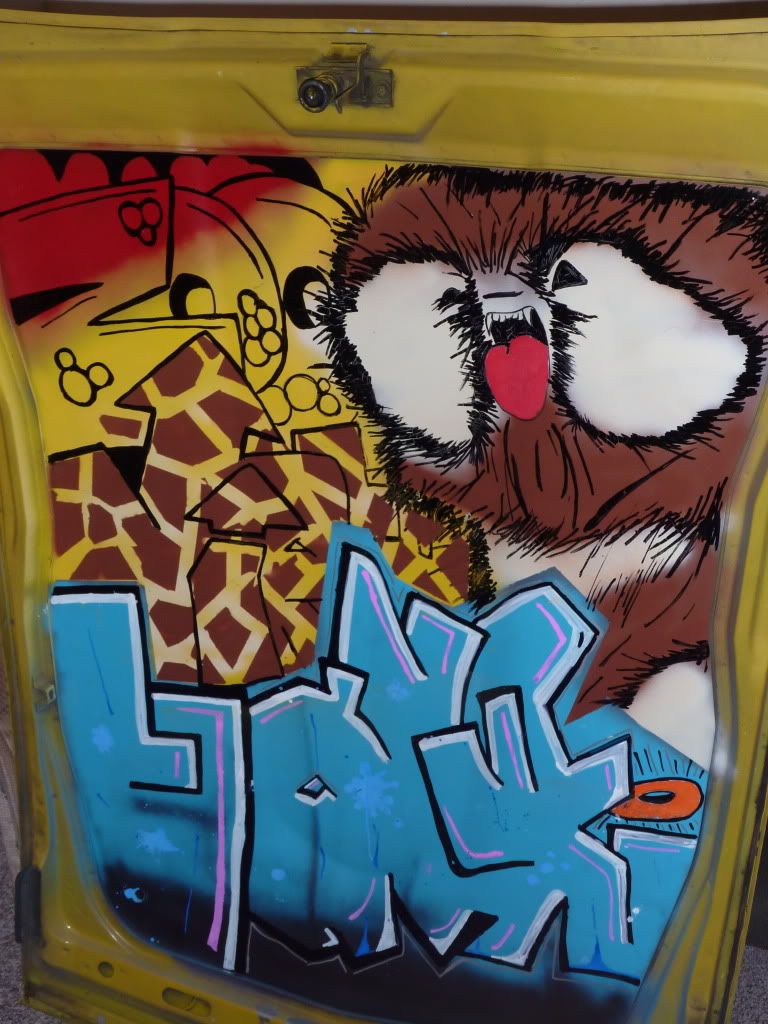
Well I finished the hood this evening for the most part. There are a few details to attend to, but you get the picture. I know it's not the classiest thing to most people, but I wanted crazy something on the car and this hides it all pretty well. Also the edges will be cleaned up when the car is repainted.
-
Thanks, This sat or next I should have a good idea about the fitment of your pan
yeah I procrastinated. I got as far as the gasket and stopped opening the box -
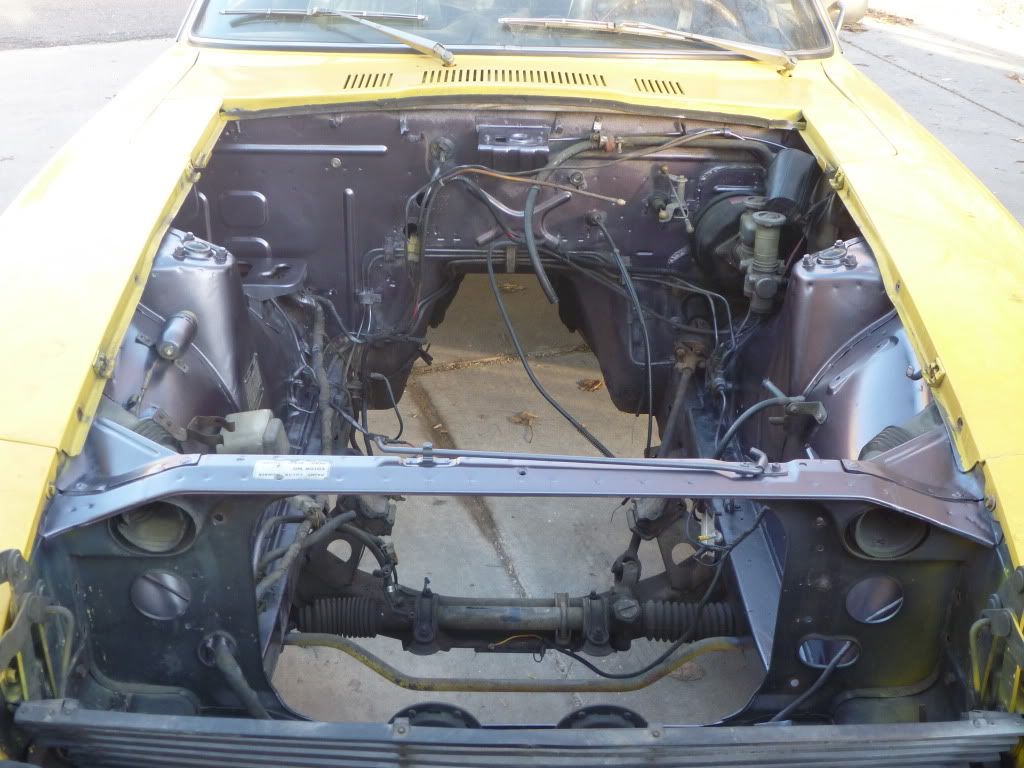
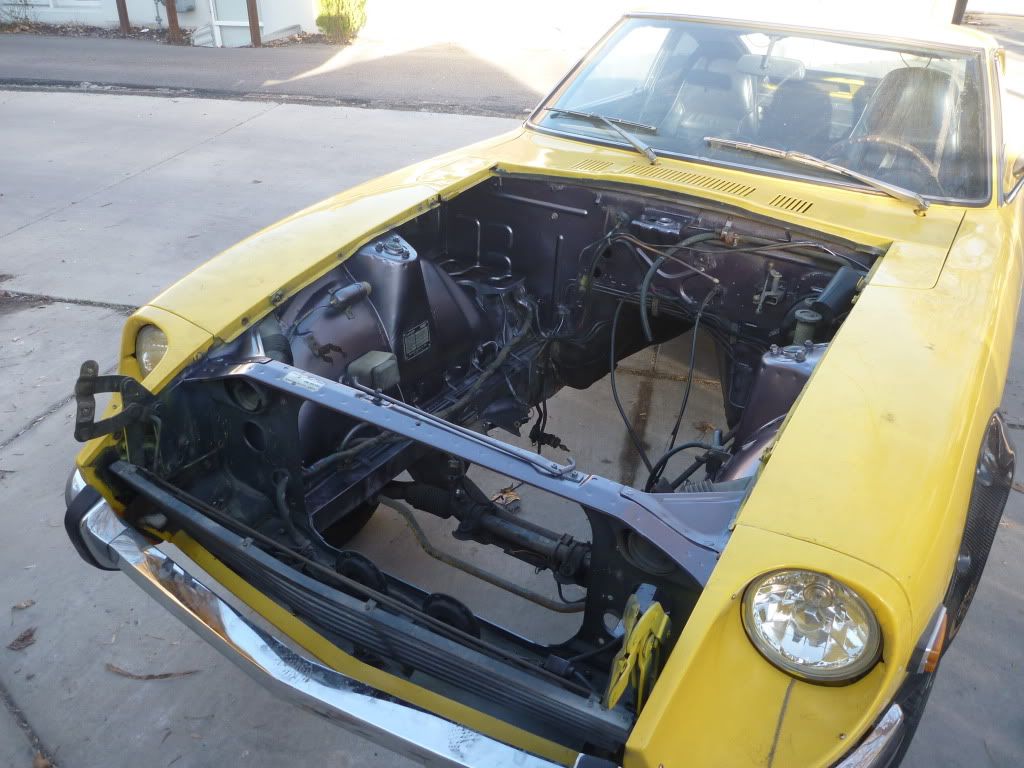
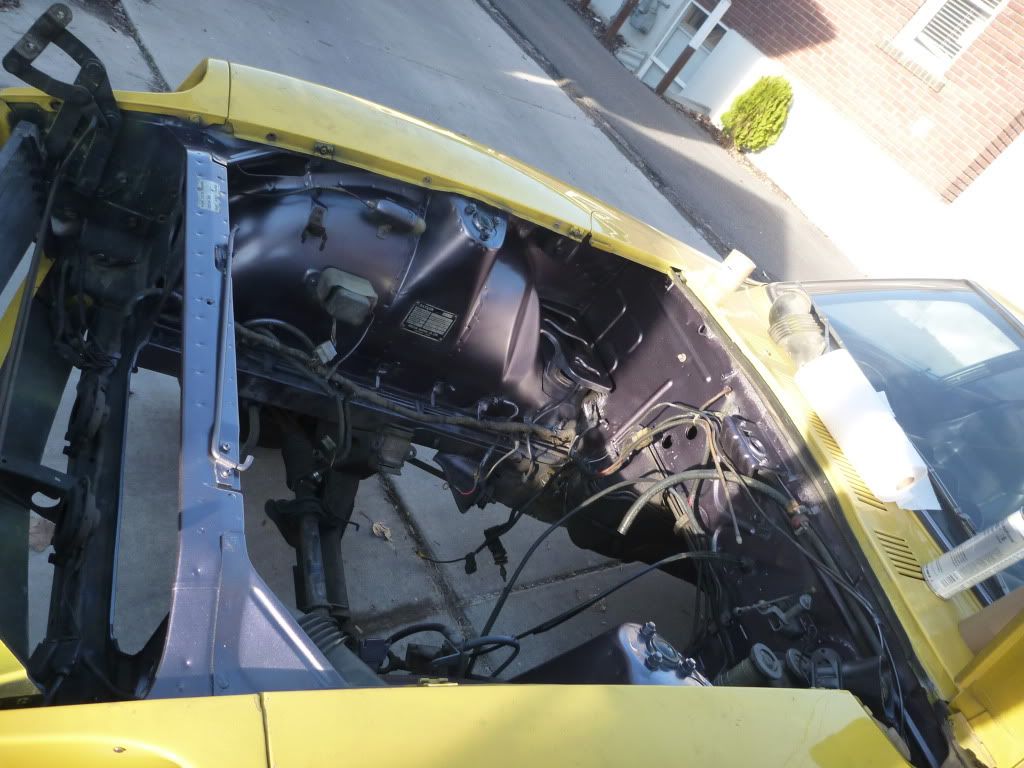
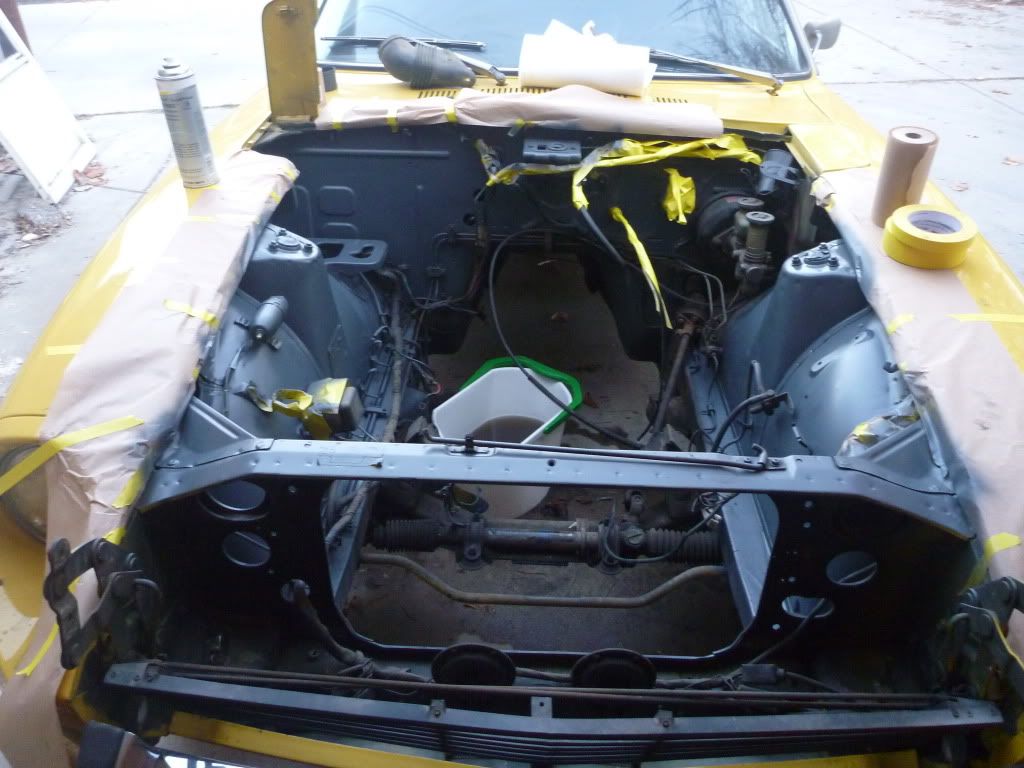
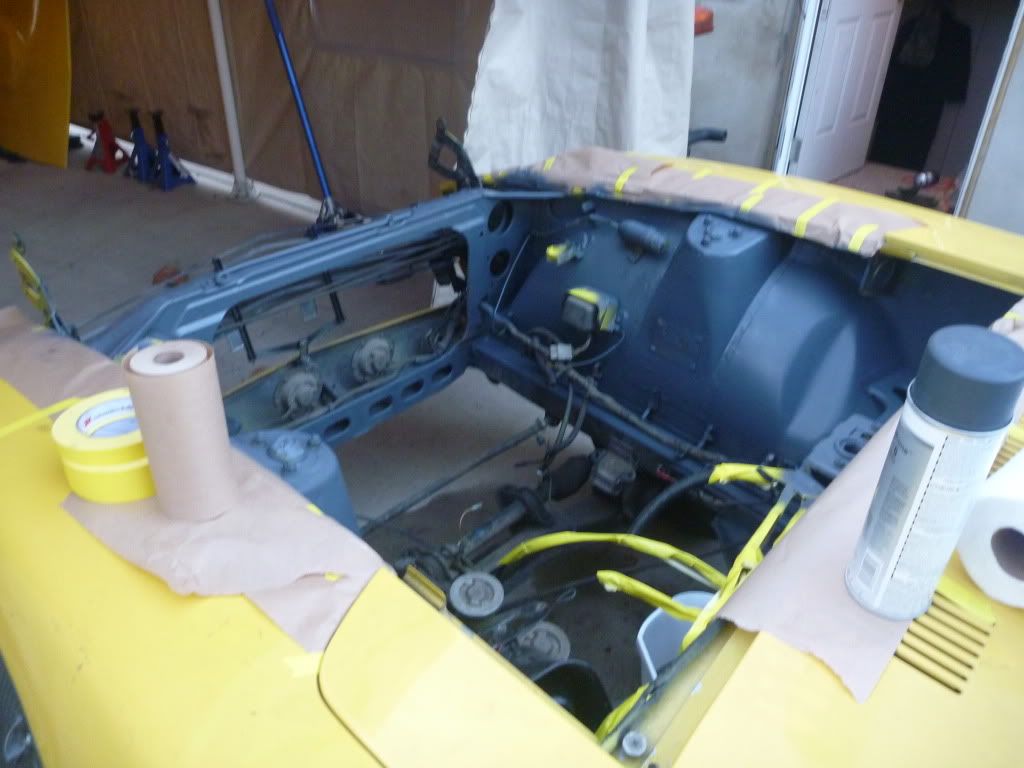
Ok, Sprayed it! no runs, no bubbles, seems to look really good! (which doesn't even matter, its an engine bay! I think that the color is perfect and will be perfect for the exterior as well. I just wanted the bay to match before I pulled the motor. This means the next thing to do is mount the motor up! Maybe even Saturday could be that day?
-
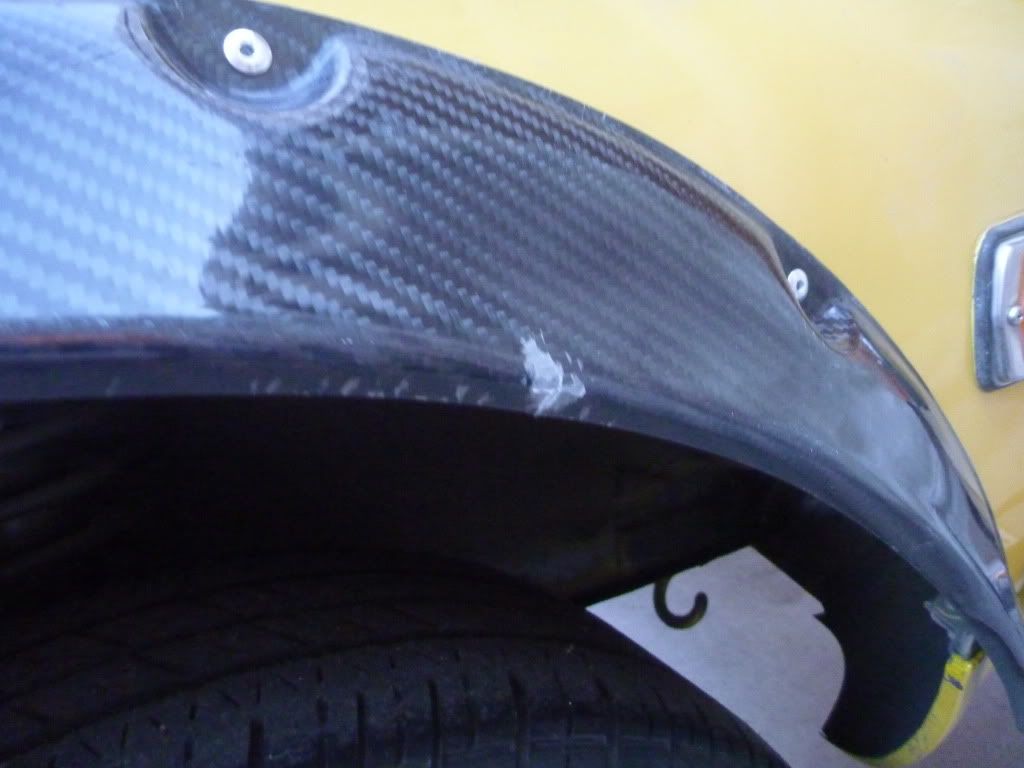
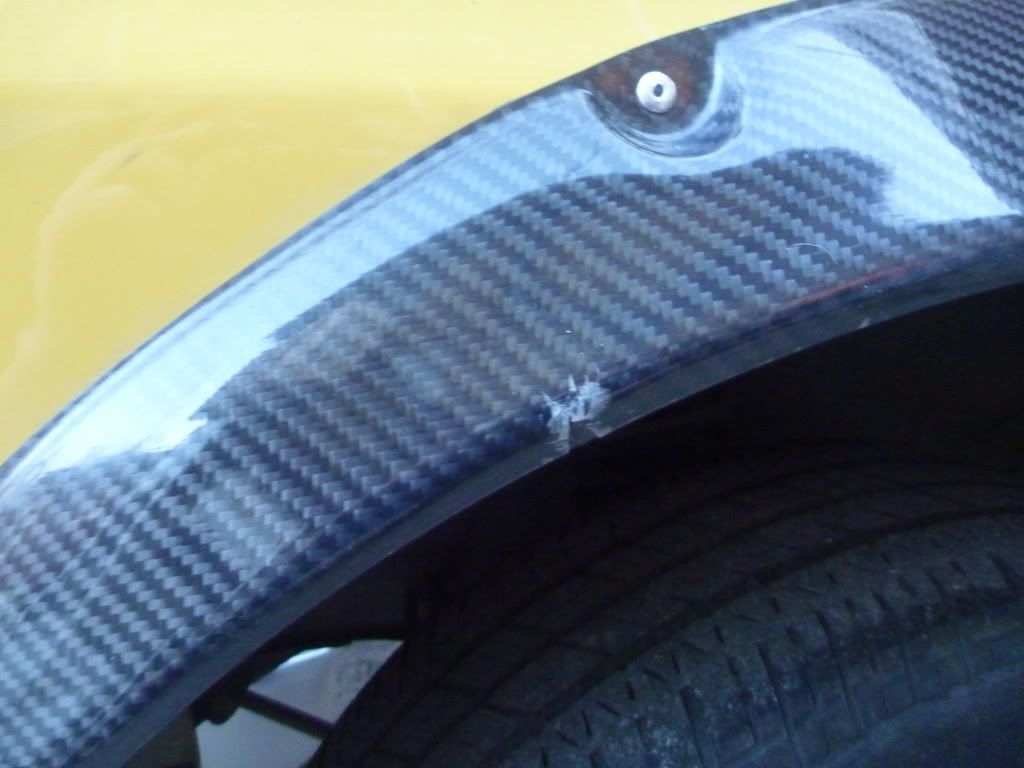
Well I was talking to a friend on my way home today and kinda got excited to do some work on my car. The only issue was getting done before the sun went away. Anyway, I got home and found something horrible, my hood had tipped over onto my passenger fender flare and cracked the flare! I definitely don't think I'm ready for kids as they say this is the daily chaos you deal with.
I suppose it's not horrible, but to me it is. I will probably wait till i finish the car and get the body painted before I replace that fender.
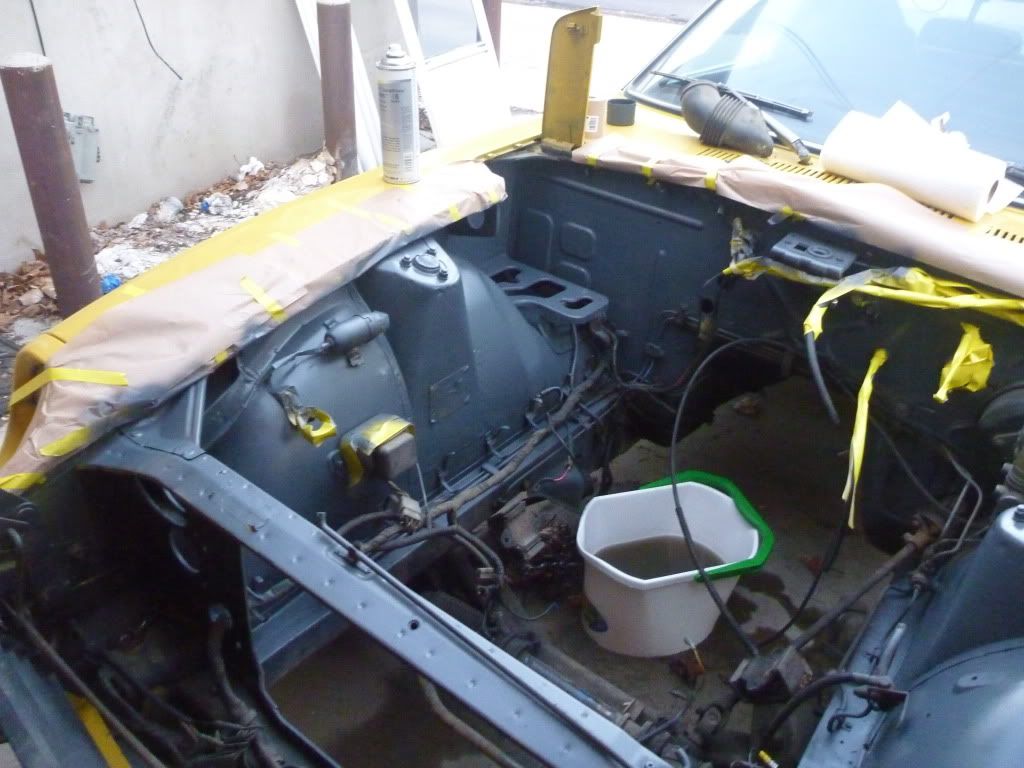
Anyways, after crying for about 10 minutes over the fender it was time to work. I scrubbed, sanded, and primered the engine bay. Now this weekend, or maybe as early as wednesday, I can finally spray the engine bay and get ready for the motor to go in! This is my 3rd engine bay to paint, so I basically taped and went to work! Looks to have applied very evenly so I hope the paint does the same!
I am pretty happy with the result so far. It is nice because with an engine bay most of it isn't even visible, but I am still pretty picky about stuff like this. If the orginal car color wasnt silver, I would pull the fenders and paint in behind them as well, but it is already silver/ metalic so I wont hassle with it.
-
Unfortunately no updates yet. seems to snow every day i have to work on it. Also I just got a new post grad job and have been in the process of buying a house (i should sign a contract tonight) so my mind has been elsewhere. Once the house stuff is done I should be able to dive back in! I think I am going to paint the engine bay this weekend so that I can drop in the motor.
-
I choose not to read all 8 pages, but looks to be a great find and project!
-
My last ae never ran so I just sold it. When the car wont run, you just kinda dont value the project so I've got to get through this stage quick.
-
By the looks of it, you're going to make one good lookin' Z man.
Have fun with that thing!
Thanks! I just hope to get it running quickly so I don't lose interest!
-
^THANKS I still dont have the motor along as far as yours! you going to be done by april?
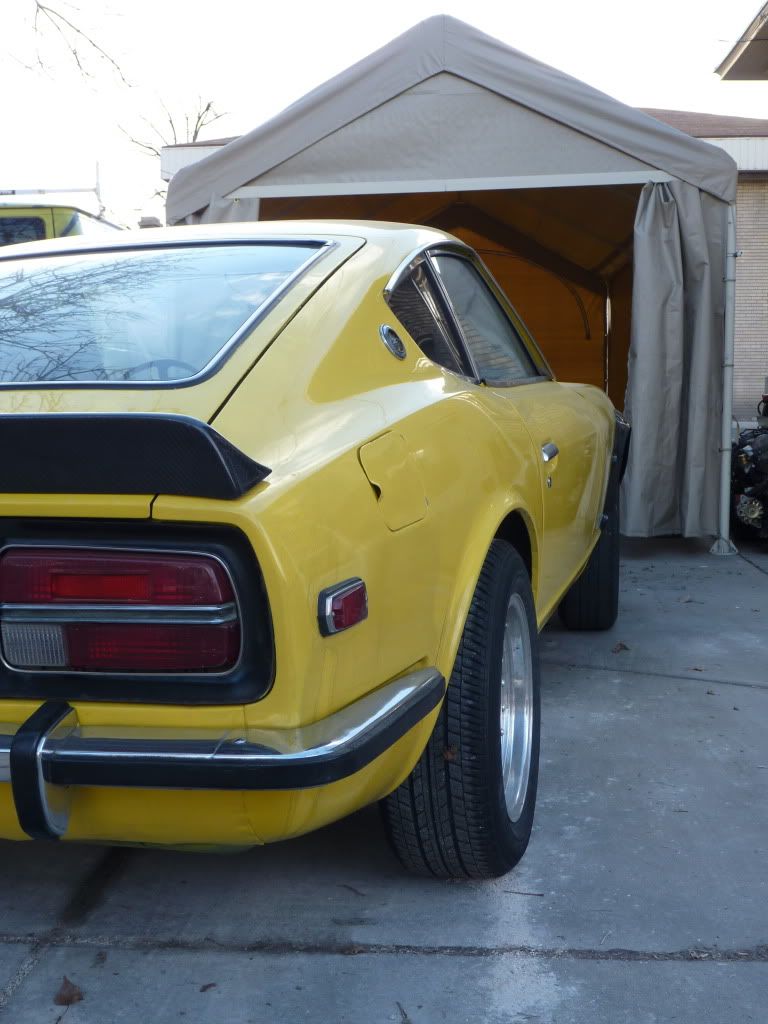
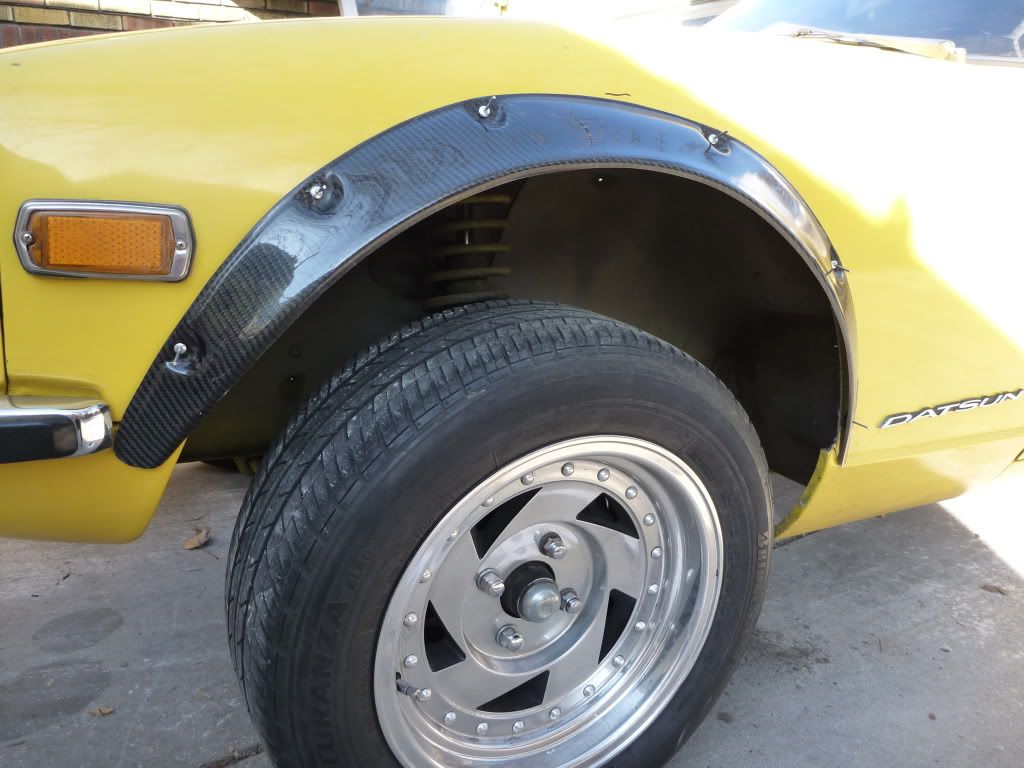
Thought I would show actual fitment with the rivets done up:
-
tanuki where did you buy your engine from, im trying make plans for a 240z rb25det
Best of jdm in Canada. Seems to be in great shape and everyone who has seen it has said the same, but it's not in, and I haven't tried firing it up, so maybe it's still bad who knows?
-
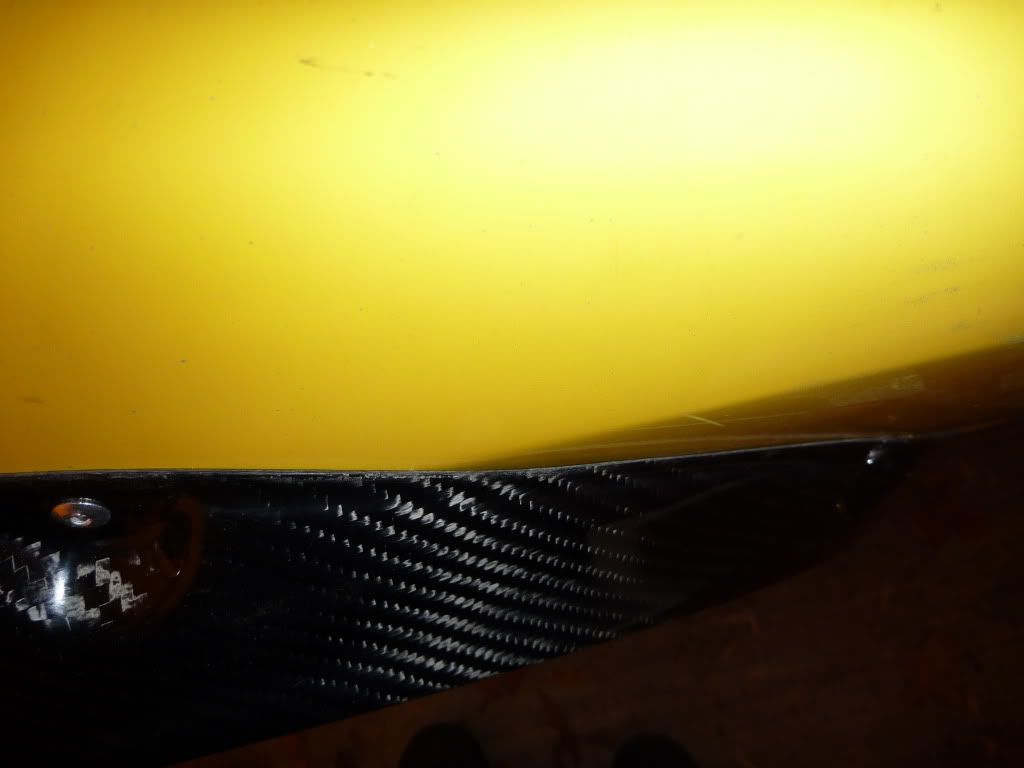
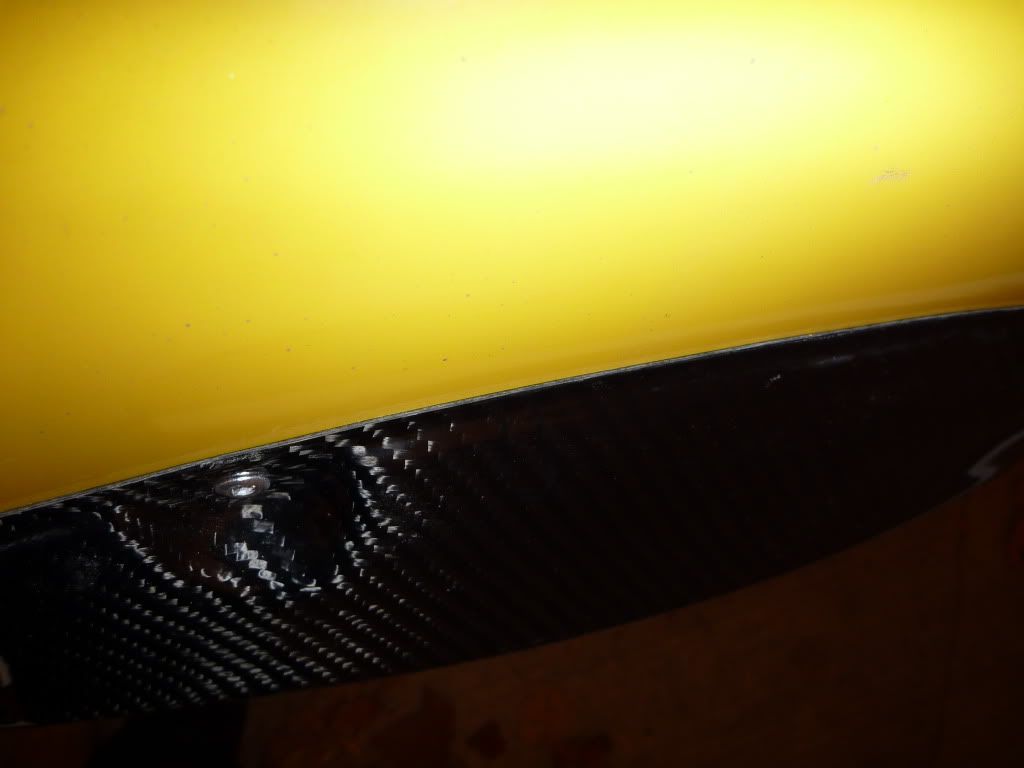
All carbon has clear on it. Just depends who did it which is why you have to redo it at times.
-
yeah I keep it in that shed thing all the time. Especially since it isnt running. As for care, you can usually do a wet sand, but I think most carbon fiber needs a new coat of clear every other year or so. Not too expensive to have it done either. I think all carbon is that way when you dont just paint over it.
-
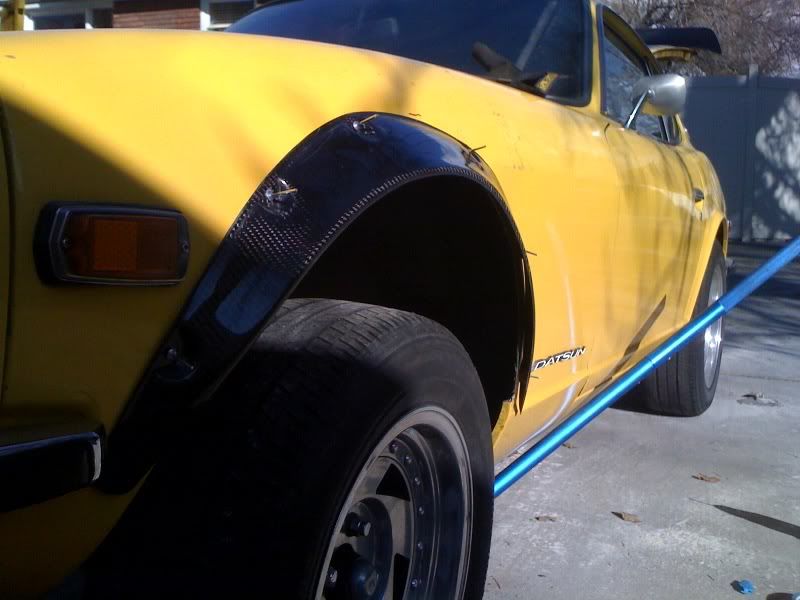
^I am just using aluminum rivets on the fender flares. they seem to fit flush, though the rivets are extremely easy to remove if I need to redo anything. The rear spoiler just has two bolt points. I just put a piece of tape on the bottom of the spoiler with a dot colored in on top of the mounting hole. Then I placed the wing on the car so that the tape would stick to the car and show me exactly where to drill
I then measured it to make sure it was true before cutting. Worked like a charm, but I have noticed these wings seem to have a good amount of gap on the edges (probably for opening and closing the hatch). I think that pieces like that wing should have a thin gasket due to the movement of that hatch etc. -
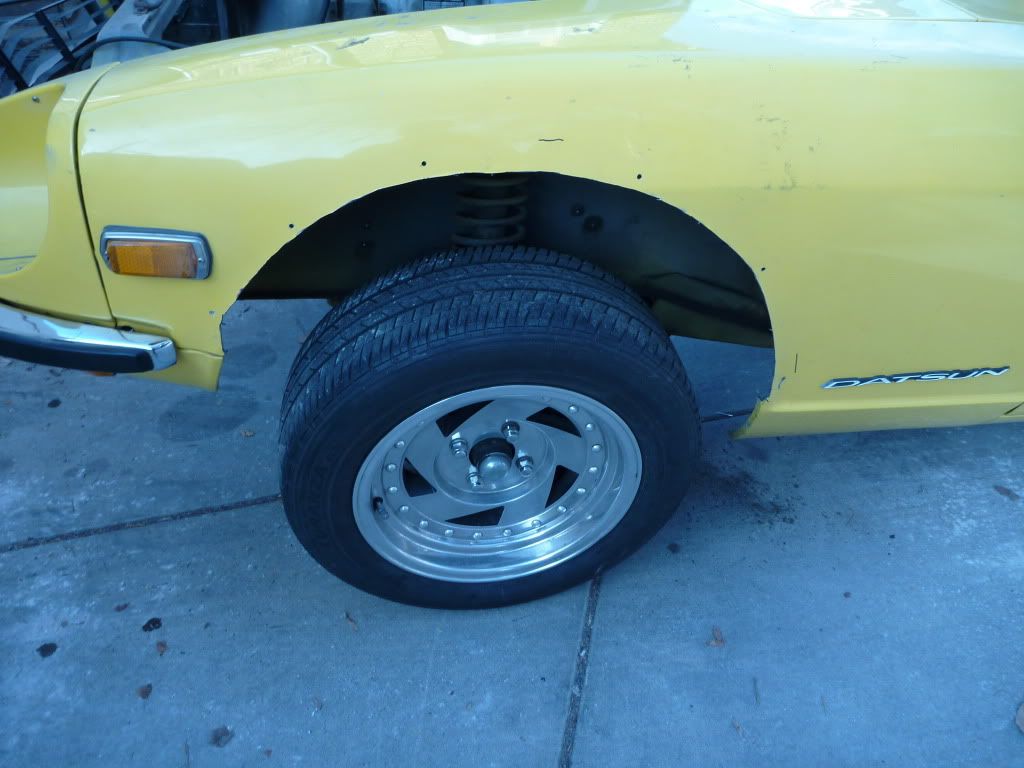
ok well I just man'd up and started cutting. I was a little apprehensive, but I think it cut out just fine. Also it doesn't have to be perfect as the actual line is formed by the fender flare not the grinder cut. I just used a wheel cutter? I call it a grinding wheel. Anyways, I mounted the wing, cut the front two fenders, and am taking a break while the etching primer dries before I rivet on the flares.
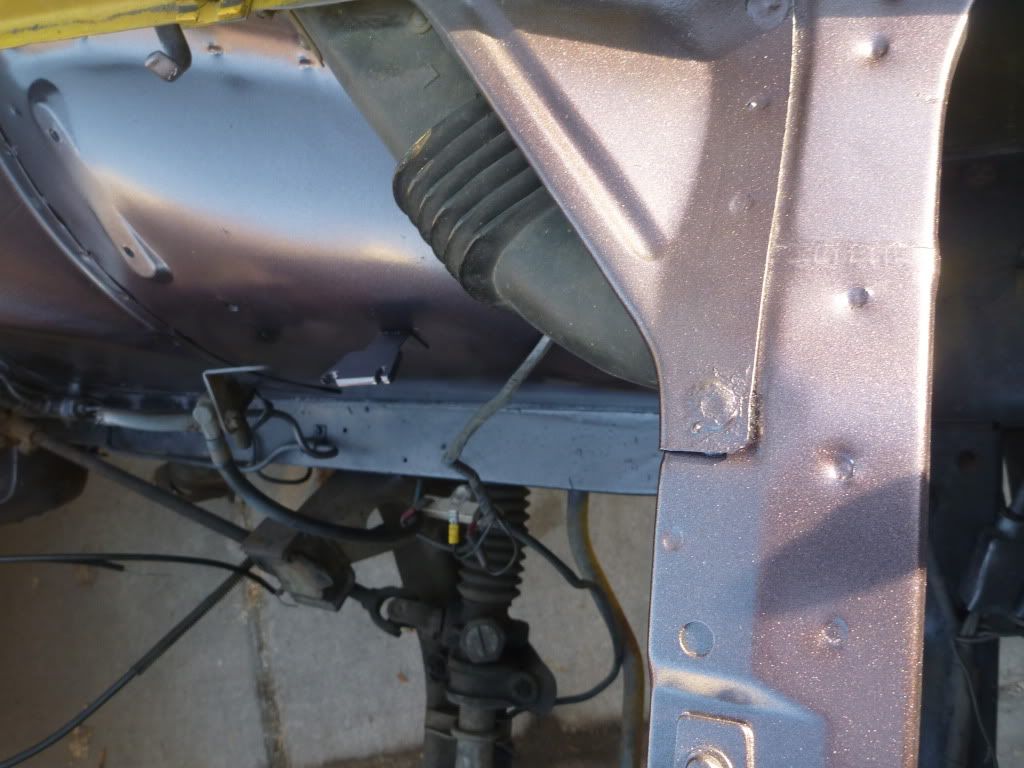
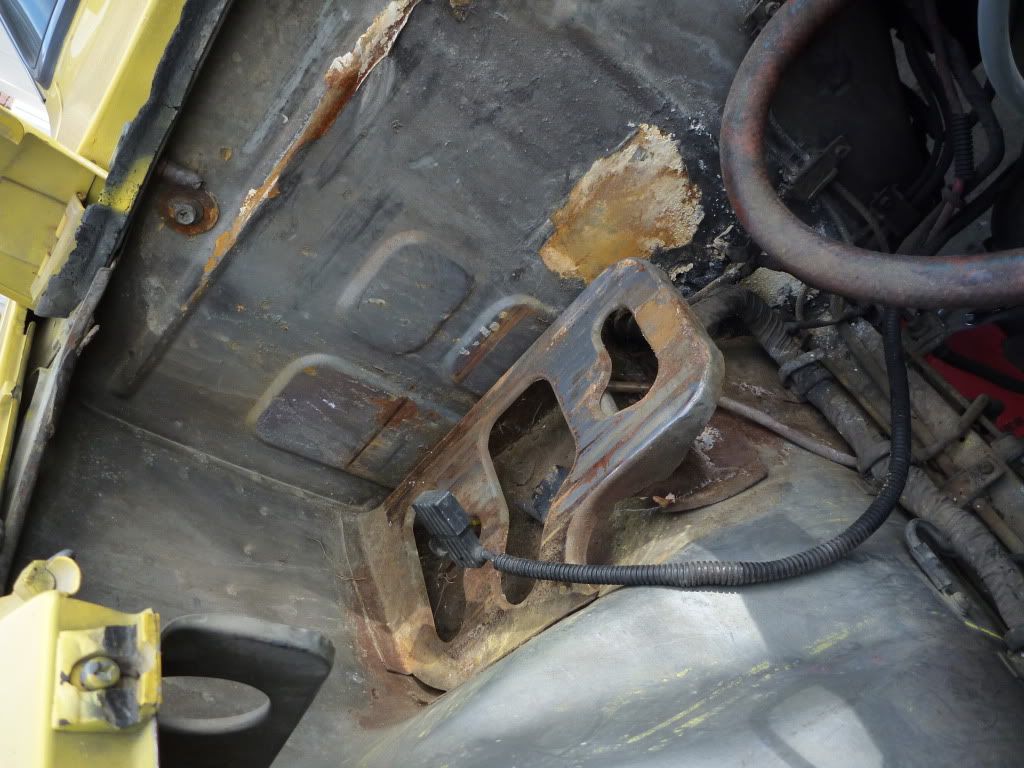
Also I took the wire brush to the corrosion in the battery area. Everything came right off.
Before:
After:
-
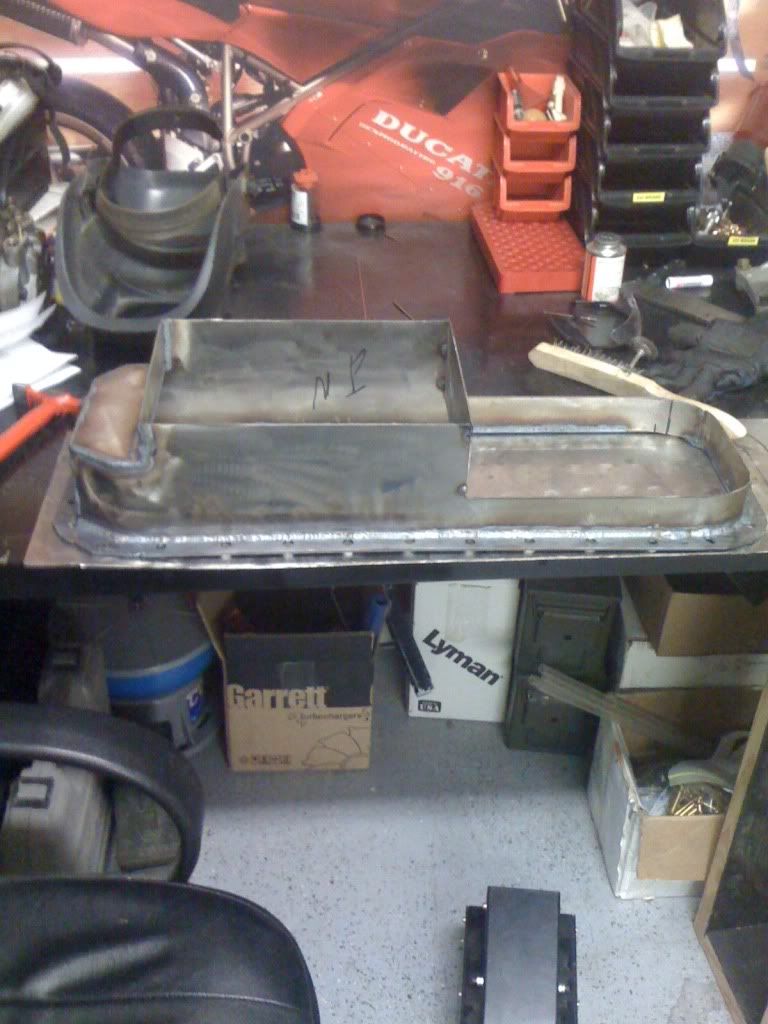
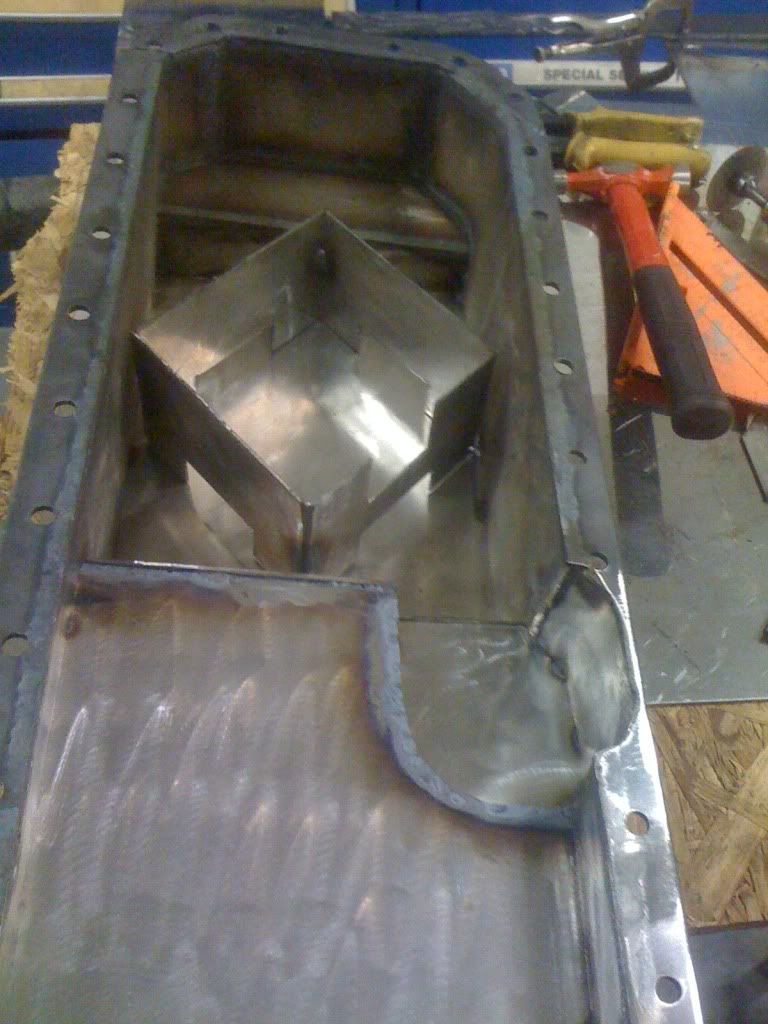
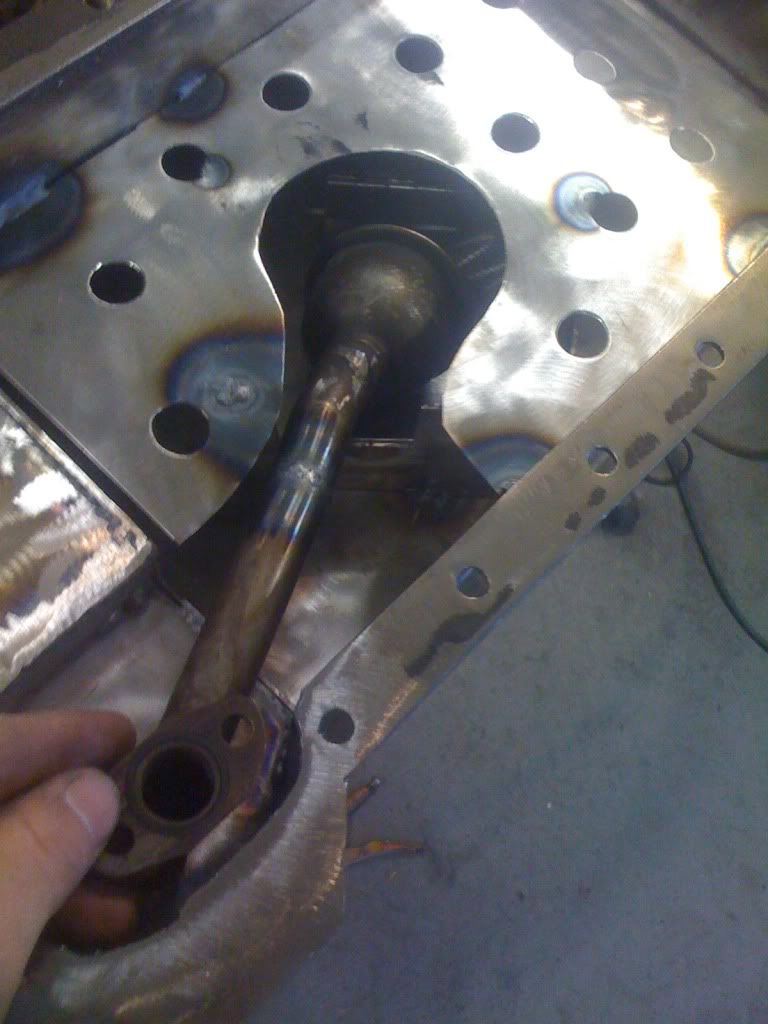
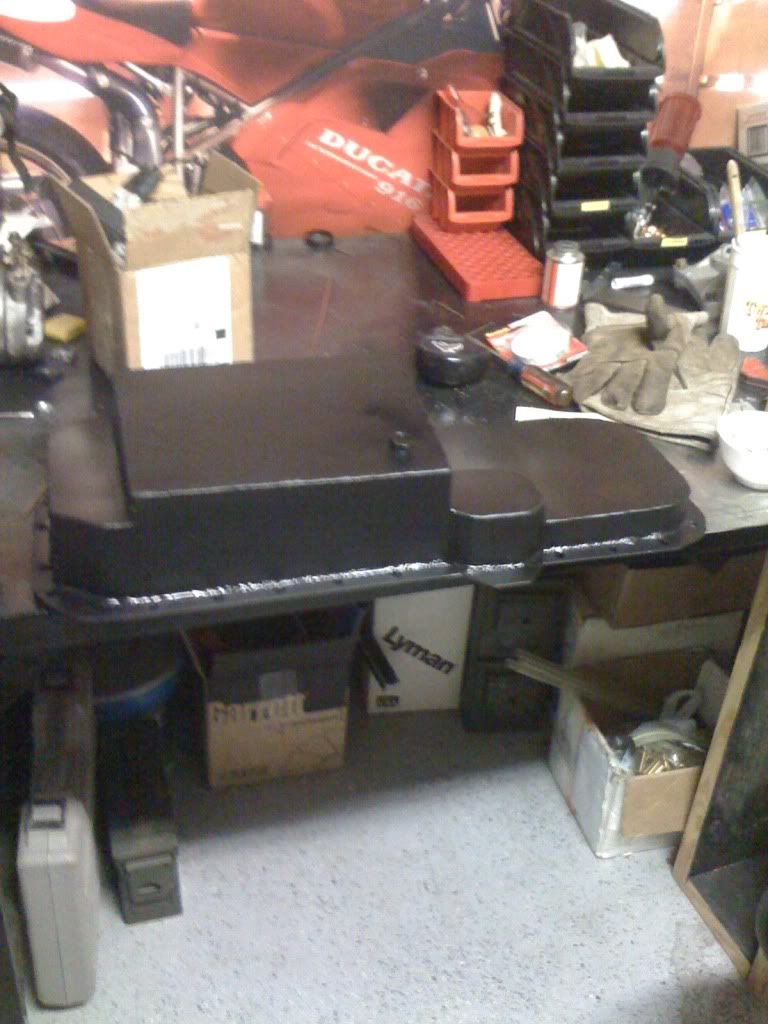
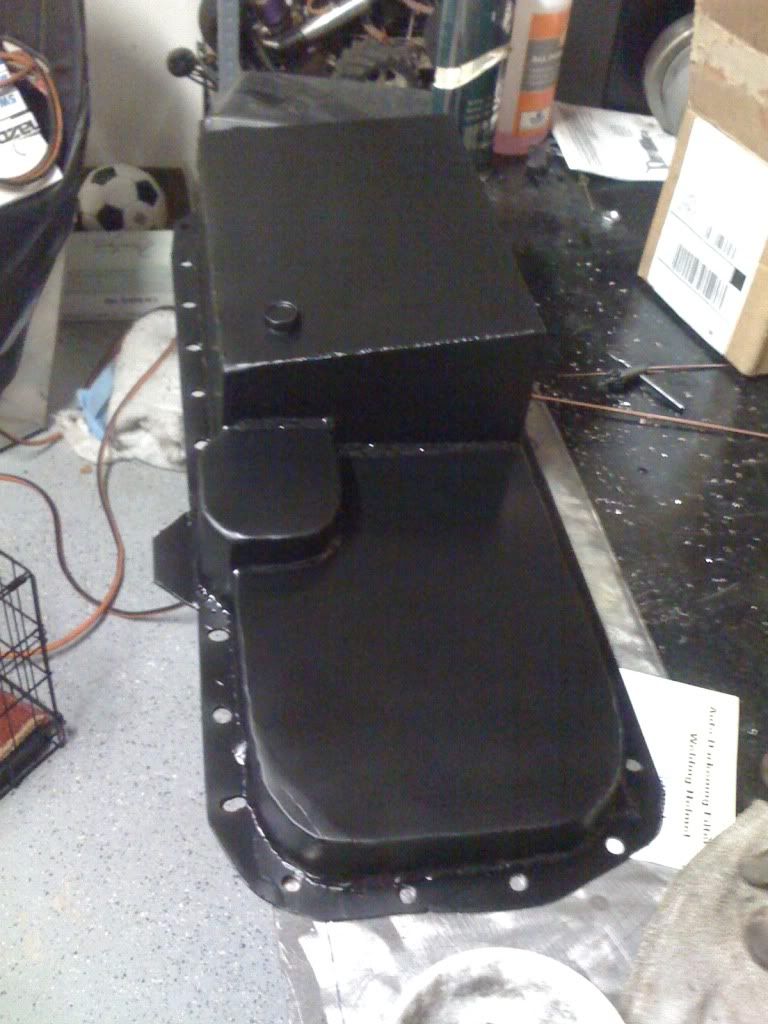
Big Thanks to Pat1 for building my pan from scratch!
Pick up fitment
A little more construction
Baffles and windage tray
And all finished
Big thanks to Pat1 on Hybridz, This really saved the day!
-
Looking good! Got me all excited! I have a project now for this week!
-
Well they price matched for me and shipped it to my house for the price the other companies wanted with shipping to a business. Really easy to work with.
-
YoU should get one where I did, seems great so far.


Maybe another Z on my Horizon?
in S30 Series - 240z, 260z, 280z
Posted
I actually wondered that with that chrome strip as well.