
Boy from Oz
-
Posts
541 -
Joined
-
Last visited
-
Days Won
2
Content Type
Profiles
Forums
Blogs
Events
Gallery
Downloads
Store
Posts posted by Boy from Oz
-
-
JCI = John's Cars Inc.
Also known as Jags that Run and Broken Kitty.
I'm wanting to know if the t56 will foul on the transmission tunnel if I attempt to slide it off the LS1 ? -
Any dramas removing a t56 with JCI mounts, I need to replace the clutch?
Thanks
-
Yes, yes, yes...
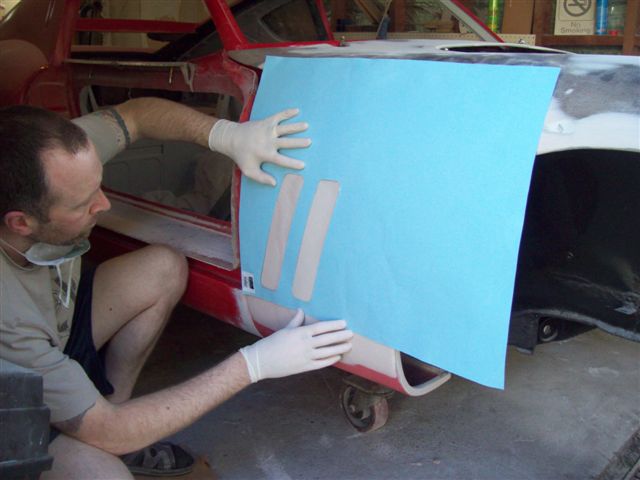
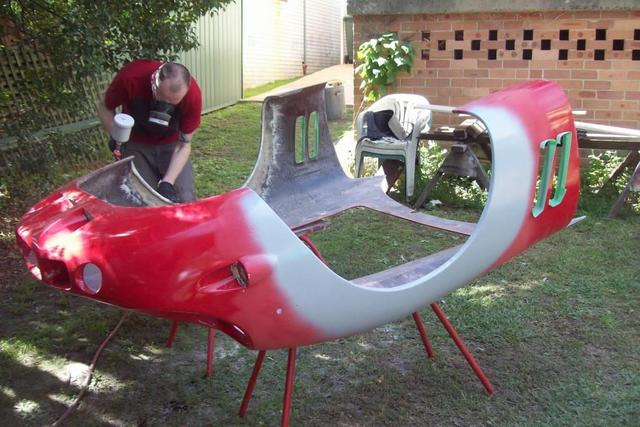
A chap down here is close to painting and asked me my thoughts on the blue/white stripe. I wasn't in favour as I thought it more associated with Cobras but when I took time to examine the white nose/single stripe I must say I'm now very much in favour.
Well done to both of you for thinking outside the box.
-
On 8/31/2019 at 11:38 AM, JMortensen said:
... Would like to advertise my business as well.
This is the key.
Who are your clients/customers? What's their likely taste/style?
Do your run Crazy John's $2 shop, an emporium or a fine arts store?
-
Looking forward to the photos.
I think there are a few still lurking around here (Michelle, Dick, et al) who have been through the GTO build process and would be willing to offer well-intentioned opinions. As shown in the past it might assist in preventing you reinventing the wheel.
-
Interesting. Do you know which kit it is and what's the Nissan shell like?
-
Very interesting Jeff, keep the images and info coming.
I'm largely self-taught (through trial & error) about fibreglassing so I'm keen to soak up any information.
-
Nicely presented car coming up for auction.
-
No worries Jeff.
I think my project gave me a fibreglass addiction. My current project has an entirely fibreglass body. I love the smell of resin in the morning!
-
On 2/5/2019 at 12:50 AM, Jeff H said:
... if I cut a bit off the leading edge of the door North to South and add a bit to the wing to make the difference up when you open the door it will foul the wing. The only way I could see out of it was to move the A post back the same amount as I cut off...
Jeff, trimming the forward edge of the door will simply mean the edge moves in a more forward arc during opening. If the forward edge is extended, rather than cut, it will tend to rotate inward rather than forward. The edge should be forward of the axis of the hinge pin.
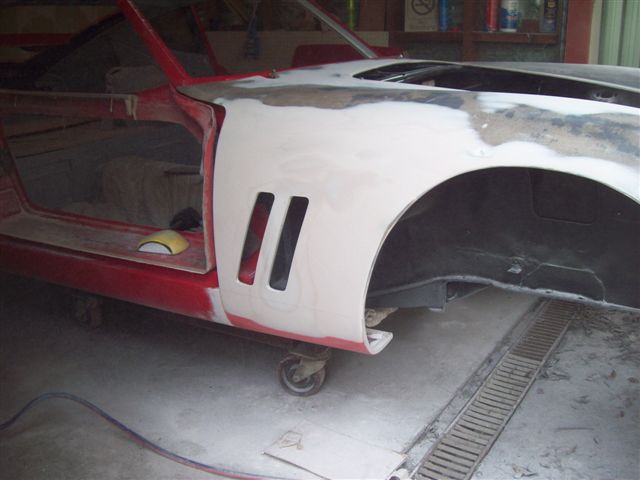
Here is another rather straightforward mod you may want to consider.If you are trying to create the appearance of a longer front guard (wing, fender) try repositioning narrower vent slots rear-ward. I think it worked somewhat on mine.

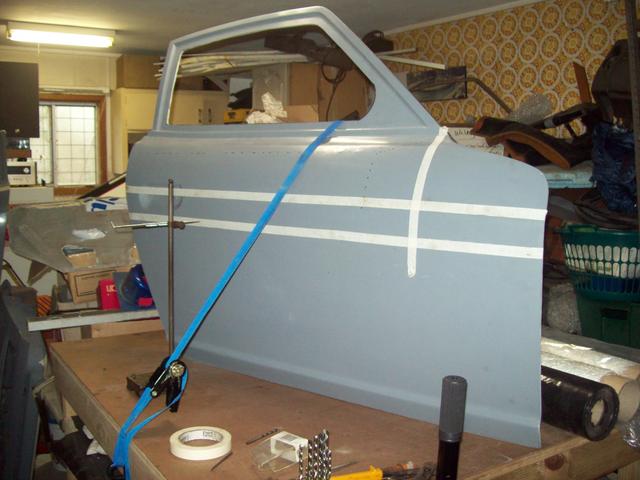
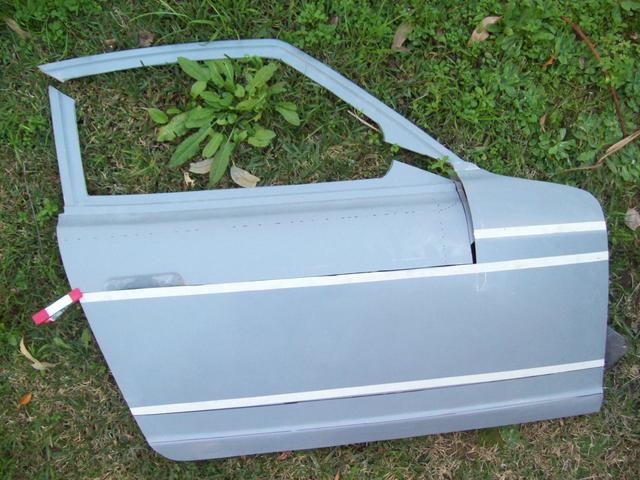
My doors were a major undertaking but as prototypes I expected that. It you want information on how I would go about it again let me know. Basically I purchased fibreglass doors and chopped 50mm off the top and 50mm above the crease in the panel, that was between the lower hinge mount position and the bottom edge of the door structure. I left them original at the 'A' pillar and kind of hide the change of height with the rearview mirror.
I also made the outer skin removable (like newer VWs) so I can adjust it to match the front guard (wing, fender) and the rear panel.
Sorry for the rant.
-
Great to see such rapid progress.
A couple of questions;
Did you reattach the the rear turret cross-member or did you recreate something new? A novel and seemingly practical approach either way to create a larger window opening.
You lost me a bit with the comment on the need to modify the 'A' pillar. Down here the 'A' pillar is the windscreen pillar and I don't understand any need to alter it?
Keep us posted.
-
Jeff, they are a couple of very impressive examples, I'm anticipating something special from you on the GTO.
You seem to have a similar issue with modification limits as we have down here. Stretching the wheelbase (a la 'chelle') would require extensive testing and re-engineering approval.
-
On 1/26/2019 at 6:13 AM, Jeff H said:
...I have been involved with kits and kit cars for a number of years here and funnily enough I know Smash quite well who posted around the start of this thread ( We both had Tribute 250 SWB kits...
Welcome Jeff. Always great to have a new member and vehicle.
I'm fascinated by the prospect of a 250 SWB kit. Although it sounds like it was some time ago I'm sure we would all appreciate any information and photos you may have.
Thanks.
-
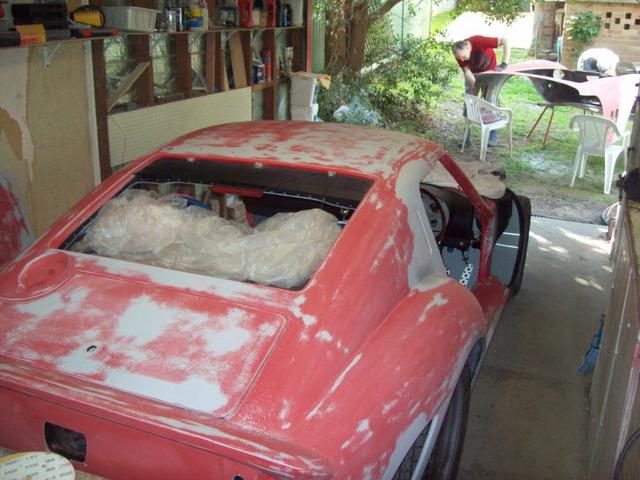
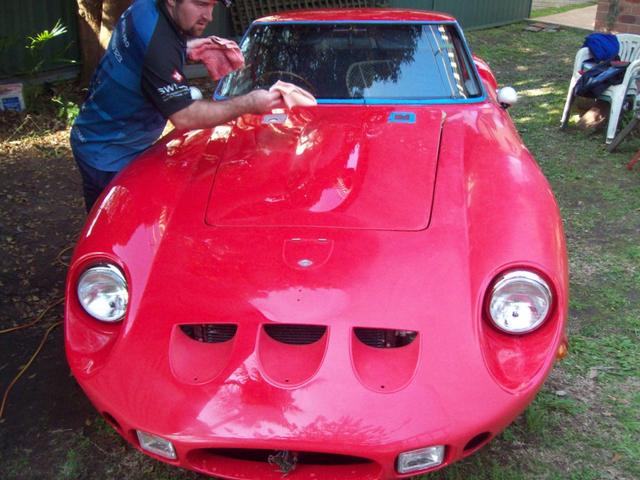
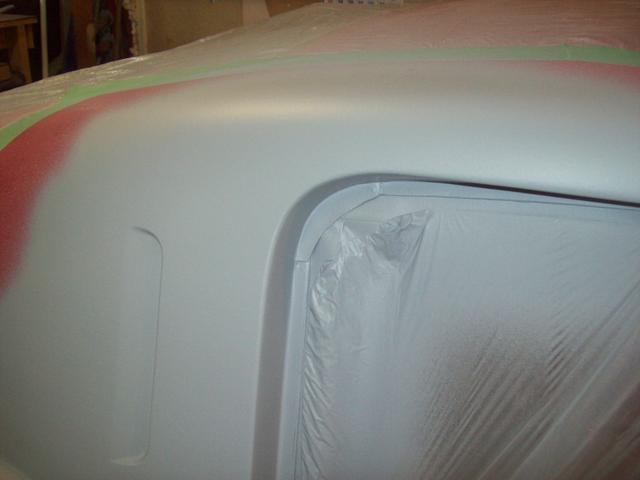
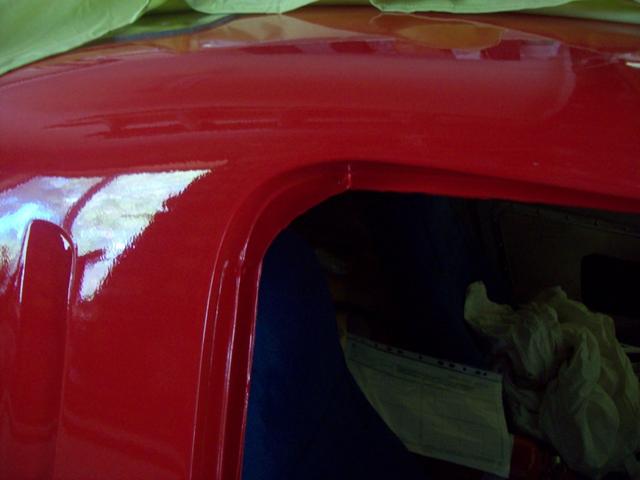
With everything done to the bodywork that I'm prepared to do, the time came for the final painting.
The original light coating - to seal the primer while a 12 month assessment was carried out - was rubbed back.
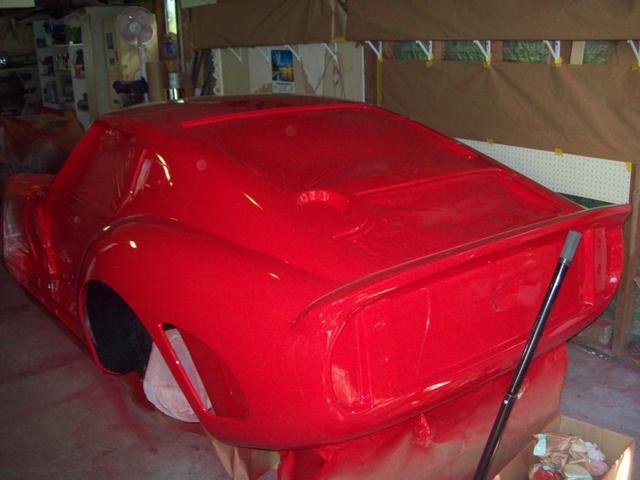
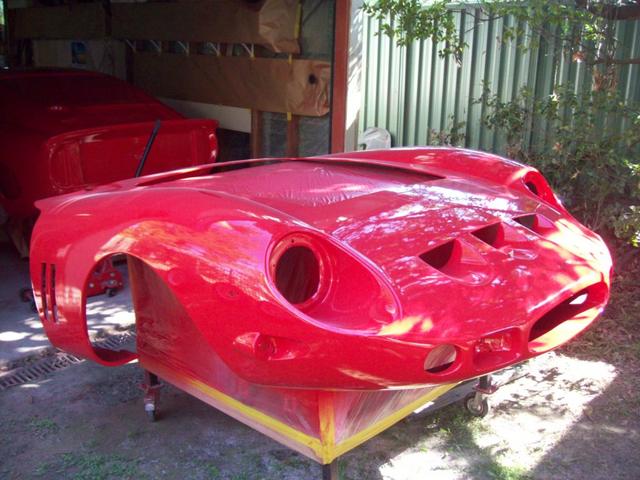
Final coats applied
Then rubbed back with 1000, then 2000 and finally 3000 grit wet-n-dry.
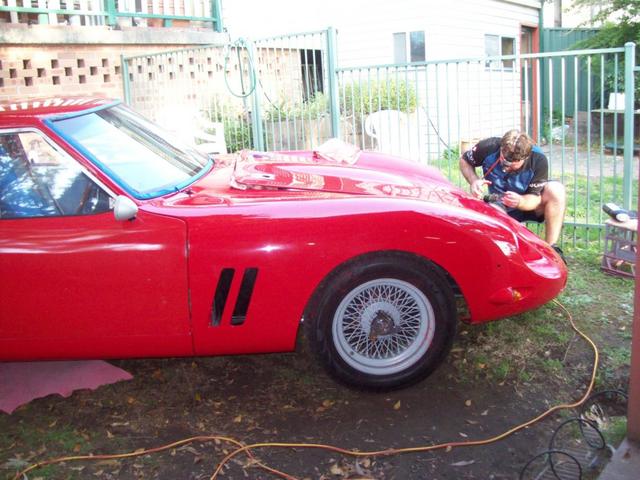
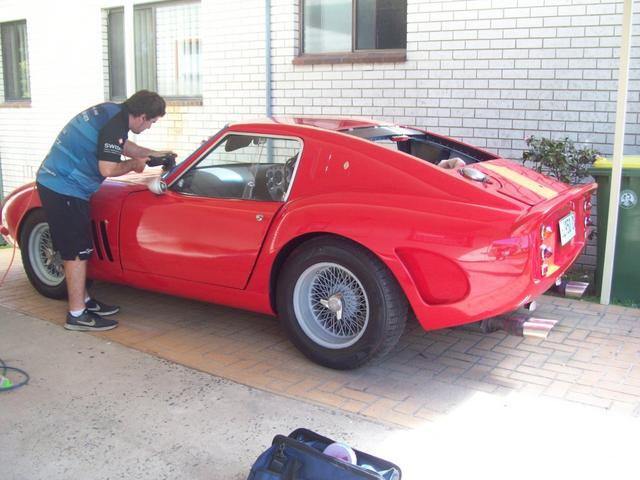
I'd pushed my luck about as far as I was game by this stage so I engaged a professional car-detailer to do the final buffing.
Really pleased with the outcome.
-
Passing of Jess Pourret.
I'm sure just about every owner on here would have one or more of his written works.
-
You might try contacting Mark to see if he's still making the covers.
(Click on the arrow in the top right-hand corner)
The trims you'll have to have made. Not really that difficult for an experienced sheet-metal fabricator.
Good luck.
-
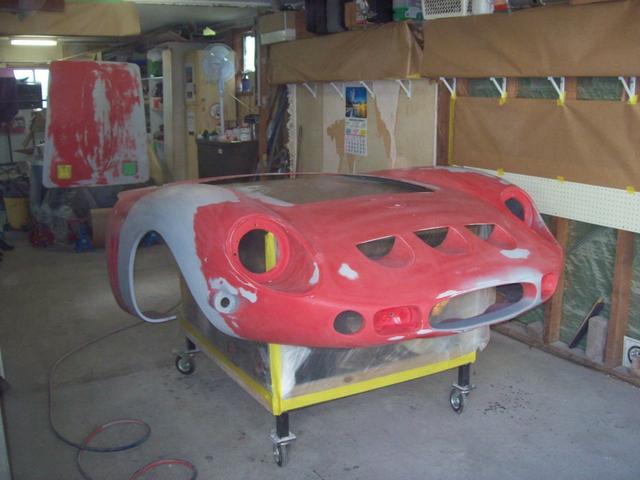
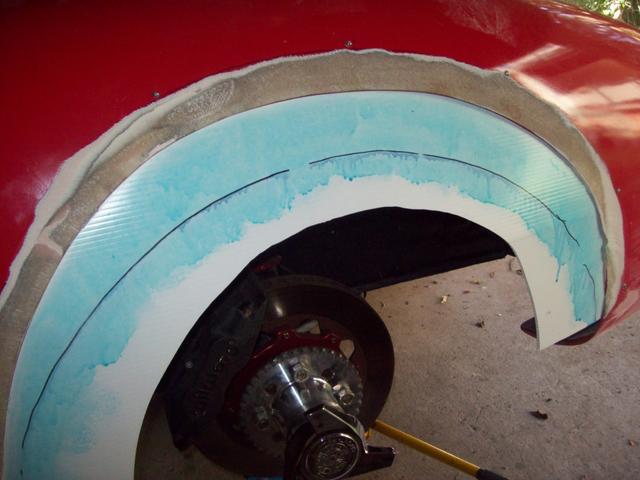
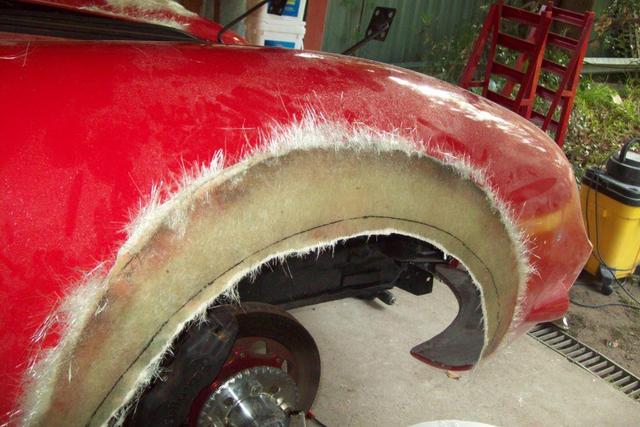
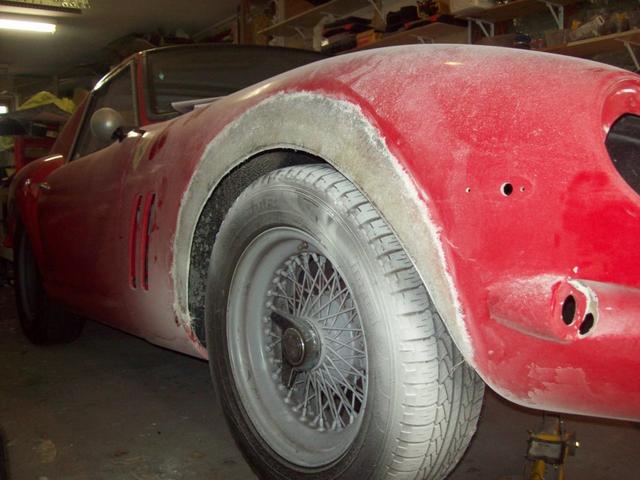
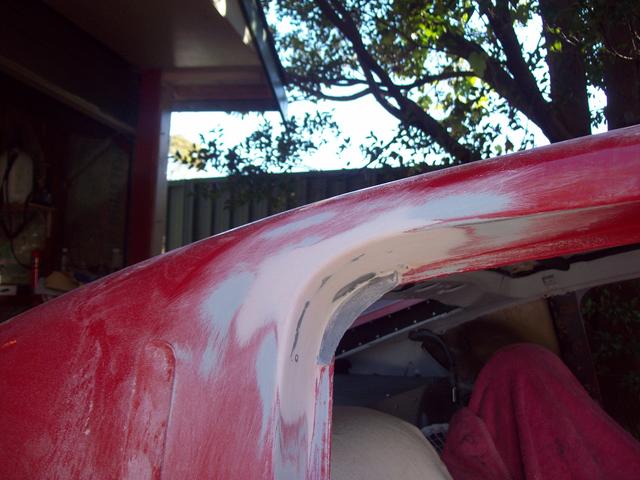
Another modification before final painting was to lower the front wheel arches.
I found I hadn't set the suspension with sufficient ground clearance and when I raised the ride height the lip of the guard (fender) created too big a gap above the top of the tyre.
I chamfered the edge of the existing guard on both sides and attached a section of corflute sheet.
I applied several layers of matting, then removed the corflute and applied more layer from the inside
I reattached the wheel and defined the new edge and sanded back.
I applied 12mm fibreglass rope to recreate a firm edge.
I little bit of hi-fill and some more sanding and it was ready for paint.
Before. (i.e. with the raised ride height)
After (same ride height as above)
-
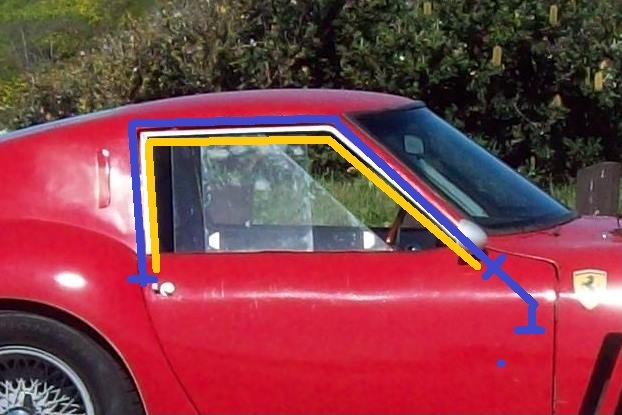
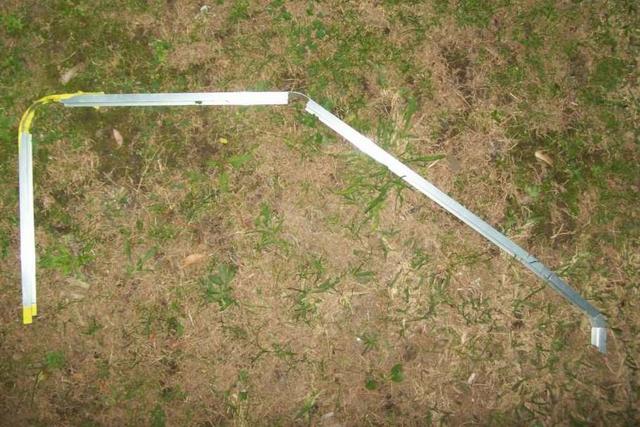
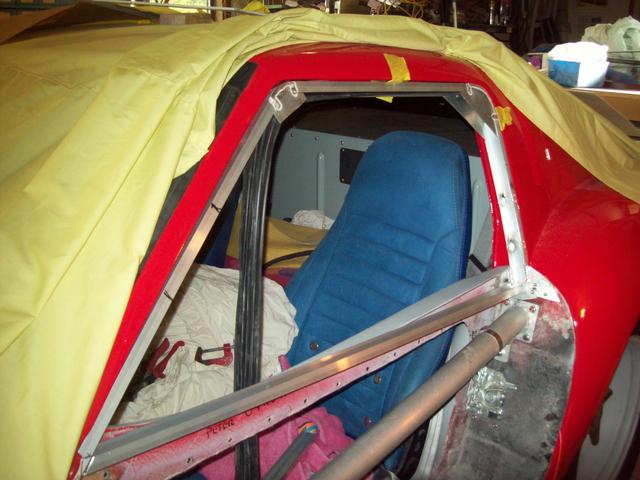
Hi. I have made new frames but the radiused curves could, I presume, be created in the stock frame by a similar technique.
I made my own frames originally because I fitted sliding windows, unfortunately I soon learnt they had a serious design flaw. I had basically mounted them to the top of the lightweight fibreglass doors which I'd also made. At speeds over 100 km/h the pressure variation pulled the top of the window away from the bodywork as the fibreglass flexed. I've learnt that the guides which run down into the door not only facilitate the correct movement of the glass when it is lowered, but also provide a counter resistance point for the pressure on the glass when the window is up.
The original frame is marked in yellow and the new frame in blue.
I shaped the channel for the first set of frames to include a retaining lip but this time I simply used stock channel and glued the Bailey Channel to it - fingers crossed!
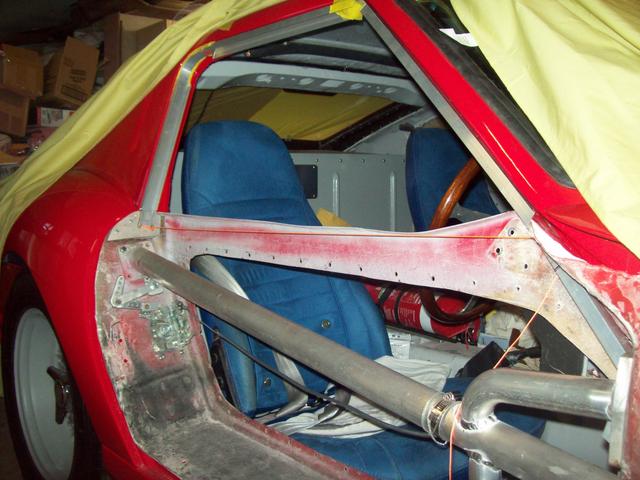
With the door and frame located I positioned the 'side sections' in place and tack welded. If you intend to use original frames I'd suggest you lay it out on a piece of ply and use a series of nails either side of the frame to fix in in position, i.e. make a jig. You could then cut out the 90 degree section and replace it with three pieces of metal as per my approach. You'll have to first strip and then re-chrome the frame.
After removing the tacked frame it can be fully welded.
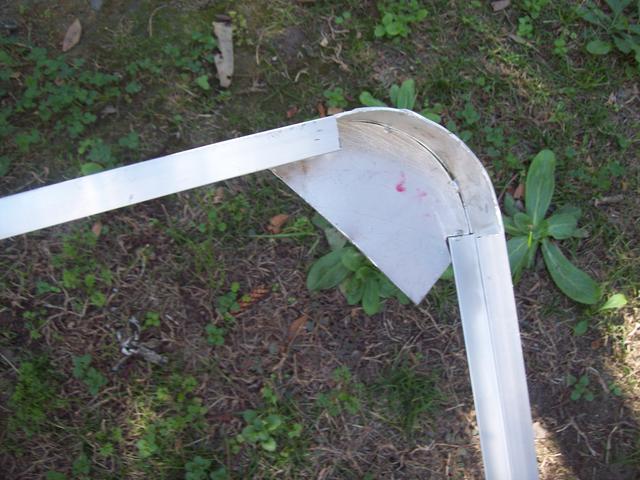
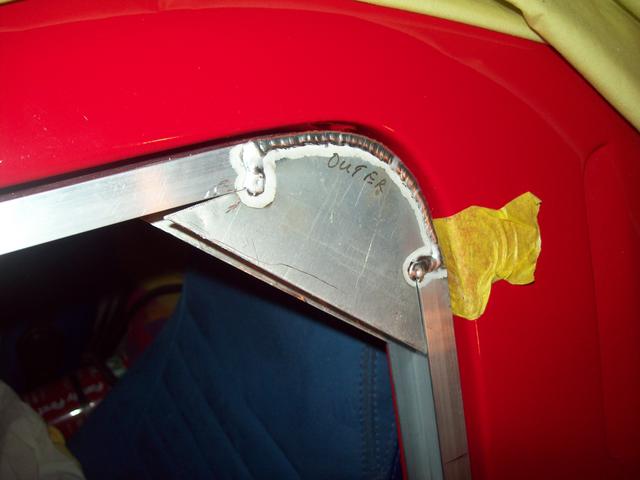
One more trial fit as it distorts very easily during welding. A bit of warming with a torch allows for fine adjustment.
A bit of trimming with Wiss snips and some linishing with a finger file sander and there you have it.
-
While I was rubbing it back for the final coat I added the radiused corner to the side windows.
-
Good to be able to post again. Thanks Brian.
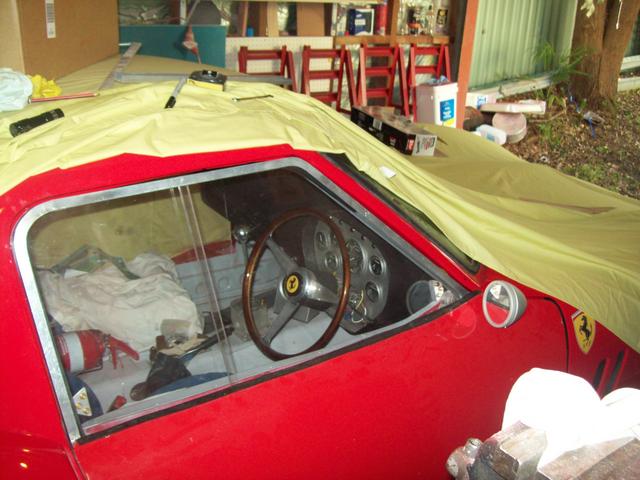
I've made a few modification during the 12 month evaluation period prior to final painting. Here is the first.
During the build I had a Perspex rear window made as I needed to drill holes to mount it, which I couldn't do with a glass window. This made it easy to mount a rear window vent. I must admit I did this purely for appearance but as it turned out it dramatically lowered the cabin temperature on hot days - we have a few of them down here!
-
Fair crack of the whip, sport.
There has been no 'reply' function on the "250 GTO Owner's" thread for 3-4 months, despite numerous requests on thie thread and directly to the Administrators.
Fair enough if it on a list 'to do', etc, but a little bit of communication would be appreciated - Thanks.
-
I still have this problem, although it is somewhat random.
In particular, I cannot reply to the "250 GTO Owners" thread.
Thank you.
-
After Photobucket's initial stunt of restricting 3rd party posting Google Chrome hit back with an 'extension' to address it.
It now appears as though Photobucket has tried again but there is, yet again, a response from Google Chrome. You just need to include new 'extensions.
Click on the 3 vertical dots in the top right hand corner
Click on 'Settings'
Click on 'Advanced'
Click on 'Accessibility'
Type in "photobucket" to the search in the top left hand corner
Click on 'Photobucket fixer'
You should see 3 extensions appear - I don't know which is best so just select all of them.
Restart Google and you should see images on all forums.
I think Photobucket would stand a better chance taking on Kim Jong-un than Google! -
Okay. I can't recall the exact details but as mine was a complete rebuild including new lines I probably flared the ends to match the valve and not retained the OEM flares. Sorry, it was a while ago and I'm struggling to recall all the details.


JCI mounts - clutch replacement
in Drivetrain
Posted
Sorry about the JTR and JCI info. I was some time ago and I got the info a bit confused.
I figured I was too old the try laying on my back and juggling a transmission on my chest and knees, so a mechanic friend did it at his workshop.
Absolutely no dramas. He removed the transmission first and then the bell-housing.
Had to replace the flywheel, clutch and pressure plates, and slave cylinder as a complete package.
He had trouble bleeding the system so I have the car back home and will fit a new M/C when one arrives.