

espeery
-
Posts
32 -
Joined
-
Last visited
Content Type
Profiles
Forums
Blogs
Events
Gallery
Downloads
Store
Posts posted by espeery
-
-
looking for the honda door handles if anyone has a spare set? I guess I could replate ones in poor shape. Let me know.
-
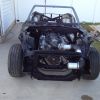
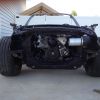
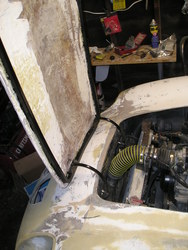
Thanks for the reply. Here are a few more pics. I painted with an epoxy sealer then followed that up with some VHT wrinkle black. Overall I am happy with the finish. I think I will change the hang down panels from wrinkle to satin black smooth regular paint. Engine is very close to firing up. Likely tuesday.

-
Update pics
-
I've sold my last two dashes. This one is for me. I'll finish cleaning up a few areas then paint it wrinkle black, both the face and body.
-
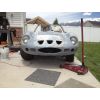
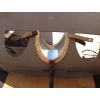
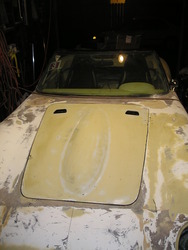
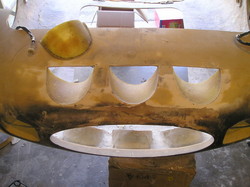
Wow, how time flies by. It has been a good four years since I really spent much time on my GTO. This past week I extended the front fiberglass section just over 4" to match the 280Z extension I did some time ago. I also recreated the top three air scoops. I also finished cutting out an aluminum face plate for my fiberglass dash. Over the next two weeks my goal is to have the body finished.
-
To attach the fiberglass hood to the metal frame, I used Fusor 147 made by Lord. Used by Ford and GM, I highly recommend it for any fiberglass to metal bonding applications. For the hood hinges, I found some pictures of the original hood hinges and replicated those. The hood relaxes about 15 deg. from vertical when open. Next I am cutting out the pattern for the radiator cap feature. I'll put you down for some hood scoops and bonnet hood latches.
-
For those interested, I've created a website with my progress pics. My kit differs in that I created the molds or altered an existing kit to create a unique design. The changes that I have made to the body are:
-Oval mouth, smaller brake coolent vents
- small hood with air vents
- convertable
- replica fiberglass dash w/ removable nacelle
-bottom air scoops
I will also have some replica hood pin sets and rear tail lights for those interested. I am currently working on plexi clear air scoops for the hood.
You can visit me here
http://www.cardomain.com/ride/2922491
Eric in So. Cal
-
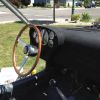
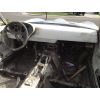
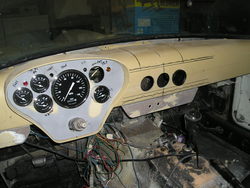
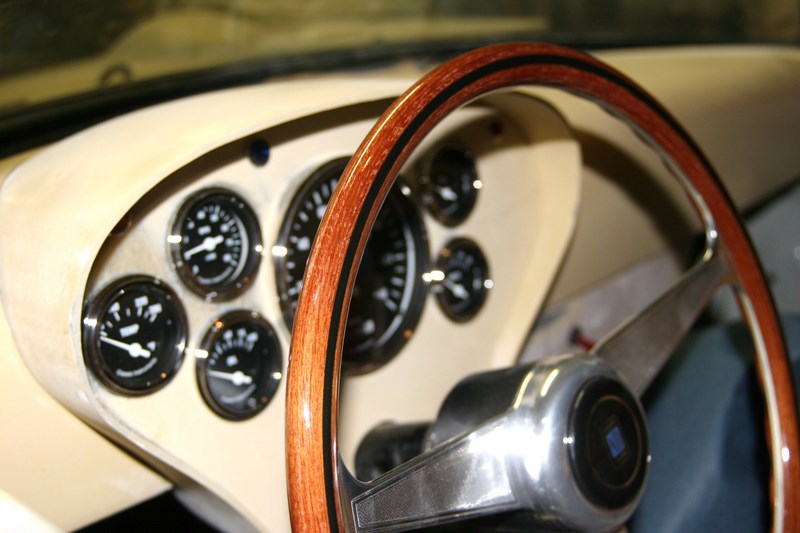
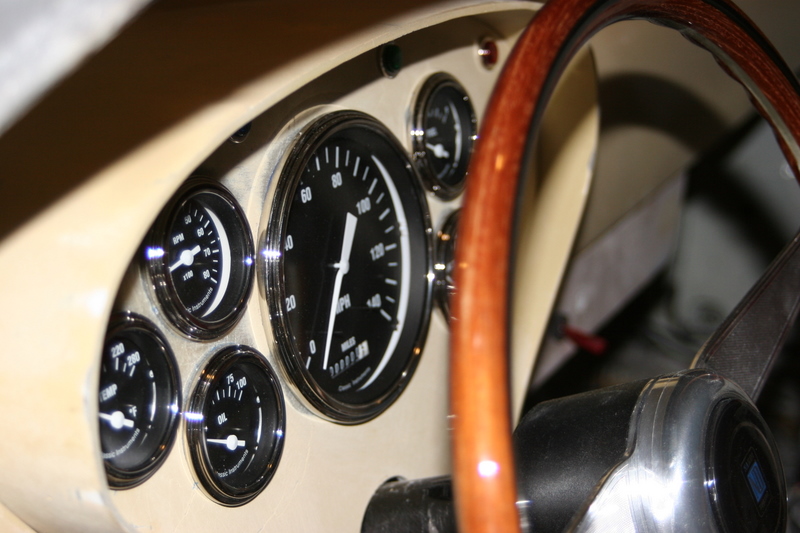
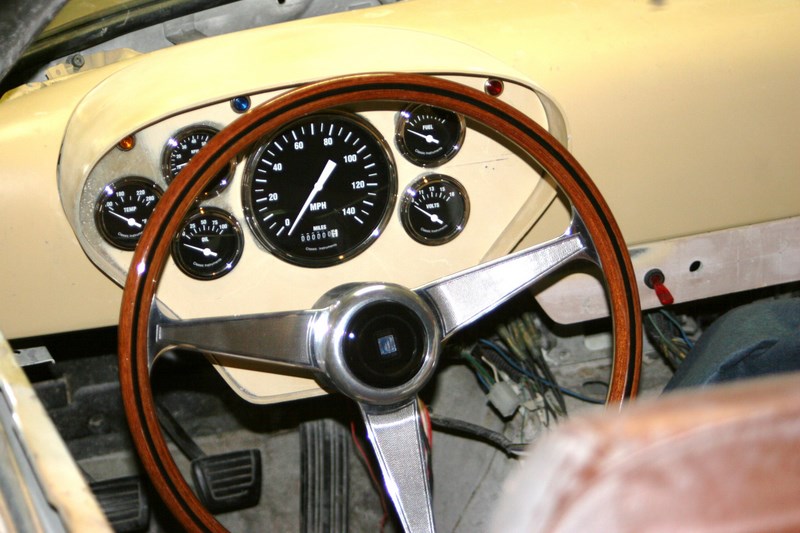
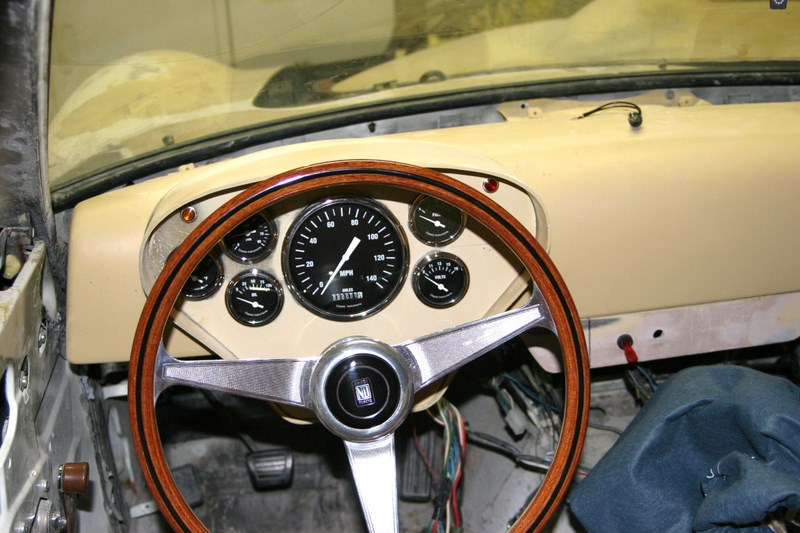
I have been looking around for the right gauges that have the vintage race feel as well as gauges that resemble the original six gauge layout - one large gauge in the center and five smaller gauges. I decided to go with a 5" speedo in the center as opposed to the tach and five 2.25" smaller gauges. I drilled the holes and mounted the gauges in the removable Nacelle.
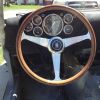
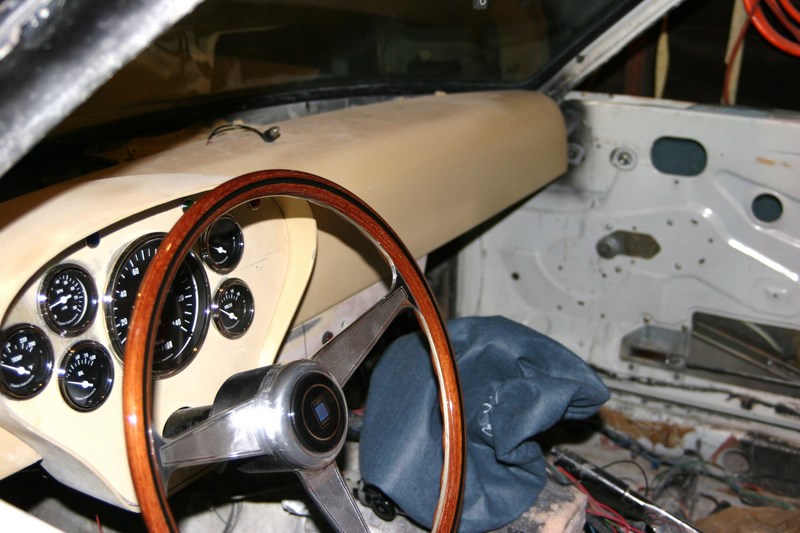
Its taken me a lot of time to finalize the dash and gauge setup but I am happy with the results. Here are some preliminary photos of the fiberglass dash, gauges and Nardi steering wheel. I will be painting the dash crinkle coat black.
I will also have a switch panel as seen in the pics which hangs from the dash. This panel will have the key ignition and various toggle switches. The only column switch will be the turn signal.
The next step is to finalize the heater/fresh air dash vents.
I took the car for spin the other day. That LS1 really moves!
-
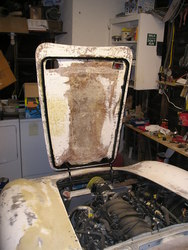
I recently finished a dash that replicates the original GTO dash. The design allows a removeable Nacelle and faceplate as well as the same gauge layout as the original six gauge layout. I used the datsun dash frame in the design, so you can use the old datsun frame to mount and secure the dash.
In the process I created some fiberglass molds so I could make a few extra.
If anyone is interesed let me know. I'll post some pics within the next few days.
Thanks for the comment Chelle. I just won a small victory! Jan. 2 I waited in line at the DMV early in the morning to get a specialty construction registration pass so I can register this car as a home made car in California and so I will not have to pass the CA smog regulations. CA only issues 500 passes per year to the entire state of CA! I desing Garrett Turbochargers for my day job and I am thinking of turbocharging this LS1!
-
Zerrari,
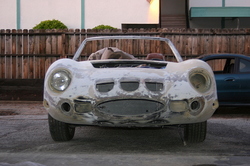
Sorry if I wasn't clear in my post. I made the fiberglass body from molds that my dad had. The more I look into it - it seems that the body molds were made from the alpha kit. There were a few things I wanted that the alpha kit lacked. So I created an oval mouth, smaller circular air vents, bottom air scoops and centering the fog light locations. It has taken some time, but it coming together.
-
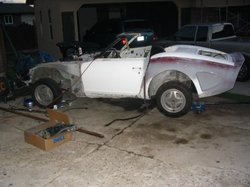
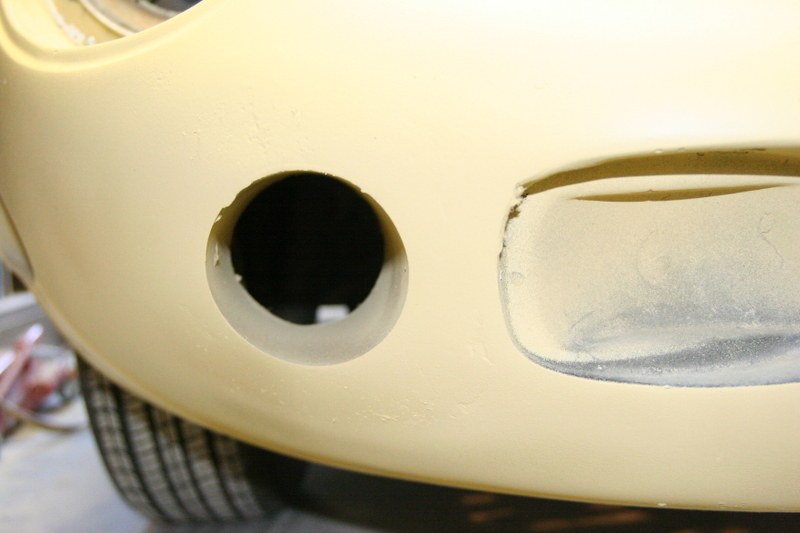
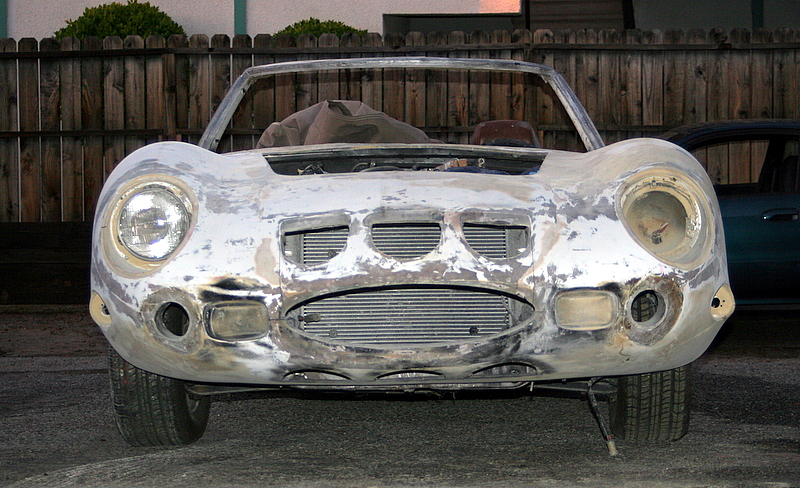
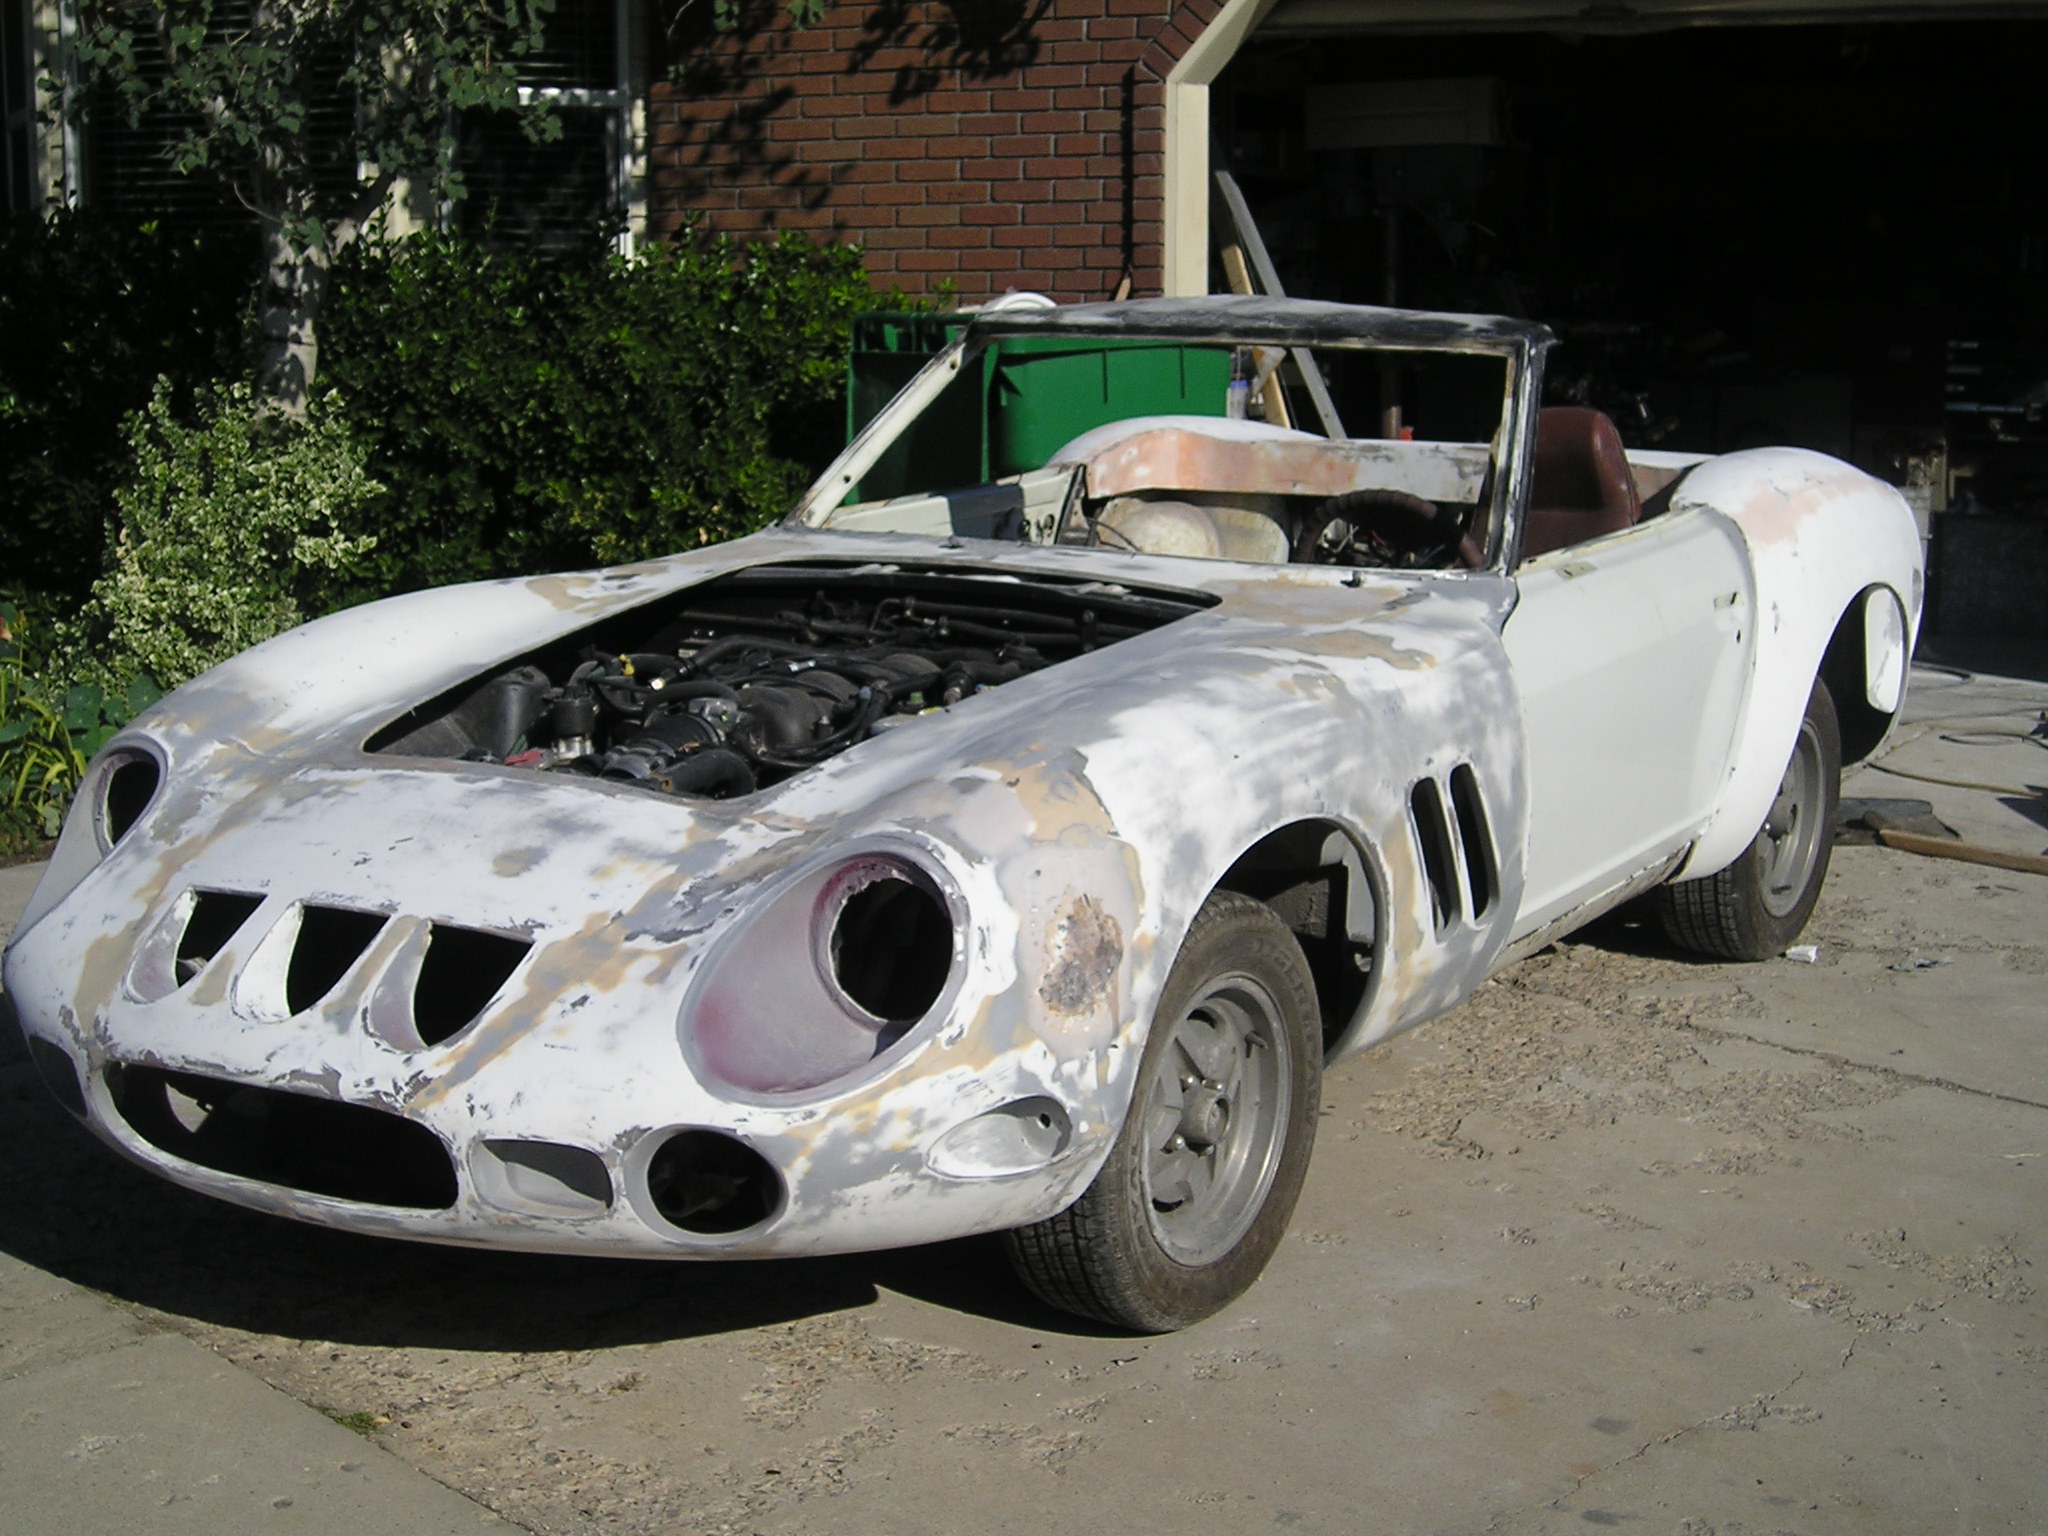
I've modified the front end of the body to include an oval mouth opening, ground air scoops and smaller circular brake cooler vents.
Six weeks later and this is where I am.
The before and after pictures are included.
I am pushing to get this project wrapped up this summer!
-
I'm about 70% of the way finished and it has taken me 4 years, but I didn't buy a kit.
-
Steve,
You are in LA? I live in Torrance and I am building a Ferrari GTO replica right now. I was at the LA Auto show yesterday and I ran into Tom McBurnie from Thunder Ranch, http://www.thunderranch.com. He is selling his kit with all the body panels and lights for around $3000. He is located in San Diego. I thought that was a pretty good deal!
I was talking to him and he said that his kit was an improvement from the Alpha 1 kit and that in the 80's Ferrari sued he and Joe. Joe was sued for the GTO and Tom was sued for a different kit.
I guess the laws have since changed and Tom is still able to sell his GTO kit
-Eric
-
So the paint code is 20.456. Any idea what company would recognise this paint code?
-
Does anyone know where I can get the orignal GTO color? I found that it was called Rosso Cina or China Red. Anyone have a paint code?
Thanks.
-
How do you post pics in a forum such as this?
-
I need some help finding someone who is interested or knows someone who would be interested in buying my Ferrari GTO. Built on 72 datsun z chassis with fiberglass body and chevy V8. The body is tight, and in great shape. I also have original or knock of parts to match. Does anyone know where a good place to advertise this beauty?
Eric
-
I have done numerous searches, but it is difficult to get a good understanding when my specific questions aren't being answered. I find it difficult especially when some topics aren't thoroughly covered. I would appreciate some personal correspondance from those more experienced that can walk me through my issues.
-
I heard that you can use 80s camaro radiators for this swap? What have you all used that works good?
-
The car is a 78 datsun 280z. Sorry I forgot to mention it.
-
I have been trying to gain all sorts of various info about the LS1 swap, but it has been hard to figure it all out. Could anyone answer these questions:
1. Where do I place the engine in the bay. I want to build some motor mounts and I am not sure where the best place I should put the engine.
2. What is the cheapest best fuel pump to use and where do I mount it?
3. What should I do for the wiring harness? SUggestions?
4. What radiators work best for this swap?
5. What guauges are being used?
6. How do you fix the driveline and make sure it matches up correctly?
7. I am missing a lot of questions.. any other helpful hints would be great!
Please email me if you wish: espeery@email.byu.edu
Thanks,
Eric.


250 GTO Owners Thread
in Body Kits & Paint
Posted
does anyone have any honda civic cvcc door handles?