

rjstcroix
-
Posts
38 -
Joined
-
Last visited
-
Days Won
1
Content Type
Profiles
Forums
Blogs
Events
Gallery
Downloads
Store
Posts posted by rjstcroix
-
-
Hey,
This might help if you haven't already checked:
http://atlanticz.ca/zclub/techtips/wipermotor/index.htm
Regards,
RSC
-
Pete,
Awesome work. Bad Dog 2.0 is going to be a savage. Looking forward to the plot.
Regards,
Ron
-
Hey,
Not that it really adds to the technical discussion of the seadoo supercharger but, I know and have personally viewed a 240Z with an L28, 3.1 stroker. It has been worked over to receive a STILLEN 370Z supercharger.
The intake appeared to be a BSR/AZ Car 4bbl modified to adapt the supercharger.
This is the supercharger:
Should be decent.
Regards,
RSC
-
Agree with TimZ. Although a little heavier than the nomex we used braided stainless FI hose on our rally car. But I will vouch for the needly, prickly nature of working with braided stainless. Wrap some electrical tape around your section then cut to length and it comes out neater. Oh and WEAR LEATHER GLOVES! Stainless splinters are no fun.
Availability, ease of installation, cost, ability to take some damage and not crush/break were our considerations since we can have anything happen on the rally we run. White picket fences seem to attract rally cars like magnets for some reason. ;o) Ditches, lakes, ponds, bogs, forests, cliff sides and the Atlantic Ocean are our run-out areas so we've got other special considerations as well.
We also installed a surge tank, and made both the feed and return the same I.D. so we could swap either over for feed in the event of damage (redundancy factor).
-6AN feed and return lines (to/fro surge tank/bulk head fittings) and -8AN under the hood from the surge tank to the pump.
Hope this helps.
Regards,
RSC
-
Hey,
I haven't been so fortunate to get the jump on some of our more senior members/adminstrators as I have on this occassion. Maybe its one of their off days considering the holiday weekend. I'll play admin for a moment, please endulge me.
That said, here's pointer #1, the only one you'll ever need while on this site:
SEARCH!
Its been done many times over.

(Sorry, just had to do it man.)
Now you got me feelin' like an asshat so I'll throw you a bone:
http://forums.hybridz.org/index.php/topic/56983-heres-an-easy-to-make-surge-tank/
Tony D, J Coffey, RTZ, BRAAP, et. al., you're welcome. ;o
Happy Easter.
Regards,
RSC
-
Hey,
Check out these links. Call Al, he's got top shelf remanufactured heads, short blocks and long blocks. Many other OES, OEM new, NOS and performance parts too.
http://datsunpartsllc.com/cart/index.php
http://forums.hybridz.org/index.php/topic/98930-free-shipping-use-promo-code-targa-240z/
http://targa240z.com/wordpress/archives/718
Check out this group buy special exclusively for Hybrid Z Until April 30, 2011
http://targa240z.com/wordpress/archives/780
I've personally seen Al's reman'd parts. Everything is restored to new, replaced with new and to a standard that is higher than factory. You can't go wrong with Datsun LLC's services and parts. Thanks.
Regards,
RSC
-
Hey,
Nice stuff. MMmmmmmm....car candy...yum!
RSC
-
Hi,
I just parted out a '77 280Z. Have Rad, Hinges, and a bunch of other parts. Nearly a complete car. Engine, driveline and suspension we're all I was really interested in.
The rad is in good shape, not leaking, it was re-cored about 5 years ago and holds pressure fine, etc. The hinges are also good, not bent, broke etc.
Its at my storage locker so you'll have to bear with me for some pics until I get out there. Will try to get out there in the next week or so.
Let me know if you're interested.
Thanks,
Regards,
Ron
-
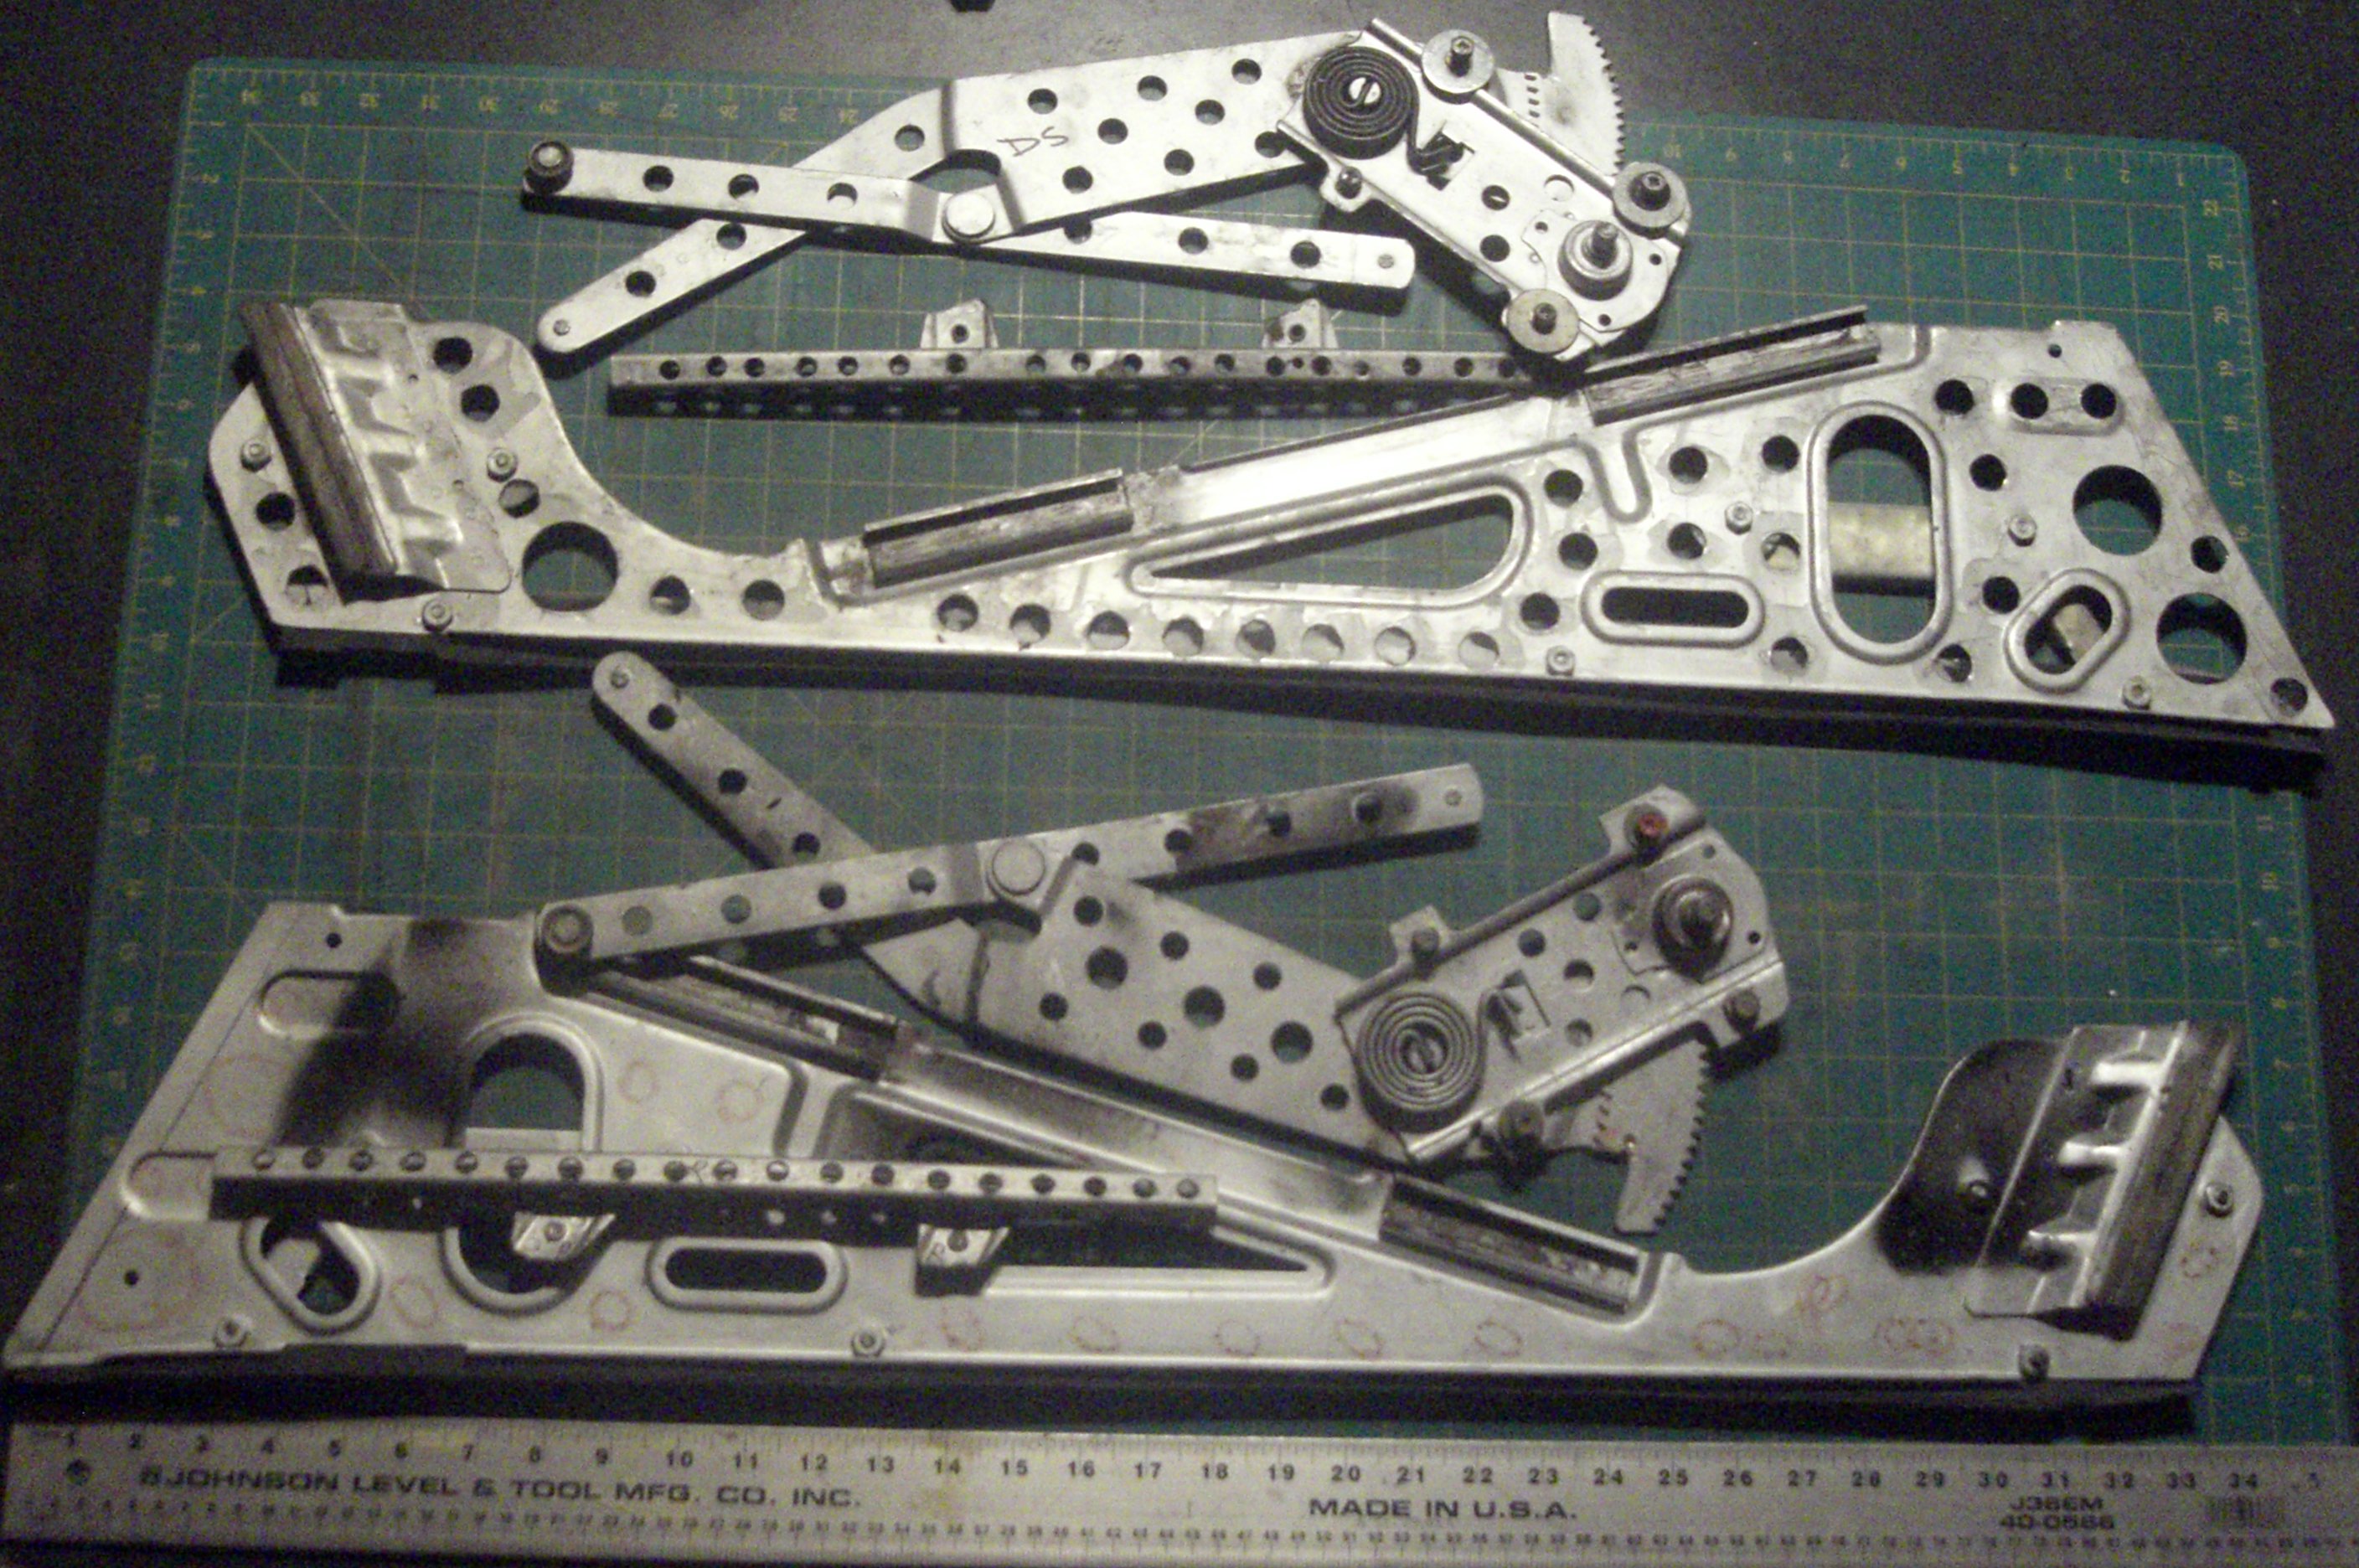
Hi Wyn,
Here's a pic of the runners from the 72 240 I have. Check the PM I sent you and return the PM with your thoughts.
Thanks.
Ron
-
Hey Boy from Oz,
Nice work, been contemplating a similar mount for our build. We used Bad Dog Subframe connectors for our chassis. The rails project about 1.25" from the bottom of the floors so doing a tube through the rail for structure is a little more involved with some extra plating etc. Haven't fully engineered this do-up yet though.
Looks fairly straight forward, wouldn't have a dimensioned drawing available from your setup would you?
Thanks.
Regards,
RSC
-
Hey,
Check out here:
http://targa240z.com/wordpress/archives/718
Then here:
http://targa240z.com/wordpress/archives/780
Then here:
Pass it on. A group promotion in support of our 2011 Targa Newfoundland campaign!
Don't forget promo code Targa 240Z for the Free Shipping in your email title.
www.targa240z.com
Thanks,
RSC
-
Hey,
If its just spotty surface rust clean it up, wipe it down with some neutralizing agent, warm it up to liberate moisture (wifey's/gf's hair dryer will work) and then spray/feather it out with some good self-etching primer.
RSC
-
Hey,
Take a 27mm impact to the bolt if you haven't moved it already. If the cyl head is still on you could use the old rope trick down the spark plug hole to keep the engine from turning over. Or put the flywheel bolts back in and use a bar to block the rotation of the crank then take off the bolt. Have someone hold the bar or jam it against the engine stand to keep the crank from rotating.
If the damper doesn't come off after removing a bolt use a couple of well placed whacks with a rubber mallet on the back of it. Should come right off. Use some penetrant if the damper is still a little cranky. (PUN intended)
You'd really have to do something wrong to break something up. Don't be afraid of it.
RSC
-
Z-Ya,
Awesome looking engine build, very high quality.
I call dibs when you want to sell the engine. hahaha
You guys are going to clean up in the vintage racing, just like BSR and BRe did when these cars we're new! Wicked!
Cheers,
RSC
-
Hey,
Gettin' freaked out huh? Contrary to most of the main rules of this site I will spoon feed a little here, just a nibble, cause I'm in a good mood, watching Lawrence Welk on PBS, Big Band Bash, HA!
This will get you started:
http://www.xenons130.com/reference.html
Regards,
RSC
-
Hey,
Mold needs moisture to proliferate. For long term storage in an unheated building, put a low wattage incandescent light (20W or less) in the vehicle turn it on and keep it on. Beats heating an entire garage to keep a car dry. It'll provide enough heat to keep the humidity at a reasonable level. Try to rig it so its suspended and not touching anything directly. Use a small piece of Aluminium foil over top like a shield to deflect direct heat. Rubbing (isopropyl) alcohol works to clean/remove and destroy it but it will also dry out vinyls and leather. Use some type of treatment to restore the textiles.
BTW: MacGyver approves. ;o)
RSC
-
s30zgt,
Messed up carbs? Time, effort, $$$, parts, refinishing/restoring, consider all these things. Do it what ever which ever way you prefer. Either way you'll come to the same conclusion: Z Therapy reman'd SU's are the best solution to correcting worn out SU's for the Z car.
Regards,
RSC
-
Hey,
An issue we had when seam welding was the minor presence of crap/crud in the seam. The weld would pop, hiss and sputter like mad. Before some of you jump to conclusions and say "you must only weld clean metal" I should let you know that the metal was sand blasted bare, wire wheeled, scraped and picked clean then sprayed with some degreaser before a final cleaning of the base metal. And, yes, the welder was setup right so no tree to bark up there either.
Even after going through all that effort there was still enough crud in the minute crevasses to cause a poor weld. In the end we decided to minimize the amount of seam welding just because of the poor end result. There was some thought and discussion that our problem could have been as a result of factory applied seam sealer and undercoat that is present in the lap joints of the seams which caused the crappy welding.
Either way we adjusted our build plan as a result of the problems we encountered.
The 0.30 wire is too big for the delicate body metal of Datsun. 0.23 solid wire with about 20lbs. CO2 gas pressure, Voltage on 2 and wire speed on 3 with our Lincoln 180 made for a very consistent and controllable weld. Also a pre-heating of the base metal with a propane torch liberated moisture and minimized the cold start issues on the bead.
Regards,
RSC
-
Hey,
Use one of these tools...the blade end for removing your trim. The round end for going around the perimeter of your windshield. Make sure the little ball is between the moulding and the body of the car not the moulding and the windshield grove in the moulding.
Do not pry on the glass, breakage will result.
Get in the passenger seat and put your foot up on the top corner. Push with good firmness. Apply steady pressure moving along the top edge and then along the side B-pillar. You should feel the windshield beginning to move. Once the lip of the moulding has popped off the body edge you can use moderate foot pressure to remove the windshield.
Use the "old twine in the windshield moulding" method to replace the windshield.
Take your time, it'll come out without breaking.
RSC
-
Hi,
Great looking cover. I'm in, black anodized please. Let me know when and how payment is to be received.
Thanks!
RSC
-
Look great Jon!
Are you though about a top to the dash? I'm in the process or figuring out a dash for the Bad Dog, and I'm planning on a having a top that has the same krinkle finish. The main reason is glare. I've been in race cars with minimalistic dashes where the reflection off the windshield from everything behind the instrument panel is distracting. A solid black, low glare panel fixes that.
The actual instrument panel will be satin black so that P-Touch labels will stick.
Are you putting the switches on a panel covering the ash tray cup? I'm putting the start, fuel pump, and ignition switches there.
Pete
Hi Pete,
Here's a kit that will accomplish what you're looking for...
http://www.donjer.com/products.htm#Suede-Tex
I know a few guys in rally have used these kits. The results are best measured in the preparation and application of the kit.
Regards,
Ron
-
Hey,
Just thought I'd chime in with my experience on the spindle pins. Tried soaking and taping, soaking and taping. No dice. Passenger side came out with some convincing, tapping, heat, a puller and a lot of swearing!
Left side...more aggravation, effort and 10X the amount of swearing. I think I actually invented a few new curse words. No dice.
Anyway, cut the LCA off, heat, penetrant and 2200 psi on an industrial hydraulic press and the damn thing moved 1/16 with a big bang! Finally broke her back! It actually startled me when the whole thing when BLAM! Then I smiled to myself as I was the only one around, and said, now your done, you little bit@#!
Successive applications of the press in the range of 1000-1500 PSI finally got it to where there was 2 inches of pin left in the barrel...it still took 300 psi to push that little bast@rd out!
Hoorraahhh...pins out!
Regards,
RSC
P.S. Wouldn't normally post with swearing but it feels better after going 10 rounds with a little pin. HA!
-
Hi,
Serious build...looks great. Interested in the electric power steering adaptation. As others, I'd like to know more. We've been looking into other setups for our rally car but this appears to be a straight forward setup. Using a GM part makes it more available than the Suby rack adaptation others have gone through.
Wondering what feel the driver would have. These come on the Malibu, Cobalt and G6 probably many other GM products in North America. Some of the commentary on feel is that there is not quite where it should be for spirited driving.
Looking forward to more info...awsome work on the project.
RSC
-
Hey,
You're in CA right!? You can find so many quality Z cars that are nicely done, ready for the road for much less time effort and $$$ it will take you to put that thing into any sort of road worthiness.
Don't get into project car hell, save your friend the aggravation of trying to perform a miracle. So many Z's on the west coast for less than $5K that are immediately driveable.
RSC
edited: sp.


Autism Awareness 570Z
in Body Kits & Paint
Posted
Hey Bartman,
Great work! Here's some other enthusiasts who are doing some work in support of Autism Awareness:
http://www.racing4autism.ca/
Also, we're auctioning off a door from last year's Targa 240Z rally car at ZCON this July and a portion of the proceeds will go to the local Autism Society here in Newfoundland. Additional proceeds will go to the Japan Disaster Relief Fund and a couple of other charities. We've got 2 fenders and 2 doors from last year's car that will all be auctioned off at various venues all in the good name of charity.
Keep up the good work!
Stay tuned to
http://www.targa240z.com/
Regards,
RSC