
KAZU
-
Posts
296 -
Joined
-
Last visited
-
Days Won
2
Content Type
Profiles
Forums
Blogs
Events
Gallery
Downloads
Store
Posts posted by KAZU
-
-
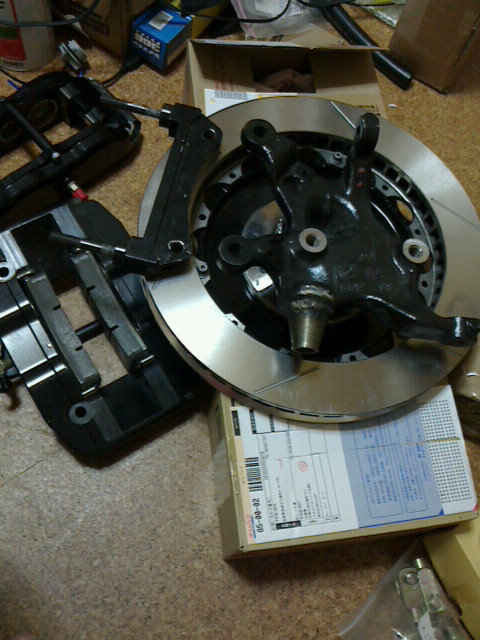
Front struts is still 240z right now. My setup is Z31 turbo hubs with wilwood Pantera hats, Coleman 13" rotors and 1st gen Viper calipers.
These parts will be replaced with E36M3 spindles with 330-32 AP floating rotors, wilwood 6 pot SL calipers.
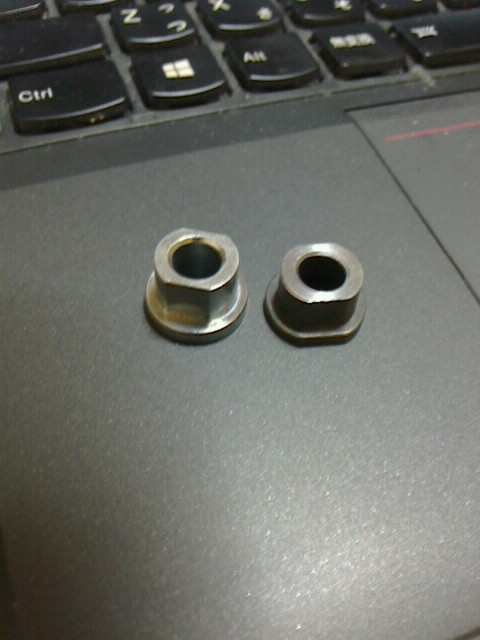
I finally got sets of AP floating rotor bobbins. Taller bobbins have too much floating play. I'll use shorter set.

Also I've gotten a set of Wilwood rotors and hats which I do not use. I'll order a set of billet hats for AP rotors.
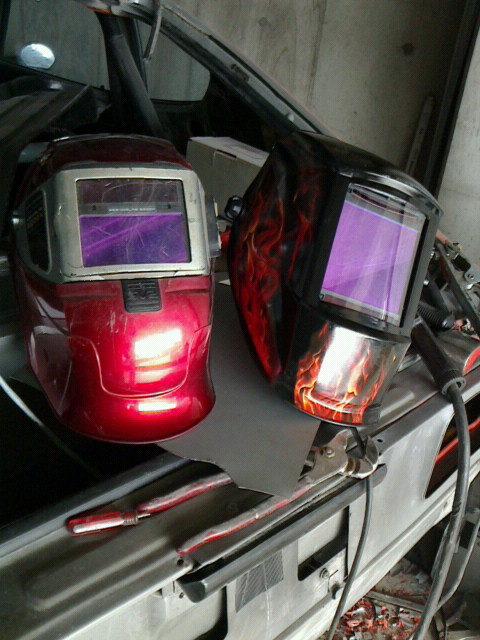
New welding helmet is amazing. Less than $100 and large lens area.
-
Hello guys.
I spent 3 months to pass the paper work for the engine swap. In Japan, engine swap even on old cars requires proof of engine specs, proof of strength of drive shaft, engine mounts, etc. My car had been registered with RB26 and RB25 I swapped at this time is essentially less power so it is generally easy to prepare the registration application. Problem was the inspection officer was so young, not so experienced. When the application was accepted, he said that this application was good opportunity to study how to review the engine swap registration. During the period I also completed the application for rack and pinion, LCA and steering shaft swap.
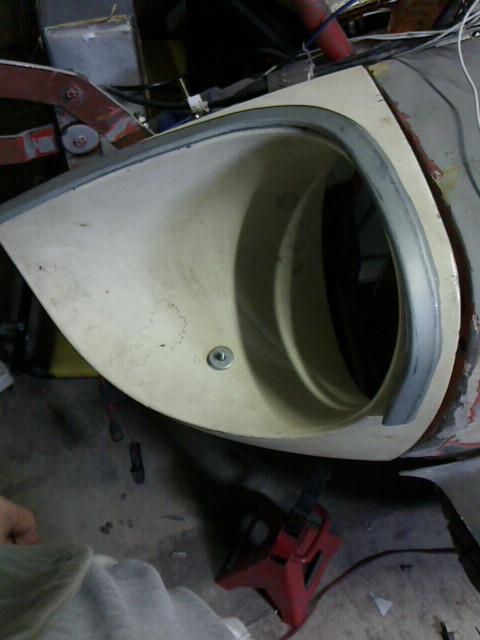
I've already gotten reproduction headlight covers and used genuine trims. My car is for track use so I do not want put the genuine trims. I am going to fabricate the cover trims because no reproduction attempt fulfilled until now.
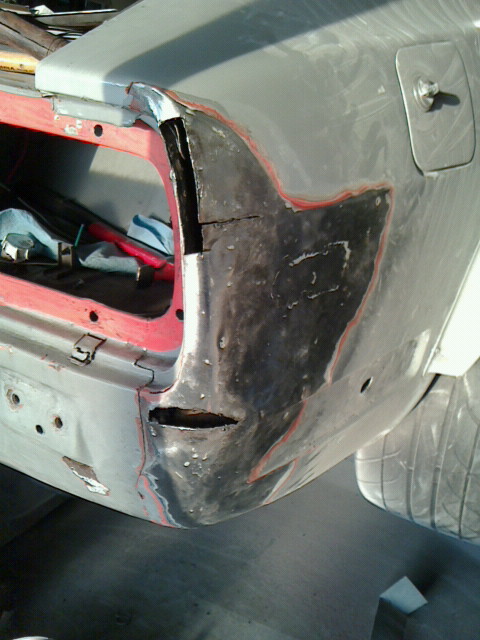
Rear collision is repairing.
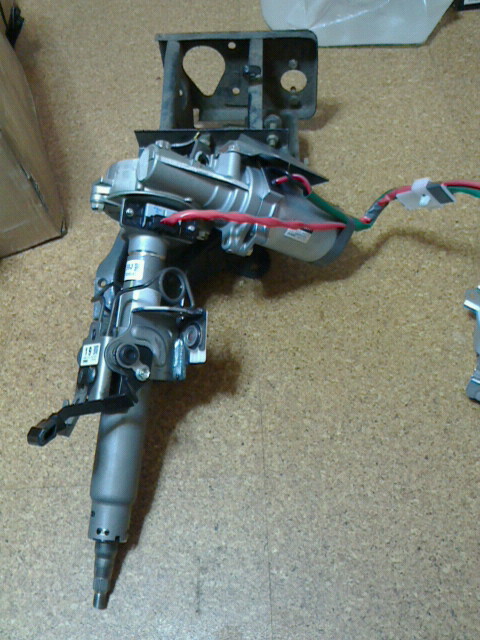
I am going to use Prius power steering shaft. More power than Suzuki k car's which is on my car now.
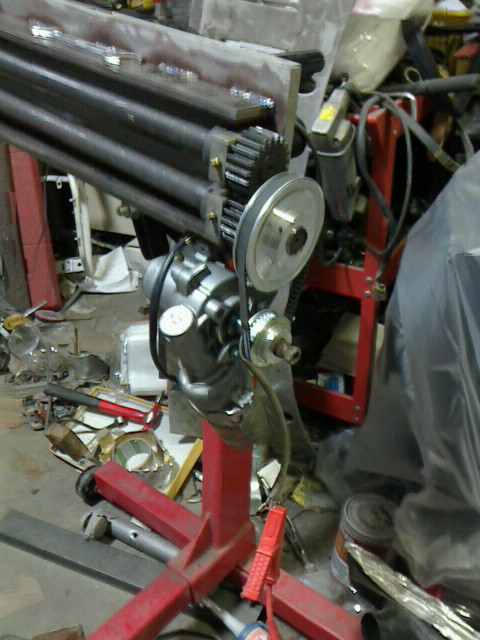
Bead roller DC motor modification.
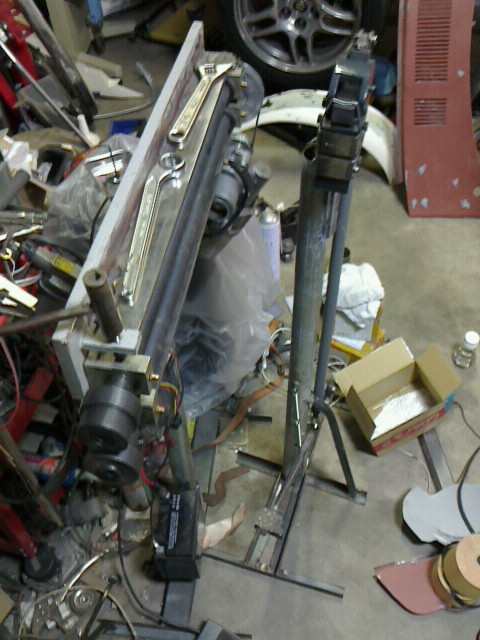
I also made pedal-actuated shrinker.
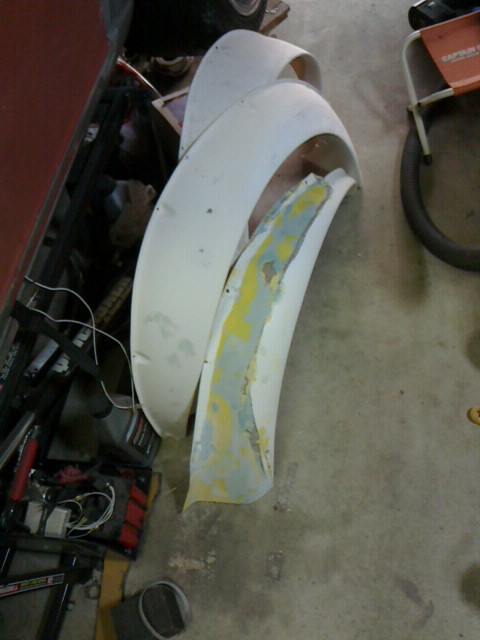
Flares cracked here and there. Repaired with fiber glass and filler.
-
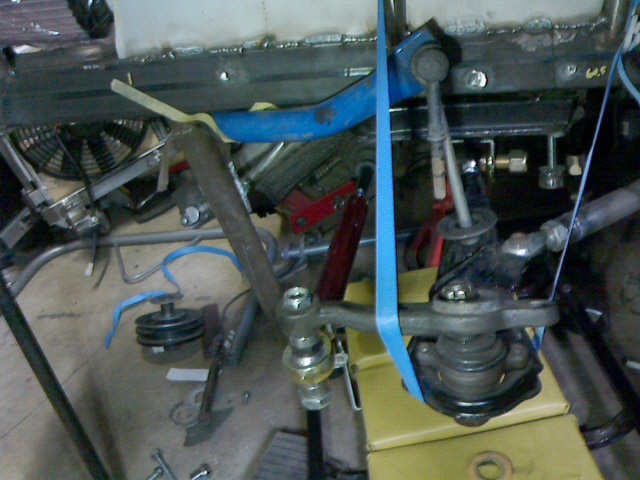
It sure is, and, if you look at my pics and those videos you'll notice that i cut floor off much more. IMO those swedish guys ruined suspension geometry by mounting subframe too low. It will work but it's far where it has been origi ally designed.
I agree with you 100%. You placed the subframe appropriately.
-
My Z has RB25 with Tilton RB26 clutch and flywheel, and SR20 transmission. I think the input shaft is identical to another. Differences between them are rear housings, the length of the main shaft, and the lid shape of the shift mechanism.
-
Bell housings are completely interchangeable. You'll just need wrench, sockets, rubber hammer and a tube of silicone gasket.
-
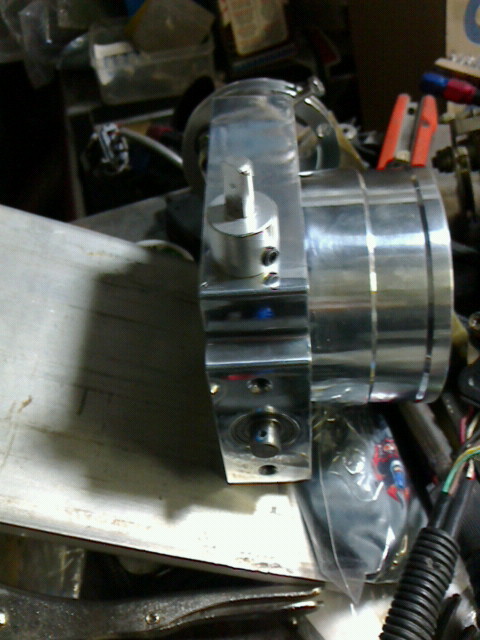
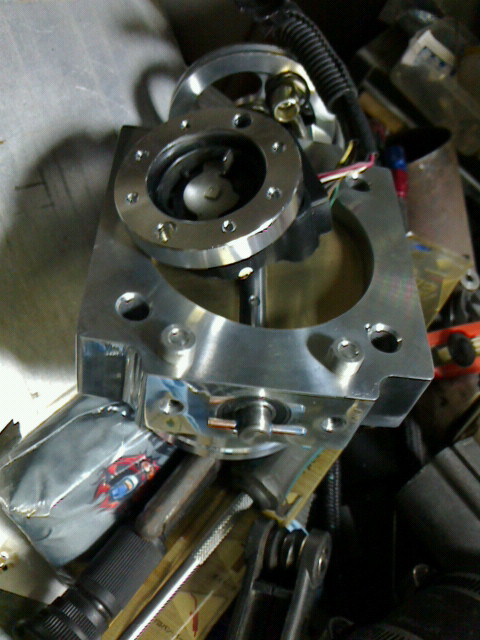
I modified China TB to mate with stock RB25NEO TPS. The butterfly shaft was drilled and got a piece of TIG welding rod in with a bit of Loctite.
-
 1
1
-
-
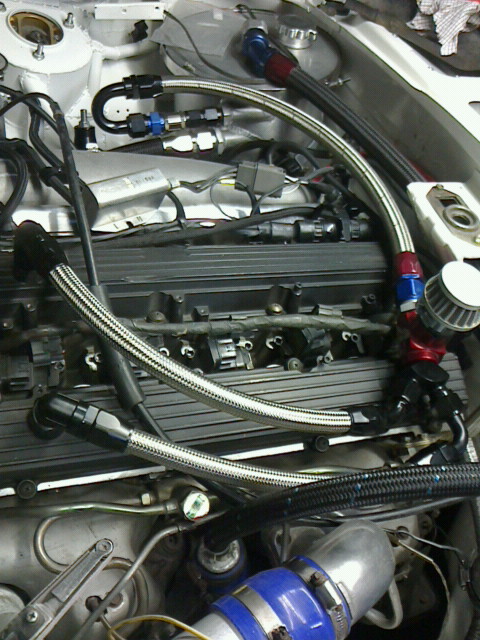
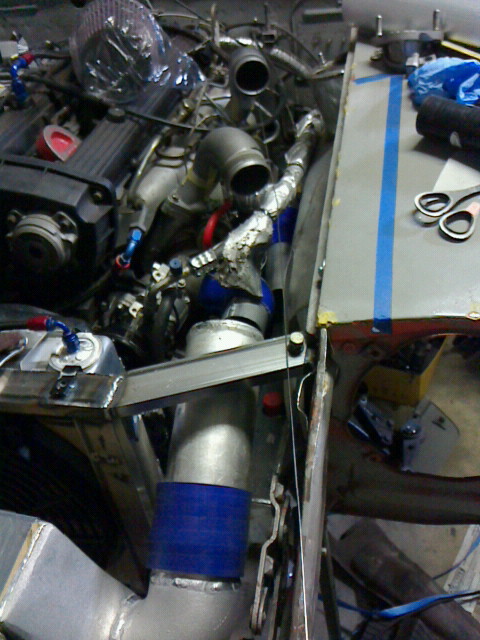
Finalizing the plumbing.
Need false floor.
Engine crank case vacuum regulator.
-
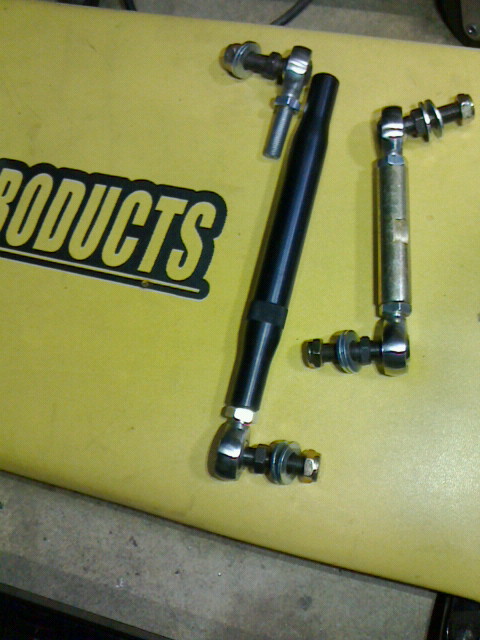
Hear it is.
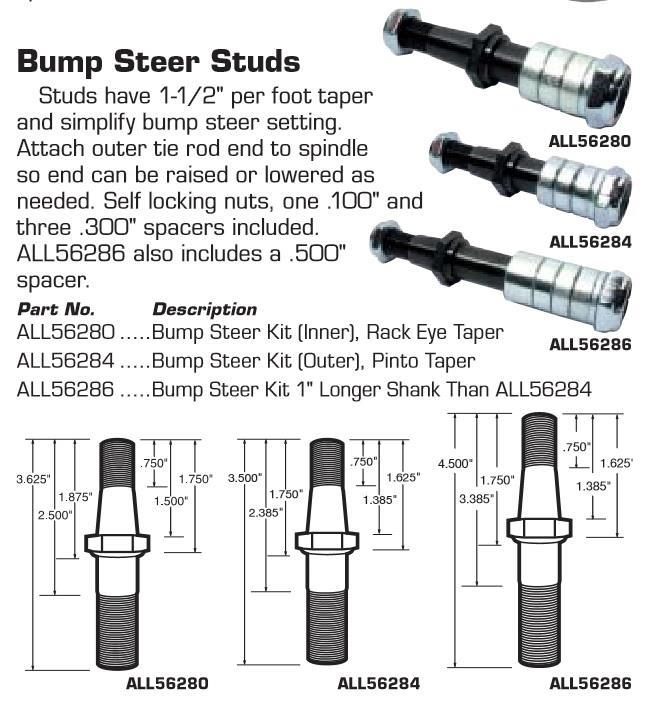
I bought longest and was realized too long and bought another set but I am not sure which one. They are sold as individual so you need two.
The reamer is 1-1/2" taper which I found on amazon.com. The cheapest I found was just fine.
Reaming with hand-held drill is not so difficult. It tends to drift (tilt), but can be corrected easily. Just check frequently until the stud seat in the taper. Slow speed, moderate pressure and big drill (800 w) may be the points. Or, just fix the arm on the drill press until you satisfy vertical of the hole and go.
Forgot to mention, taper reaming requires cutting oil.
-
Mike,
Where did you find the M14 x 1.5 tube ends? I looked for those a while back without much success.
I was planning to go the same route that you did with the Moog ES323 tie rod ends.
Search on ebay McGill Motorsport.
BTW, I don't have any TTT parts. I'm using Allstar bump steer kit. I enlarged the Datsun knuckle arms to Pint taper.
-
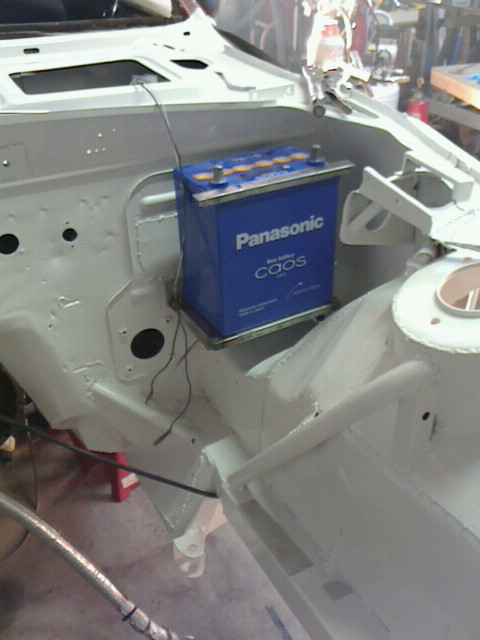
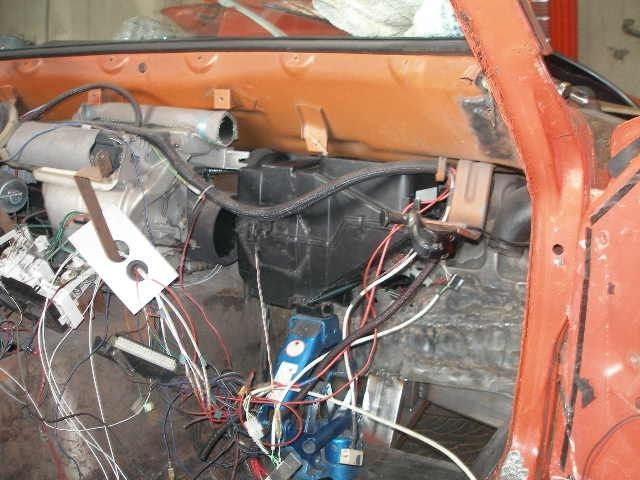
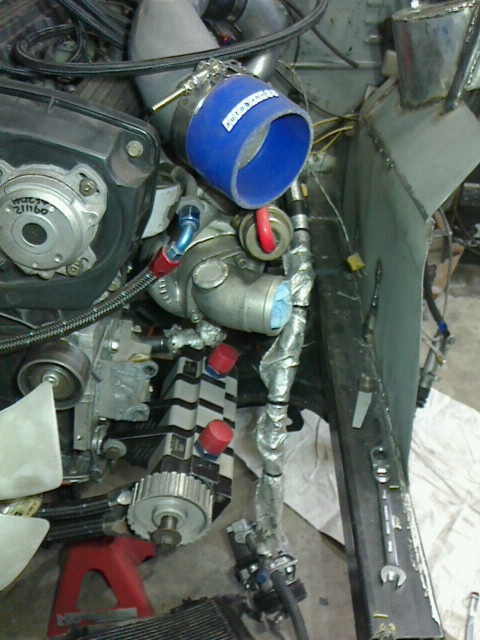
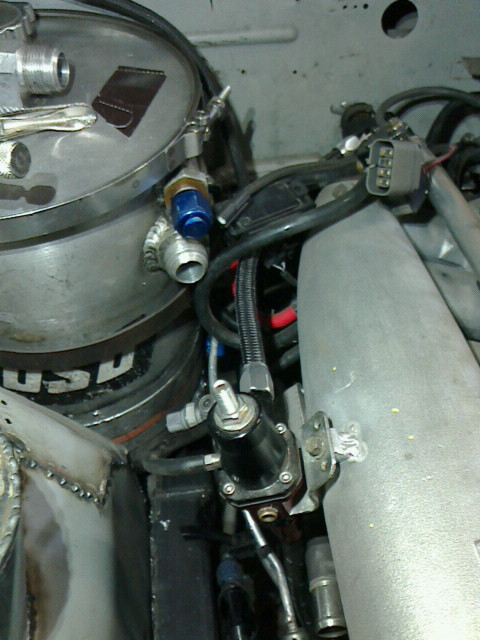
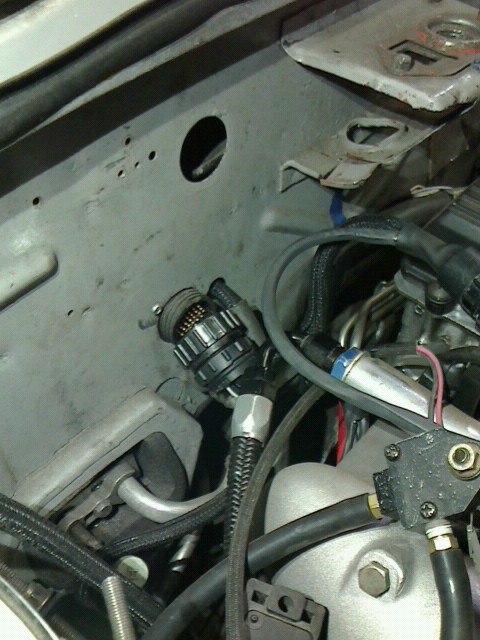
Battery is relocated from behind the seats to engine bay. Mine doesn't have master cylinders there. Passenger side is occupied by oil tank.
A trigger wheel once was mounted on the crankshaft. The problem is the sensor mounting. I can't figure out how to design a rigid sensor bracket.
Crank case vacuum control plumping. Cam covers to vacuum regulator to one-way valve to the oil tank.
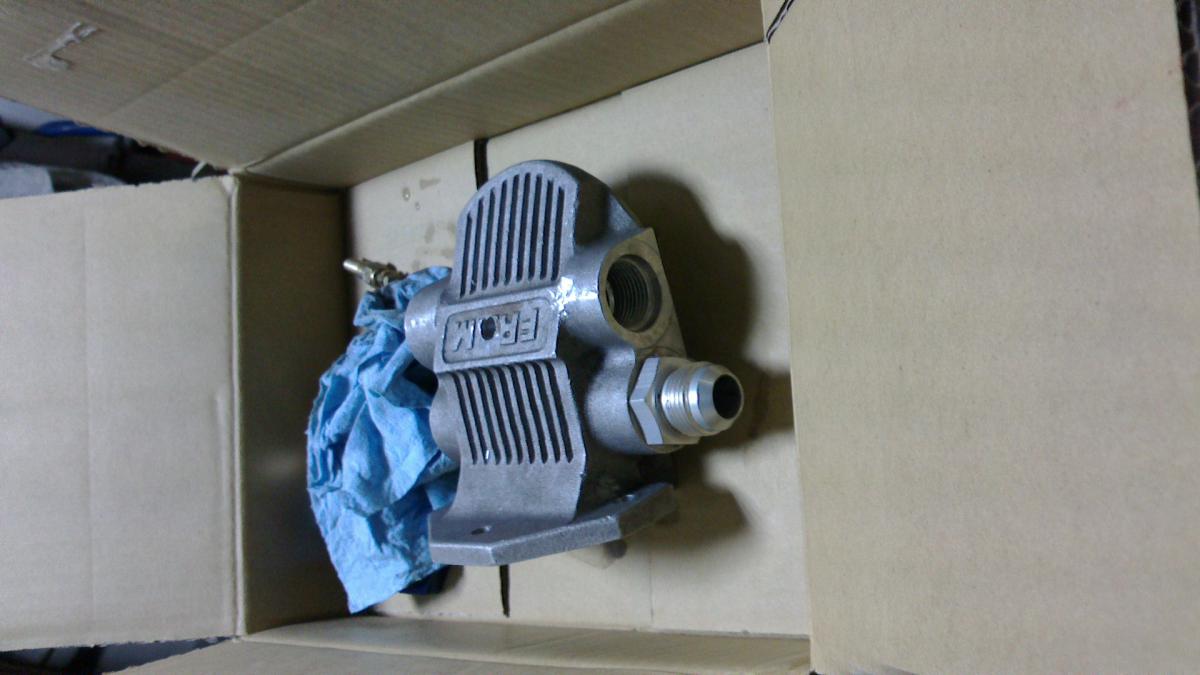
Oil temperature sender is relocated because I placed it dead end of the oil passage in the filter block.
-
Oil filter mount.
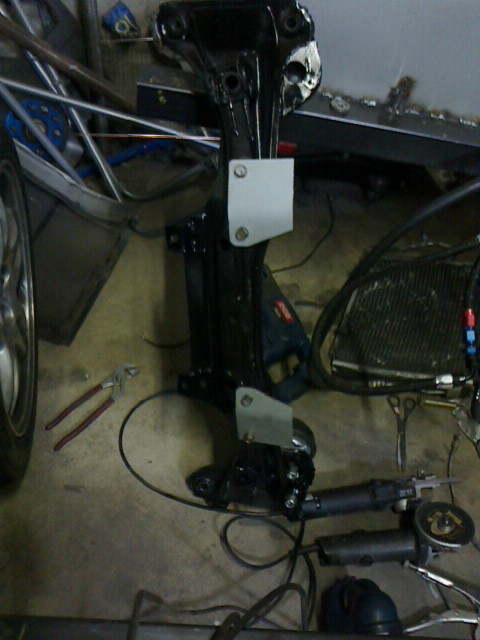
Brace between front cross member and TC rod pivots.
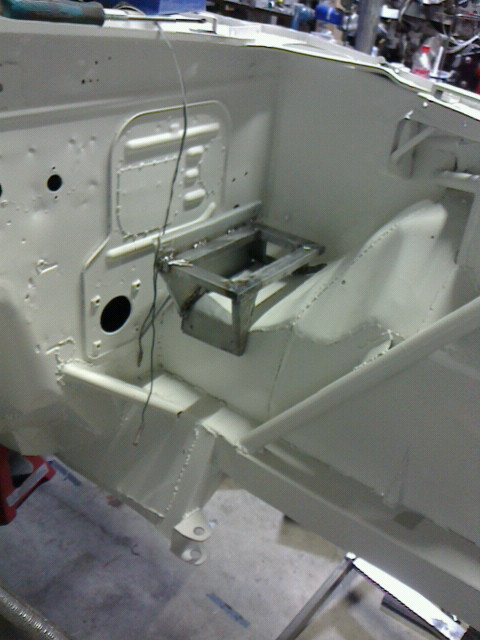
Engine bay has been painted.
-
Suzuki k-car HVAC unit.
-
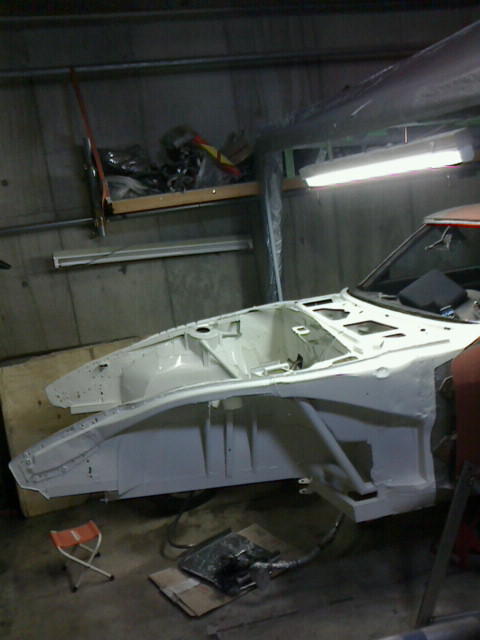
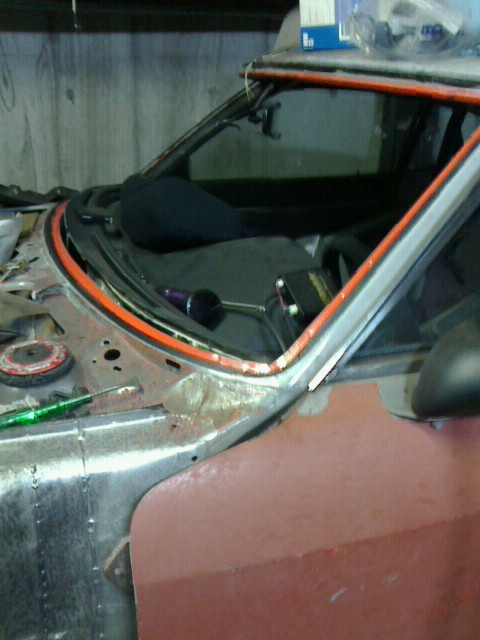
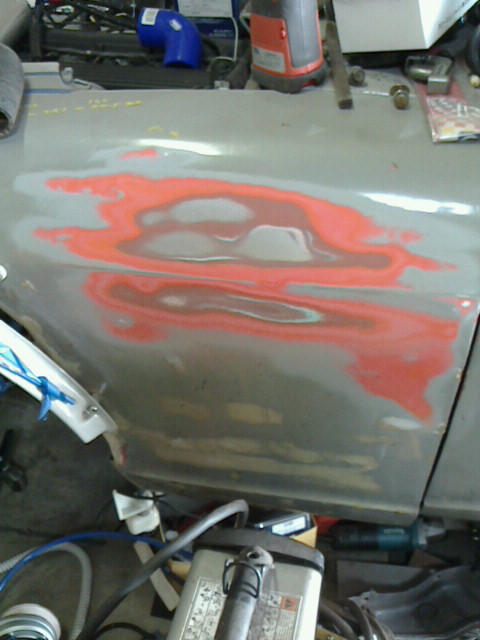
Paint top coat didn't bind to primer-surfacer. The color layer can be easily peeled by using a heat gun and scraper for head gasket.
Windshield has been removed. I thought the weatherstrip should be cut, but it has been there only a year since replaced so it came out in 5 minutes without cutting. I'll reuse it.
Engine is out and old paint has been stripped.
-
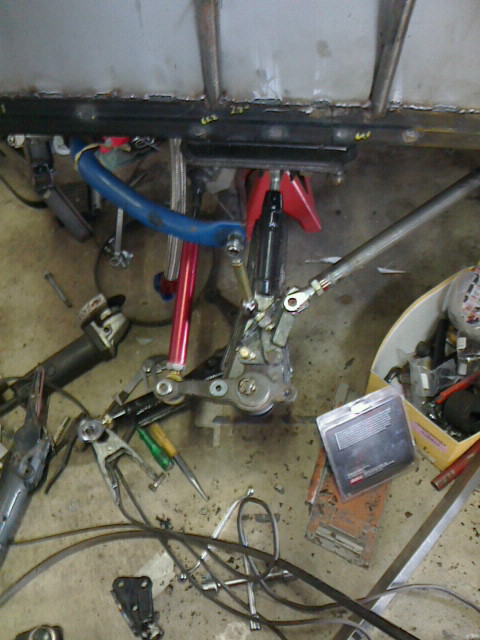
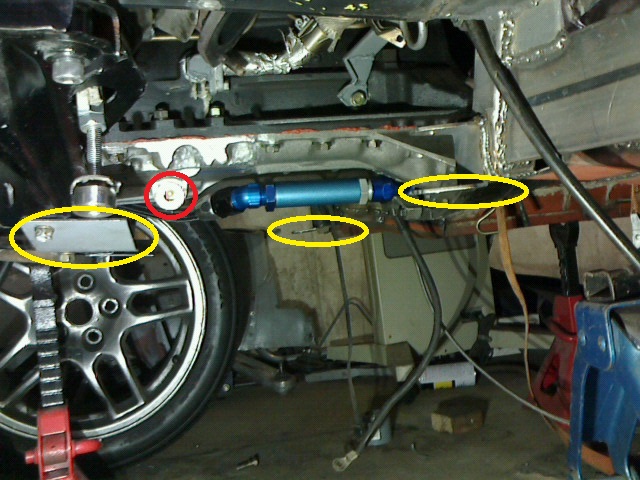
Sway bar brackets were welded under the rails.
I added tub for the link rod end and the rod end is off the center of the lower arm. No good.
-
I measured an aftermarket bar of S14 silvia. 980 mm, 730 mm, and 210 mm. I measured the arm dimension as offset from the bushing axis.
The other one is modified stock bar of 240z.
I suppose BMW E46 bar is slightly larger than S14's in any direction.
-
I found a right angle gearbox for brake balance remote control. Less than half price of the Tilton's. Must parts for floor mount pedal. Without it, the remote dial doesn't turn smoothly.
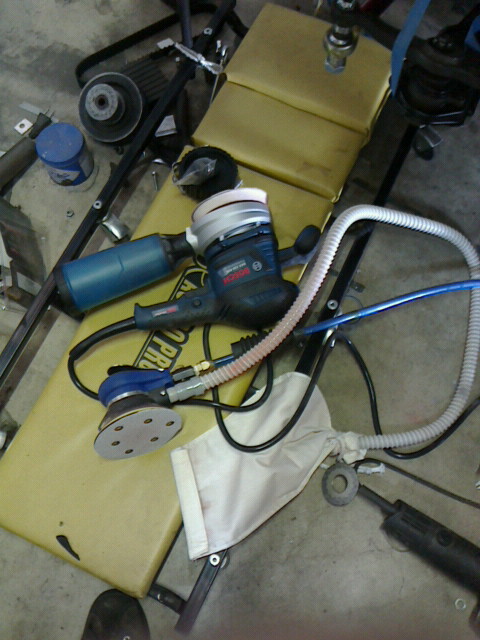
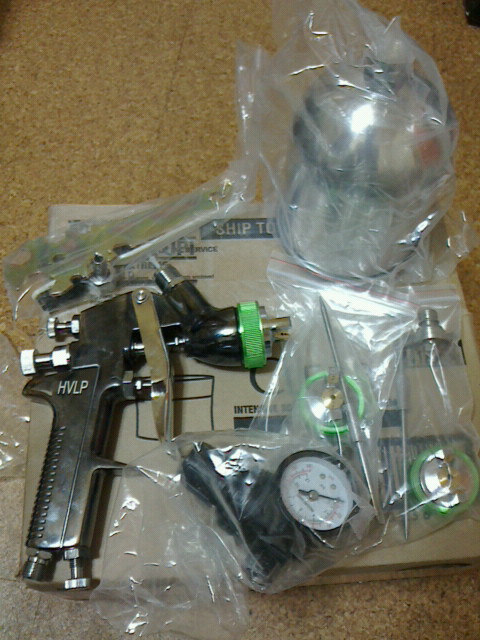
I decide to paint with 2K. I bought dual action sanders and HVLP gun. Bosch GEX 125AVE was better than air sanders because of its vibration reduction mechanism. I don't want to hold the air sander more than a couple of minutes.
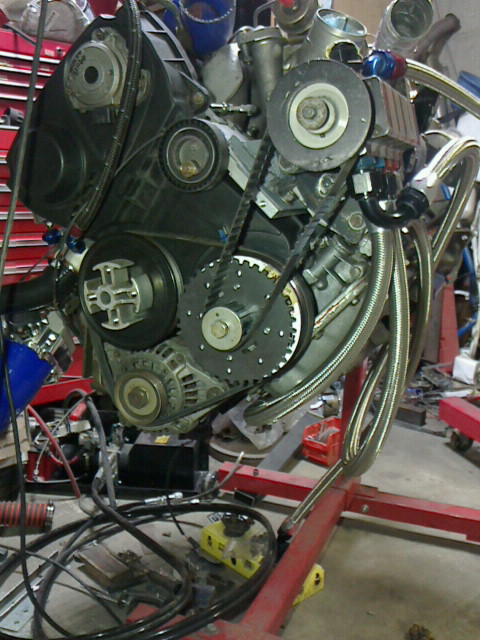
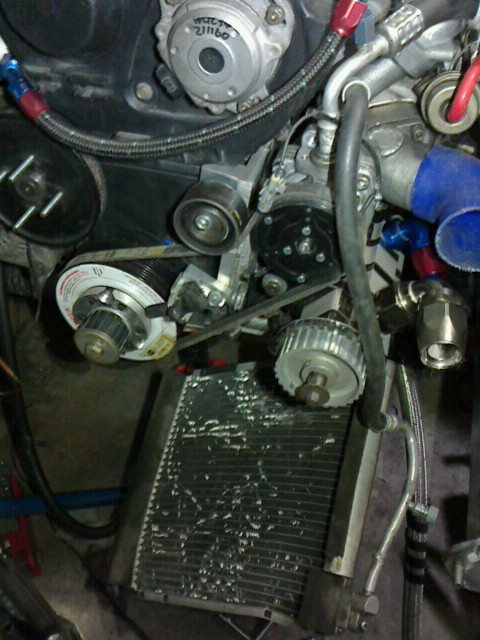
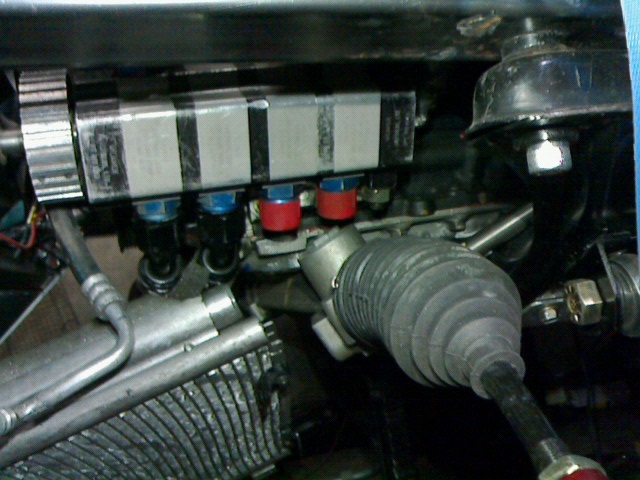
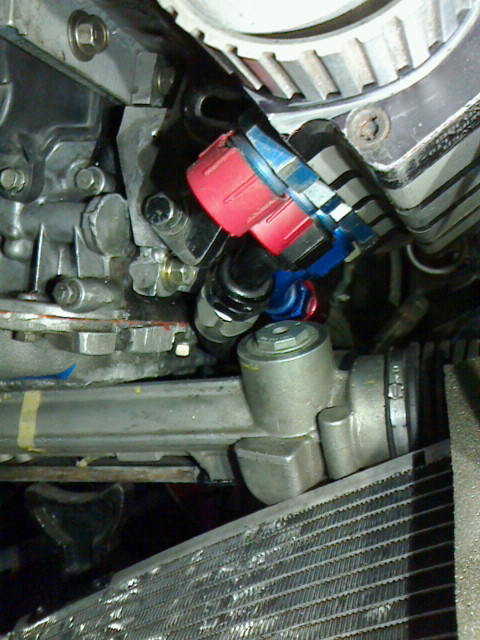
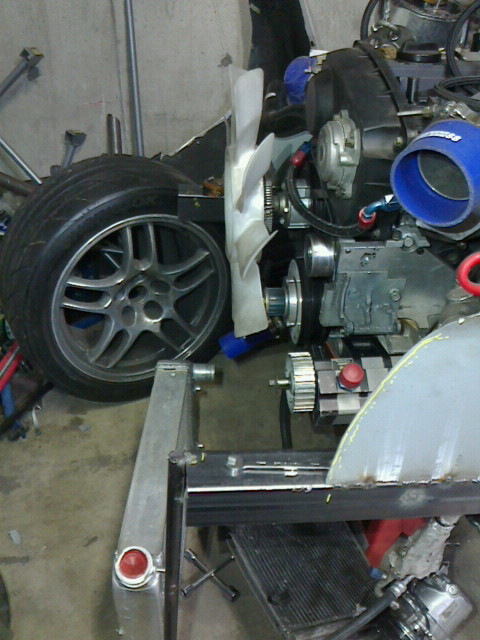
Four-state oil pump inlet fittings interfere with the BMW rack. I place the pump 1" upward. Air-con compressor is also relocated.
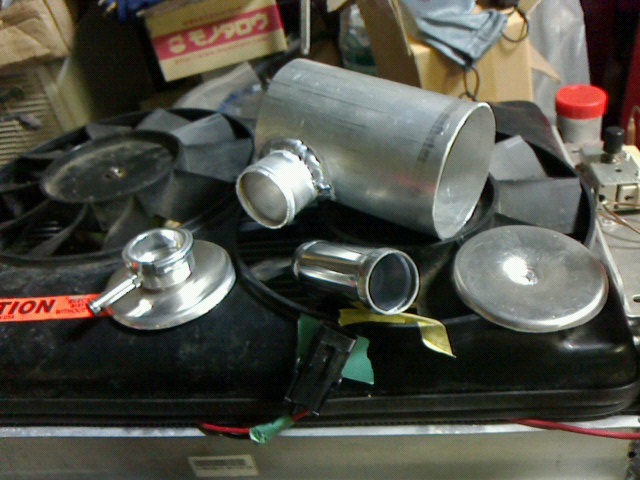
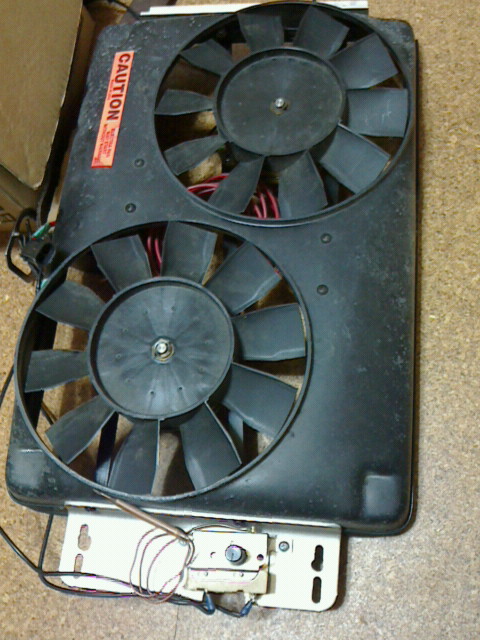
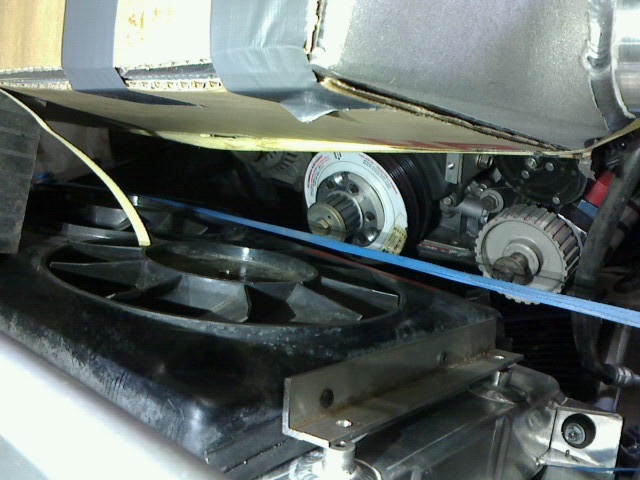
Then I remove the twin electric puller fans from the radiator. Coupling fan blades were trimmed as they hit radiator inlet/outlet.
Blow-off valve return piping is required to pass the inspection.
-
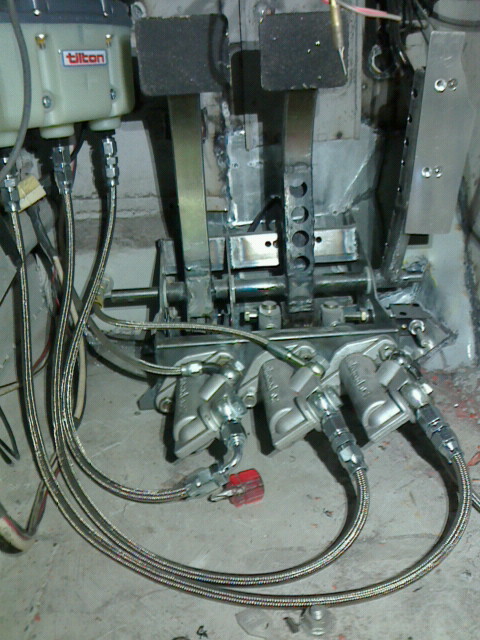
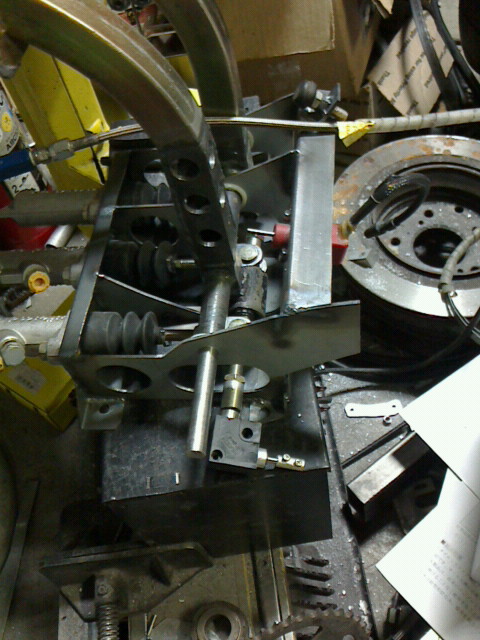
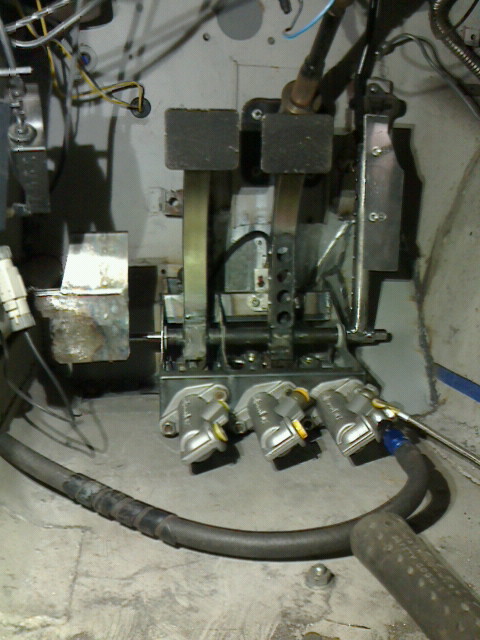
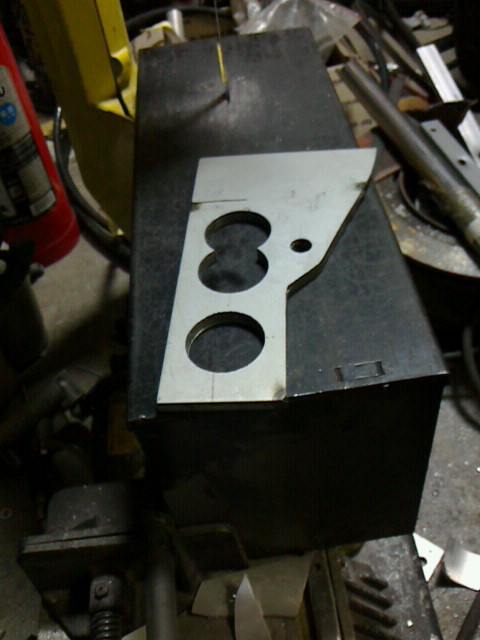
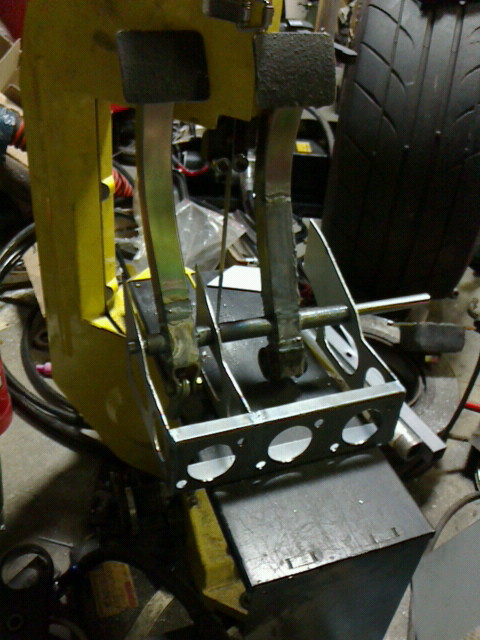
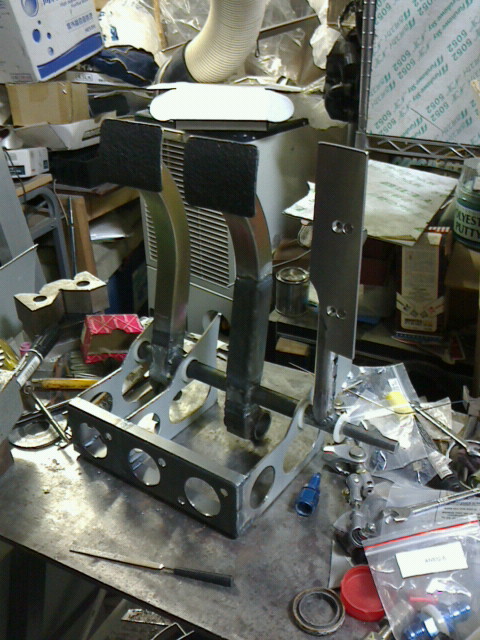
The reverse mounted masters are better than I thought before. Easy to adjust the balance bar. The brake pedal doesn't interfere with the steering shaft.
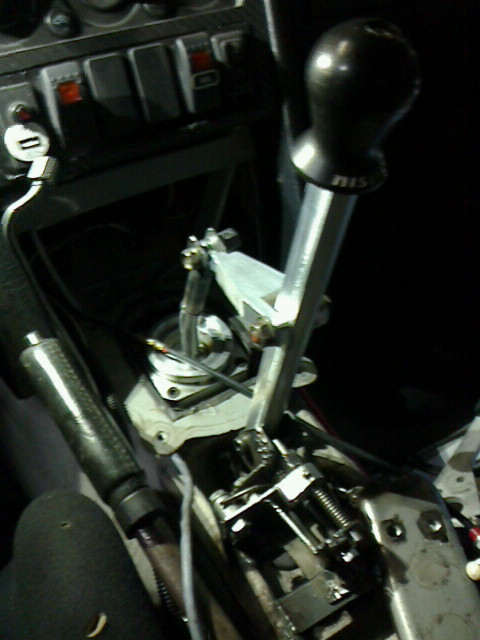
I fabricated a prototype shifter. Final piece will be made from bicycle pedal spindle.
-
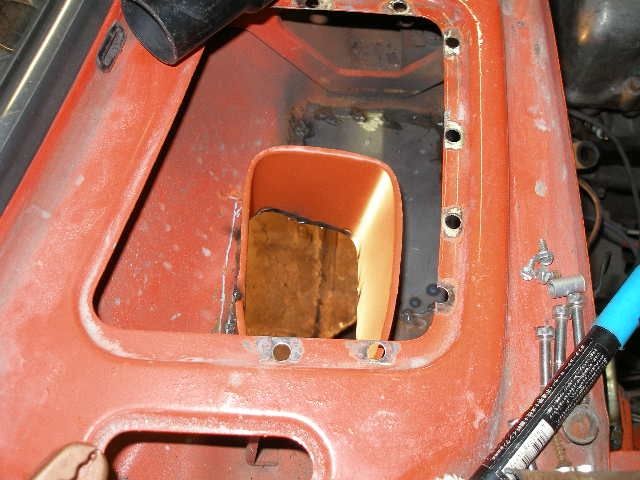
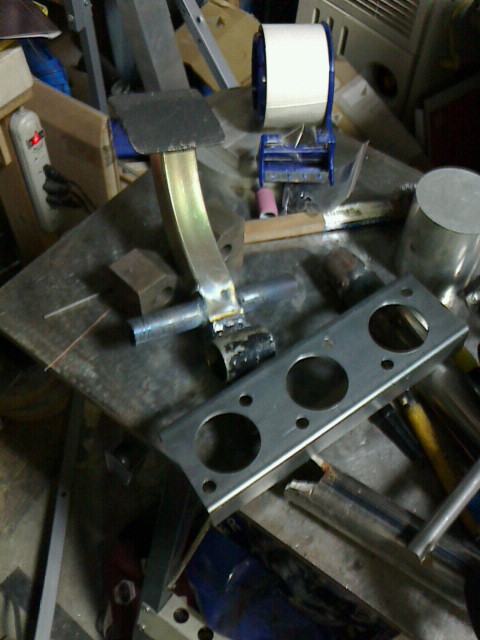
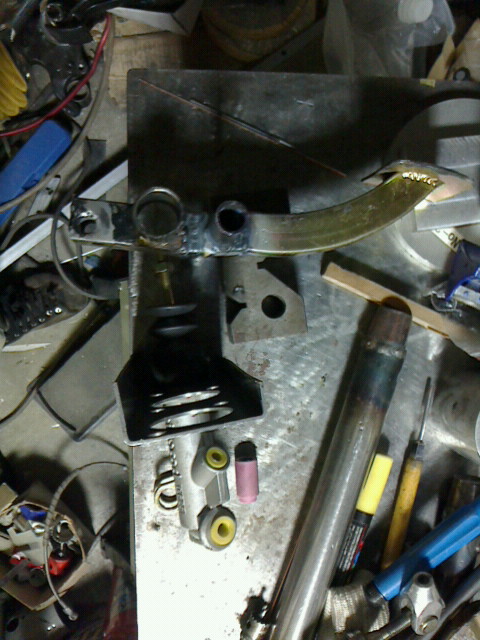
The floor-mount master cylinders were located between the frame rails and the TC rod bracket. After the last year's collision, I found that such arrangement weakened the chassis considerably. Reverse-mount box will be fabricated. Master cylinders will be located under the heel plate.
-
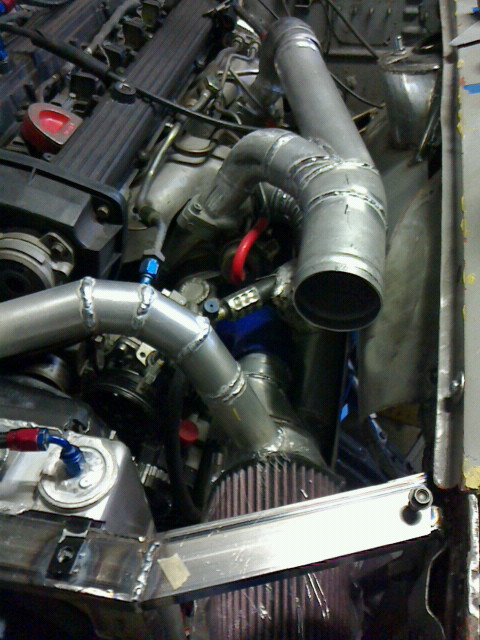
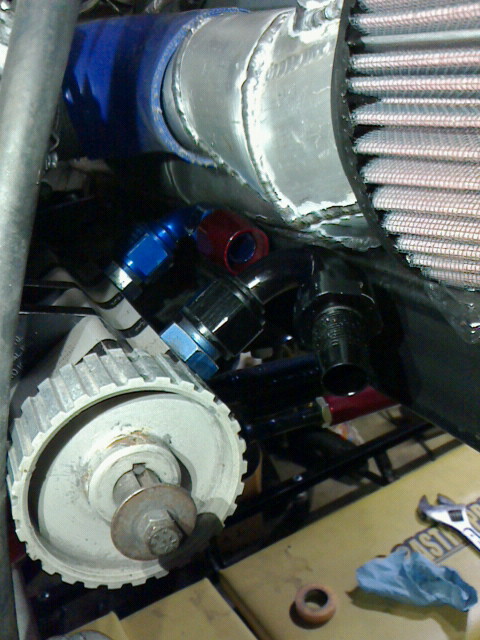
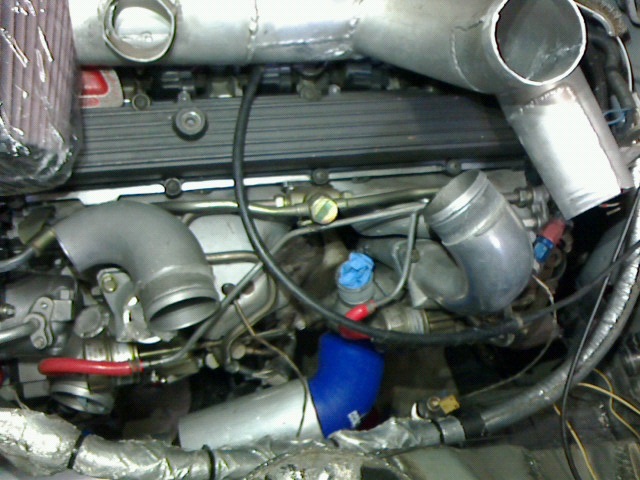
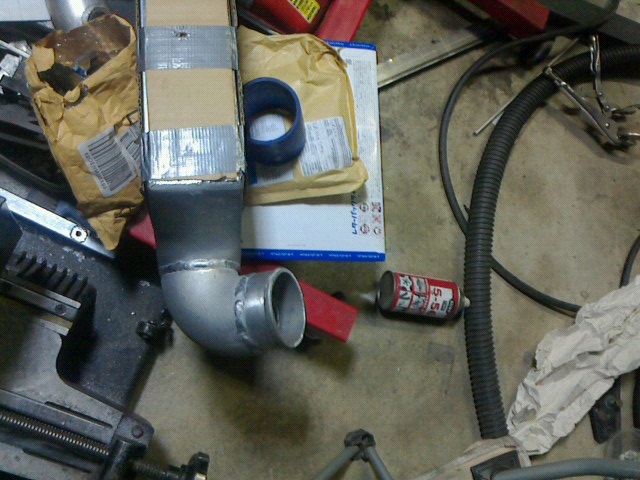
Air filter to turbo compressor inlet pipe, 4-stage oil pump, and s14 silvia sway bar. Detachable radiator core support made my job easier.
-
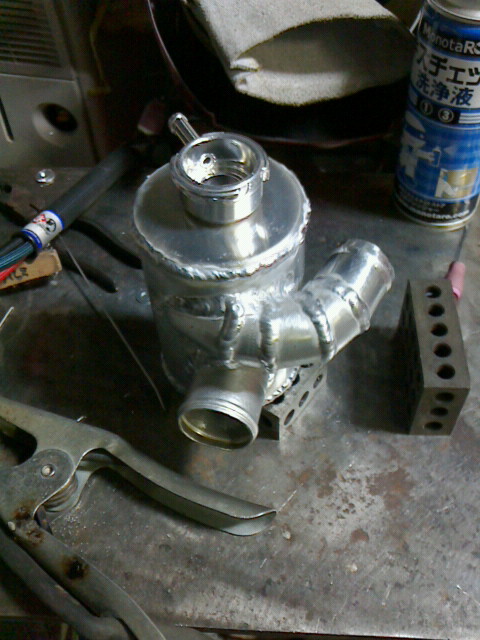
Three AN4 male bungs were wedled on the coolant expansion tank.
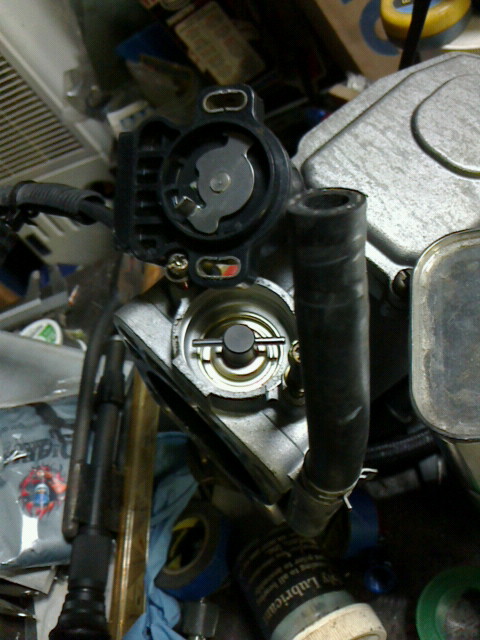
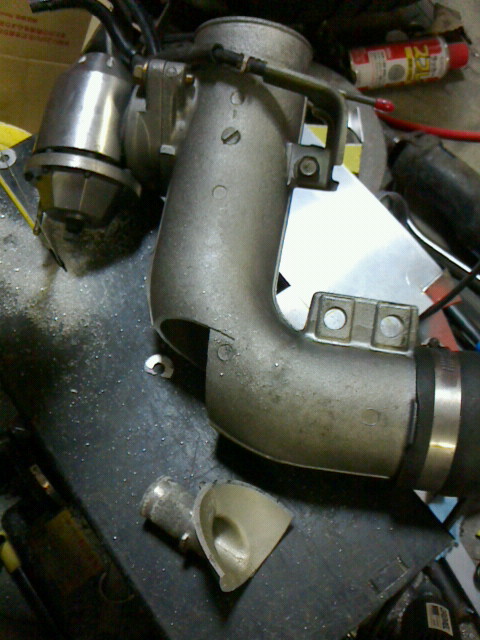
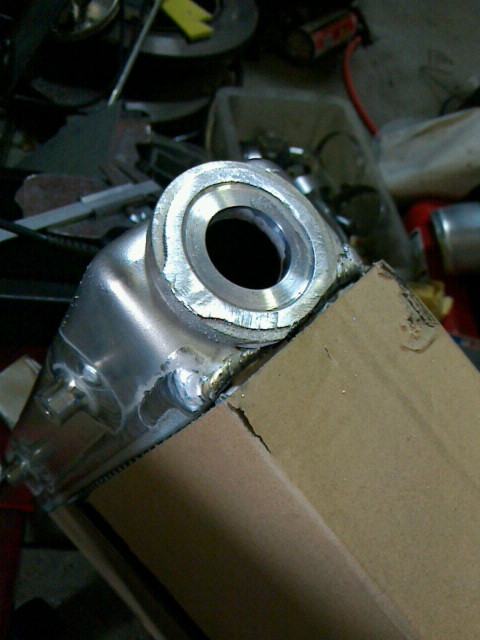
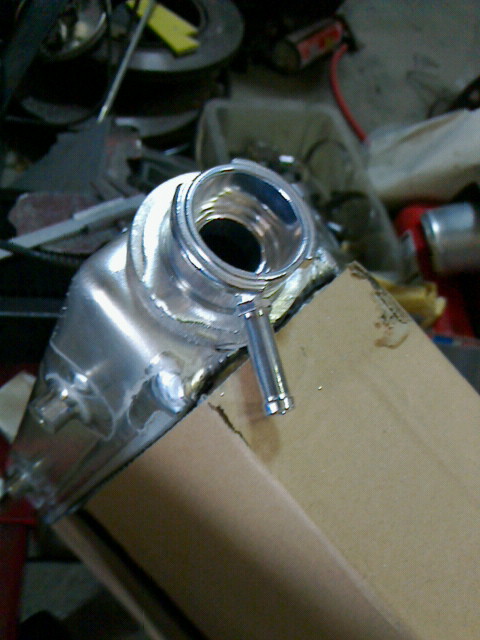
AAC valve boss was cut from RB25 intake pipe.
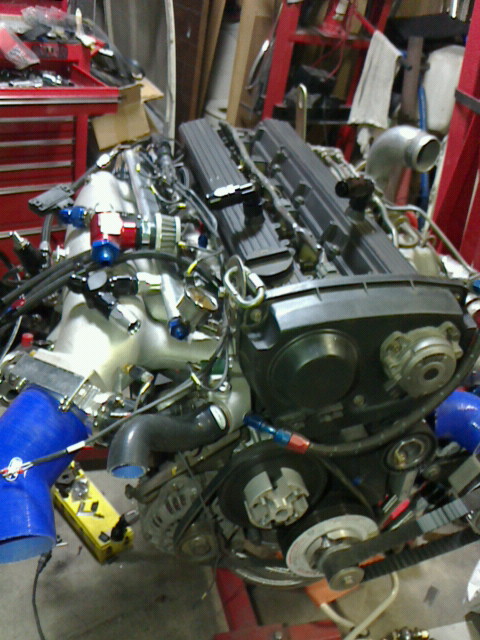
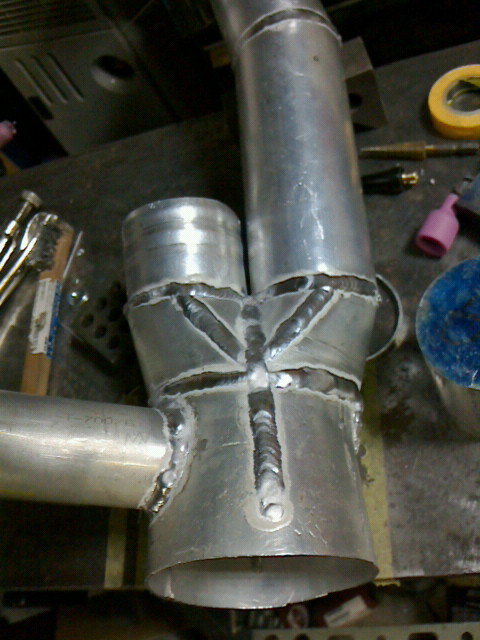
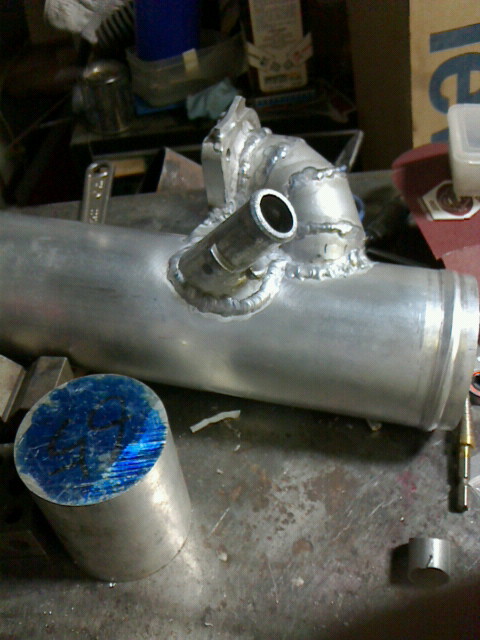
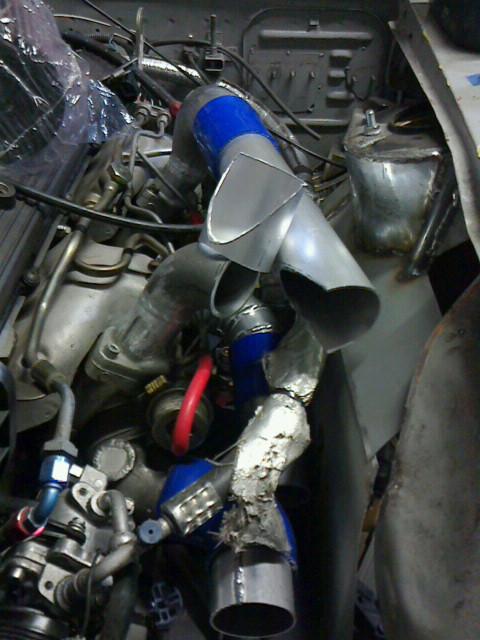
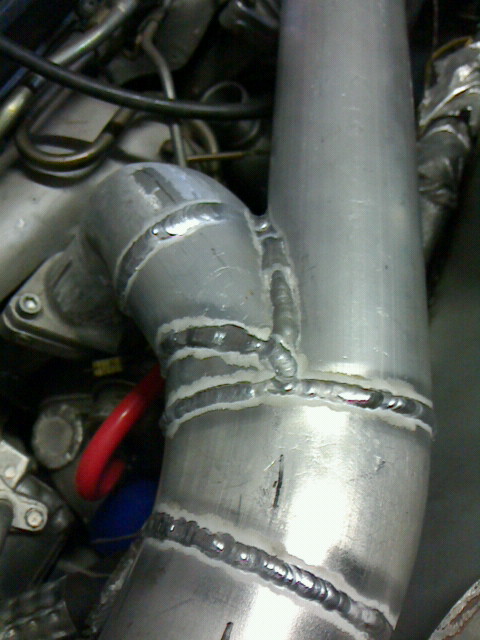
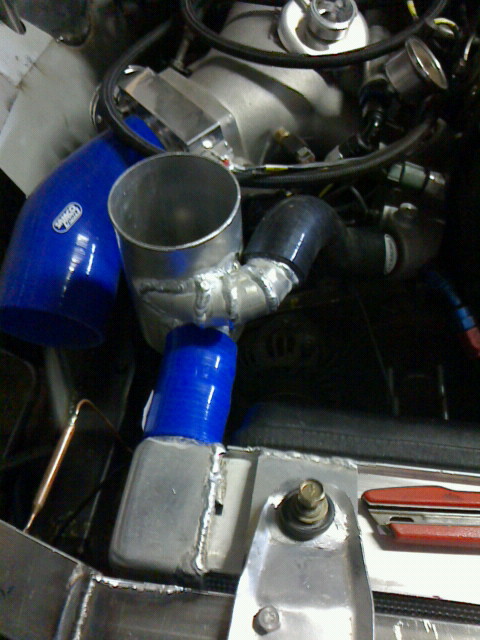
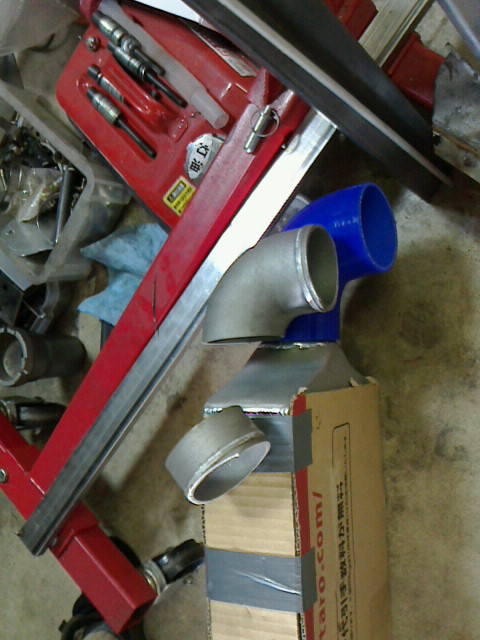
Compressor outlet to intercooler pipe was made from A6061. Better than stock RB26 outlet, at least for my car. The stock RB26 outlet blocked the access to the air conditioner gas port.
-
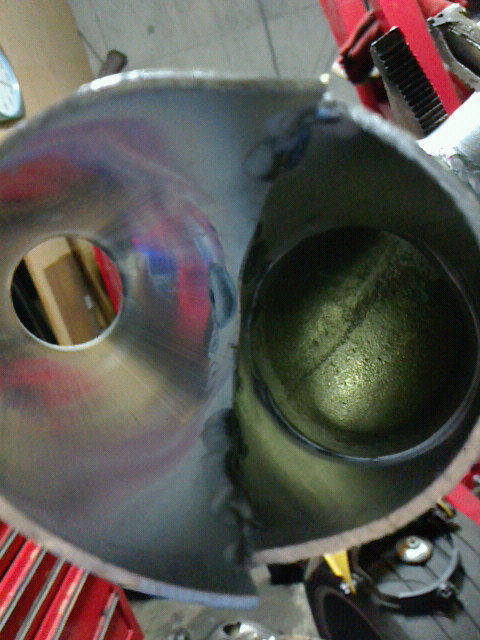
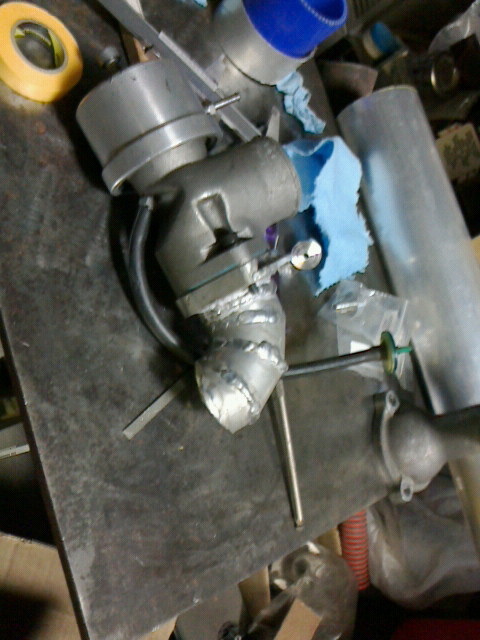
Intercooler elbow of the other side had been welded.
I could not find any good zero-pressure radiator cap for the expansion tank setup with regular USDM radiators. Once I got a zero-pressure cap from Summit Racing and found out that zero-pressure = can not seal any coolant pressure. So I bought JDM filler and Trust GReddy breather tank seal cap.
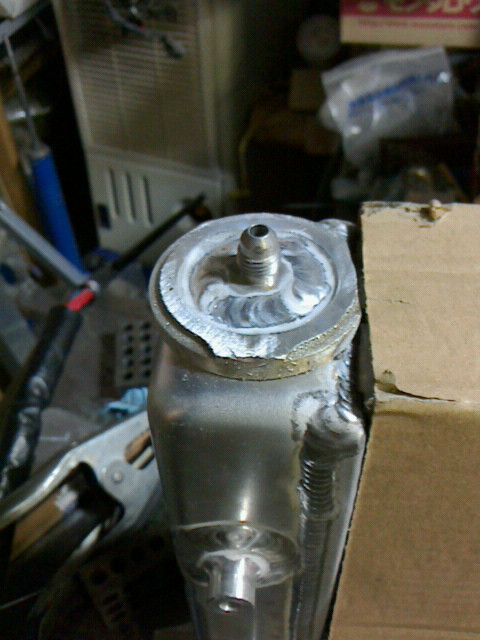
I cut the filler portion of Griffin radiator. The filler can not be welded because this is spun aluminum, too thin to be welded there.
I welded AN4 male there for air bleeding.
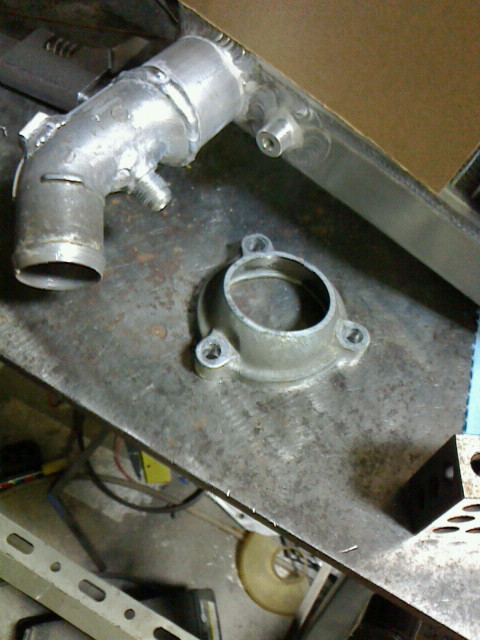
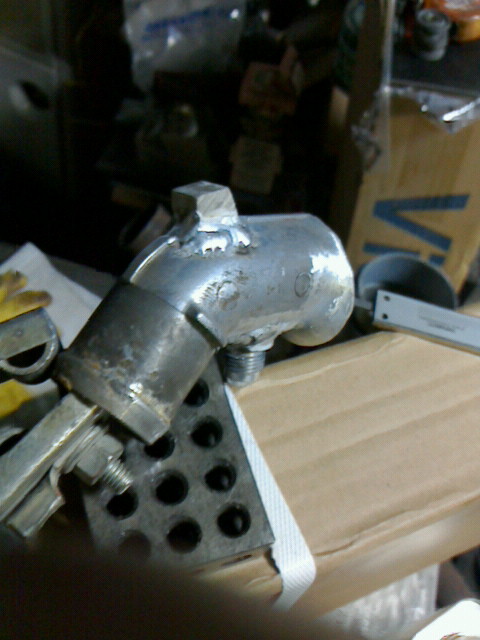
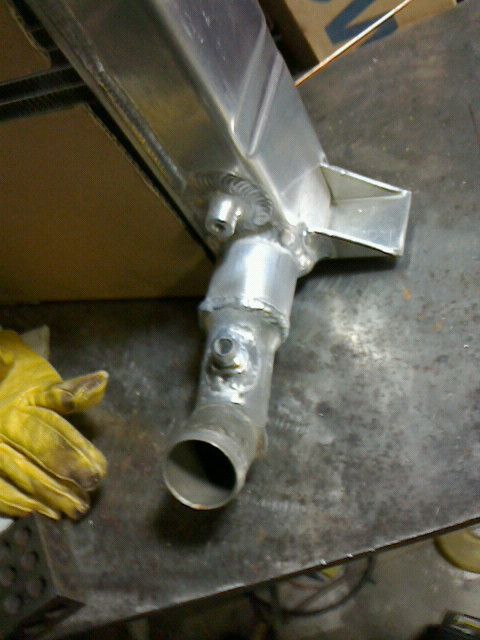
Lower hose fitting had been modified using RB25NEO engine water inlet. The expansion tank return AN6 male and coolant drain were welded so the lower hose can be connected directly.
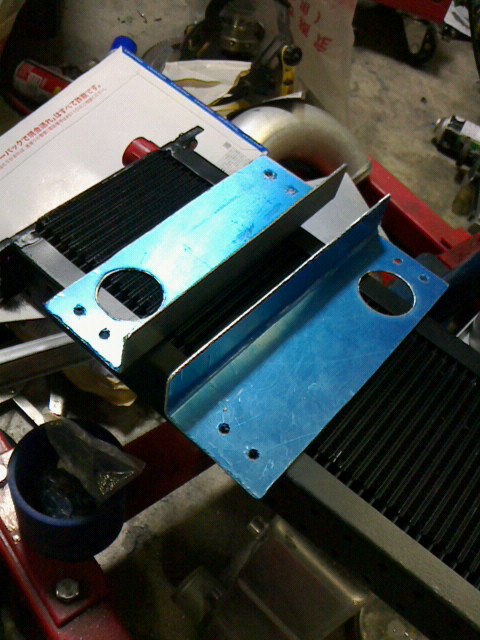
I could not form the radiator brackets very well. It should be replaced by thick aluminum.
Oil cooler is located under the radiator.
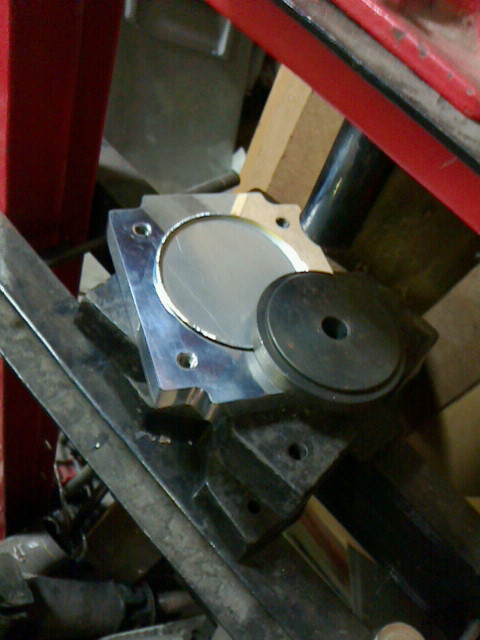
I fabricated a swirl pot. The coolant filler is there, welded from underside. End plates were formed using shop press.
-
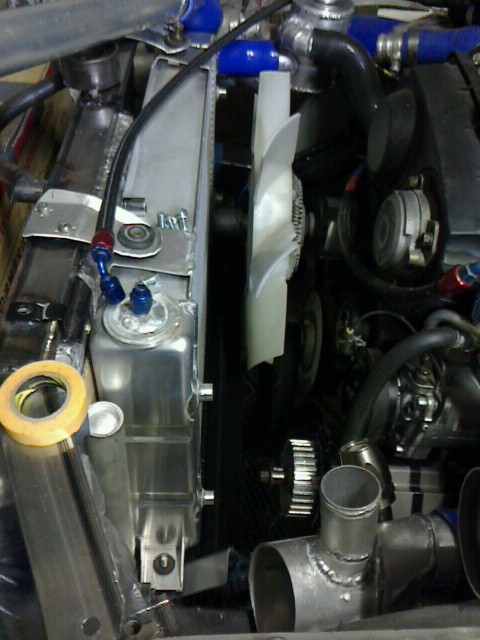
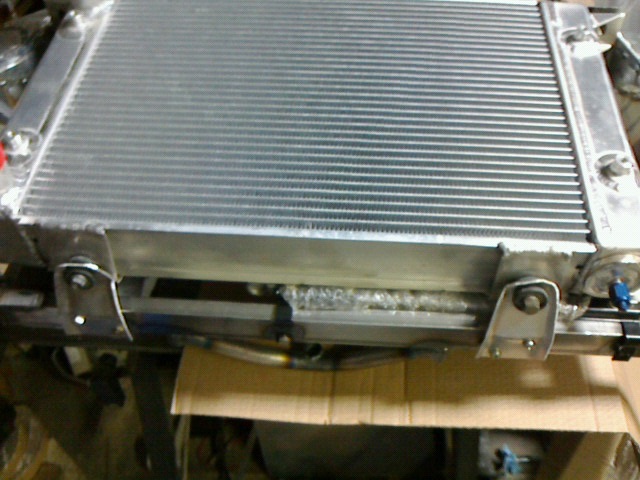
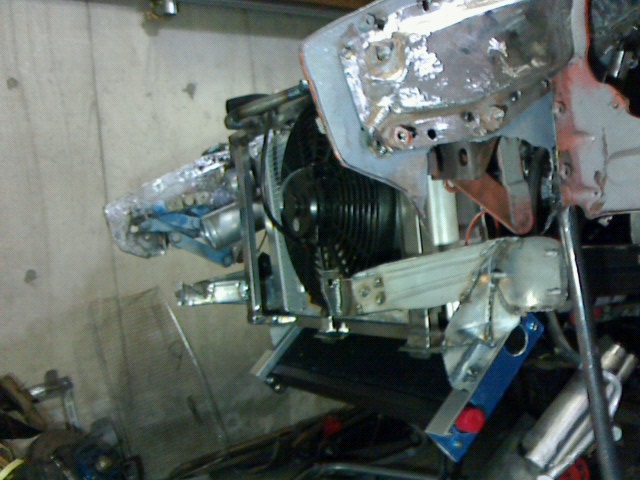
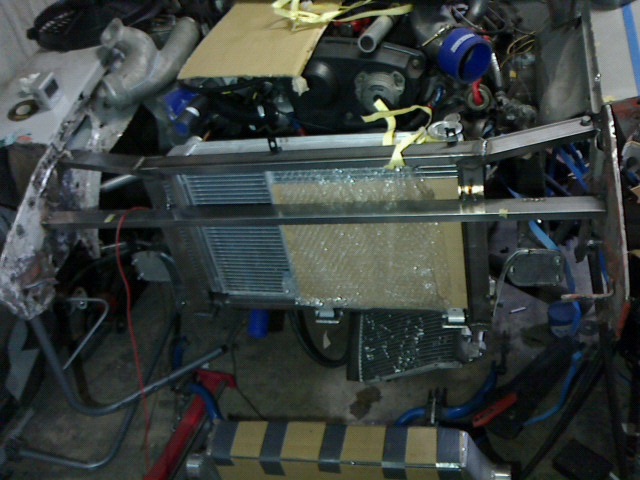
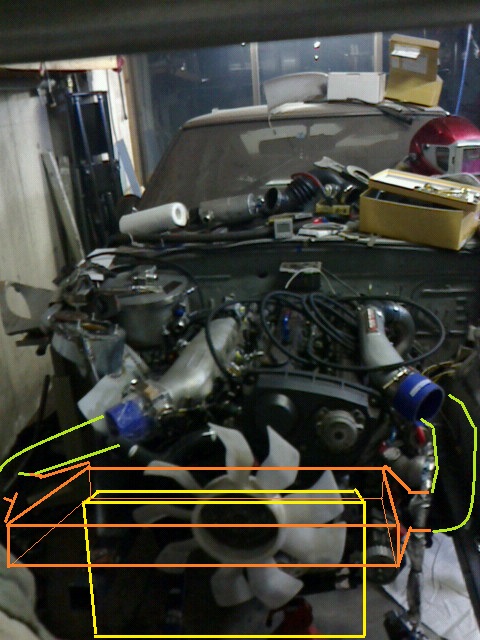
Slant mount was not good. Radiator assembly was too bulky because this car has condenser and its cooling fan. Also the slant mount radiator requires electric fans. There was no room for oil cooler.
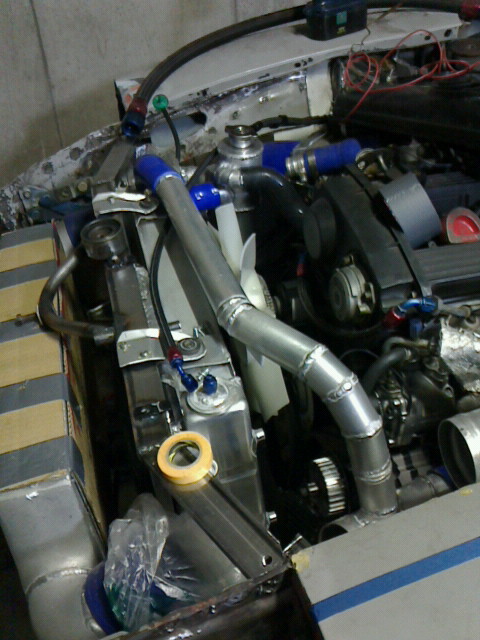
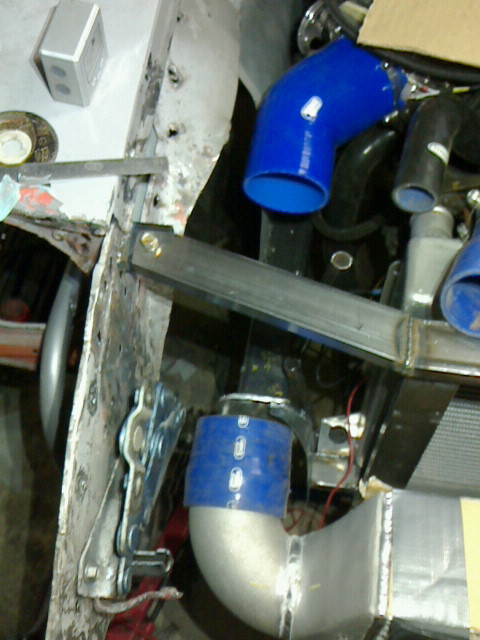
Radiator was placed in an ordinary fashion. The intercooler inlet/outlet hose elbows leave no room for hood hinges. So I welded an aluminum elbow on the right side and ordered an elbow for left side.
-
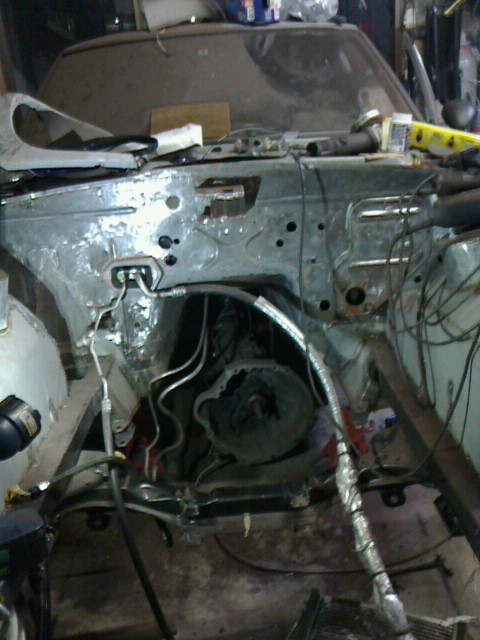
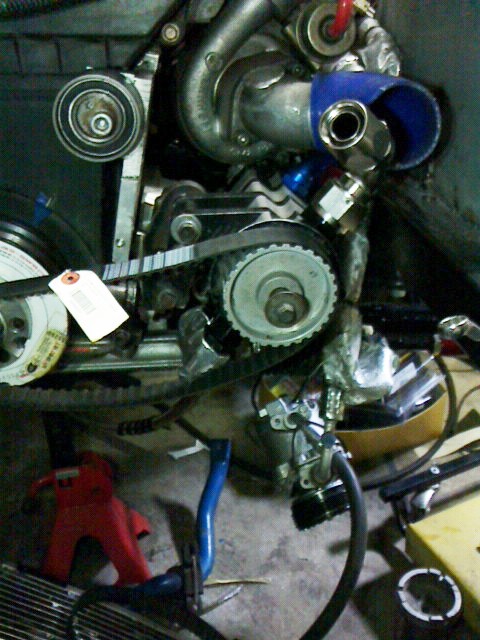
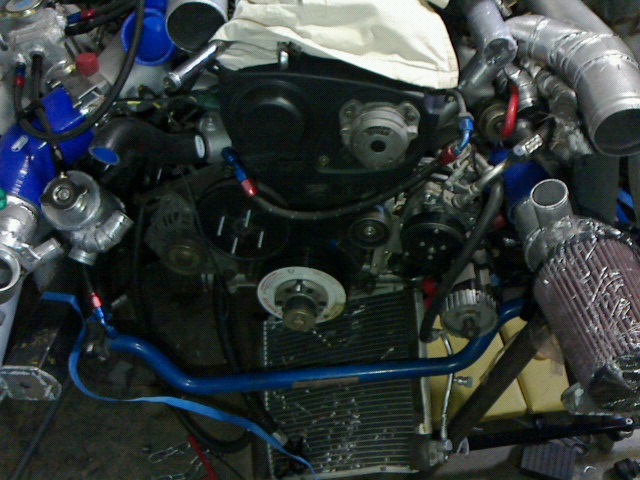
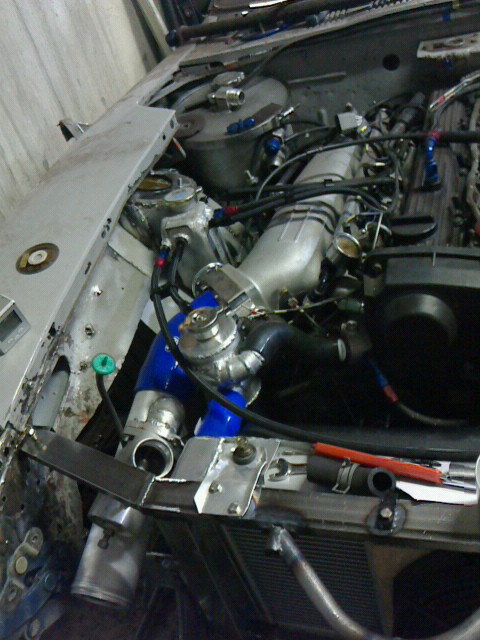
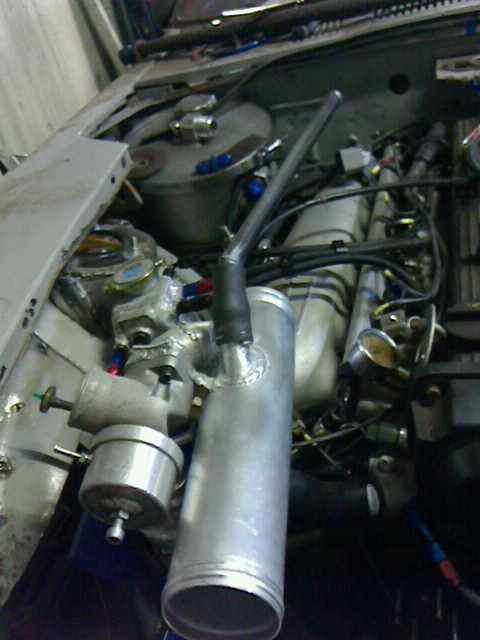
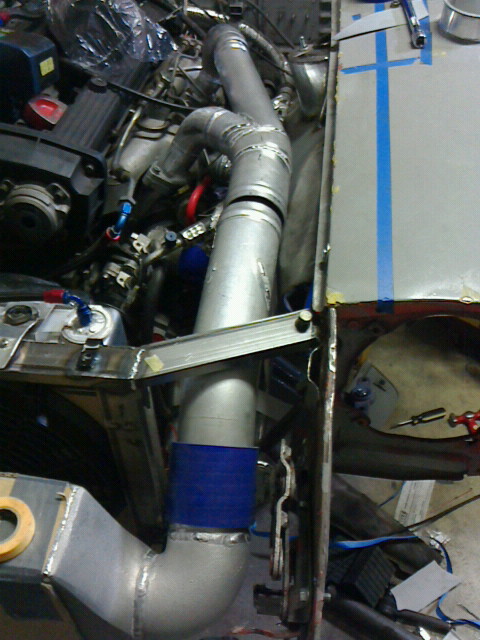
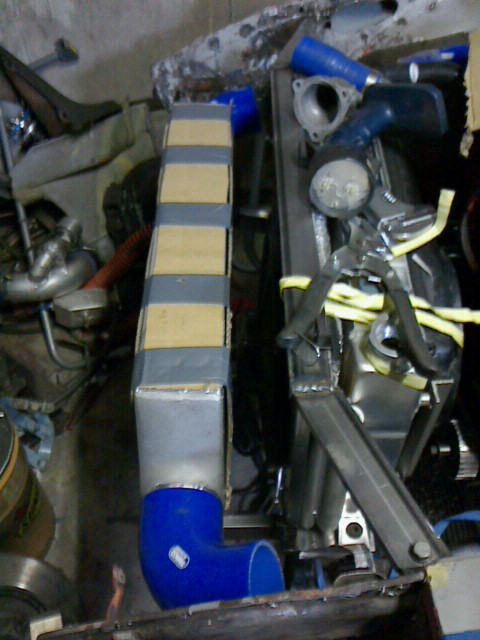
RB25 is in.
I'll fabricate a brace between the cross member and TC-rod pivot.
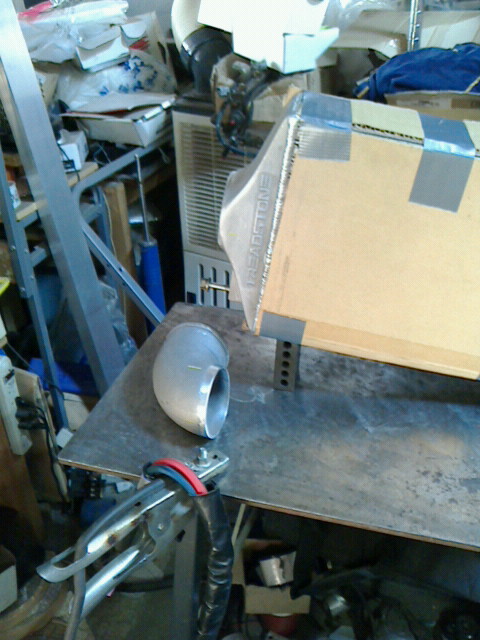
I've ordered a Threadstone TR10C intercooler. It will be mounted horizontally.
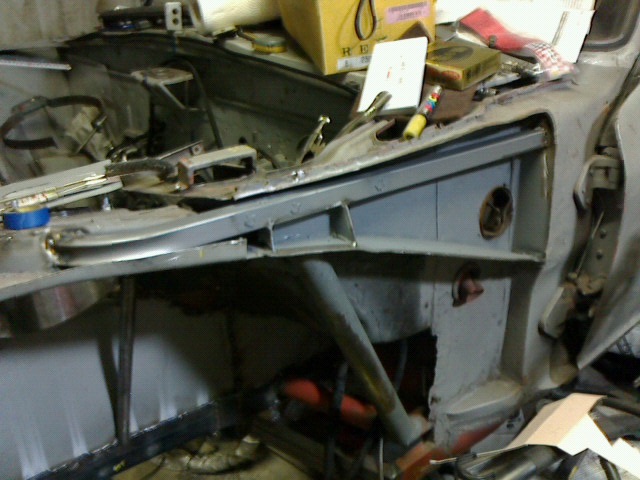
The compressor outlet to intercooler piping will route top of the engine bay, so the air filter and turbo intake pipe should be relocated. I cut whole radiator core support and relocated the frame laterally 2". There is plenty room for the straight intake pipe. Also, the scavenge outlet hose end doesn't interfere with the frame anymore.
The other side is still crowded. The CPC connector on the wall should be rotated 90 degree clockwise.
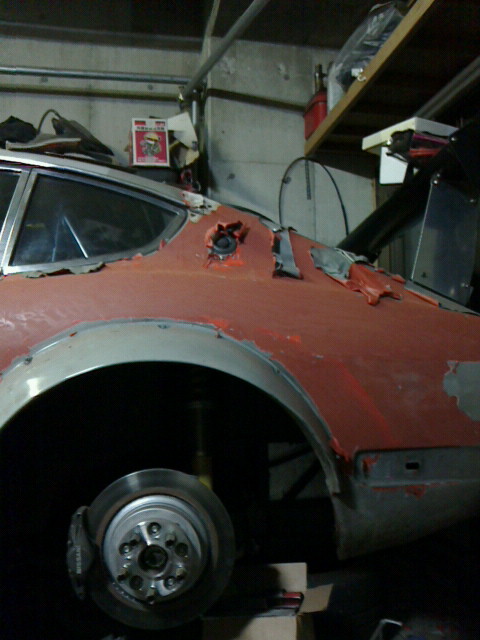
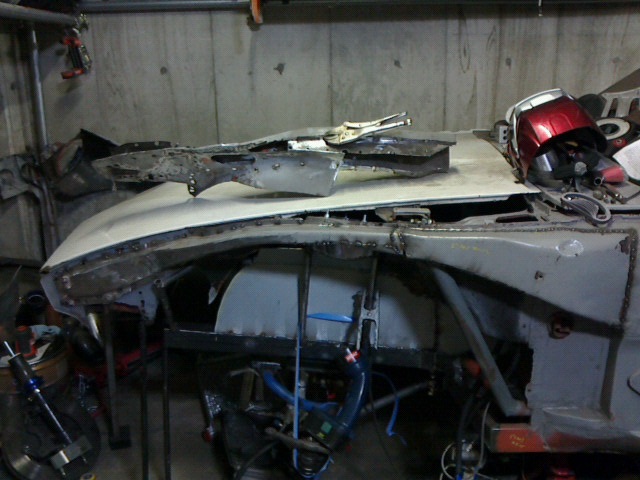
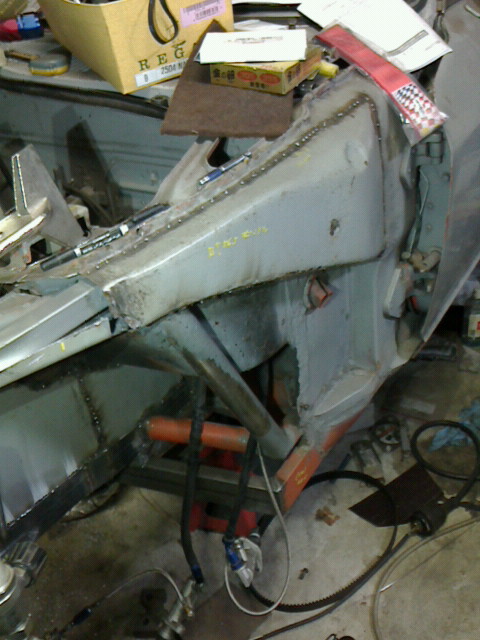
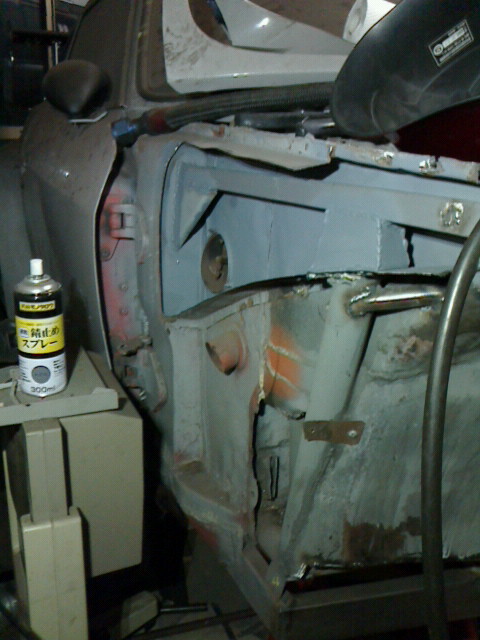
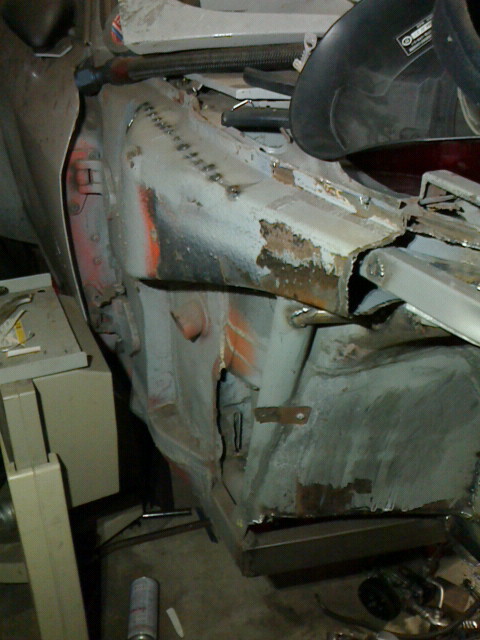
The left side inner fender reinforcement was welded. There is no reference point anymore so I used outer fender and stock hood as guides. The other side warped badly but I decided to repair. The strut upper mount area was cut and the rust was removed.
-
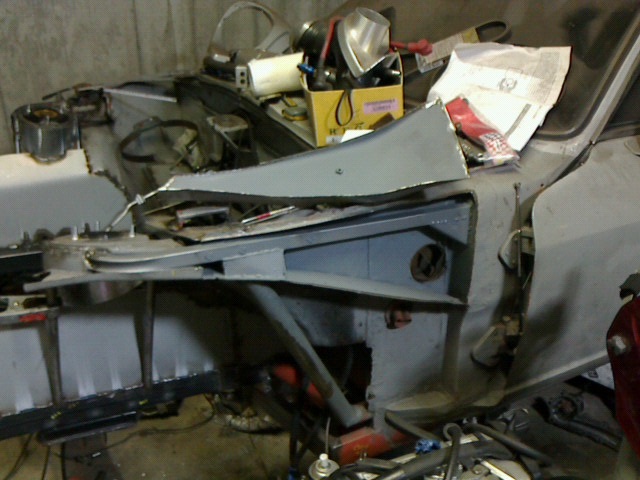
Rectangular tubes had been welded under the hood ledge reinforcement .


OEM Style Headlight Covers
in Fabrication / Welding
Posted
The auction describes these are chrome-plated fiber glass trim.