
KAZU
-
Posts
296 -
Joined
-
Last visited
-
Days Won
2
Content Type
Profiles
Forums
Blogs
Events
Gallery
Downloads
Store
Posts posted by KAZU
-
-
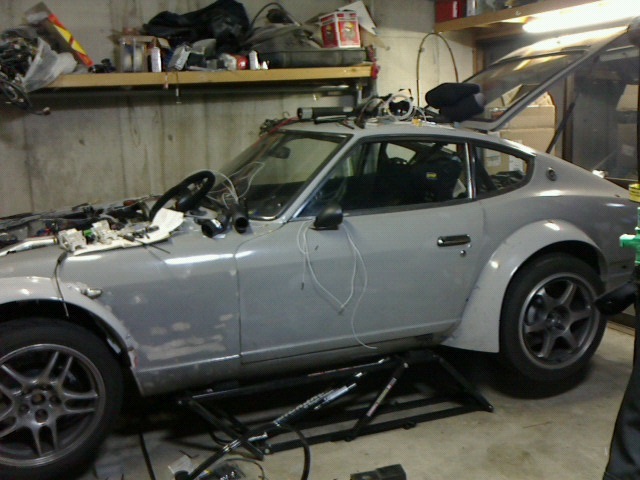
Finally I'm back to the road course!
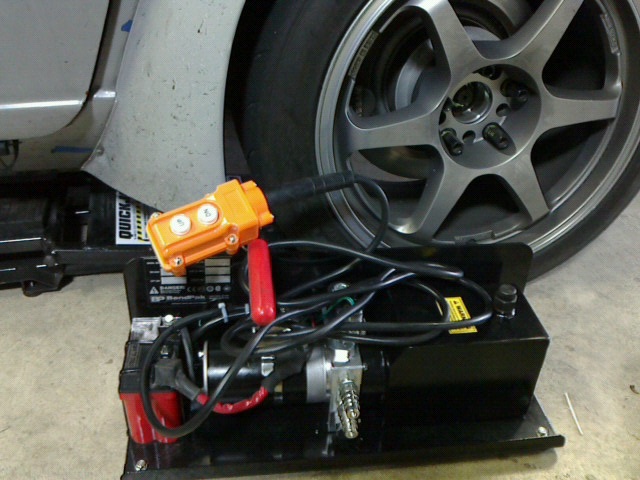
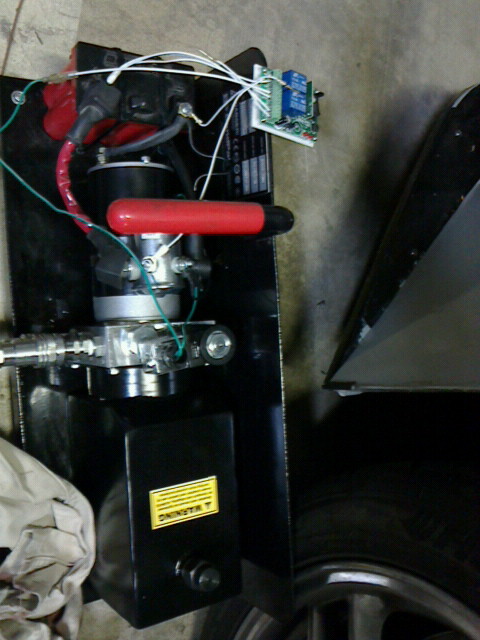
I bought QuickJack BL3500 and the up-down controler was replaced with a wireless control. Mine has a DC motor and a 8-cell LiFePO4 Ballistic motorcycle battery. It works fine.

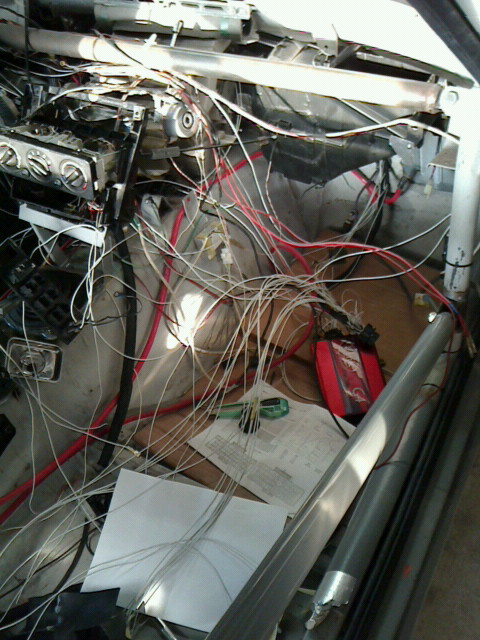
On the way to or back from the road course, my car occasionally stopped running and called the road service. The wiring was unreliable because my priority had been to let the car run.
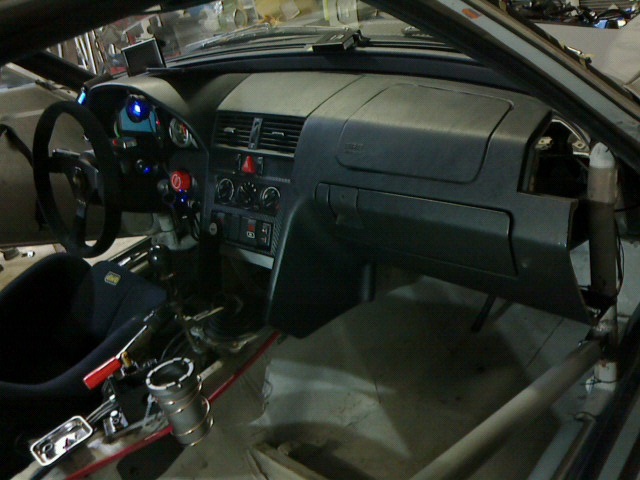
A pair of 37-pin CPC connectors are added on the bulkhead and the ECU was relocated under the passenger side airbag lid. Dash is Mercedes C-class.
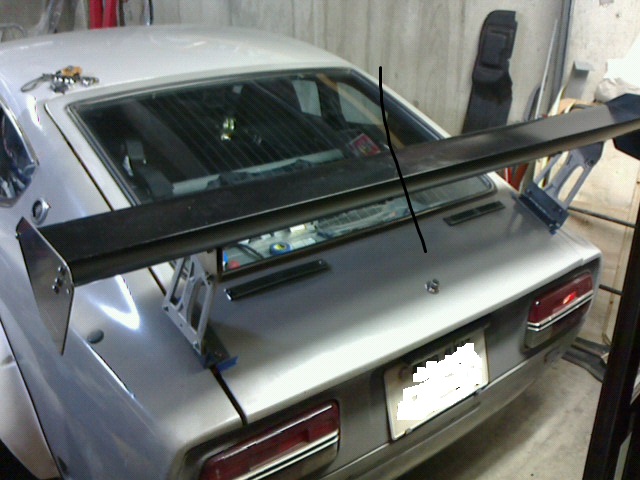
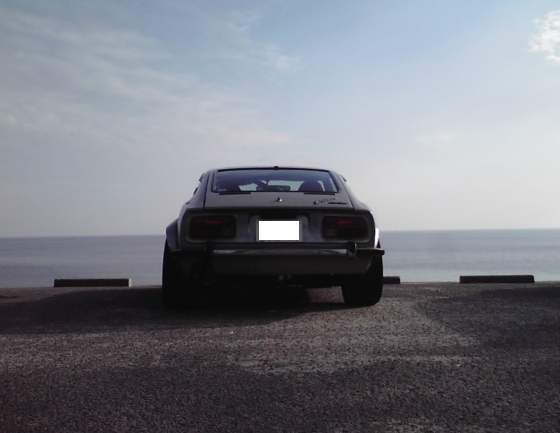
Rear wing is for road course run only.
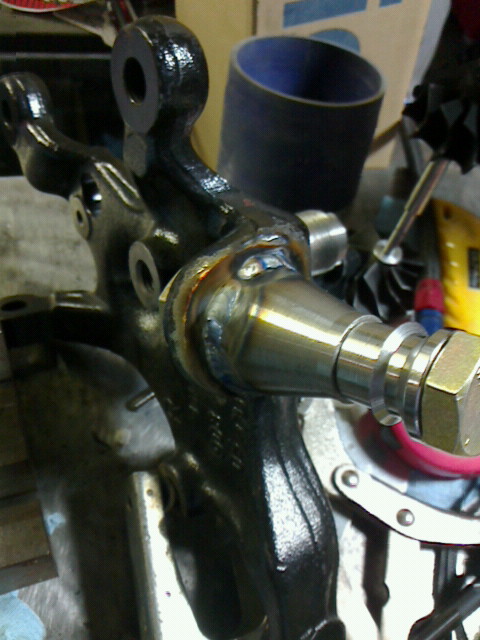
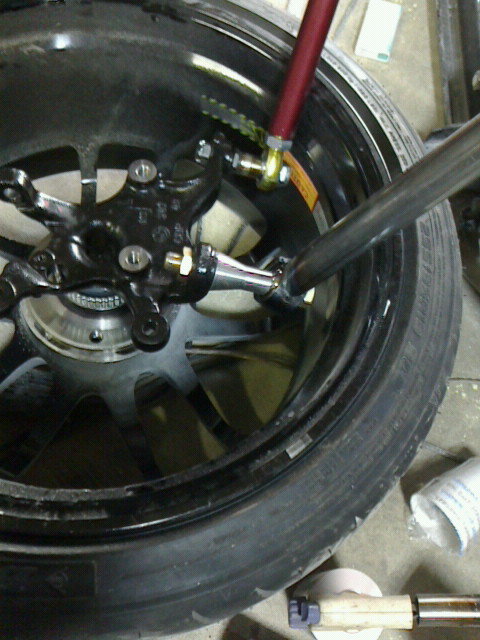
E36M3 spindles will be the last modification of this project.
A/C stopped working. The compressor is toast. All components has been replaced.
-
Probably here....
Basically identical to them. Mine were from Yahoo auction.
-
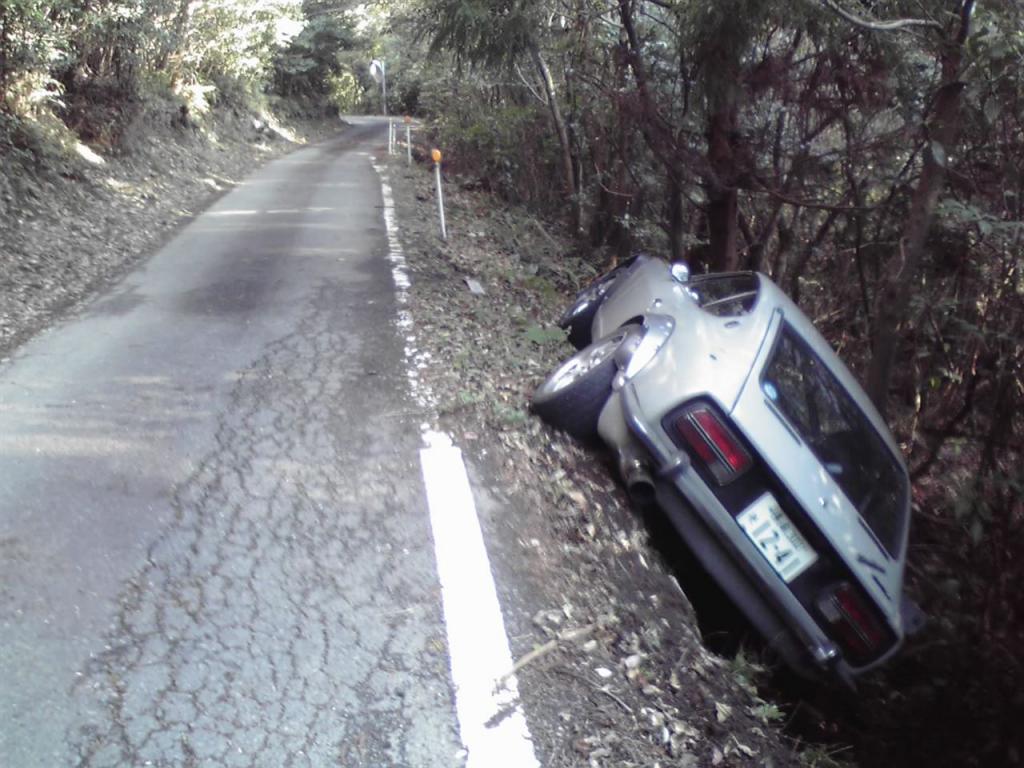
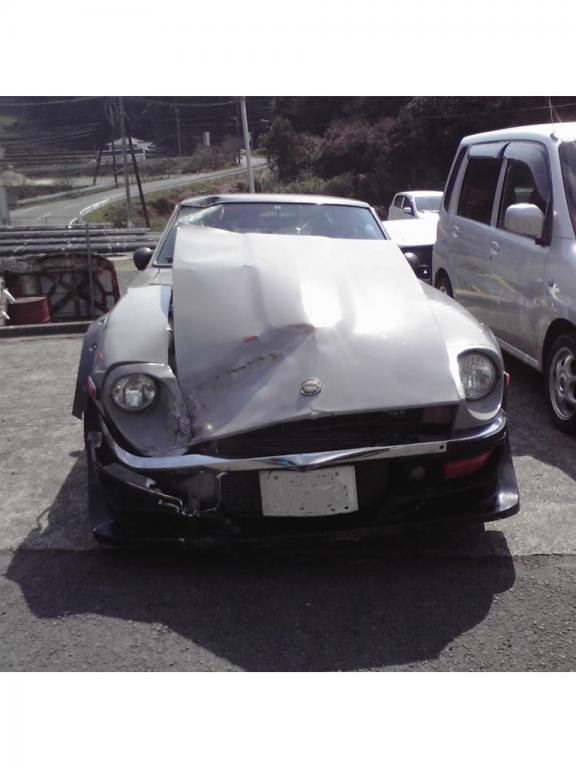
It has been a long time since I have updated this thread. My z ran for a while until off the road 6 months ago.
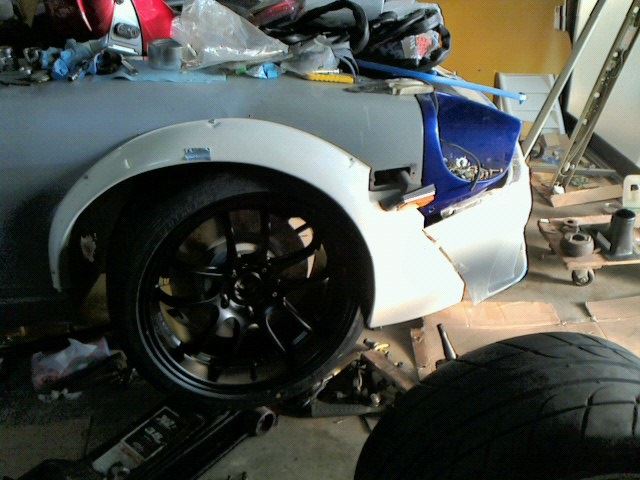
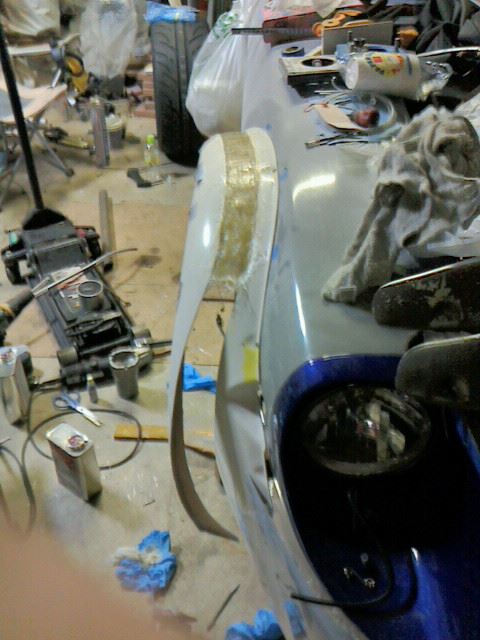
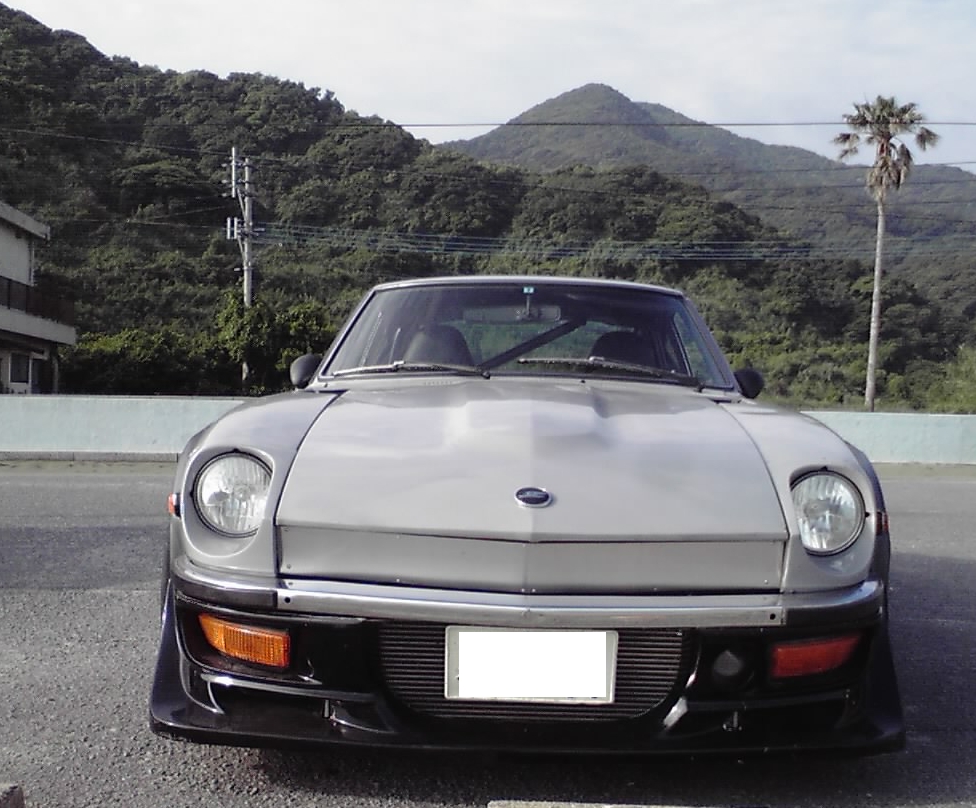
The front crossmember was slightly bent. Anyway new flares and front spoiler had to be made. I decided to put whole BMW front suspensions (Z4 steering rack, E36M3 spindles and tube arms).9.5J-18 with 255/35 hit Nissan works flares.
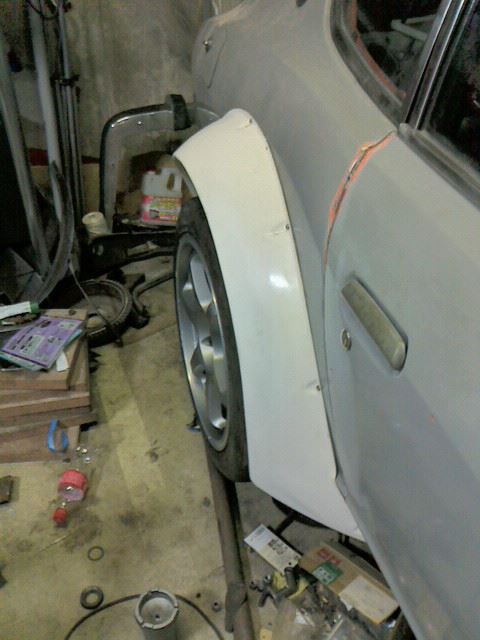
Rear flares fit properly.Widen.
Current status.
-
Ya think?
I am not sure.
Another fault I did may be that the car had been running for a while with 300zx coil on plug using MSD DIS-4 with waist spark wiring. The engine won't rev without the MSD box.
-
Thanks guys.
I recall my memory when I put an engine management system using waste spark coil pack on it, I tried to run it with wrong firing order and timing. This might easily cause detonation.
-
I bought my 240z in 2000. It came with a L28 rebuilt from a company ATK. I replaced the L28 with a RB26 almost 4 years ago because L28 won't idle properly.
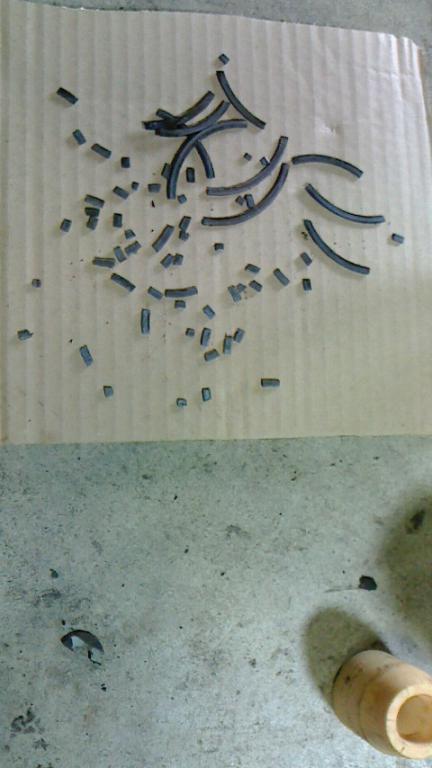
Now I'm parting out the L28. Bearings were good. All top rings are broken into pieces.
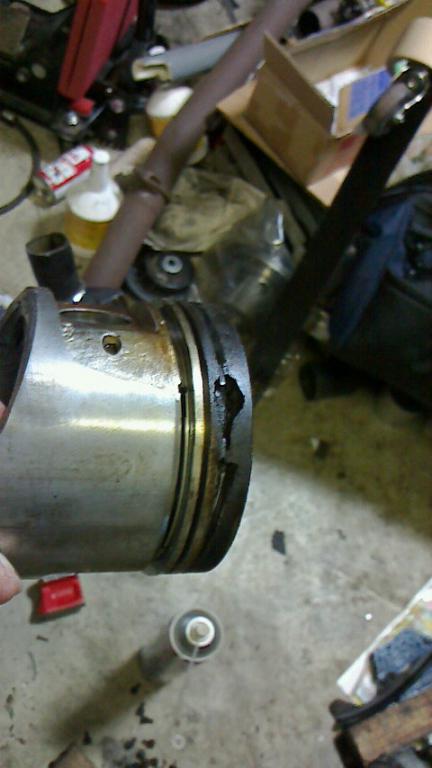
Pistons are 0.75mm oversized. The top ring groove of the No. 2 Piston is seriously damaged.
I am not going to rebuild it but what would you guess the cause of this?
-
My guess is the intake valve guides have been broken.
-
Awakening from the long sleep
-
I recommend yellow LEDs. Japanese guys chose them under the tail lens of USDM Corvettes.
Make sure that the yellow LEDs are as bright as red LEDs you are going to put. Such yellow LEDs can be available in these days.
I already did full LED conversion with amber LEDs under the amber lens for front lights and red LEDs under the US tail because I could not find the bright amber LEDs suitable for under the red lens at that time.
-
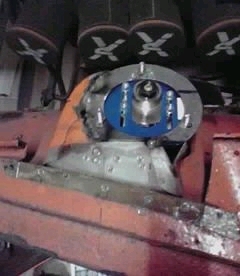
Mine.
Upper plates are trimmed strut tower bar ends from AE86.
A portion of hood ridge reinforcement was temporary removed for complete welding.
Don't forget with this modification you also get too much caster trail.
I canceled the phenomenon by offsetting the strut bottom mounting toward front.
-
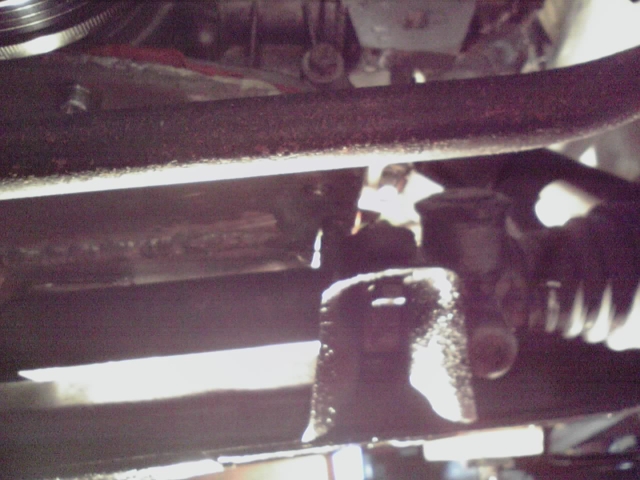
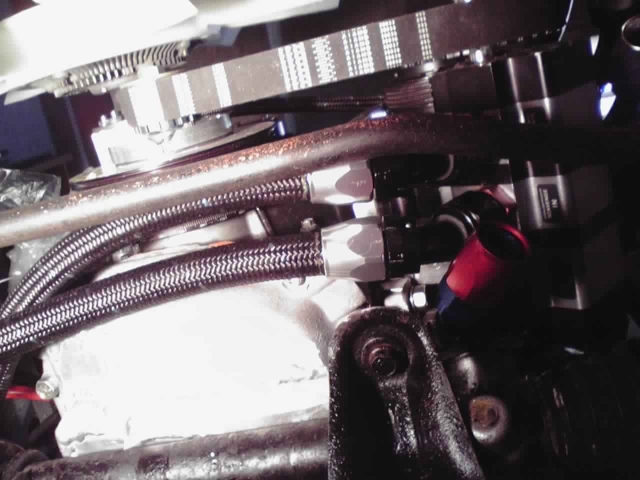
Trial fit. Steering rack clearance is hair tight. I'll put some spacers between mount and rubber.
Plumbing of oil pump input. Interfere with the sway bar.
Pump was relocated with more tilt. The scavenge lines clears the bar. Hose end of the pressure in only be placed at opposite direction.
pic from underside.
Pump out lines just clear frame rail.
The car still has a room for an air conditioner compressor. Radiator fan clears the oil pump drive pulley by putting a spacer.
-
It seems that windshield at least was taken from S30. Doors also may be with modification.
-
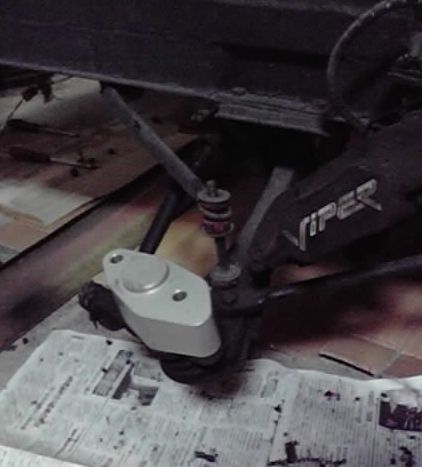
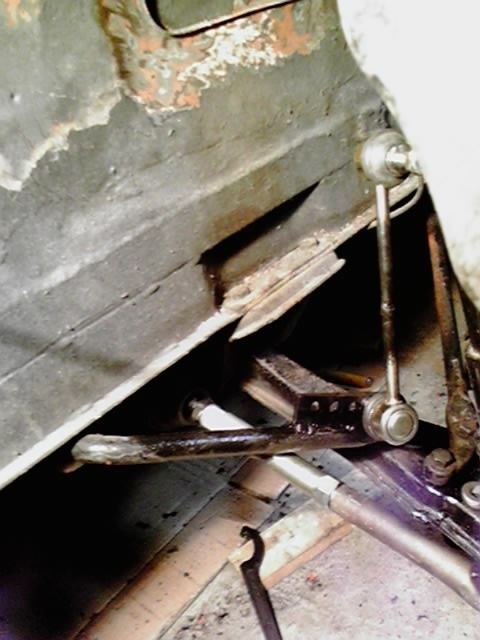
This is my temporary setup. An old stock bar with BMW ball joint links. The other end attached on the strut.
-
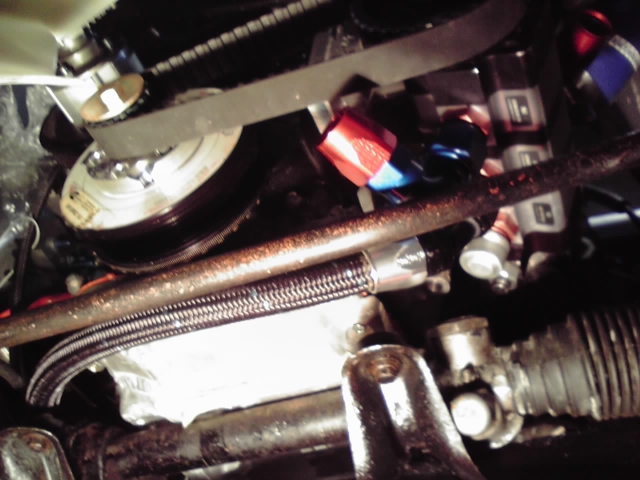
Dry sump pump is in. The bracket is test piece because I can't trust TIG welded aluminum. Oil pump belt tension is not adjustable. Compressor is relocated about 1" toward the rear. Belt tension adjustment range is about 1/2" because the compressor hits against the turbocharger intake pipe.
-
My build is slow because of a tight budget. v-cam is future project and it will be on another head after worn valve guides replaced.
-
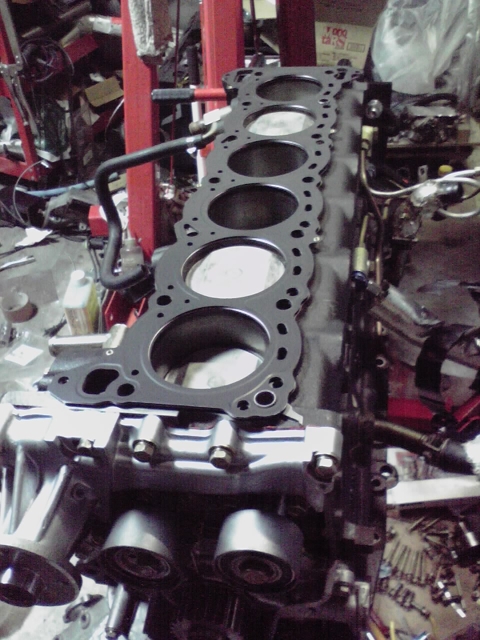
Block and head were washed with Simple green. Reassemble with new piston rings, main/connecting rod bearings and new head gasket.
Head bolts couldn't be torqued properly. Forget to clean the block threads. Chased with tap.
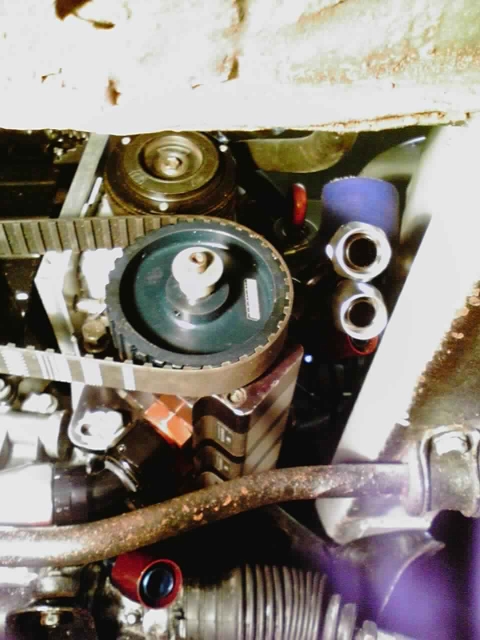
At this time I don't want to let VVT worked. NVCS cam and pulley are there because stock of BNR34 intake cam was in bad shape.
I got a HKS v-cam step 1 type A.
HKS v-cam is basically identical to Subaru AVCS system. My Link G4 Extreme ECU can control AVCS.
v-cam fit in the Subaru cam pulley, however, the oil seal diameter is larger by 2mm.
-
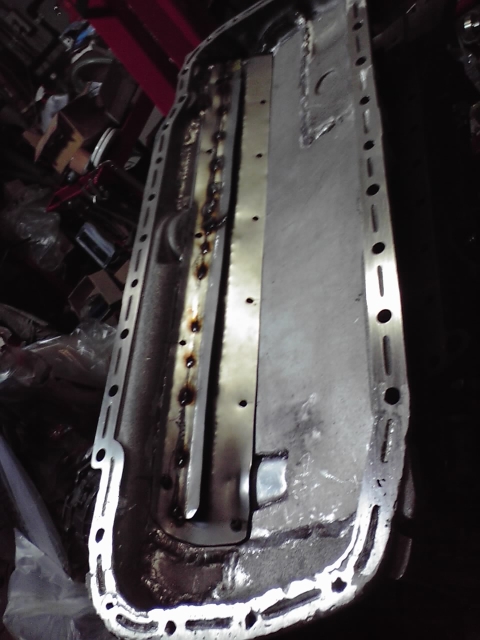
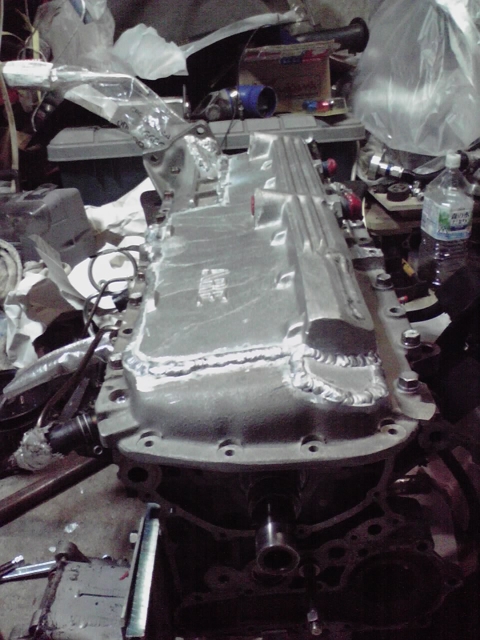
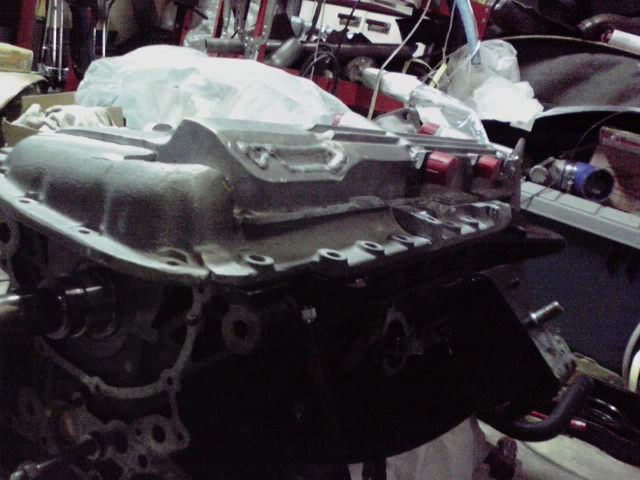
Finalizing the pan. Recess for steering rack.
I tried to get it straight by milling on emery cloth.
Instead, filled by welding on the mating surface of the warped area. Then sanded on the emery cloth for a couple of hours.
Baffle was made by steel. It interferes with the rear part of the crank cap ladder.
left side flange is shrunk by welding. Some bolt holes should get milled.
-
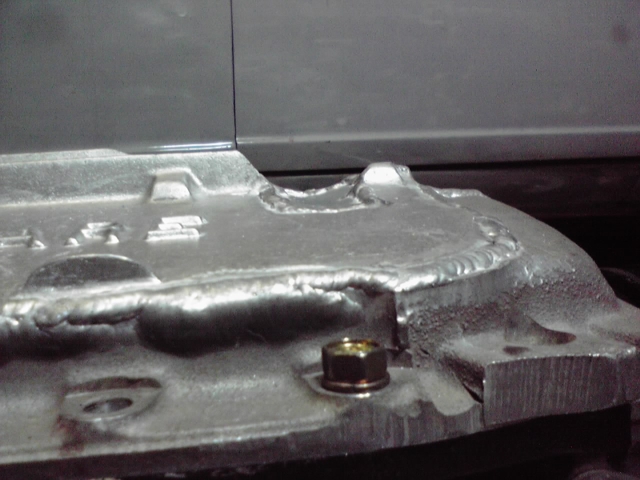
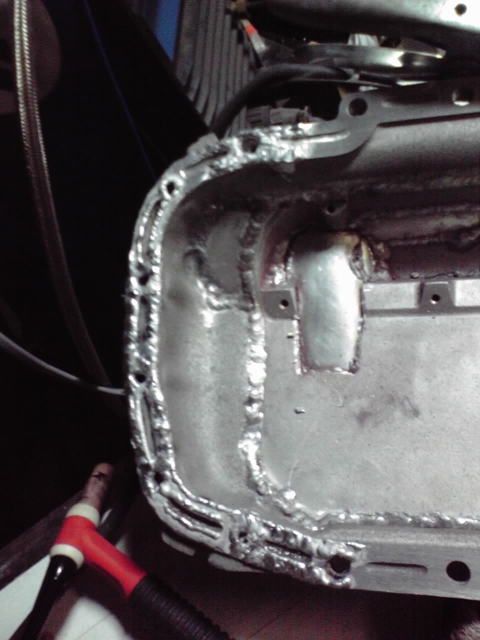
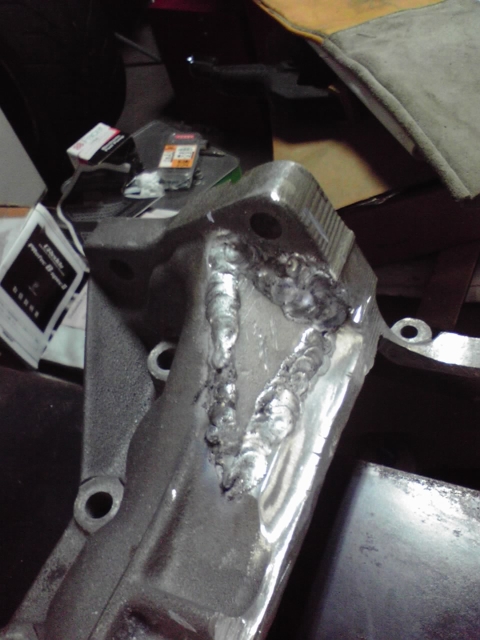
TIG welding
Warming up is necessary because I doesn't TIG welding regularly. This portion does not cause oil leak.
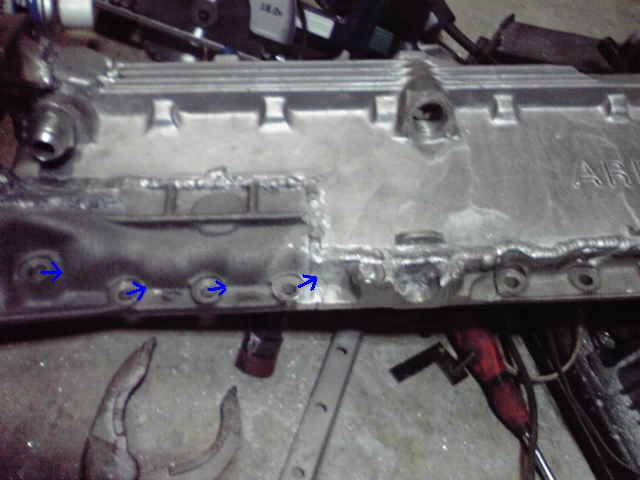
Next I weld a piece where the drive shaft was located. As expected by its shape, the mating surface warped. Thickness gauge was put under the warped area and put some bolts next there, and heated by TIG torch. The warp solved.
Then I welded outside. Again, the warp occurred.
Pan was removed from block and welded inside. Immediately the welding was finished, the pan was put on the block again with the thickness gauge where the warp occurred. I leave it until next weekend.
-
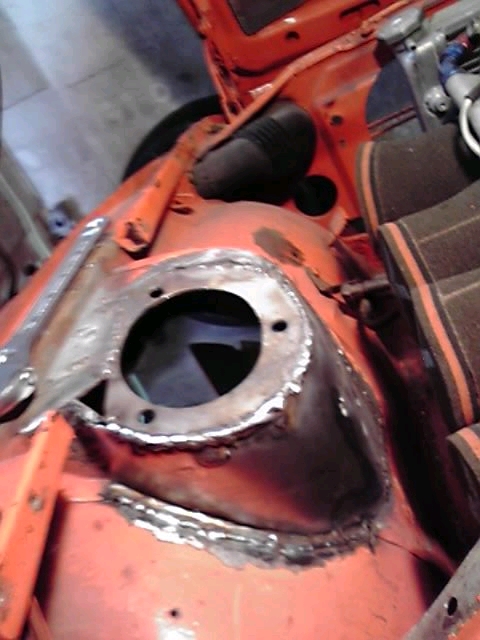
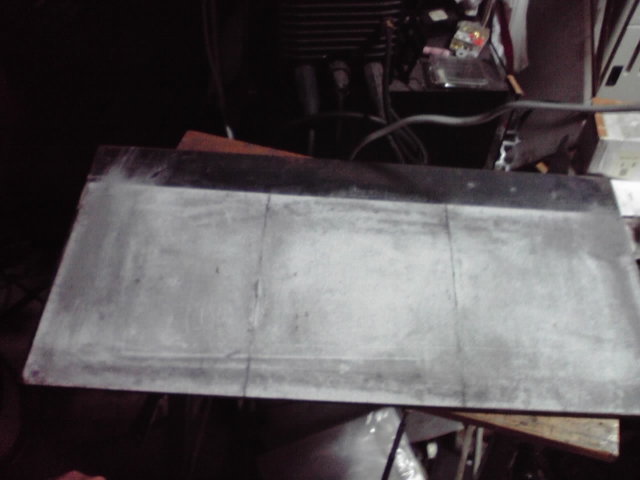
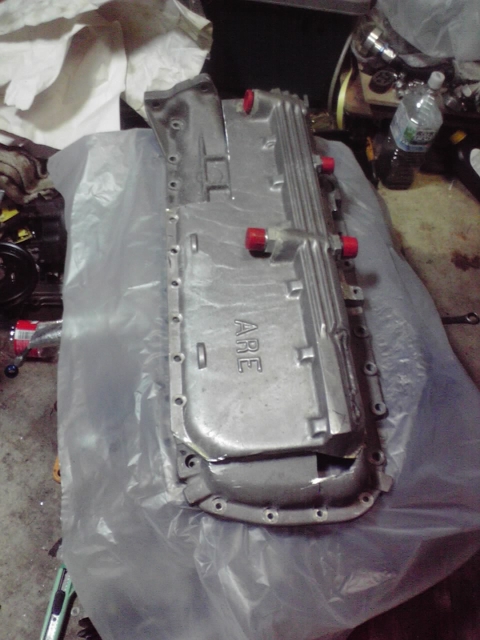
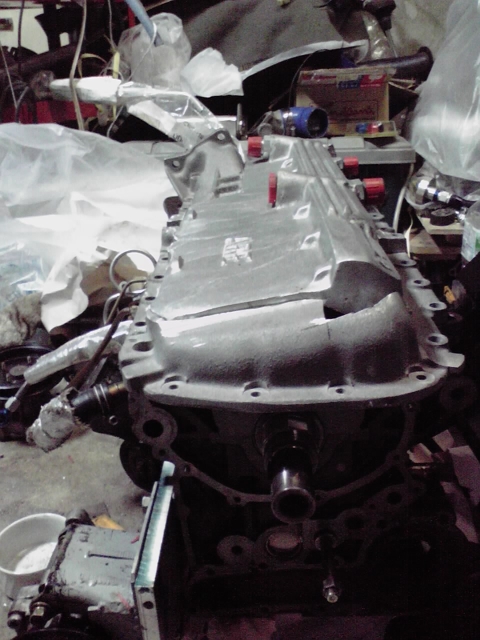
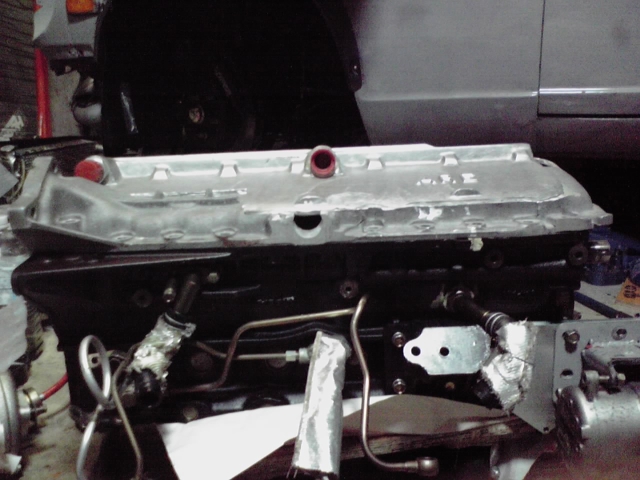
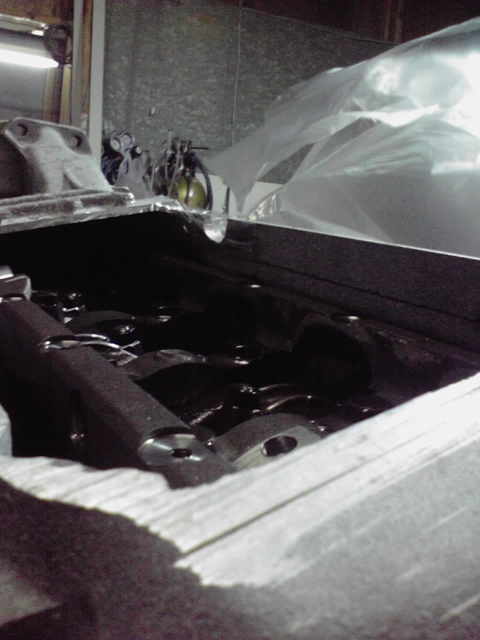
Making of dry sump pan.
Rough cut of the l28 oil pan.
Rear scavenge fitting will hit the RB26 oil pan.
I spent all day for trimming and the result.
This L28 oil pan was actually from the Electramotive 280zx turbo.
-
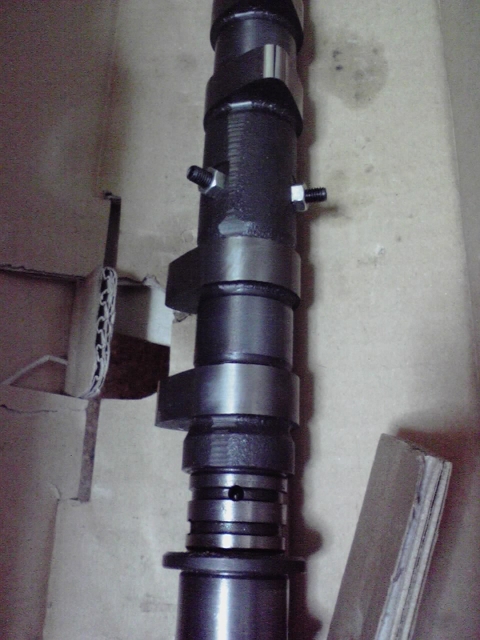
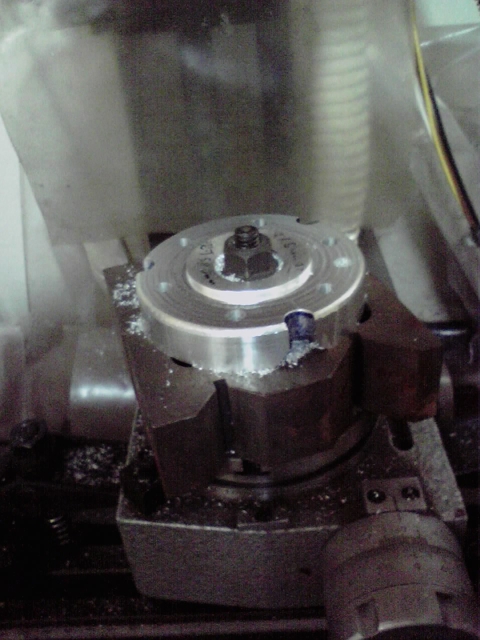
Old stock dry sump drive pulley mandrel. My mini CNC doesn't work because the control PC isn't there for now.
fits well on crank pulley.
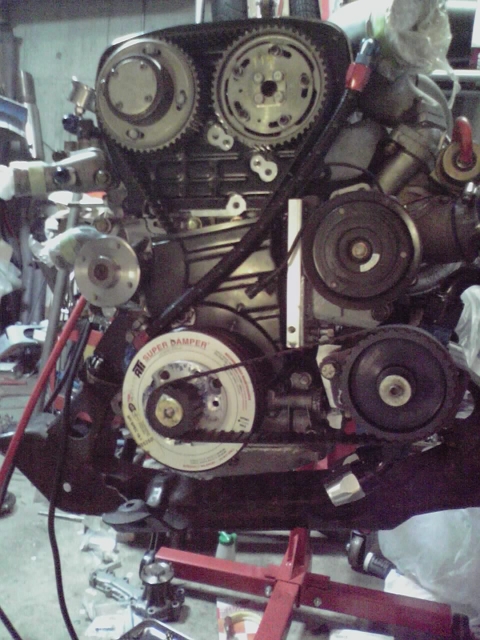
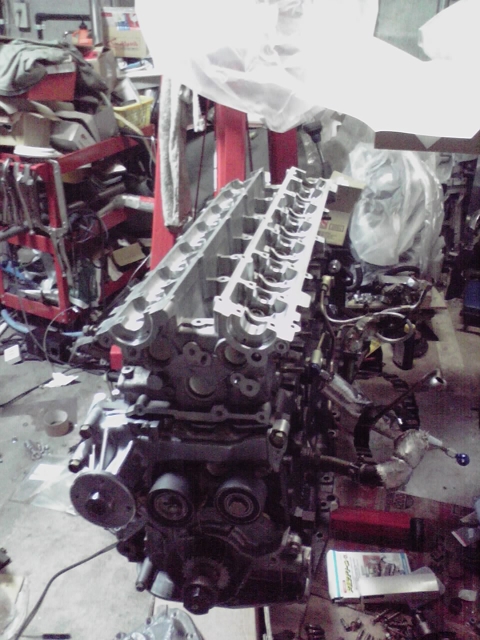
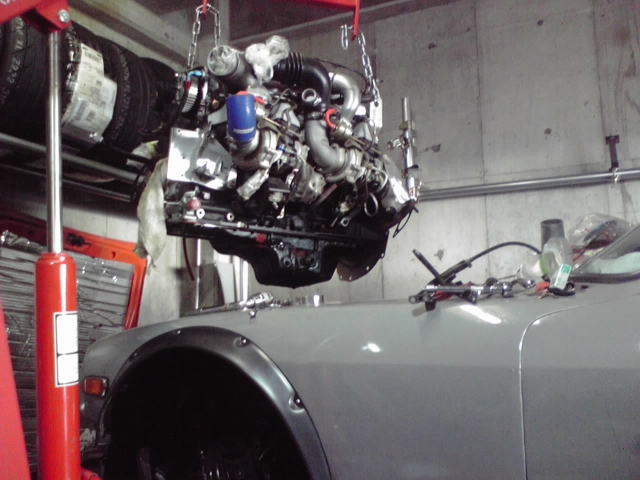
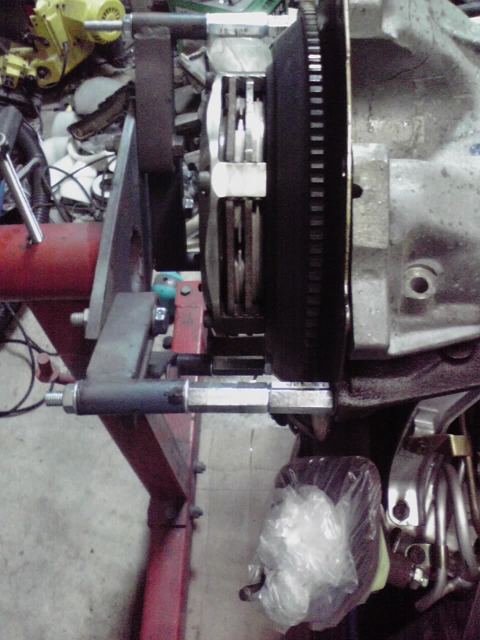
Engine removed.
Placed a set of long nut for spacer on the engine stand because I do not want to remove the clutch.
Scribed a cut line inside the RB26 oil pan.
-
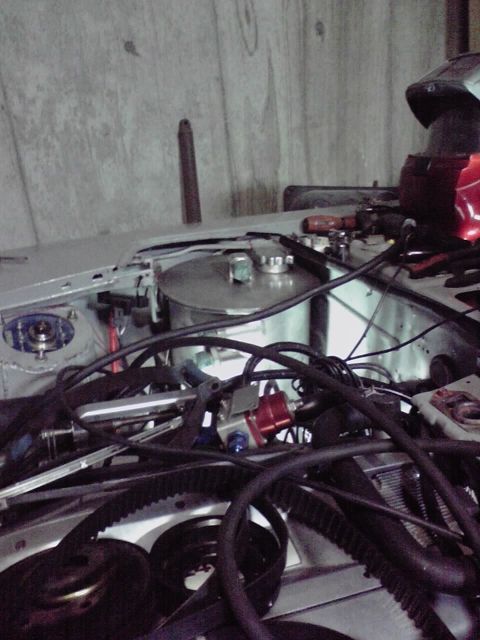
Oil tank sits in there. Tire rubs the tank.
-
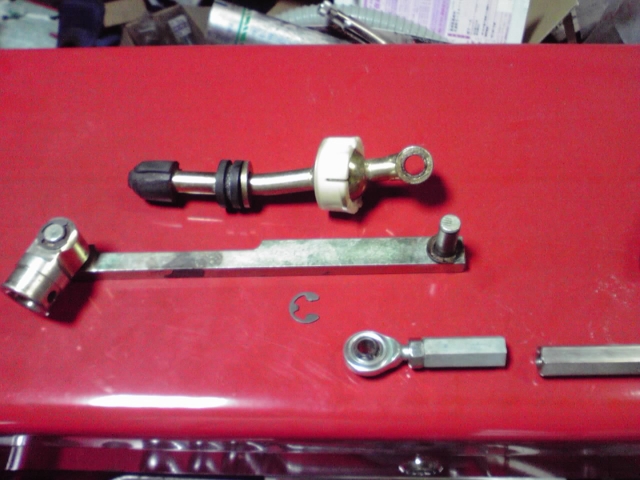
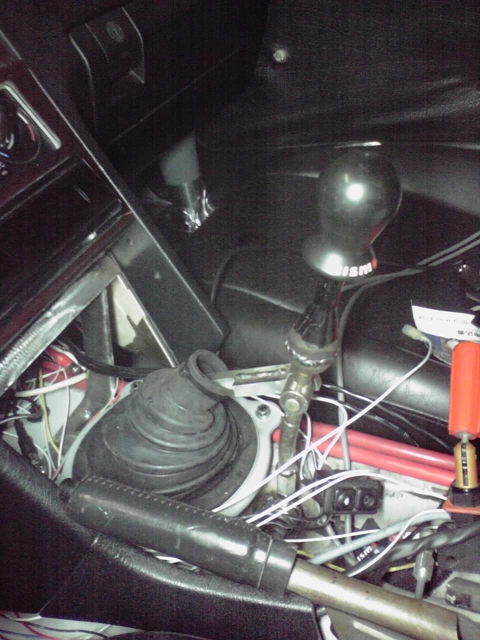
Because of the floor mount pedals, I place the seat at rearmost position with extended steering column and bent shift lever. I hate the arc of the shift knob because the motion center is still in the trans.
Fixed the problem with an old stock of short shift kit for BMW.
Now the shift lever pivot is in the pocket of choke linkage. Ergonomically improved.
I am going to put dry sump system. Starting materials are L28 ARE pan and genuine RB26 pan. But I am not sure such shallow oil pan is necessary. LS7 has regular shape of oil pan
-
I have a pair of Vitaloni Sebring convex lens on my z. I recommend not to choose flat lens.
-


240z with RB26DETT, multilink, EPS, etc
in S30 Series - 240z, 260z, 280z
Posted
Ran off the track and hit the guardrail at Autopolis circuit. Too much power for me.