spudly13
-
Posts
18 -
Joined
-
Last visited
spudly13's Achievements
")
Newbie (1/14)
0
Reputation
-
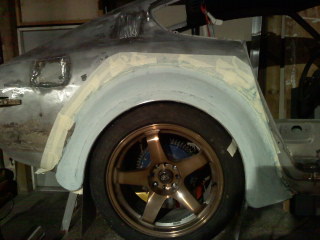
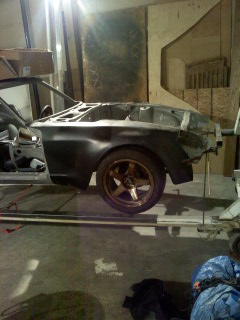
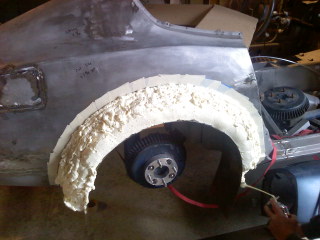
One off custum fender flares, let me know what you think!
spudly13 replied to spudly13's topic in Body Kits & Paint
I used sheet metal as the base, then spray foam to get it into a rough shape, from there bondo for final sculpting and now im using it as a mold to lay fiberglass on and make the flares. The fronts were basically the same, the major difference is the fronts are a full fiberglass fender. -
There not done yet but im slowly gettin there, let me know what you guys think!

-
Fuel cell questions pertaining to a daily driver
spudly13 replied to spudly13's topic in Fuel Delivery
Ya, i already have me rear floor/tire well all cut out because im running dual exhaust straight down the middle with battery on one side and i was planning on fuel cell on top, but i think now im going to mock up a tank and build a "fuel cell" to fit on the other side of my exhaust. Im still in the planning stages here but hopefully ill get it all worked out So your building yours to fit under the tire well? -
Fuel cell questions pertaining to a daily driver
spudly13 replied to spudly13's topic in Fuel Delivery
Haha Alright thanks ill do that! -
Hey so ive been trying to talk to the state patrol and there no help, So if anyone knows the laws and regulations about having a fuel cell inside your daily driver / track car, I would love to know the rules about whats ok and whats not, or if its allowed (ive seen plenty of cars with them but double checking). For example if i am able to put my cell inside my car, do i need an external fill? Any help would be greatly appreciated!!! I live in washington state if that makes any difference Thanks
-
I just recently filled mine. I found a donar roof just like yours, Cut out the majority of the roof pannel. Held it in from the bottom lining it up perfect and tracing out the whole. Cut the piece a little big so i could trim to fit. Once i fit it and was happy i tacked it in and kept going around with tacks and grinding until it was completely filled. Afterward i had to go around with a hammer and dolly to smooth some areas out. But overall i was happy with how well it worked. Note. Be extremely careful not to put to much heat in one spot. It warps and bubbles really really easy.
-
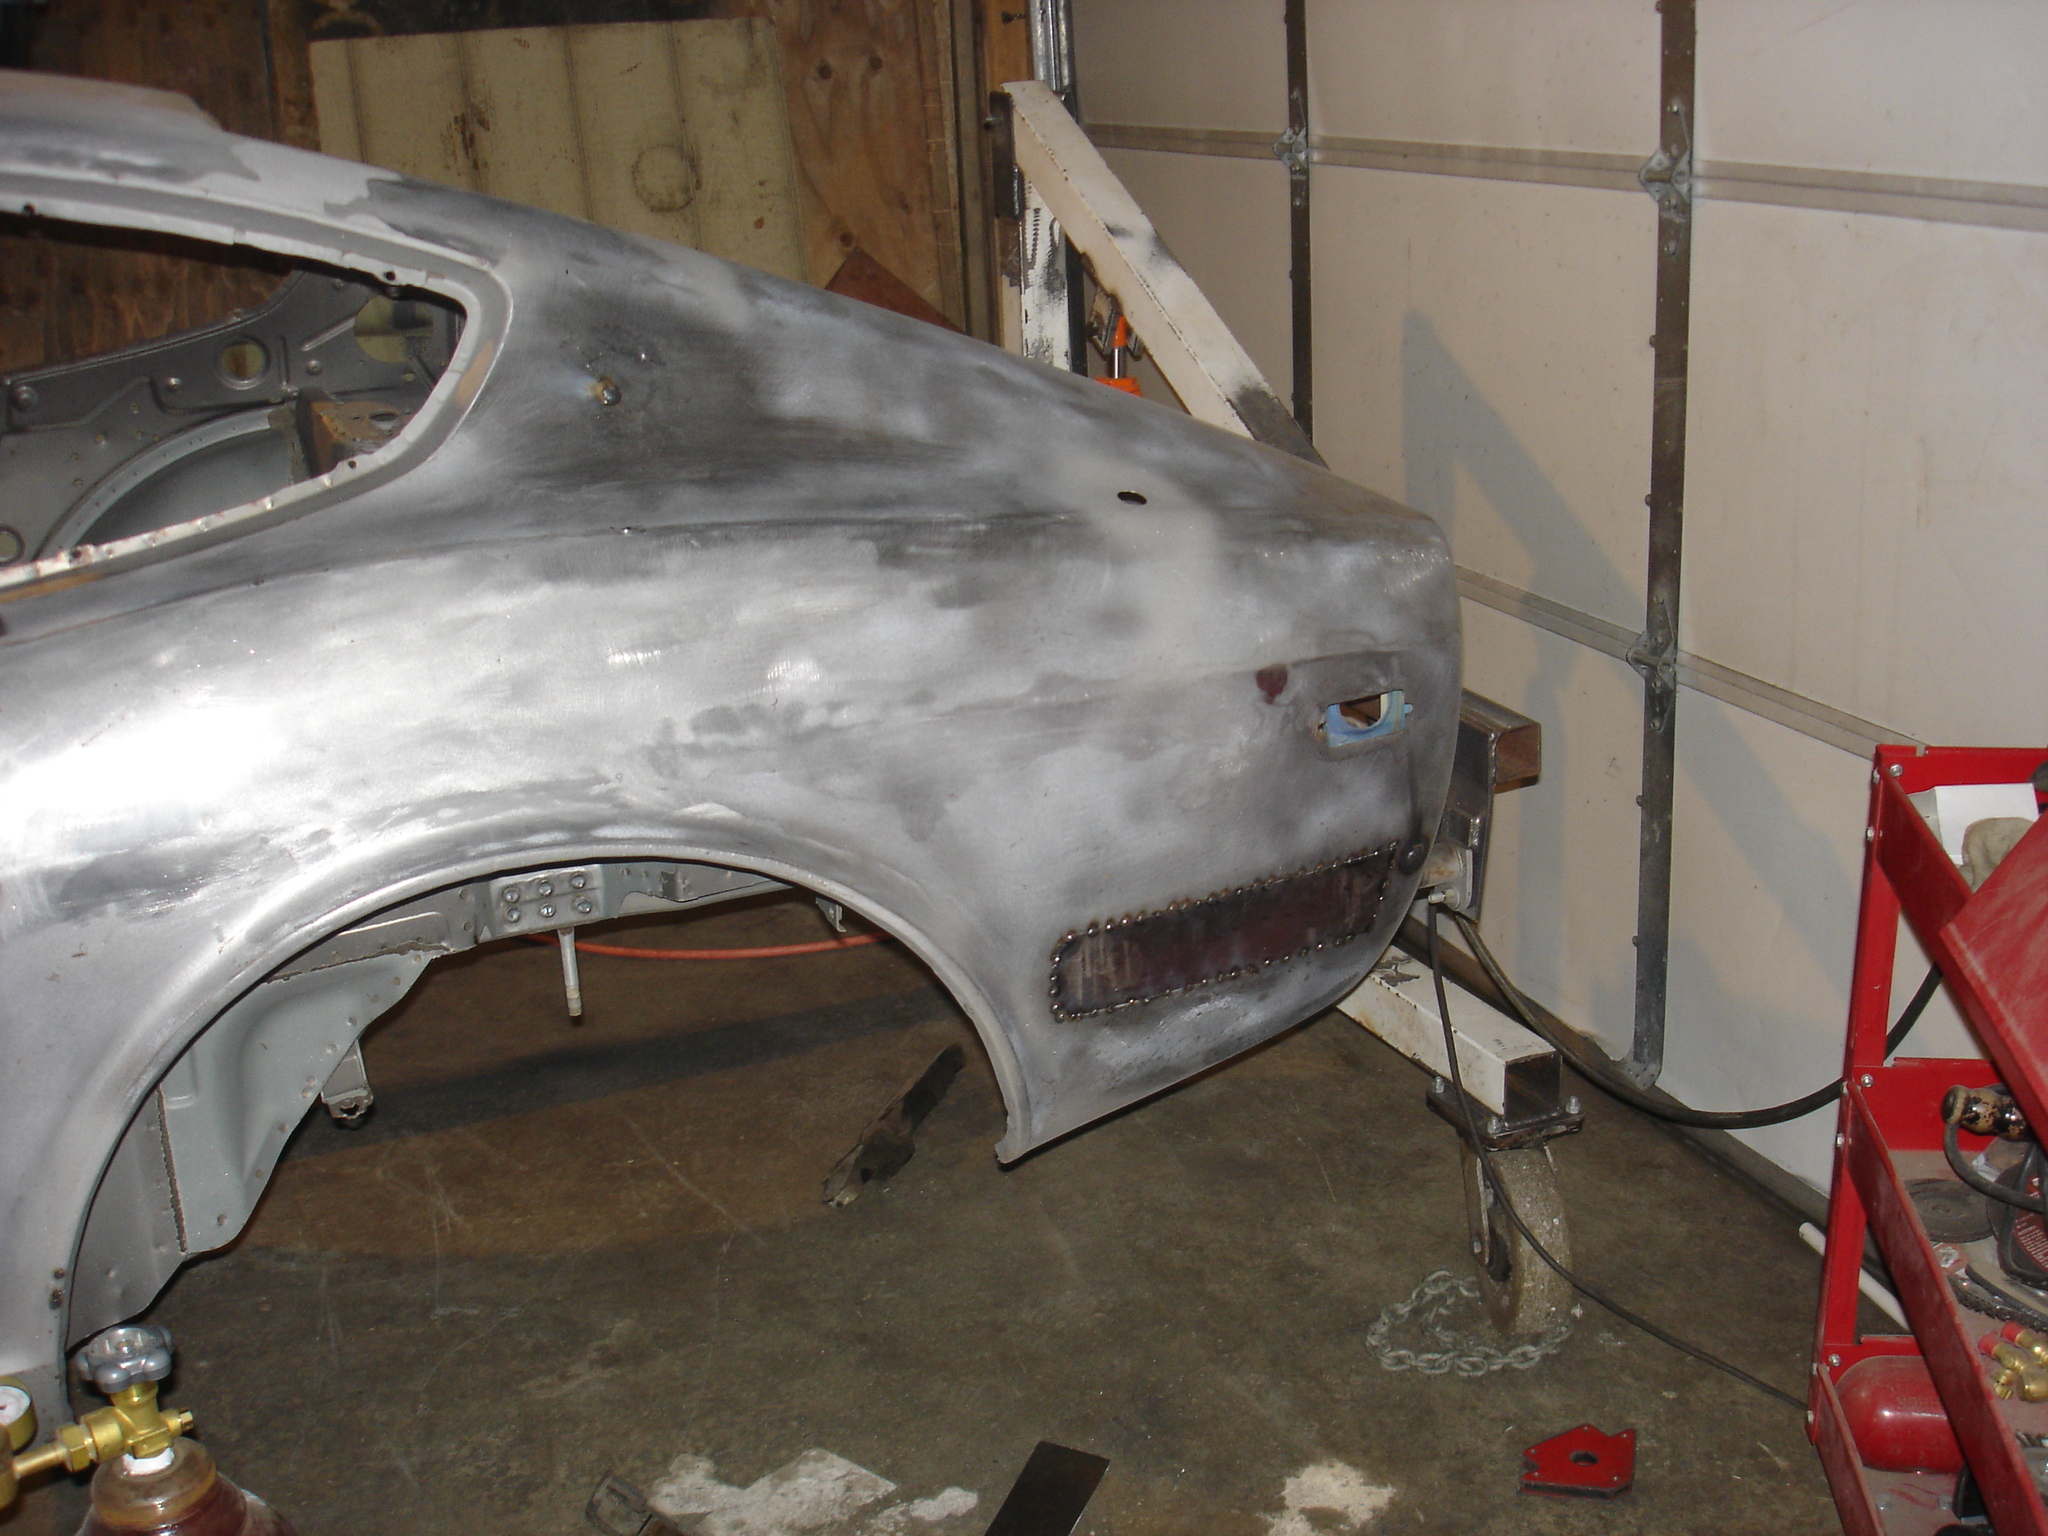
its official....I absoulutely hate body work...I love wrenching on stuff and taking stuff apart and back together. But body work is never ending. Definately not my thing...
-
Im gunna look into those fenders a little bit more. There sorta spendy but it would make my life a whole lot easier when it came to all that body work. Thanks a lot for the help!!! 12in tires would be amazing to get stuffed under my car. i still havent fully decided what type of tire to go with quite yet. I was thinking slicks for awhile but then the car would be no fun to drive except in a straight line.
-
Ya i do really like that look. The cars gunna be a fair weather driver and will have a full cage... i plan on tracking it a little bit. Thats the main reason i was looking at wider flares.. to help cover up a really wide tire (tt 350 = lots of power and little traction).
-
That looks pretty good. In the end i think i want wider flares and was going to modify whatever flares i ended up with but if it looked that clean in the end i would be happy. How hard was it to mold the airdam into the flares? And do you have any pictures of that process? Thanks
-
Thanks for the help guys. Seeing those pictures really helped me figure out how im gunna go about doing this. Even tho it was in japanese haha. I think im going to use this air dam http://www.thezstore.com/page/TZS/PROD/7AD1/50-1439 And ZG wide flares And get it all molded into the desired look. (my flares will completely molded into the car, no bolt holes or seam) What do you guys think? Thanks again
-
Im pretty sure that this flare airdam configuration was probally done custom but im looking to do something similar... If you know where he got it or what parts he used to make it any input would be great. Or meybe some other ideas and tips. Thanks so much, Casey More pictures http://zelastchancegaragedu78.blogspot.com/2010/04/mighty-datsun.html
-
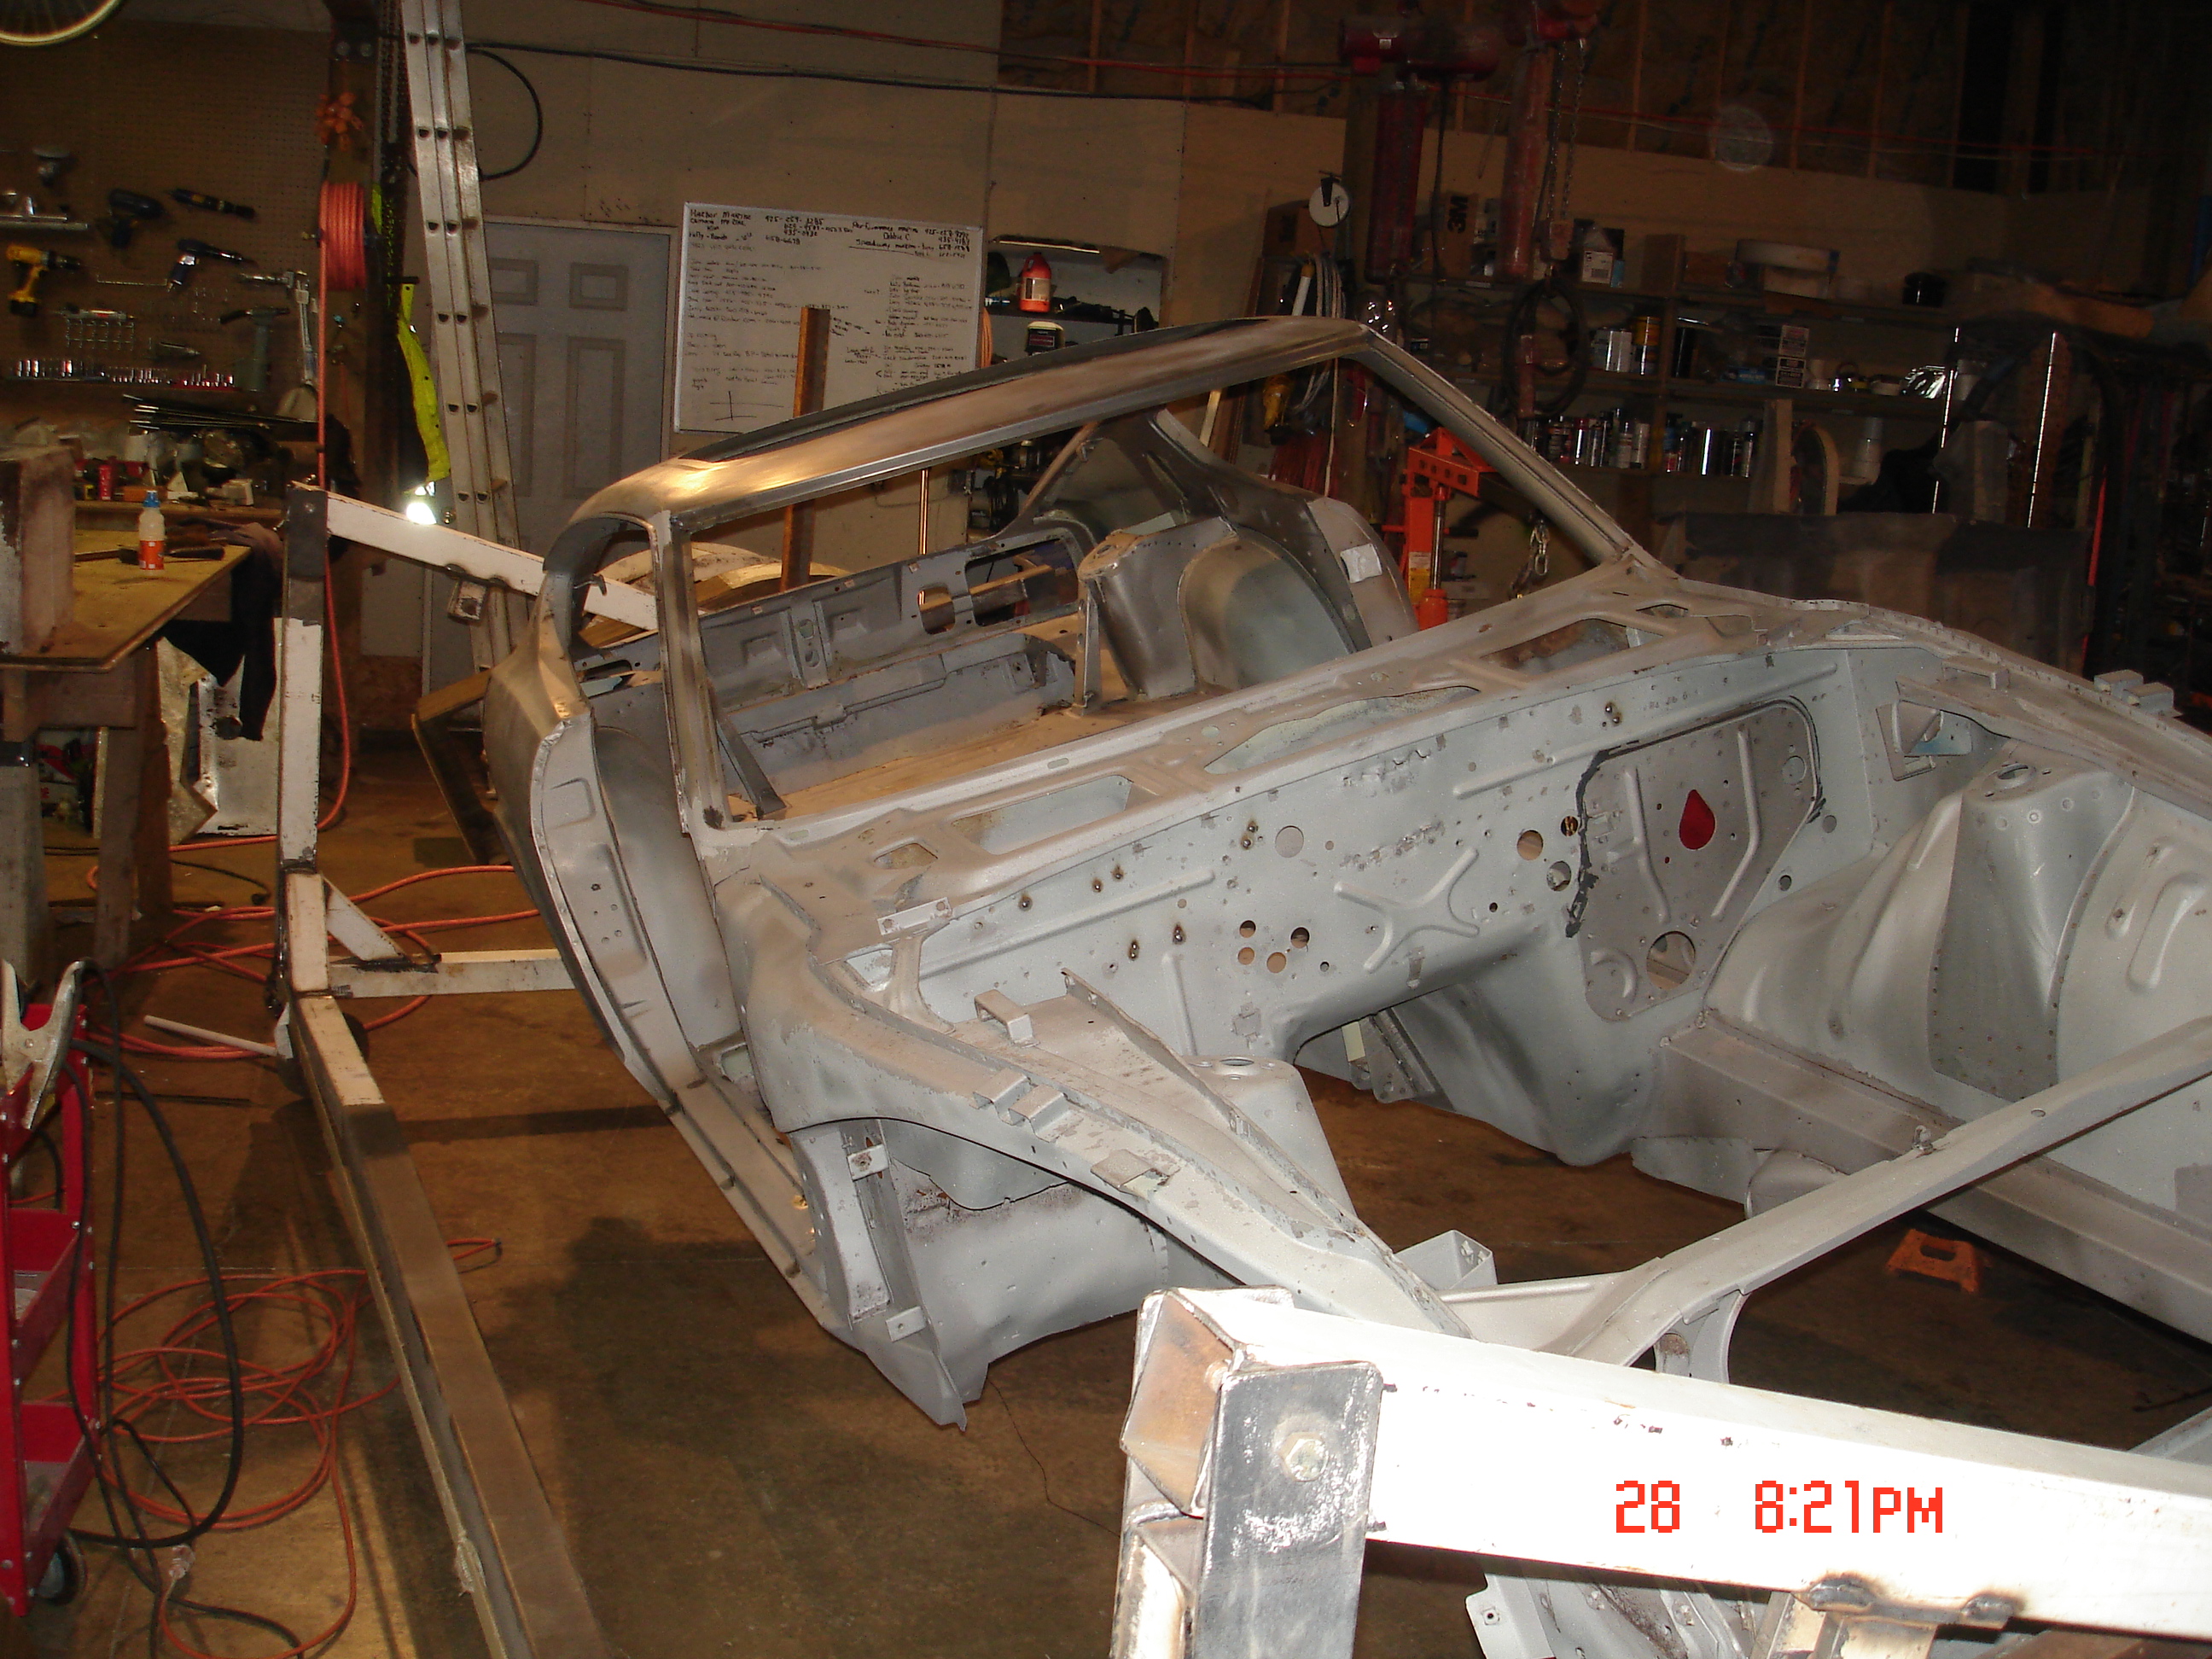
Spent the last few weeks re-organizing our shop so i havent been able to get any work done.... BUT!!!! In the last few days i started up again. Were starting on motor and tranny mounts, floor pans, and a bunch of metal working, filling, and rust repair, FUN FUN!!!
-
We were able to build it for about 175 bucks 50$ per jack and some steel. But we also had a bunch of scrap steel lying around. You could probally build one for a few hundred dollars and have a nice functional roticery.
-
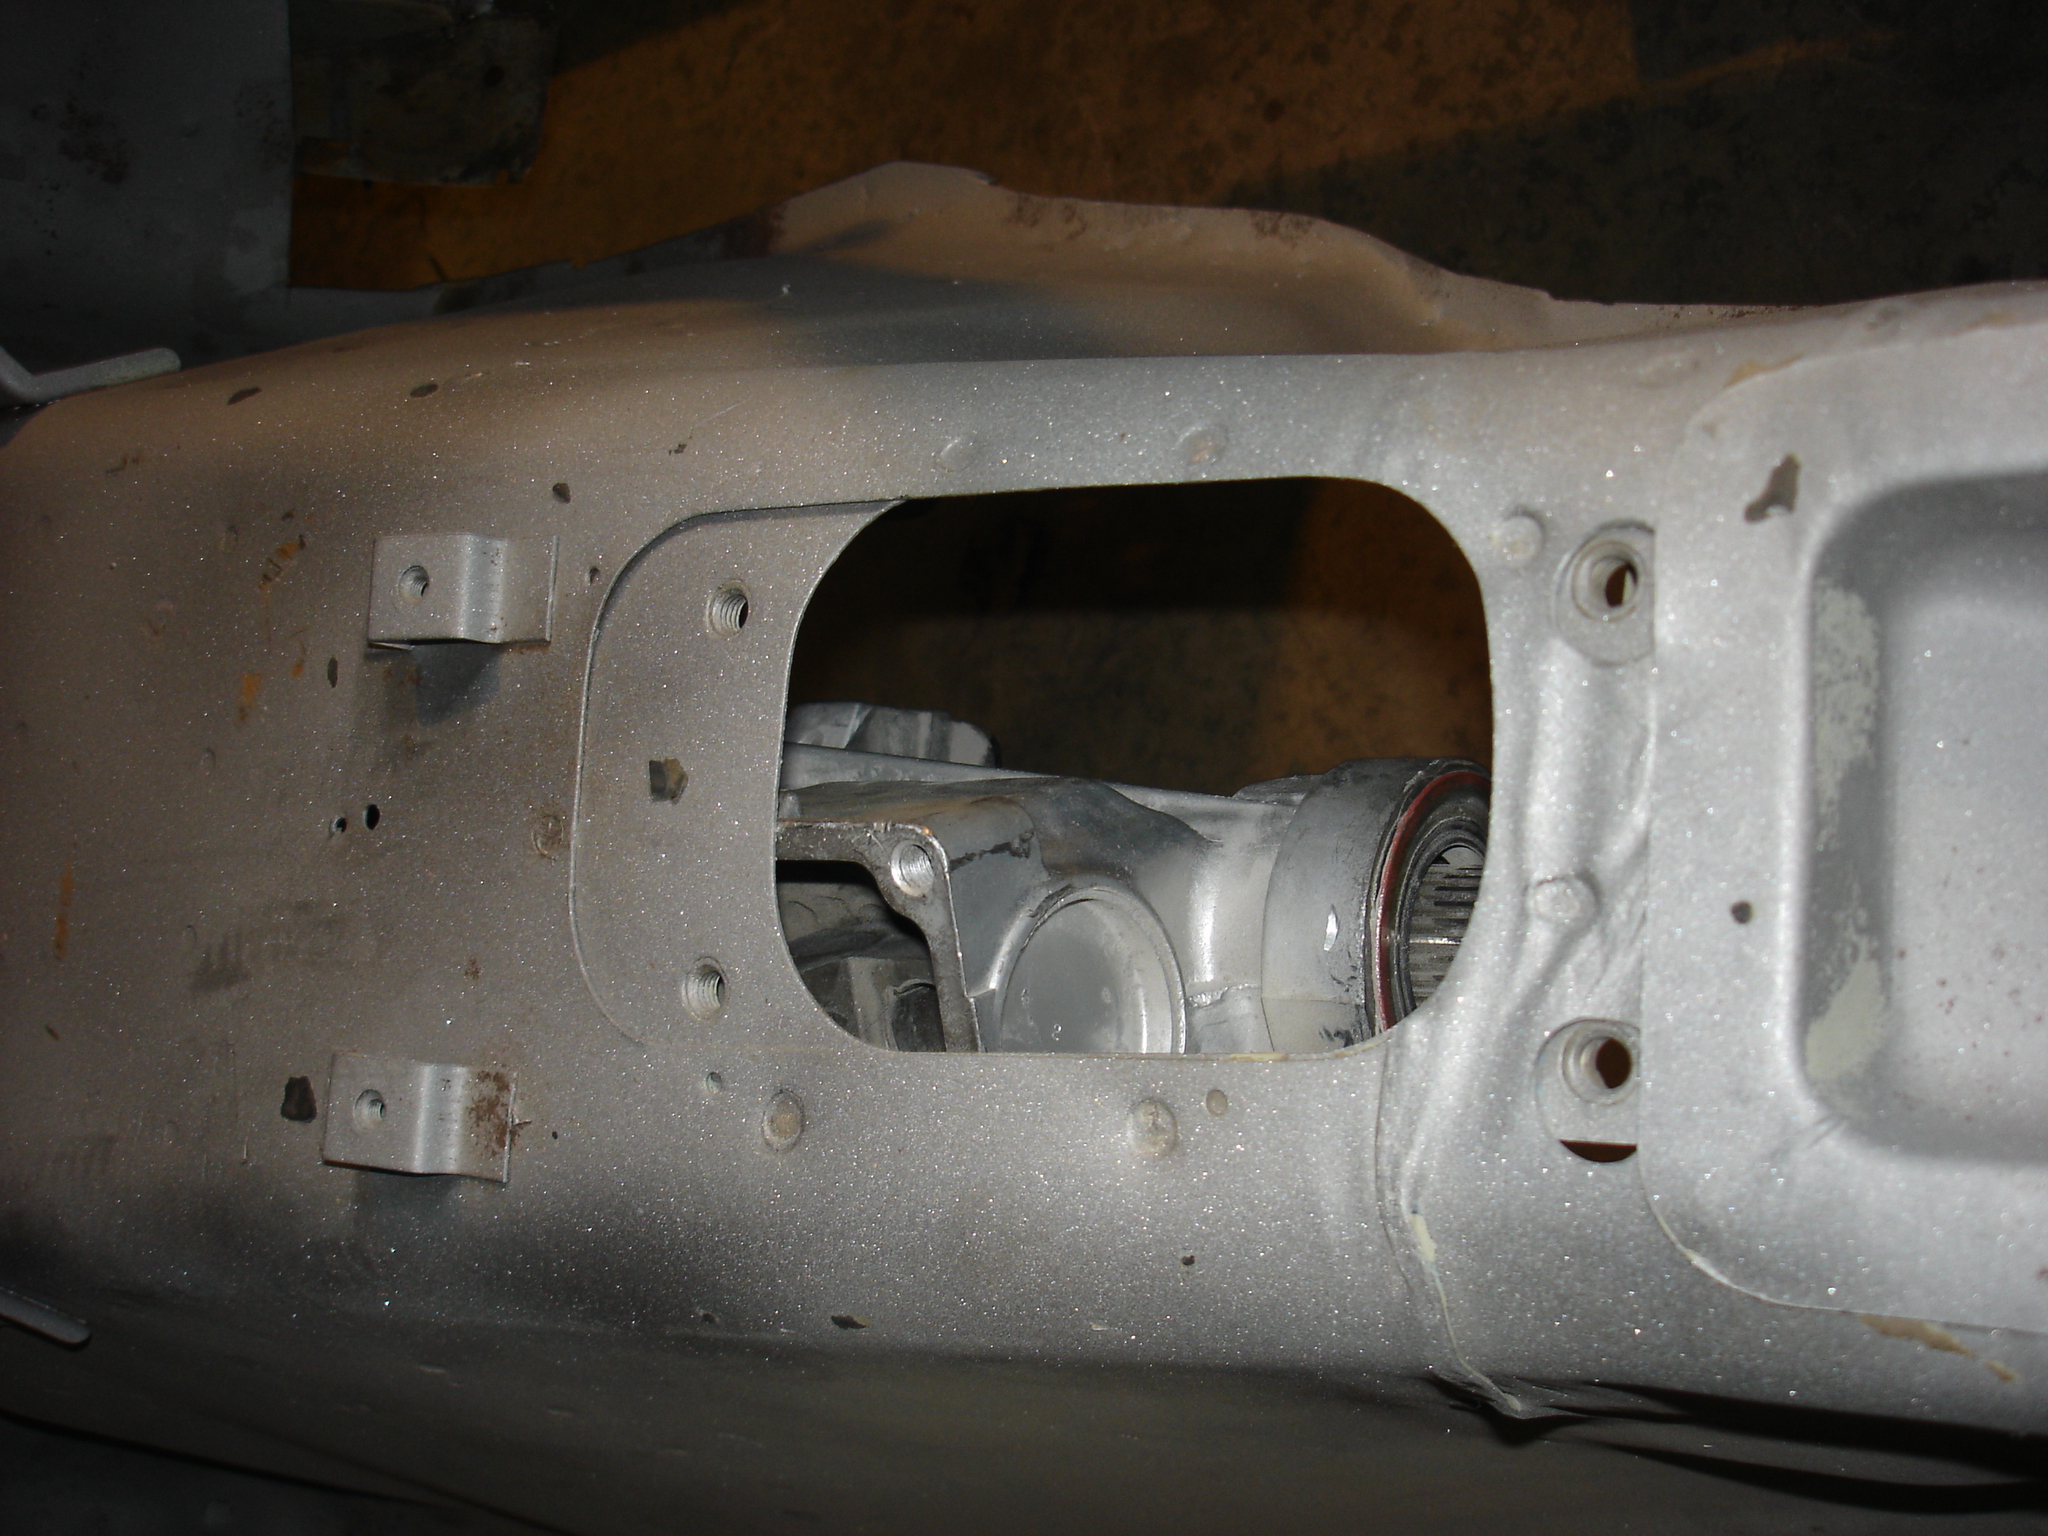
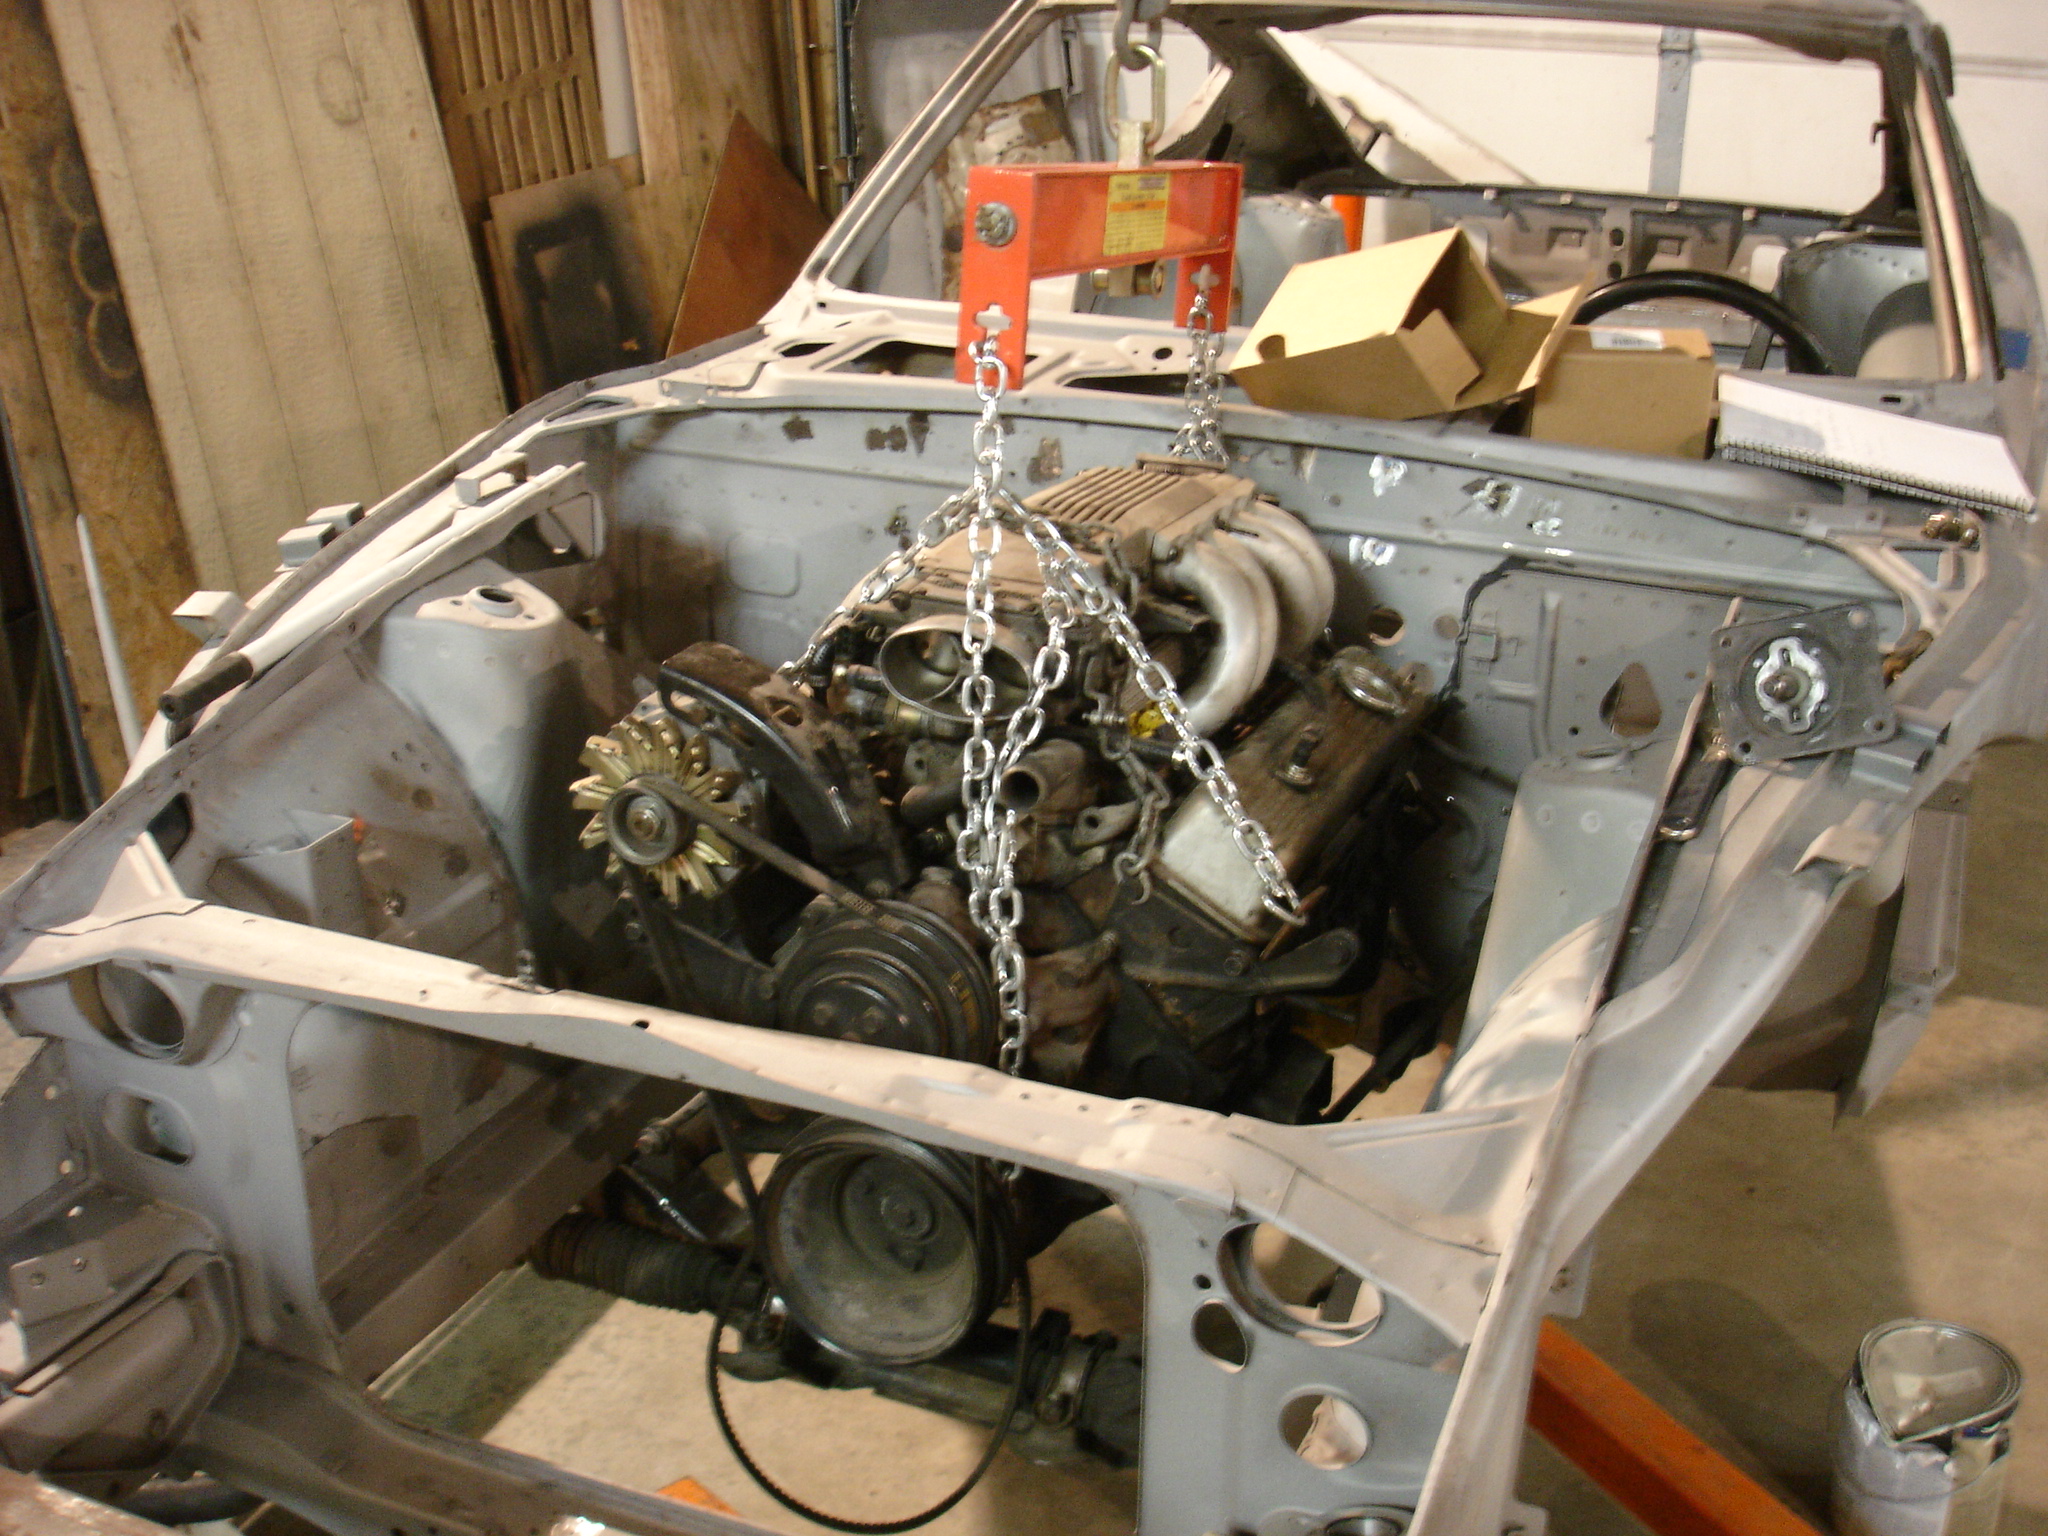
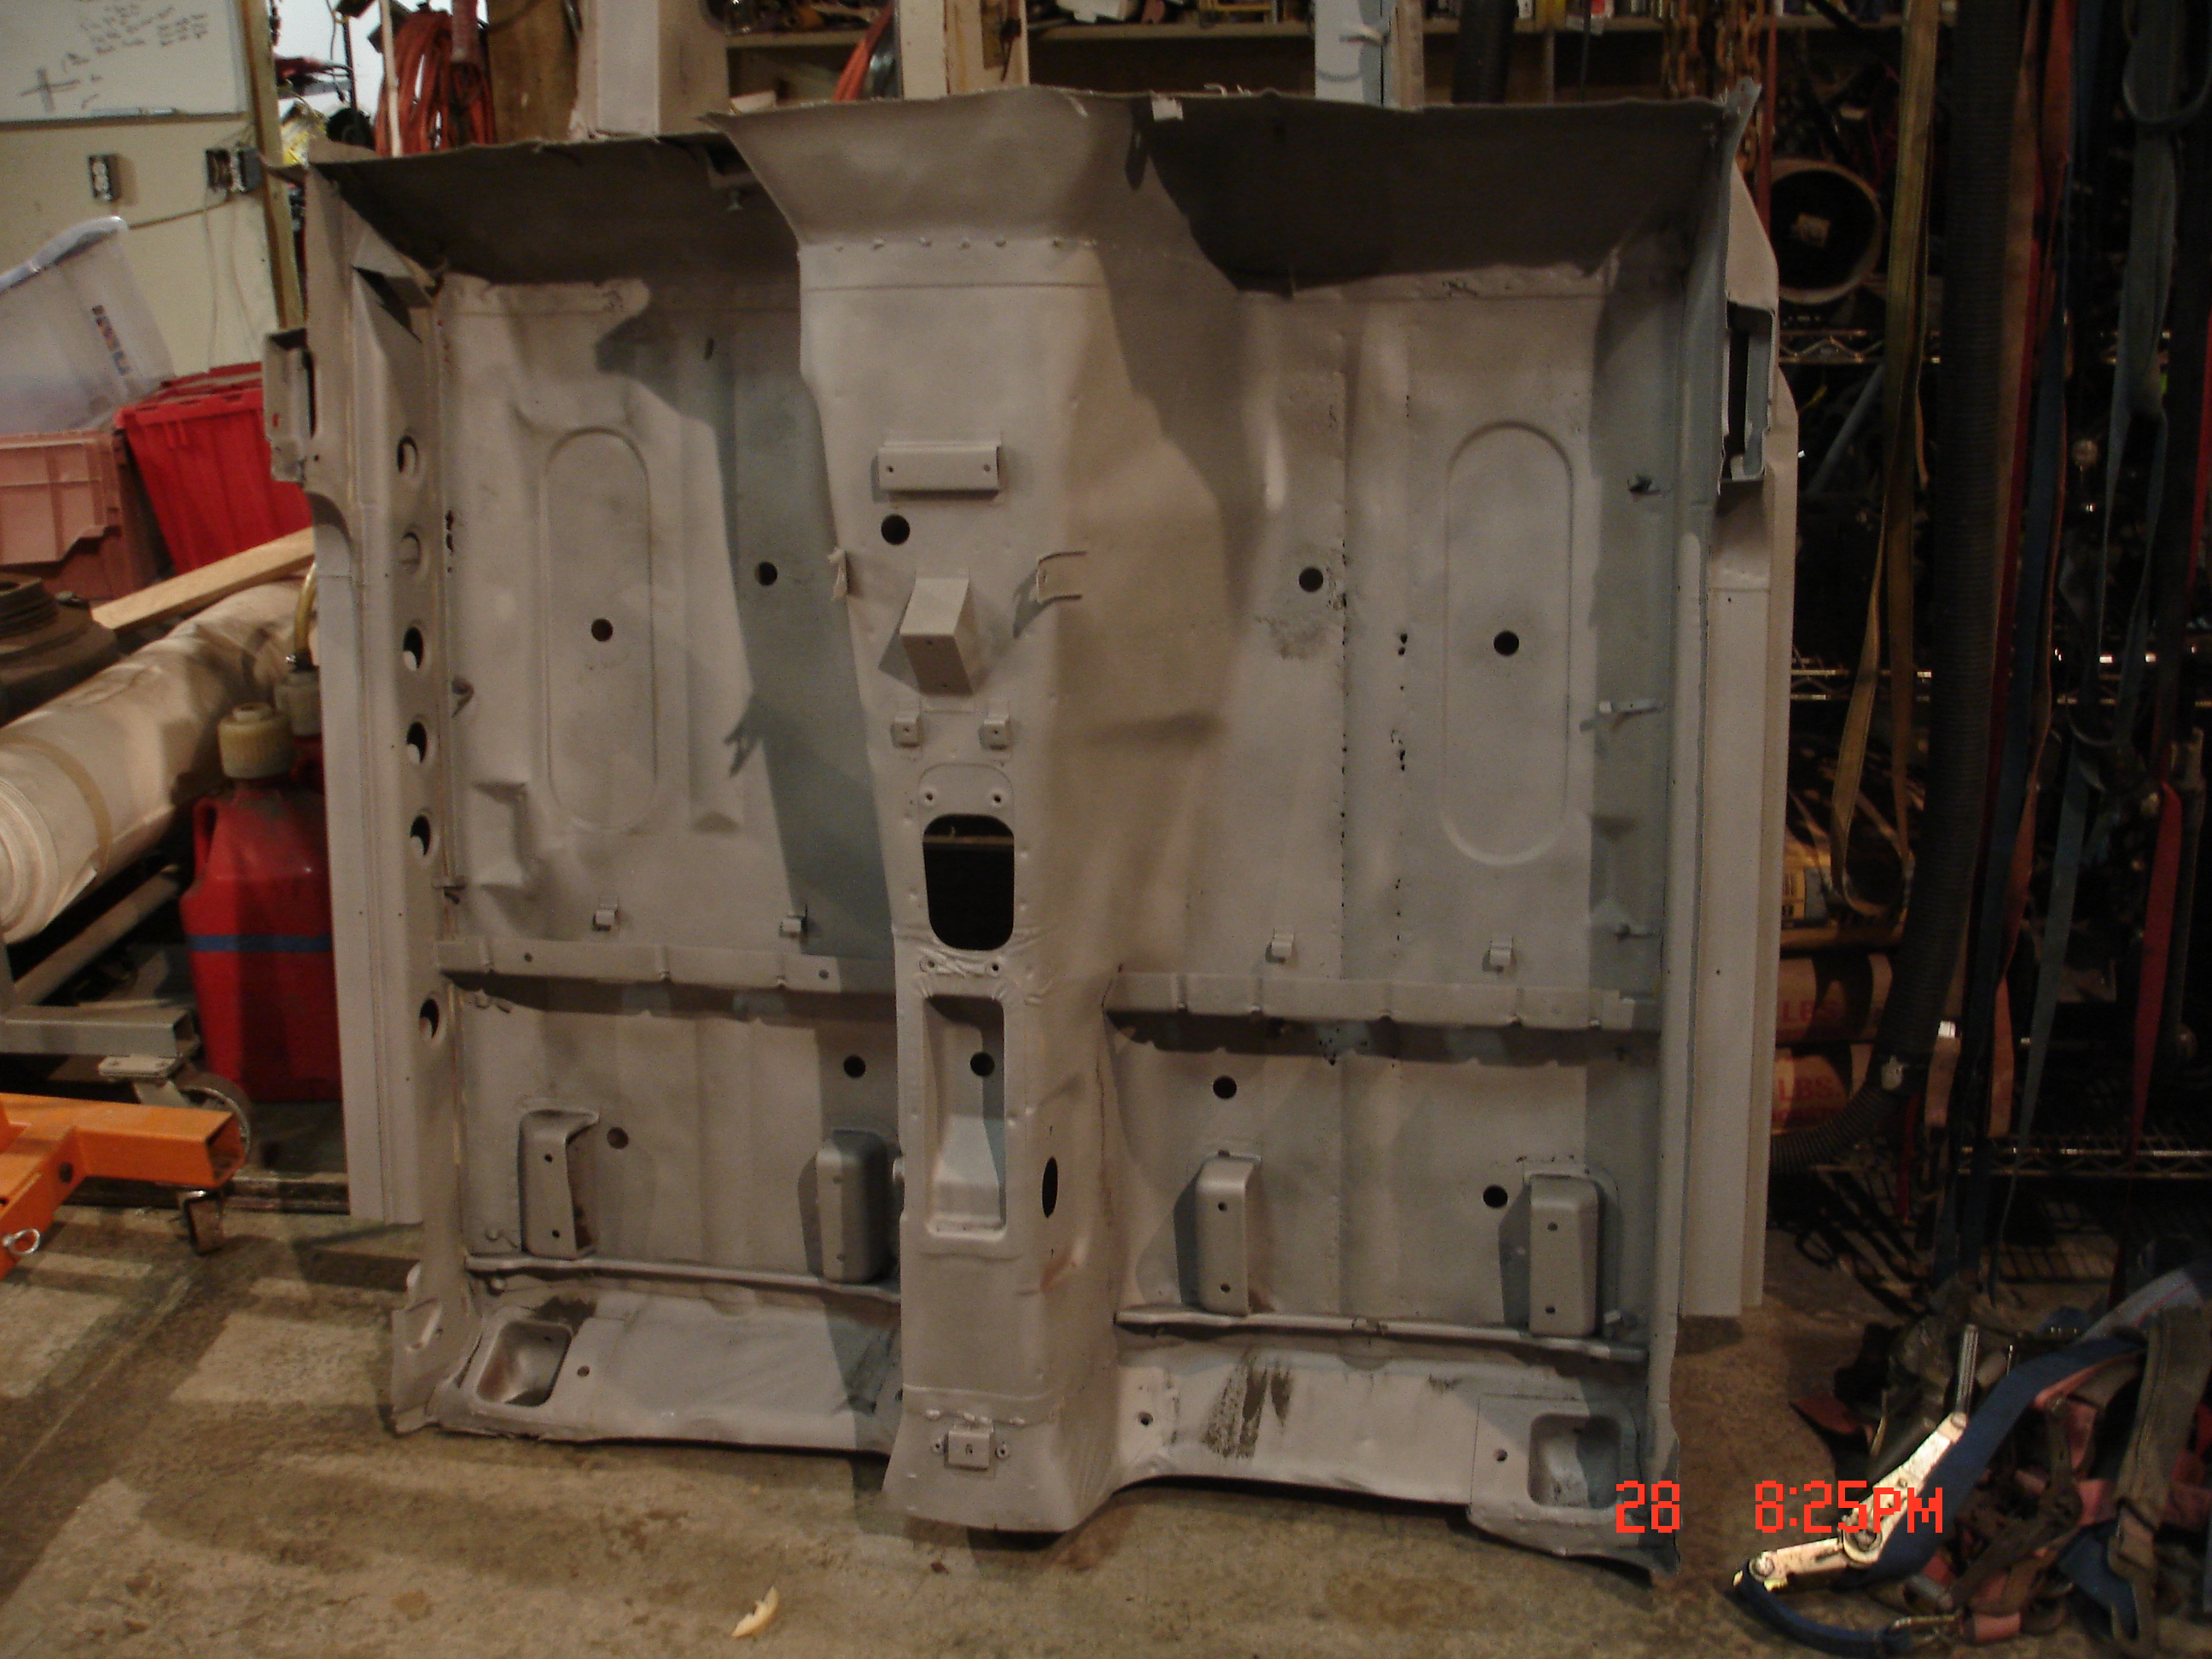
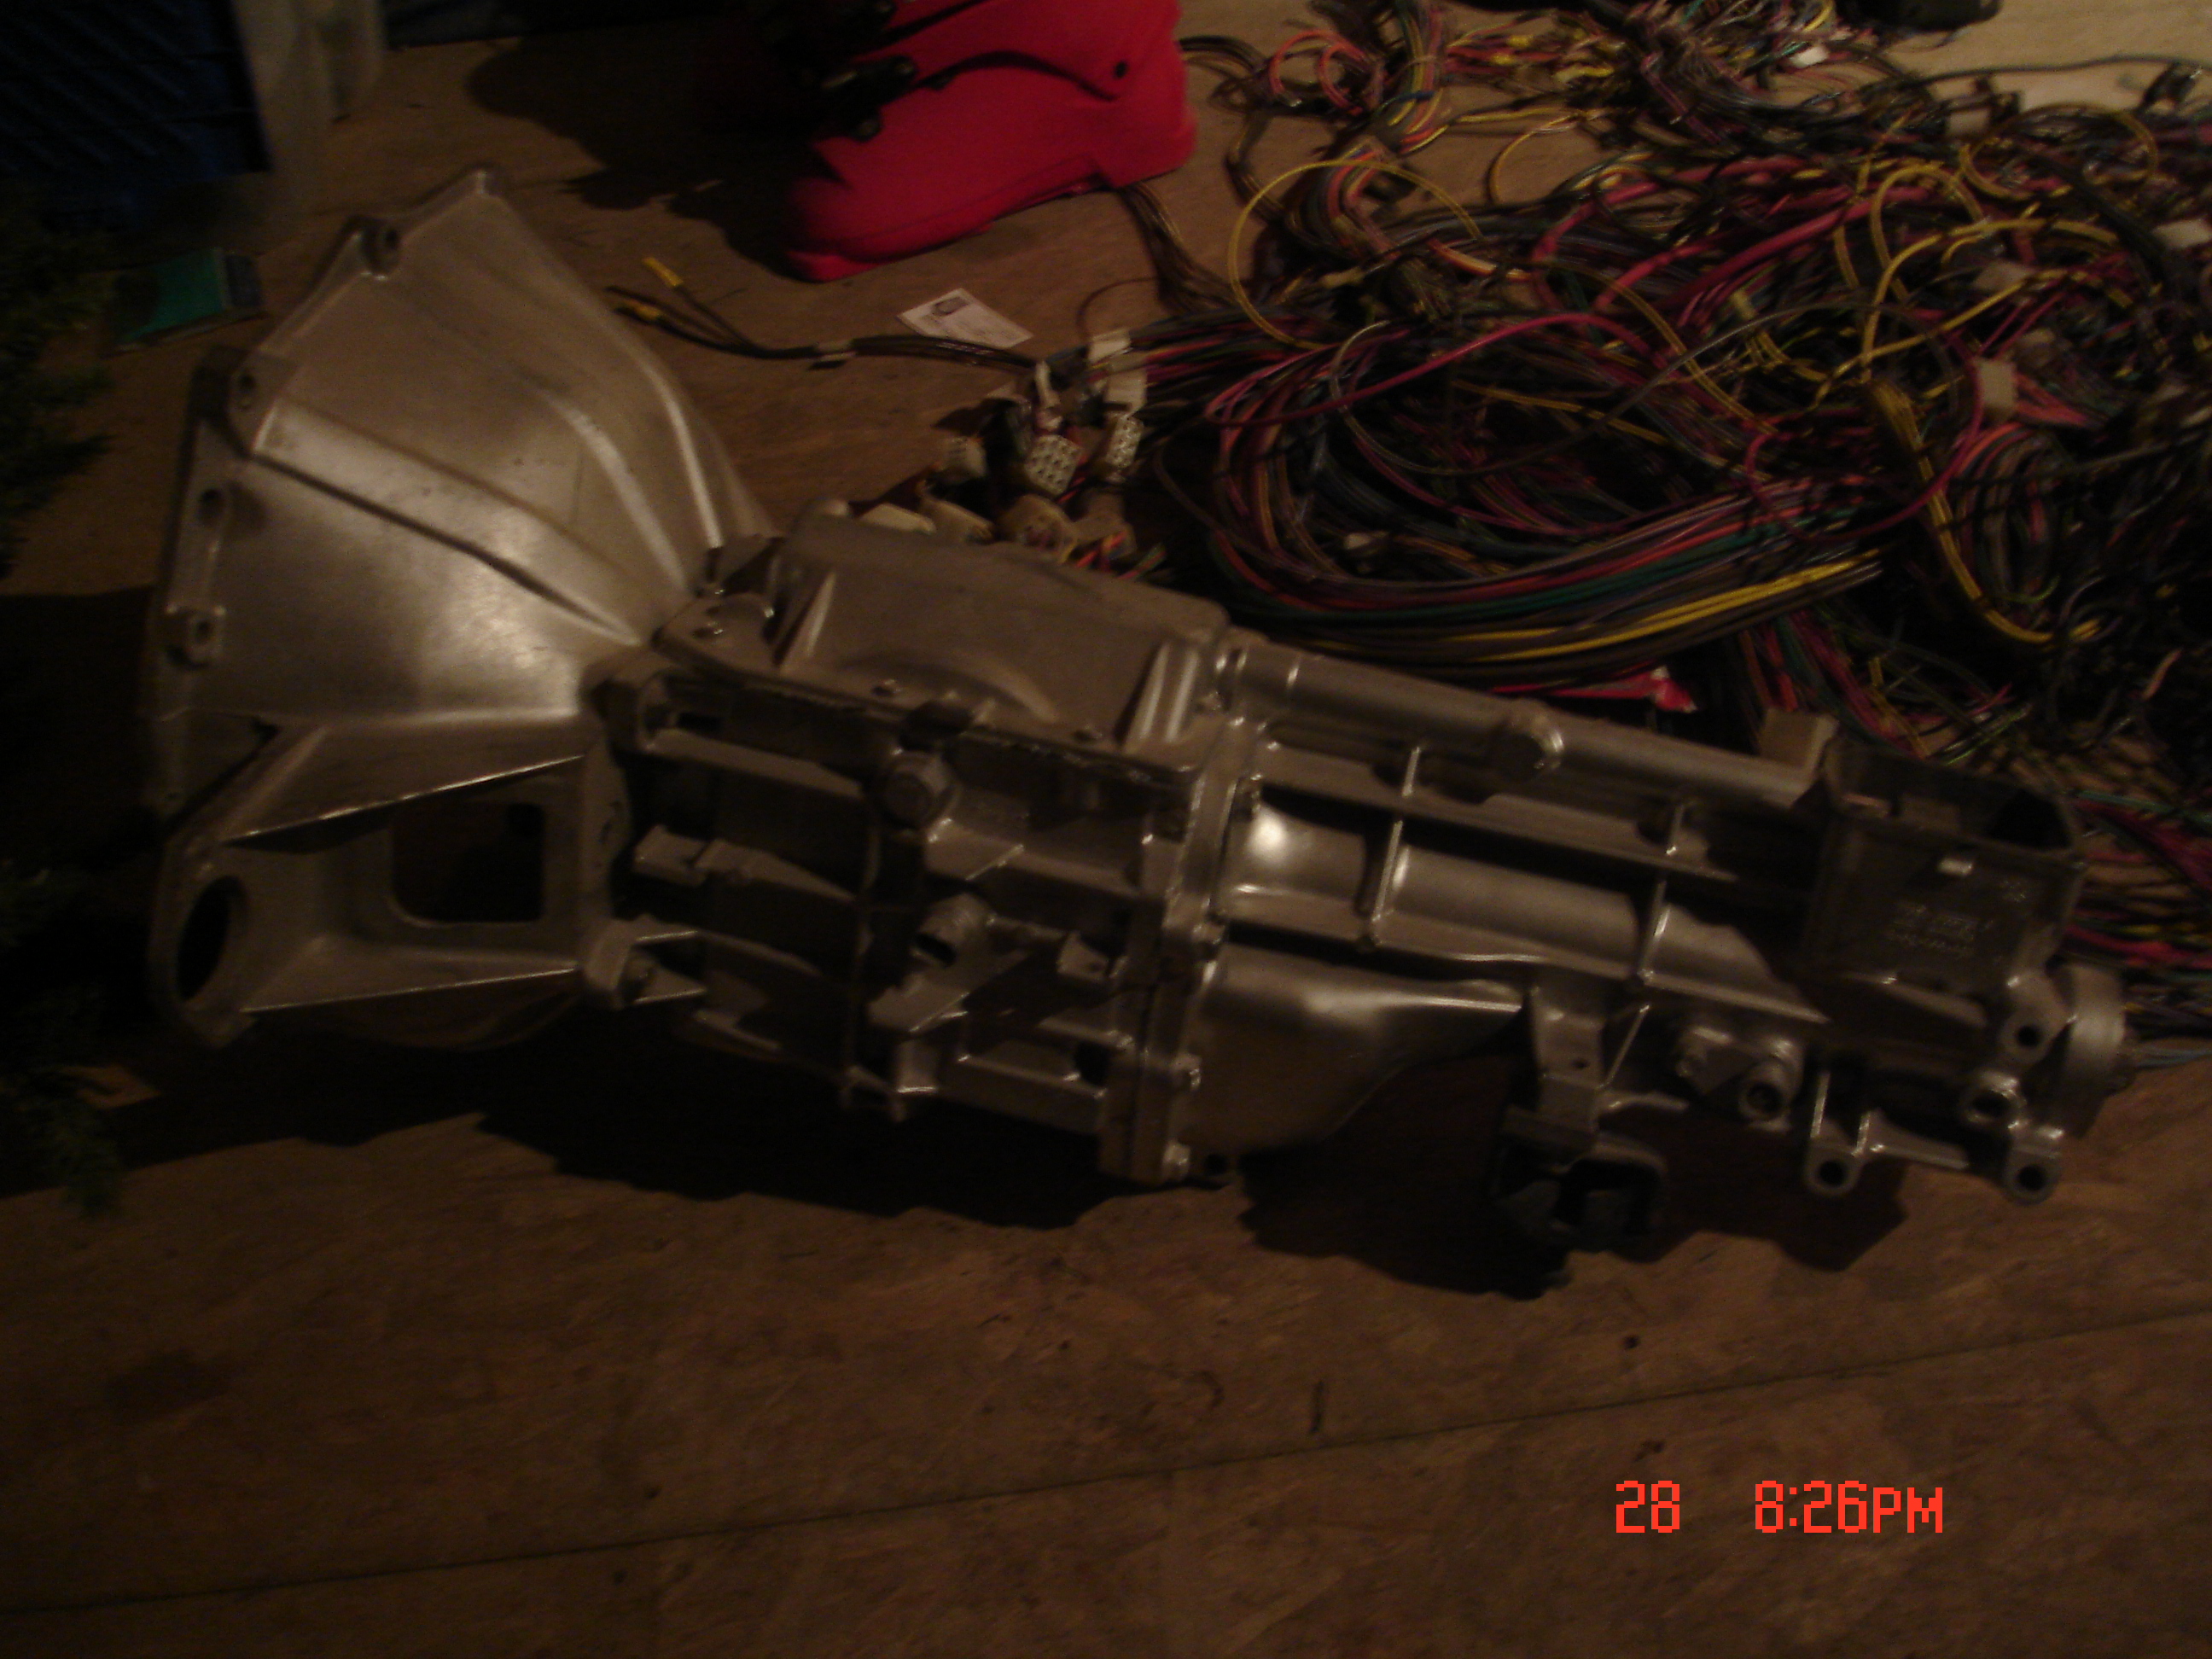
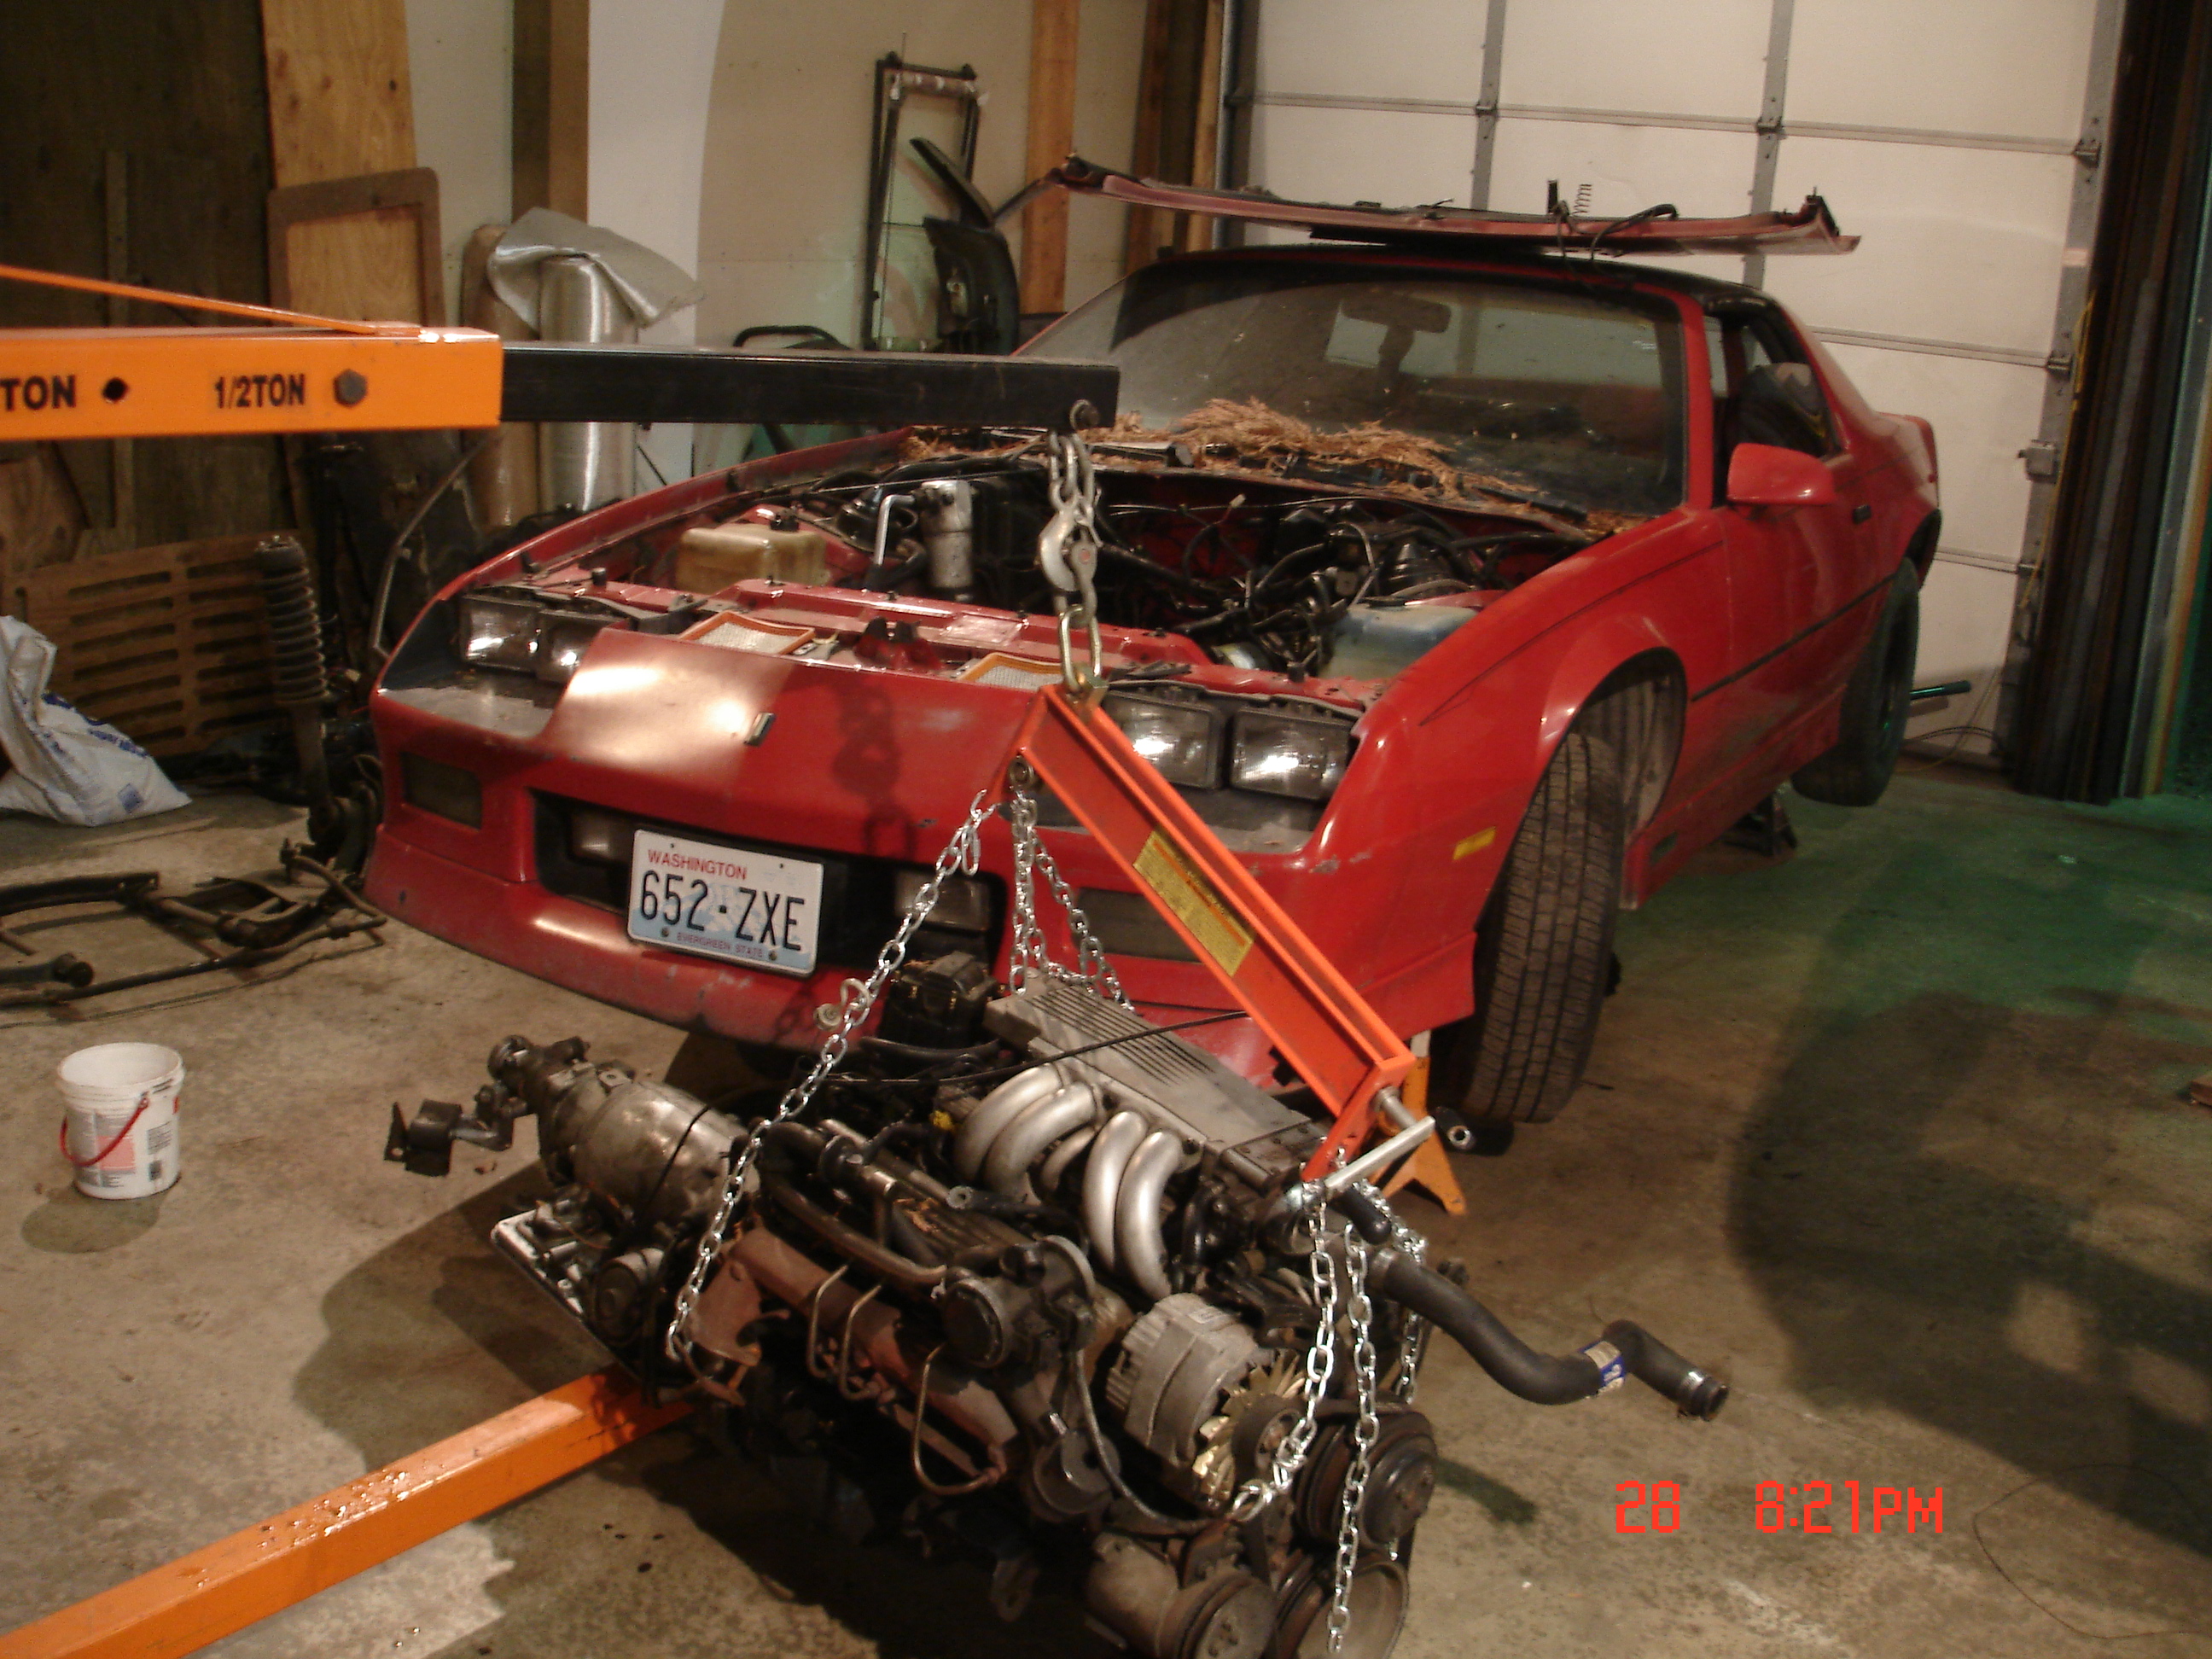
I havent posted anything for a few weeks. But a lot happened in the last couple days. 1) I purchased my brand new transmission. (t5) for now... cant afford a t56 yet 2) I got my car back from the sandblaster (Tons of rust and 500 Dollars later) 3) I pulled my motor out of my donor car (tpi 350) 4) I scored an entire floor piece rust free for 60 bucks! (my pans were wasted and it beats a few hundred for new.)