

Jack_280Z
-
Posts
40 -
Joined
-
Last visited
Content Type
Profiles
Forums
Blogs
Events
Gallery
Downloads
Store
Posts posted by Jack_280Z
-
-
Thanks for your comments.
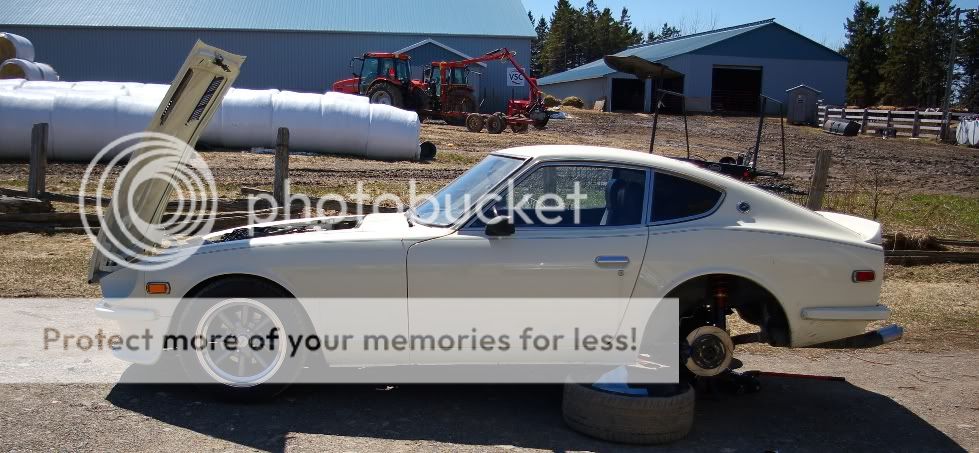
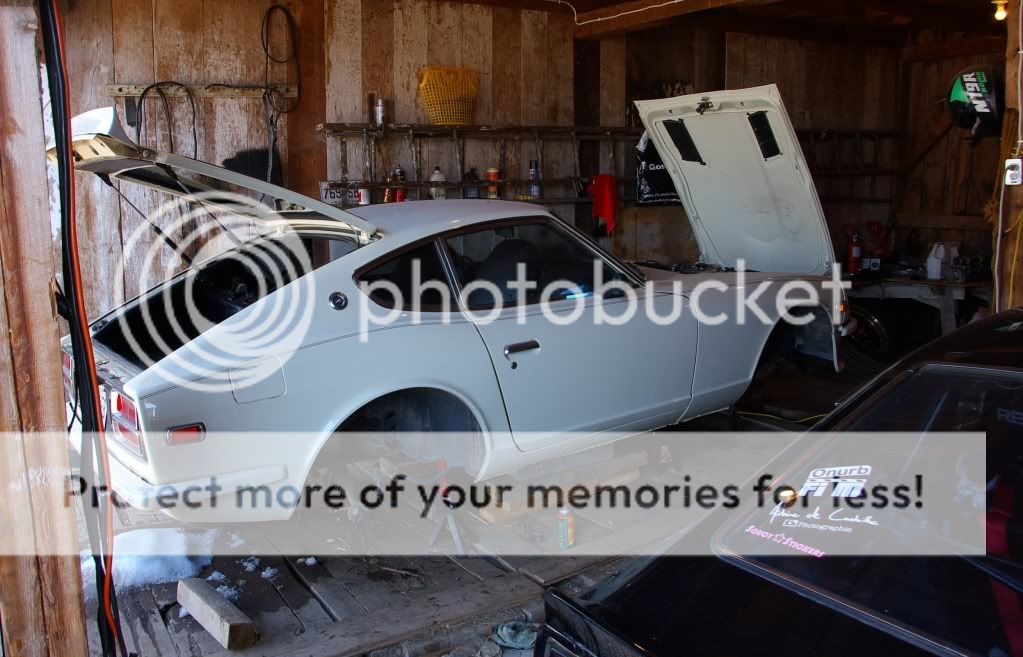
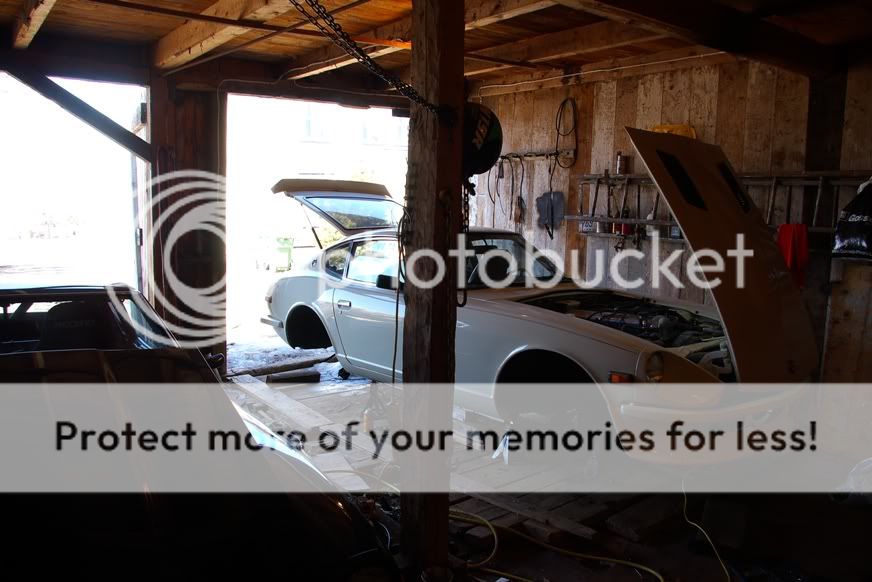
Well, I installed my struts and bled my brakes. This is a picture until the picture with the final result:

Allignment Monday and more pictures.
Oh! I found this in my trailer?? What is it and what can you do with it?
:Jack!
_________
-
Glad to see that your brakes work.
Pop quiz (sorry I just don't know), does anyone know what this is and if it's necessary to have? I'm swapping the Manifold for a non-egr....
That is for the activation of the E.G.R valve to be possible only when the engine reaches its operating temperature. As you remove the E.G.R. valve, you will not need it anymore.
Jack!
_______
-
I have a 280Z '78. I don't know if you can make, as mine, the same modification with your "groud control kit" and your Tokico 3125.
Anyway, I show you my installation:
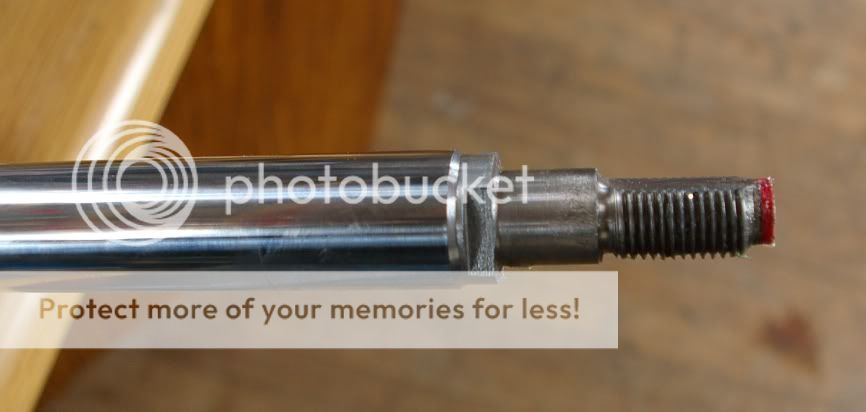
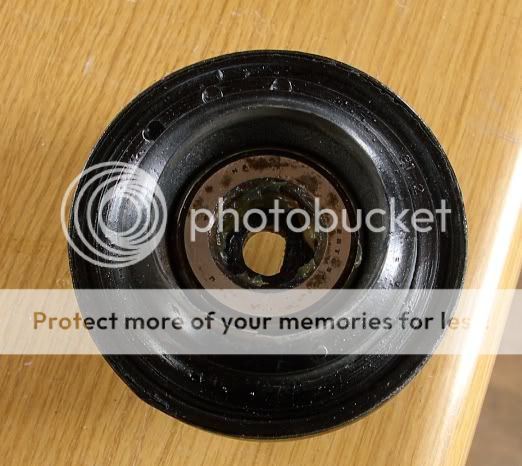
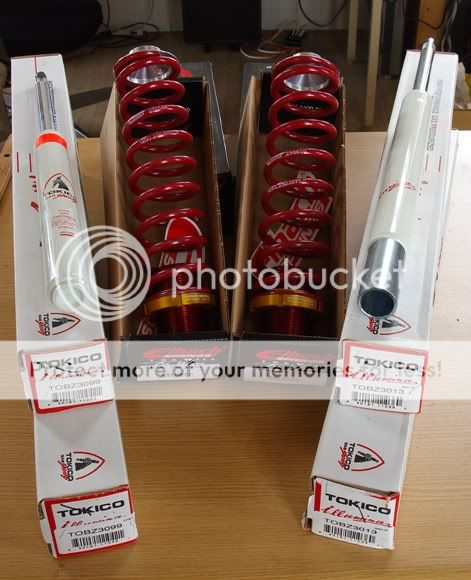
In my case ( for 280Z '78) I used Tokico TOBZ3099 (For Toyota MR2 1½" lower).
The two only things than I made are: Grind a larger "D" hole in the "cap" and grind my rod thread for have a "D".
I used two washers to fit in the groove on rod.
Put the bering and the cap.
Screw the nut.
And all stays toghether at the top of the rod.
You can see groove smaller than the rod.
The "D" on the rod thread:
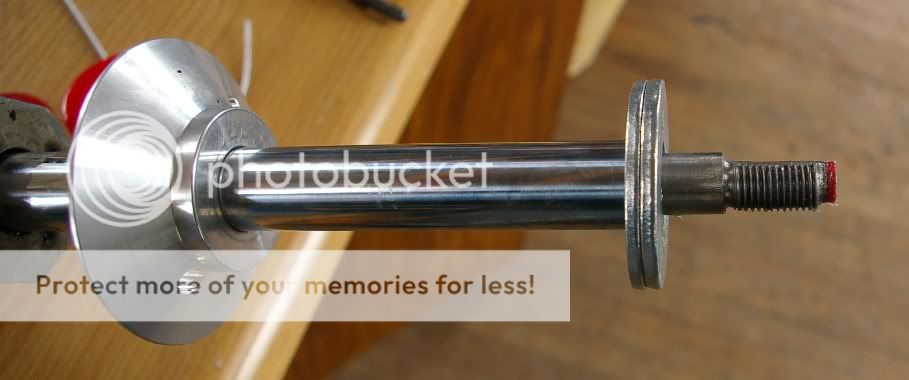
The two washers. The inside hole of the washers are smaller than the rod and fit on the groove.
Bering and the cap (We can see the "D" hole).
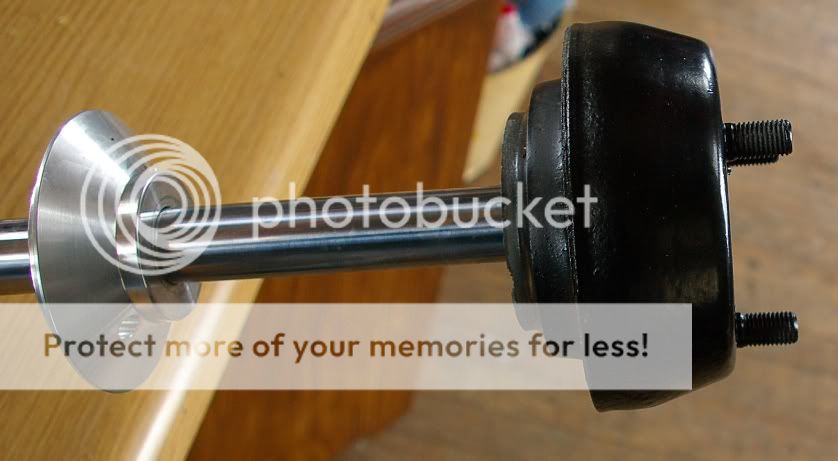
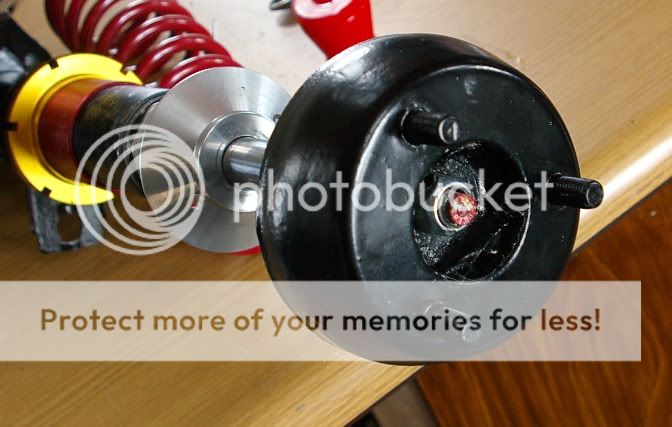
Put cap and bering on the rod:
Fit well and don't go lower on the rod:
Scew the nut and all stays toghether at the top of the rod (Do not tighten the nut and use the lock nut):
At the end, the sping push the "ground control cap" on the washer.
I hope it can help you for do not modify your "ground control cap".
Jack!
_______________________
-
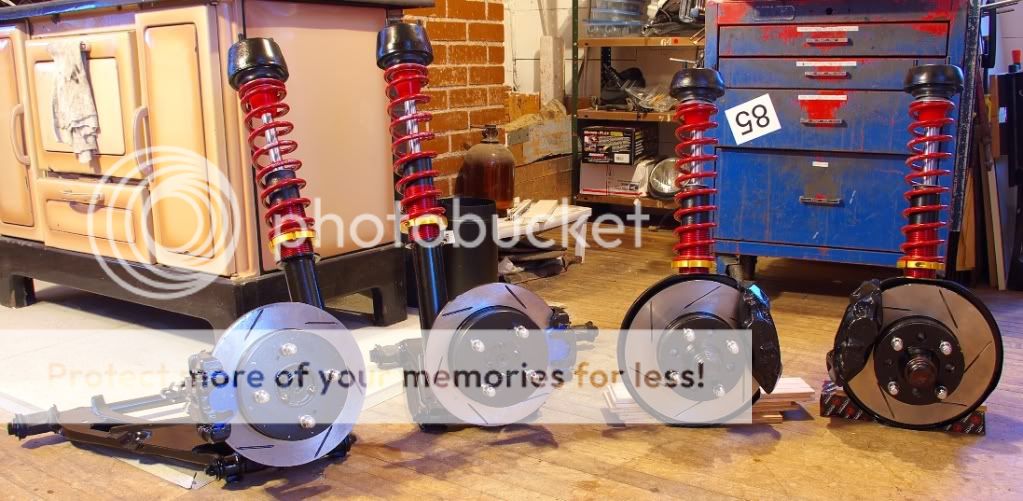
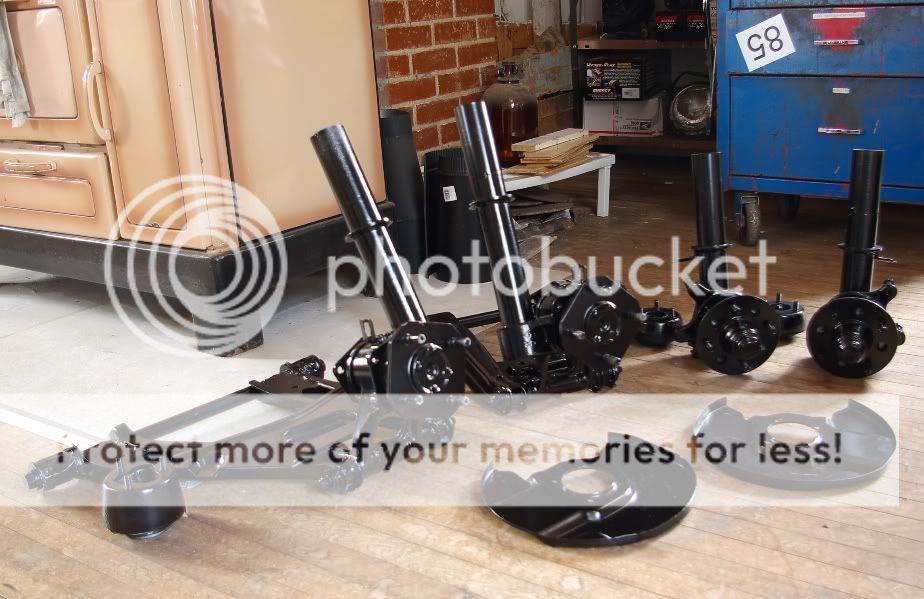
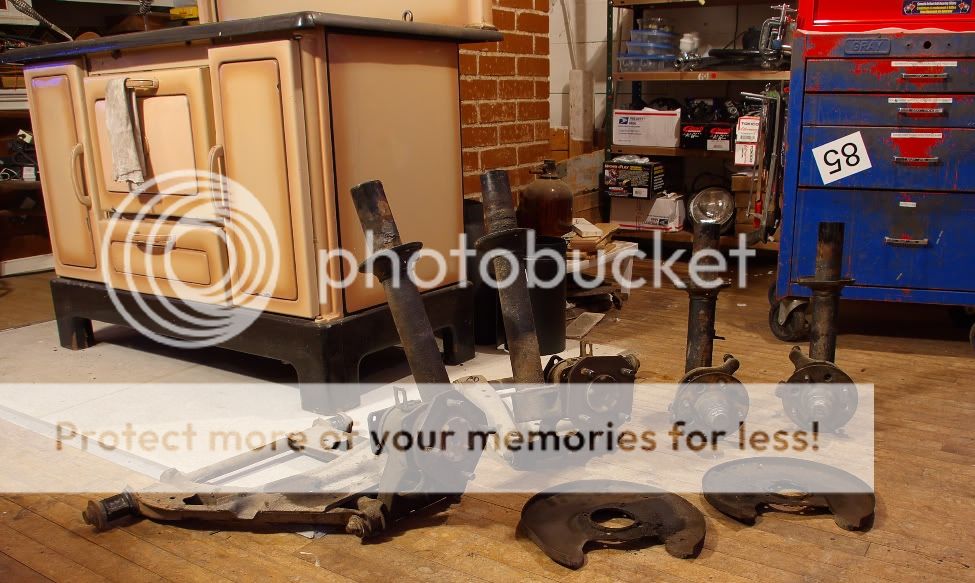
I finished to rebuilt my struts
Here is the "family Struts" ready to go back under the car once the snow disappear !!!!:
Jack!
_____________________________
-
Here the "struts family" welded and painted:
Tonight, I started to rebuilt. I do both rear struts:
I am very happy with the look.
Tomorrow I'll do the front.
Jack!
___________________
-
Done!
The "Strut Familly" are cut :
Tomorrow, Welding and Painting...
Jack!
_______
-
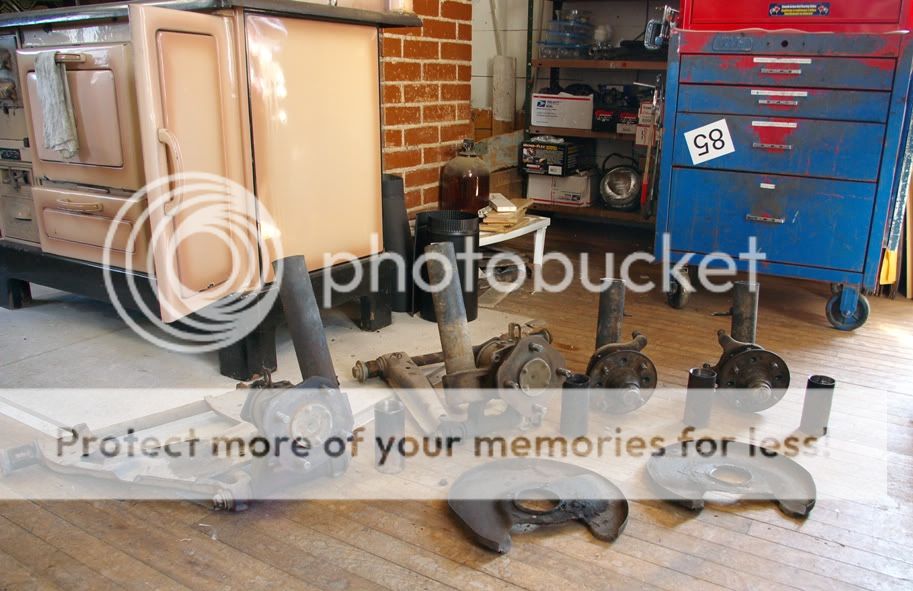
The temperature is finally beautiful
So I started changing my suspension and my brakes:
I finally began to dismantle at 11h00am and at 13:30 the four spindles were released, Yes!:
Then I completely disassembled: Front and rear breaks, cut unnecessary parts, remove springs and exit inserts from struts.
Of course, before I start, I tried to think of everything.
But there are always unexpected thing with the Datsun!
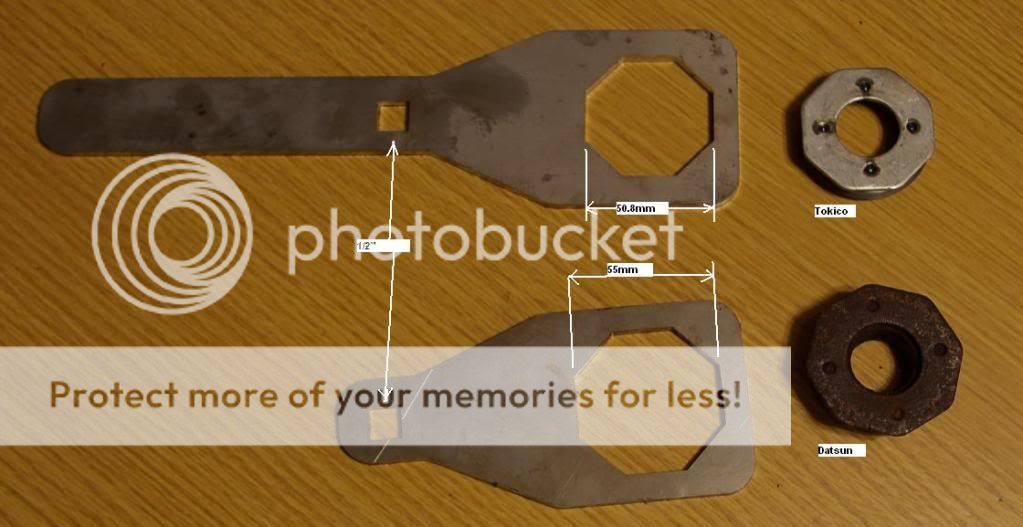
That is: To remove the "nuts" for exit the inserts of struts, I made a tool in stainless with a laser cutter which I have access. So the tool has 6 sections spaced at 55mm ... But after discussion with Tony (280Z_ "Vader"), I learn that the new Tokico nuts are spaced 50.8mm (2 inches) ... Ok, so I made a tool for nuts of 50.8mm.
These are the Tools and nuts:
There are nice! square holes 1/2 is to insert a ratchet 1/2 ". They work wonderfully!
But, but, but... On the rear struts!!
The insert was Macpherson and Macpherson use an other type of nut... here the look of their nuts:
Naughty difference! Why always complicate things ...
Well, I improvised to unscrew them ?%$/$%.
Anyway
7:30 p.m. Here is the "family Struts" ready to be cut:
They are a beautiful family
. Tomorrow I will cut my struts.
After they will be welded and painted.
Once they return from the painting, I will rebuilt them with new springs and breaks!
Jack!
-
But what the big red wire sapose to do?
It is for the fuel control unit... If you unplug it, the injectors don't work; But the fire stays there.
At that moment, you can check if the trouble is caused by too much gas in your cylinder.
What is the temperature in your city?
Jack
-
36psi is good...
What is the temperature in your city?
Many thing are possible... as rust in your system.
Your problem look more for the fire or electrical sensors.
Before to change parts as Ignition transistor or ignition control you have some many check to make.
Fast test:
Did you have spark at your spark plug (when it don't start)?
Move\shake your connectors at the air flow meter, throttle switch, connector on your water temperature sensor for the fuel control unit...
I don't know if your wiring is as the original... At the "+" on the battery it have a big red wire with white connector; unplug it and try to start your engine. The engine can start, but will stop immediatly. Plug the connector and try again.
Give news
Jack
-
How was your car before your change?
Your pump is a new one?
Check 12V.
Jack
___
-
Did you change your gas filter?
If your gas tank was bad, may be some parcel block it....
Jack
-
The connector from the wiring seem to be the one for the "Brake warning lamp check relay" (But the picture is too close for to be sure; And I don't see well the connectors). And the other connector is probably the "famous" relay.
This system is use for a double purpose of the break light.
- Check hand break release (switch under hand break) + break condition with the break line pressure differencial warning switch.
- With the relay, the light come on if the engine shut down (Key at ON position).
When the engine is running, sometime if the relay is no good or its ground is bad (or if the alternator is bad), the light "brake" stays ON even if the hand break is released and brakes condition is good.
If you unplug this relay for close the break light, at that moment, the brake light will be used just for the hand brake and brakes condition.
The knob than you found behind your center console is used for the A/C (air conditioning).
It is with this knob than you can adjust the cooling.
Jack!
-
After all of that we tried to bleed the brakes/master cylinder. We couldn't get them bled.
I could be wrong, but if I see the picture with the rear brake close, It look to be inverted.
It would mean that the bleader is under the caliper. So impossible to blead the caliper when they are fixed.
It need to temporarily flip the caliper for bleading.
Or invert the caliper right and left... But I don't know if you can to make that.
On the 280ZX the calipers are installed behing the spindle.
For the convertion on the 280Z, he need to install the calipers in front of the spindle.
This mean the caliper is upside down if you install the "left caliper" at left.
I repeat, I could be wrong...
Jack
-
For your refresh of the center console did you simply clean it or use a vinyl dye paint?
I cleaned the console with a standard cleaner and a toothbrush... After, I used a shoe polish and I polished with a modified shoe brush drived with my drill. I made this job on all my inside and it came very beautiful.
Jack
_____
-
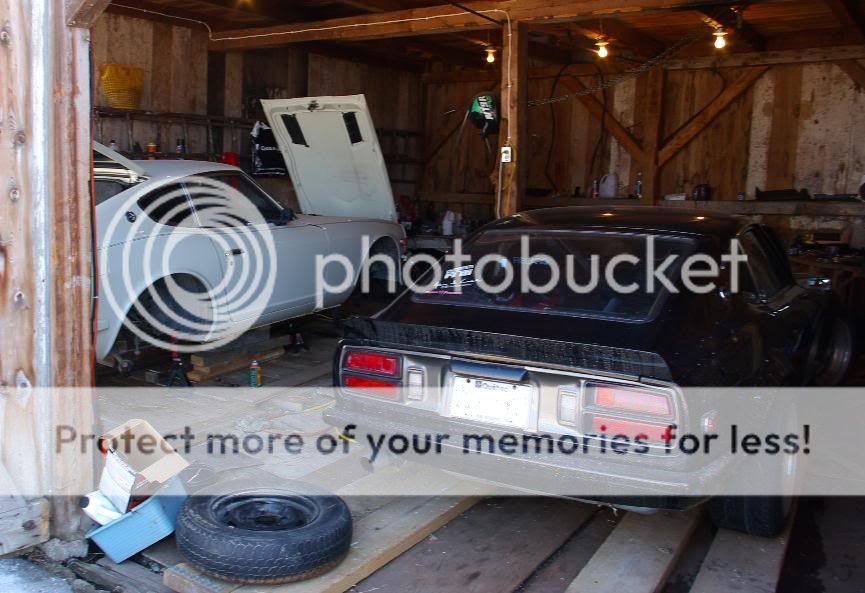
After several months without move... This weekend I made a little progress.
I cleaned and began to rebuilt my center console.
It is one than I found in poor condition.
Before and after:
This side is not the best; The other side is perfect. I did not succeed to completely hide the plastic bleached by the sun. Anyway, this is the "helper" side and inside the car it should not seem too.
Next step: Disassemble switchs and lights for cleaning.
Jack!
____
-
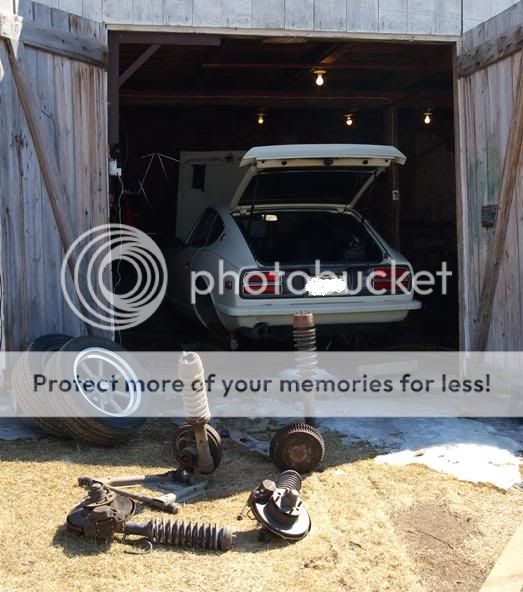
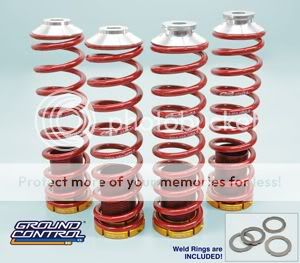
Finally, this week, I received my kit "Ground Control " with Tokico Illumina.
Here is true that I look forward the spring come!
For now, it need the warm come back ... and the snow leaves.
Yes, yes, under this snowbank, there my 280Z donor:
(pictures taken this weekend)
Jack!
_____________________
-
Nice projet.
2. What is this odd little piece under my dash, it can't be twisted or pulled/pushed, and I have no idea what it is...
It is the "trip odometer reset".
Normally, the knob look like the "illumination control rheostat" at his right.
Probably it is jam...
To use it, you turn it for align all "0000" on the uper odometer in your speedometer.
Jack!
______
-
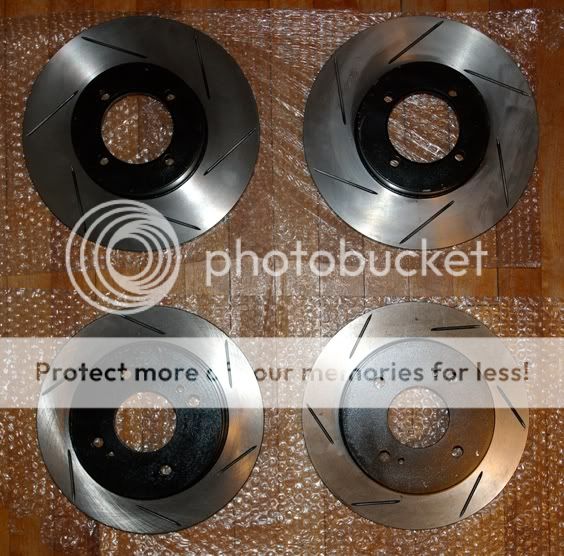
nice but why not drilled !!
The rotors are small and they are plain (no air inside).
So I do not think the holes are useful.
I prefer to have maximum contact with the pad.
Jack
________
-
Montezuma, Thank for your reply. For the moment I used many money for the brakes and the suspension. The panels are more for my other project 280Z; But, for the moment this project is in standby.
Today I received the last parts for my brakes --> The rotors:
And at the beginnig of the week, I bought my suspension --> Kit "Ground Control":
With Tokiko illumina (MR-2 in front and 280Z back).
I will cut my strut.
I know, many "fun" will come!... especially with the spindle pin...
Now, I wait the end of winter
Jack!
______
-
I received the rotors
:They look nice. I am happy...
Now, I look forward for winter to finish for install my new brakes (my shed don't have heater and -23° this weekend)...
Jack
_______
-
Nice. I like the look.
Yesterday, I bought the rotors from r1concepts.
I should receive them next week.
Thank you again the contact.
Jack!
__________
-
To mount the rear 240 bumper, you used part of the 280 mount?
No,
I removed original 280Z supports.
On the 240Z bumper than I found, the original 240Z mount was there.
So, I just made two holes on the bracket on the 240Z bumper for fit with threaded holes already on the 280Z... and find metric bolts!
If you don't have the bracket, you can find it here: www.thezstore.com
Jack!
-
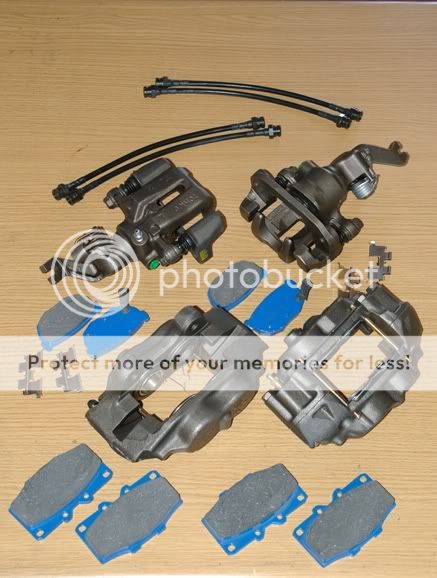
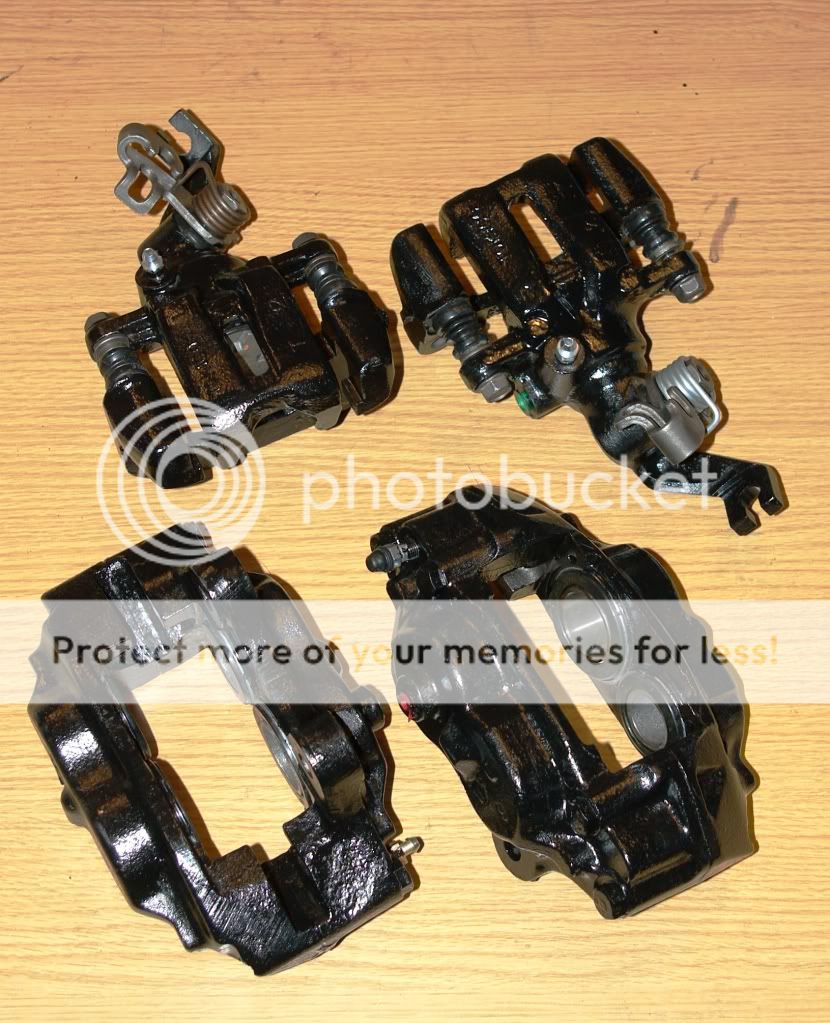
That is the update of my brakes:
Caliper Toyota 4X4 in front.
Calipeur 280ZX 82-83 in rear.
Black stainless hoses.
As I don't like rust, I will paint:
So, The new oily parts:
It's beautiful new. Too bad it rust!
So I'll paint with this product:
After two hours of work;
Tinner in cleaning Spree (supplied in kit);
Additional cleaning with alcohol;
Painting;
The result:
I am happy with the result.
The painting and Tinner have a very strong smell; After two hours, It began to be the time I finish... because my head started to turn!
Jack,
-
Thanks,
Yes, they have 280ZX rotors
.They are cheaper than ROTORA.
I will look for shipping...
Jack,
___________________


 .
.
Christine's 280z Project
in S30 Series - 240z, 260z, 280z
Posted · Edited by Jack_280Z
I saw your car a few times on the "net".
Superb project and carried with right choices and executed with carefulness.
Congratulation.
Jack!
______