
Jordon
-
Posts
50 -
Joined
-
Last visited
Content Type
Profiles
Forums
Blogs
Events
Gallery
Downloads
Store
Posts posted by Jordon
-
-
So I have A 1973 240Z that I bought about a year year ago. When I first got it I had some problems, but eventually I got it to start and idle with no problems except a slight hesitation.
So my problem is now it won't start. I took the carburetors off and had them pulled apart and cleaned then reassembled. The carbies took so long to get done that I decided to do a mild turbo build with some parts I have laying around. So now I have a 280 ZXT turbo manifold with a T3/04 turbo, attempting to run a blow through setup.
There is no piping hooked up to the intake at the moment and I want to try and start it before I do that.
So now to the root of the problem. I have spark at the plugs, checked by earthing them one at a time out of the engine and all have spark. (I had no spark with the points so I upgraded to a pertronix ignitor and now I have spark).
I also have fuel, checked by both a fuel pressure gauge and taking off the hoses at the carbies and fuel comes out. (I upgraded to an electric fuel pump, for the turbo)
So it will crank but there are no signs of it wanting to turn over. I have tried starting it without the fuel pump running with just the residual fuel in the bowl but that didn't work either. My spark plug order was wrong, according to the FSM it is now 156342 going anti clockwise.On a quick side note, I have replaced the plugs, coil, rotor, distributor cap, spark plug wires, fuel hose, fuel pump and pertronix ignitor (as mentioned previously)
I am all out of ideas right now.
-
It has been a long time since I have been on here to post an update. I'm a bit slack in that regard :/
A lot has happened over the last year, but I'm having some timing problems with my engine builder. Wanted the engine finished last year around October but he let me down. bunch of excuses blah blah. He is an awesome guy and knows what he's doing so I have been persevering.
Anyway, On the engine side of things. It turns out that the pistons we had would be no good. After much umming and ahhing and a lucky coincidence there was a slight change of plans.
I'm not sure If anyone has done it before but we are mating up an RB25 cylinder head on top of the L series block. (coincidentally my engine builder had an RB26 head laying around the shop and he had a look and test fitted it and it turns out that the cylinder bore and head bolts all line up. Not all oil passages or water jackets do but some modifications have been made to get those to either line up or grab an external oil feed for it.)For pistons we are now going with some dished supra pistons and keeping the crank and rods I already had.
So now the engine will only displace 3.3L but still better than nothing.
The RB25 head fitted to the block with the adjustable cam gears fitted.
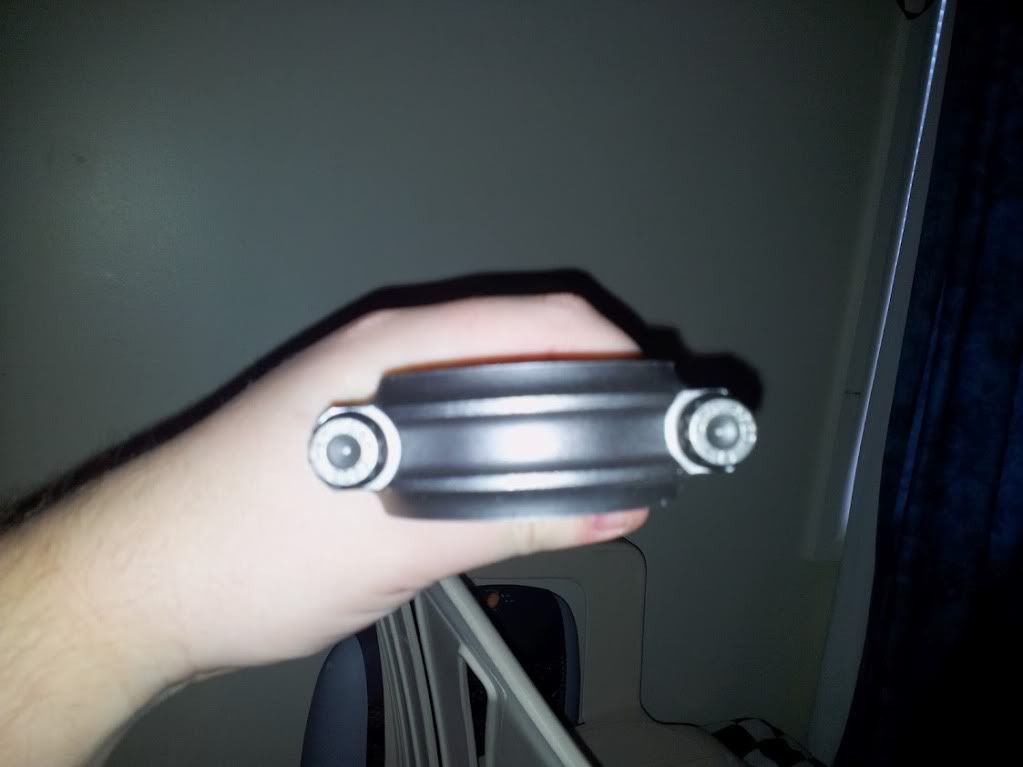
To make all the timing work out I got an RB25 timing belt crank pulley, which my engine builder has bored out to fit on the L28 crank. At the moment he is in the process of sorting out the tensioner for the timing belt and sorting out the oil pump mount (Dry sump pump going where the old air conditioner compressor mounts,)
On other areas I the front end all together with new polyurethane bushes and the assorted parts from T3. With the wheels on it looks great (unfortunately haven't been able to get any photos lately on account of the car being back home while I've been away.)
Next I will be moving the car to my garage to pull apart the rear end and get some rear coilovers sorted, put a full spool in the diff and re-bush the rear sub-frame/suspension arms.-
 1
1
-
-
I may also have an issue with my float bowls then. I have round top SUs, right now I am just waiting on a replacement float I have just been keeping them topped up manually.
I eventually would like to go the pertronix route but that will have to wait till after I sort out the carbies now.
Thanks again guys, I will post again after I have the carbies sorted as to whether that solves my problem completely.
-
Thanks for that miles, I have the car idling great now but I am still having the hesitation but it has moved way up to around 5000rpm. I will get the video and have a go at rebuilding the SUs
Thank you again.
I spent so much time thinking it was definitely the ignition because I had fuel and just overlooked the carbies being out of tune/needing a rebuild.
-
Sorry, totally forgot all that
It's a 1973 240z. 2.4 stock engine and it's carburetted. Manual transmission.
-
So after getting the car to start and keeping idle without stalling I started to try and fix my hesitation problems
So far I have:
*Replaced the spark plugs, mechanical points, ignition leads and coil. (After I did all this I noticed easier starting, less stalling off idle when throttle is applied and no more popping.)
*brought cylinder 1 to top dead center, verified by shining a light in and moving the cylinder back and forward until I got it as close as I could. I then pulled the rotor cap off and checked to see that the rotor was pointing at #1 spark plug. I then marked a new timing mark on the balancer as the stock one was nowhere to be seen
*checked then checked again to make sure I got my firing order right and the plugs were in the respective places.
*I then started the engine, got my timing light hooked up and had a look. Now I'm lost, the mark I made was at least two inches past the 20 degree timing mark, the engine idles well at this point. If I try and retard the distributor it starts to run rough, the same happens when I try to advance it. When I rev the engine at this point either progressively or suddenly it will hesitate and then stall if I keep the throttle applied.
Fuel has been checked and my fuel pump is rooted but I am keeping the fuel level up manually
Really stuck at the moment.
Thanks for your help in advance.
-
Thanks for your help guys, it was the ballast resistor, completely destroyed wire on one side.
-
So I just bought a rough 1973 240z yesterday and I'm trying to start it today, if I turn the key to start it it will turn over but as soon as I let go of the key it dies.
The fuel bowls have fuel in them
If I hold the key just between start and on without engaging the starter after I started the car it will idle, as soon as I let the key return to the on position it dies.
Any ideas would be great. Thanks guys.
-
The rust is a bitch man. Looking forward to see what you do with her.
-
Thanks man. Its been a long slog so far but so worth it! The rust is a bitch, good luck with it man.
-
Yes i am really enjoying it! I will try and find those links, i found them through different Z forums when i was researching months before i bought the kit. Anywho, i was planning on using a z32 rear caliper setup in the rear, i found someone that bolted it right on to the factory control arm, i haven't mocked it up yet to see if it uses the stock rotor, or uses the z32 rotor re-drilled, and what pad selection. But yes i will eventually attack the rears too and I can agree with you on the basis that front brakes do you no good if you leave the stock rears on. Although the current bias is more than acceptable, there's never anything wrong with further improvements
Have you thought about using the AZC Rear brake setup?
4 piston caliper, 12.2" rotor,
-
So, It has been a long time Since I have posted, but I'm back now.
Since I last Updated alot has happened.
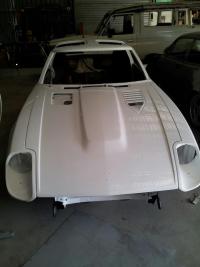
The paint is nearly complete, The bonnet has to be resprayed again because the apprentice used the wrong screws for the bonnet latch and damaged the surface. (nearly went right through)While it was in the shop I took the front cross member and all the front suspension related gear off the car. I then Sanded the front cross member, lower control arms and the TC rods. They then got painted black.
After that I re installed the front cross member, the lower control arms and my T3 front coilovers, TC rods and the bump steer spacers.
I had a problem with the wheels I was going to put on, they are 16"x8" with a 0 offset but by the looks of it would at least need a 7mm spacer to clear the springs.
I don't want to use a spacer but was thinking of finding someone that could machine a new hum slightly thicker. (10mm for example)
While the car was getting painted the wheel wells got done as well.
The Handbrake had to be moved closer to the centre of the car to allow the seat I got to fit.
Next week some time I will be able to get some photos of the engine bay and the modification done for the seat.The engine has been in the shop for a couple of months now, the bottom end has been clearanced to clear the rods from the longer stroke, the pistons arrive next week, Hopefully have the engine back by the end of the week,
The next step is the ECU (going to try a megasquirt ECU) and the wiring.
I have decided to make my own wiring loom which I have started the diagrams for and will start wiring up next week.
I'll be back next week with photos and another update.
-
I'm in.
Has there been any progress on this one? -
Ok, So Im back a bit earlier than I expected. Have the day Off work so decided to get all the pictures off my phone that I can and do a full update on where I am at.
So since my last post in August of last year, the car has been taken to the panel beater/spray painter.
In about December of last year I went to the panel beaters and while he was working on the fenders and sorting out the rust that had to be removed he let me save myself a bit of money and work on stripping the car down and getting it to bare metal.
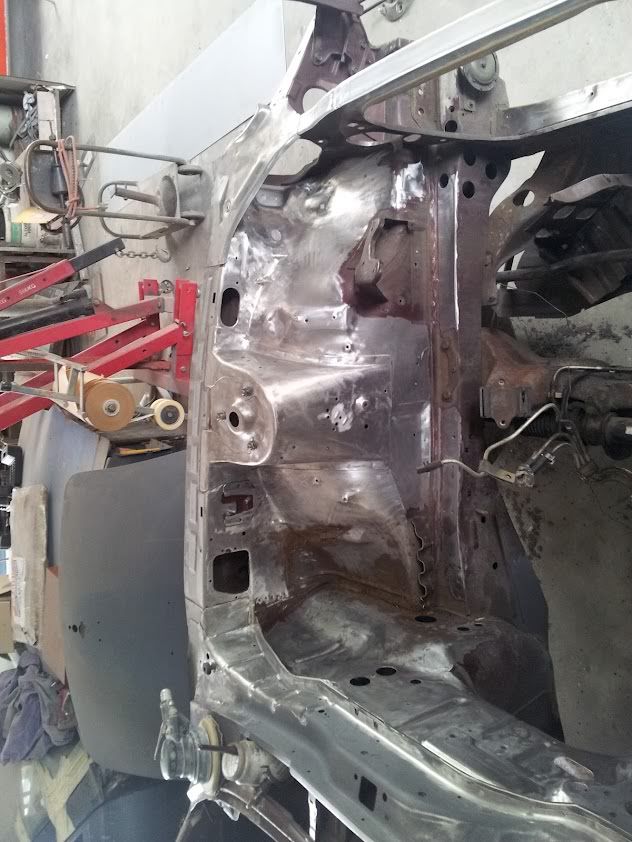
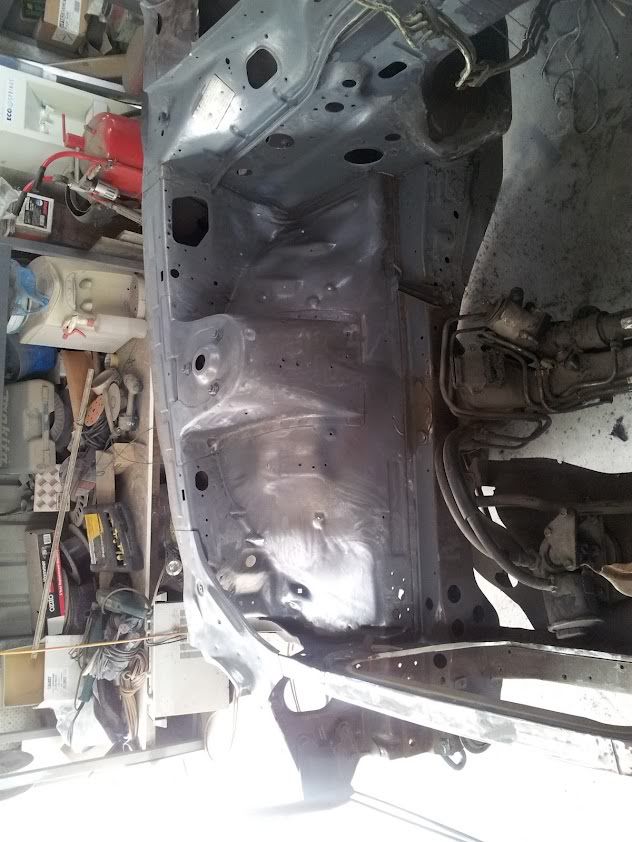
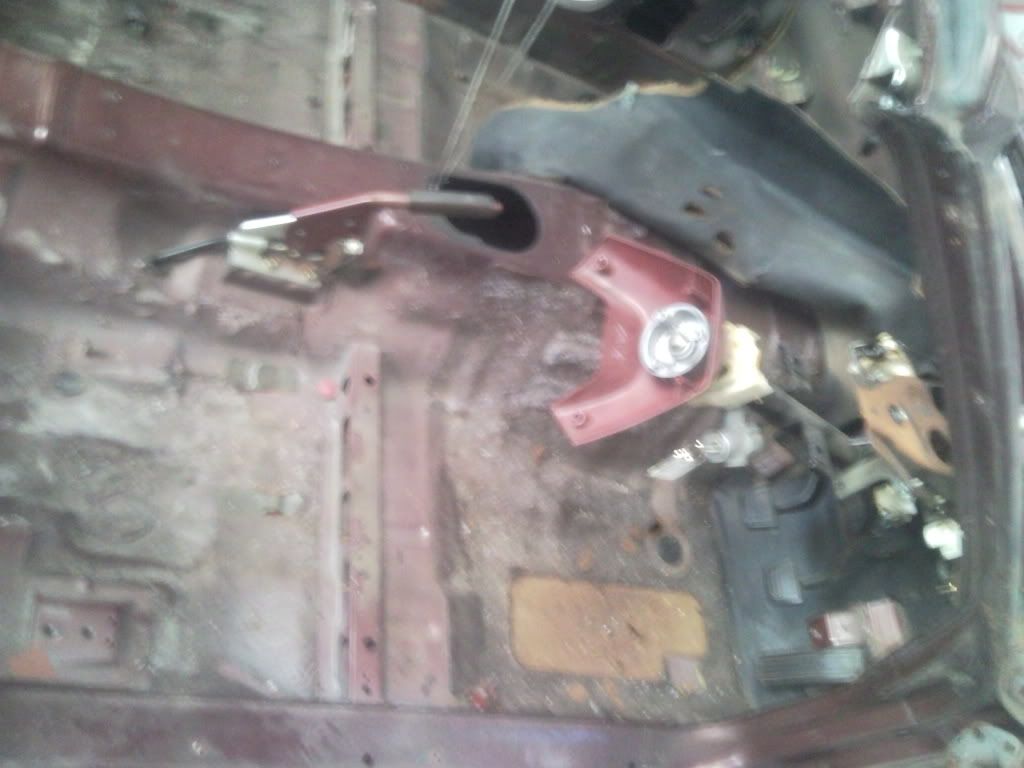
So Basically I got the Engine Bay down to bare metal and Primed to avoid rust as best as possible.
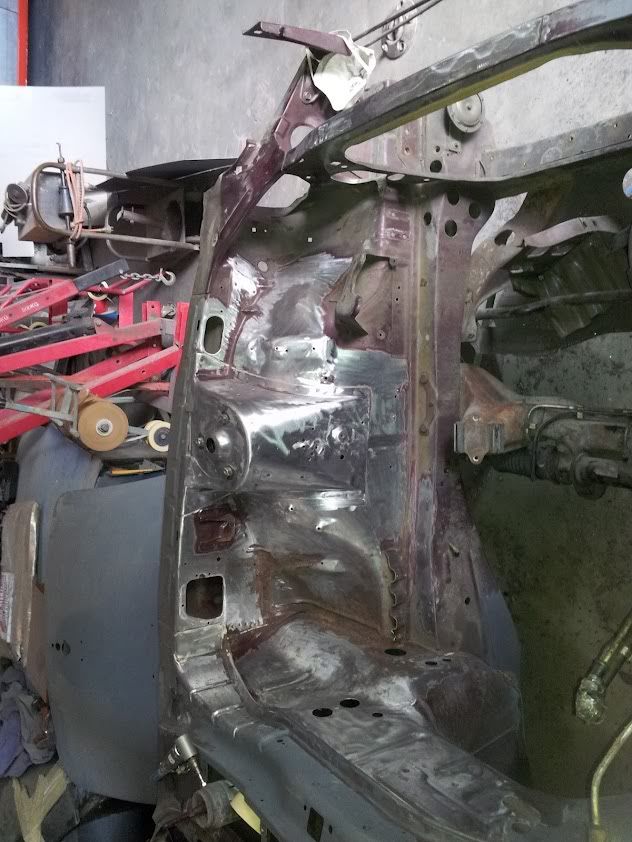
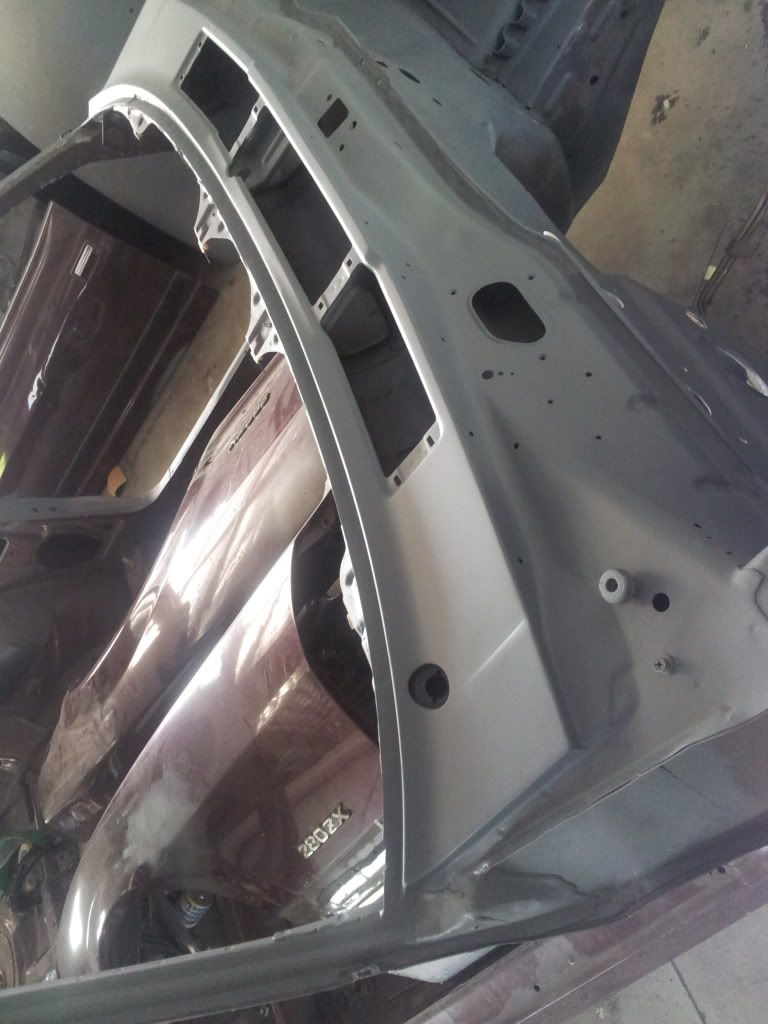
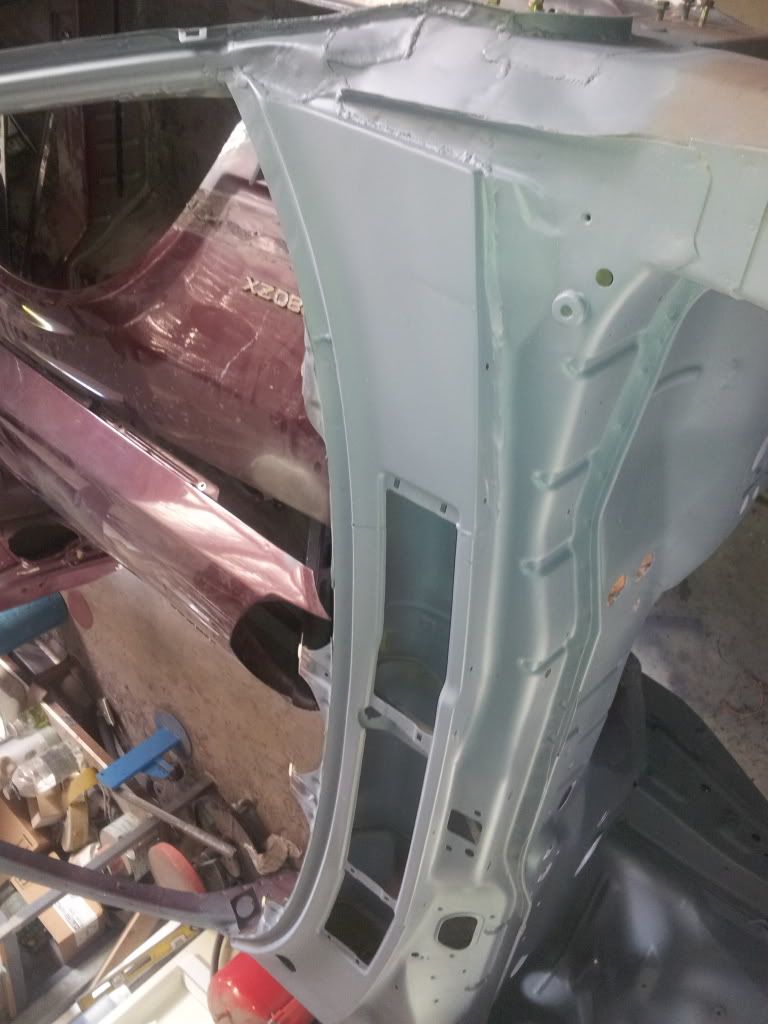
After I got that done I started on the area between the engine bay and windshield (As shown below)
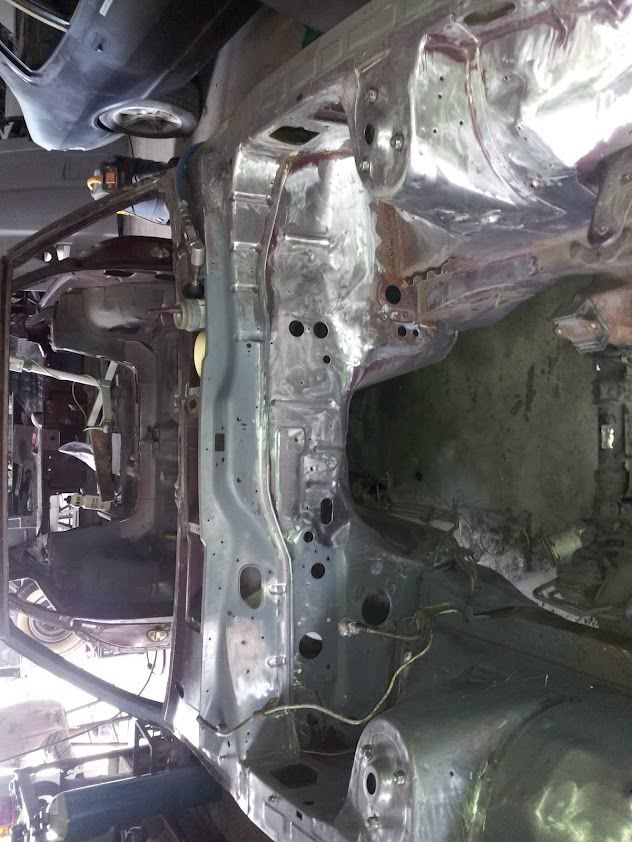
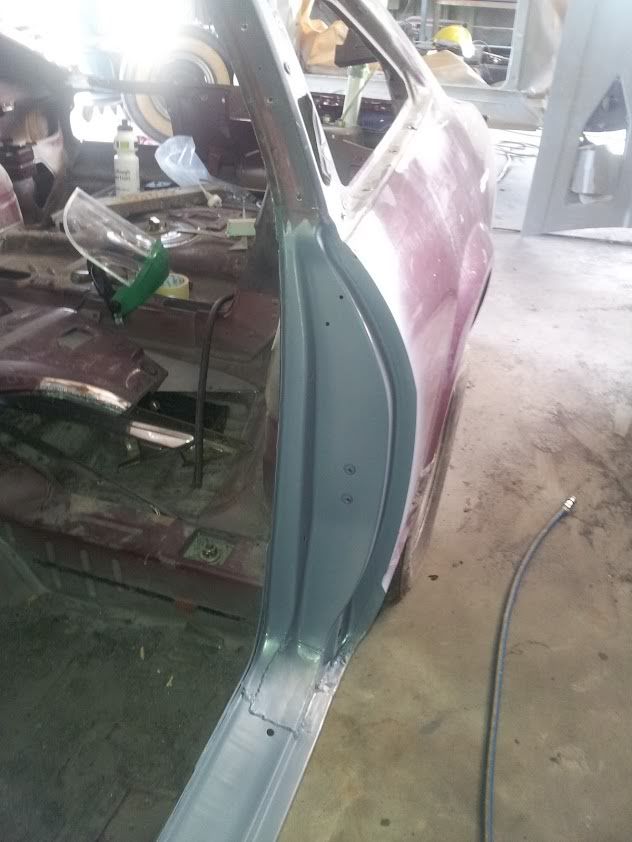
Then after that I started on the door Jam and the targa top area.
So basically I got a bit done and then christmas came around and then I got my new job. So now the rest of the work is up to the panelbeater.
As of the end of january when I visited the last of the rust was being removed and the areas being prepped for priming. (Will have pictures next time I go to see the car)
Also since last year I have gotten the connecting rods.
They are Chrome Moly H-beam Conrods and came with ARP Rod bolts. (picures below)
Sorry for all the photos, If there are too many I can cut it down, just let me know.
Anyway, next on the agenda I will be buying a lightened kamerei flywheel and then the bottom end of the block will be prepped for the machine work for sleeving and bottom end assembly and balancing.
I will keep this thread updated a bit more regularily from now on as things will hopefully be going a bit quicker from here on out.
-
So Hello All Who May be reading.
It Has been Over half a year since my last post, Really Not much Has been happening. It is a long and slow process So Far.
As A quick Update, the rust has been completely removed, and the body has slowly been prepped for a bare metal respray.
I have done some of the work myself, and then my panelbeater has done the Rest.
I will have some Pictures Up in the near future When I am able to go and see the car next.
I recently Go my new connecting rods as well so I will post some photos of them at the same time.
I have recently got a new job so progress on my end has slowed down to a crawl but I aim to have the car in my garage ready to start re-assemby anytime from july.
I will hopefully be back in a week or so to post some progress pictures of the car as well as some pictures of parts I have acquired and some plans that have had to be changed in the last 6 Months.
-
Hey Guys,
Does Anyone Have a rough Idea On Cost or timeframe for this to be avaliable?
Or Will this end up beaing as rare as the old head
That would be a sad day.
-
This car looks nice.
How is it driving at wakefield?
I live in australia as well, a couple of hours from sydney and will definetly be taking my car there when it is finished.
Do you have rear coil overs on your car?
If so did you do the required welding and make them yourself or buy them and bolt them on?
Looks nice and I like the way you drive
-
Hi all,
Back for a short update.
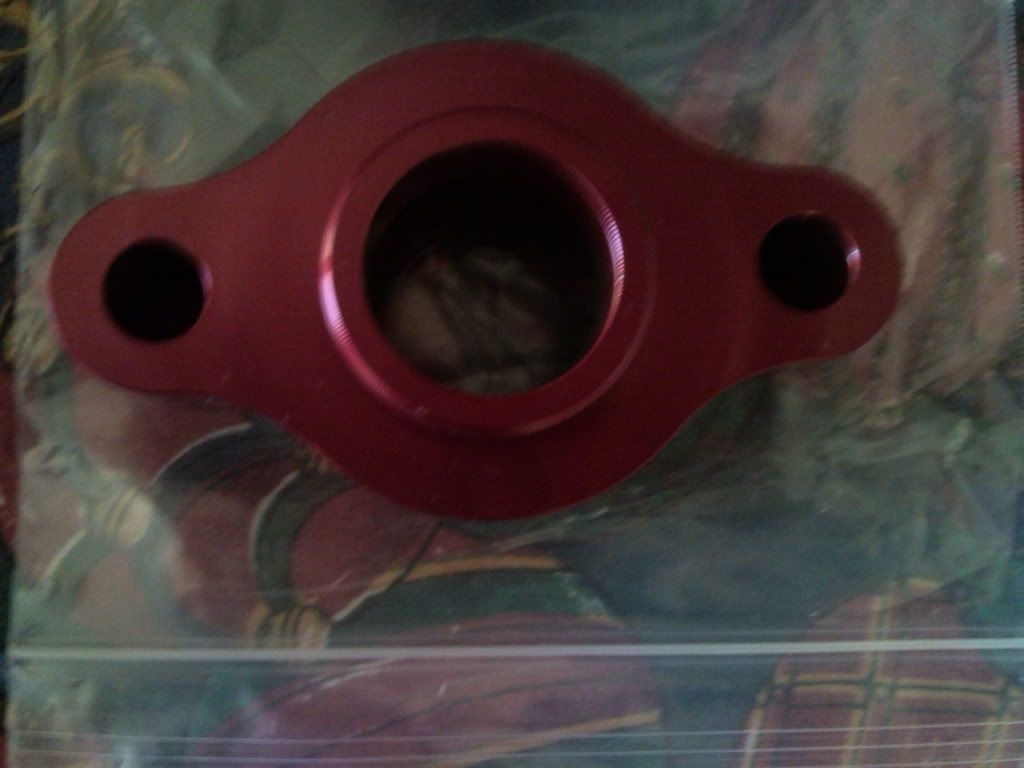
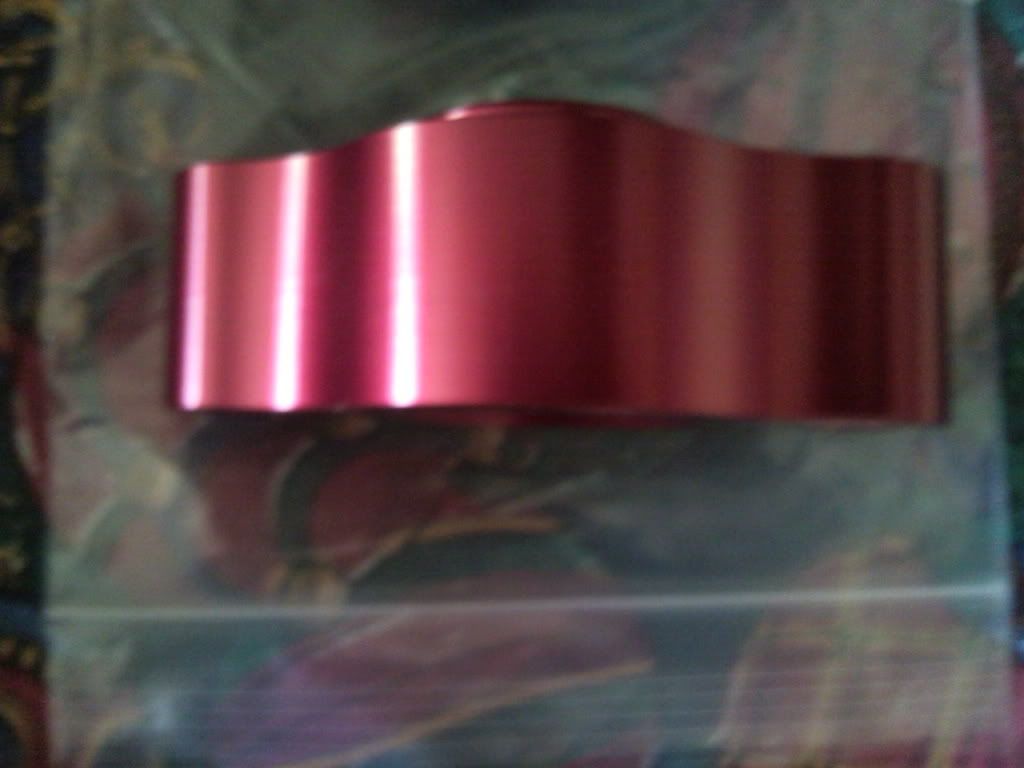
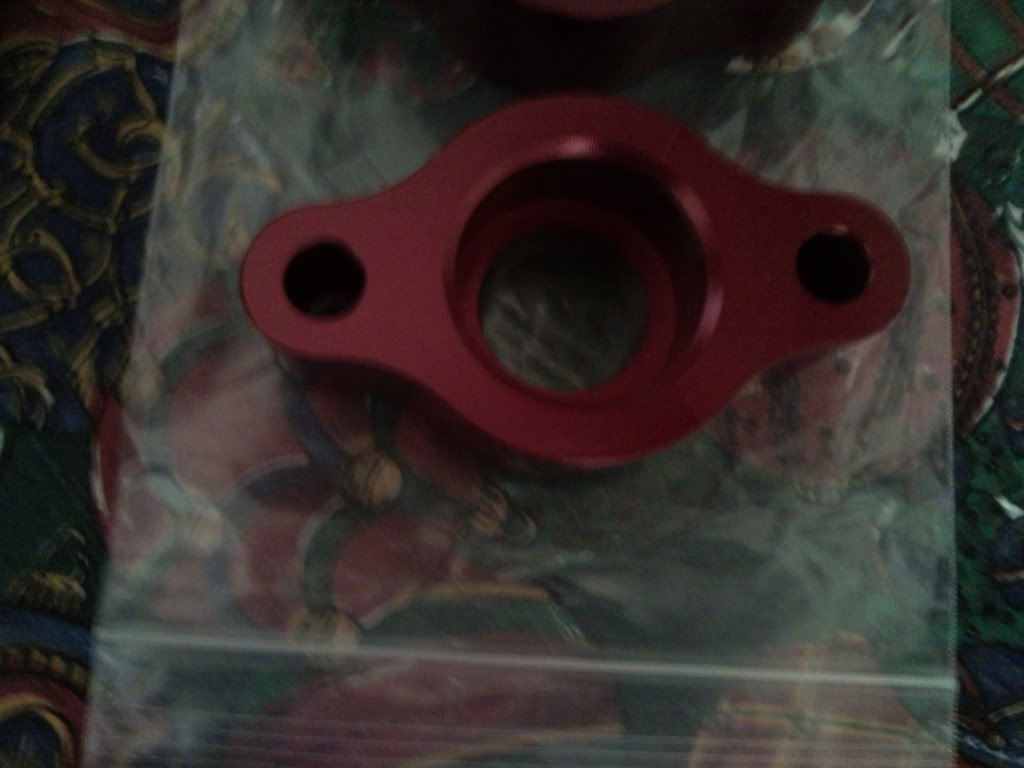
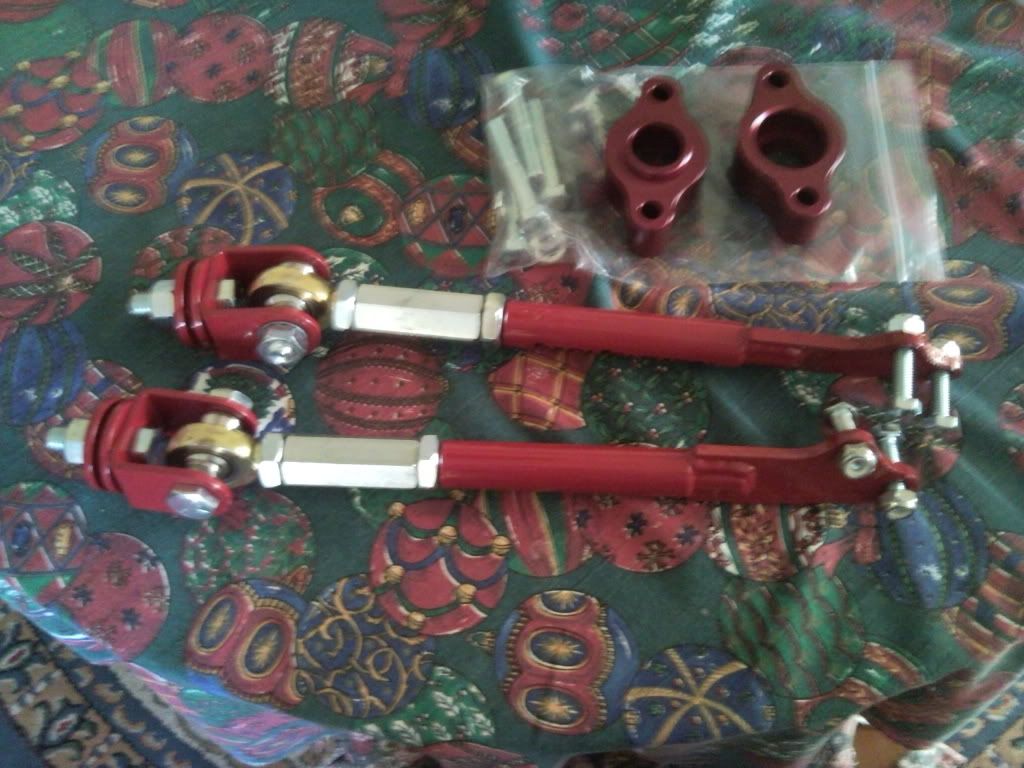
I have recently been ordering some parts for the car and some are still waiting on arrival but thus far I have recieved my RCA's for the front, The Tension control rods (both rca's and Tension control rods from techno toy tuning).
I have also got the tires I was talking about in my last post. I got one of the rear tires and one of the front ones on a wheel each, and from what my panelbeater/spraypainter tells me the rear is fine, it just sticks out a bit from the guards and he is yet to sort out the front.
He will be flaring my guards for me instead of bolting some on to make it keep a kind of stock look.
I have been a bit sick lately and havent been to see the car but will hopefully be going to see it soon.
I am also going to be talking to an engineer about side venting exhaust tomorrow or early next week to find out wether it is legel or not to have that on the car, if it is I will be seriously thinking about it. Some pictures follow and there will be more to come over the next few weeks.
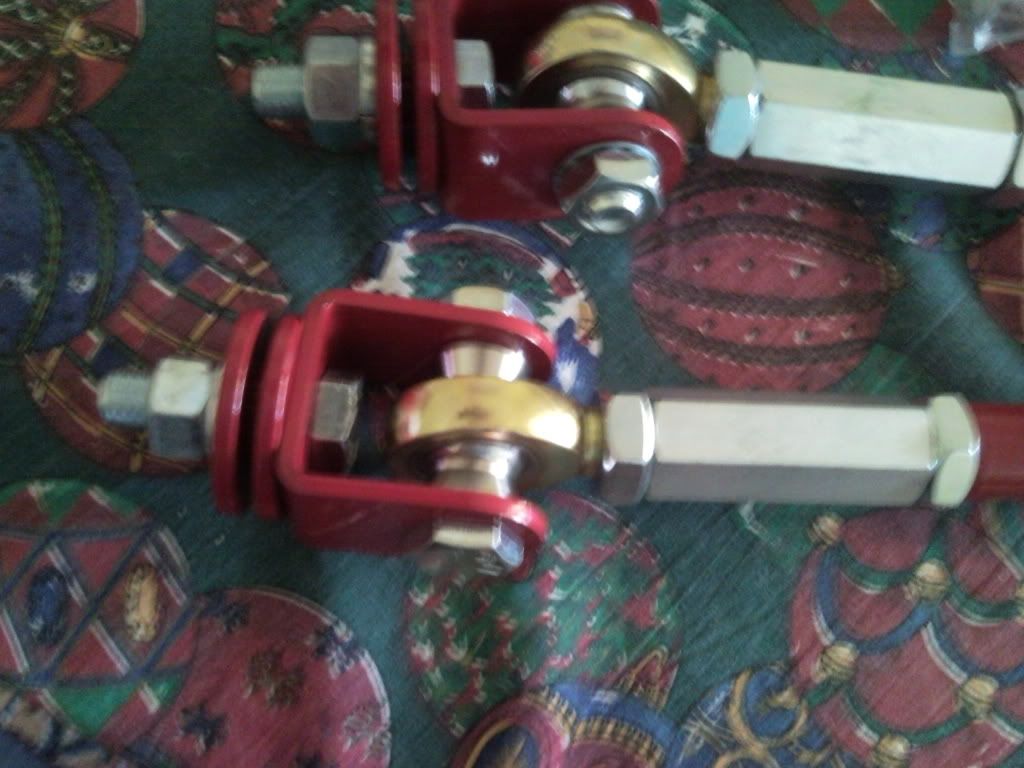
A few pictures of the RCA's
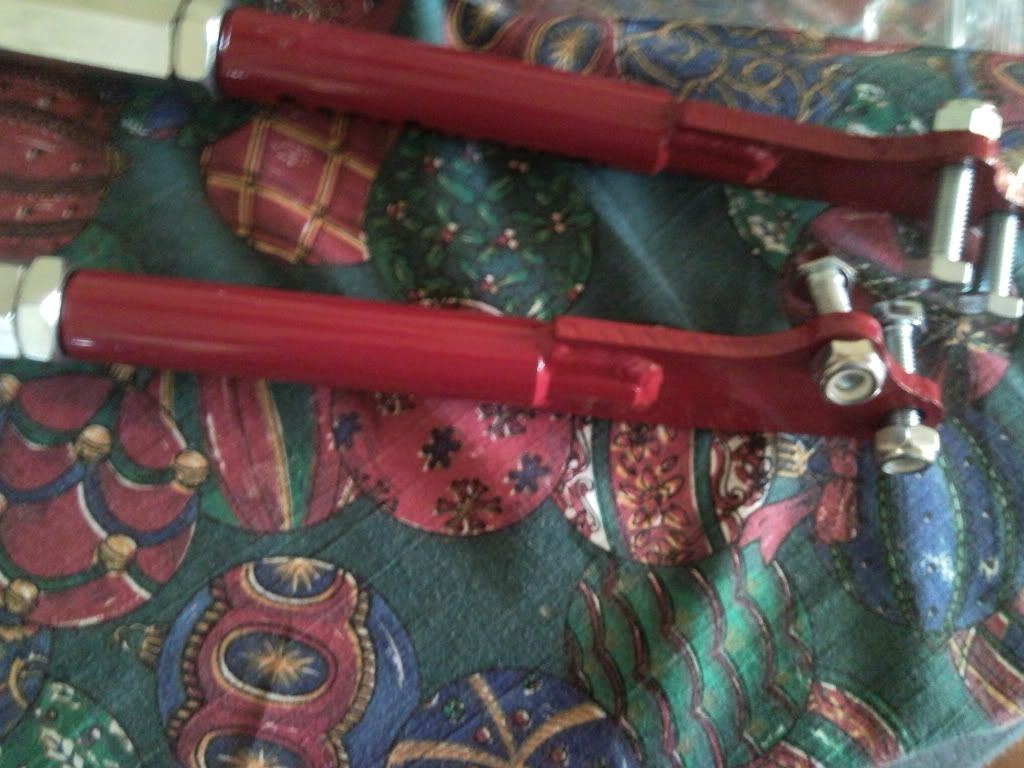
and, some of the Tension control rods
Thanks all for reading.
-
There is a 2 degree new one avaliable from zcarparts, the one I will be putting on my stroker.
Why do you want it adjustable by that much? (just curious)
-
This looks cool man, cant wait to see more, keep up the good work (:
-
So Time for a quick update,
I have decided on the tires I will be getting, For all 4 They will be Toyo Proxes T1R's, The fronts will be 225/45/16 and the rears will be 245/45/16. (Found out that street legal didn't necesarily mean legal to register here in australia, hence the change from Proxess R888)
In a way I kind of regret not going with 17" wheels, Mabye only if for the tire options, but I dont really want to deal with selling my wheels and getting new ones, so I guess its a lesson learned.
More to come, hopefully take some phtots of the car when I go to the spraypainters tomorrow.
-
That looks nice, keep up the good work.
-
That first car looks sick.
What is your plans for your project?
I'll deffinetly be keeping everyone posted, I love the atmosphere between fellow Z car enthusiests, and am already looking forward to showing you guys what I will be doing with this, and am deffinetly thinking of getting another Z car asap!
Thanks for reading guys.
-
Ok so I'm back for an update.
Here are some pictures of the car after I had stripped it and taken it to the panelbeaters/spraypainters.
I dropped the car off on thursday to the painters and he started to prep it, remove the last of the trim that I couldn't remove/didn't want to remove/didn't know how to remove, then droped the doors in today (Holy crap they weight alot, gonna get them on the scales when I get them back.)
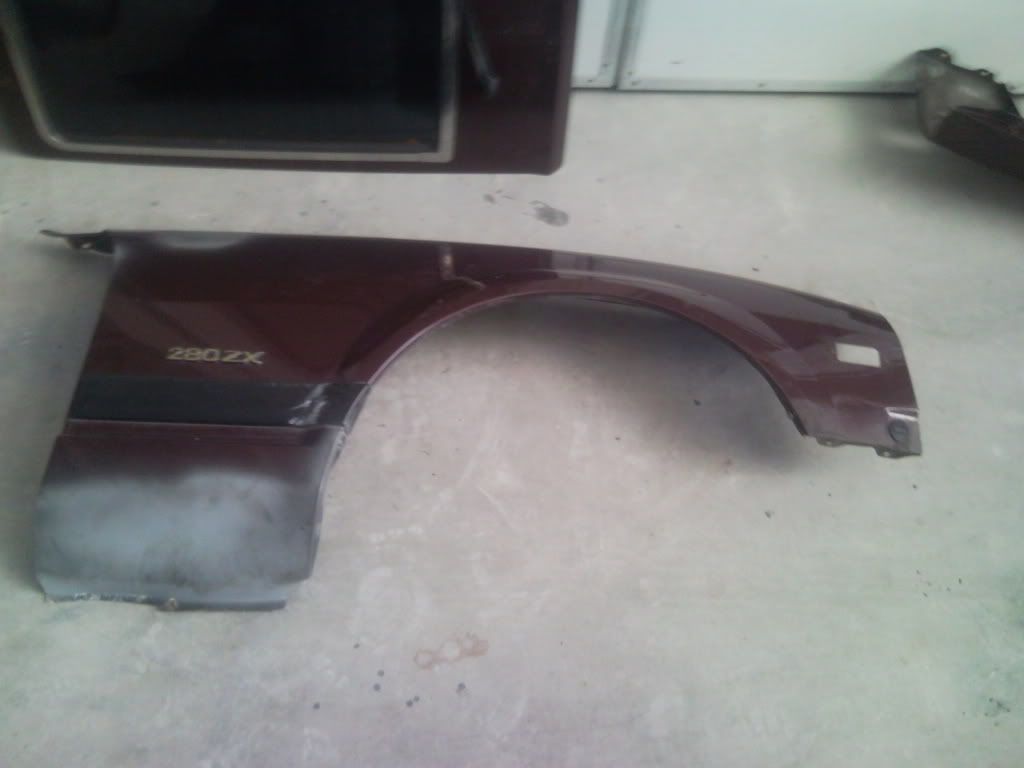
So as I said I got the rust fixed about a year ago, well it turns out that I didnt get it fixed very well at all, it was a bog job and I was told that he would be cutting out the affected areas and welding in metal to fix it, well now the spraypainter is fixing the rust as well as some hail damage in the bonnet and Right front fender panel.
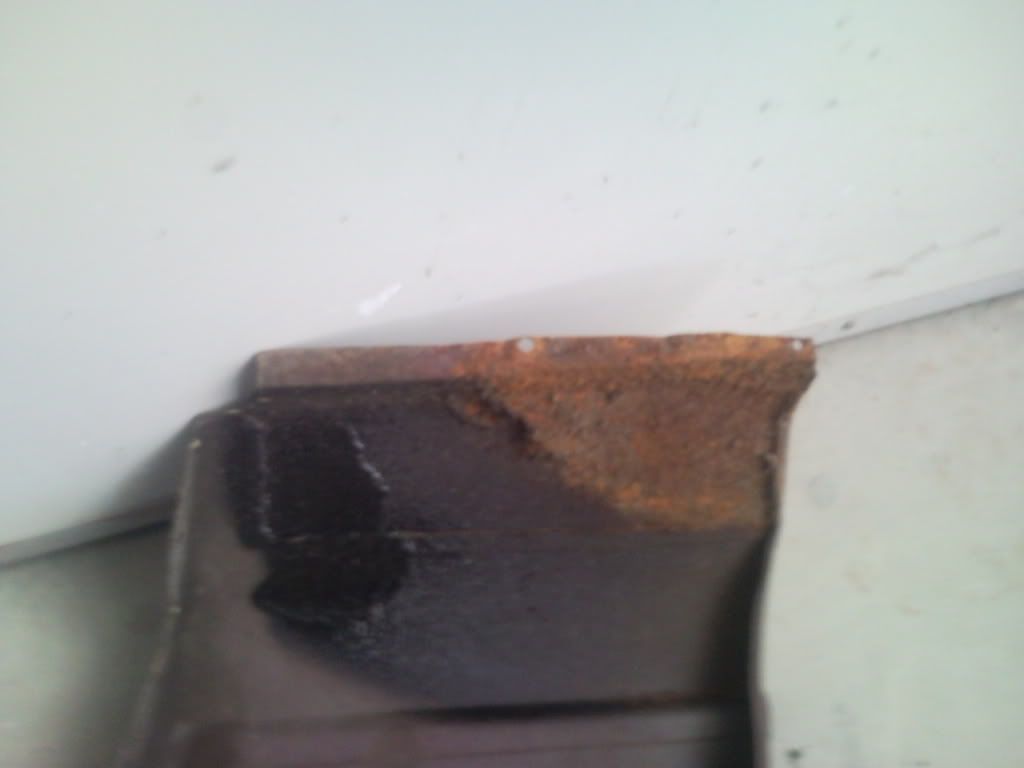
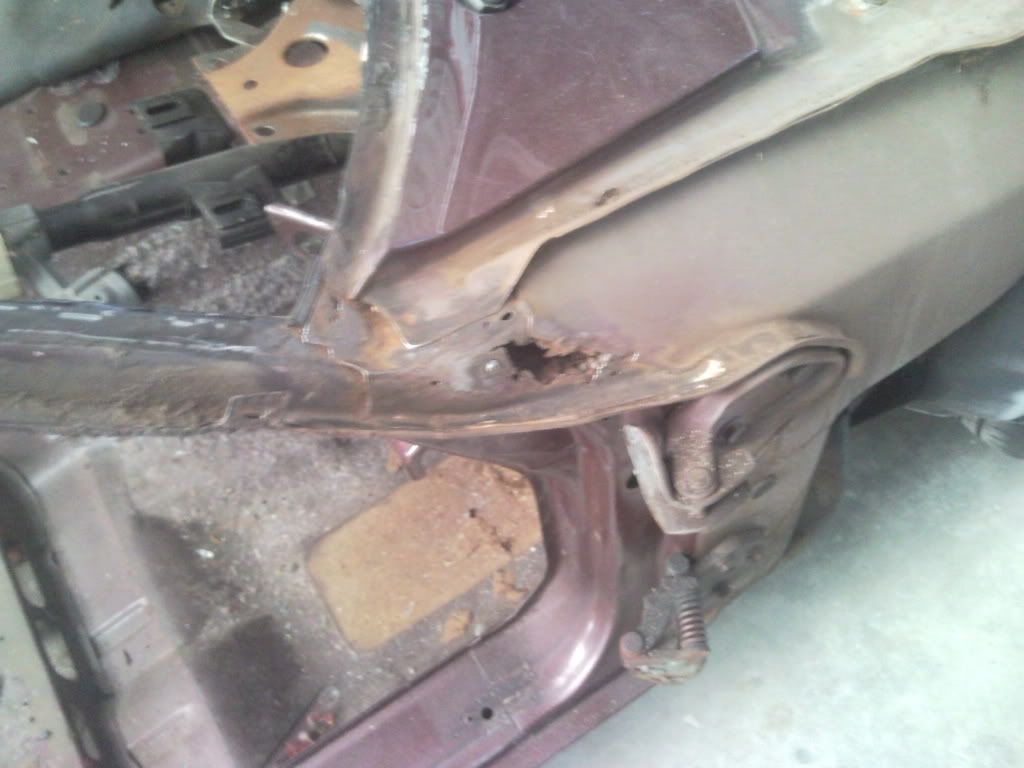
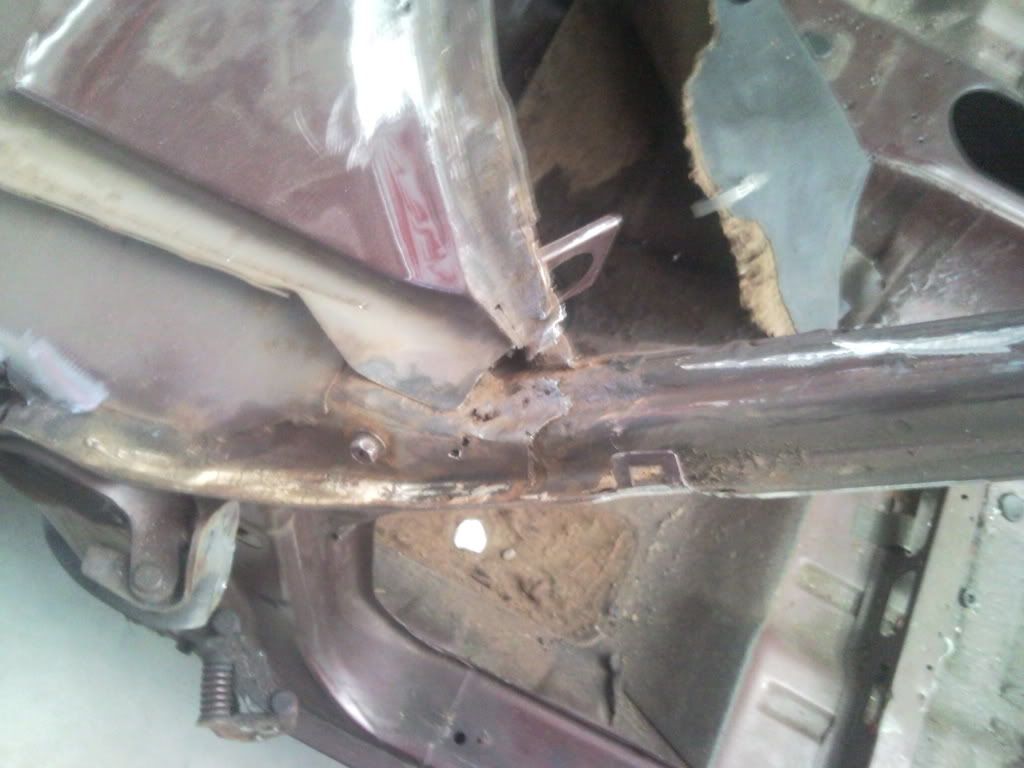
Here are some pictures of where the rust was. and what the spray painter has done so far.
(This is my Driver side panel, from the outer faceing edge you can see it looks ok (apart from the primer))
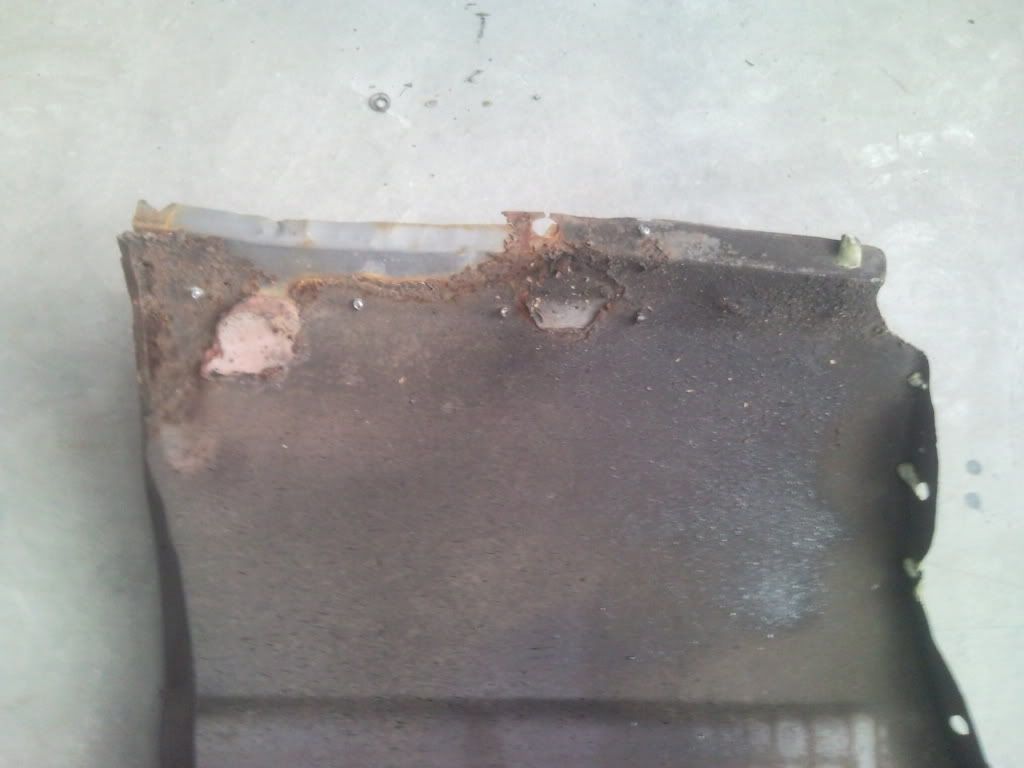
(Here is the underside of the Drive side front fender. He has left some of the rust and just poprivited a bit of metal in)
(As you can see the rust wasn't even cut out of this side)
(Here's a close up)
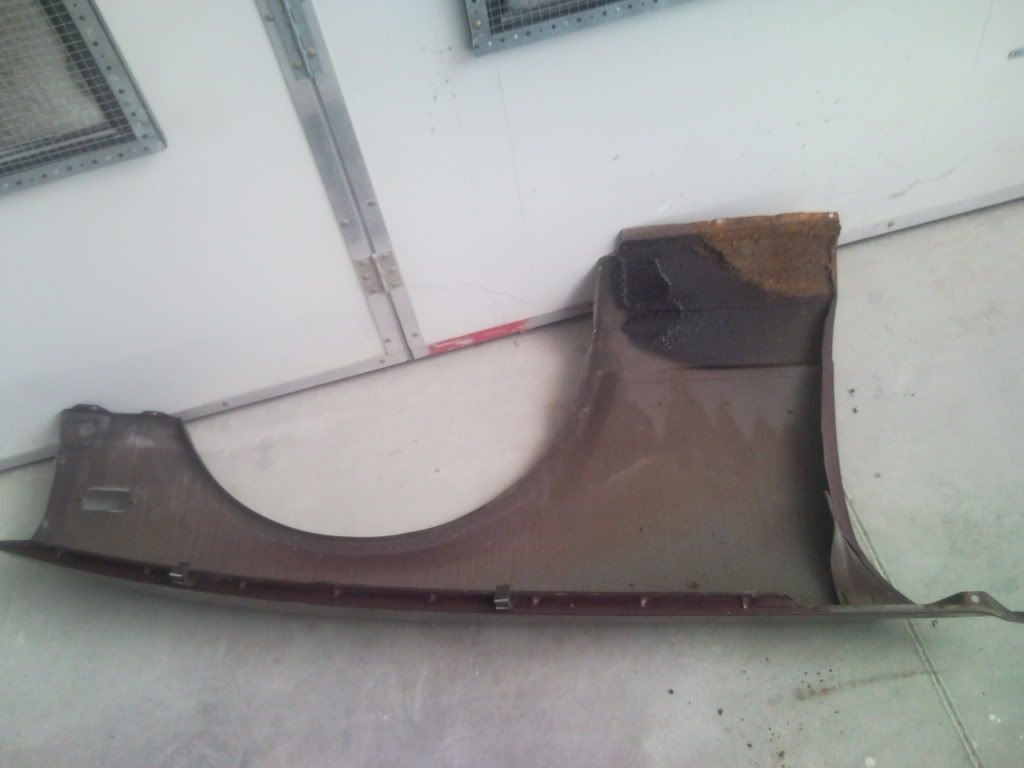
(some rust under the fender on the drivers side)
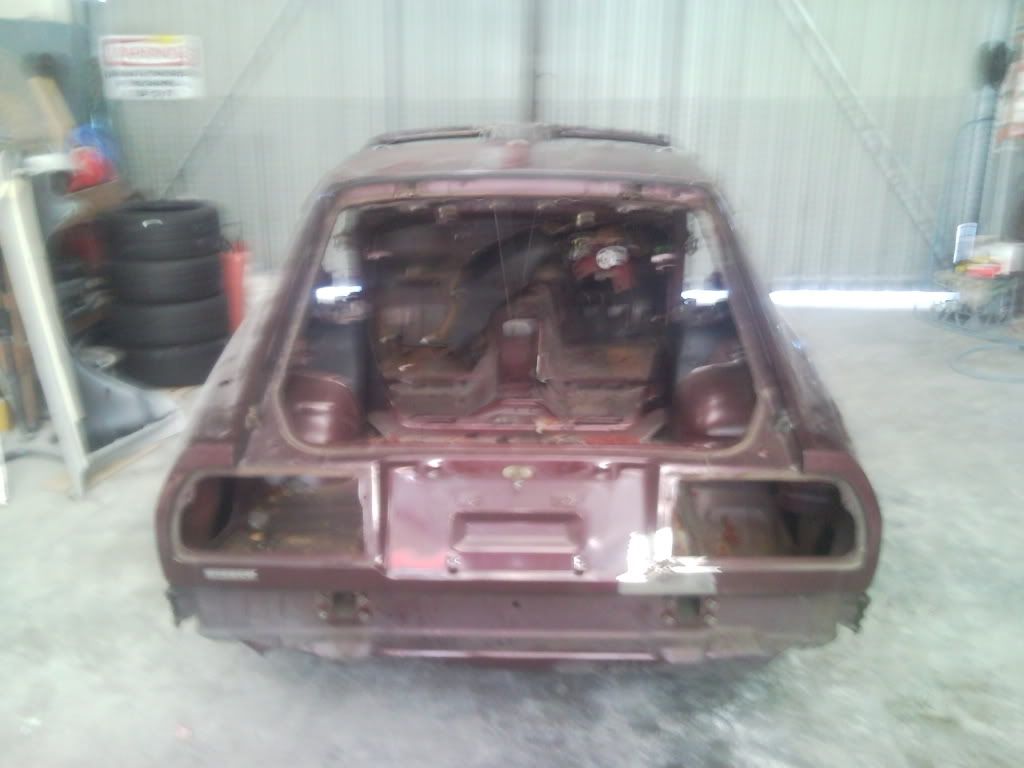
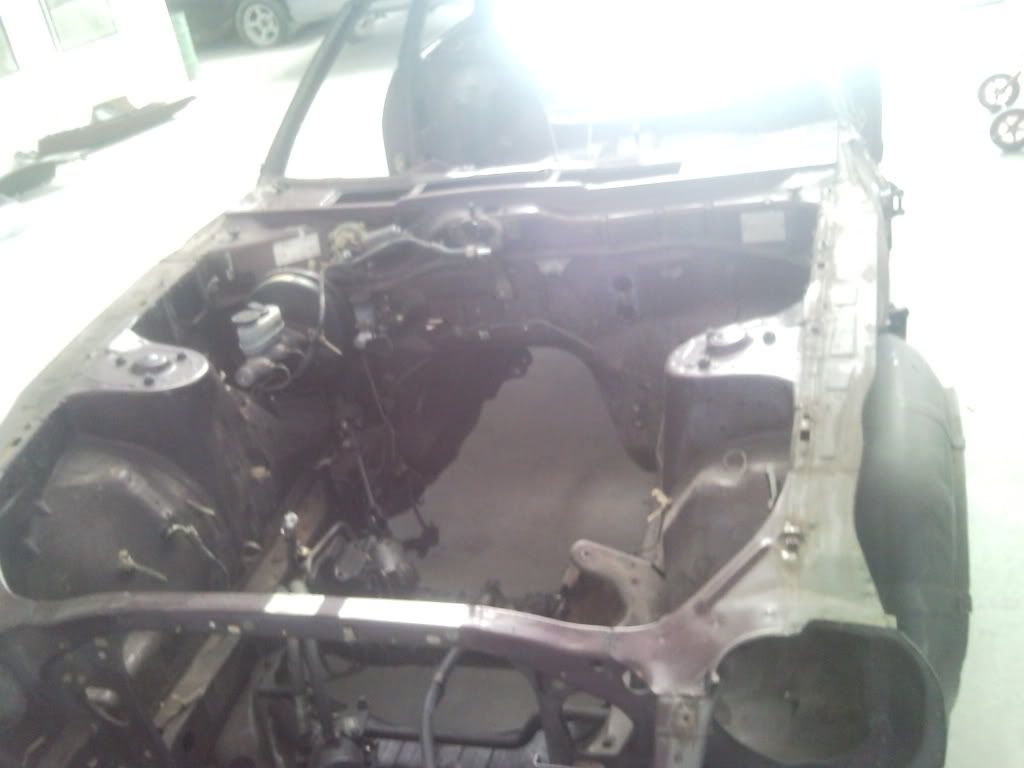
(Also some on the passenger side but you can't really see it, but you can see the rust around the windsreen frame)
(Best picture I have of the engine bay)
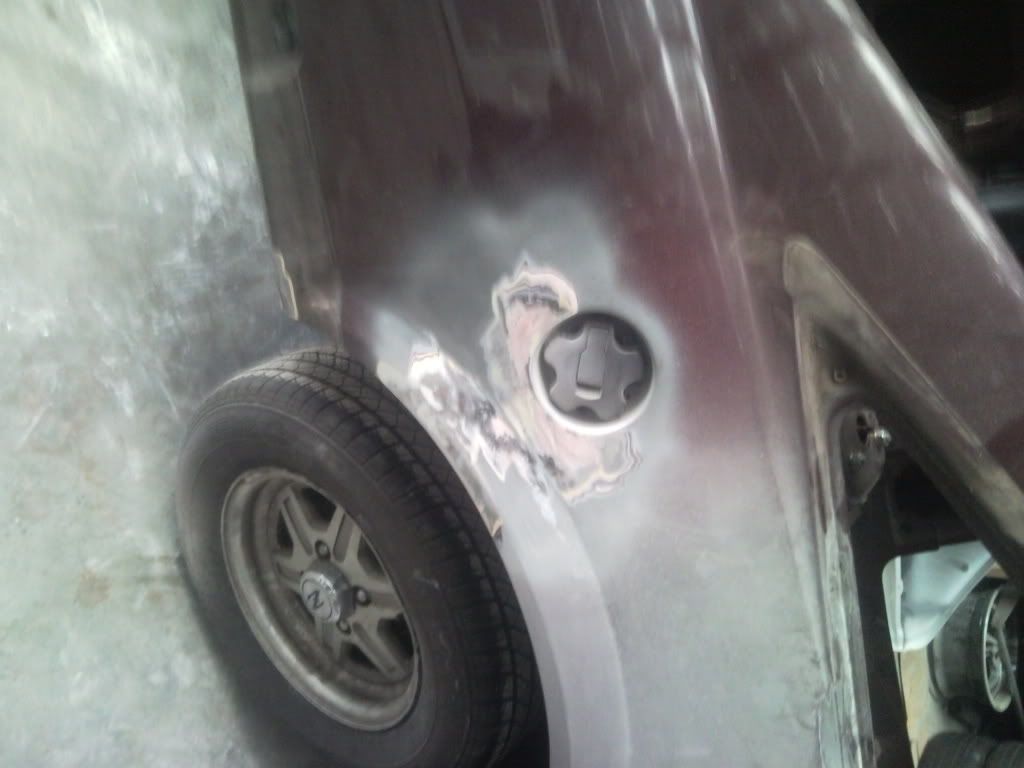
(Finally under the fuel filler there was rust and that was just bogged as well)
So as you can see there is a bit of rust, and some more small bits that I don't have photos of. I am pretty annoyed at the guy the did the rust, but I am also annoyed at myself that I didnt give the car a good look over (especially the fenders) after I got the car back from him.
I guess I learned a lesson in that one.
Anyway, the spraypainter said that he would be taking photos of it as it has done, so hopefully I'll be able to get those, If not my next photos' will be when its finished its paint job.
In the meantime I have started ordering various parts for the car, suspension, brakes, brake lines etc so I will get photos of them when I get them.
Hopefully I'll have some more updates and news about the car in a week or so.
Thanks for reading guys.


1973 240Z Won't start
in Trouble Shooting / General Engine
Posted
Thanks NewZed,
I corrected the firing order. It was right in the FSM but i must of just messed it up. Still no firing though.
Fuel is no more than a week old, premium unleaded.
I will try the starter fluid on thursday. Is it just in a pressure pack? Is it the same as carburettor cleaner?
Thanks