

AkRev
-
Posts
192 -
Joined
-
Last visited
Content Type
Profiles
Forums
Blogs
Events
Gallery
Downloads
Store
Posts posted by AkRev
-
-
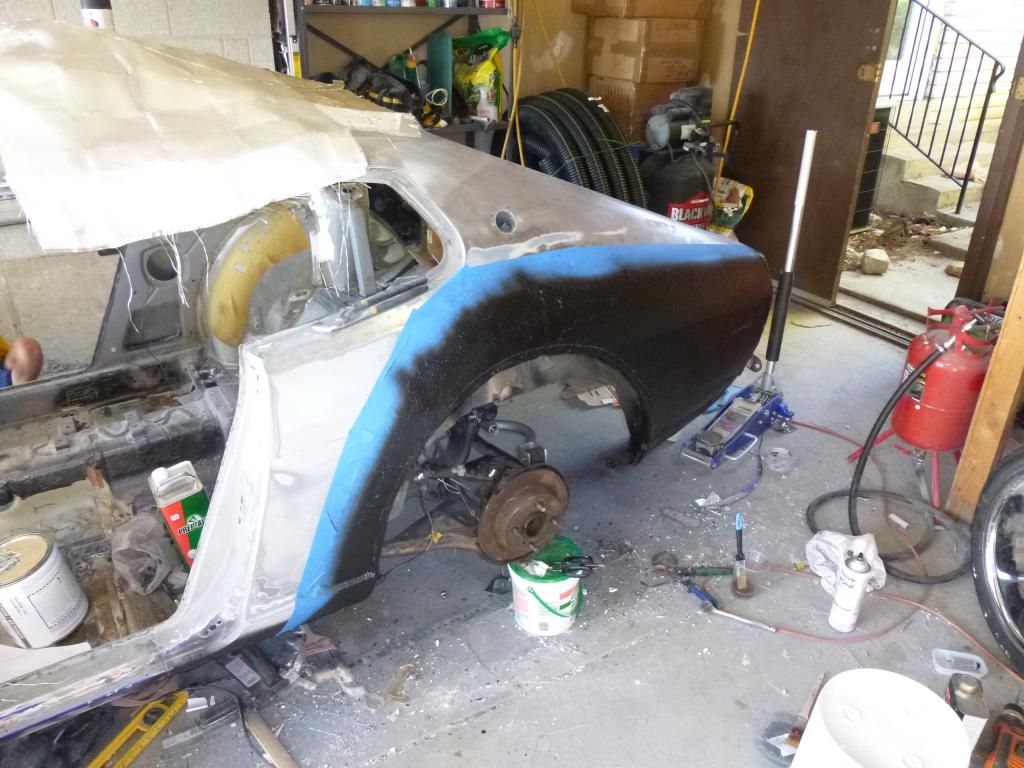
Few things to update on. I never did show the picture of when I went back and re-cut the rear quarter.

In this picture you can see that I did a few things, the black paint is a rust conversion primer. I used this on all of the areas that I was worried about rust. I also attached the inner fender to the rear quarter skin using two layers of 8oz fiberglass.
After a few days, I got around to taping off the quarter.
Hit it with rust conversion primer and then the next day with the rubberized undercoating.
Now for the things that changed. After collecting a few opinions from friends, family, and my wife. I change the look of my flair. At first I wanted to mimic the stock lip and make it look something like this.
But I wanted something different, and after standing next to a 350z, the dim light got brighter. I decided that I wanted a flat lip.... for some reason I just a Sum41 song stuck in my head. So, I get out the heat gun and go to town. Got it to look great and then called it a night. By the time I looked at it in the morning it looked like crap.
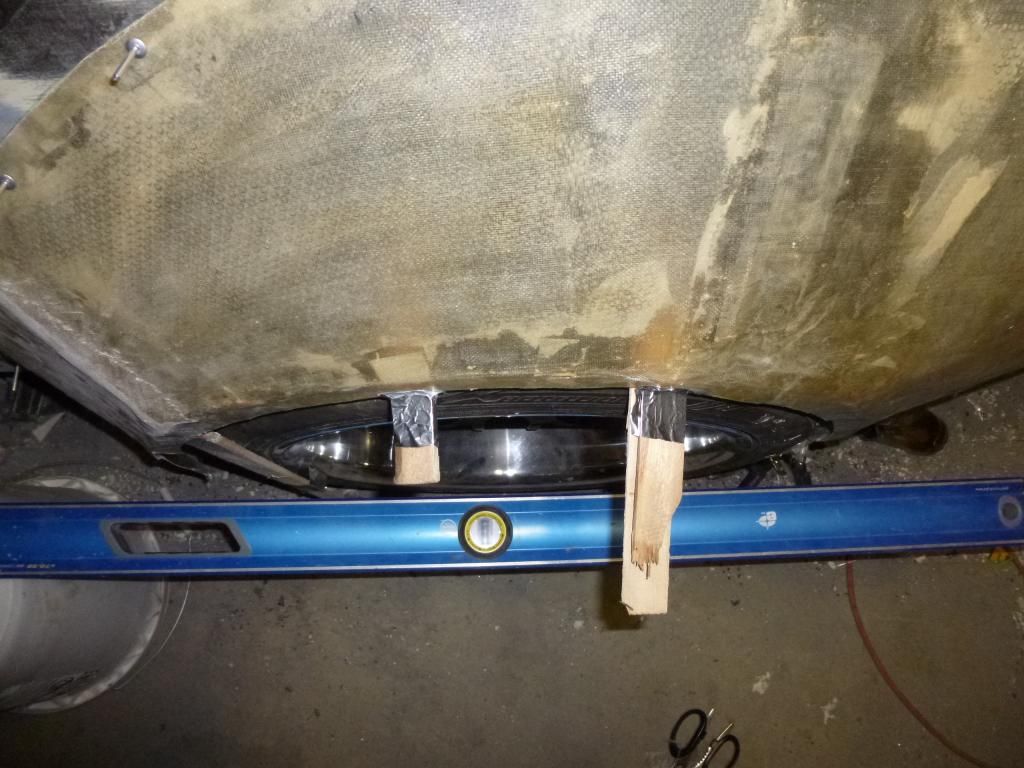
So back at it with a heat gun, and this time, I got smarter, I used shims to hold its shape.
It is hard to tell from that picture, but this is kind of the lip I am putting in.
It has a flat face to the lip, gives a little bit more of a distinction. Also, at the same time, the lip will tuck in.... Hard to explain, but I want the top of the tire covered, and then a small sliver of the tire exposed as it goes down.
Best example of this would be a RWB. You can see how the top is covered then it slightly tapers in near the bottom and exposes the tire.
And my stopping point for drivers side.
Will pick up on the passenger side and catch it up.
-
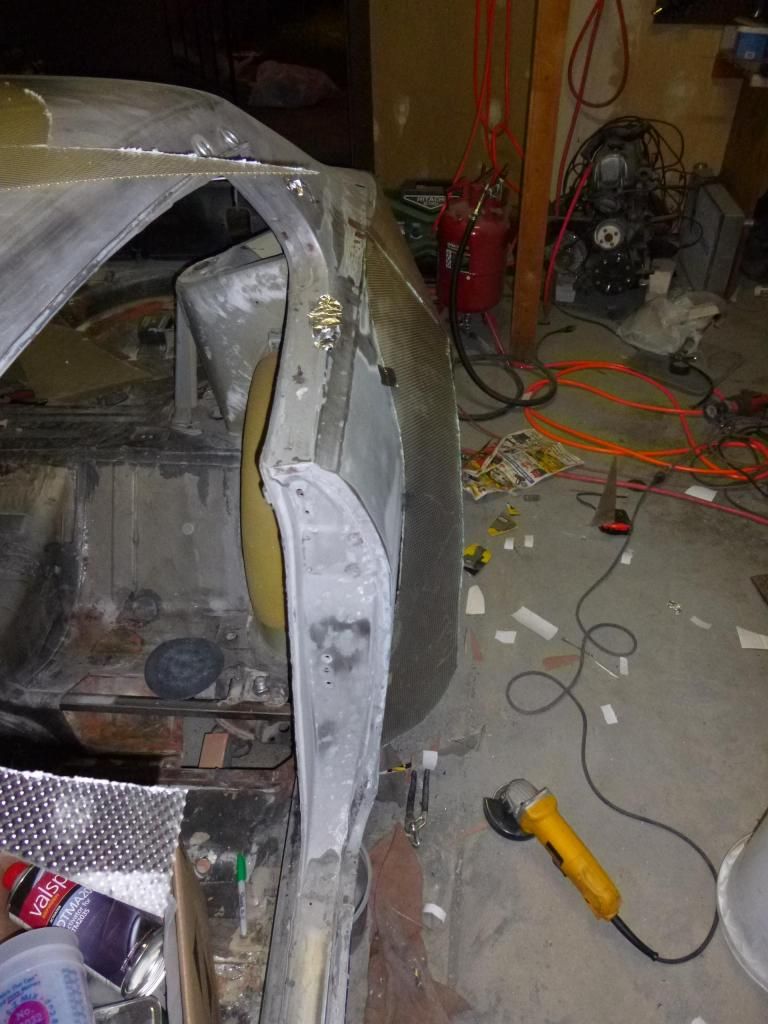
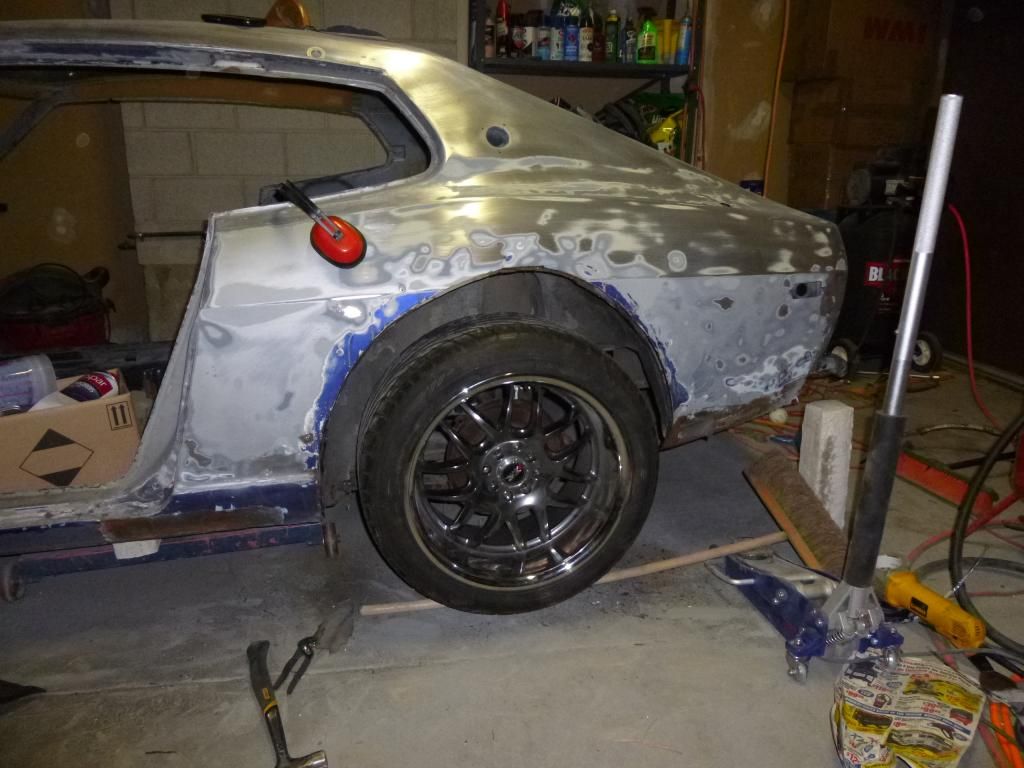
Took some time yesterday to clean up the cut around the tire. This time I used a string and marker, so it is actually a radius style cut.
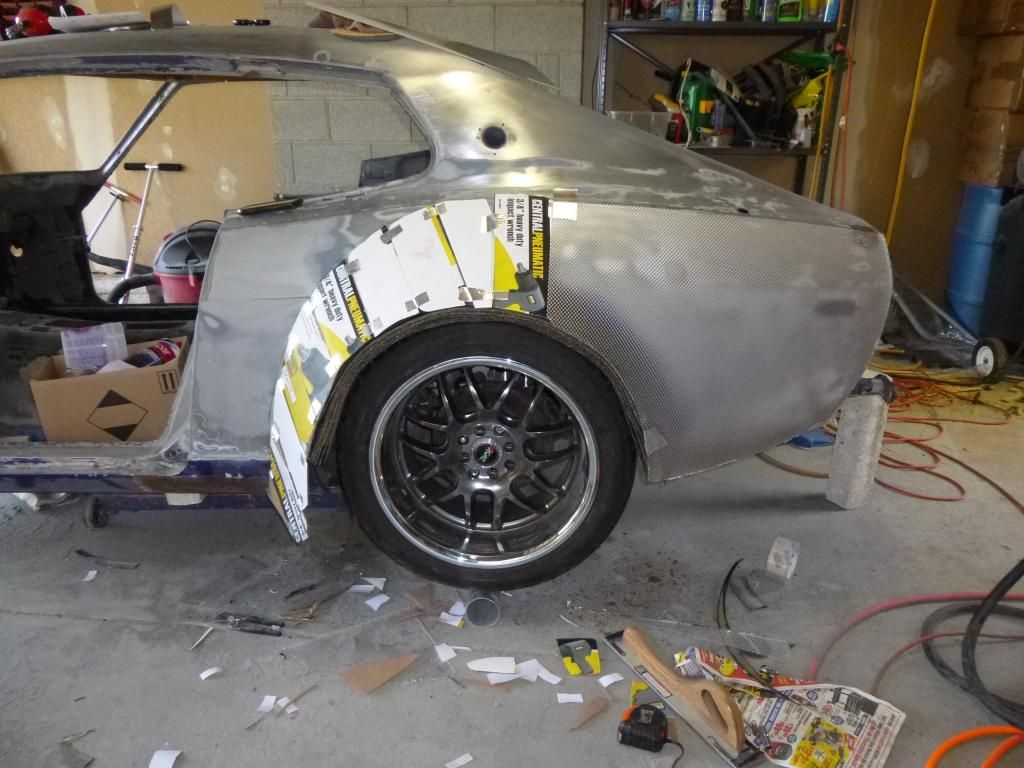
I also starting mocking up my flair.
This is the part I like, this is the point where I find everything useless in my garage to start cutting it up into a flair like shape.
Things found in my garage might include shingles, cardboard, aluminum tape, and my new favorite - plastic covers for fluorescent lights.
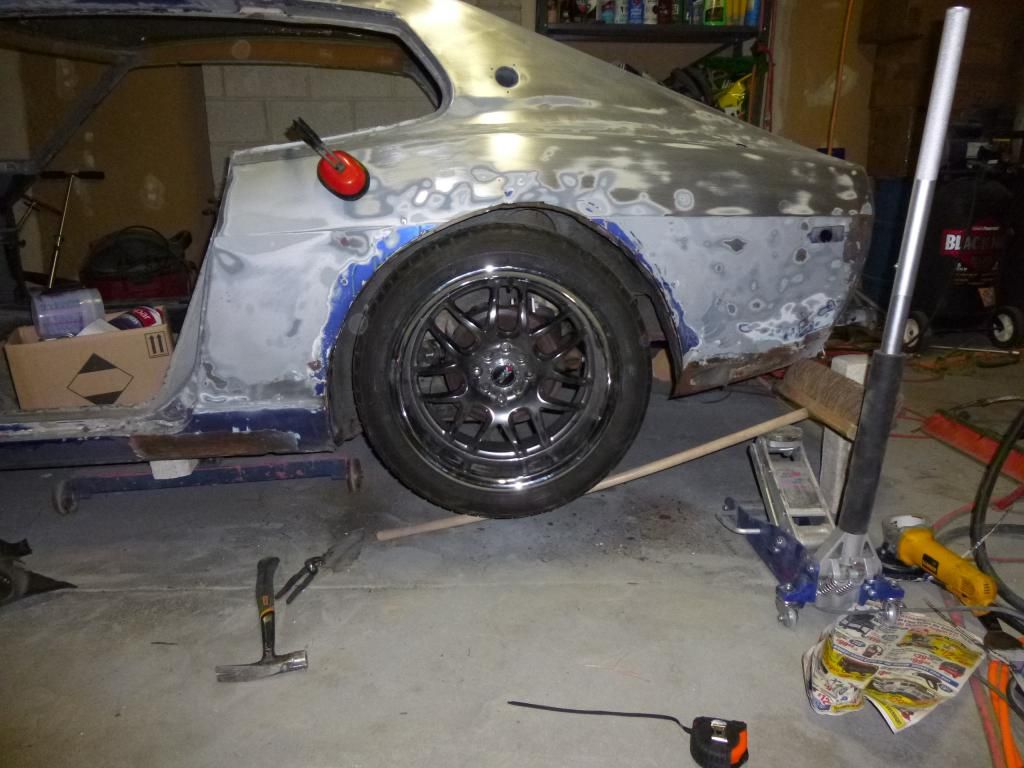
Step one, toss about an inch think of roofing shingles on the rear tire.
Step two, make a nasty shape out of cardboard.
I did warn you that this could be the train wreck that you might just have to watch.
I will say that my whole point of doing the cardboard was so that I could trace the shape on to the plastic light cover.
And here is where I ran out of time for the day.
The top is flexing down at the moment. That is why it looks a bit off square. My plan is to cut the front lip that will hold the inside shape of the flare today or Saturday.
Edit: I should note, the new rim and tire setup is much taller than my older set of rims and tires, because of this, to maintain the ride height, I had to raise the rear suspension. The problem with this is that I have adjustable toe and leading arms, but not an adjustable camber arm. So in the pictures the tire has the correct toe, but the wrong camber. I am compensating for the future camber adjustment as I build this mock flair.
-
Time always goes by too fast when life is crazy.
Been block sanding the car and prepping for paint. Got the kick to the shorts last weekend when I went to the paint store. My plan was to epoxy the car, do some minor skim coats on top of the epoxy and then to 2k prime and block sand. Well, thanks to the EPA, not an option now. It is now illegal to spray epoxies,or high VOC content in my area, and that rule started last month.
So, now I have a change of plans and need to move faster than I am.
New Plan:
Get the rear flairs cut
Install the rear flairs.
Do all of the body work on the main shell before temps drop into the 50's.
Prime the car with DTM2035 Surfacer (4:1:1 mix) over metal and body work.
Then get the car on the rotisserie to work on the underside for the winter time.
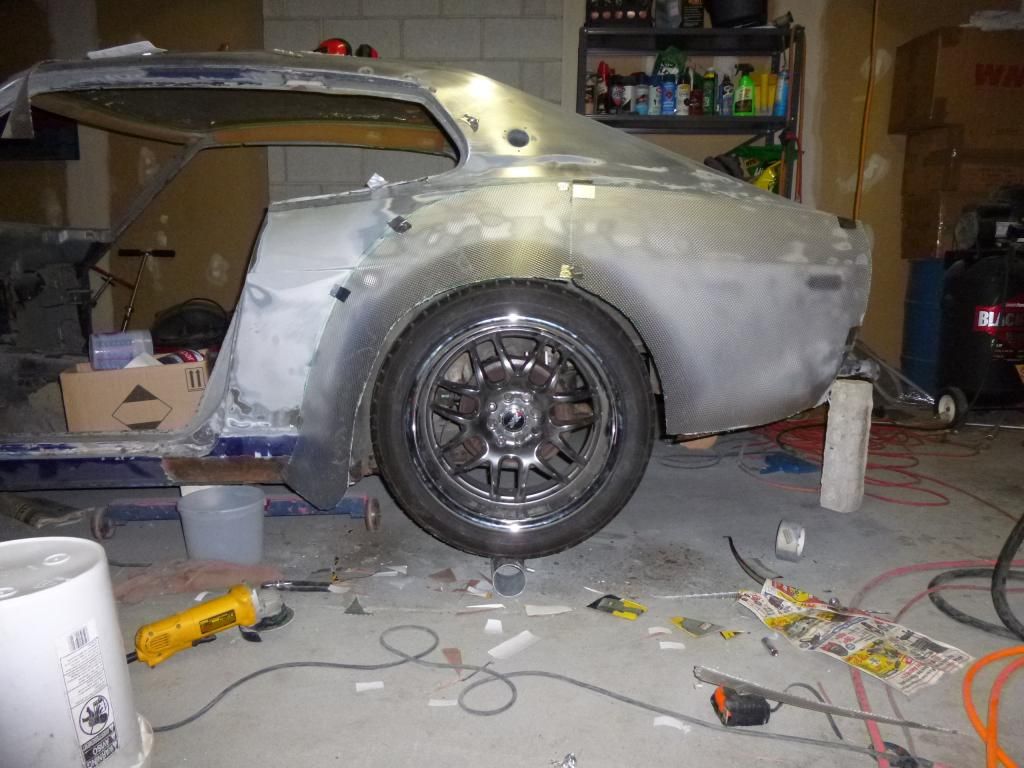
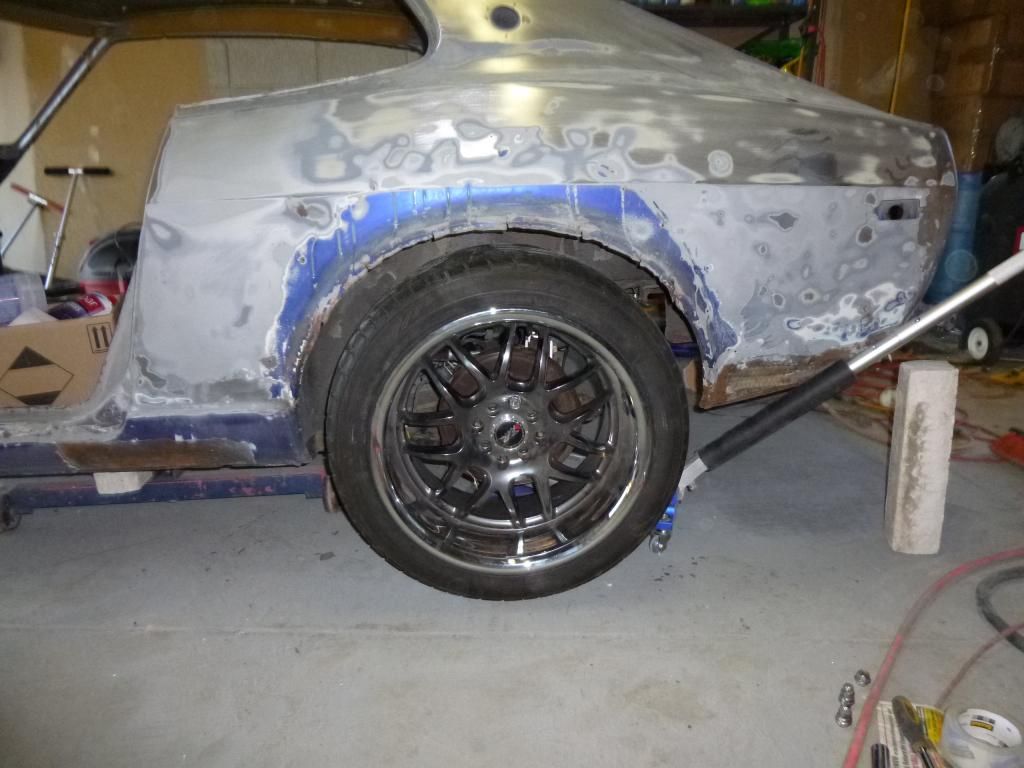
So yesterday I got back at it. Started off by re-installing the S14 subframe and putting my rims and tires on for the car. (Rims - XXR 526 / Tires (rear) - Falken FK452 265/40z R17)
Pictures Pre-Cut:
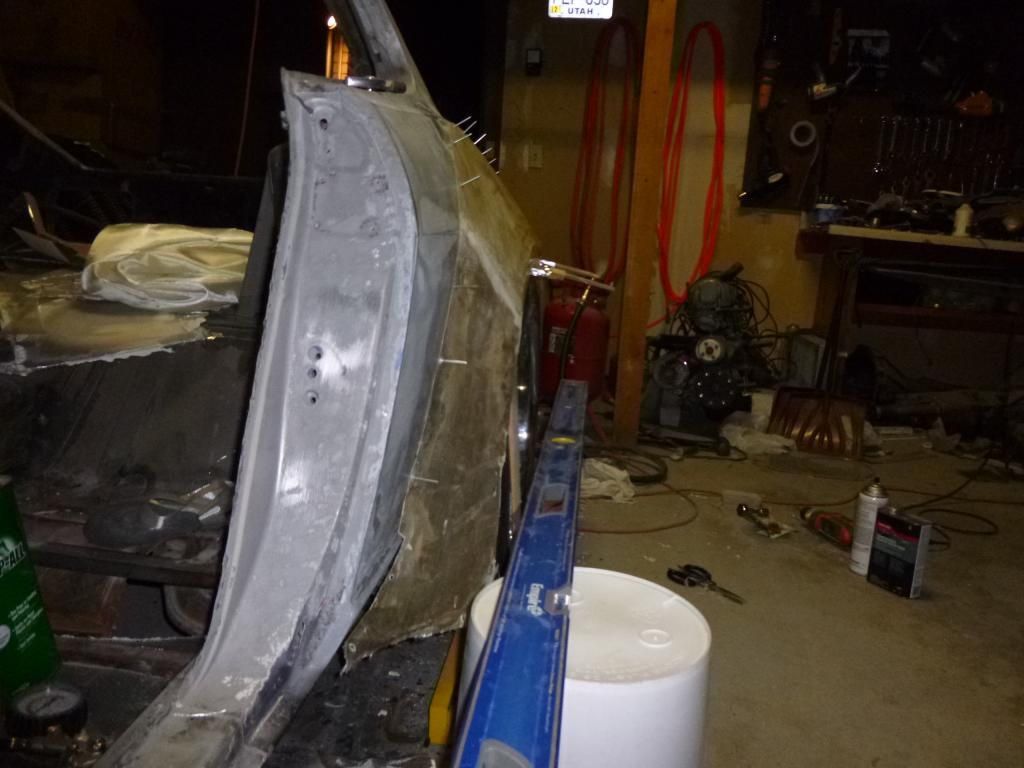
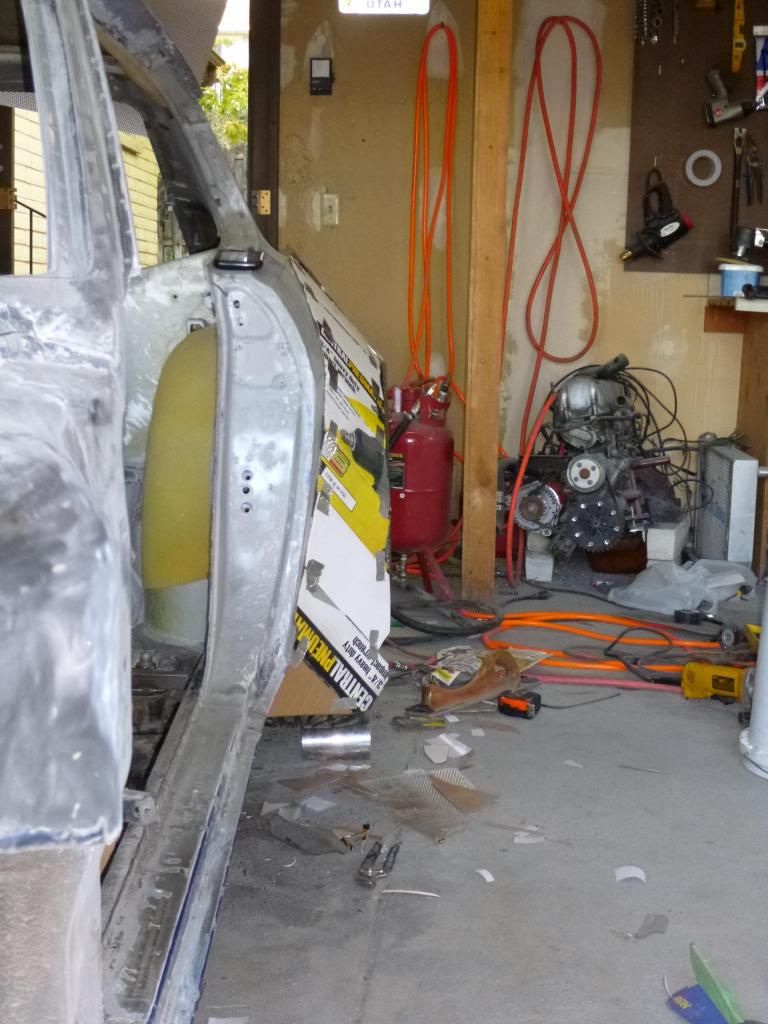
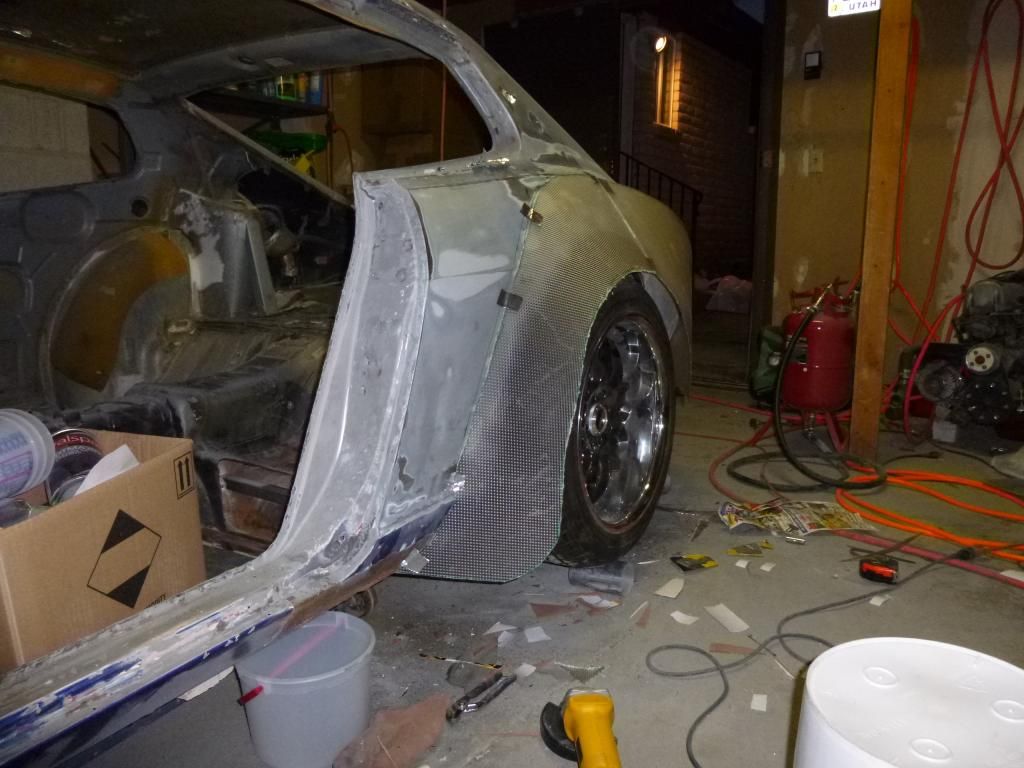
So with only an hour to work, I decided to pull the tire and freehand cut the fender.
Could have been better, half way through I realized I could cut higher, so I did. That did not make it look pretty though.
Ran out of time (as you can see the sky is dark outside of the door now) to cut the front section back. However, I did take the time to check how the S14 subframe traveled.
It travels forward and up mostly as I expected, It moves forward about an inch over three inches, toes in about 3/4" and cambers quite a bit. I now have a good start to start working on the flairs.
It has been a long time since I have practiced my fiberglass skills.... this might be the train wreck that you can not look away from.
-
Where did you run the vacuum line from the ms box? As in, where does it connect on the engine?
It is odd that it has pressure, it makes me think you have it connected upstream from the throttle body. You would need it downstream from the throttle body, or in other words, connect to the intake manifold.
-
Congrats! How does it feel to hit boost now?
-
Swim? Swammi? Slippy? Slappy? Swenson? Swanson?...... Samsonite! I was way off!
Interesting though, makes me wonder if it is some sort of O2 sensor reader. Hope Tony can figure it out. I was almost positive that thing look like an board I saw years ago. Good luck.
-
Leaving us hanging like that. Hope you got it nailed down and can enjoy your car.
-
The photo is not of a 2+2, that is a coupe, the 1/4 window has the point at the top and the 2+2 window avoids the point there. You can also see the outline of the old tool box on the passenger side. Also, the bottom area, where a 2+2 seat would go, is flat. A 2+2 seat is tilted up to the front.
I have been spending too much time in the back of my car....
-
How is the vibration in the car? Are the u joints in good shape? As I look at this I am reminded of an issue I had when one of my u joints failed on an old truck of mine.
Good Luck
-
And I just looked backed and missed answering your question. Instead I answered the question I wished you asked. (just kidding)
Basics of your distributor, you have electronic ignition. Inside the distributor, you will have a vr circuit with a 6 tooth trigger. This vr sensor
creates a grounding signal each time a tooth passes by. The "Little beeping box" translates this low current grounding signal into a high current ground that fires the coil. Your coil will have a constant 12v power supply, as the "little beeping box" grounds the coil it will fire the coil for a set dwell time. During that dwell time, the coil will send a high voltage power to the rotor, the rotor must pass a plug in the cap to send this high voltage power during the dwell time of the coil. If this happens the only place the high voltage power can go is to jump across the spark plug and ground out. Without that little beeping box, non of this should happen, and your car will not run. Hope this helps.
Good Luck
-
Trying to follow your question; are you saying you removed the box and the car ran? If so I am impressed and confused.
But in all seriousness this is the part that that box replaced. As I said before, I believe your previous owner had the part go bad, and went the DIY route.
You could do a few things, you could pull the tape off of the processor and try and search more about the board to trouble shoot. Also you can pick up a transistor unit from a member here (if you are desperate I can find one and send it to you, it would take a wile to find it in my storage but I am sure I have three) and rerun the wiring to the box. Helpful wiring diagram here. http://www.4moores.com/280z/files/test_76_280z_wiring%20copy.jpg
Things to keep in mind, PO might have done this due to a different coil with a dwell time unlike the stock coil.
So, to be more helpful, let me give a few tips.
Pull the tape off of the processor and post a pic of the stamp underneath and I will see what I can dig up to help you troubleshoot. The buzzer is a warning, this warning could be do to two things, electronic failure on the board or coil that is on its way out. (notice any symptoms when driving)
Show us what you got, Take a picture of the coil, and the under side of the mystery box. This will allow me to see what it is that the previous owner did and changed.
-
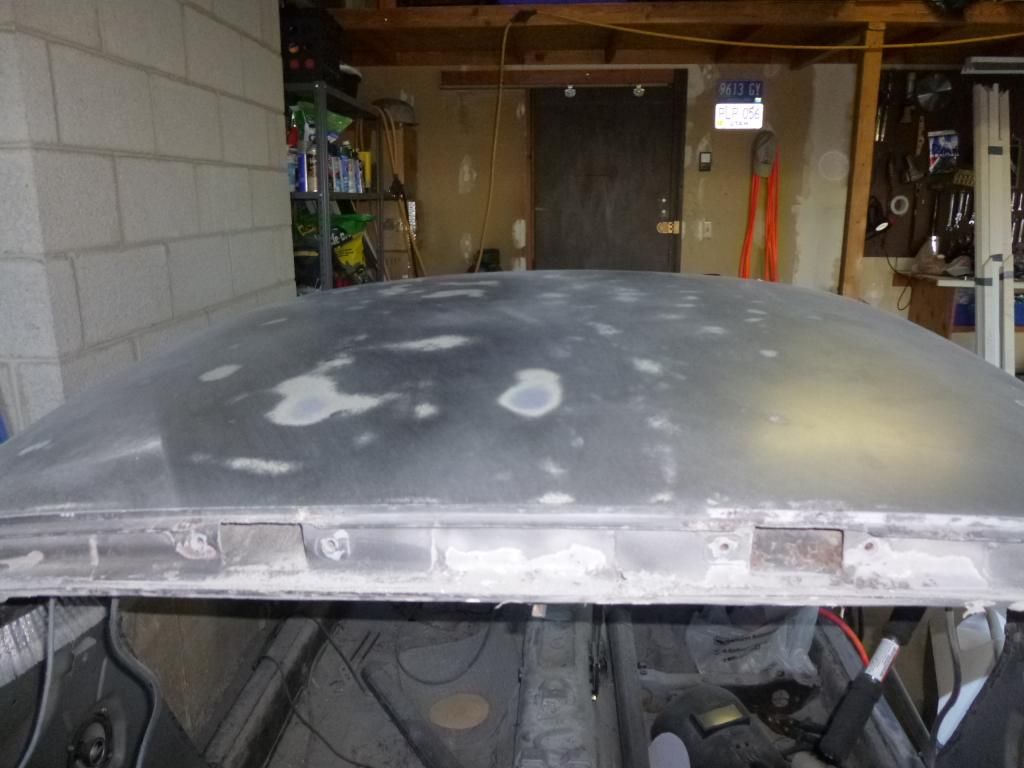
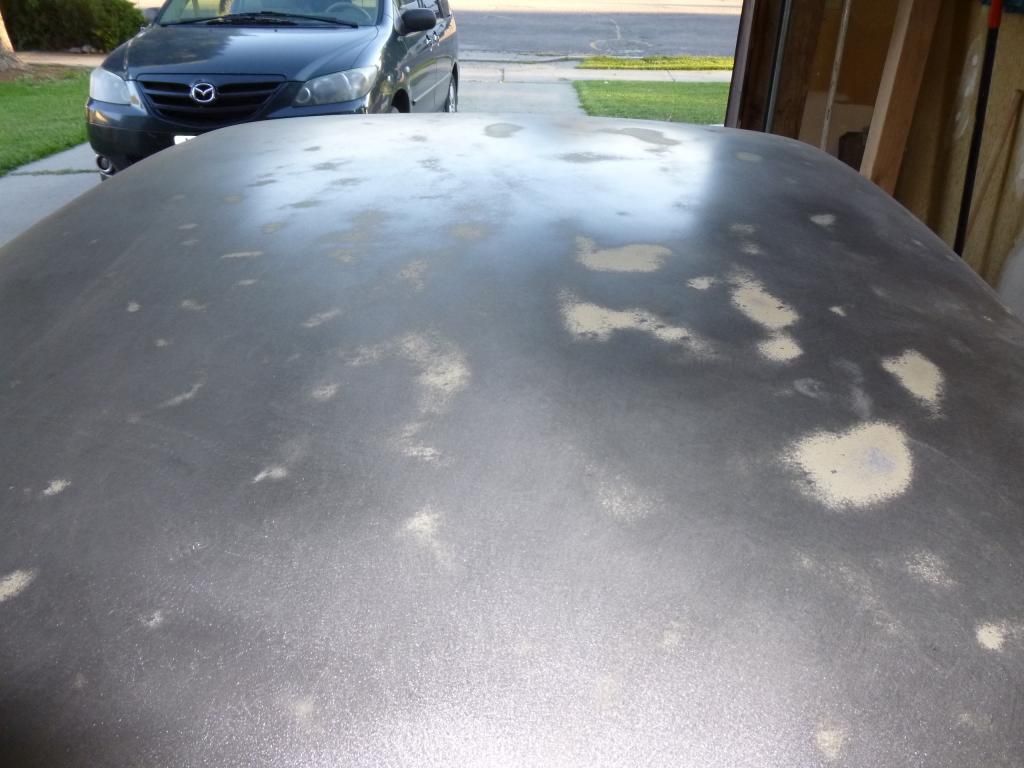
Do not want people to think I have given up. Still working on the car every chance I get, It is only for a few moments about every other day.
Getting things ready for paint, started block sanding and DA sanding the top of the car, got most of the engine bay patched up, and a few parts ordered and on the way.
-
And I meant TCI not CDI, my bad.
-
Well, it is not Megasquirt. My best guess is the transistor went out, and your previous owner made a DIY CDI Trigger. The whole point of it is to read the trigger on the distributor and fire the coil. (should be the two wires on the bottom of your picture that go to the distributor.)
Did you push the reset button?
Good Luck
-
First thing first.
3.0 MS3 or 3.57 MS3? Is the board set up for hall or vr?
Did you get the DIY wiring harness?
What wire(s) did you put on the negative side of the coil? (if you do not have the DIY harness, what pin did the wire go to?)
-
Gotti 140 (sometimes called US140 or 140-US)
-
What is the measurement between your hall sensor and your trigger wheel?
-
Can you post a current MSQ?
I just wonder about the 4k limit, that seems strange. Makes me think that you have an AFR safety or a knock sensor that is limiting you. Could be something like you are so rich the the sensor reads lean for a moment and trips the AFR Safety.
-
Sorry for the basic sounding advice, but did you just simply plug in the MS2 daughter card?
Reason that I ask is sometimes it is the simple things that I forget, as in, did you run the 12 supply for the daughter card?
http://www.msextra.com/doc/ms2extra/MS2-Extra_Conversion.htm
Edit: that was useless help, I just remembered that only effects your outputs for MS2
-
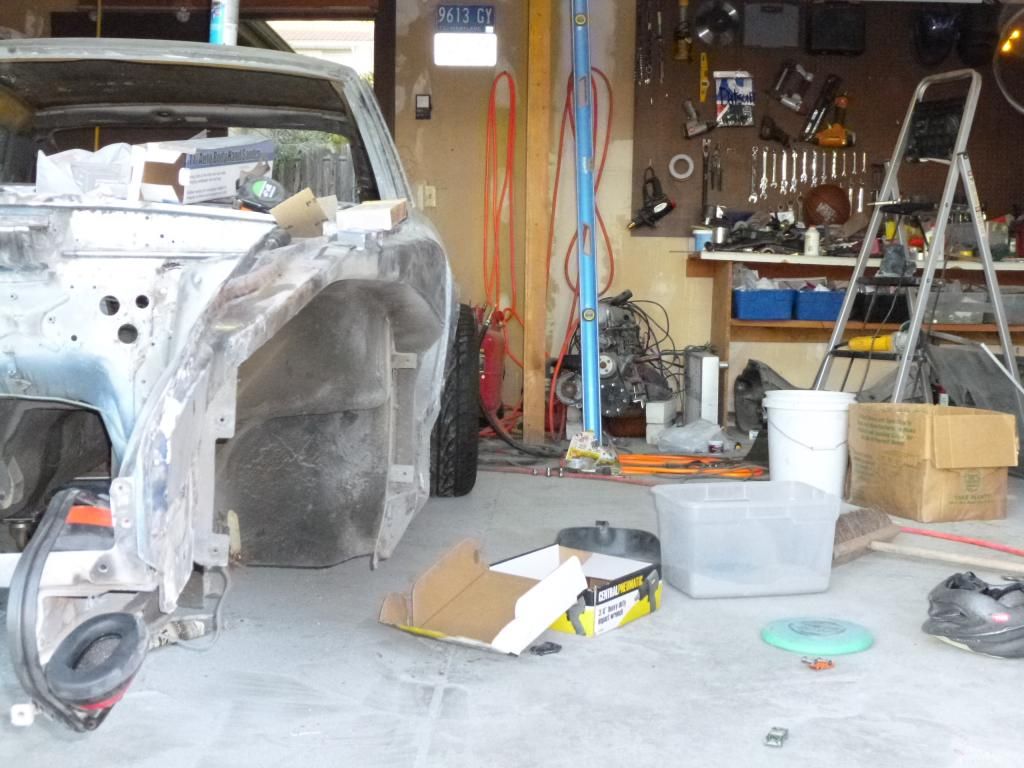
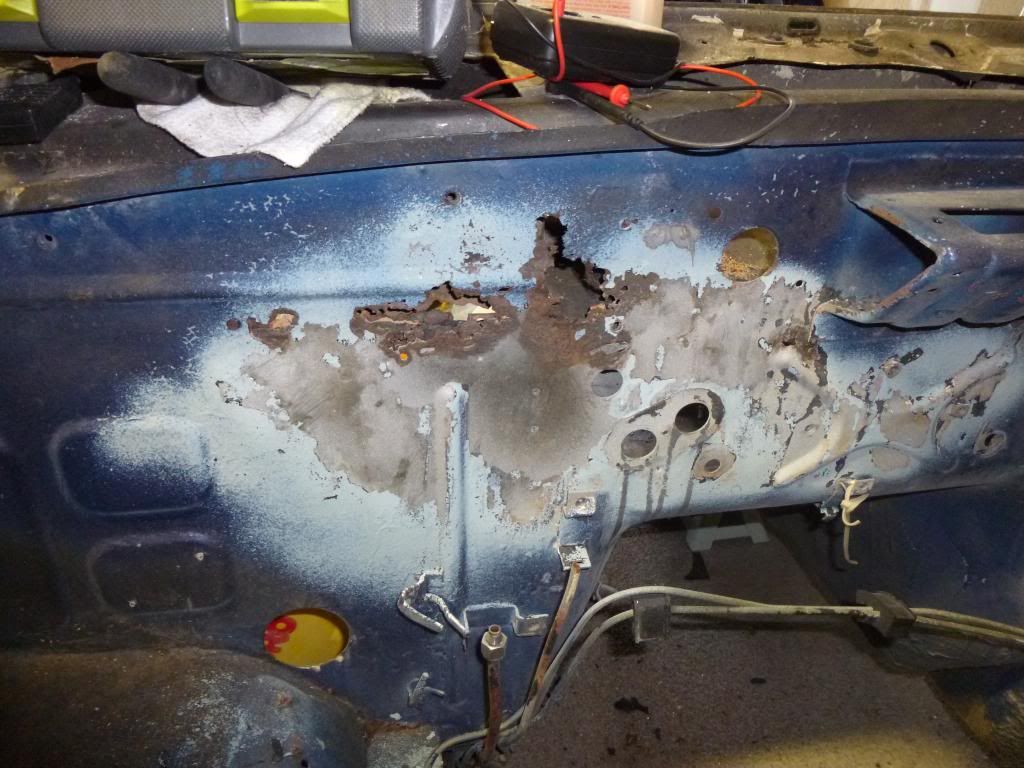
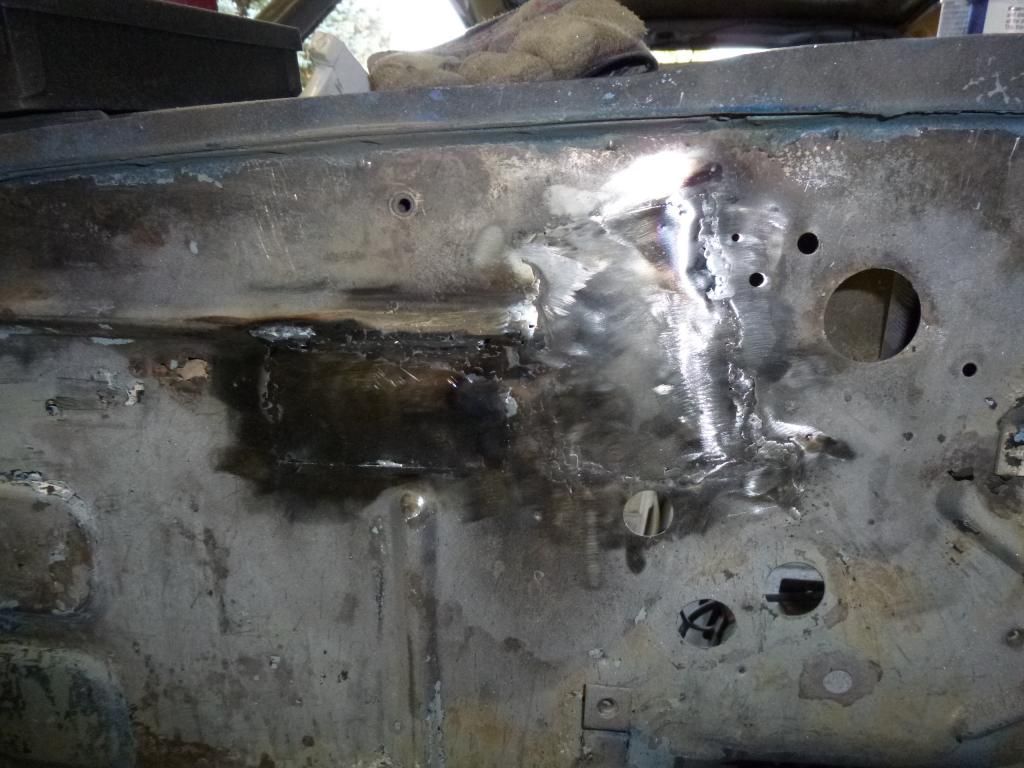
Small updated, my brother in-law came over on Saturday and wanted to get some sheet metal experience with a wire feed welder. Wile I was off cleaning up he took a stab at patching a few holes over on the firewall.
Before
After
This was his first time using a wire feed on thin metal.
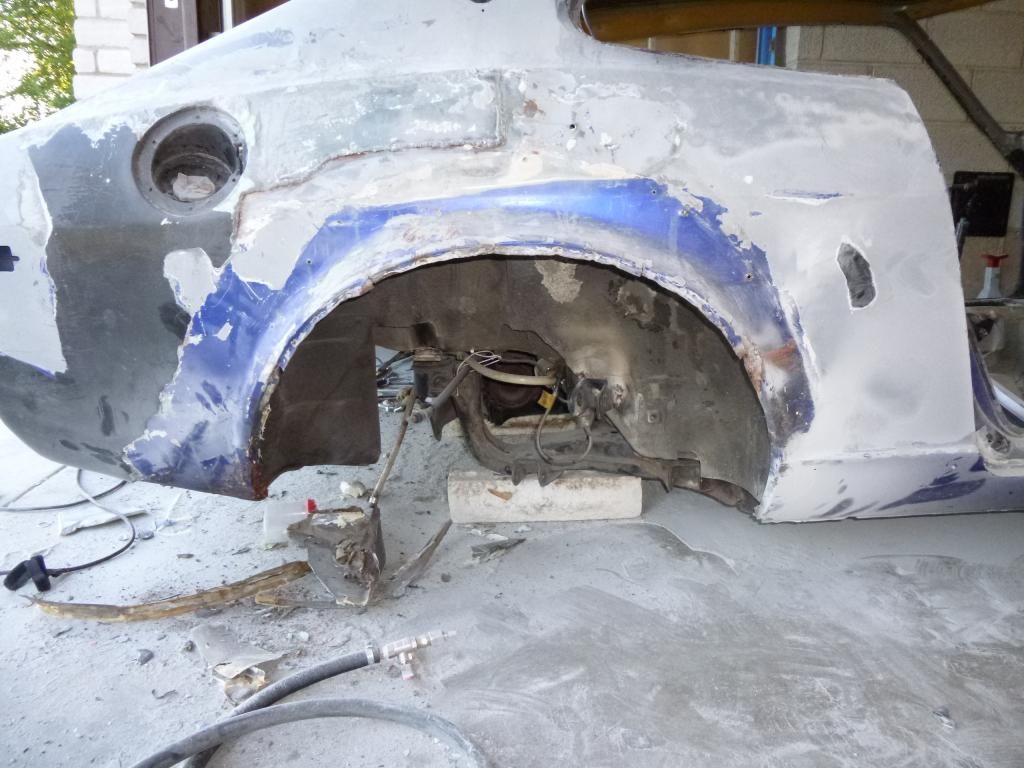
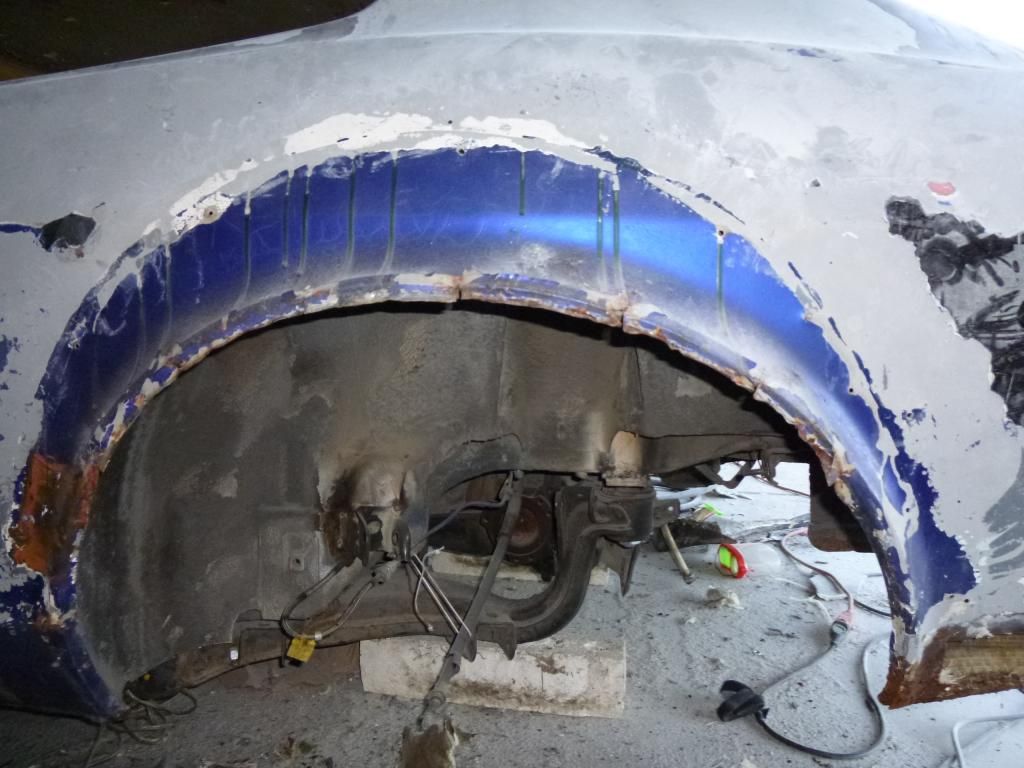
Other changes, I finally took the time to remove the rear flares. The flares had been glued and riveted, then had layers upon layers of fiberglass on top of it.
Passenger's side.
Driver's side
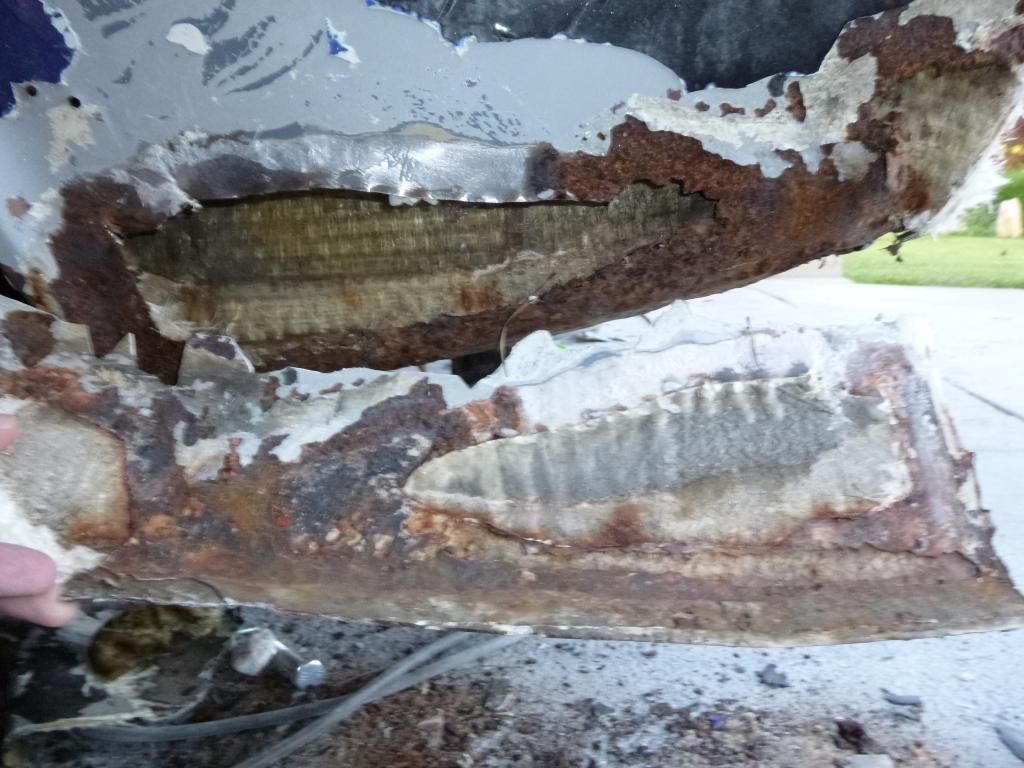
One semi-surprise was found on the drive's side. My guess is that the rear hatch or antenna leaked and started rusting out back quarter panel. It looks like years ago the rust was cut out and then attempted to be repaired with fiberglass.
It did not hold up as well as I wish it would have.
-
Oh man I feel your pain. I had an early 90's Accord that I used in school. Same thing happened, and I had to remove the front seat and drill out the latch from the inside. It was one of the most frustrating things I have ever done on a car. (Especially since I was at college and did not have a good range of tools at my disposal.)
-
Cam towers could be binding it a bit, it is hard to tell from your video, and I am sure others will chime in and give more direction.
Have you removed the bolts to the cam towers for any reason?
-
Can you take a data log?
Based on the fact that your afr goes rich, this makes me think it is temp sensor based, as in a clt sensor or iat senor that reads dead cold for a brief moment. My experience with hall or vr sensor sync loss is that you go lean, not rich.
Do to the fact that bumps are involved, this makes me think you have a lose connection in the wire.
Good luck, and I will keep an eye out for a log.
-
It looks like it was someones attempt to fix or replace a relay for the wiper motor.
Good Luck.


 creates a grounding signal each time a tooth passes by. The "Little beeping box" translates this low current grounding signal into a high current ground that fires the coil. Your coil will have a constant 12v power supply, as the "little beeping box" grounds the coil it will fire the coil for a set dwell time. During that dwell time, the coil will send a high voltage power to the rotor, the rotor must pass a plug in the cap to send this high voltage power during the dwell time of the coil. If this happens the only place the high voltage power can go is to jump across the spark plug and ground out. Without that little beeping box, non of this should happen, and your car will not run.


What ol school wheel is this?
in Non Tech Board
Posted
Black racing BR-R