bestlowrida
-
Posts
107 -
Joined
-
Last visited
bestlowrida's Achievements
")
Newbie (1/14)
0
Reputation
-
 Did a quick led headlight review Also installed the intercooler!
 -
Here is the link to exactly what I bought. Just the middle lights turn on with low beam, pattern unknown yet its been raining everyday since. http://www.ebay.com/itm/2X-7Inch-Round-150W-Total-CREE-LED-Headlights-Hi-Lo-97-16-JEEP-JK-TJ-LJ-Wrangler-/131788126071?hash=item1eaf2f3777:g:hCcAAOSw0UdXuqR9&vxp=mtr I had purchased a half radiator and installed it using stock body bolt holes! This car is so mod friendly! Its a 2 core honda radiator with a shroud and fan. Evo and honda guys swear by them. I sourced info from here and pulled the trigger to try it out for the rb20det weekend warrior/garage queen. http://www.evolutionm.net/forums/evo-engine-turbo-drivetrain/607105-installed-ebay-civic-half-size-radiator.html I will document temps and conditions as well. I just couldn't spend 350+ for custom rad + shroud +fan yet. 85 bucks later its installed.
-
Installed these LED headlights! I tested them before I installed them. They are bright! I don't recommend the ones with the box on the harness because it didn't it into my headlight housings.
-
Hey guys hope you are enjoying the videos, I installed the turbo back on the motor with new studs and cometic gasket!
-
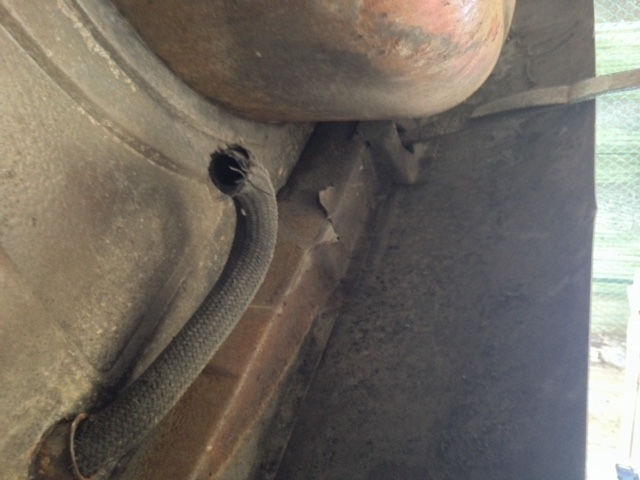
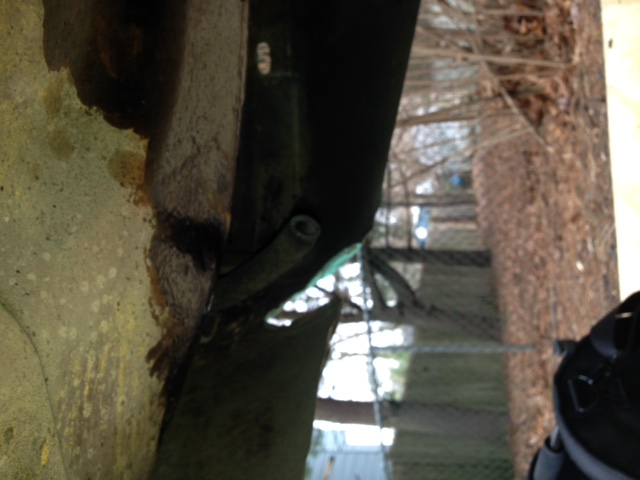
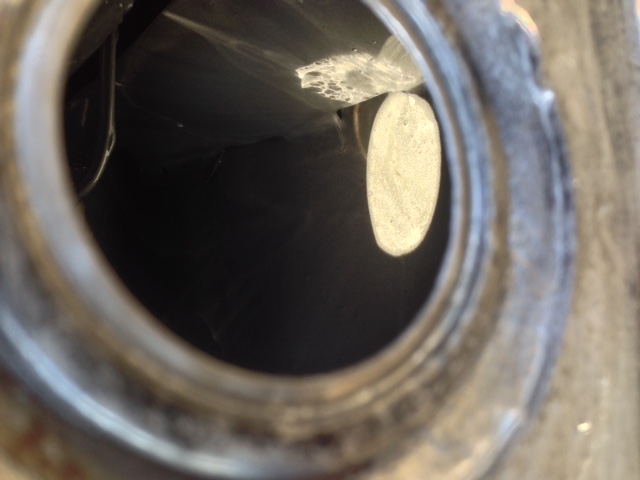
I used those an tube adapter fittings on the hard lines for the feed and return. There is a video on how I did it. I was trying to tie up some loose ends on the fuel system but found a cracked up vapor tank lol. Here's another video.
-
I installed the shift knob, now to complete the rest of my interior lol its such a mess.

-
I installed the gas tank. I was able to reuse the 240z straps and filler neck. I bought new hoses and j bolts from lowes.
-
Back at it! Got the walbro 255lph mounted up. All I did was mount the pump to some sheet metal I had laying around then mounted the it to some threaded holes(maybe for a optional stock efi pump?) and secured it down with some bolts a had laying around. Datsun/nissan really made this conversion pretty simple.The wiring for (green pos? and blk for ground) it is right there too! Here are some pics and a video. It took like 3 hours.
-
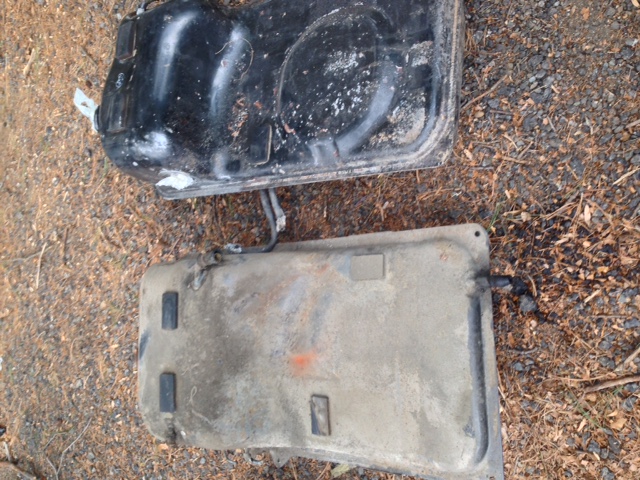
Thanks bro I was able to slid the speed gear in the rb20det trans with a little grinding to put the lock bolts thing on! I cant wait to drive this car! I know the rb25det has electronic speed sensor and the rb20det has the mechanical one. I swapped it on the stock one with a littkle fab just like you said. I had time to play around with the 280z tank some more
-
Got around to removing the 240z gas tank. I first had to drain it out I had like 10 gallons in there haha. The drain plug came right out. I then proceeded to remove the hoses off the tank. The only ends that didnt need to be cut/broken off were the feed and return lines they puhed off really easy. The top most line was already broken off!!!! No wonder I smelled gas driving around lol. The other vapor lines had to be cut off. The two strap bolts came off. I loosened the filler neck with a fat Phillips bit i had to avoid it from rounded off. Then a drop the tank out. It took about 3 hours taking my time and draining/storing the gas. Here are some pics and a video. I need to clean and paint the new gas tank exterior and under body area were it goes.
-
So today I was able to install the stock 240z speedo gear sensor thing in the rb20det transmission. I then filled up my transmission with some amsoil 75w90 synthetic gear oil. After that I went ahead to install the shifter. I didn't really take pics but I took a video and posted it on youtube here is the link Next is to remove the stock 240z gas tank woohoo bunches of fun!
-
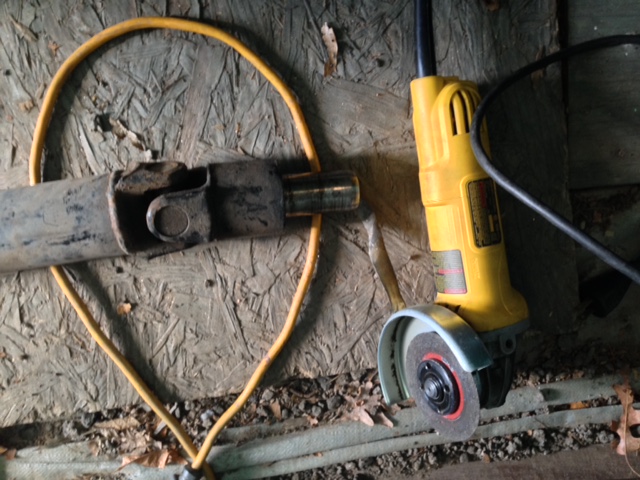
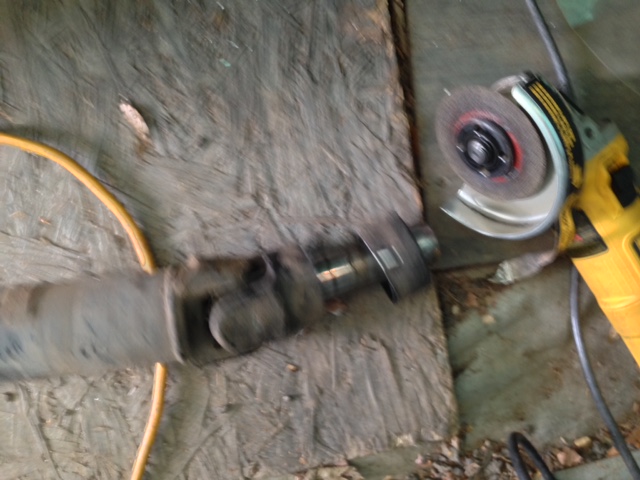
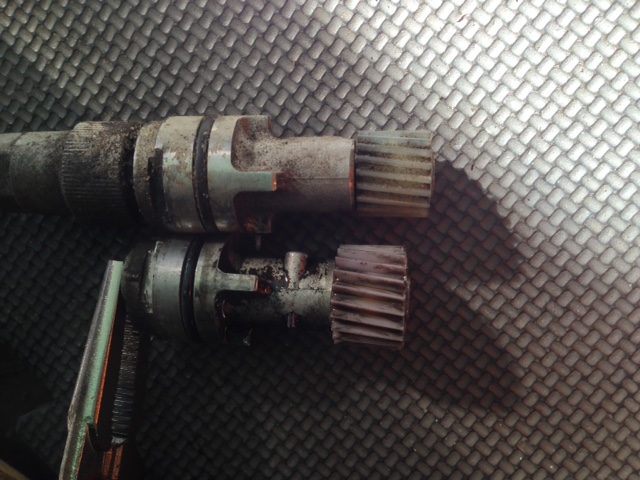
So I got to the drive shaft and I just cut the shield off lol. That was that. I wanted to use the stock 240z slave cylinder but I couldn't find the rod and rubber seal so I just used the one that came with the motor. Then comes the speedo gear sender things, I guess people are just shoving the stock 240z ones in the rb20det transmission. I guess Ill do that tomorrow. Here are some pics. The one with the vice grip on it is the rb20det one lol it was broke so I pulled it out of the transmission case. You can see the size difference.
-
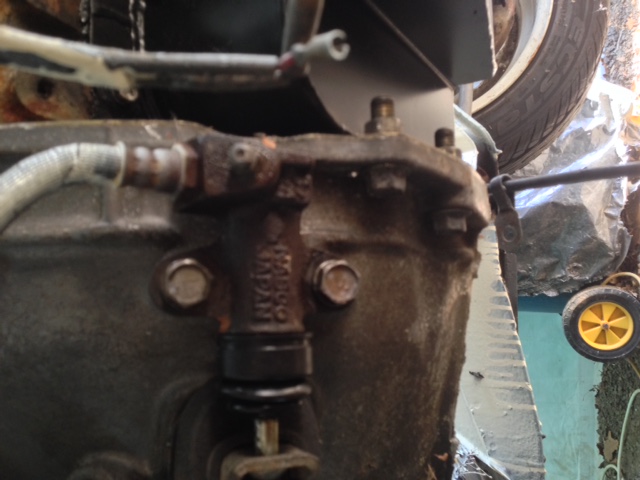
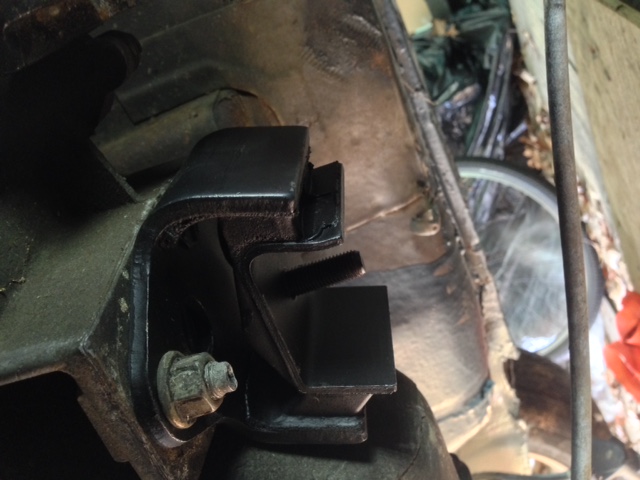
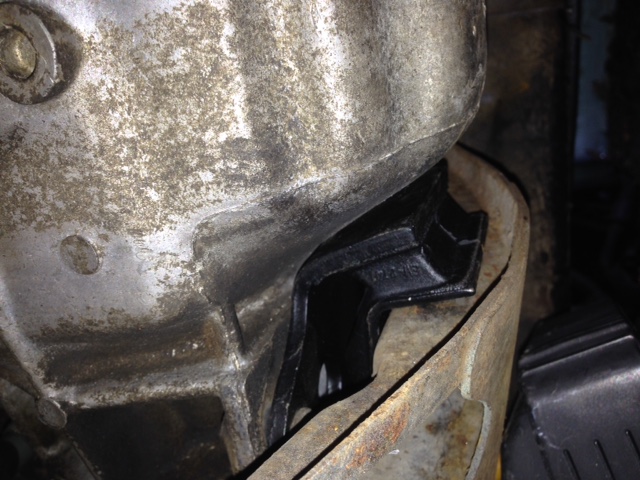
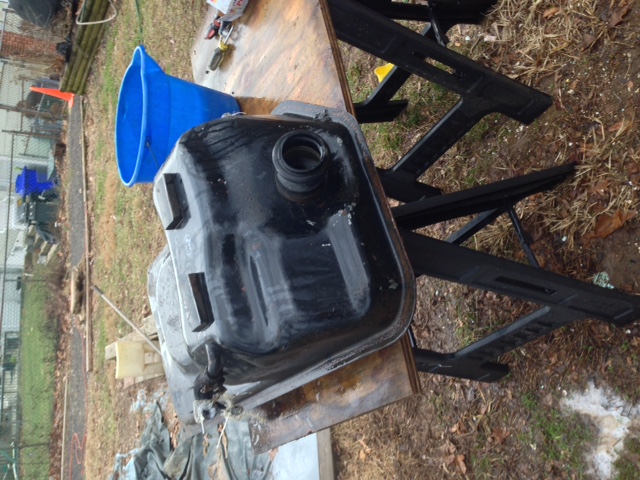
So I got the 280z trans mount in from ebay and it worked out like a charm. It is attached by the 2 bolts on the transmission. Now to attach the stock 280z crossmember. It pretty much fell right into place. Its held in place by the 3 bolts on its stock position. Yes so glad that worked out. Next task is I needed help, what are yall doing for the driveshaft? Mines cant fit because of the little lip back on the diff side, I might need to trim it a bit? Well anyways I will come back to that later. I had time to refurbish the 280z gas tank and replace my 240z tank with it. Here it is. I used this guys thread and basically did the same thing on post #11 http://forums.hybridz.org/topic/93859-1971-240z-rb25det-build-thread/ I used the por-15 sealer kit. Here is how it came out. The first rinsing I did the water came out black, the second came out clea, and I did one more to just get the solution out. My arms were dead lol. The on to the ecthing primer which you pretty much do the same thing. Then you pour in the actual sealer, drain the excess out and it dries in 96 hours. Here is my video link https://www.youtube.com/watch?v=NvWM8qi6zok. Thats pretty much it guys more coming soon!
-
I started up a youtube channel:Mintyzee Feel free to check it out yall. It will get updated content of this build and my wifes 240sx as well.
-
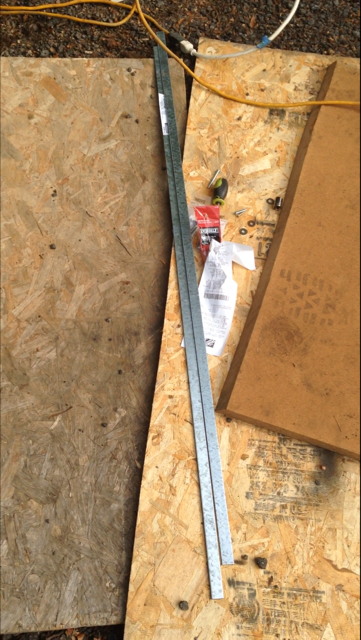
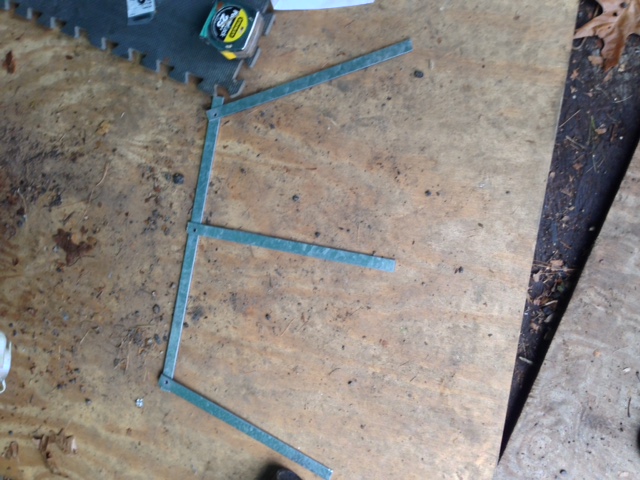
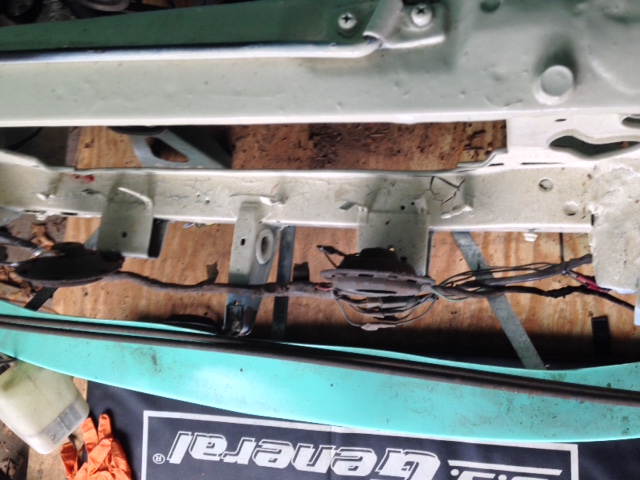
I had sometime today to make a brace for the air dam. I got the idea from this link here props to this guy http://forums.hybridz.org/topic/65179-reinforcing-the-xenon-air-dam-pictures/. Went to home depot and bought two 4 ft flat steel bars . I did the measurements and cut accordingly. I used the 3 bolt holes that were under the radiator support there and drilled the hole which took hours to get right haha. The i just bent the ends into the shape as the air dam as best as possible. Then finally got it up and mounted here are the finished pics. Sorry about the pics but if you look at the link I posted it pretty much came out the same way.