skiboatm
-
Posts
24 -
Joined
-
Last visited
skiboatm's Achievements
")
Newbie (1/14)
0
Reputation
-
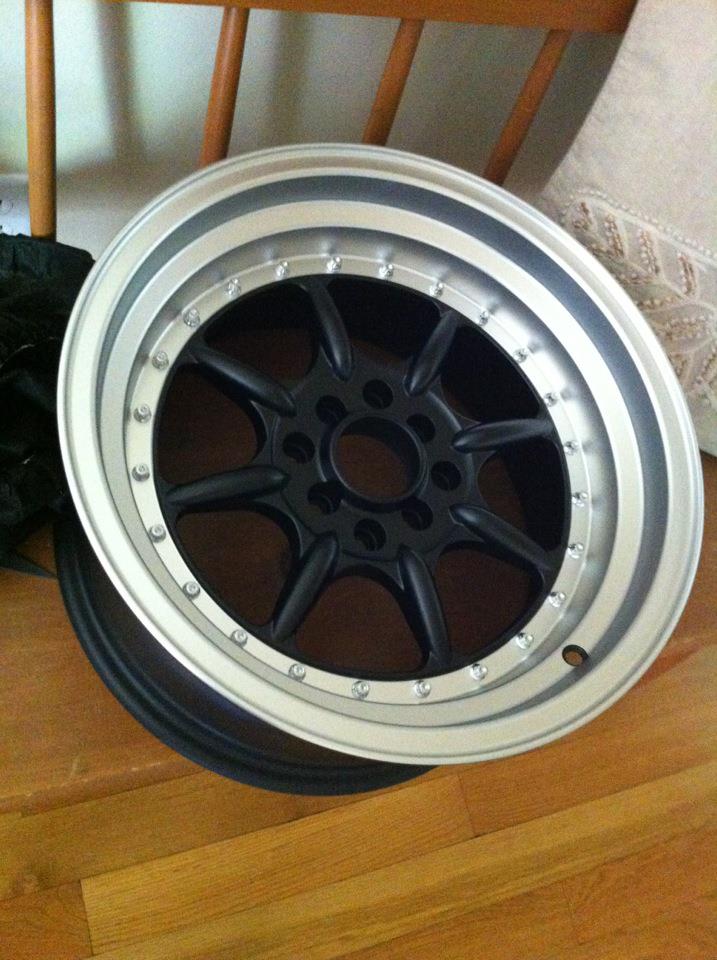
TOO MANY DISTRACTIONS... So I've not worked on this thing in a while... very frustrating. My girlfriend got a '93 Miata, which promptly had a head gasket go bad, so I've had to wheel everything out of the garage and devote all my time to that. Now that it's back on the road, it's Datsun time! WHEELS, WIRES, AND A TRANNY... So I've made 3 productive purchases for this project in the interim. I got a set of 16x8 XXR 002 wheels (got a great price on NLMotoring), a Qwik Wire chassis wiring kit, and a built 700R4 transmission. The Trans has a Painless Performance lockup kit and a heavy duty shift kit that should wake it up a bit. Once the chassis gets back into the garage and out of the rain, I'll be able to mock up the engine/trans position in the engine bay and install the engine/trans mounts. At this point I still don't have a torque converter (trans builder accidentally bought a 27 spline instead of a 30 spline, DOH!), so I'm still shopping for that.

-
Issues with LT1 harmonic balancer?
skiboatm replied to skiboatm's topic in Gen I & II Chevy V8 Tech Board
Yellow octopus, very interesting article! Thanks for posting it GOTHLOSISM, I have the manual steering rack and intend to keep it manual steering. The B body LT1 hub kick the balancer out the furthest from the block, so it might just be safest to order a factory balancer and a performance ID balancer and just mock them both up with the motor in the car? I realllllly don't wanna Do that, but it is prolly my only option if no LT1/S130 guys comment on clearances -
Hey guys, Having an issue with my 79 280zx/Carbed LT1/700R car assembly. I'm missing only a few parts to get this thing running, and can't seem to get any "definitive" answer on it. Everyone that I've asked has been 100% sure of their answer, but I've gotten so many conflicting answers I don't know what to think. I'm using the JTR kit to install this motor, and I have the JTR guide for the S30 Datsuns. Here's what I think I know. 1> JTR kit specifies that a 7.25" or less balancer is required. Per JTR helpdesk, this is due to interference with the steering rack. 2> 1995 LT1 (and all other GenII Chevy V8s) are neutrally balanced on the front, and externally balanced on the flywheel. (This is jargon to me, prolly why I'm having trouble) 3> My LT1 motor does not seem to have a keyway on the crankshaft, so it appears a first gen 6.8" balancer will not attach to my motor. (Is this just because mounting hub is still attached?) 4> I do not feel like spending $350+ on a balancer. I spent 3 hours the other day at Pep Boys trying to figure out what my options were. Per Summit Racing, here are my options... Pioneer Race Balancer - http://www.summitracing.com/parts/PIO-872044/ ATI Super Damper - F Body - http://www.summitracing.com/parts/ATI-917271/ ATI Super Damper - B Body - http://www.summitracing.com/parts/ATI-917327/ They also have a specific Corvette balancer for the LT1/LT4, but that has a longer hub, so I don't think it would work with any of my accessory placement. It appears that the ATI balancers are the same except for the mounting hub. Both are 10% UD from OEM, both have the same shell (917071-44), both are 6 rib serpentine. Questions: 1> Should I even be concerned about a 7.25" balancer, or is that only for S30 guys? Since I'm running the S130, is there enough room to not worry about it and run the factory balancer? 2> Do I need a balancer on the front, since they're internally balanced, so I can just run a pulley? 3> Will a first gen balancer work, or mount to my existing hub? Thanks in advance guys, hopefully you'll be able to shed a little more light on this issue. Matt
-
The gauge finally arrived!! After 3 weeks of waiting, I now am the proud owner of a SpeedHut 4" GPS Speedo w/ integrated 8K tach. Since I'm building a very simple dash, it's going to be the central gauge, with a few smaller gauges around it (oil pressure, water temp, and prolly a wideband and LED warning indicators. I will incorporate some toggle switches into the LCD screen section to run the fans and headlights, as I'm stripping all the stuff off the column and putting in an aftermarket turn signal assembly. I noticed a flaw in my design the other day... the MDF thickness on the gauge mounting surface. Since the SpeedHut gauge is all electronic, it's a very shallow gauge, and unfortunatly does not have enough depth to mount to the MDF, so I will need to take a router and cut in a recessed ring around the back of the gauge so the mounting ring can screw onto the gauge body. I should have gone with a deeper gauge/thinner MDF for this to work better, but it'll work itself out soon enough.
-
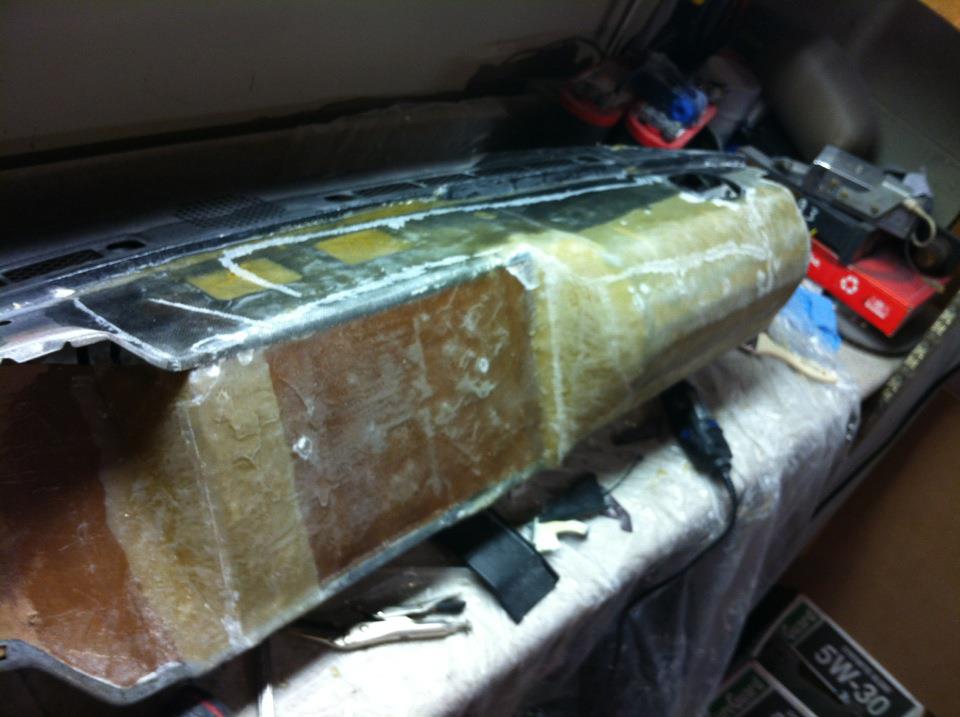
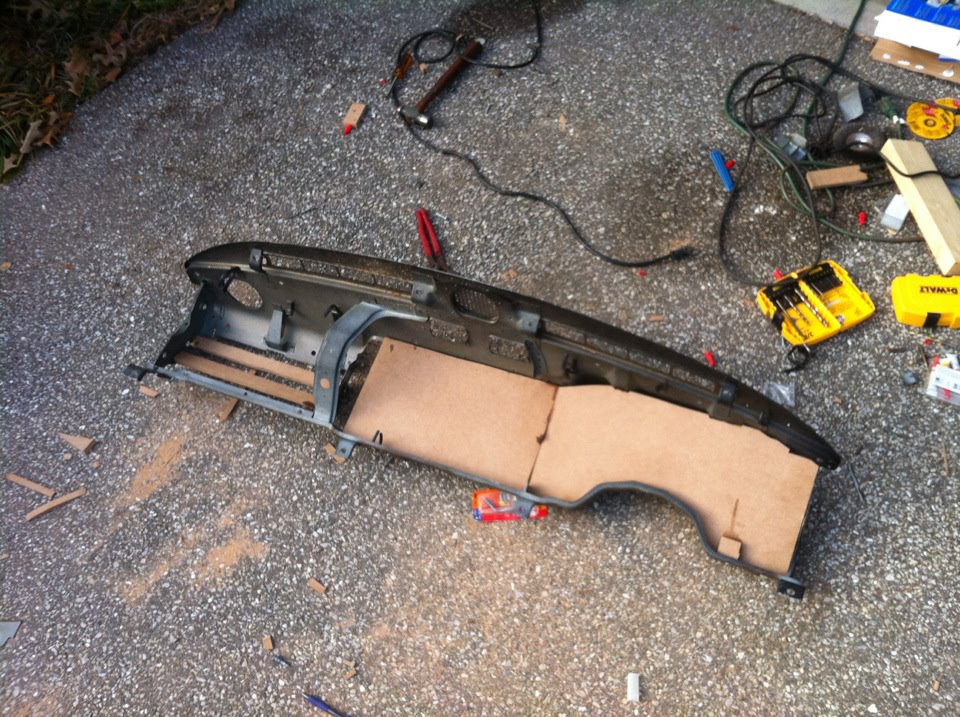
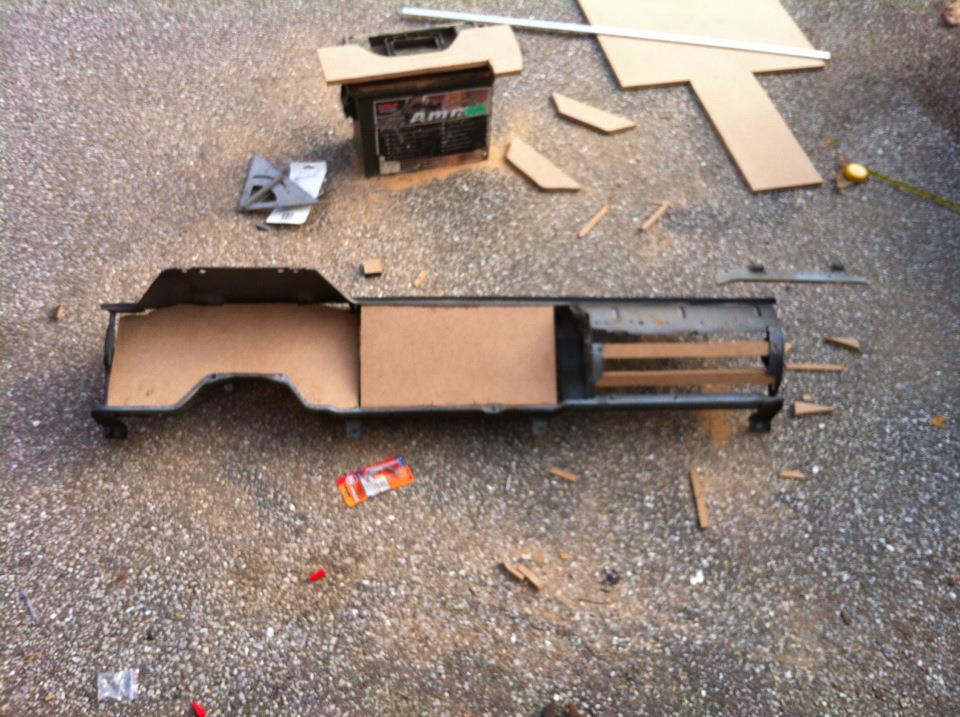
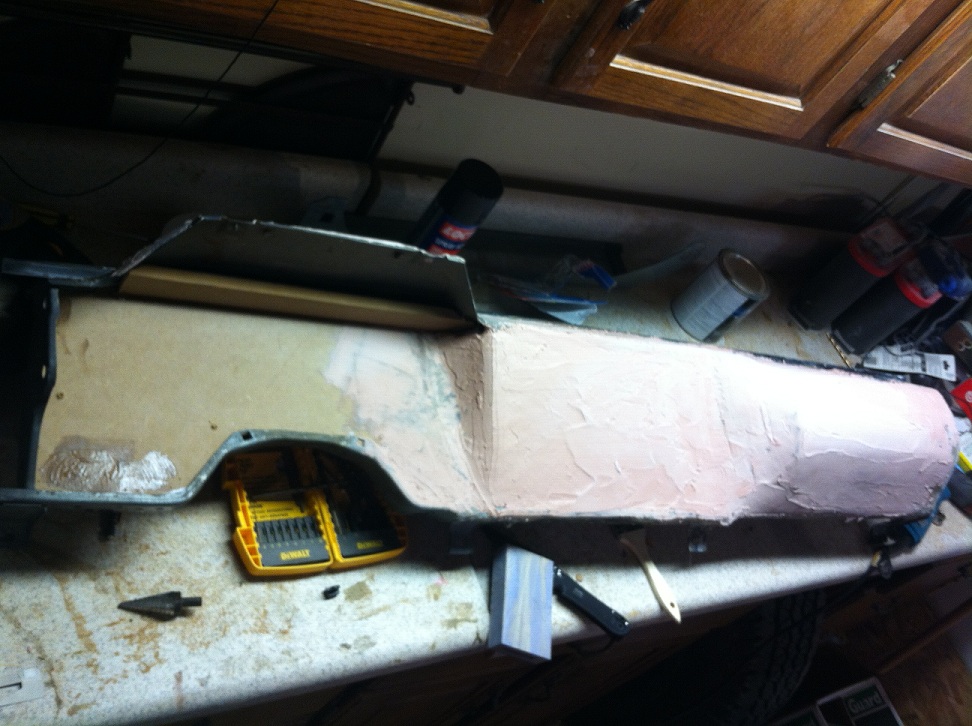
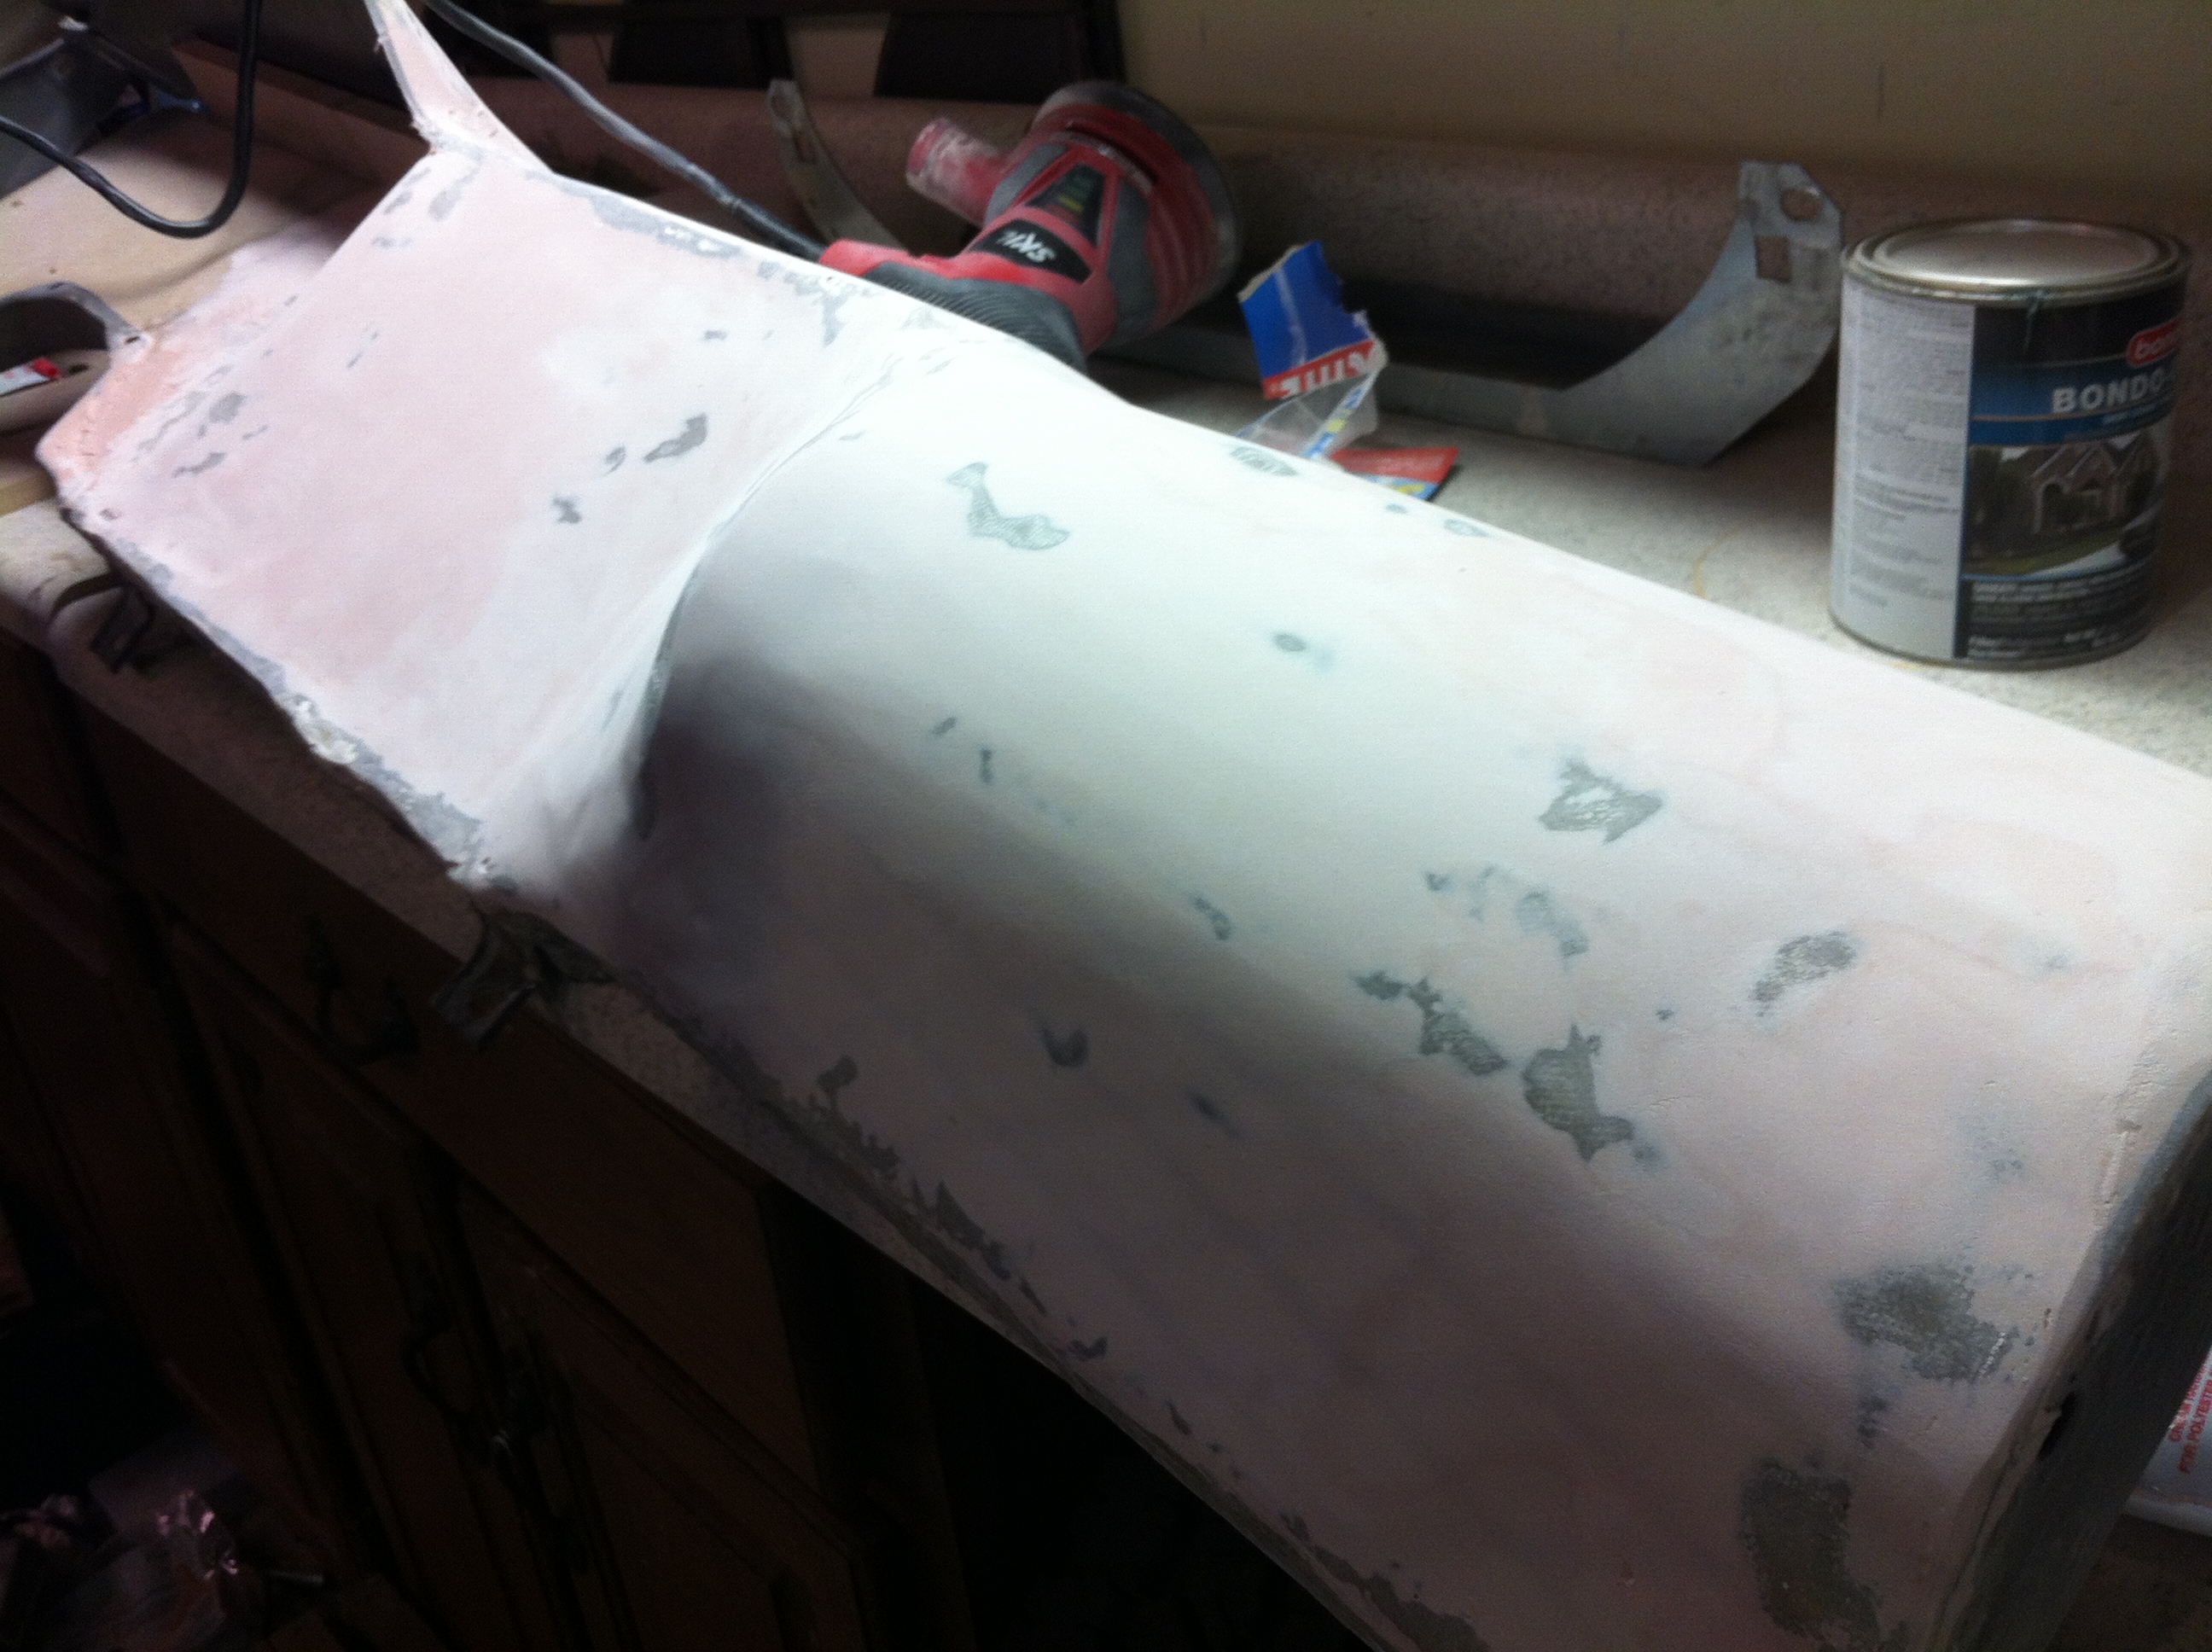
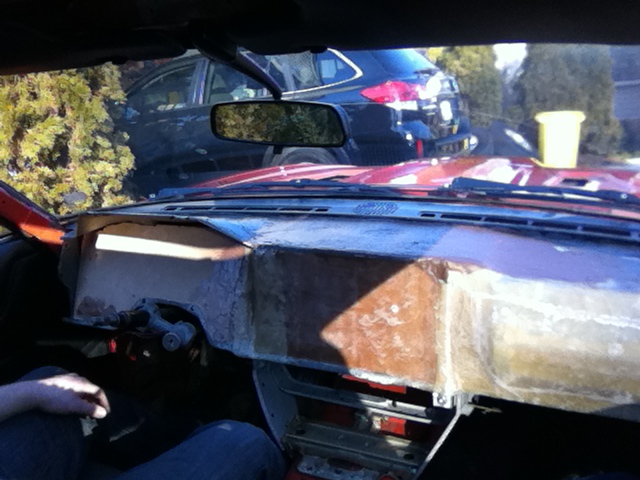
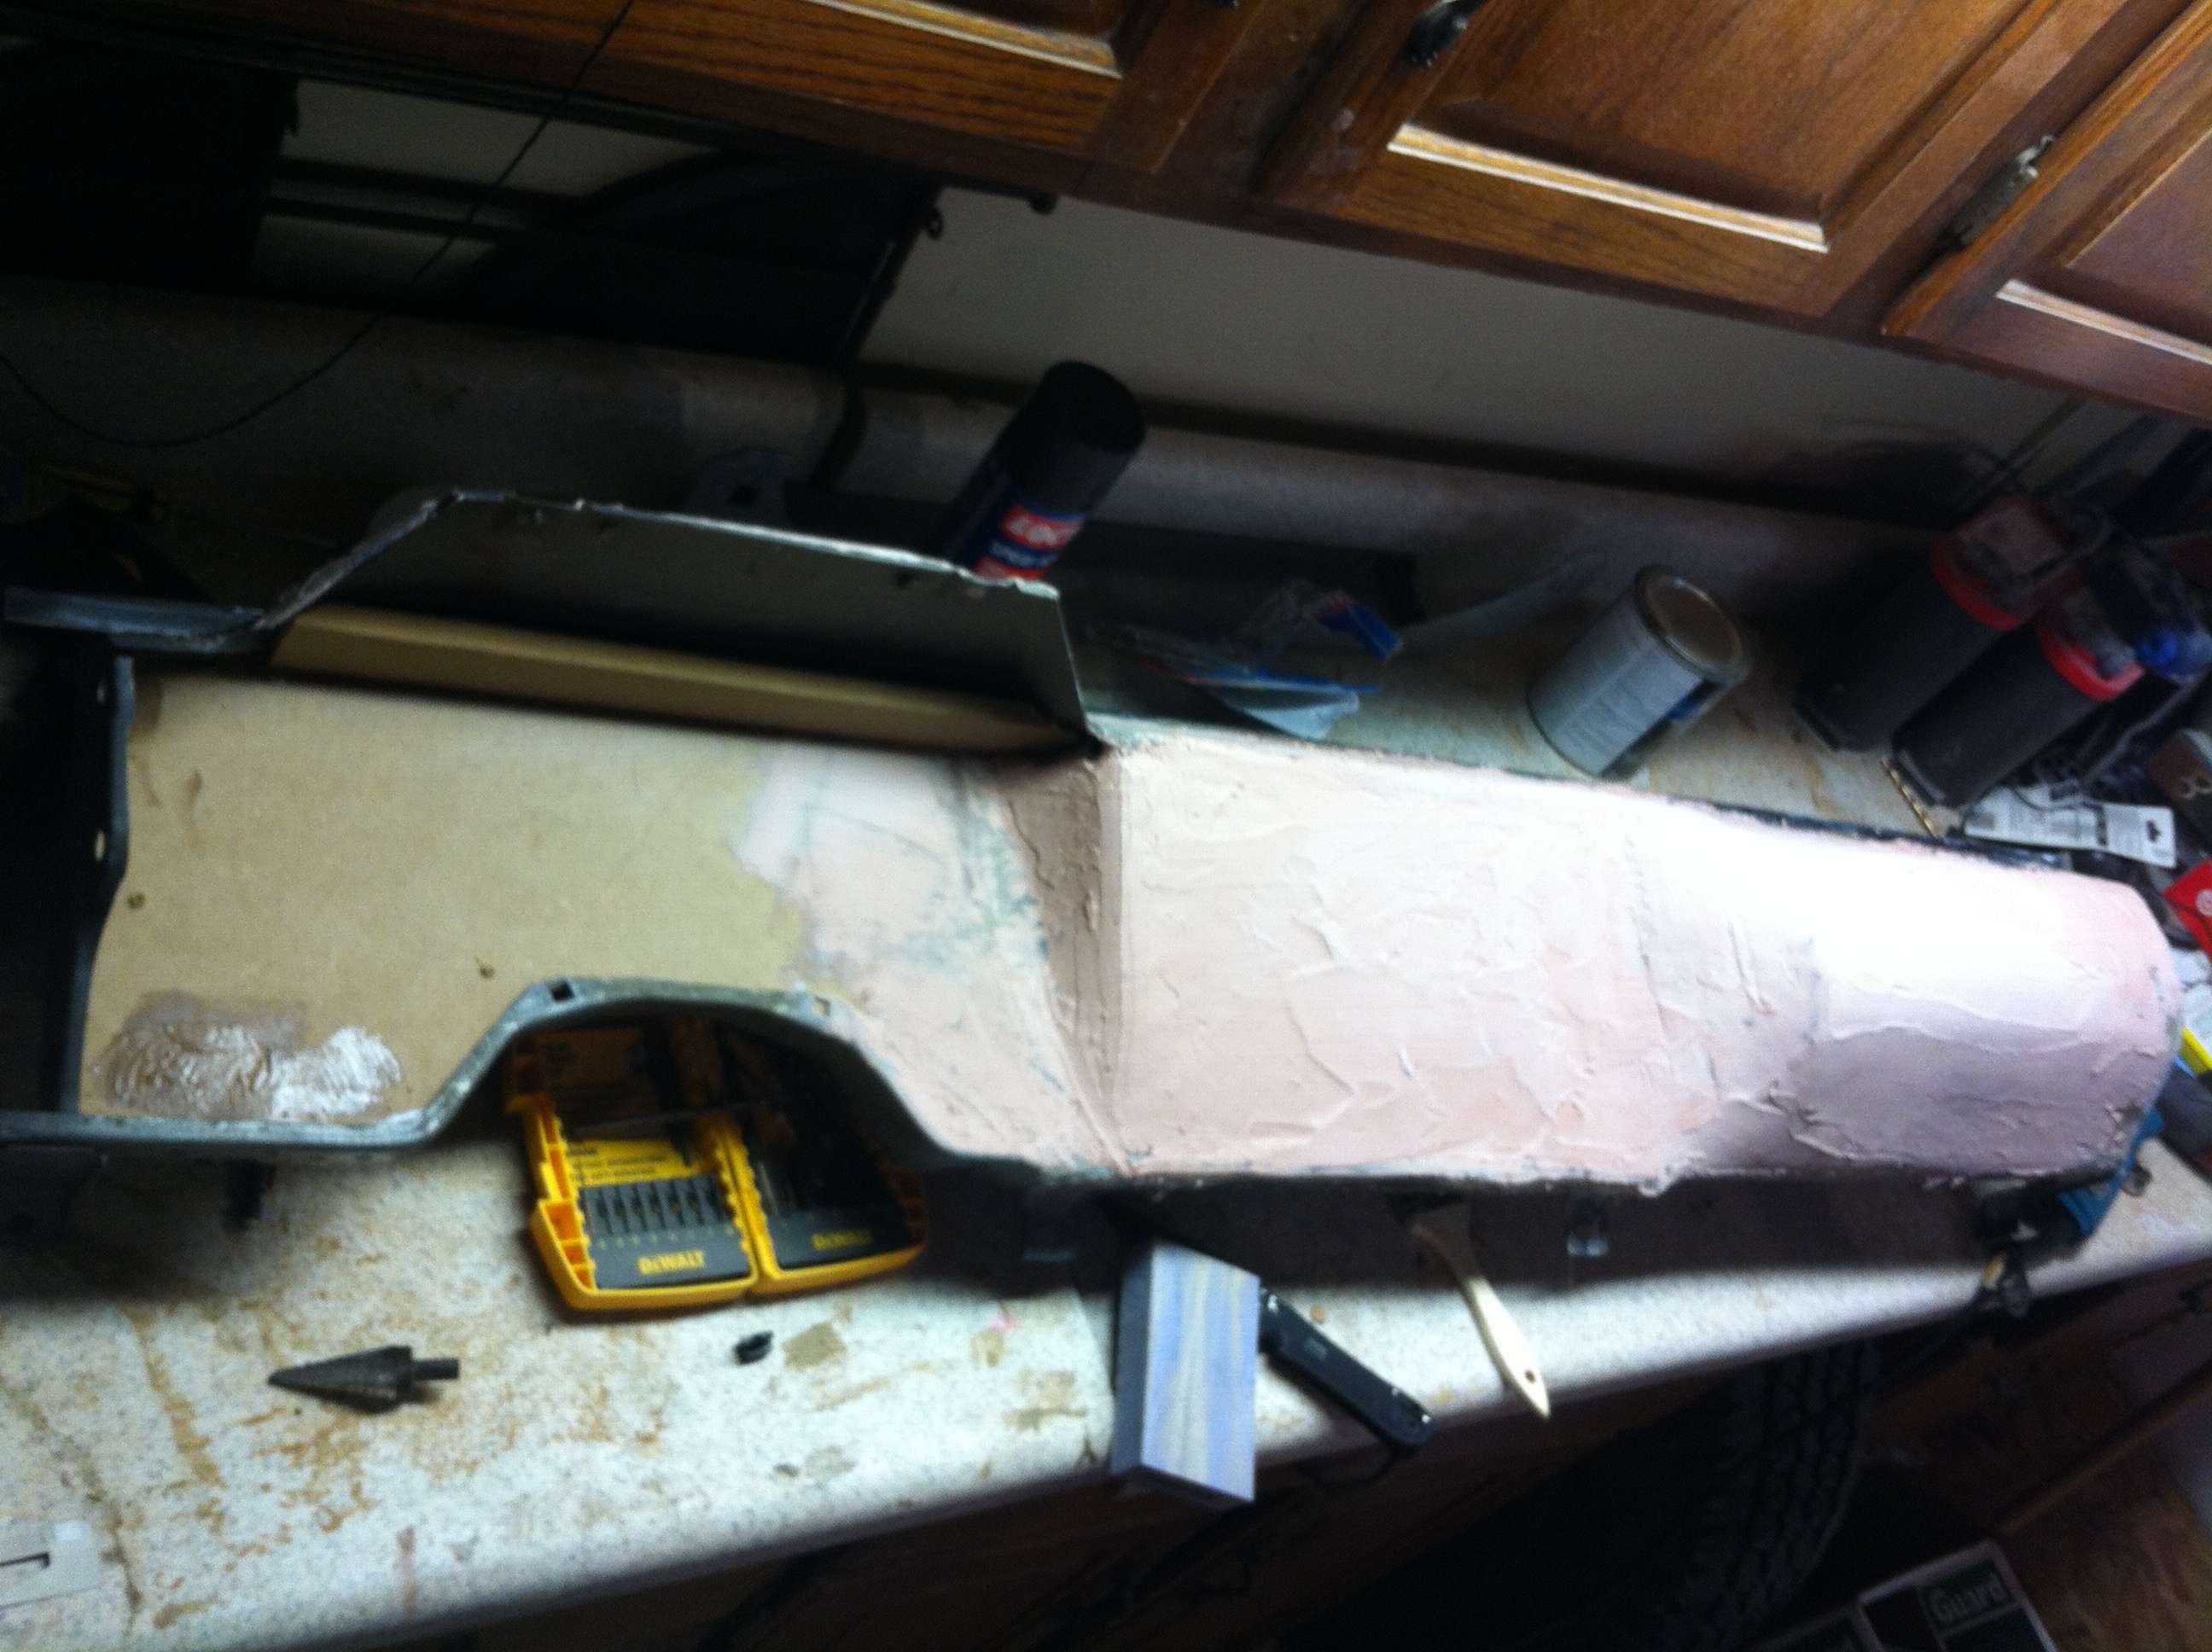
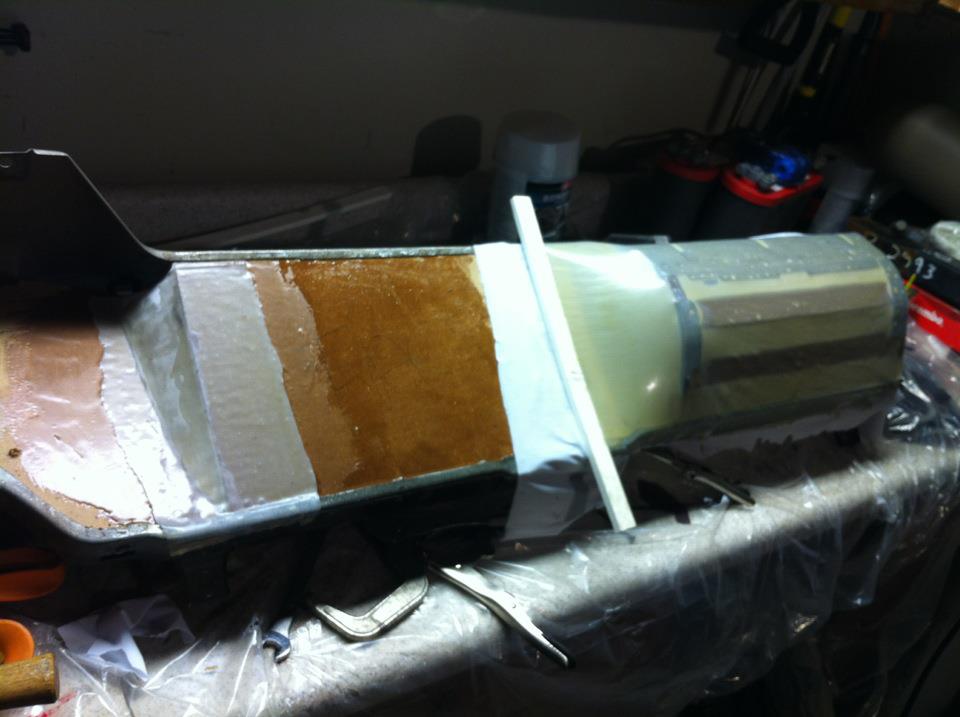
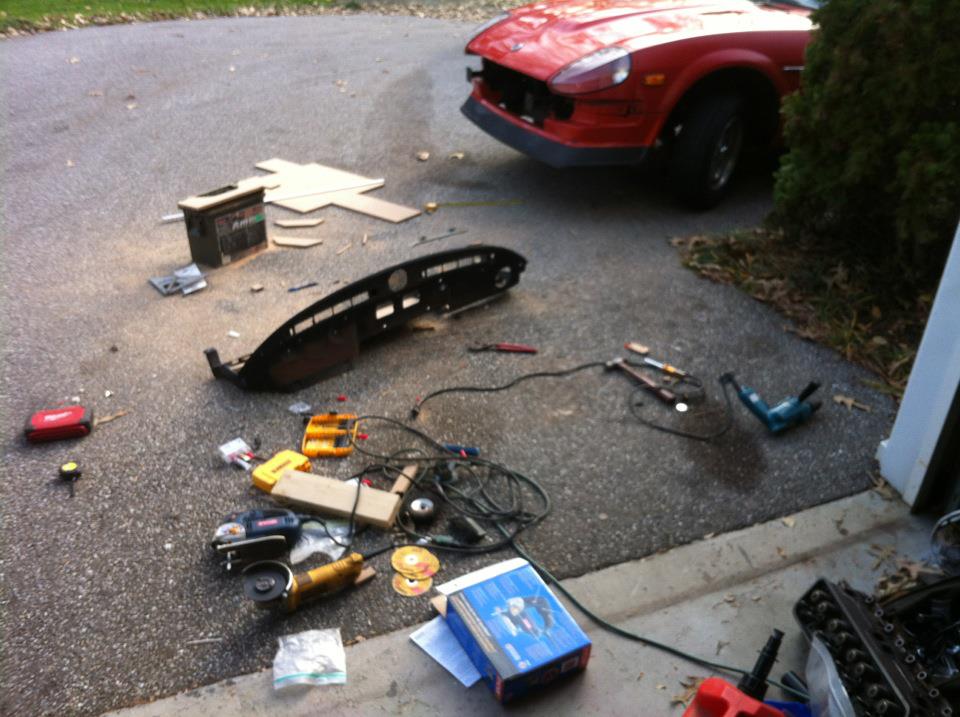
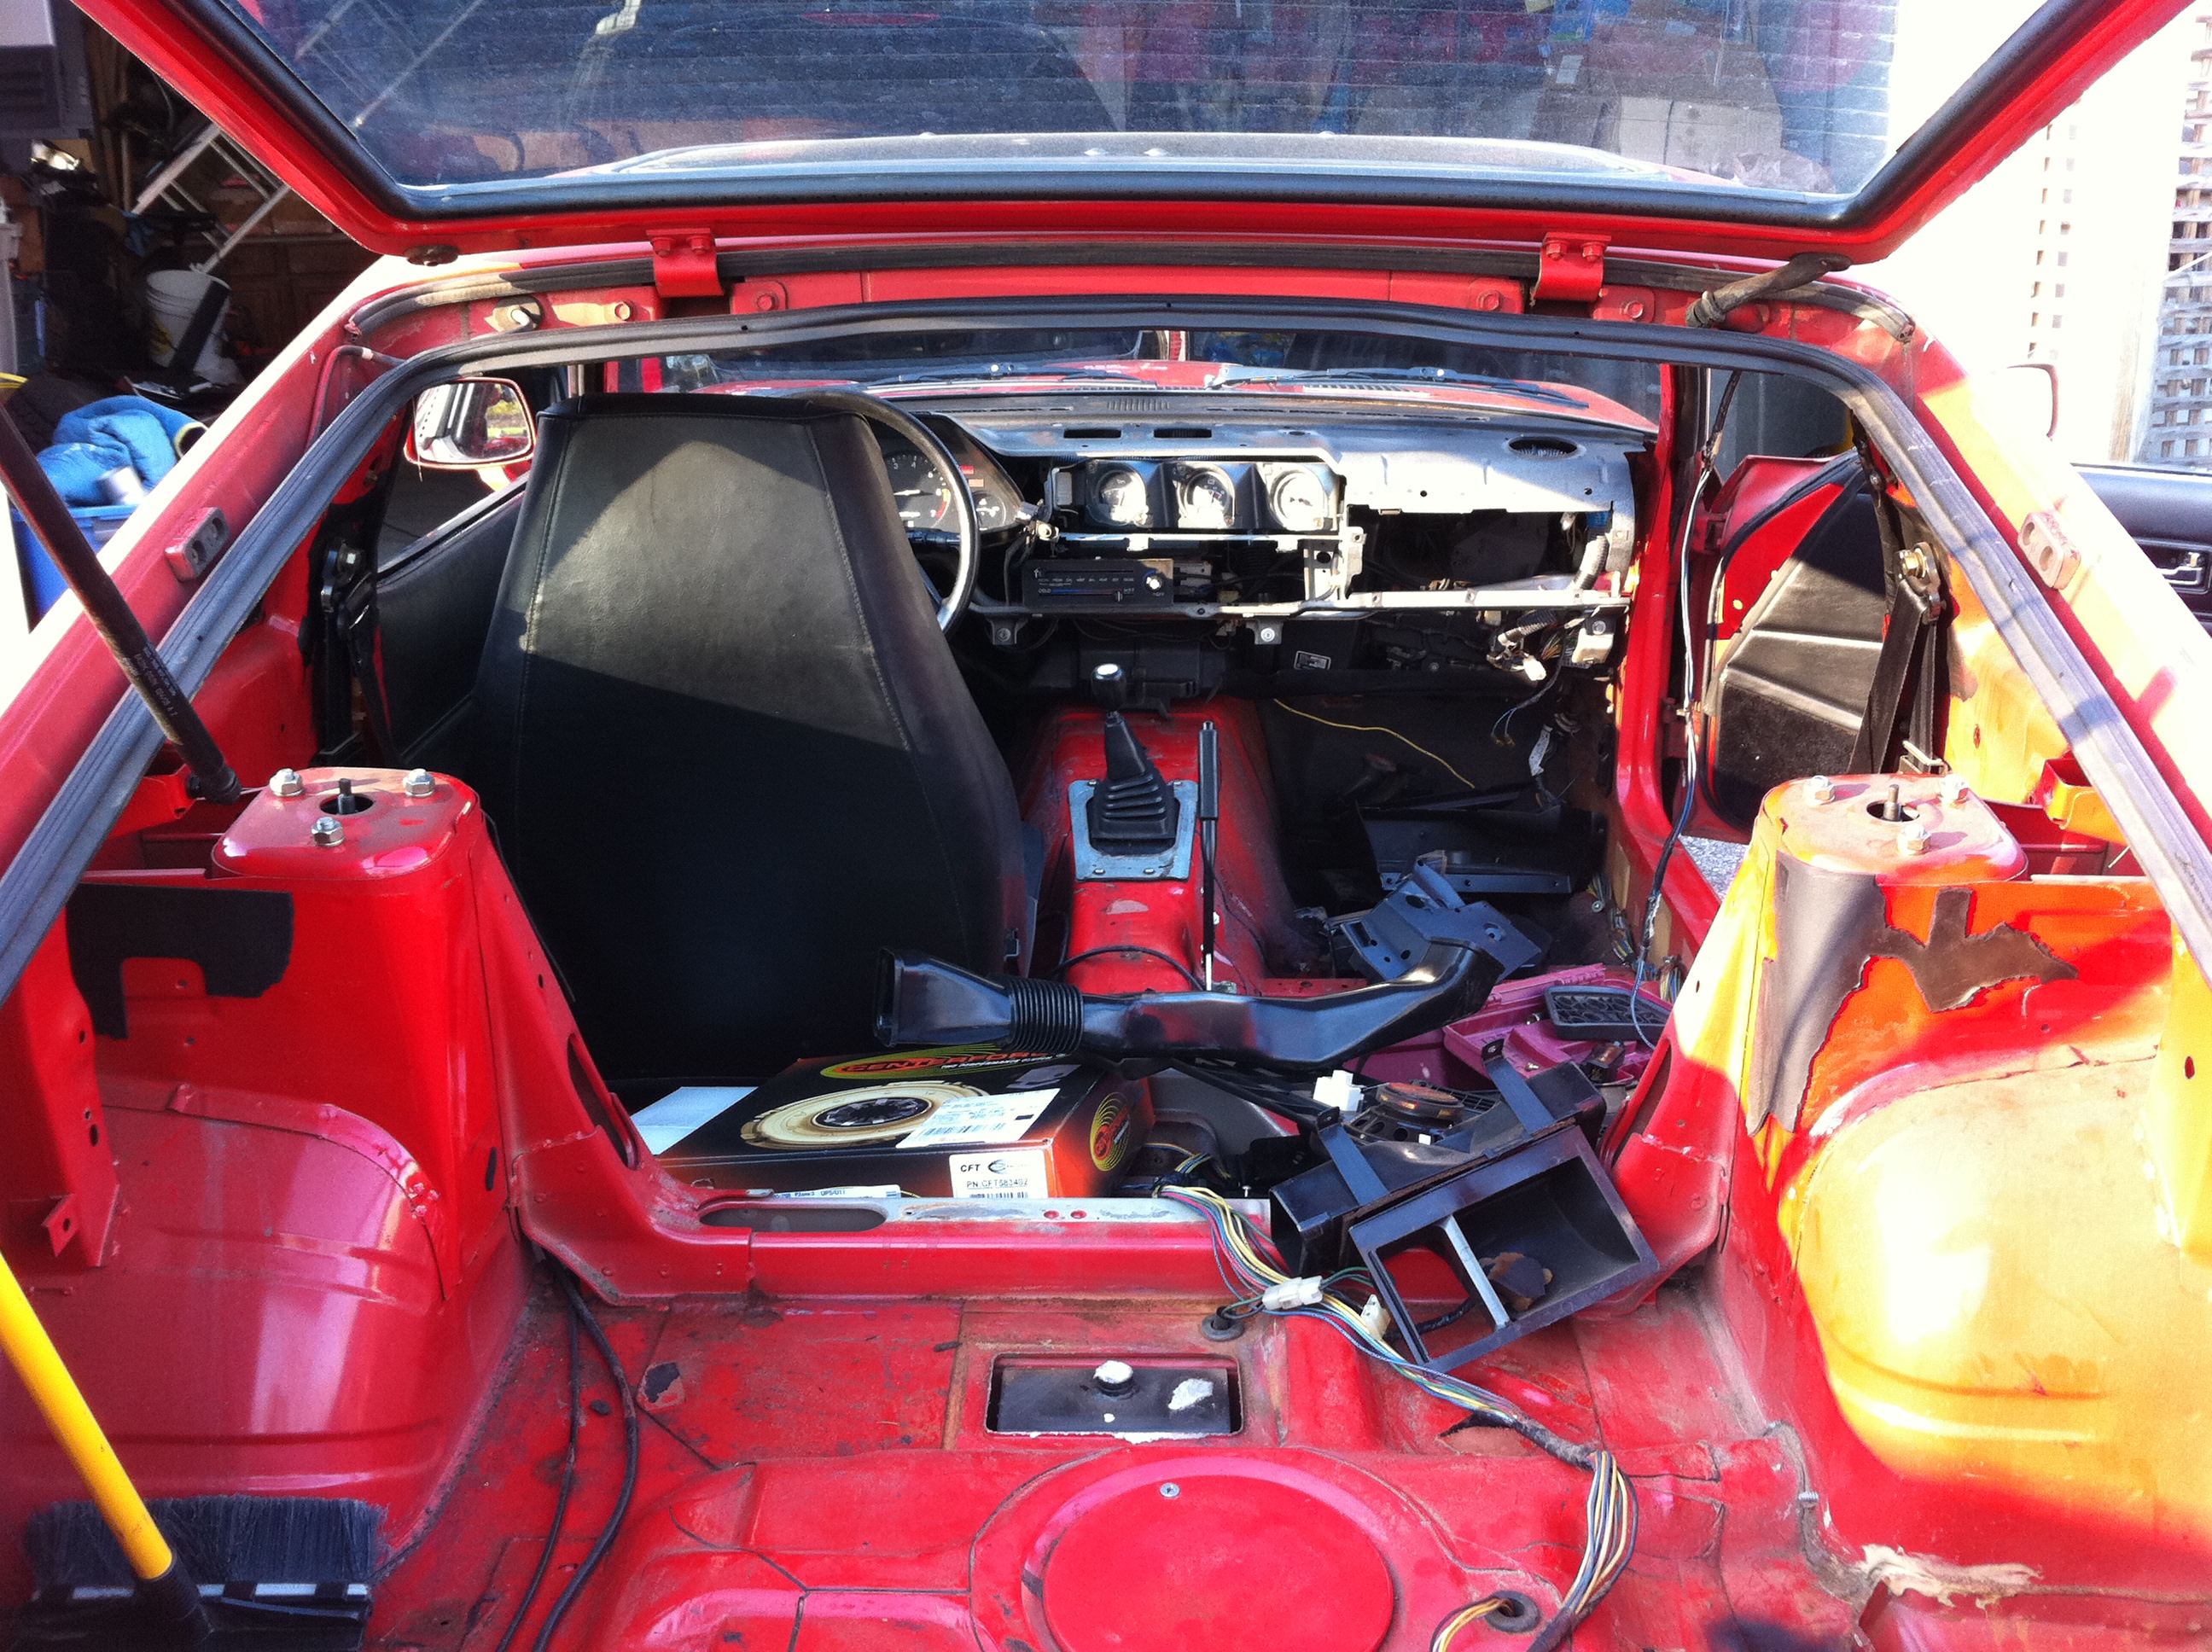
Hey guys, just wanted to show you a project I've been working on for a little while now. I'm putting a carbureted LT1 from a 95 Caprice into my 79 280zx and building it as a simple street car. Since I'm looking for a no frills kind of ride, I built the dash to reflect that. I started by stripping the dash and gauges from the frame, and removing some of the metal supports to open up the back a bit. When I was designing this in my head, I broke it into 3 separate sections: glove box, center dash, and gauge panel. I decided I wanted a place to mount my iPad on the dash, and a few critical gauges, and not much else, so the more space I had in the center for the iPad the better. I took MDF strips and mounted them horizontally where the glove box was to create a curved face that I think is pretty cool. I then measured the area for the center dash. After fitting and cutting the MDF panel out and screwing it onto the frame, I began measuring and trimming the gauge panel and fitted it into the frame as well. I used wood screws and super glue to affix it to the frame, and tried to reinforce it as much as I could. After the glue dried and I was confident the frame was structurally sound, I went to JoAnn's Fabrics and got (yes, I know) ladies swimsuit liner. It was the best stuff they had, so I figured I'd just run with it. I cut off a portion that fit over the glove box section, and began to shape my curve. I used clamps and tape to hold it taut across the face, and created a cool transition area between the right 2 panels. I applied copious amounts of fiberglass resin to it and let it sit overnight. I was pleased with how it turned out the next day. After getting the basic shape, I continued to add layers of fiberglass to the swimsuit liner, sanding down the transitions and high points as I went. After everything had dried, I took the dash out to the car to fit everything up and make sure it had not shifted when it hardened. It had a little bit, but it was nothing that a few washers could not fix, and it definitely was not noticeable. After the mock up in the car, and after the fiberglass was fully hardened, I began to apply layers of fiberglass filler and Bondo to shape my dash. I applied one heavy layer, sanded it, and then applied another to fill in the gaps. I did this for 3 or 4 days, and I gotta say, a random orbital sander is the way to go! I'm finally at the point where the curved portion is perfect, and it's as smooth as a baby's bottom. A little bit of work with some 220 grit and I'll be ready to paint it! After I finish the gauge panel of course. I'm still doing fiberglass work on that side to get the look I want, but I'll update as soon as I make any progress! I'm drilling for my gauges now, and I going with the SpeedHut Dual Gauge to save space. (http://www.speedhut.com/custom_gauge_description-gauge_type-Speedometer_GPS_Dual-auto_number-940.htm) Lemme know what you guys think! Definitely want to get input on how to set up the gauge cluster area. Thanks in advance! Matt
-
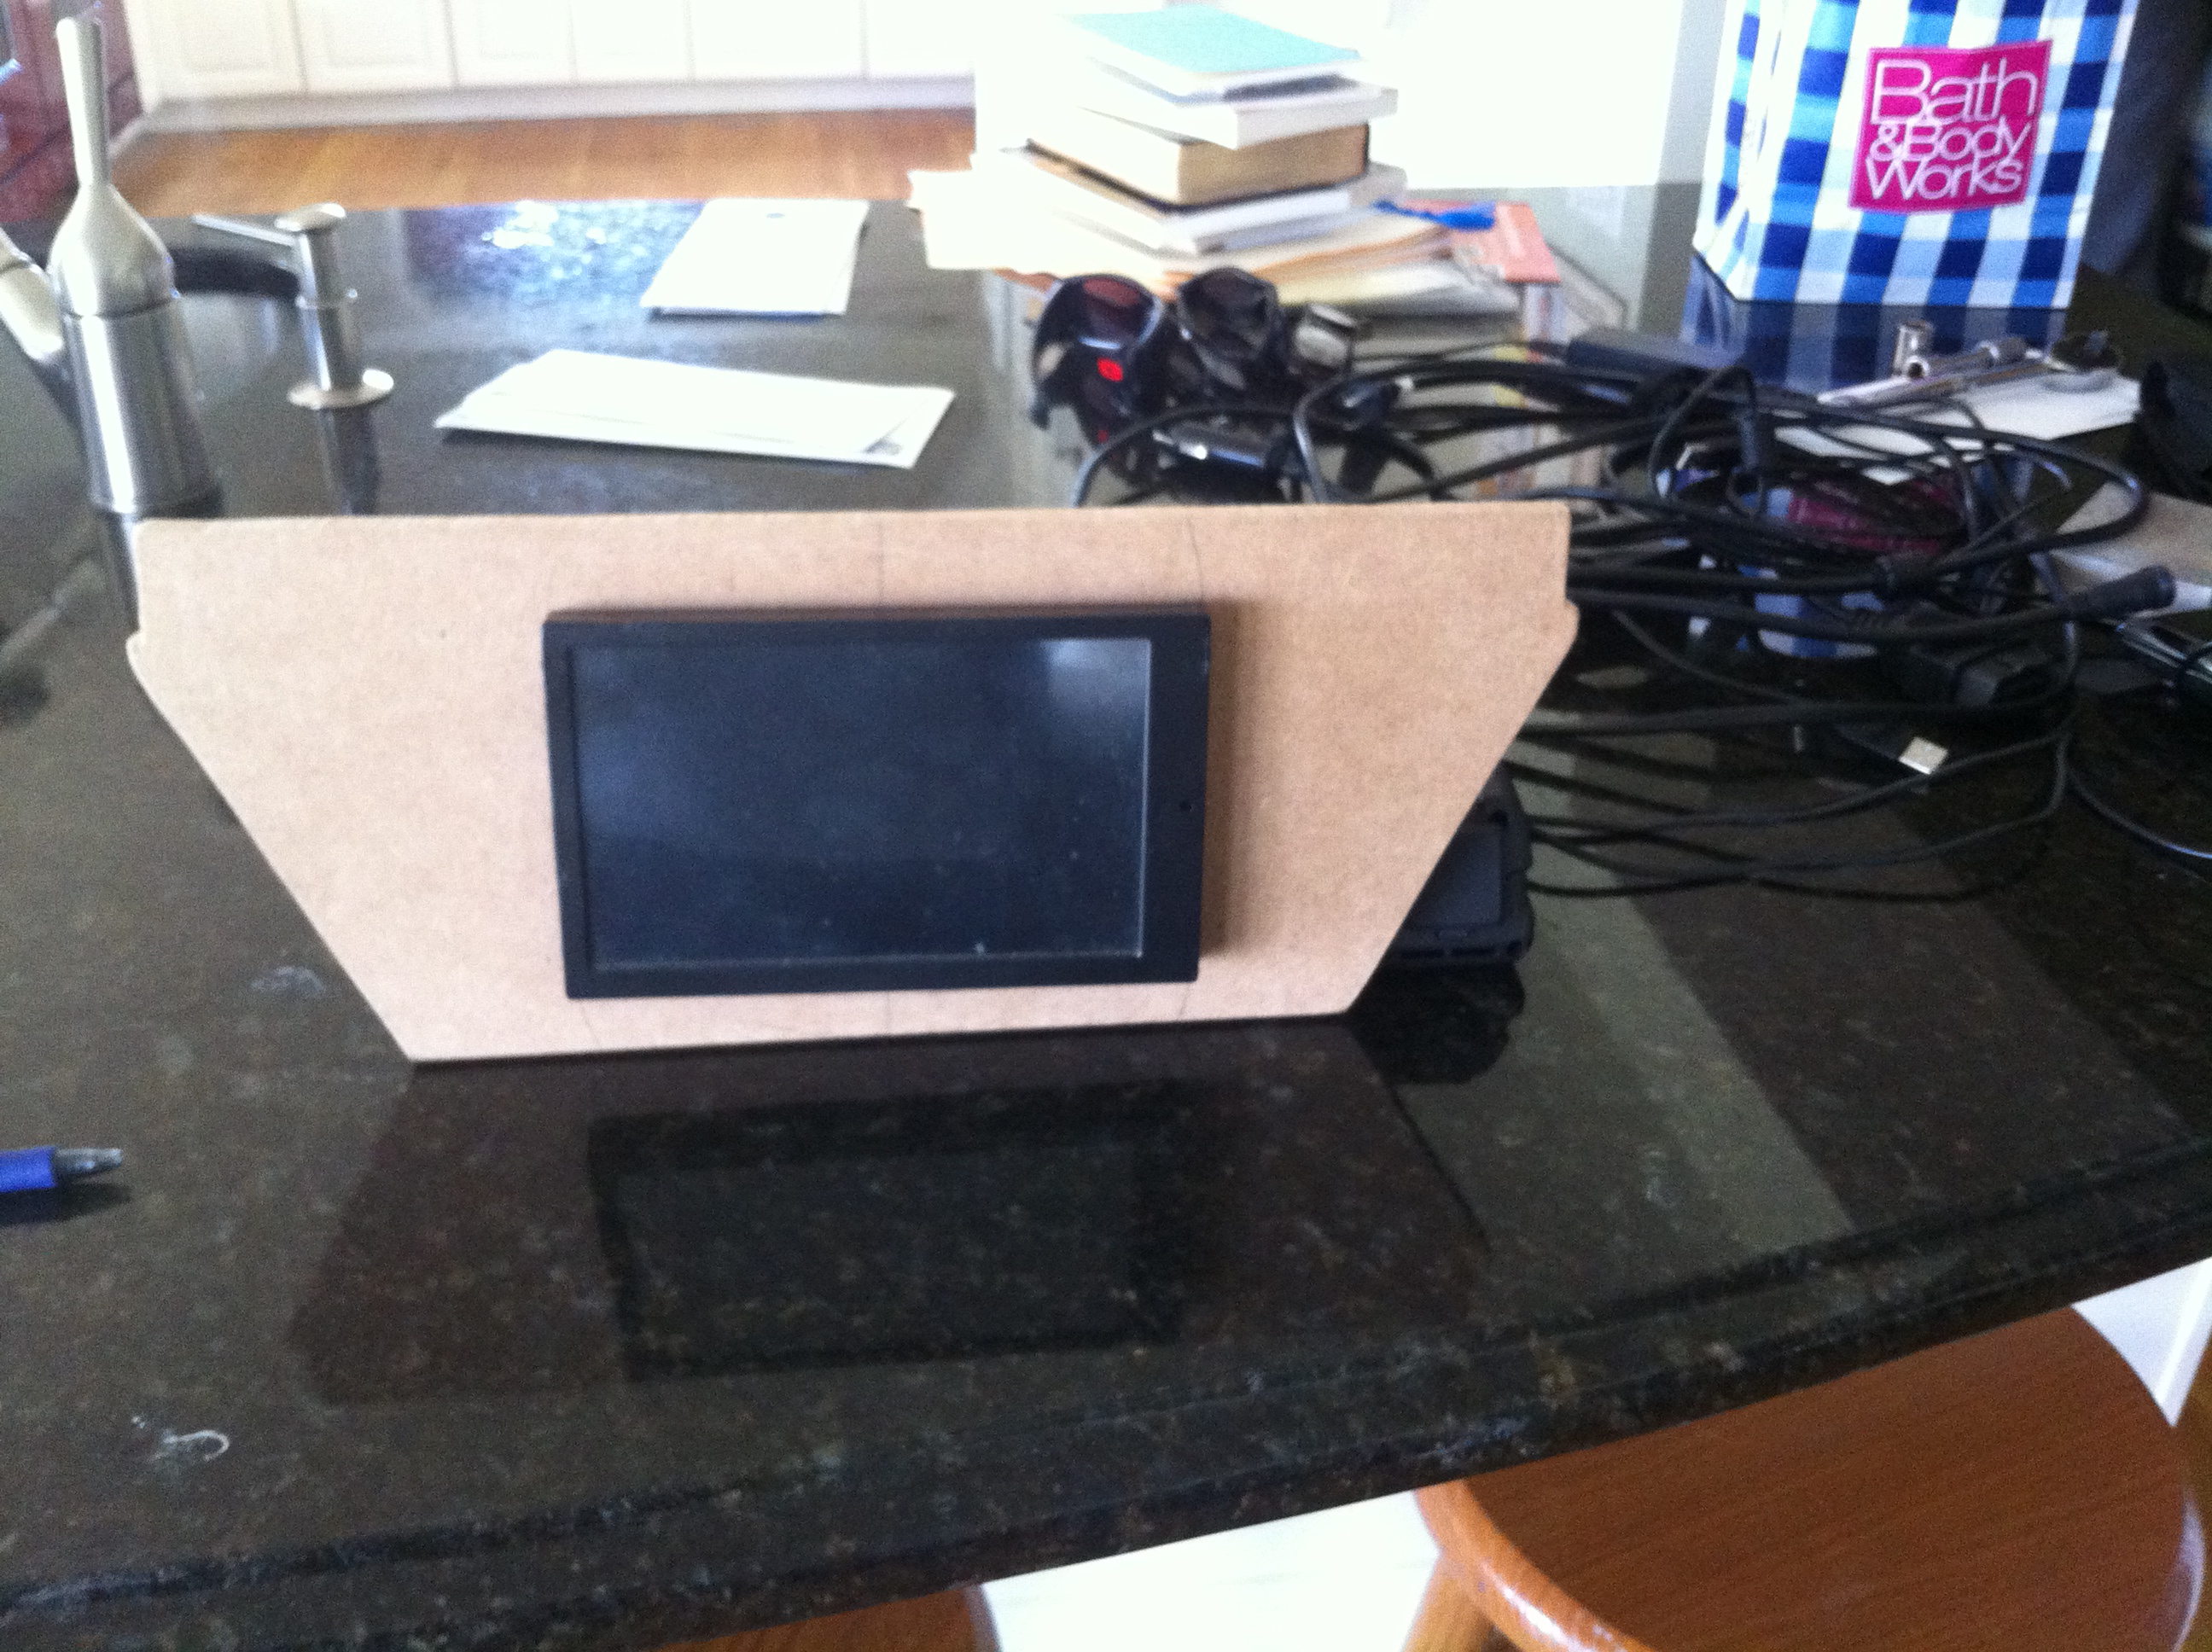
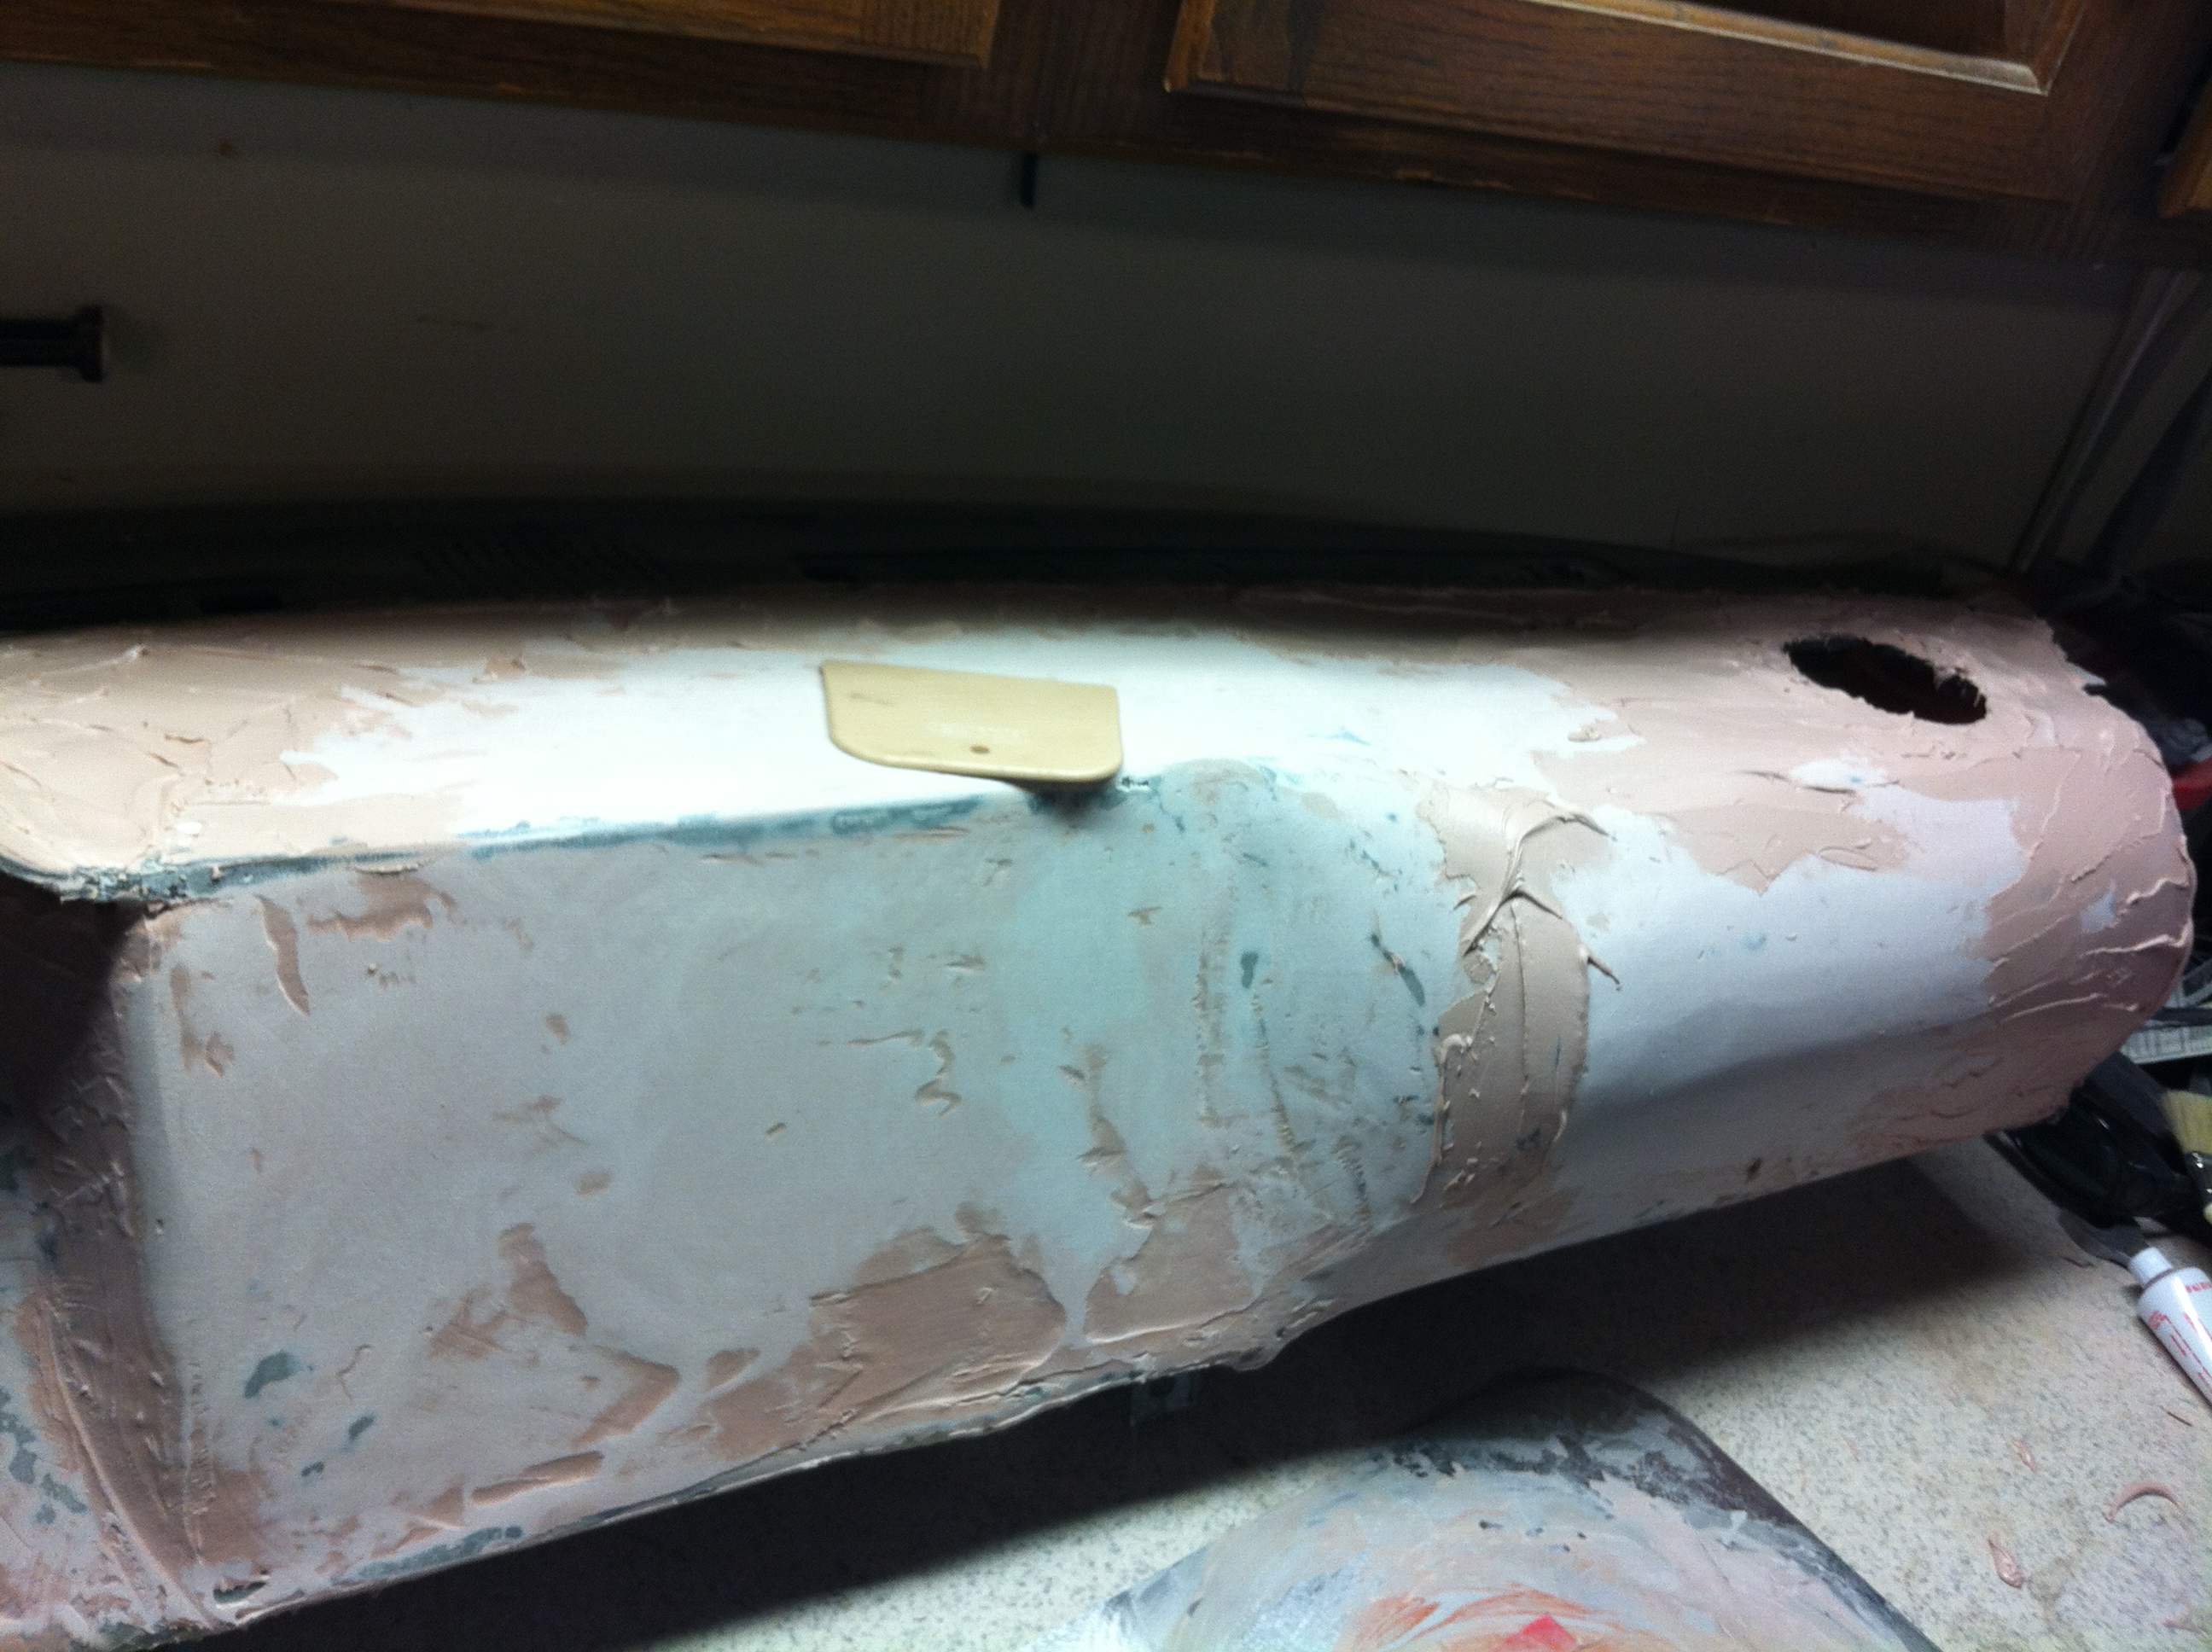
BONDO BONDO EVERYWHERE Before I applied the Bondo, I put the dash in the car to make sure it wasn't torqued all weird and would crack when I tried to install it. I found a few stress points, so I fixed them and patched it all back up. Then I started to go apeshit with the bondo and stuff, and managed to come out with some very encouraging work! After applying 3 coats, I sanded it down with 60 grit to see how close I was to putting a finishing layer on. I was surprisingly close, as I just wanted the Bondo to slope from the 1/4" ledge from where the original dash attached to the frame all the way down to the base of the frame. I'm still working on getting it perfect, but it's almost there! Finally, I got the curved part smooth as a babies bottom with 220 grit, and it's shaped exactly how I wanted it. I've yet to finish the gauge cluster third of the dash, so I've largely left that untouched. While I'm waiting on my gauges to arrive, I started working on the console beneath the dash, which will hold my touch screen and computer running it. I'll hopefully be seeing those gauges in the next week or so, and then finish up the Bondo! In the meantime, I'll likely be working on the console area and figuring out some way to mount the computer somewhere safe behind the dash.
-
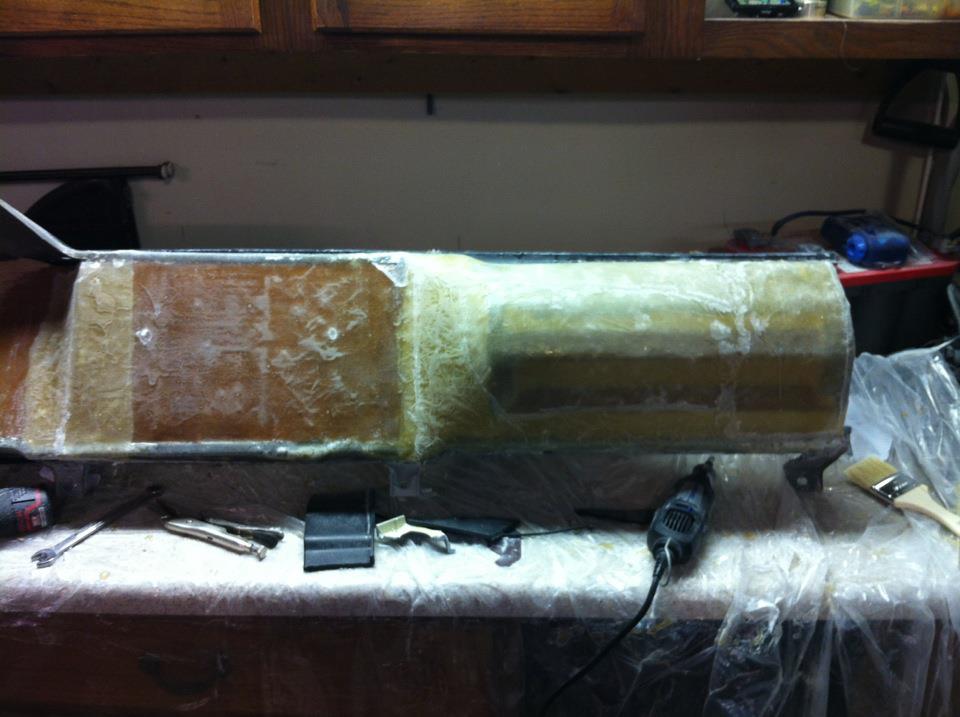
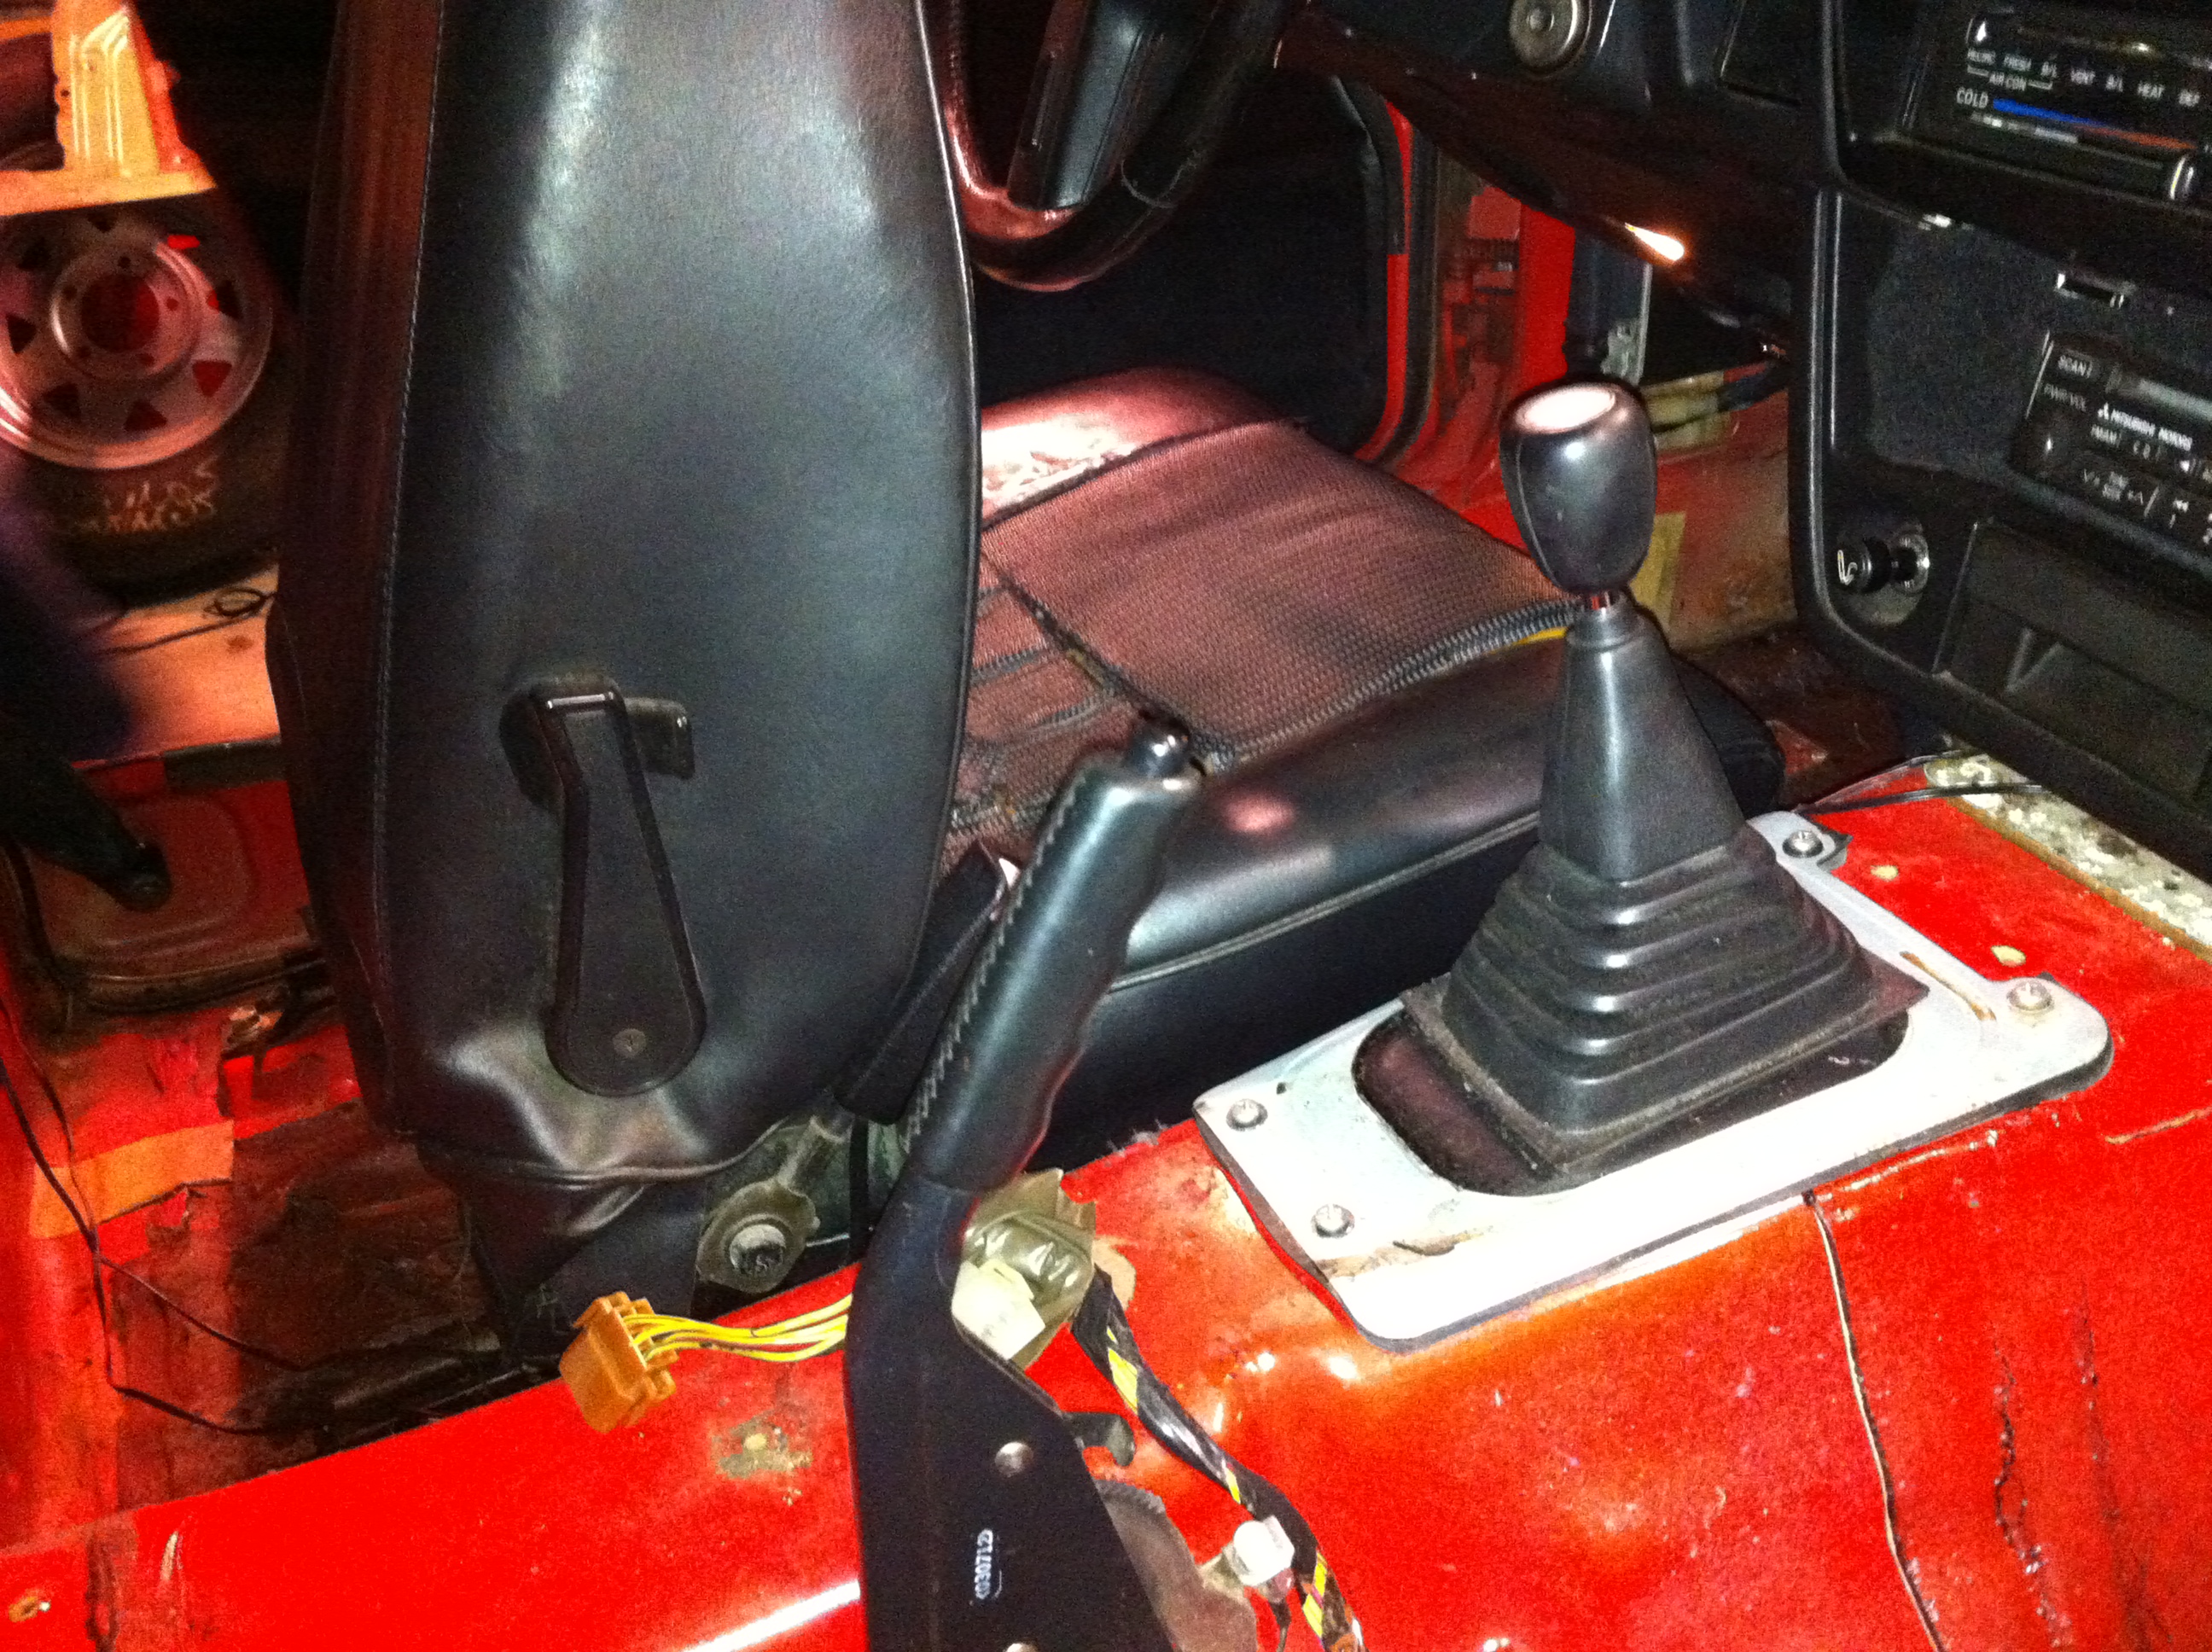
So I took the heads to another tech, who actually told me that for what I'm doing, the heads would do fine. Since I'm concerned about the frame being able to support the torque of the V8 that I'm putting in it, he said not to do all the head work until I'm installed the roll cage to support additional power. It looks like the valves are sealing properly now (put Maglight over the valve, saw no light seepage from the other side) so I'm really not that concerned about it right now. I started working on the dash finally, which has proven to be a little more interesting than I anticipated. I stripped the dash down and put in some MDF for a little structural integrity. Once I got the MDF in the frame, I started on trying to get the rough shape in fiberglass. The material I used was actually swimsuit liner I got from JoAnn's Fabrics. It wasnt very cheap (like $40 for 2 yards I think), but it was very elastic and was very good at returning to its original shape. I was mostly worried about the transitions between the 3 MDF sections (gauge cluster area, stereo/LCD screen area, and the glove box area). Since I'm not putting the glove box back, I just put in the horizontal slats to make an even curve over it, and bridged the gap between the glove box and the LCD screen area. I think the curvature that I got with the swimsuit liner worked very nicely. The vertical piece of wood you see was merely to put tension on the fabric, and was held in place by the large C-clamp you see that's partially obscured by the shadow. Once the resin hardened, I had to cut the wood/fabric away from the formed section and it held its shape flawlessly. Since I decided to make this car as light as possible and rip out ALL the non-necessities, the AC ducting was not necessary, so I covered up the holes on top of the dash with fiberglass mat, and began to apply the 3 layers of fiberglass to the existing frame. Some of the edges came out kind of rough, so I used a Dremel to clean up the transitions between the sheets and reduce some of the peaks that were left. Overall I'm very happy with how it turned out, and now on to the Bondo!
-
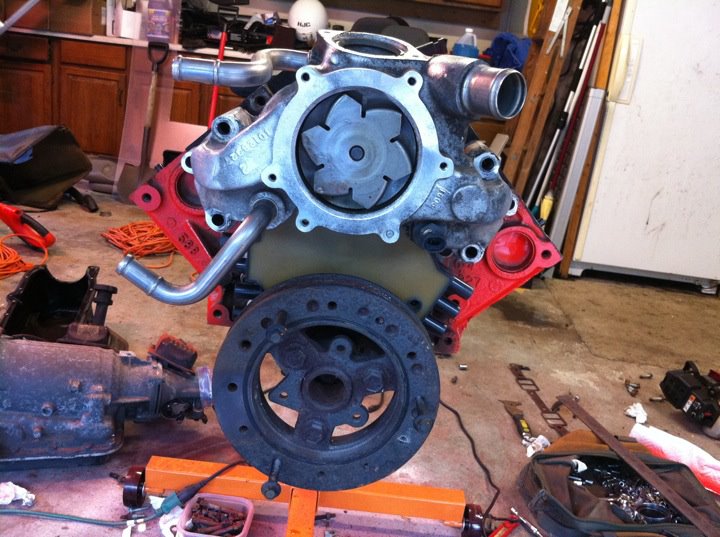
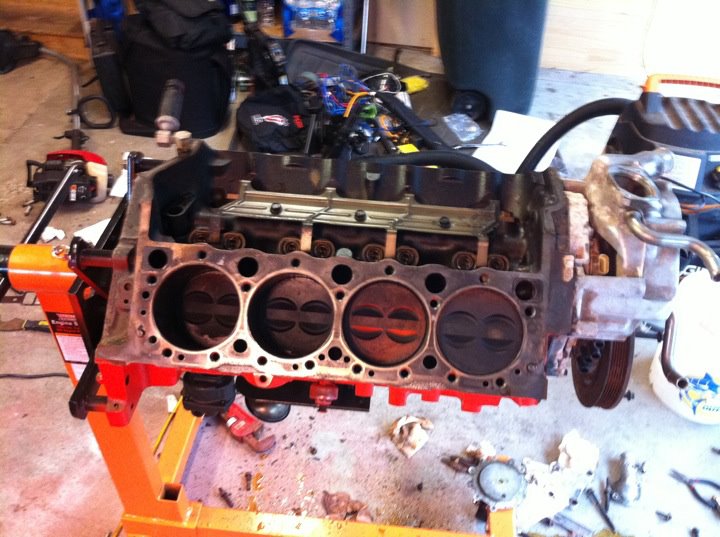
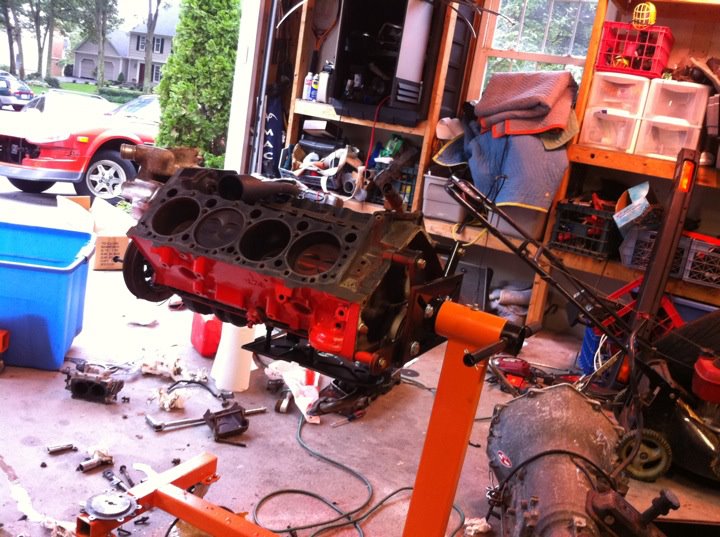
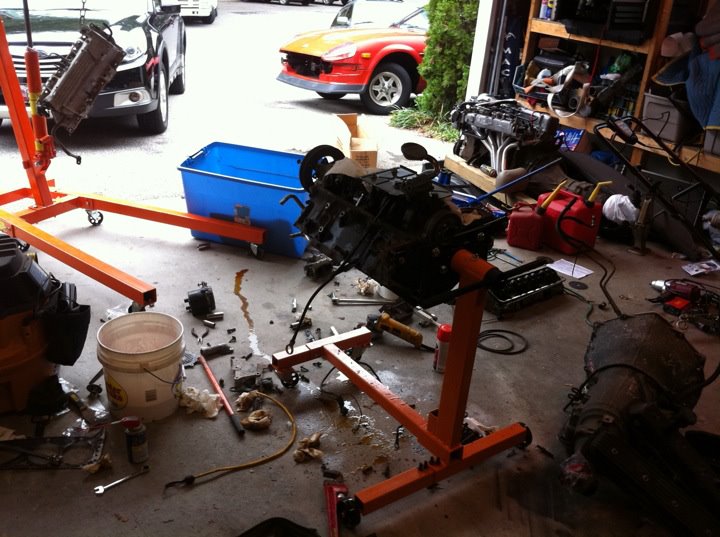
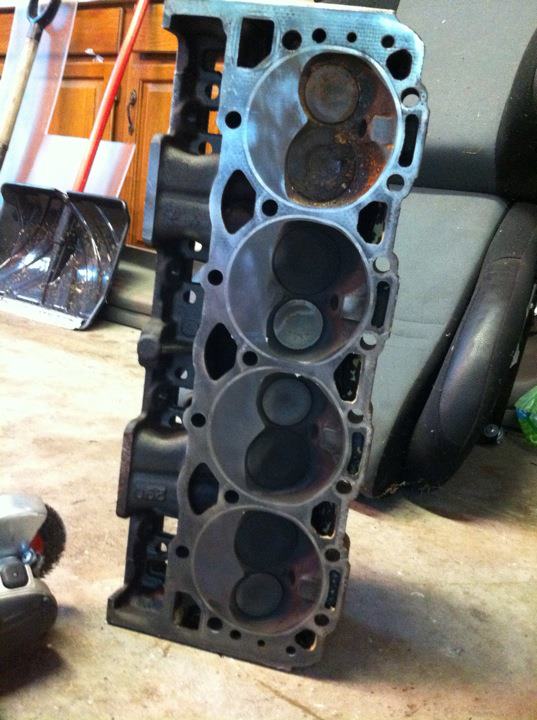
SO once I got home, I unloaded the trailer and cleaned out all the oil that had spilled all over the trailer, and then all over the driveway. Lovely. I separated the LT1 and the 4l60E because I was already planning to sell the transmission, and found that the motor needed more than a little cleaning. Once I got it all apart, curiosity got the better of me, and I started to pull apart the motor. I knew I didn't want to do a full rebuild, but I figured that a little peek wouldn't hurt. I'm really glad I looked inside, because it helped me identify some problems that I would have had to deal with later. Apparently the previous owner's "shed" didn't protect the motor from the elements very well, and there was rust built up on one of the cylinders and in the exhaust port. Once I tore these all down, I took the heads to the shop to get cleaned and magnafluxed. The owner of the shop was a friend of my mechanic's, so when my mechanic dropped off the heads he said he would check them for free. What ACTUALLY happened was he tore down the heads, magnafluxed them, cleaned them, found heavily worn valve guides, and decided to bill me $160 for the tear-down. No call, no conversation, no "you're gonna be billed if we proceed." Needless to say, I was a little frustrated, especially because they had the gall to say "if we replace the valve guides, we'll have to charge you another $160 for the tear-down and reassembly." Suffice it to say I'll be finding someone else to do the work for me.
-
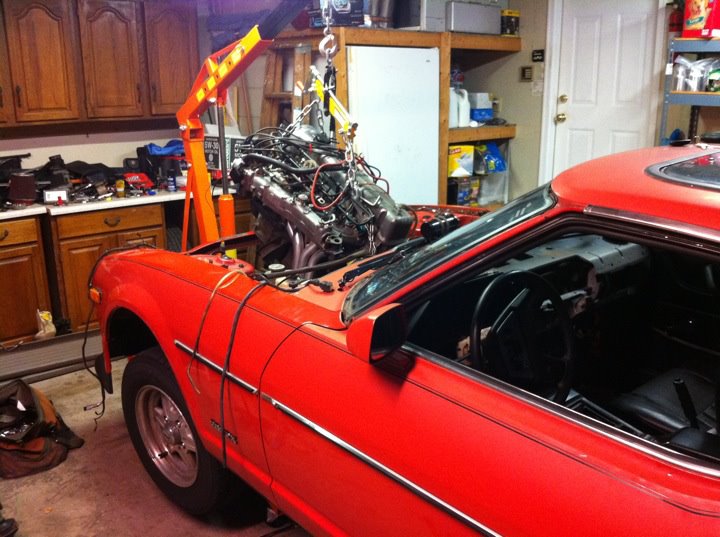
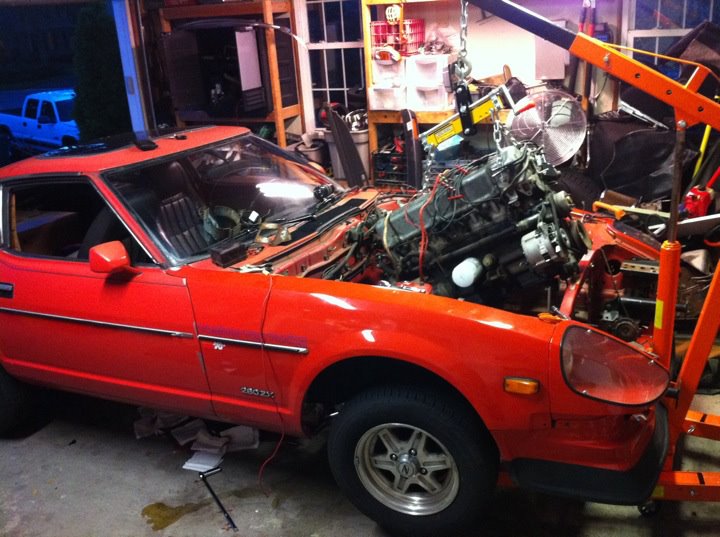
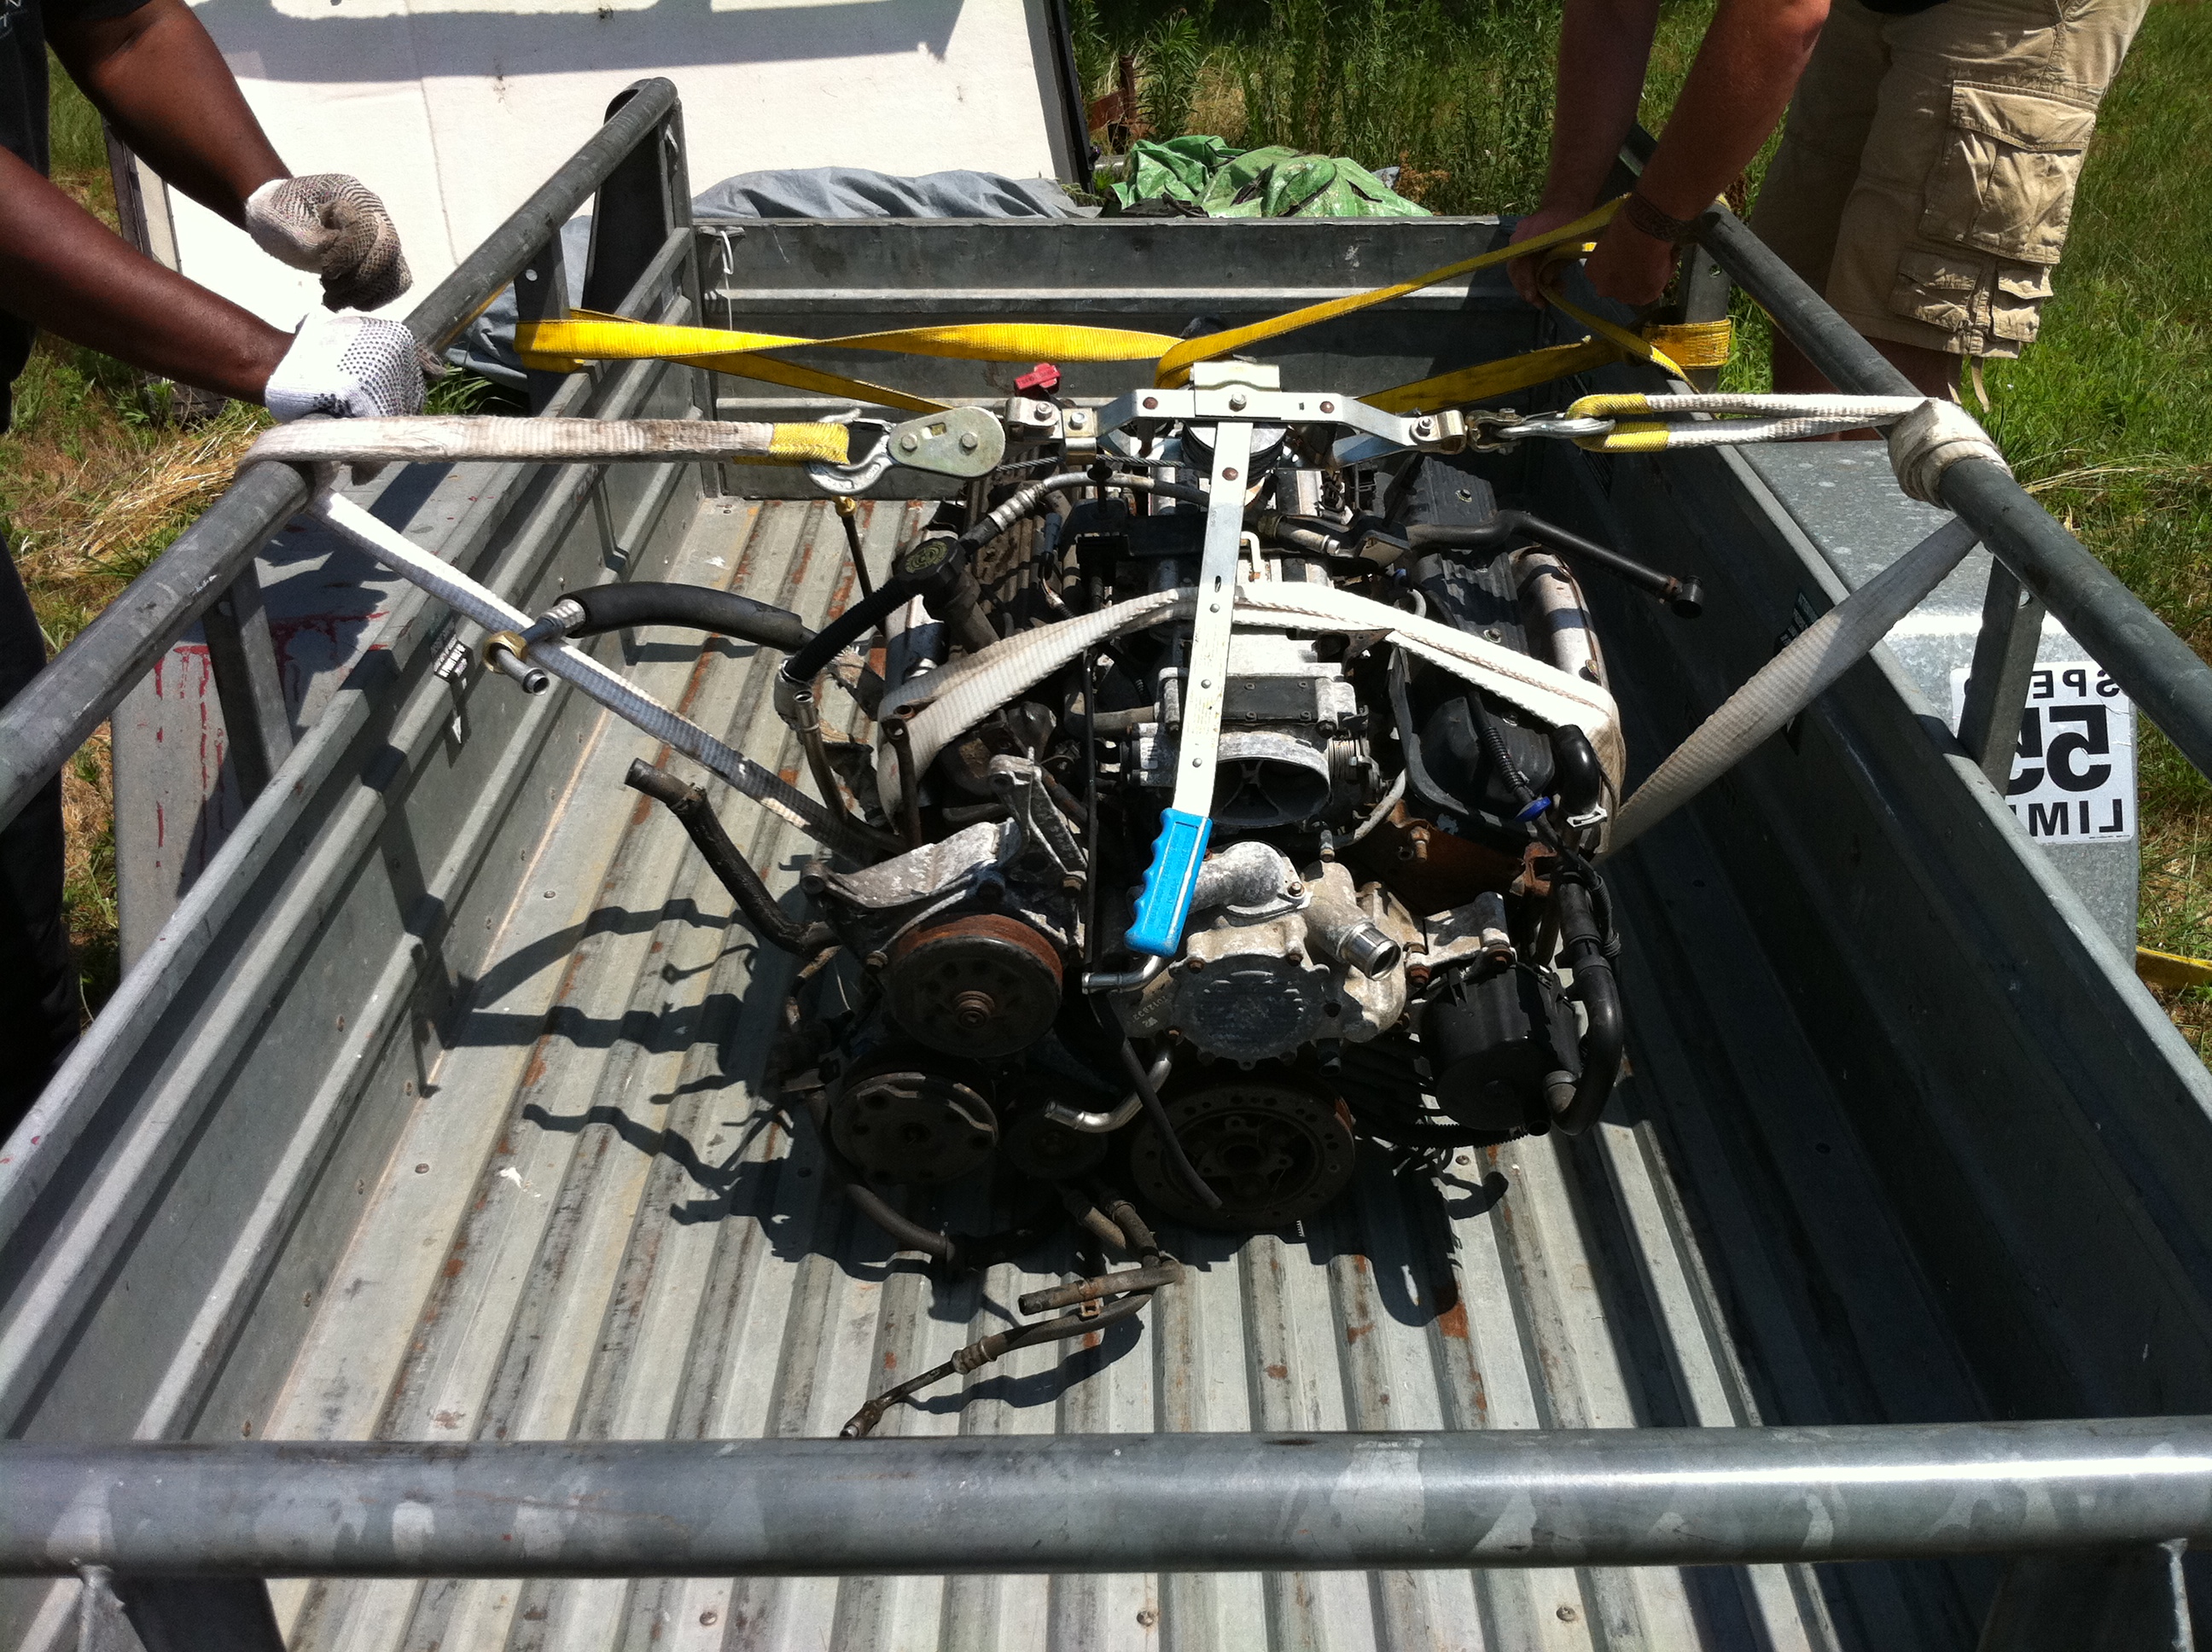
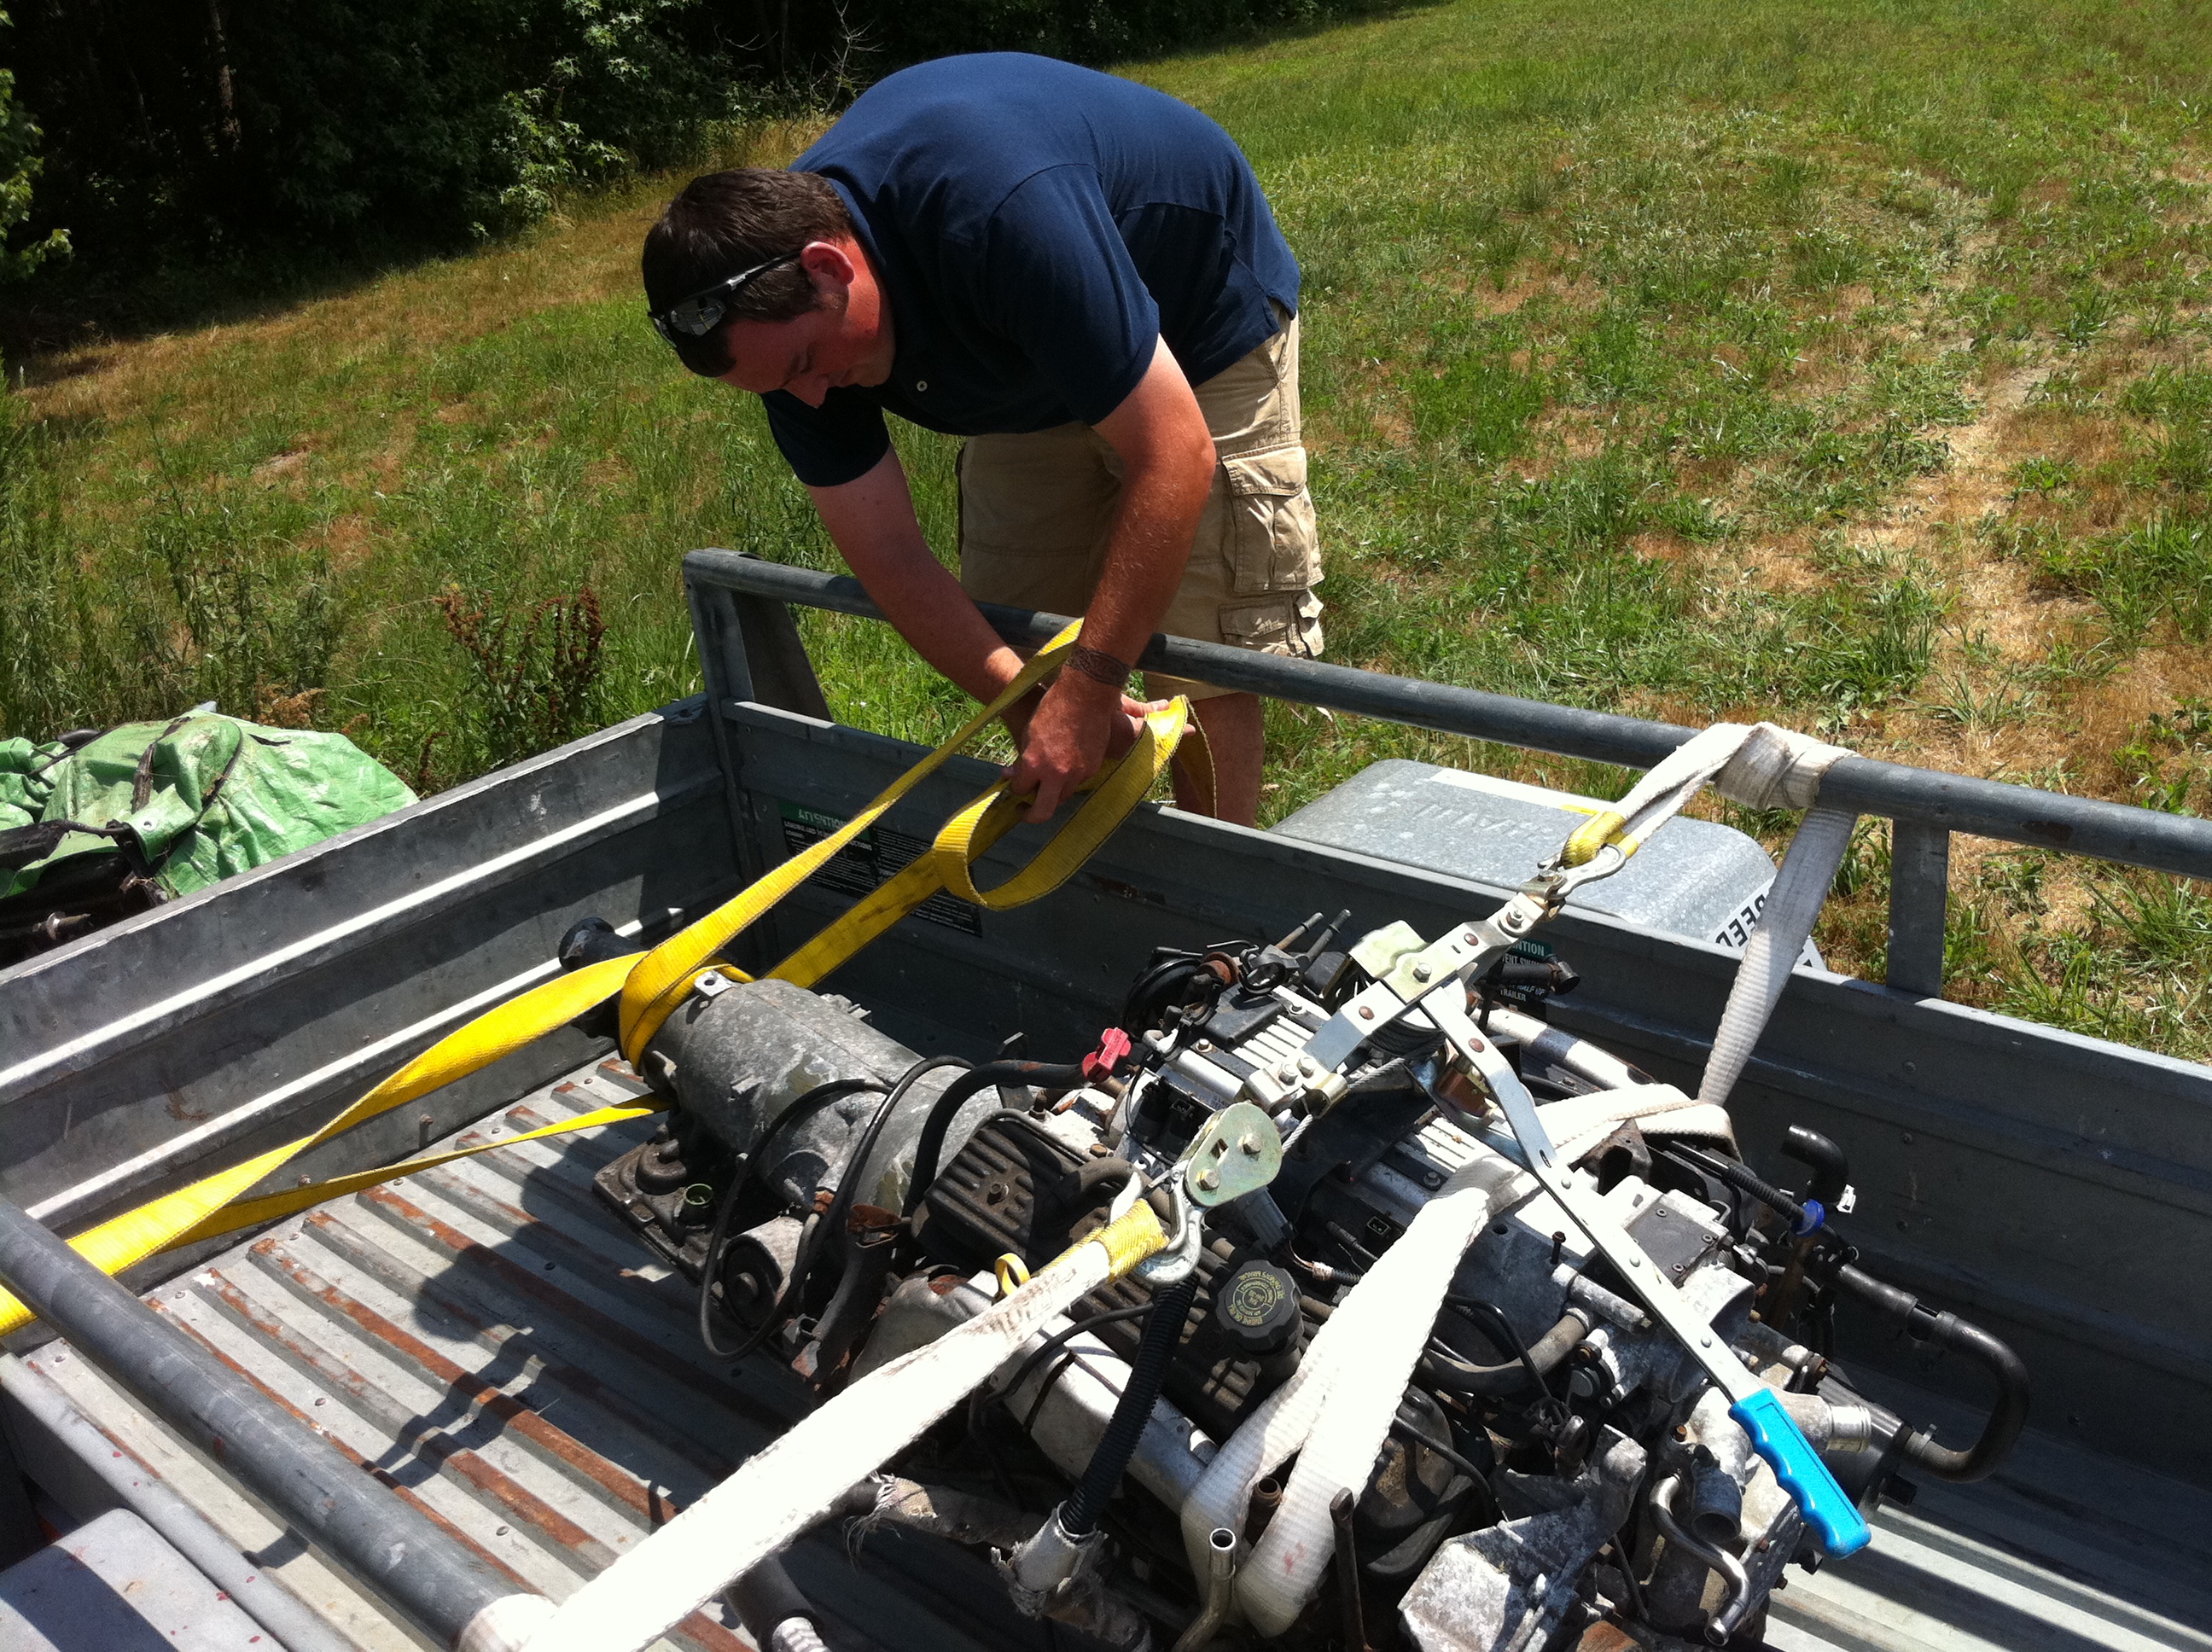
OUT WITH THE OLD AND IN WITH THE... SLIGHTLY LESS OLD? I was lucky enough to find someone who wanted to buy the motor/trans from me. So far, I'd upgraded the fuel injectors, alternator, clutch, fidanza flywheel, intake, and exhaust, and it still wasnt enough. The motor was very snappy and had lots of torque, but it felt like it wound out way too soon... I just needed more. So I pulled the motor and started looking for a new one. So I started to remove the motor, which surprisingly only took me about an hour. I love how once I got it out of the garage, the front end was riding ridiculously high... I just found it comical. I threw the motor on jack stands in the garage and waited for the guy (from Kentucky, actually) to come get it. In the mean time, I was searching for a V8. I settled on the LT1 because I wanted a motor relatively low mileage (aka used but not requiring a complete rebuild) and OBD-1 for tuning options. I was going to start with carb'ing the motor, obviously, but I wanted to be able to switch to EFI later if I so chose. So I found a guy in Delaware who had an LT1 out of a 1995 Caprice cop car with a 4L60E transmission who I talked into giving it to me for $250 bucks. It ran a year ago when he pulled it, but it had been sitting "in a shed" since then. I jumped on the oppurtunity, threw a uHaul trailer on my Subaru and booked it over to Delaware. Oh, need I mention, my radiator fans AND AC died on this trip, it was 105 outside, and my car was not happy pulling this trailer in that heat... but I digress. Pulled behind the guy's house to find that his version of a "shed" is a camper shell over 3 complete motors. I was a little surprised, but figured for the money, I can't ask too much of him. I loaded up the motor/trans and headed back for home. Since I'm smart, I didn't bring any supports for the motor, it was resting on the oil pan the whole trip, which ended up getting crushed. Smart me.
-
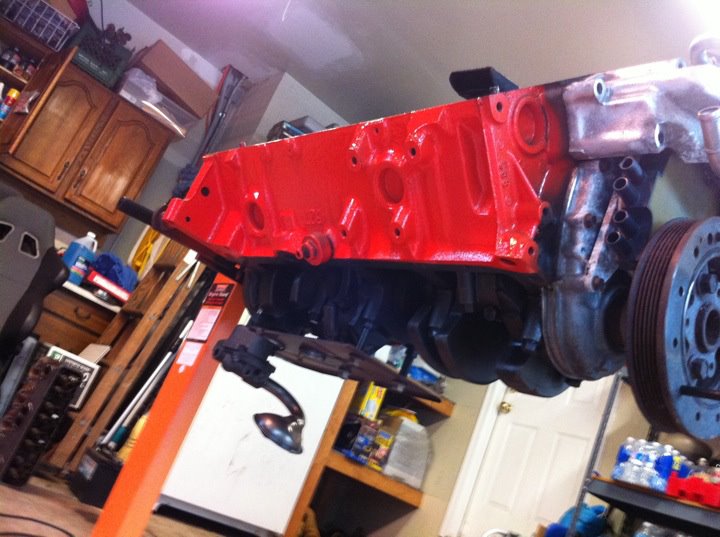
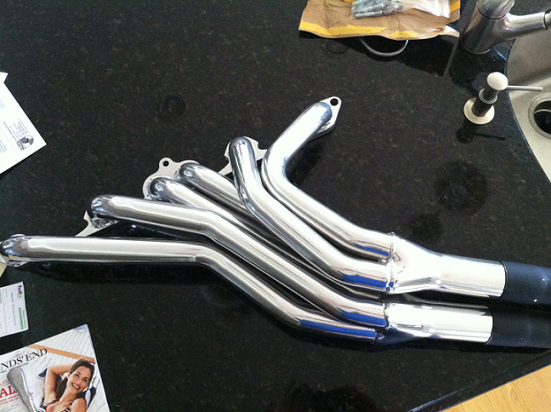
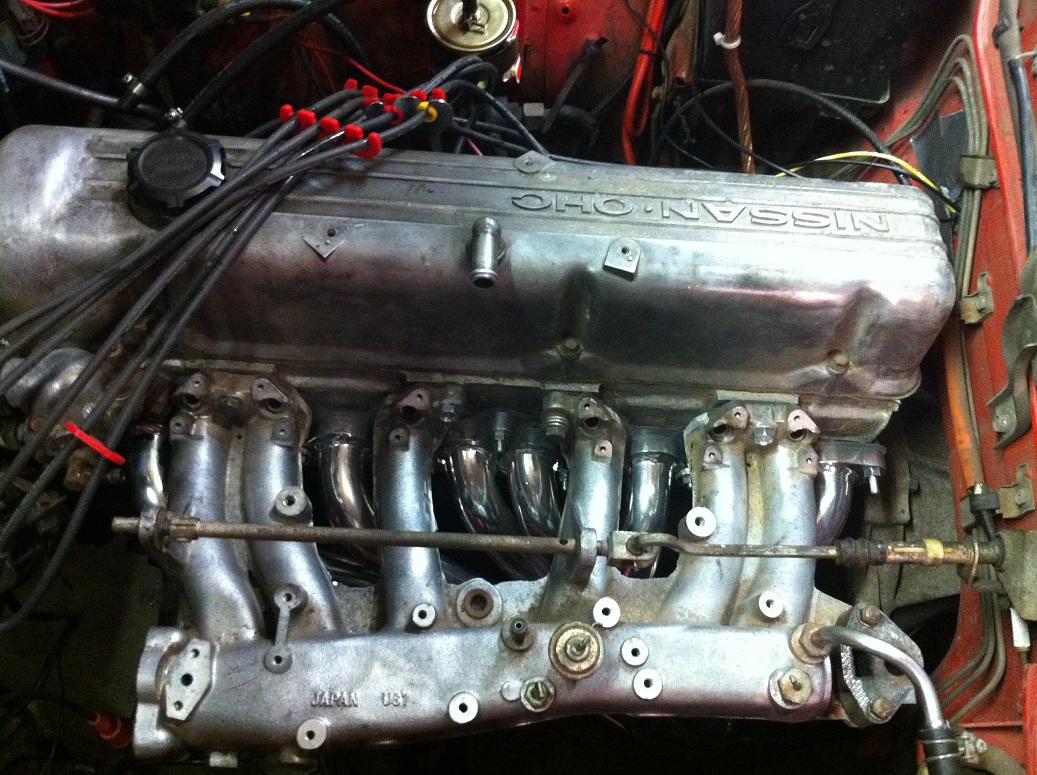
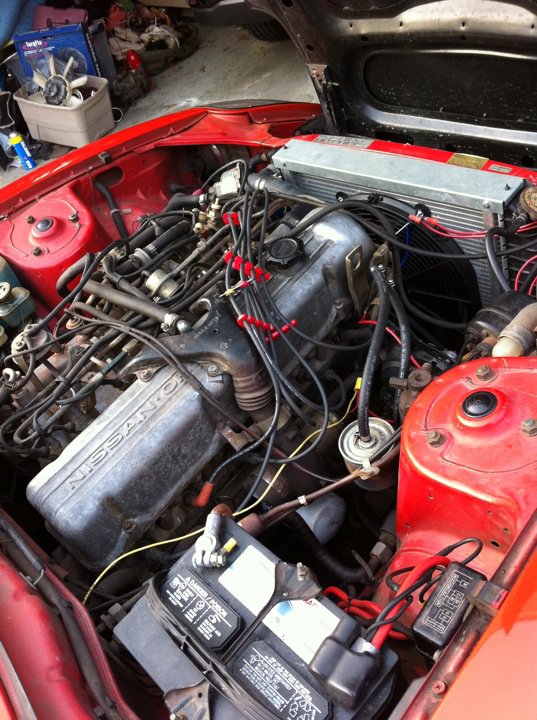
INTAKE AND EXHAUST... In order to get the car running really good, I needed to either clean or replace the old fuel injectors. In addition to that, I wanted a more aggressive sound and to clean up the engine bay, so I ordered the MSA 3-2 headers for a '78 280Z without the emissions provision and new MSA injectors. Since this is a MD car and over 20 years old, I don't have to deal with the nightmare that is emissions, so I figured it'd be one less thing to deal with. The old exhaust was rusty and already falling apart, so it turned out to be a really good time to do this anyways. Here are the Jet Hot coated headers, and here's the block as I was prepping it for the install. I got the MSA head stud/washer kit to replace the old studs and went to town. I know that the studs are in the wrong place in this photo, which I quickly found out once I tried to make up the intake and exhaust lol. Should have matched it up with the new gasket As you can see, I cut out the webbing in between the runners on the intake manifold, and cleaned them up and blocked off the EGR from the intake. Got it all together, and then installed the new injectors on the fuel rail. I didn't have the forethought to get any pictures of that, but those are all new injectors and I painted the fueld rail. It fired up right away and ran good until the fuel pump conked out on me. At which point I felt that I couldn't justify putting more money into the straight 6 when a V8 was calling my name... enter the LT1.
-
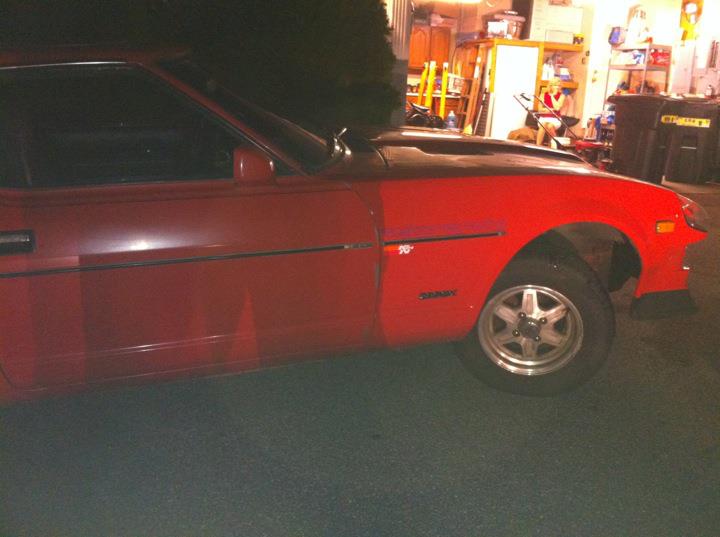
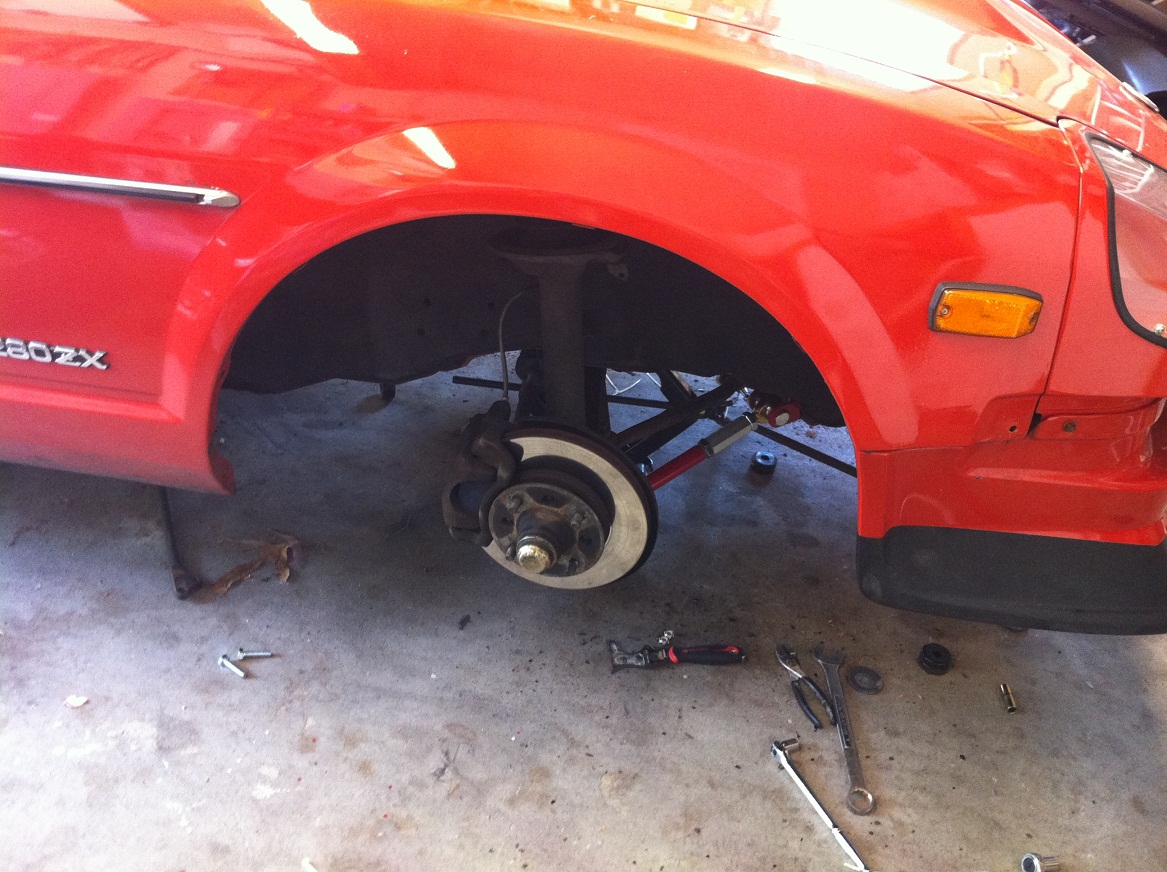
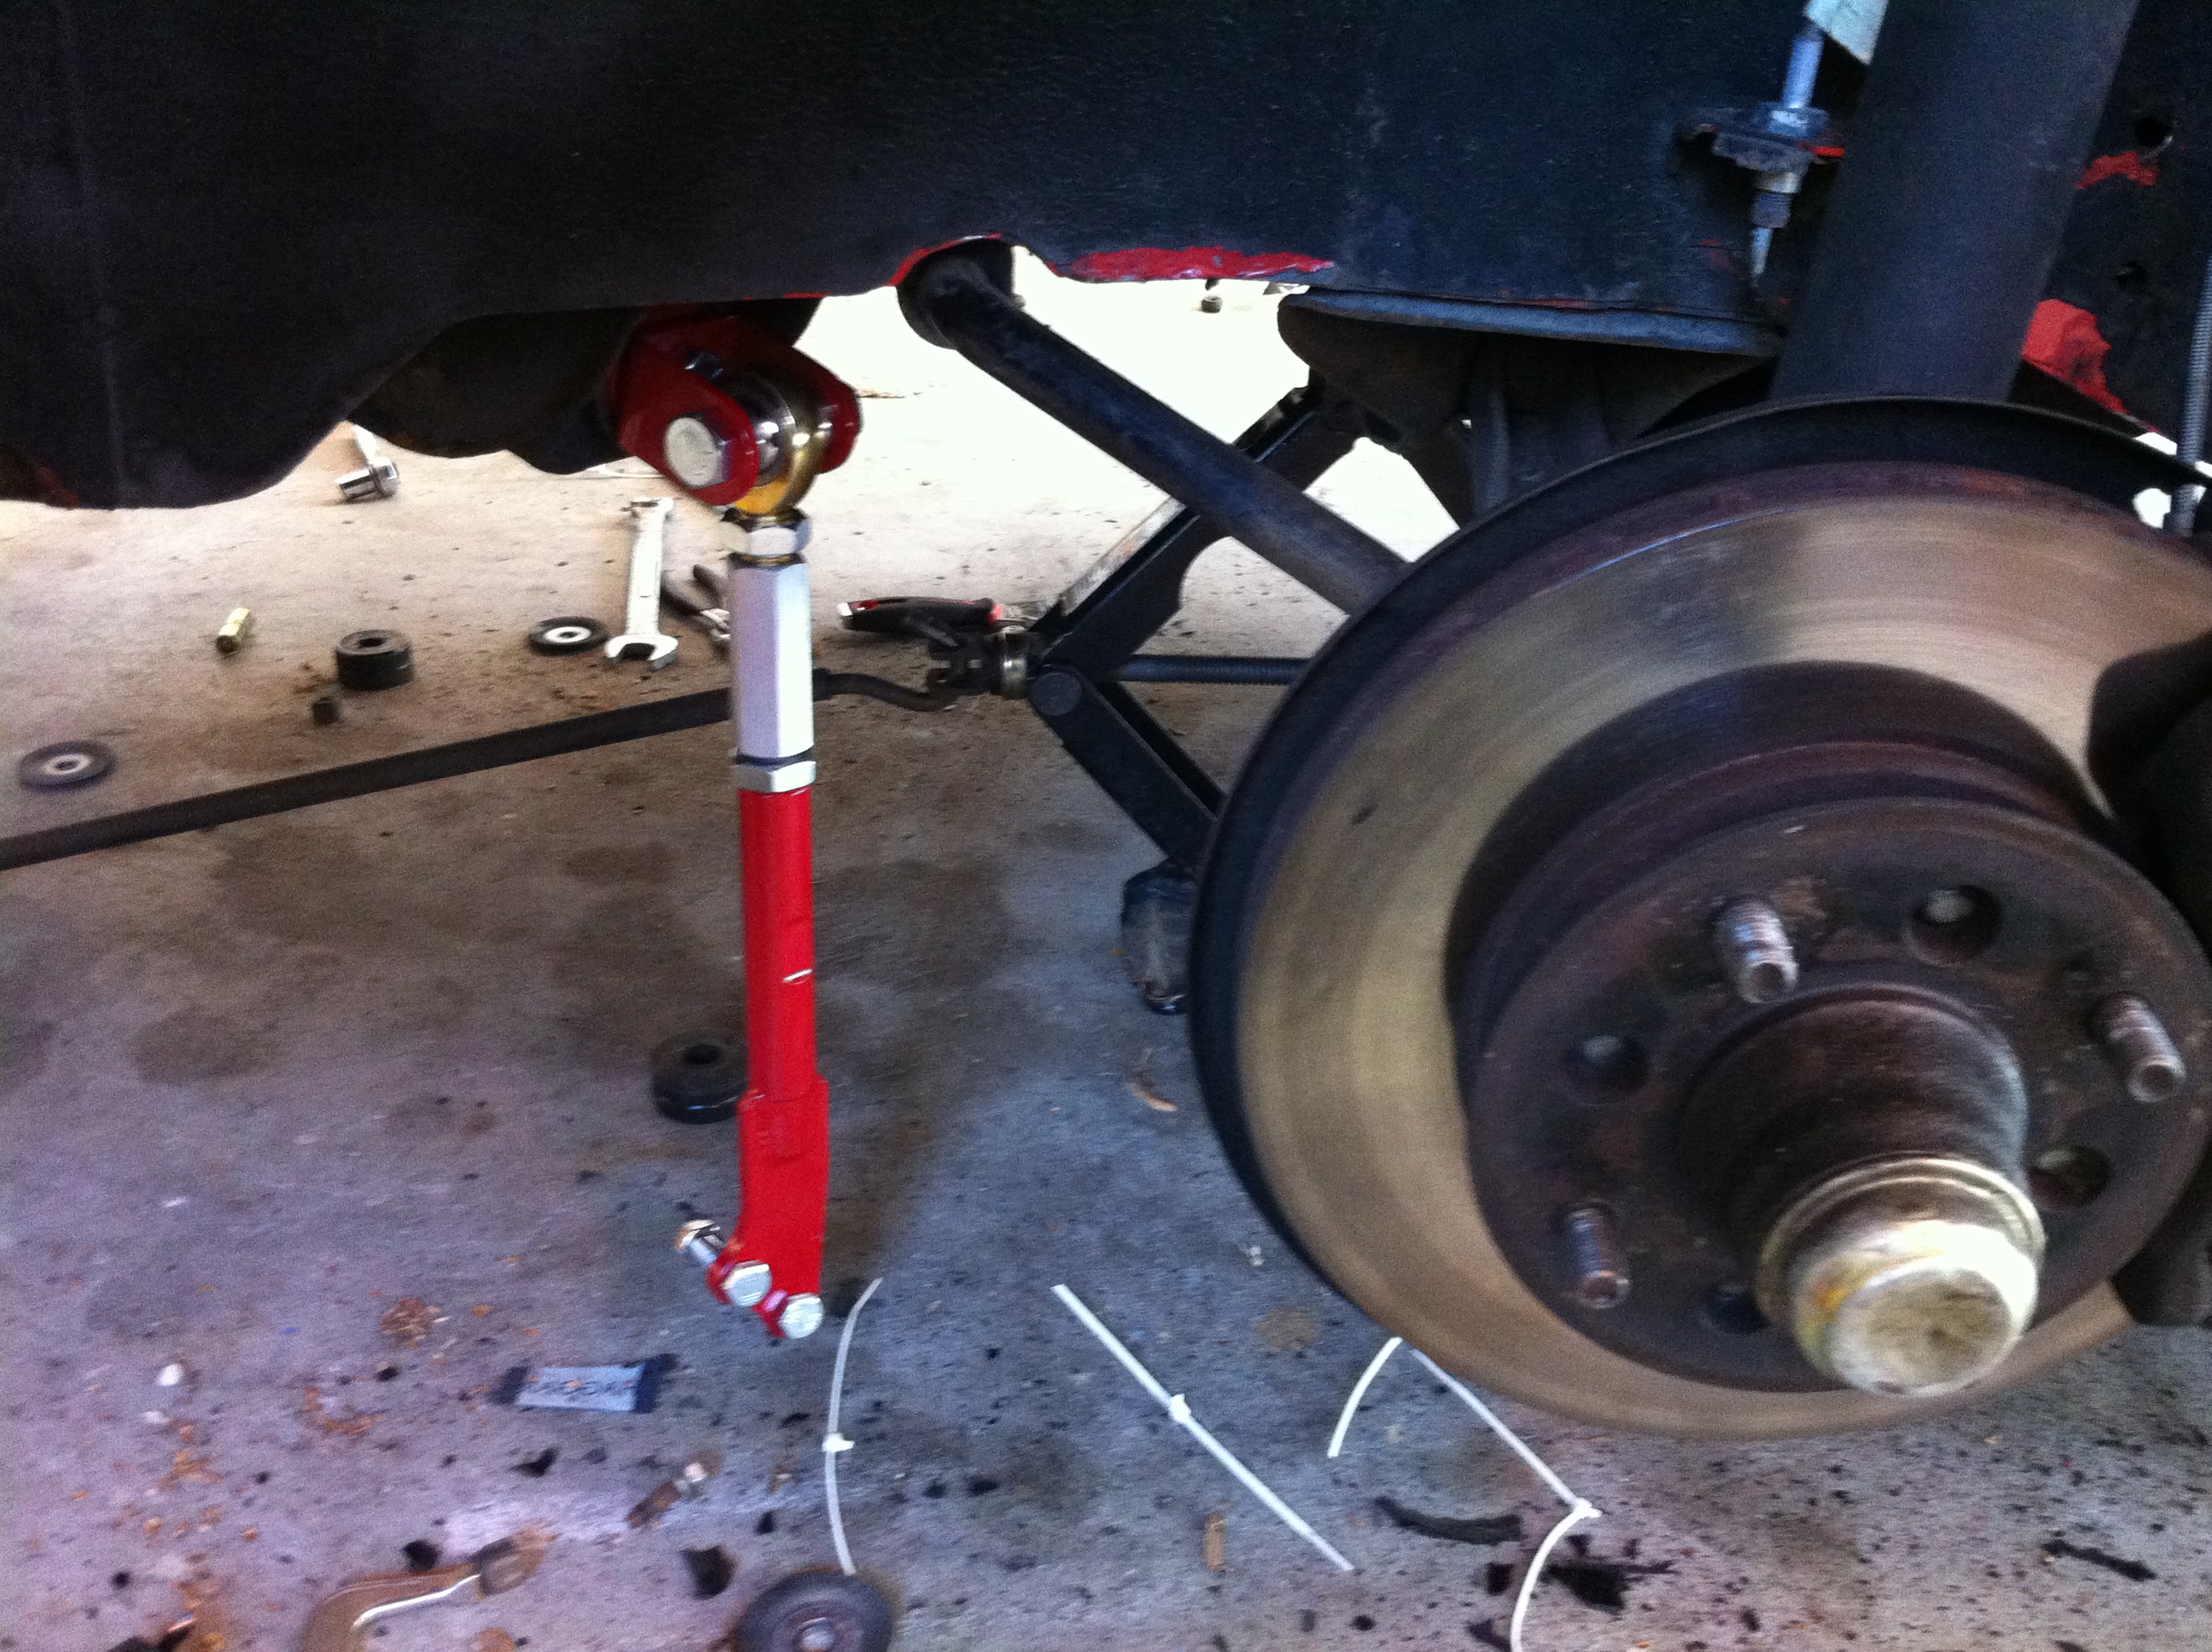
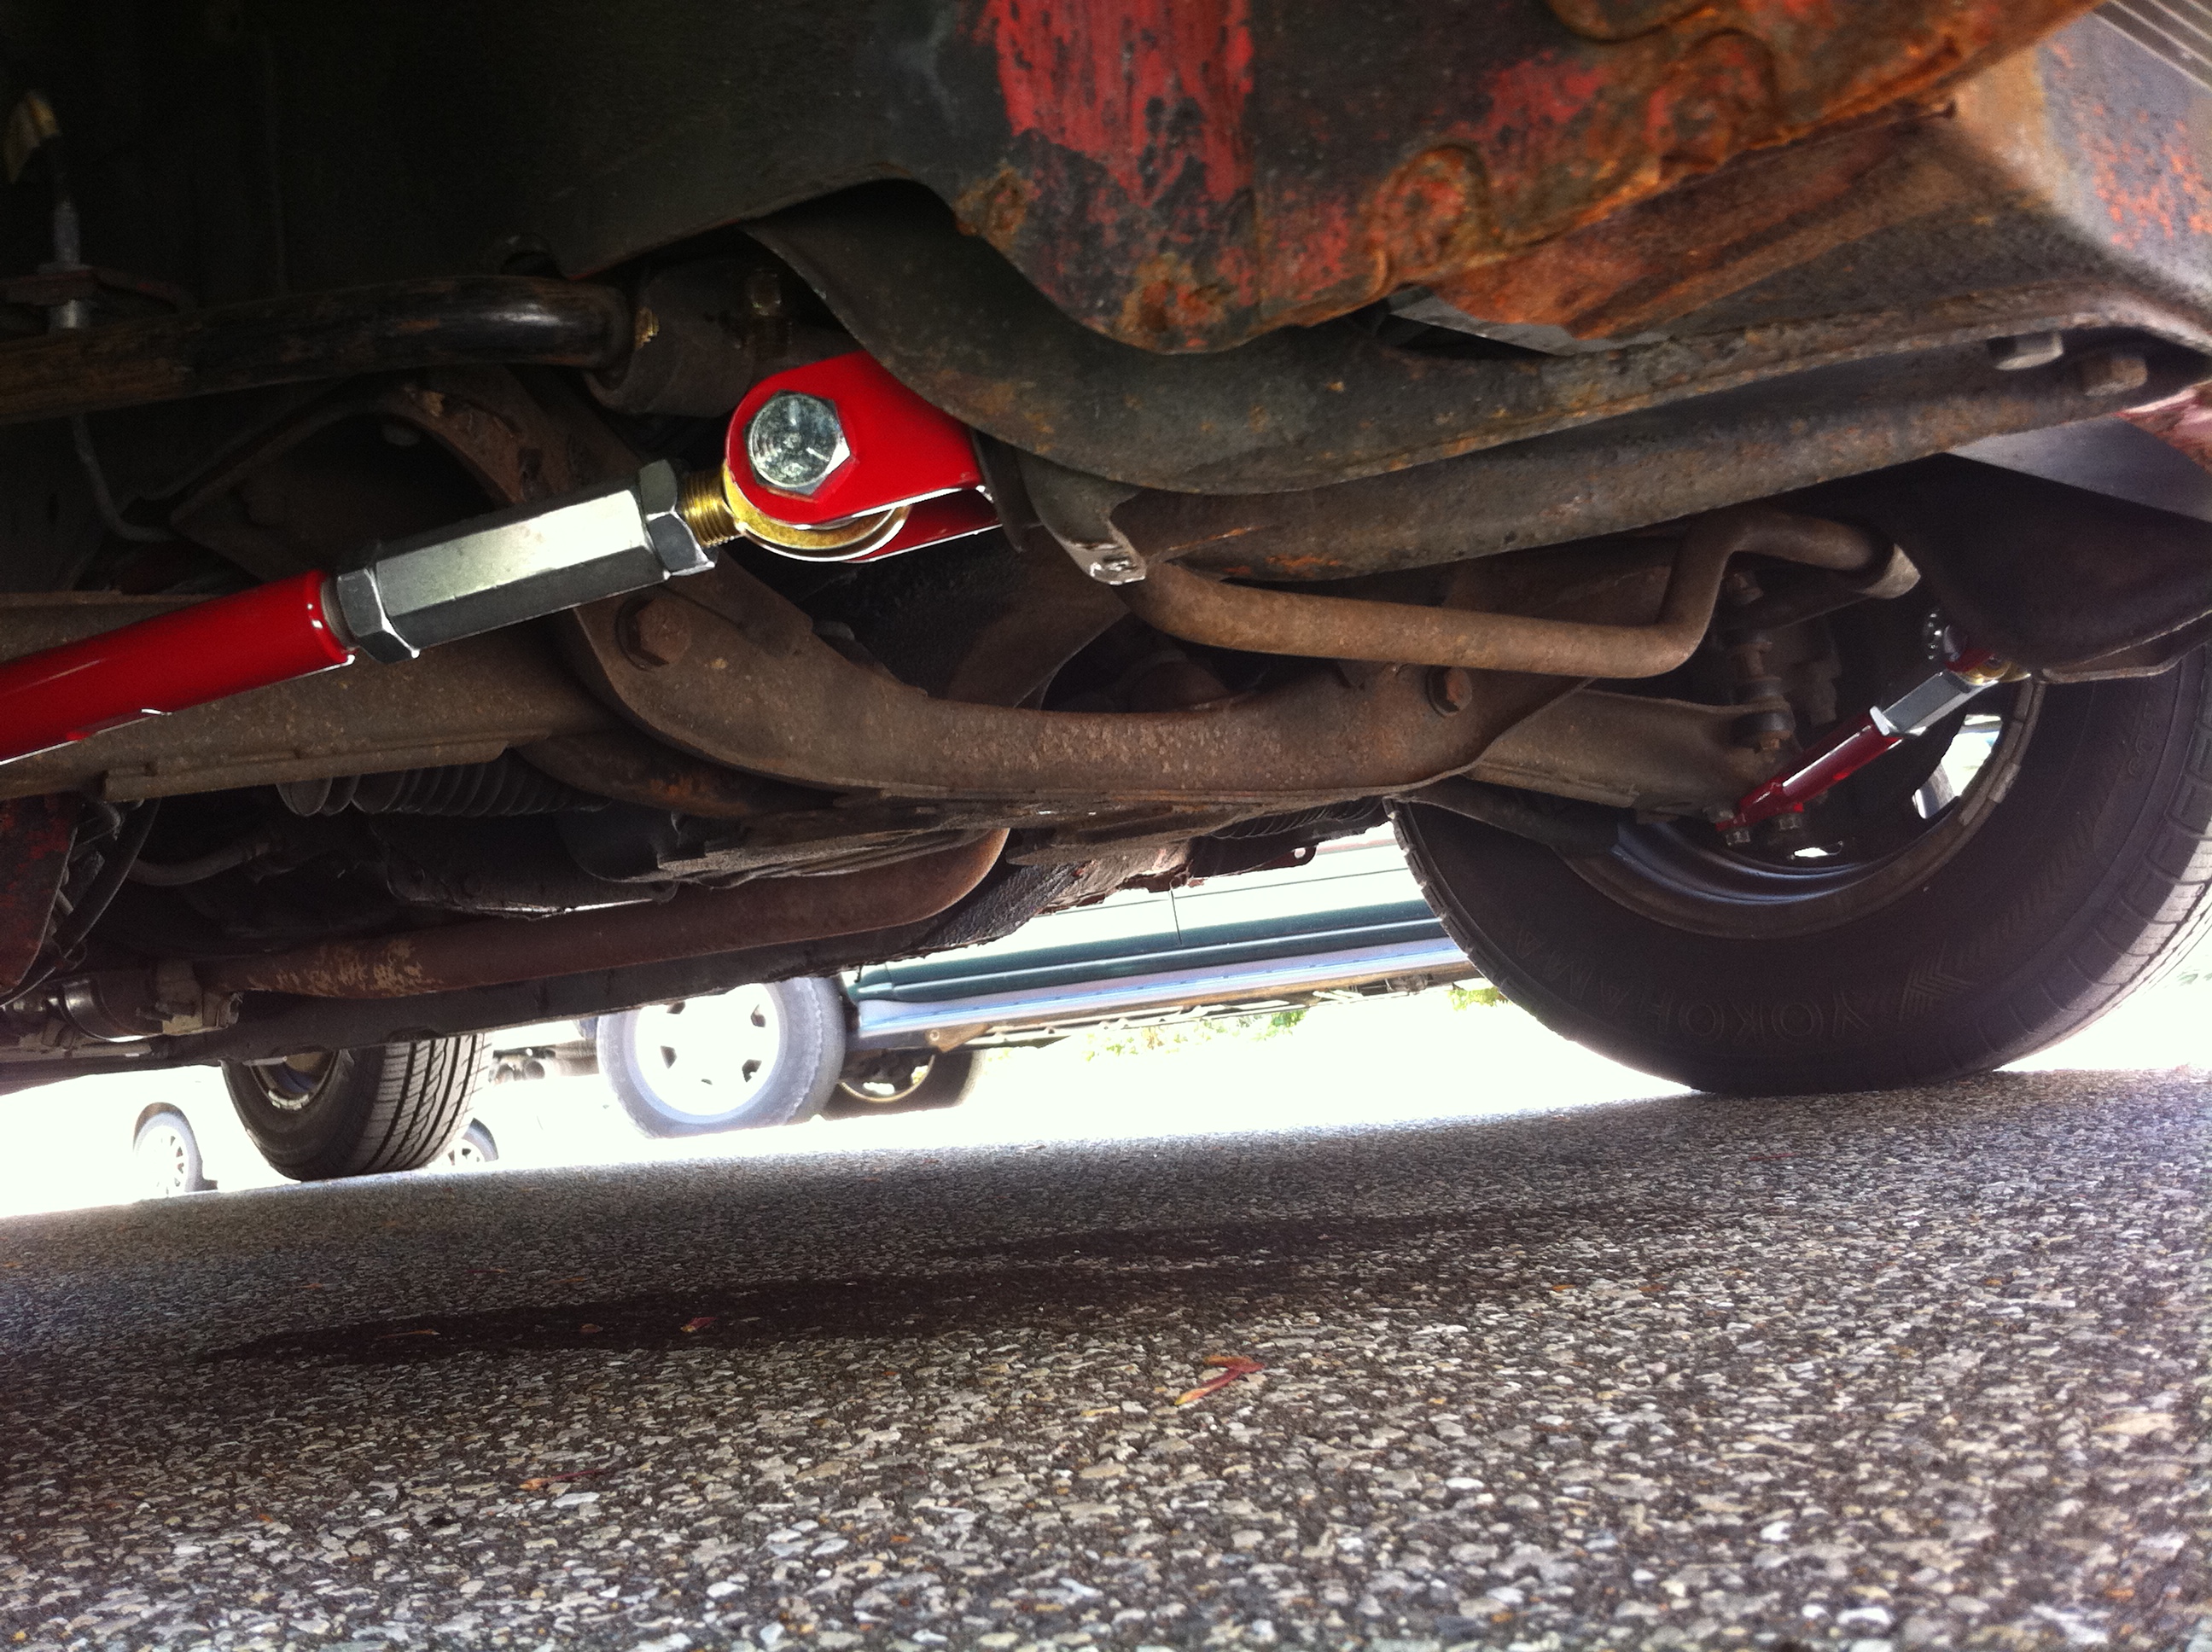
SUSPENSION UPGRADES... After I got the motor running good and the interior stripped, I wanted to work on some suspension stuff while I was waiting on the carpeting kit from MSA, and so I started by replacing the worn rubber bushing with poly bushings on the front end. Replaced the sway bar bushings, traction control arm bushings, and control arm bushings. Then I read online that the older traction control arms were bittle and could easily snap if used with Poly bushing... something I should have probably found when I did my research initially. So rather than lose my front end while driving down the highway, I decided to order a set of adjustable bomb-proof traction control arms from Techno Toy Tuning. These guys are great, very friendly and helpful! The stability and handling that I got from this upgrade was mind blowing. The car now felt like it handled on a rail, and it was pretty flashy to boot. So naturally, I figured I would have to take some photos and call it a day.
-
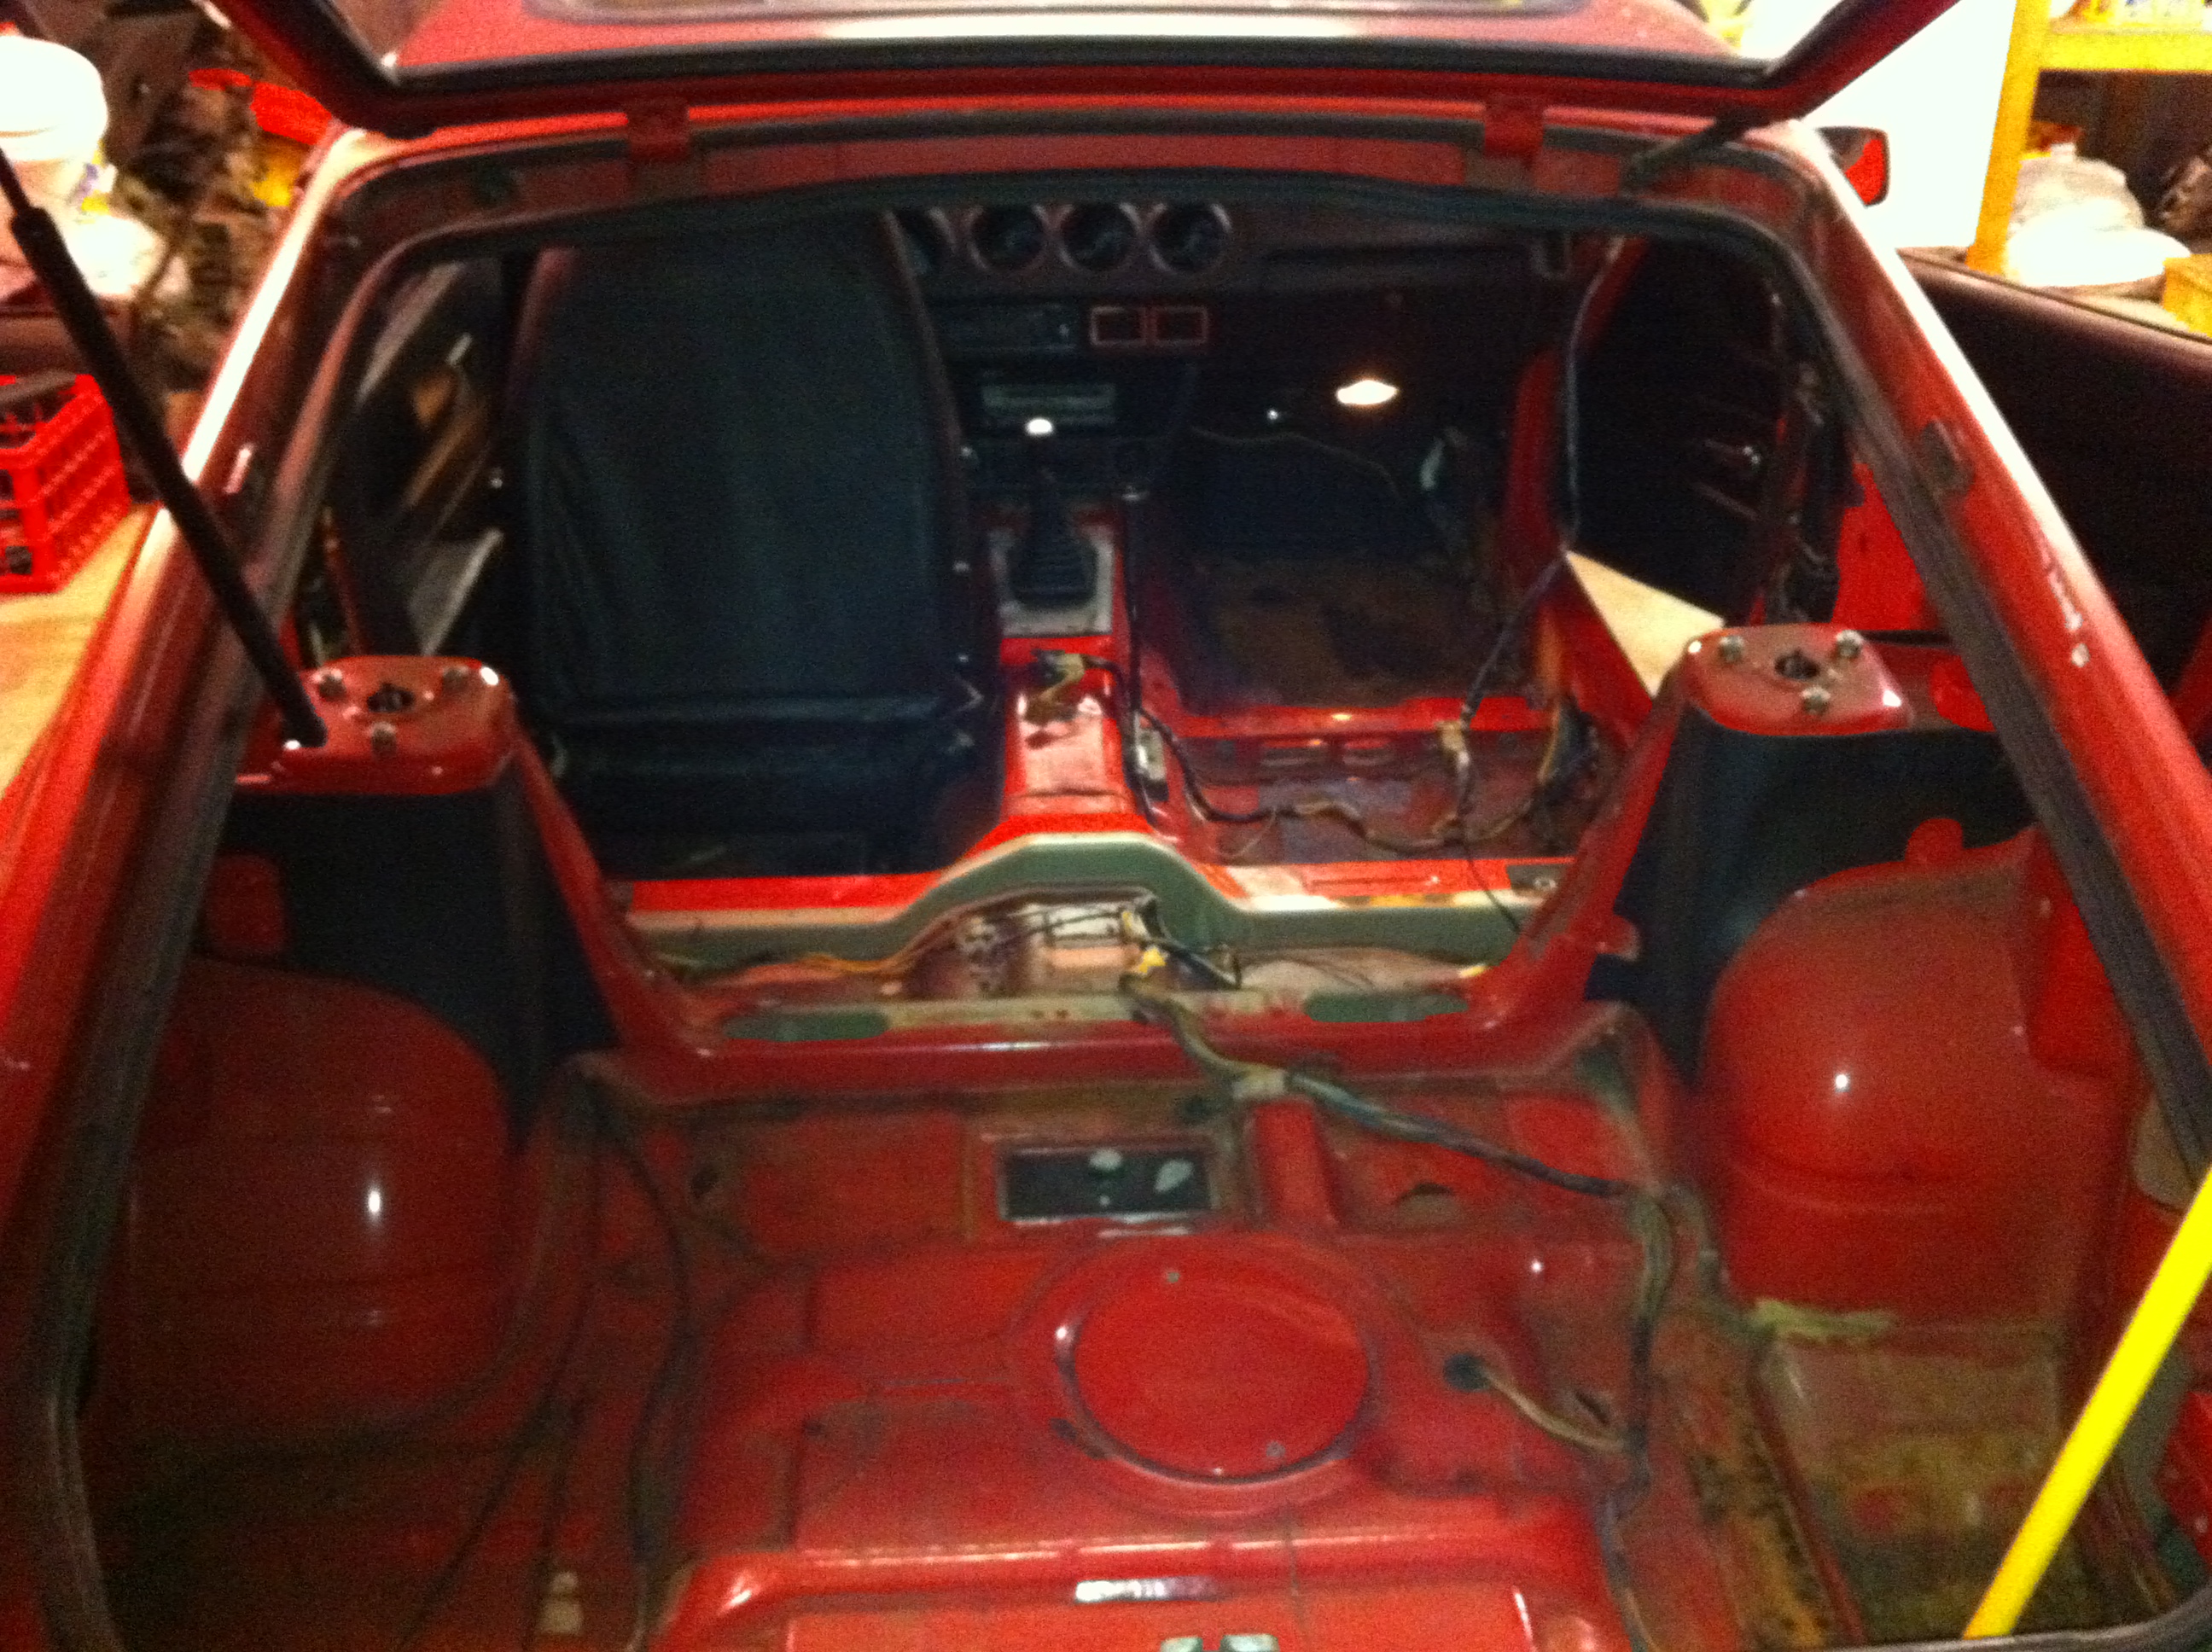
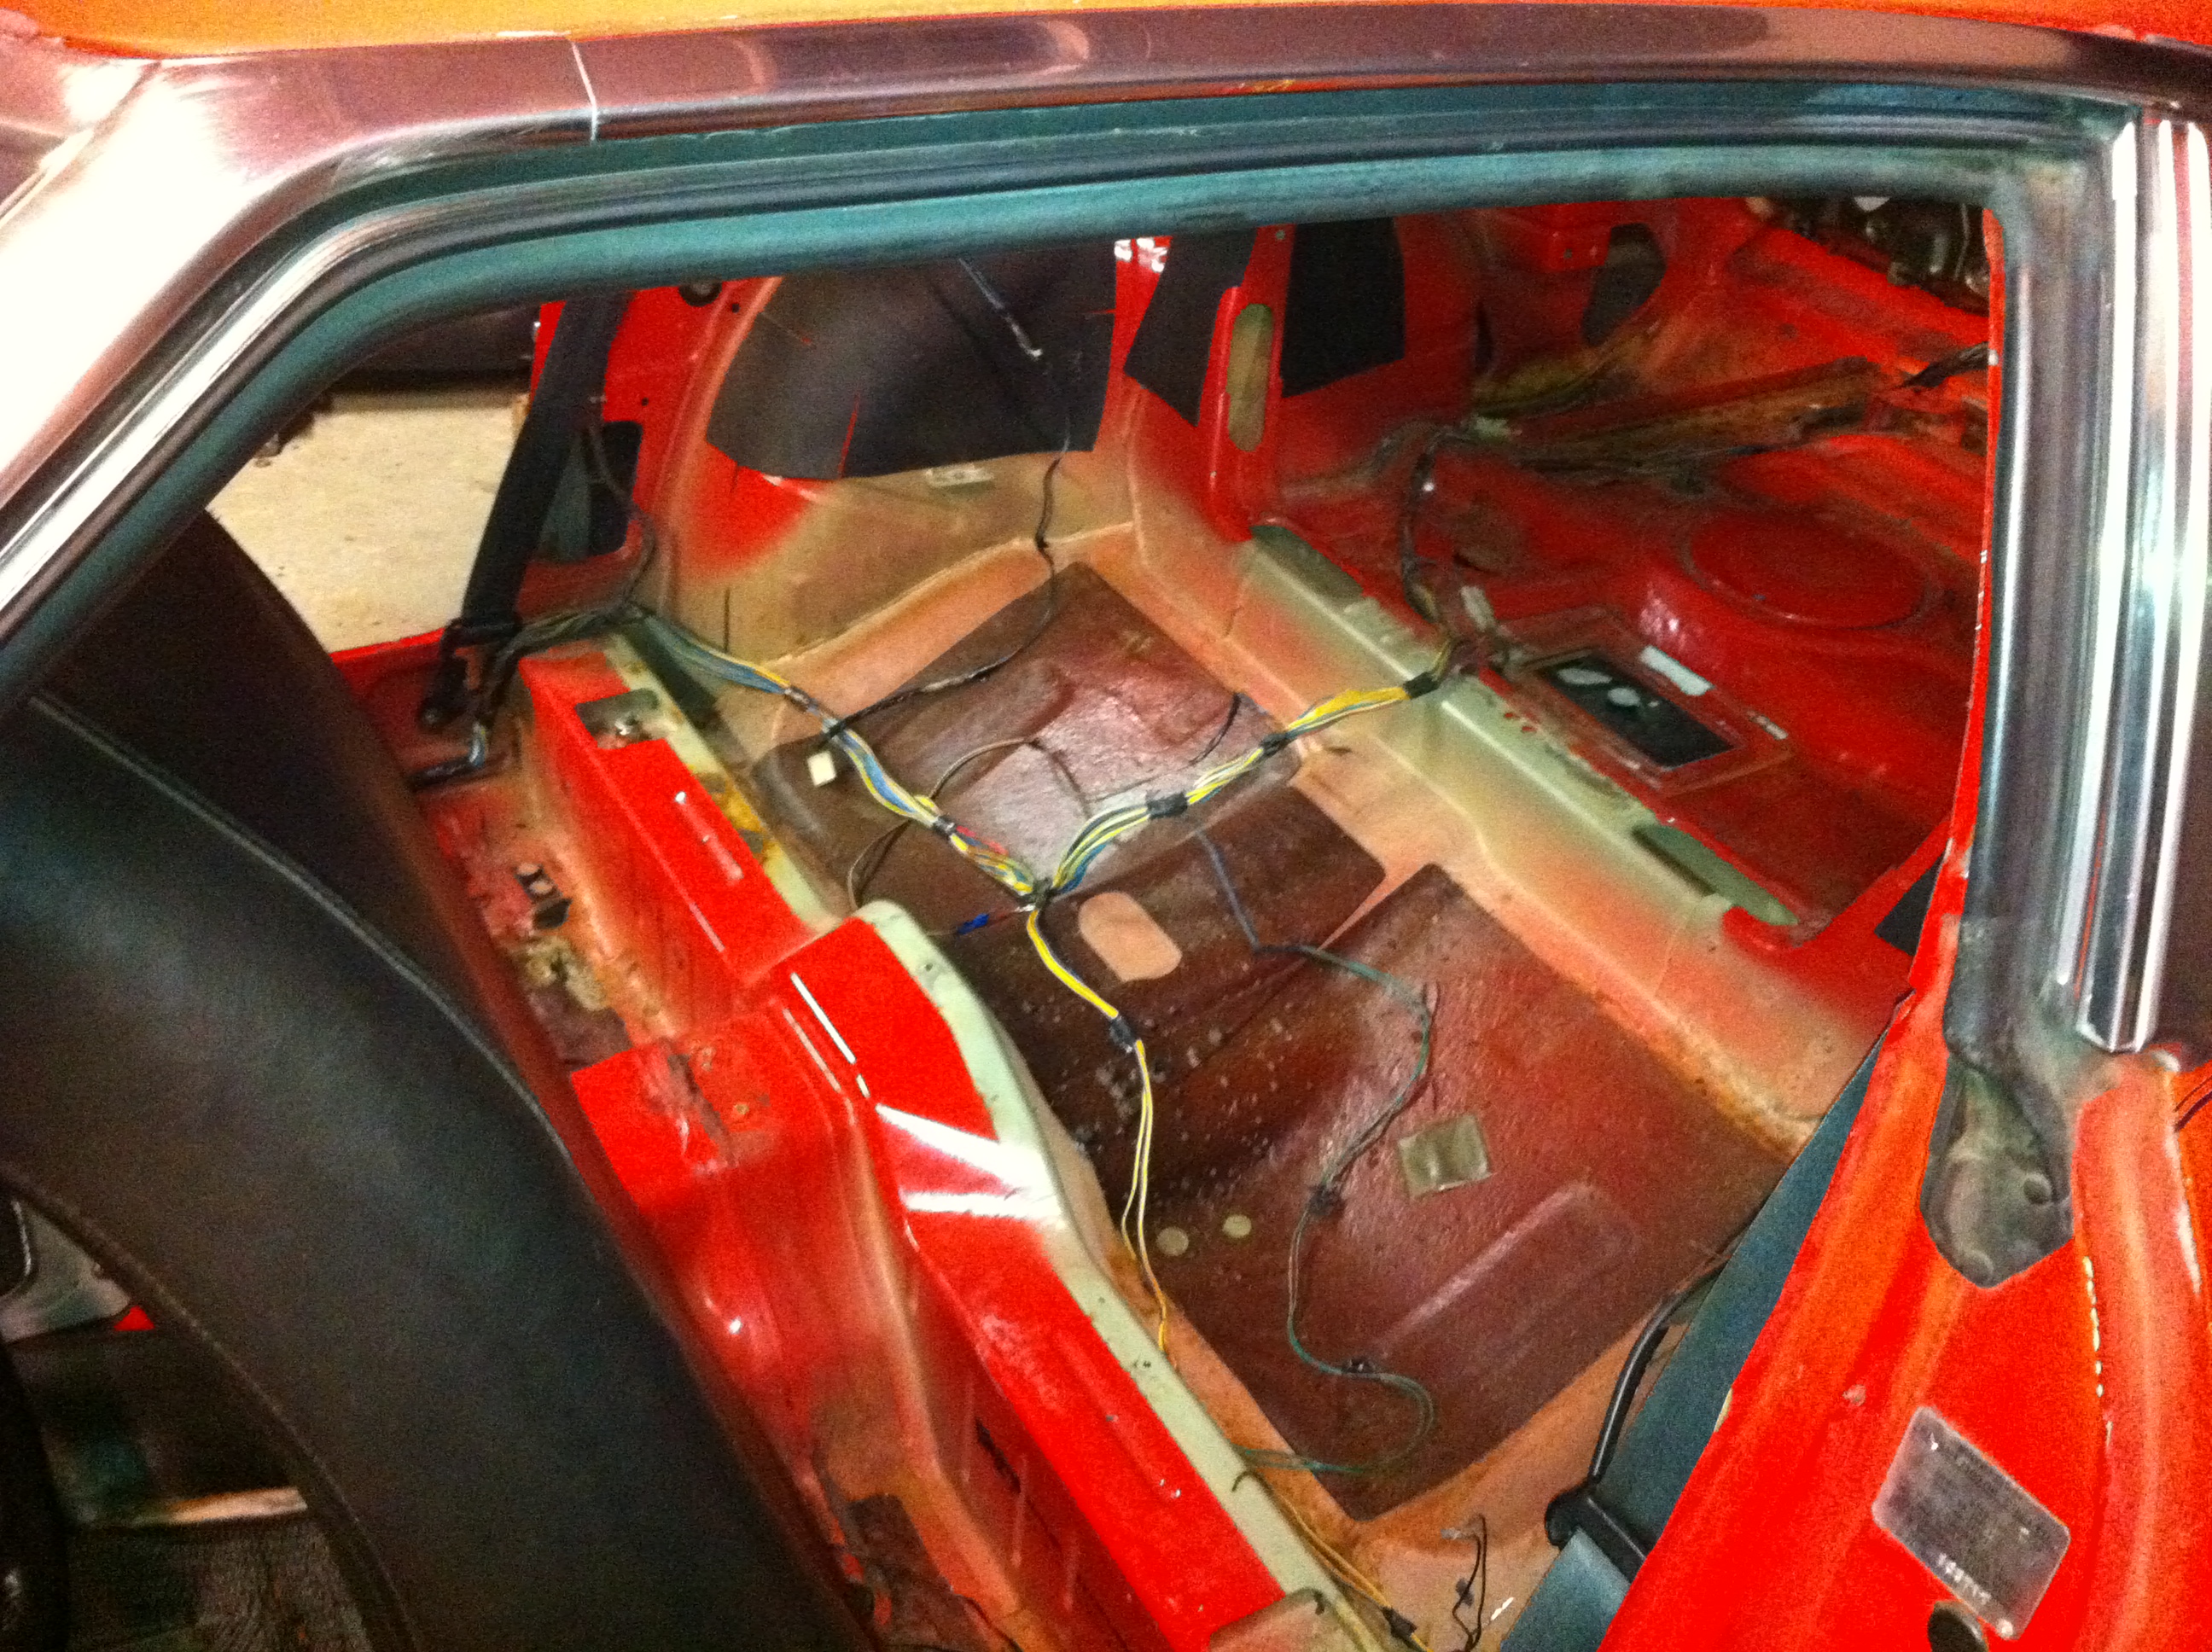
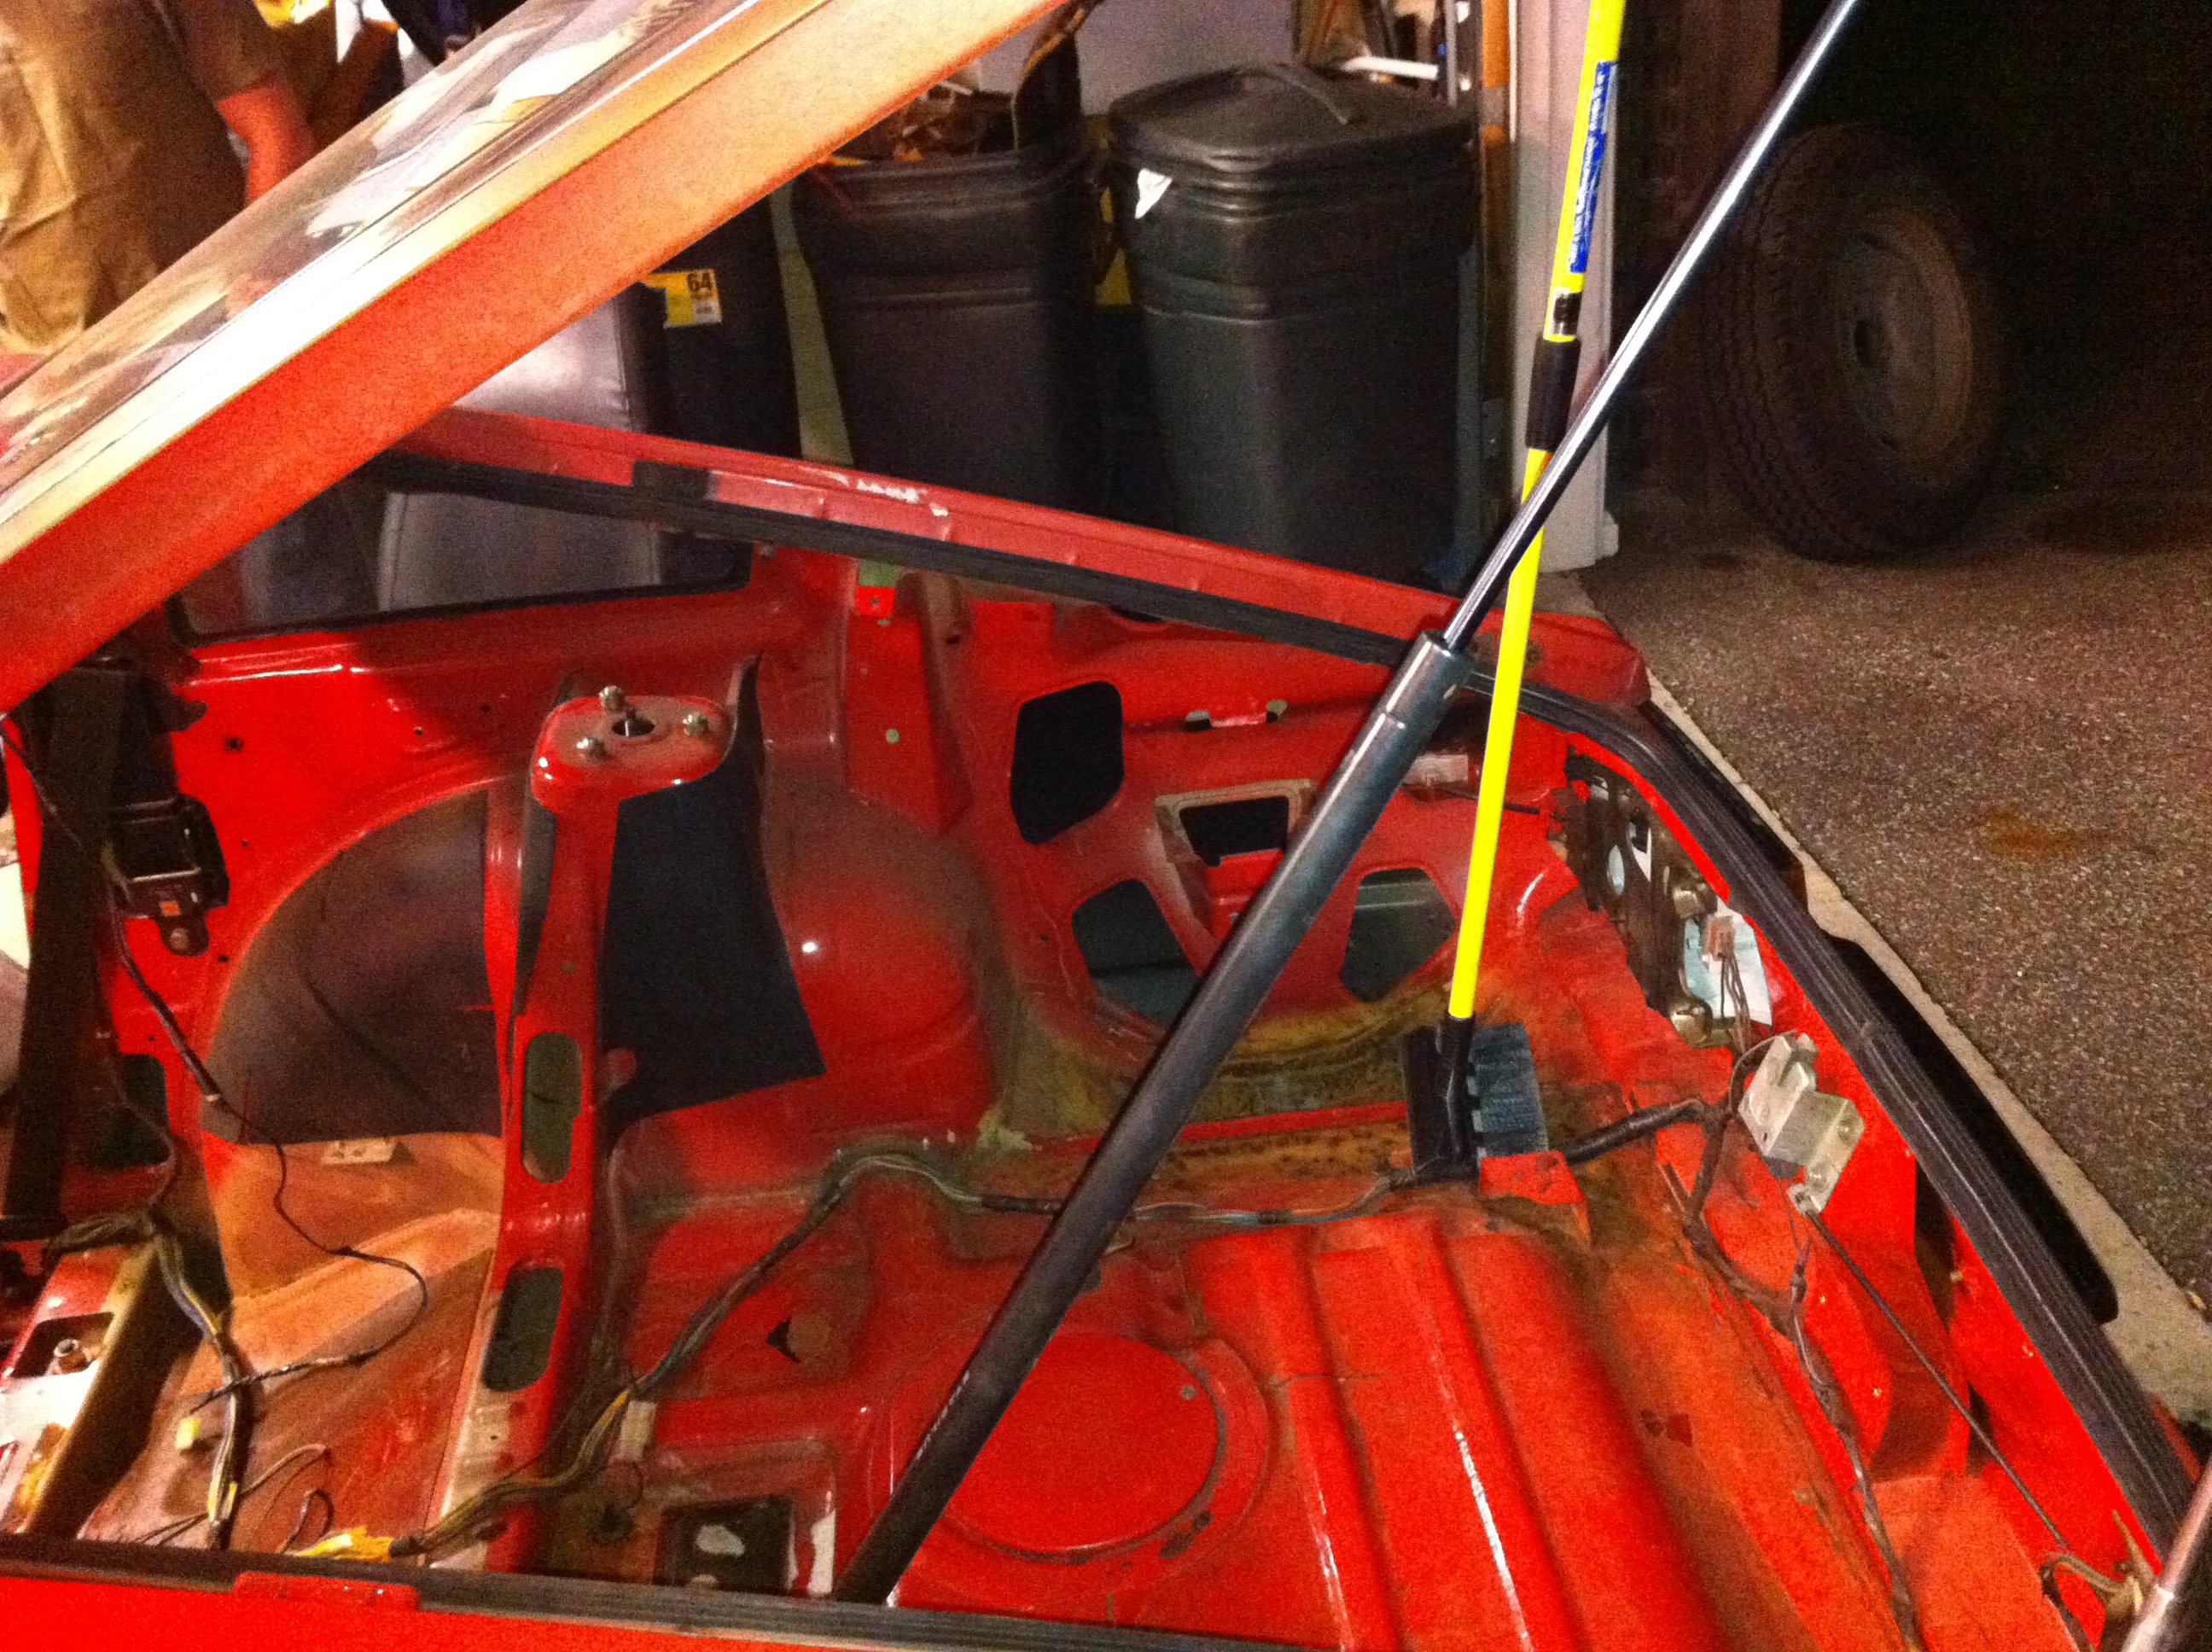
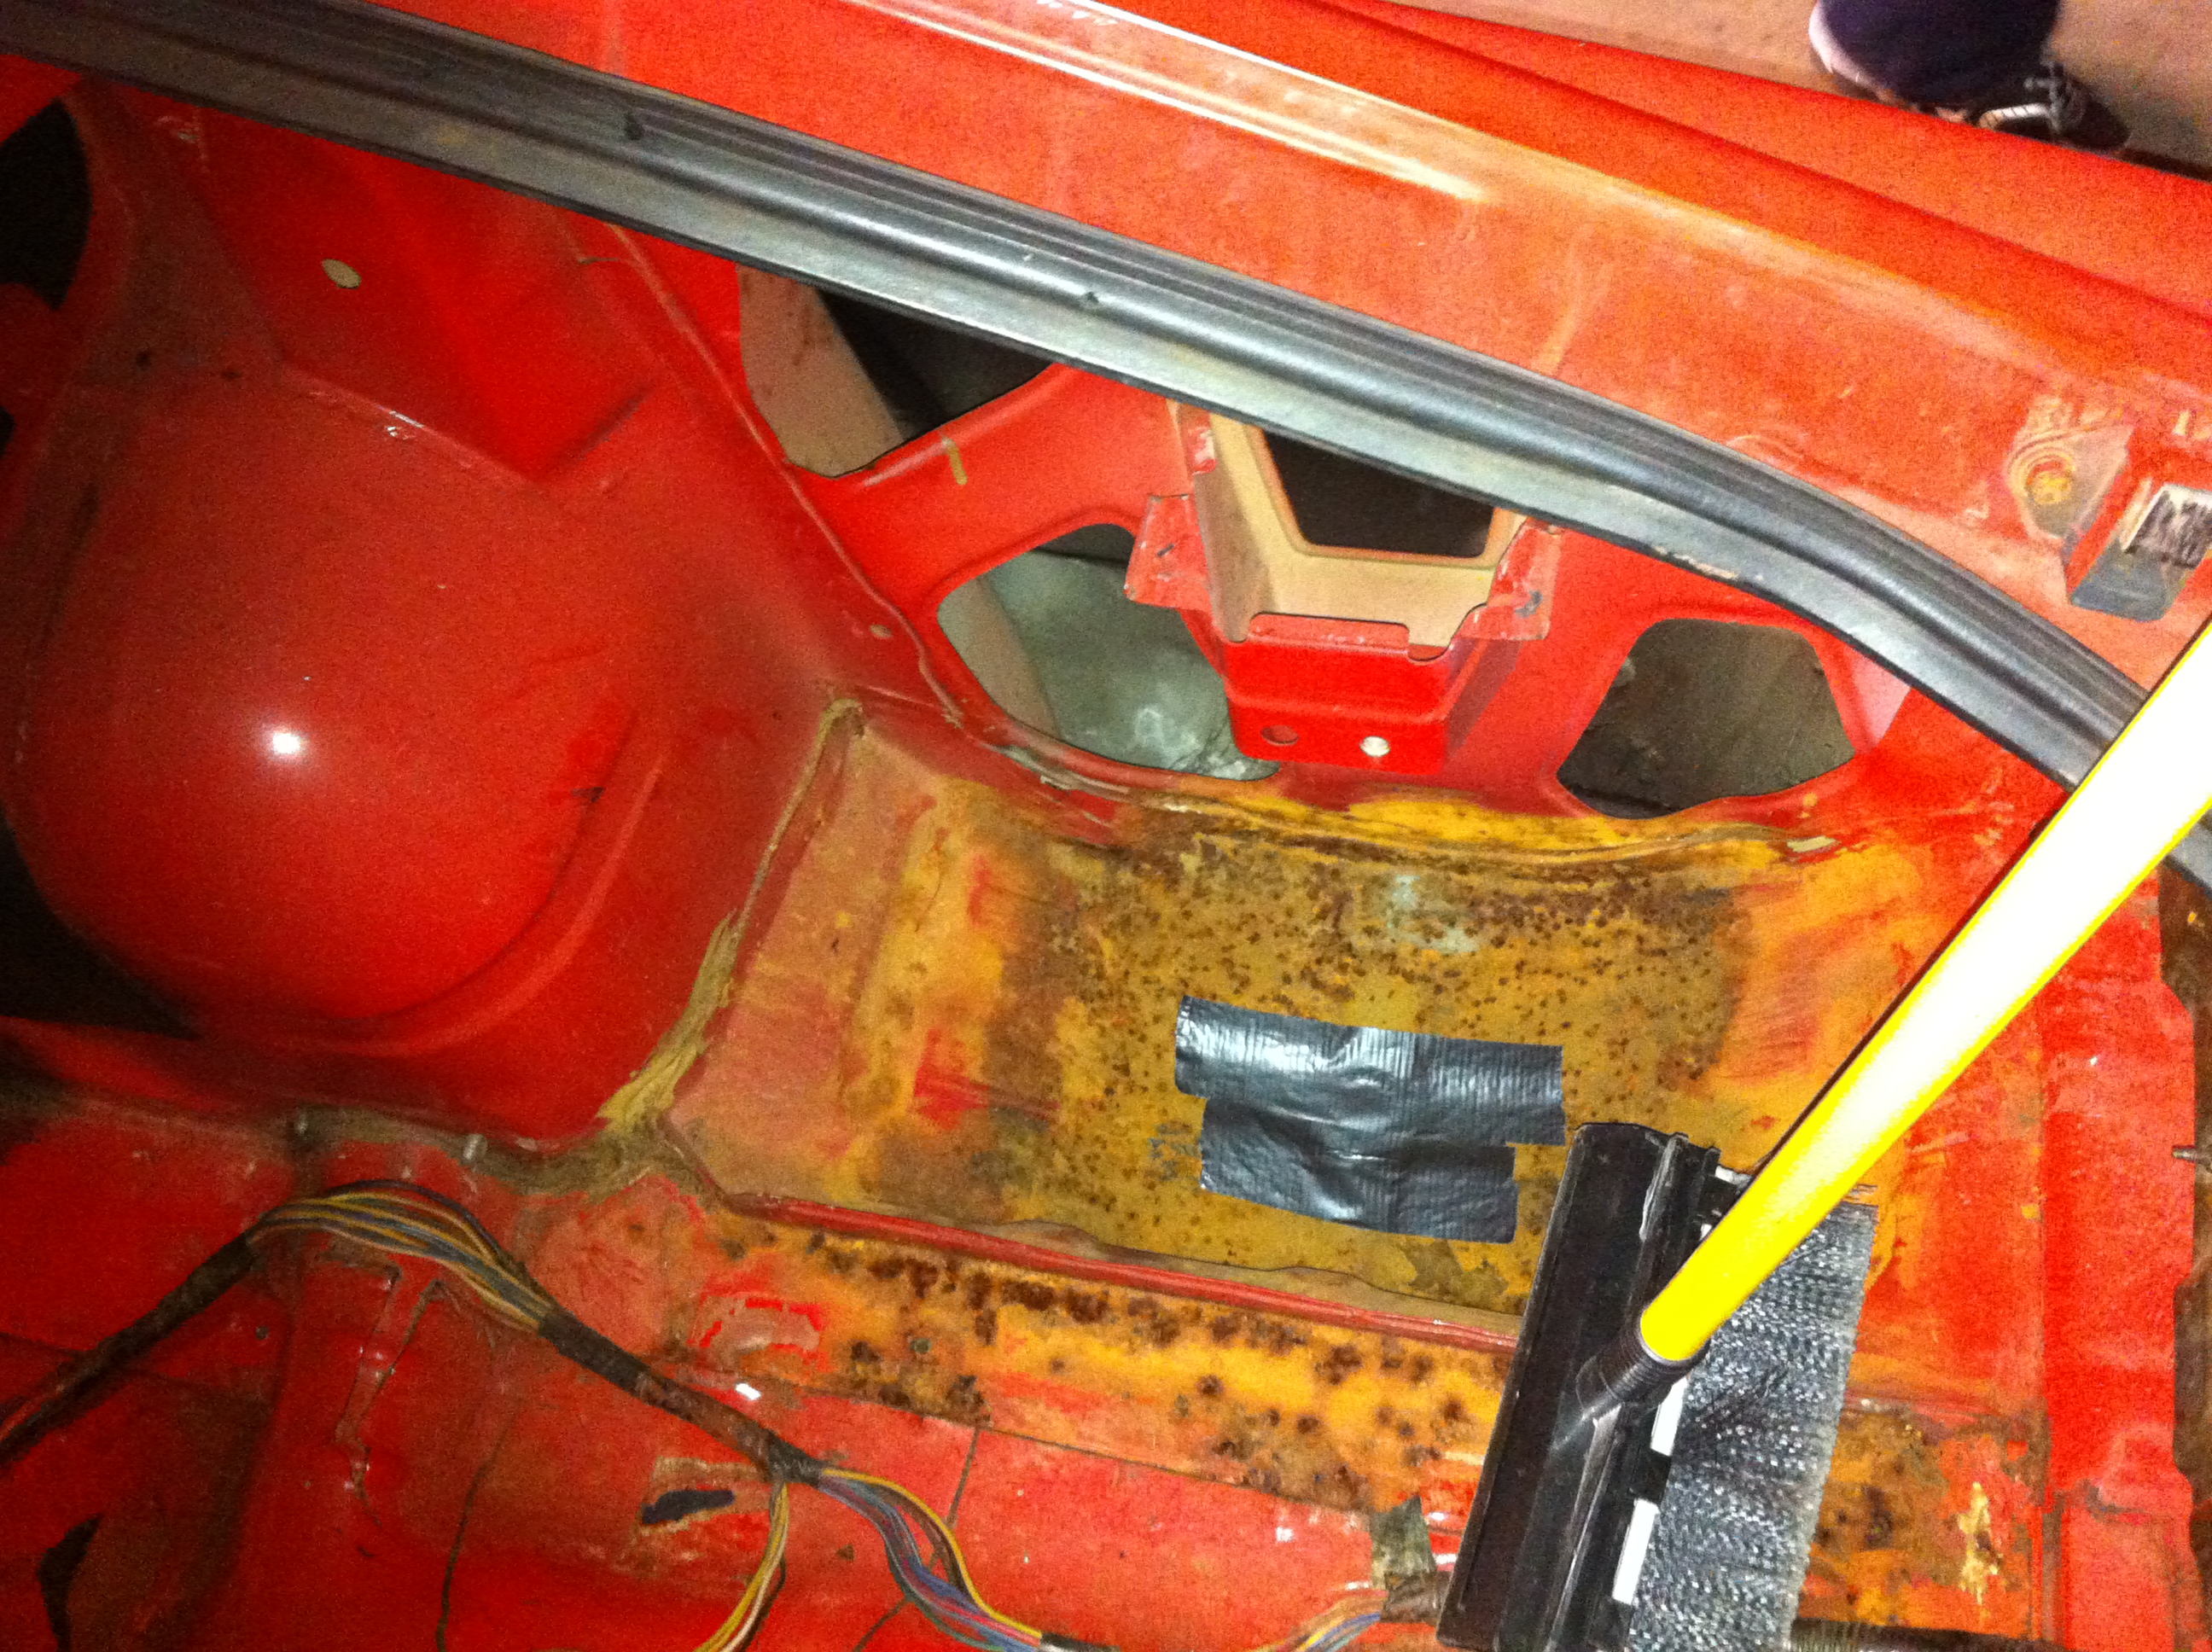
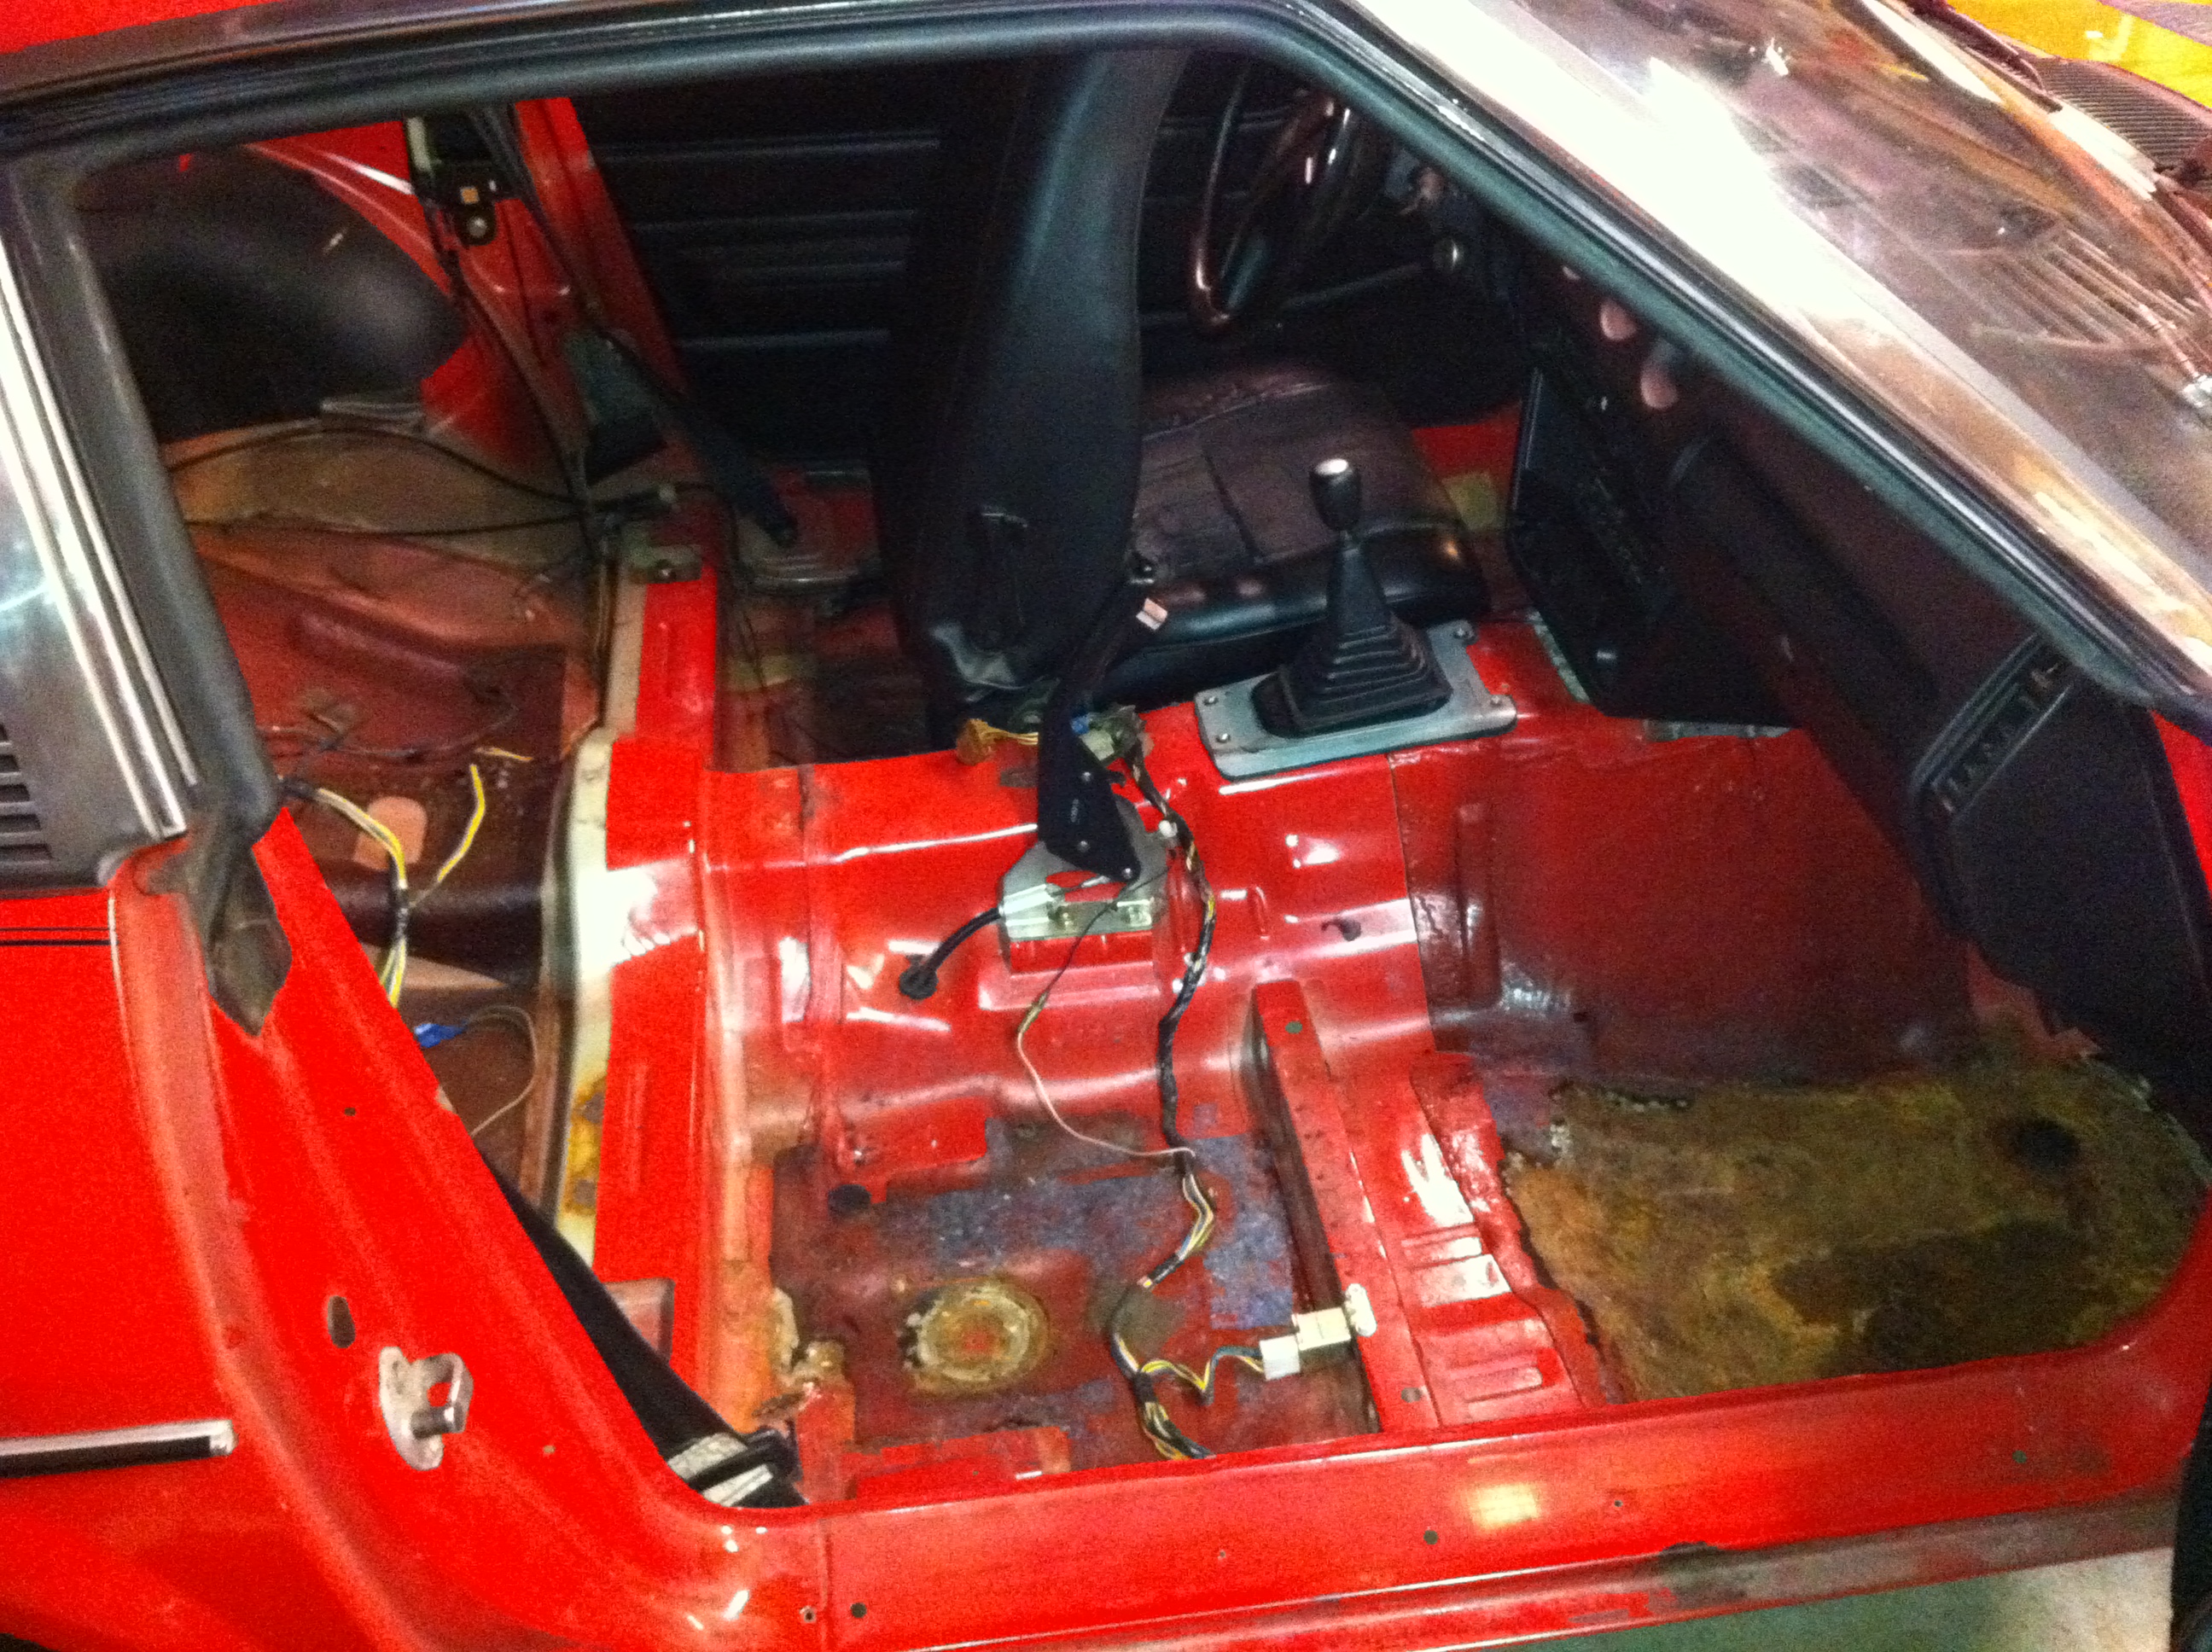
AND THE WORK BEGAN... First thing I did to the car besides SeaFoam and change all the fluids (car had sat for a while before I purchased it) was gut the interior. As to be expected, the sunroof leaked when it rained, and as a result the carpet was pretty much ruined, and I figured it would be good to go through the car looking for rust anyways. As you can see, I found some. I ripped out all the carpeting and tore apart the cracked dash to gewt everything down to the barebones car. I've since Ospho'd the rust and sprayed it with POR15.
-
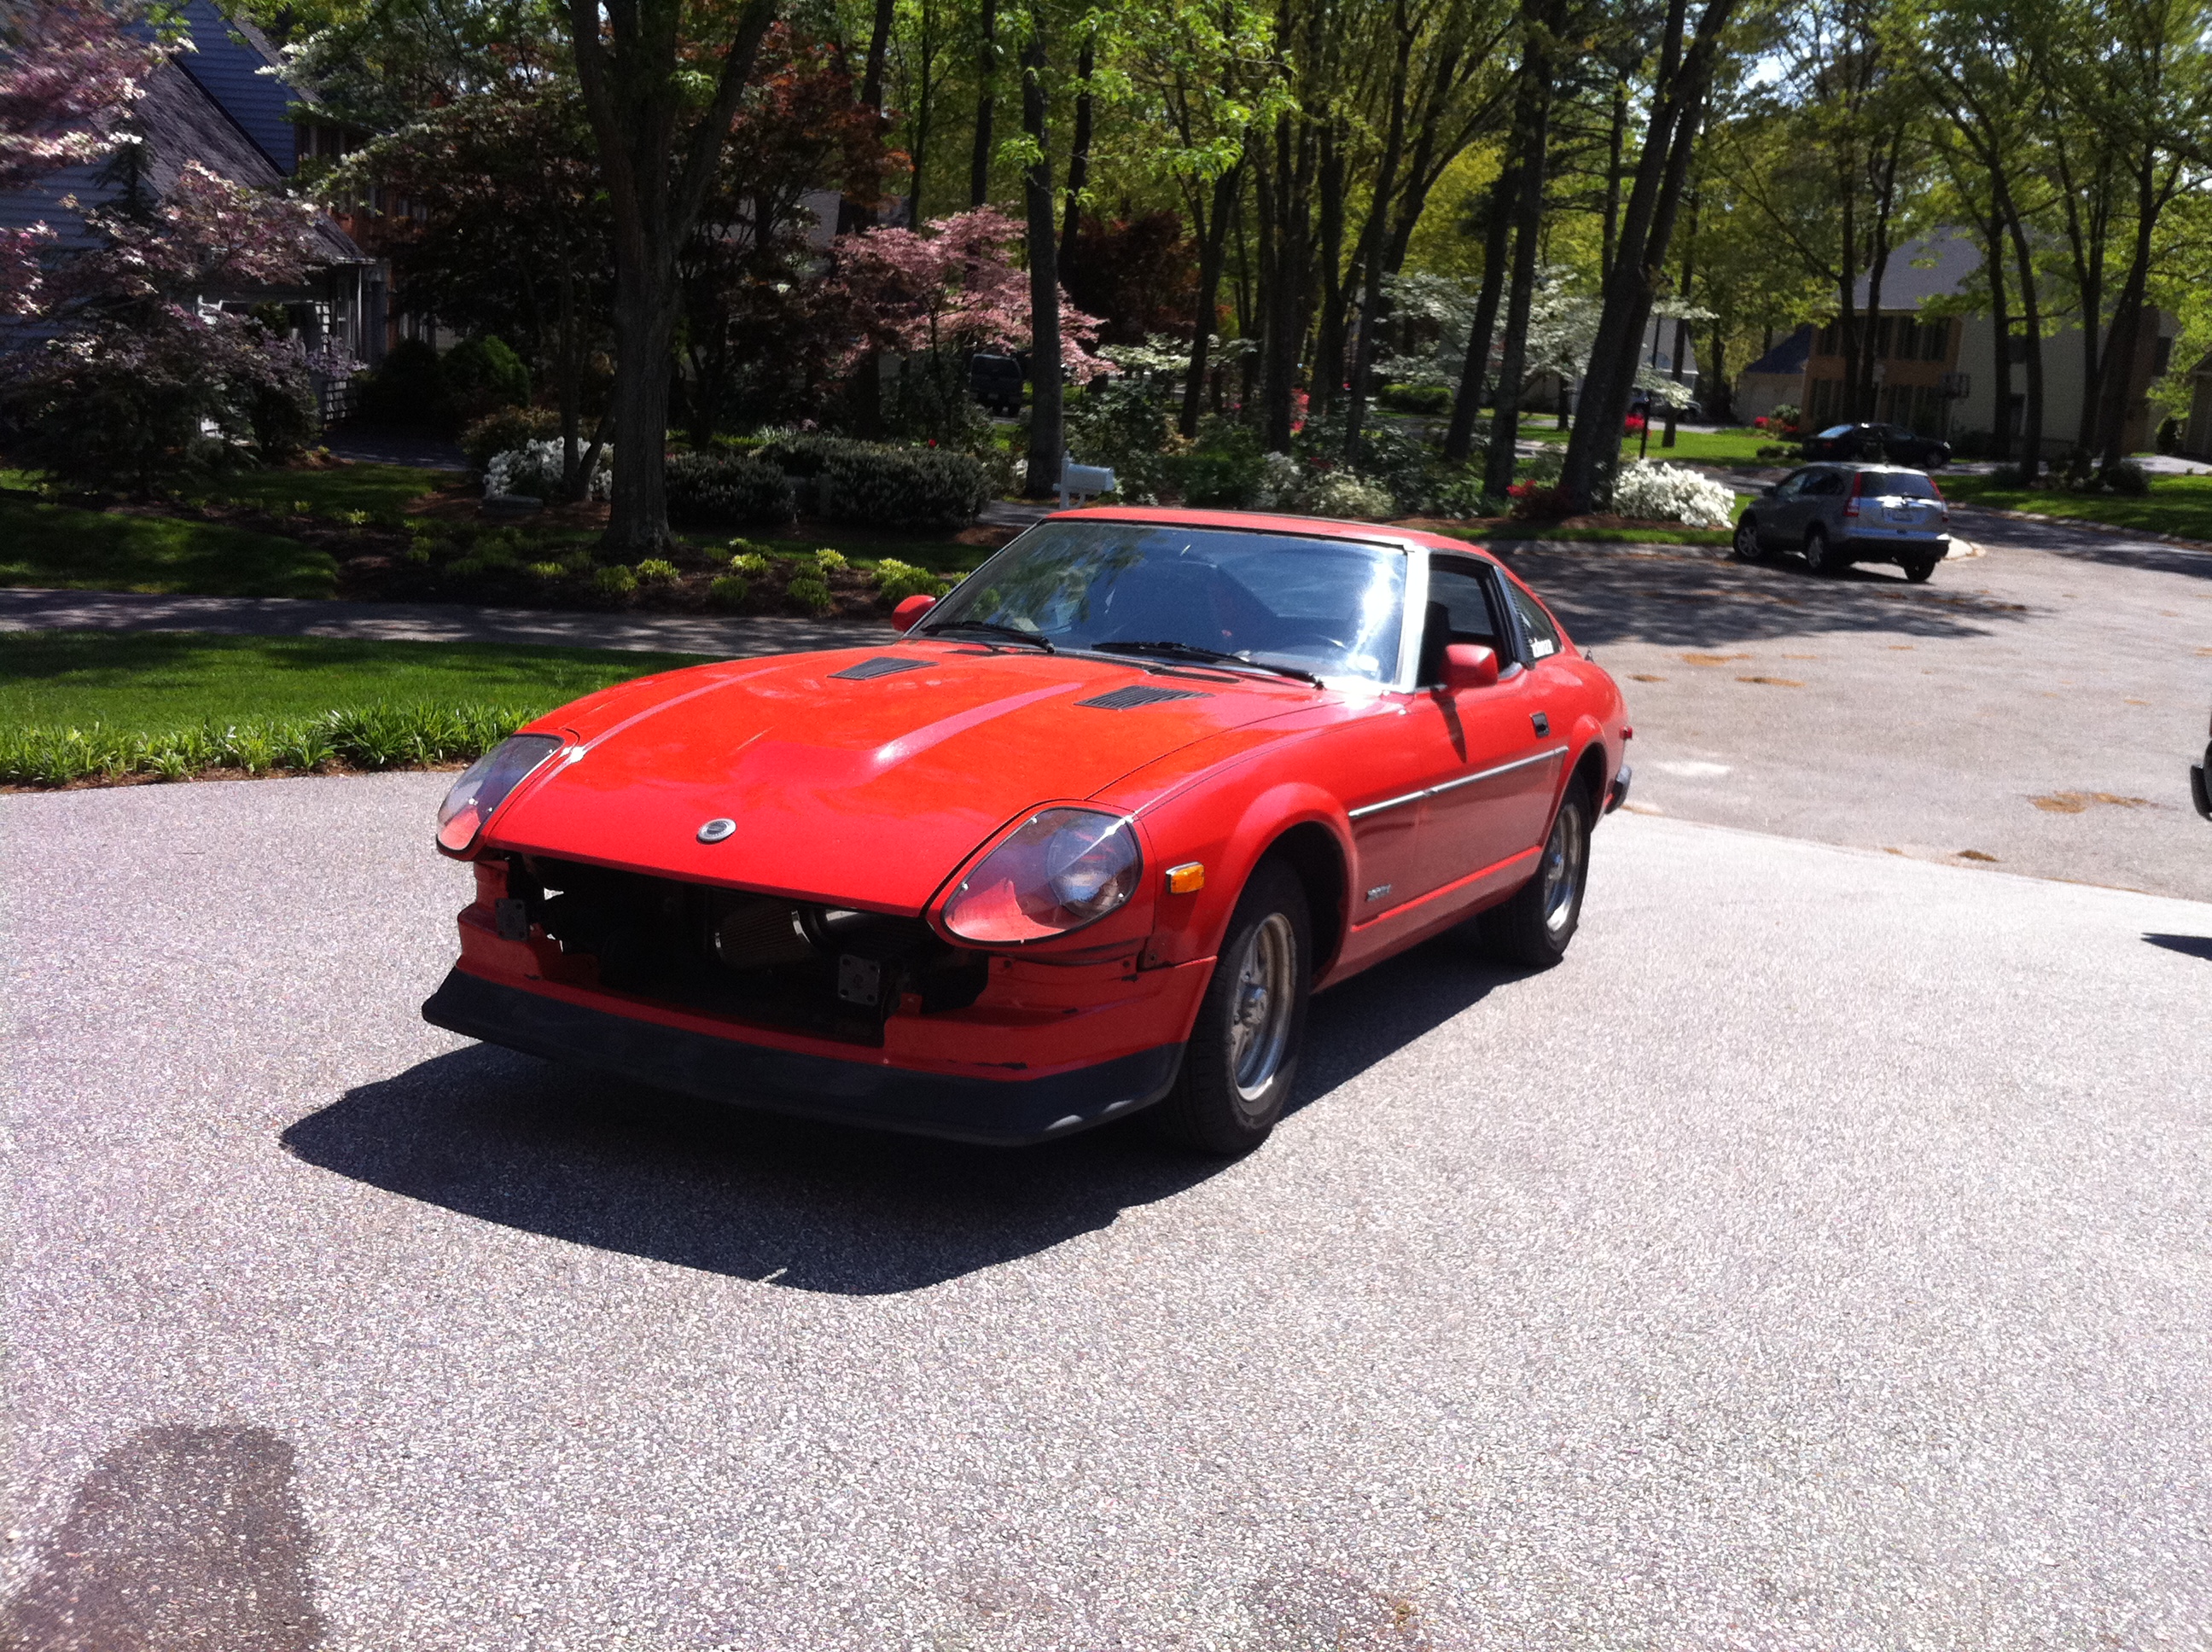
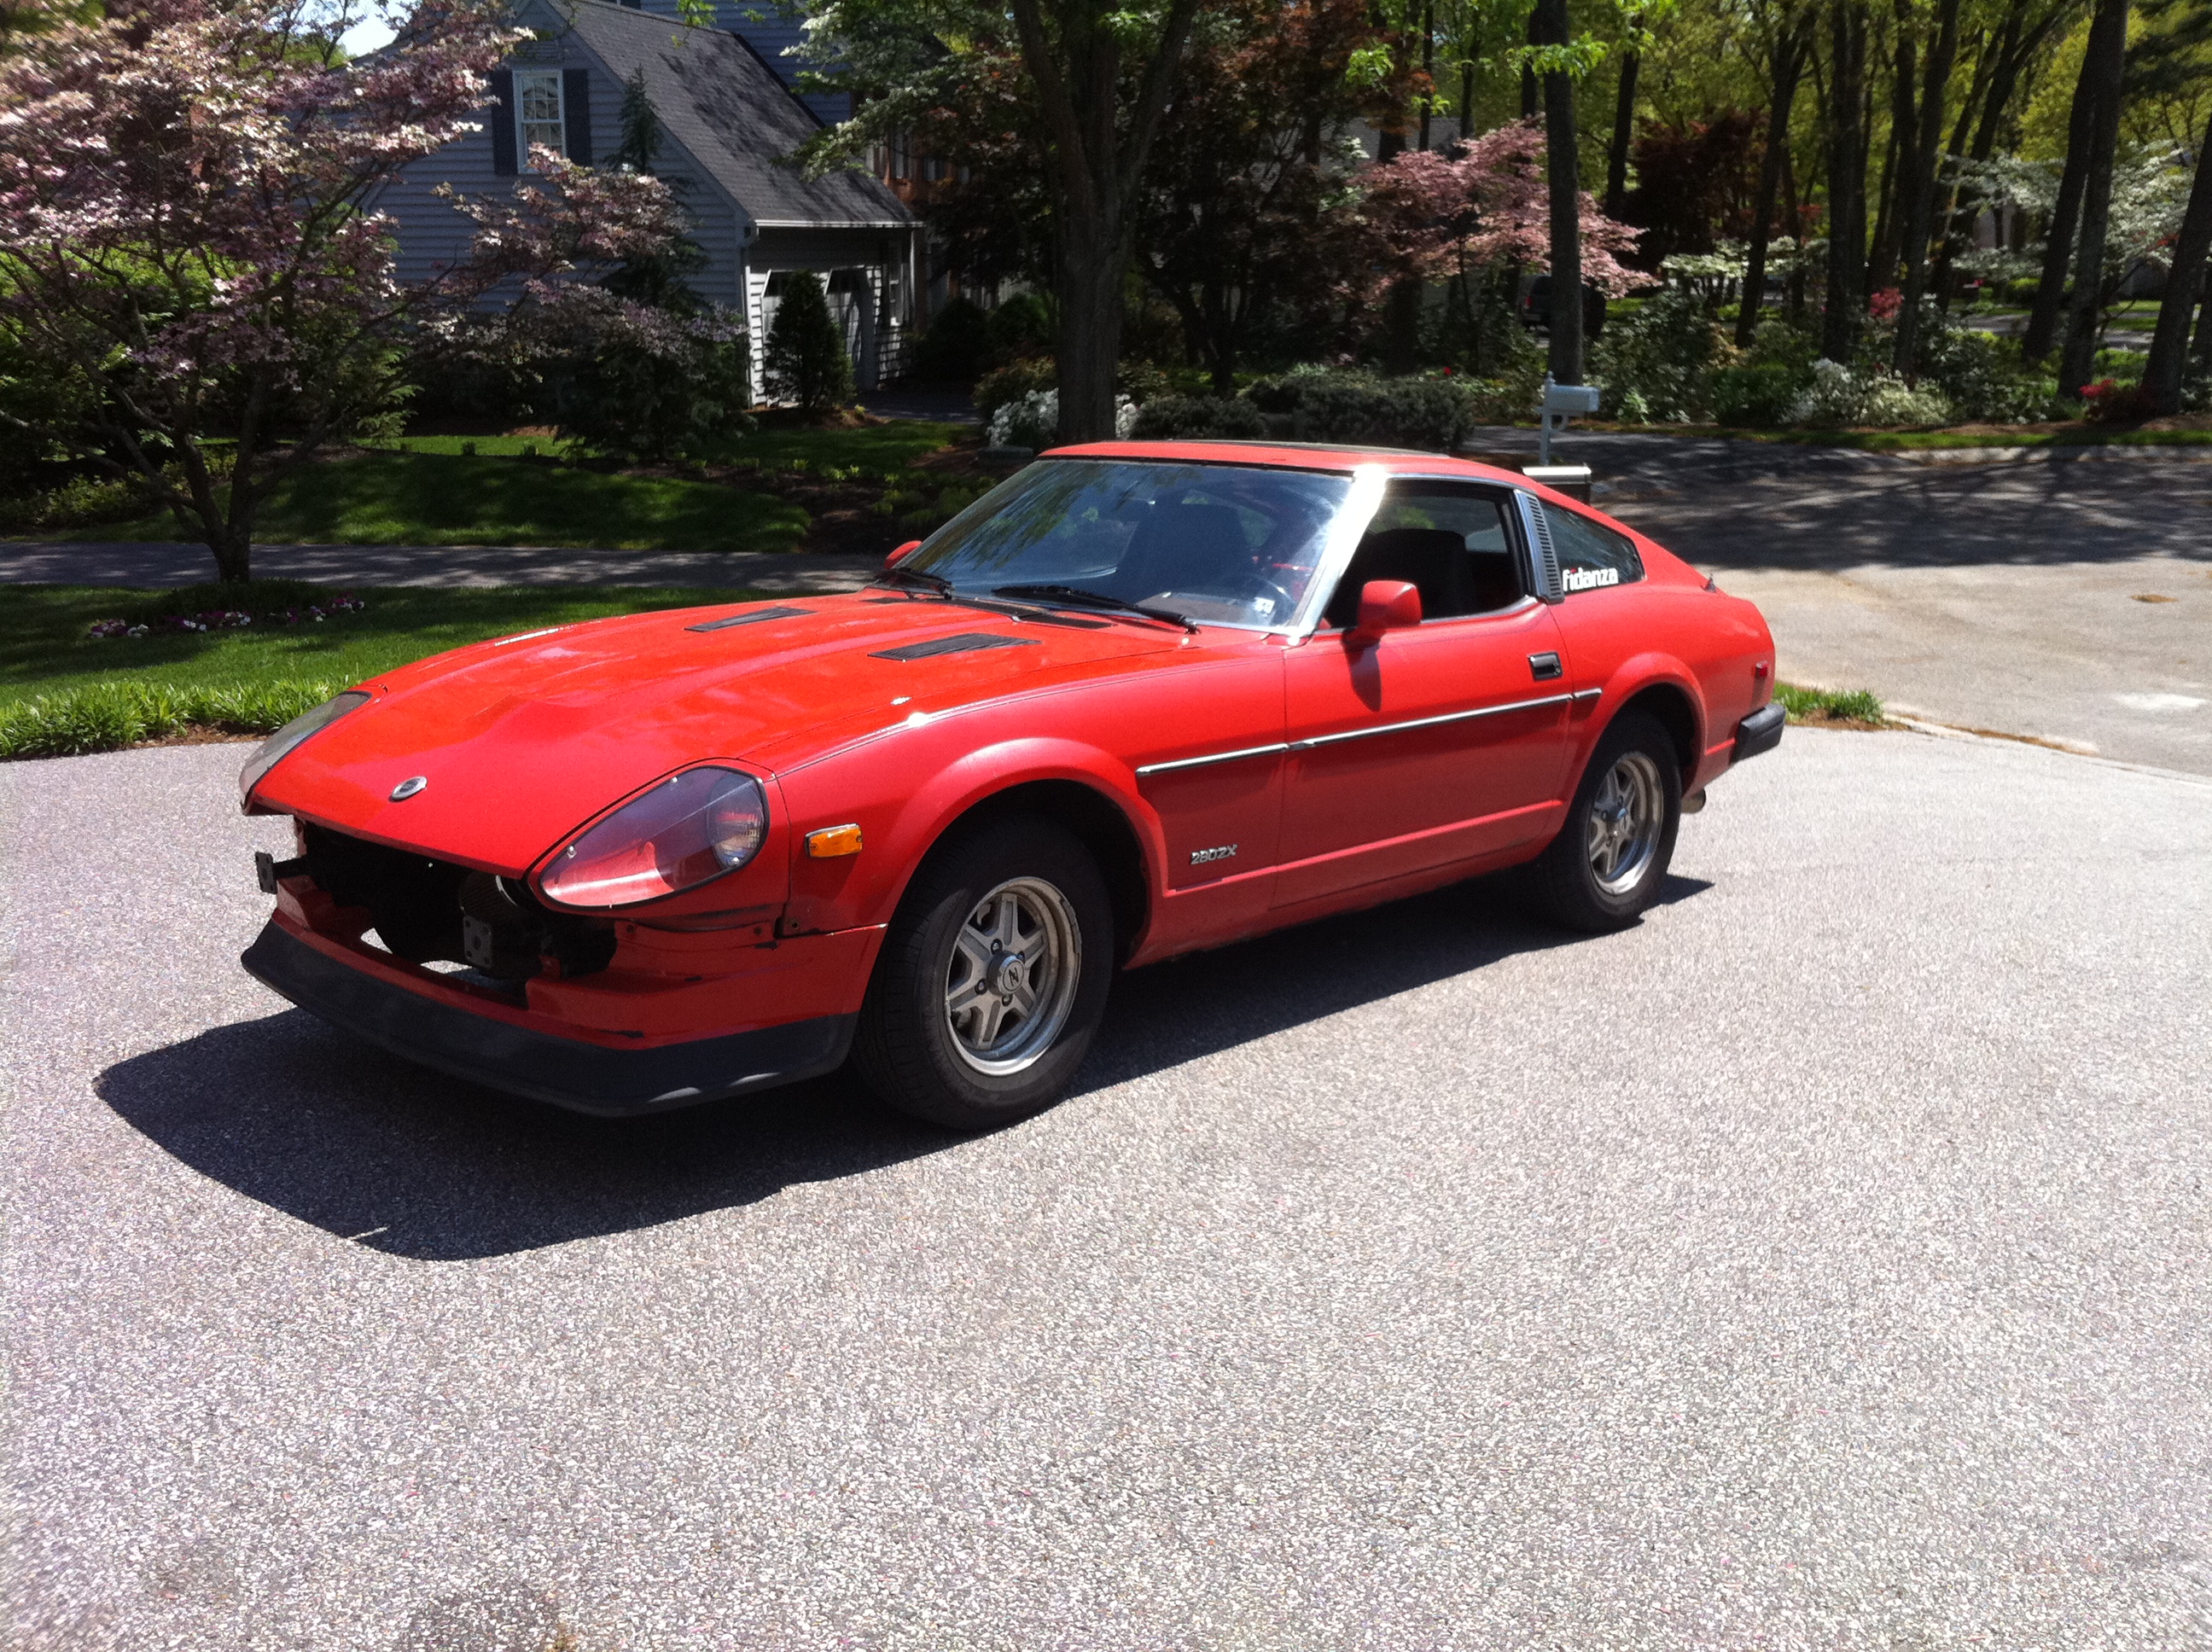
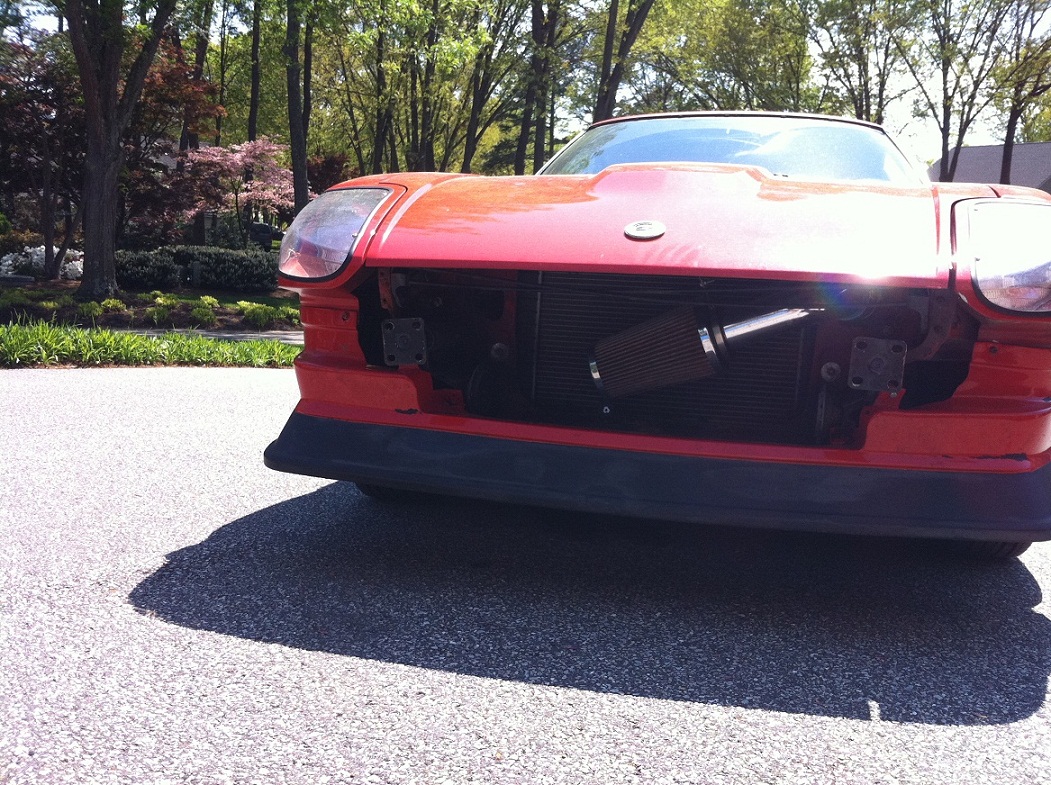
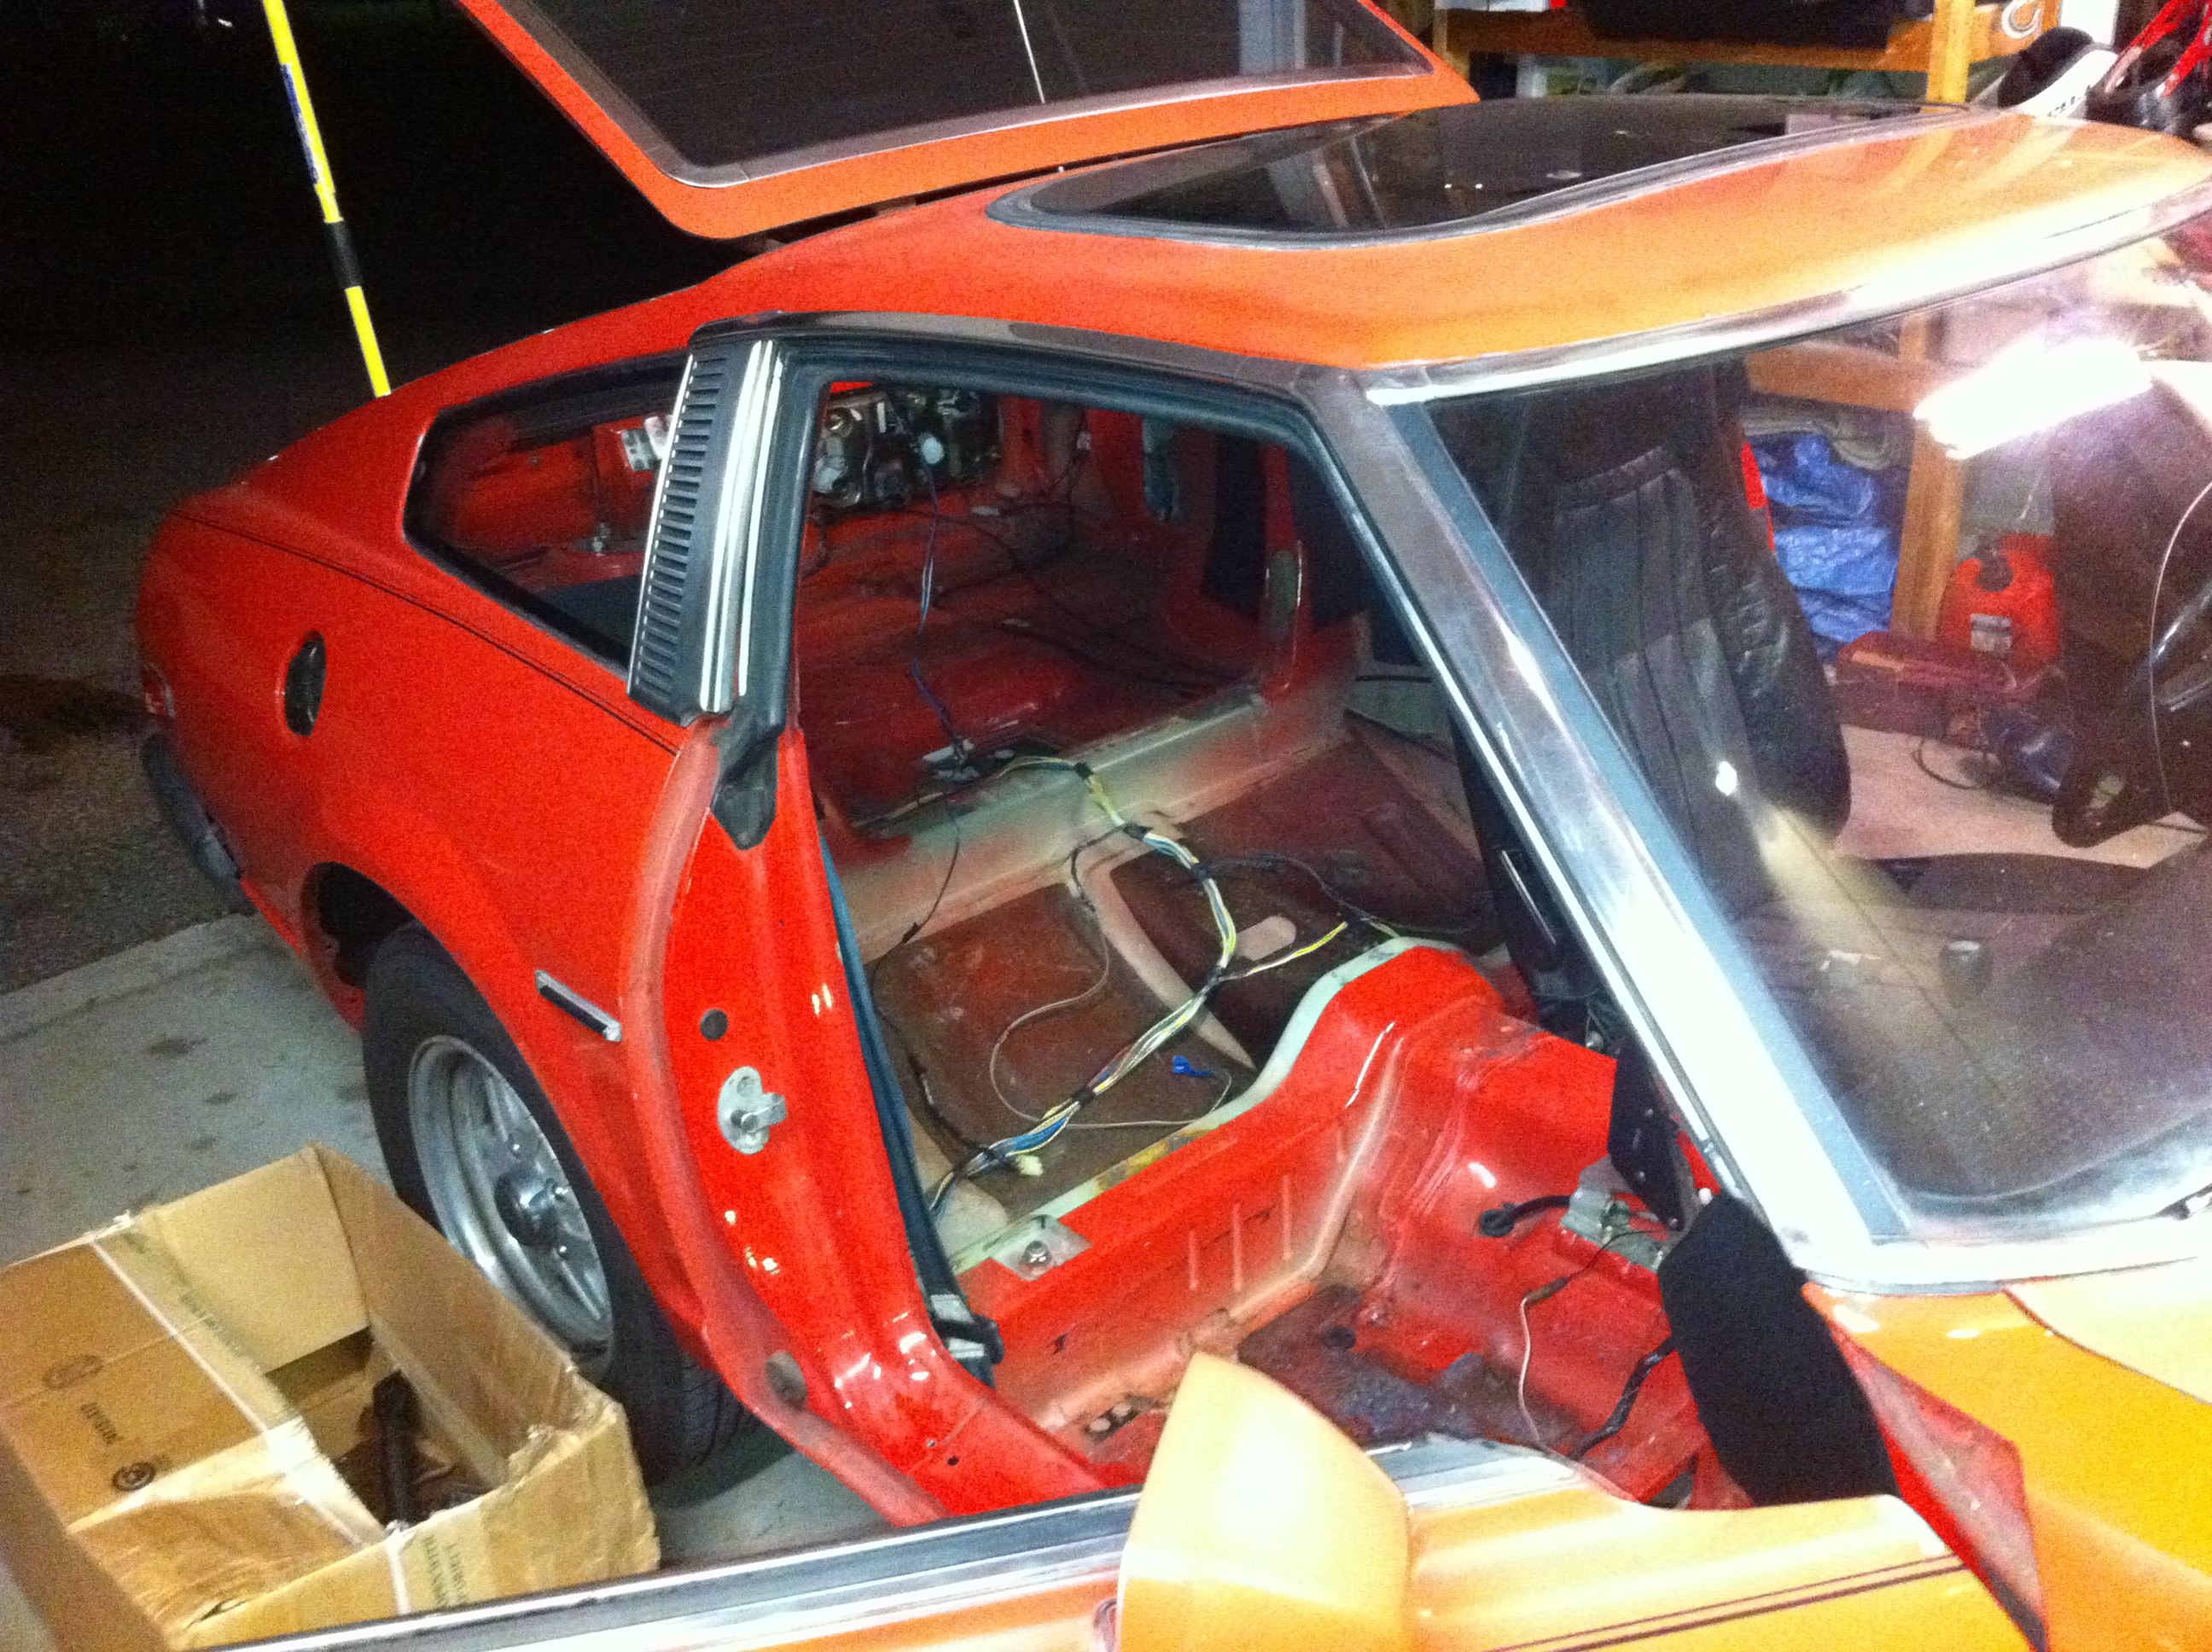
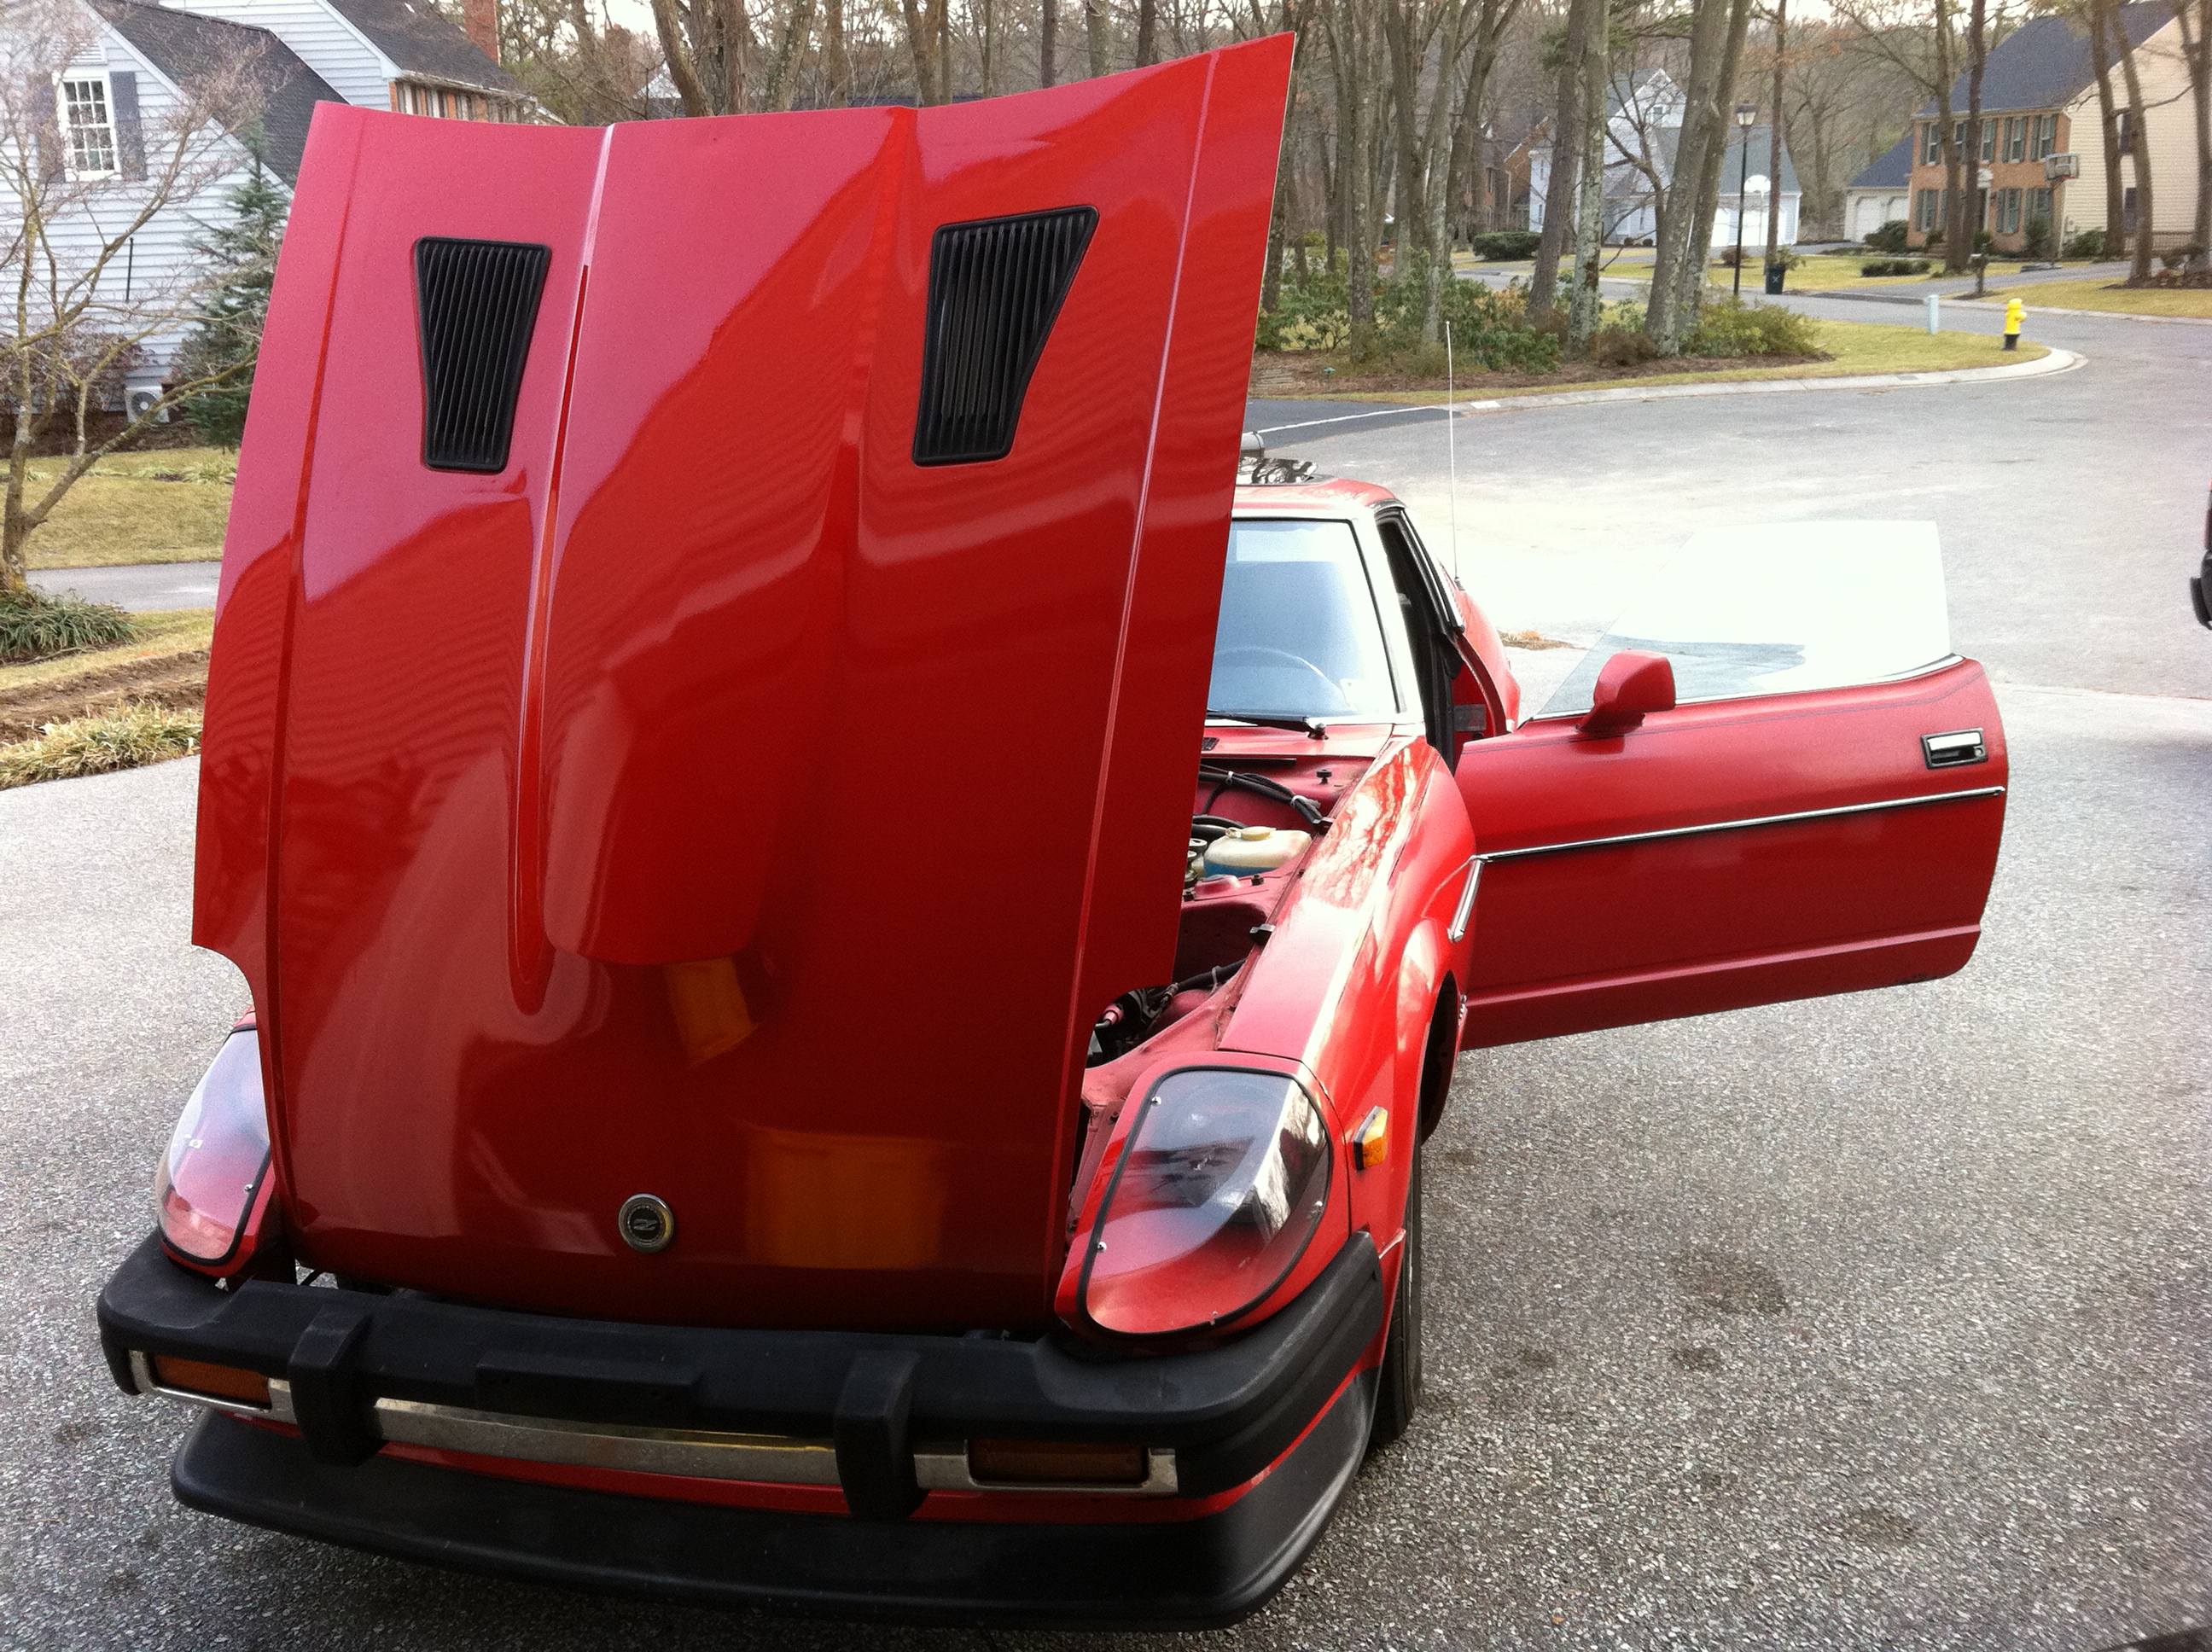
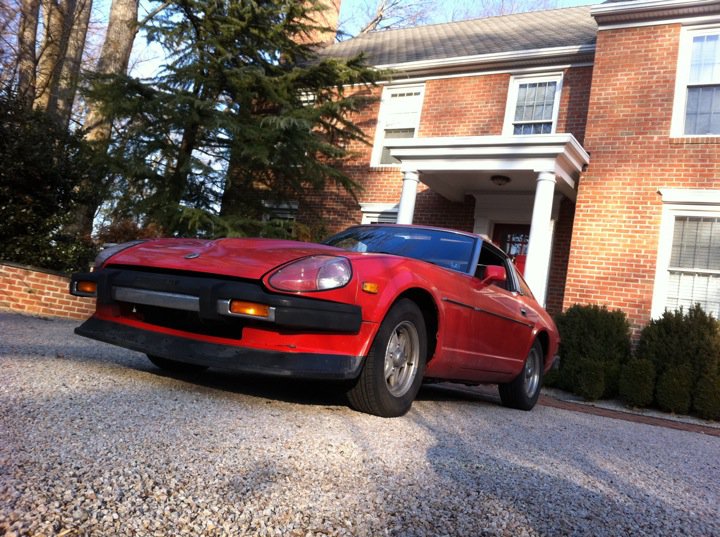
WHEN I PICKED UP THE CAR... It looked like this! I was very happy with the condition of the vehicle, and for $900 it seemed to be a fair price. The car only had 100,000 miles on it, and the only major drawback as far as I was concerned was the sunroof, which will be eliminated before too long. The previous owner had planned to do the JTR V8 swap, so he already purchased the V8 radiator and mount from JTR with a 16" electric fan, which was less than 300 miles old on this vehicle when I purchased it. He also tore up the front bumper, so he replaced it with an MSA urethane front bumper.
-
Hey guys, just wanted to find a suitable place to chronicle my LT1 280zx build, and I figured no better place than here! Please comment and critique the build as you see fit, I'm always looking for ways to improve the build. GOALS: I want a car that will be able to run the 1/4 in the low 11s/high 10s, and still be an "economical" streetable daily driver. Obviously, economical varies from person to person. For me, that means being able to get 20mpg highway, which I hope to accomplish with a carb'd LT1/700R4 combo through a 3.54 R200 LSD. PLAN: Aside from the GMPP Carb Manifold and the headers, everything is gonna be stock to start with. I'm going with a Holley 750 Vac secondary for the carb to start, eventually moving to an Edelbrock 750 Mech secondary when the chassis is more rigid and the manual trans (T56 in a few years) is in place. Body is in good shape with some minor rust underneath. I'm going through and replacing all the bushings and suspension components, gutting the car, and making the frame/body as rigid as possible. Here's what I've done so far.
-
Hey guys, troubleshooting question for you. Here's what I'm looking at. My car was slowly running worse and worse, so I pulled it into the garage to go over everything a few days ago. I found out the culprit for my crappy idle and misfiring was a cap full of water that had corroded the connection. So after a new cap and rotor and wire brushing the contacts on the plug wires, it idled fine. HOWEVER, when I tried to drive the thing, it still felt like crap. I'm gonna guess its starved for fuel, but this issue started right after I replaced the original injectors with new MSA OEM injectors. If you have the time, I've got 2 videos below that I took of the car and the issues I'm having. You may or may not be able to hear the issue, because I've got the car running a 3-2 header straight into a 2.5inch pipe, terminated by a Vibrant black series muffler, so I know that it will be raspy and snap/crackle/pop a lot anyways. http://www.youtube.com/watch?v=ZktpZuFg1-M http://www.youtube.com/watch?v=5_TyAAwV8lc Any pointers you guys could give me would be wonderful. I'm guessing I need to replace the fuel pump, but would like a little more confirmation than a hunch before I start dropping money on this issue. Thanks! Matt