Search the Community
Showing results for tags 'camber plate'.
-
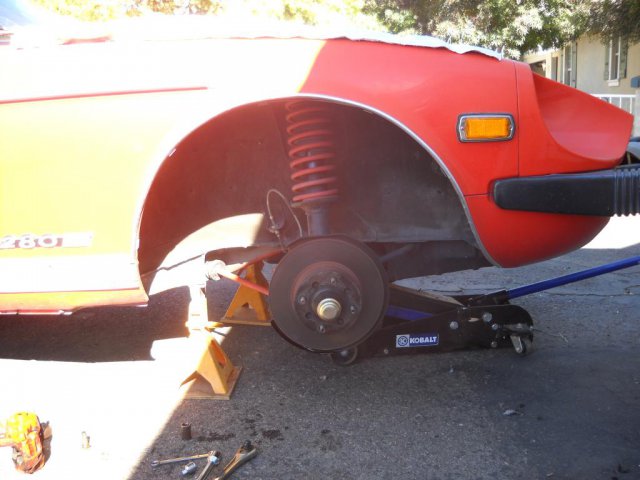
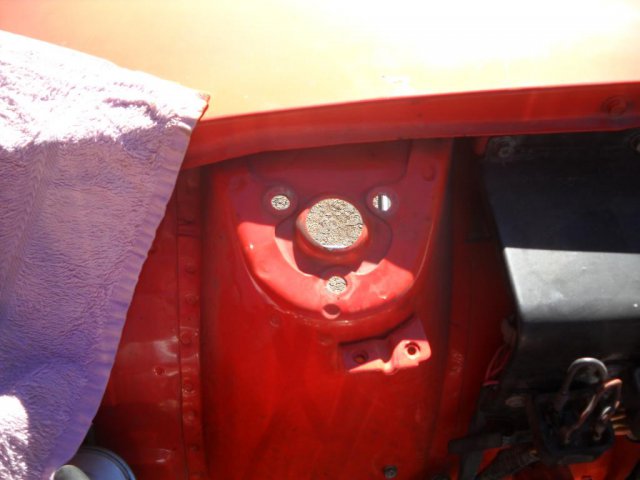
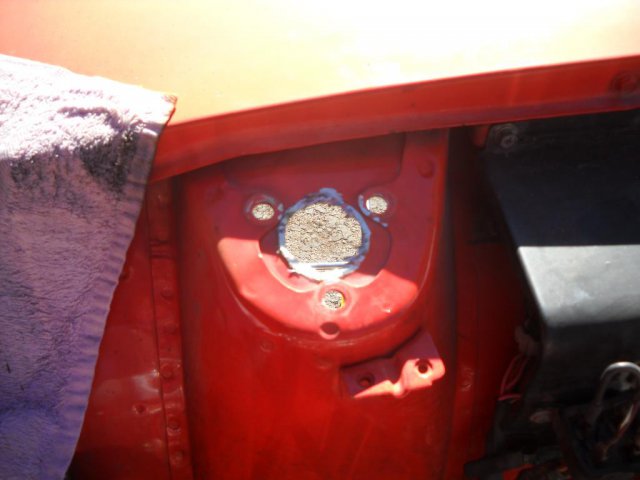
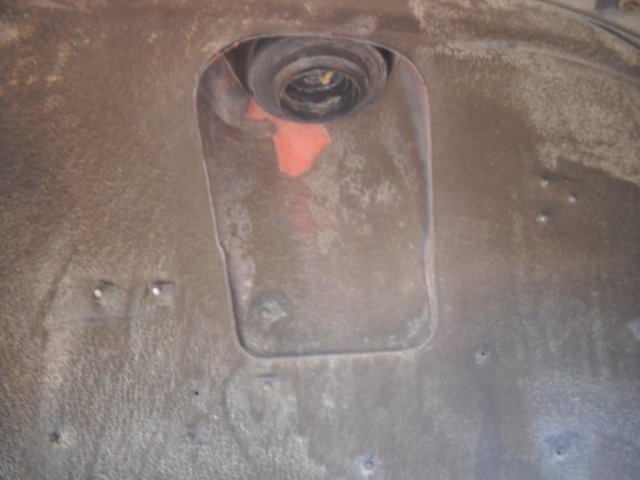
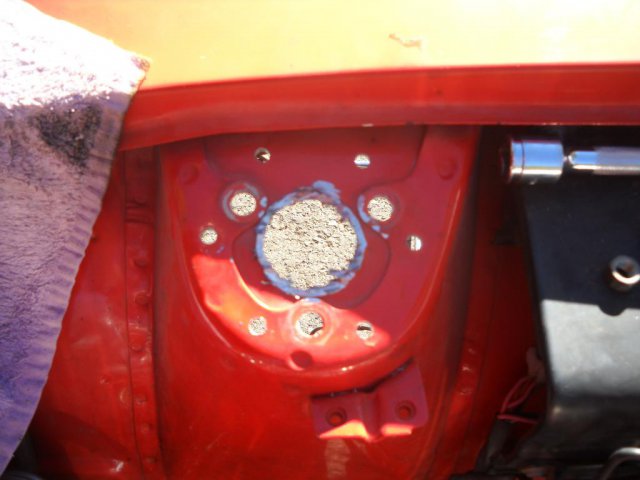
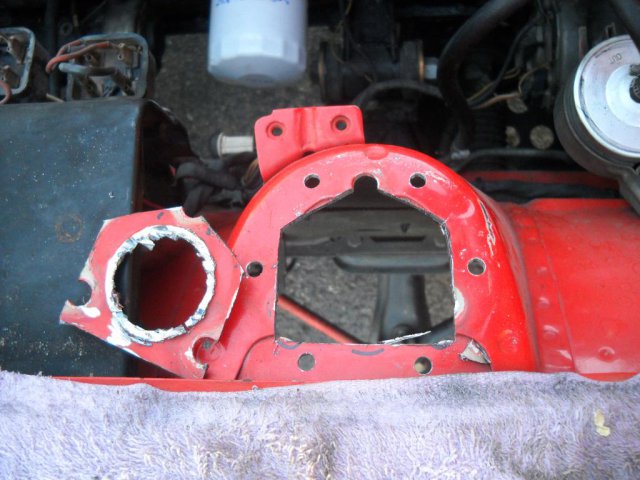
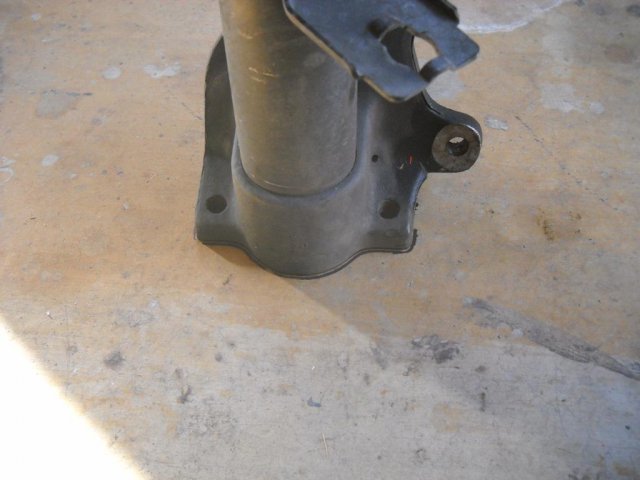
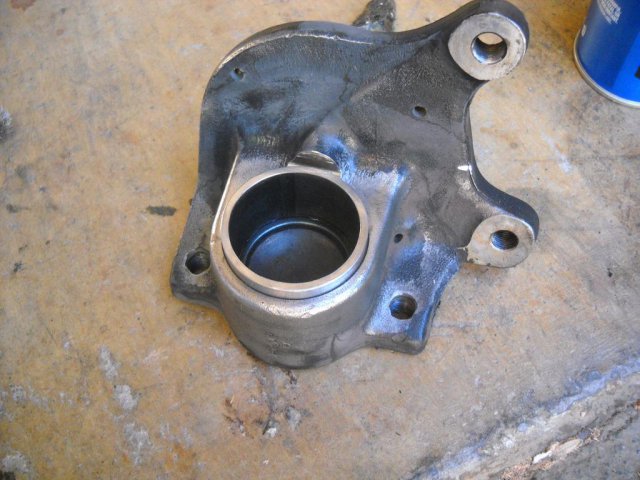
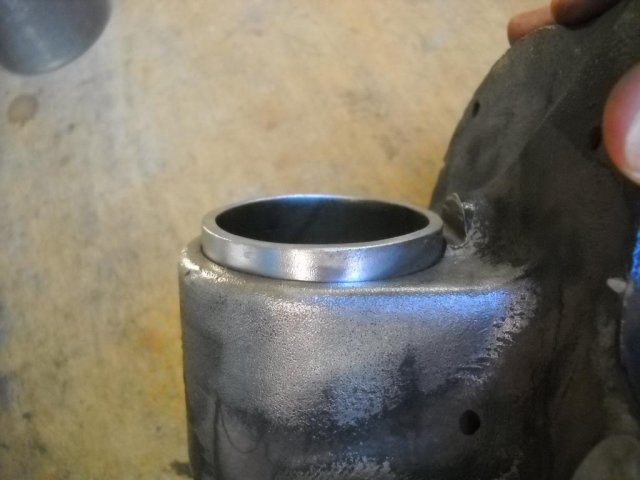
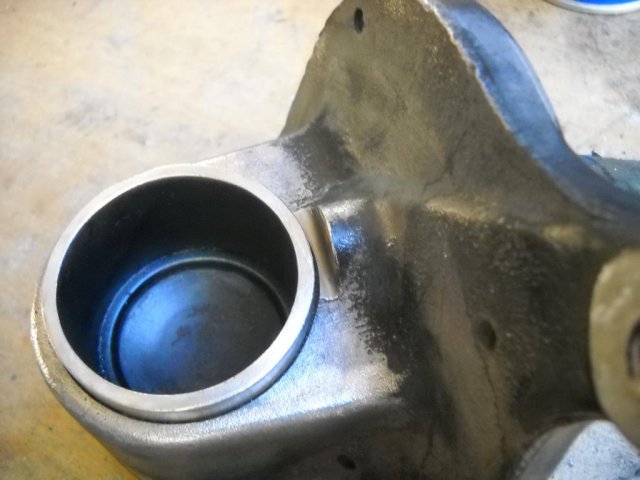
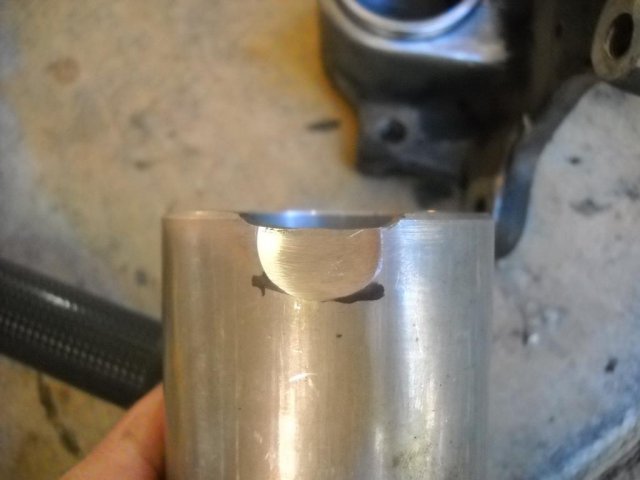
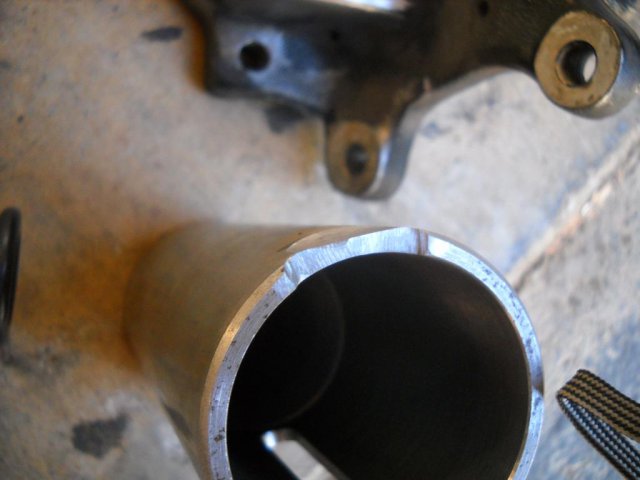
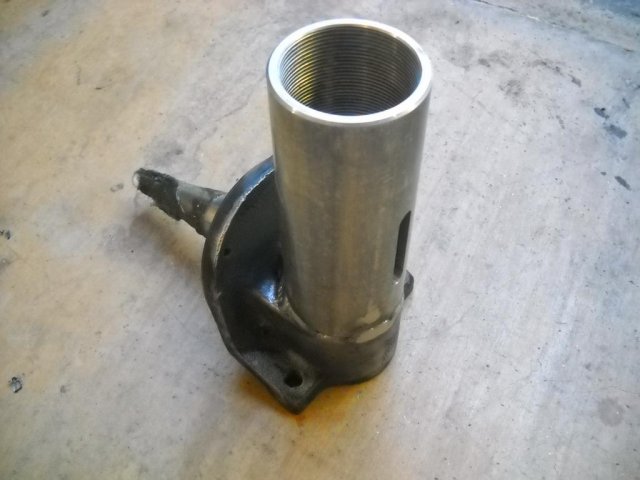
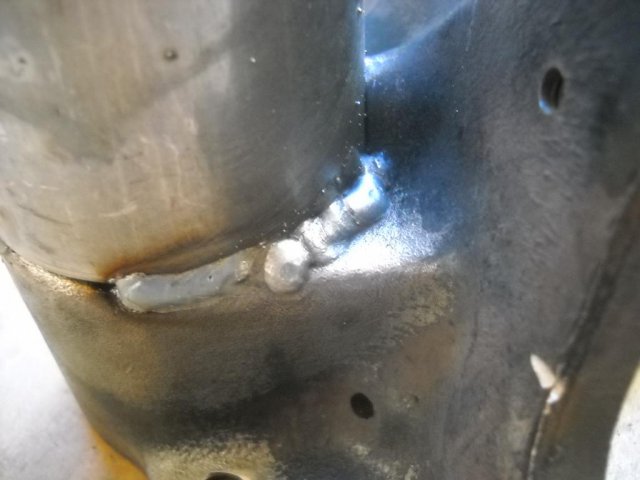
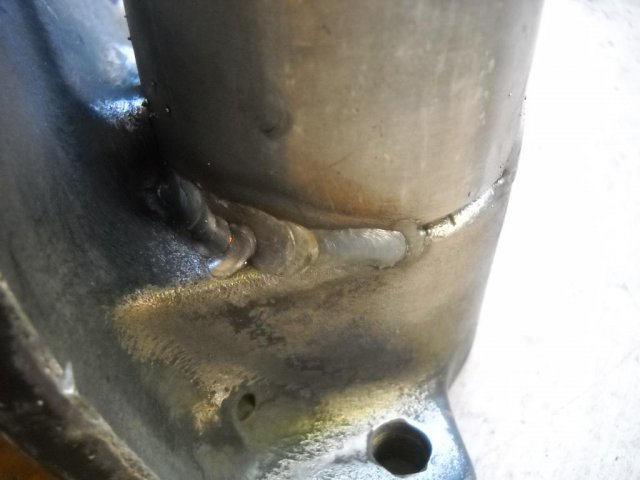
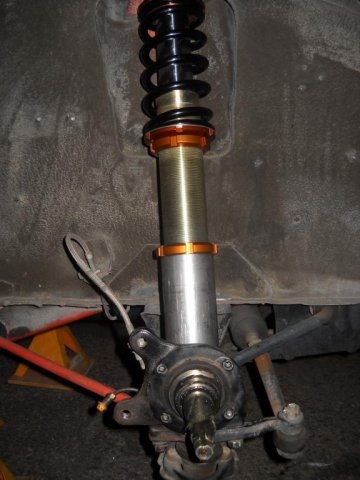
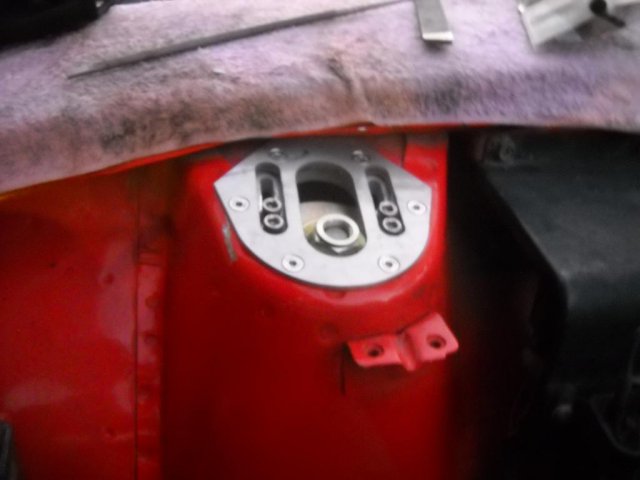
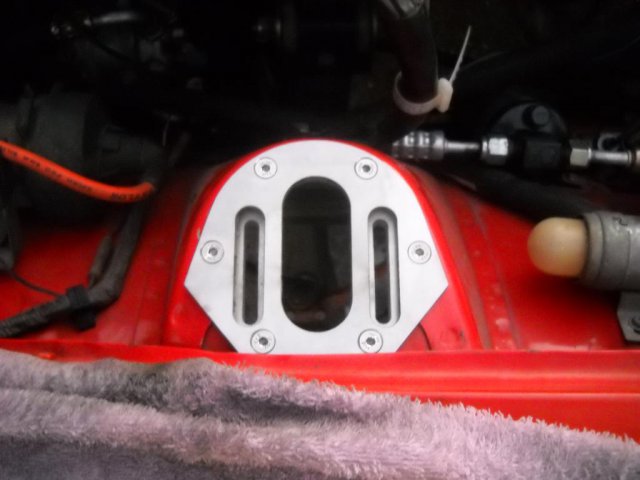
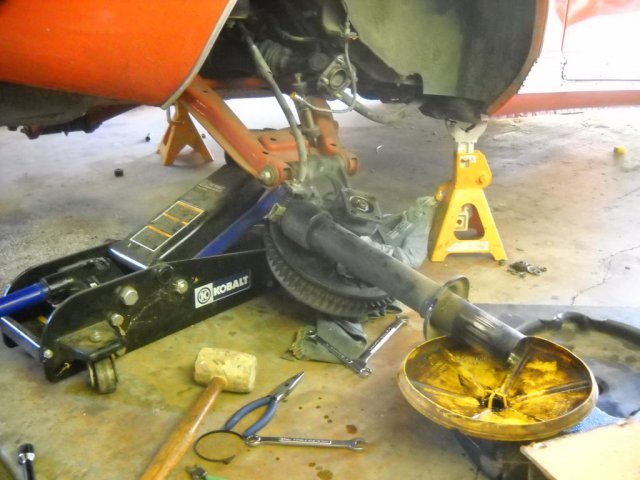
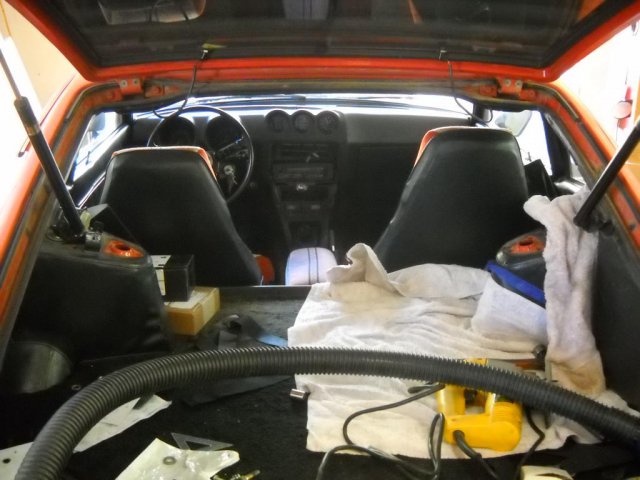
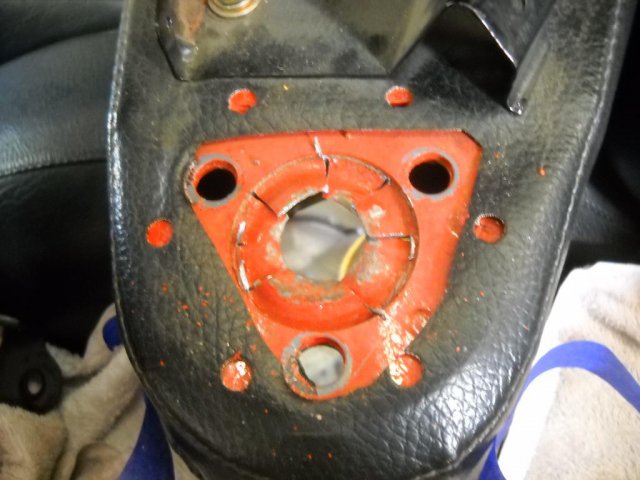
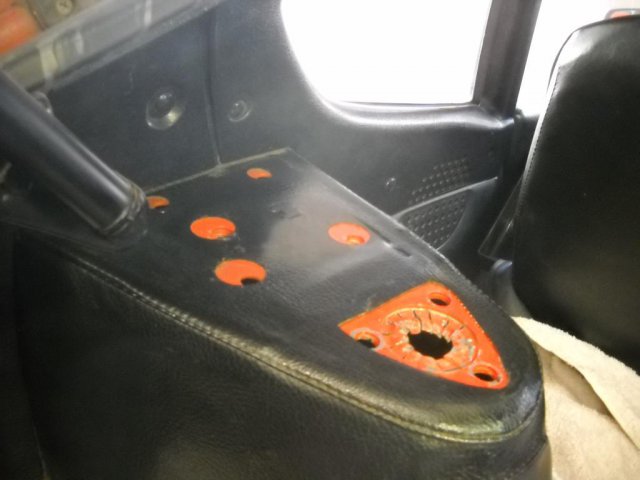
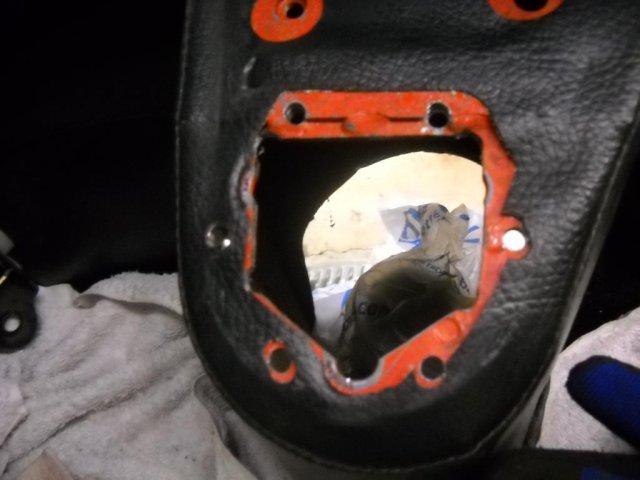
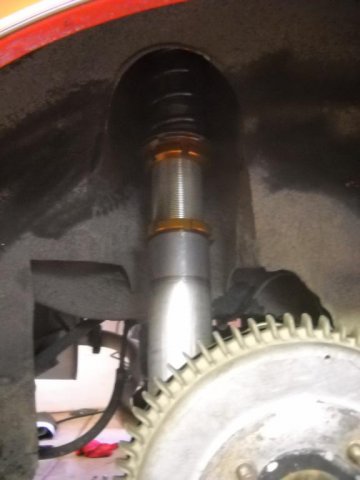
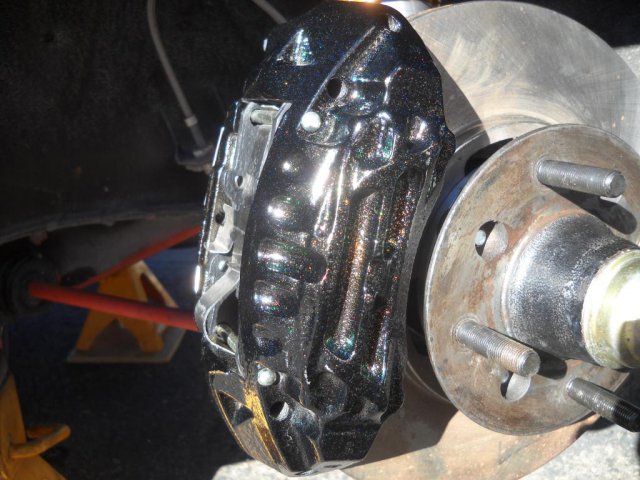
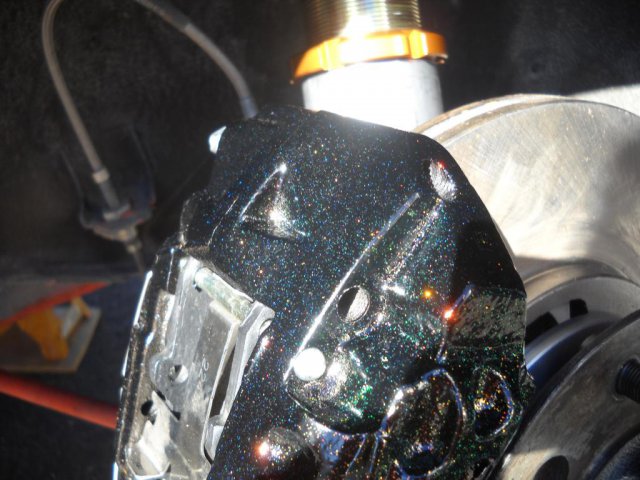
I finally got around to installing my Sakura Garage / Stance Coilovers in November of last year. The car is a 77 280Z w/ 5 speed. I have been daily driving this car since 2008 and I have put 65000 miles on the chassis in the last 6 years. Most all of those miles were on a poly bushing kit, stock springs, cheap replacement kyb struts, and stock brakes. The only real upgrades to the car have been an o-ring fuel rail with 22RE injectors swapped in, and some custom captive engine mounts built by myself and another engineer friend utilizing the mustache bar bushings. Other than those two items the car was in its stock form up until this swap. I was also running 14X6 turbine wheels w/ 195/70-14 Yokohama Avid S Touring Tires. I did this swap almost entirely by myself over a four day period. Tools I used: Miller 180 Mig welder (Autoset) w/ Argon CO2 mix and solid wire. 4.5" Angle Grinder with a cutoff wheel and a 120 grit flapper disc An edge deburring tool SawZall with Milwaukee Torch blades Saber Saw (for cutting out the towers, not my first choice but it is what I had at the time.) Hand Drill Center Punch Angle Finder I have a couple thousand miles on this kit now and I am extremely happy with it. 6k front / 7k Rear on 16X8 Rota Grids (5mm spacer in front) w/ 225/50-16 Hankook RS3 tires all the way around. This is a phenomenal R-comp tire. Very happy with the grip. I also swapped to a set of Vented 300ZX rotors and S13W calipers off a 95 4Runner. This is the caliper that other suggest be avoided. Pedal is a bit soft w/ all the vac assist from the motor but I can maintain stock travel and feel if I give the brakes a "confidence pump" when slowing/stopping. I am running Porterfield R4S pads and shoes all the way around. Good pad but very dusty, I will be looking for a new compound to run in the front due to the dust. The vented rotor spacer is one of my own design. I forgot to take pics of them. Disassemble the front end I ground the nub off first (Cover your engine bay/windshield) so you don't spray sparks and grit on them) I used the old isolator and bolted the drill template from Sakura Garage in place to hold the pattern in place while I center punched the drill locations. I used a small bit (1/8" or slightly smaller) to drill a pilot hole for the 1/4" bit I used for the final hole size. I laid the vanity plate over the holes I drilled and traced the slots onto the strut tower with a sharpie and started cutting with the cutoff wheel and the saber saw. I used some blue tape to help keep the saber saw from beating the paint on my towers. If you let it bounce it will hammer your paint. Struts Marked a reference location on the ground to measure my strut tube angles (oriented like caster and camber) before welding and after. After scribing a line a 1/4" above the spindle casting, I cut off the strut tubes with the cutoff wheel and hack saw just above the scribed cut line. I then used the flapper disc to smooth the cut down to the line and hit the edges with the deburring tool. I only had to relieve the adapter tube slightly to fit it around the bump on the spindle. I then tacked the 6" tube on to the spindle and checked the angles were the same as the stock tube. Once I had everything where I wanted it I did three caterpillar welds to fuse everything together. I am a welding newb, but I was satisfied and confident with my results, the miller makes it pretty easy. All finished inside On the car I countersunk my plates for M5 Flat Heads since I have access to a mill. Rear Struts The rear is kind of a repeat of the front so I will mostly just post the pics for this section. The rear isn't as well documented as I was running out of time to finish since I had to drive this to work on Monday and I was feeling pretty beat. These are the 9" rear tubes for the 280Z. I cut the strut tubes off 3/4" above the casting since the rear on a 280 is taller and the front strut will bottom out before the rear ever will. I pie sliced and beat down the nub to fit the template the same as I did the front. You could probably do this up front as well. Less mess I think. I have a taste for flashy zazzed things. I am really happy with how this design turned out and glad I was able to work with Sakura Garage to put it together. If you are looking to do coilovers, I highly recommend this kit. I really do love it, the car has an enjoyable performance ride and the handling is superb. I'm looking forward to taking it on the track next weekend. I will get some after shots of the car put up soon. Thanks for reading
- 10 replies
-
- inverted damper
- camber plate
-
(and 1 more)
Tagged with:
-
Hello all. I'm currently looking at the potential of using Bilstein 34-030936 B6 HD Struts in a coilover conversion (77' 280z). This strut is designed to fit a 94-98 SAAB 900, various models. I have searched and read as much as I can on this site regarding this mod. This option was mentioned by Justin Olson (thread/post) but it doesn't appear that a great deal of research was actually put into this particular strut as Justin chose to go with the 3000GT option. According to Justin and other related posts, these Bilstein struts (36mm) have the following specs: Bilstein 34-030936 (formerly PE3-3093-H0): Body Length: 13.75" Compressed Length: 14.75" Extended Length: 20.50" Stroke: 5.75" Damping (rebound/compression): 230/60 It appear this would be a relatively good match to the Z with springs in the neighborhood of 250 lb/in but obviously a re-valve would be required for optimum performance. I'd greatly appreciate any inputs/thoughts you have on this mod or this strut specifically. Does anyone know if the upper mounting diameter is the common Bilstein 14mm? I'm planning to use Ground Control Camber/Caster plates.
