Search the Community
Showing results for tags 'ripped'.
-
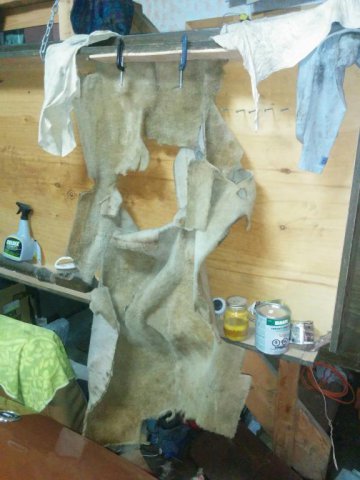
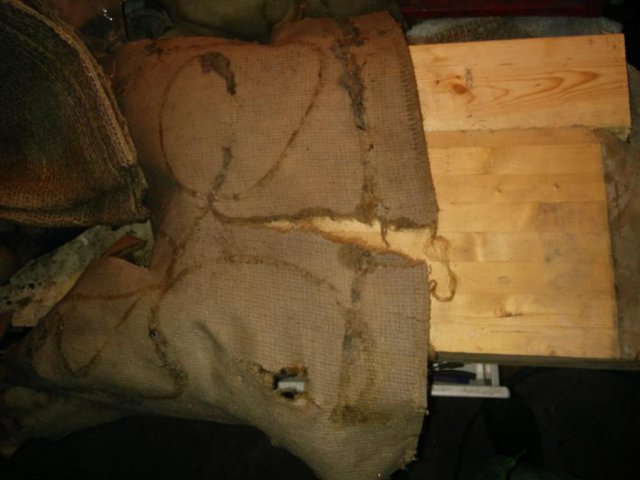
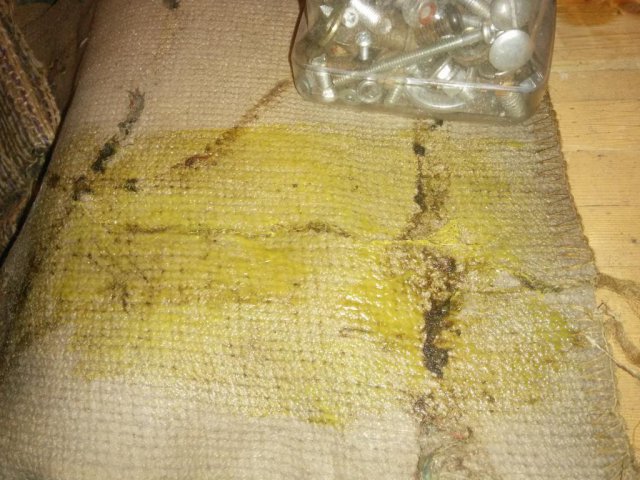
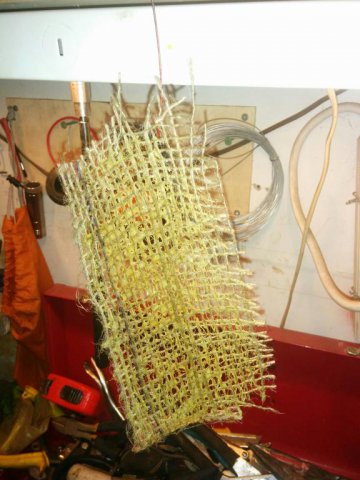
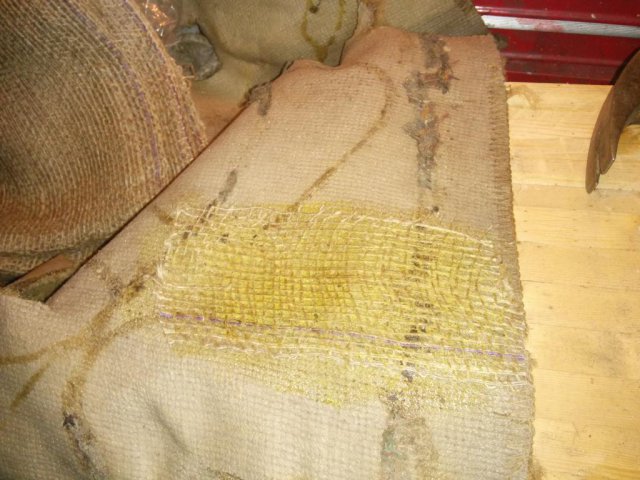
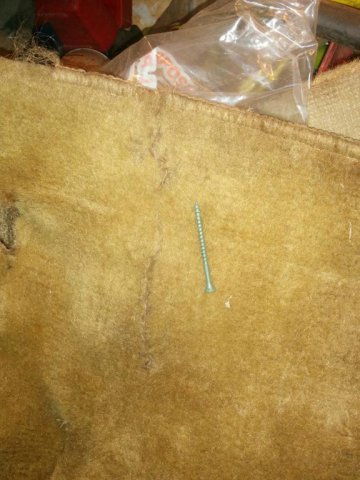
Hi guys! Quick backstory. I bought this supposedly "only needs a tune-up" 1983 280zx, with rebuilt engine, turbo, megasquirt. turns out I need more than a tune up, it runs rough, the programming is all wack, and much more. that'll teach me.... The body is in pretty good shape, just a little rust in the corners of the footwell and under the spare tire. I discovered (and fixed) the rust in the passenger footwell after I ripped the carpet and padding out to try to get rid of the moldy smell coming from (what I now know ) the padding under the carpet; the leaky t-tops made a nice welcoming pool for mold there and voila!, smelly car. In the process of fixing that, I cleaned the carpet with an anti-mold product, that I sprayed on and brushed in vigorously; that did the job, BUT! I realized that my carpets, after 30 years, were now rather brittle, and the fabric of the carpet ended up ripping if I only looked at it wrong, or for too long. This is what it looks like now... I know, it looks more like the skin of a dead animal than anything else.. the rips are bad... and numerous (it's hung like that to dry, from when i cleaned it). When i realized that, i searched for how to fix this kind of issue, and found a youtube video where a guy (who looked like he was a professional) used rubber cement to glue a layer of burlap to the back of a carpet that looked a little like mine, giving it a new "underlayer". I tried searching for it again, can't find it anymore. anyone does, please post it! Anyways, I just got around to doing what he'd done, only I tried a test patch. I wasn't able to find any rubber cement in appropriate quantities, but after some research, I realized that contact cement should do the trick, as it's sturdy and flexible. Here is the rip that I fixed.. with the glue Here is the burlap, covereled in glue too (you can't really see it, but it's there). To get he glue on the burlap without glueing everyting around, I laid the burlap patch on the rip after I'd painted glue on it (the back of the carpet), and brushed glue on the burlap there; because I did it while the carpet's glue was fresh, the burlap didn't stick to it. After about 10 mins, as instructed on the glue container, I lined everything up and dropped the burlap on the carpet. right away, it was solid, but to make certain it was well glued, I used a hammer and basically hammered every inch of the patch(not too hard, but enough to see the burlap getting flattened against the carpet; the guy in the video had used a big mallet that had a surface of about 4 inches square. I used a regular carpenter's hammer. it took a while...). it worked like a charm, and I tried to re-rip rip it: no dice, it's solid. Here is the "nice" side. It has an ugly scar, but I think that's mostly because the ripped edge had gotten discoloured or dirty. I later couldn't resist trying a bigger patch somewhere else and you essentially couldn't see the rips anymore.. Even then the ugly scar was probably there to begin with, with the potential of ripping further and looking even uglier, so my cheap self is satisfied. Ideally, I would like to do one big piece that covers most of the carpet, but since the carpet is molded, I'd have to create a shape and lay the carpet on that. I thought maybe i could use bags of earth or something and pile them up to make a reverse of the footwell, but that seemed like a lot of trouble, so i'll do bit by bits and see how that goes. Hope that helps someone. Comments welcomed, if only to tell my you enjoyed; positive reinforcement is real big to me. Ciao!

