Search the Community
Showing results for tags 'slicks'.
-
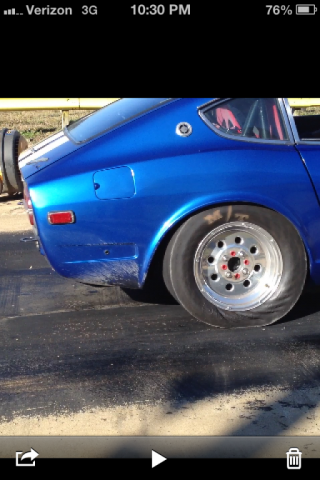
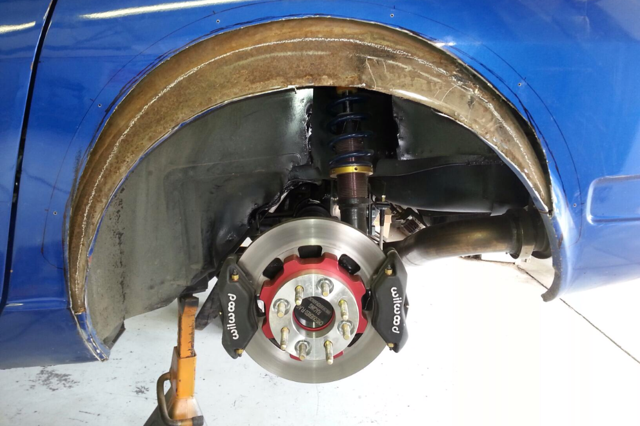
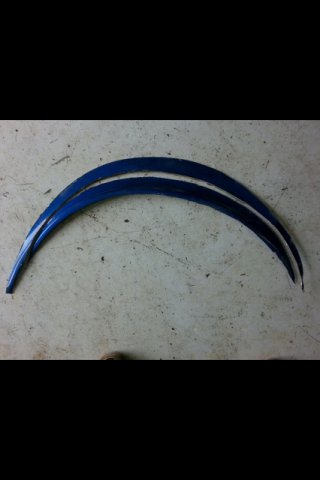
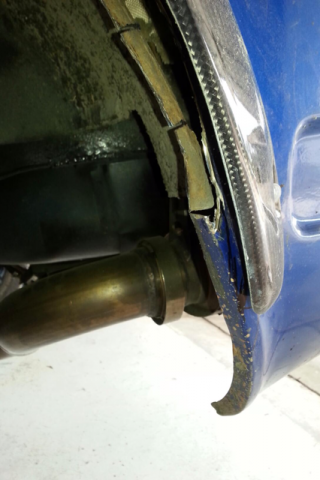
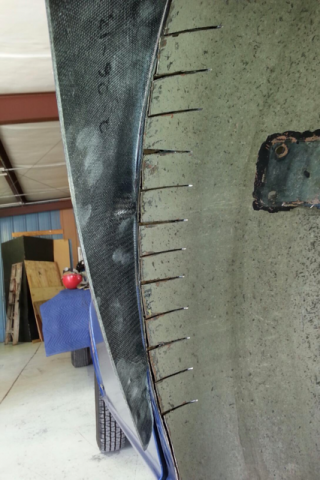
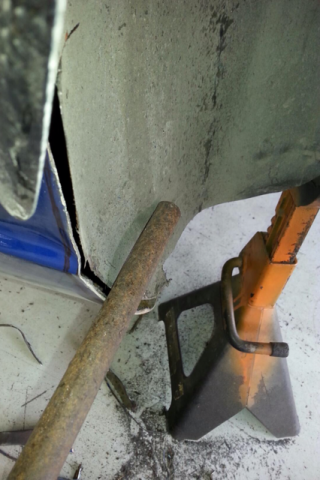
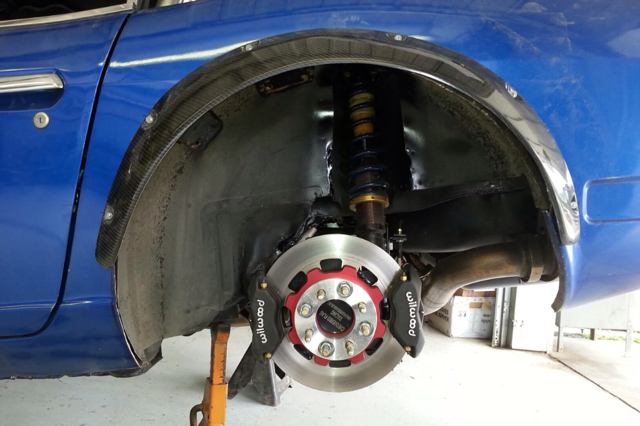
I am trying to fit 28X10.5" slicks under my 240z. I spent a lot of time talking to folks who have installed screw-on flares only to have to re-cut due to not cutting enough the first time. I put them high-higher than most (and I hope I like it), but I got to this point working with MiKelly who cut a tire road racing and had to re-cut at least once. The top of the flare is 4" below the hard bend in the quarter panel near the rear of the quarter window. The following are photos from the hot rod shop doing the metal work for me while I'm out of town. The metal man is being great about sending me photos. This is not a custom car, this is a race car, so I'm interested in not cutting a tire. I do not offer these photos as the best way to install flares; rather I only hope to share what I have learned and what I'm doing. I forgot to take my slicks to the metal man for test fit, so that has me stalled for now, but I called back from vacation and a good friend is delivering them in the morning. I need a lot of metal taken out of the dog leg section. I will include a photo of my car squatting on launch wearing 26X8.5 slicks-note how close the tire is to the dog leg. Test mounting the big slicks should answer the question of whether he has removed enough, or if I need him to remake the forward portion of the wheel tub/inner fender. SunnyZ solved this clearance problem by totally redesigning his rear suspension to move the tire rearward 1 full inch. I'm not about that. If push comes to shove, I will go to 27" slicks, but there isn't a lot available in that diameter. More photos when I have them. I made one obvious mistake in locating my flares but I'm pushing forward. When you test fit your flares, make sure the car is level. I test fit with the rear of the car high on jackstands and the front tires on the ground and used a plumb bob to locate the center of the flare over the center of the hub. That resulted in a flare that is rotated rearward somewhat once the car is on level ground. I wish the front of the flare was farher down, but I'm moving on. I will try to stick with the small screws that come with the Z-force Productions flare mounting kit and delay the placement of rivet nuts (which puts a BIG hole in the sheet metal). I may be looking at a paint job this winter (especially if the welding burns my paint up terribly), in which case, I will have the current small holes welded and then rotate the flare and redrill it as it should be.
