
eec564
-
Posts
505 -
Joined
-
Last visited
Content Type
Profiles
Forums
Blogs
Events
Gallery
Downloads
Store
Posts posted by eec564
-
-
Yup, the datasheet for the grease says it's moly. https://drivcat.com/livedocs/SDS BeckArnley CV Joint Grease.pdf The big question is if the kits came with enough grease, weighing in at 3.9 oz vs the over 6 oz specified in the FSM. I wouldn't want to over-pack the joint and have the boot bellow at speed, or starve them and destroy the joint.
The wheel-bearing-like grease inside the outer boot makes me wonder if it wasn't rebuilt previously, with the replacement boot having been stretched over the joint, rather than removing the spider as per the FSM.
-
I'm in the process of rebuilding / replacing the boots on my CV half shafts and am hoping someone knows if the grease included with the replacement kits is sufficient. I'm using the Beck/Arnley 103-2282 (outer) and 103-2280 (inner) kits, which came with 3.9 oz packets of grease. The FSM says to use 6.17 oz and 6.7 oz for the outer and inner joints. Has anyone used these rebuild kits and can confirm they are supplied with enough grease? Or should I buy some additional and pack to the weight in the FSM?
Also, the original greases were quite different. The inner was very thin, about the same as manual transmission gear oil, while the outer was about the same as wheel bearing grease. I'm inclined to say the shafts had never been rebuilt, as the axles didn't show any signs of having been re-peened. If I have to do this again, I think I'll take them down to a machine shop and see about having grooves machined in for snap rings.
-Eric
-
What did Larry work on for you? Always good to know of someone who can work on a Z for those times you get stumped.
-
I just moved down to Arroyo Grande, it's certainly nothing like the Bay Area in terms of the classic car scene. A few muscle cars, mostly garage queens. I don't think I've seen another Z since I've been down here. At least the weather is awesome for T-tops!
-Eric
-
I'll let the wheels go for $75 if someone can pick them up tomorrow. I believe I can find a set of lug nuts to go with them as well.
-
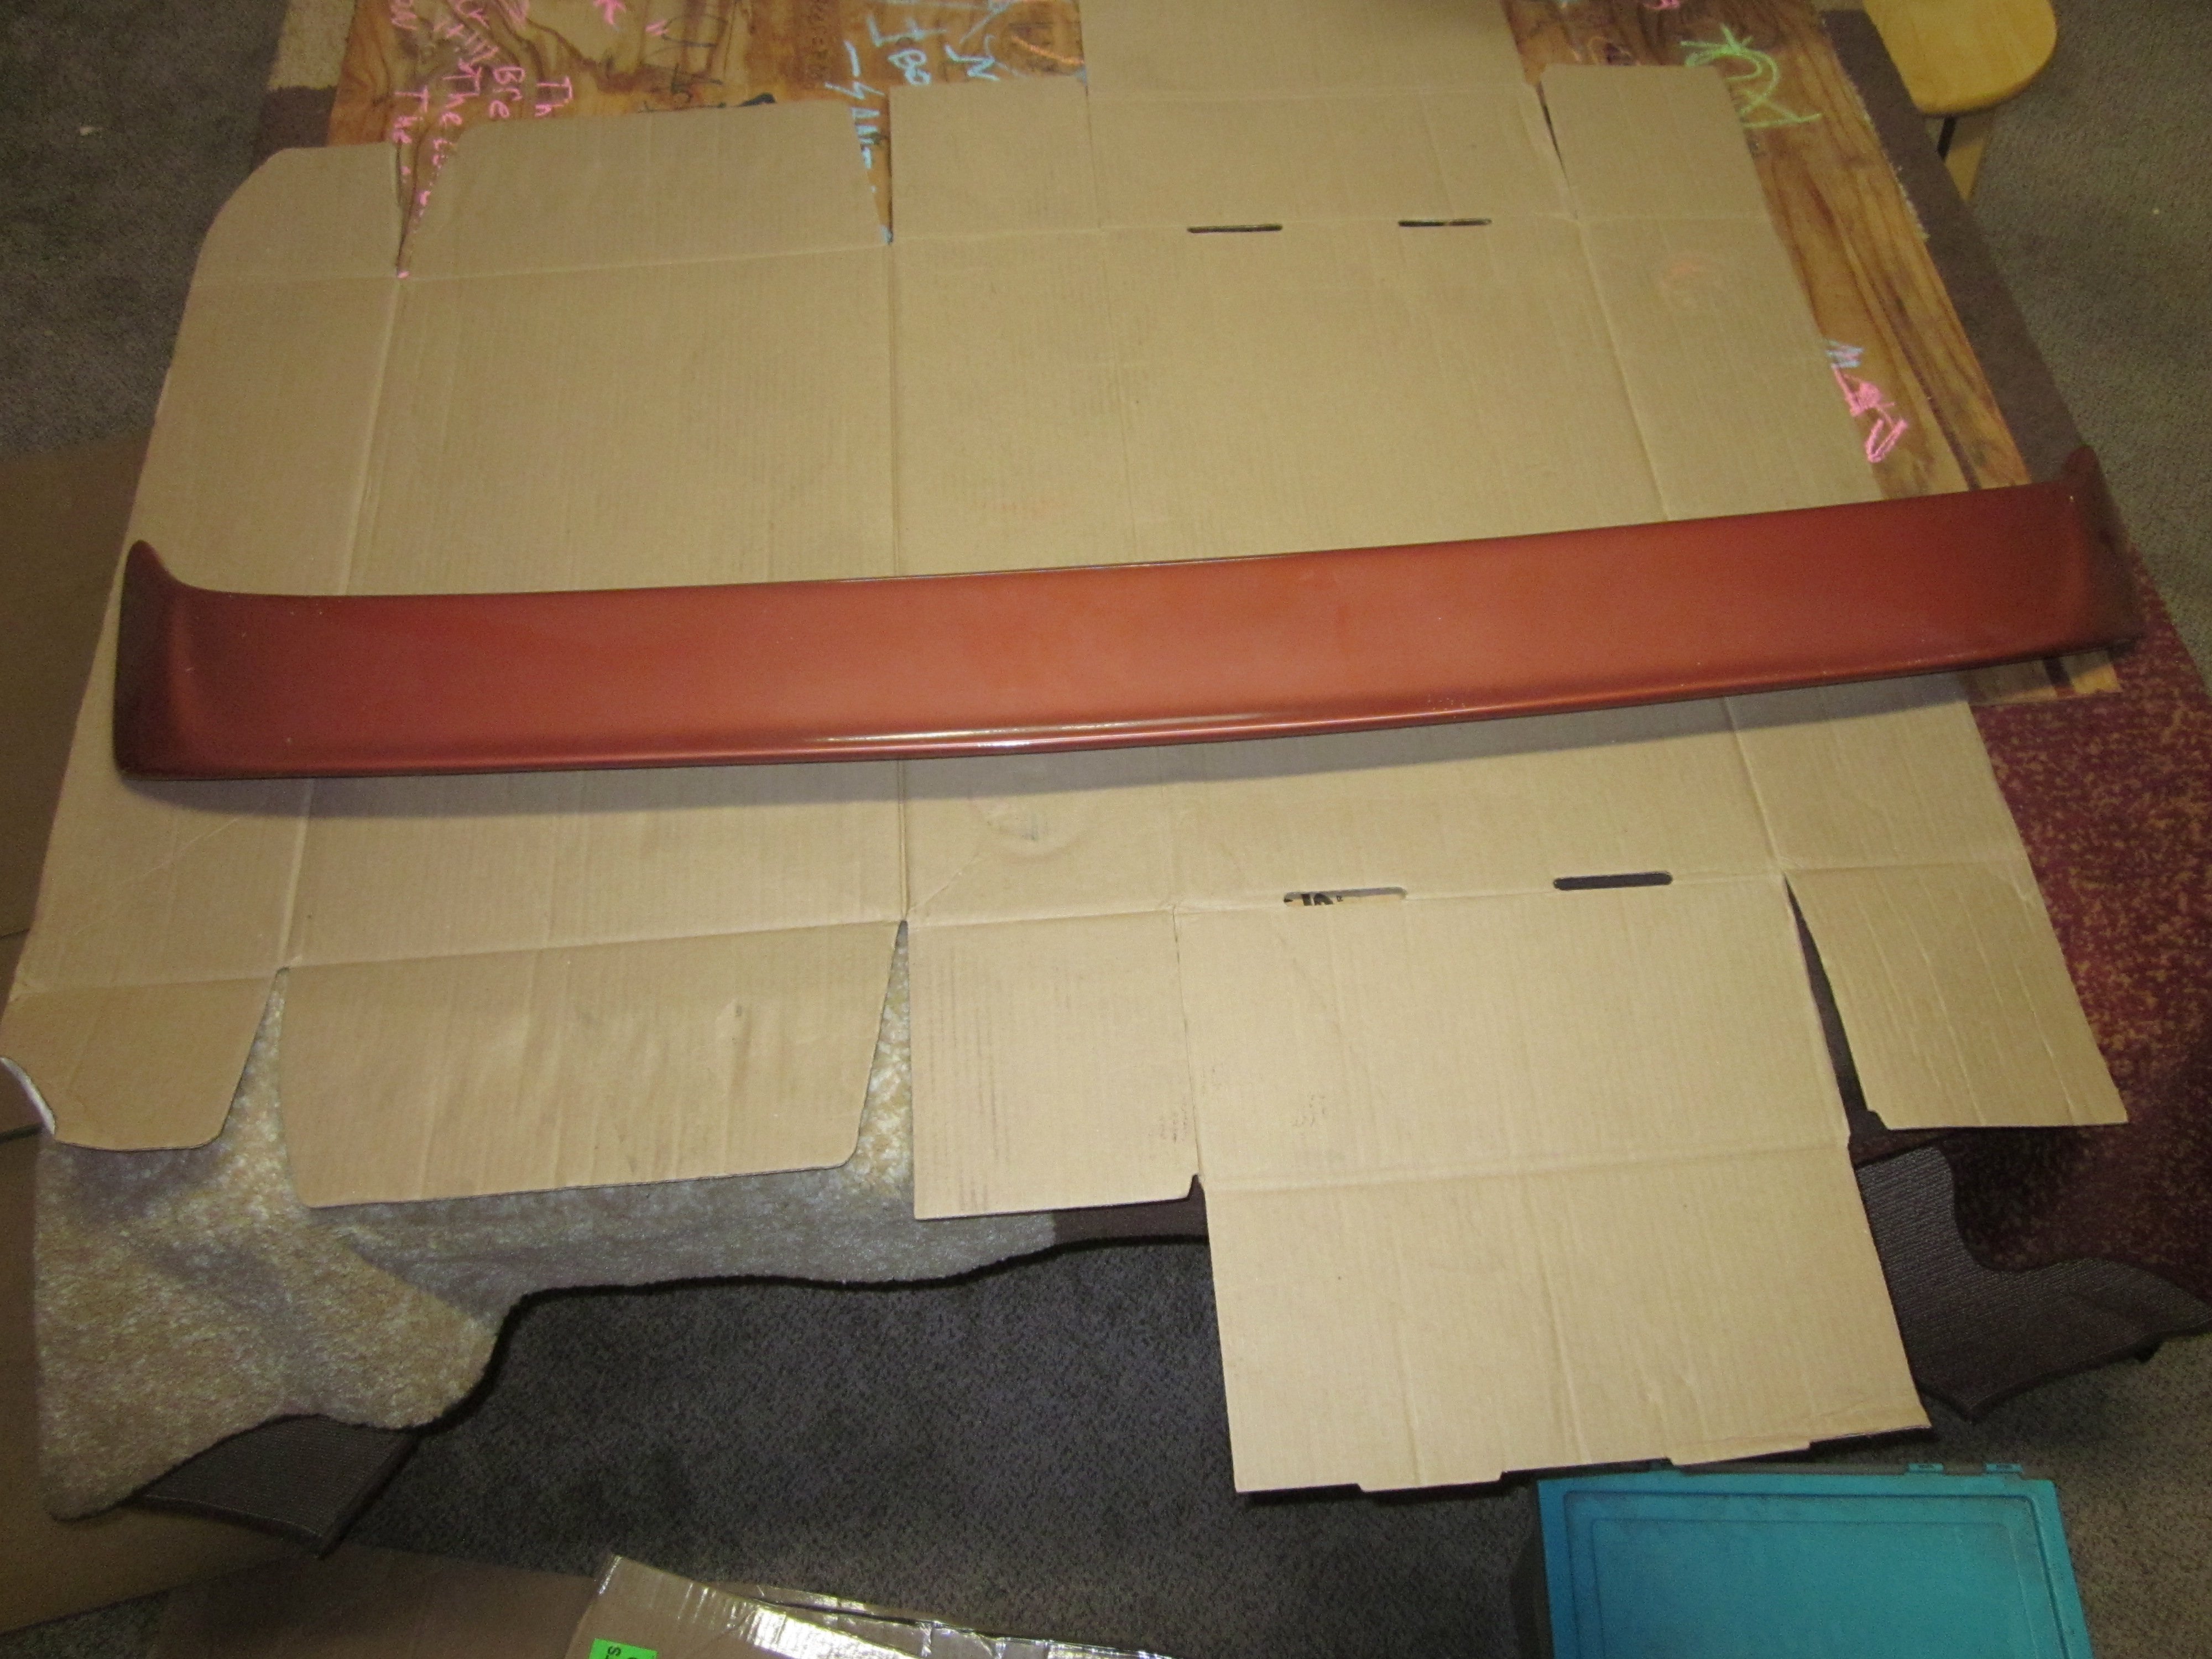
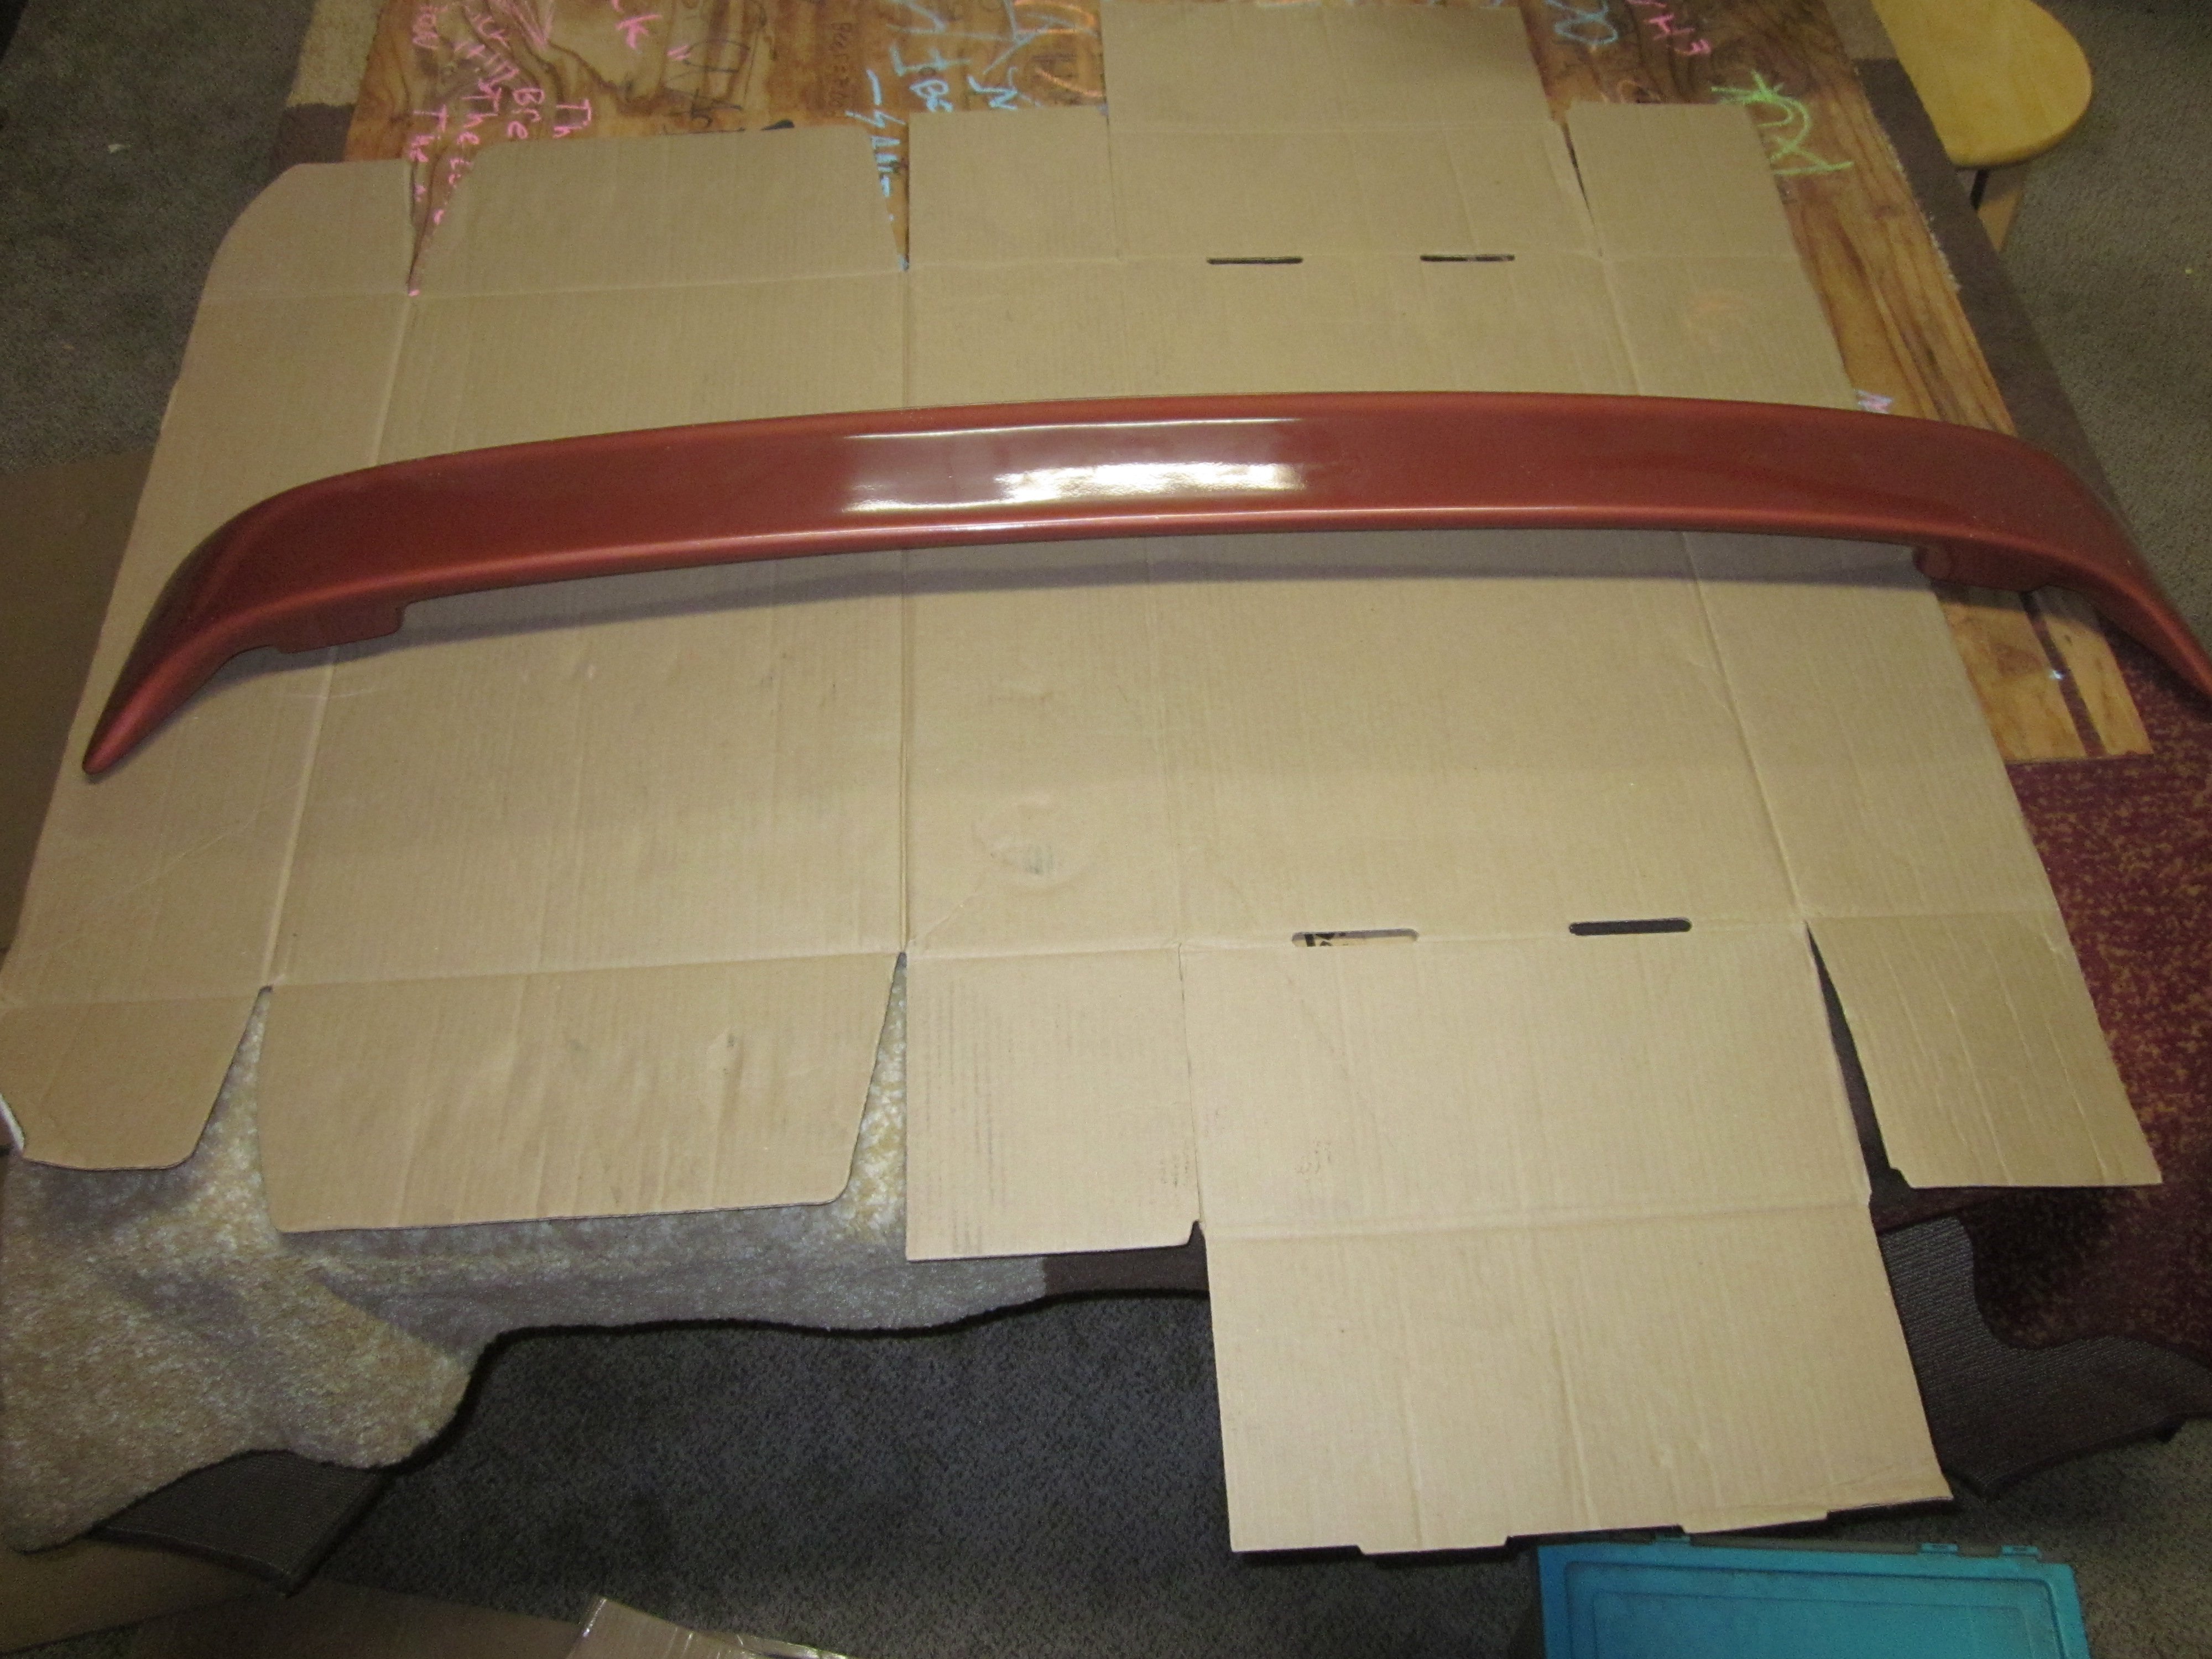
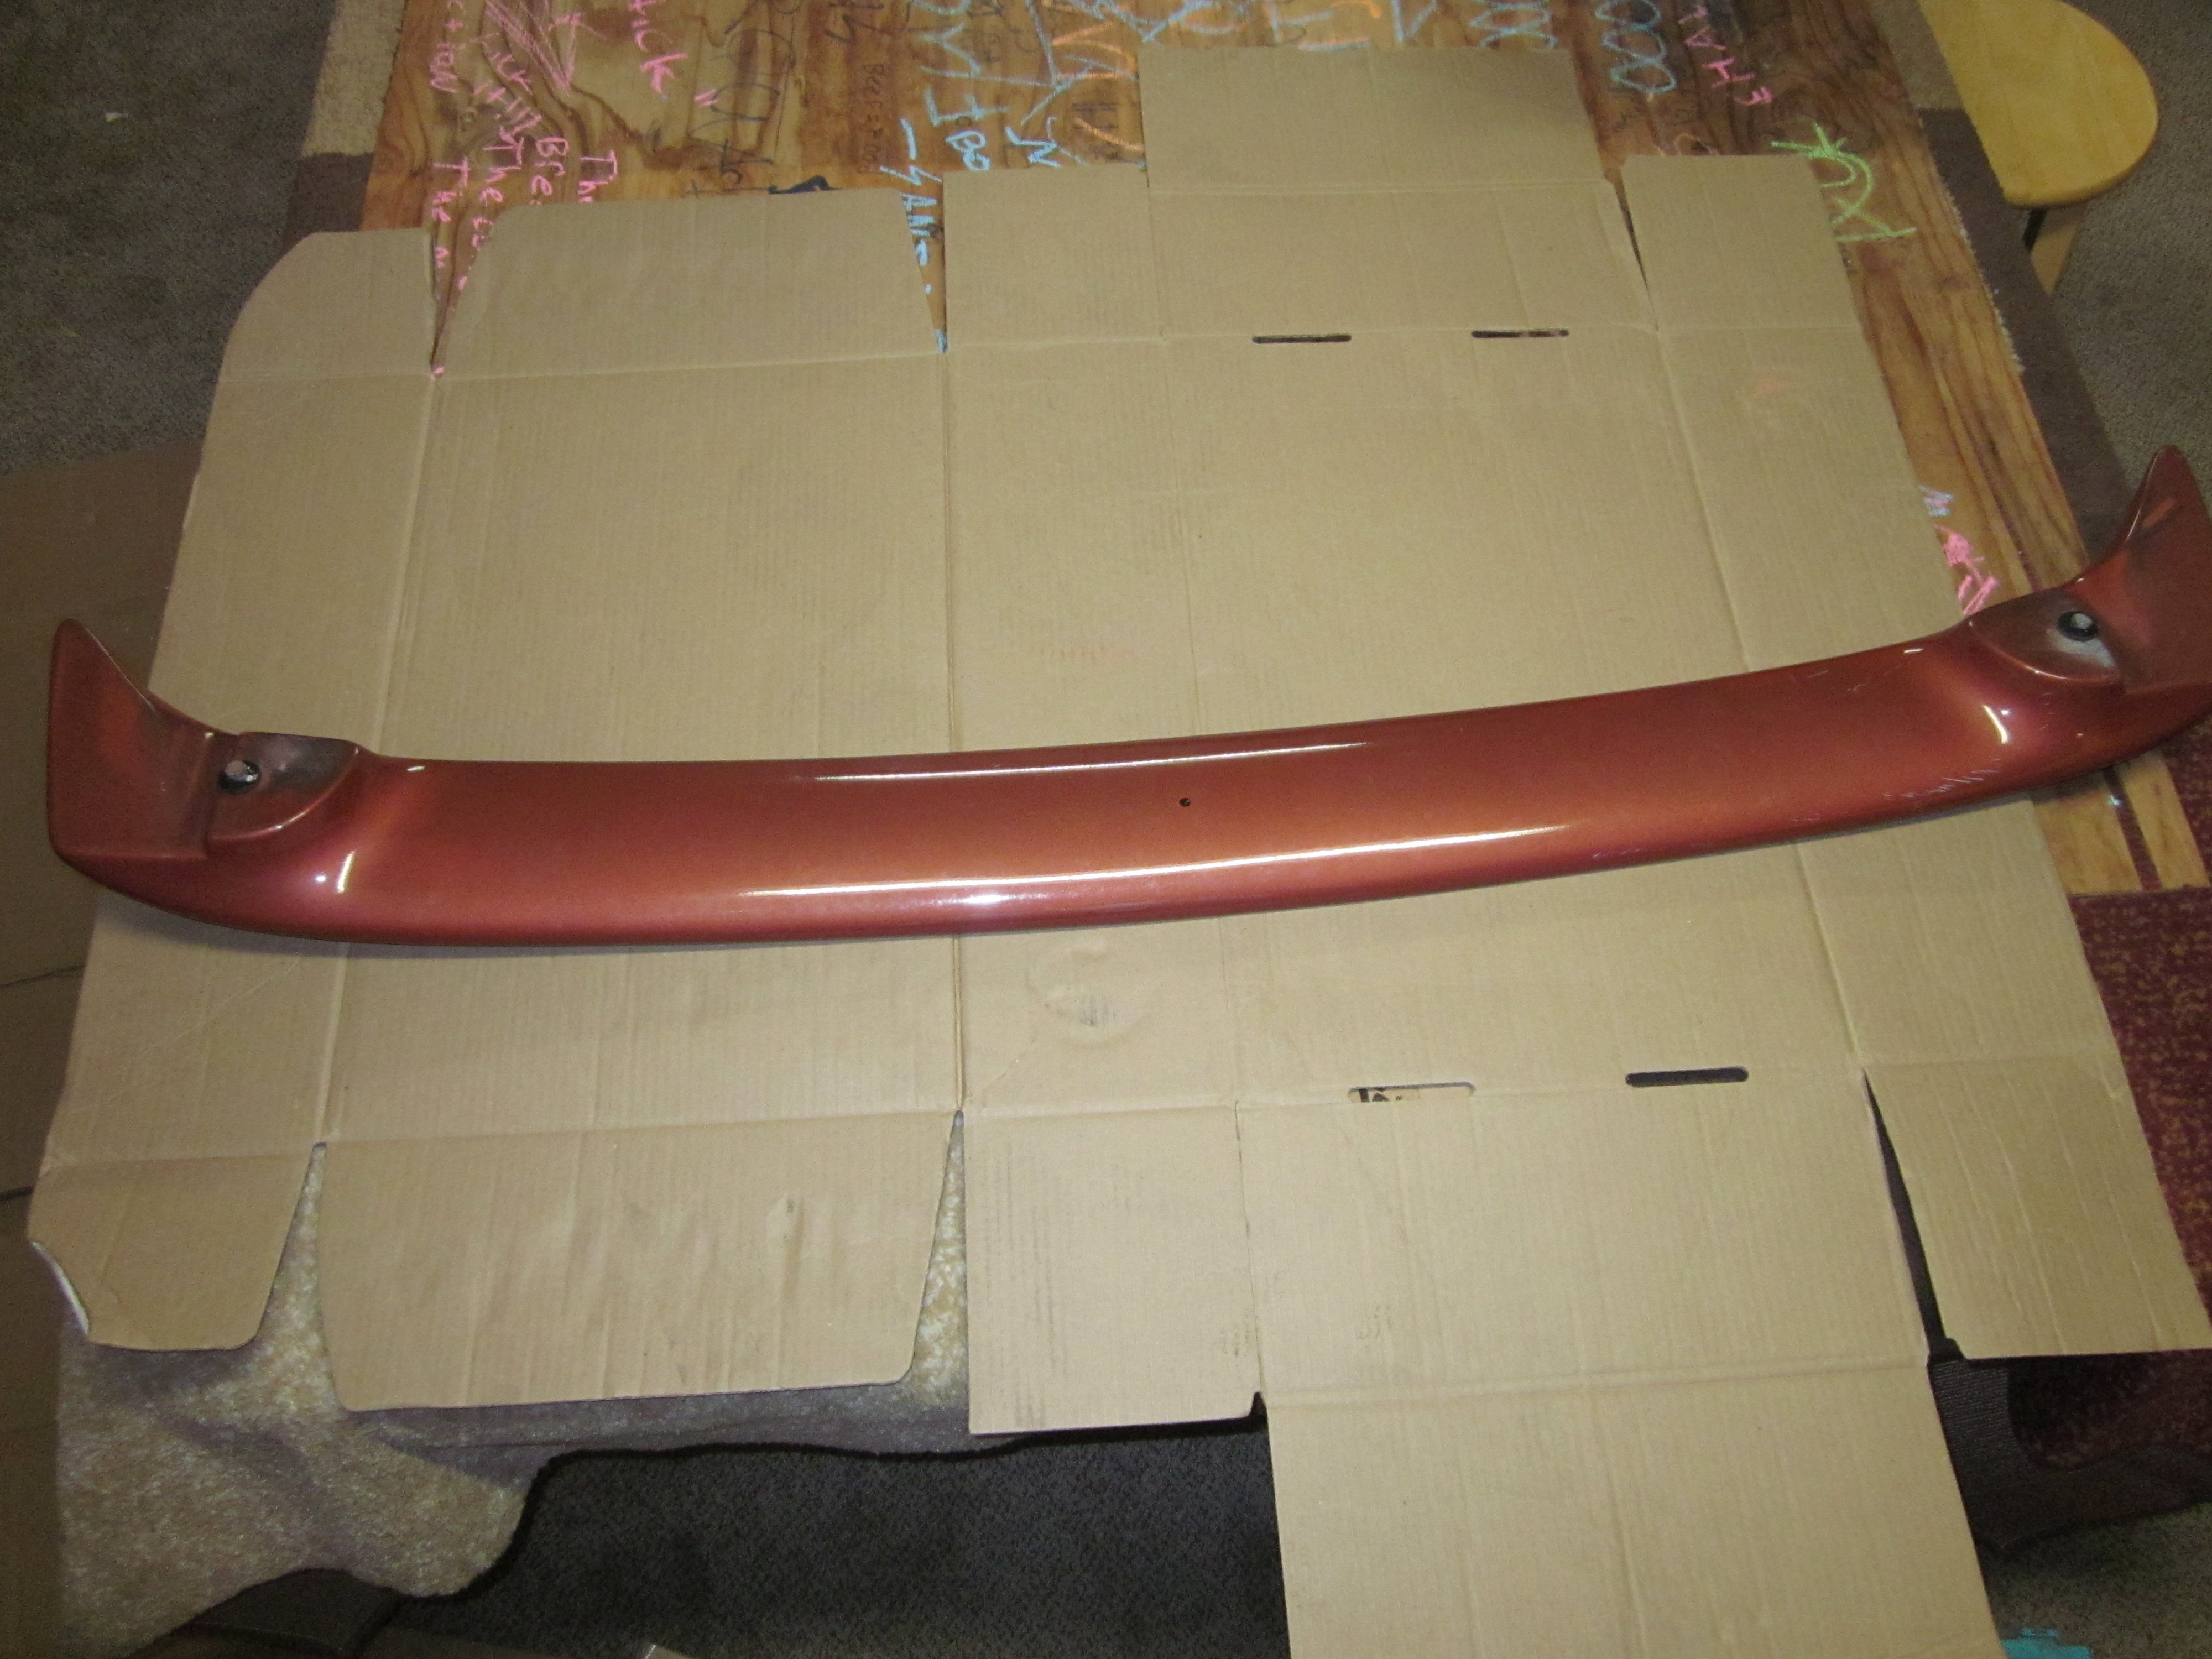
Fiberglass 2+2 rear wing/spoiler.
Bolts to the rear hatch, from MSA in the early 2000s, pretty sure it's this https://www.thezstore.com/page/TZS/PROD/classic02a02e/50-1595
Asking $80

-
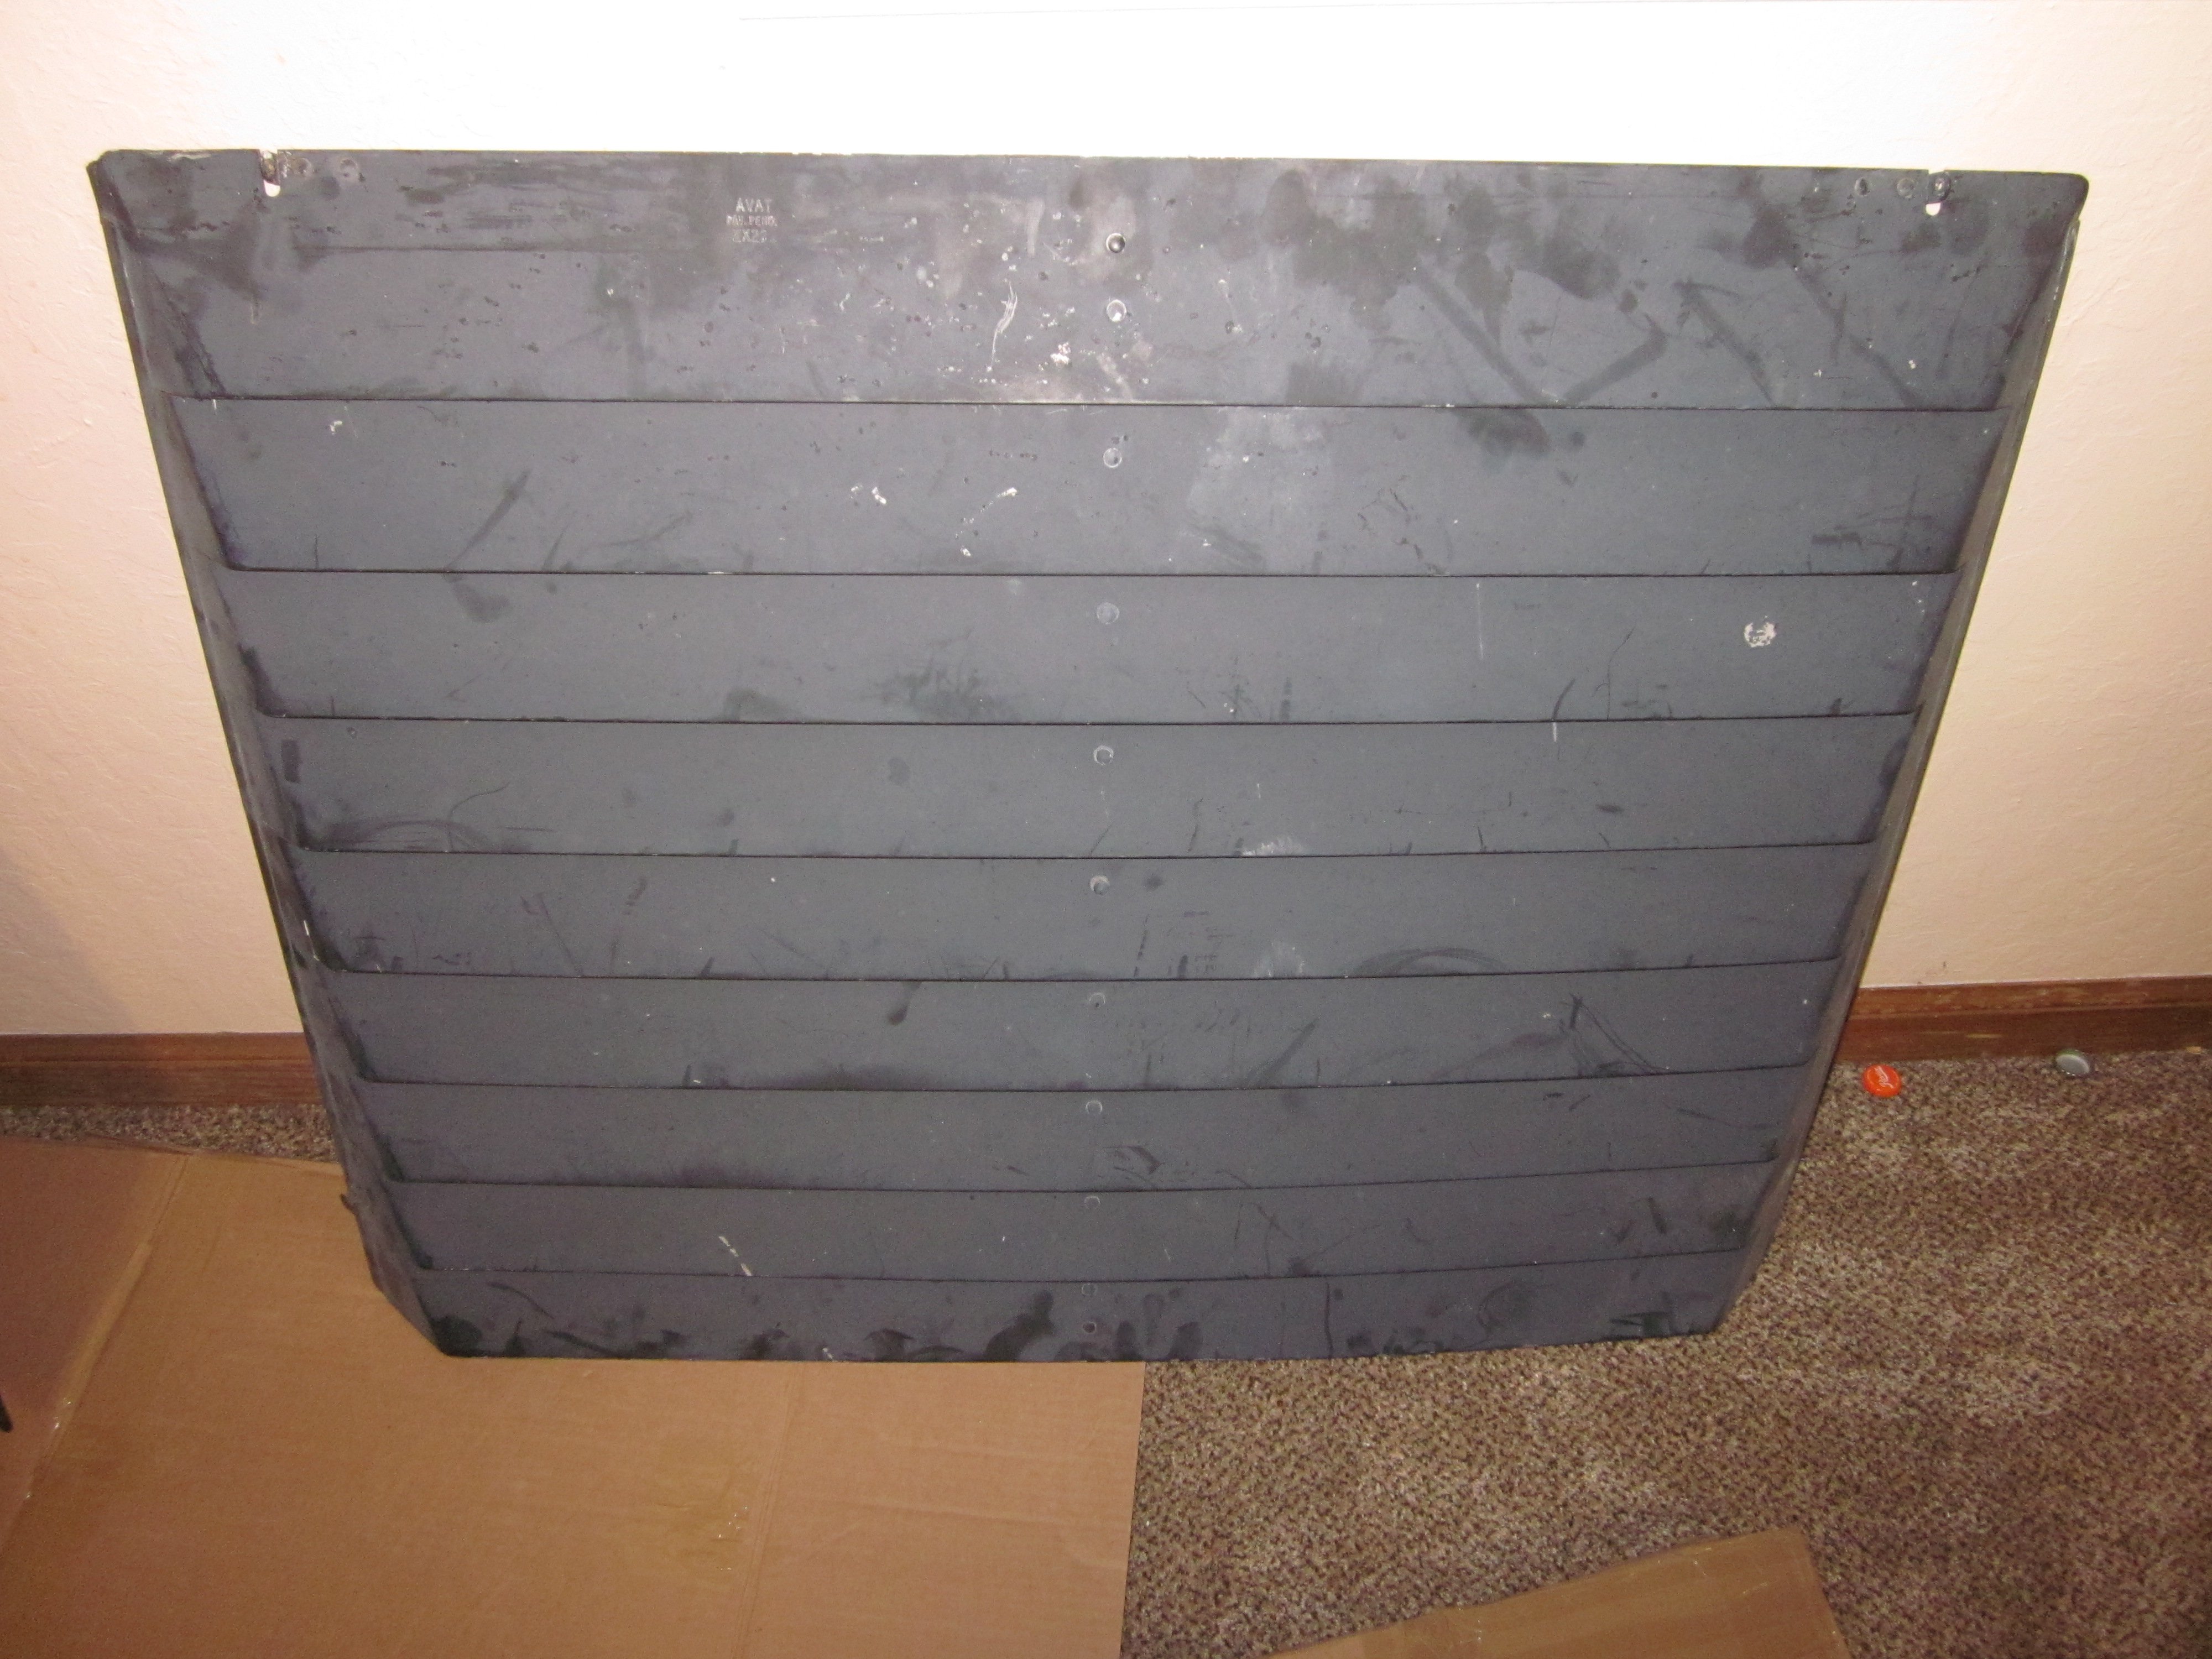
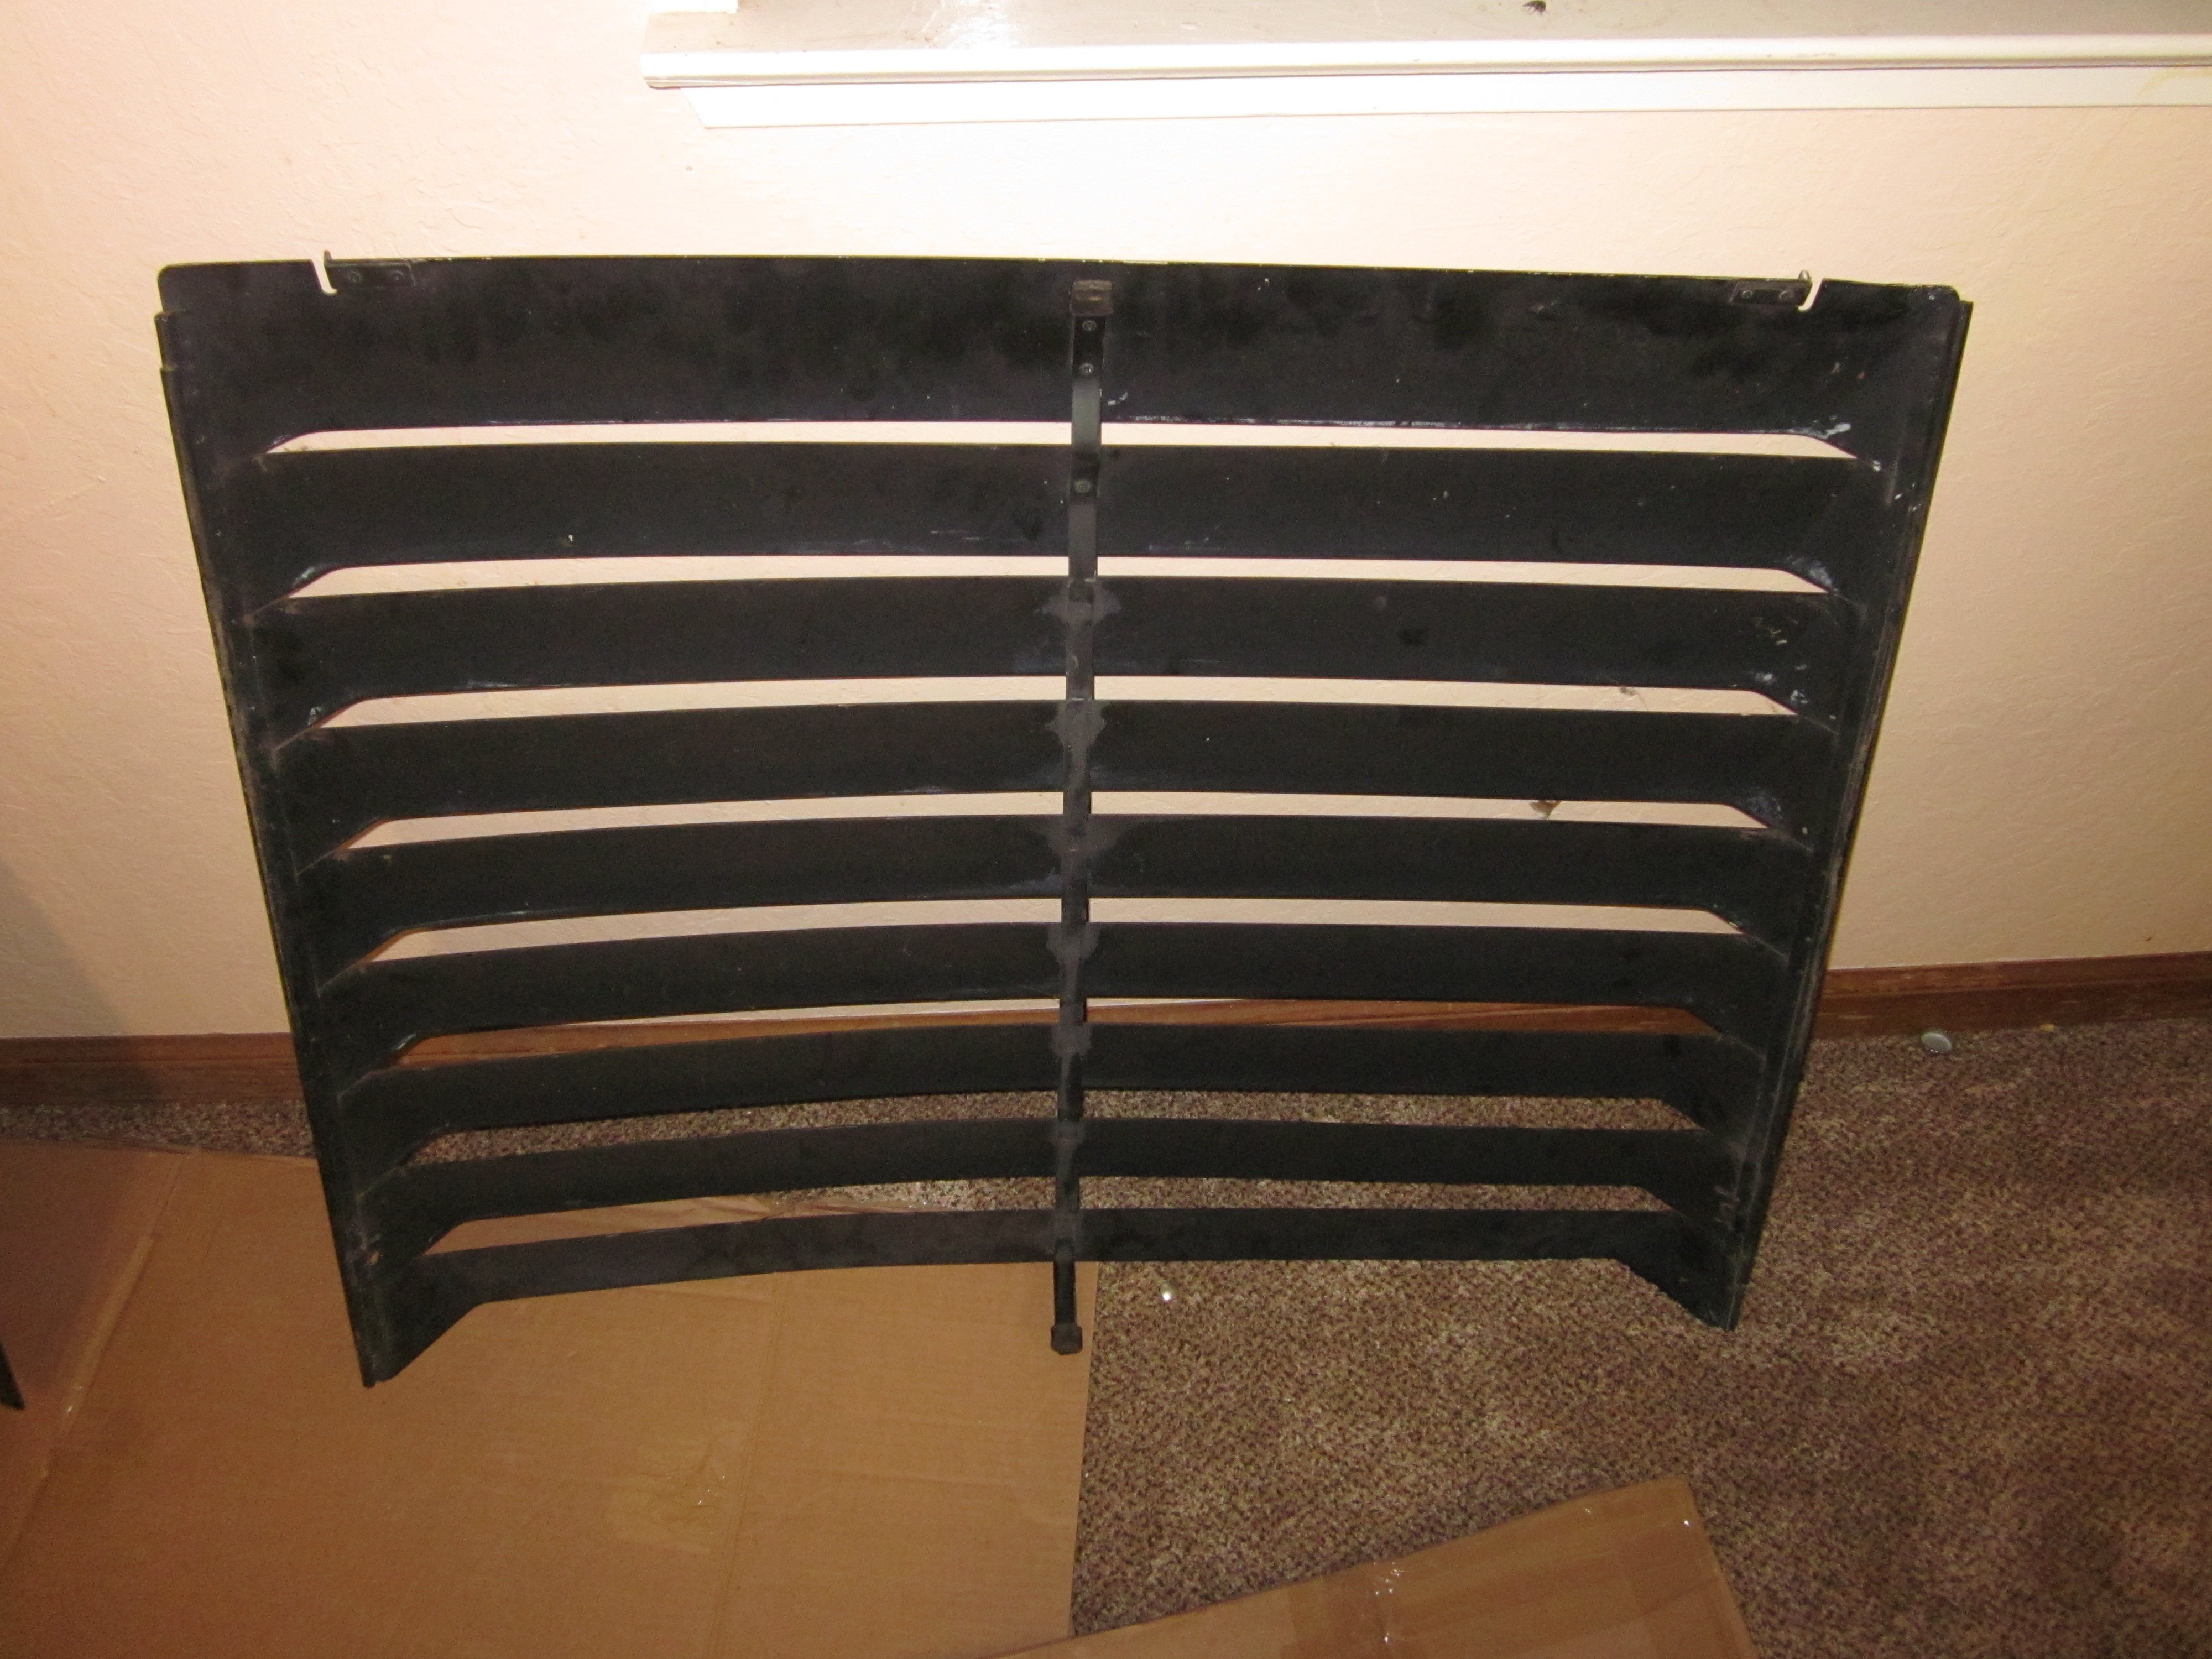
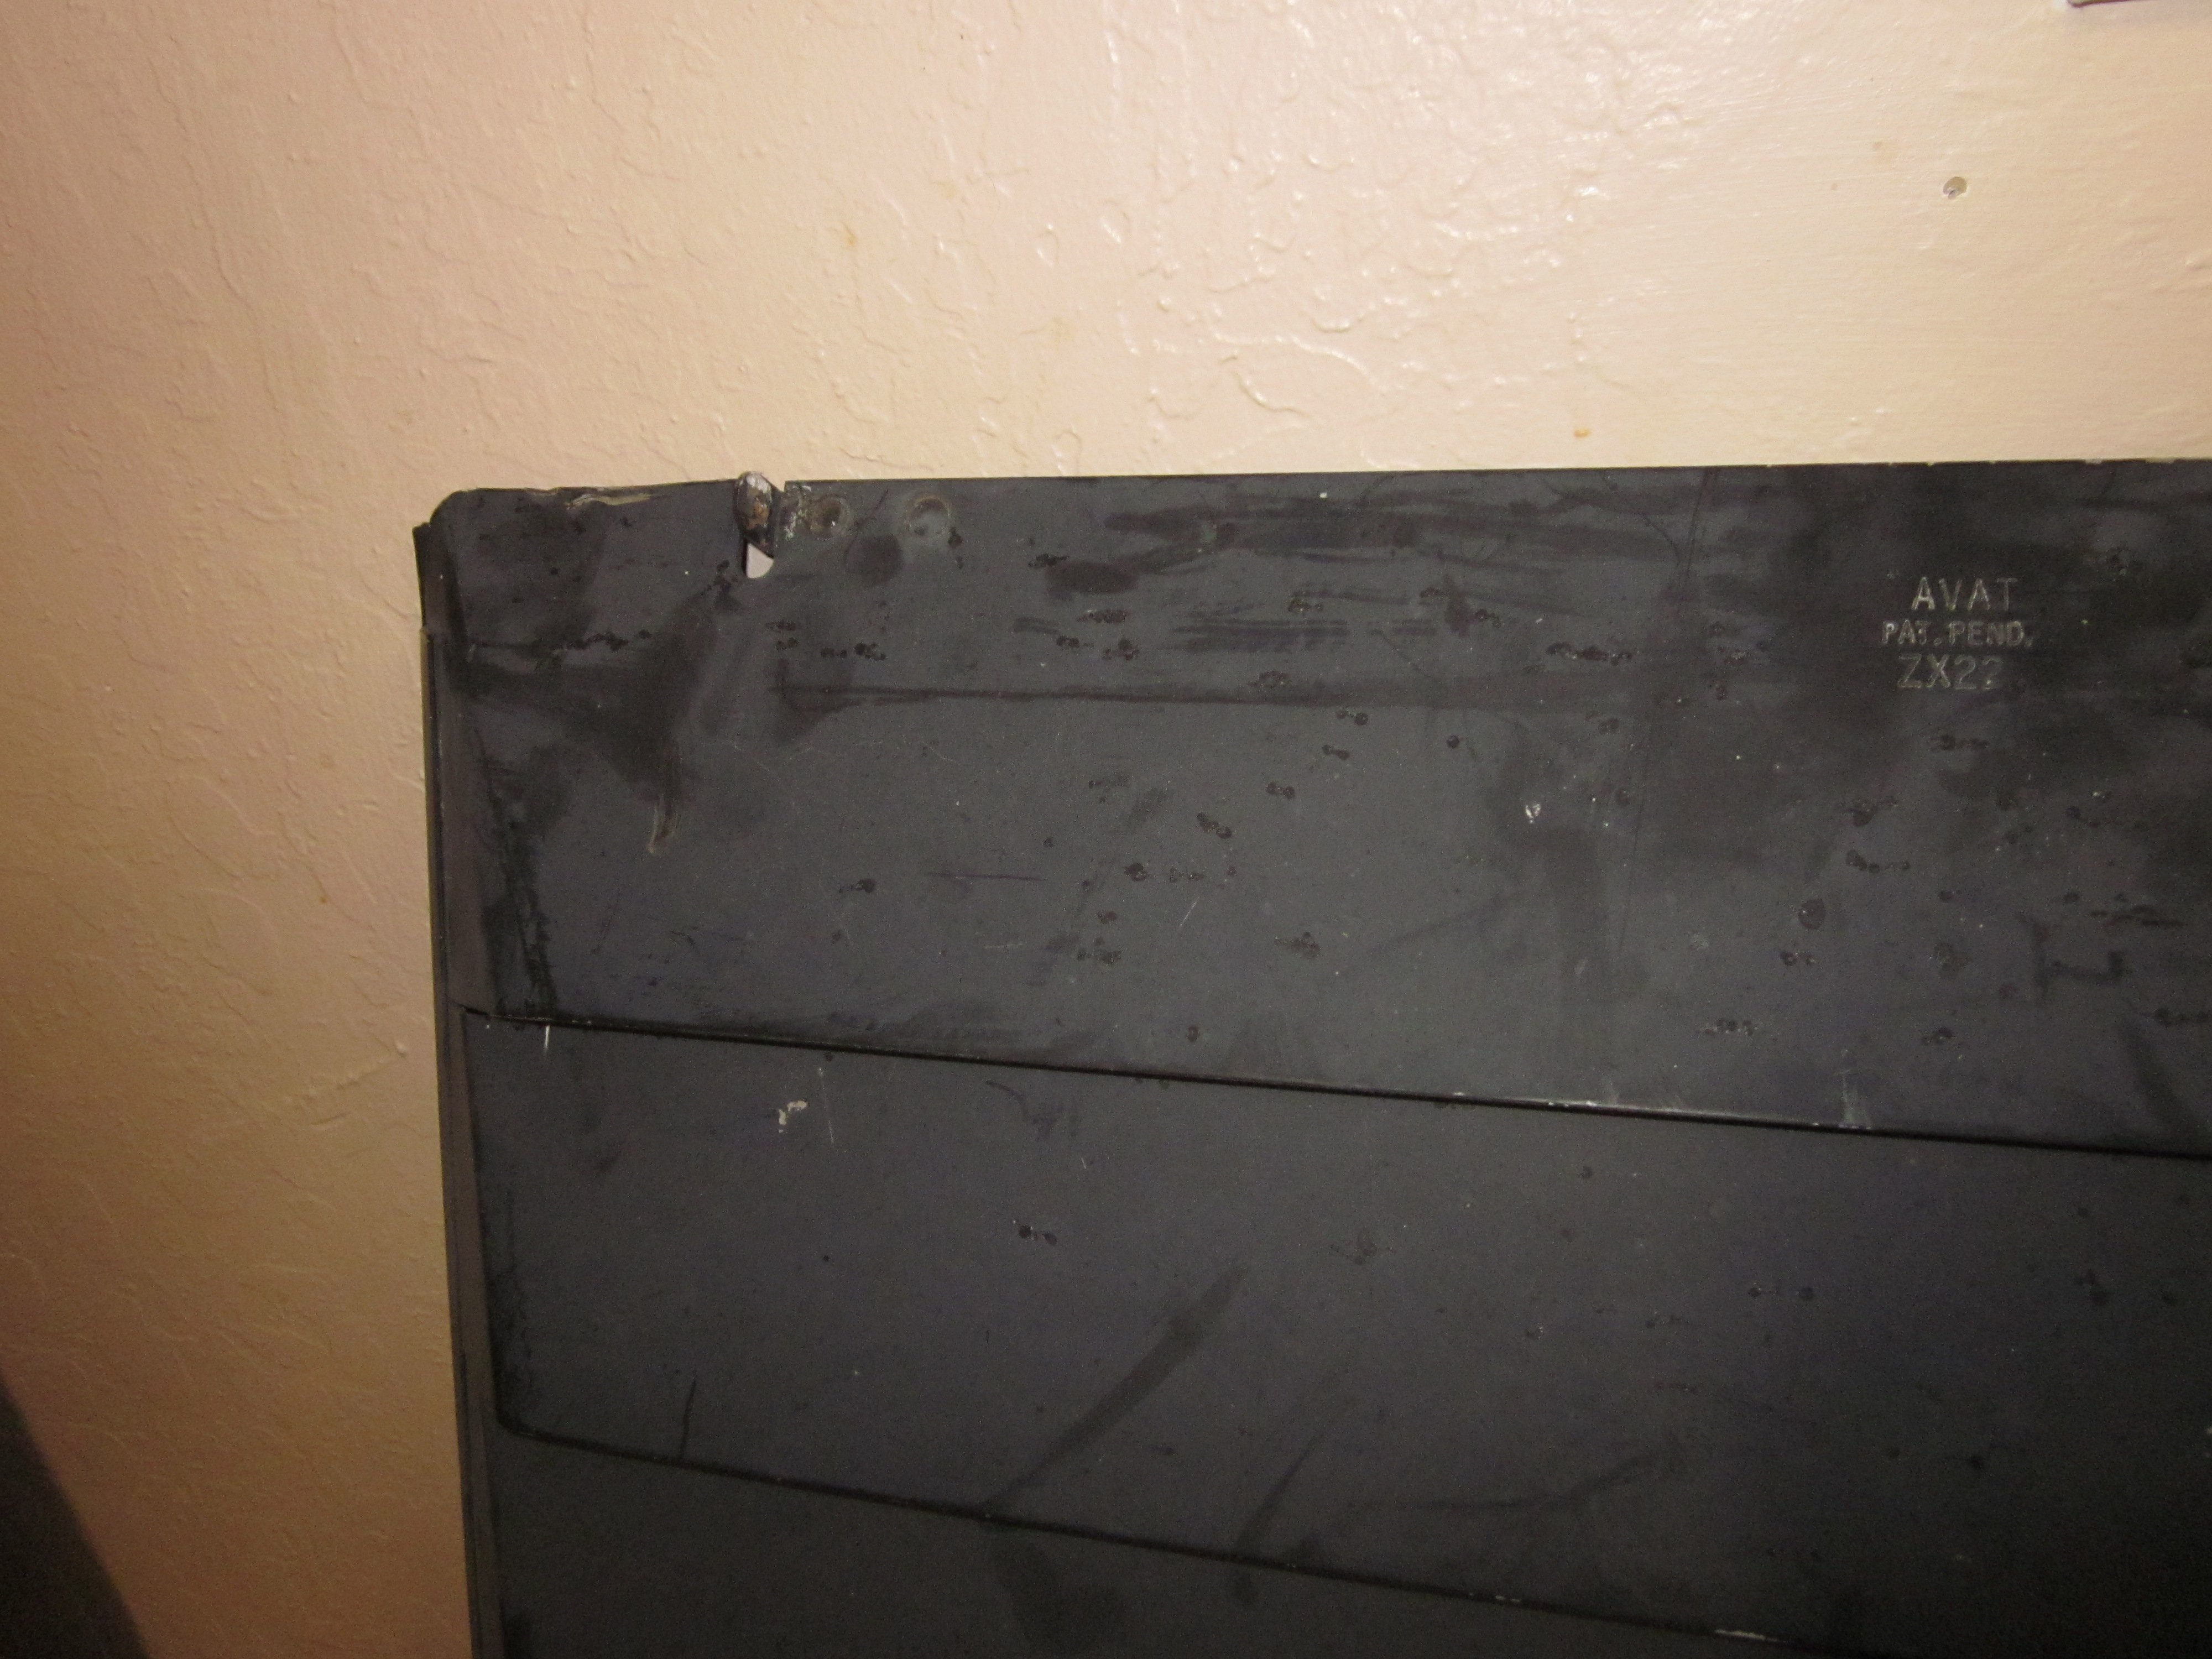
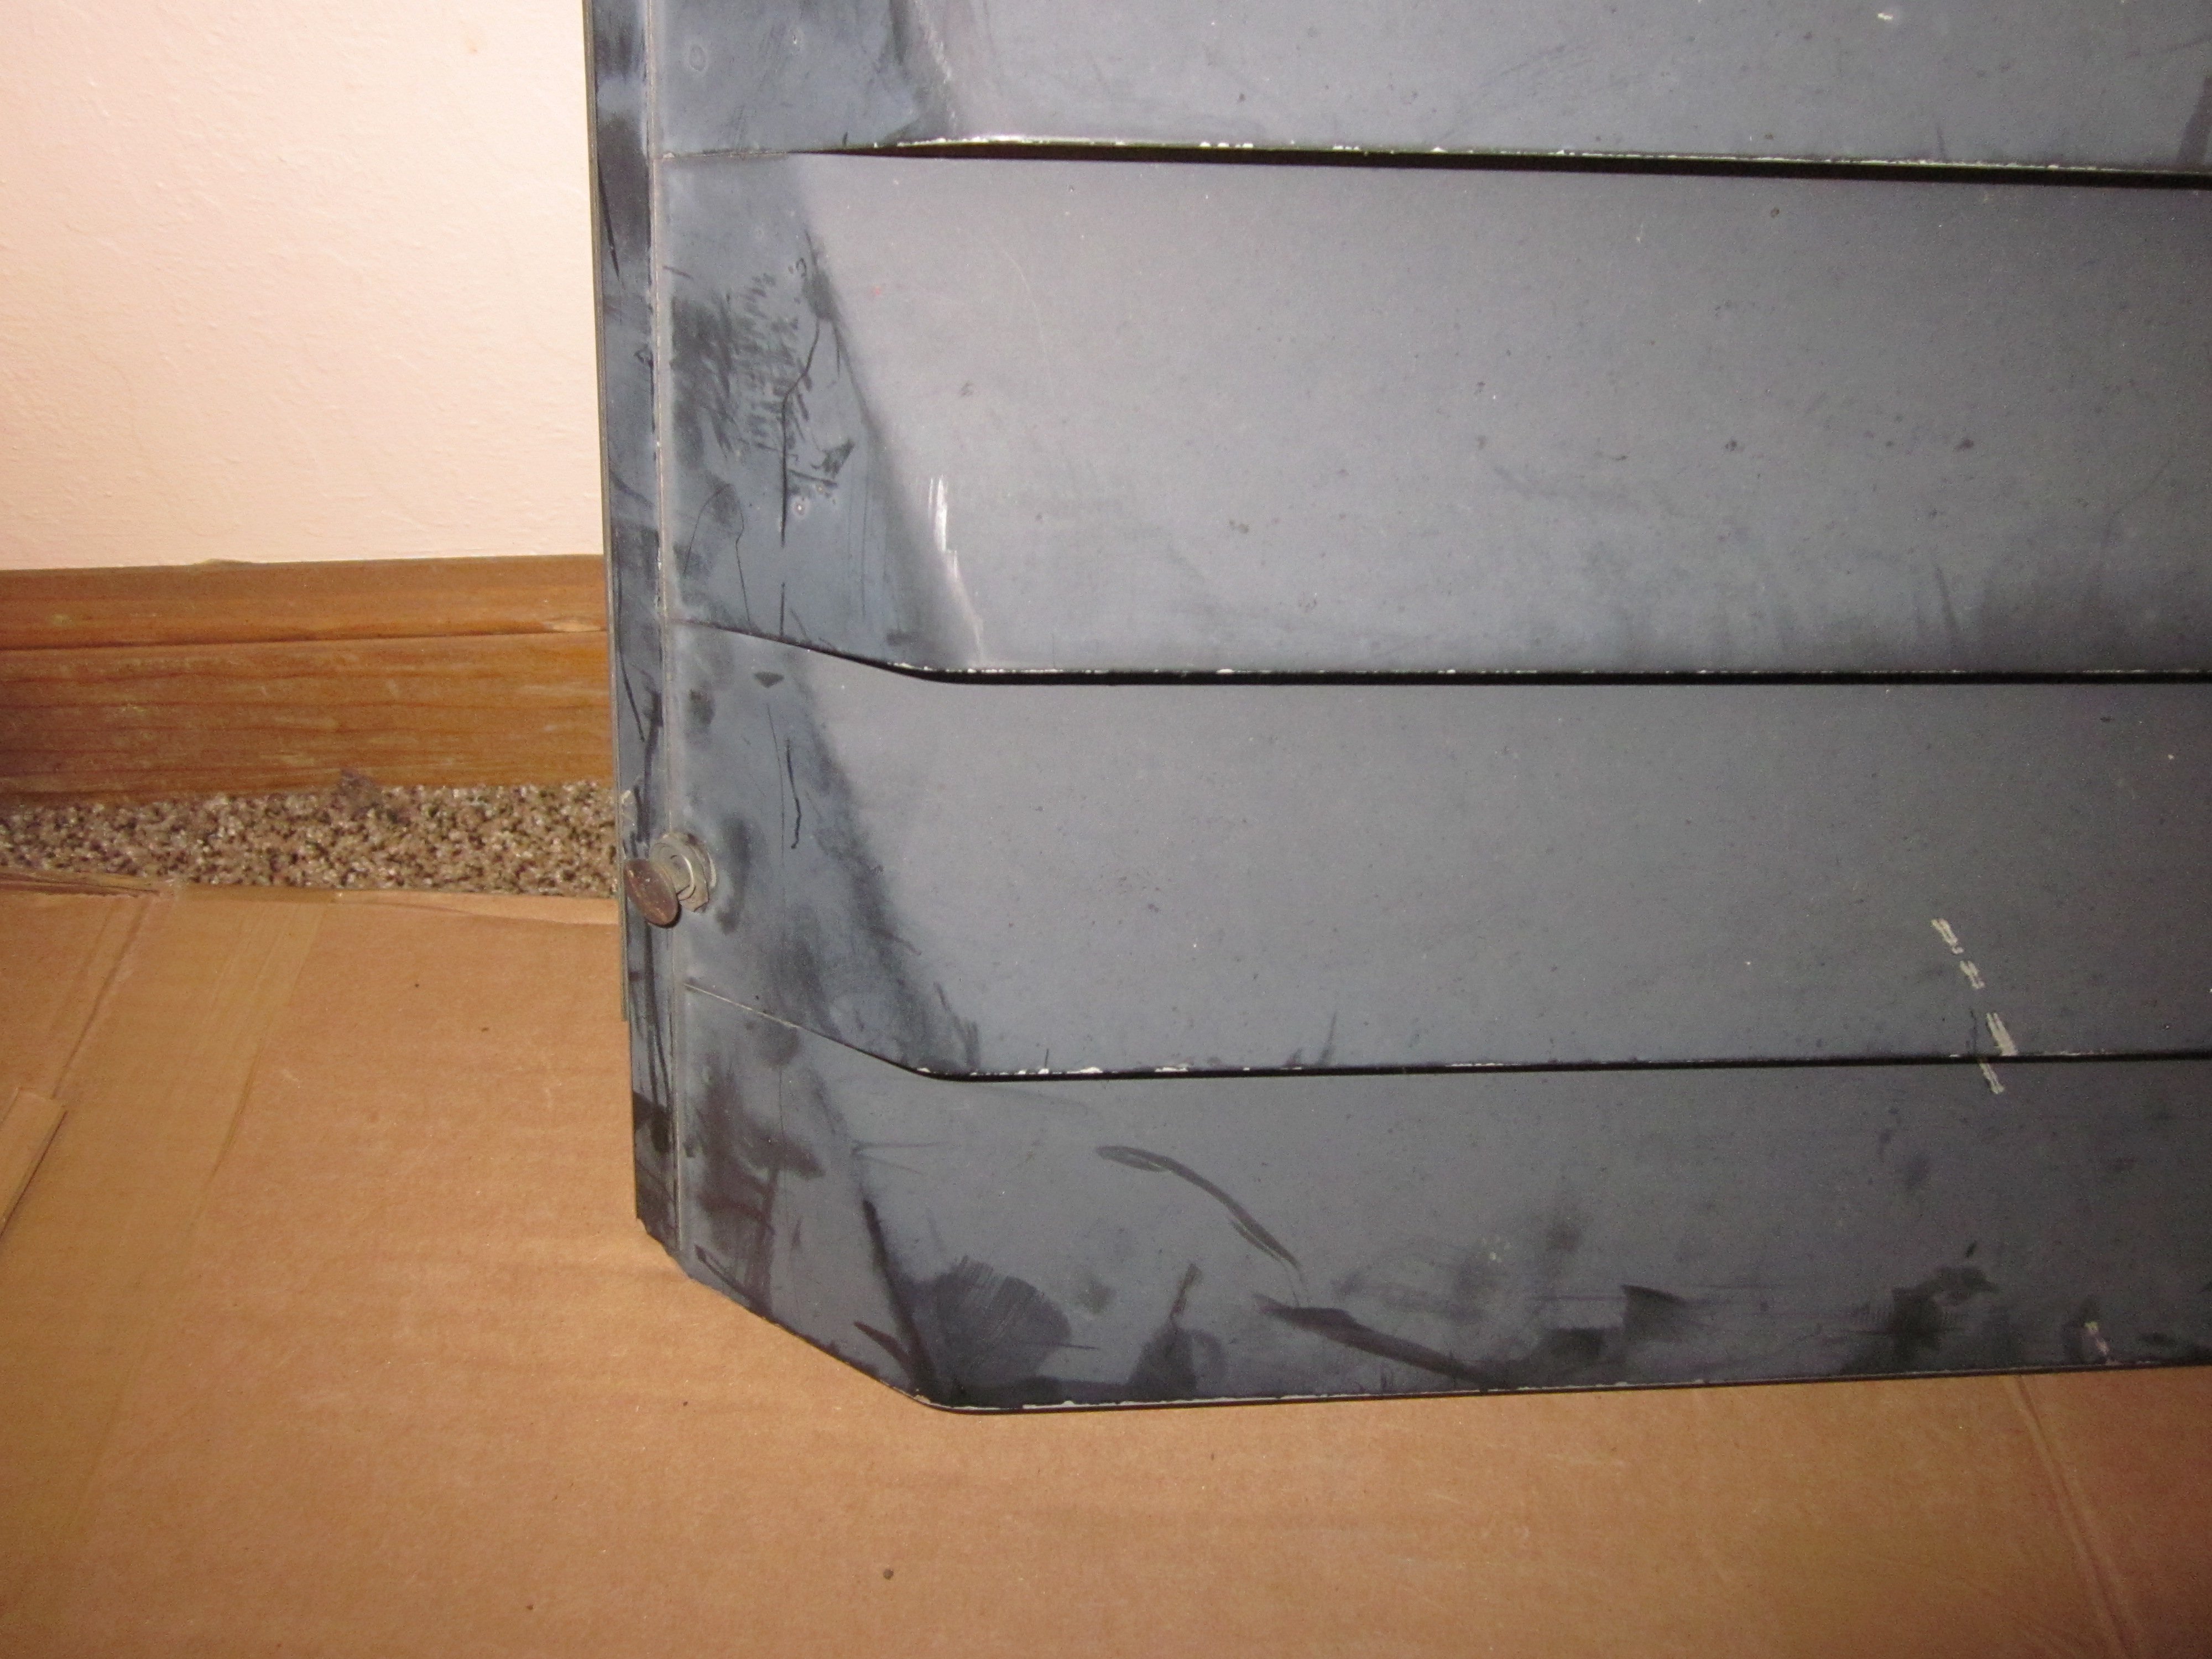
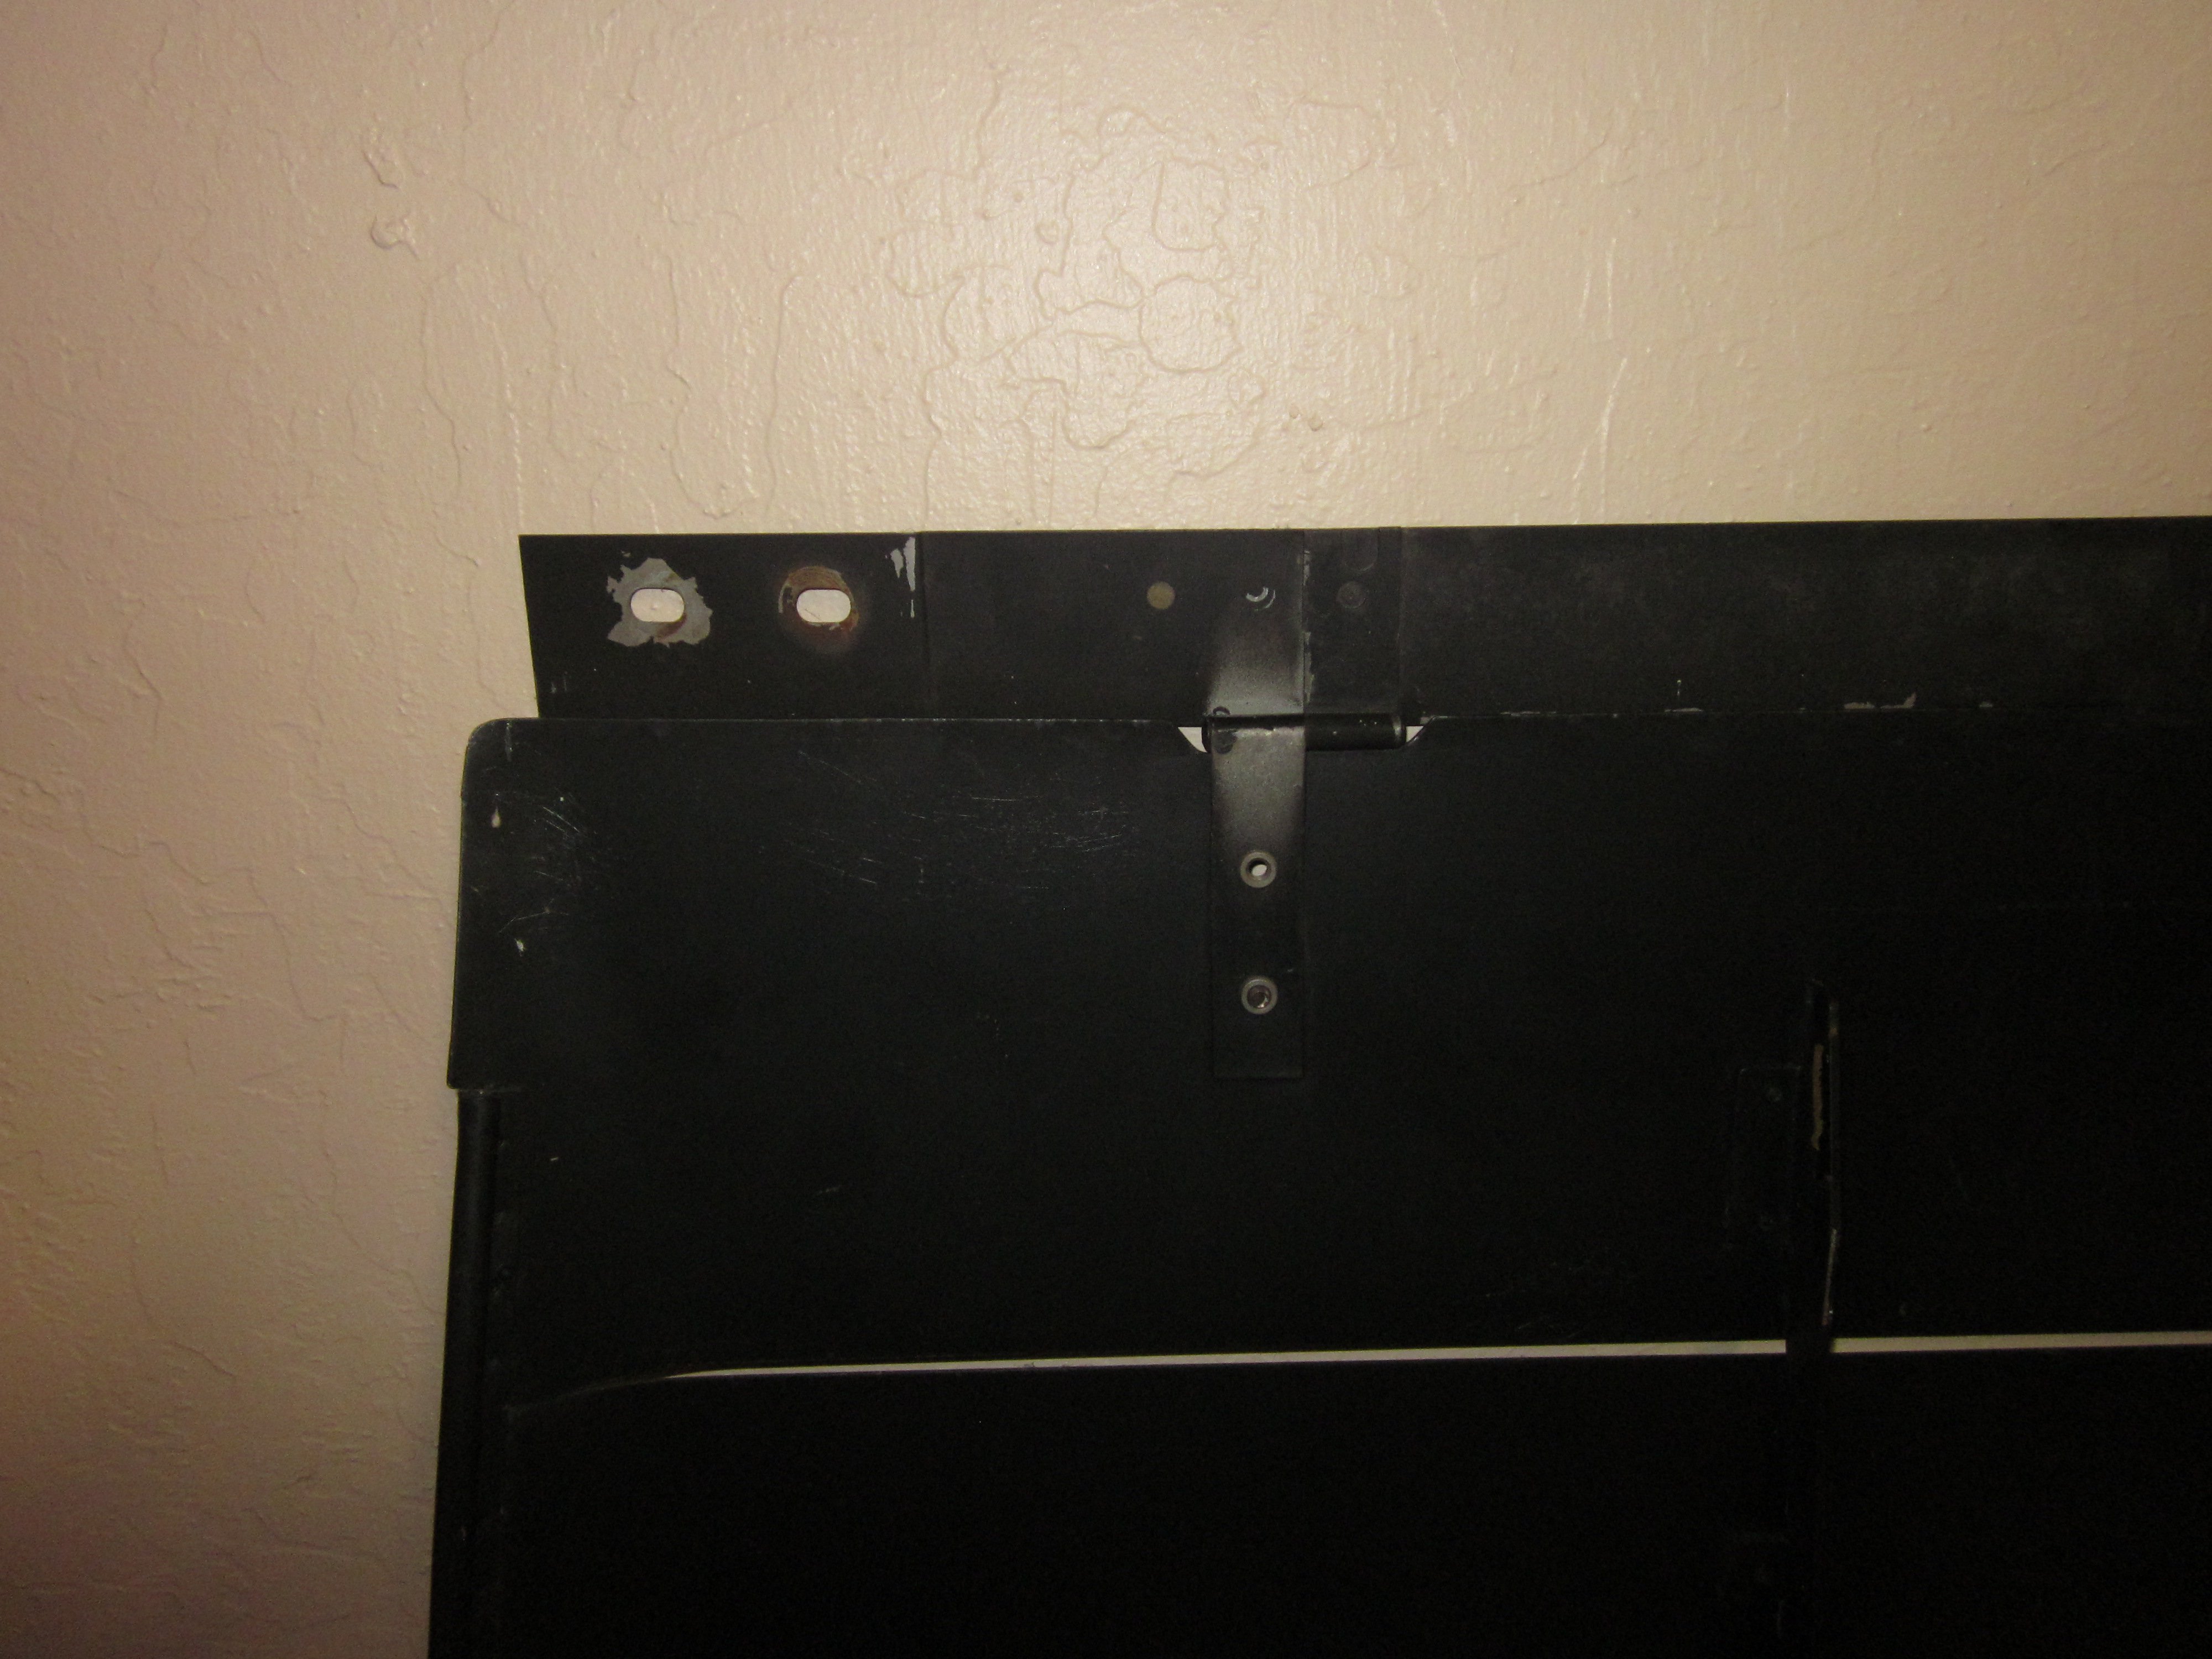
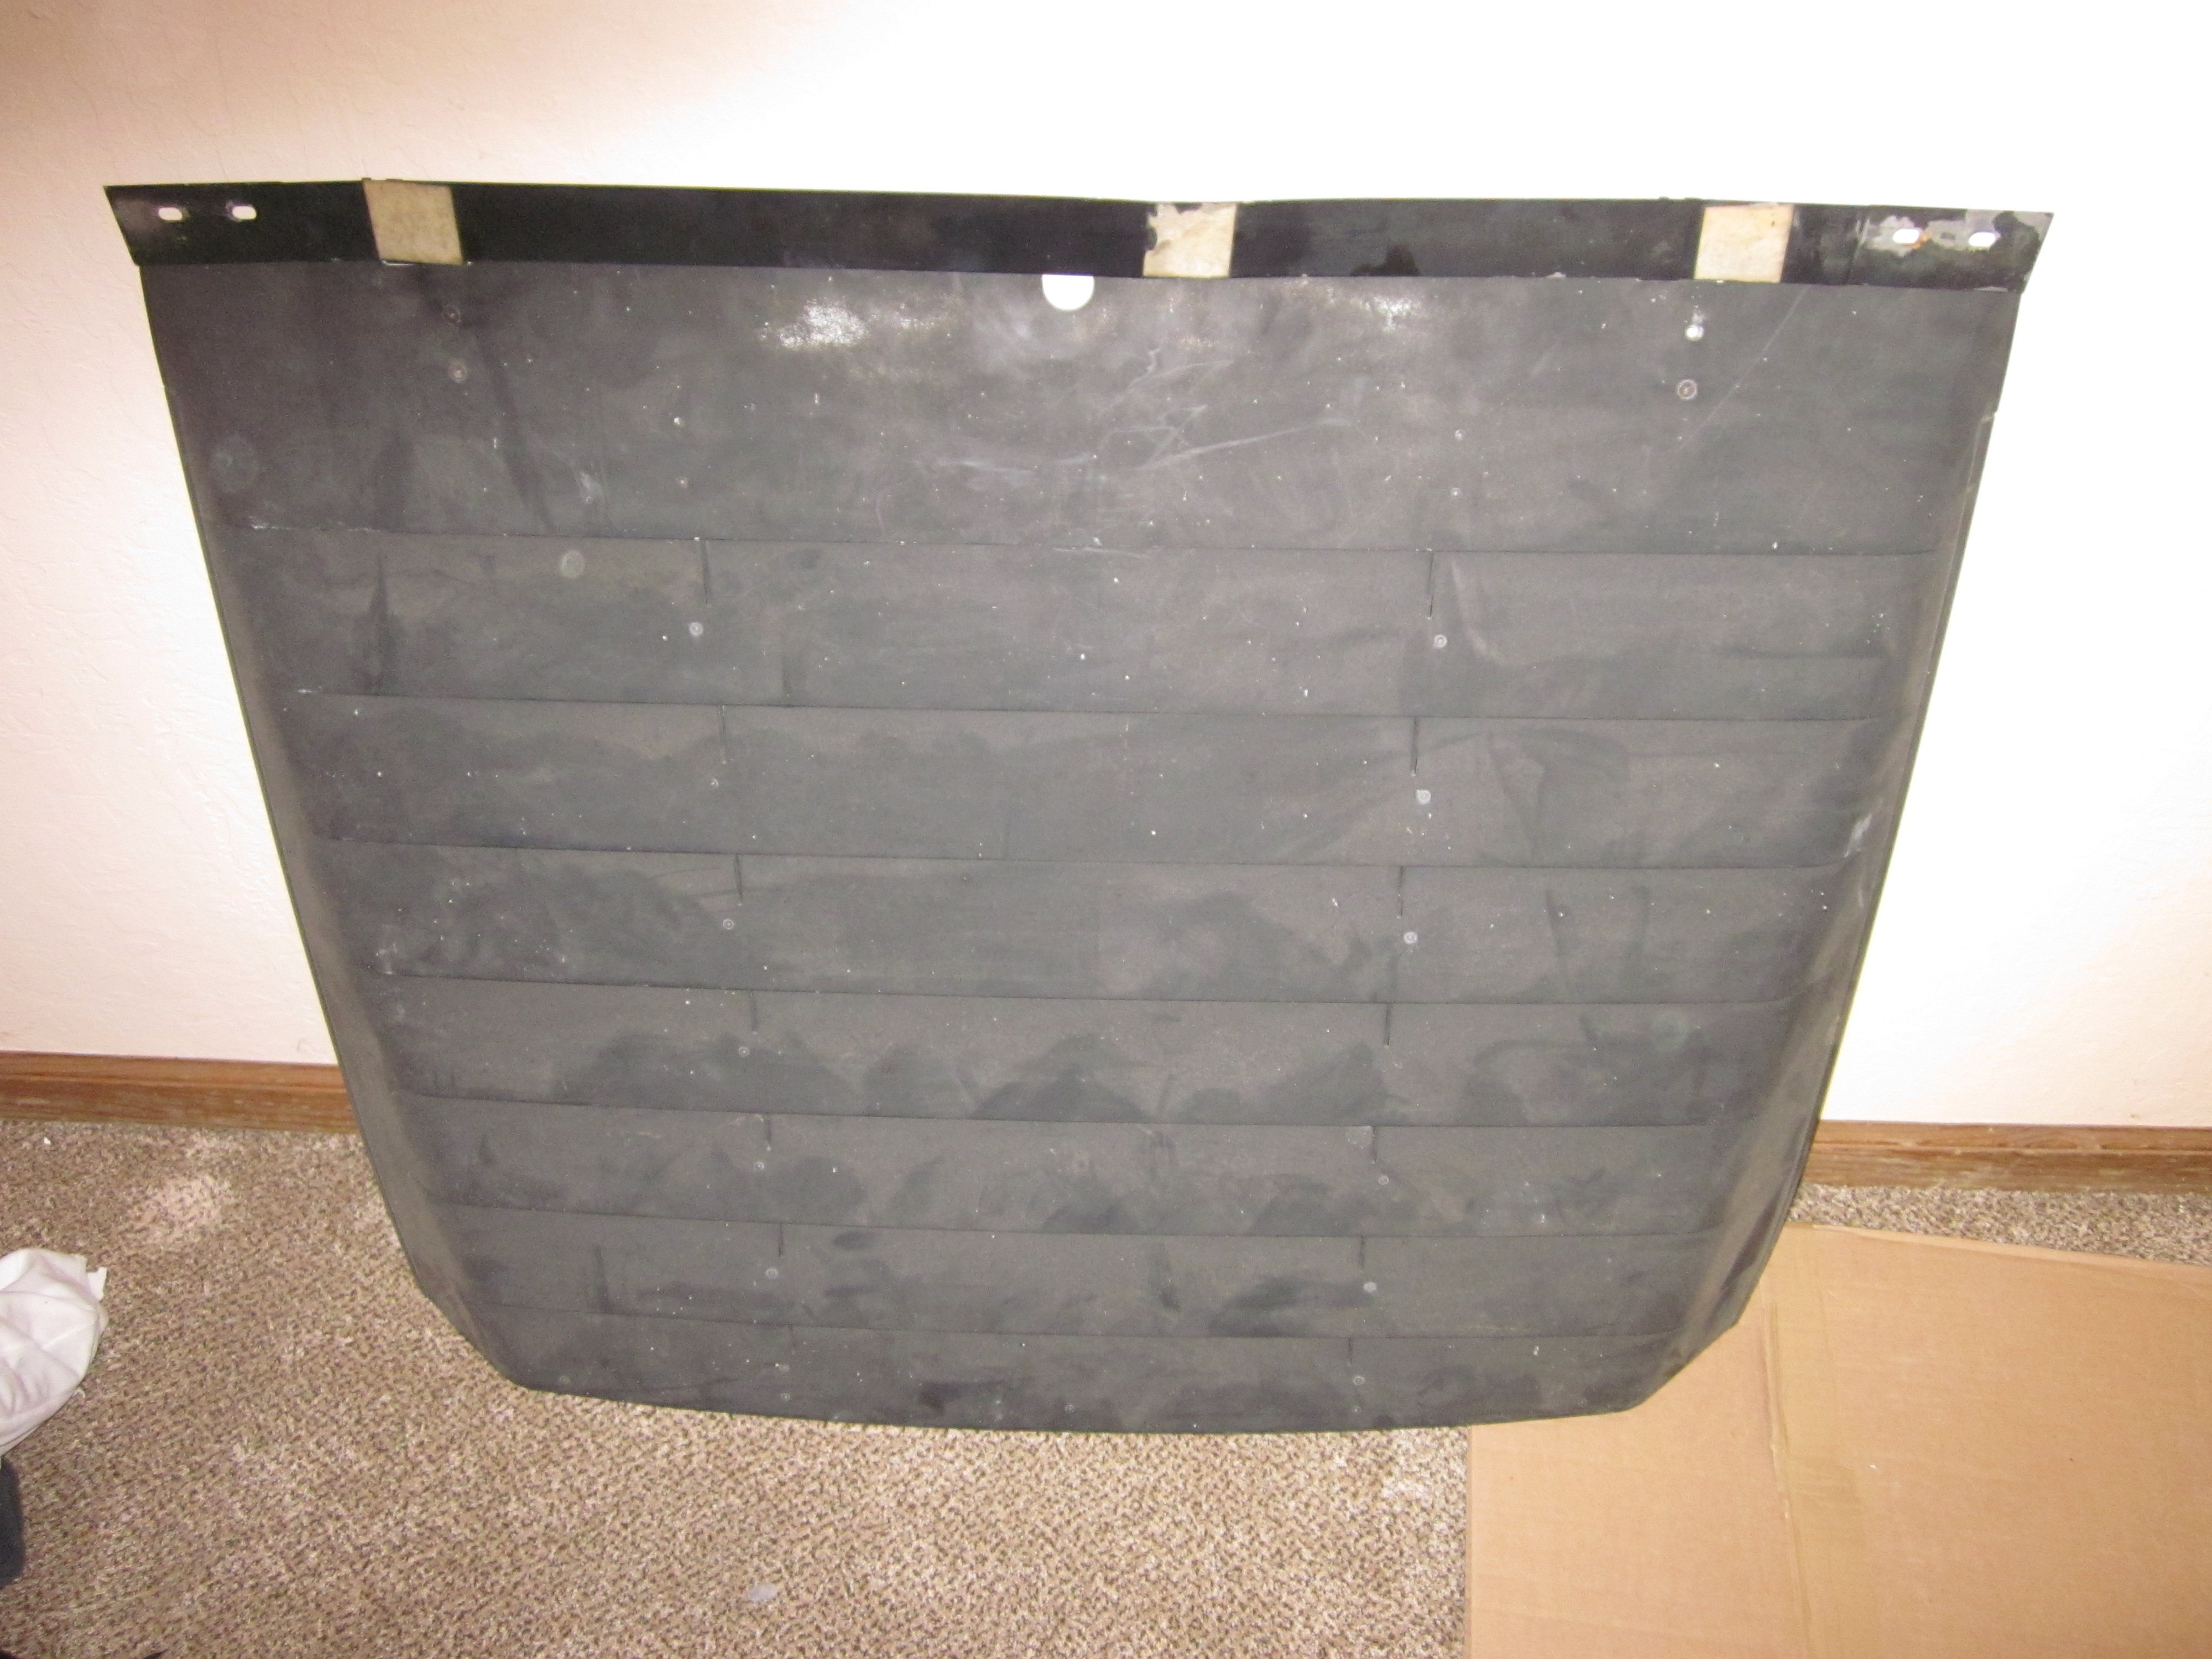
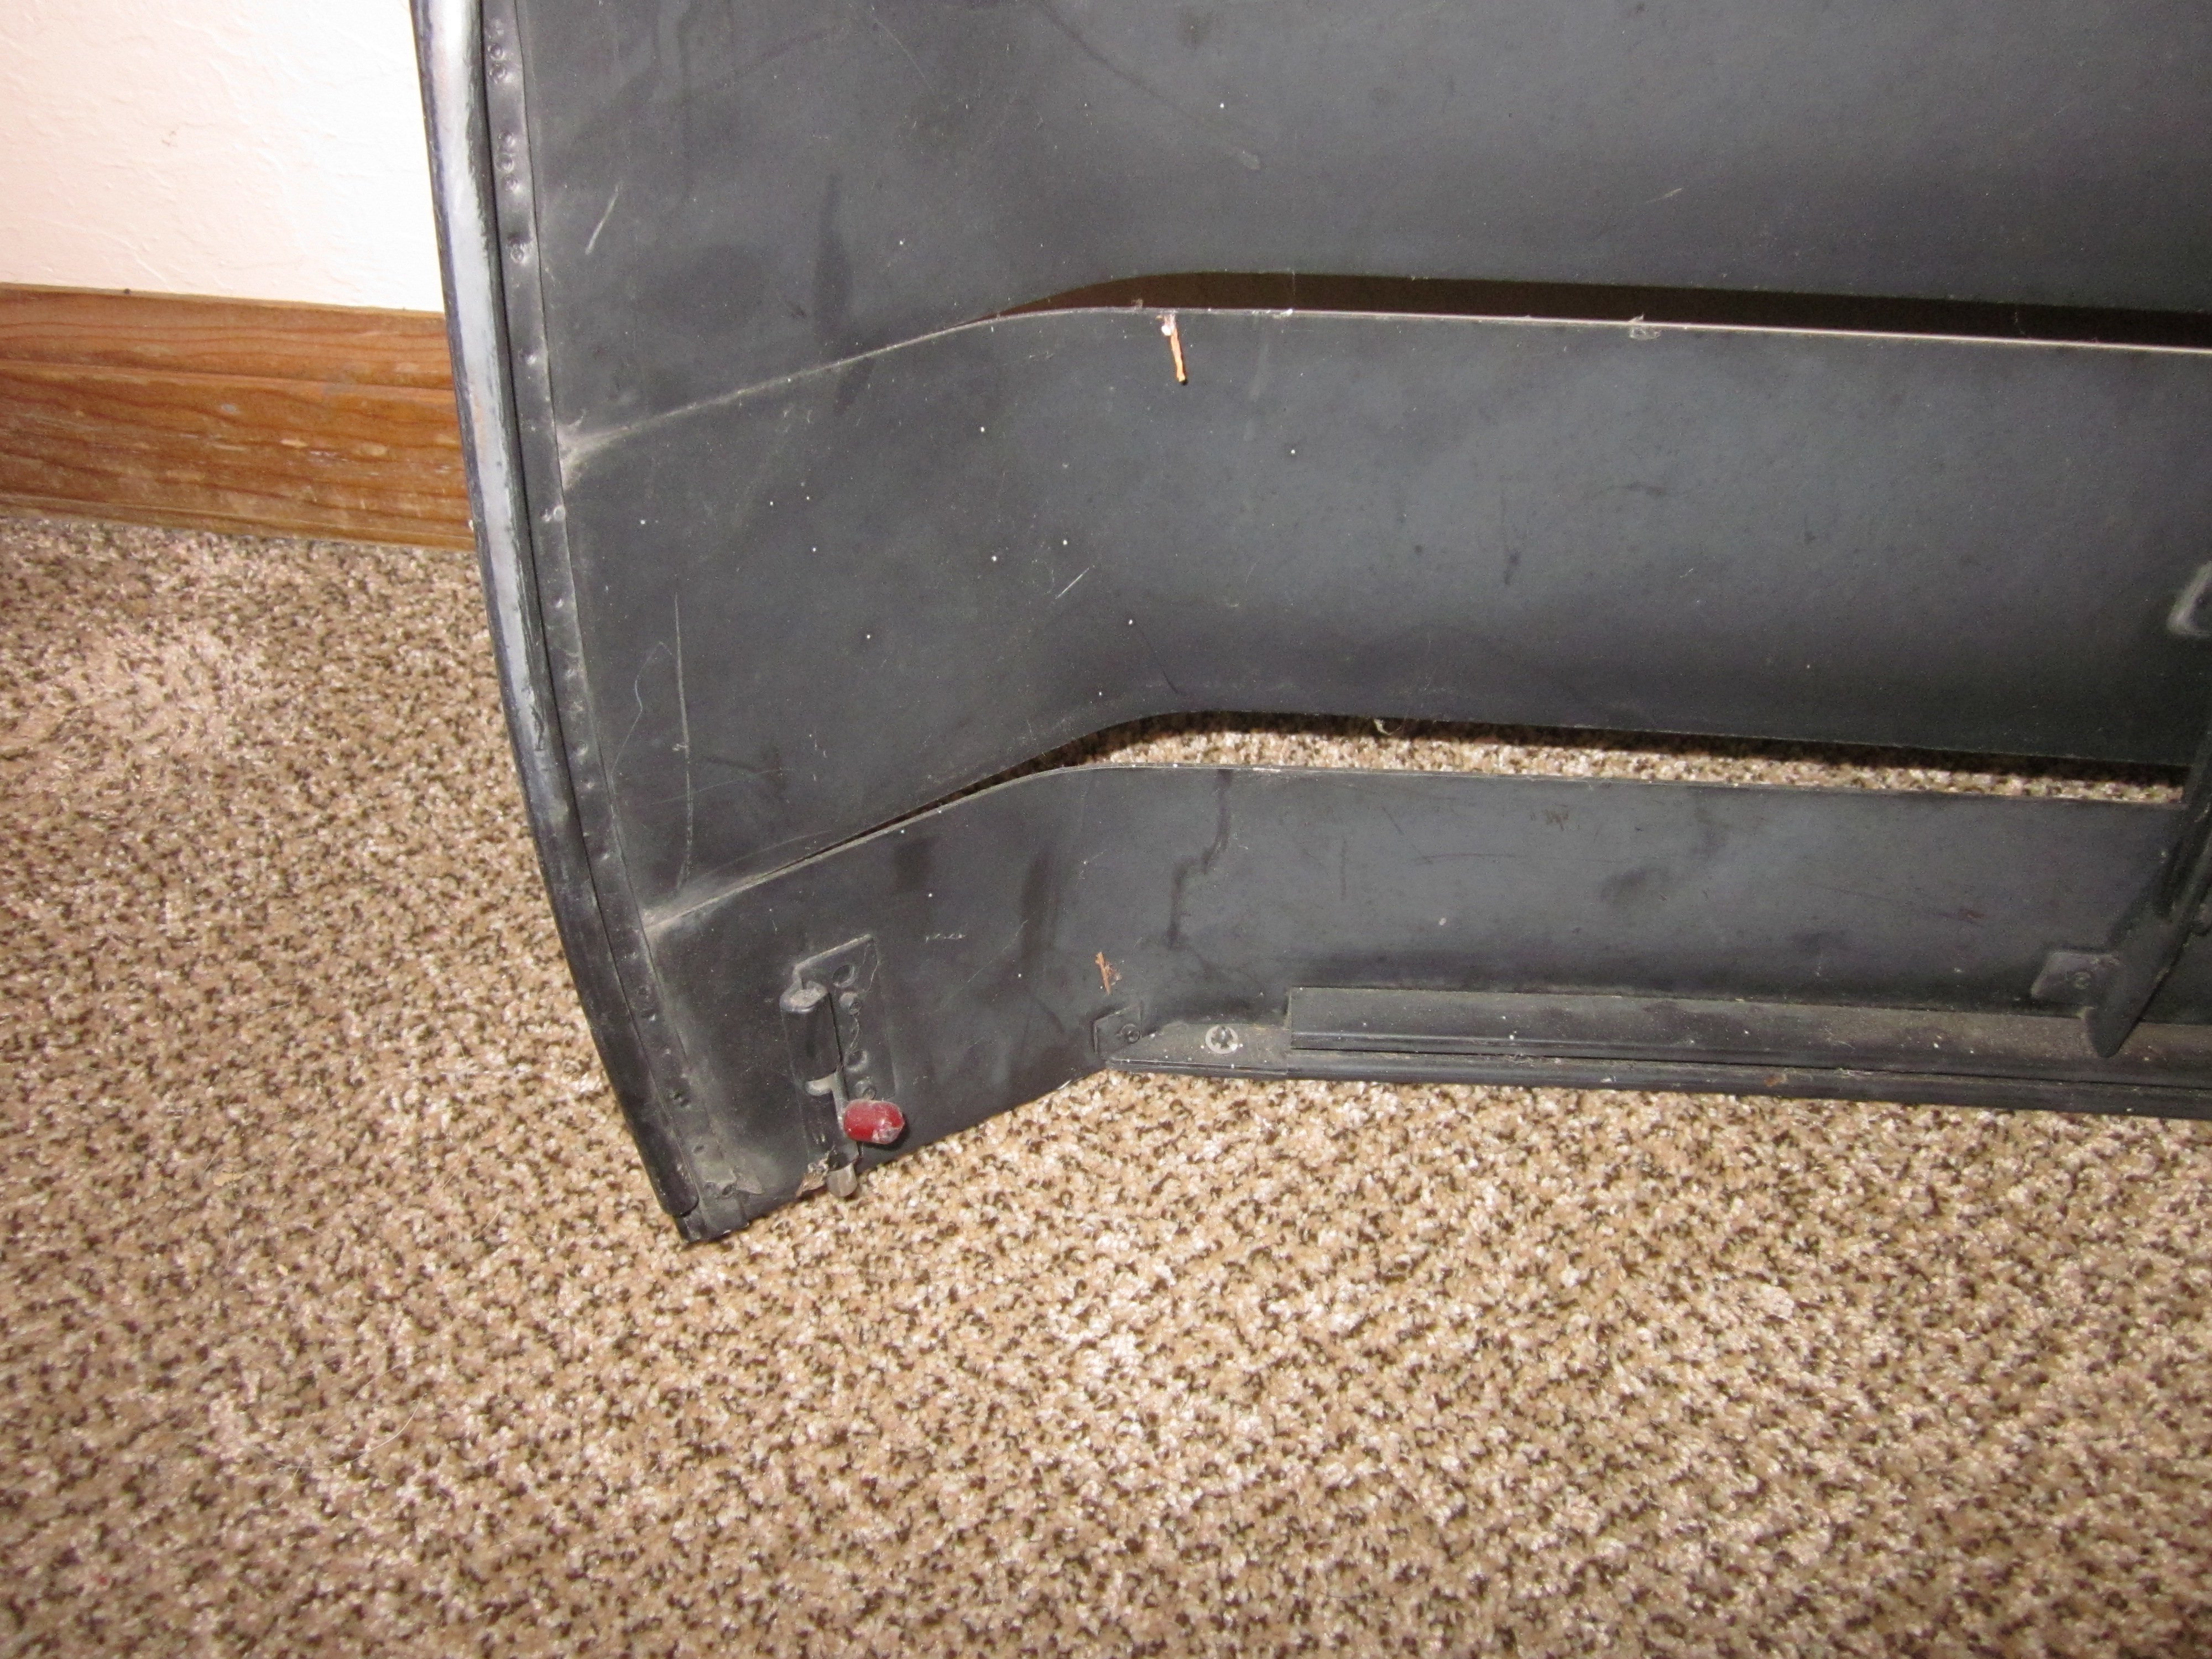
Louver #2 - Mounts with a small hole for a pin hinge at the top and a flat-head locking screw at the bottom - $50Gone
-
Louver #1 - Mounts from a flat hinged piece at the top and a sliding latch at the bottom. $50- Gone
-
I'm moving, so up for sale is a bunch of my Z-parts collection.
I'm in Montara (94037), pickup only please.I've moved to the Central Coast, just south of San Luis Obispo, 93420.From a 1981 280ZX that was parted out, everything worked perfectly when pulled.
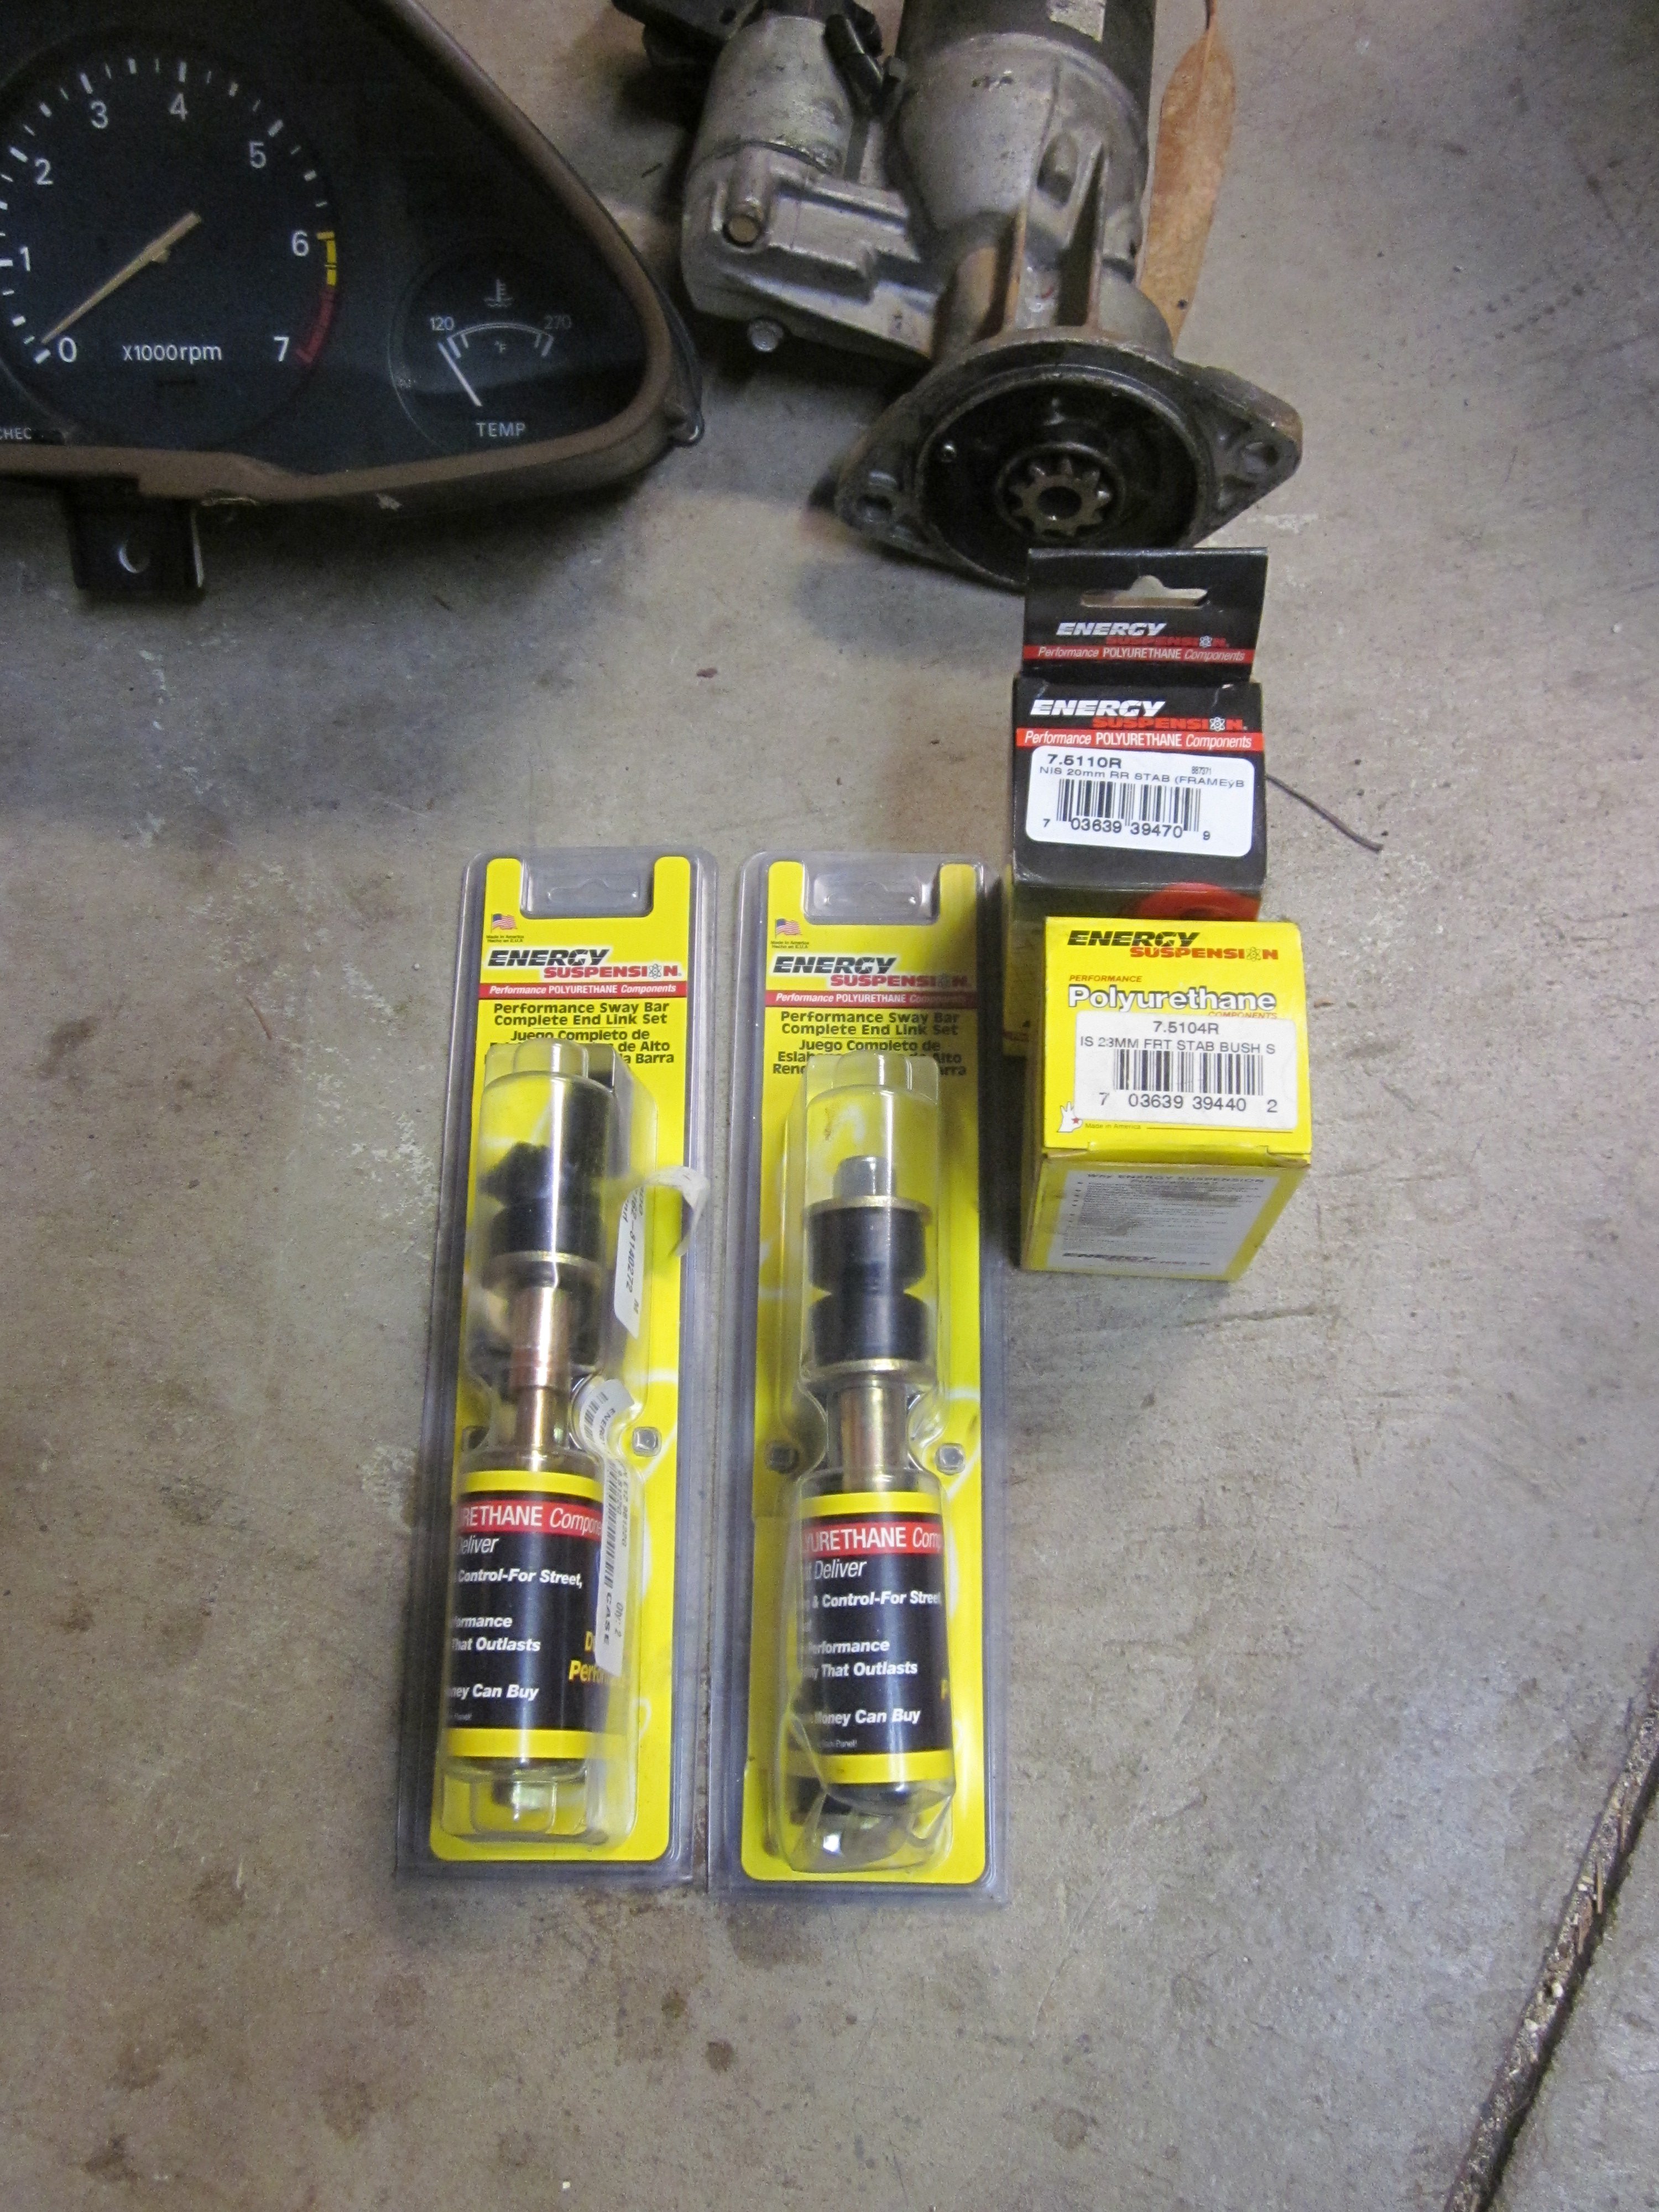
Energy suspension polyurethane sway bar bushings and end links, front and rear, brand new - $40
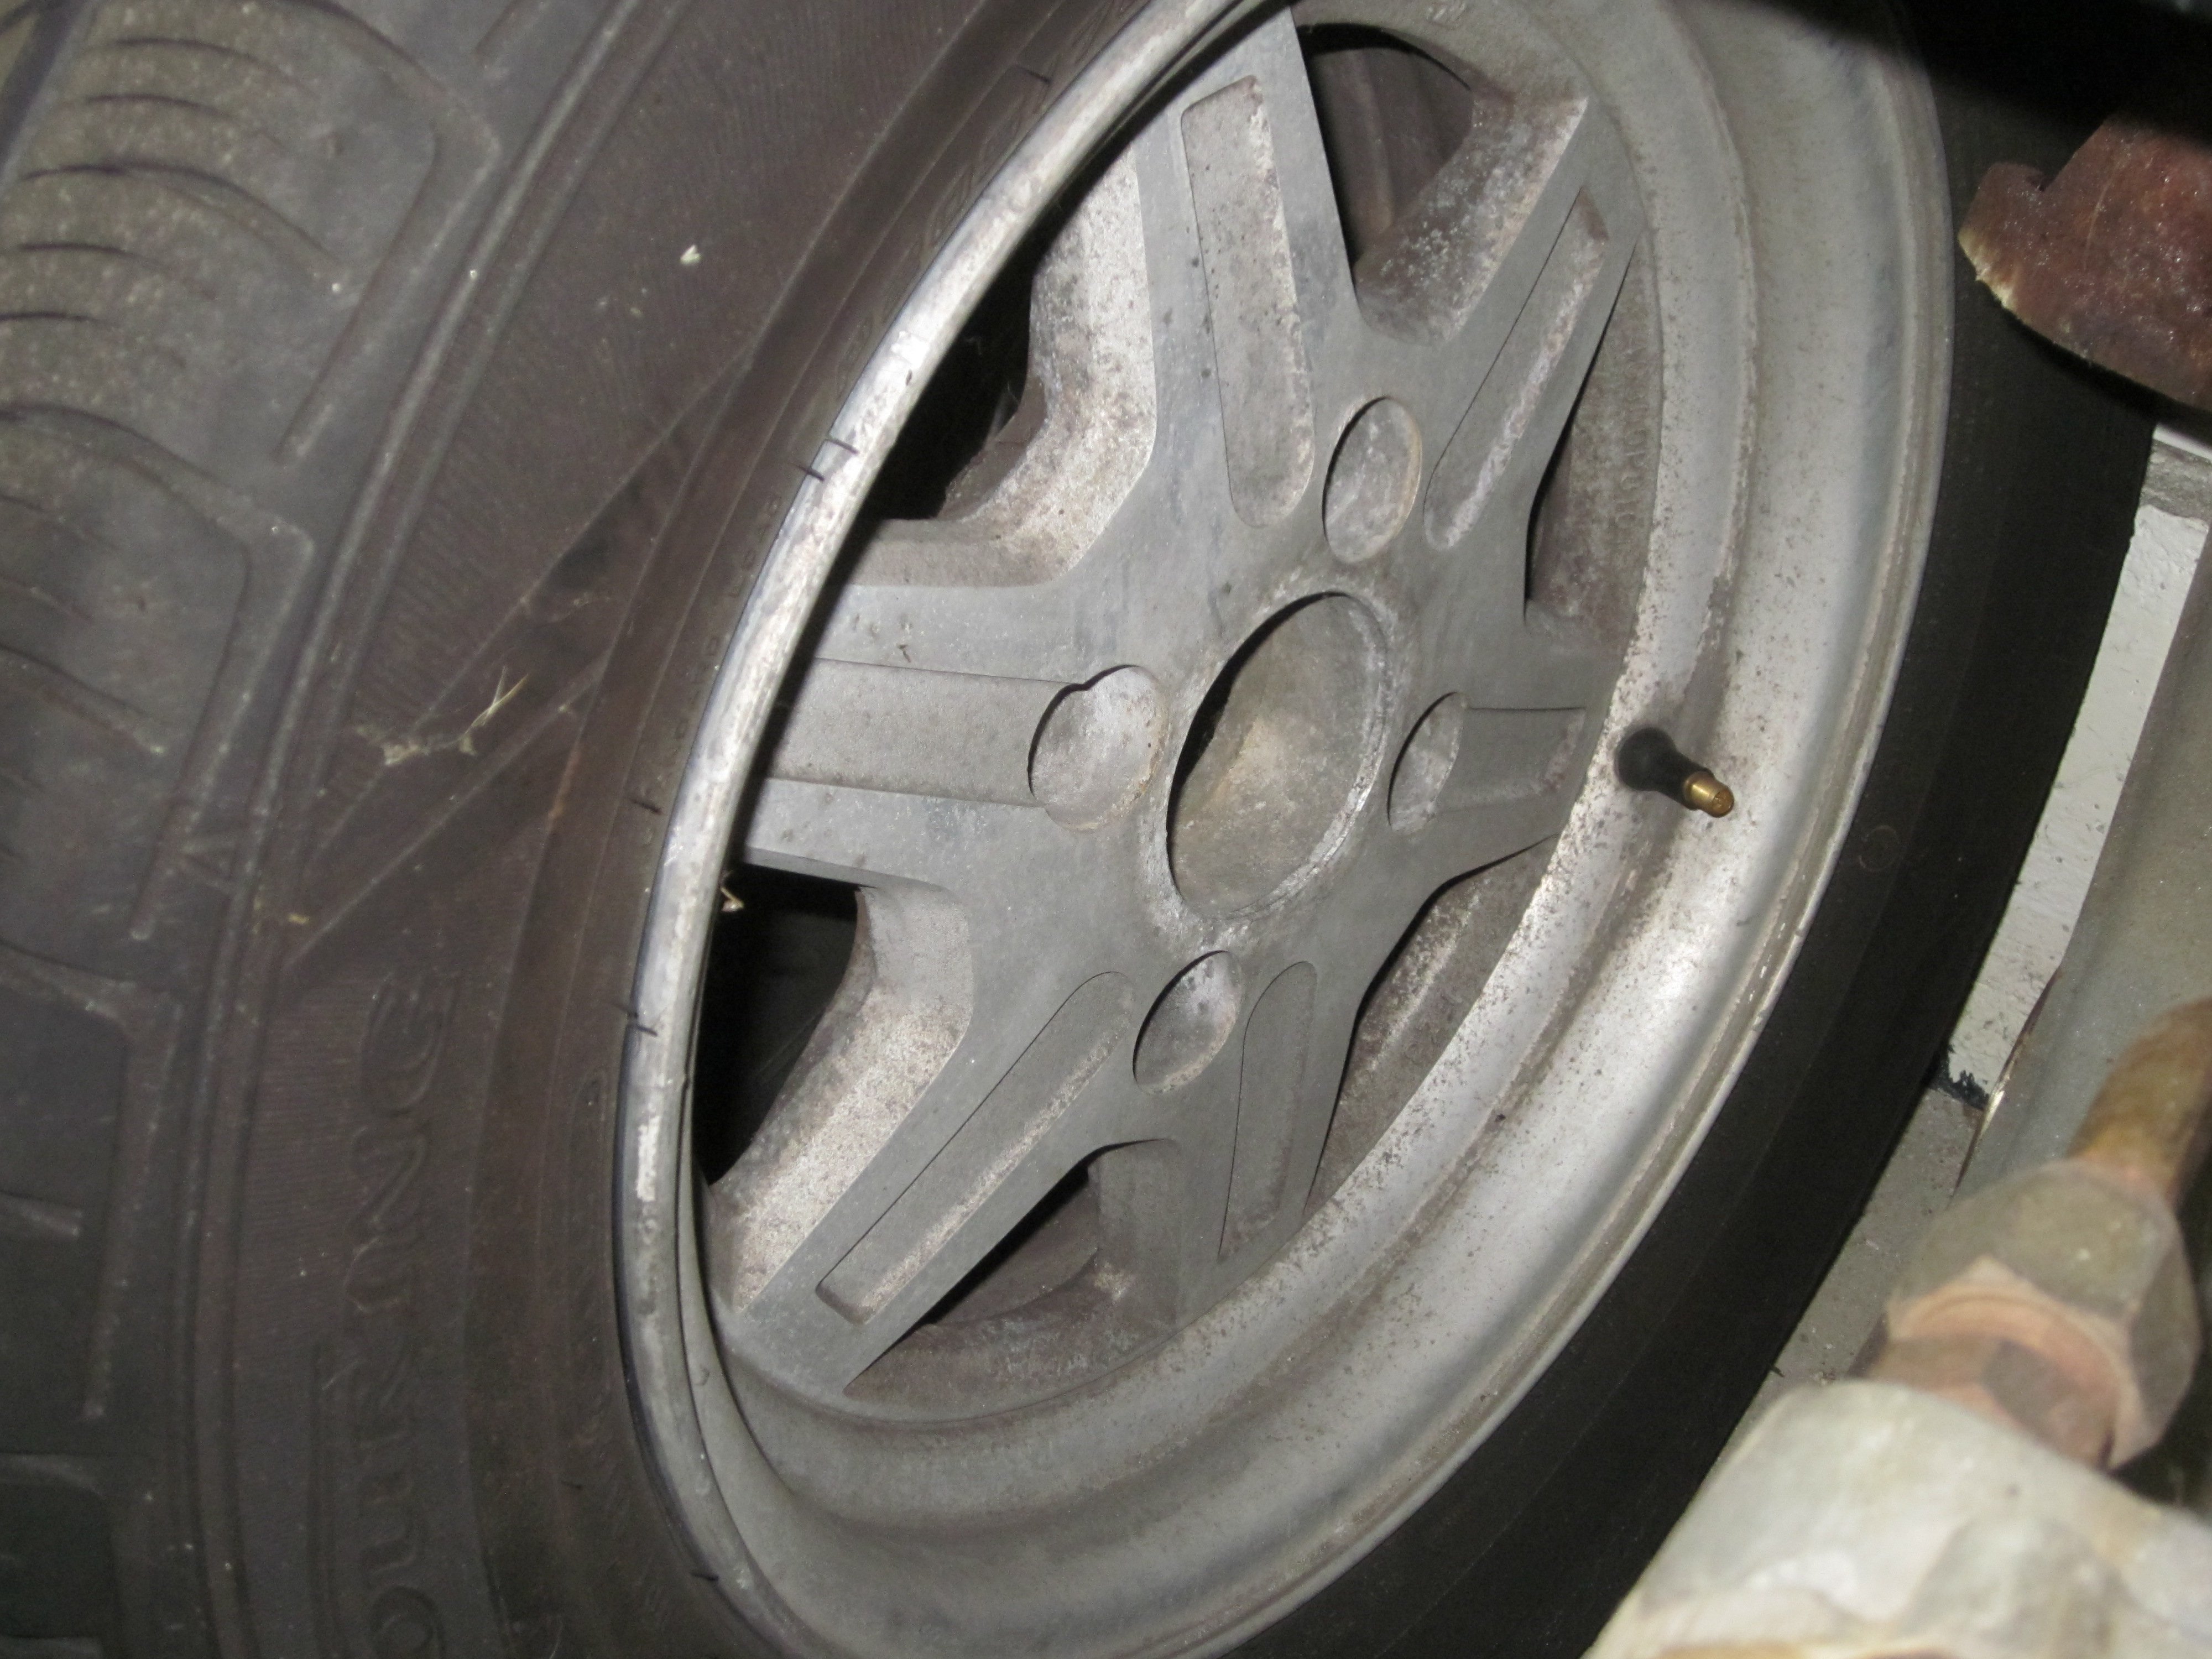
Set of four wheels, with center caps, could use light TLC. Tires are shot - $150
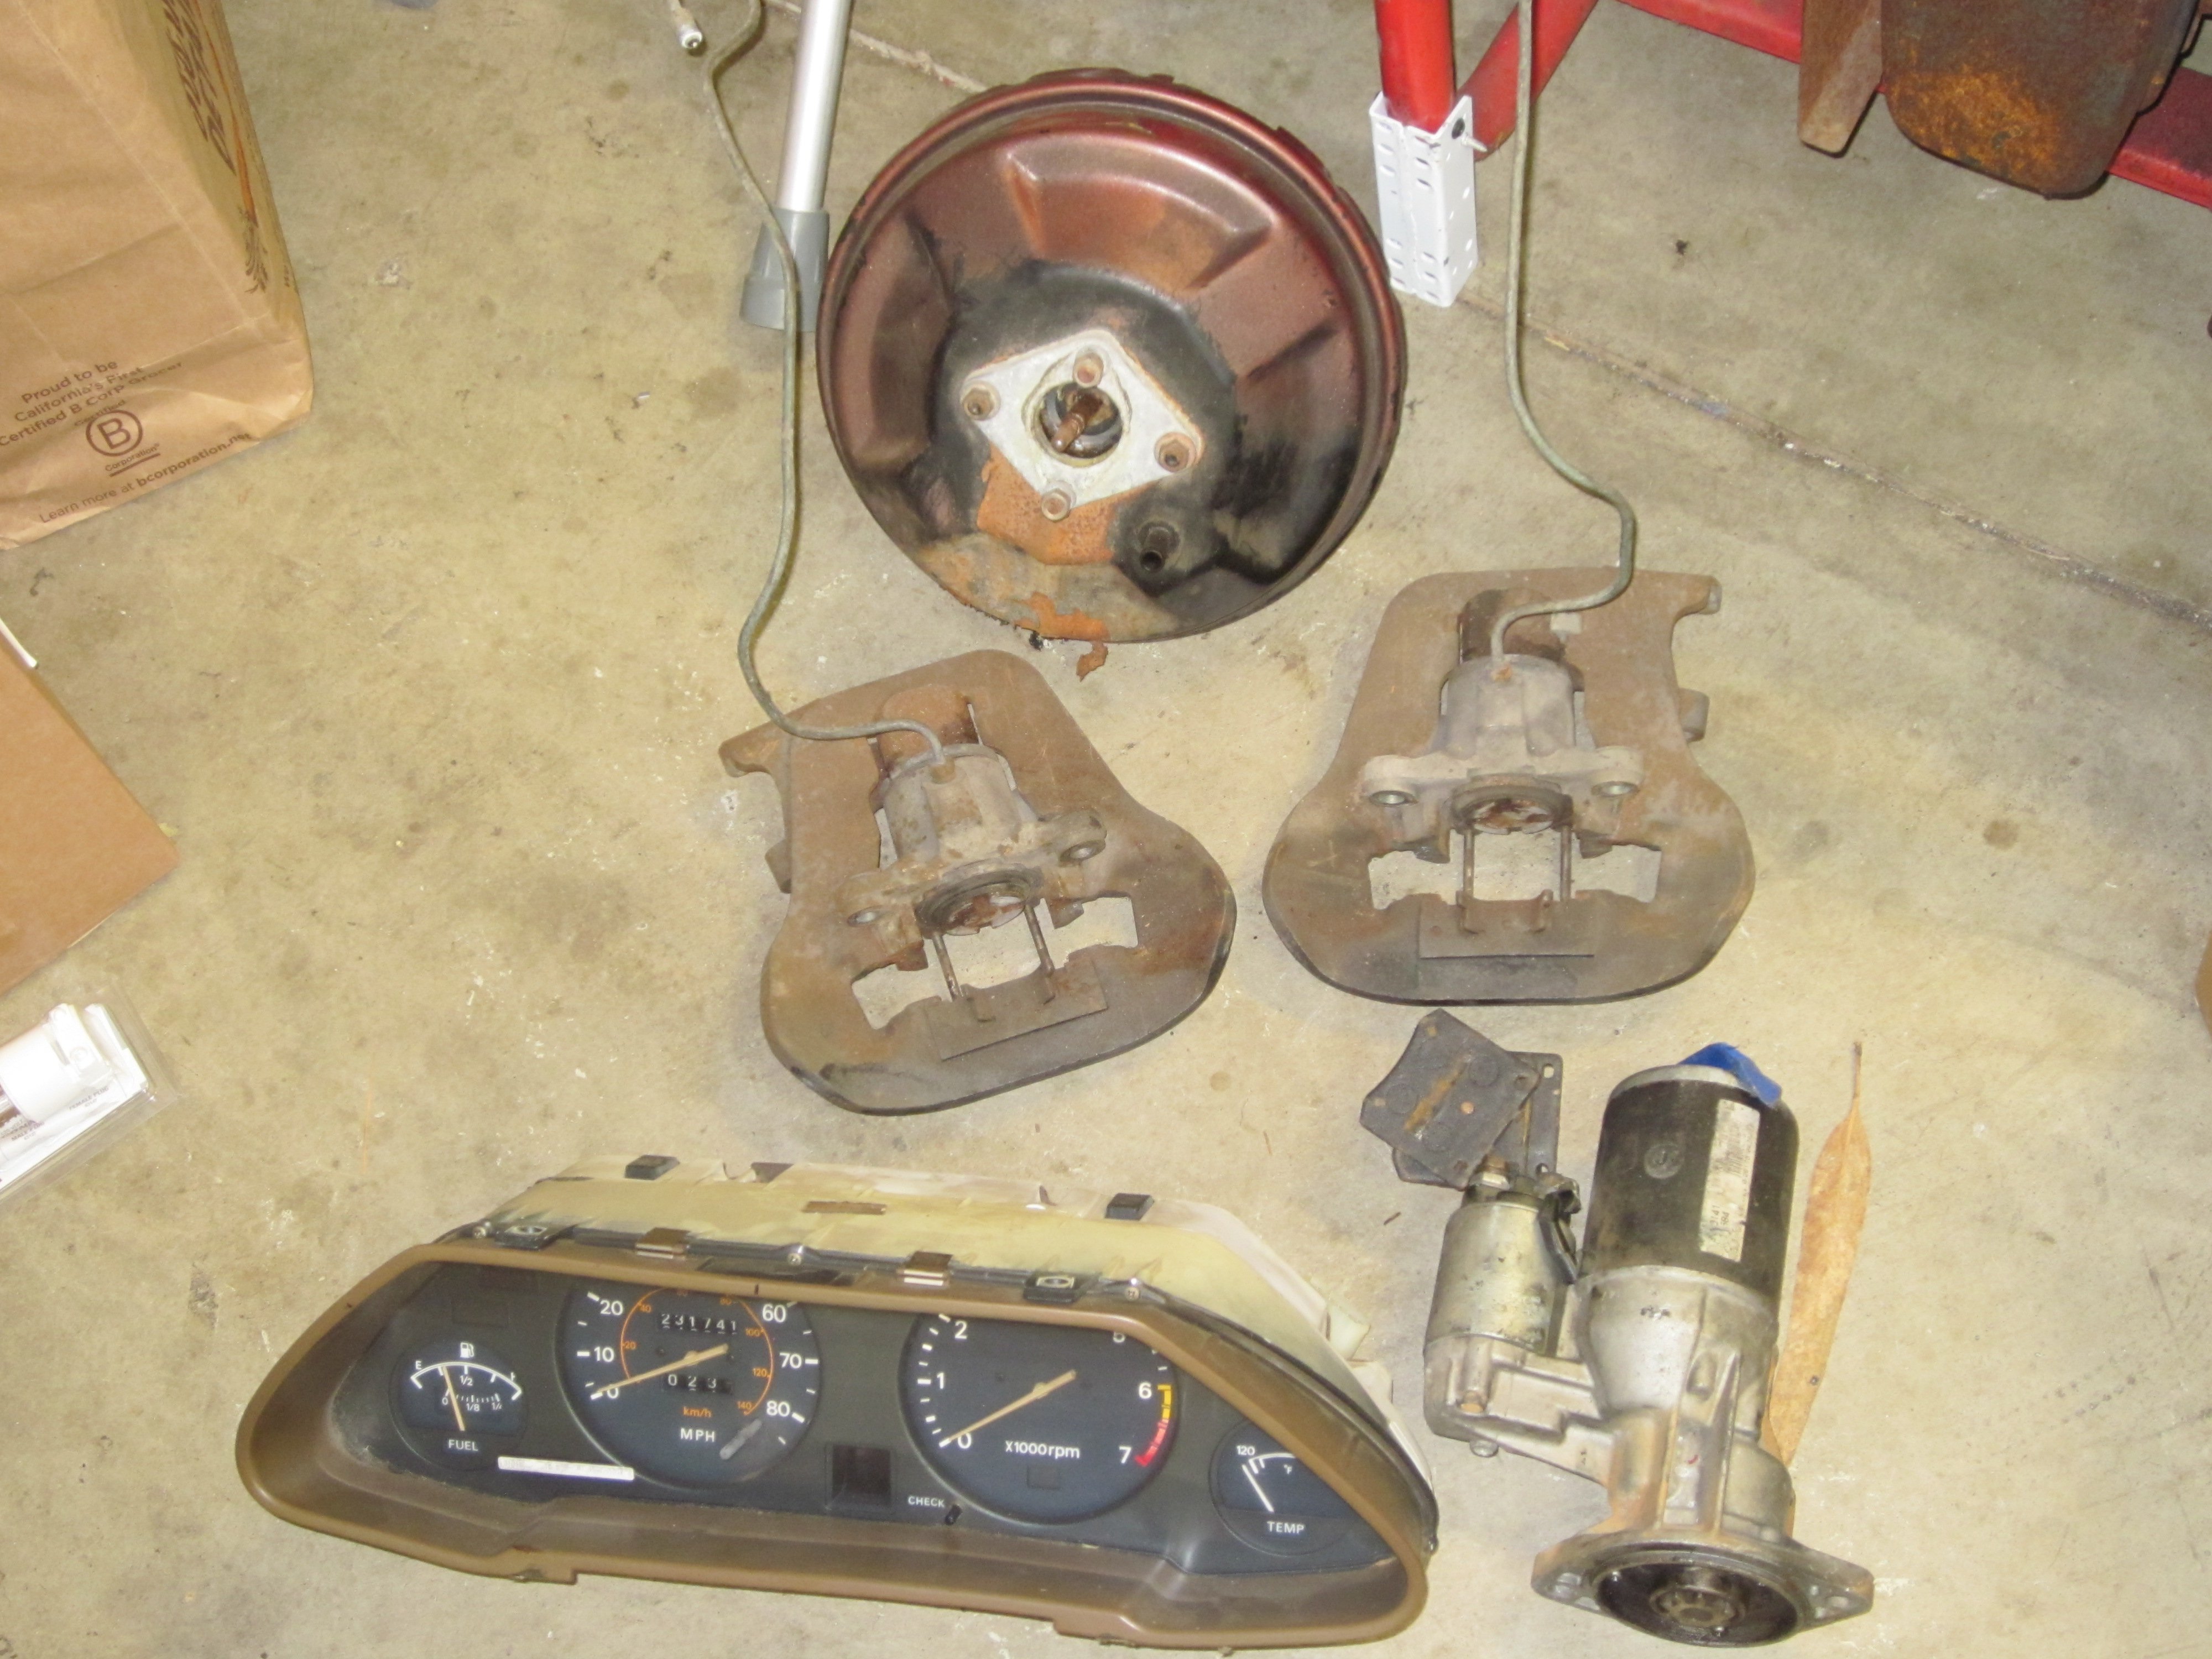
Brake booster - $20 $10Rear brake calipers with brand new pads - $40 $20Gauge cluster - $20 - $15Broken stater motor (good for a core, should be rebuildable) - Free with anything elseA couple rear hatch louvers from unknown years (will pull out and post pictures if anyone is interested)
-
I've never had any luck removing roller pilot bearings with grease.
The last one I removed, I ended up making a puller to do it, worked great as the bearing was rusted in and took a ton of force to remove.
The idea is to cut a nut so it catches on the back of the inner race, and you can use a bolt bottomed out on the crankshaft to pull the nut out along with the bearing.
From the misc. parts bin, I found a nut that was ever so slightly too large to fit in the center hole, then ground off the points to make it round and so it fits inside the bearing and can get behind the inner race.
I then notched the nut on the grinder so 1/4 of it was cut off, one half of the top later. I squared off the cut and slightly rounded the cut with a hand file. The idea is that the cut on the nut catches on the bearing and keeps the nut from rotating when you turn the bolt.
Thread the nut on to a nice long bolt, insert the entire assembly so the nut ledge catches on the inner race, jam an allen wrench or similar next to the nut and jam it in place so it doesn't simply slip back out through the hole, and use a large pair of pliers to keep the entire thing from spinning, then crank away on the bolt!
The grinding may mess the threads up, I used a tap to clean things up, but you may be able to thread the bolt in from the un-cut side to clean things up, then turn the nut around.
-Eric
-
-
Oddly enough, this thread is still very relevant. I ended up changing to full-synthetic fluid and all noise went away. Then three weeks ago, all of a sudden, there was a clunk while I was parking and first and reverse don't first or reverse any more. Other gears still work, but I've got her parked while looking for a transmission that doesn't cost more than I paid for the car in the first place.
-
Looking to by a 5-speed transmission for a non-turbo first-gen 300ZX. Any FS5W71C for a Z31 should work fine. I'm in the San Francisco Bay Area, Oakland specifically, but can drive around.
-Eric
-
Your car isn't toast, it is a car. When your car pops up all browned and crunchy, ready for butter, you should suspect it's toast.
Get the factory service manual for the car, read it, love it. Especially the parts about the front suspension. Take a look at the TC rod, also called the strut rod. It should be securely bolted to the rear of the wheel well, and to the front suspension. If the nut on the back of it falls of, the rod breaks, or the sheet metal it normally attaches to rips out, it could cause the wheel to move forward. Definitely get under the car and take a GOOD look around, a real sanity check, but be EXTRA careful under it, as if you suspect suspension parts are loose, jacking/holding points that normally would/should be solid will not be.
-
I'd like to see how they'd fare against a belt-fed machine gun that fires flaming chainsaws.
-
Couldn't one just check the timing on the car? If the damper were slipping around the hub, the mark would be WAY off, and moving while the squealing it happening.
-
I came across this in my various travels through the web. I wouldn't take it as writ, but it's an interesting opinion read. Names quite a few nice single malts to give you a good starting list.
http://www.charm.net/~kmarsh/scotch.html
-Eric
-
Its the damper....
Are you sure? In what way?
-
I second the alternator belt slipping theory. The Z31s seem to want more tension in the alternator belt than even called for in the manual to not slip when under a heavy electrical load. It's a rather tiny belt, and the alternator can load the contact area really hard, there's not a lot of wrap around the pulley so it can slip fairly easily. Most newer cars have idler pulleys to wrap the belt around at least 50% of the alternator pulley.
It makes sense to have more slippage in cold weather or with any additional electrical loads, as your battery voltage will drop and want more of a boost to bring back the power you used to start the car. The voltage doesn't seem to drop as the alternator is putting out enough power, it's just working extra hard and is having trouble stealing enough power from the belt to keep up.
-
The default category is "HybridZ Cars", so that does need to be changed when posting from the Gallery tab in the User CP.
-
Under "Category" below Album Description, choose "Members Albums". That works for me. I also had the "Public Album" box checked.
-Eric
-
What category were you trying to create it in? Try the "Members Albums" category.
Also, see here: http://forums.hybridz.org/index.php?/topic/89158-new-site-information-problems-and-questions/
-
Yup, go to your control panel. Check the "Gallery" tab, you can manage your albums from there.
-Eric
-
Check your evap system for cracked hoses, that could accumulate fuel vaper under the hood, and if the insulation on the wires was degraded, arcing could most certainly ignite it. Better yet, just replace ALL of the rubber under the hood, or better yet, on the entire car.


Grease for rebuilding S130 Turbo/2+2 CV Halfshafts
in Drivetrain
Posted
Well, I went for it. A few things to note:
The box for the outer boots had a note in it that said "The included grease is sufficient for the joint." which the inner didn't have. The driver's side outer boot had BOTH very thick wheel bearing like grease and thin gear oil like grease in it, while the inner only had the thinner. The grease included with the replacement boots is somewhere in between.
Otherwise, the rebuild seemed to go well, it's hard to judge as I haven't put many miles on it since I'm not driving much of anywhere.