mudjr12
-
Posts
33 -
Joined
-
Last visited
Content Type
Profiles
Forums
Blogs
Events
Gallery
Downloads
Store
Everything posted by mudjr12
-
Thanks con brio, my email address is mudjr12@gmail.com, would appreciate it so I can get my lid to tie down properly and look good too. dj
-
I know we have been down this road before, but does any one know where I can get pre-fabricated chrome rings that go around the outside lensed on the lens covers for the headlights?? Thanks in advance. mudjr

-
Con Brio, Can you do a couple of close up shots of you bonnet latches, I am still struggling with this issue. Hi res if possible. Thanks in advance. mudjr
-
Thanks SR, $140 is cheaper than I thought. Still seems like a wad of cash for a plastic light, but I guess nobody said our hobbies would be cheap. I am looking for the chrome that goes around the headlight covers. I saw earlier posts on how to fabricate, but I would rather buy already complete if available.
-
Thanks dsail56, I am looking for the front side marker lights and the chrome bezzles that go around the front headlights. I have shot out a few emails to those links and hope for some good feedback.
-
Z-GTO, post #196 of this group. Very professionally done. mudjr
-
Con Brio, After seeing other pictures of your cars interior, you definitely did the right thing. Looks Great.
-
Con Brio, did you have to modify the seat brackets? You use the term "squeezed", assuming similar space issues with re-enforcement brackets. Nice ride Sid, curious about the headlight and front end trim, i.e. did you fabricate or locate. dj
-
Danka ZGTO, the Classic Cobra replica seat has struck my interest, and only 19 inches wide. I may have to do a little salvage yard hunting as well. dj
-
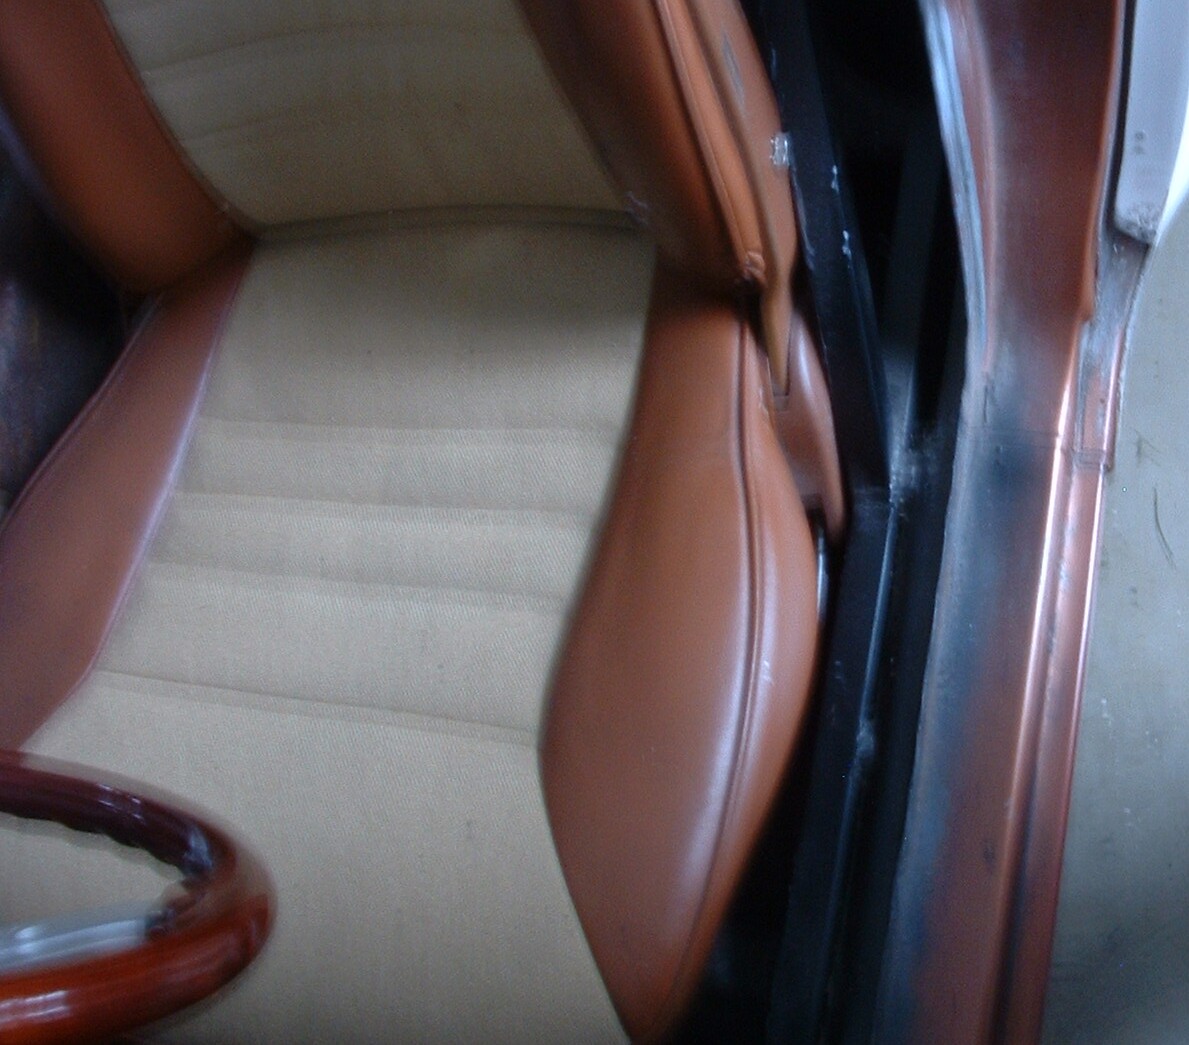
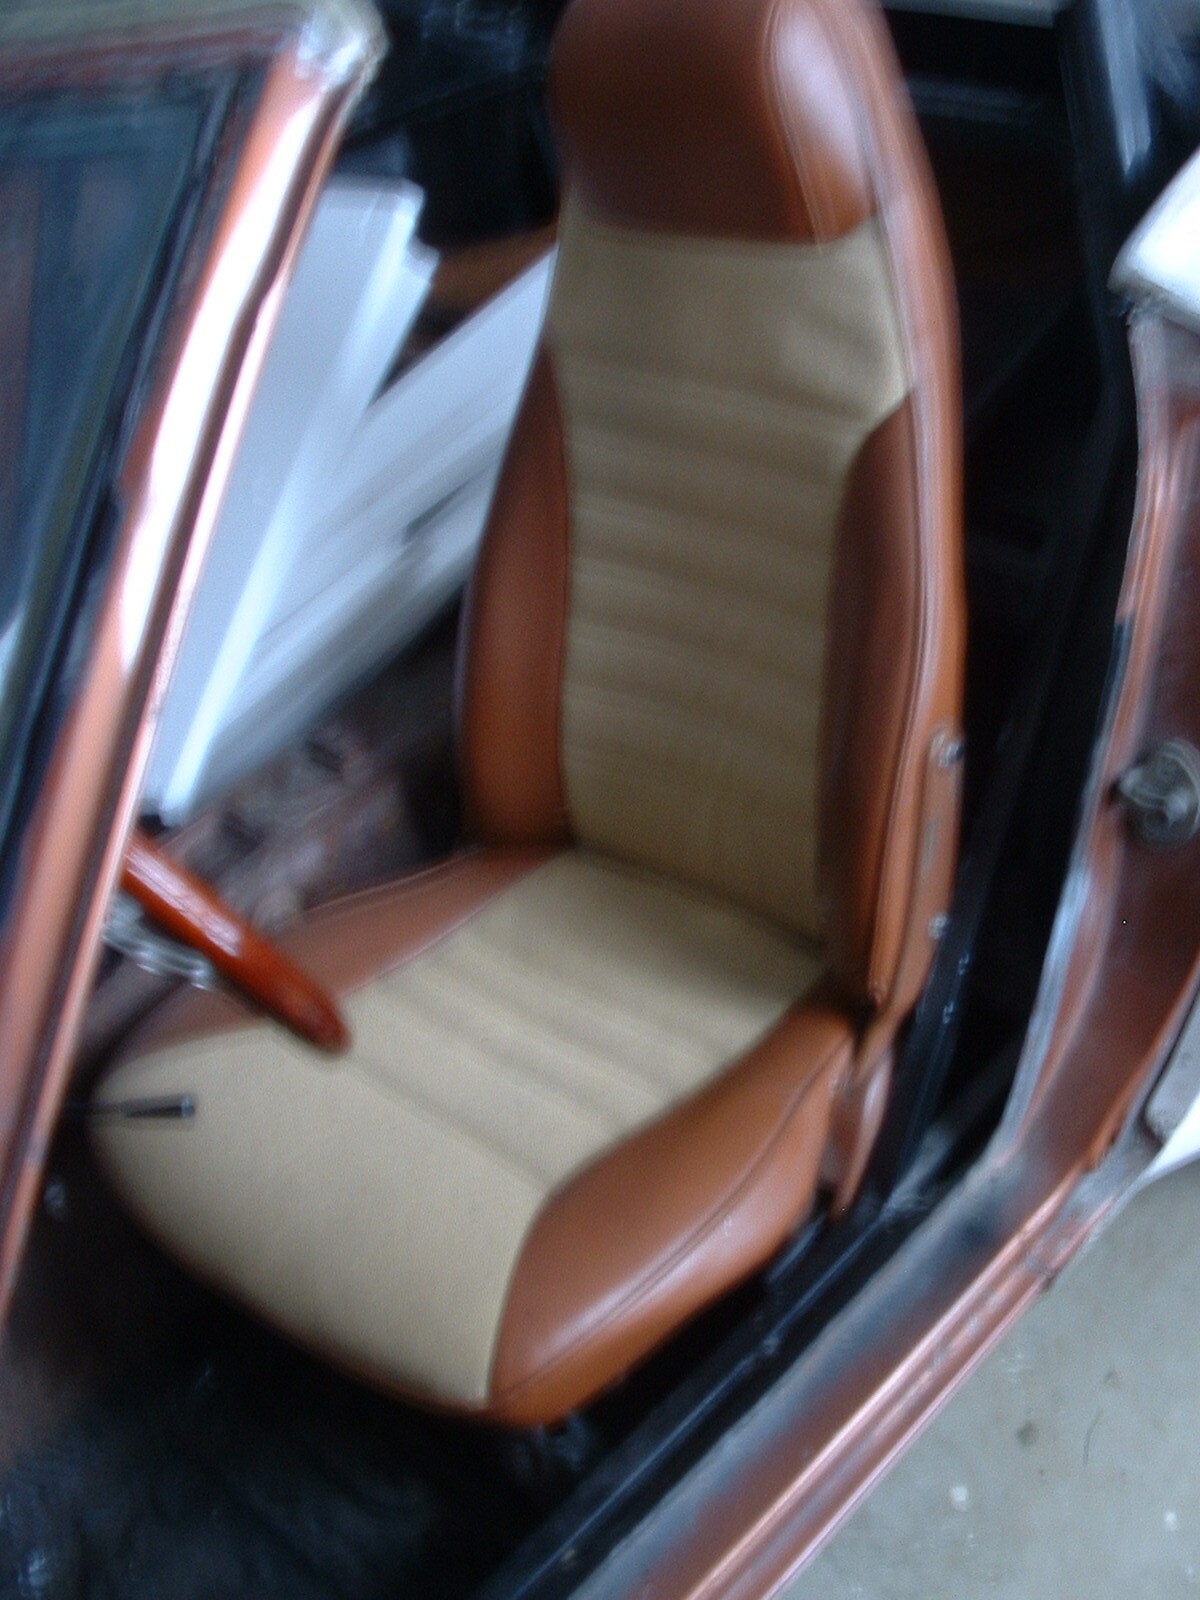
Once again, great feedback!! Even though it is a kit car, I don't necessarily want to scream it out. The thought of a similar vintage seat is a good idea with removable headrests. This would provide the safety factor when driving and then remove for showing. The biggest reason for shying away from the 280z OEM seats is the snug fit, after I put in the roll cage. I definitely don't want to modify the structural integrity of the roll bar and support, so I will need seats that will accommodate the new width 20 1/4". Thanks, DJ
-
Still waiting for the snow fall in NY to drop to less than 4 ft before building again. I am ready to start looking for seats for my VR. I know its a matter of what the builder wants to put in them, but curious what some of you's guys did. I still have the OEM 280Z seats and could dye black, but am looking at maybe something like Recaro seats or similar clone with 5 point harness. The original GTO seats did not have much safety designed in them. Possibly a question to keep the board moving. dj
-
So many choices... Thanks Con Brio for the feedback. I had been checking out the cowl latches used on some experimental planes. I dropped a line to John Washington last night and he emailed me with a possible suggestion of using Triumph Spitfire bonnet latches. They are very similar in design to your King Air latches. I asked him last night how many VR's were ever produced, interesting enough he said 30 - 40. I thought this to be very cool. Are any of you guys building VR's? As far as saving a few bucks, I for one don't want to cut corners, I do have a lot invested, and my name goes on every car I have ever built (figuratively). I appreciate the info you's guys are putting out keep posting. dj
-
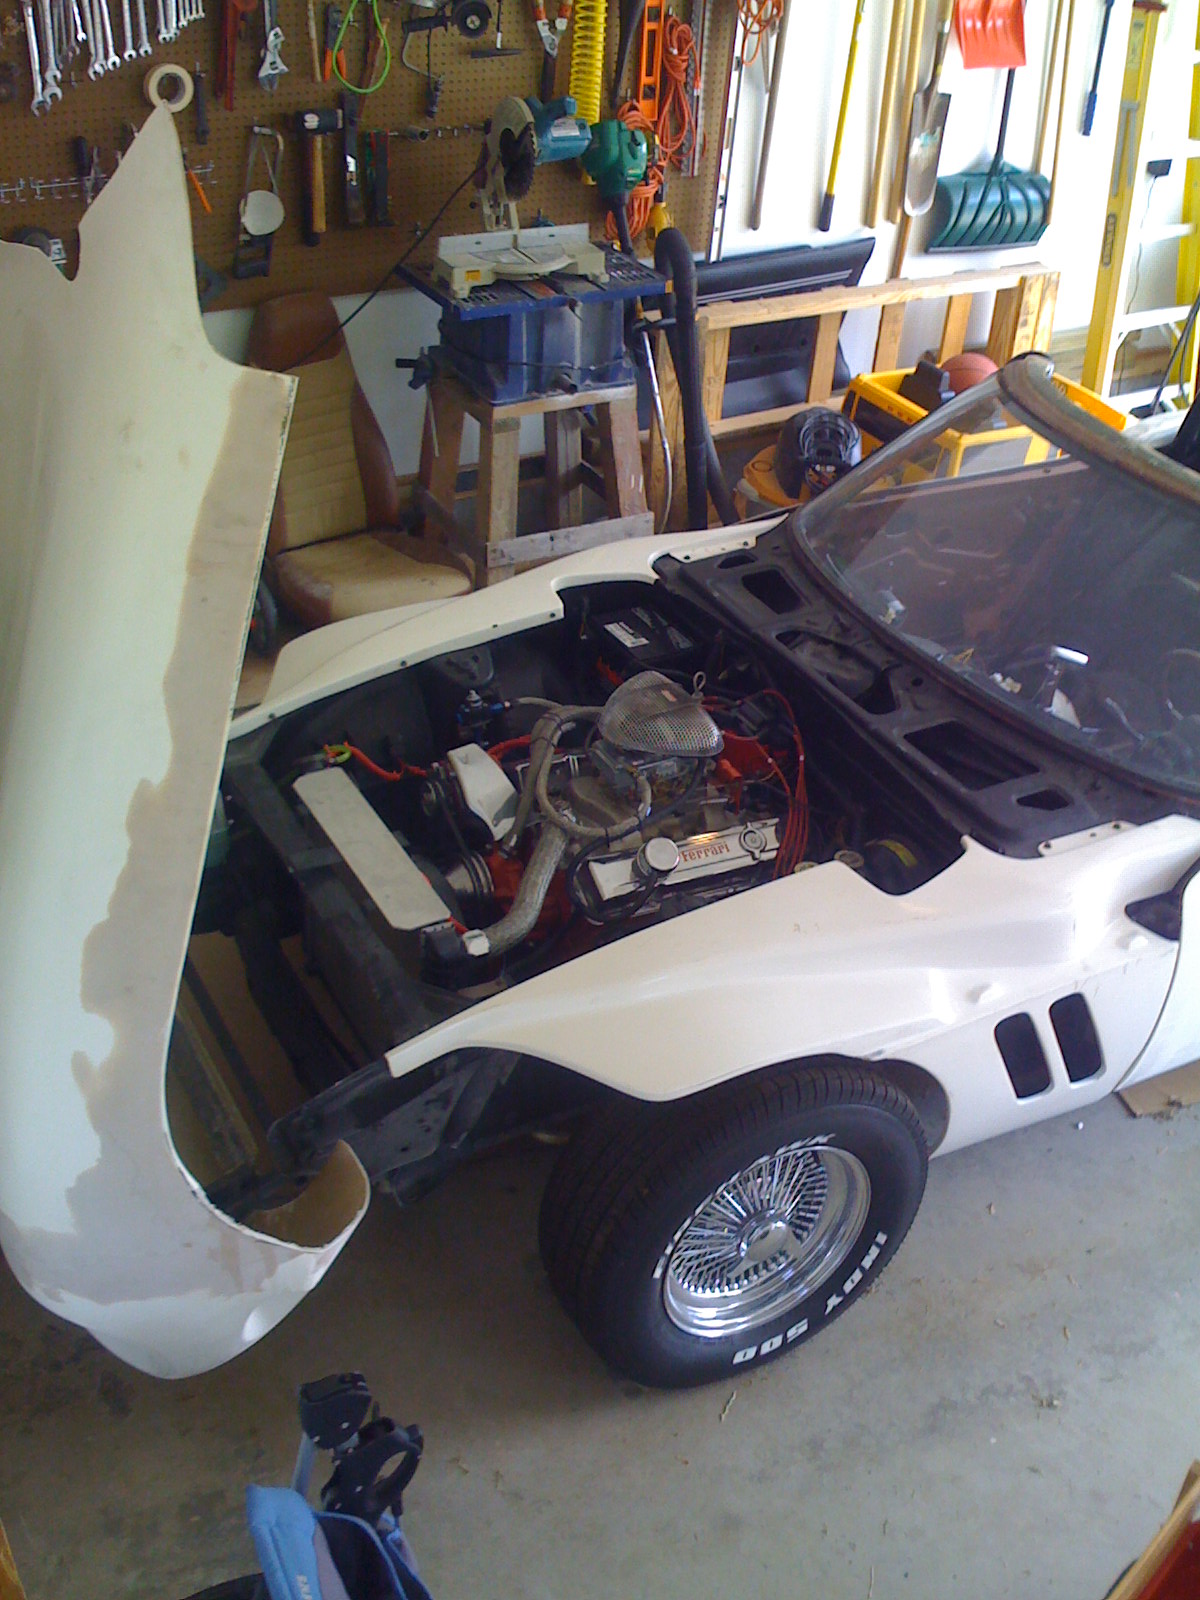
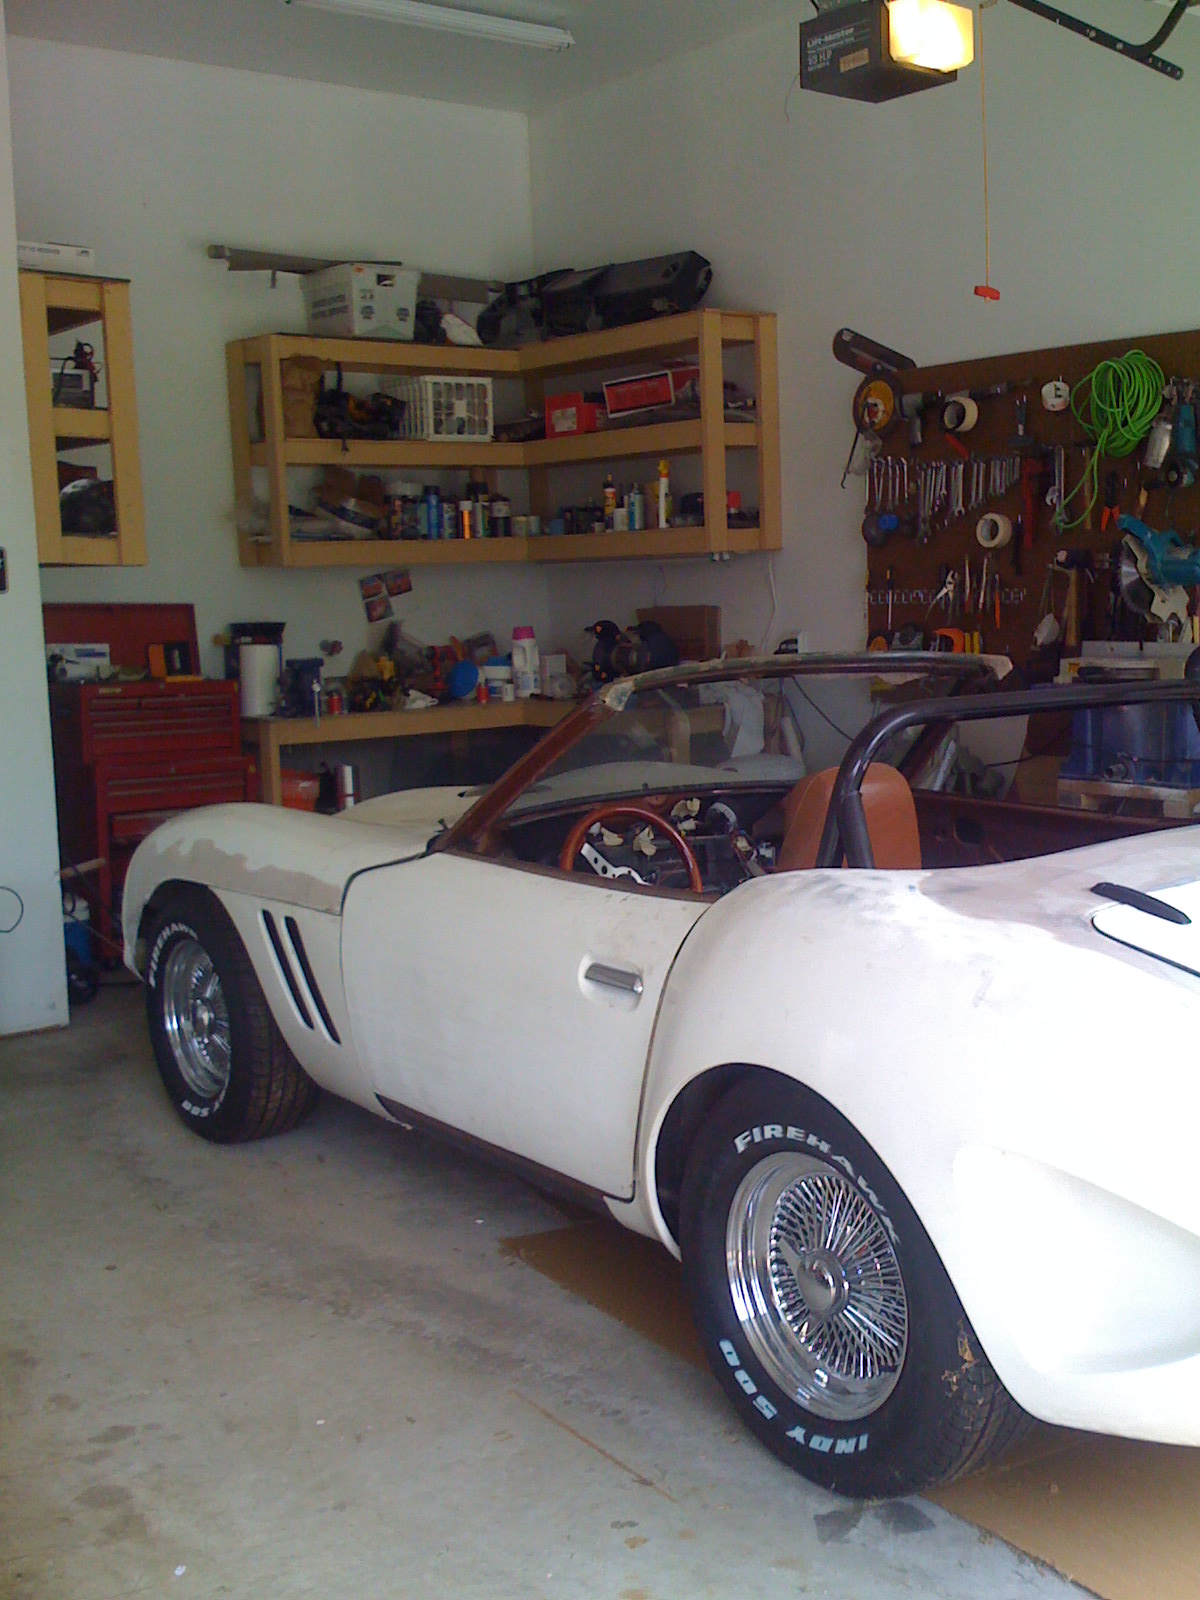
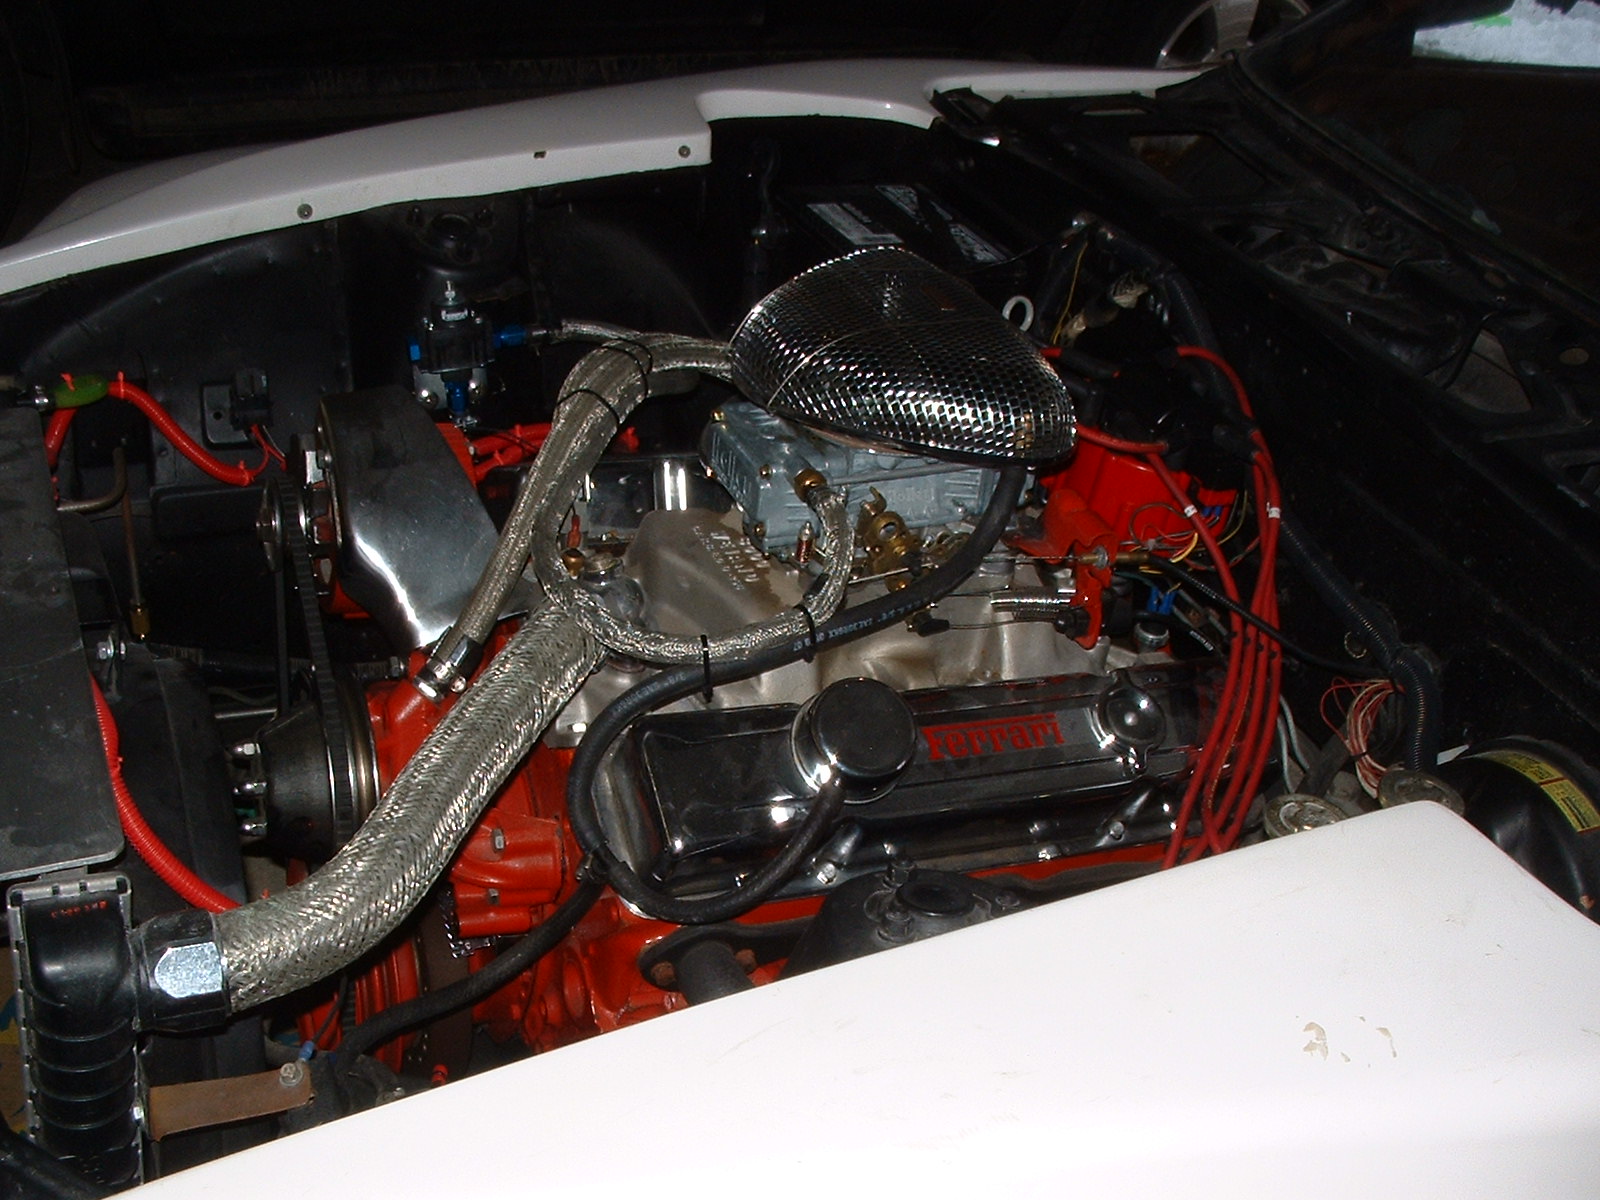
Ditto, Dan and BfO Glad to know this is an active board. I bought my VR in June of last year from a broker out of LA, I think he started it and just got bored. I love doing these kind of projects, this is my favorite to date. With the IROC-Z 350 engine this thing runs like a bat out of hell. I am very interested in the Knott's show when my VR project is completed. I plan to be finished by August. John, you are a legend, thanks for responding. Hope you guys keep updating. Once again, l would like to see any pics of your projects. dj
-
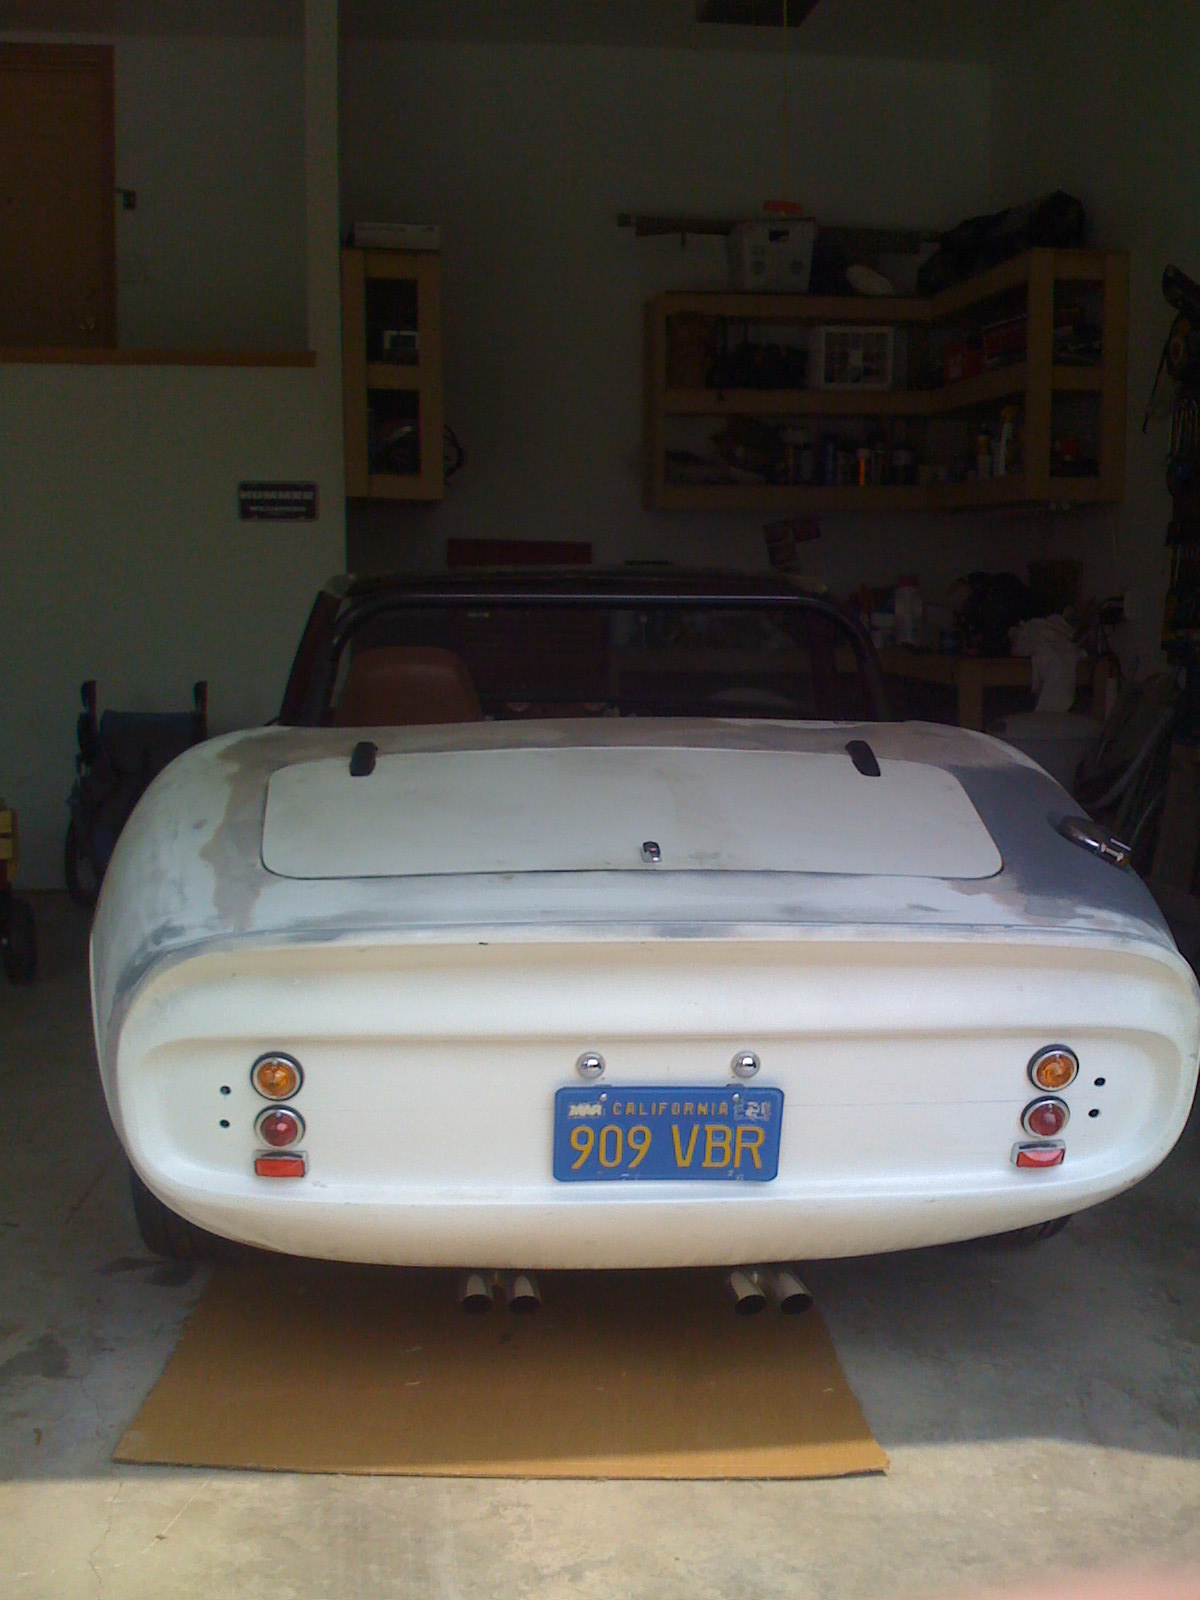
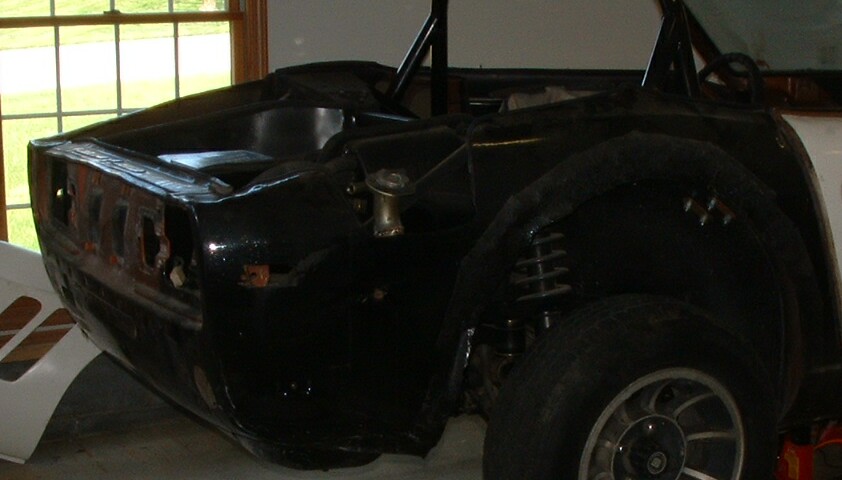
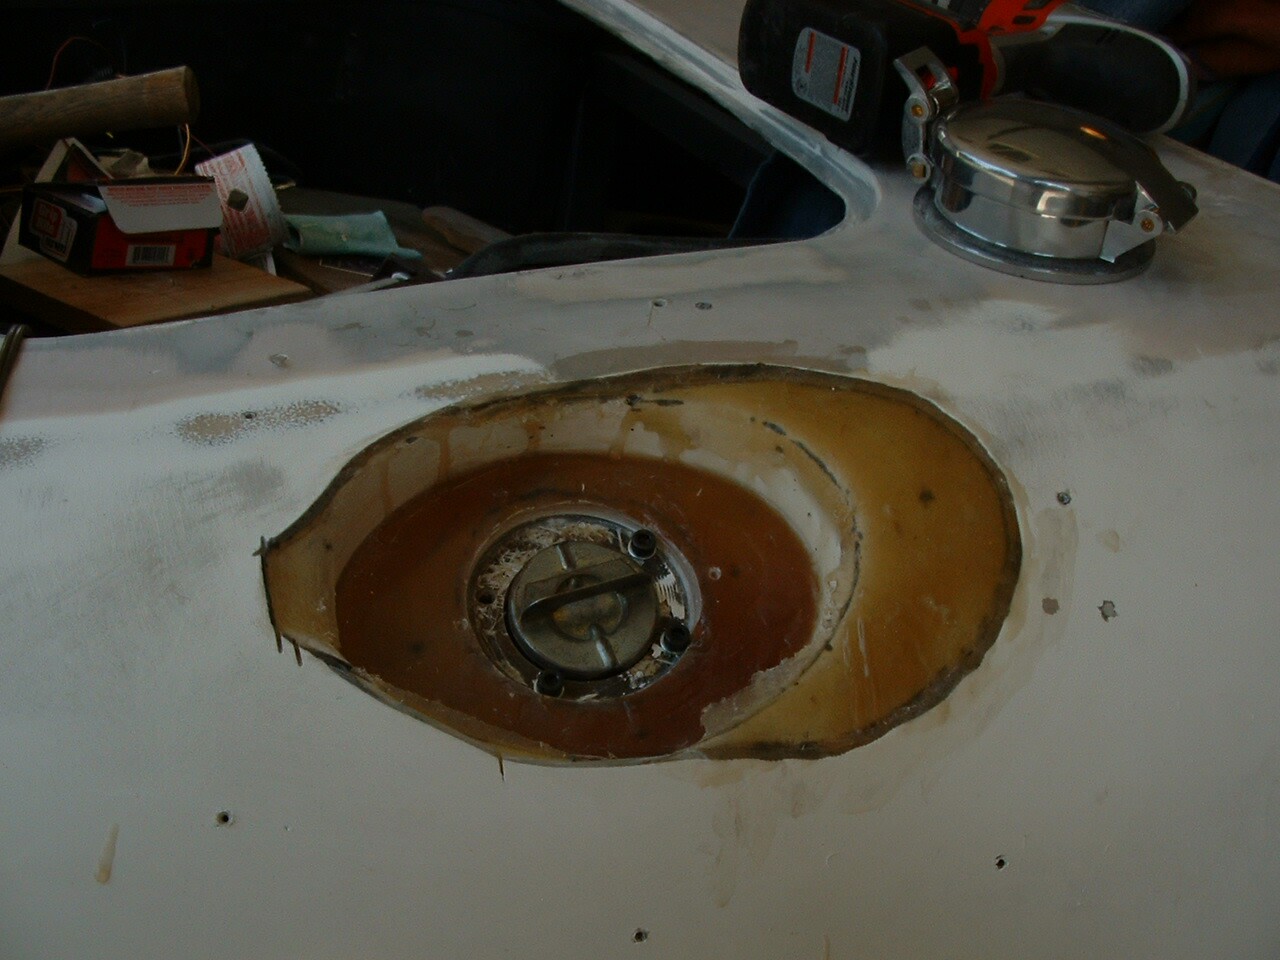
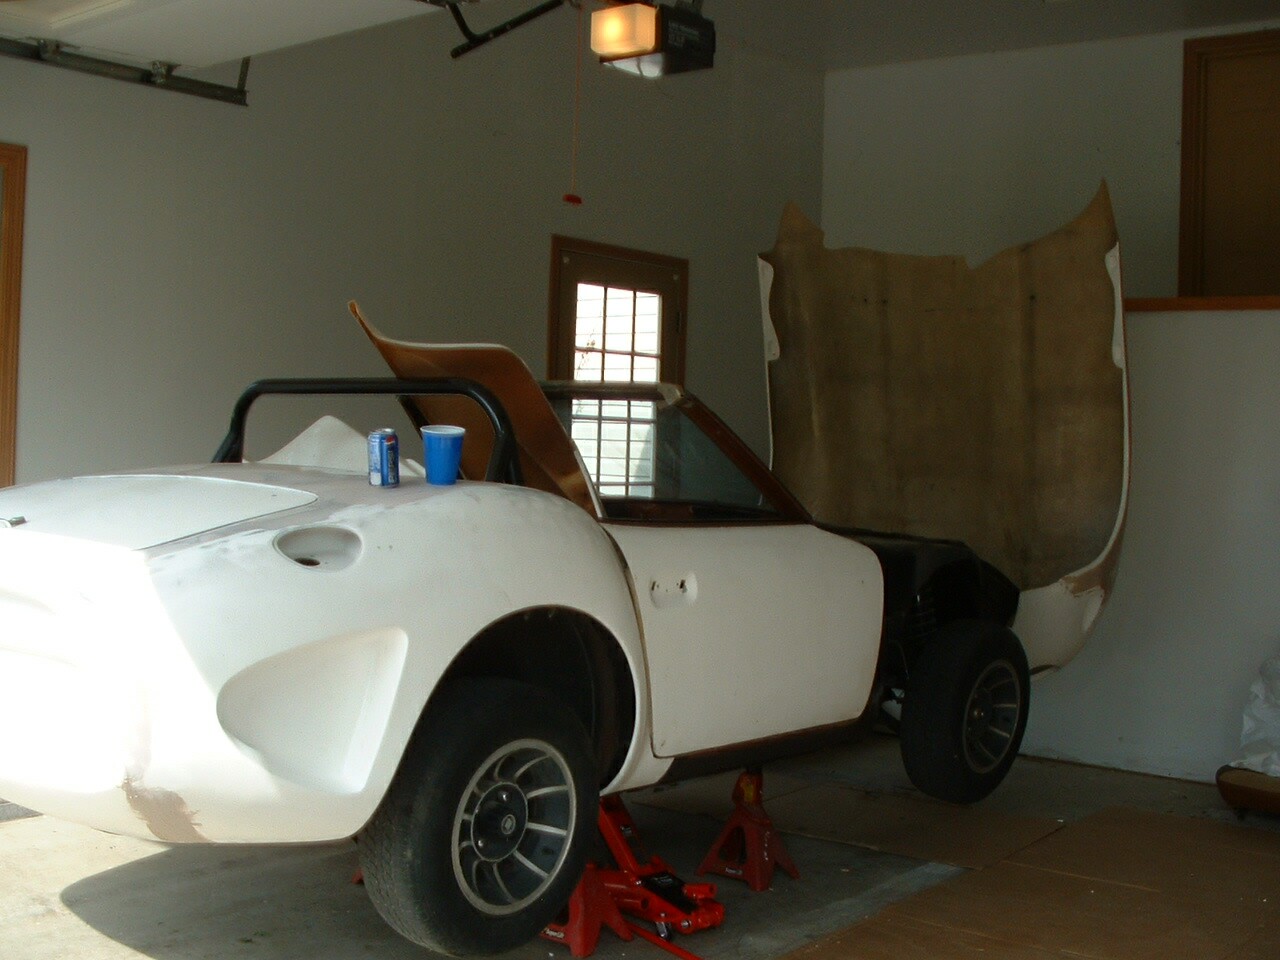
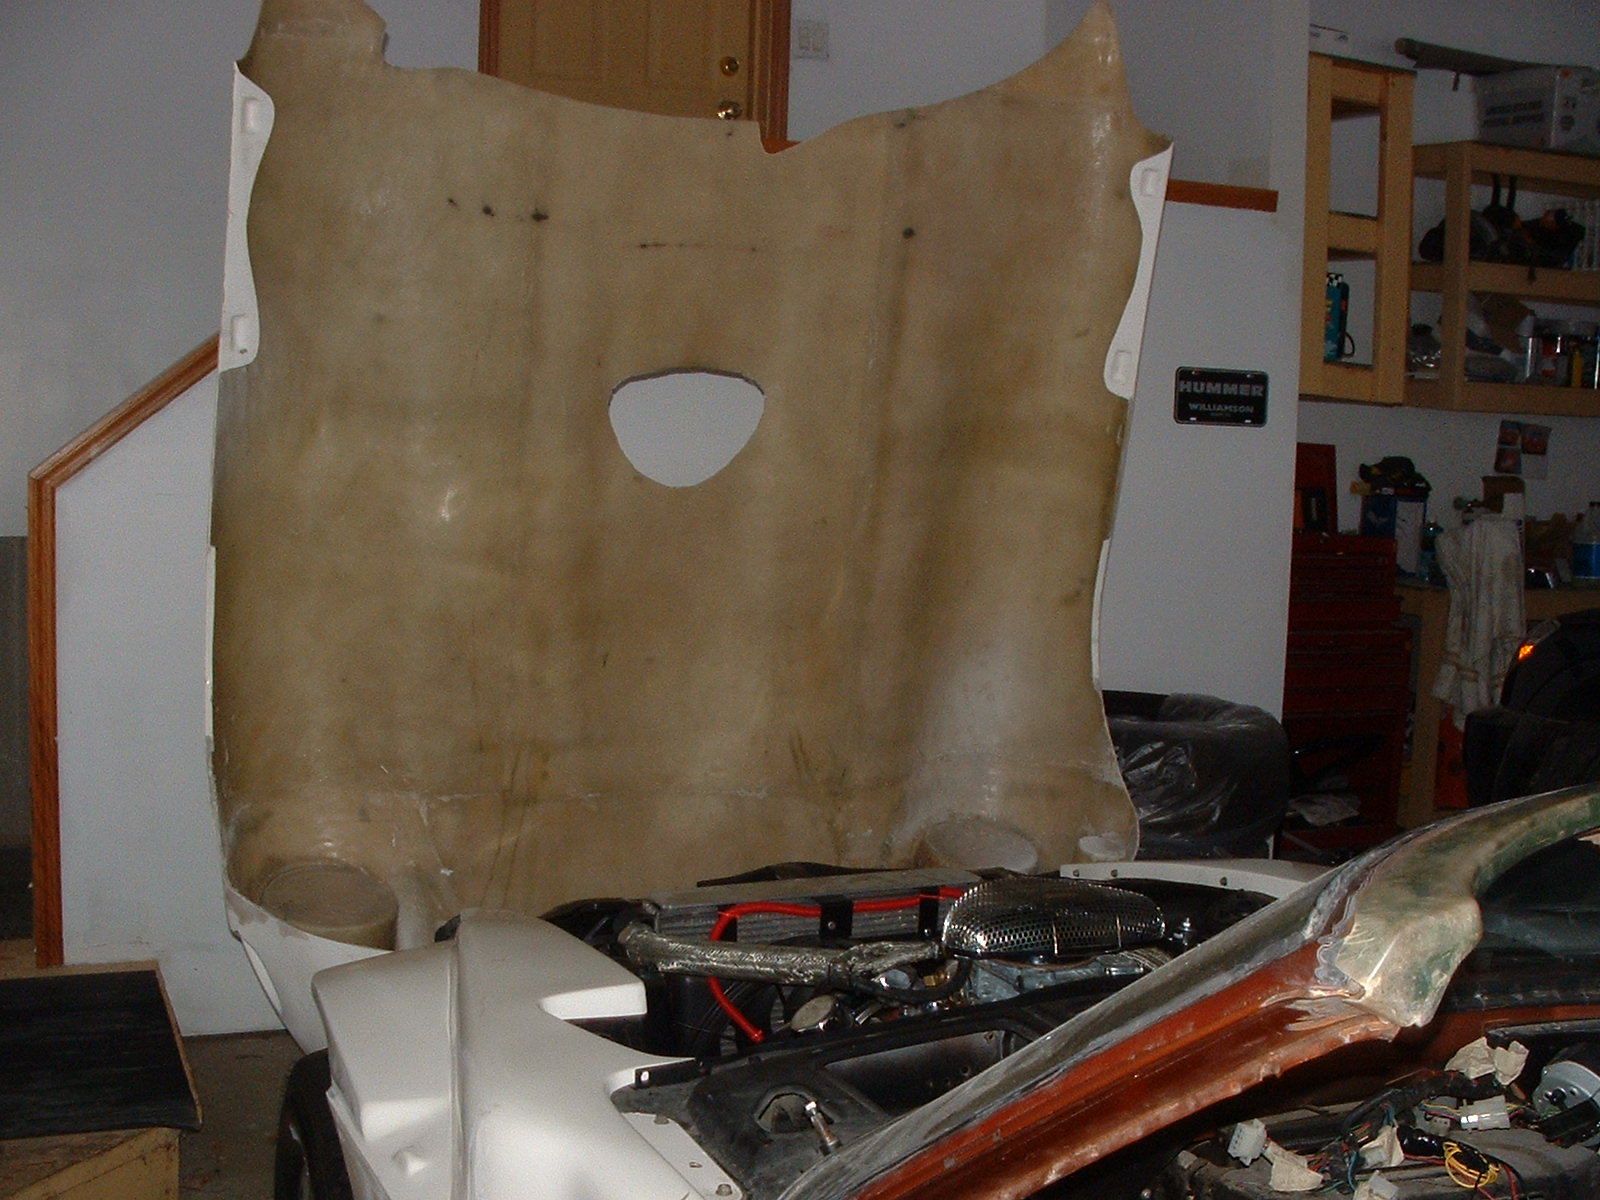
Here are a few pics prior, during tub set up. Also included it the prefabbing of the filler cap for those of you that might be doing this, it will have to be done before or during tub setup. dj
-
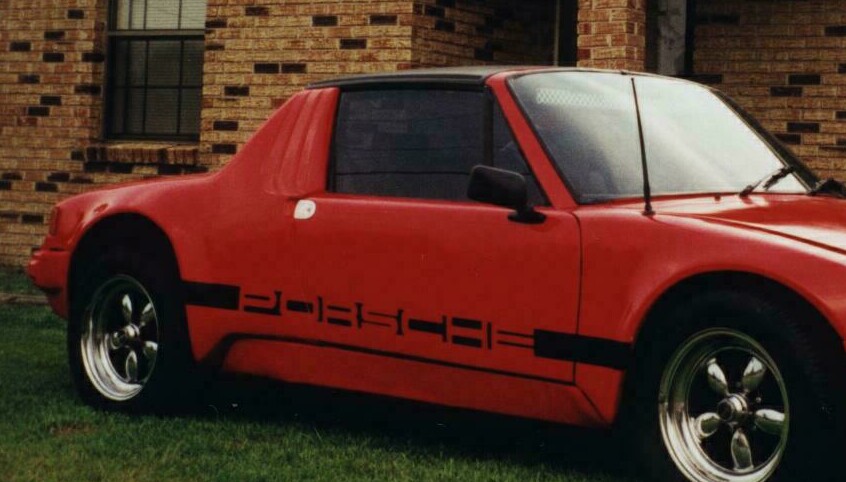
I have not sprayed the foam in yet and plan on waiting for better weather (winter in New York). I did not know about the water proof foam, good feedback. I have 4 cans of the stuff from Lowes, after some of the swelling horror stories I have read I am not looking forward to the foam part. I have ports in which to shoot the foam between the side walls, I know it is necessary to keep things from vibrating around and holding the tub in place, but thats about it. As far as the wrap arounds on the front of the tub, I would expect that it would provide some stability when riveted in place (see attached picture of my 916 project). The rear tub on the 916 was similar in design. As far as the doors, after grinding back I used filler on the edges and then wrapped 100 something grit around a 12" steel rule and sanded the slot between the door and the jam. I am truly an amateur at this, just letting you know how I did it. Looking forward to seeing more pics of your projects. dj
-
Yes I will definitely use the spray foam before final attachment. As far as the doors I will use glass impregnated as a filler, then finish off with bondo. As I mentioned above I've done it this way at least 3 times before, never had any breakaway or failures. dj
-
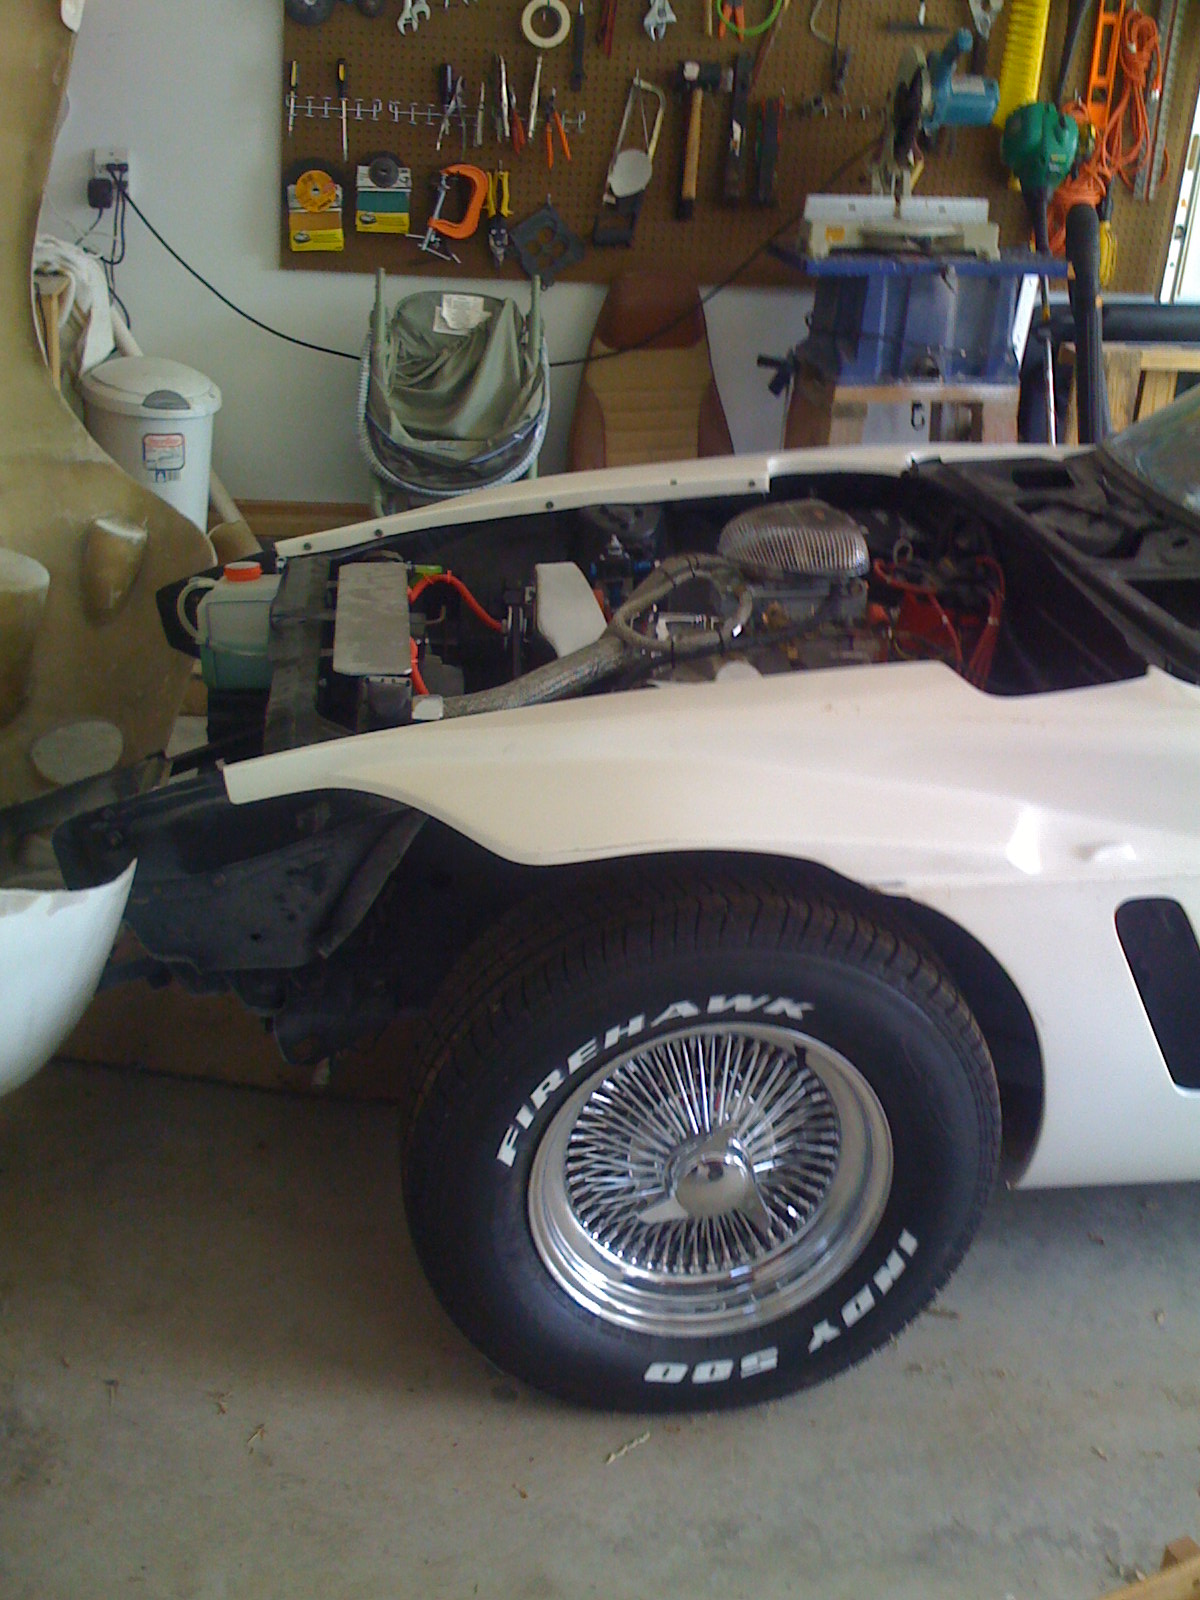
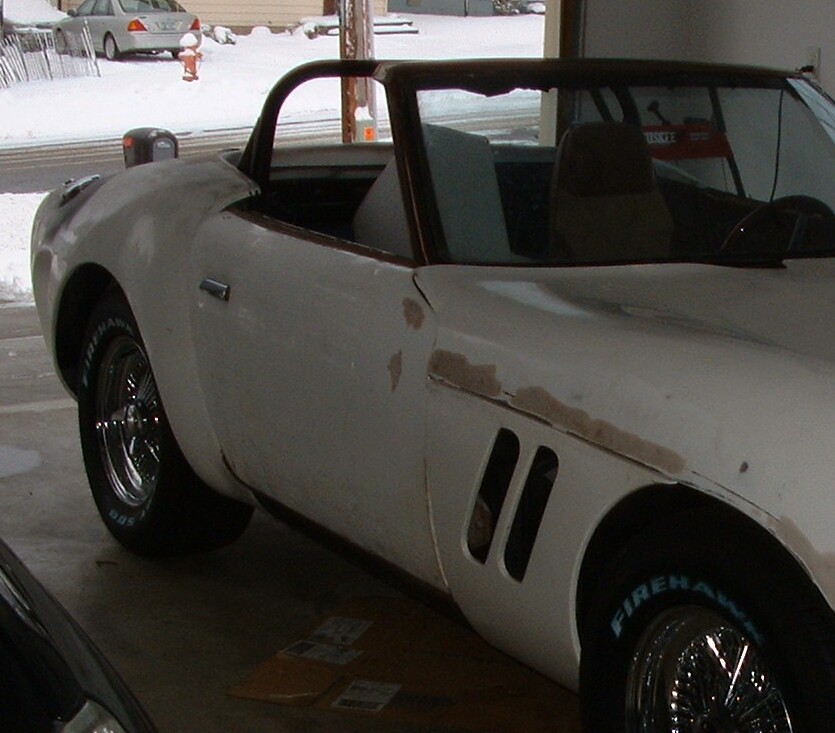
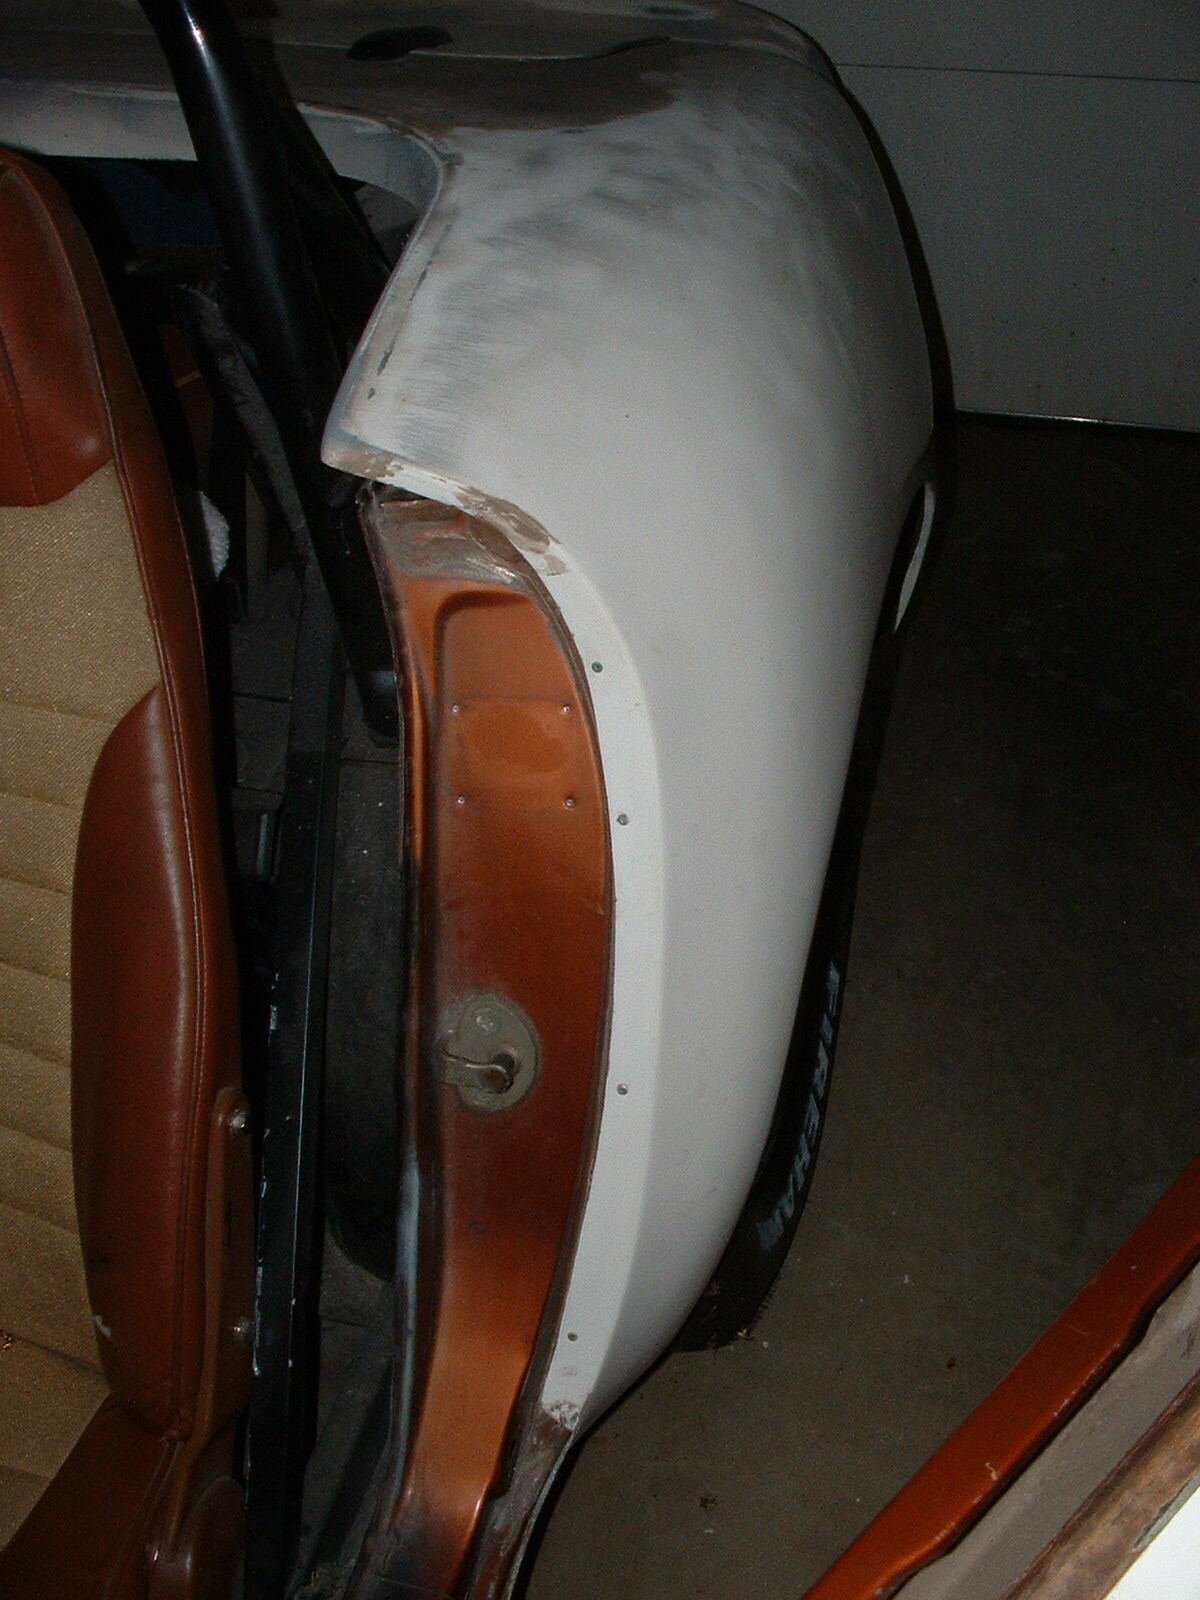
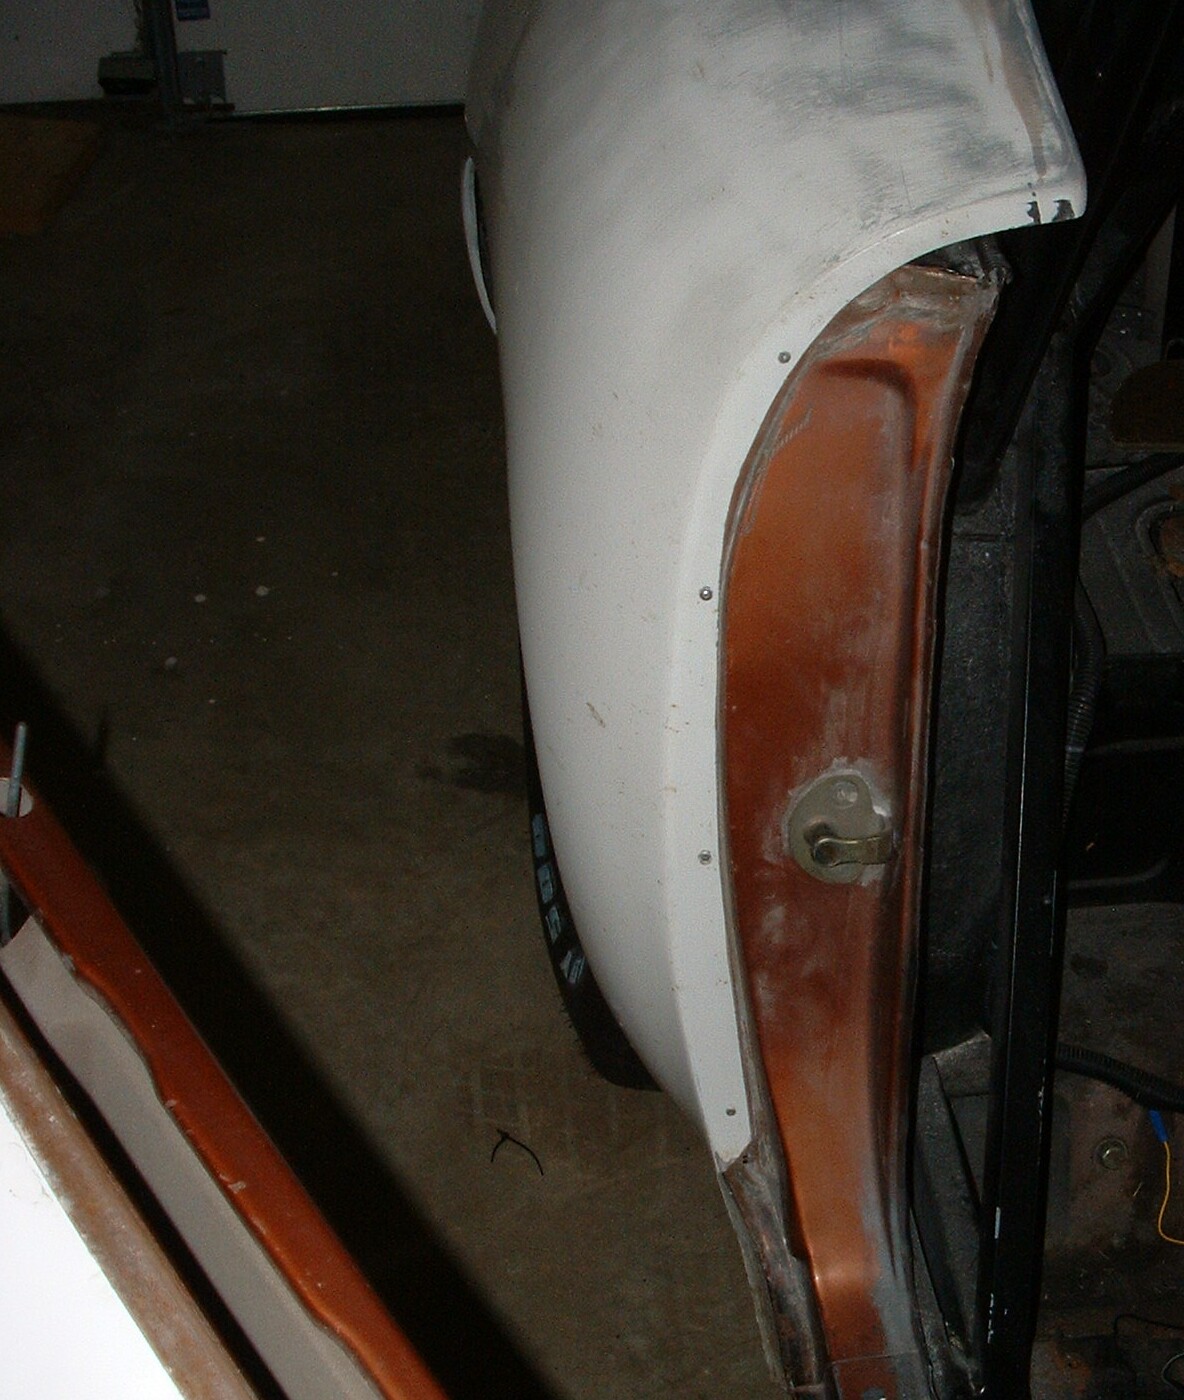
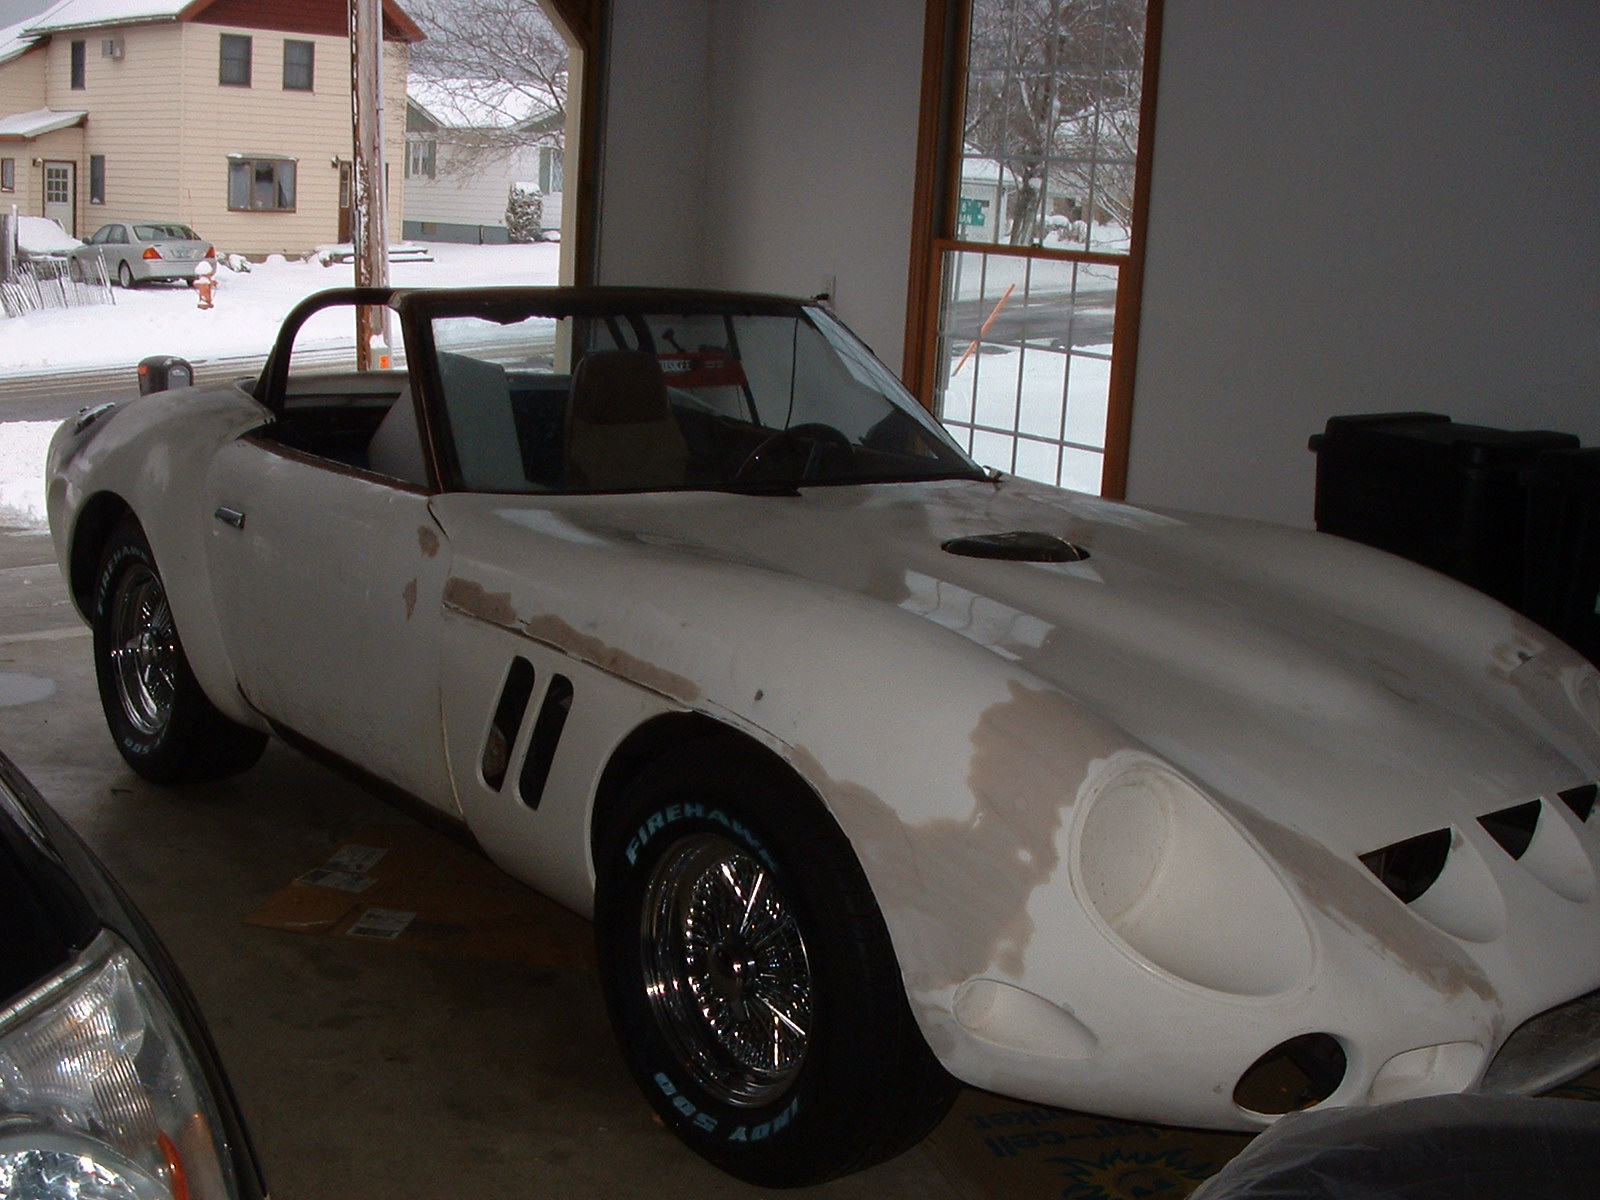
Does anyone have the molds for the valences that go under the doors (see picture), or know of who might have them 4 sale? They should be easy enough to fabricate, but I would rather get them pre-fabricated if possible. Thanks in advance. dj
-
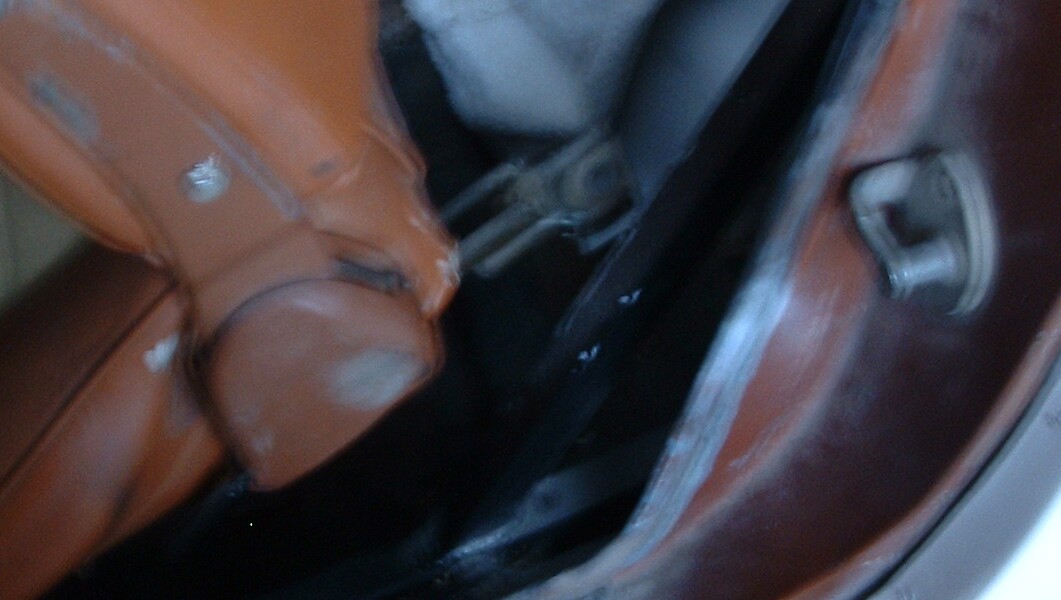
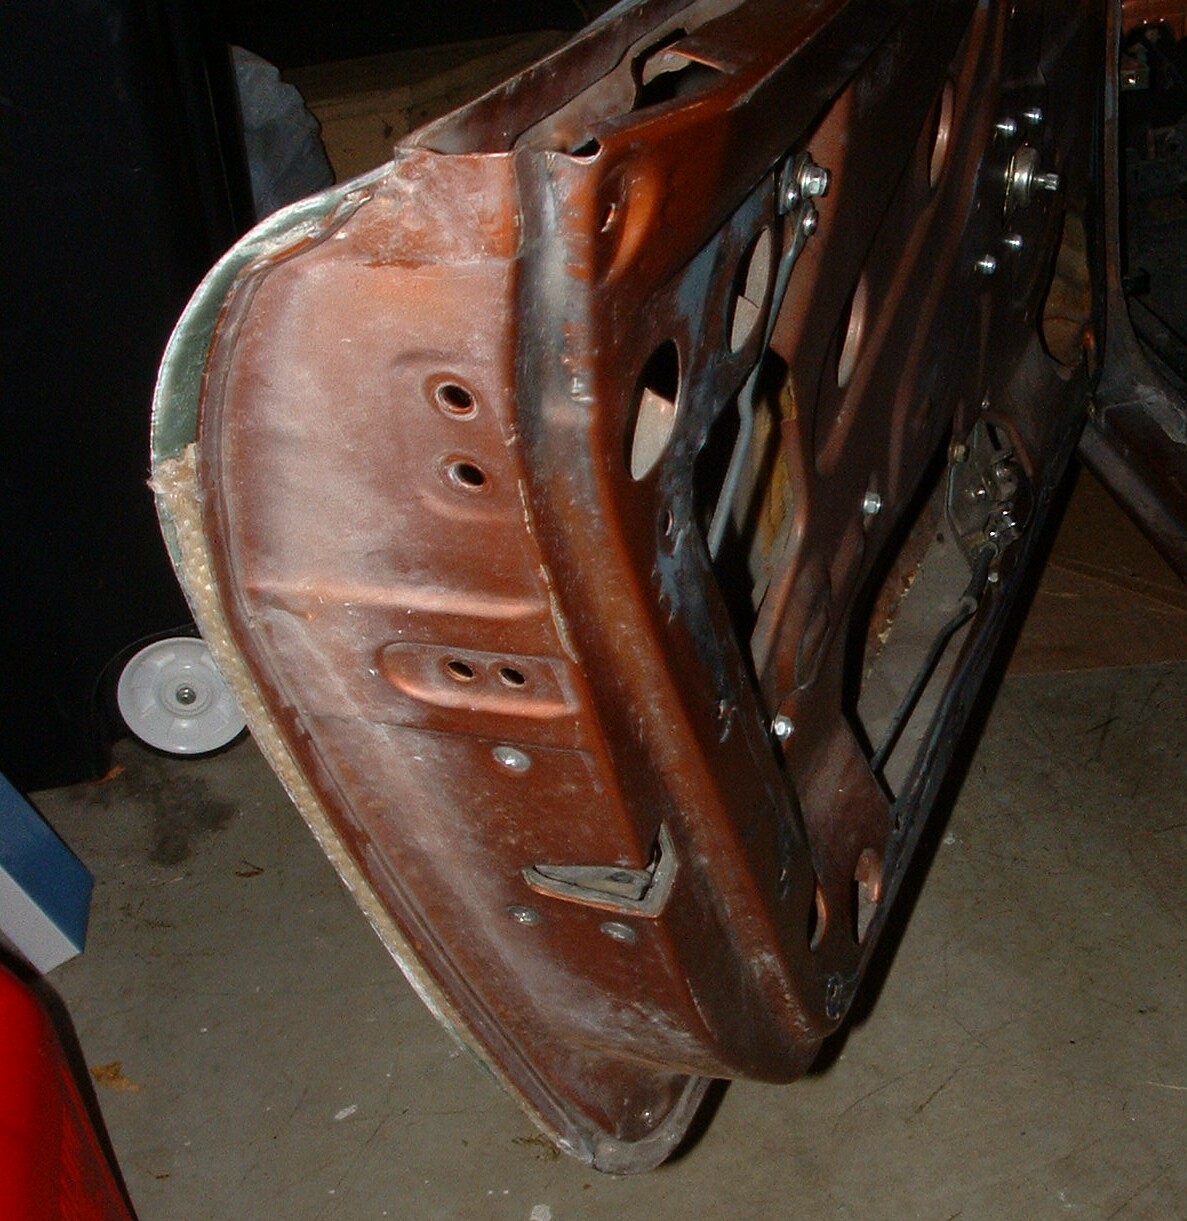
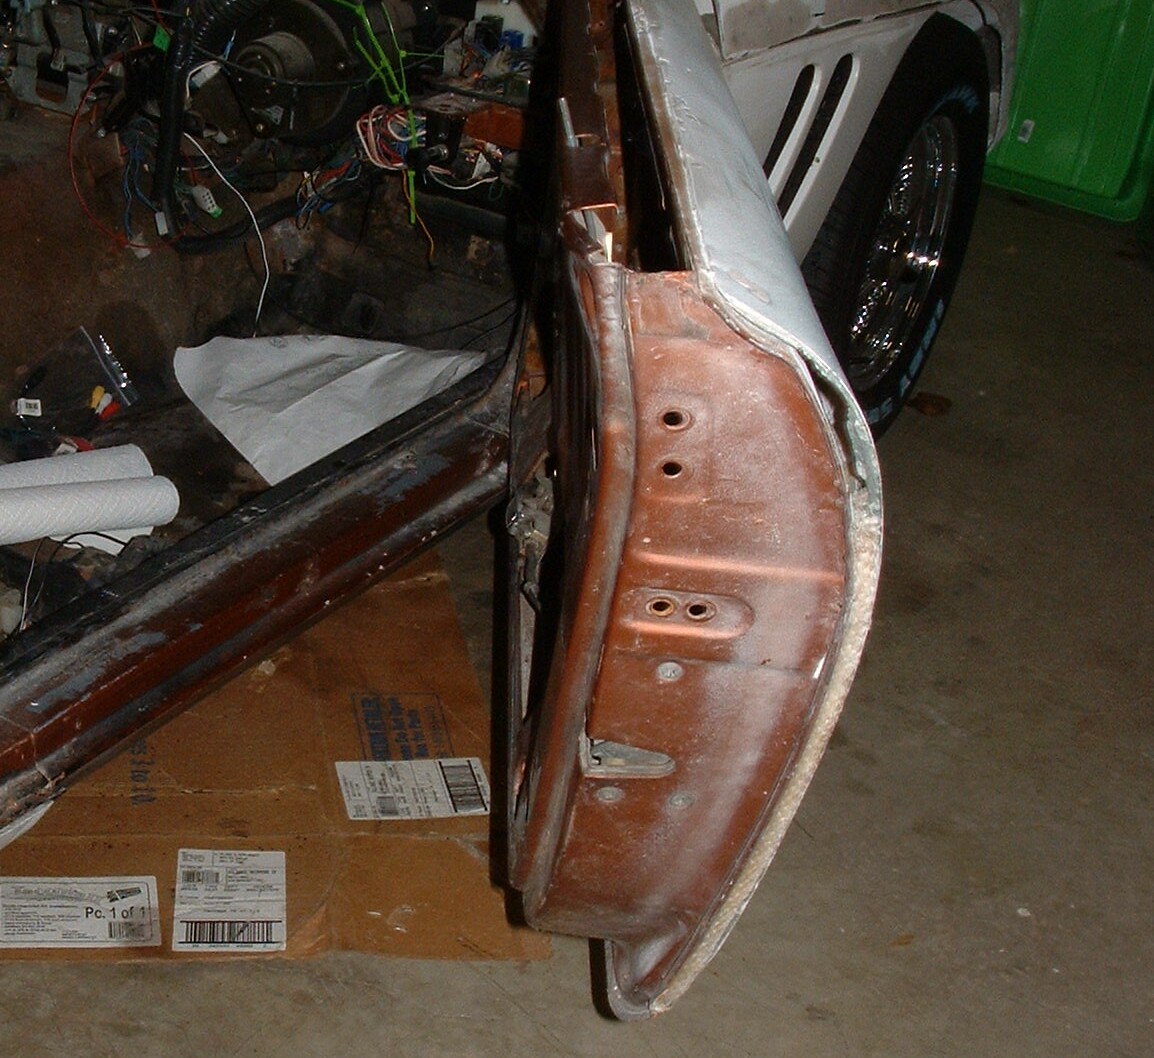
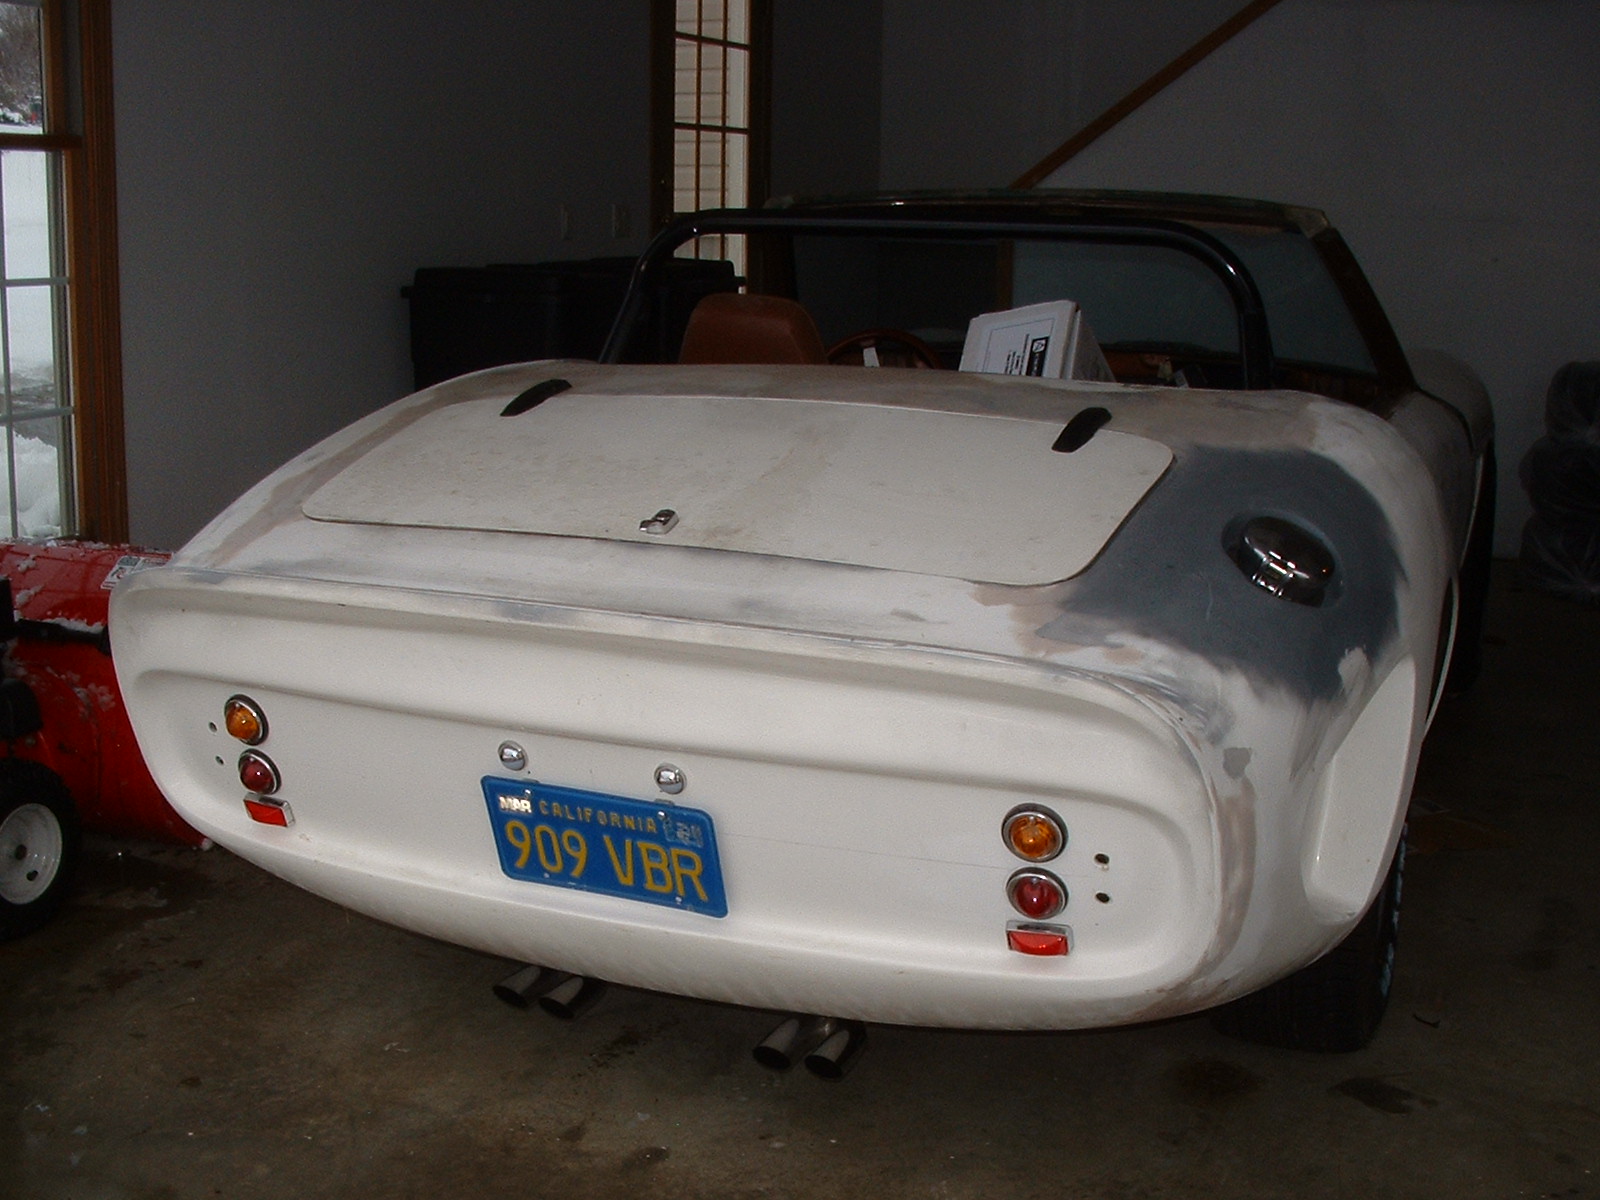
Here are a couple of pictures of my rear tub connection. As I mentioned earlier, the rear end of donor had to be hammered in, to allow to move the tub forward. I used rubber grommets to attach rear of tub to frame, and riveted the front of the tub. I use to convert 914 Porsche's to 916 GT's, and used a similar process for the rear fenders. As you can see by the pictures of the doorskins, I did cut off the rear edges of the doors, and raised the new door skins out about 1/2 inch using nylon rope to meet flush with the rear tub. I will finish the doors and front tub mounting area using glass and putty. Hope this helps. dj
-
I used two floor jacks and a carpenters level on the rear to get it perfectly level then I used a chalk string to strike several level lines across the back, just take a few minutes and you can get it so close, no one will notice if your a little off. As far as the hood, pull the pins and take the hood all the way off, look carefully of how it was lined up before it broke and resin it back in place. That whole hinge alignment isn't the best, you will see others in this forum and other forums that just don't like it.
-
mclark999 You may have to hammer in the rear of the donor car (just a little where the tub makes contact in the rear) to allow the tub to move forward. I then used rivets on the front of the rear tub to fasten to door jam. Also adjustments were made to the doors themselves. I had to grind back on the rear door edges about 3/16's of an inch, re-weld the seam with a MIG, all of this before attaching door skins. I also used nylon rope dipped in resin between the original door and the door skin to bring the door skin out about 3/8" to better mesh up with the rear tub. Those latches that you mentioned on the Factory Five 65 coupe are exactly what I am looking for. Any idea who makes them or where to locate? I checked the FF parts section of the 65, no luck. I will get some detailed pics of my door jams and post dj
-
We had a couple of warm days here in Oswego, NY. Got the itch to start working on the VR again. I am too the point where I am ready to put the latches in the hood, I have Chrome pin latches, but they don't pull the sides of the hood close to car. I see that the old GTO's used straps, anyone got any ideas?? TIA. DJ
-
You guys wann a good cry, well nothing good about it. This guy took his GTO for a ride and now it's toast. This would be my biggest fear as well, once I am done. He has it for sale on ebay right now. http://cgi.ebay.com/ebaymotors/2007-Custom-Car_W0QQitemZ330201936209QQihZ014QQcategoryZ7251QQssPageNameZWDVWQQrdZ1QQcmdZViewItem Just in case you missed it. DJ
-
Where exactly did the mufflers get relocated to, what type / size mufflers did you use?? Thanks, dj
-
I will evaluate this further, the mufflers are currently at bottom of floor pan, should i move the fuel tank, ie put in fuel cell in the trunk space? Thanks, dj
-
I like the changes to the muffler relocation, I was worried about being too close to the fuel tank, I am exploring coil overs, I don't fully understand the process yet. Do I remove original coils and replace with new, or do I just update original coils. TIA DJ