Keegan
-
Posts
10 -
Joined
-
Last visited
Keegan's Achievements
")
Newbie (1/14)
0
Reputation
-
260Z Restomod, A Purists' Nightmare
Keegan replied to Keegan's topic in S30 Series - 240z, 260z, 280z
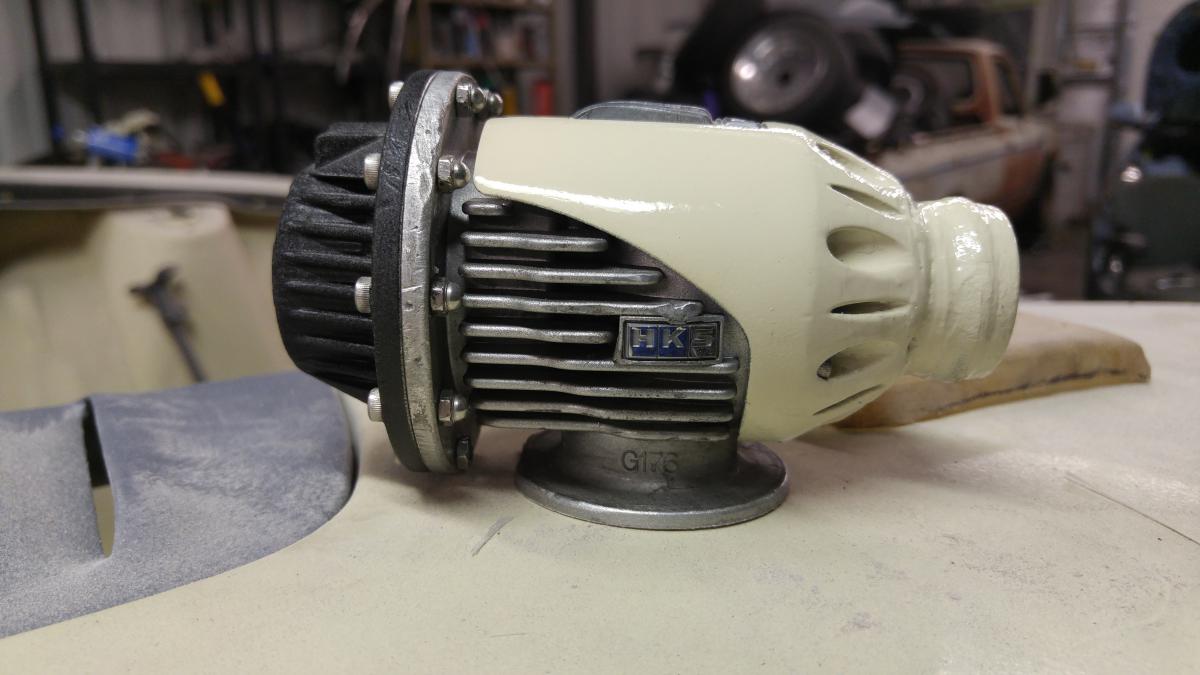
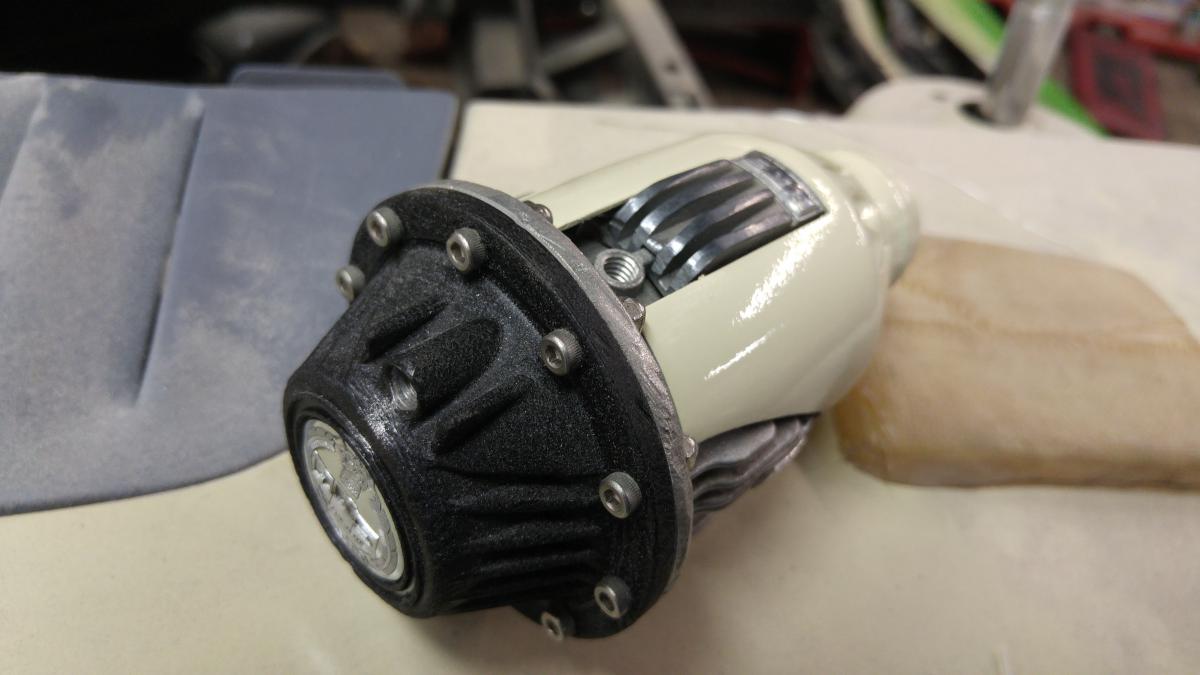
I also restored/modded this older HKS SQV that my brother found 5 years ago on the side of the highway, run over. I figured it was time to give it new life. I pulled out the mutilated reference fitting, tore the whole thing down, cleaned the inside, checked the diaphragm, lubed the main guide shaft, brazed a recirc fitting onto the atmospheric vent, drilled out the boss that HKS leaves for the second reference port, and tapped both reference ports for M6 so that I can now run industrial push-lock air fittings and hoses. A couple coats of paint to freshen it up and here is what you have. Not perfect by any means, but pretty nice.
-
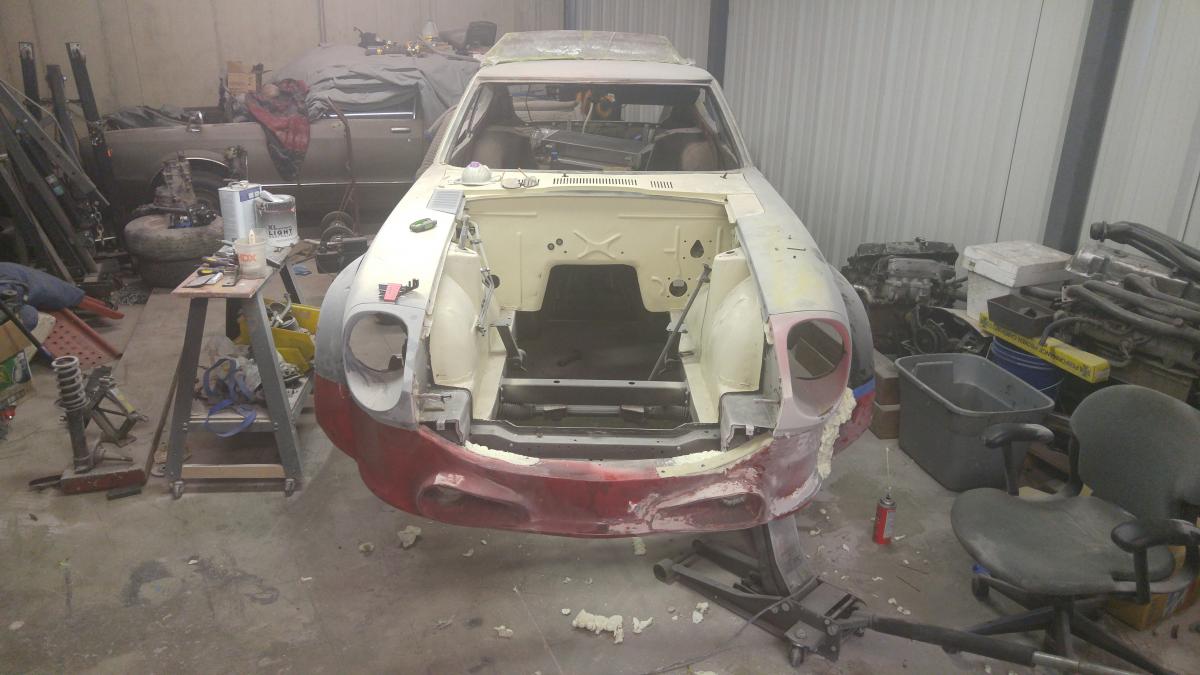
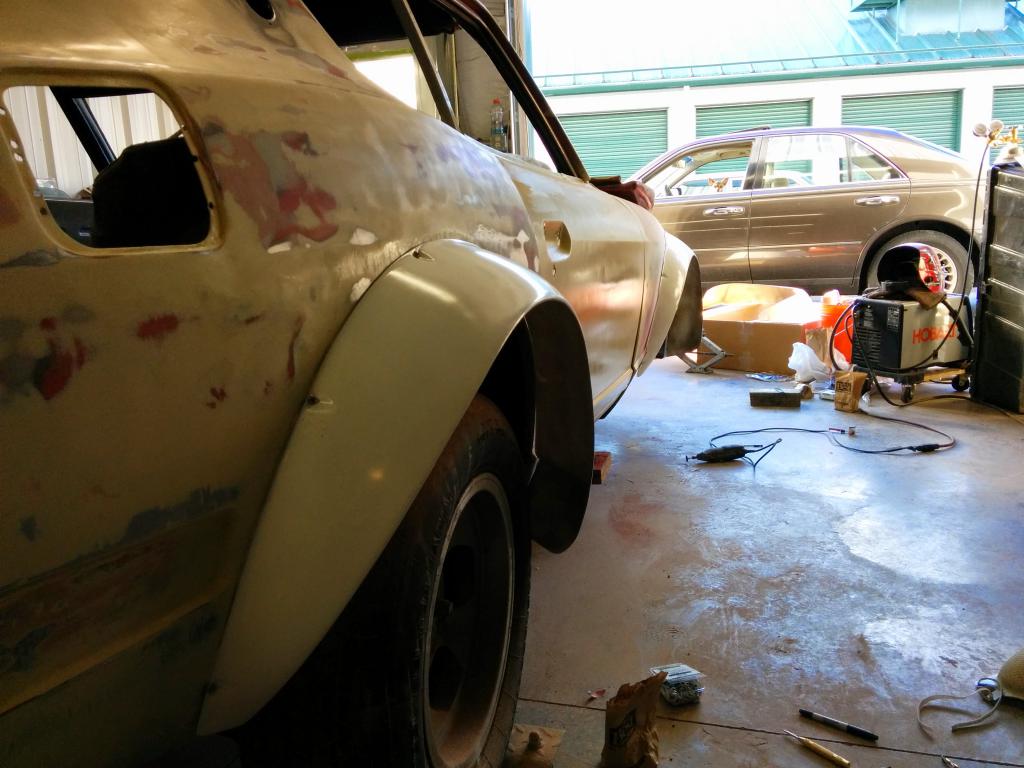
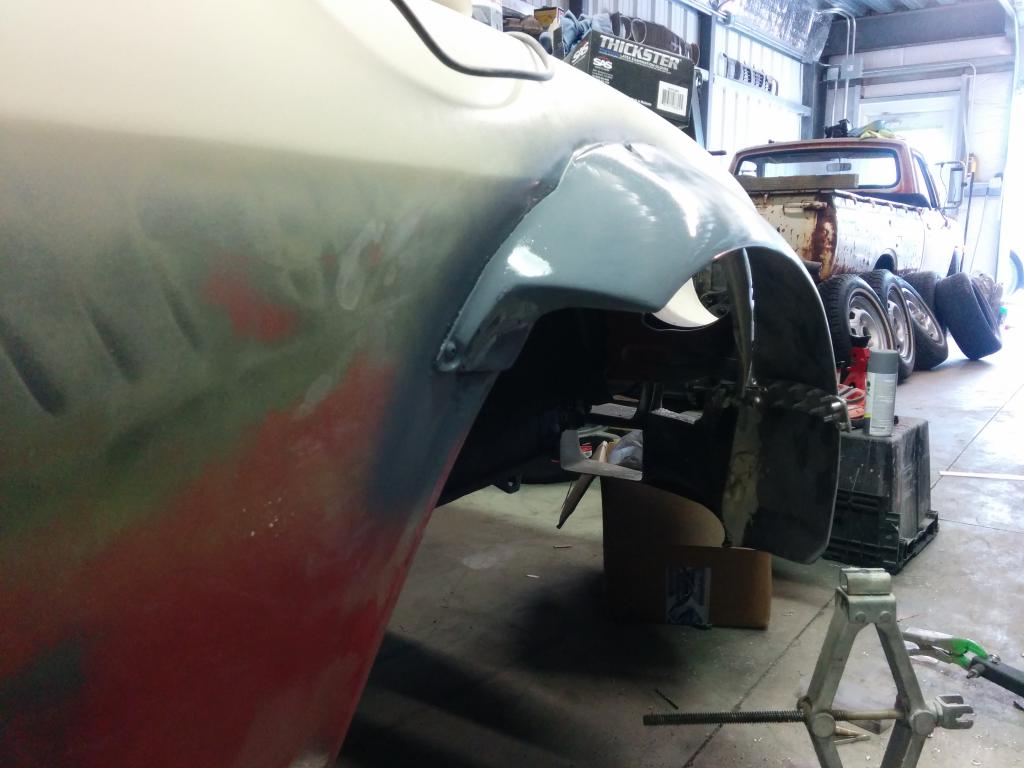
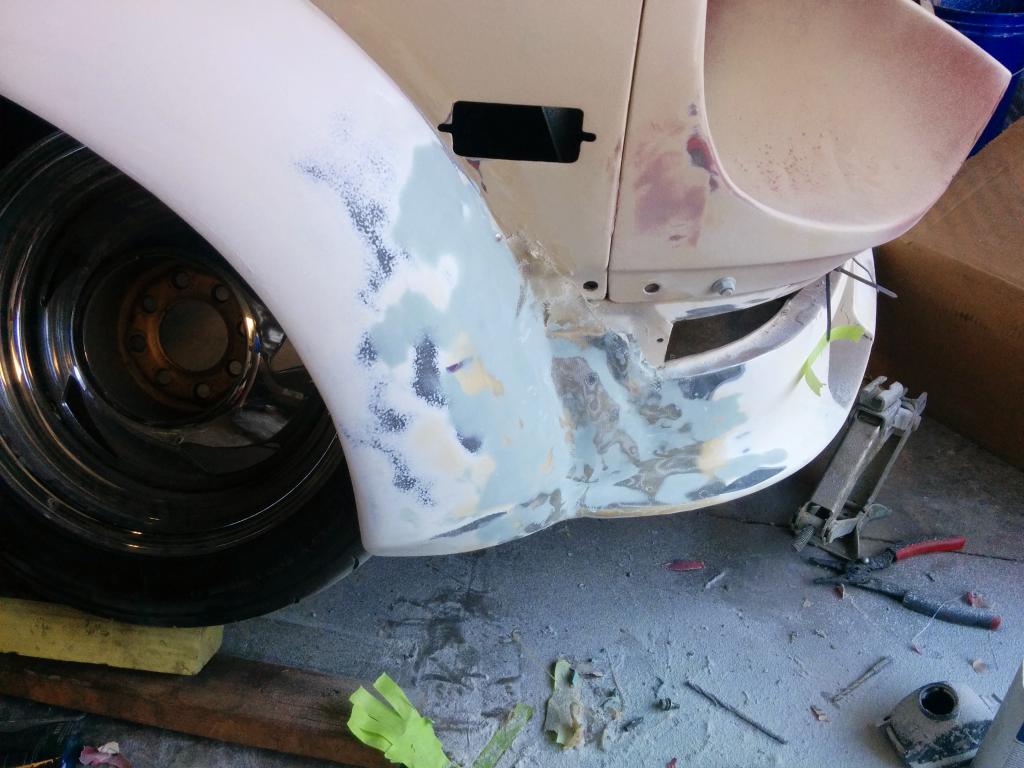
These are their Z Speed ones that I've modified/grafted to my bumper. The quality is insanely good and the fit is spot on. These add 4.5" width to each fender at the flares' peaks. Wheels and tires are not yet purchased, but will be in the ballpark of 15x10F and 15x12R with 225ish fronts and 245-255ish rears.
-
260Z Restomod, A Purists' Nightmare
Keegan replied to Keegan's topic in S30 Series - 240z, 260z, 280z
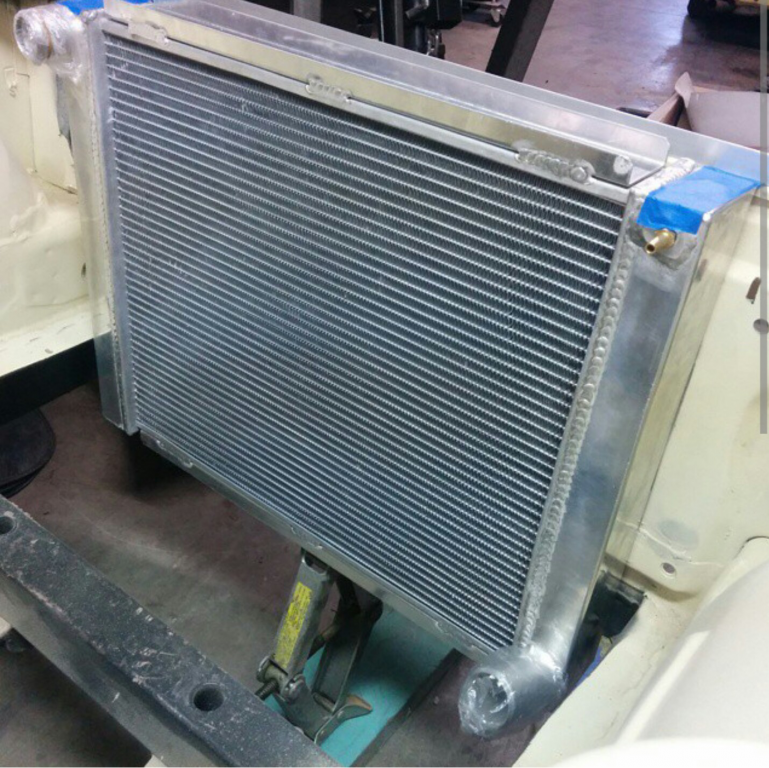
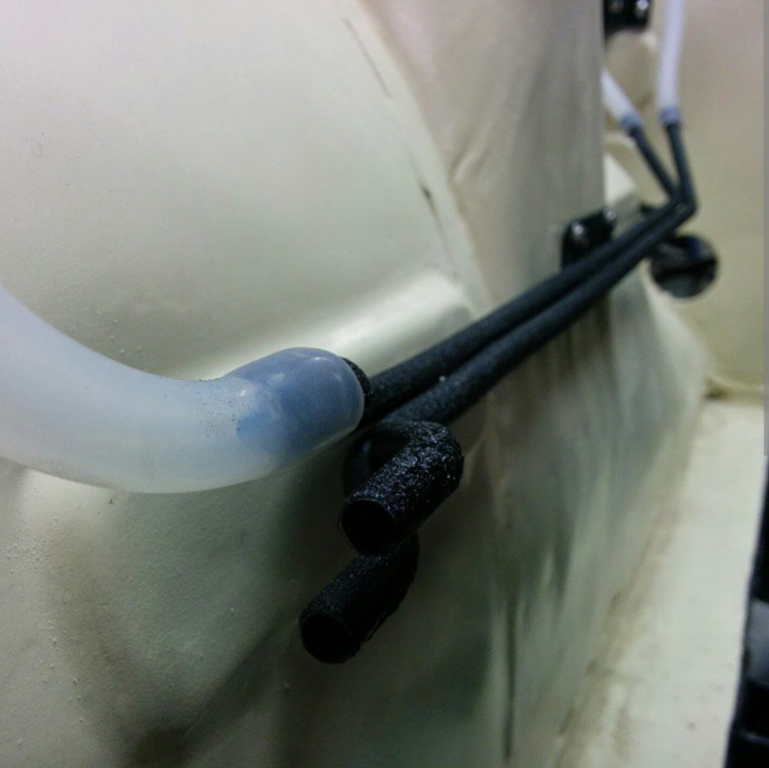
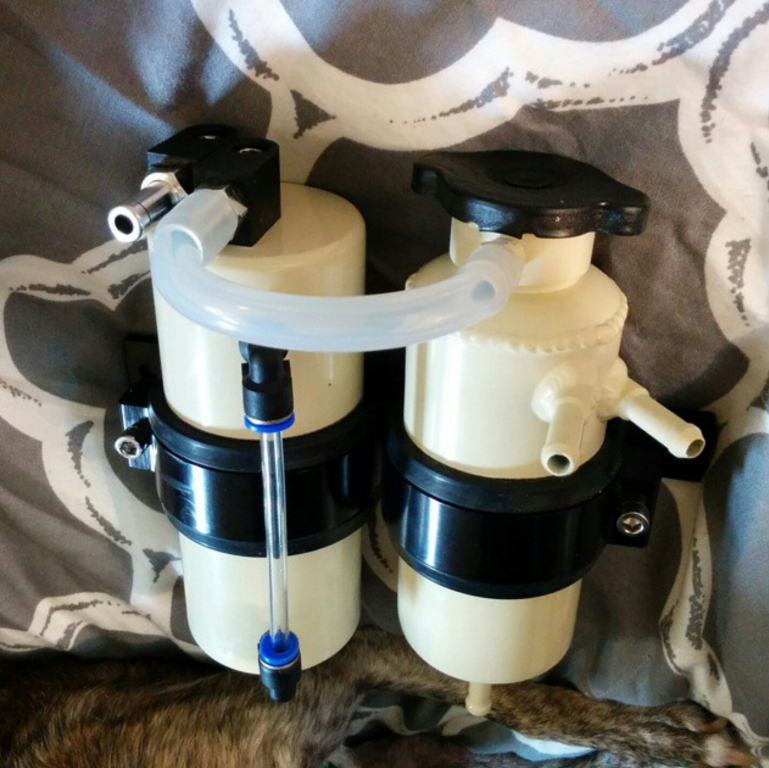
For the cooling system, I have a 24x19x3" "GM" style sprint car radiator that I cut the cap/neck off of and added a steam port. My intercooler (not pictured) is a 24x12x3" tube fin deal. More on this later. I made up some steel headlines for the steam vent and upper and lower water necks to connect to my swirl tank and used 4mm wall thickness silicone tubing. My coolant swirl tank is a basic Parts Shop Max clone. The overflow is a modded "oil catch can" from eBay. I added an internal pickup tube to the line that connects to the swirl tank, so it's a fully recirculated setup. The bracket was made for a twin Bosch 044 fuel pump setup, but since I do way too much research, I realized that both my catch tank and swirl tank would fit with minimal mods.
-
260Z Restomod, A Purists' Nightmare
Keegan replied to Keegan's topic in S30 Series - 240z, 260z, 280z
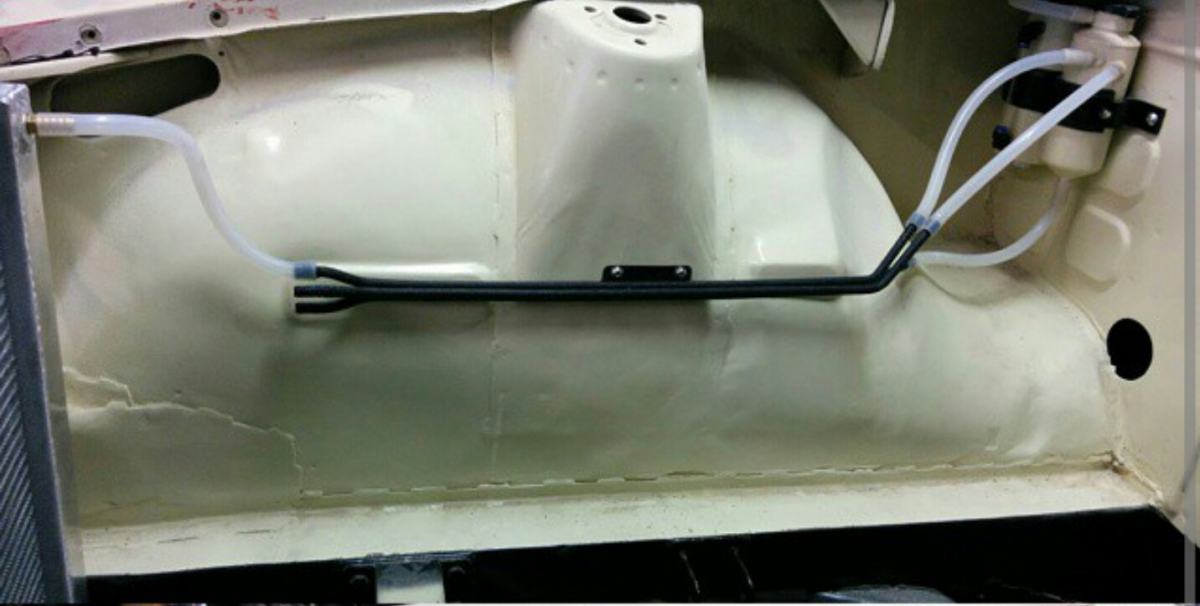
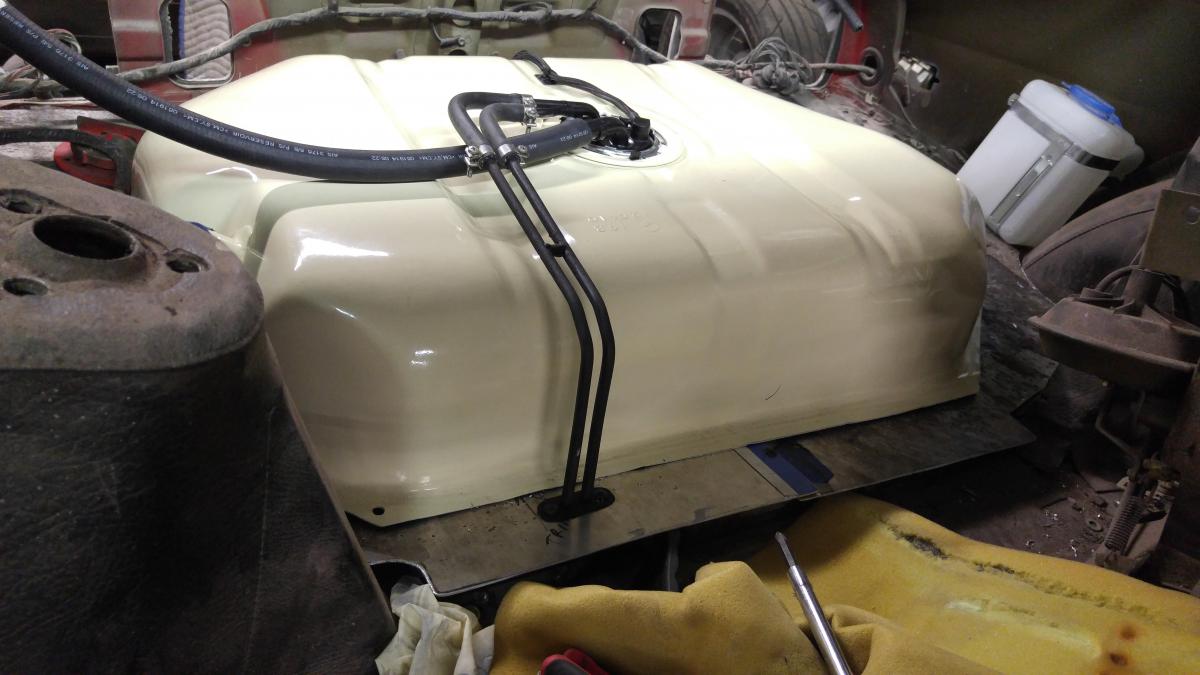
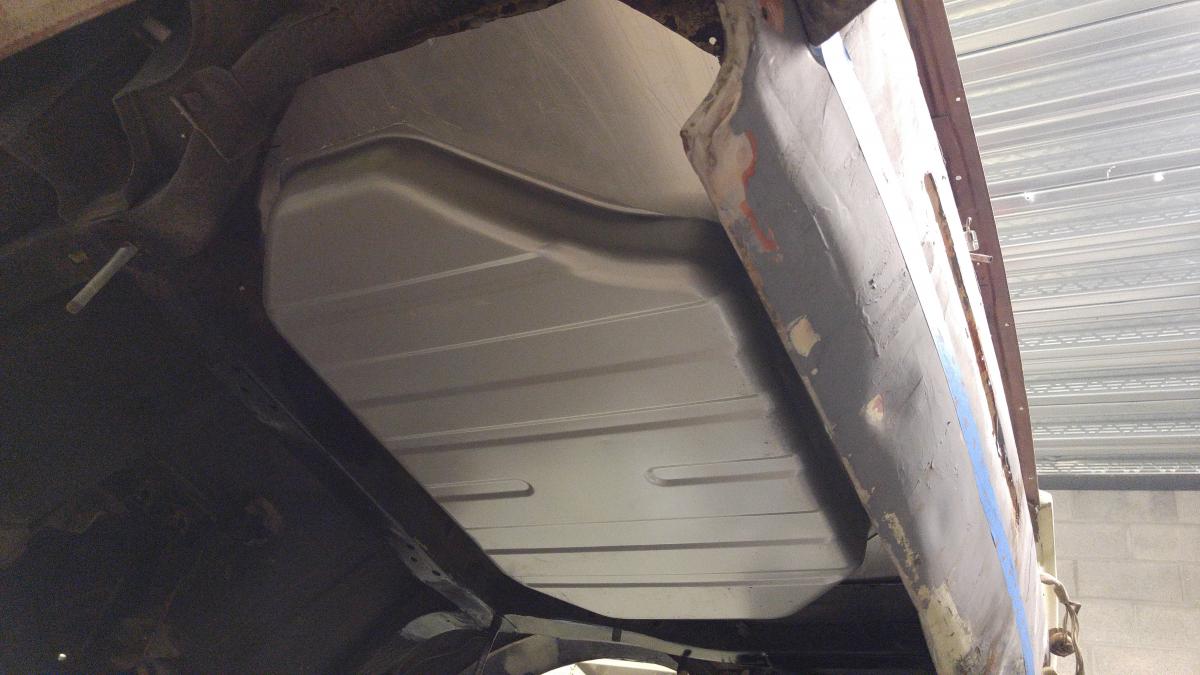
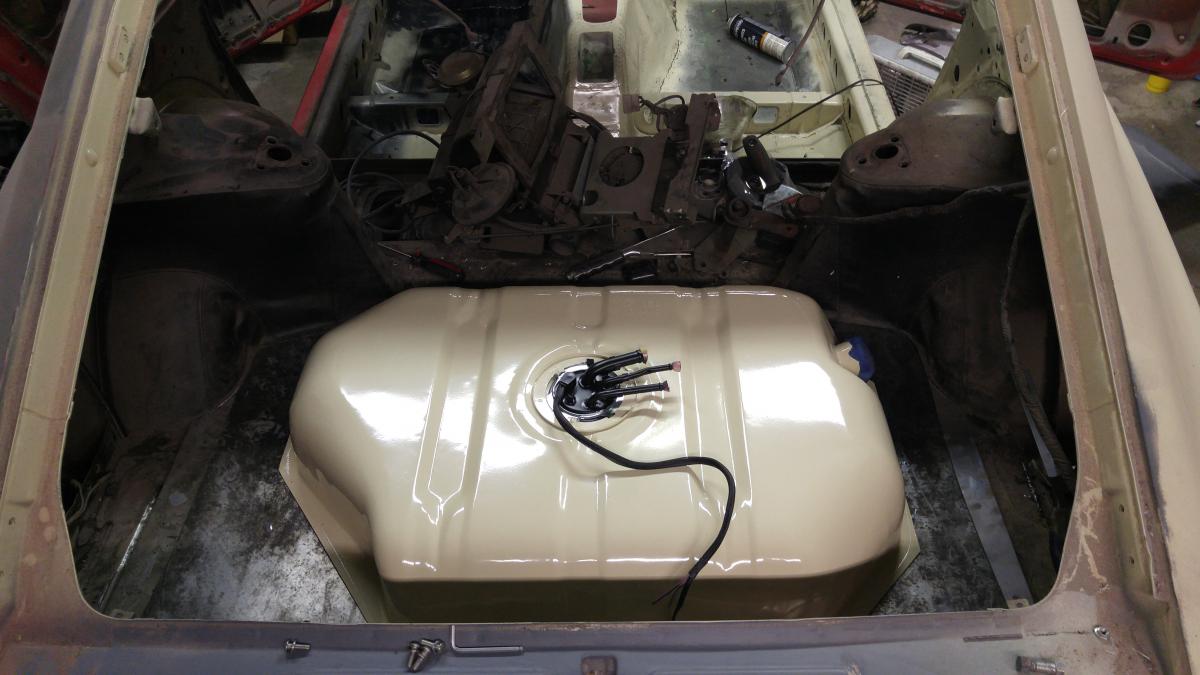
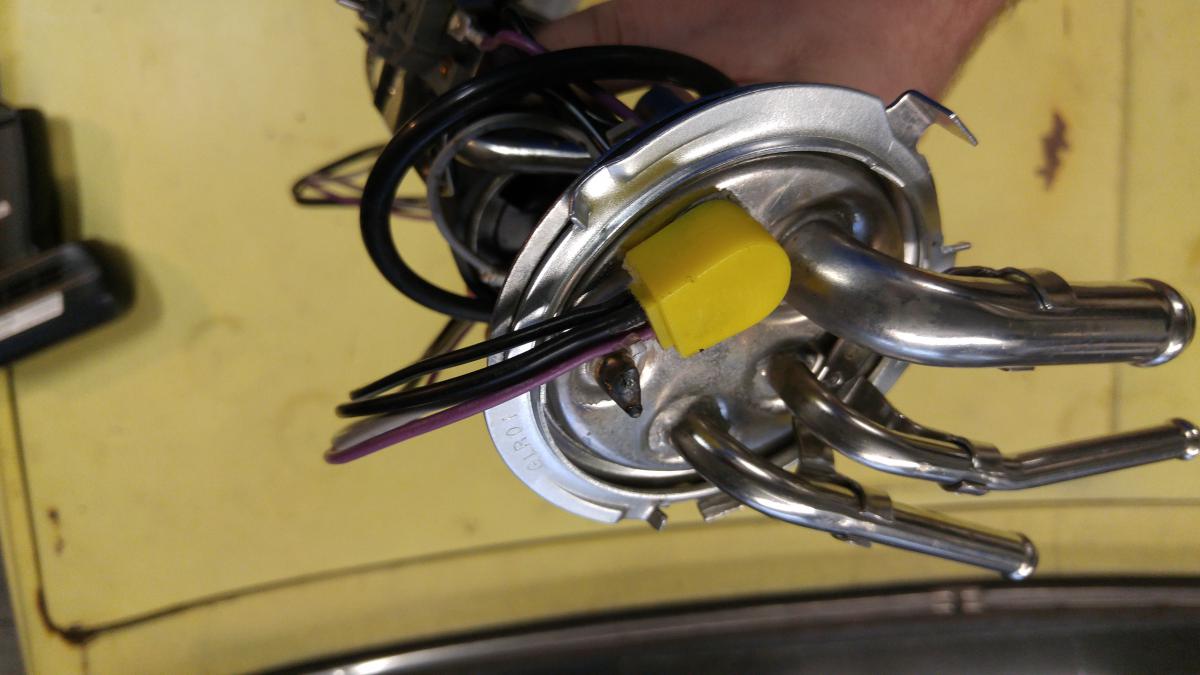
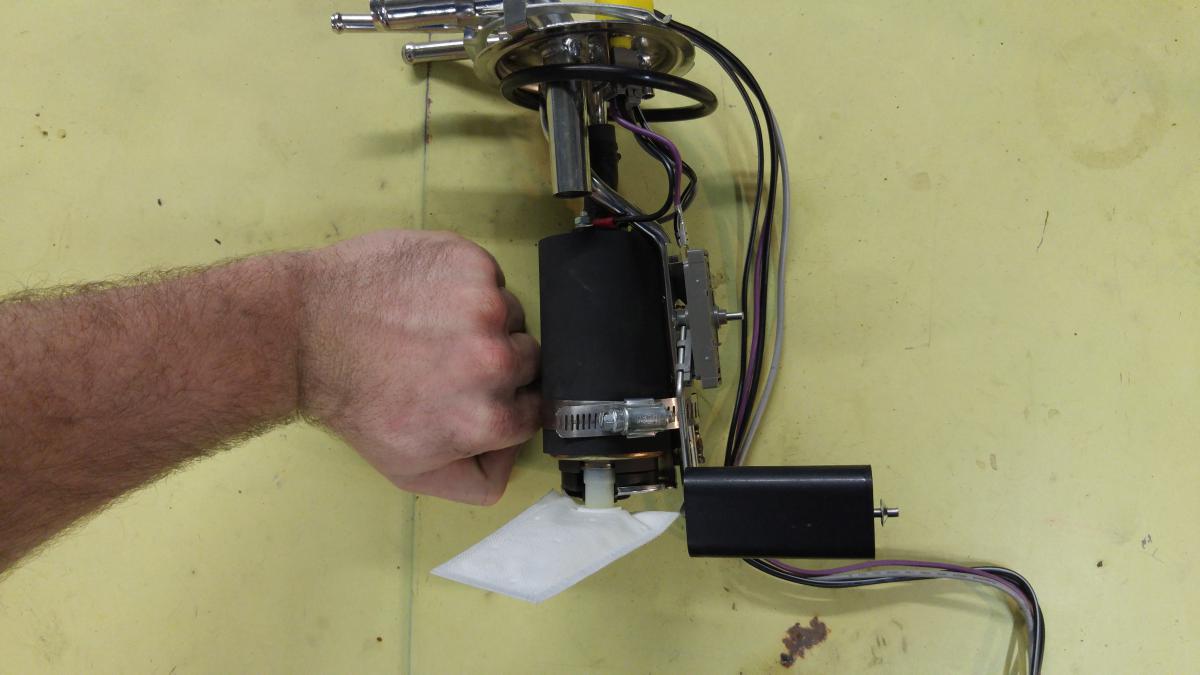
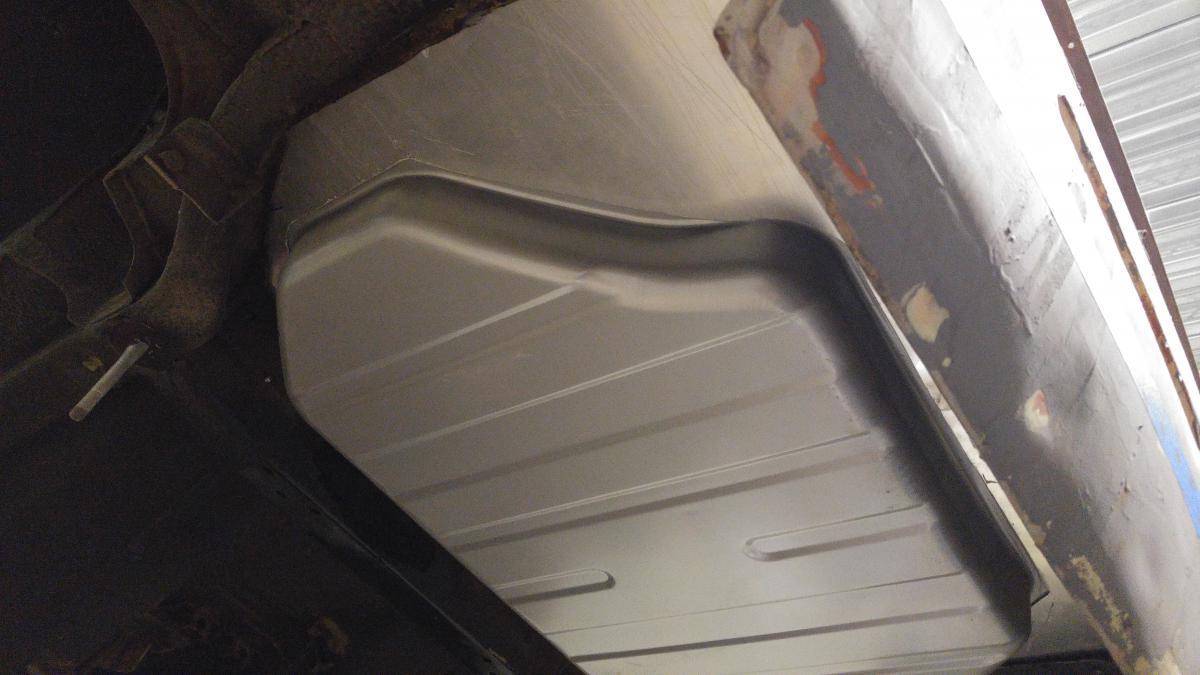
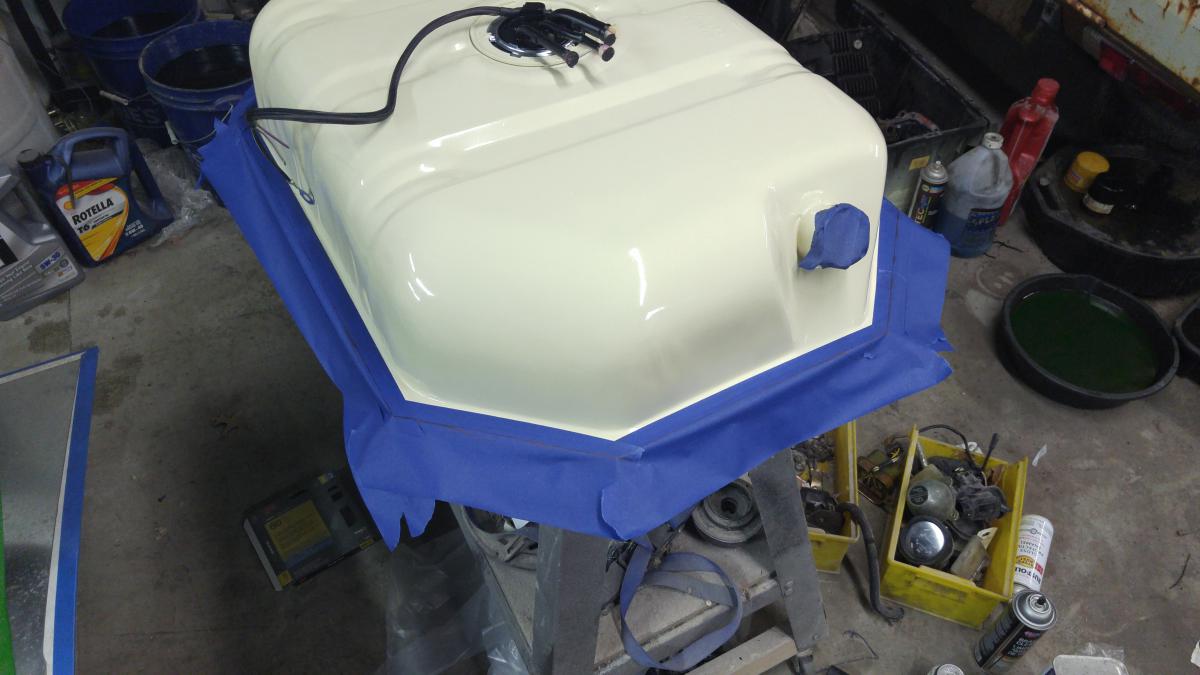
Fuel, Part 2 Having a blank slate for fuel, I initially went way overkill and got my hands on a walbro 255lph inline pump as a transfer pump from a cell, to a 1.5 liter surge tank, to a walbro 320LPH inline to feed the engine. It would've worked great but added a lot of complexity in both plumbing and wiring. Decided to simplify. The goal was to find readily available parts for serviceability, not break the bank, and have something that looked more OE rather than have a cell with bright shiny AN fittings and lines. So after a crazy amount of time (over 50 hours total) spent on Jegs, Summit, Rock Auto, Pirate 4x4 (AWESOME forum btw) I found my answers. The scary part of all this, was that this was all going to work hypothetically. I was trusting dimensions supplied by product detail pages and a lot of eyeballing. The tank and sender from a 1985 Chevy Blazer 4 cylinder, 13 gallon variant. This is internally baffled with roughly a 1 gallon volume baffle. I welded the stock charcoal vapor return fitting shut, leaving a 3/8" output, a 5/16" return, and a 5/8" filler vent intact. It's sender is a very standard 0-90ohm unit. It was chosen based on dimensions and shape. It also allows me TONS of clearance underneath it to run a center exit exhaust and undertray. The sender's float arm mount needed bent roughly 40* inward to allow the massive 320lph pump to squeeze down into the tank. The tank has a flange on it's outside edge that runs the whole way around. This will be how I mount it into the floor. No straps and no crazy frame needing built. The pump and filter sock are for a 1998 Infiniti Q45, Airtex (aka Walbro's parent company) rated at 320LPH. Not much needs to be said here other than it is massive, quiet, and easy to get at nearly any parts store.
-
260Z Restomod, A Purists' Nightmare
Keegan replied to Keegan's topic in S30 Series - 240z, 260z, 280z
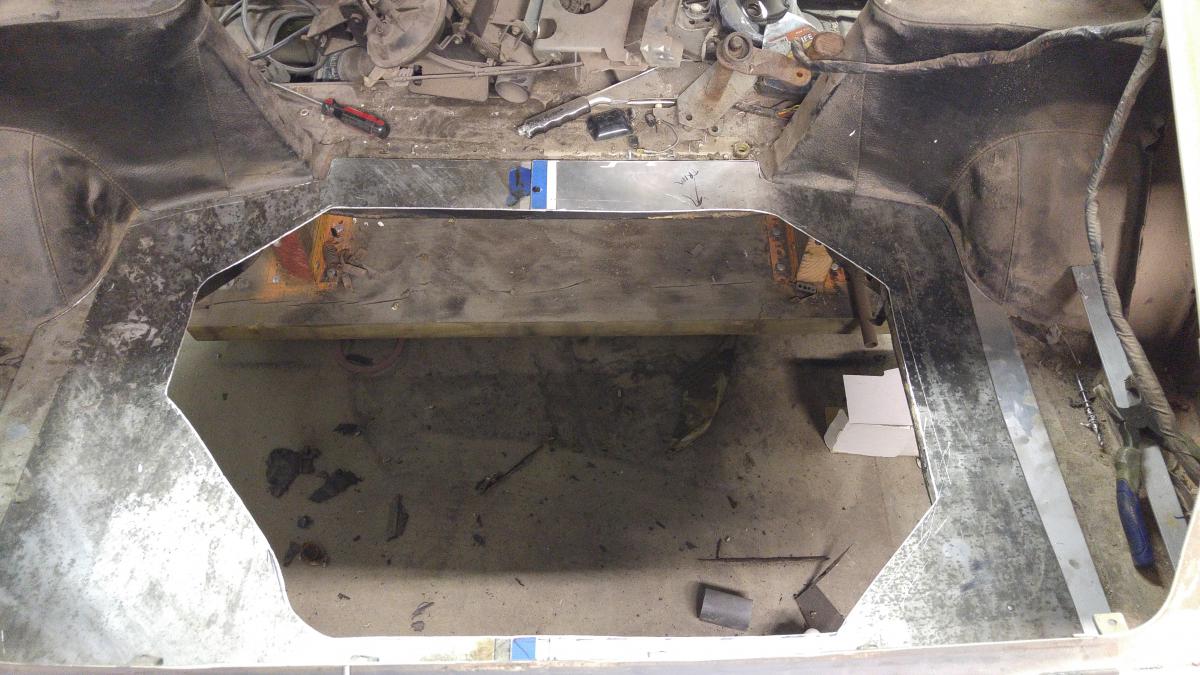
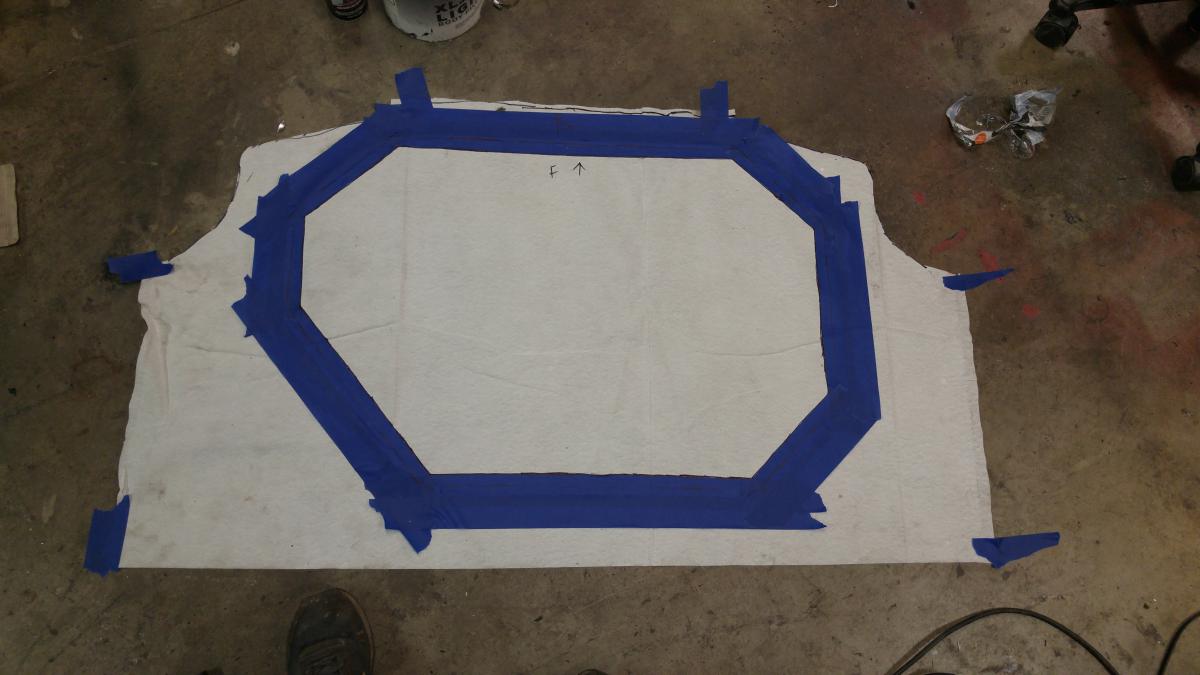
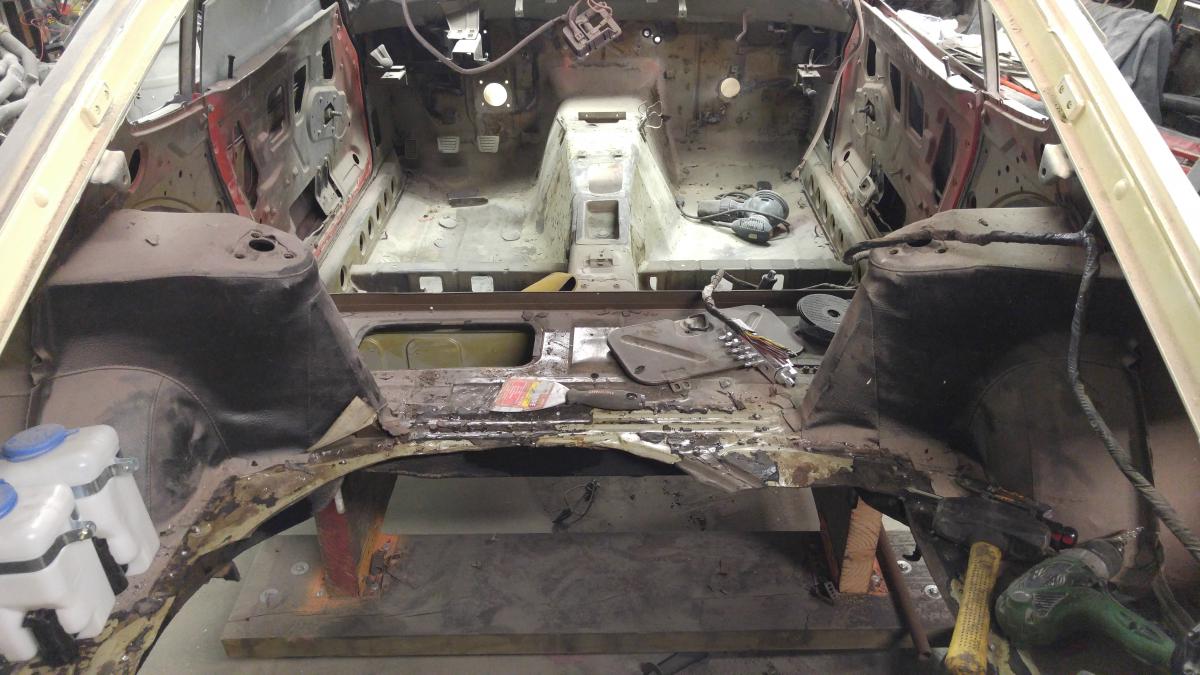
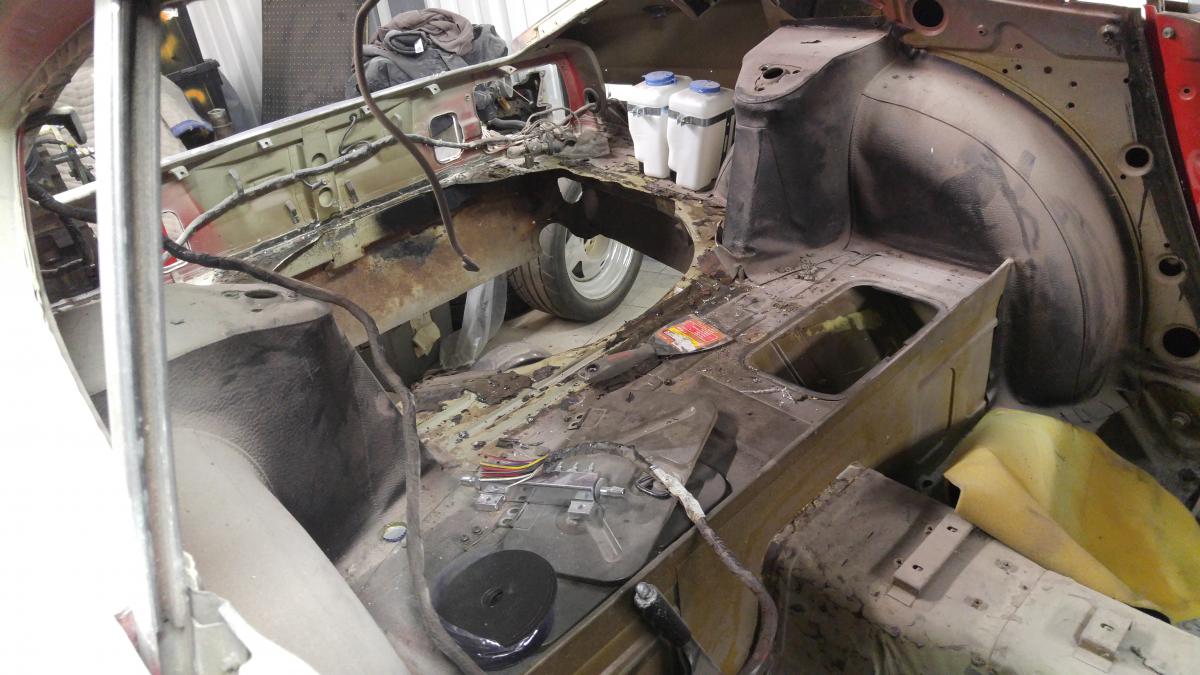
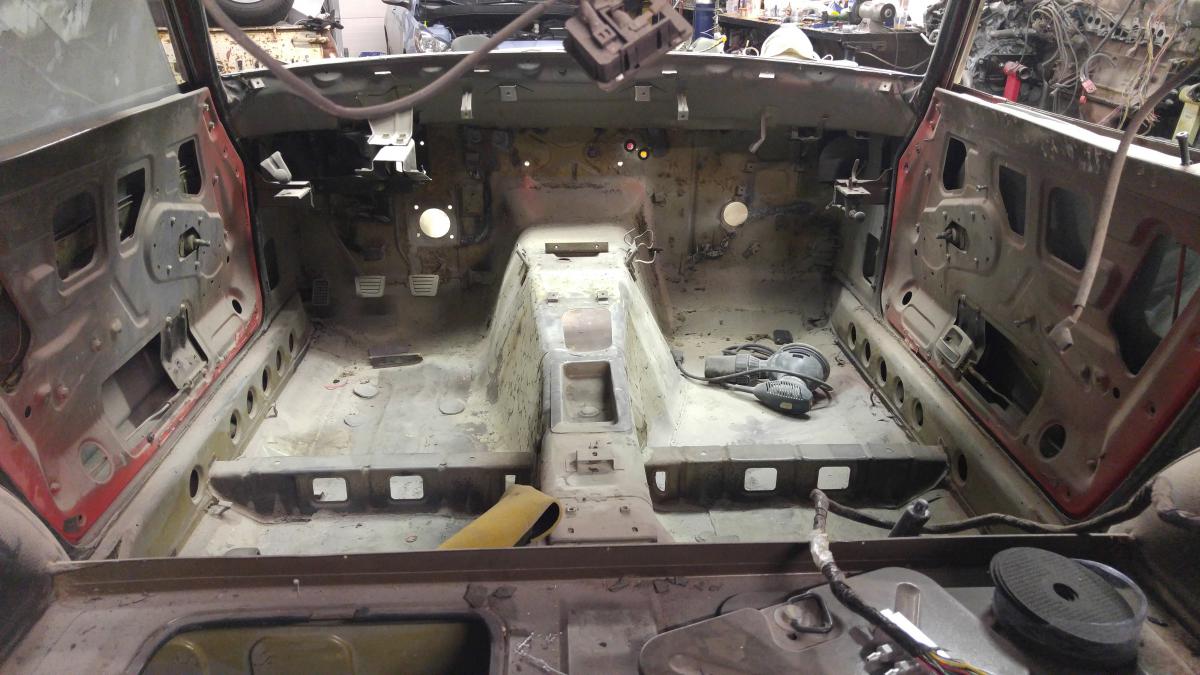
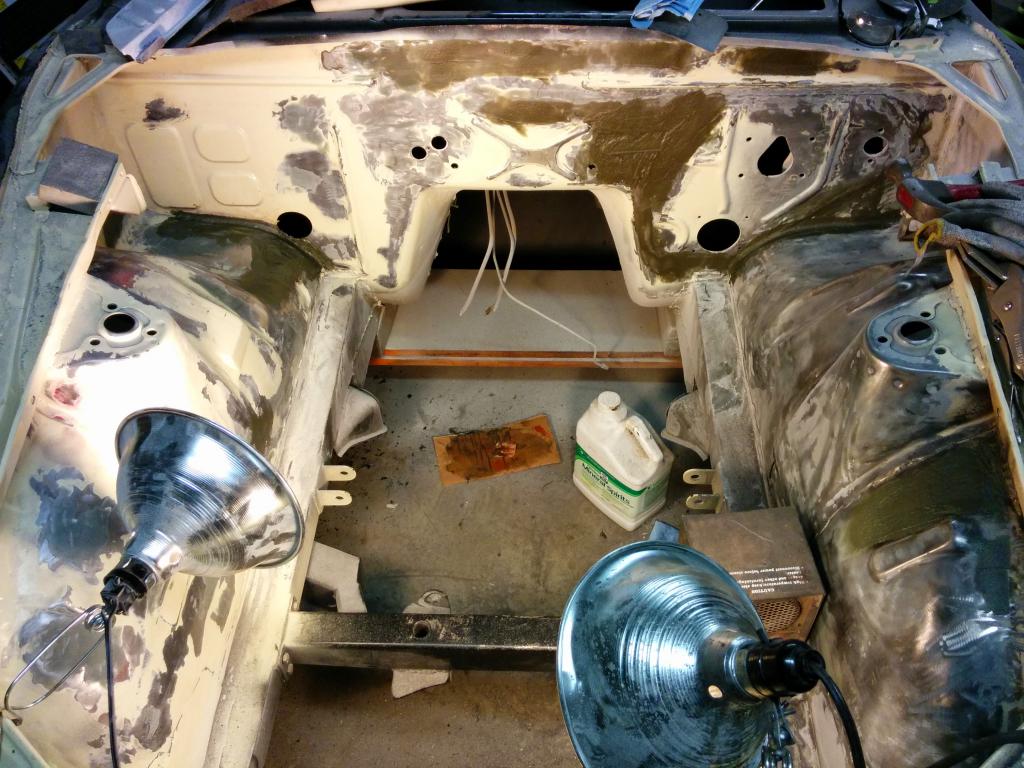
Another area that needed addressed: Fuel. Previous owner did a sloppy job deleting the spare tire well/OEM tank in preparation for a fuel cell. The cuts were sloppy, it wasn't properly weathersealed, it was raw mild steel sheetmetal, and was held in with self-tappers and an assortment of whatever rivets were left around their shop. I couldn't stand it, so I drilled all that out, ripped the rusty pan out, made a new clean opening in the floor, and fabricated a nicely contoured aluminum trunk floor. This will have steel cross beams underneath, welded to the frame for tank support
-
260Z Restomod, A Purists' Nightmare
Keegan replied to Keegan's topic in S30 Series - 240z, 260z, 280z
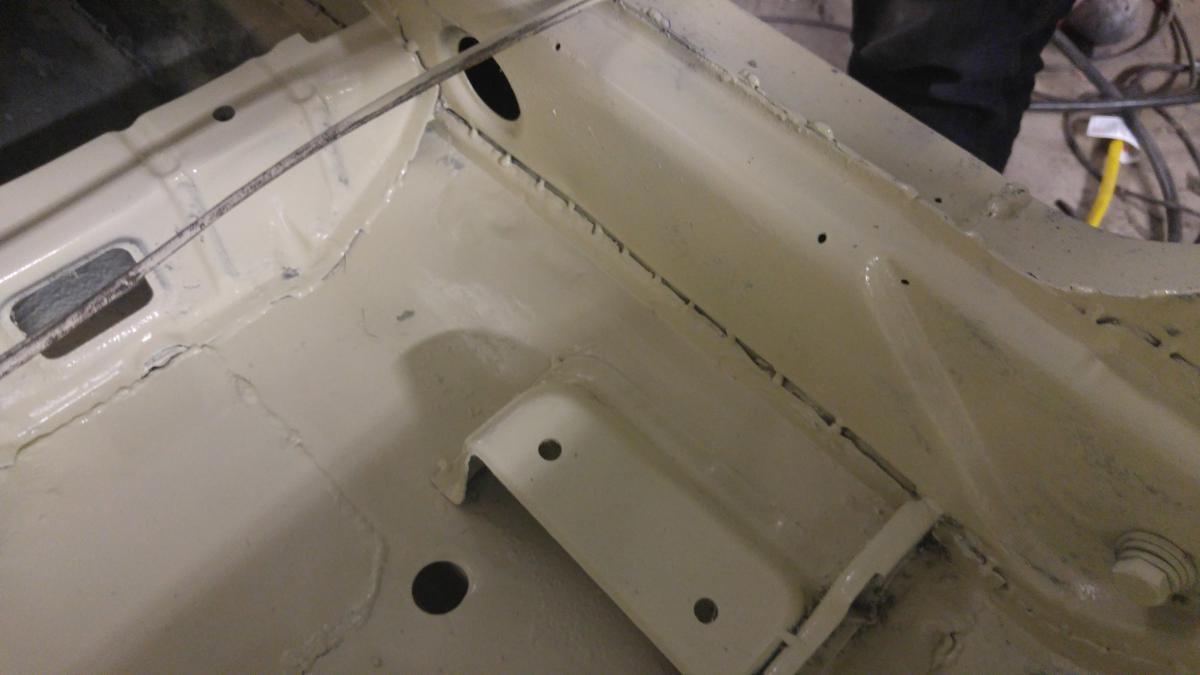
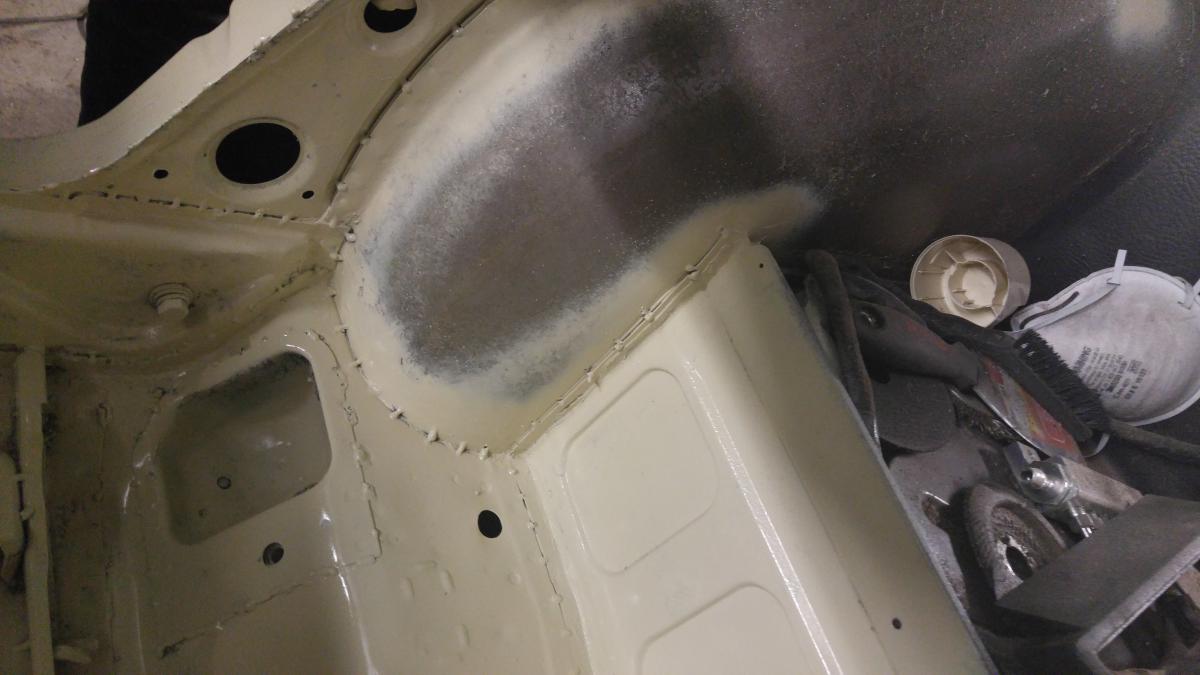
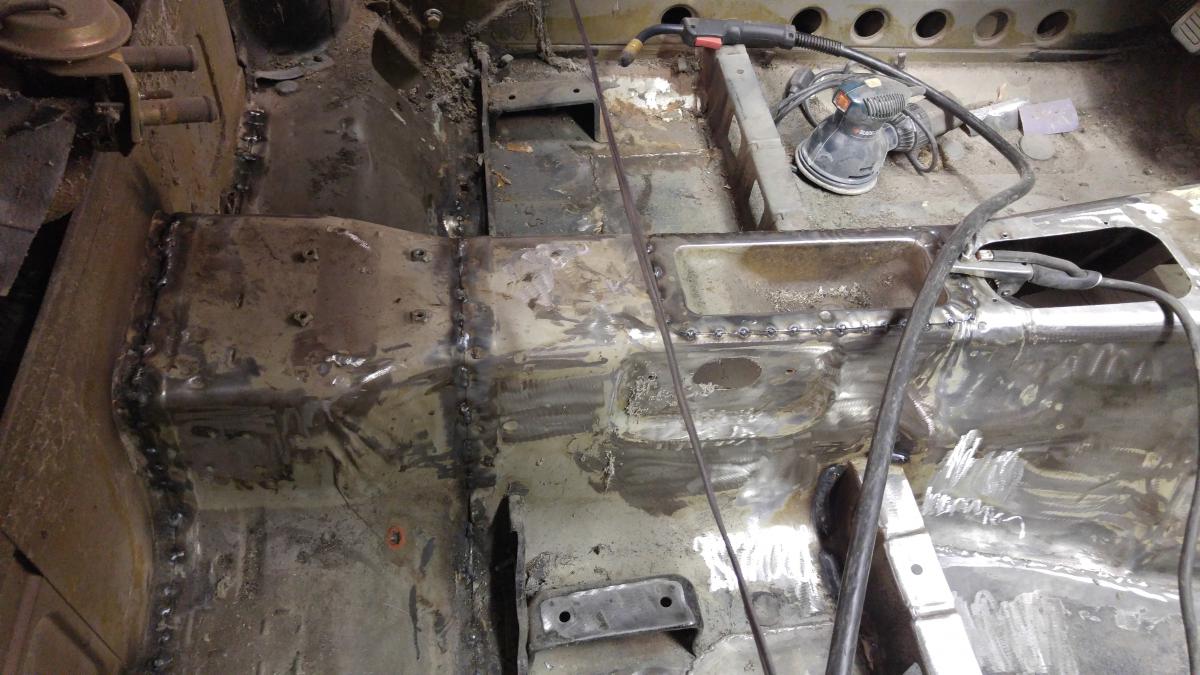
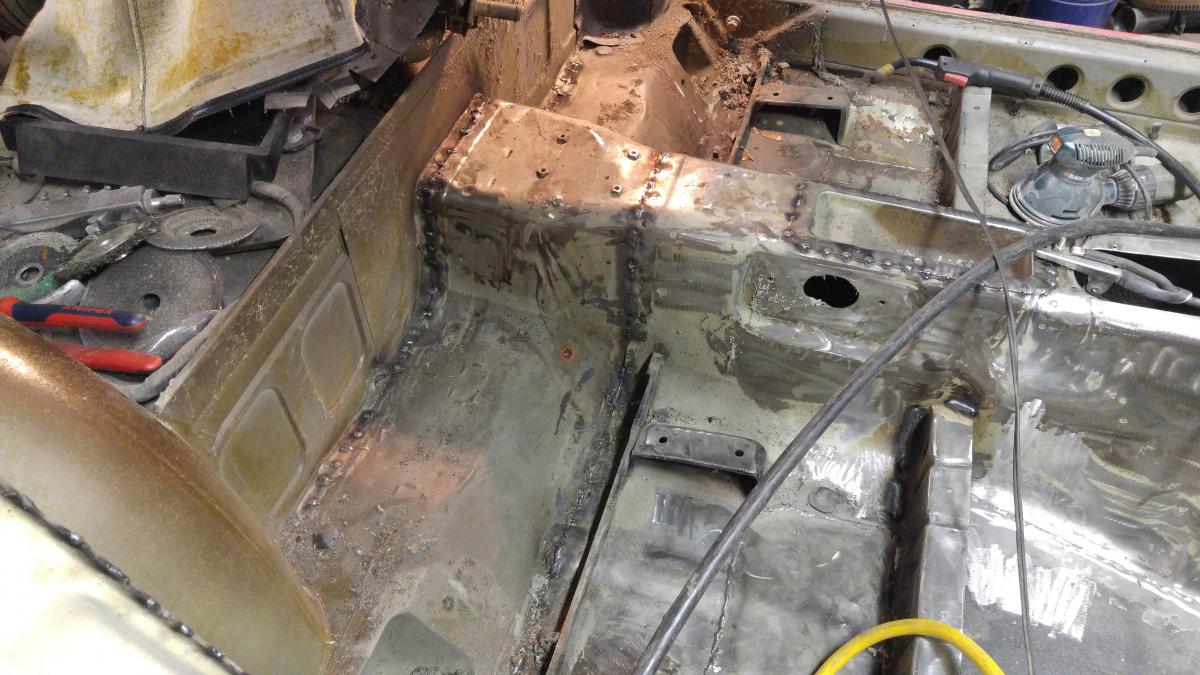
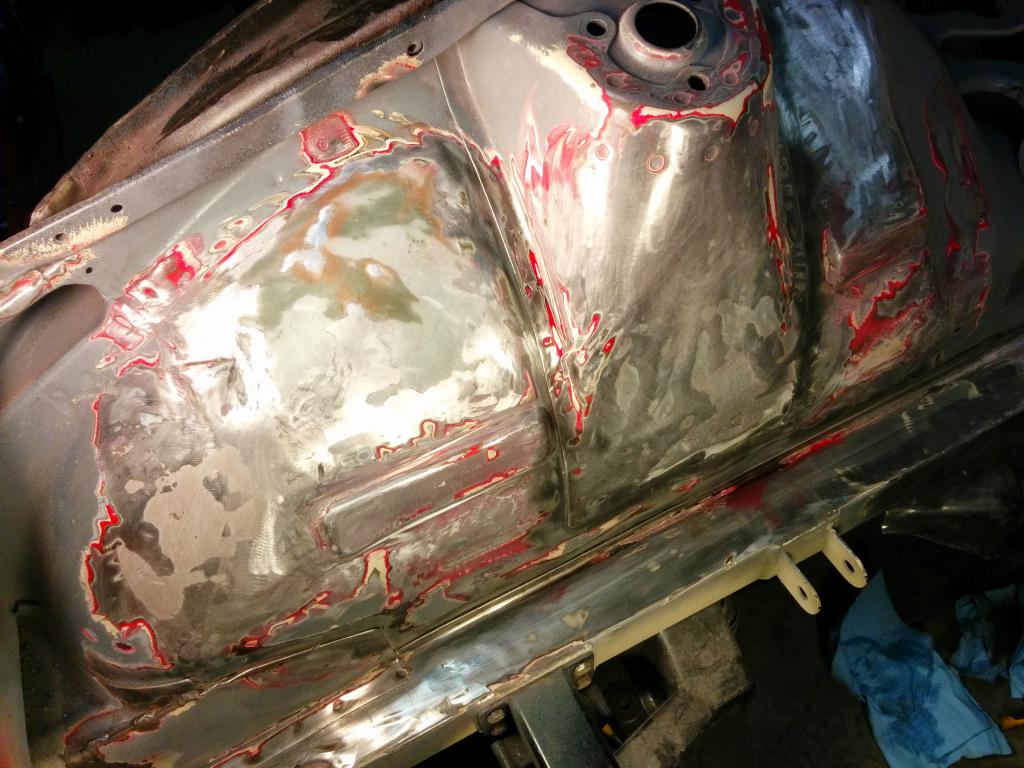
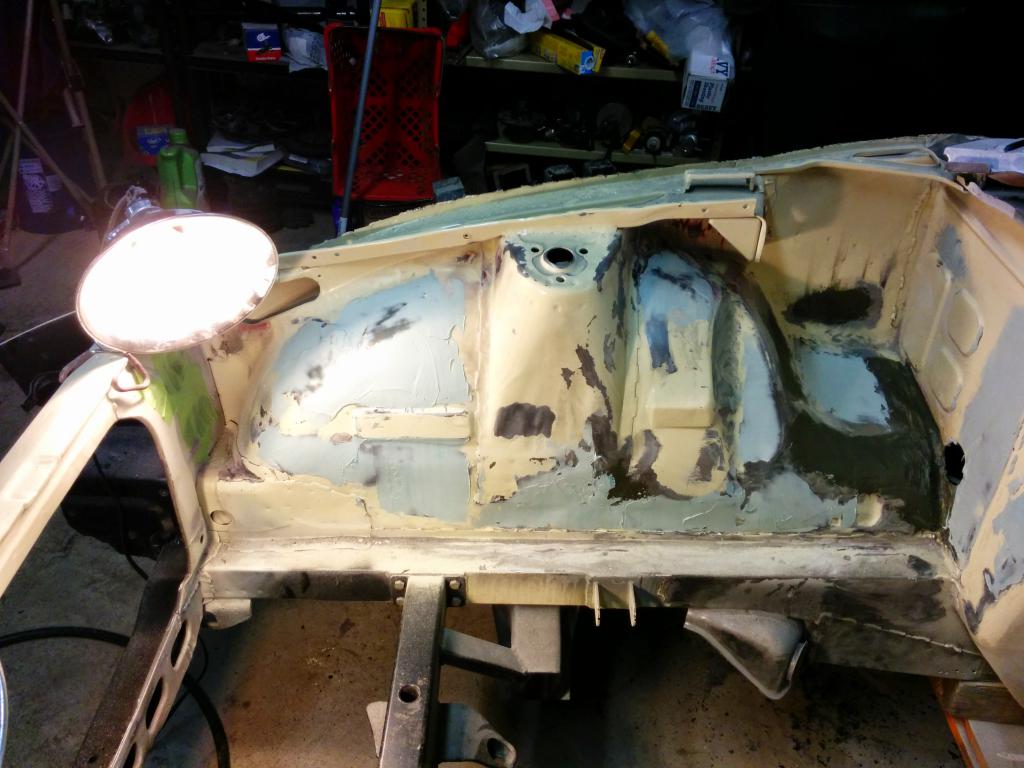
An S30 chassis isn't really known for being rigid... at all. So i figured I'd do something about that and stitch weld nearly every seam on the car. I figured I had a lot of surface rust to deal with along with fixing previous owners' failed attempts at patching and rustproofing, so it wouldn't be THAT much more work. Wrong I was. This sucks, but I'm so far into it, that I needed to keep going.
-
260Z Restomod, A Purists' Nightmare
Keegan replied to Keegan's topic in S30 Series - 240z, 260z, 280z
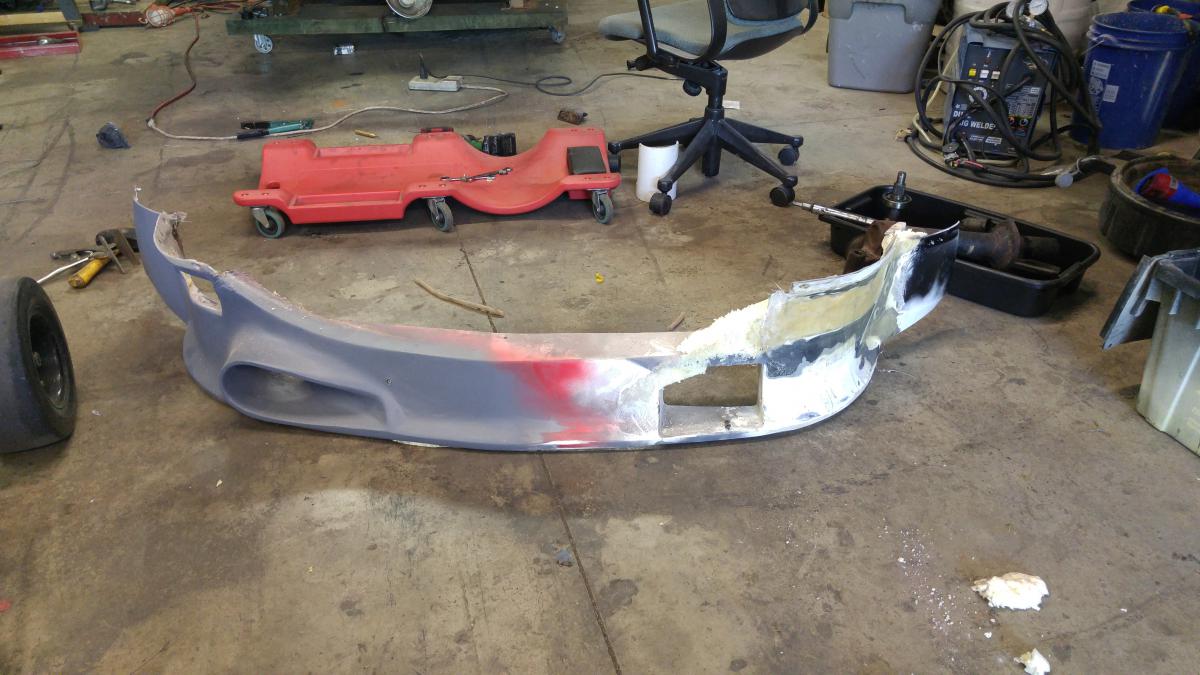
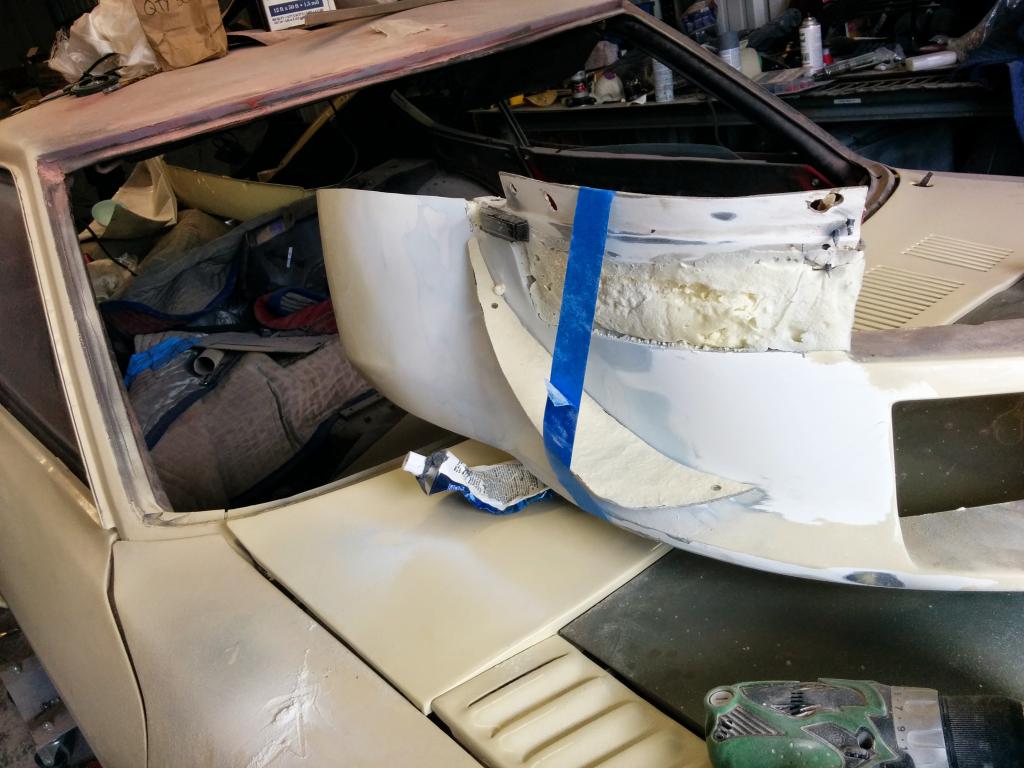
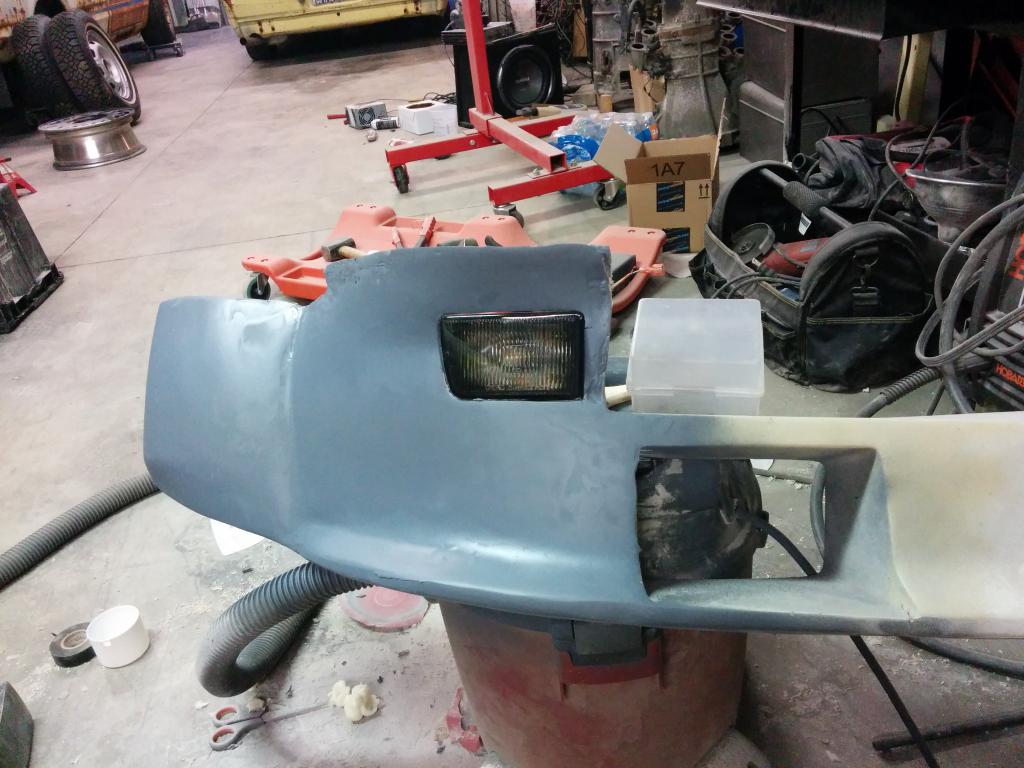
The bumper design just wasn't doing it for me. Still looked super dated and stuck in the 80's. It had to either look older or newer. So I decided to cut it all up, again.
-
260Z Restomod, A Purists' Nightmare
Keegan replied to Keegan's topic in S30 Series - 240z, 260z, 280z
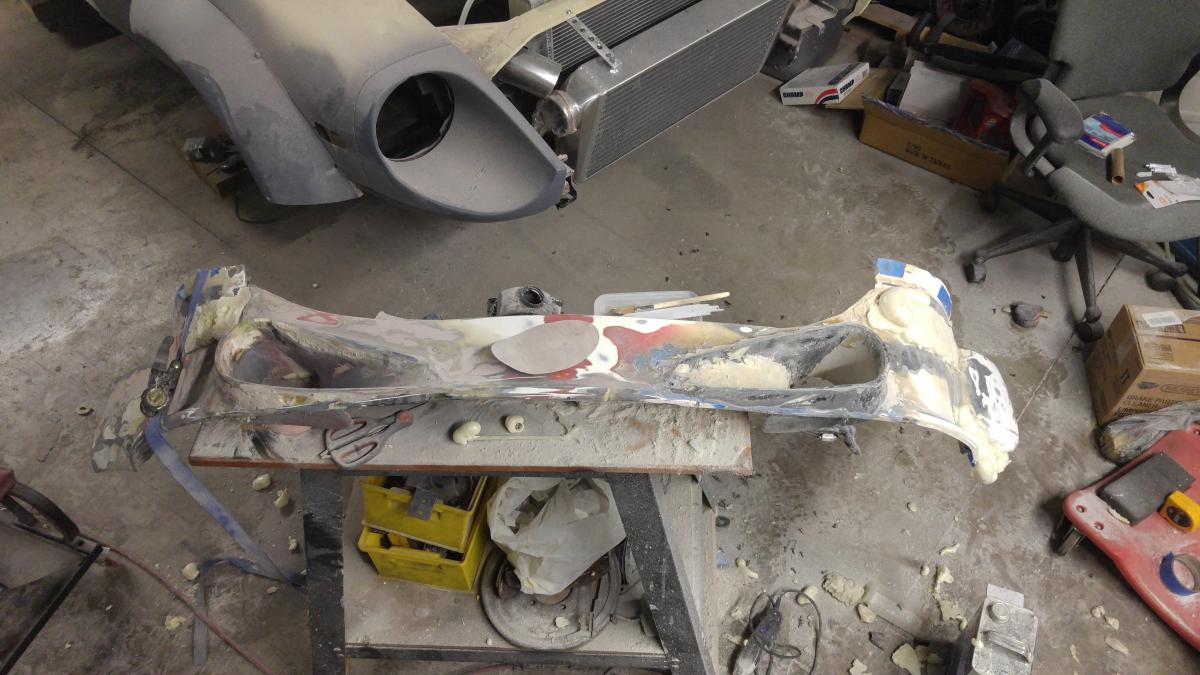
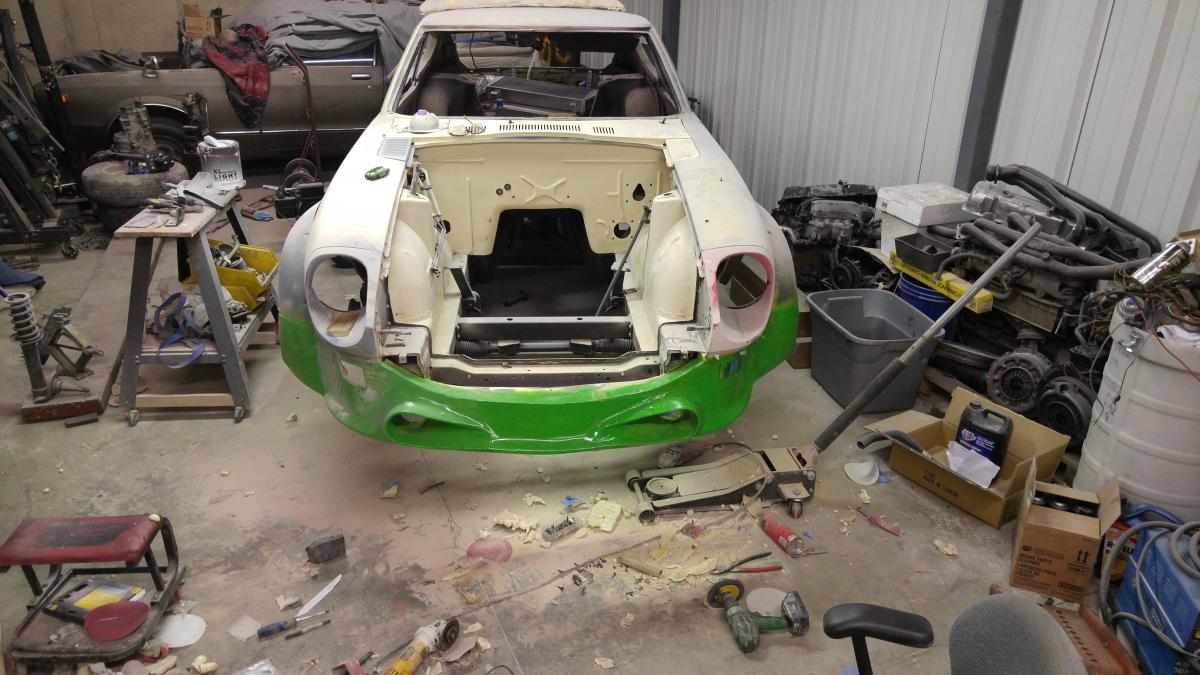
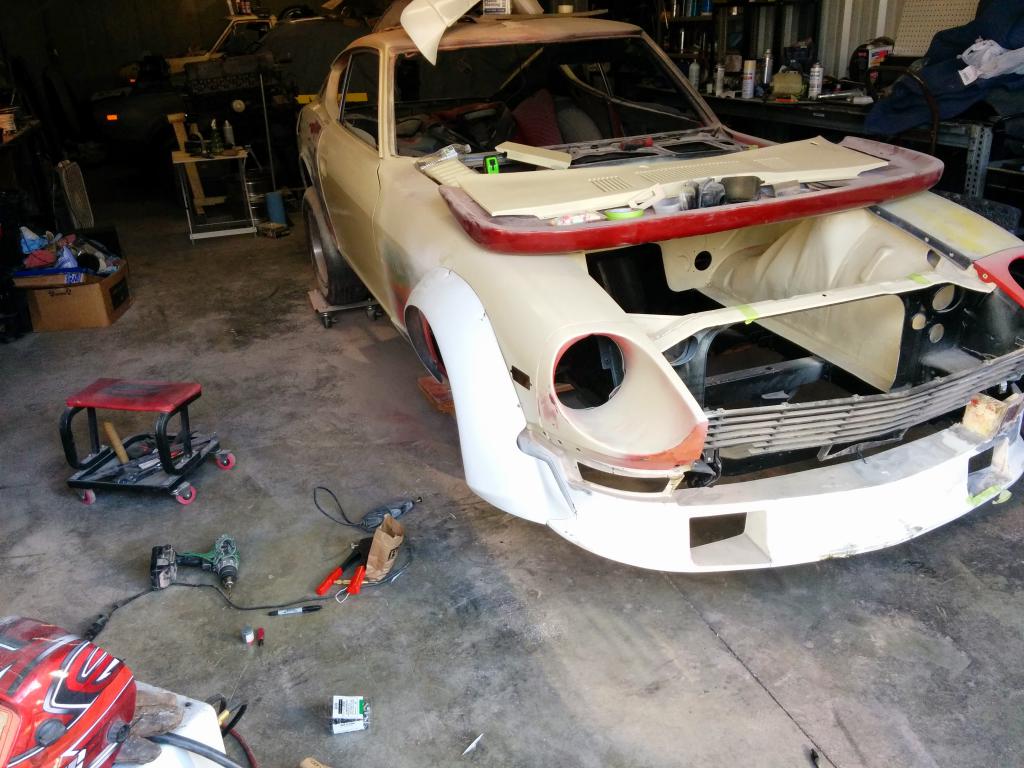
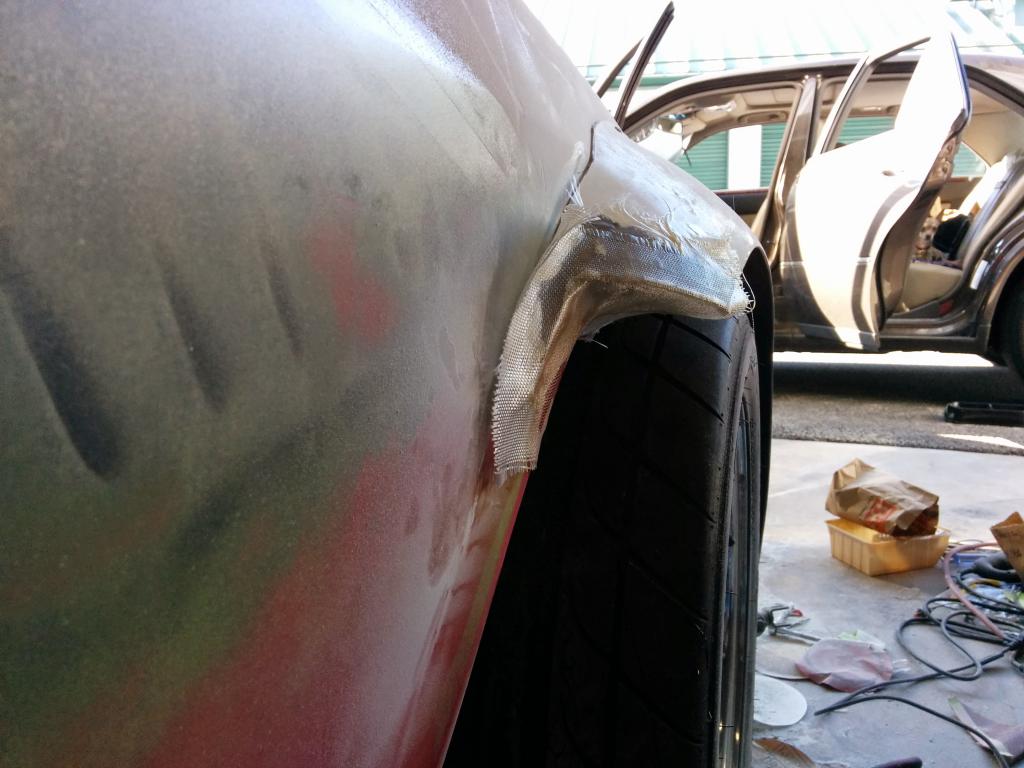
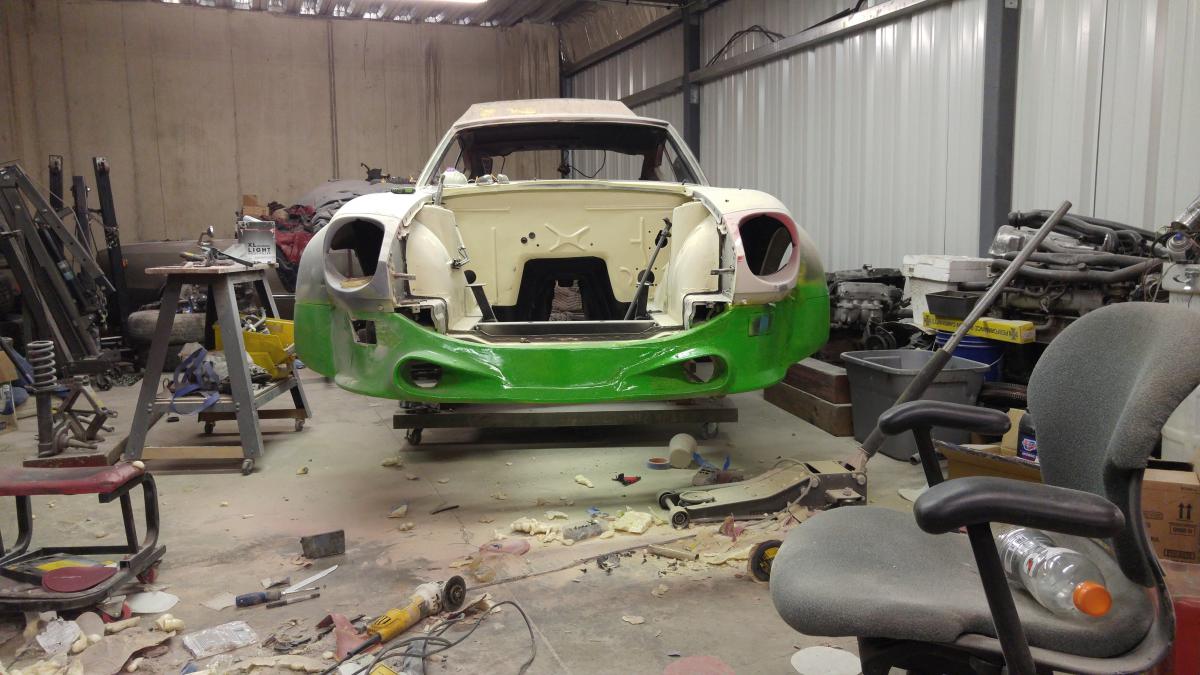
Aesthetically, my vision was something modernized but still reminiscent of the old factory works cars and wangan bruisers. I wanted updated lighting, wide flares, aggressive airdam, louvers/vents, and spoiler. So I started out with an unidentified front fiberglass airdam that the previous owner gave to me for free with the car, broken in all sorts of places. I have built fiberglass speaker pods and sub-boxes in a previous life, so I know a lot of theory/technique but autobody was new to me. I then bought JPN Garage Z-Speed fenders, but didn't care for how they mated to the airdam, nor the look of the rear of the flares as they tapered in. I grafted the fenders into the front bumper, then cut them to make the lower part of the flare a permanent part of the airdam. Then I cut the backsides of each flare off and built a Brinkworth/RocketBunny/time attack style cutout on each out of fiberglass then grafted it in. Much more aggressive. For lights, I'm a sucker for OE looking smoked lenses, but the stock Z ones look like a kidney bean or banana or whatever. I dislike them. I wanted smaller, more modern lighting. In came Depot lenses for a MK3 Jetta after I mocked a set of junkyard ones up, and E39 M5 sidemarkers (I miss my old M5). The problem is, none of those exactly bolt into a Z body. MORE grafting, fiberglassing, cutting, welding...
-
260Z Restomod, A Purists' Nightmare
Keegan replied to Keegan's topic in S30 Series - 240z, 260z, 280z
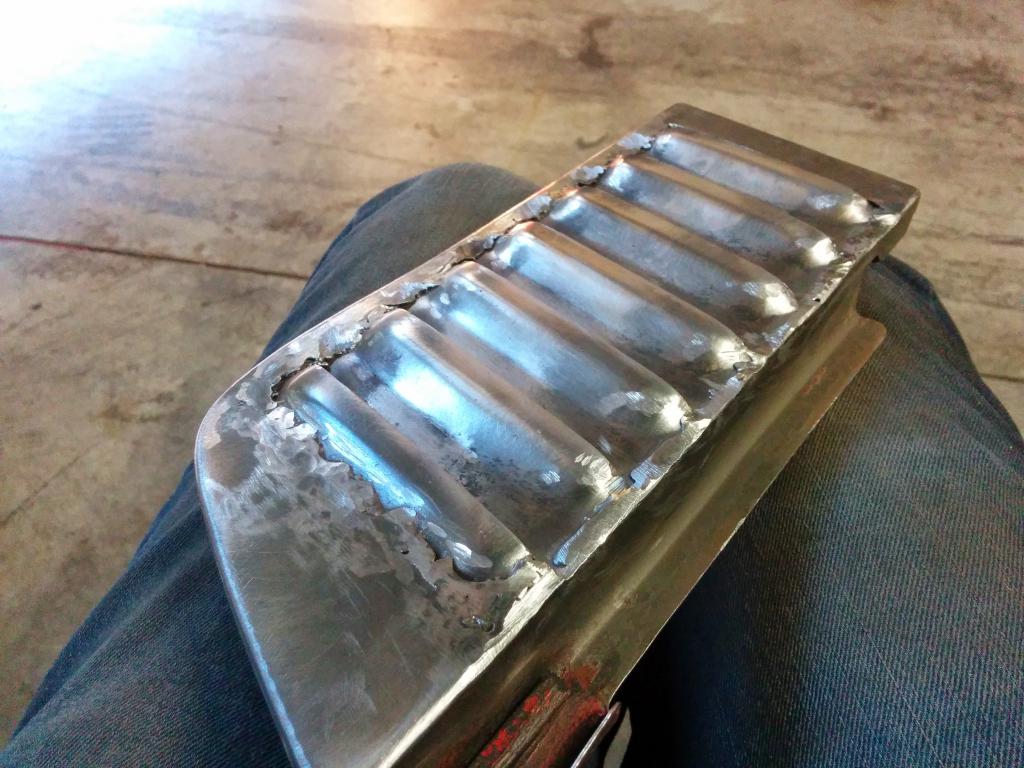
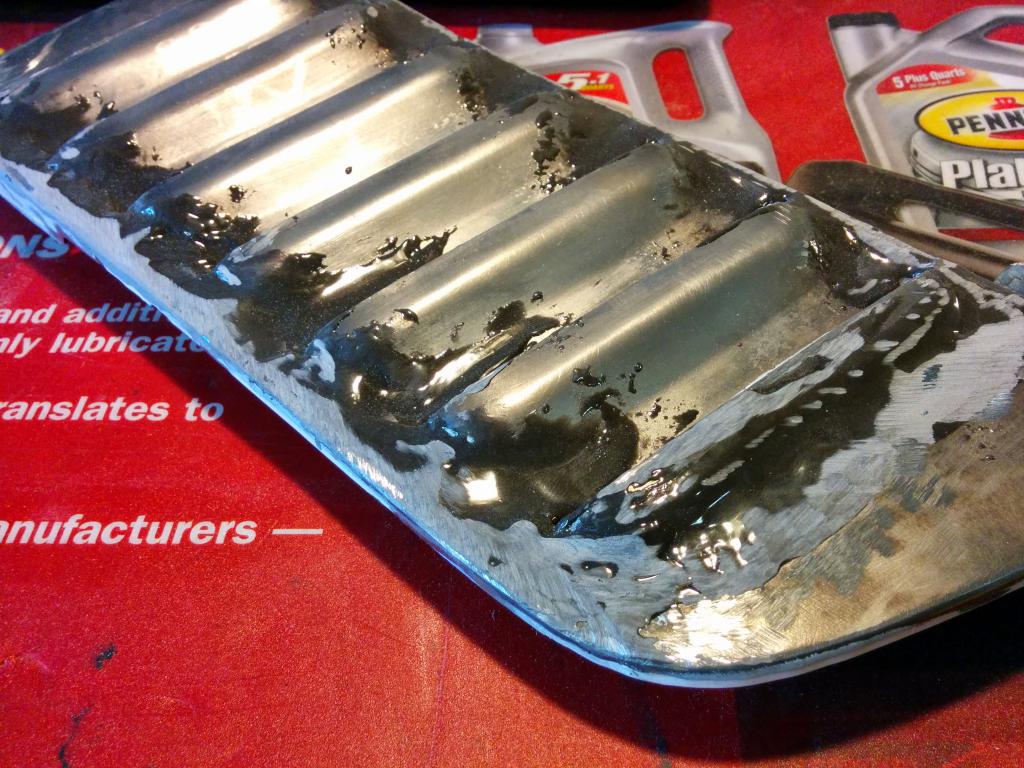
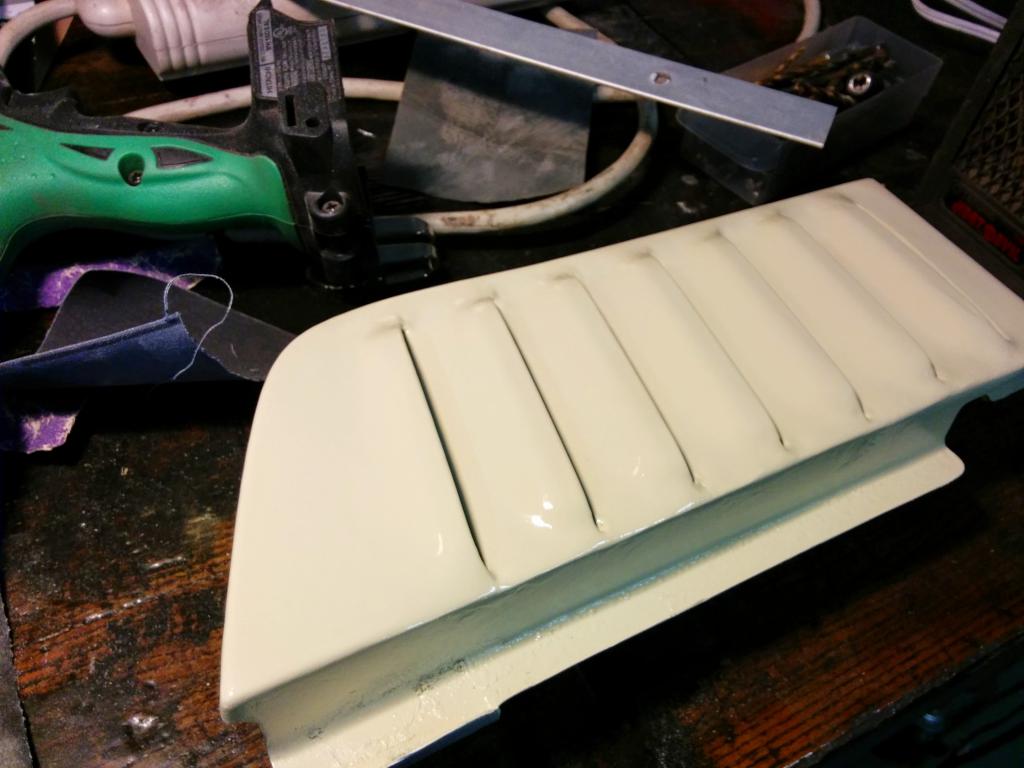
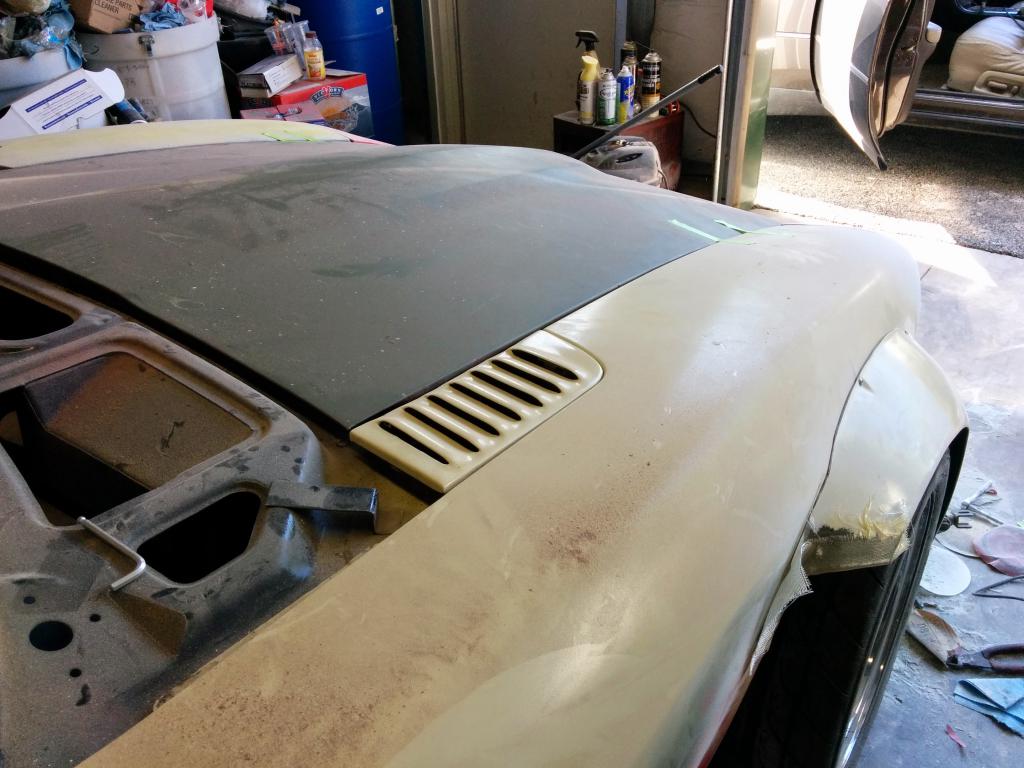
I love louvers/vents, so I decided to tackle grafting some steel louvers into my inspection cover. First time doing this, so take it easy on me. It was welded on the back side (first weld I ever attempted), then JB welded on the top, then fillered, primed, and painted.
-
260Z Restomod, A Purists' Nightmare
Keegan replied to Keegan's topic in S30 Series - 240z, 260z, 280z
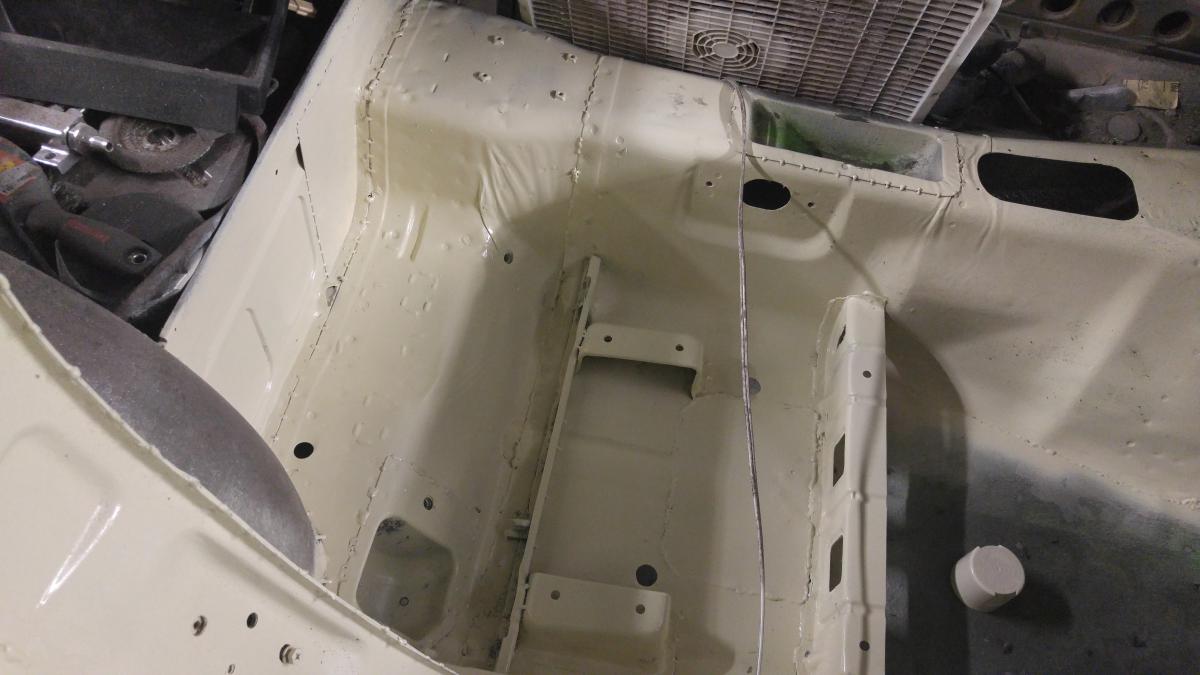
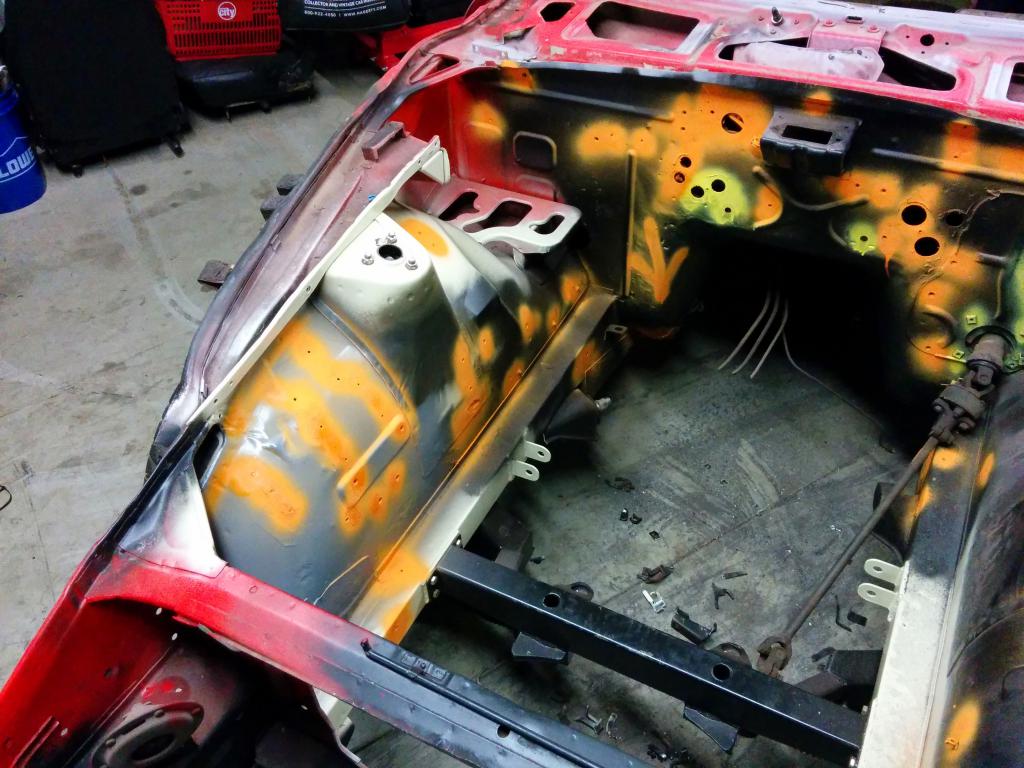
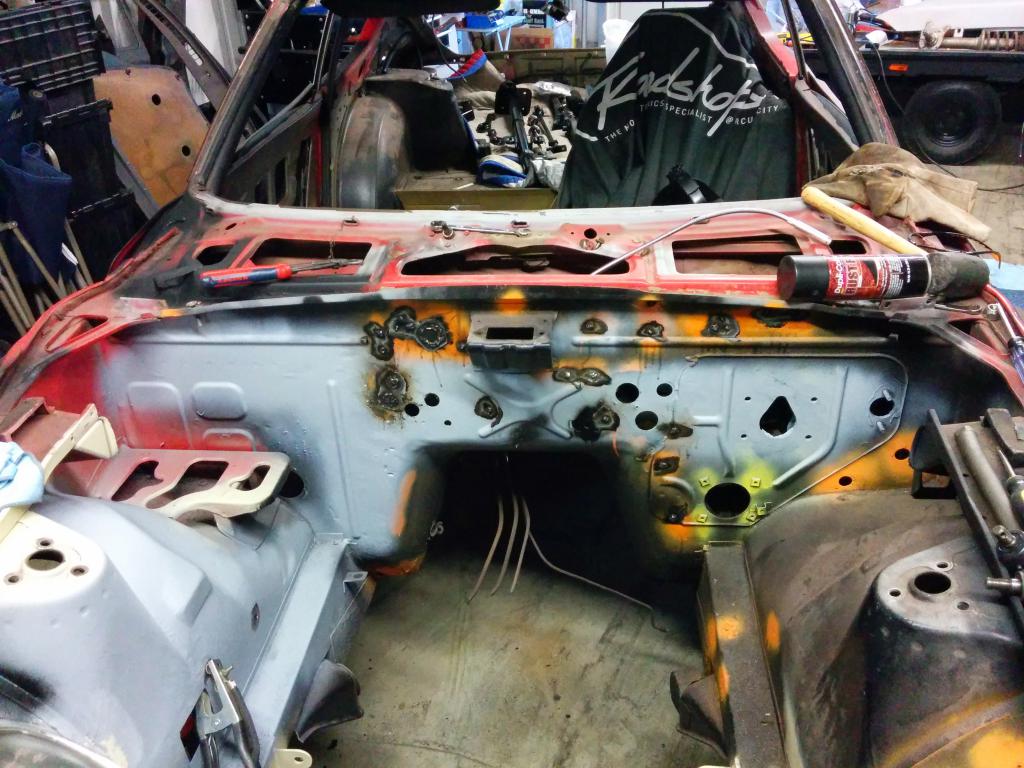
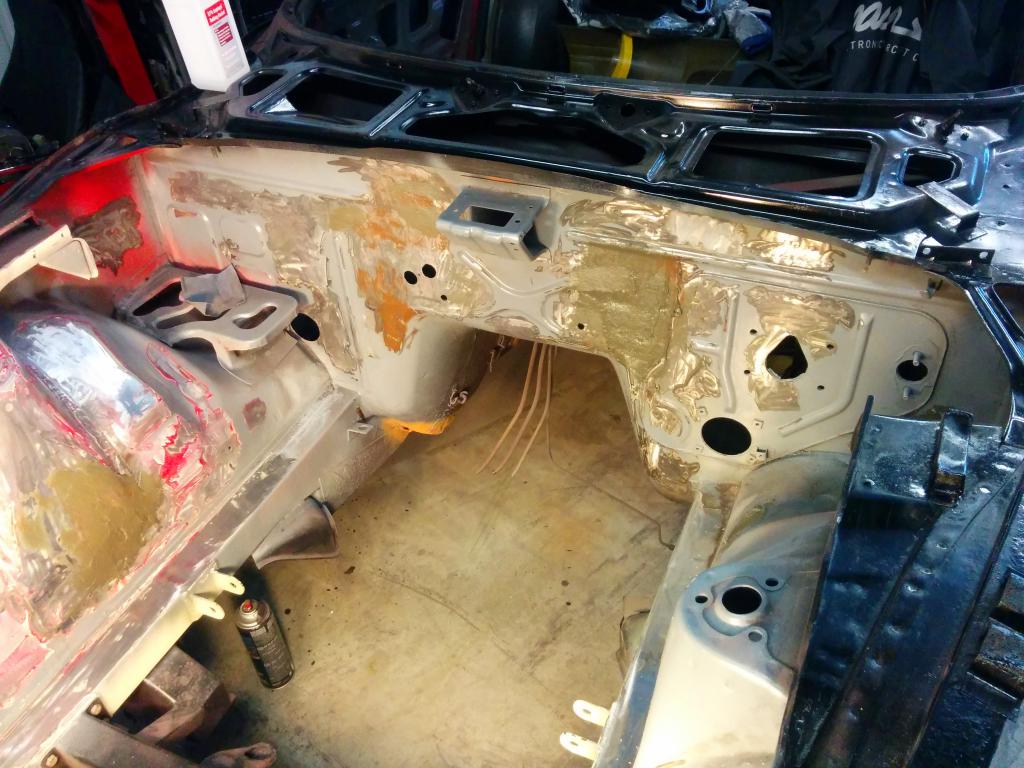
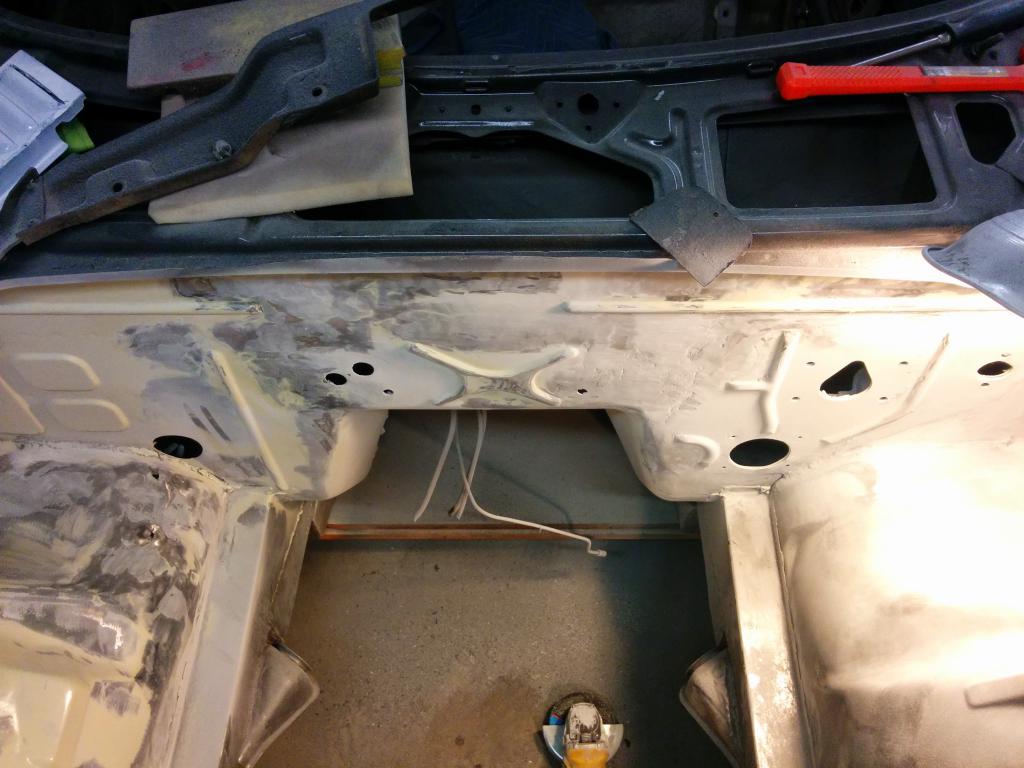
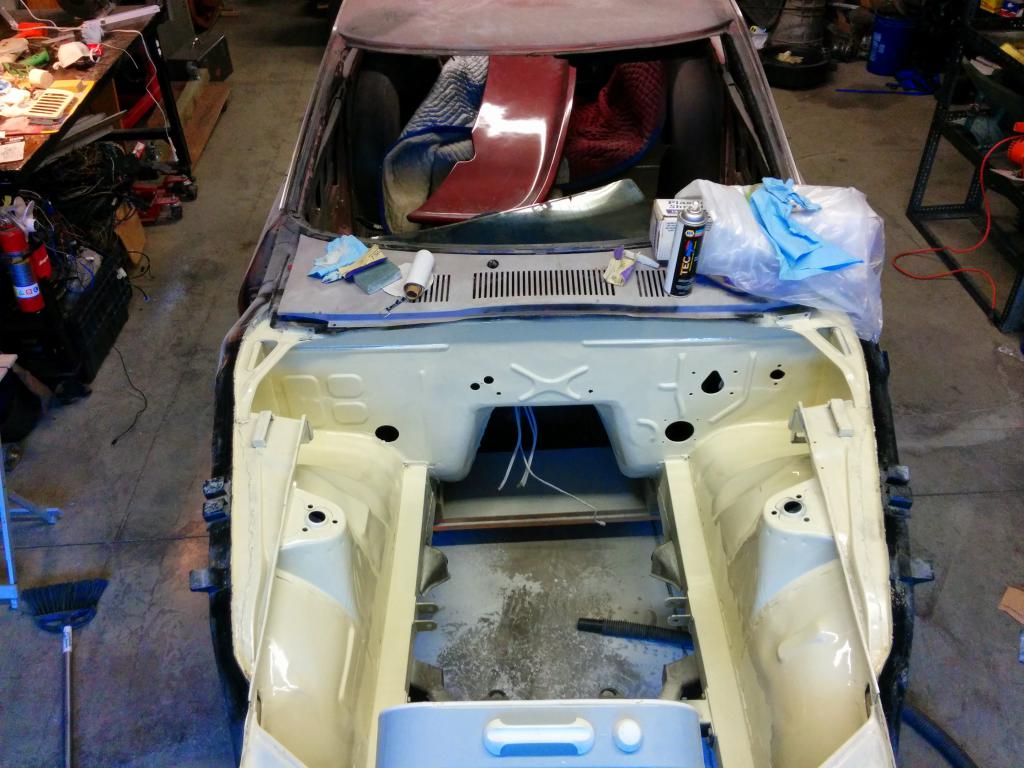
One of the first things I tackled was shaving all the unneeded holes in the engine bay and on the body. The areas I marked in orange were all the spots requiring attention. The rest of the pictures show the progression of the smoothing/shaving.
-
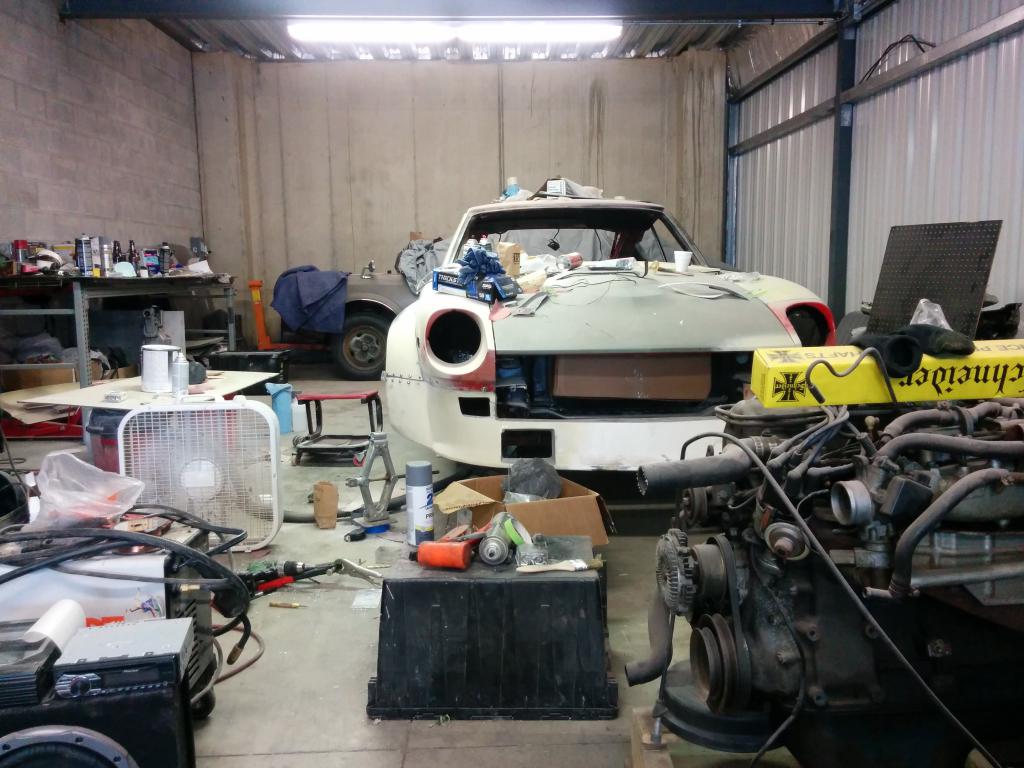
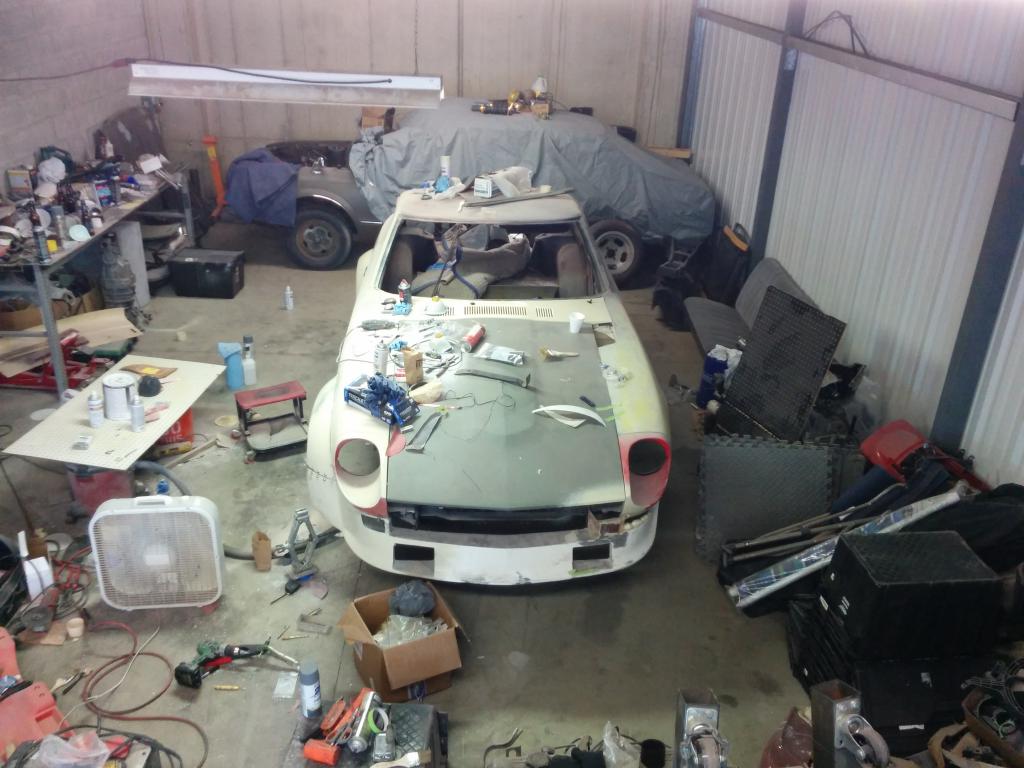
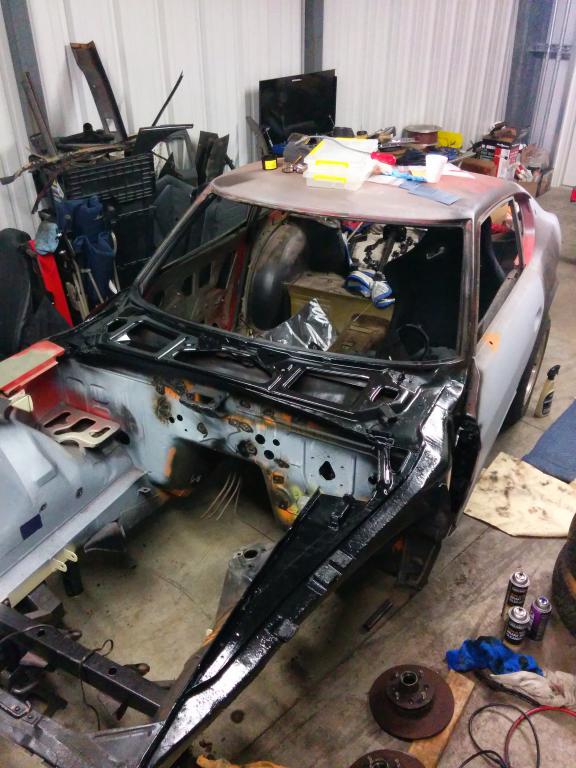
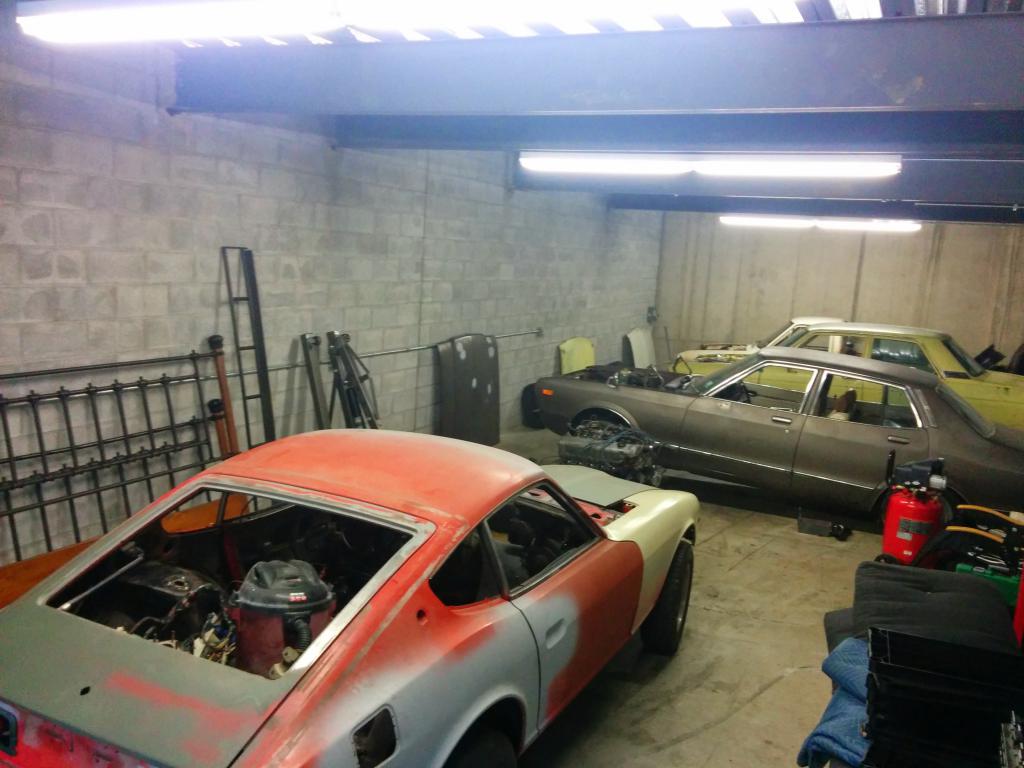
This thread will outline my journey thus far with my 1974.5 260Z. I have loved protouring/restomodded cars for a number of years, but a chassis never really called to me. Then a 260 fell into my lap and the rest, well, will be documented here. A lot of the processes needed to mod/restore this car were familiar to me, but I had not undertaken them prior. I've learned a TON, made a bunch of mistakes, wasted crazy amounts of time and money, and I wouldn't trade a second of it for anything. I'm going to try to keep things reasonably chronological, but I have about a year's worth of photos to sort through, so bear with me. If you want more detailed photos and ones including all my blunders and mock-ups, prototypes, and experiments, my Instagram is FULL of that stuff. https://www.instagram.com/kengys_the_decimator/ Let's start with the Z itself, as I picked it up Here she is, hanging out in my then-newly-acquired shop last December with my brother's 810 sedan (receiving full S13 suspension, a VH45 and Z32 5 speed and a healthy dose of nitrous) and my friend's 510 2-door sedan (91 KA24DE/5spd).
-
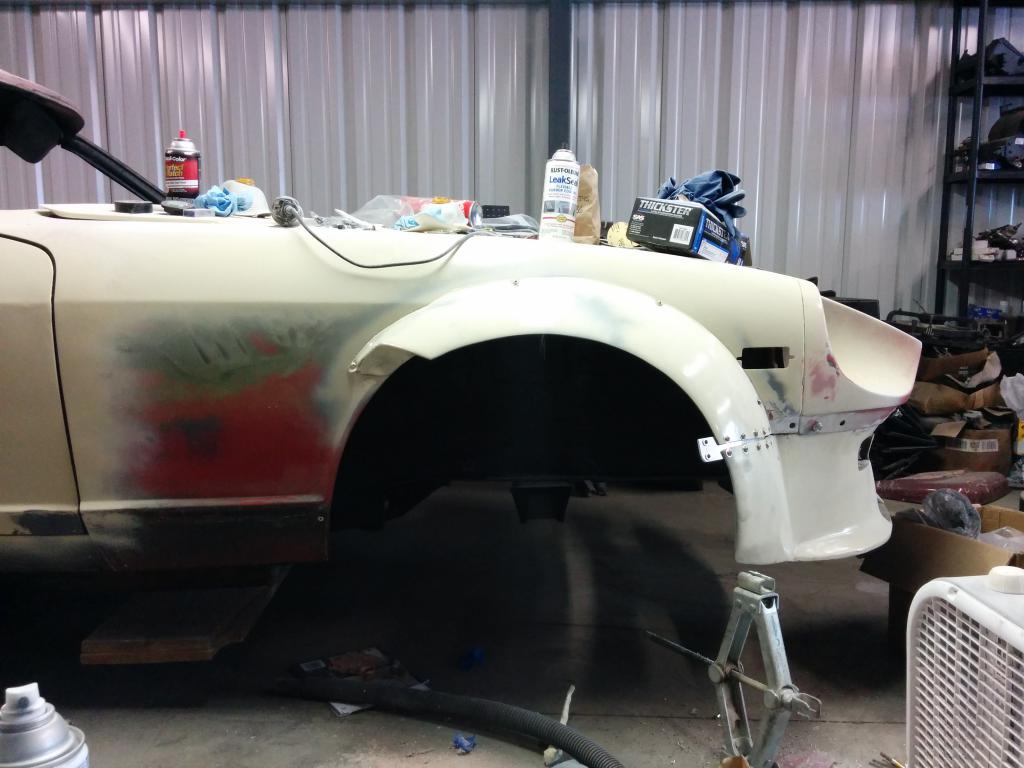
Progress on the custom front bumper and JPN Garage flares. She's just shy of 6ft wide now.