

Fauxre
-
Posts
315 -
Joined
-
Last visited
-
Days Won
5
Content Type
Profiles
Forums
Blogs
Events
Gallery
Downloads
Store
Posts posted by Fauxre
-
-
Great link, thanks so much for that. One more question:
Is there a specific T5 tranny from certain cars that will bolt right up to a SBC or do all T5's bolt to SBC's? Sorry if thats an ignorant question.
Ryan
best money you can spend buy a copy of Jags that can run Datsun Z V-8 conversion manuel by Mike Knell it will save thousand in hours and money
The JTR manual explains the differences between world class V8, non world class V8 and V6 T5's. It also explains different bell housing options. I found this site ( http://www.britishv8.org/Articles/Borg-Warner-T5-ID-Tags.htm) very useful when a it came to determining which T5 I was dealing with prior to purchase.
I used the Stealth Conversions (http://www.stealthconversions.com/Pages/Parts_DAT200.html) V8 conversion kit. It's inexpensive and pretty much fool proof.
-
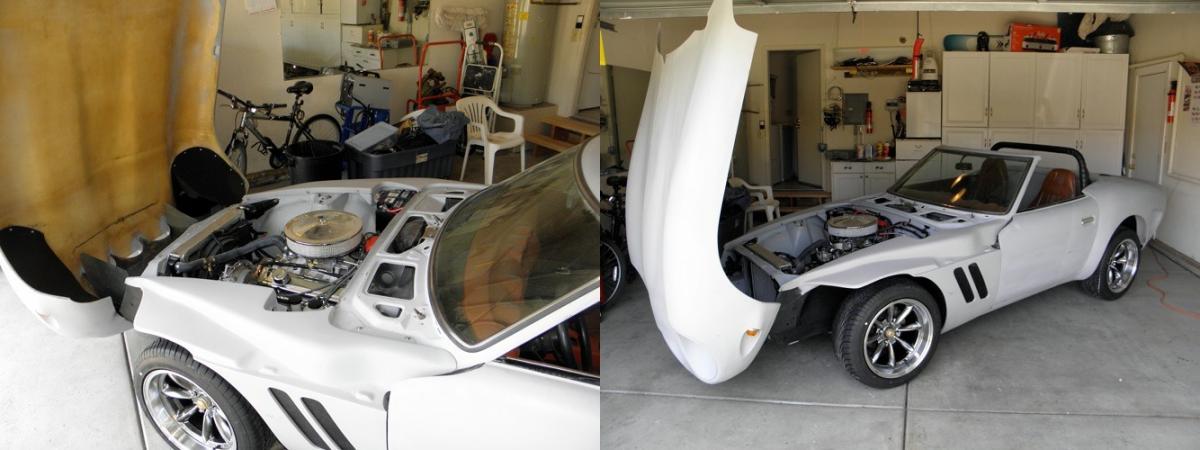
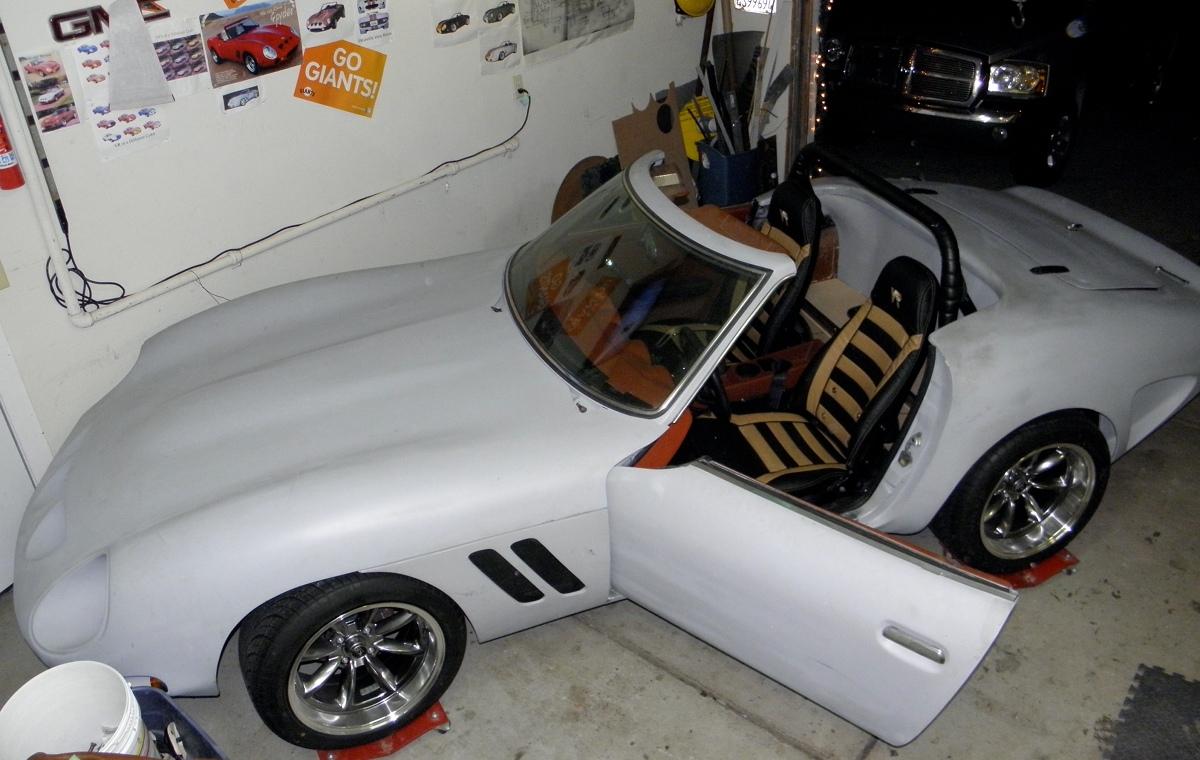
Still a work in progress...

-
Thanks Ryan.
Not much to update lately. Fixed a small oil leak, added a radiator reserve bottle and adjusted the parking brake... nothing earth shattering.
I had decided to wait for the winter weather to pass through before starting the registration process. Fewer rainy days to worry about once my 90 day temporary operation period starts. Wouldn't you know, it's been beautiful here for weeks. So today I purchased my title bond online. It'll be here in a couple days, then I can head to DMV... and I just found out that rain is in the forecast for the next three days.
Typical!! -
What are you guys using for the felt that runs along the window(on door panel)?are you just re-using the old ones?
Here's what I used.
http://www.acehardware.com/product/index.jsp?productId=1289220
I removed the trim piece and all its staples when I stripped the metal top piece. I scraped the fuzz from the trim, then use pop rivets to attach it back to the primed metal top piece. The seal covers the rivets.
The pile seal has an adhesive backing that stuck well to the trim, but it's been a few months the edges are peeling. I'm going to try a little contact cement.
The pile seal is gray instead of black, and it's a little narrower than the original, but it looks really good installed.
-
350 w/pre '67 GM performance heads. Nothing exotic.
Before....................After
In my Velo Rossa.
-
 1
1
-
-
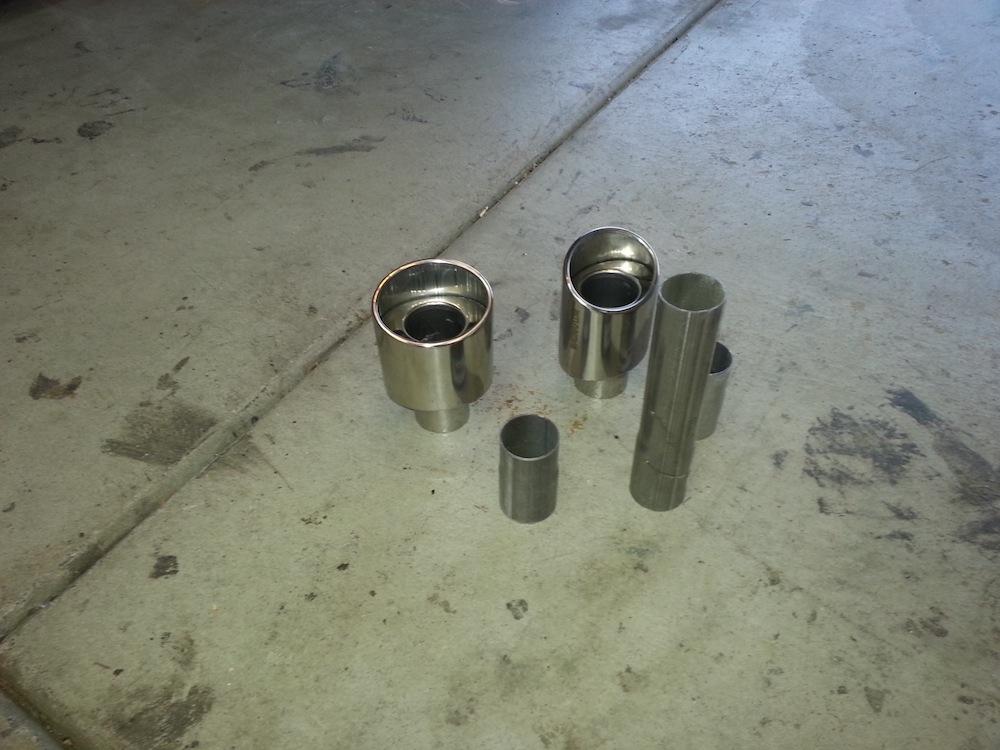
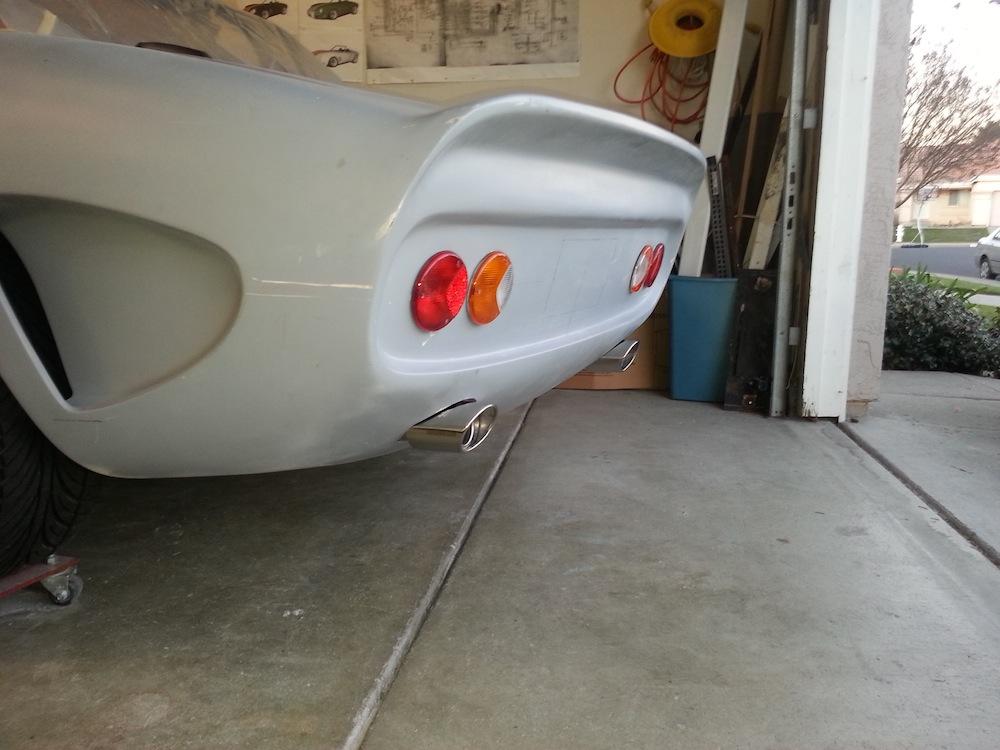
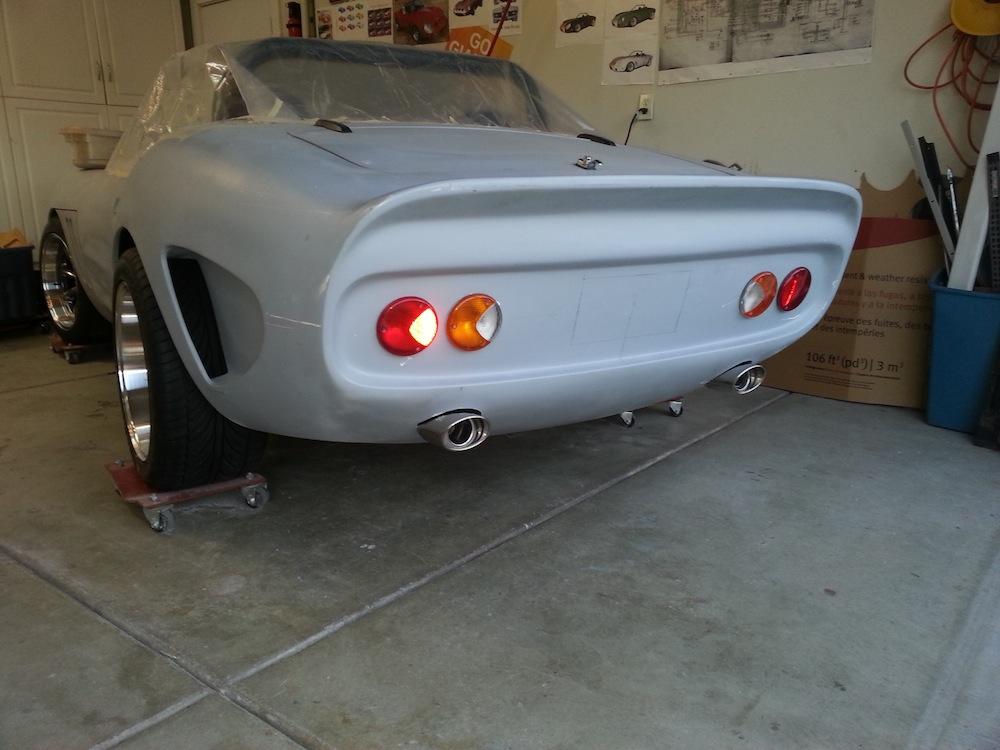
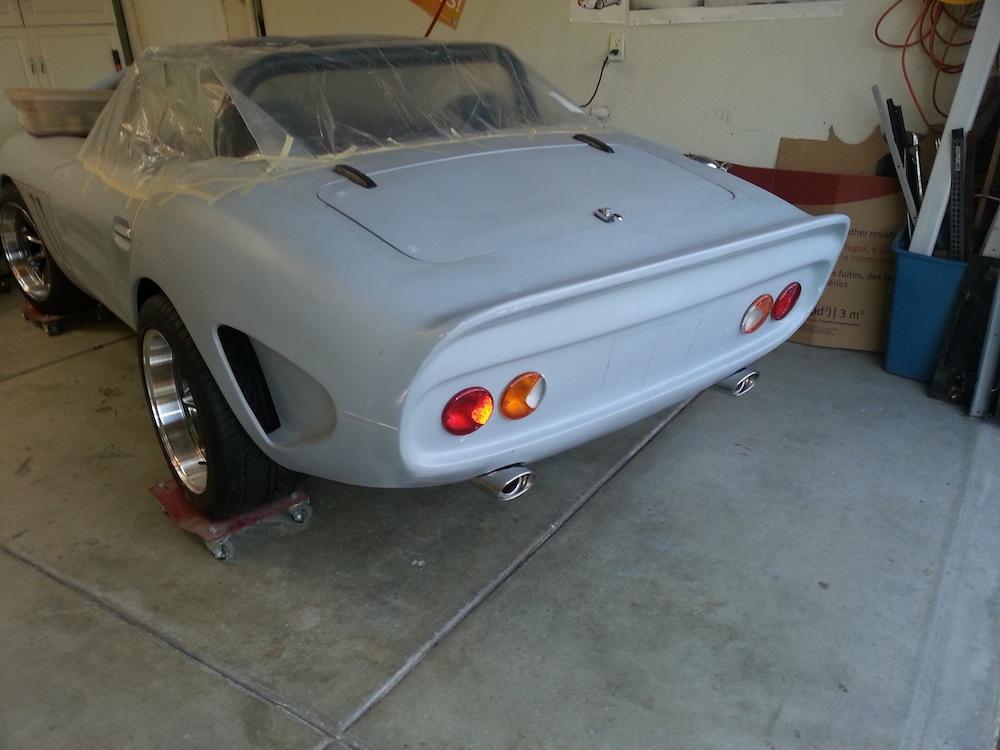
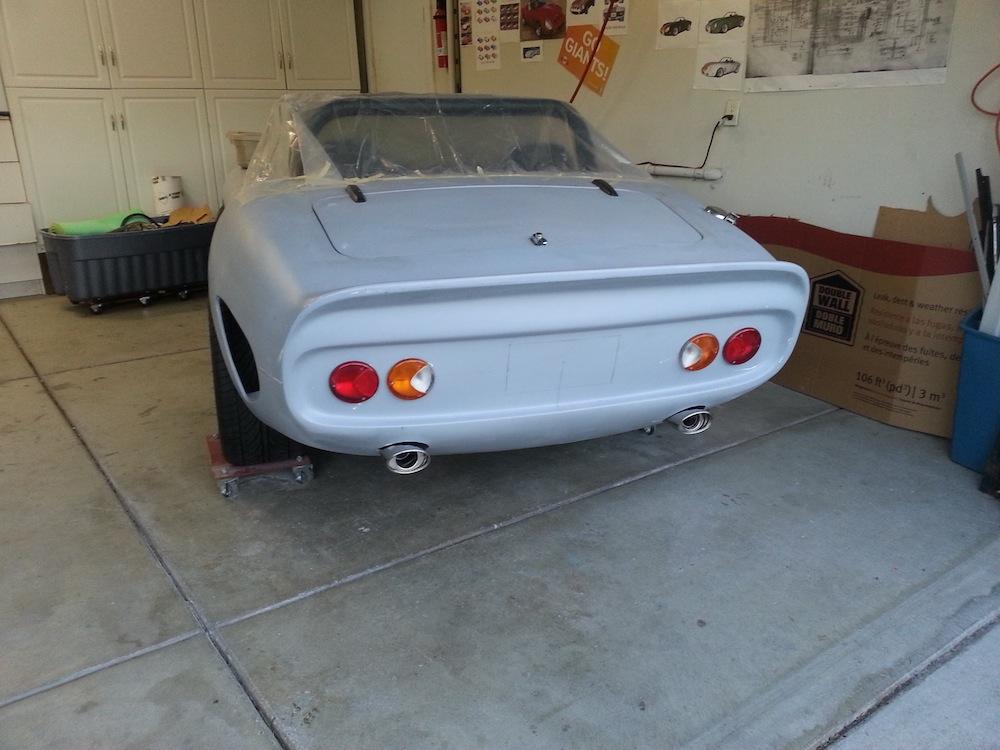
New, bigger exhaust tips arrived this afternoon.
I'm liking the first mock-up much better than the first pair.
The proportions look better to me.
-
Hey all:
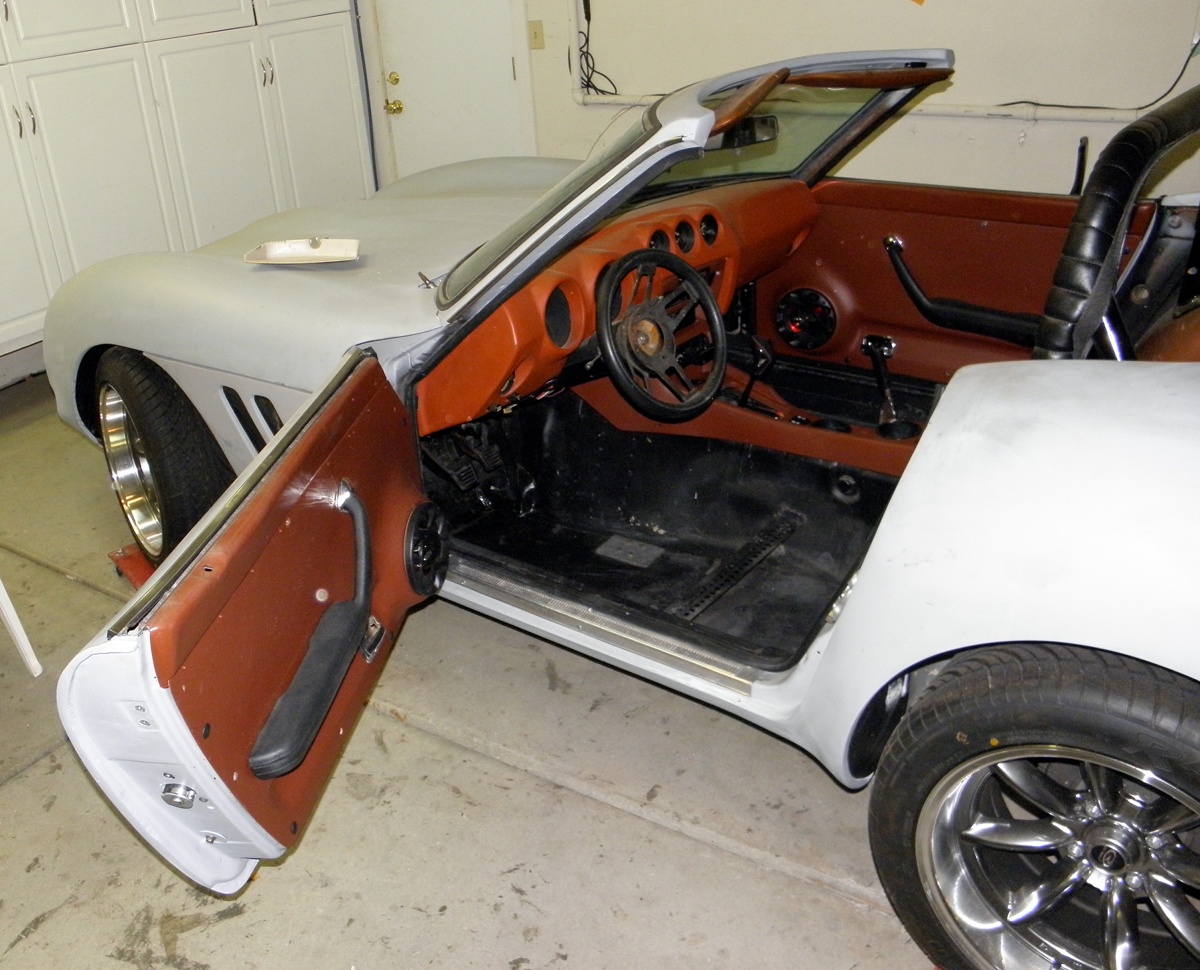
Been a while since I've been on the boards, computer crashed, can't remember passwords, life gets in the way, etc. I'm starting to buy up some parts for the spring rejuvenation of my 240. Here's the deal: I've never been comfortable telling people it's a Ferrrari when they ask, ( took the Ferrari badges off almost as soon as I put them on.)and the only person I think I ever fooled was a blonde gal. (Nothing personal, Chelle... lol) Besides, nobody who knows cars believes they are seeing a 15 million dollar car in the Wal-Mart parking lot.
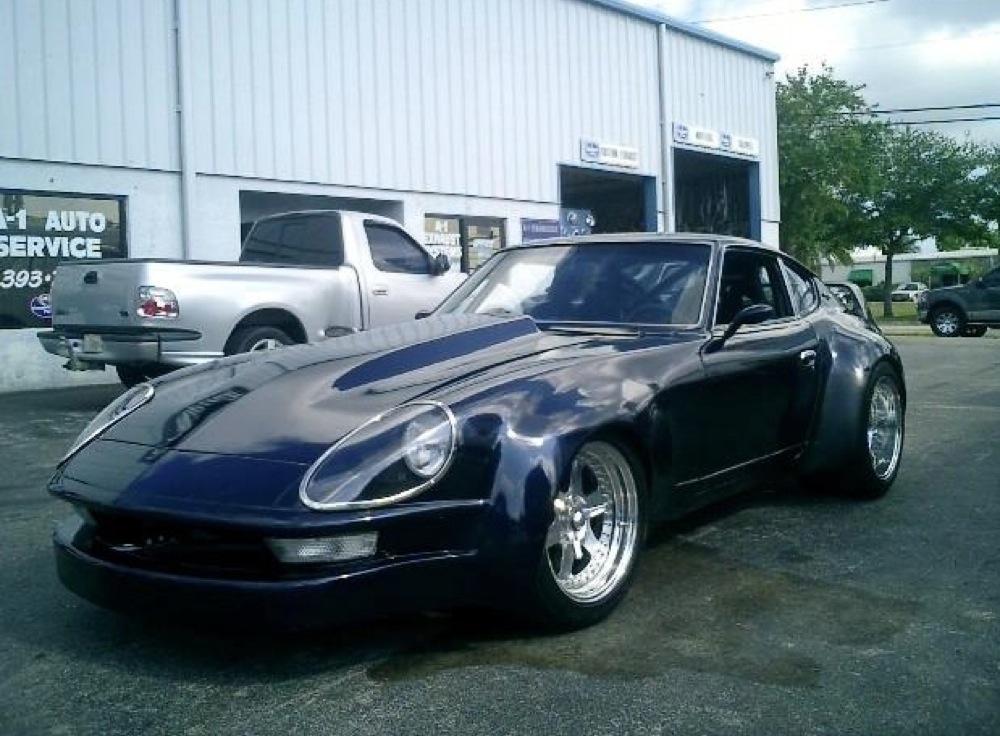
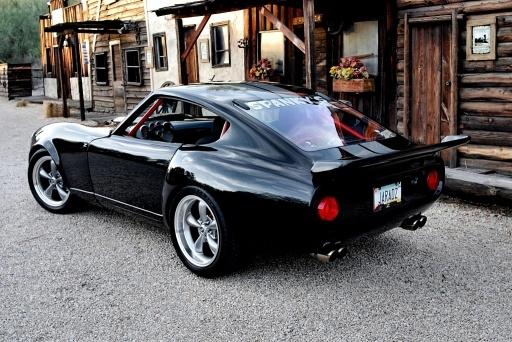
What I'm thinking of doing is putting a stock 240z front clip back on, leaving the wide-body rear and doors, painting it Matte Silk Black, slamming it down to the ground and messing around with a huge tail fin, something like a RWB Porsche. Does anyone have pics of their build with the stock Z front clip and the 250 rear clip attached? I don't have the original parts so I'm going to have to buy a donor car and don't want to spend the money on it if someone else has already done this and knows if it will work or just look goofy.... maybe some front fenders from Subtle Z?
Thanks
Zwolf has the original looking front end and a wide rear, although not the GTO rear. http://www.cardomain.com/ride/3805308/1970-datsun-240z/
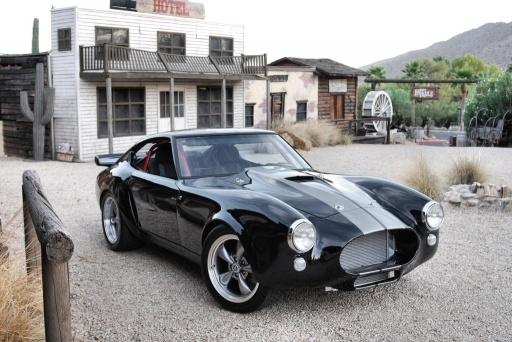
Or you might consider Coyotegary's approach, using the GTO rear with a Cobra front clip.
Of course finding a Tomahawk Z front end is near impossible.
Both are stunning IMO.
-
Need a source for headlight cover metal trim rings (Alpha GTO replica).
I'm not aware of any one manufacturing the trim rings. If you read through this thread, I think you'll find that most were home made or done by a local shop.
-
Impressive!
-
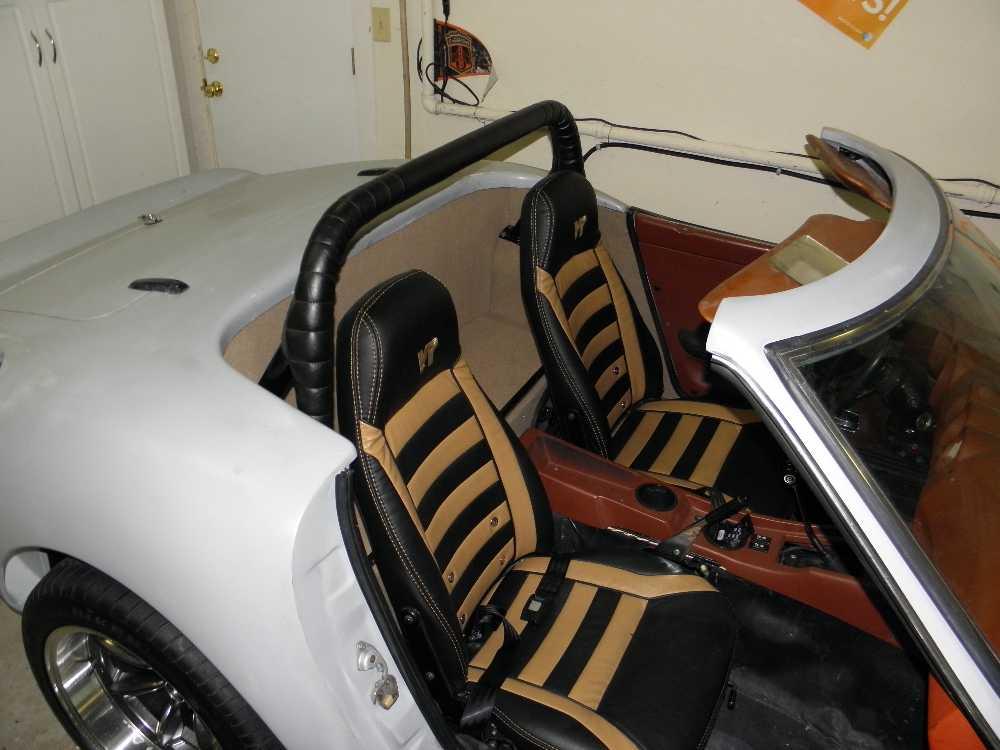
Seats are installed.
With the new foam and upholstery, the driving position is higher. The steering wheel and shift lever are now uncomfortably positioned. But at least now I can work from the actual sitting position in order to get the ergonomics correct.
-
I'm liking the current one manpower engine option.
Gotta move it around the shop some how, right?Nice progress.
-
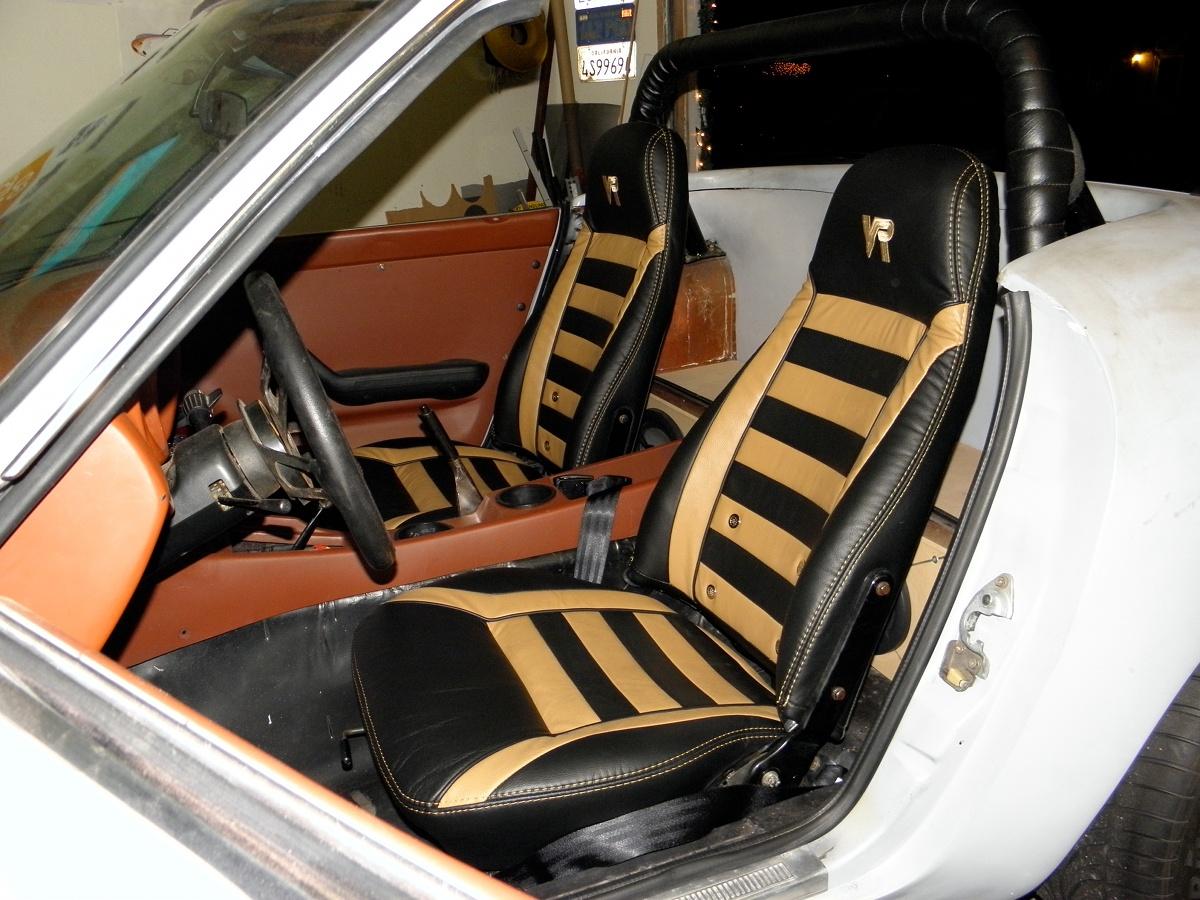
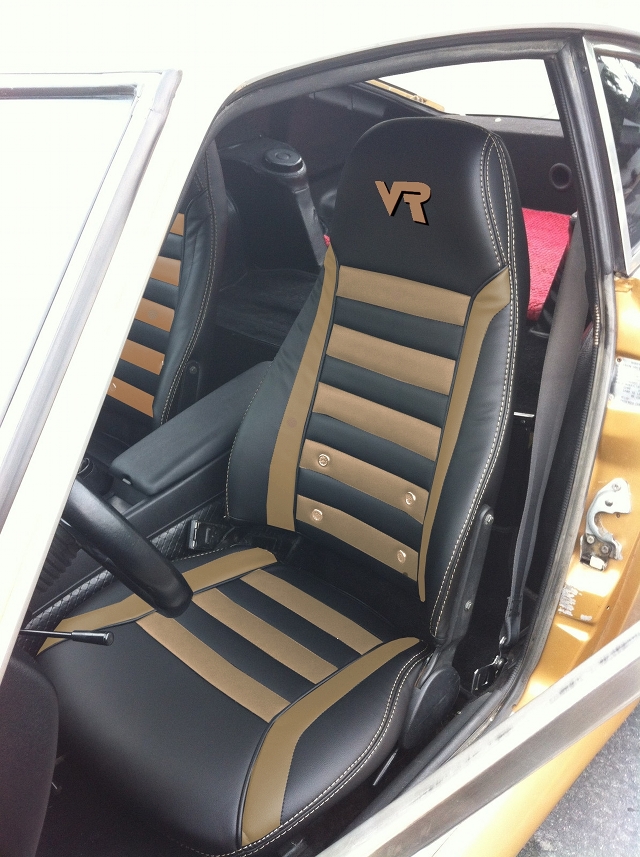
Well, it's not perfect, but I'm happy with my first attempt at covering the seats. It took me most of the day to install the butt warmers and seat covers.
It's a cold rainy day in Norcal, so my cheap heat gun came in real handy when it came time to stretch the synthetic leather. I wasn't able to get all the wrinkles out, but I'm pleased with the overall appearance.
-
Allright!!!! Got my old screen name working again.
Still waiting for the butt warmers, but the test fit looks good. I may need to add a thin layer of foam in order to get a smooth transition from the new seat padding to the metal seat backs.
-
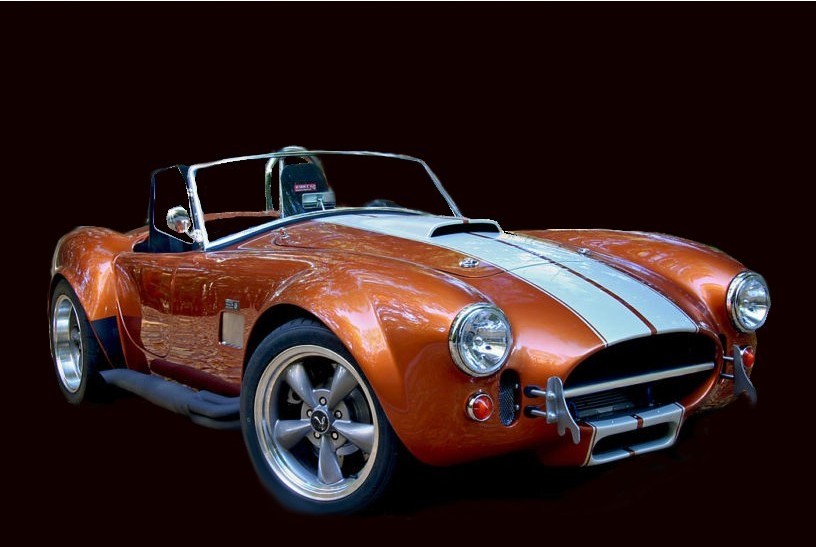
Haven't made a final decision on the exterior, but I'm leaning (at the moment) toward something like this Cobra.
As for the interior, I've ordered seat covers in black with tan inserts like this...
Gonna try a local guy to make custom door panel covers to match.
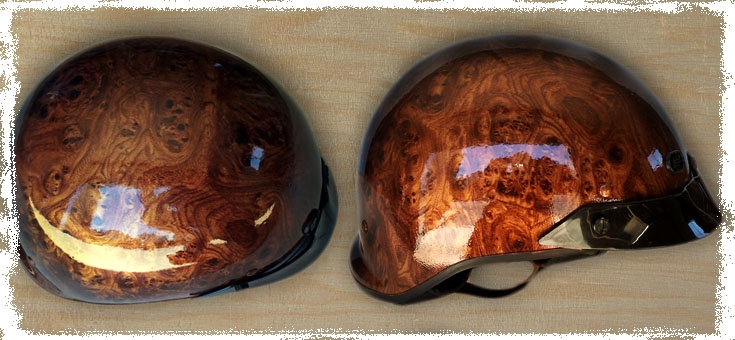
I'm also considering having the center console and vent surround hydro-dipped to look like burl wood, like these helmets.
-
A little interior work while I wait for the new seat covers.
6X9 speakers mounted behind seats.
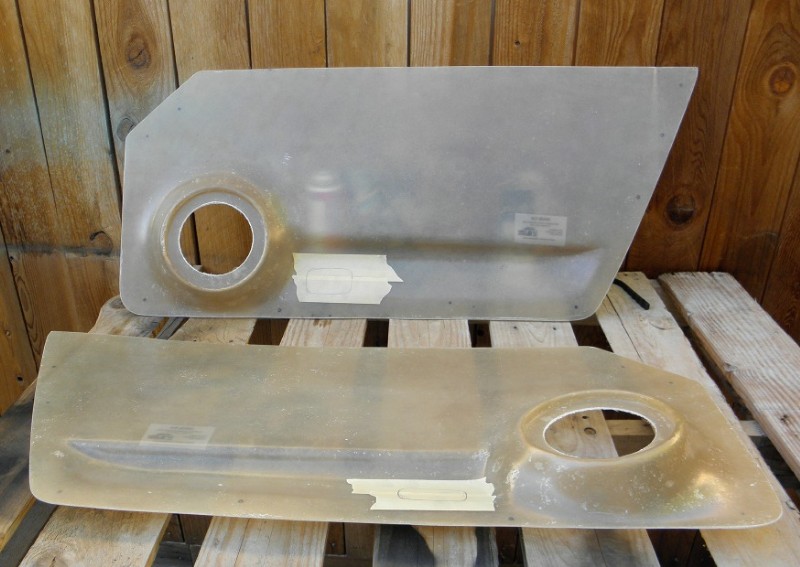
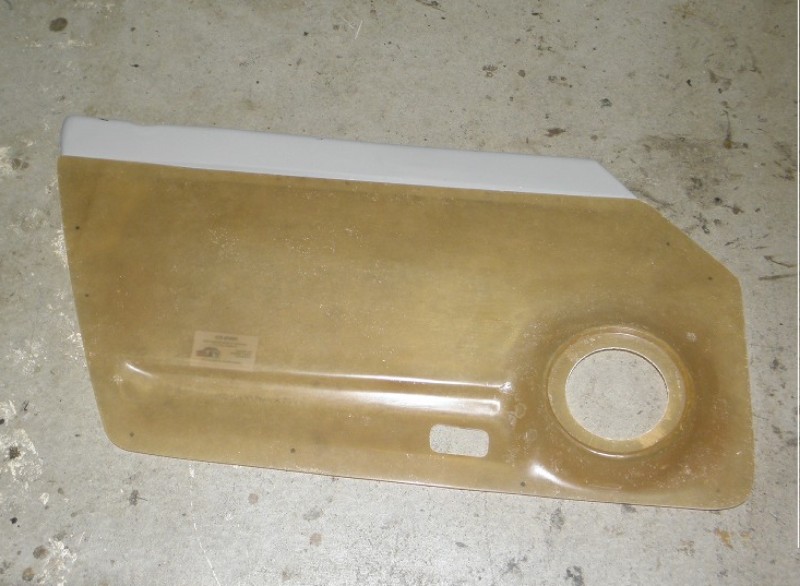
A little primer on the new door panels gives the interior a more finished look.
-
New seat foams arrived yesterday. Still two weeks before the new skins and butt warmers get here. In the meantime, I'll be looking for the clear acetate material to cut new protective pieces that go between the skins and seat mechanisms.
-
Pete, it was great meeting you on Saturday. Love the panels.
Drivers side fits perfectly.
Moving on to the passenger side later this week. Playing with some upholstery designs to match the seats.
BTW, those mounting pins turned out to be onetime usage. Removing the panel after the first test fitting pretty much stripped them. Looking for alternatives.
Continue best wishes for a speedy recovery.
Thanks again.
Wes
-
Holes drilled and everything mounted.
-
There's actual progress to report on several fronts.
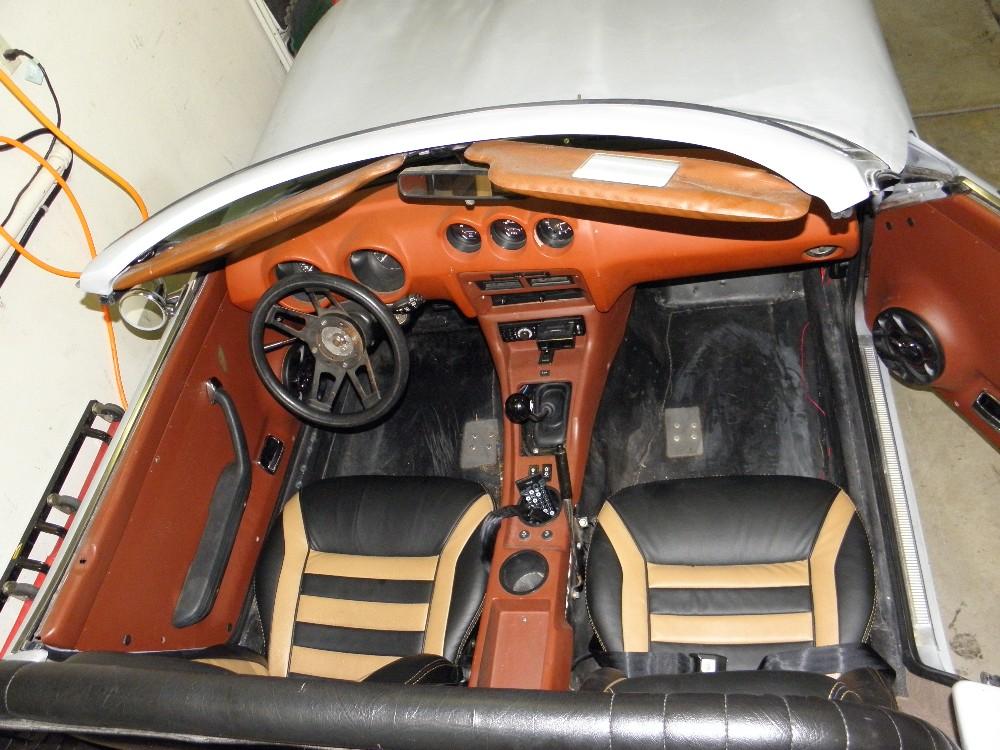
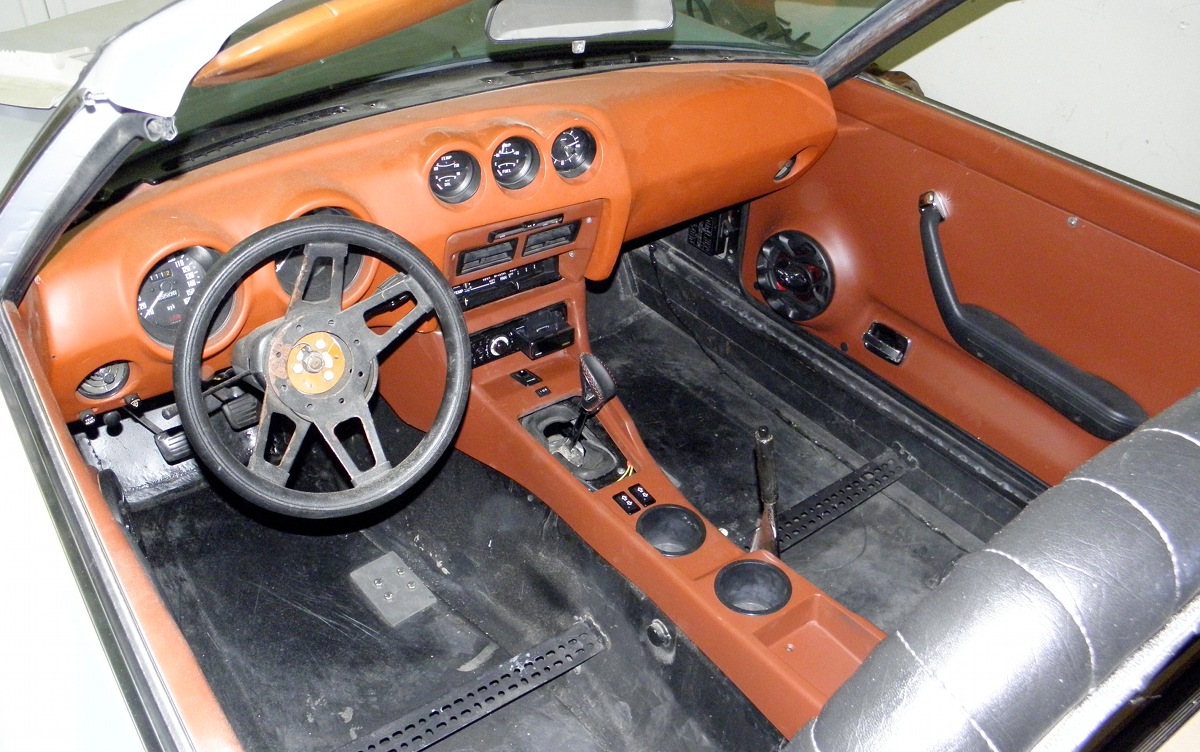
1. I simplified the mods to the center console and heater facia. The way I originally moved the stereo forward, to accommodate its iPod dock, covered up the emergency flasher switch, eliminated space for other switches (most likely for the seat warmers) and gave the whole console a bulky look.
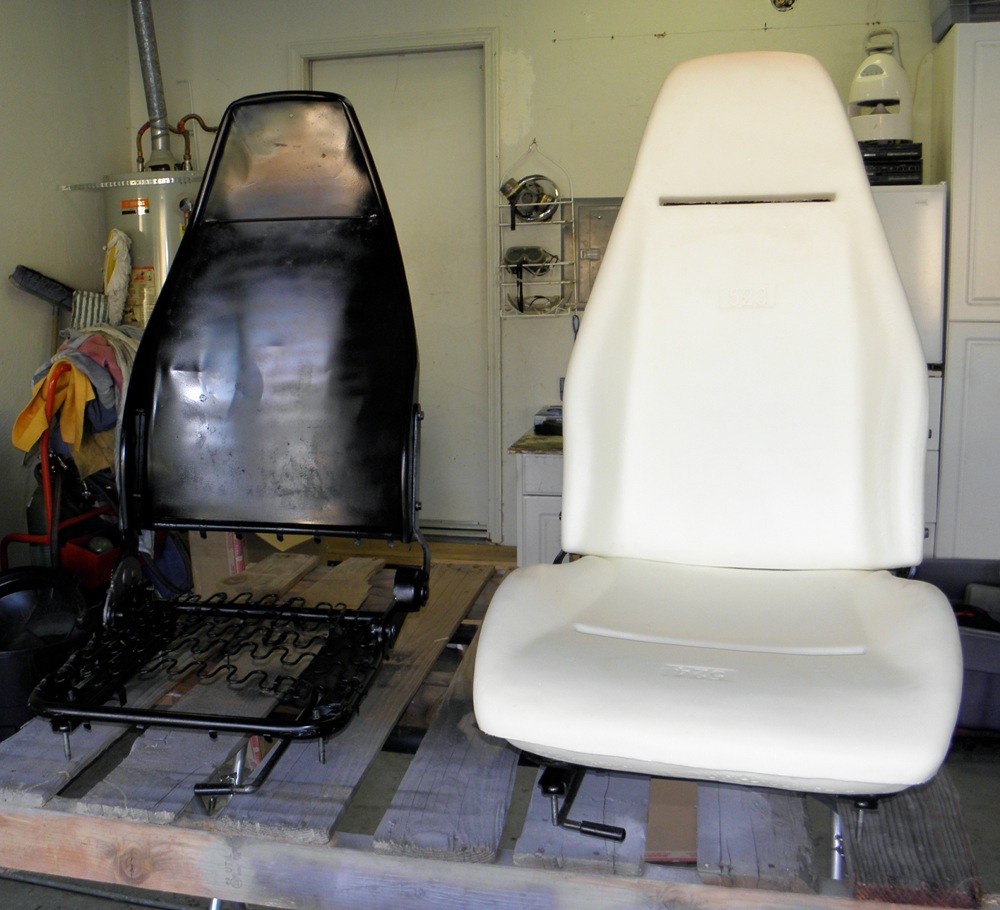
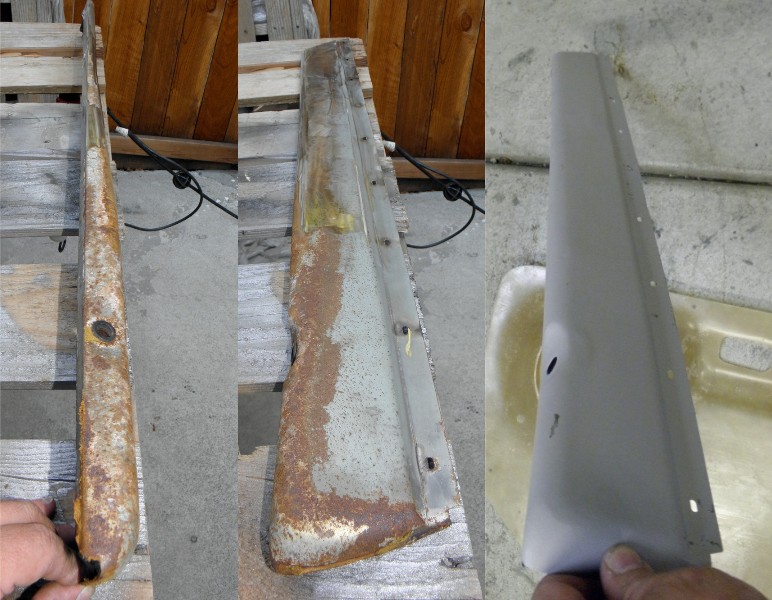
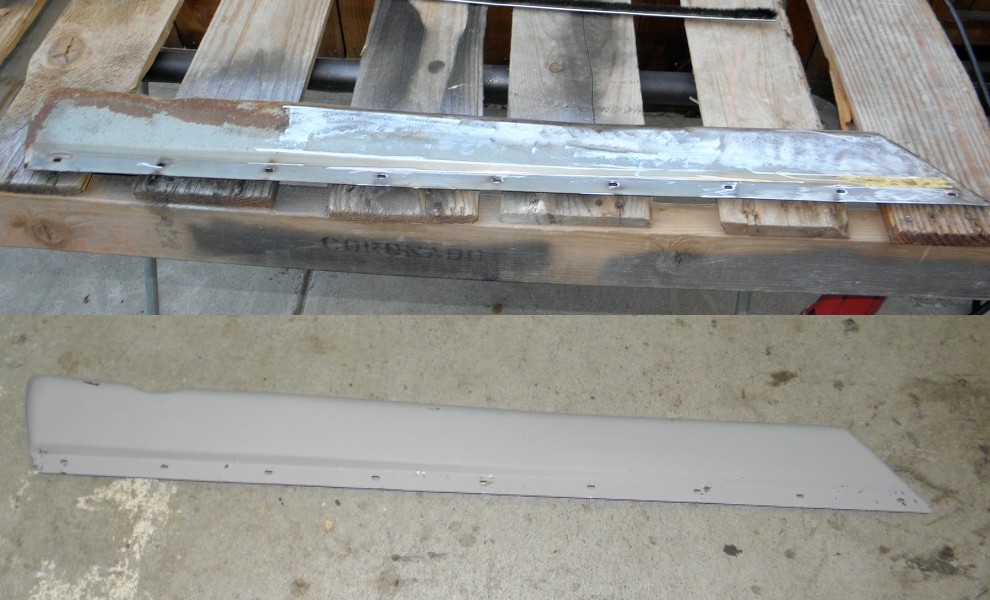
Tacky!!! As for the heater facia, I filled in the seat belt warning light and the corresponding empty box on the opposite side of the map light, and smoothed out all the textured surfaces in preparation for the hydro-printing process. Still a lot of sanding to be done.2. I stripped the seats to their skeletons, disposing of the ripped vinyl upholstery and broken-down smelly foam underneath. Disassembly was not an easy task! I had to heat at least two bolts on each seat to break them loose. Where ever there was adhesive, there was rust. And where ever there were moving parts, I found thick half dried grease. What a mess.
The nooks, crannies and springs got sandblasted... the seat-back shells got hit with the grinder... the bolts and reclining mechanism pieces went into the vibratory cleaner for a couple days... then, after a coat of rust treatment, everything got a couple coats of black paint and reassembled. They look good and operate perfectly. New foams, butt warmers and custom seat covers (still haven't decided on the color combo) to be ordered next week... barring unforeseen circumstances.3. Picked up door panels with speaker pods from Pete today.
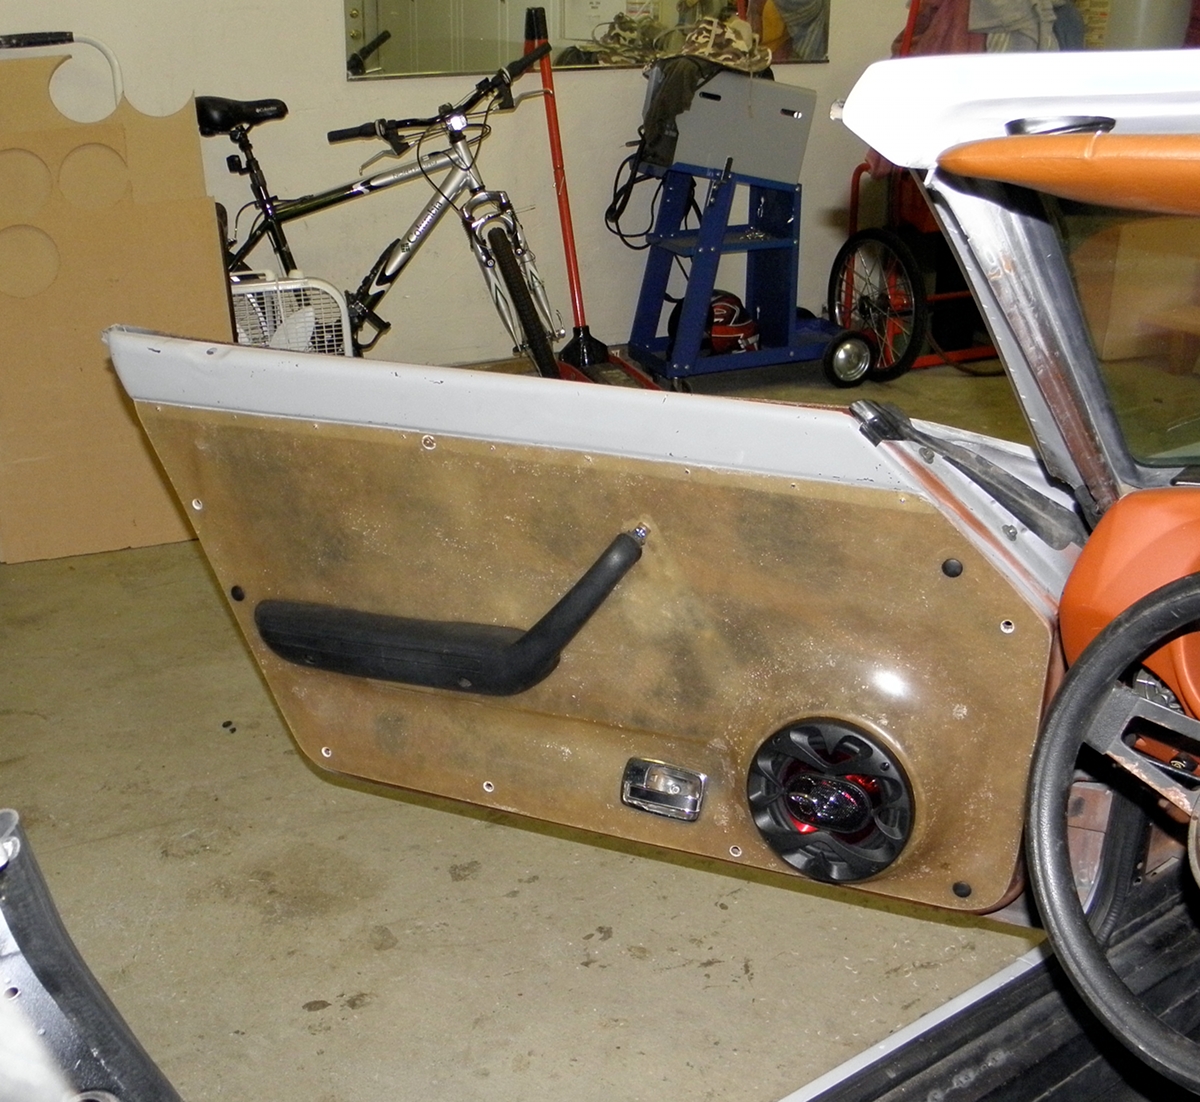
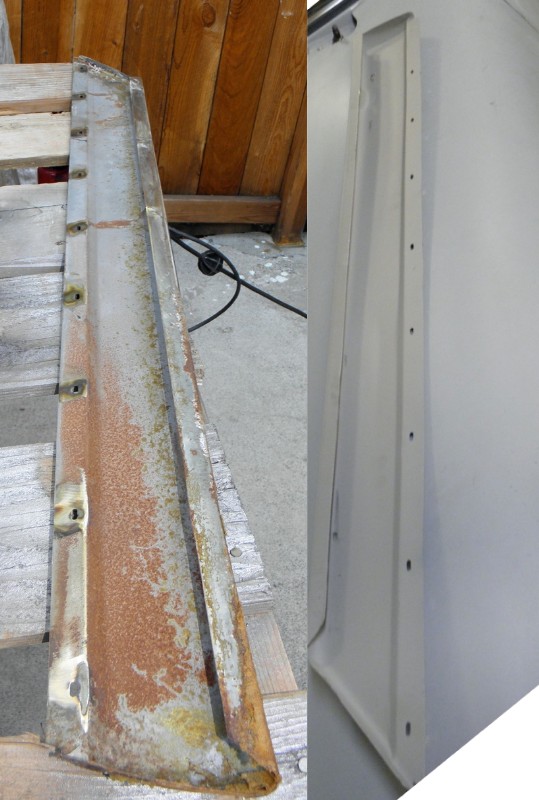
Nice, quality pieces. So, as soon as I got home, I went to work on the drivers side panel. The metal top piece was a mess. Just like the seats, there was rust everywhere there was glue. No problem for my trusty grinder and a flappy disk. More rust treatment and some primer later......and behold a solid, like new base for a custom interior.
4. And lastly, I've begun the process of title/registration with Ca. DMV.
I figured I'd get the ball rolling and have everything in order when the new year rolls around so I can get one of the 500 Certificates of Sequence issued each year for special built vehicles. If you don't know, a Certificate of Sequence (COS) allows the vehicle owner the choice to title a "special built vehicle" as the year of the engine or the year that the body most represents. Thus exempting it from the current years smog requirement. I know from other owners of replica cars, that DMV usually runs out of COS's in the first few days of the year.I made an appointment, gathered all my receipts and required forms and marched into DMV feeling pretty good. That feeling didn't last long. The poor guy who helped me had never done this procedure before. He spent a lot of time referring to a DMV procedure manual and consulting a supervisor. Eventually he informed me that there was good news... and bad news. The good news is that there are still COS's available for 2012. It seems that there have been changes in the law concerning the way custom shops go about registering their creations now. They no longer need COS's, leaving them for home builders like me. The bad news is that I've lost bills of sale for a couple of the major components used in my project. Since I can't prove ownership of these parts, I'll need to get a motor vehicle bond in order to title the car. The only word that flashed into my head was "EXPENSIVE"!!!!
I left DMV pretty depressed.A few hours later I began researching bonds on the internet. As it turns out, a motor vehicle title bond is easy to get and not expensive at all, at least not for the fair market value of my car. And it actually simplifies the title process by substituting for all those receipts.
With the mystery that is the titling/registering procedure fairly clear now, I'm feeling a lot better. I don't have to rush toward a deadline of January.
-
Here are a few in process picture of my GTO project. http://s24.photobuck...ull/Datsun-GTO/
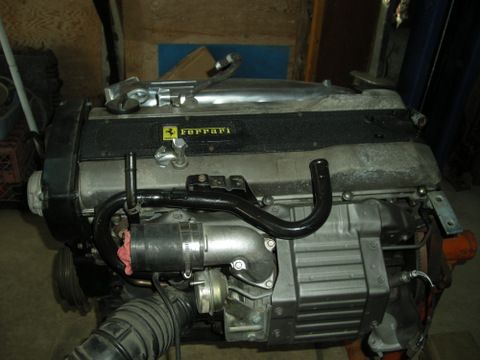
Looks like you're well on your way! And a nice shop to work in as well. I'm not very engine savvy... is this the RB25DET engine with a prancing stallion engine cover?
-
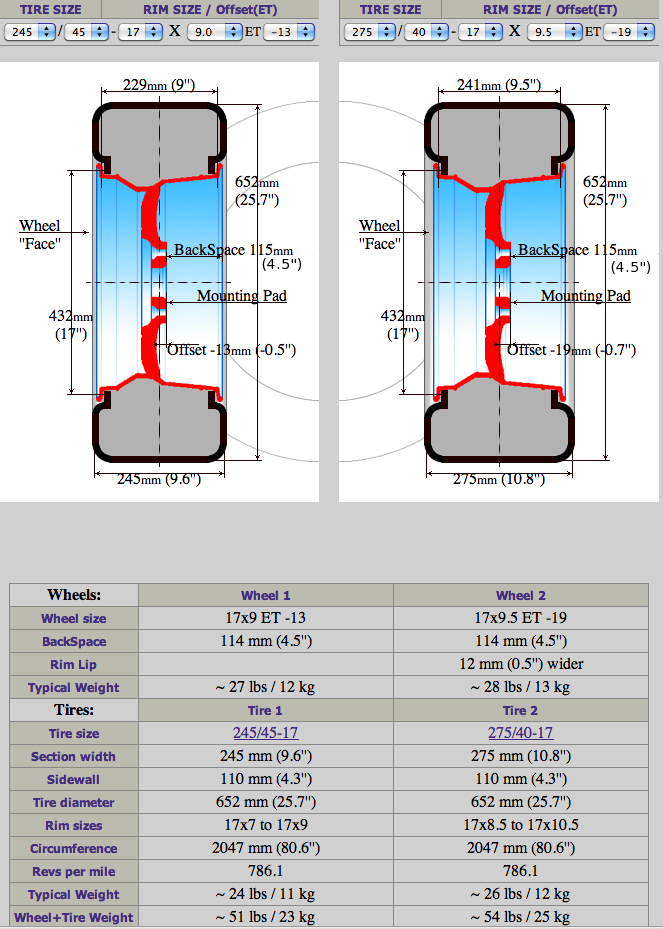
I forgot to ask. What offset did you use?
Back spacing for both wheels is 4.5 in. That makes the front offset -13mm and the back -19mm. This pic has all the dimensions and compares both wheels and tires.
And I used a 2" spacer on the rear and a 1" spacer up front. Needed the rear spacer to fill the fender well. I needed the front spacer only because the center cap would not snap on over the Datsun dust cap.
-
Any one heard from Pete lately? I've pm'd several times with an order and sent payment two weeks ago with no response. Is there another way to get a hold of him?
Never mind... Pete's back.
-
I'm thinking of using this hydro printing technique to finish the center console and heater facia in Burlwood or carbon fiber. Has anyone here used/had success with this?
-
ok thanks. was thinking of a thinner wheel up front, but it is hard to find off the shelf wheels that have a 6-6.5" front matched with a 8-8.5" rear, even when staggered .
These Rotas were the only off the shelf wheels I found with the stock Z bolt pattern, back spacing and widths I was looking for. They also had a nice price.
Originally I was looking at custom rims from Boze. Nice, but expensive.
 Typical!!
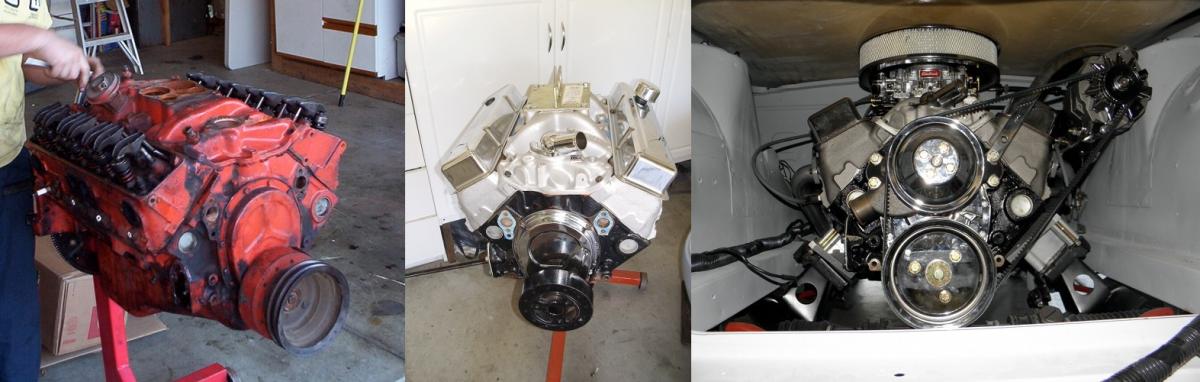
 Gotta move it around the shop some how, right?
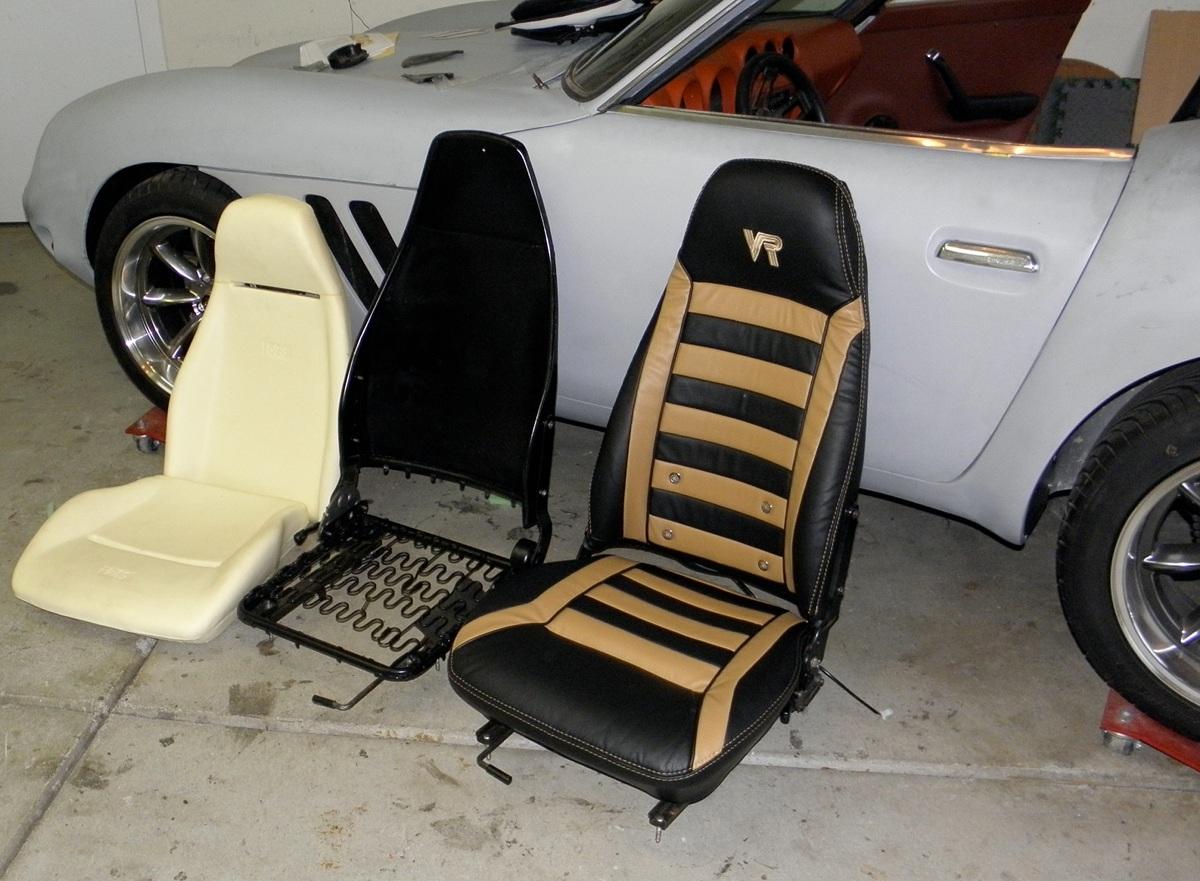


 Tacky!!!
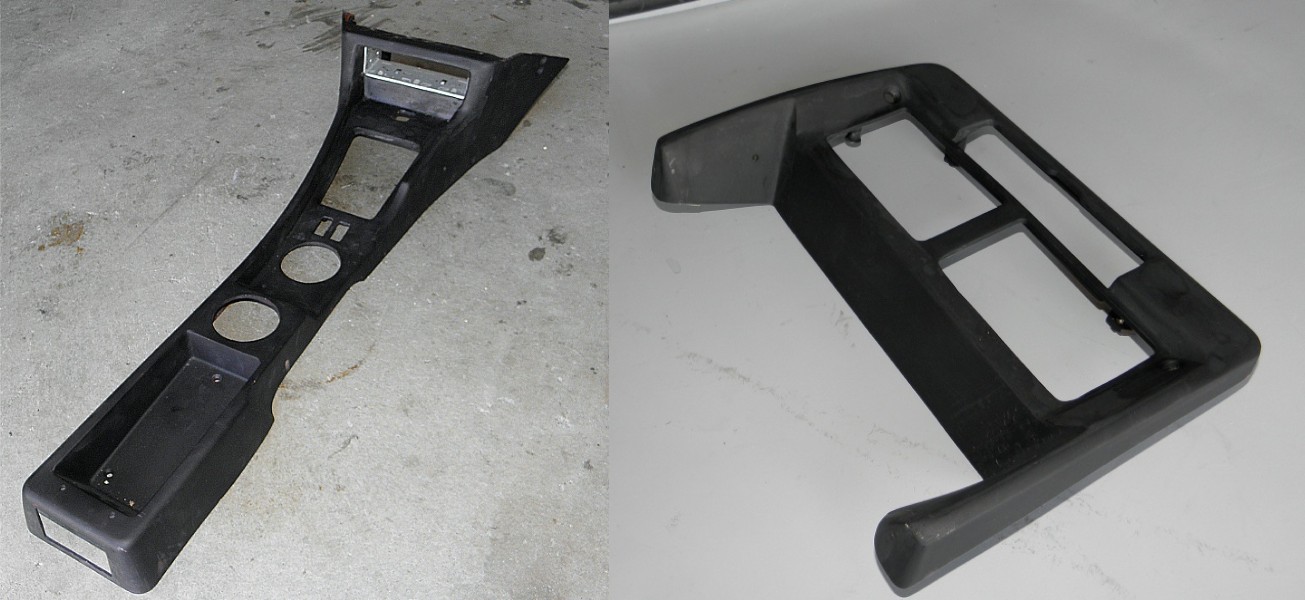
 The nooks, crannies and springs got sandblasted... the seat-back shells got hit with the grinder... the bolts and reclining mechanism pieces went into the vibratory cleaner for a couple days... then, after a coat of rust treatment, everything got a couple coats of black paint and reassembled.

 I figured I'd get the ball rolling and have everything in order when the new year rolls around so I can get one of the 500 Certificates of Sequence issued each year for special built vehicles. If you don't know, a Certificate of Sequence (COS) allows the vehicle owner the choice to title a "special built vehicle" as the year of the engine or the year that the body most represents. Thus exempting it from the current years smog requirement. I know from other owners of replica cars, that DMV usually runs out of COS's in the first few days of the year.
 I left DMV pretty depressed.
JTR Radiator Alternative?
in Gen I & II Chevy V8 Tech Board
Posted
I also used the JTR radiator, but I'm running the Taurus dual speed fan setup found here http://forums.hybrid...__1#entry921201. It moves a lot of air.
I got all of my parts at the local Pick N Pull.
Dual Speed Taurus Fan $35
Volvo Fan Relay w/plugs $10
BMW Temp. Switch w/plug $ 7
Total $52
I riveted the fan shroud to some aluminum bar and bolted it to the JTR mounts. Simple clean and cheap.