
Smokescreen
-
Posts
102 -
Joined
-
Last visited
Content Type
Profiles
Forums
Blogs
Events
Gallery
Downloads
Store
Posts posted by Smokescreen
-
-
I've replaced my slave and am now tempting the fates with my master cylinder. I can confirm that there is no switch as I have had to do a minor drywall replacement in the garage due to having the old school setup. With a Z like yours that has sat for that long I would basically and carefully find all of the wiring connectors I could and ensure that they are cleaned. Open the connectors and be thorough in the cleaning process of the connectors. You also have to be careful as the connectors are prone to deterioration. After you have followed the harness and ensured all of your connections are intact then you can start isolating the problem. As in looking at the starter, Groundwire connections and also checking if your fuel pump is running when the ignition is turned on etc... Hope this helps.
Jason
-
Yeah, the Balljoints are on the list, but I am not sure what roll center adjusters are, Please fill me in. And, I did put a lightweight oil in my front strut tubes for heat transfer as per the instruction booklet that came with the kit,LOL. Thanks for the feedback guys.
-
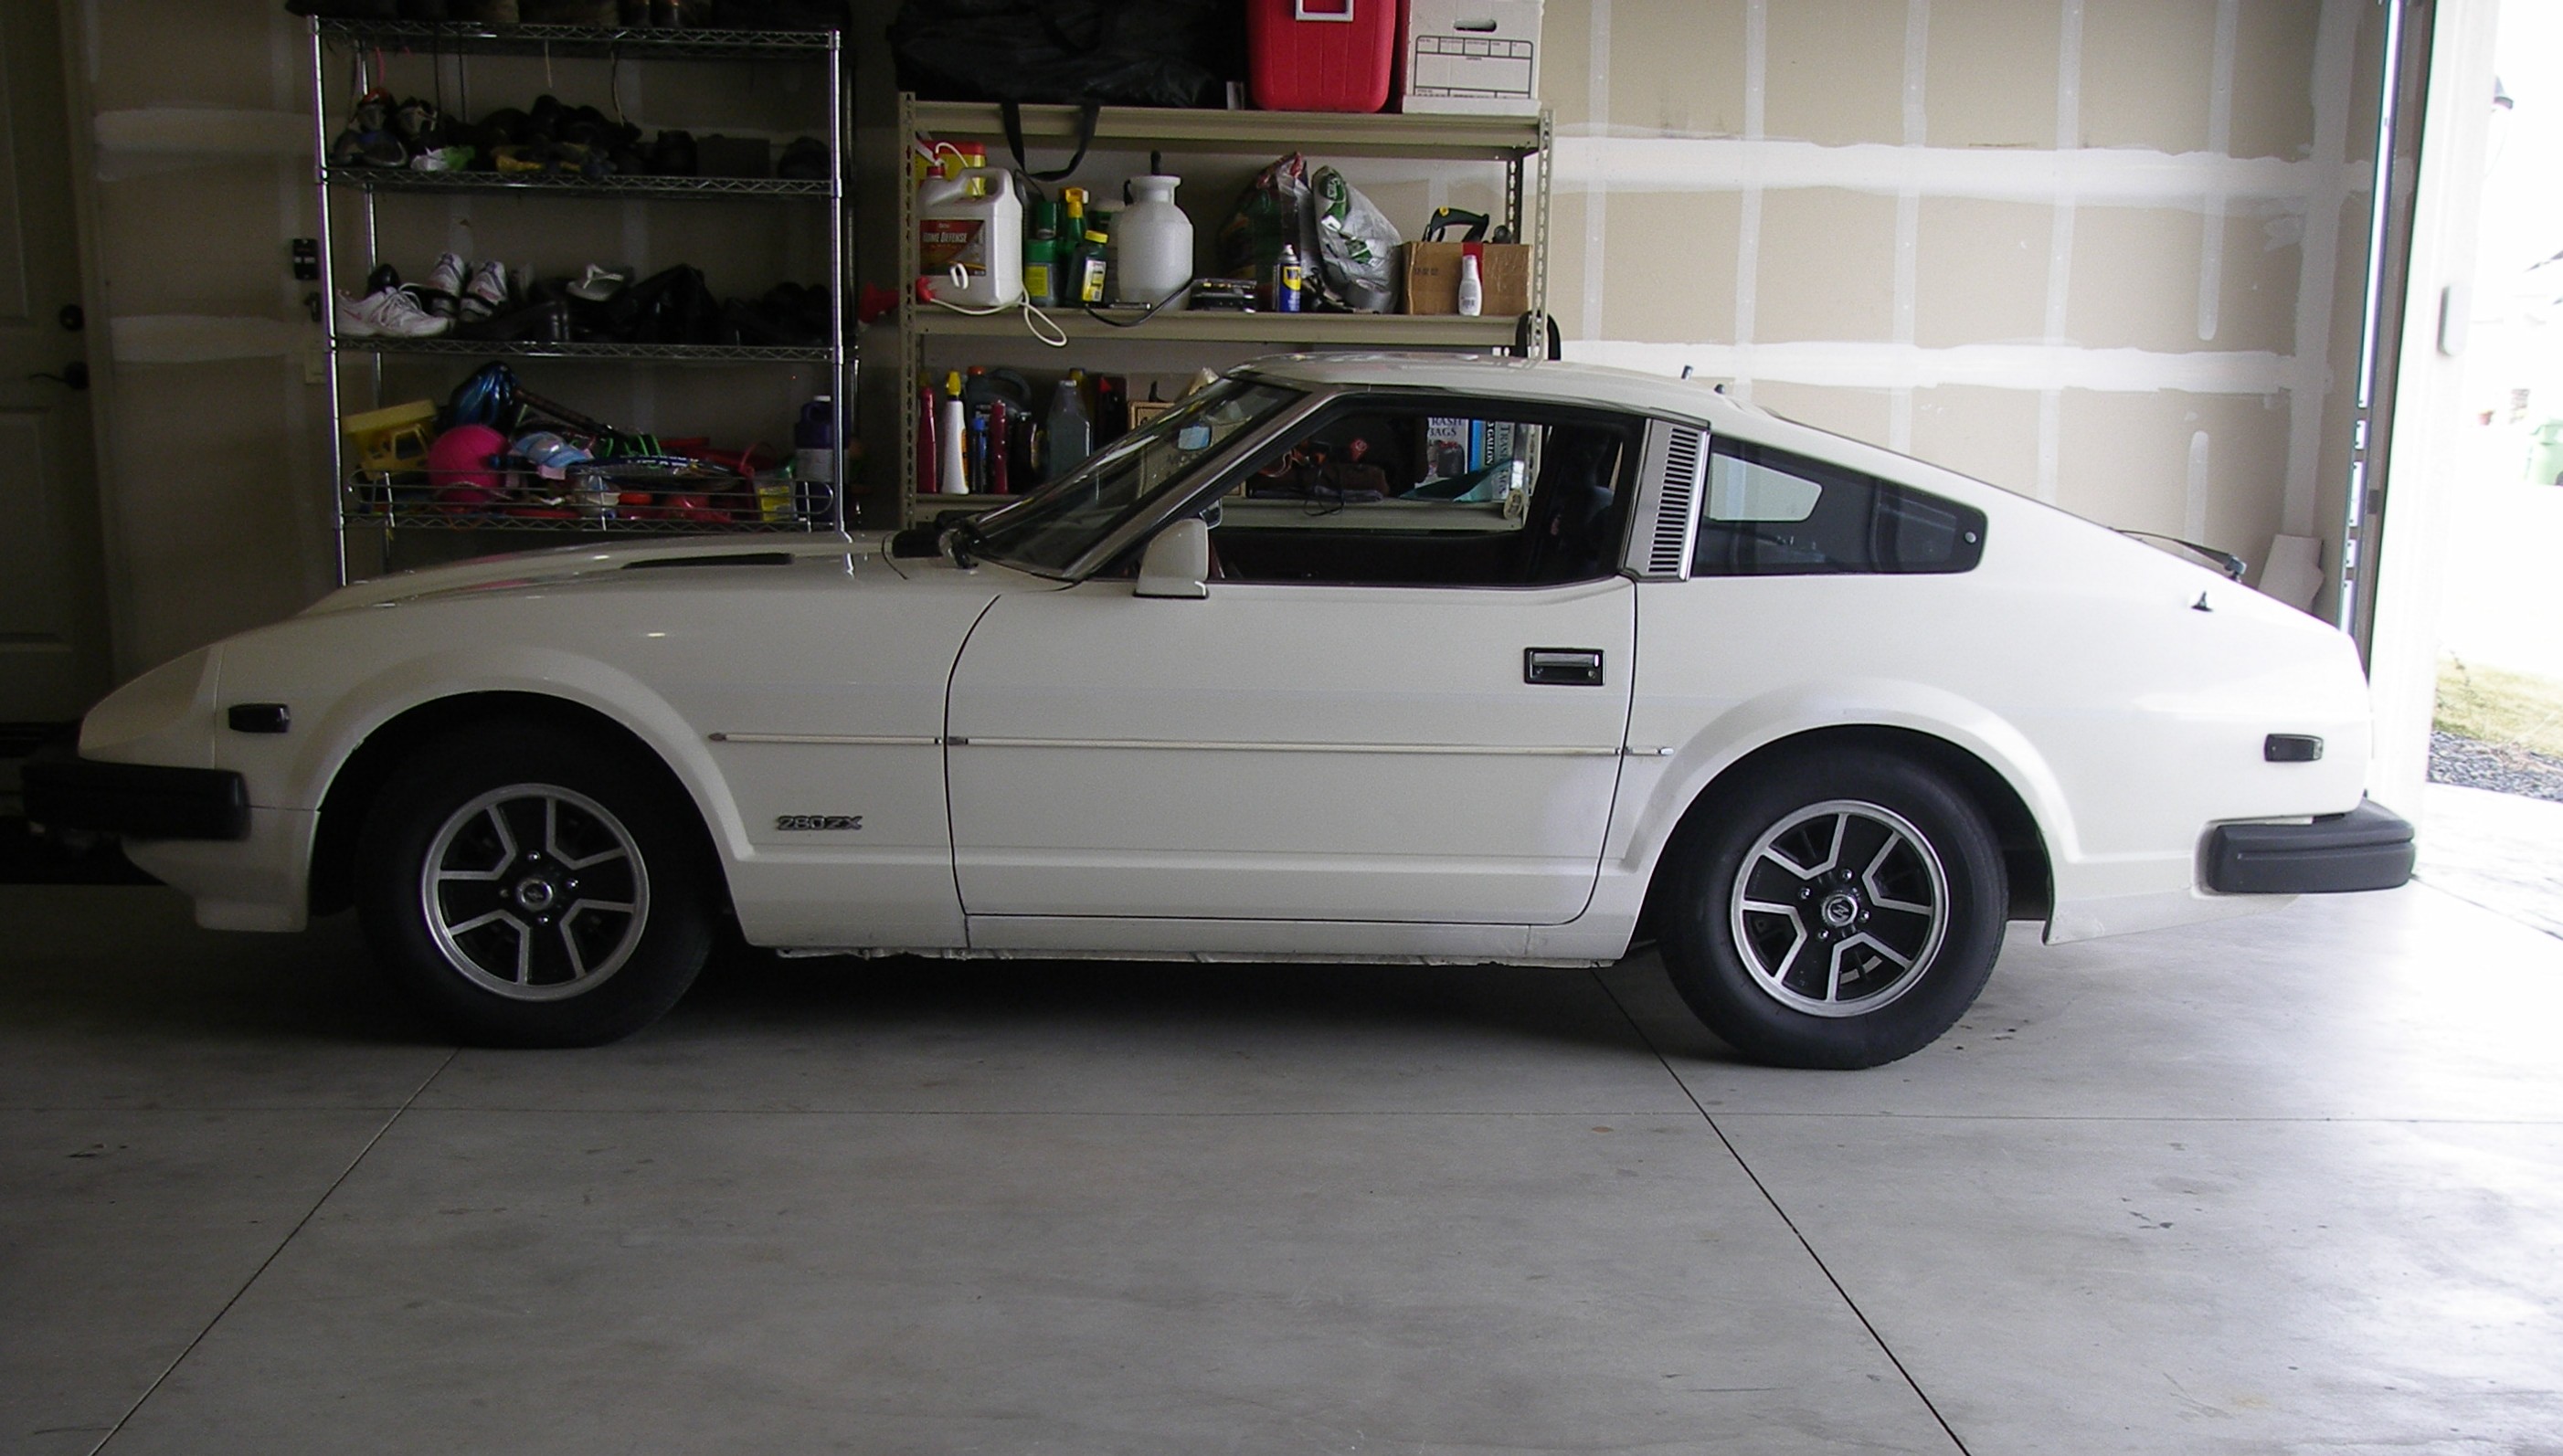
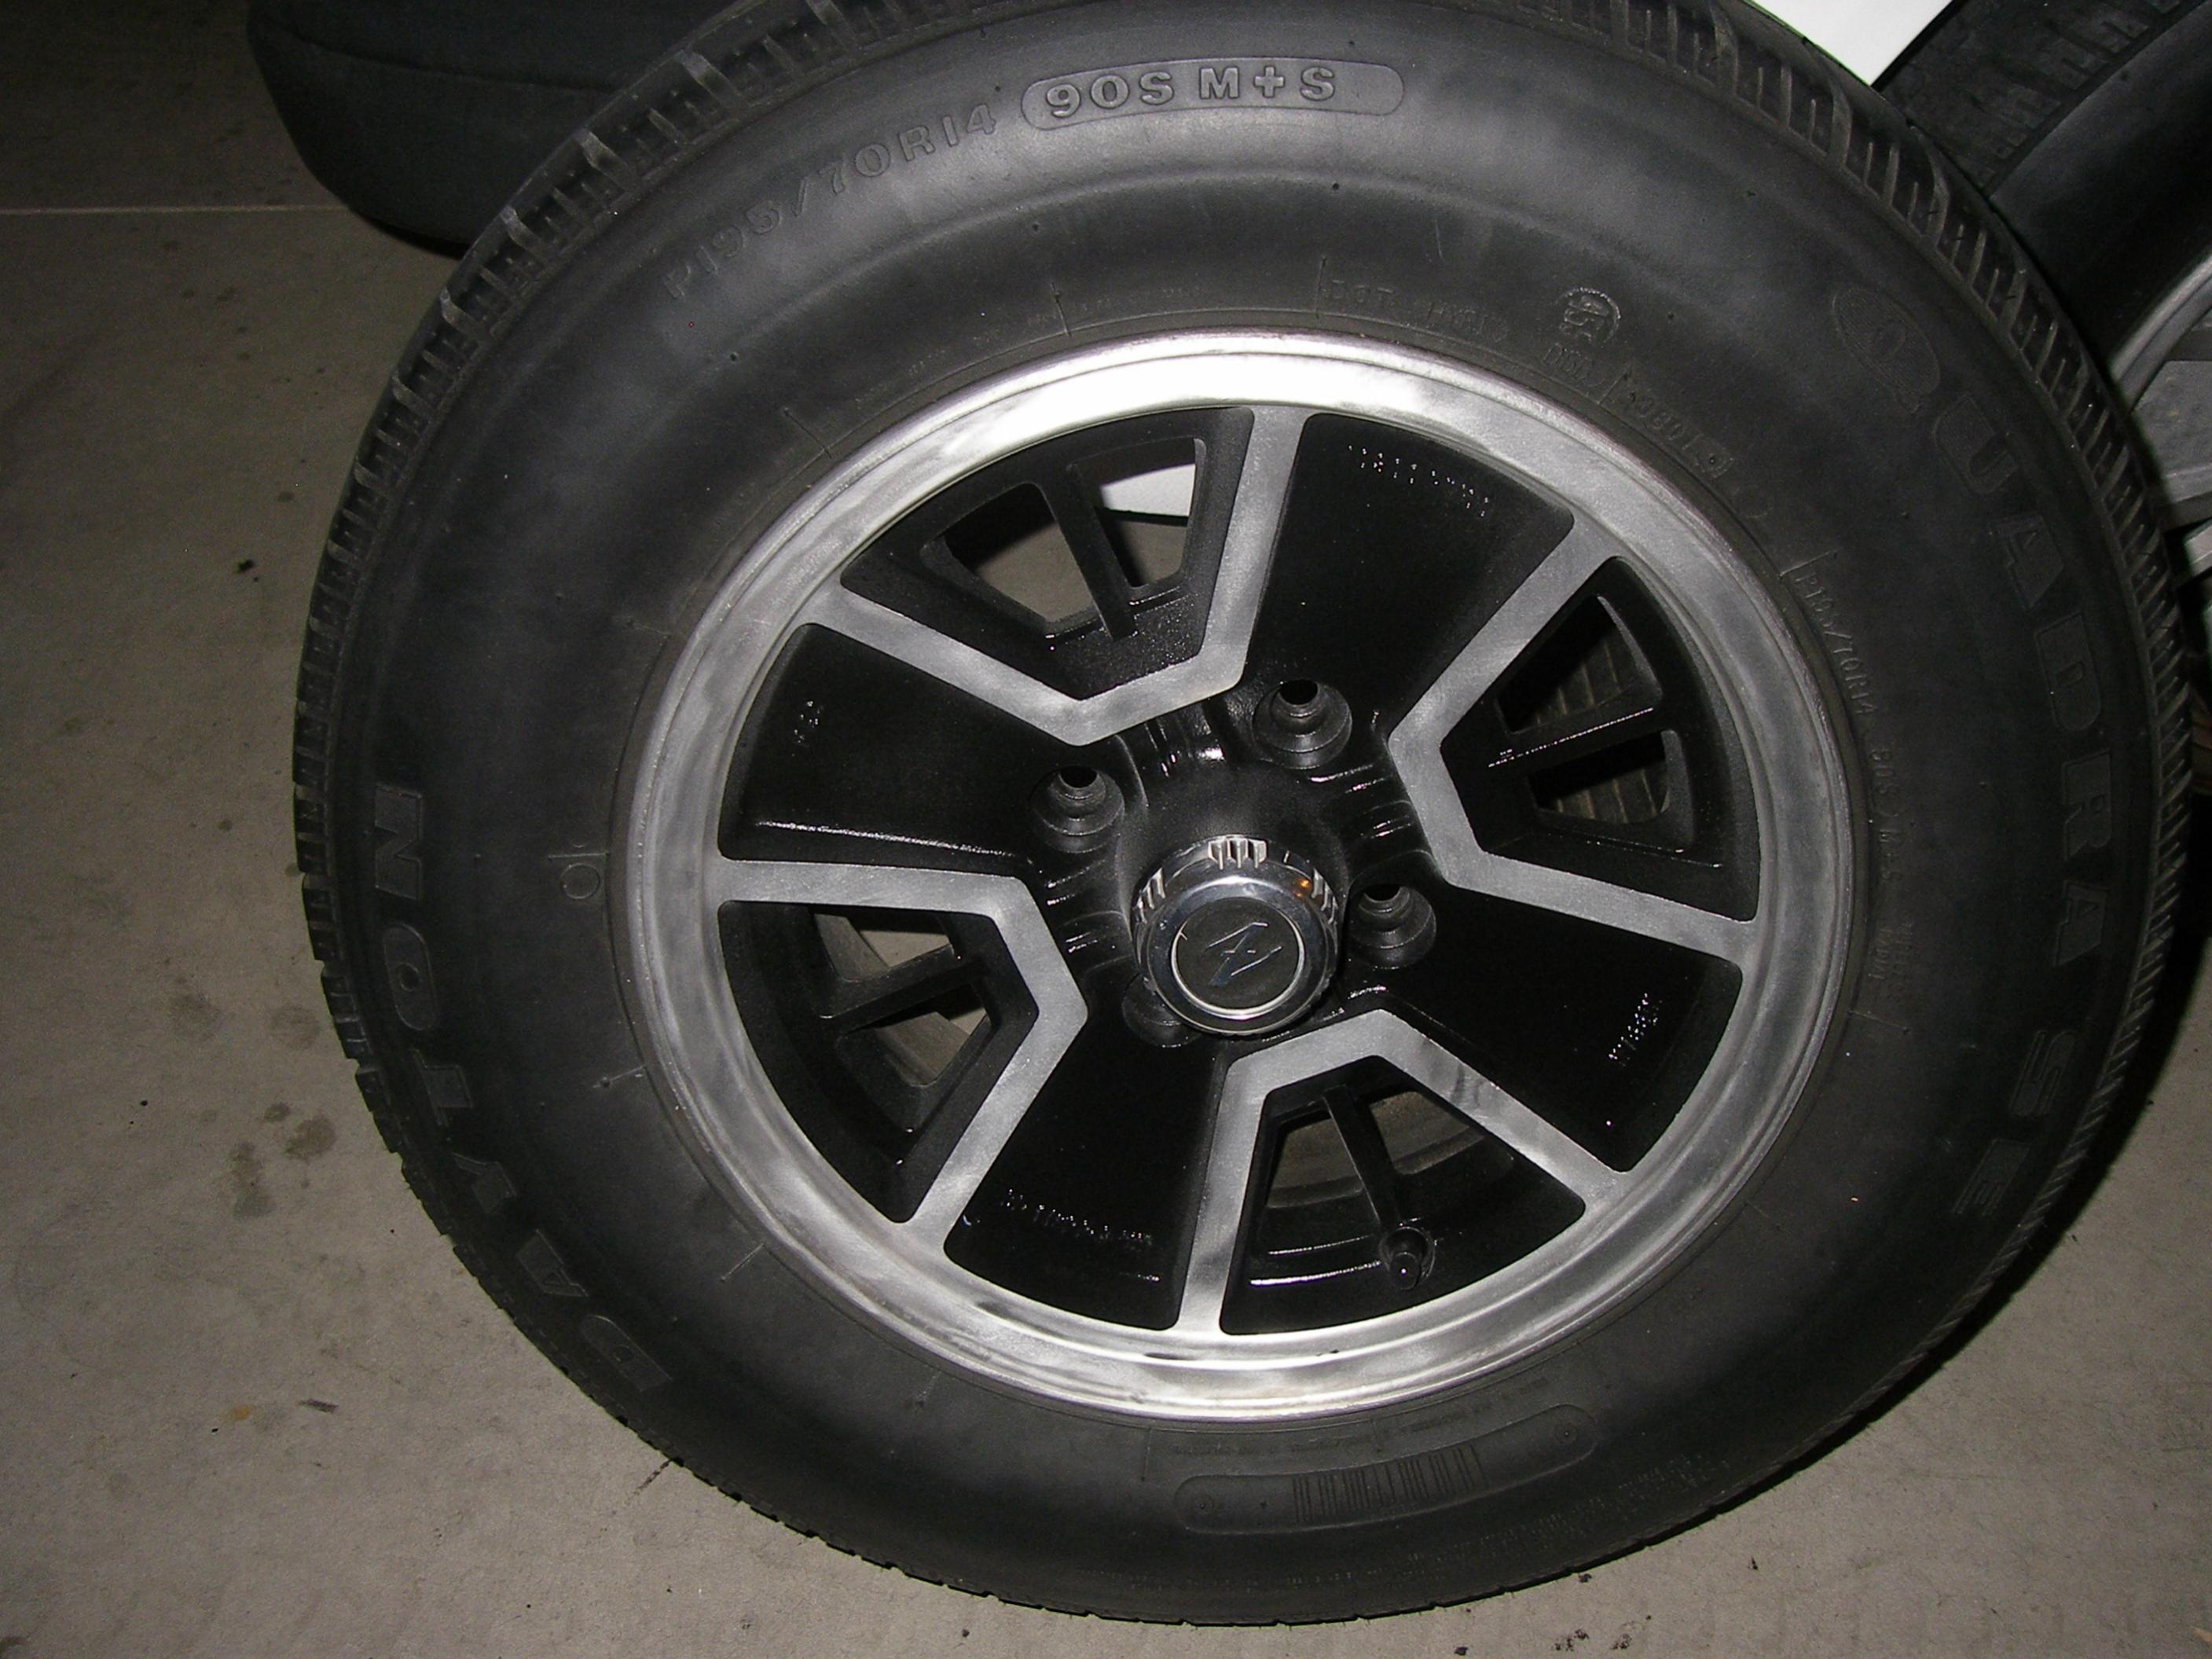
This is my first project rundown so send in the questions, I'll answer all that I can. Also the guys AJUSA were awesome for the parts. Got the best price and the kit arrived within their specified time. Thanks again Ken. Oh yeah, here is the finished ride height.

-
Tokico kit install
I: Equipment needed
A: 14mm box end wrench ratchet with extension and deep well 14mm socket.
B: Tire removal equipment. (I love Pneumatics.)
C: 17mm socket/ ratchet w/ ext.
D: Dust boots for front struts. (These didn’t come with the kit from TokicoL.)$28.00 @ Schucks’
E: Break-free lubricant. (I don’t recommend WD40; there are many better solvents and cleaners out there.)
F: Clamps or fancy spring compressor devices.
G: Screw of various sizes, Flat head. (I used a small flathead mostly.)
II: Pre-work
A: I recommend locating the bolts that will need to be removed and soak all of the thoroughly before even attempting to remove the old hardware; maybe even the night before you plan on doing the swap.
B: I did the rear setup first because it is much simpler than replacing strut cartridges. Use wheel chocks and jack stands throughout this process as the car will be off the ground for a prolonged amount of time. (I know…safety is boring, but let’s keep that way, heh.)
III: Removal
A: first off you will see the simplicity of this project when you remove the old shocks/springs. The Tokico kit has complete rear units; all of the old gear except the upper spring mount will be replaced. I checked my upper spring mount bushings and they were surprisingly in good shape so I re-used them. You can get new ones if you car is in need of them.
B: I held onto everything to until I got the new stuff mounted the trashed the left-over’s.
C: On the front struts it appeared more complex but it still what I would call Intermediate mechanic work at best, probably more like Novice. Here are some shots of the method I used to remove and replace the front cartridges.
D: Remove the tension rods, the sway bar as well as the brake caliper before removing the strut tower bolts, my car has the knuckle keeping everything connected to the LCA. This wasn’t a problem I took it all apart while it was attached to the car.
E: There is one tricky part to all of this. The cartridge retainer cap or the Gland nut
Remember that when you are pulling the old gear you will have some compression on those old springs, if not done properly you can damage fender wells and body panels.
IV: Installation
A: The Rear setup is straightforward. Assemble the shock/spring with the bushing cap and bolt from the top to bottom. I say this because if you get the three bolts fastened up top (rear strut tower) then you can leave them loose and align the bottom of the shock to attach it to the LCA. Then tighten everything. Use factory torque specs for all bolts. I can look them up for anyone who doesn’t have a manual or can’t find them.
-
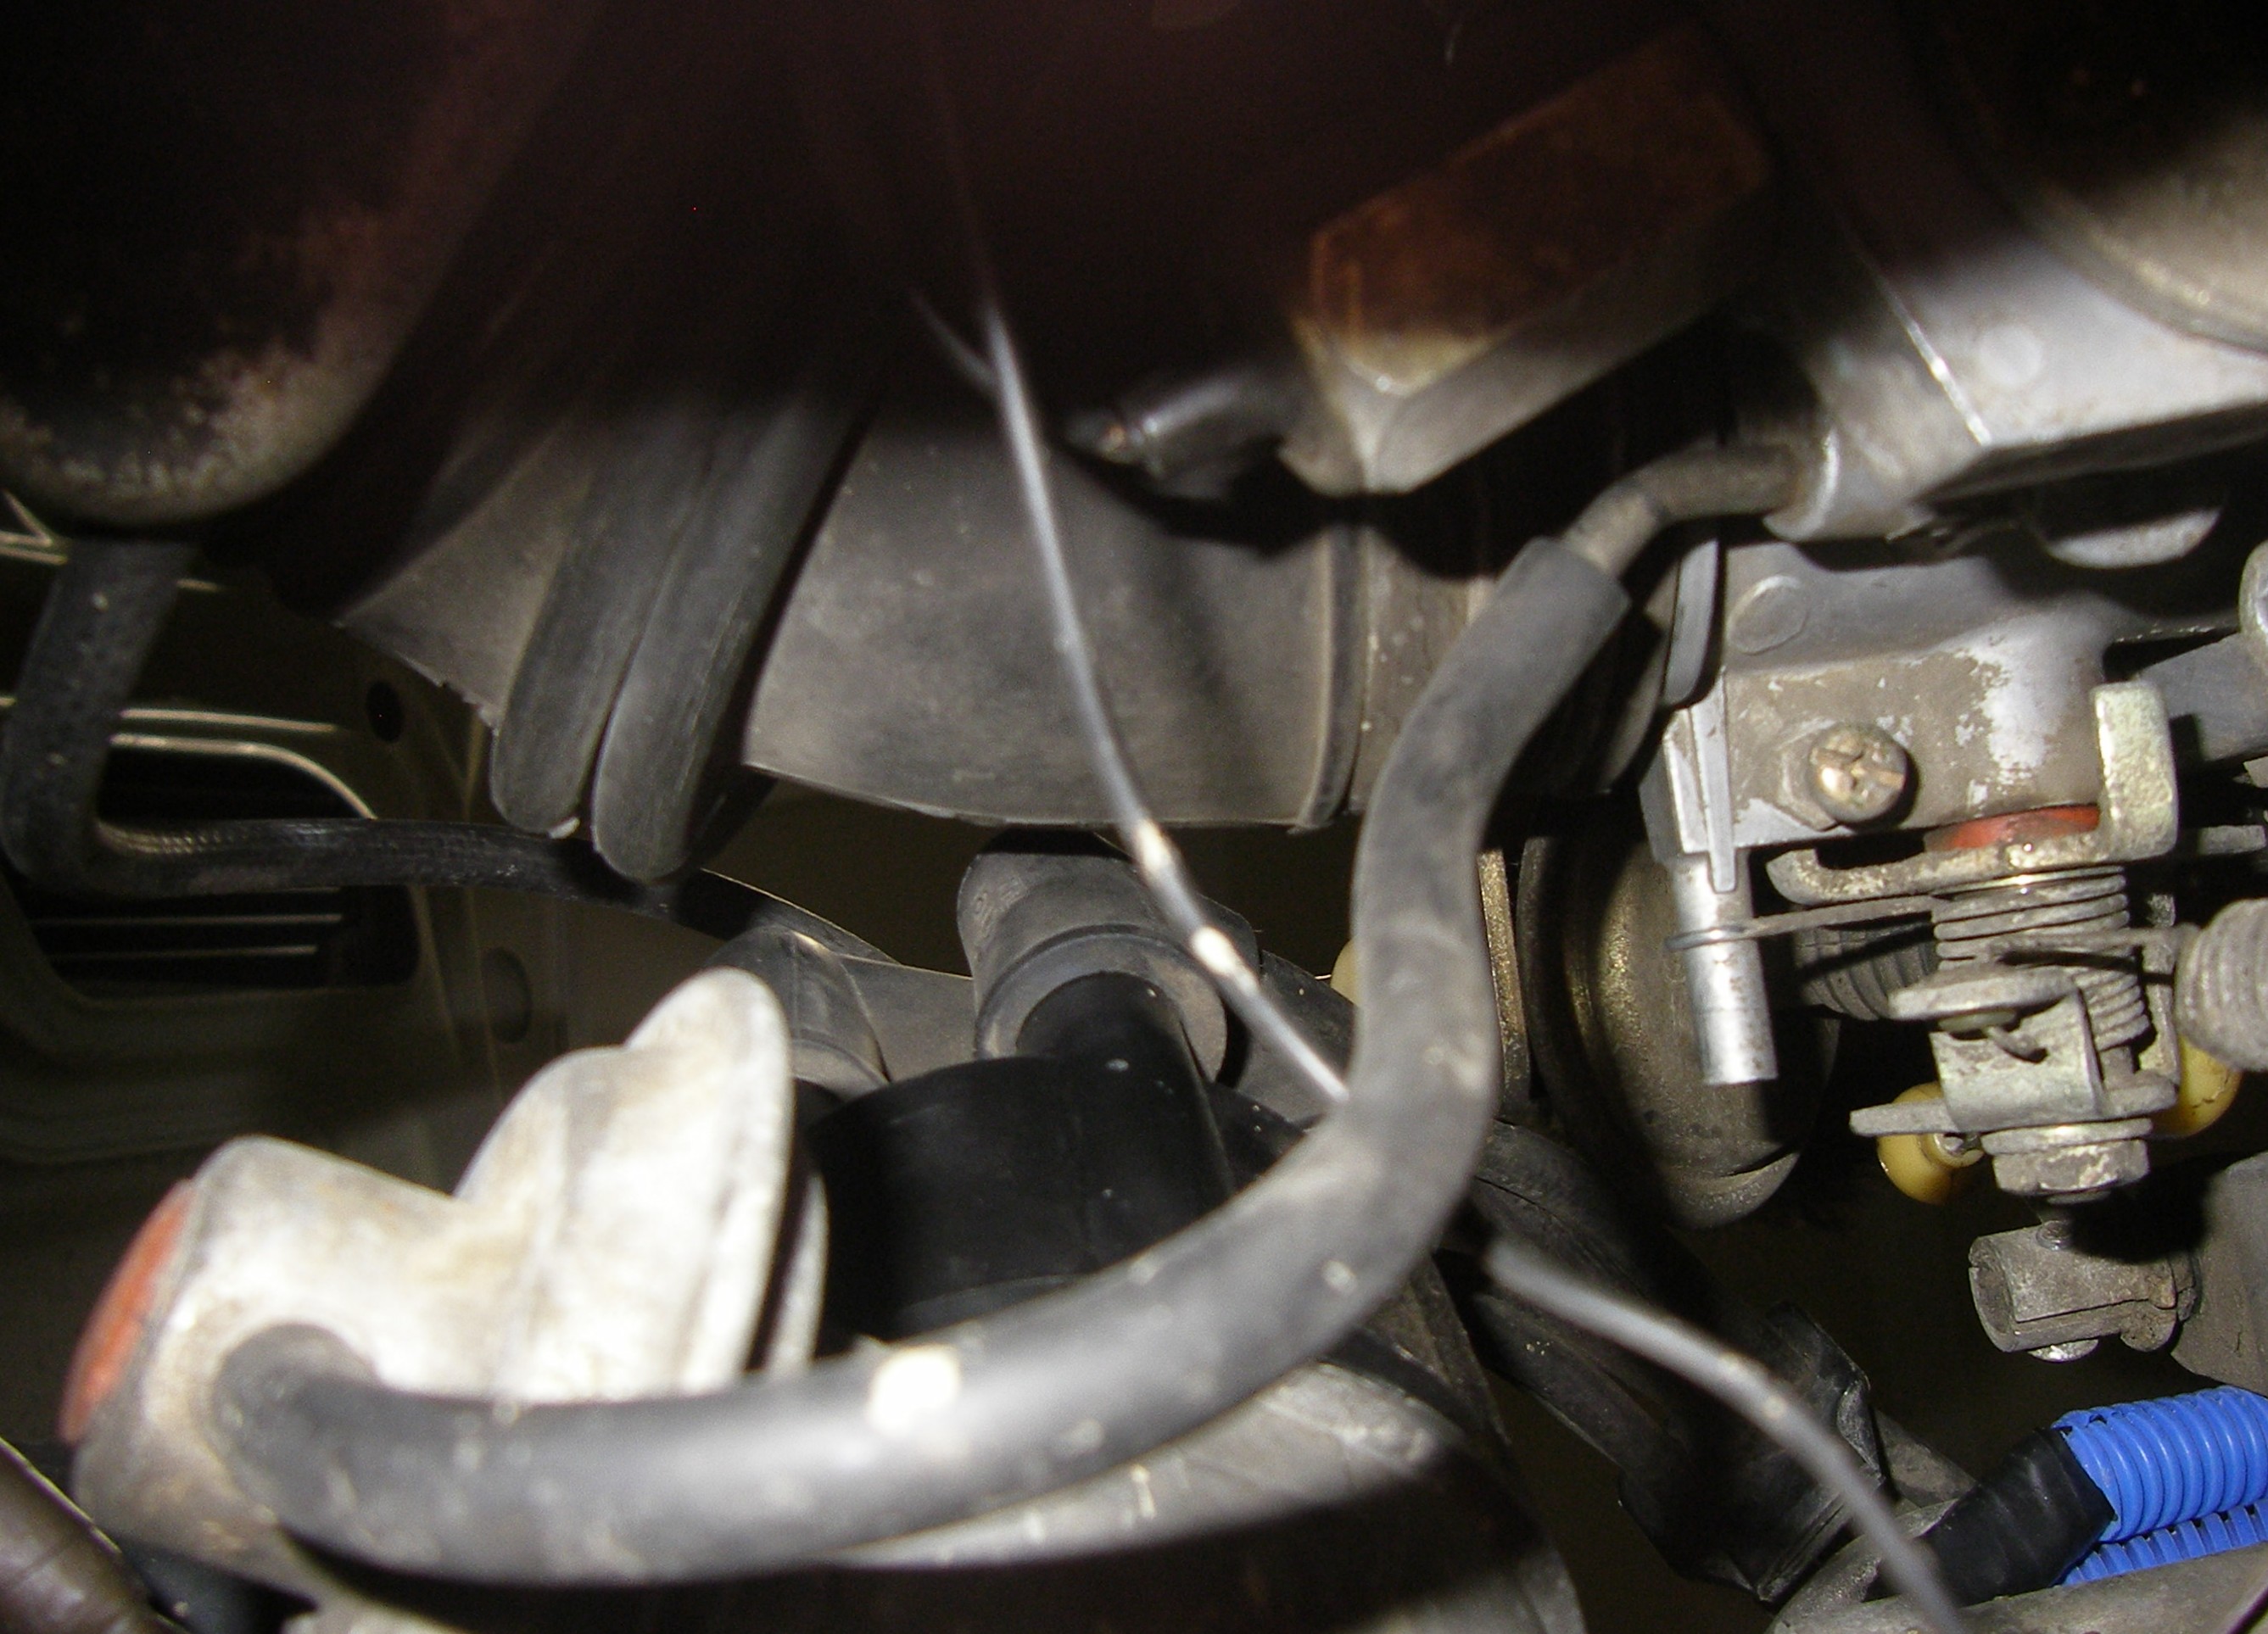
Yeah, one of the ones I picked up works and I heard that I needed the valving to keep the heater operational. One guy said to just buy the 5/8 open three-way connector but I didn't want to test the theory. The one I got works fine, I now have another leak to fix,LOL! I am eventually gonna repalce all of this stuff....
-
The Kit from AJUSA is struts and springs. Still haven't got a Shipping # from Ken's bunch yet.
Anyways, I will most likely get the swaybars at some point, I think that I will be moving towards the Front and Rear strut tower braces as a next step. I feel that currently, with stock power output and car set up that I would benefit more from some rigidity on the top side after the bushings and suspension parts. I am really having trouble seeing how the "Thicker" Swaybars make that much difference with a predominantly daily driven car. ( Chime in here guys as far as the Bars being worth it on a car that wont see the track for another year or more...)Jason
-
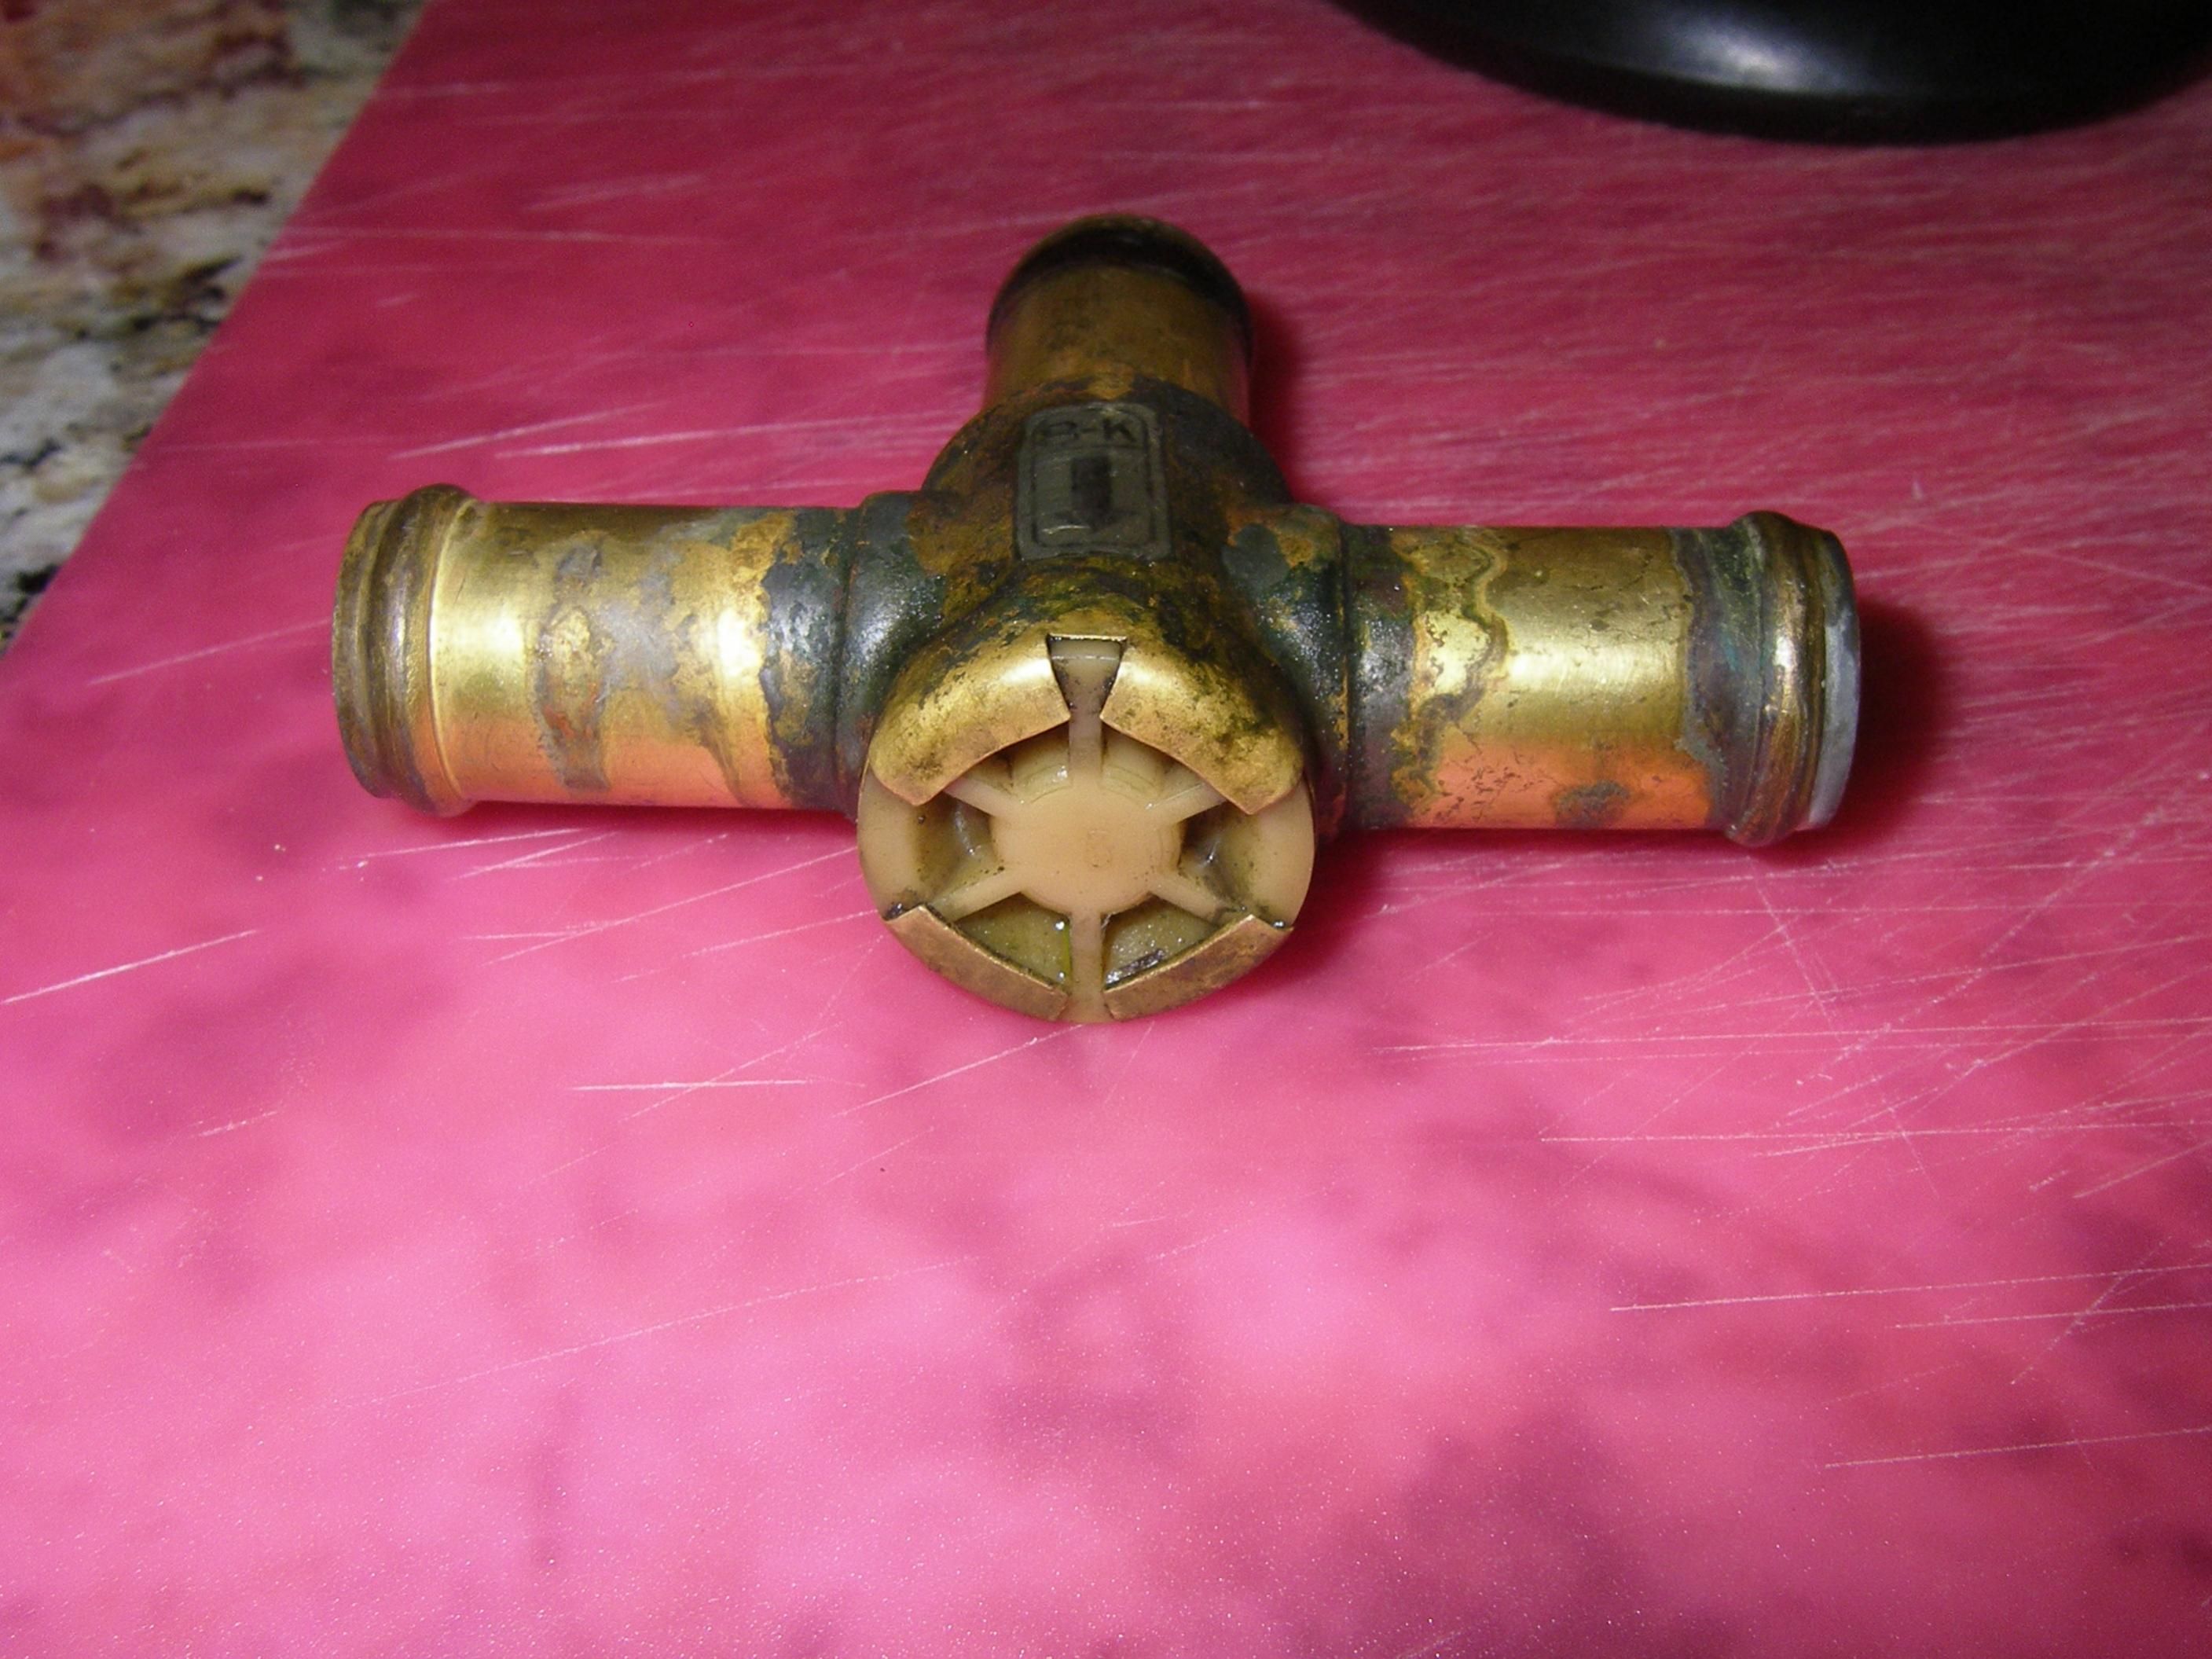
Well, I finished this all up alot faster than expected. The part shown is refered to as a "Heater Control Valve". that being said I found two at the local pick and pull. This was handy due to the fact that the part is no longer carried by: Schuck's,NAPA,Autozone,Carquest or Nissan. Here is a photo and I realizewd that I really didn't give you guys much to go on, but I do appreciate the feed back. Thanks again,
Jason
-
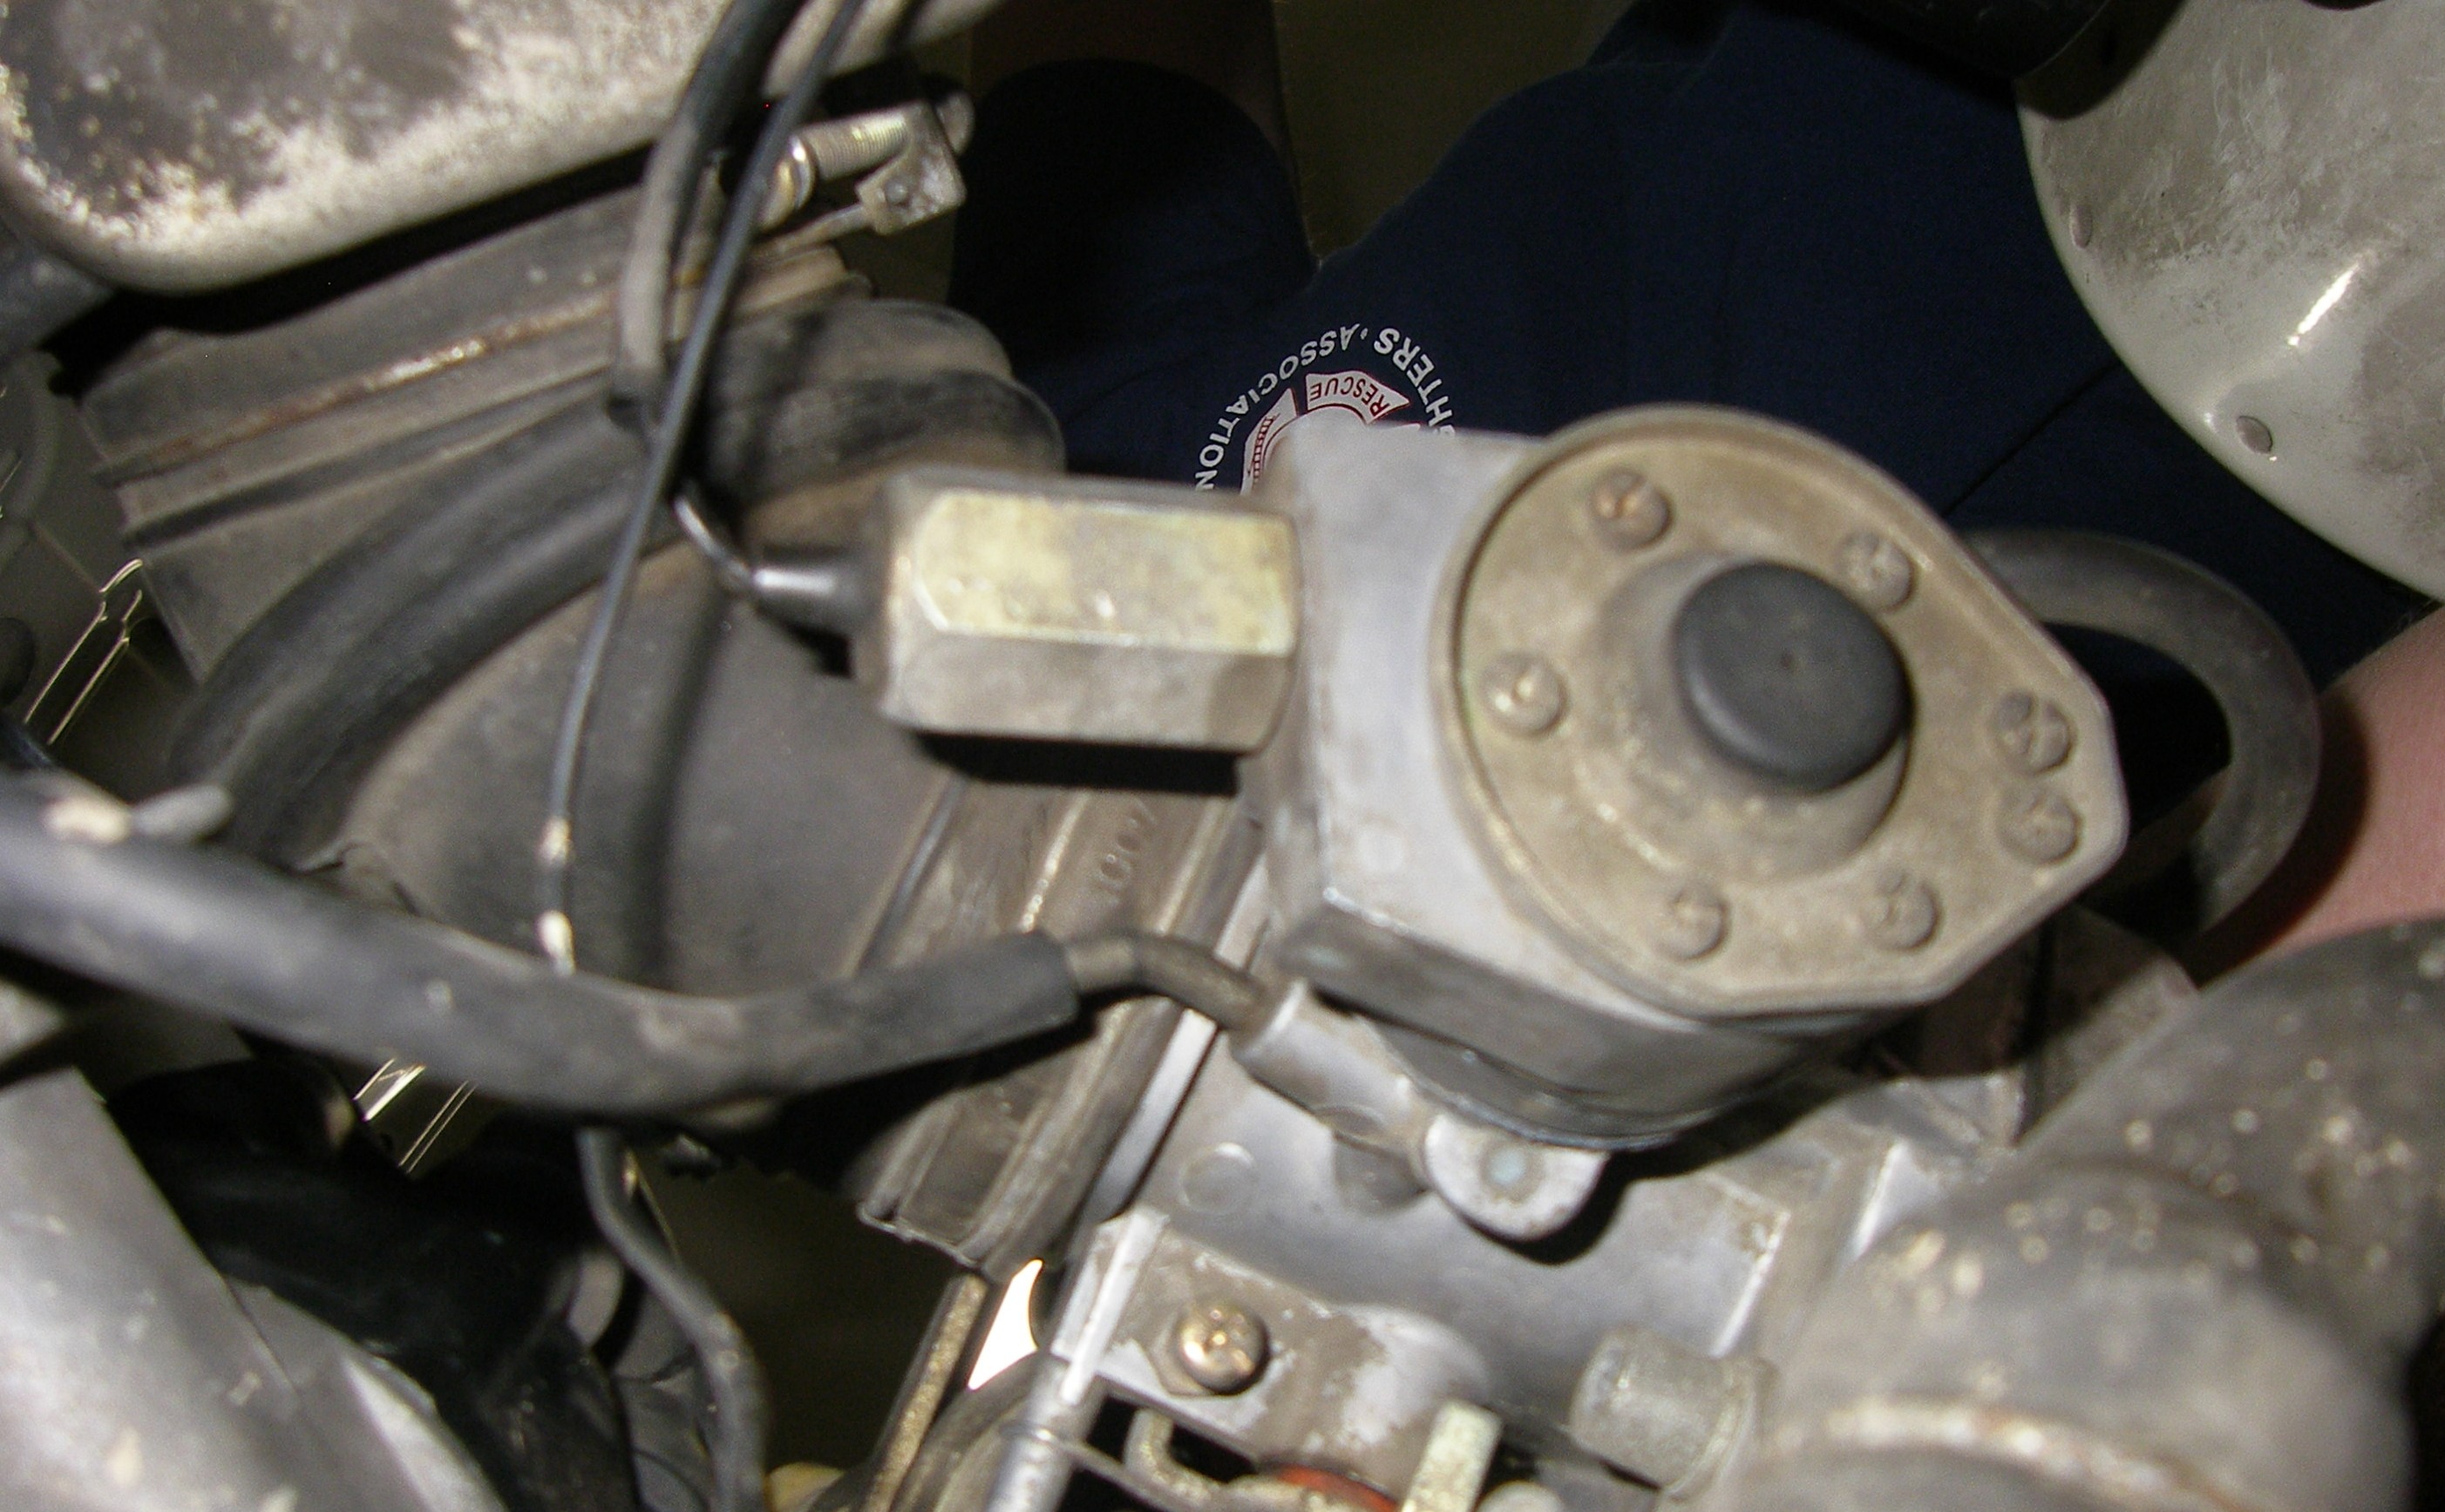
I cant find a title to order a part I need. There is a three way valve in my coolant line mounted along the pass. side of the Block. This is on an l28 engine. '79 ZX. I'll get a photo of it soon I was hoping that someone had an FSM with a diagram of the coolant system or perhaps knew the name of this valve right offhand. I apprreciate any input on this one guys.
Jason
-
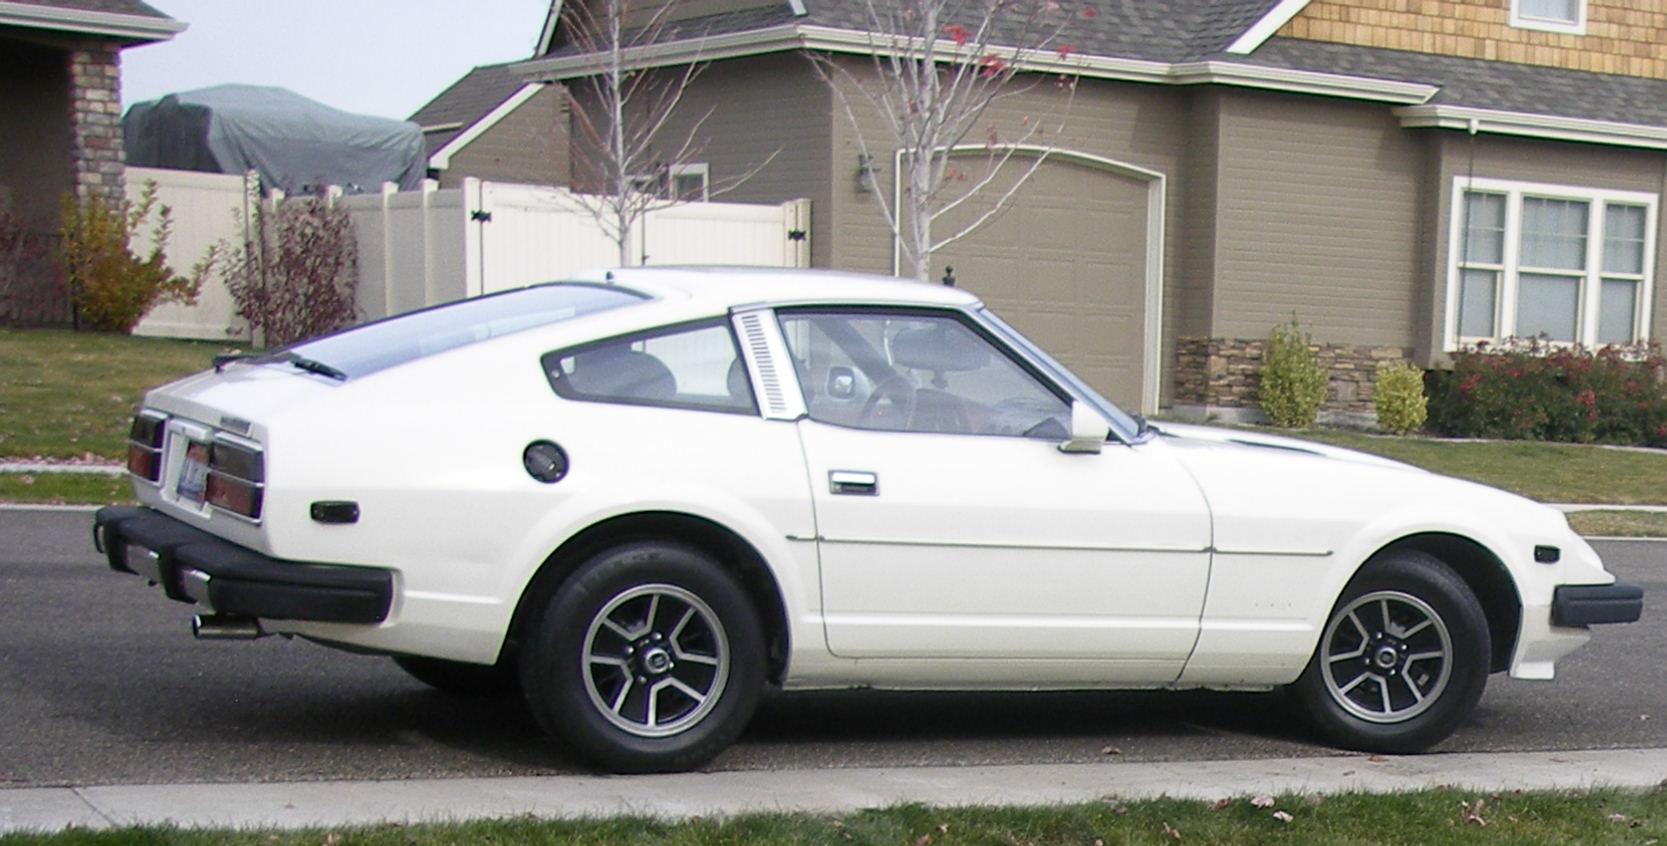
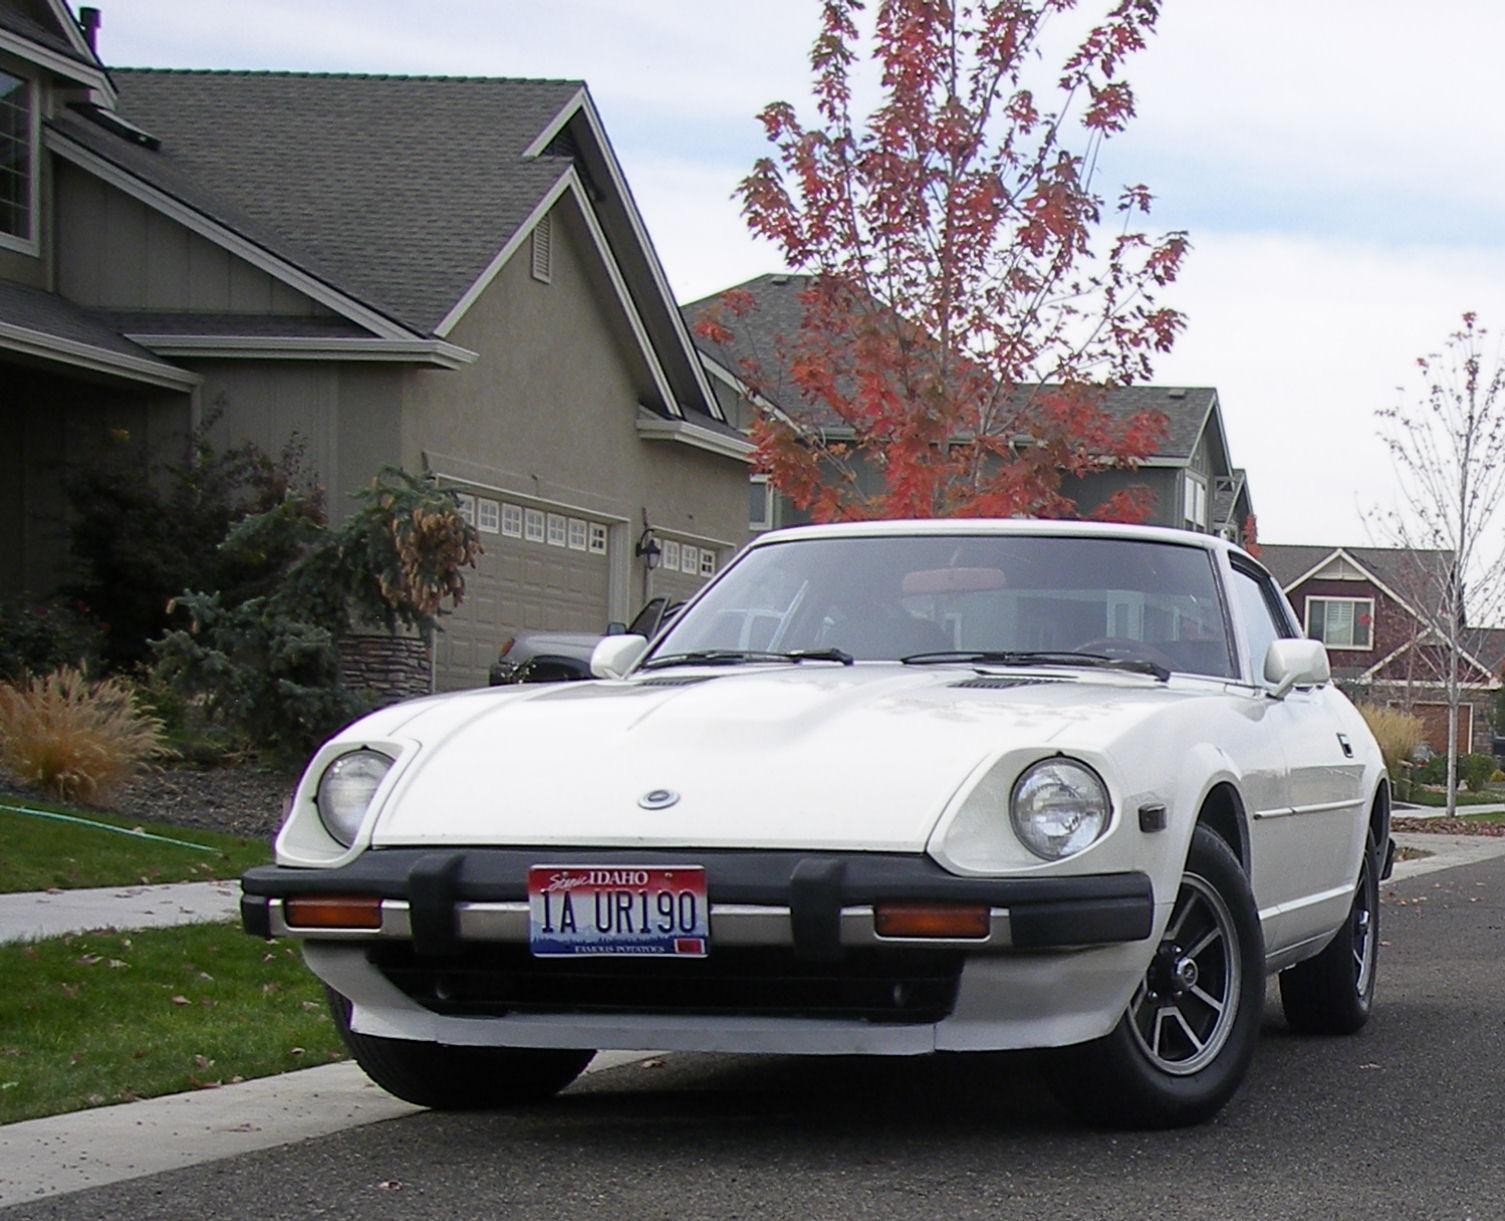
Slownrusty's work looks real nice. If he is close I would consider his help. On the other hand I did mine myself and they work for the now. I'm going aftermarket later so I didn't have a pro do it. I used a wire wheel attachment on my air compressor; stripped sanded and polished the metal then came back up with primer paint and clear coat. Here are some before and after shots. Gosh my car used to be pretty ugly lol;)
Jason
-
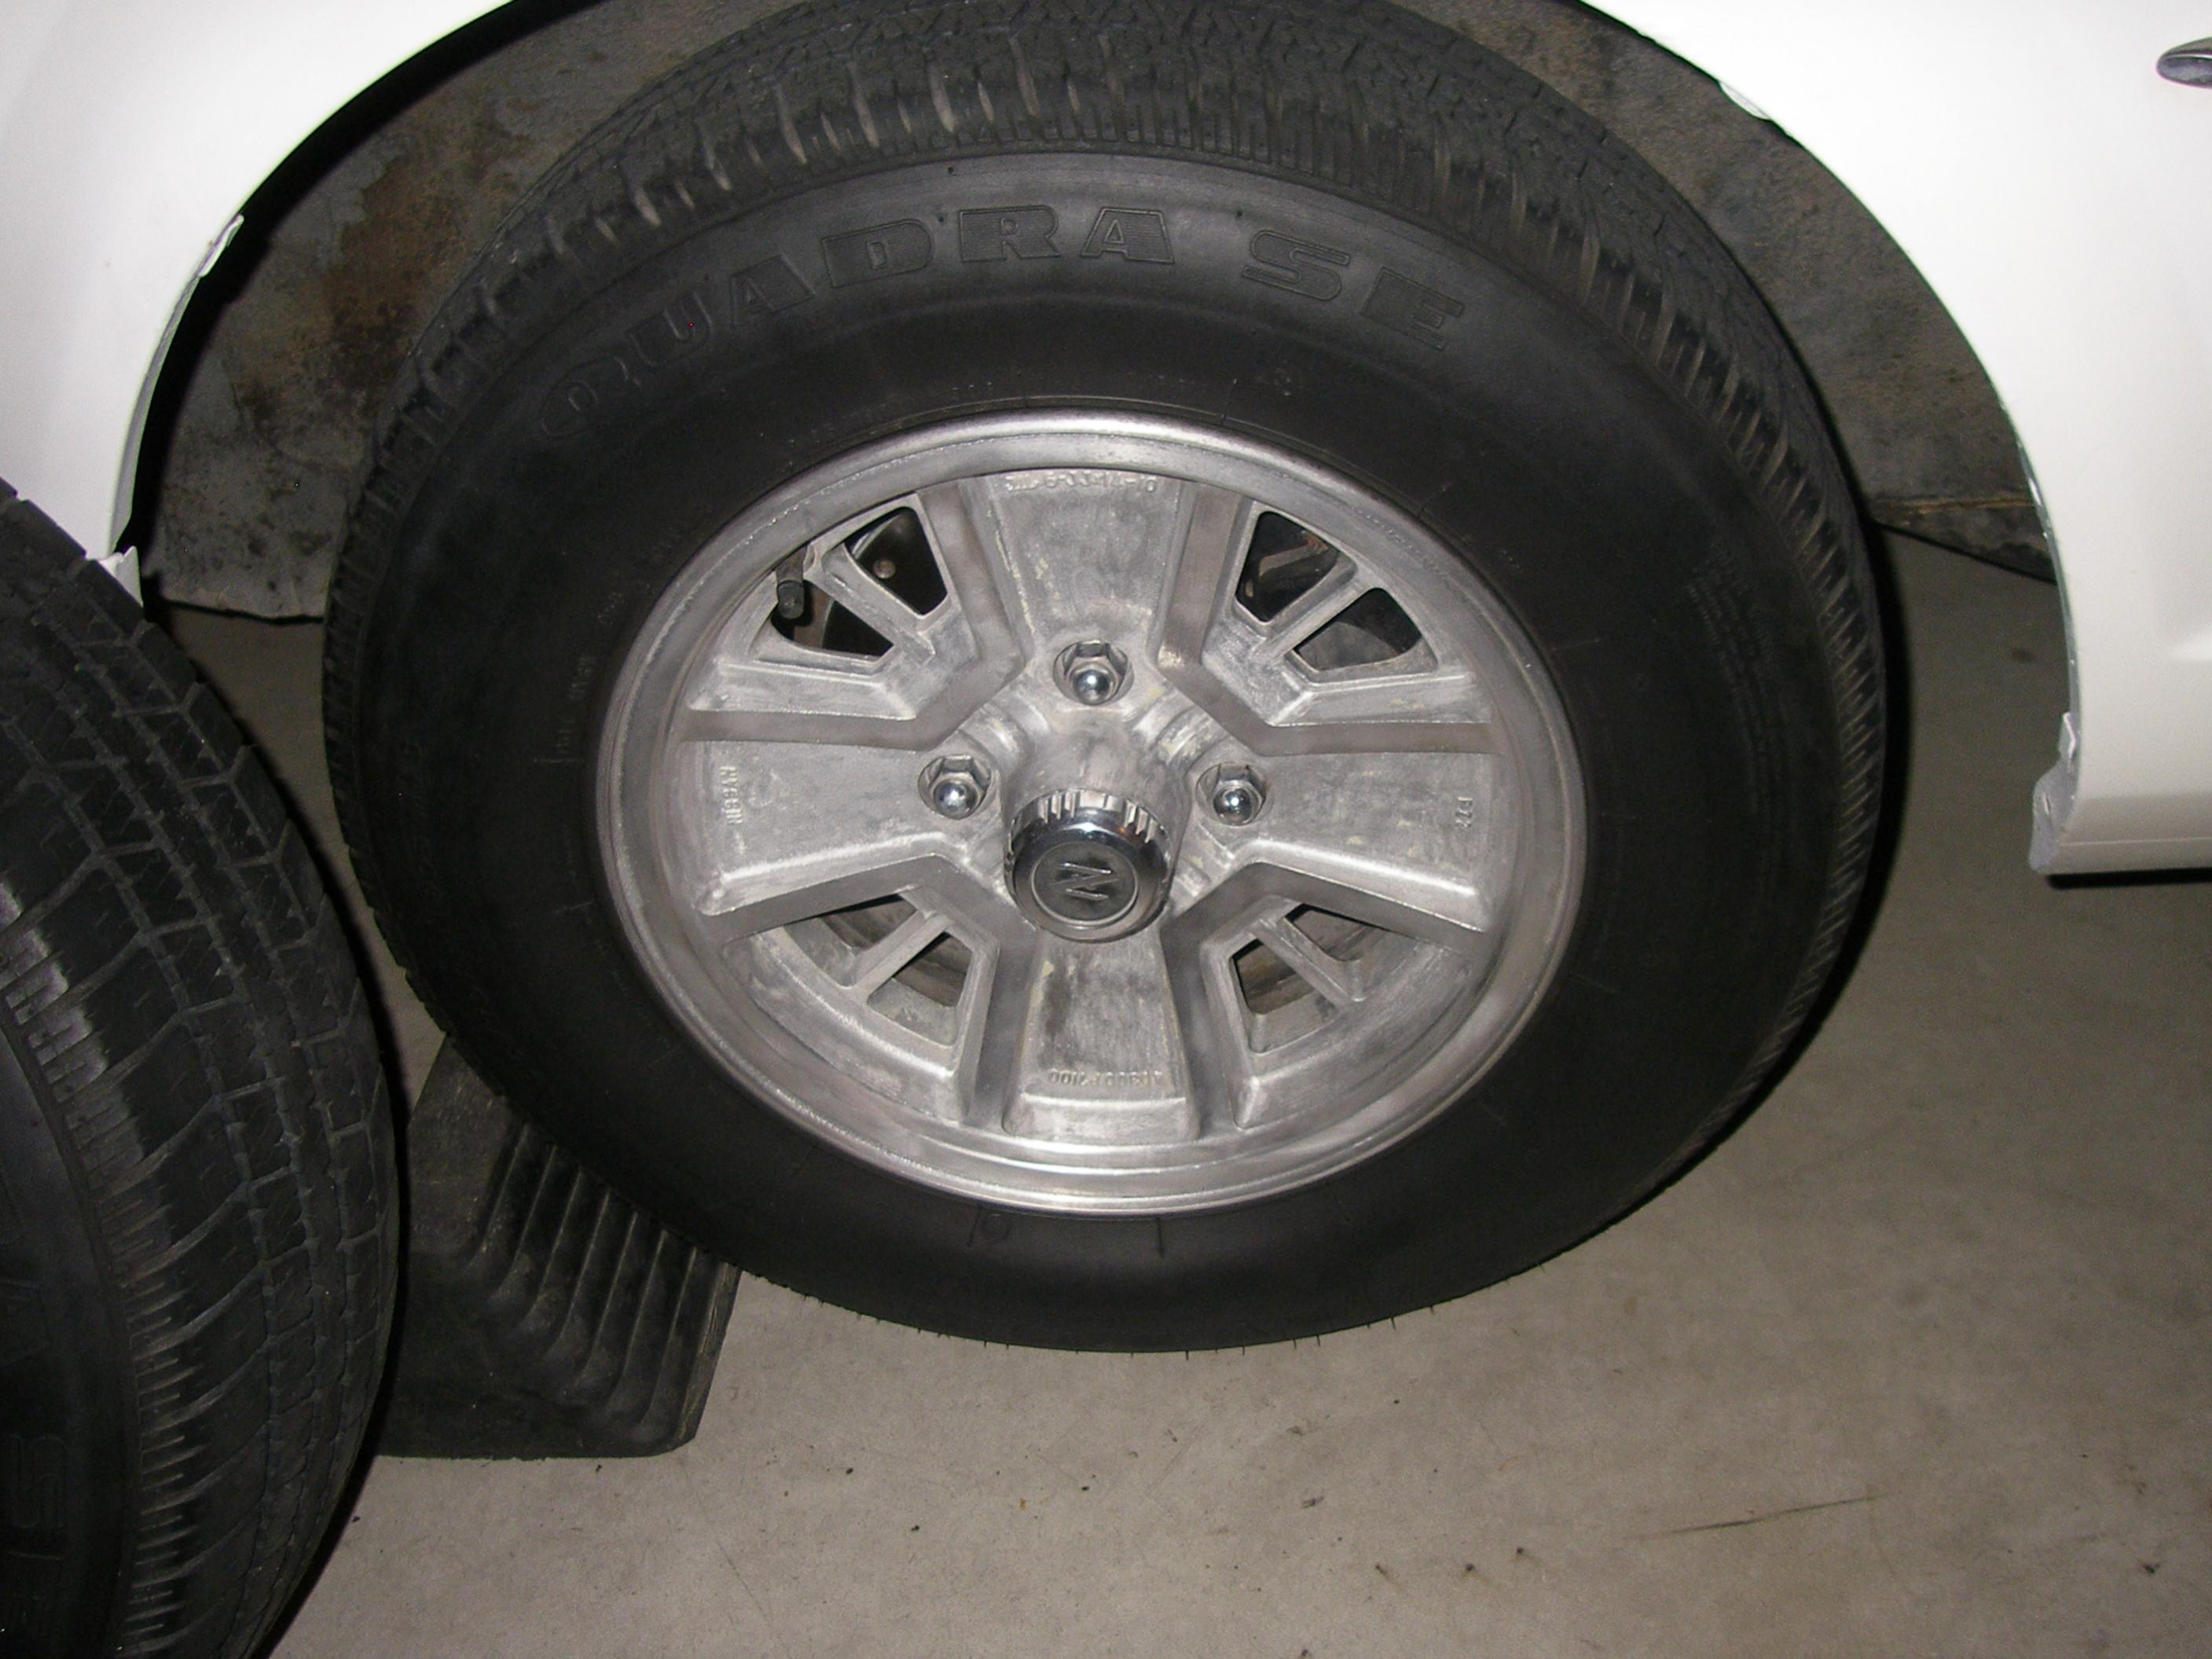
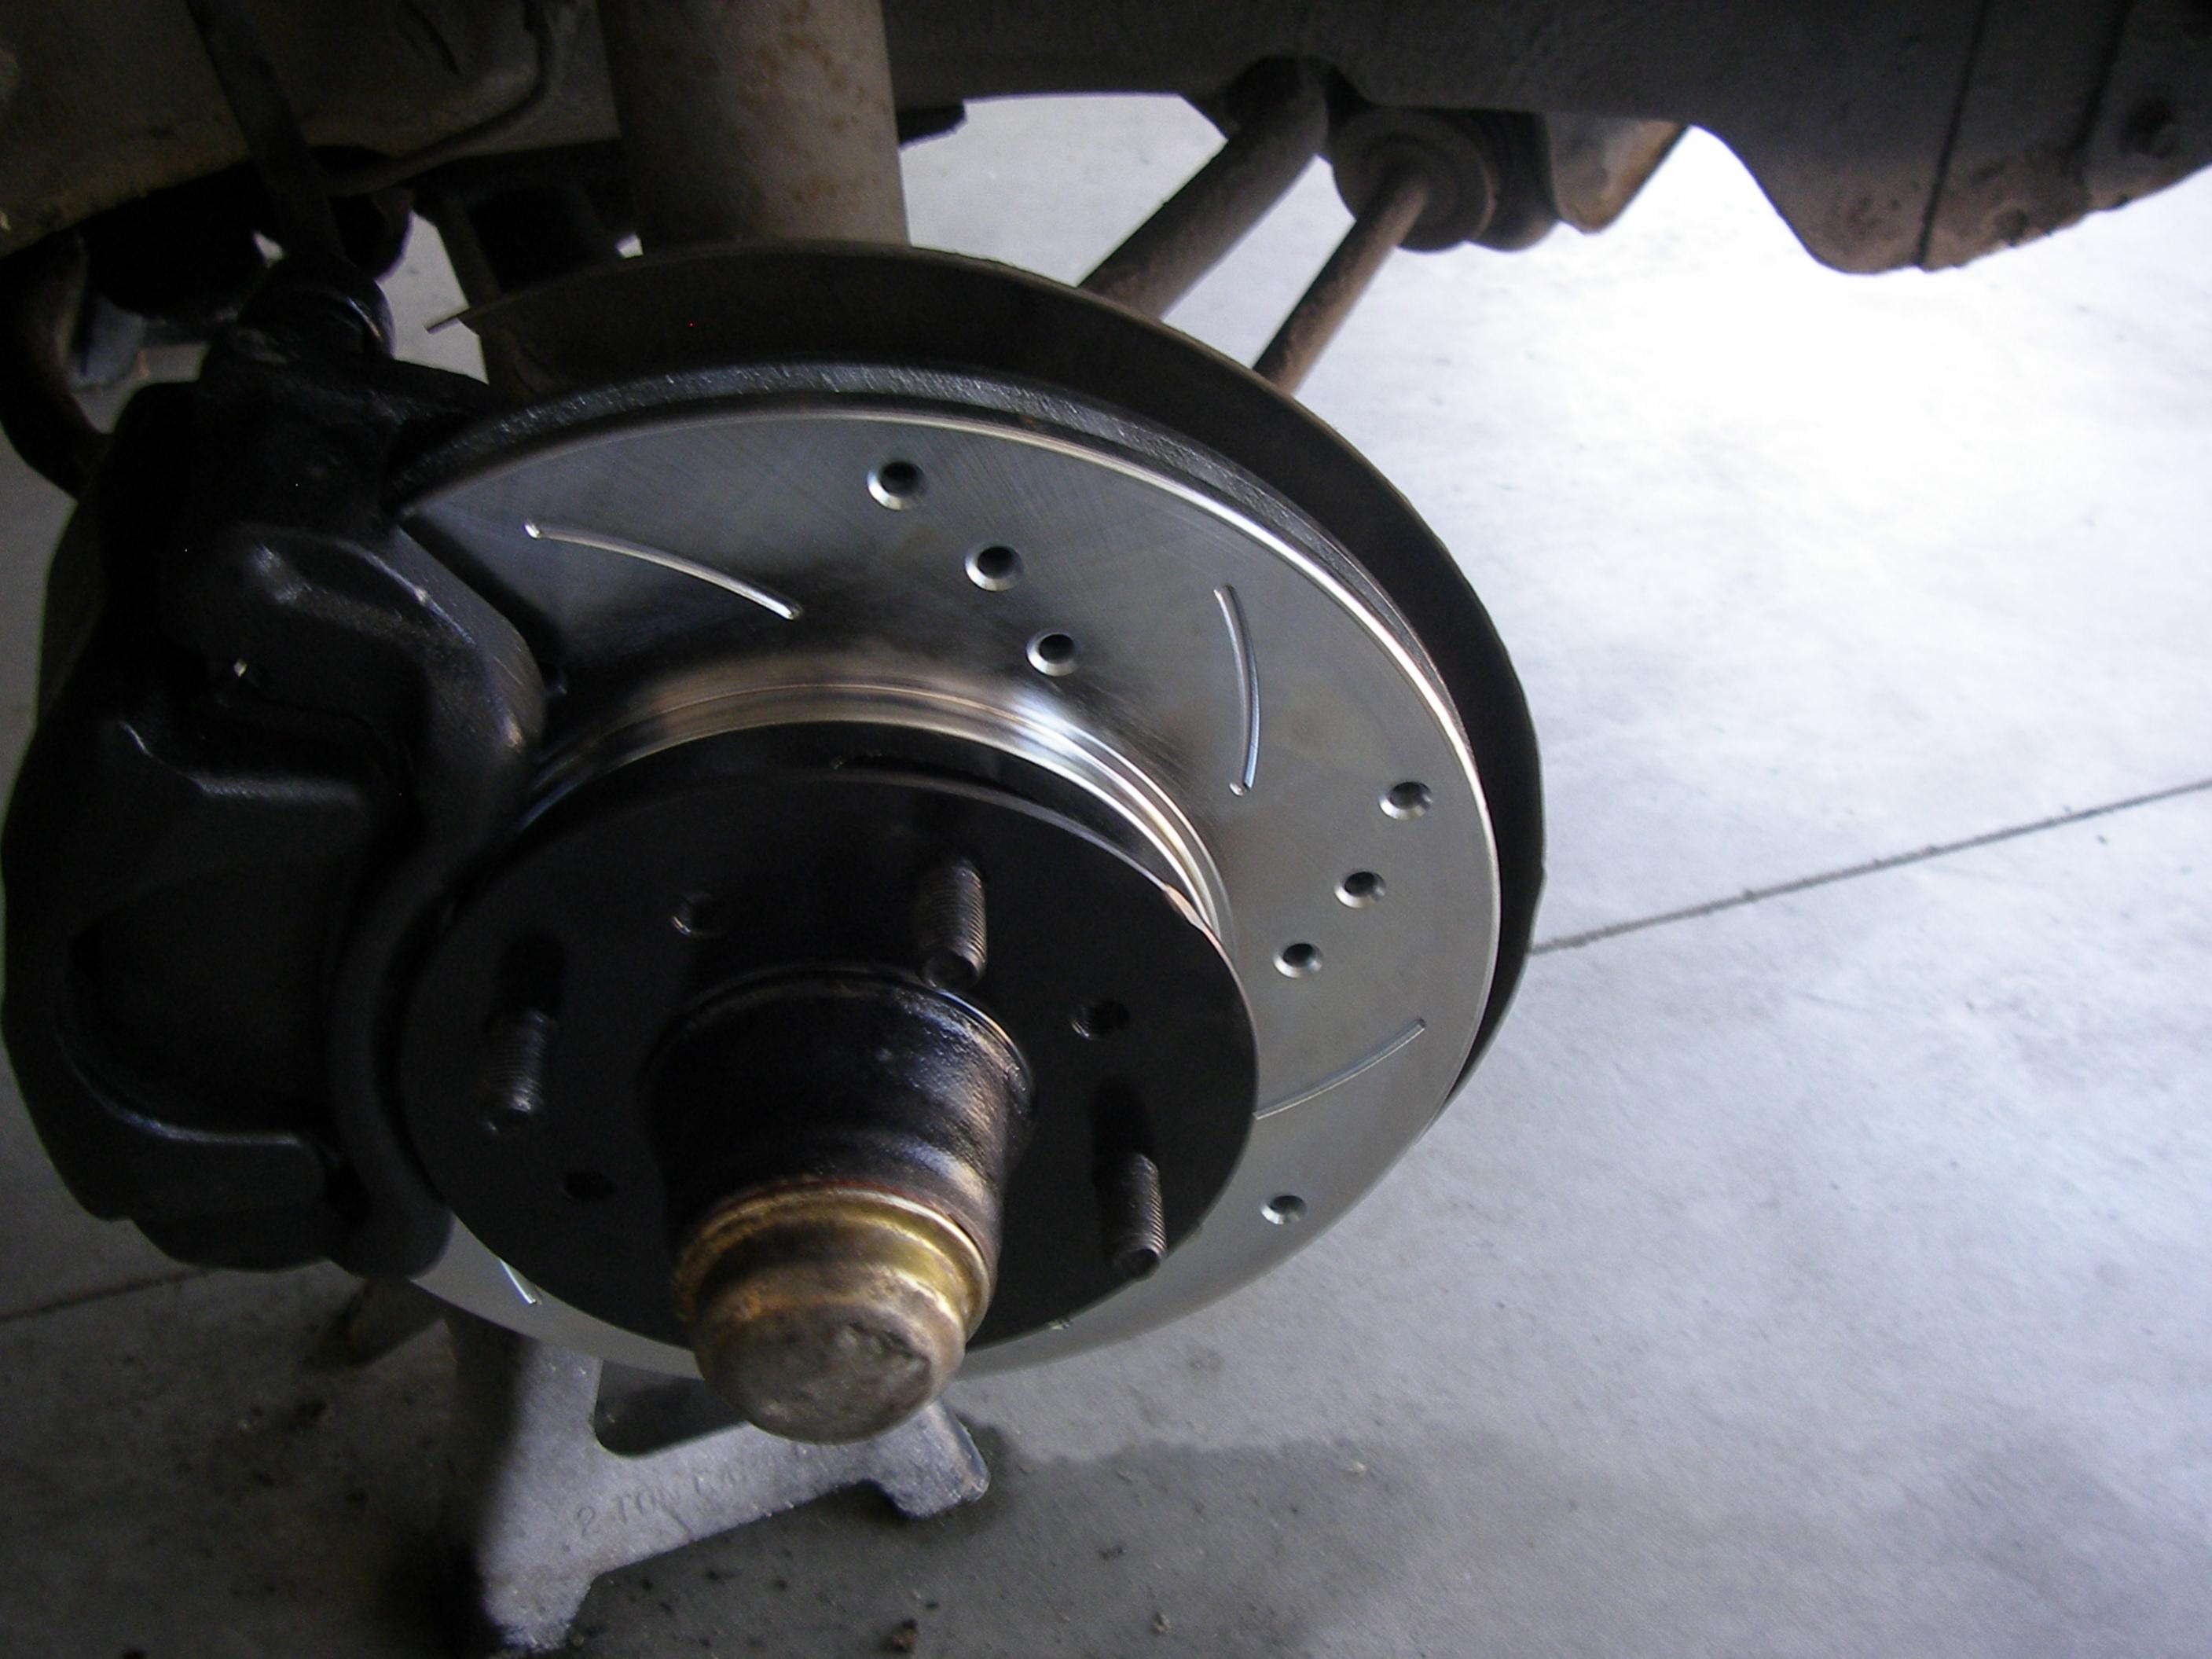
Yee-aaa-uuhhh!! Looks tight bro, nice ZX. I finished the full bushing set up last month.
Before that I completely re-vitalized the stoppers, with drilled and slotted rotors/rebuilt calipers and semi mettalic pads. This is the next step. I wanna see how the car performs after the HP set-up, then I'll look into the future for upgrades. That may be front and rear strut tower braces or aftermarket swaybars IDK yet. Heres a few shots of my plaything.
Jason
-
Looks identical to my 79 as far as caliper location,type and CA..Hope that helps. I agree with Jon, not much difference as far as quality or reliability so I wouldnt sweat it. Just remember when ordering parts,lol. Goodlookin white slicktop BTW
-
...HUH?... What happened? I clicked on the pics and Blacked out!! That car quickens the pulse just to look at it. Speechless....
-
Bean, this car is looking great, I cant wait to hear about how it performs. I'm still on the fence as to whether I go 383 or turbo'd L28... Keep us in the loop. Good job and good luck! Slicktops OWN!!!
Jason
-
Don't go solid. That will rattle your teeth daily driving. These mounts are designed for High output engines that bind the stock mounts(with the rubber oem style). That L28 ain't throwin' around that much juice...or if it is I'm out of my league trying to give advice heheh. The Oem Style or Standard mounts should be adequate for your current application Phil. Sorry I couldn't come up with better info on urethane mounts etc... but hey, we tried. I learned alot myself in this little hunt anyways.
Jason
-
Good find Dozer, I called JEGS and SUMMIT on those mounts and the reps all say they are mostly for GM applications and that the only thing they carry for us are basic bushing kits. I did a base search on Google/Ask and similar engines and found the BlackDragon set to be the most realistic. Money/time /Availability wise. Kameari makes a set for $260.00 if money doesnt matter... but I couldnt validate that kind of coin for mounts unless i had some serious HP and planned on using it.LOL!
Jason
-
I'll do some research and see if I can come up with anything. I am pretty sure Black Dragon may be your best bet as you mentioned in the beginning of this thread. I'll look around though.
Jason
-
I bought and installed a Polyeurethane kit on my 79 and it was not crazy hard. There were a few speed bumps though. I had to remove metal sleeves from all 4 lower control arms and this was best accomplished by removing the control arms completely then re installing the arms after They were prepped with the new bushings and grease.( I went ahead and stripped and repainted all the parts I had off the car throughout this process.)I found the kit by searching energy suspension and finding a carrier. I have noticed a difference in how the car responds to my input after the install is complete. I am awaiting my shocks and springs to finish out the bottom of the car. I would recommend replacing the rear diff bushing as well as anything you can find attaching the transmission( crossmember). these all make the car move more uniform and smoother.(IMHO) I didnt initially replace the rear diff bushing and noticed some vibration throughout the car when I hadnt fully disengaged the cluch while easing forward in a low gear and at low speed. These cars are getting old and if your running original equipment you can bet you will benefit by upgrading a degraded bushing system. Theres my $.02
-
I ordered the kit today( Pn# HPK255) Via" AJUSA.COM" Ken is their rep on this forum and they got me a good price. Actually, better than anywhere else I looked; and believe me I looked. I made the decision to go with Tokico's set up after exhaustive reading on this forum and others. I have come to believe that with those of us that do not have:
A: a V8 swap, or
B: die hard racing itches
that this package will be worth while. I plan to do a full install thread and report when the parts arrive for us S130 folks. You can hit up ken's bunch by searching in the Vendor area and calling in for discounts that aren't on the company's webpage. I'll keep up with how well all of the recieption, Customer service, installation and product quality works for me for those of you that are thinking of purchasing this kit.
Jason
-
Also a buddy of mine who has "Guru" status IMHO, says that the timing on the 280Z is 180 degrees adjustable, which can cause some serious comfusion when tuning... Just thought I would drop that on ya before you go tuning... The Zx's may not be set up that way, or they may; I'm not sure...L8r
-
Wow! keep me posted on the results.I have a Brand new MAF and I don't know how to tune it. I may be buggin ya if theres a better set up for our cars, cause I hate that mine dies off up high. I don't have ANY trouble as far as dependability but tuning may be a fun deal. Anyways, keep me updated.
Jason
-
Interesting... What RPM Range does it get "Sluggish"? I'm askin' cause mine doesn't run that great after about 4500 or so(rough estimate). LOL Maybe I should be getting a look at your previous set-up. Do you notice anything on the bottom end?
-
Cool, I have no idea why it would tie into the Booster. I just hope that mine is right now,lol. I have had no problems l8ly w/ it, and I just serviced the TB and got it back to cleanliness... car runs ALOT smoother.
-
Here are the pics you wanted Silver.
-
I have broken two bolts in two seats '79 as well as'83.
same symptoms....sleep mode in the seatback. Pretty easy fixes both times though.
Where does he get these wonderful toys???Do you want racing seats or do you want something somewhat practical? I Put momo Start 2007's in my s130


Tokico shock/spring kit install
in S130 Series - 280ZX
Posted
Thanks a ton Hughdogz,I think I see what your getting at.I priced some Moog parts for the ball joints /tie rod ends, and I'll look up pricing for the TTT's. I love this site! By the way; Your ZX is truly amazing. Great job on a superb example of the potential of these cars.
Jason