

langfordchuck
-
Posts
63 -
Joined
-
Last visited
Content Type
Profiles
Forums
Blogs
Events
Gallery
Downloads
Store
Posts posted by langfordchuck
-
-
Looks great! I vote for bottom monted. DRL's are a good idea in our old cars, which, even with lightng upgrades are dimly lit compared to new cars.
-
So, what was the technique? buffing wheel on a bench grinder, with a buffing compound? If so, what kind of compound did you use? Am anticipating doing some chrome polishing, and my valve cover, and lookiing for the most efficient method, as it could be a LOT of work otherwise. Thanks!
-
Yes, I just purchased my MIG Lincoln 180, and finally got the cash for the tank. I was wavering on the tank (another $250 into tools, not car parts, ouch...) My mechanic told me, " don't learn how to weld with flux core and then later get gas: learn on the final set up". In other words, cut your learning curve down. Plus, flux core sux: it is messy and takes lots of grinding to clean up right. Its expensive, but i think you have to bite the bullet.
-
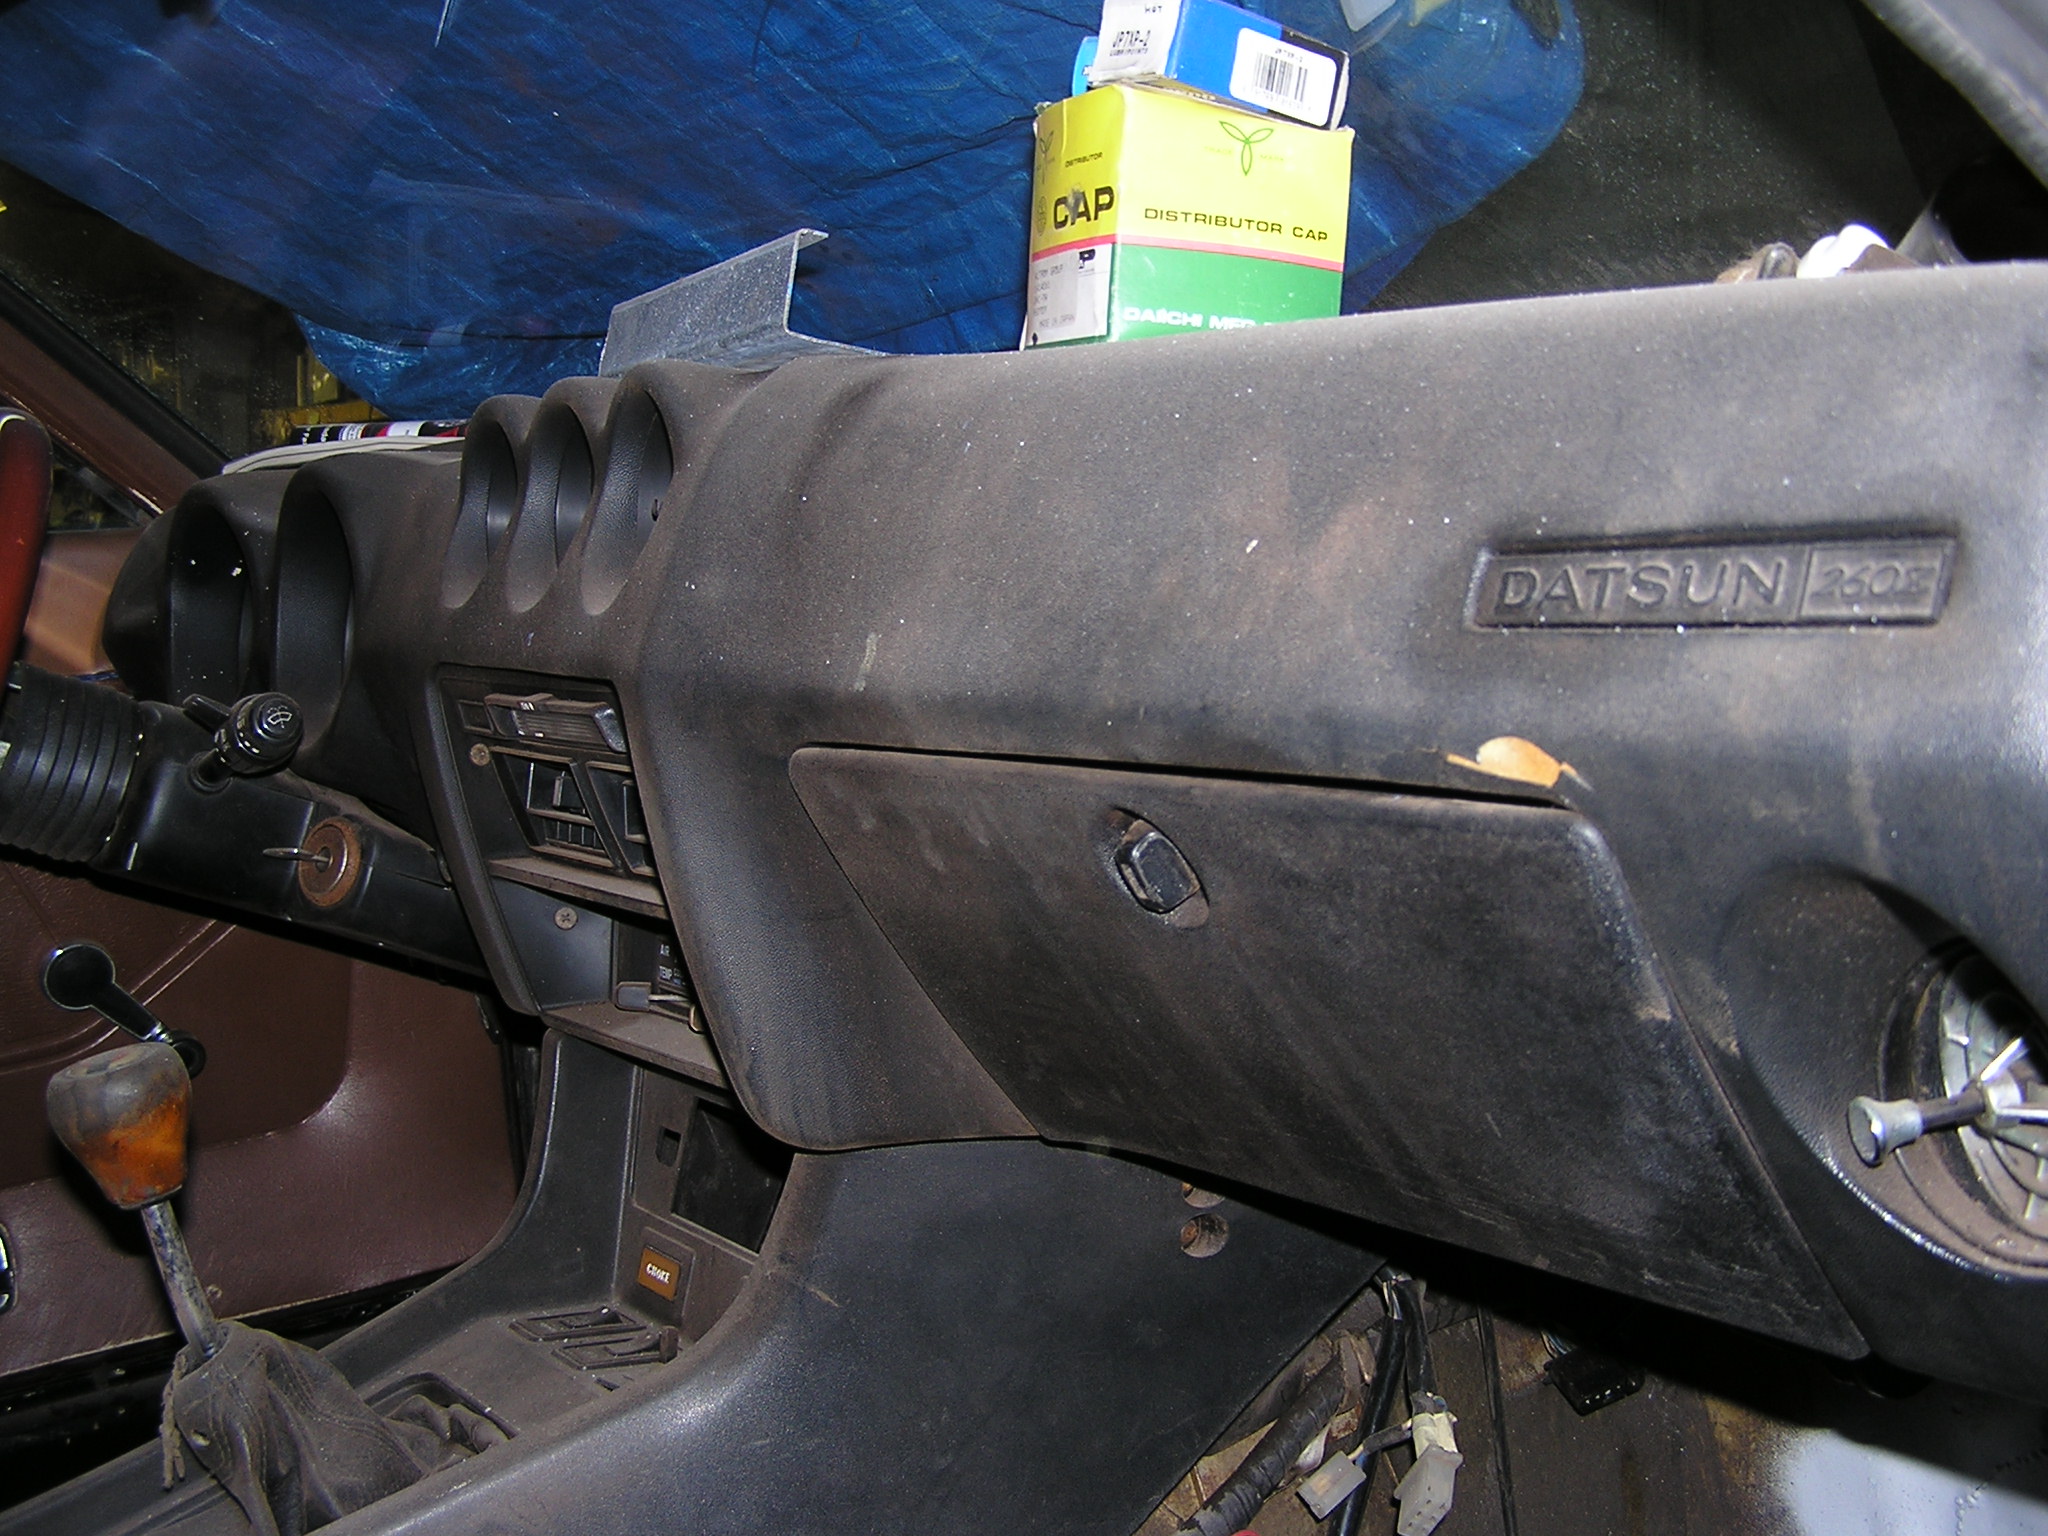
It is missing pieces, but since you intend to cover it with a dash cap, then you could just fill in the areas to the right contour and then cap it. A search of this forum will give you info about what people have used, which ranges from body filler to sikaflex to two part epoxies. Should be simple enough given you don't care what it looks like, as long as it provides some backing for the cap.
-
I'm in for a set. Only question I have is that in your last diagram the vertical braces span the centre hole for the strut assembly. While this seems better for double shear, it does't leave a lot of meat to weld the uprights to. I assume that in your mock up you looked at this, and are confident that there is enought surface area for a good reliable weld?
Either way put me down for a set. thanks for your work on this.
-
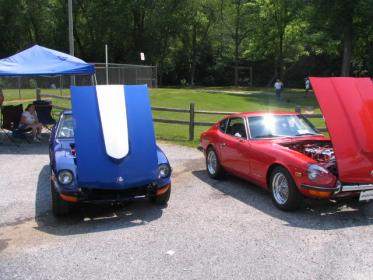
I have seen this pic in other posts on this forum, in a post from Scottkell.
http://forums.hybridz.org/showthread.php?t=137062
I really like the spoke wheels on the red car on the right: it gives the car a bit of an old style, jag-like, european look. does anyone have any info on what the wheels are? I think they look great!

-
Yes, I just put one of those on my 86 MR2. As I was installing it i thought, this wouldn't be hard to fabricate for my 260z... I would be interested in the brackets if some are getting made up.
It seems clear to me that the point of the strut bar is to limit side to side movement, not up and down movement. But torisional stiffness is not exactly the high point of zed design, especially for those of us that have compromised frame rails and have not yet replaced with bad dog parts...
-
what? nobody here just drives one wheel up on the biggest curb they can find and then crawls underneath? I call it the city council free lift service....
-
the nice thing about the old mechanical design is that it is not that hard to free them up: just some awkward reaching. i use white lithium grease: trace the wires (oops, cables...) back to where you find a pivot point, lubricate it, and work it back and forth with your hand using the cable (not the lever, it may break on you and then you'll be pissed off). It may take a bit of tweaking on the angles if the pivot and joint points are out of alignment, but I find it usually works pretty good in terms of freedom of movement. Sometimes the cables rust out a bit and stick in the outer plastic tube, but a bit of lithium, or even silicon spray and some moving back and forth will work.
-
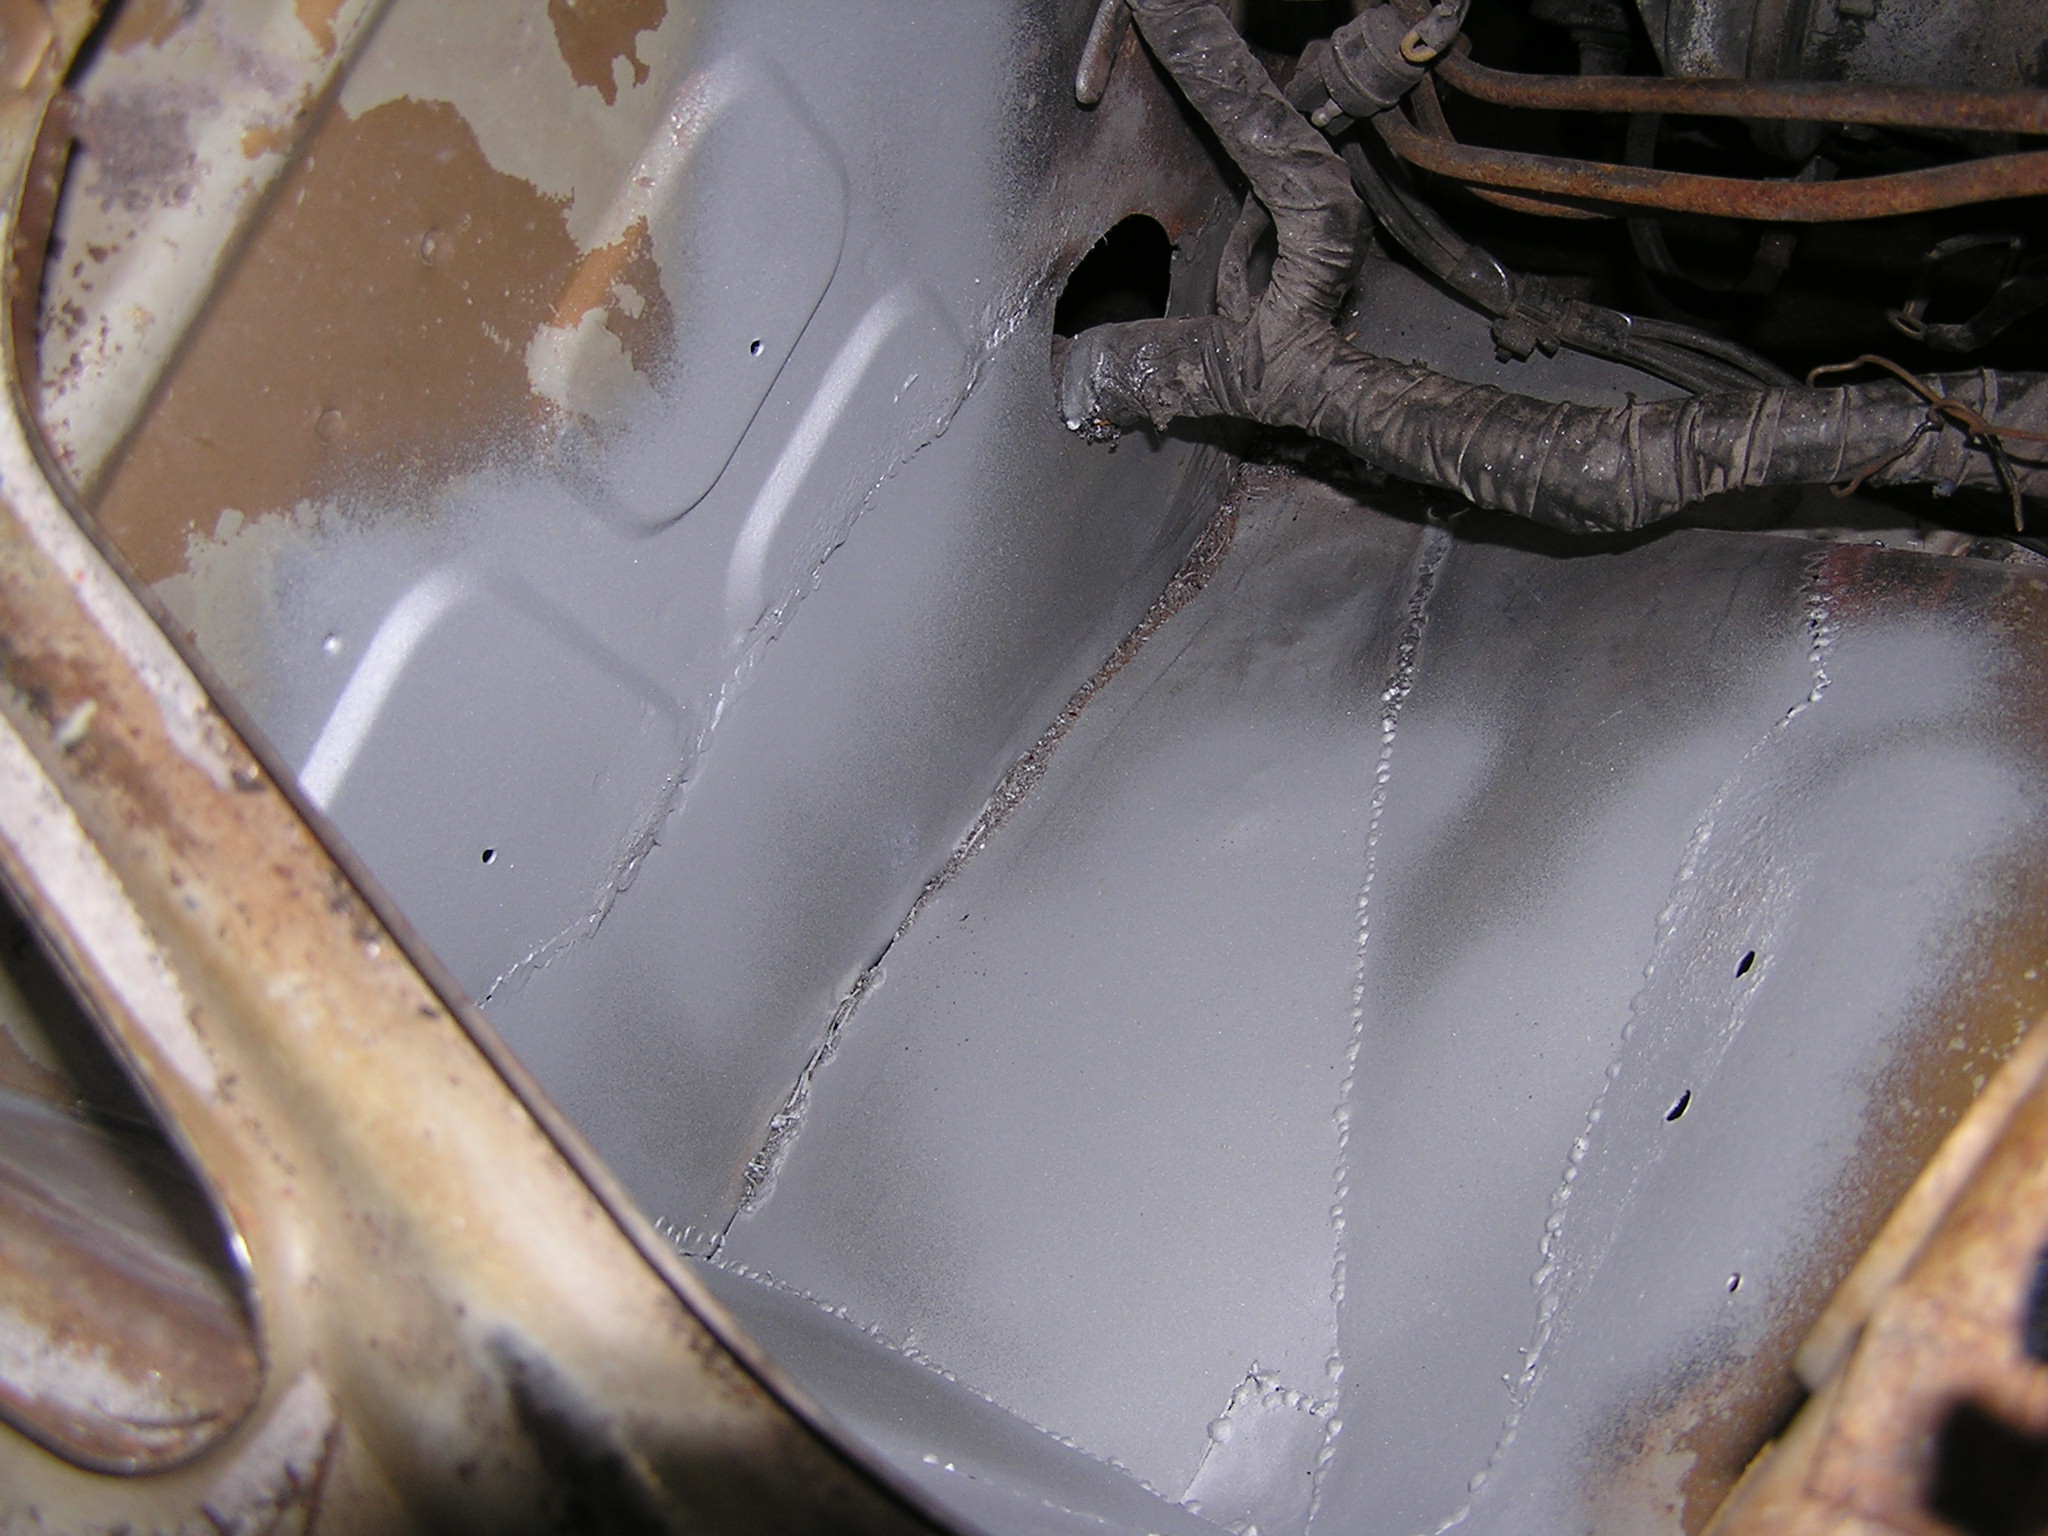
Slow but steady progress on the 260. My buddy who was storing the car and helping me out with it (thanks Andy!) needed the space so it is now in my yard. Closer for me to work on it,
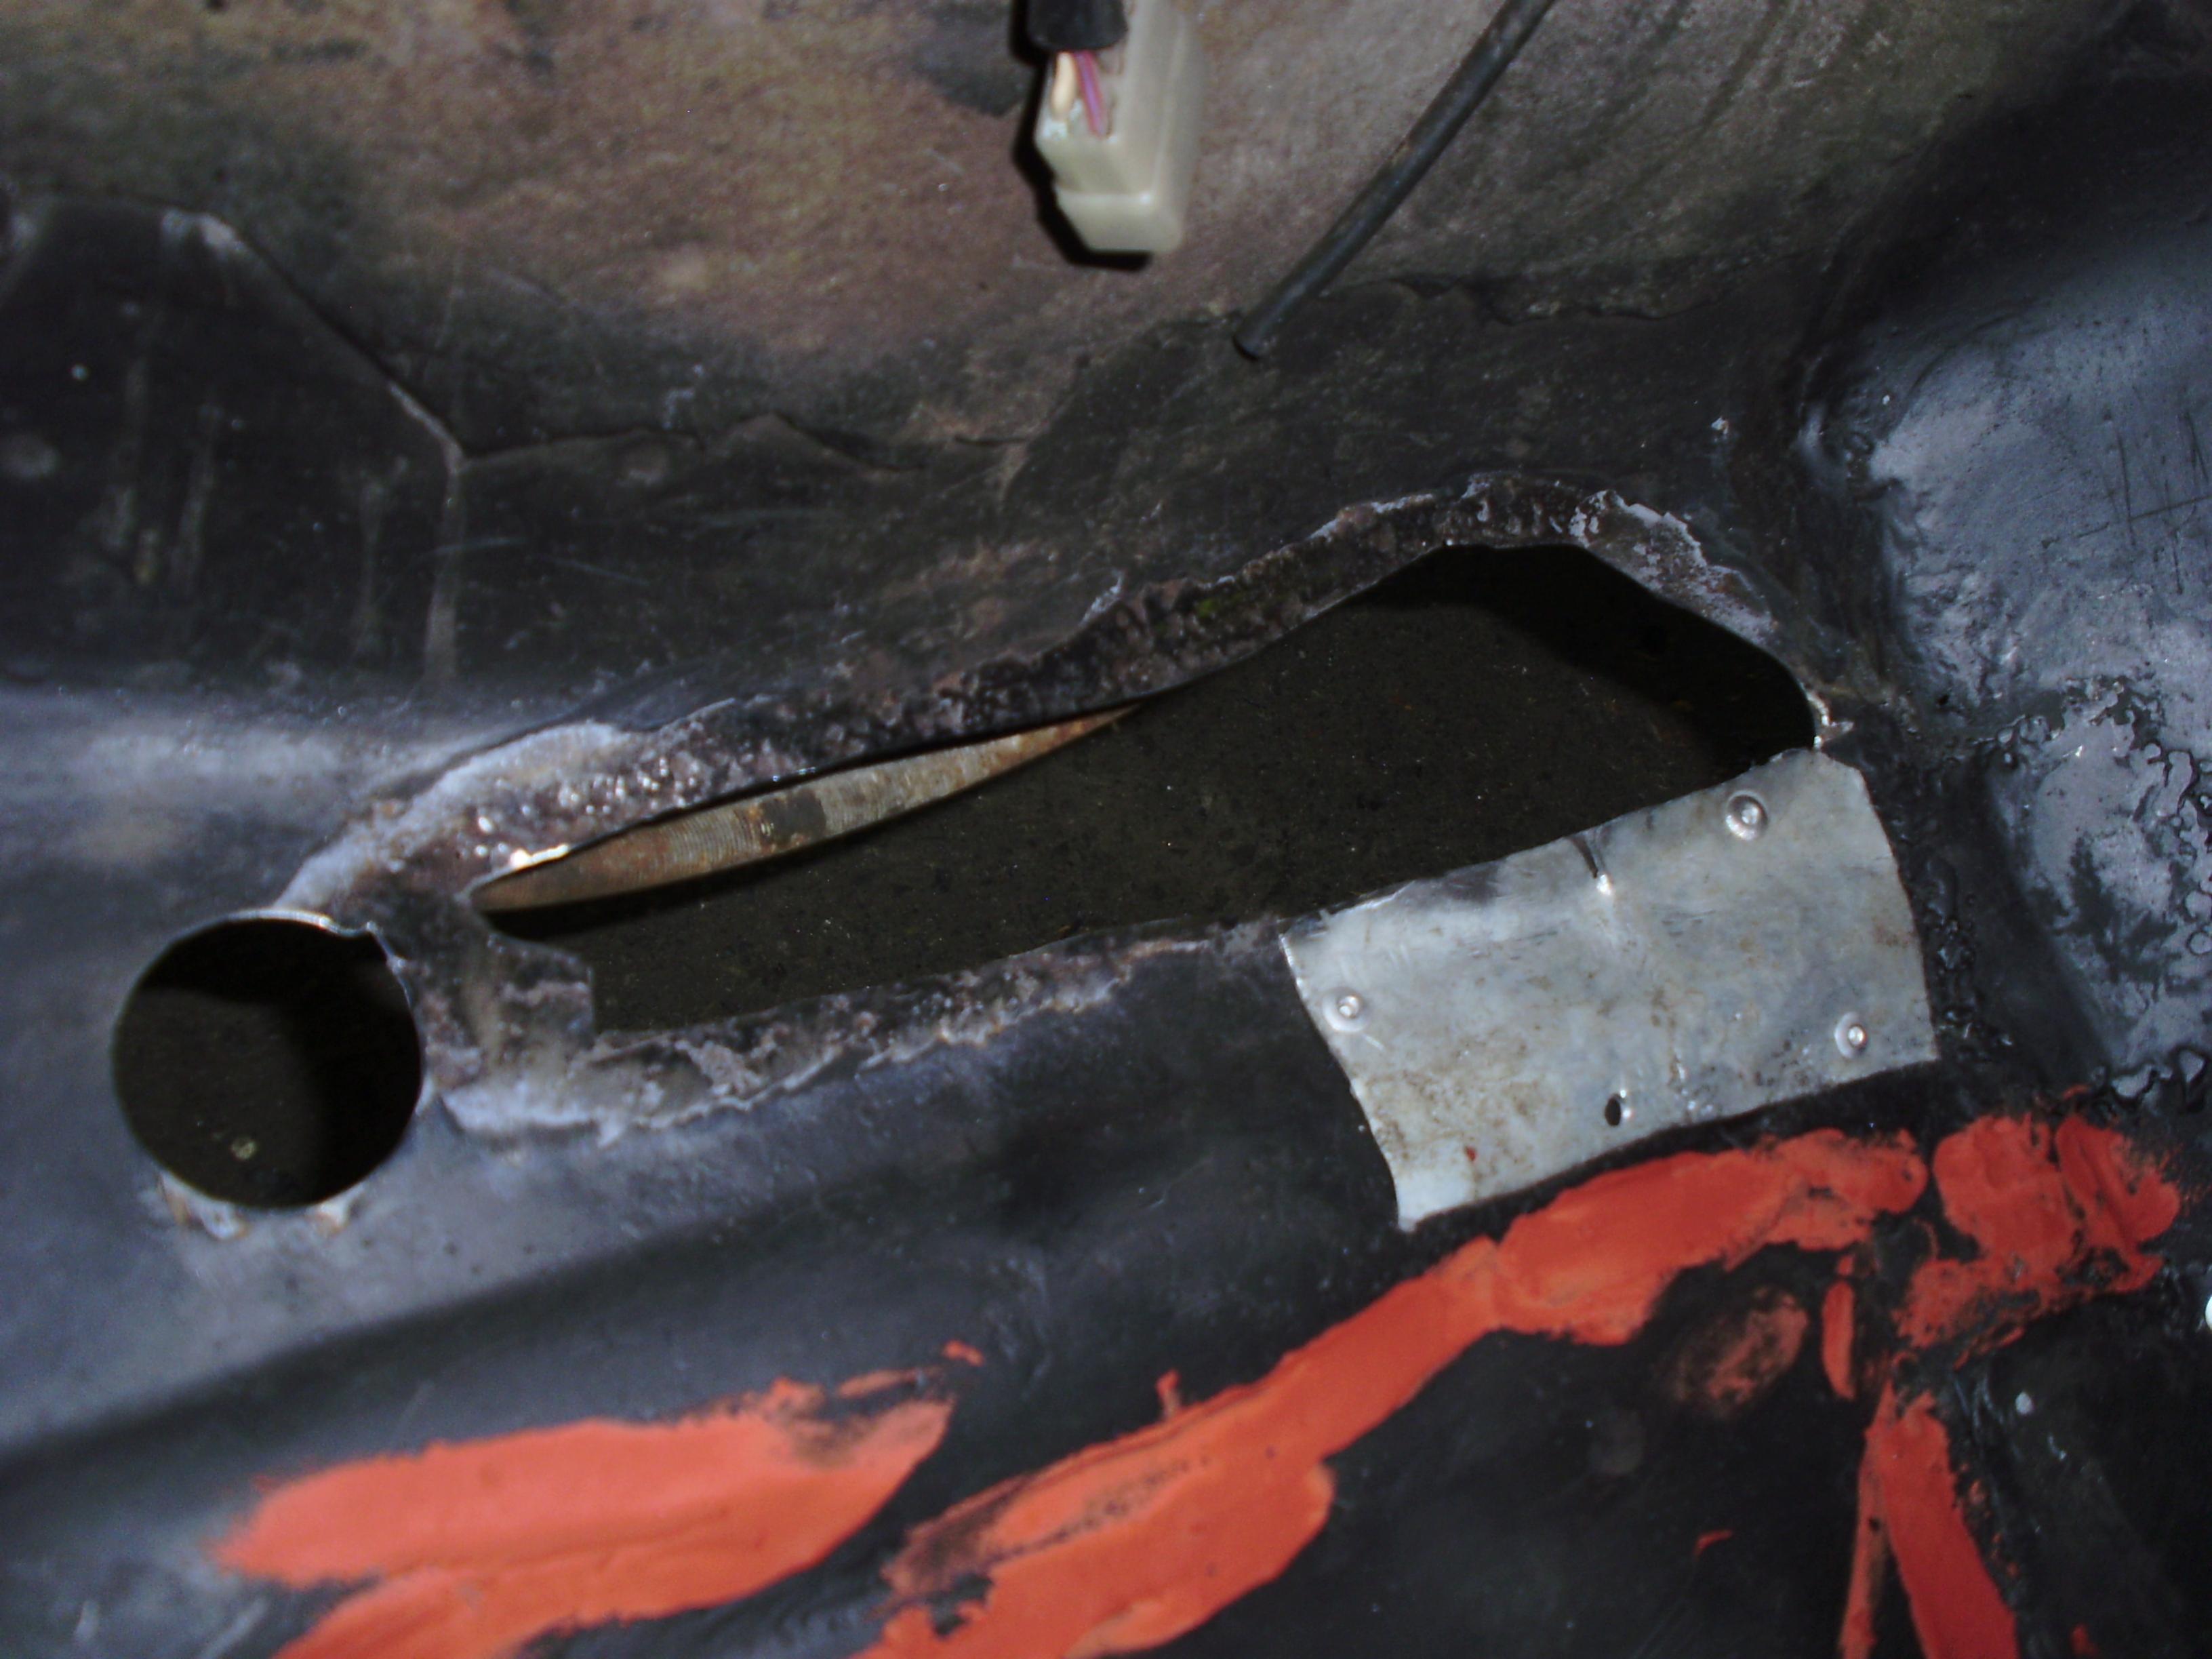
but harder since I don't have the benefit of Andy's experience . But the cool thing was that I got to drive it home! no fenders, no windows, no interior, no papers, good thing I live in the country LOL. First time i have ever driven it!. Have completed all of the work on the front floorboards and firewall area: lots of welding was required. But now the floors are all good metal, sealed up with body sealant in the join areas, metal etched and then painted with multiple coats of primer.
After reading many posts here and elsewhere about exhaust leaks in zeds I decided to do more than I originally planned to seal up the car. So new taillight seals, new hatch seal ordered, but also body sealant on all the panel join lines, in addition to sealing licence plate light fixture. am also replacing / deleting gas tank vent lines that run through the back hatch area, pus sealing any other cracks or holes i can find. Will likely rent a smoke machine and do the vacuum test as well, just to make sure, before I put all the interior back in.
Installing some speakers, one in the original location to supplement the box I am building for the rear, and running some electrical lines to the back for future power needs, ie hatch release, etc.
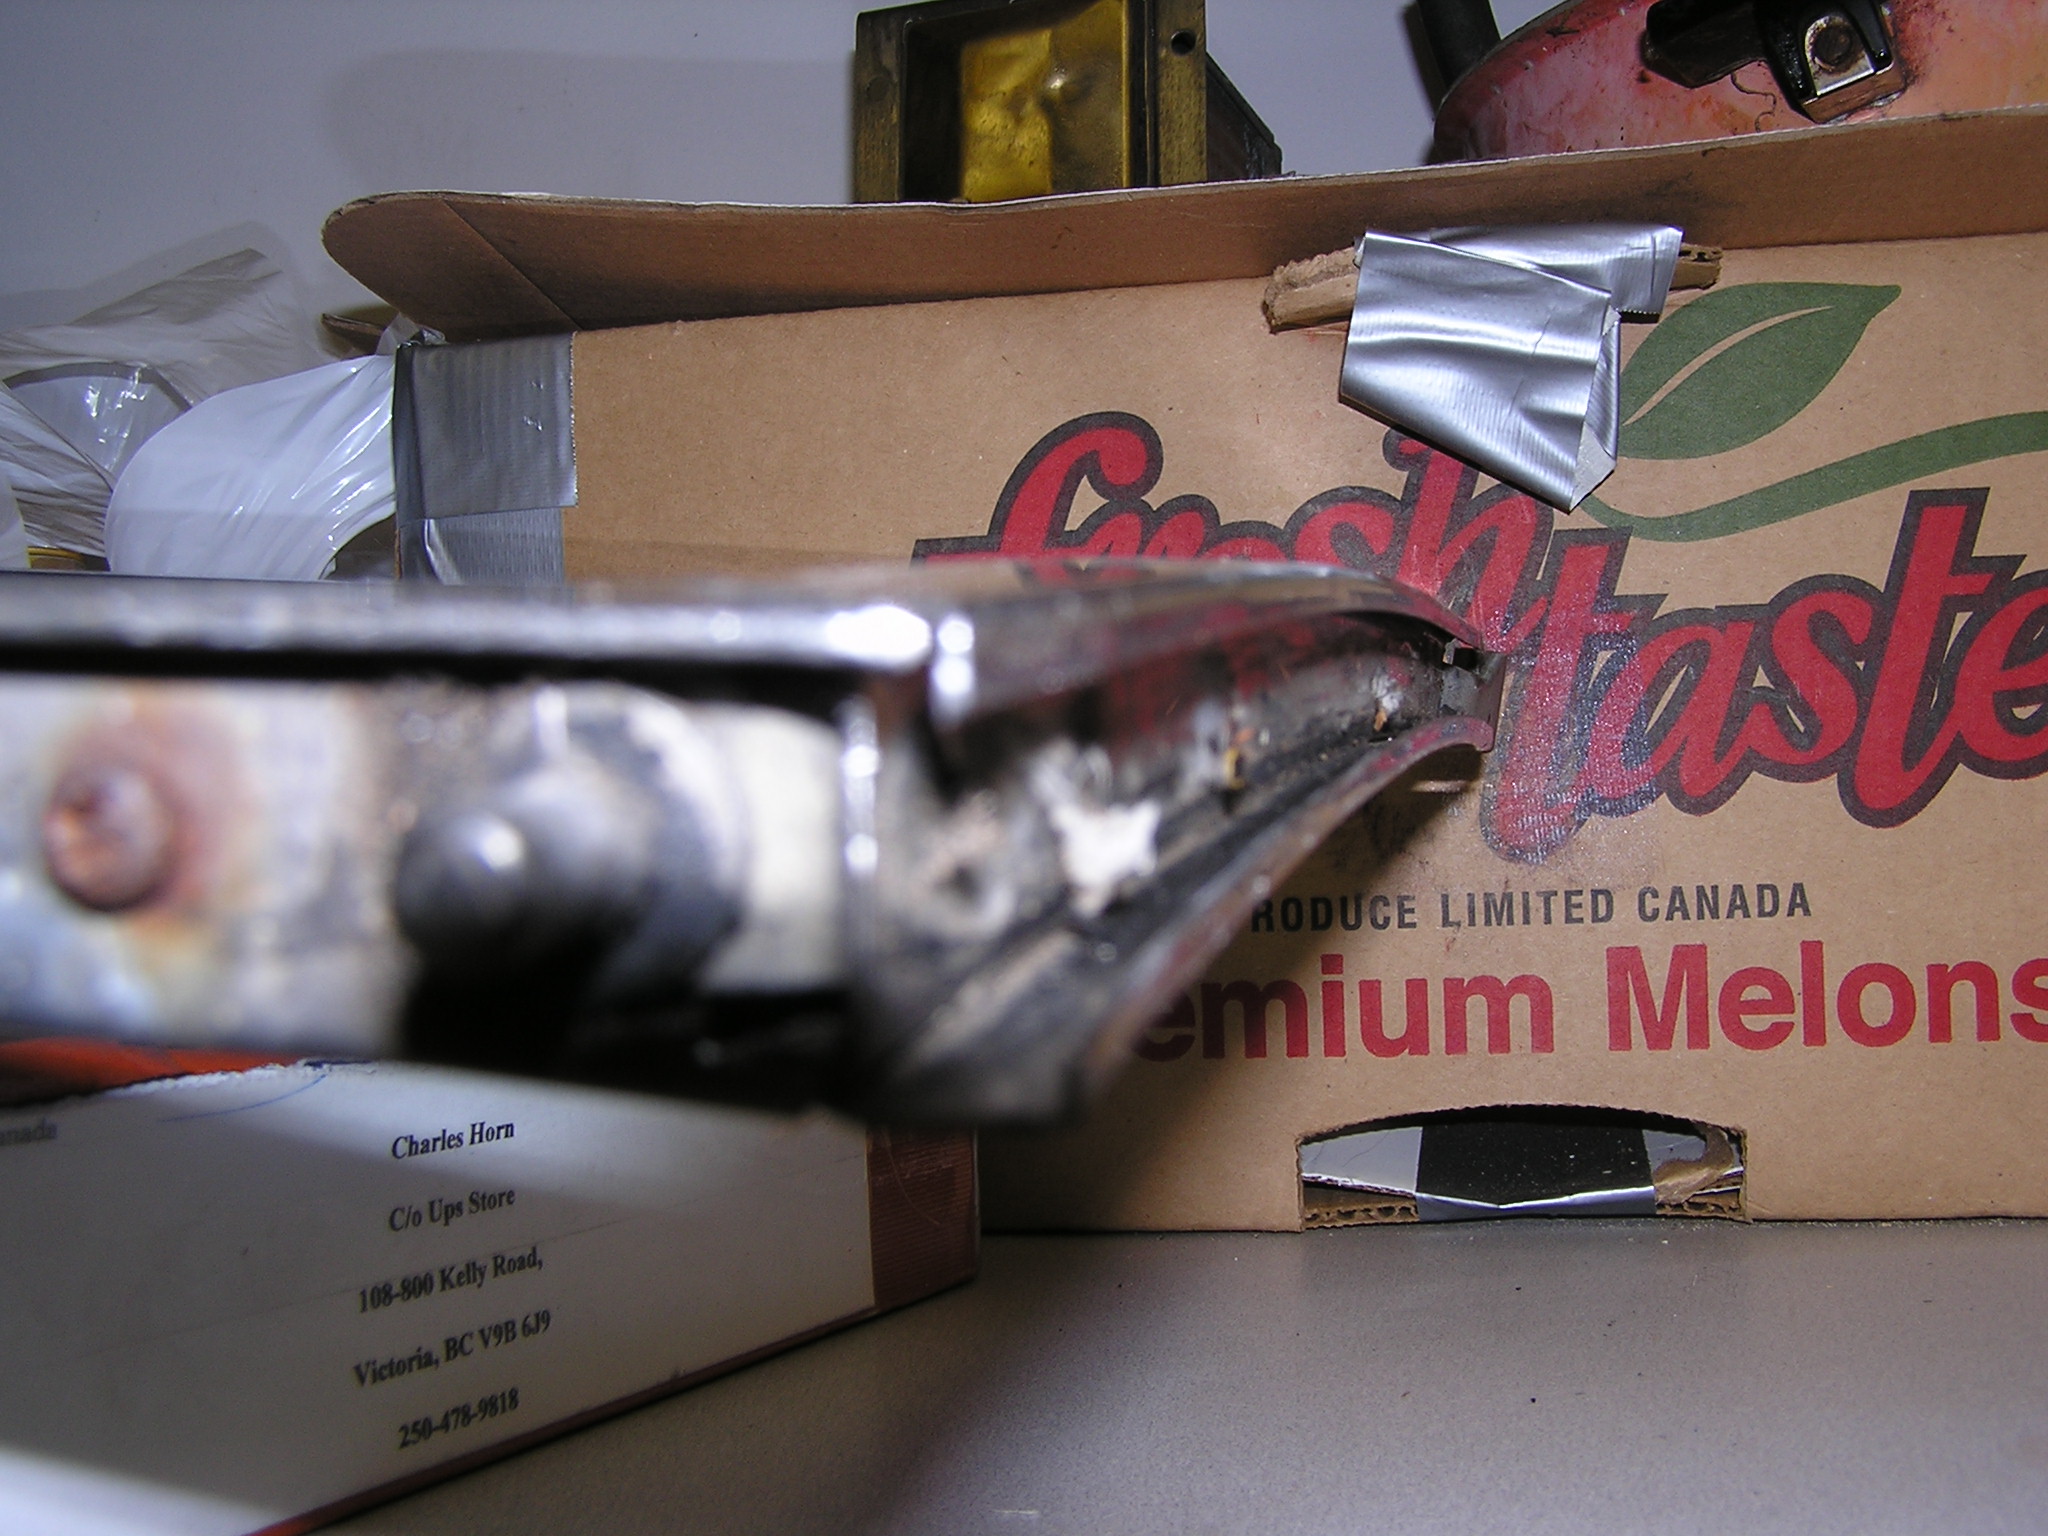
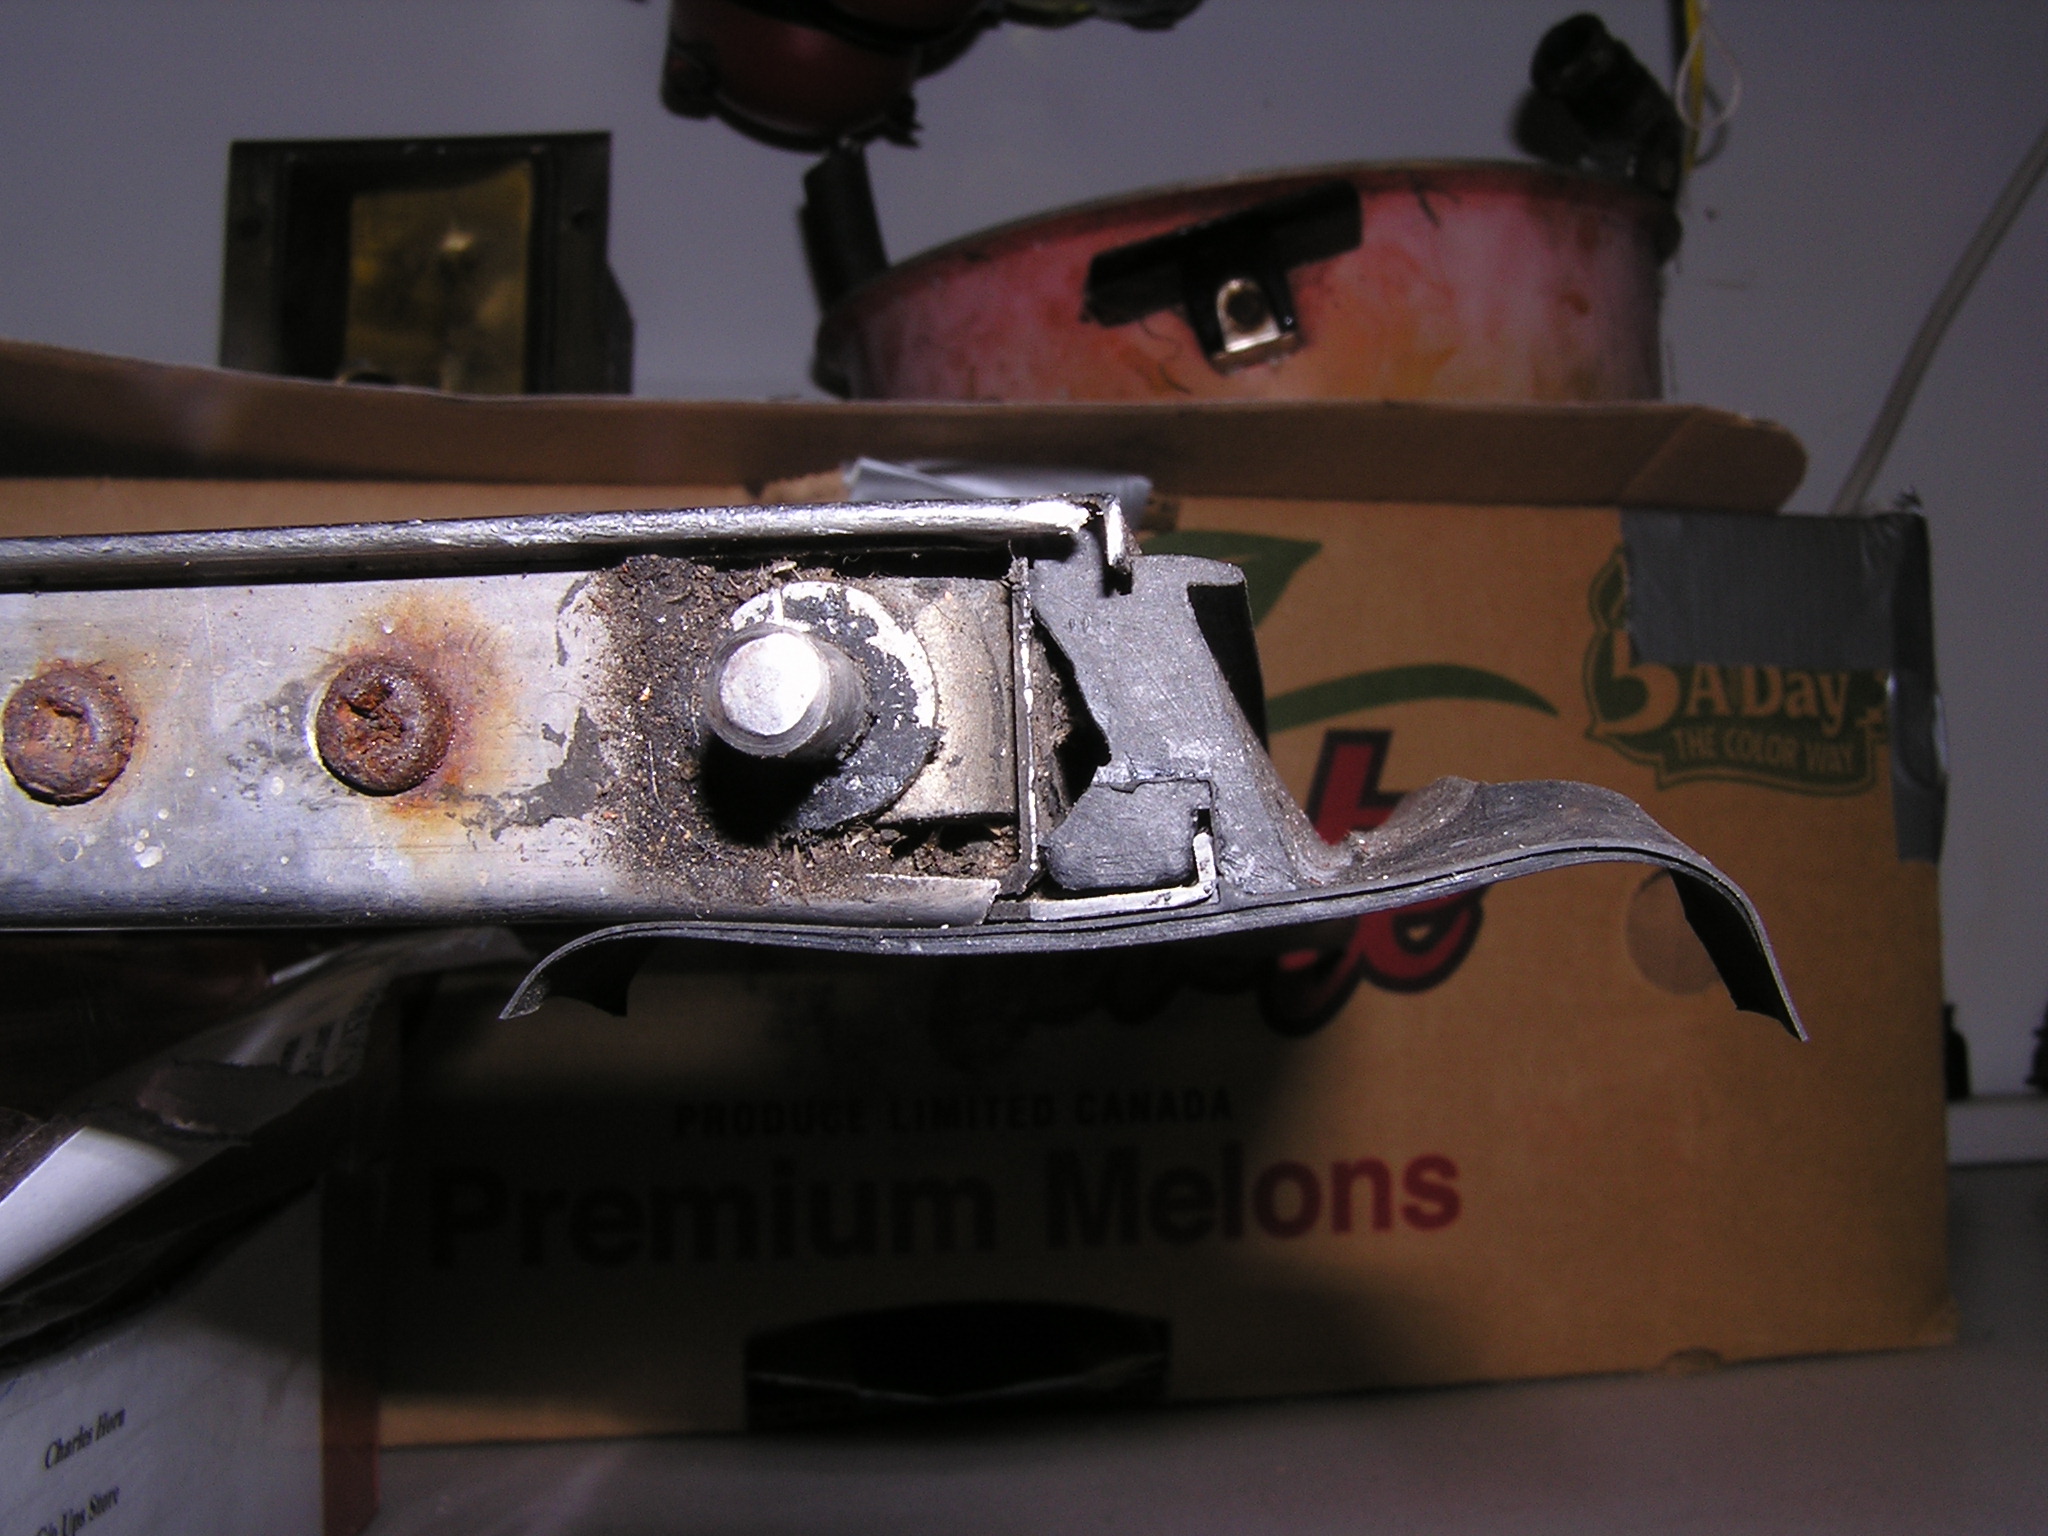
Some pics of the progress.
-
Well, on a stock 260 there are two pumps, one mechanical on the block and one electric, which is the one you are talking about. I am not sure what v-8 you have so can't tell you if it has a mechanical fuel pump or not. The second pump on the 260 z was to deal with vapour lock problems on earlier z'ds.
The FSM tells you the relay is on the pass side, on the relay panel, under the dash, on the right hand side. a little detective work will identify which relay it is.
-
Hmmm, very similar to my story. I bought a 74 260 2+2 which had also been sitting for a number of years (at least 8 or 9, probably longer). I am in the middle of a fairly extensive make over, including a fair amount of welding, which was new to me as I have only recently bought a welder.
It is as usual, more work than anticipated. The Battery tray area was shot, as was the dog leg, lower panels on both quarters, the bottom of drivers door, and one portion of one wheel arch. As well, the pass floorboard was pretty bad.
In addition, the interior needed renwal, including carpet, dash cover, door panels, etc.
So all in all it needed work. But it flashed up with a little persuasion, and seems to run without pushing blue. I know it will need some TLC, and then the usual upgrades (alternator, petronix, some wiring, tune up, etc).
But I didn't pay anything close to the price the owner of the car you are looking at is after. I paid closer to $800.00, and then paid the PO for some welding so cost more than the purchase price.
I am satisfied for the amount I paid: I think it will be a good car. So I would assess the car closely: the rust was more than I would have liked and i should have looked more closely when I got it. But the other parts so far have been very do-able, and I am happy with the purchase.
-
looking good. I like the fab work. am subscribing to the post: i just bouth my first welder and so am keen to see what people are doing with theirs.
-
i know this thread is a bit old, but in support of us my 260 owner brothers/sisters if someone still wants pics of my 260 fusebox/cover I will take some and post. Can't do the backside as it still attached and fasteners are rusted on. The fusebox is located on the pass kick panel BTW.
As well, since we are on the topic, I am looking for a second, aftermarket one to run new accessories through (stereo, alternator upgrade, headlights, etc) to take the load of the 30 year old box. I have seen maxi fuse mentioned here a number of times. Does anyone have a recommendation, or alternate suggestion, maybe from a later model wrecked car, or should I just go a 6 fuse maxi-fuse?
Thanks all.
-
My early 260 2/2 doesn't have this panel, nor does it have any sign of the brackets that should go with the panel. But of course who knows what the PO did. But, since the car is still at the PO's house where I am working on it, I will ask if he recalls it.
-
Ouch!!
Been there, done that: had a bladder stone, and it was the most painful thing i have ever experienced. Brutal. I lay in pain on the floor of the emerg ward for three hours until I finally passed it. I'm told these things build up if you hold back from pi**ing too much, so now when i gotto go, I go.
-
Well, continued slow but steady progress on the zed. I have been focusing on getting the floorboards and other interior surfaces done so i can put my interior back in. I don't want to be sanding or creating dust after the new carpet is back in, so I am holding off putting down the sound deadening etc until i have finished creating major dust.
The plan for the floor, now that my buddy Andy has done the welding, is to lay a little glazing putty down on the pass side to smooth out welding lines, then finish most of the bondo work on the pass side dog leg. Once that is done, I will take all the crap out of the car, clean it like a madman, using the following sequence for areas to be painted:
1. where surface is smooth, a little roughing up with 120 grit
2. clean with generic 'green' cleaner
3. clean again with 'marine clean' from POR
3.1 spray some POR Metal-Ready, which will need cleaning again after it has dried
4. Clean again with Tumbler silicon removal in places where i suspect caulking has been used, and with regular paint thinner elsewhere.
5. final wipe with thinner as needed.
6. Galvininzed etching primer where there is bare metal.
6.1 add body seam caulking where needed, ie, where floorboard meets firewall, etc
7. Final thick topcoat of rustoleum paint, tinted to roughly match the original yellowish/goldish colour of the floorboards.
-
'77 260? My 260 2+2 is a 74: I thought this was they only year they produced the 260, in North America at least.....
30 year old wiring is still good wiring: copper doesn't decay. But connections, relays, fuseboxes, and switches do. My thought is that the best bet is to work on replacing/ upgrading those components, including such things as alternator upgrade, headlight harness and relay from zedonthebrain, maxifuse distribution block for some of the heavier draw accesories, etc.
-
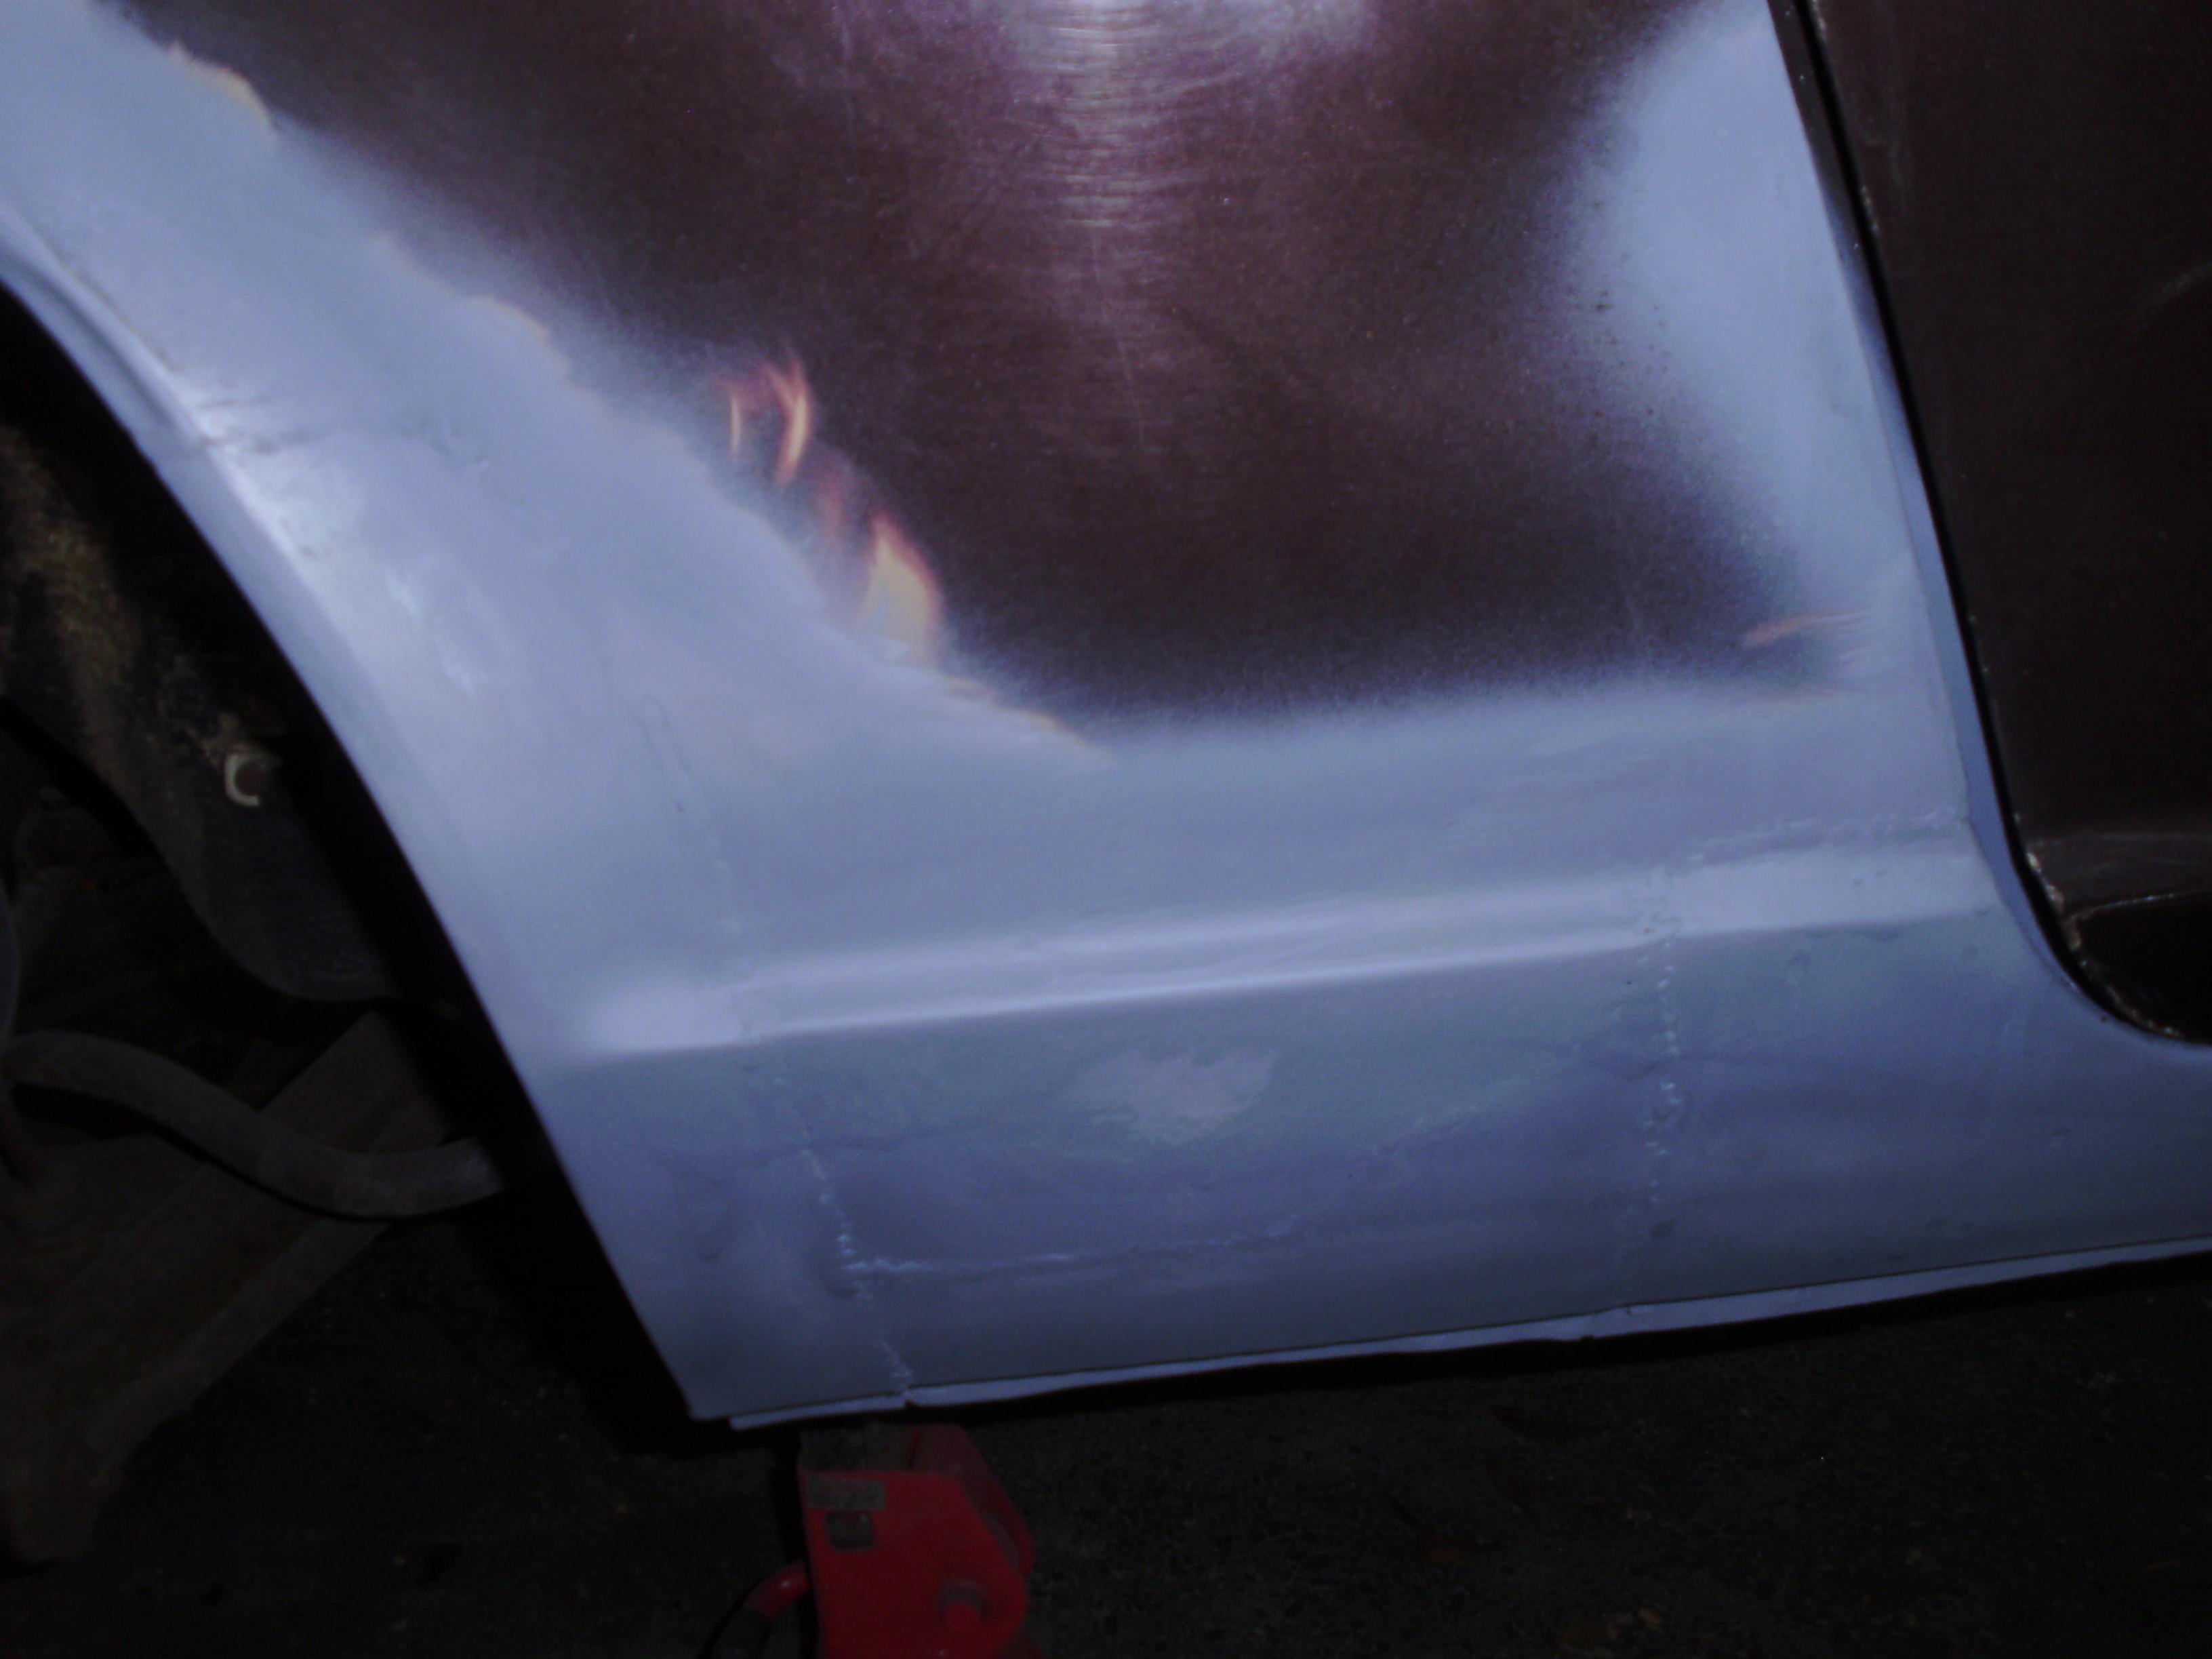
Well, progress continues on my 74 2+2. Some welding on the floorboards has been accomplished, as has some bodywork in the usual suspect areas.
The battery tray was a mess, and required quite a bit of work. the dog leg on the pass side was also bad, as were both bottoms of the 1/4 panels. the rear deck was ok, save a small hole in the tire carrier.
Recent pics attached.
-
Well, in the spirit of 2+2's...
Progress continues on my 74 260 'stretch limo zed'. In a development that will come as a shock and surprise to all z owners, I have discovered MORE RUST behind the paint! The horror, the horror! Oh well, it keeps Hobart/Lincoln in business, right?
Drivers floorpan all done, pass 1/4 panel all done save a bit of putty work, pass dog leg done, battery tray area done, and pass floorpan nearing completion. Broke down and bought a flanger/puncher to make the panel repairs easier: will report out if it is a worthwhile tool to own.
Interior ready to roll: once the floorpan done I can do the RaMAAx and insulite and reinsall seats etc. Working to be able to drive it to the local all Nissan show on june 7th. Will be tight.......
will post pictures shortly on my build thread.
-
check the rubber tubes that lead from the cowl through the fender well and drain outside. Sometimes the rubber corrodes/splits when it gets full of debris and it leaks into the floorpan area. I haven't found a source for replacing these but they are easy enough to make out of heater hose. also check to make sure it is not a leak from the heater core or the hoses that feed into it.
-
I will pull my panels tomorrow and assess their shape. If they are NFG then I am interested. But alas, my car is a 74 260 2/2, and the doors are a little bit bigger, and so, I assume are the panels. Rayven14, do you have a mold for that or am I SOL?
-
Well,on the surface it is in better shape than my 260 2/2: your dogleg (in front of rear arch) doesn't look too bad. the 1/4 panels have the usual bottom edge rust, but replacement lower repair panels are readily available. the large volume of surface rust means that some serious sanding or media blasting is in order.
BTW those bumpers are the same as on my early (1/74) 260, so i assume they are correct (stock). But the chrome is pretty rough on yours so may need to swap them out anyhow.
For rust also check out the gas cap area and spare tire well.
Check out the carbs to see if you have the infamous flat top hitachis. if so, hang them as a warning to bad carb design.
Finally, recognize that some 260 parts are a bit obscure as they were made in the US for the one year. But maybe i say that because I hae a 260 AND a 2+2. (BTW, i have learned that obscure does NOT equal rare
). -
hmm, thanks, i hadn't thought about swapping windows with a later model. Might try that if my all else fails.
On the 74 the original w/s is a one piece on the body all the way around, on the pinch weld, with an additional piece that slides onto the leading edge of the 1/4 window, to seal the 1/4 window/ door window gap. But apparently all the replacements are now two piece: one for the 1/4 window and one for the door opening.
I assume the splicing operation is straightforward: make mitre cuts and glue together using some appropriate rubber adhesive. I note the stuff from precision looks heat sealed but I suspect this requires special technology.
thanks.
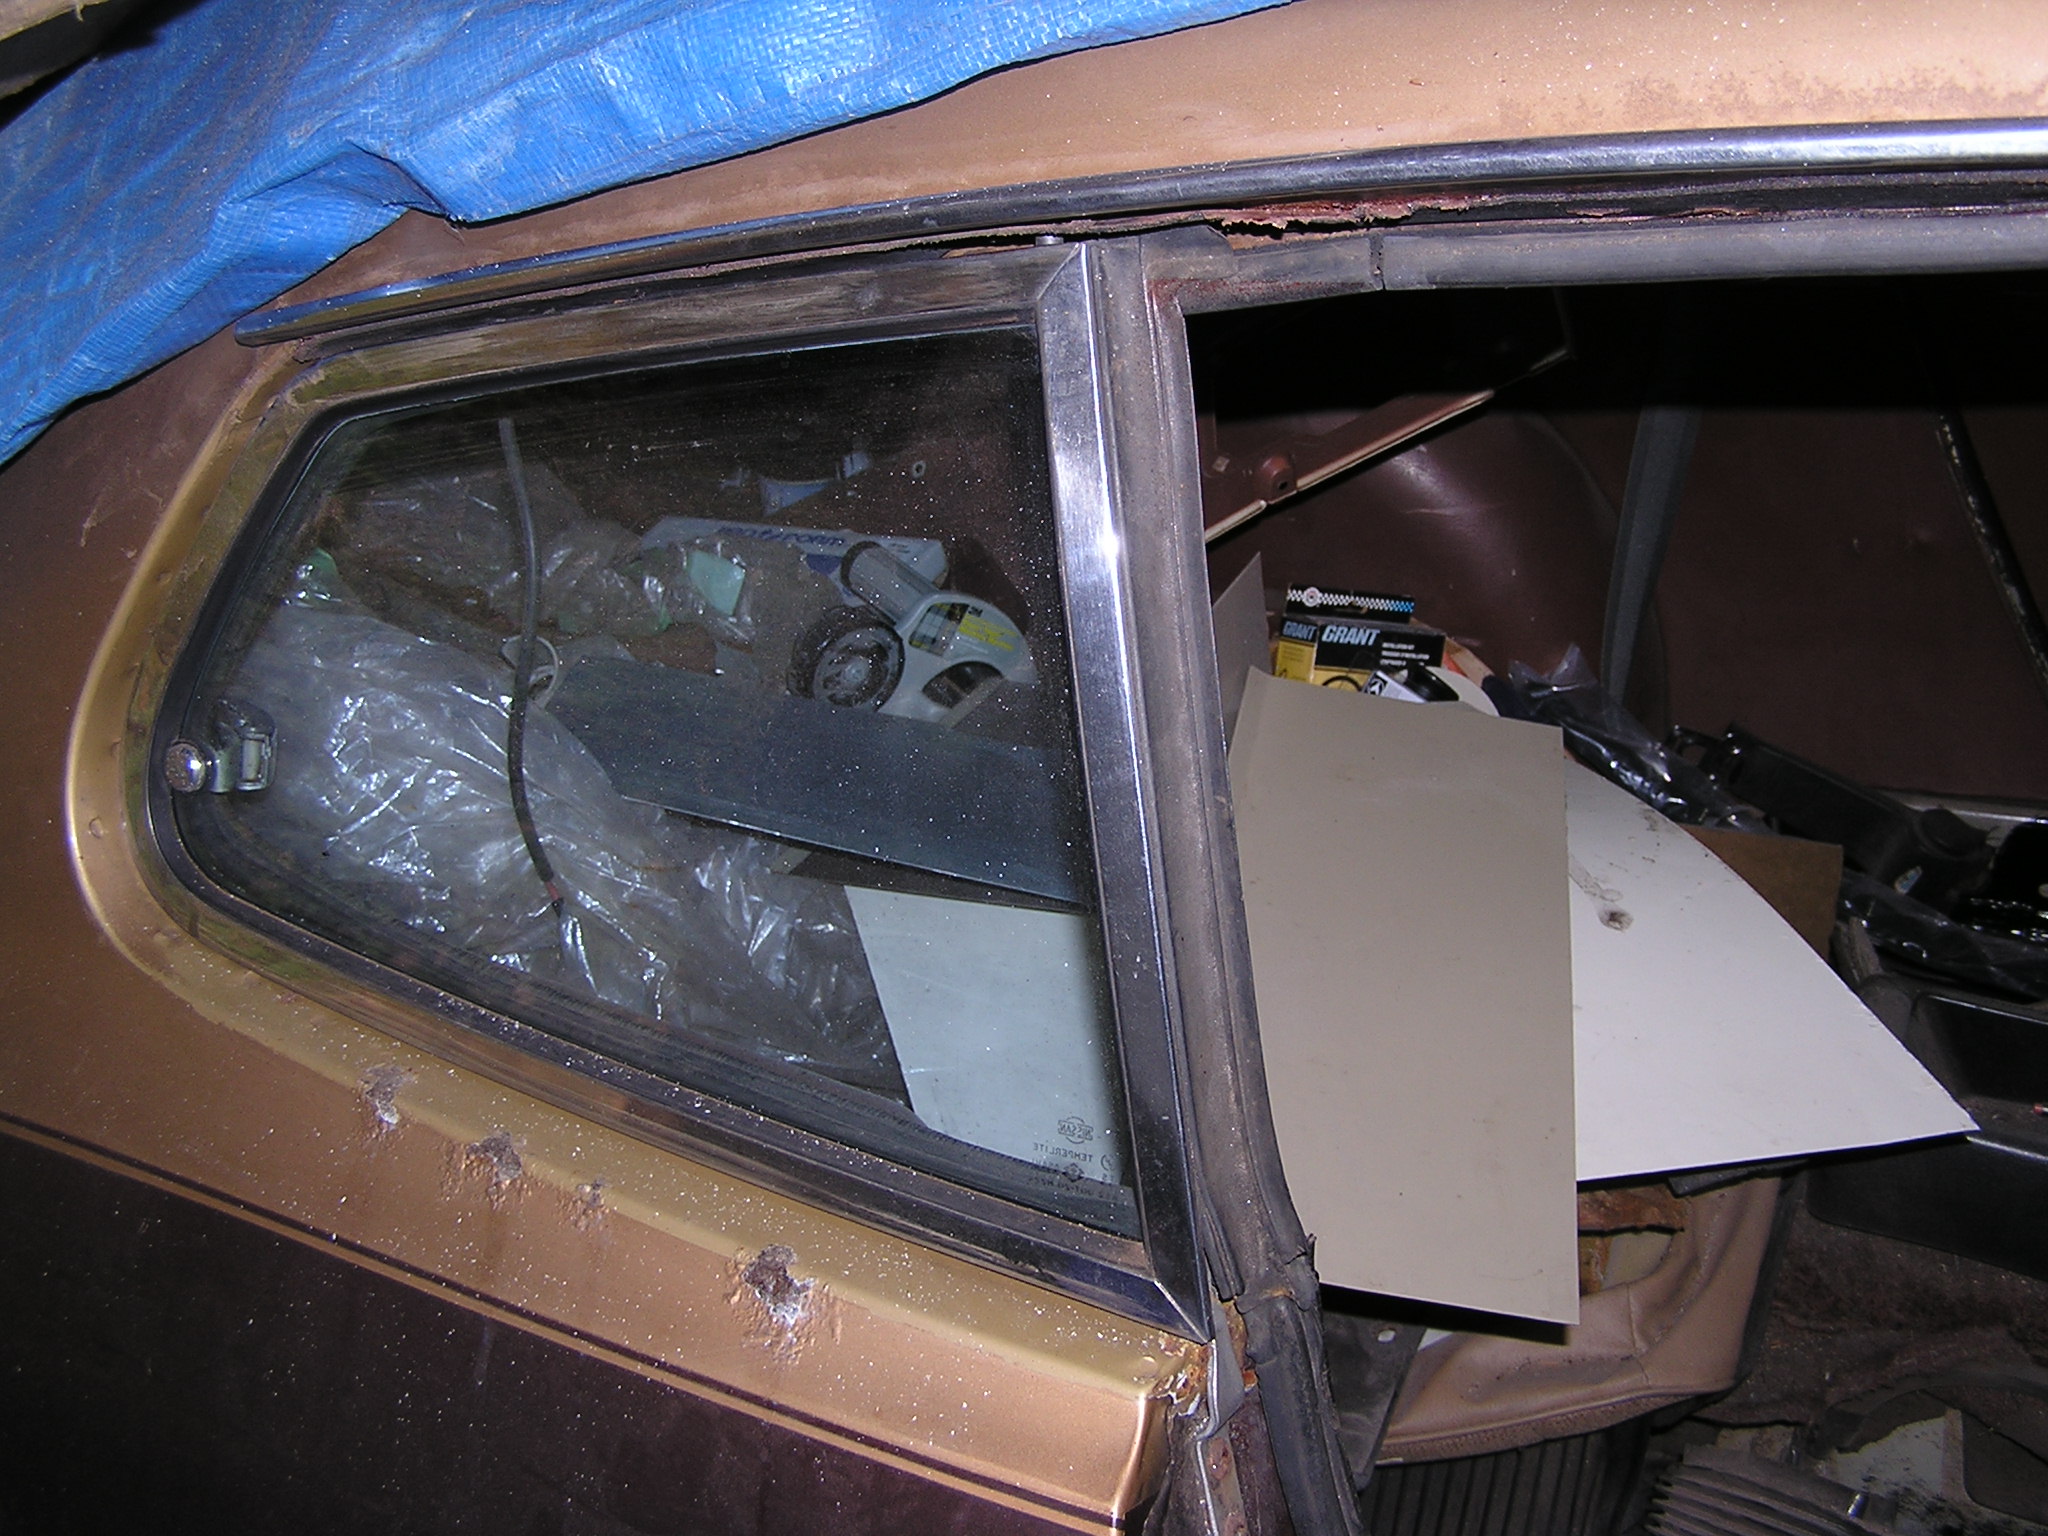
Some pics if this helps.


carpet kit q?
in Interior
Posted
Mine, from MSA, doesn't. In any event, it is better to cut a X than to drill out or cut a hole.