Seppi72
-
Posts
5 -
Joined
-
Last visited
Seppi72's Achievements
")


-
Miles: Nice placement in your engine bay. It looks like you just ran a positive off the battery terminal (?) to your box and all the accessories are using the chassis for the negative side. As most of my accessories (radio, windows and A/C so far) are in the passenger compartment, I was planning to put my box on the passenger side firewall and probably run both positive and negative 10 ga. leads to it.

-
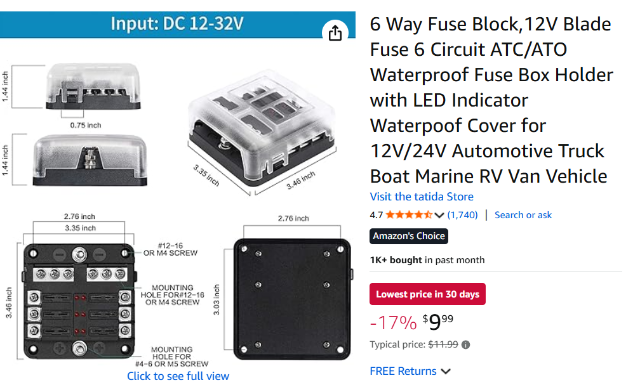
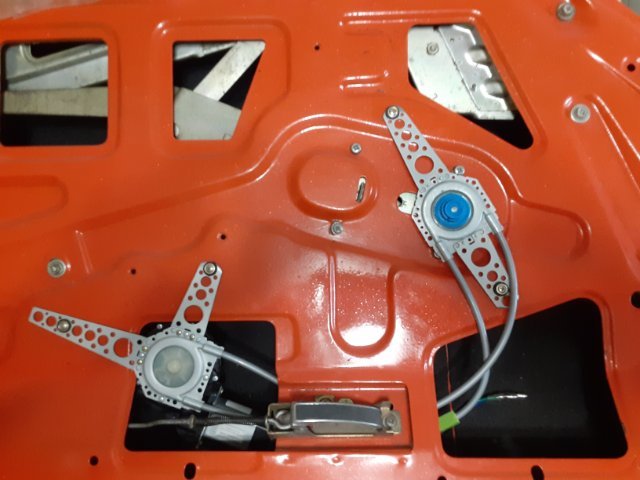
Luigi: I used a $70 "universal" power window kit that can be obtained on Amazon or eBay. A current Amazon vendor is JDMSPEED. This is quite similar to the SPAL that was marketed some years ago. What I found in my research was that several marketers offer the almost, if not, identical units on these shopping sites. As the units are all made in China - perhaps by the same manufacturer - this kind of makes sense. It's like every corner convenience store selling M&Ms. Earlier this year I started collaborating with Dave Irwin (Zs-ondabrain) to update and expand a thread he created in 2006 on the Classic Zcar Club website www.classiczcars.com). I decided to alter the wiring so that just two switches are used and the controls are mounted on the sides of the center console. The article has kind of stalled out as I went on to do other things on my car but I swear I'll get it done and posted there before year's end. In the meanwhile, here's a photo of the drive unit installed in the left door of my car. The drive unit is on the lower left and the "engagement gear" is on the right. It has plenty of power to work the window mechanism but, my goodness, you absolutely must have the window track alignment perfect or it binds up.
-
There doesn't seem to be an electrical forum on HybridZ so I thought I'd put this in the model-specific one. I am in the process of adding several updated accessories to my original-owner S30. In particular: power windows, Vintage Air A/C system and RetroSound Motor 4 radio with quad speakers. I've already installed Dave Irwin's headlight relay system to take that load off the combo switch. I have a rebuilt 280ZX alternator from MSA to supply power once the Optima red top kicks things off. With all these new accessories, it occurs to me that perhaps I don't want to be chopping into the existing dash harness wires to provide them with power. So I'm thinking about installing positive and negative busbars on the interior firewall that I can hook up to as needed. Is this a wise idea? Has anyone ever done this mod and, if so, what parts did you use and where did you locate them?
-
I'm going to go with the white vinyl gauge overlays for my 240Z rebuild. There is no sigificant issue in doing this for the three smaller gauges. However, to do the tach and speedo will require removing the needles. So, I ask any of you who might have done this previously if there is any "trick" needed to remove them without doing damage or messing up the reinstallation. Also, because my needles are white, I'm going to have to paint them so they stand out on the new white background. I was planning to use fluorescent orange for this as the car itself is bright orange. Of course, I could always go with black but I think orange is a nicer contrast. Plus, the fluorescence should really stand out with the LED bulbs I'm going to also be using in the gauges.
-
Cross-posted on Classic Zcar. I am in the process of installing G-Machine camber bushings (purchased from MSA) in my '72 - replacing the urethane ones that have been in for almost 5 years - and have a question. How does one actually adjust the rear camber with these things, especially with the flimsy "tool" that MSA sells for this purpose? The rear bushings are located at the pivot points for the rear A-arms and are aluminum cylinders with thin, hexagonal end plates and offset holes for the A-arm tube. The tube ends are isolated from the aluminum with polyacetal (Delrin) bushings that are inserted from either end of each assembly. Now, the aluminum part is what is supposed to be turned using the so-called tool in order to adjust the rear camber. The tool is a piece of sheet aluminum with an appropriately sized hex pattern (four sides of the hex) cut into it. It looks like a smashed line wrench but without the vestigial fifth and sixth hex segments. I could post pix if that helps anyone, but as my question is directed to folks who have already used these things, they are unnecessary to the matter at hand. So, here's the problem. The aluminum bits are supposed to be turned and yet they are the parts that are clamped into place by the brackets that attach to the unibody frame. Even if I were to install grease fittings, I don't see how the bushings can reasonably be expected to turn while clamped. Now, someone might say you jack up the car, loosen the clamps, and adjust them. Yeah, that might work, but because you're ostensibly trying to adjust the camber, how is this done easily (or at all) when the car is on an alignment rack? The issue isn't quite as dire for the front bushings as they (1) have the aluminum bit inserted into the Delrin parts, (2) go inside the front control arm, (3) aren't clamped into position so much as held by torque and (4) have a much wider hexagonal end with which to work. The MSA tool is still a thin piece of aluminum sheet, however. Those of you who have (or had) these bushings installed are requested to reply with your experiences, observations and, I hope, work arounds. I want to decide whether these go on or get switched out for the urethane ones this coming holiday weekend.