Jeff H
-
Posts
47 -
Joined
-
Last visited
-
Days Won
1
Content Type
Profiles
Forums
Blogs
Events
Gallery
Downloads
Store
Everything posted by Jeff H
-

-
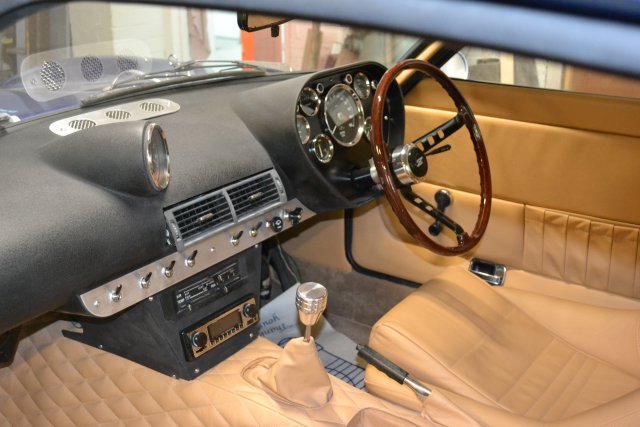
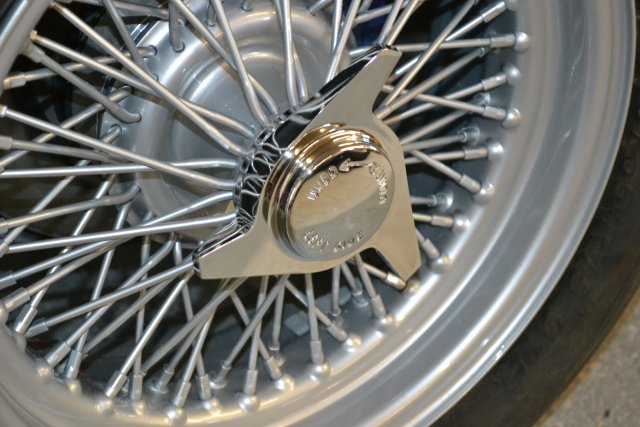
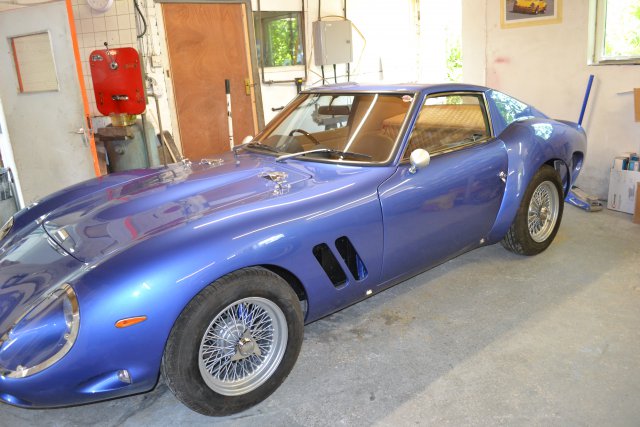
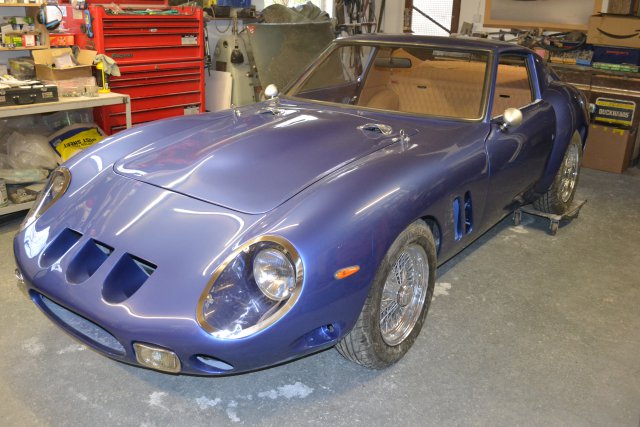
Exhaust is back on, Fuel tank, new lines etc, fabbed up a new battery tray and strap, car runs and sounds quite healthy, most of the wiring is done, I had the wheels powder coated silver to lose the blingy chrome, restored a wood rim steering wheel, need to sort out the clutch and shouldn't be far from being roadworthy after seven years off the road.
-
All fitted back in place.
-
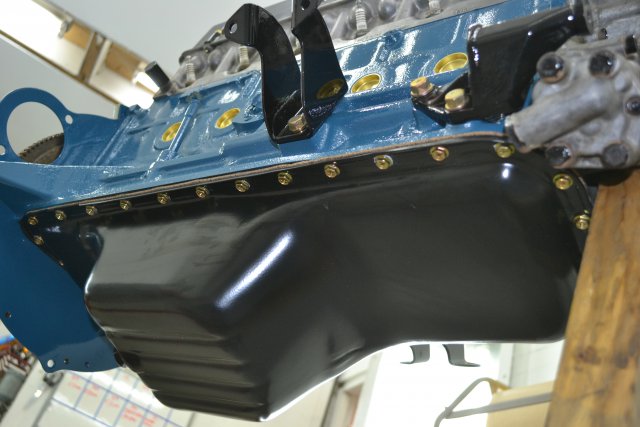
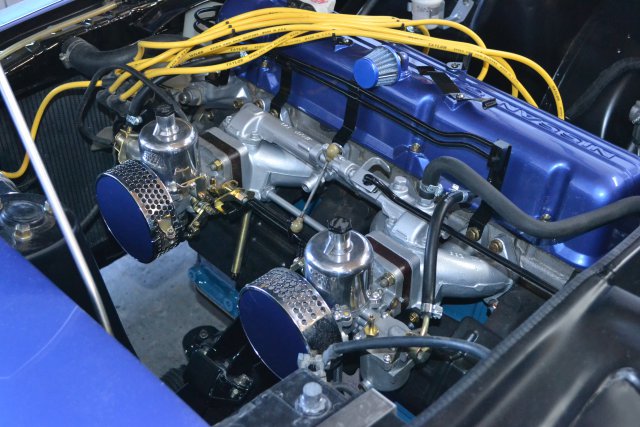
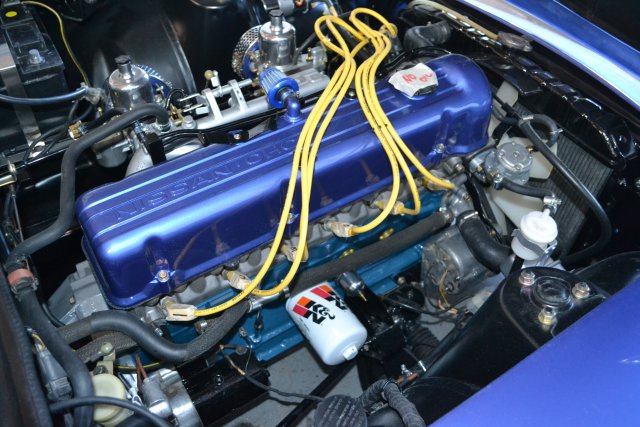
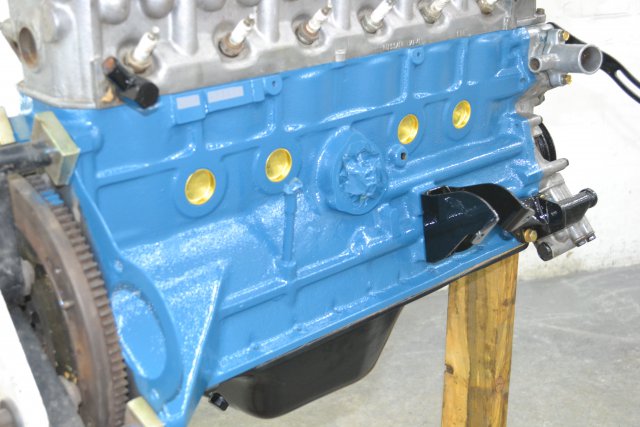
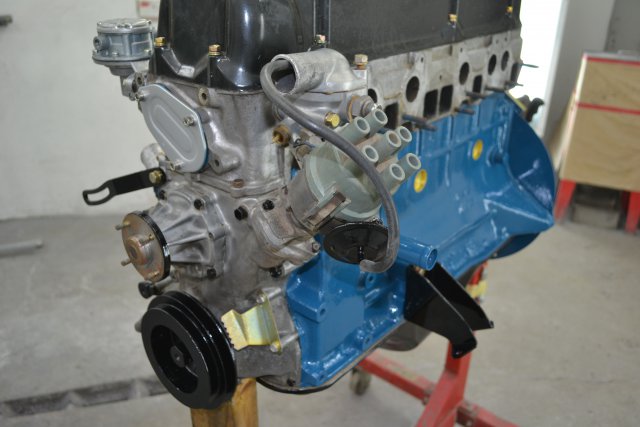
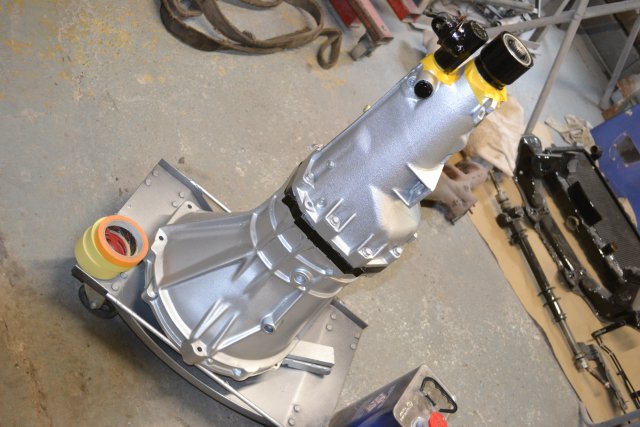
Painted the engine block and fitted new core plugs, also tidied up the gearbox.
-
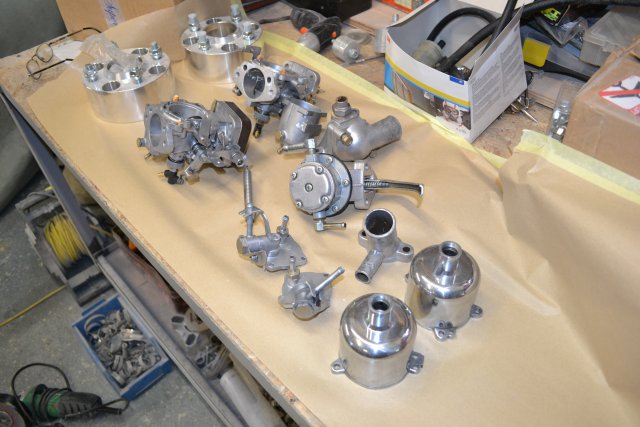
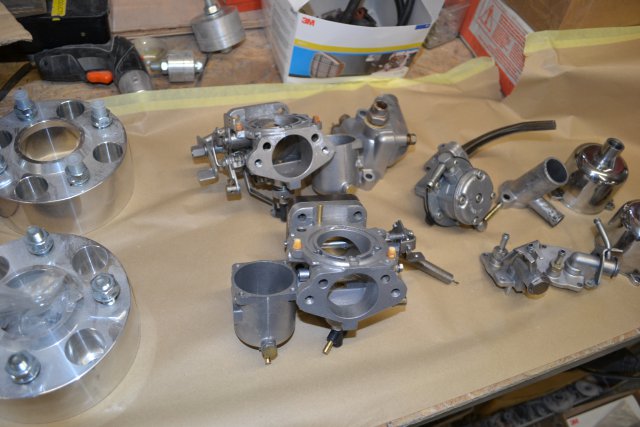
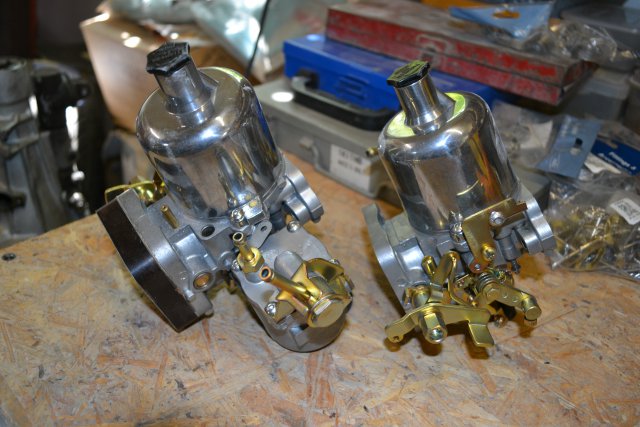
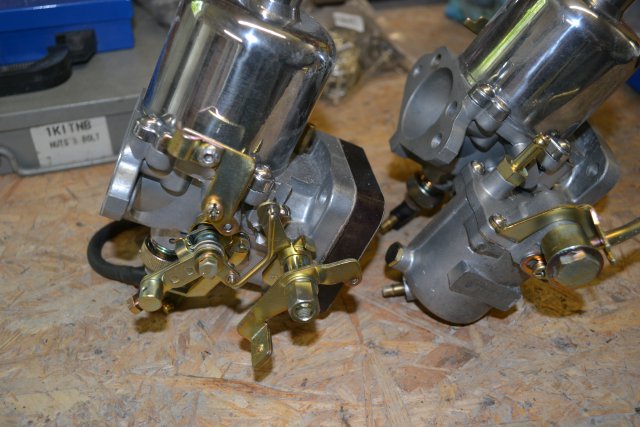
I also had all the bolts Zinc plated, and the carbs and a few other bits vapour blasted.
-
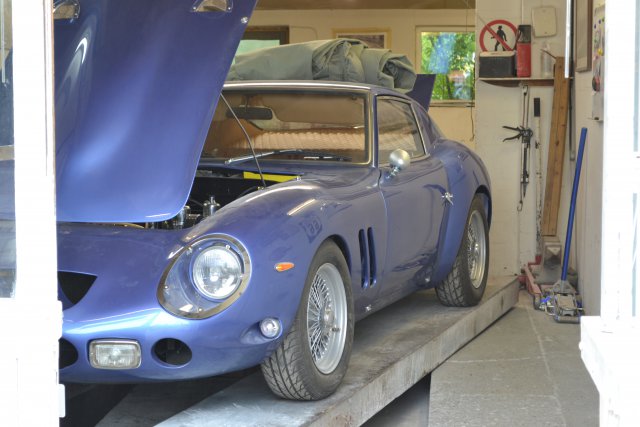
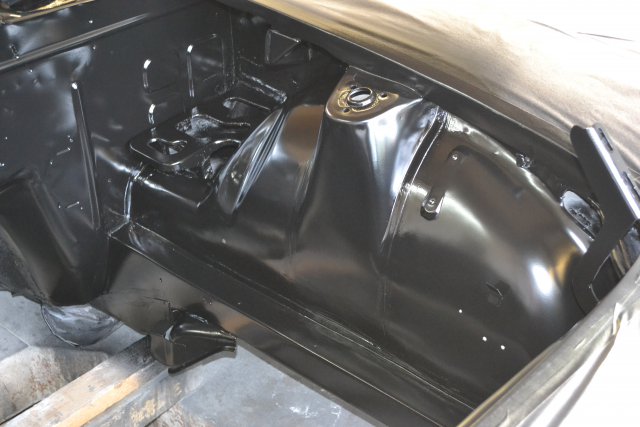
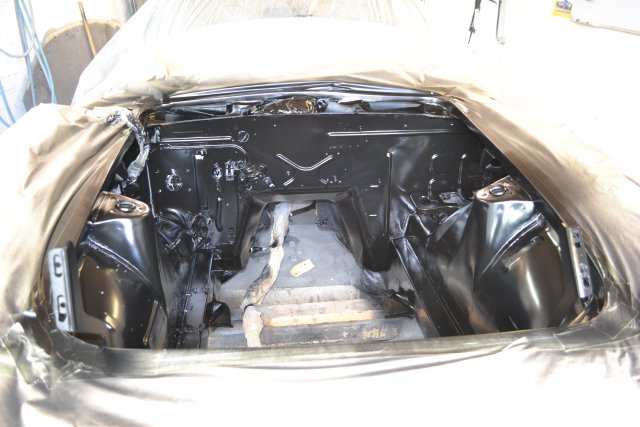
Now in August. Was really hoping to get it finished by now. The lockdown hasn't helped but I also found some rust under the front cross member, this meant removal of the engine and box to get to the areas needing welding. Whilst it was all out I ended up painting the engine bay and cleaning up all the bits on the engine so it took a while.
-
I have also removed the fuel tank, flushed it thru and painted it, also fitted the rear exhaust box and blacked up under the arches and in the front nose cone etc. Brakes are the next thing to get done, I am hoping to get it on the road and MOT'd in the next couple of months.
-
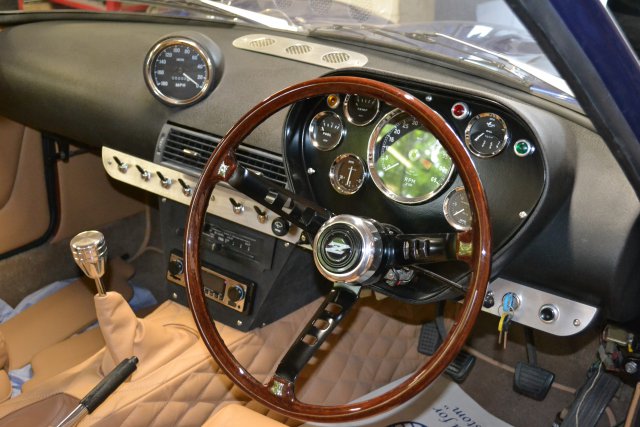
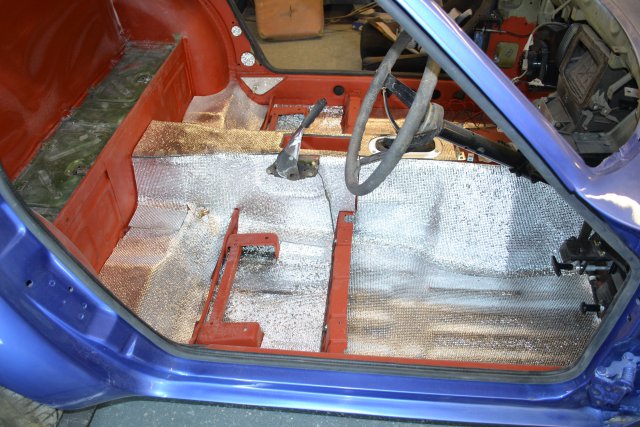
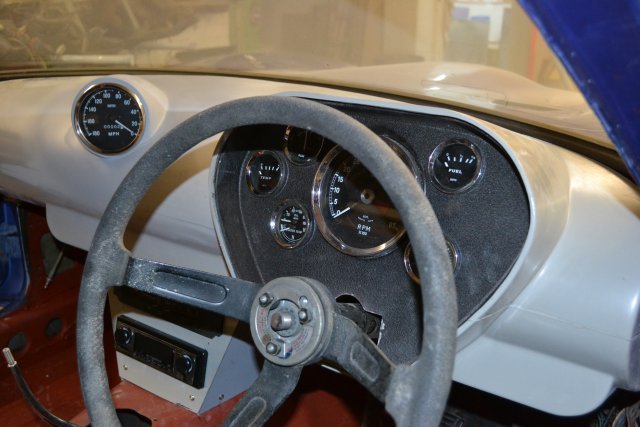
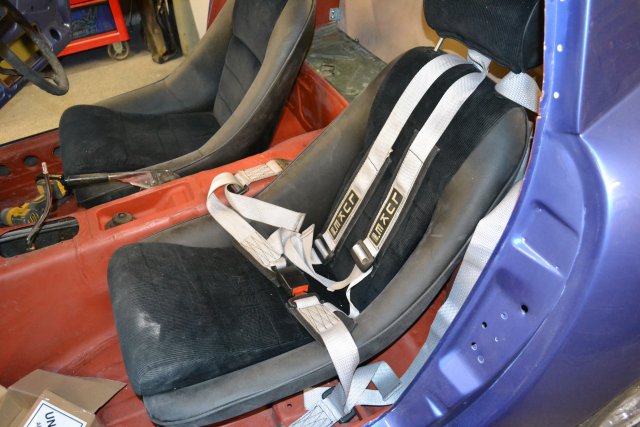
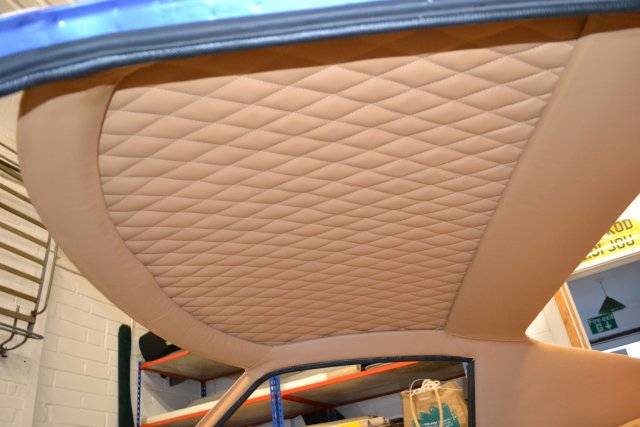
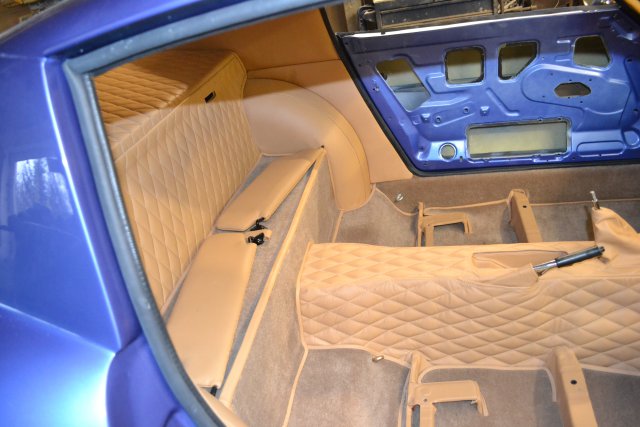
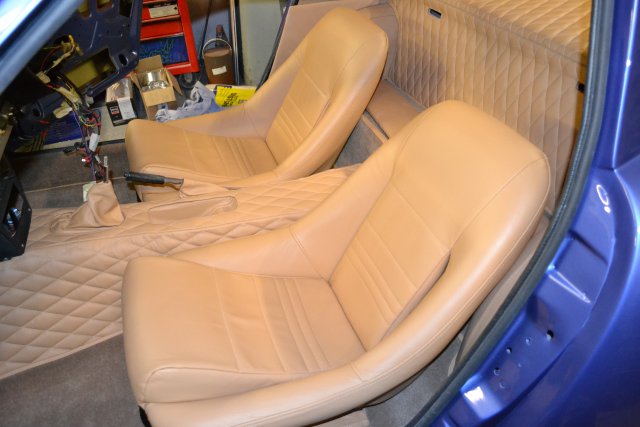
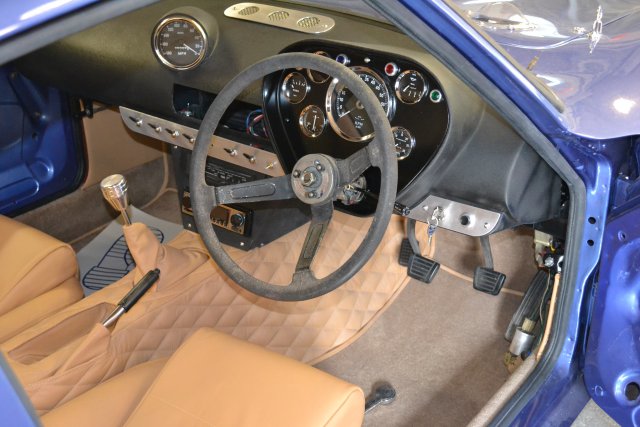
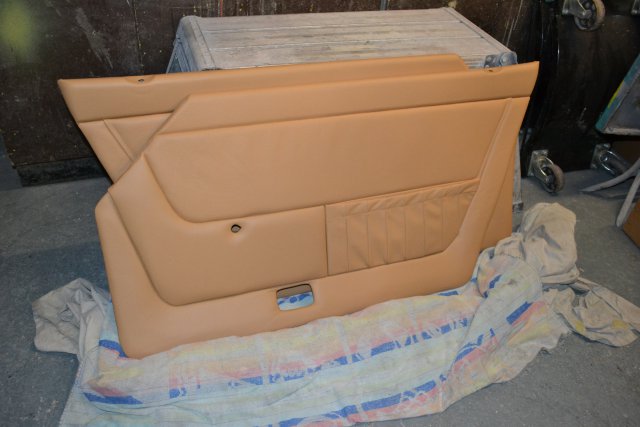
My build has moved on quite a bit now, you make a list of things that need to be done and then keep finding other stuff to add to the list. I am very pleased with what the trimmer has done for me, all in leather and a decent price as well. I had to paint the floors and fit the sound deadening before it could go for trim, I also did a dry build of the dash and seats etc. Here some pics for those interested.
-
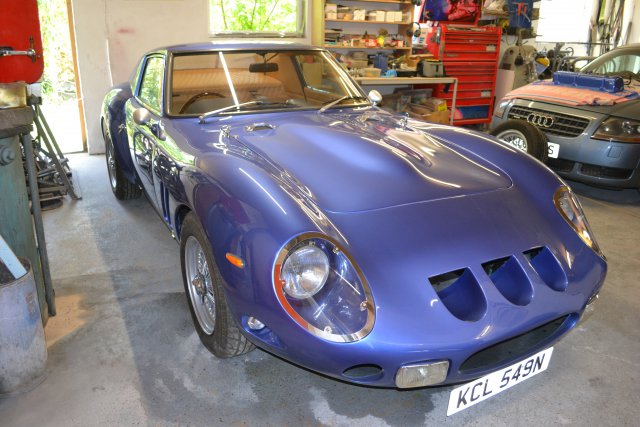
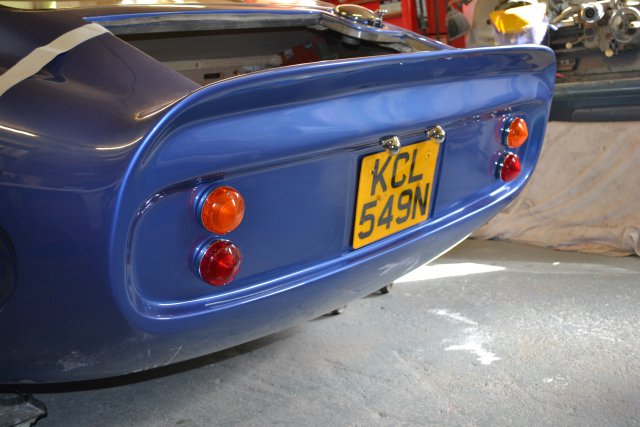
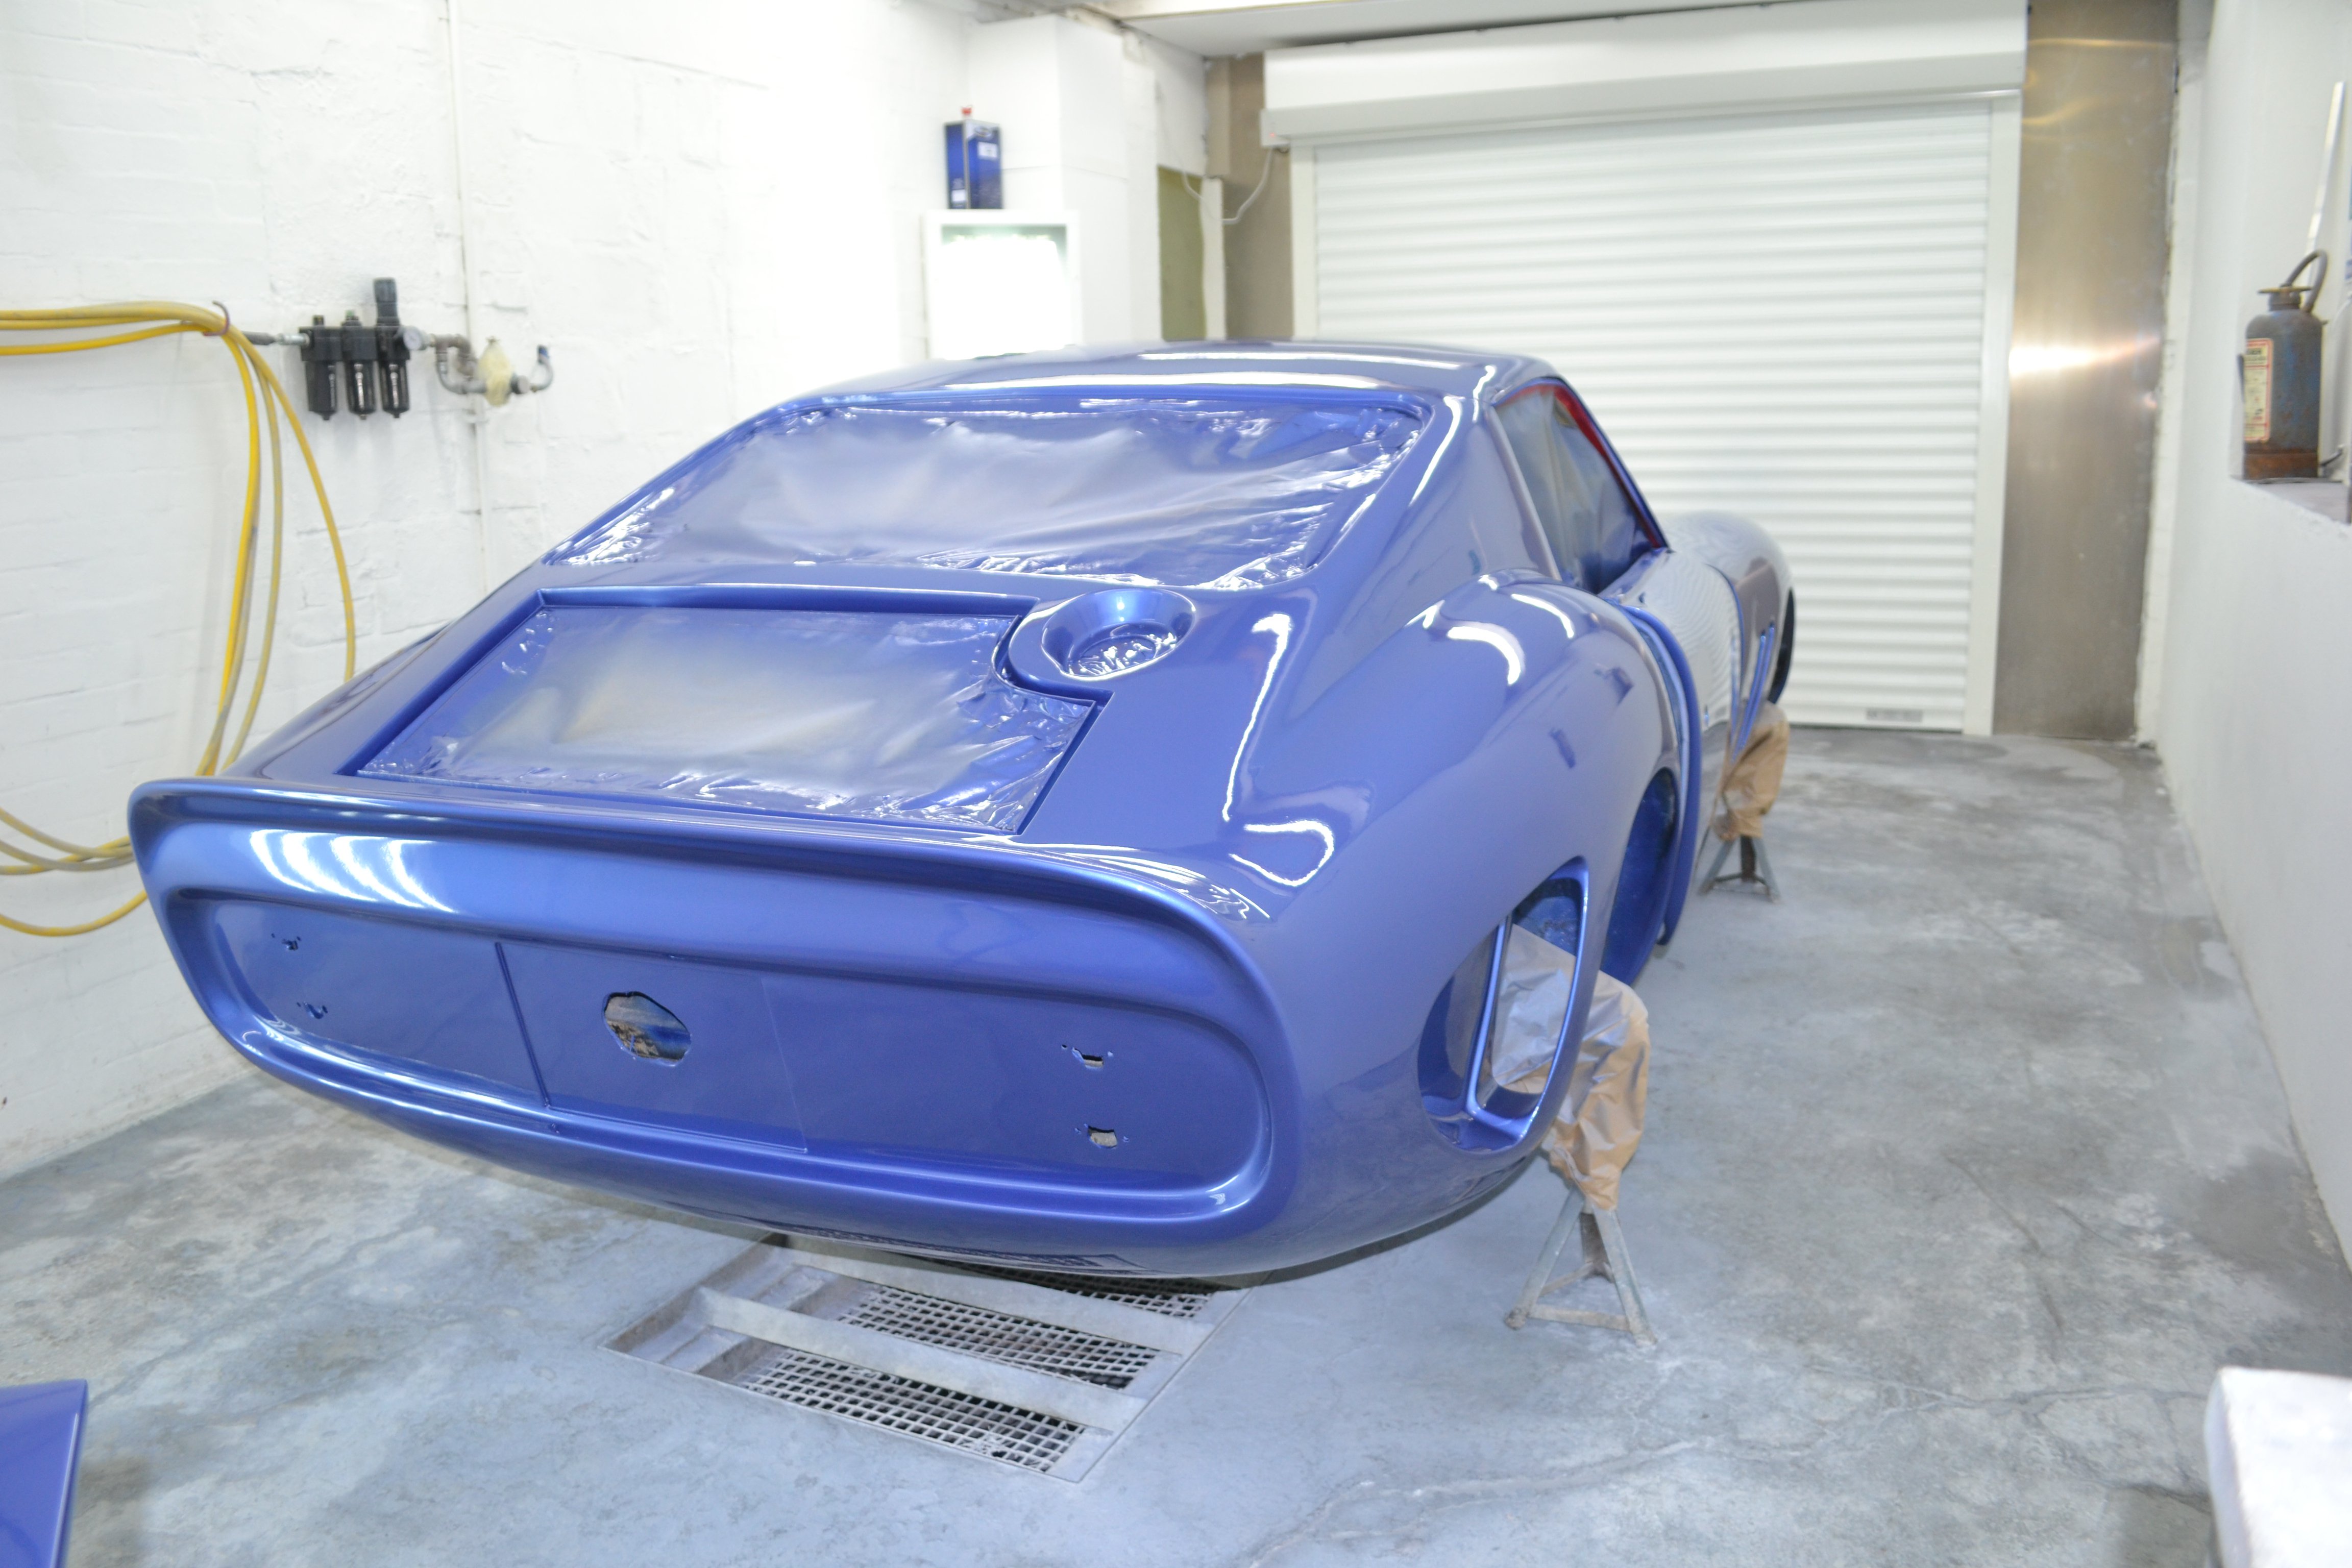
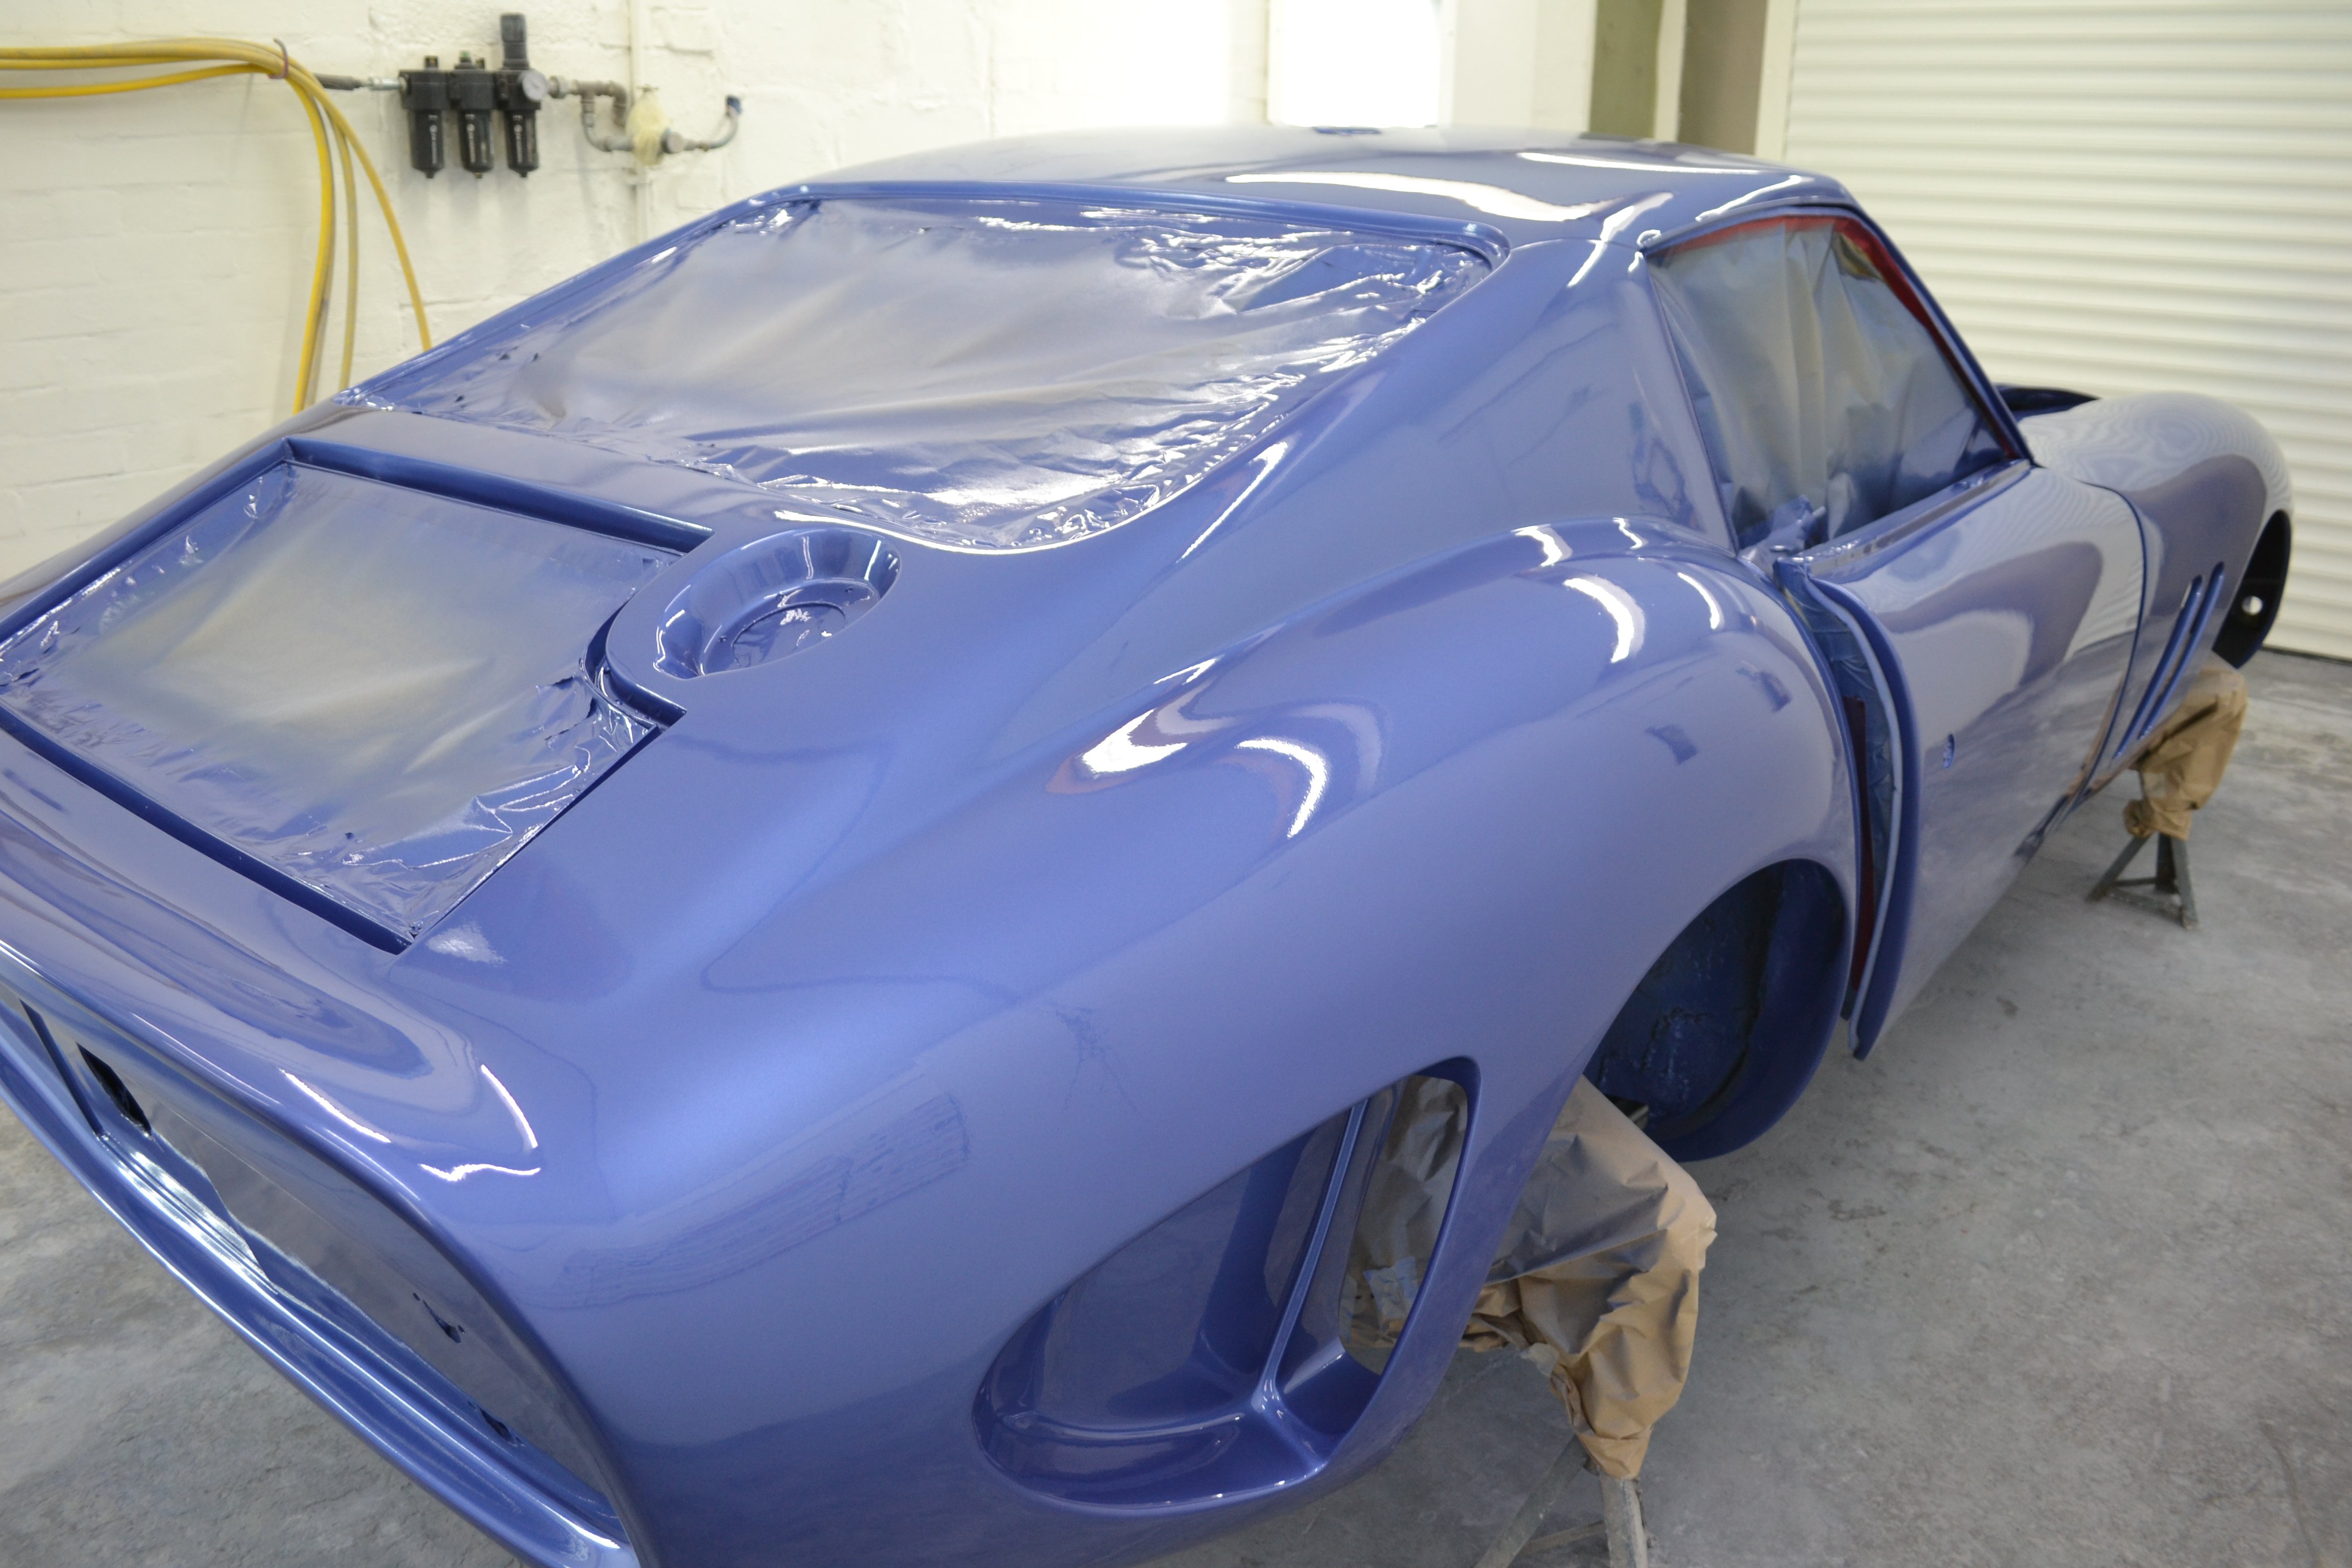
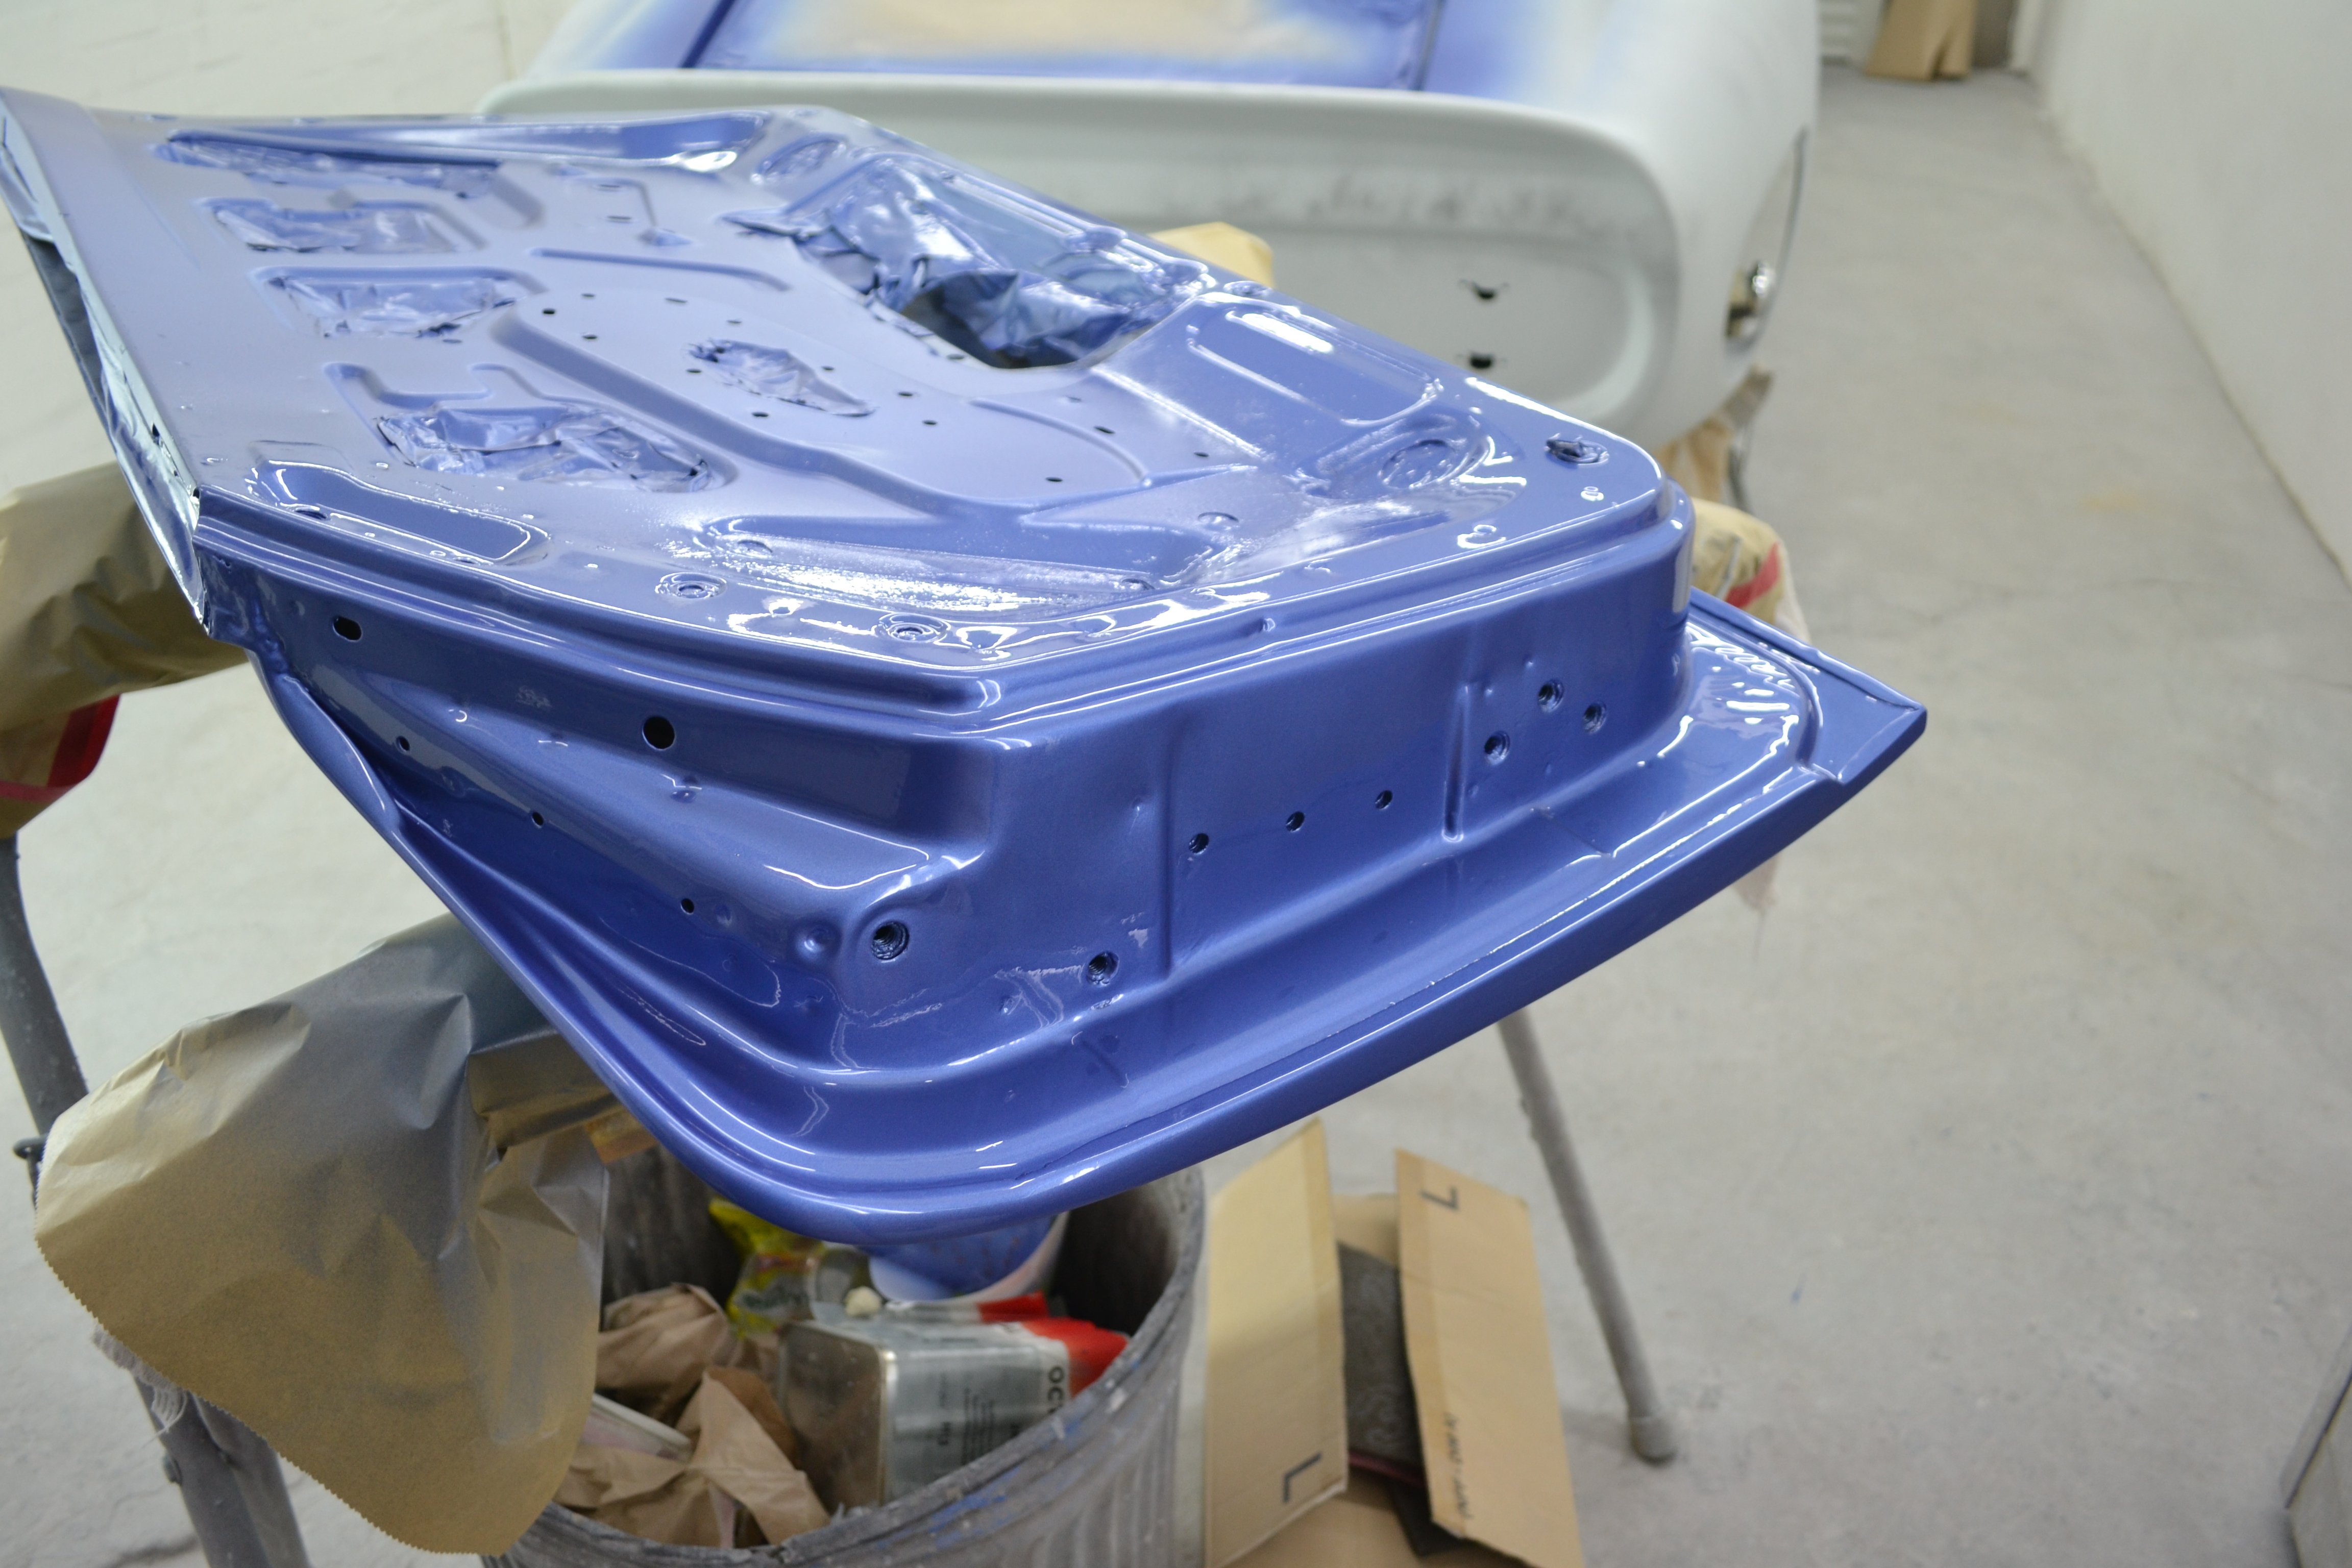
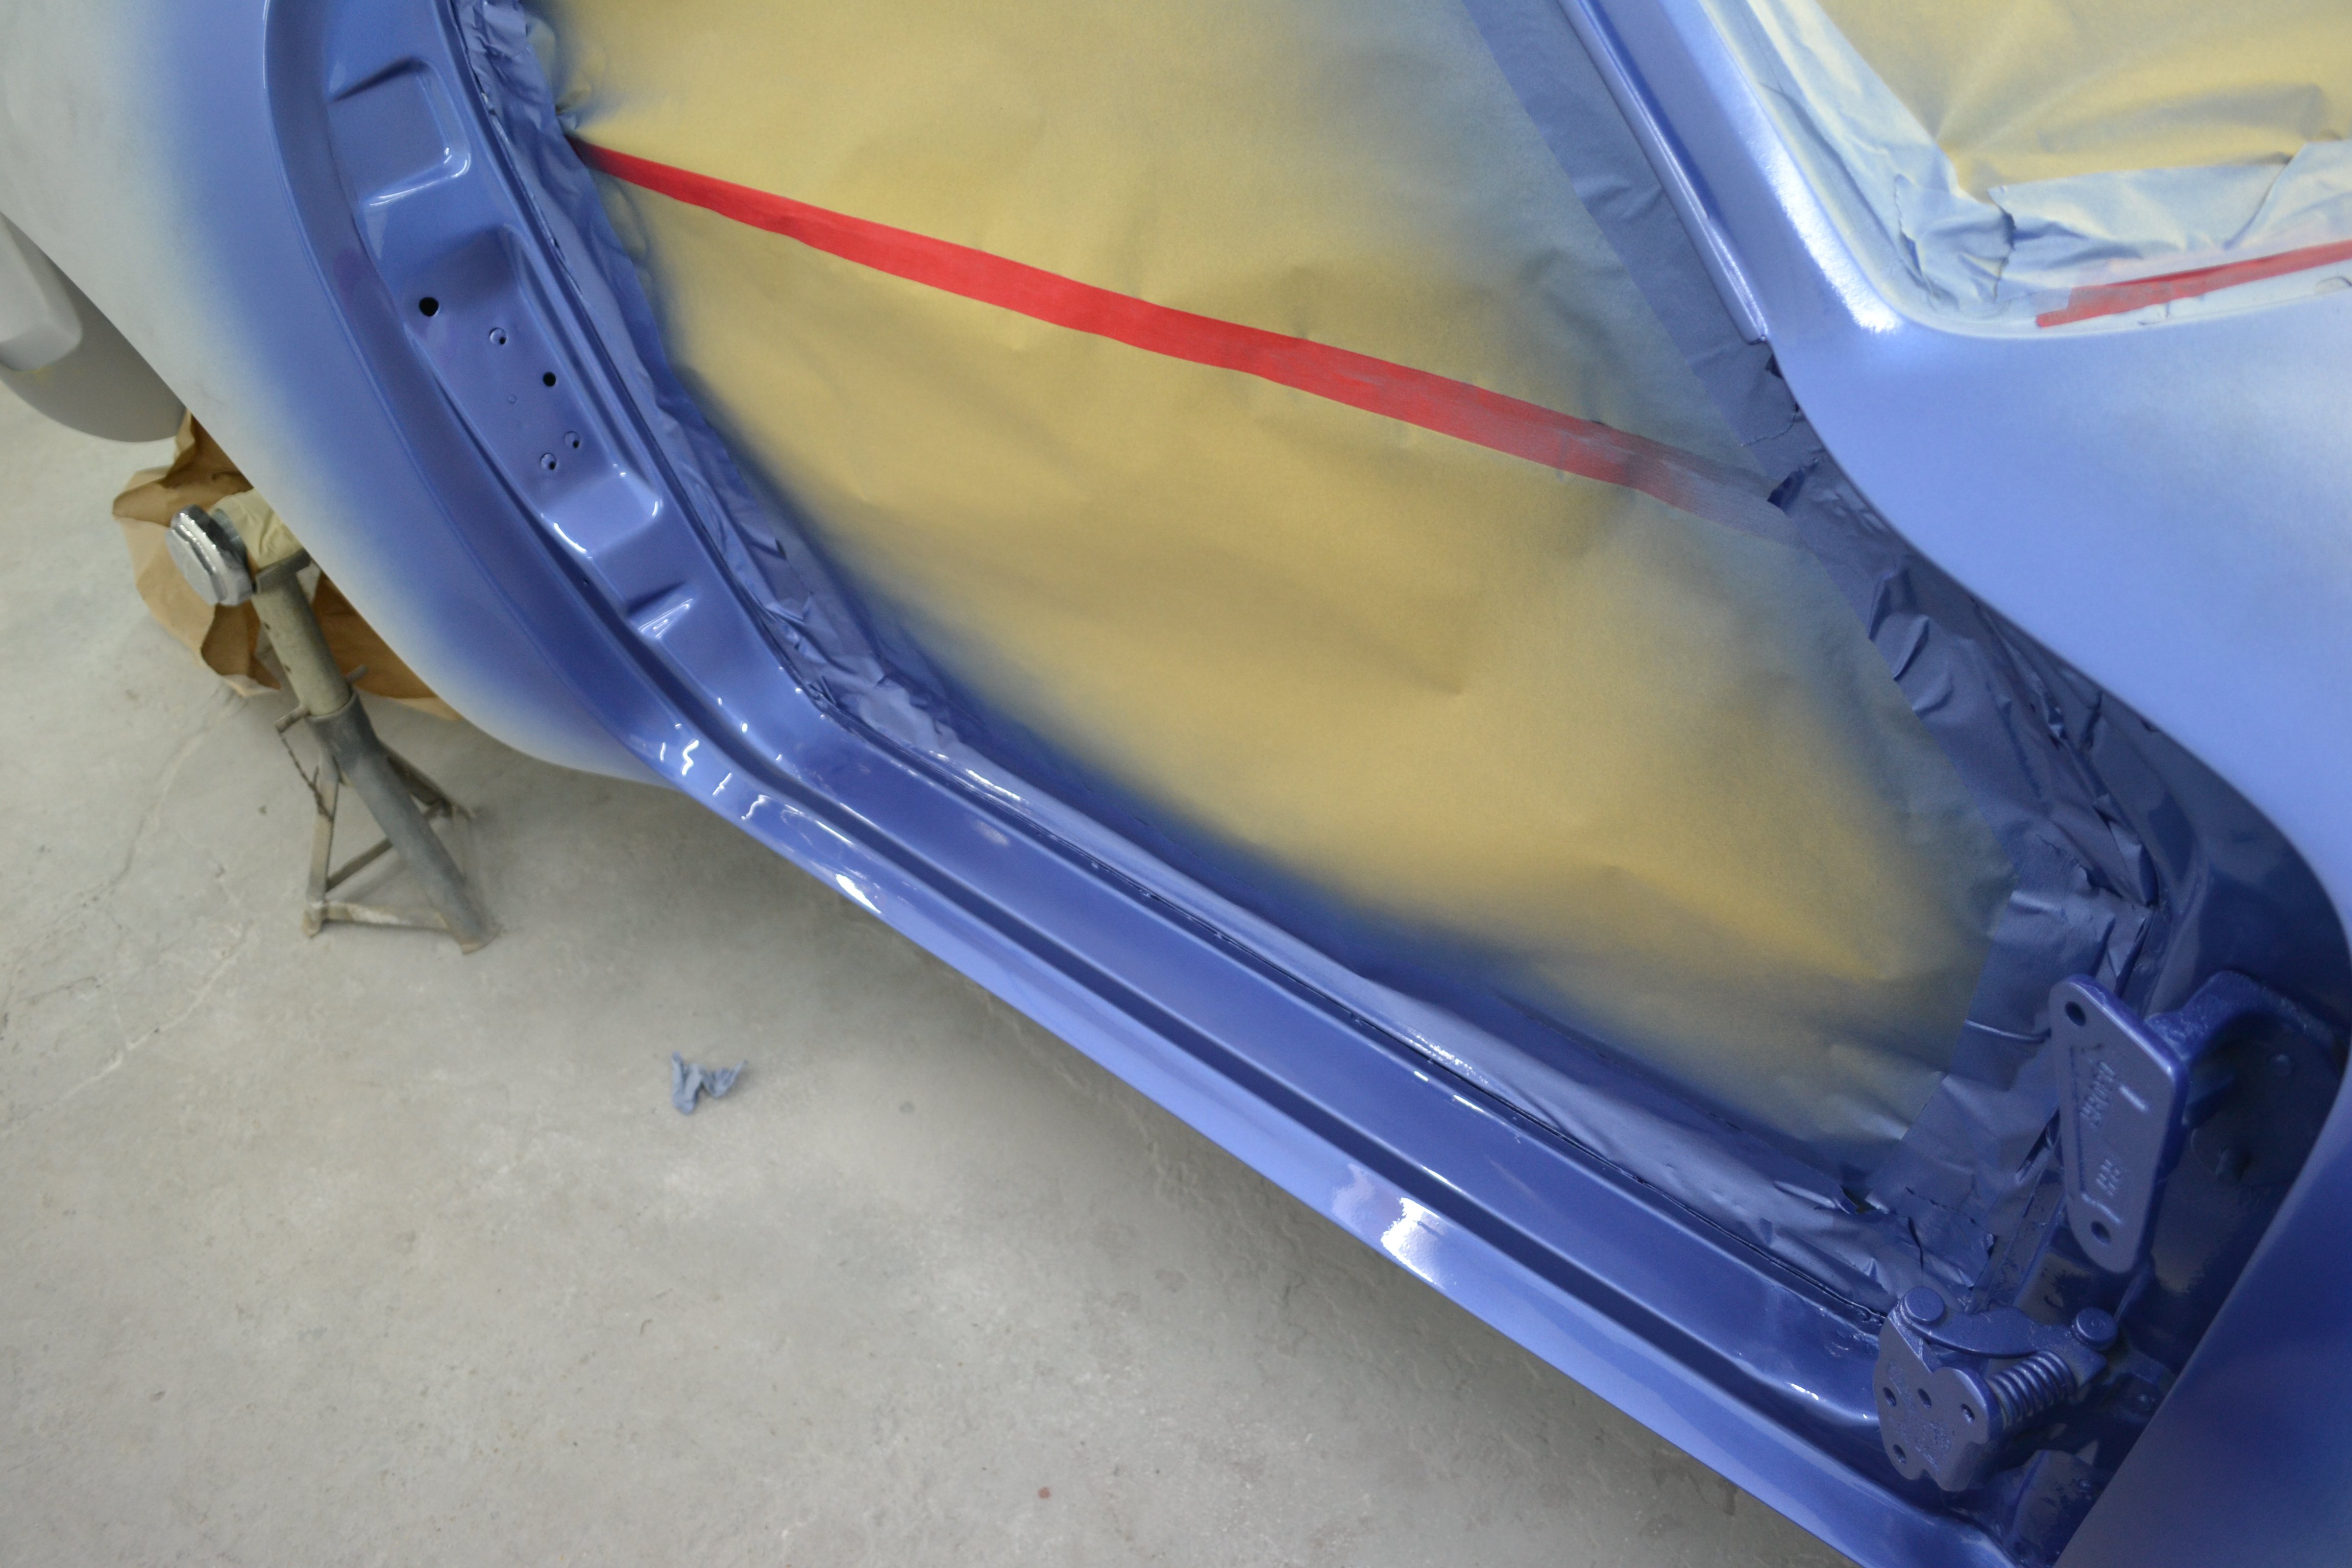
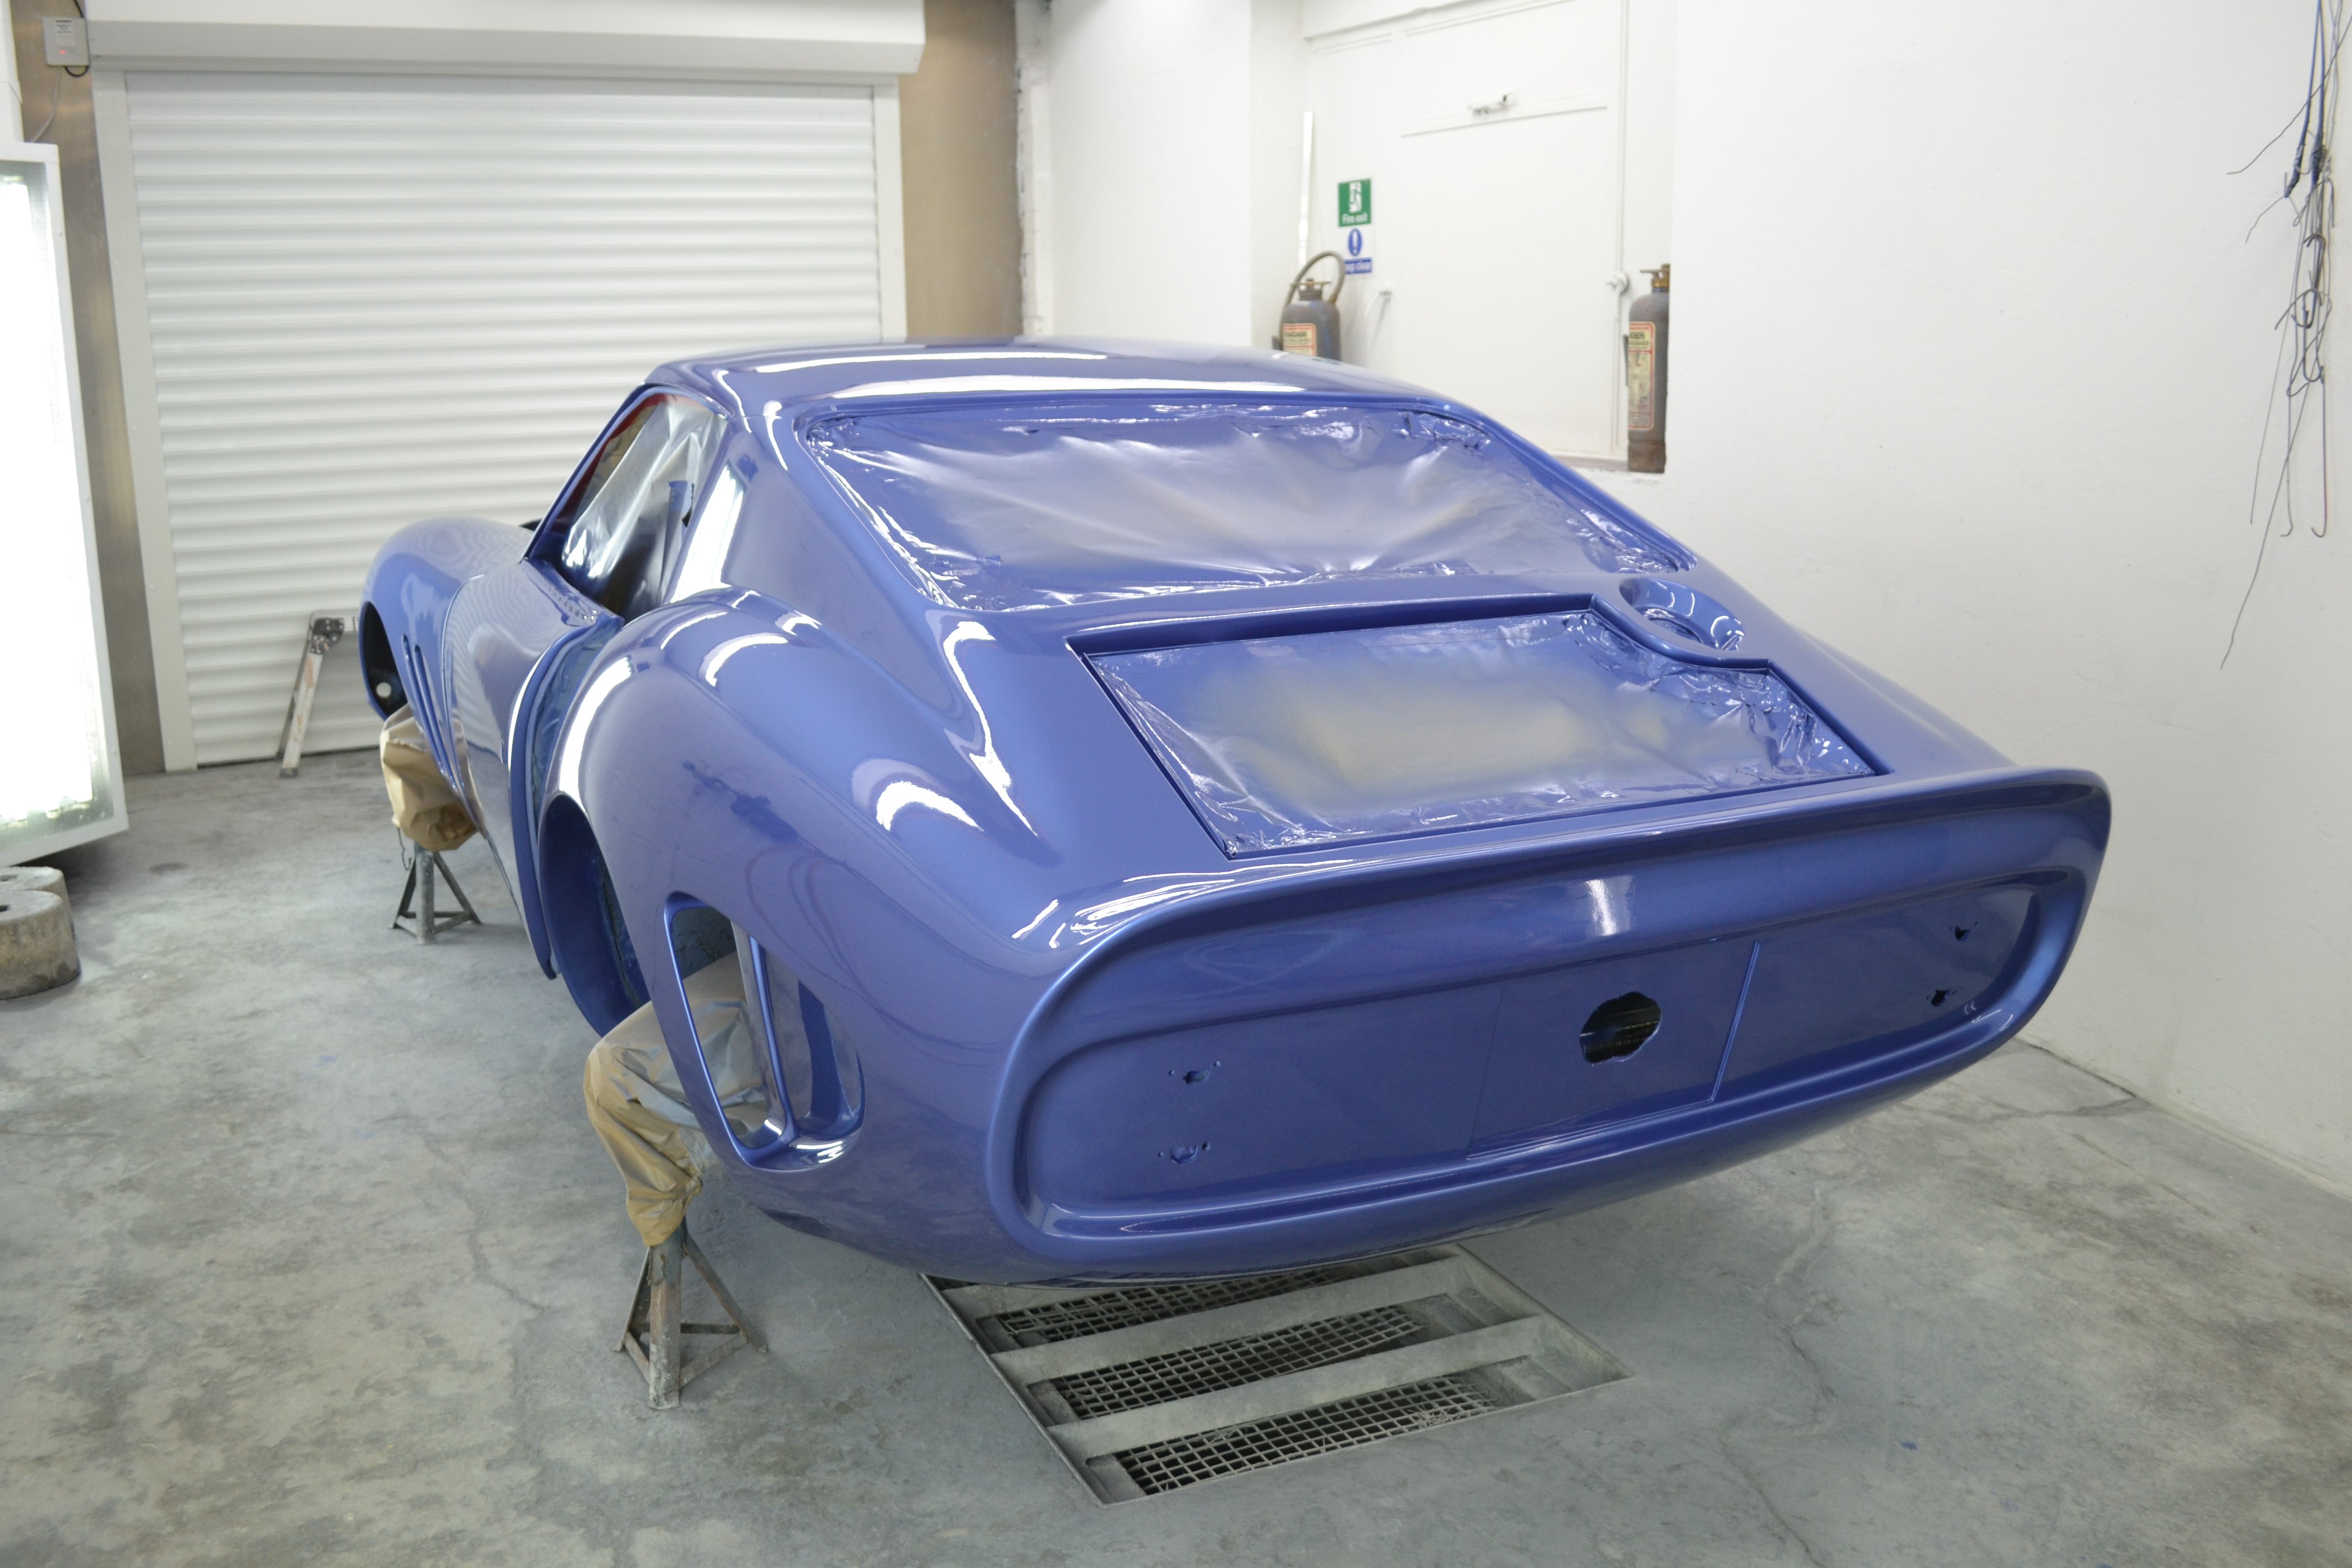
Yes it really is quite nice, Changes colour in different light, it is an actual Ferrari colour called Blu Genziano used on an original GTO chassis no 3387 I believe.
-
Thank you, Much appreciated.
-
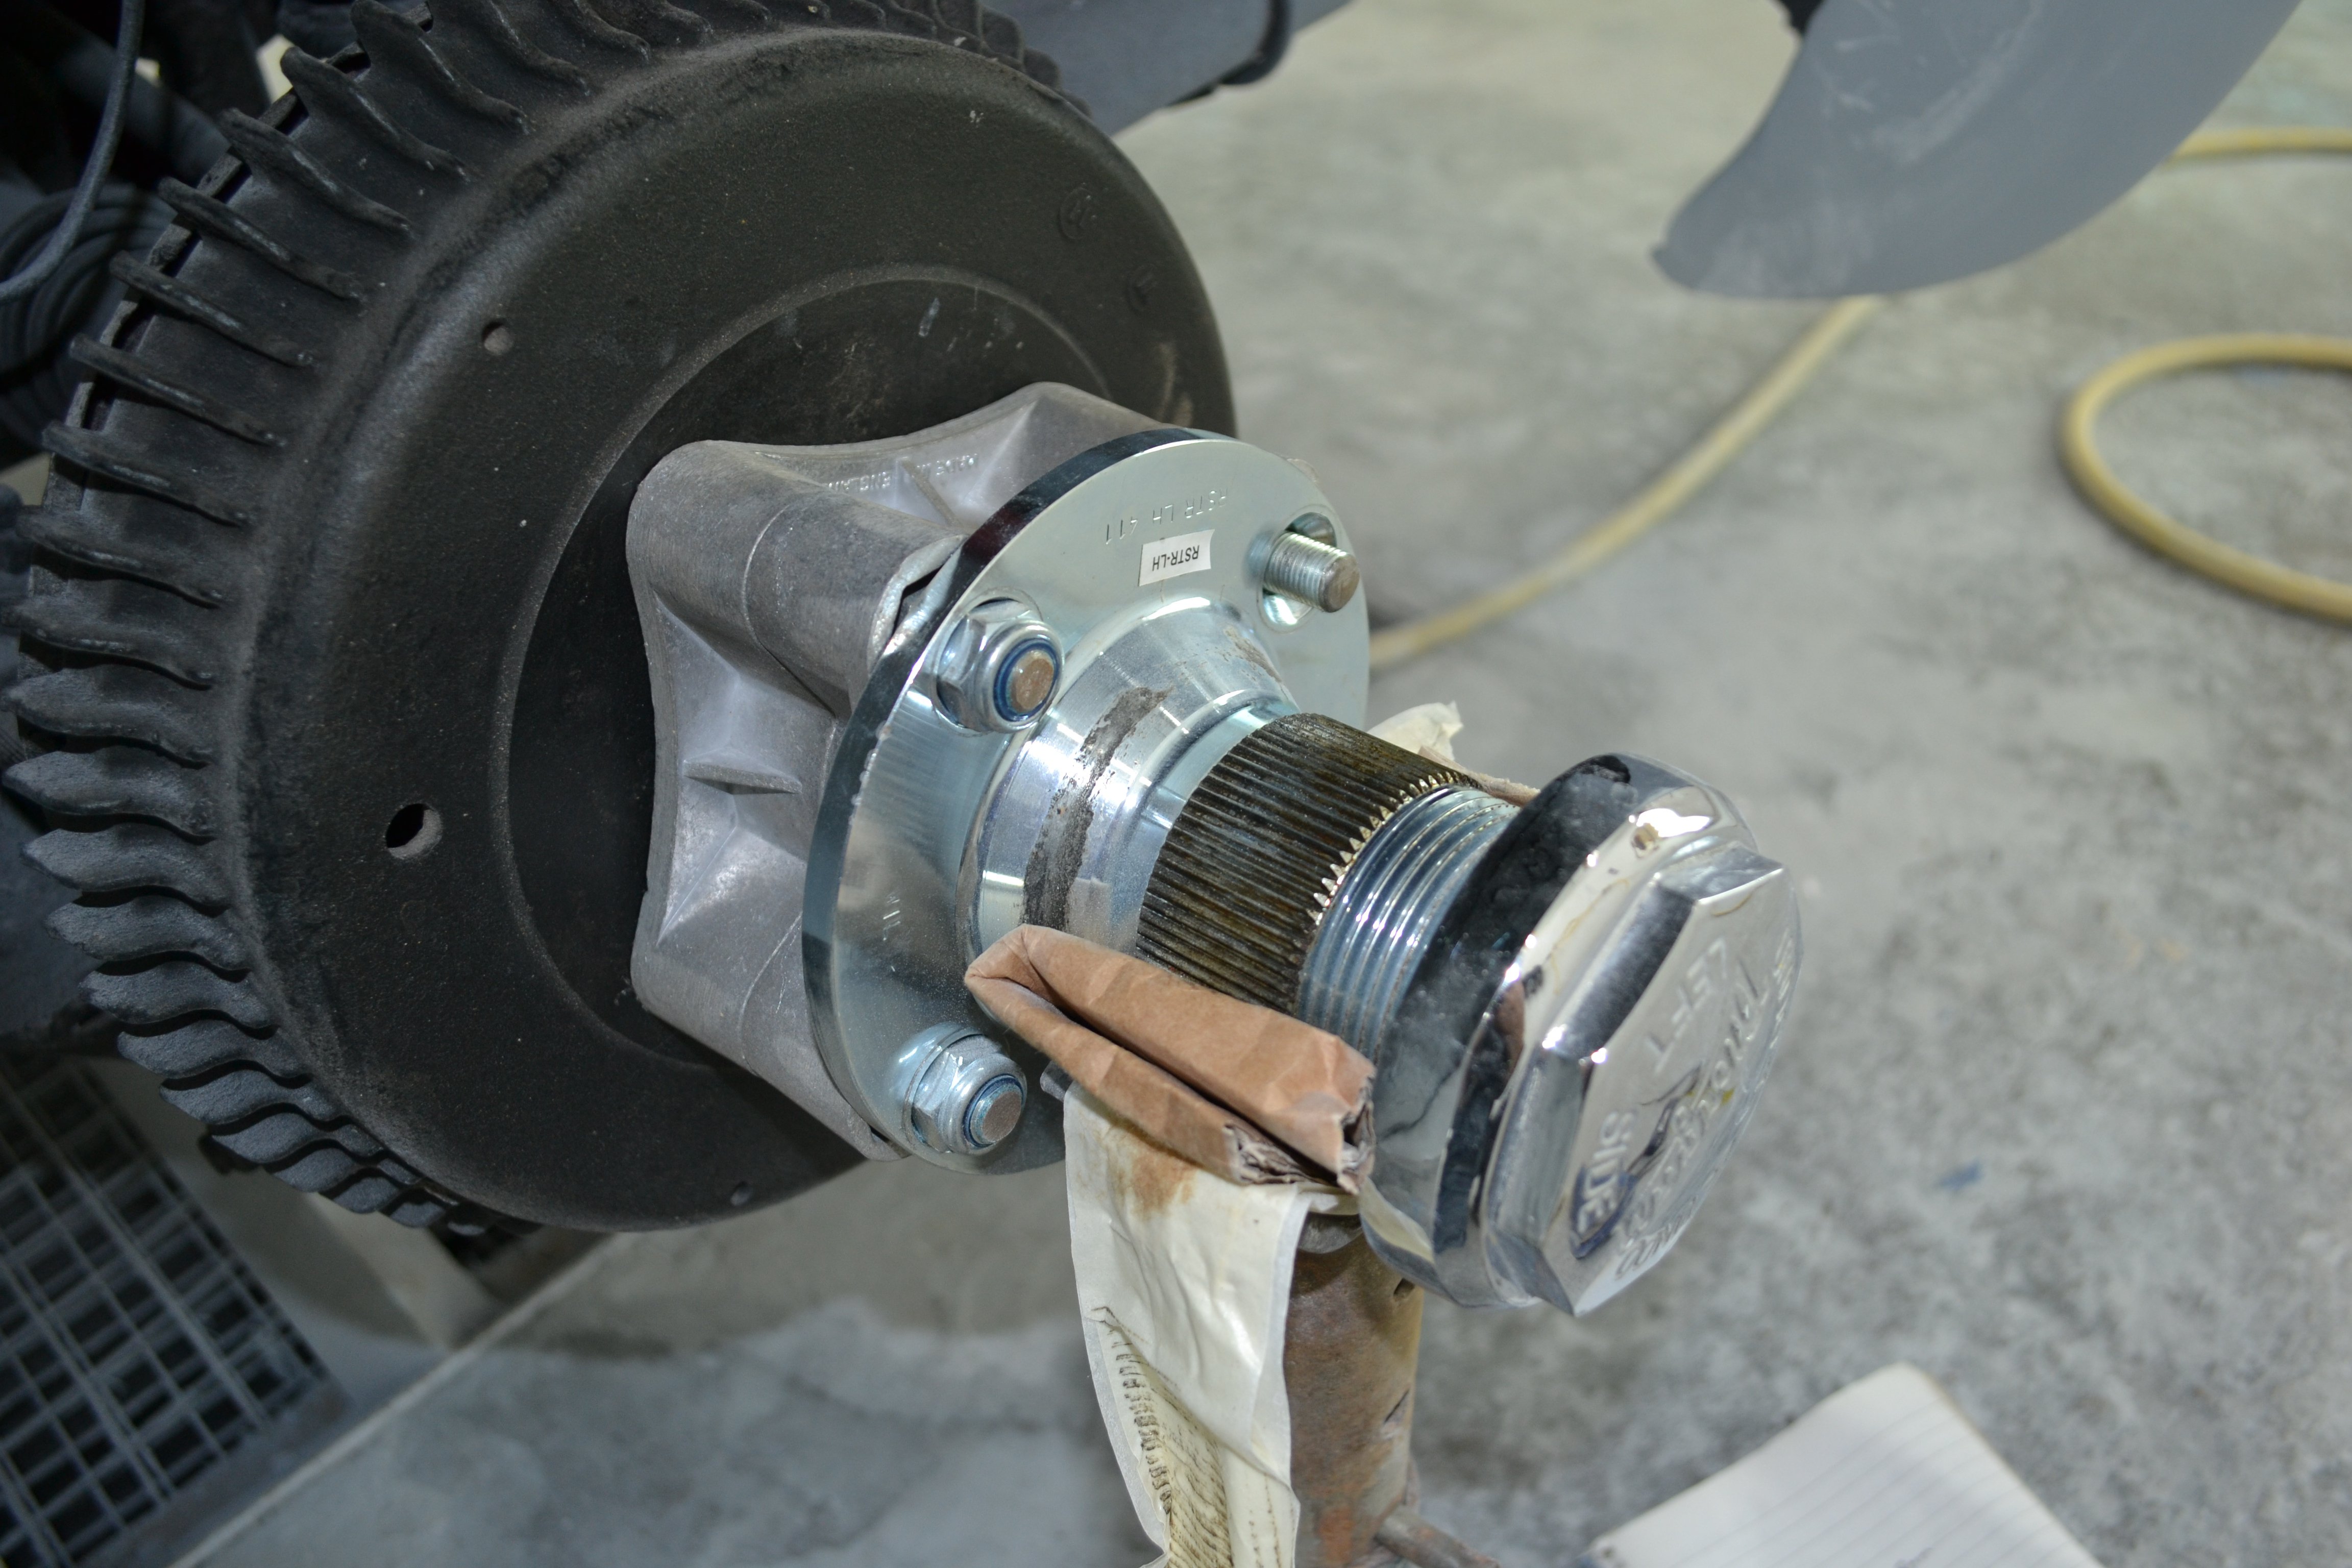
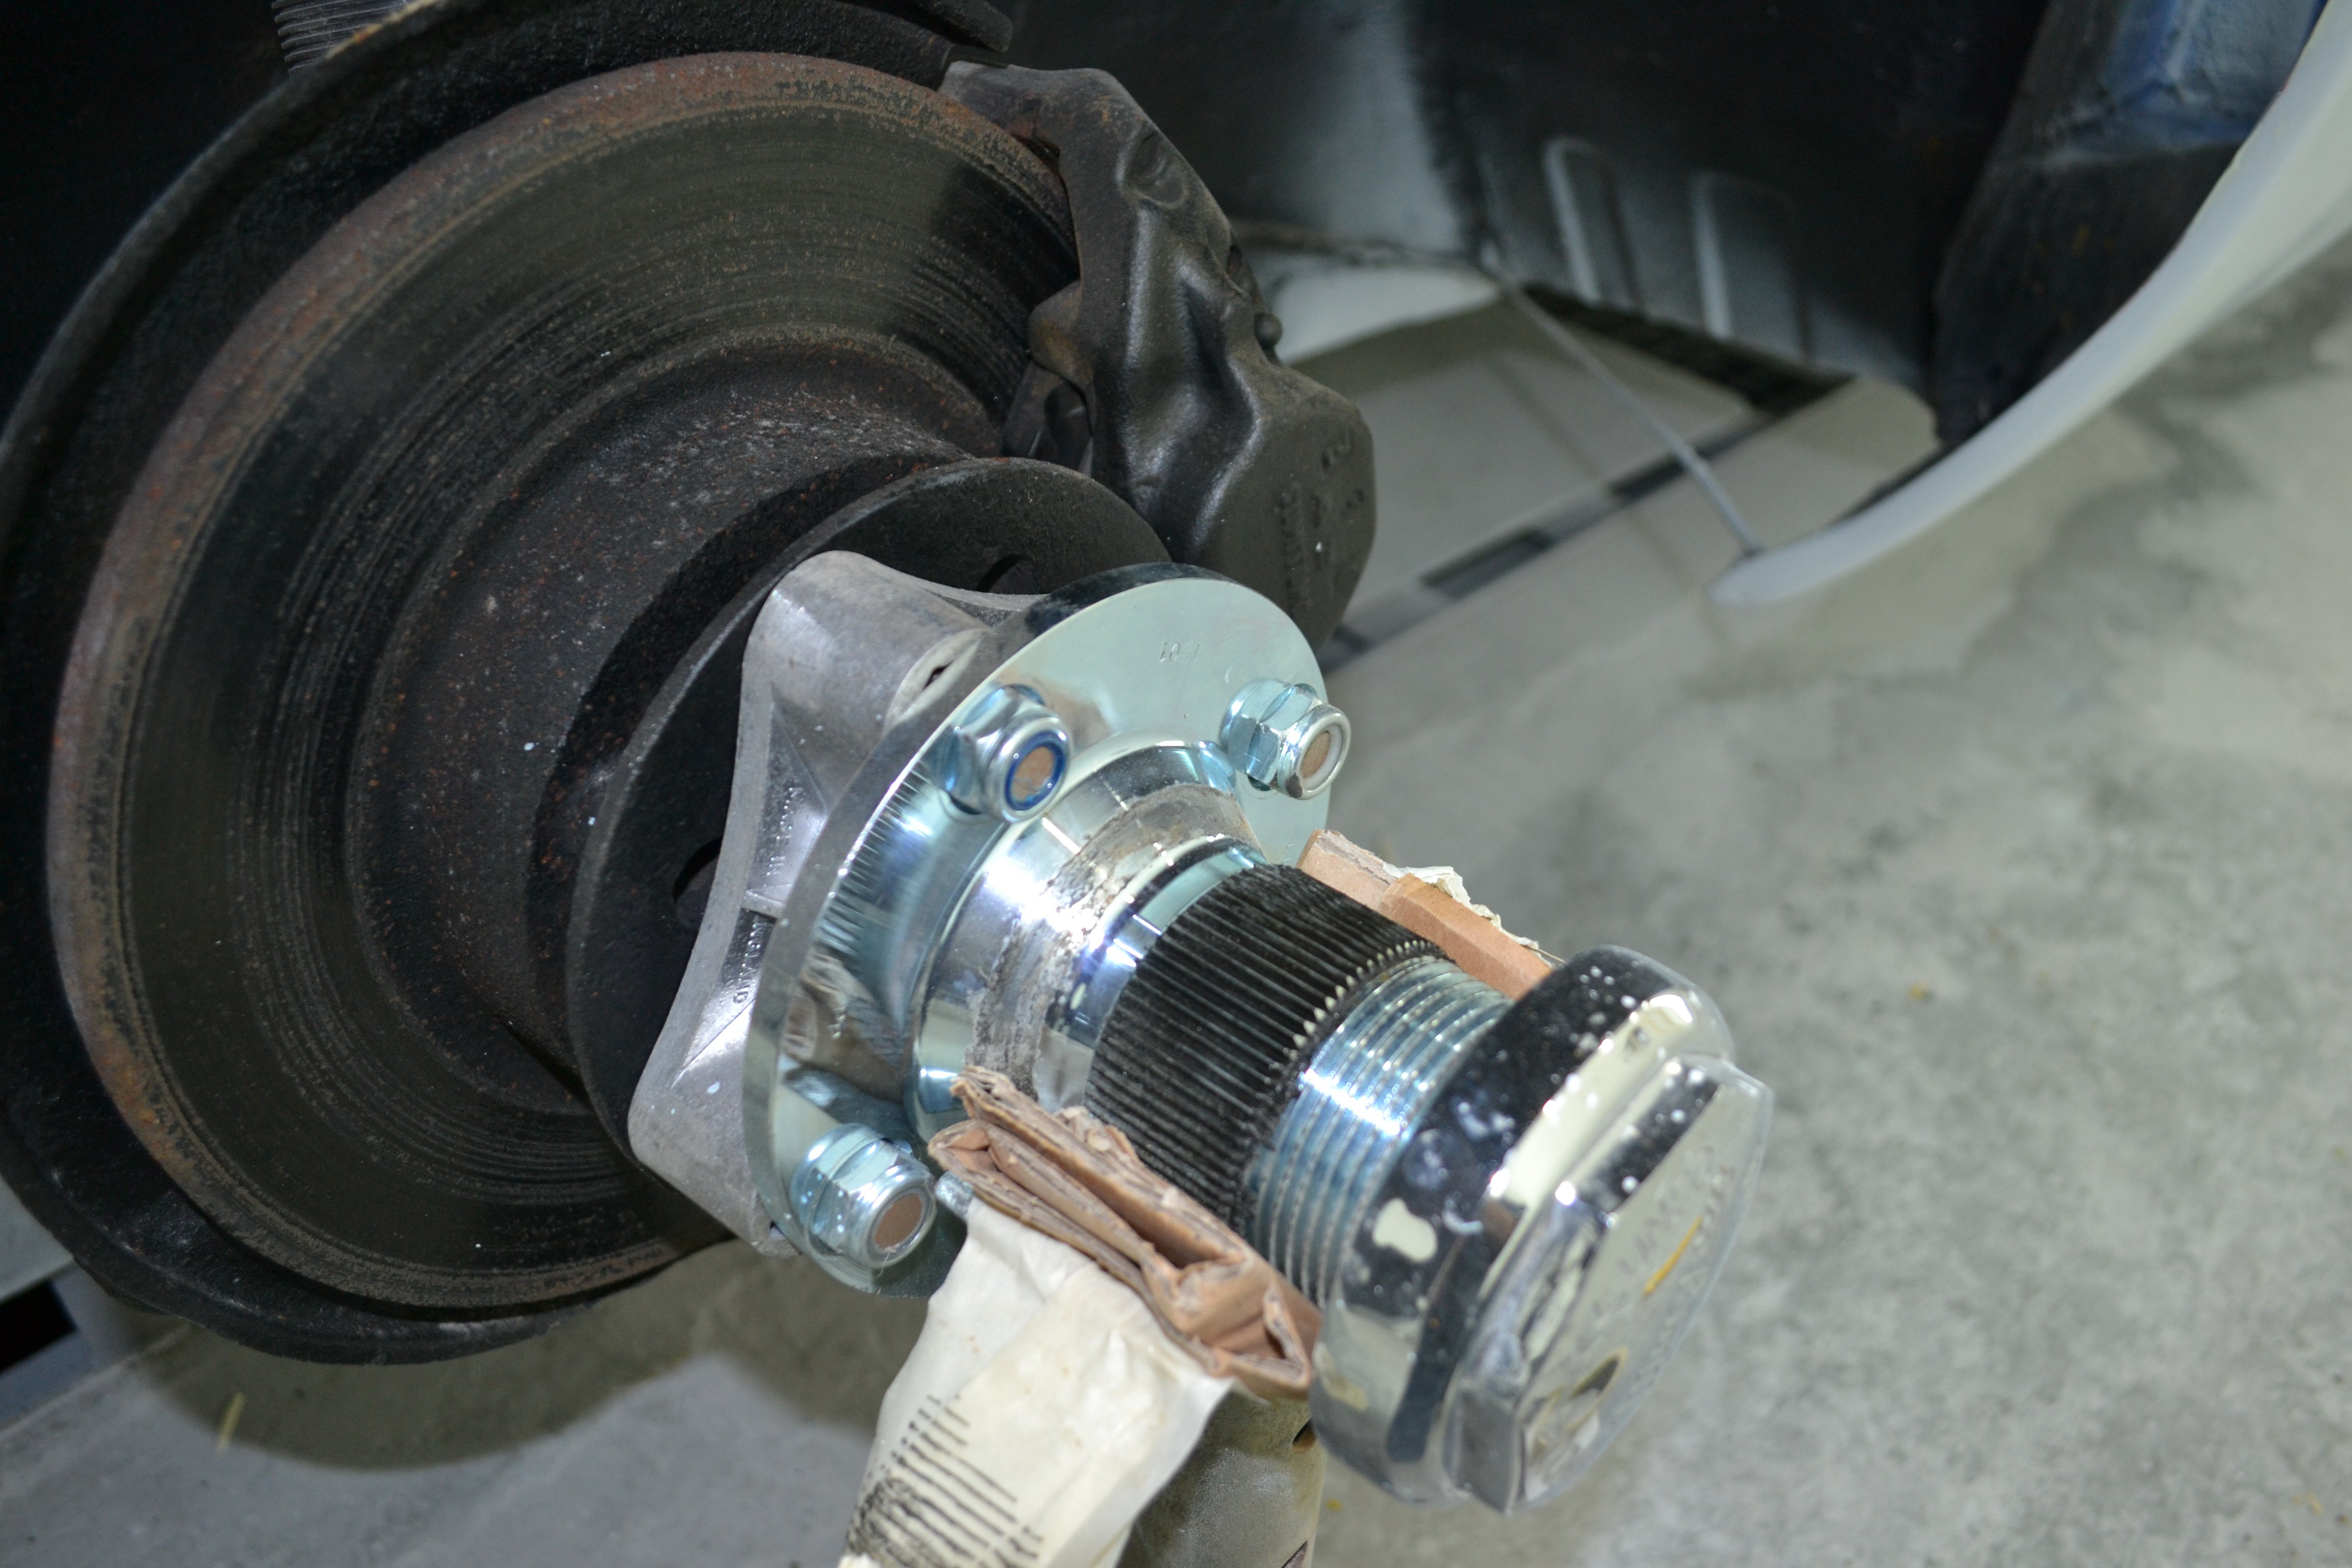
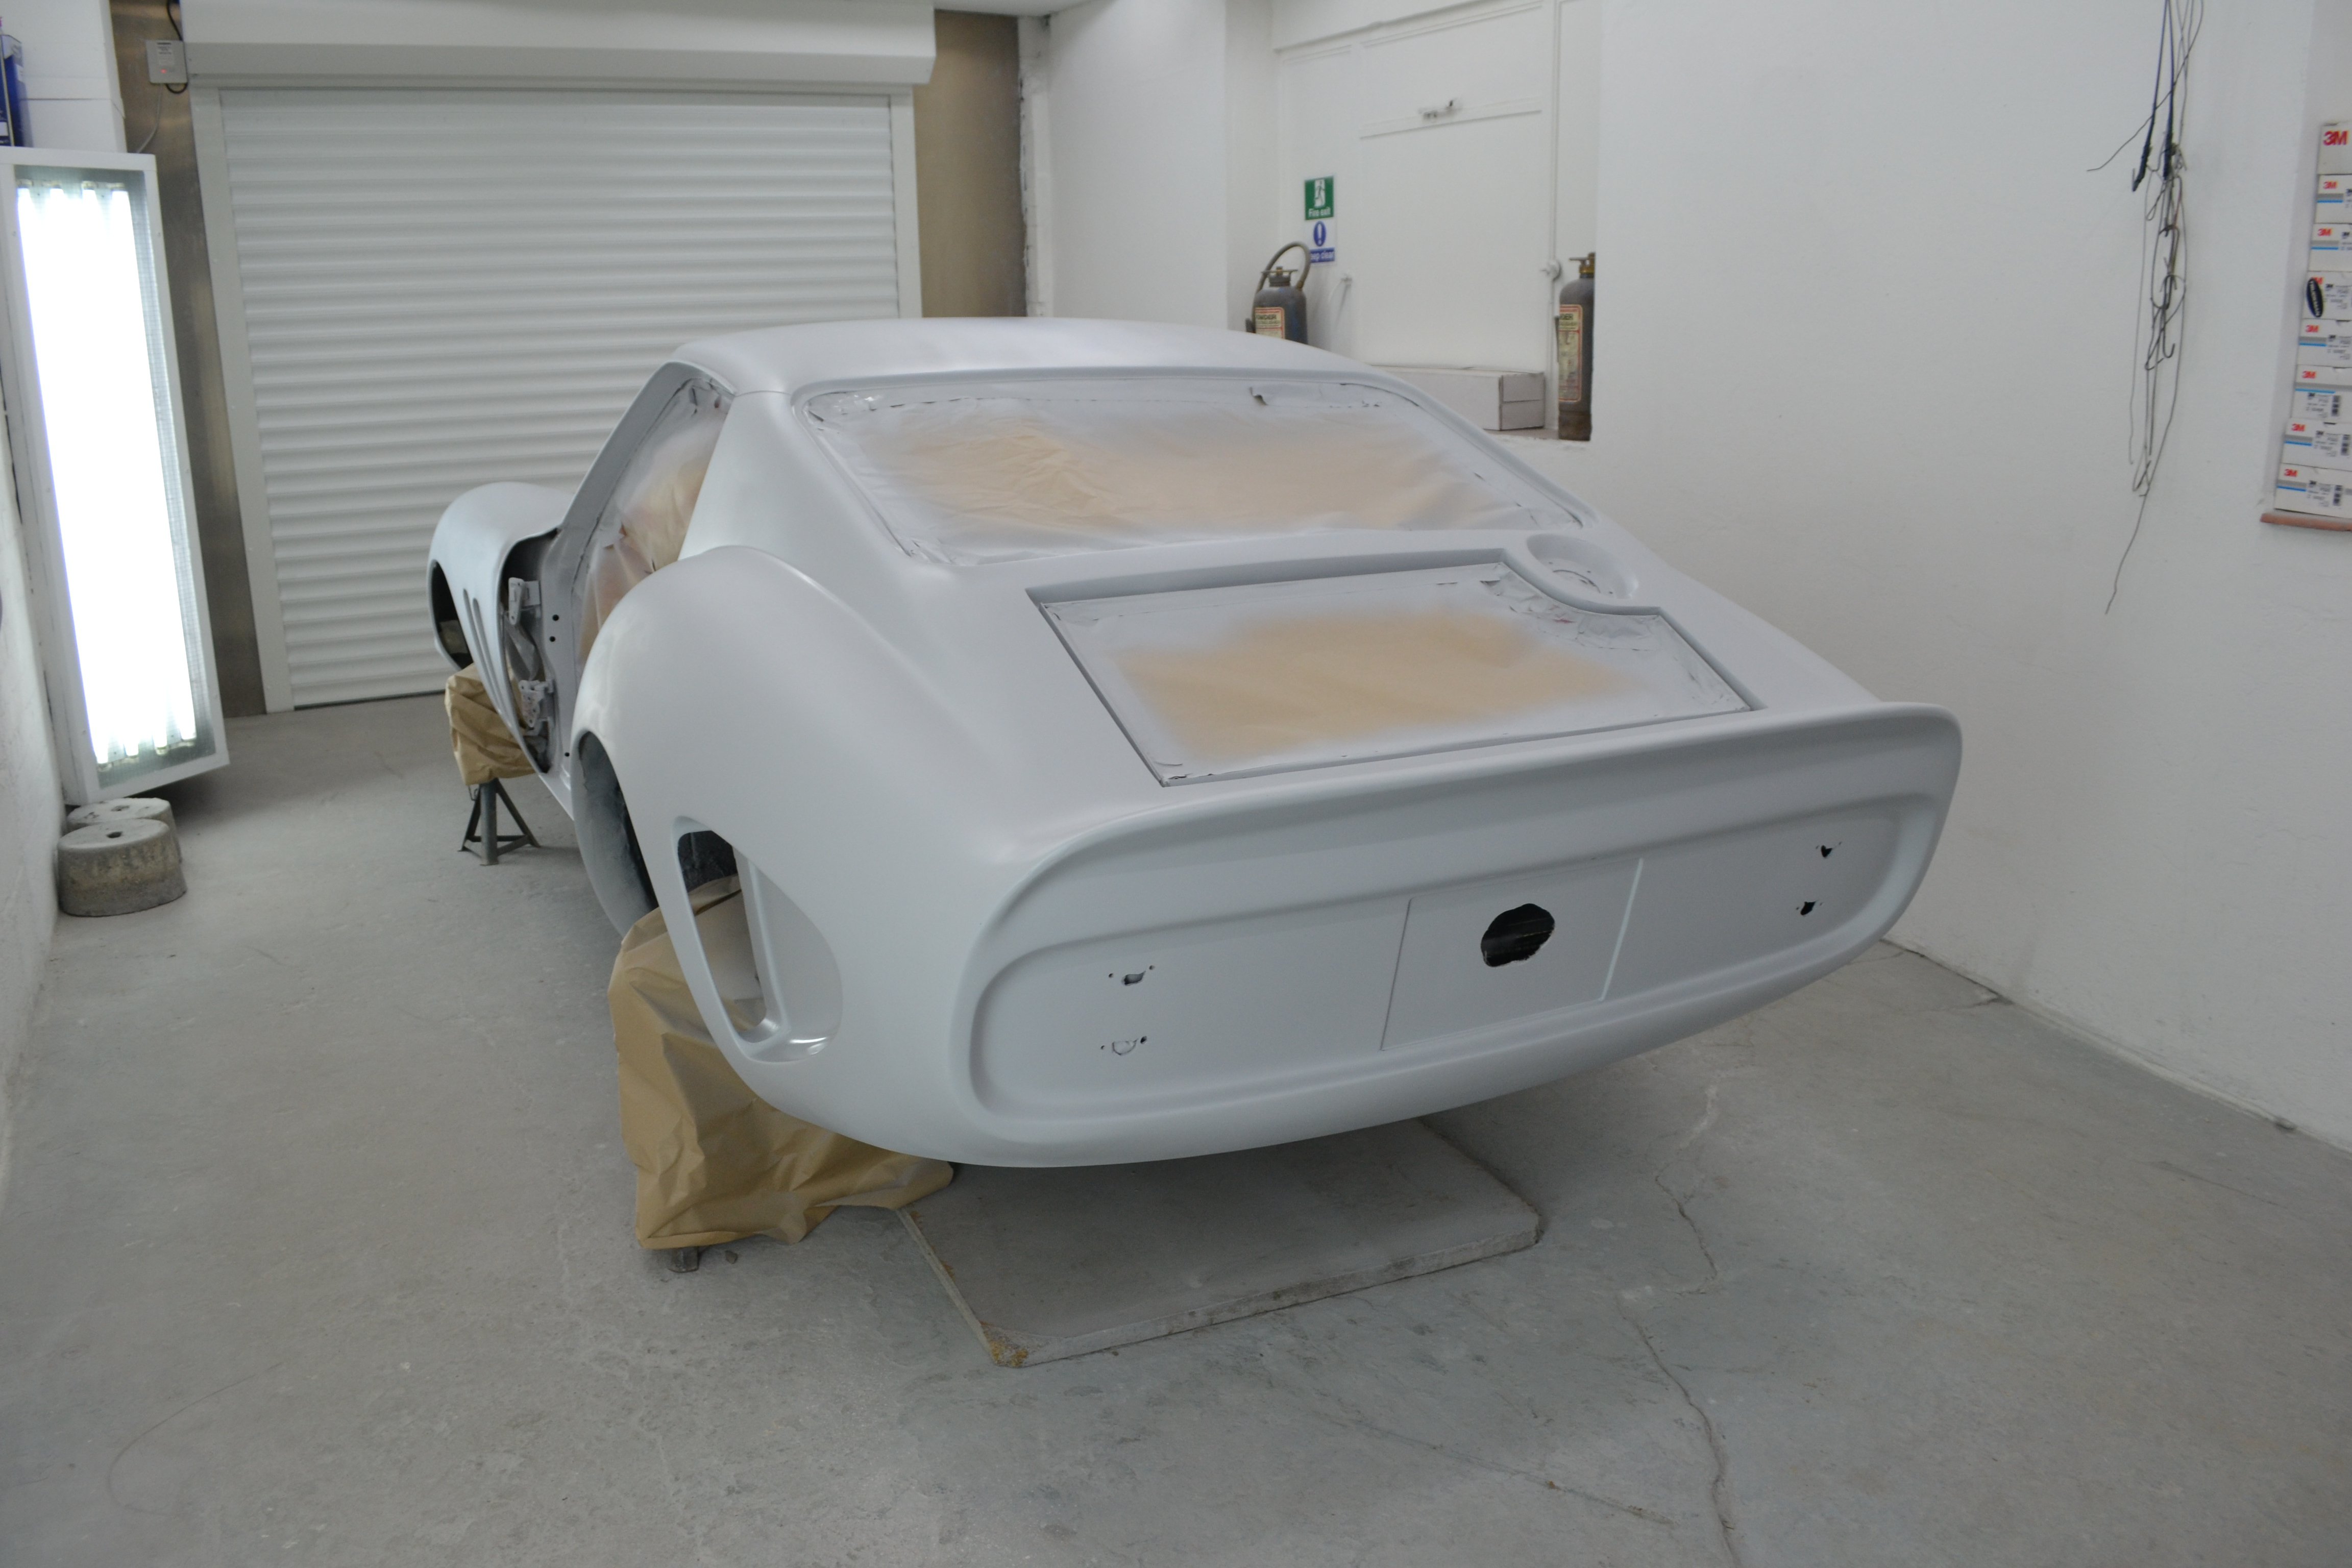
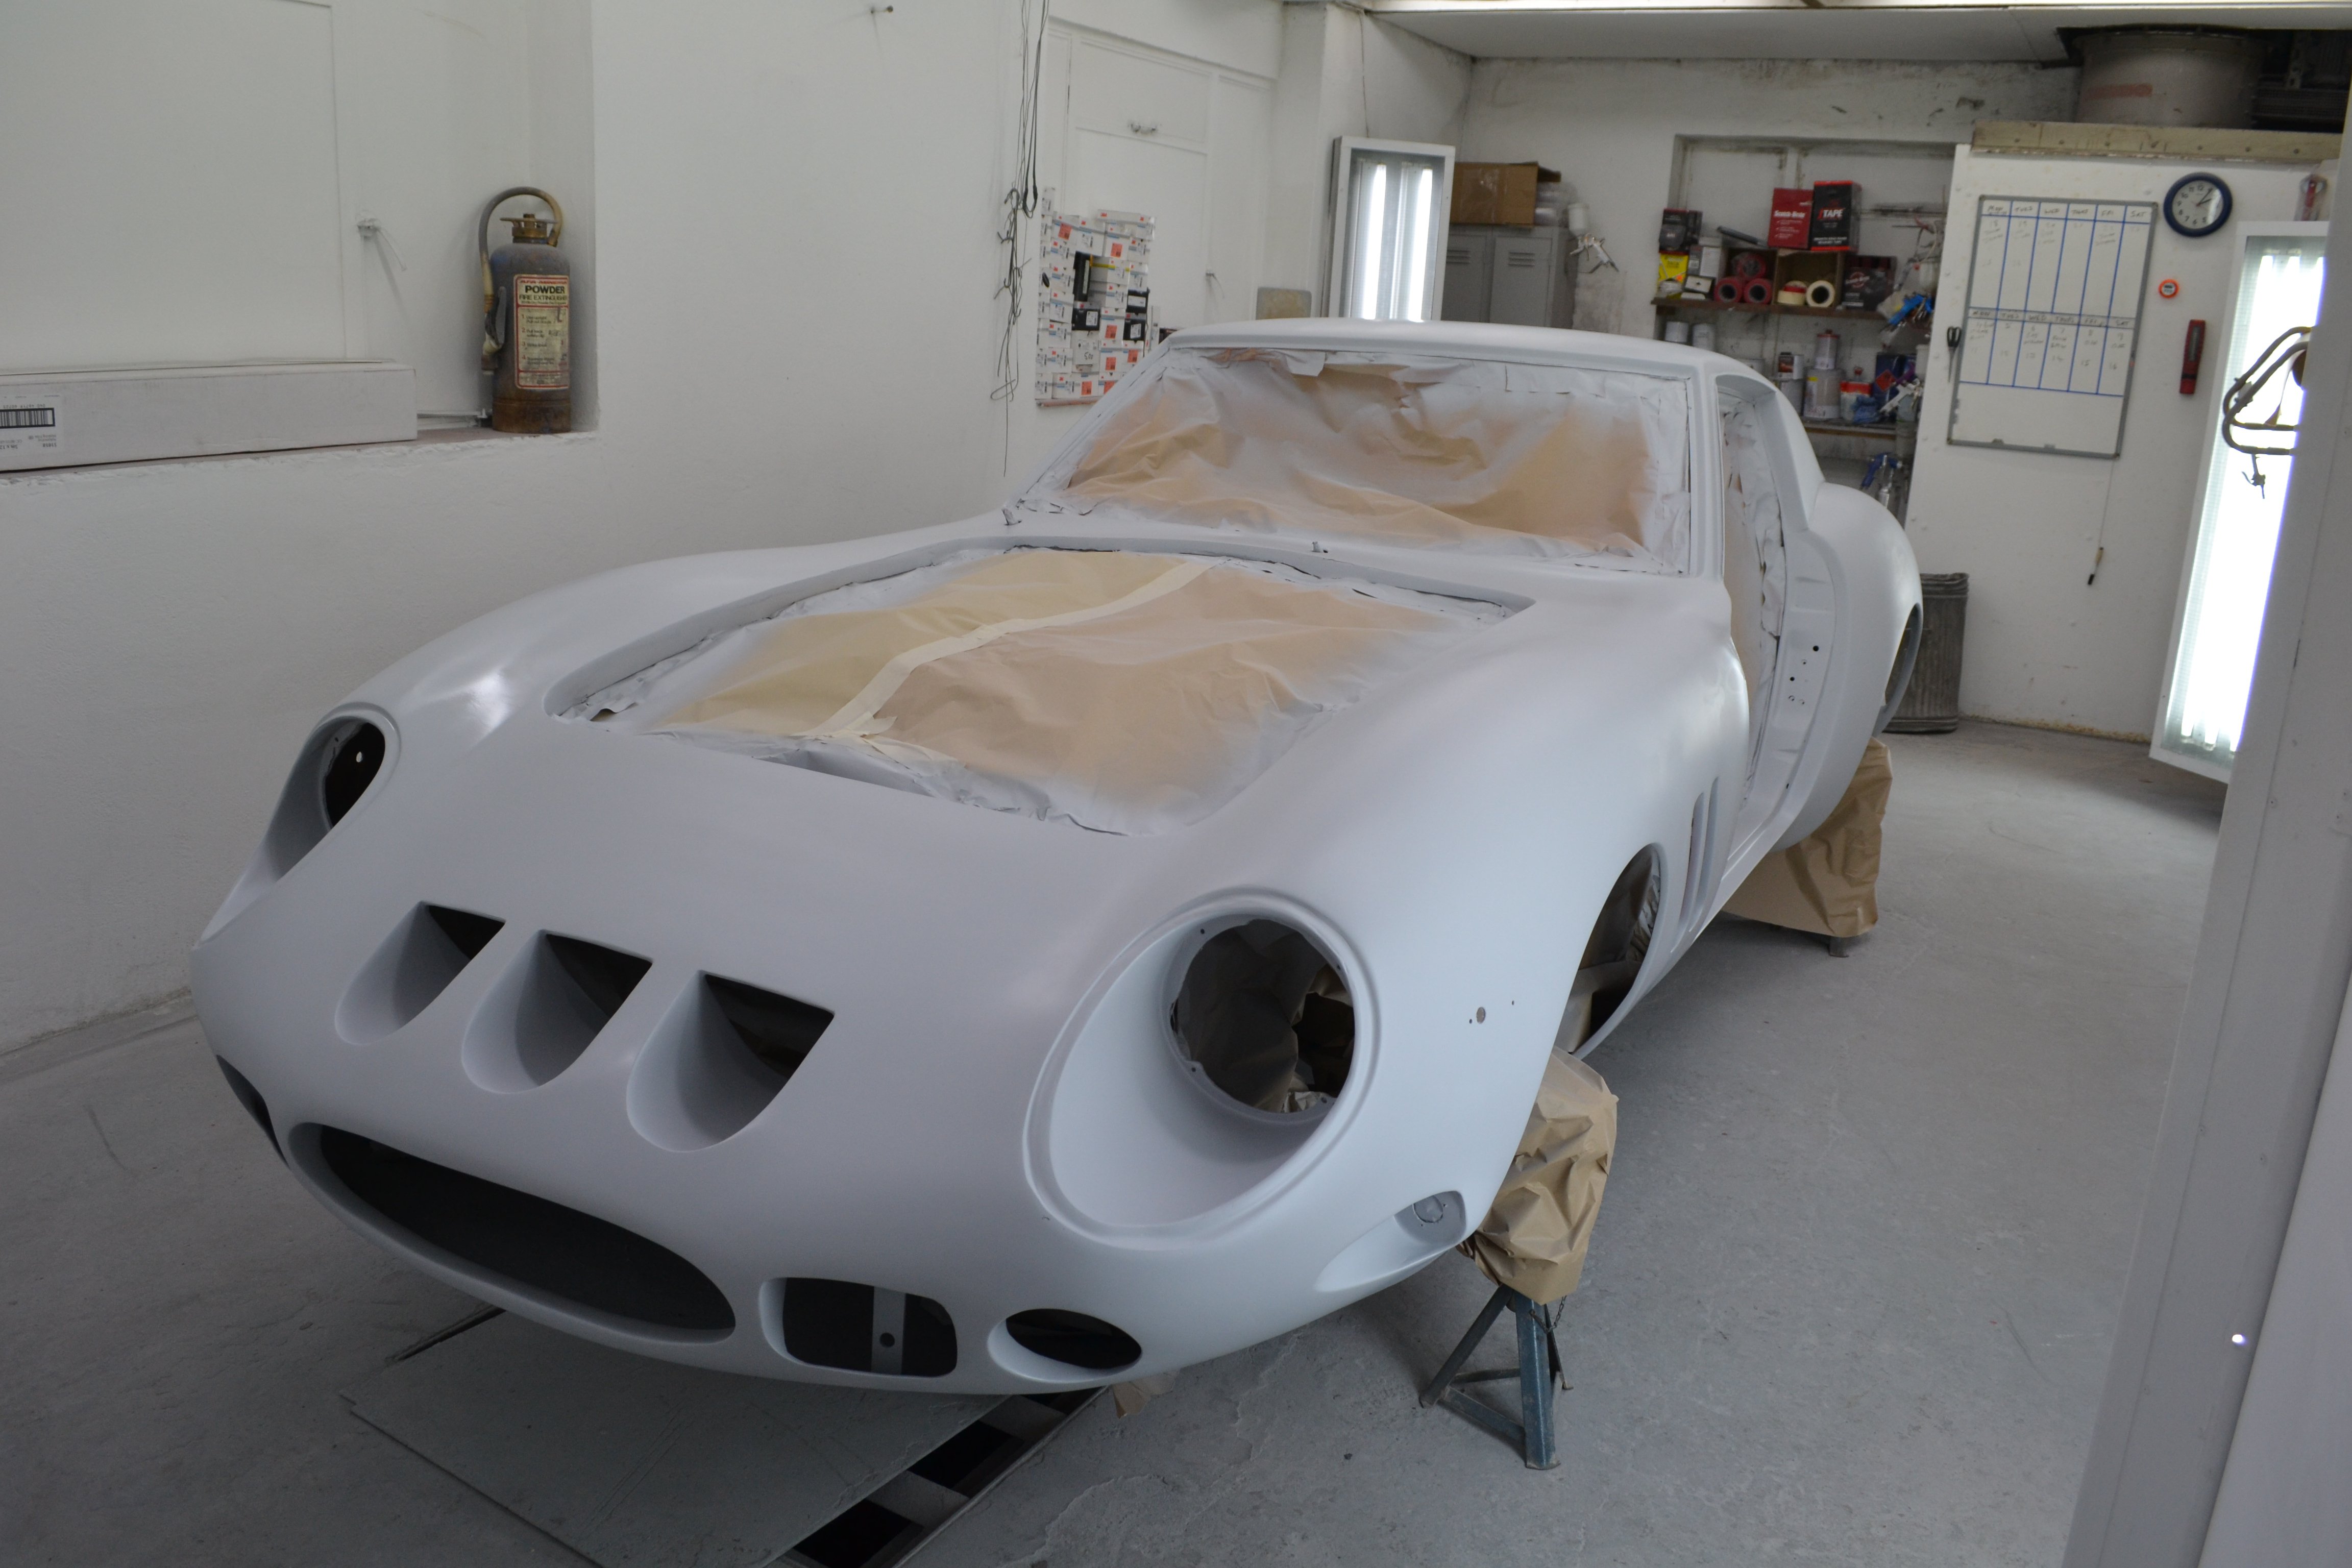
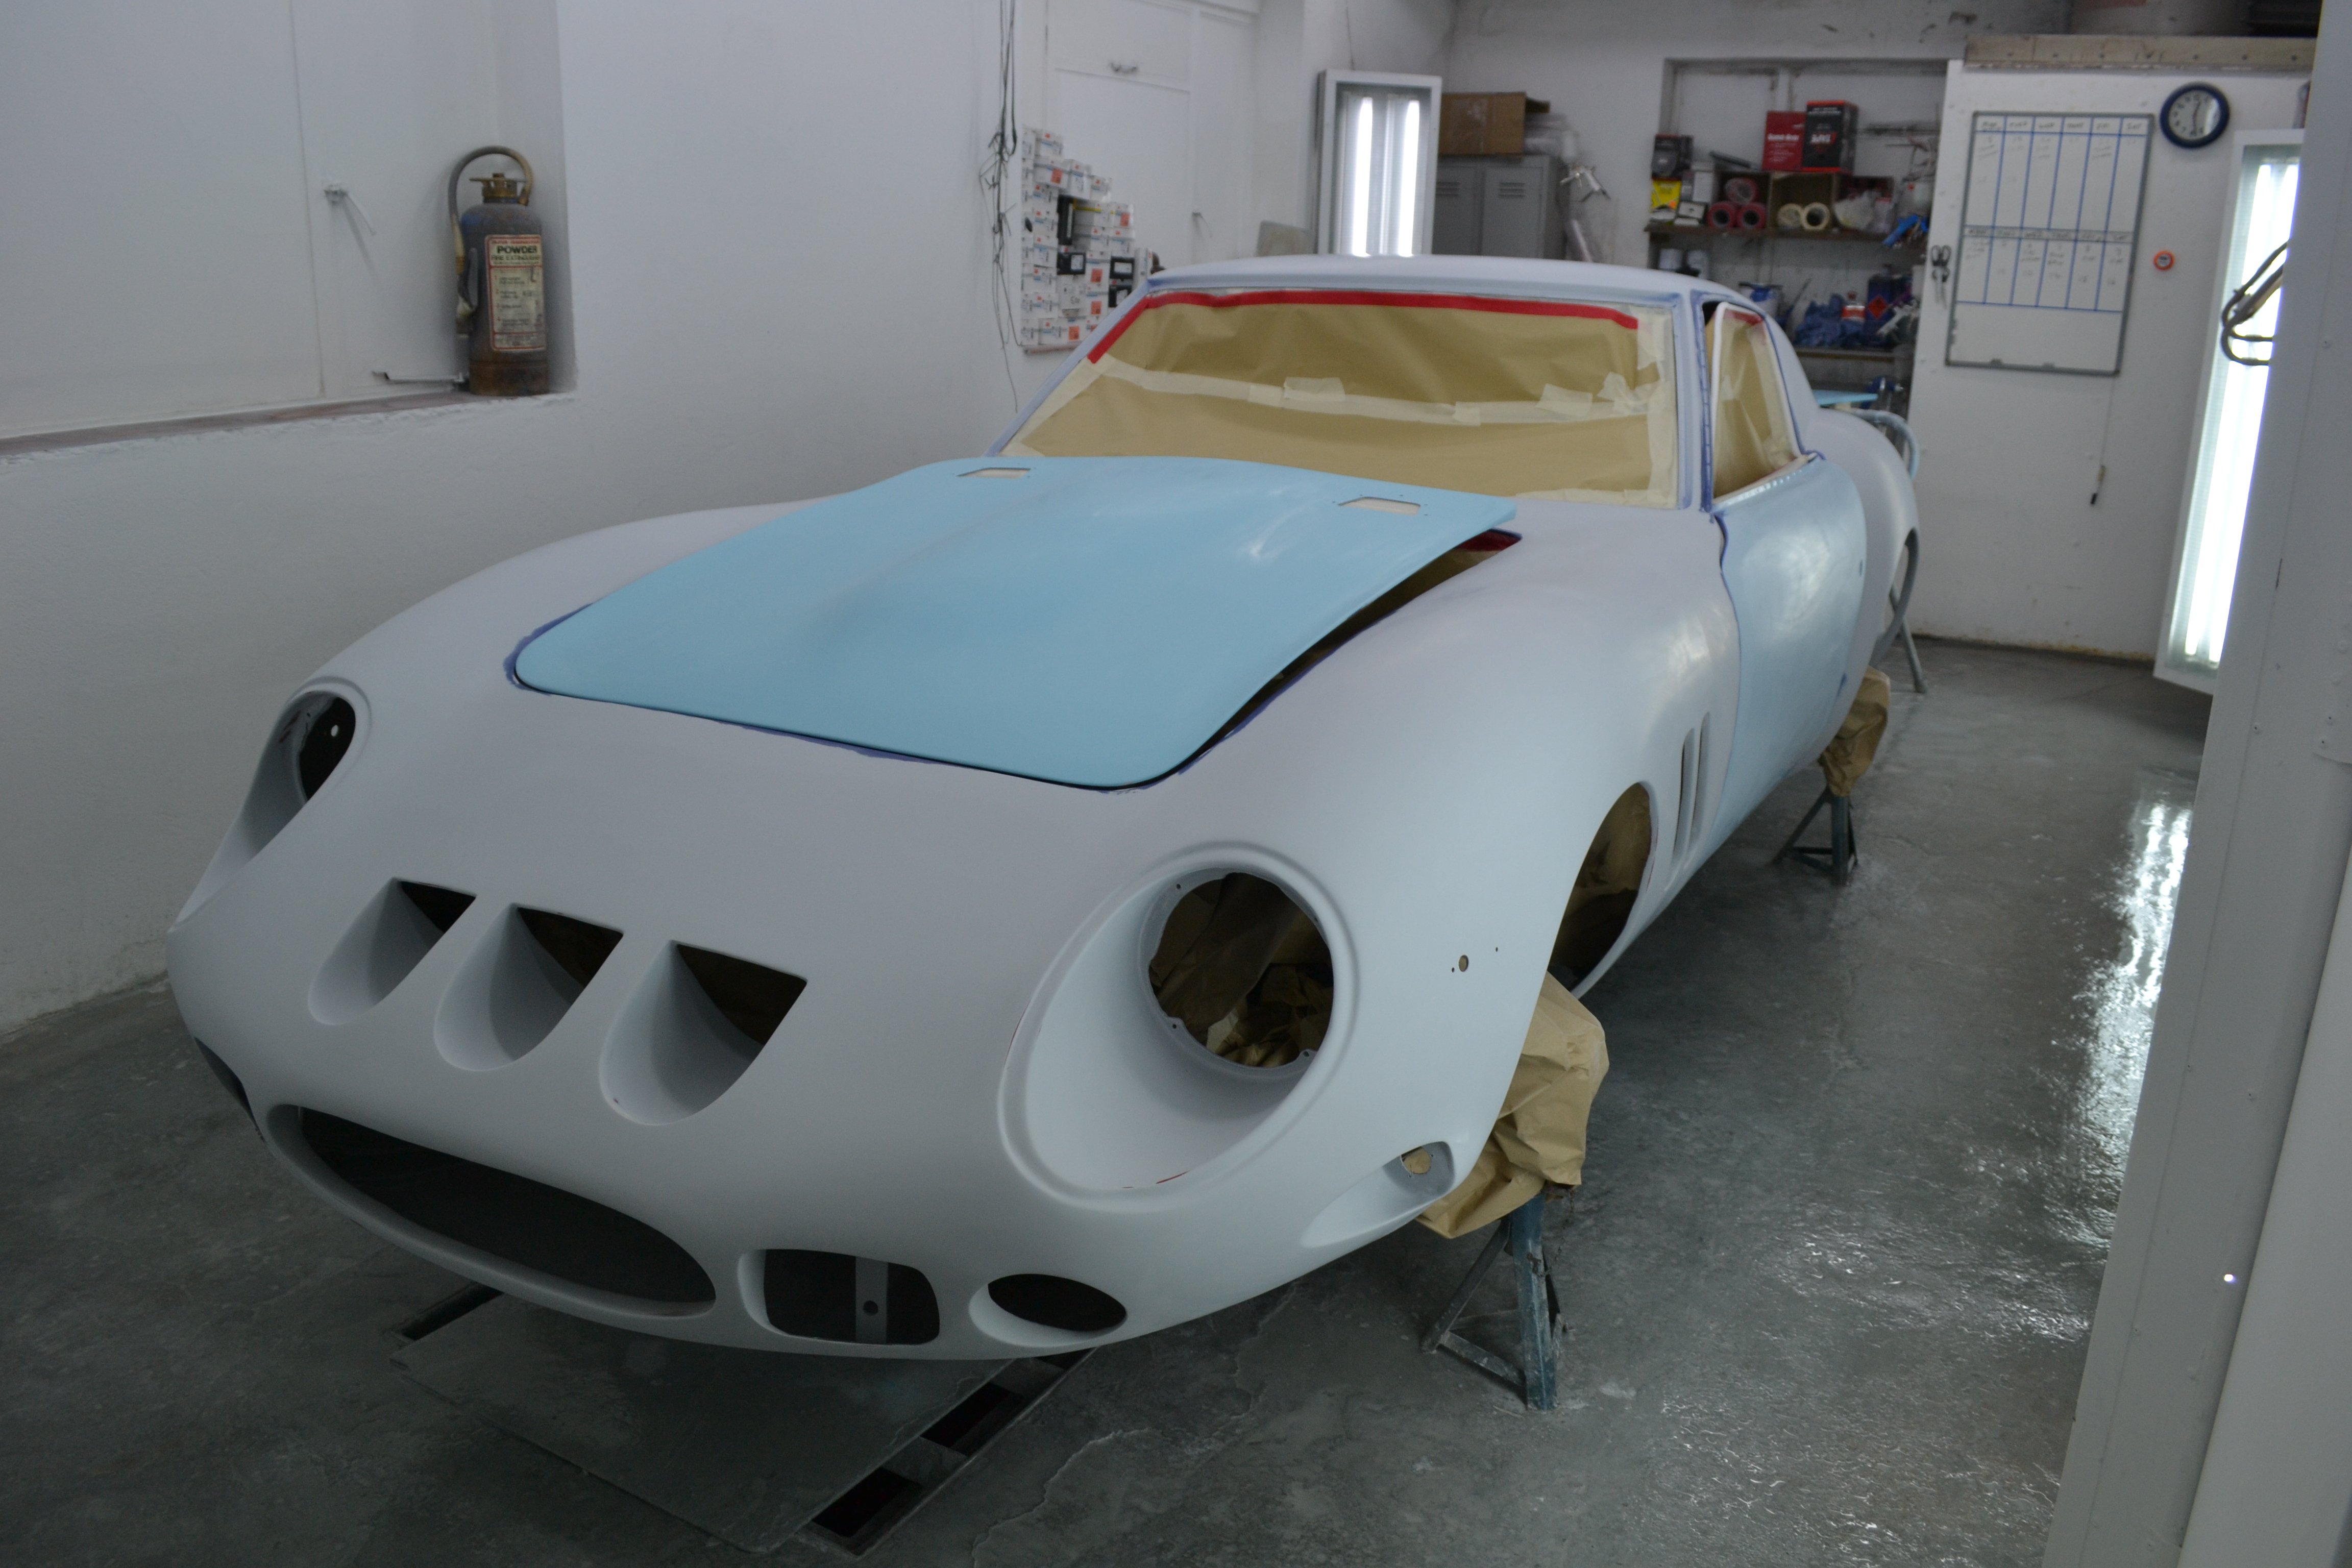
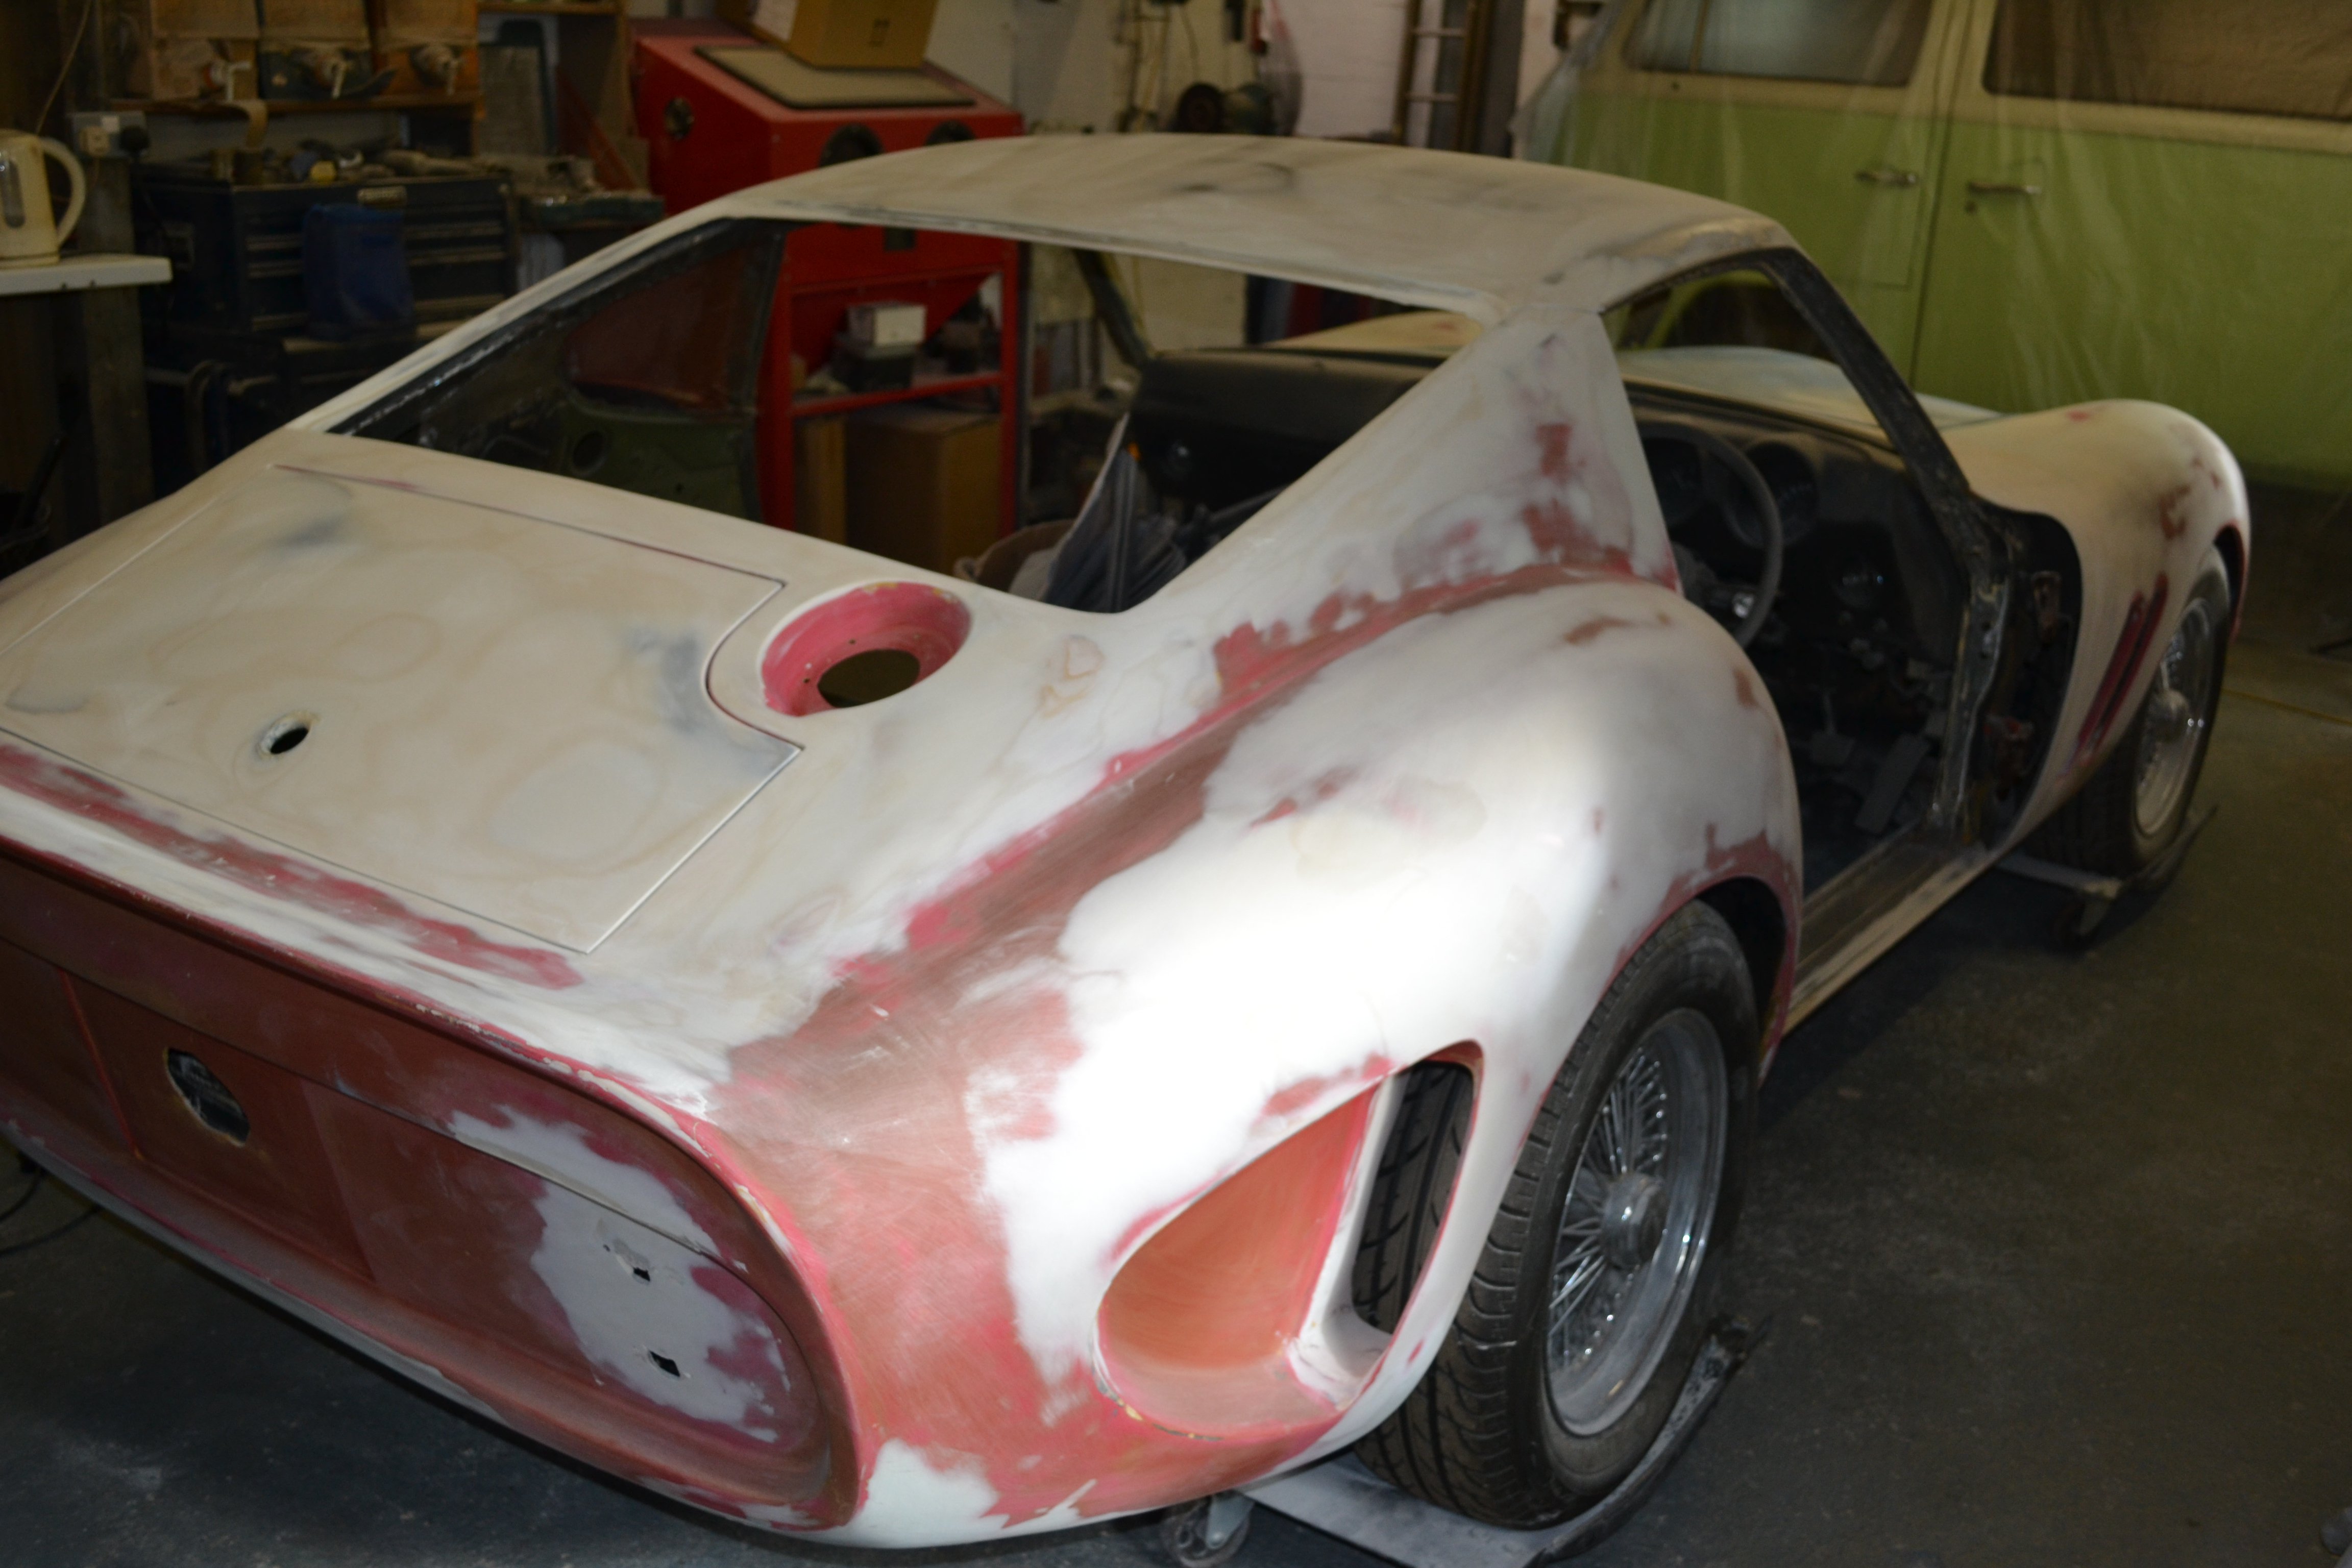
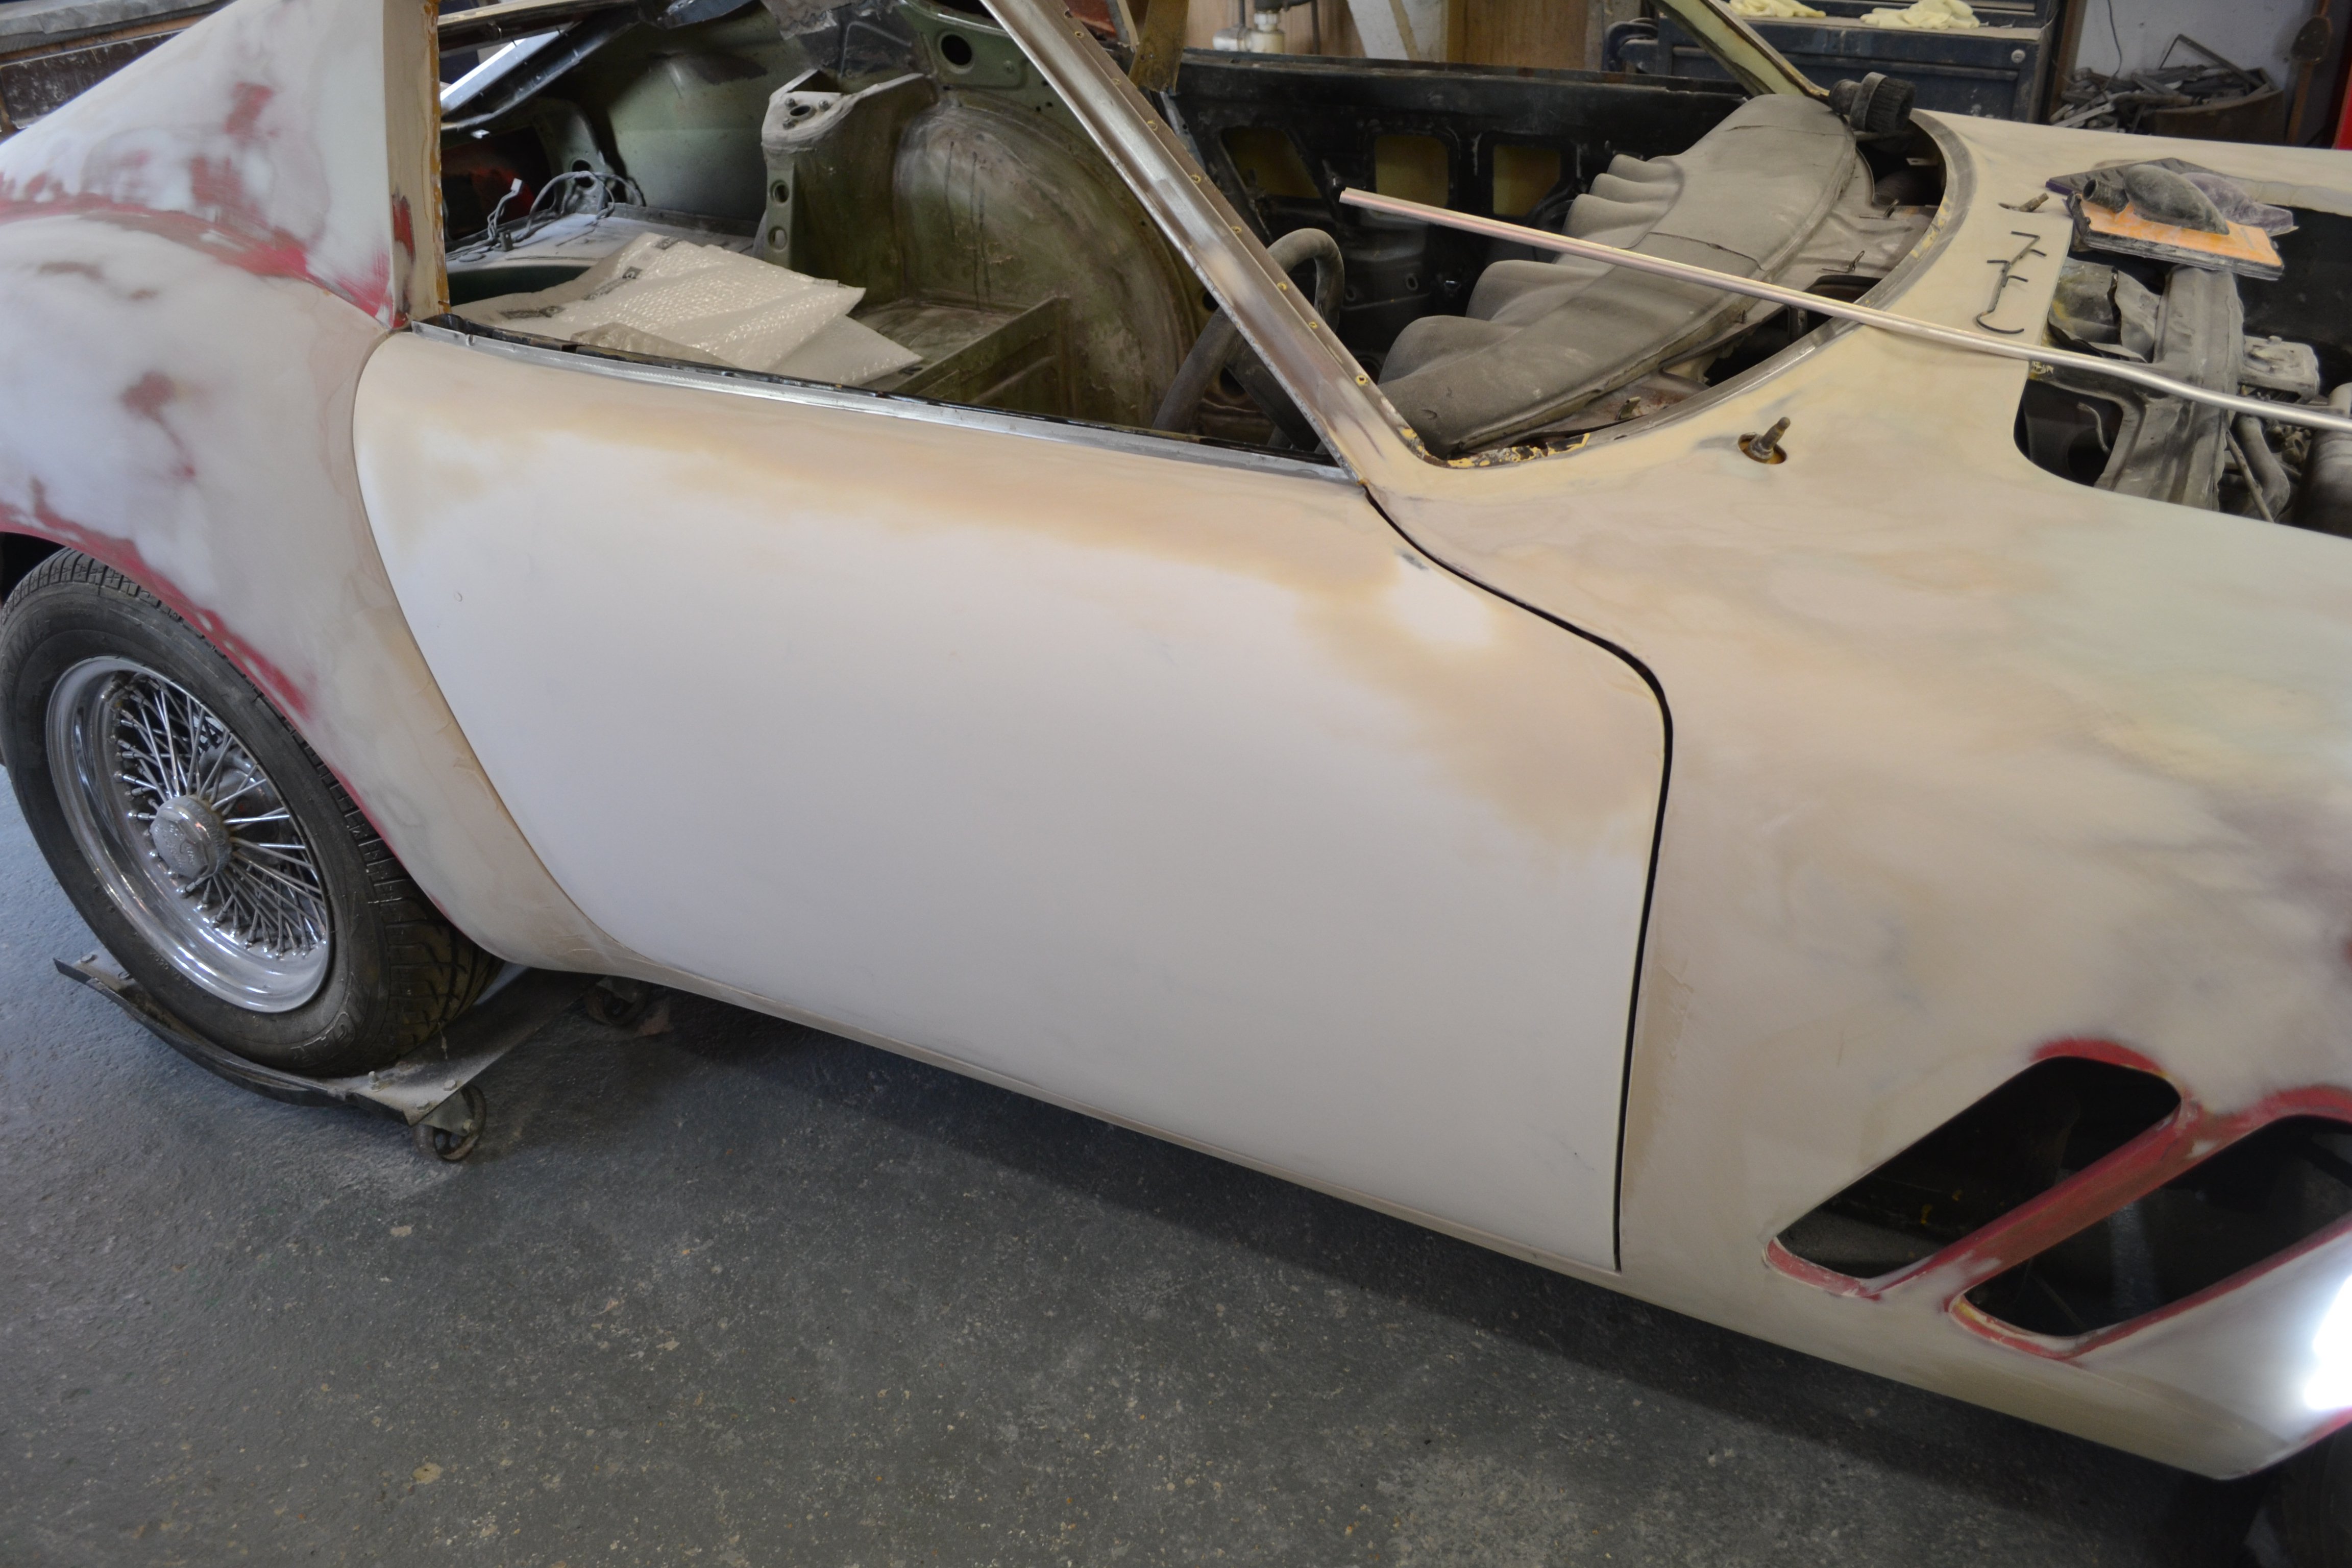
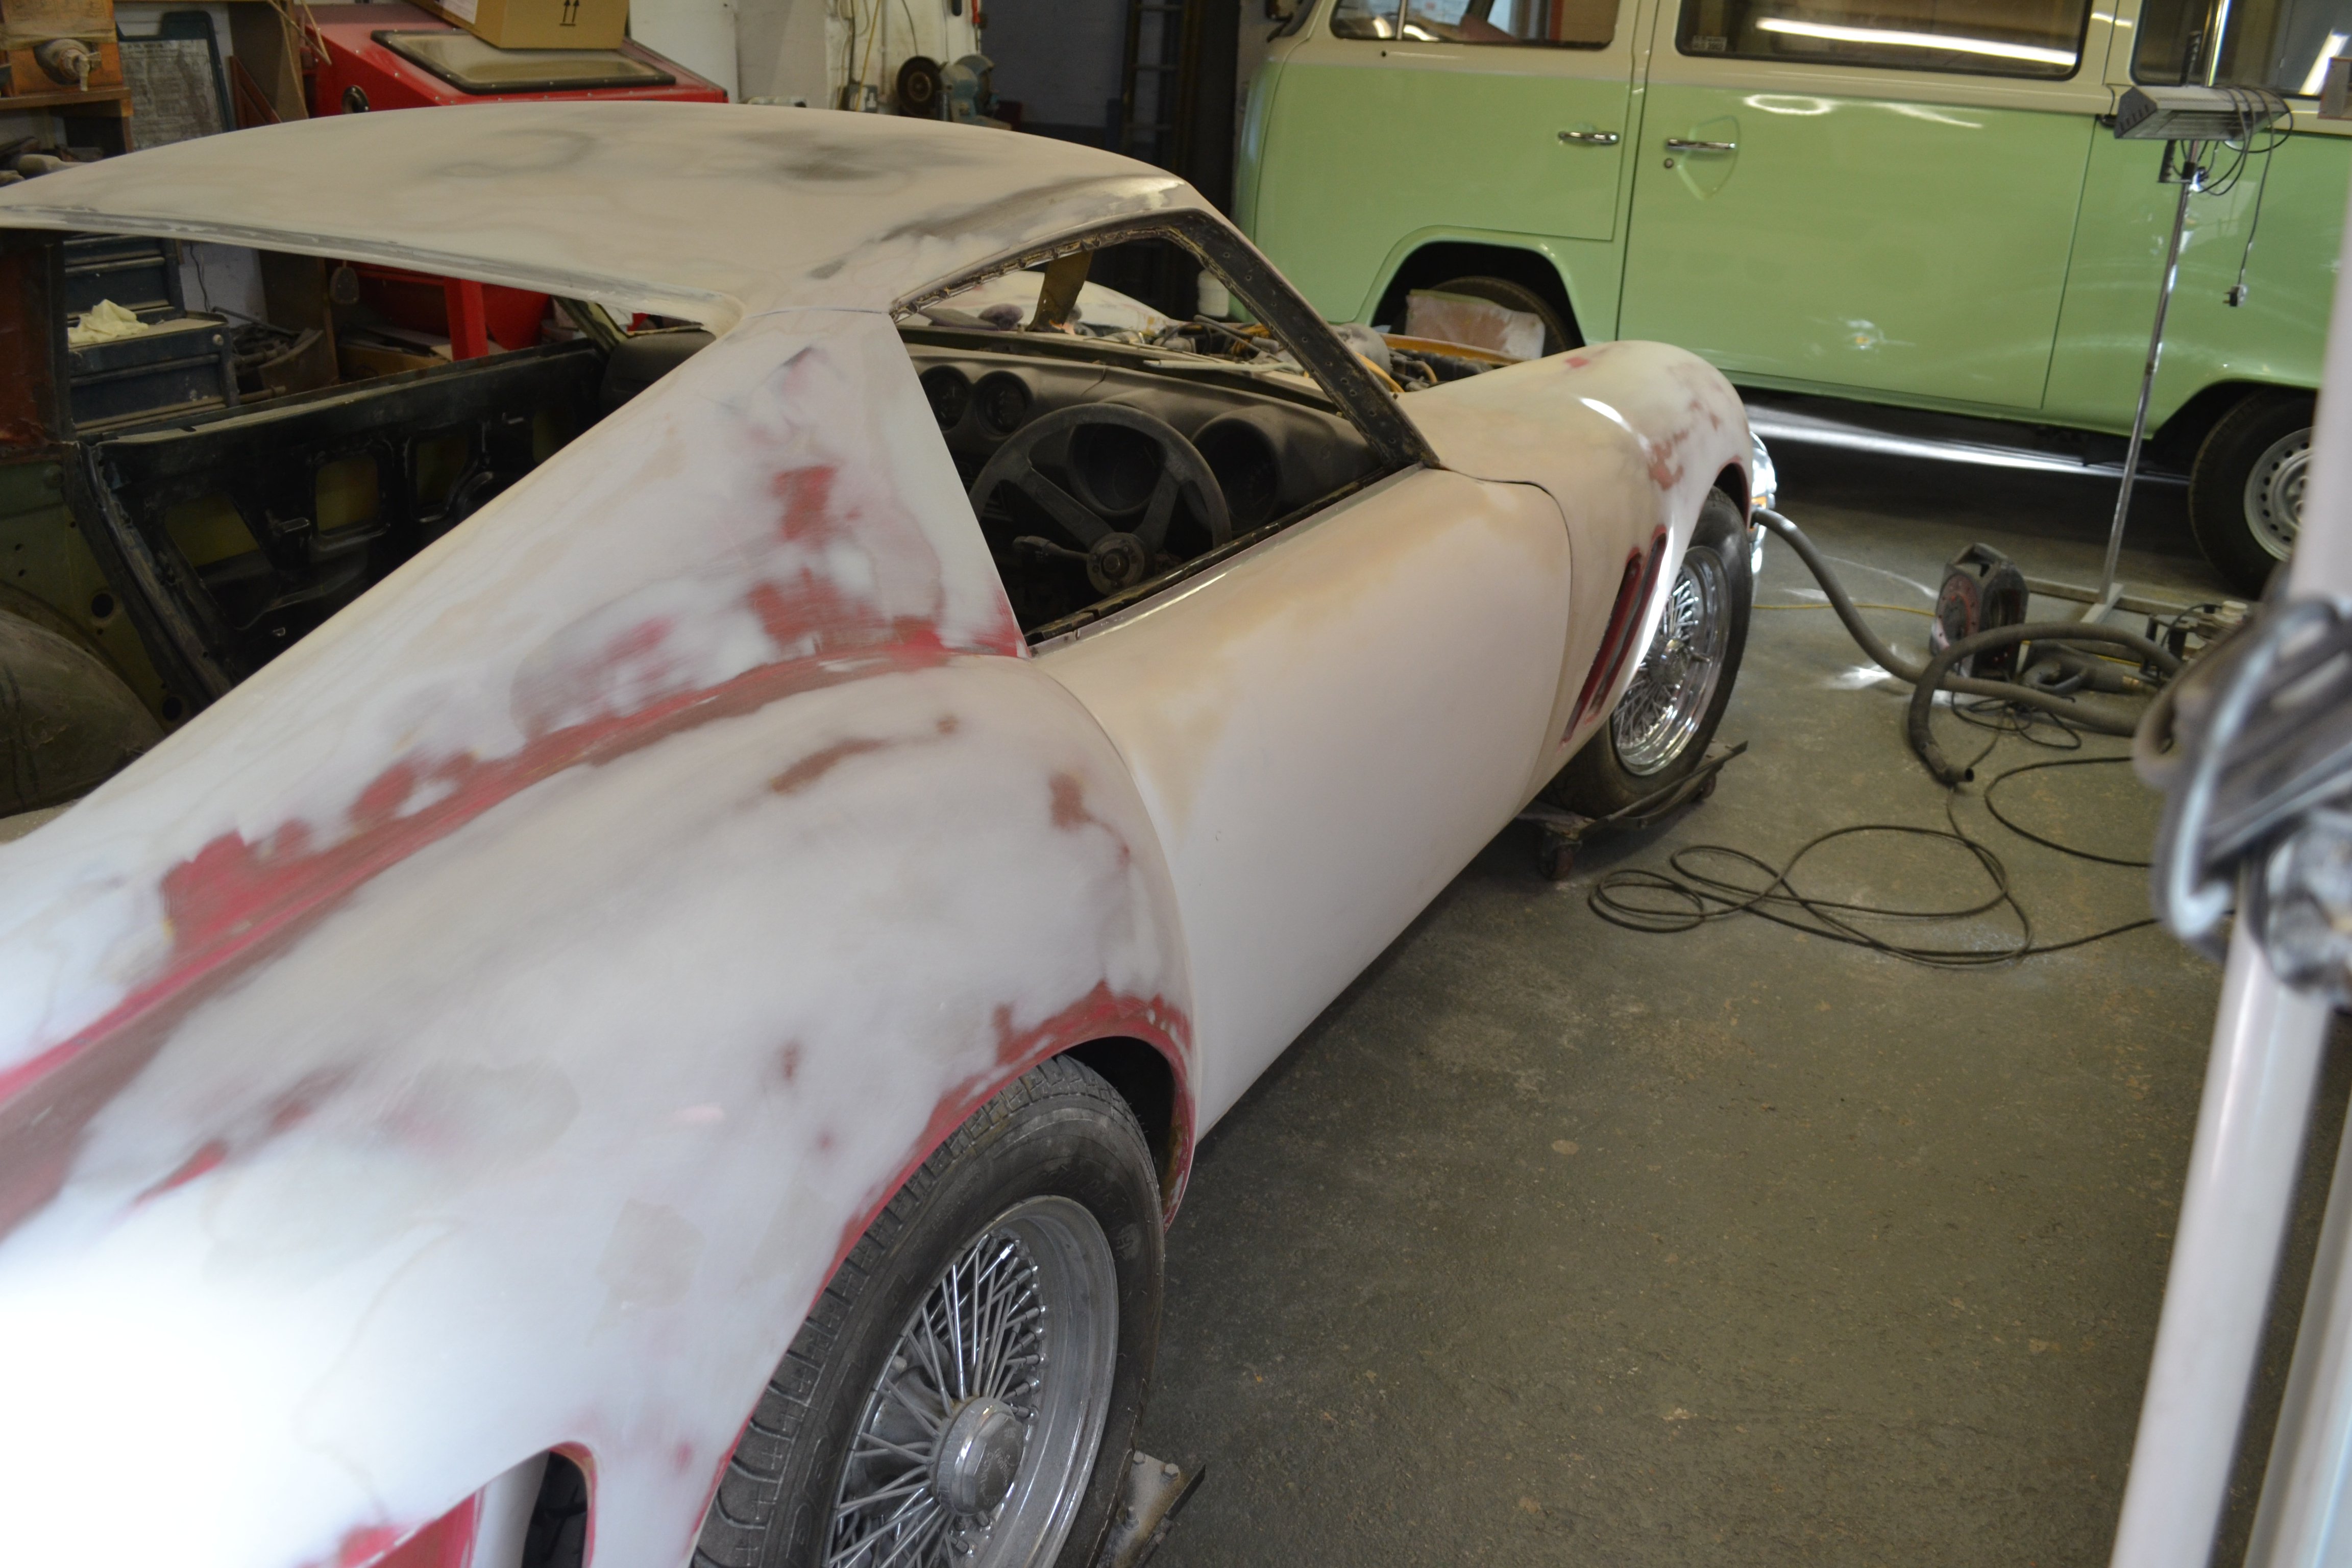
I primed and blocked the car twice, There is a couple of bits on the car that I am not 100 percent happy with but I can revisit those bits another time, I still have the white stripe to do and it will need a de nib and polish which I have started to do today. I have a trimmer coming to the workshop next week to give me a rough idea of costings and hope to get the car to him either at the end of this month or early December. The other job I need to do is to sort out the previous owners bodge job on the wheel spacers, they have been done shockingly, I have contacted a specialist spacer company down in Devon and they will be making me some new ones. I also need to sort out the brakes, the car has been off the road for about 7 years now so new discs, calipers. pads etc required. This was the spacer issue, don't try this at home kids.
-
And some more
-
And some more.
-
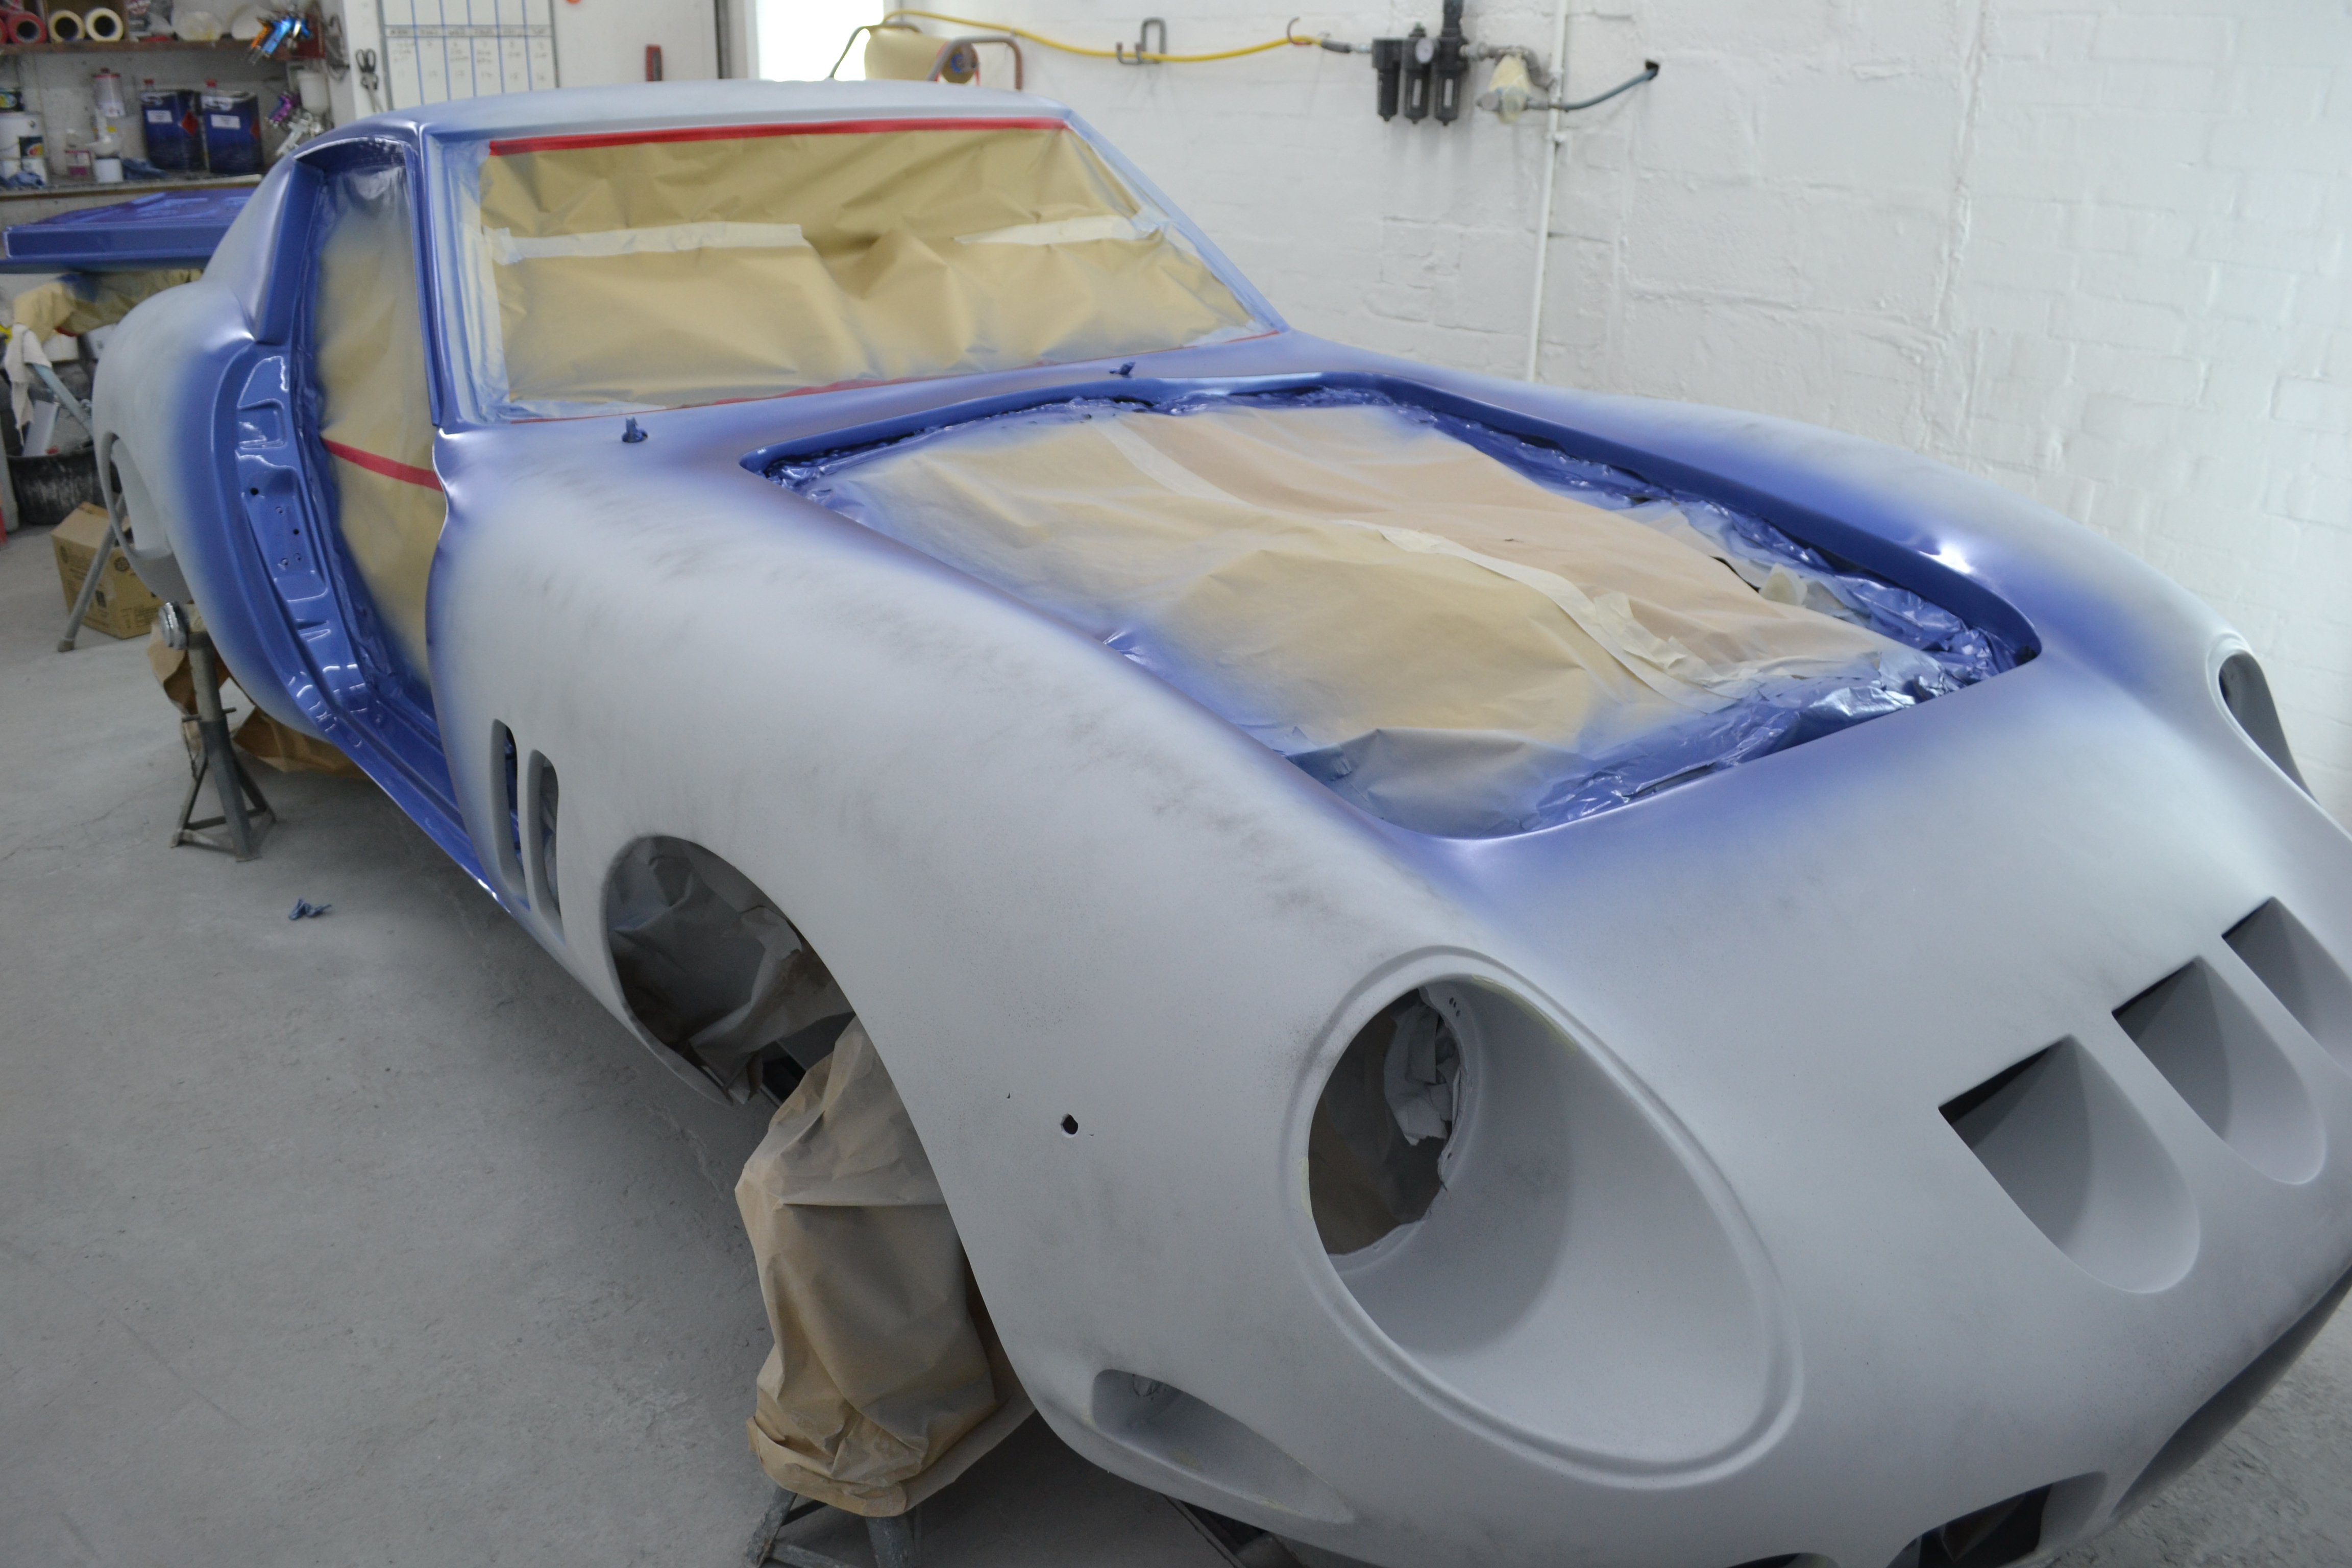
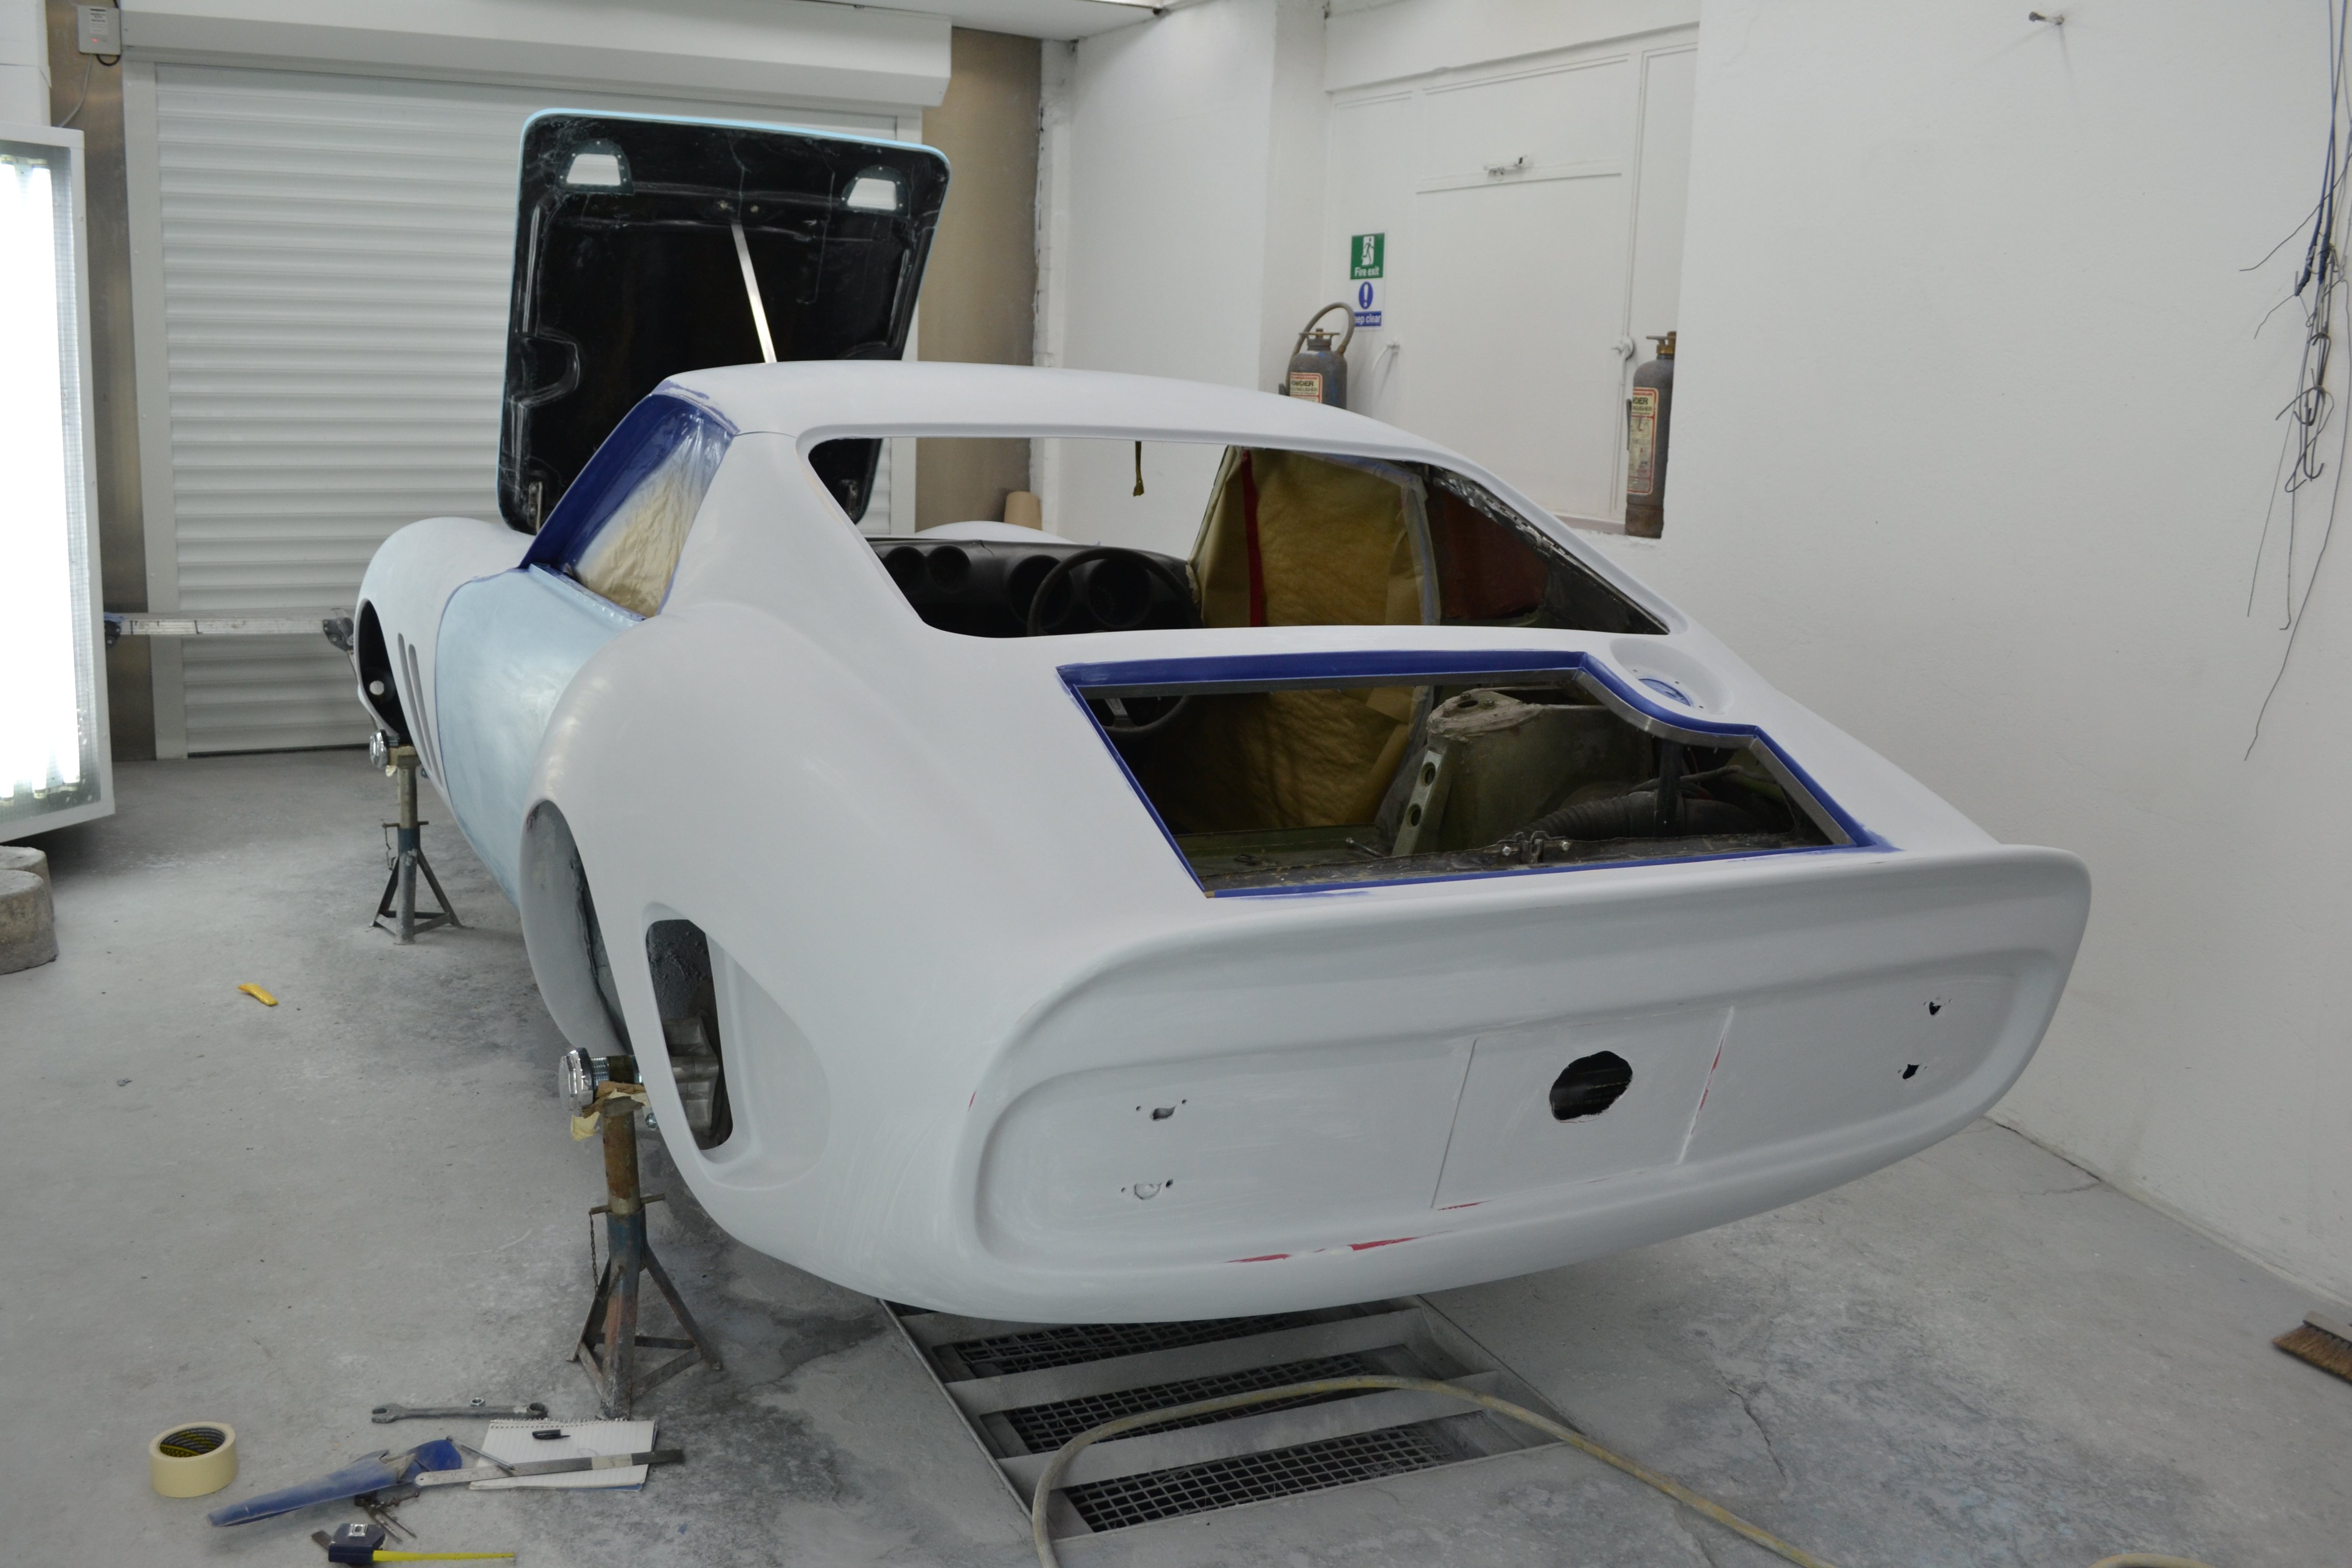
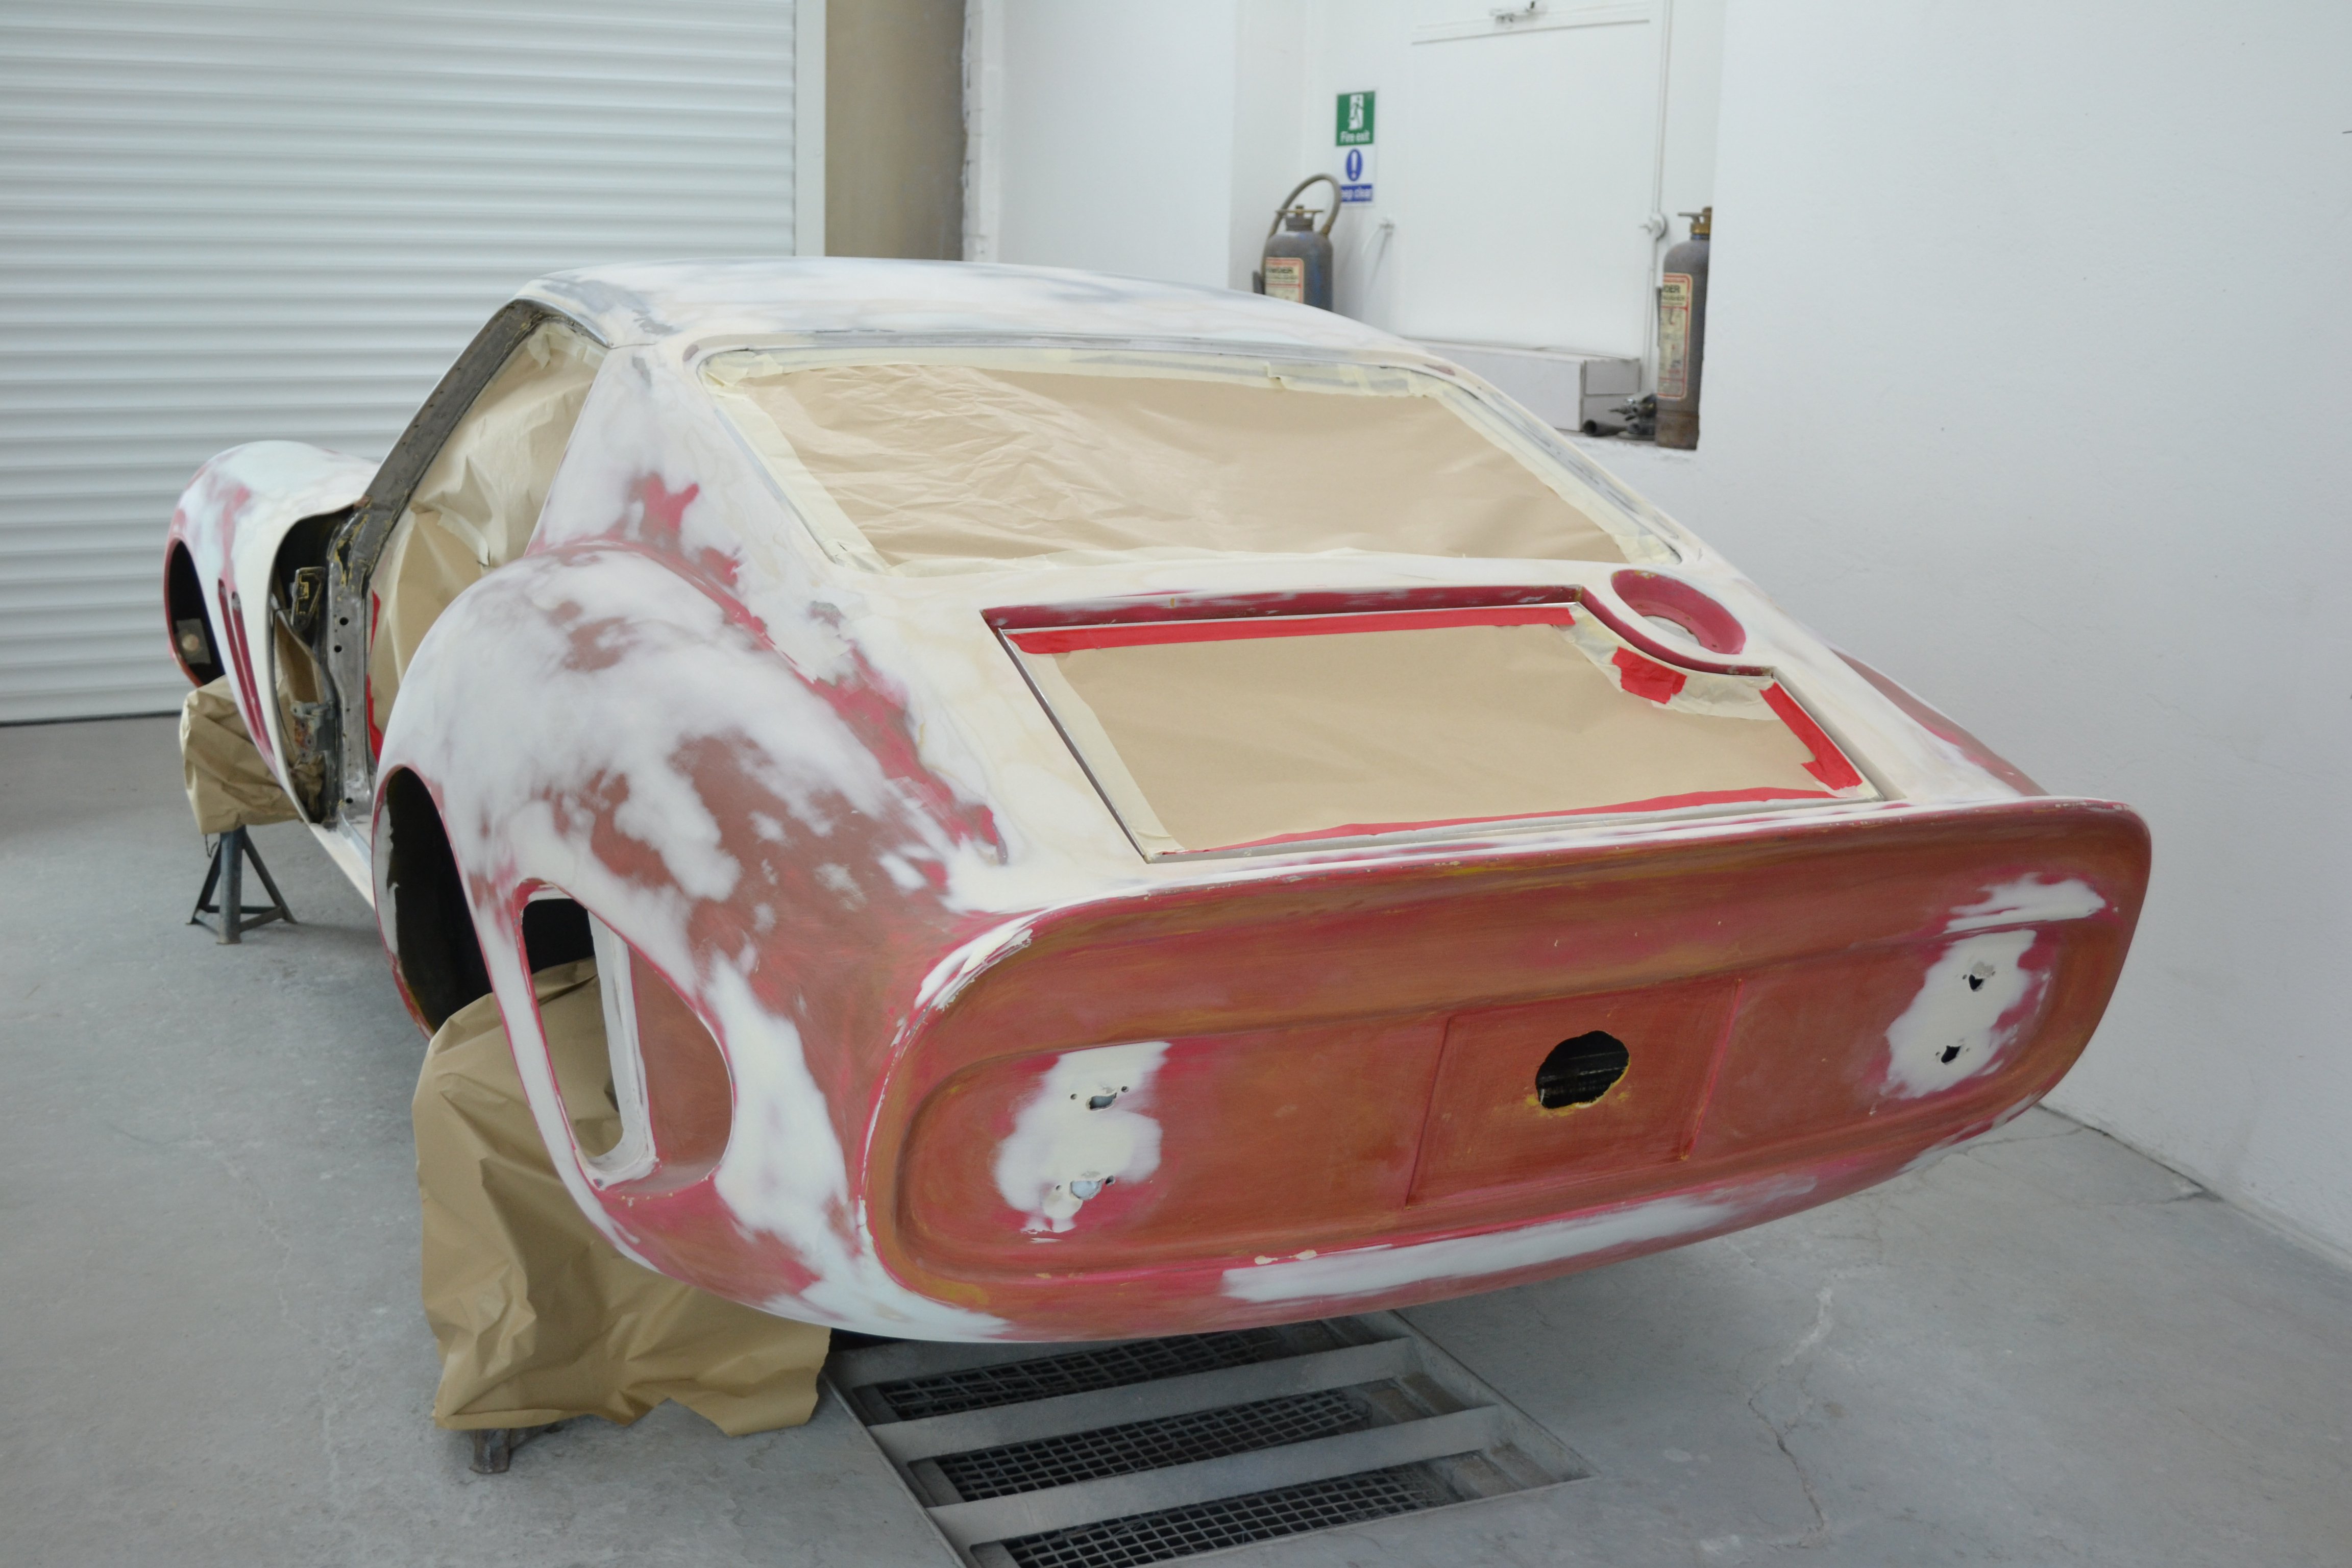
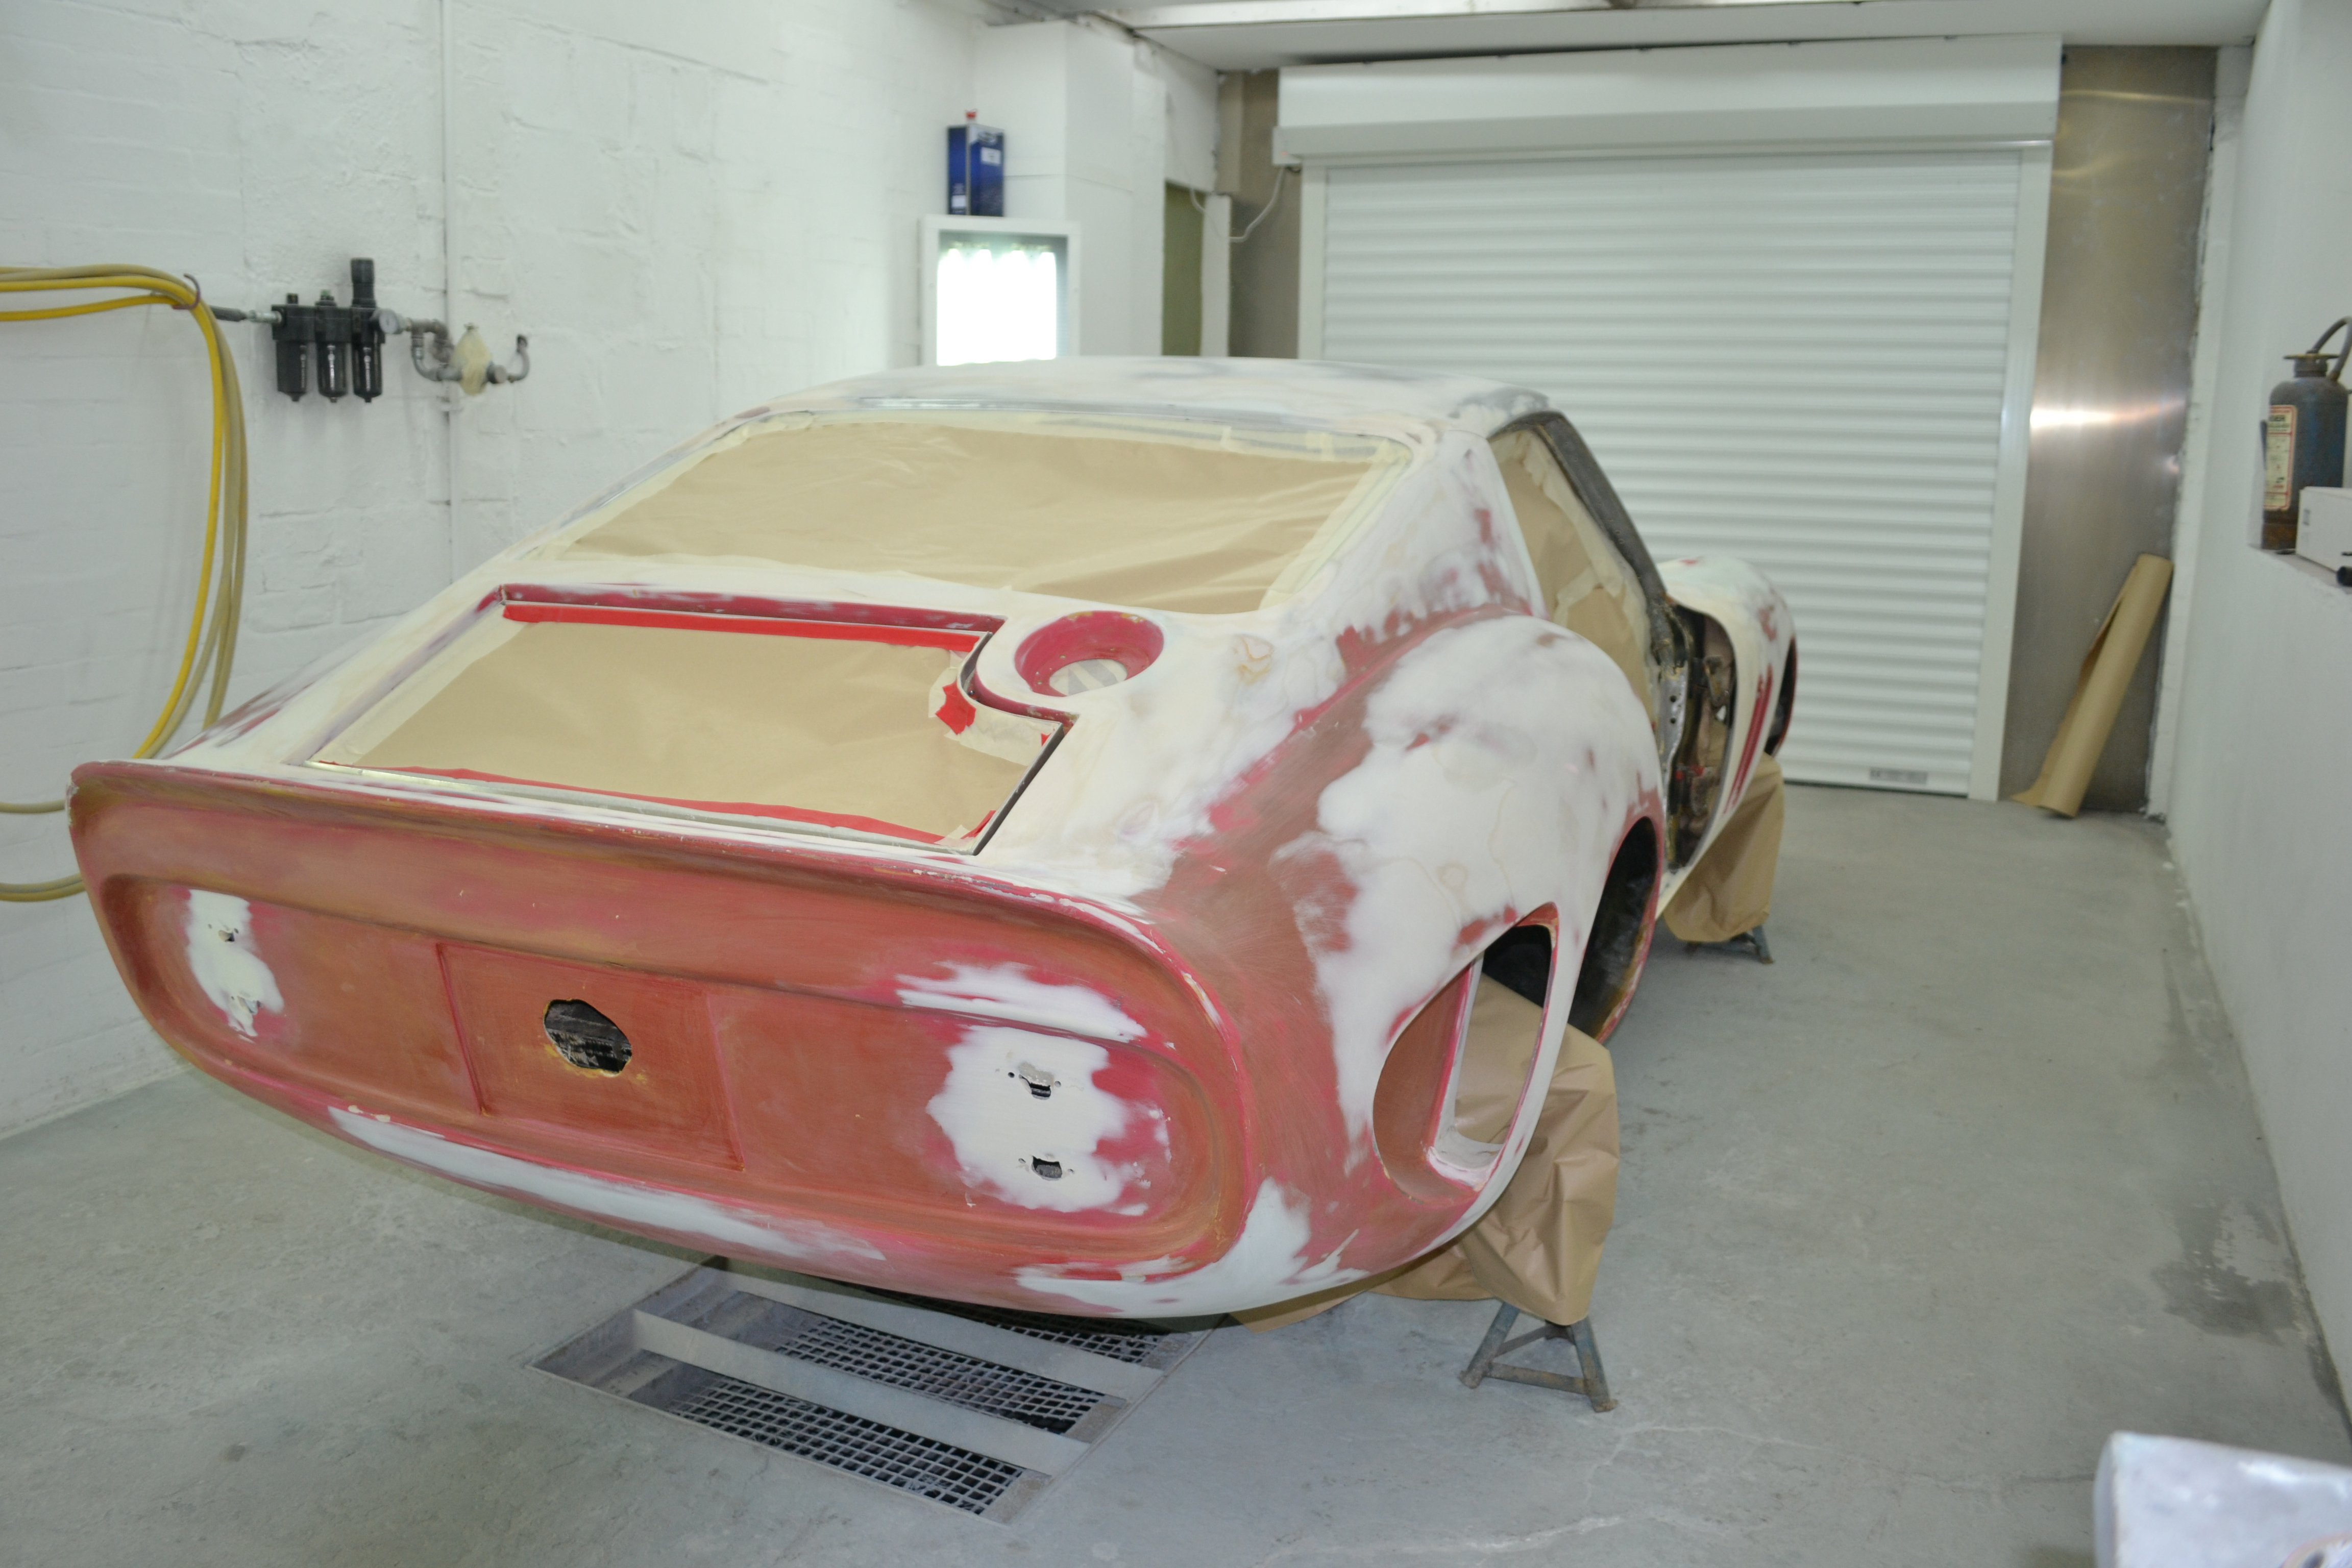
Well it has been a while, My customers work has taken up alot of my time this year, sadly required to pay the bills, but they do say it's good to be busy. The GTO has moved forward, I ended up remoulding the door over skins as the old ones need a lot of filler to get them to a reasonable shape, this in turn made them very heavy, it meant getting it painted was pushed back a bit. I was quite pleased how the skins came out as I made the moulds and produced two skins without any help this time, I won't be giving up the day job and to be honest it was a rather stinky sticky job which I didn't enjoy but had to be done. I finished shaping the body up and tried to get the panel gaps as best I could. I also managed to get it in primer and finally get some color on it. Some pics
-
Hi Peter, I had an idea of the basics but spending a few days with Lee has certainly helped me a lot.I feel confident enough to be able to take a mould from any car panel now.
-
I am hoping to get back on it within the next few weeks, the diary is pretty full with customers work at the moment but will update as the build moves forward.
-
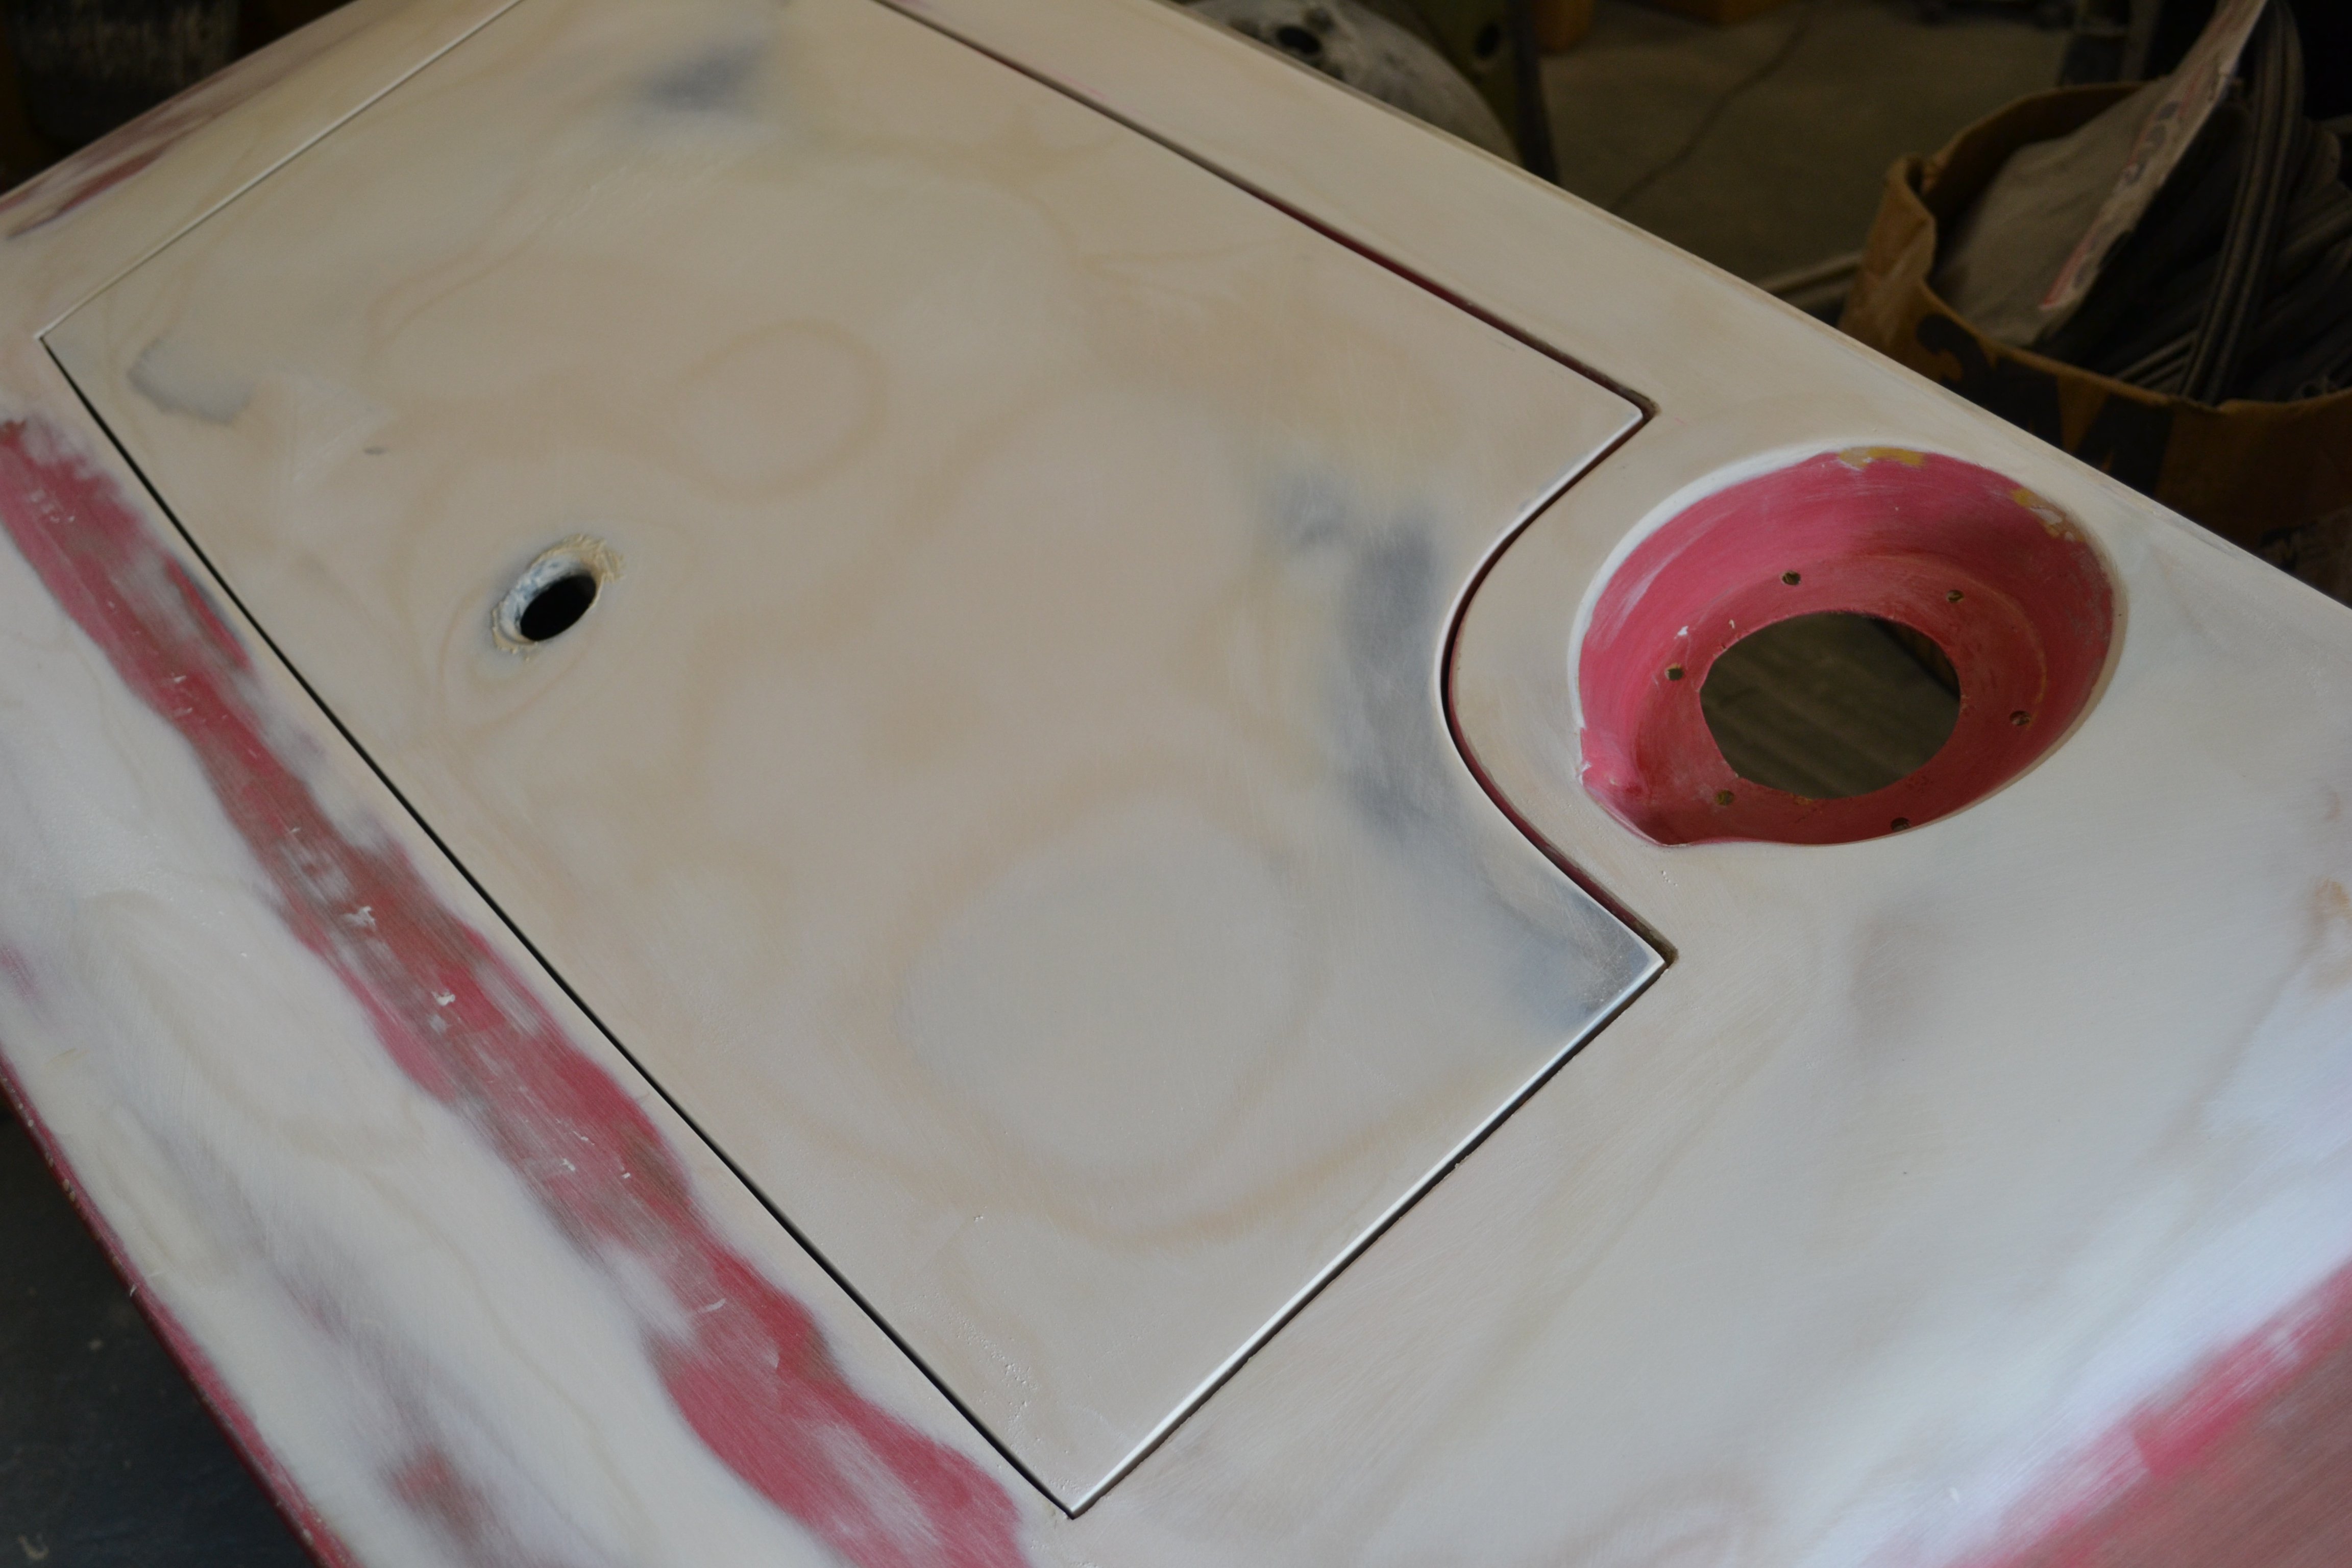
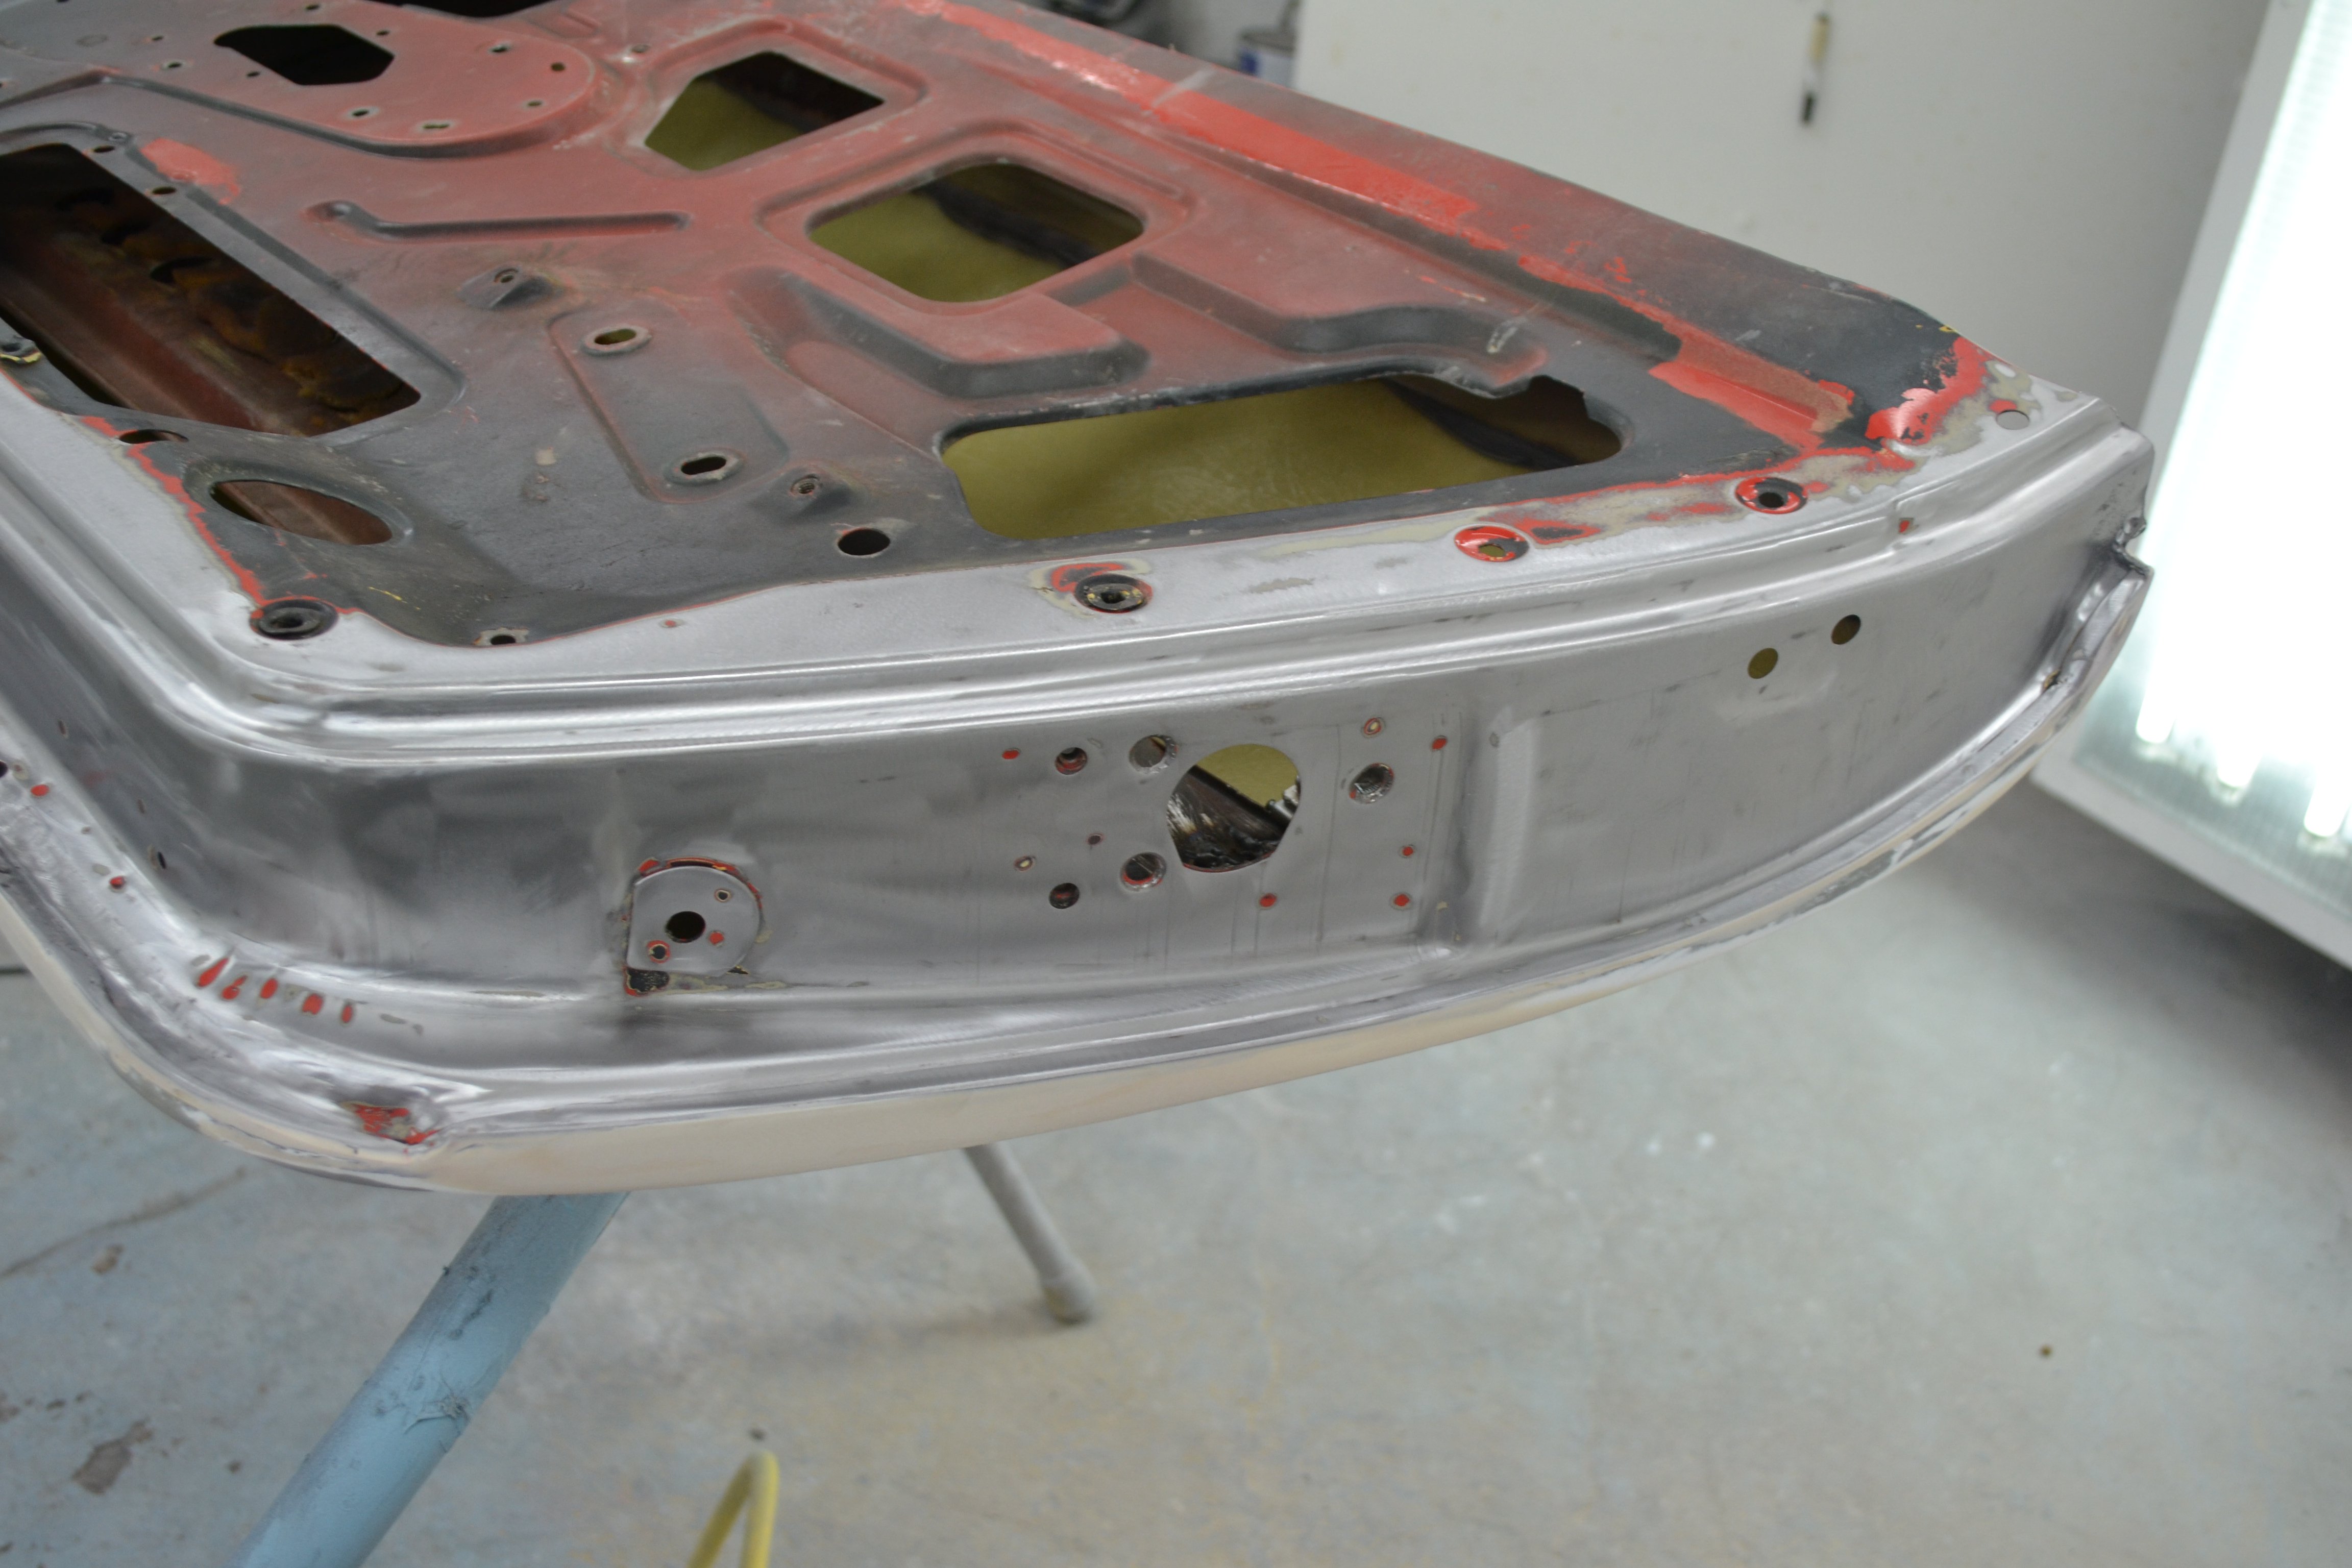
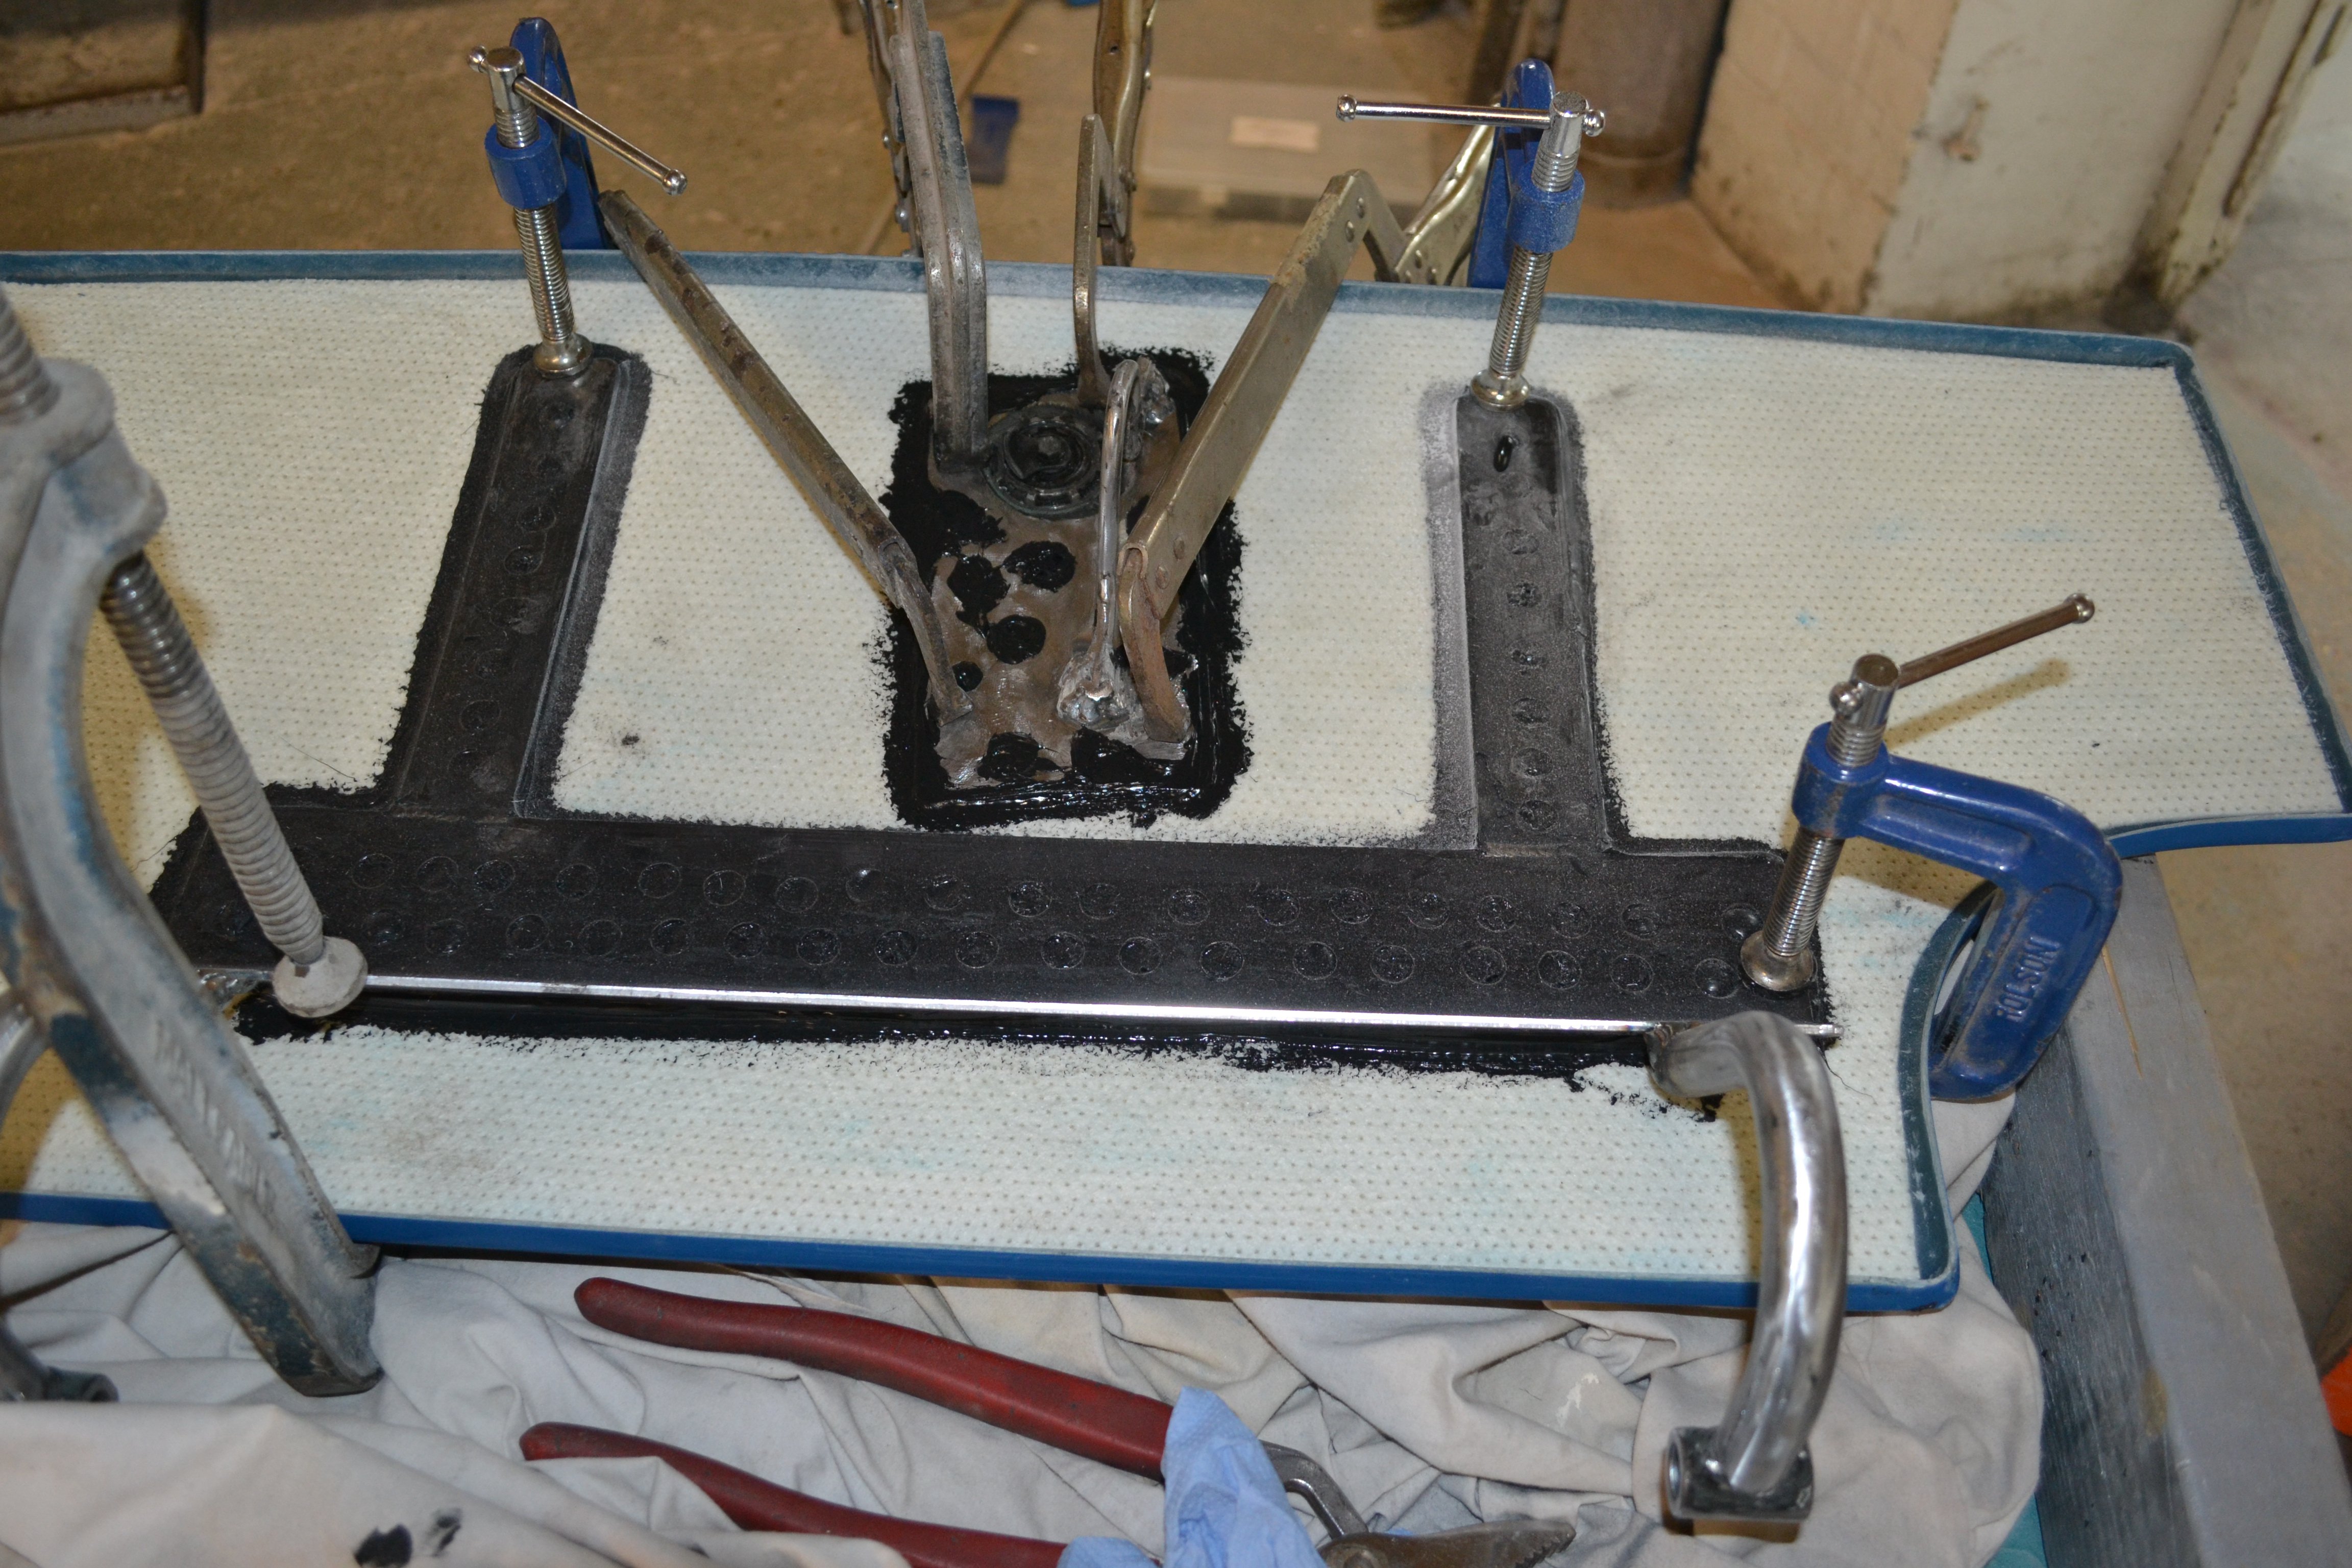
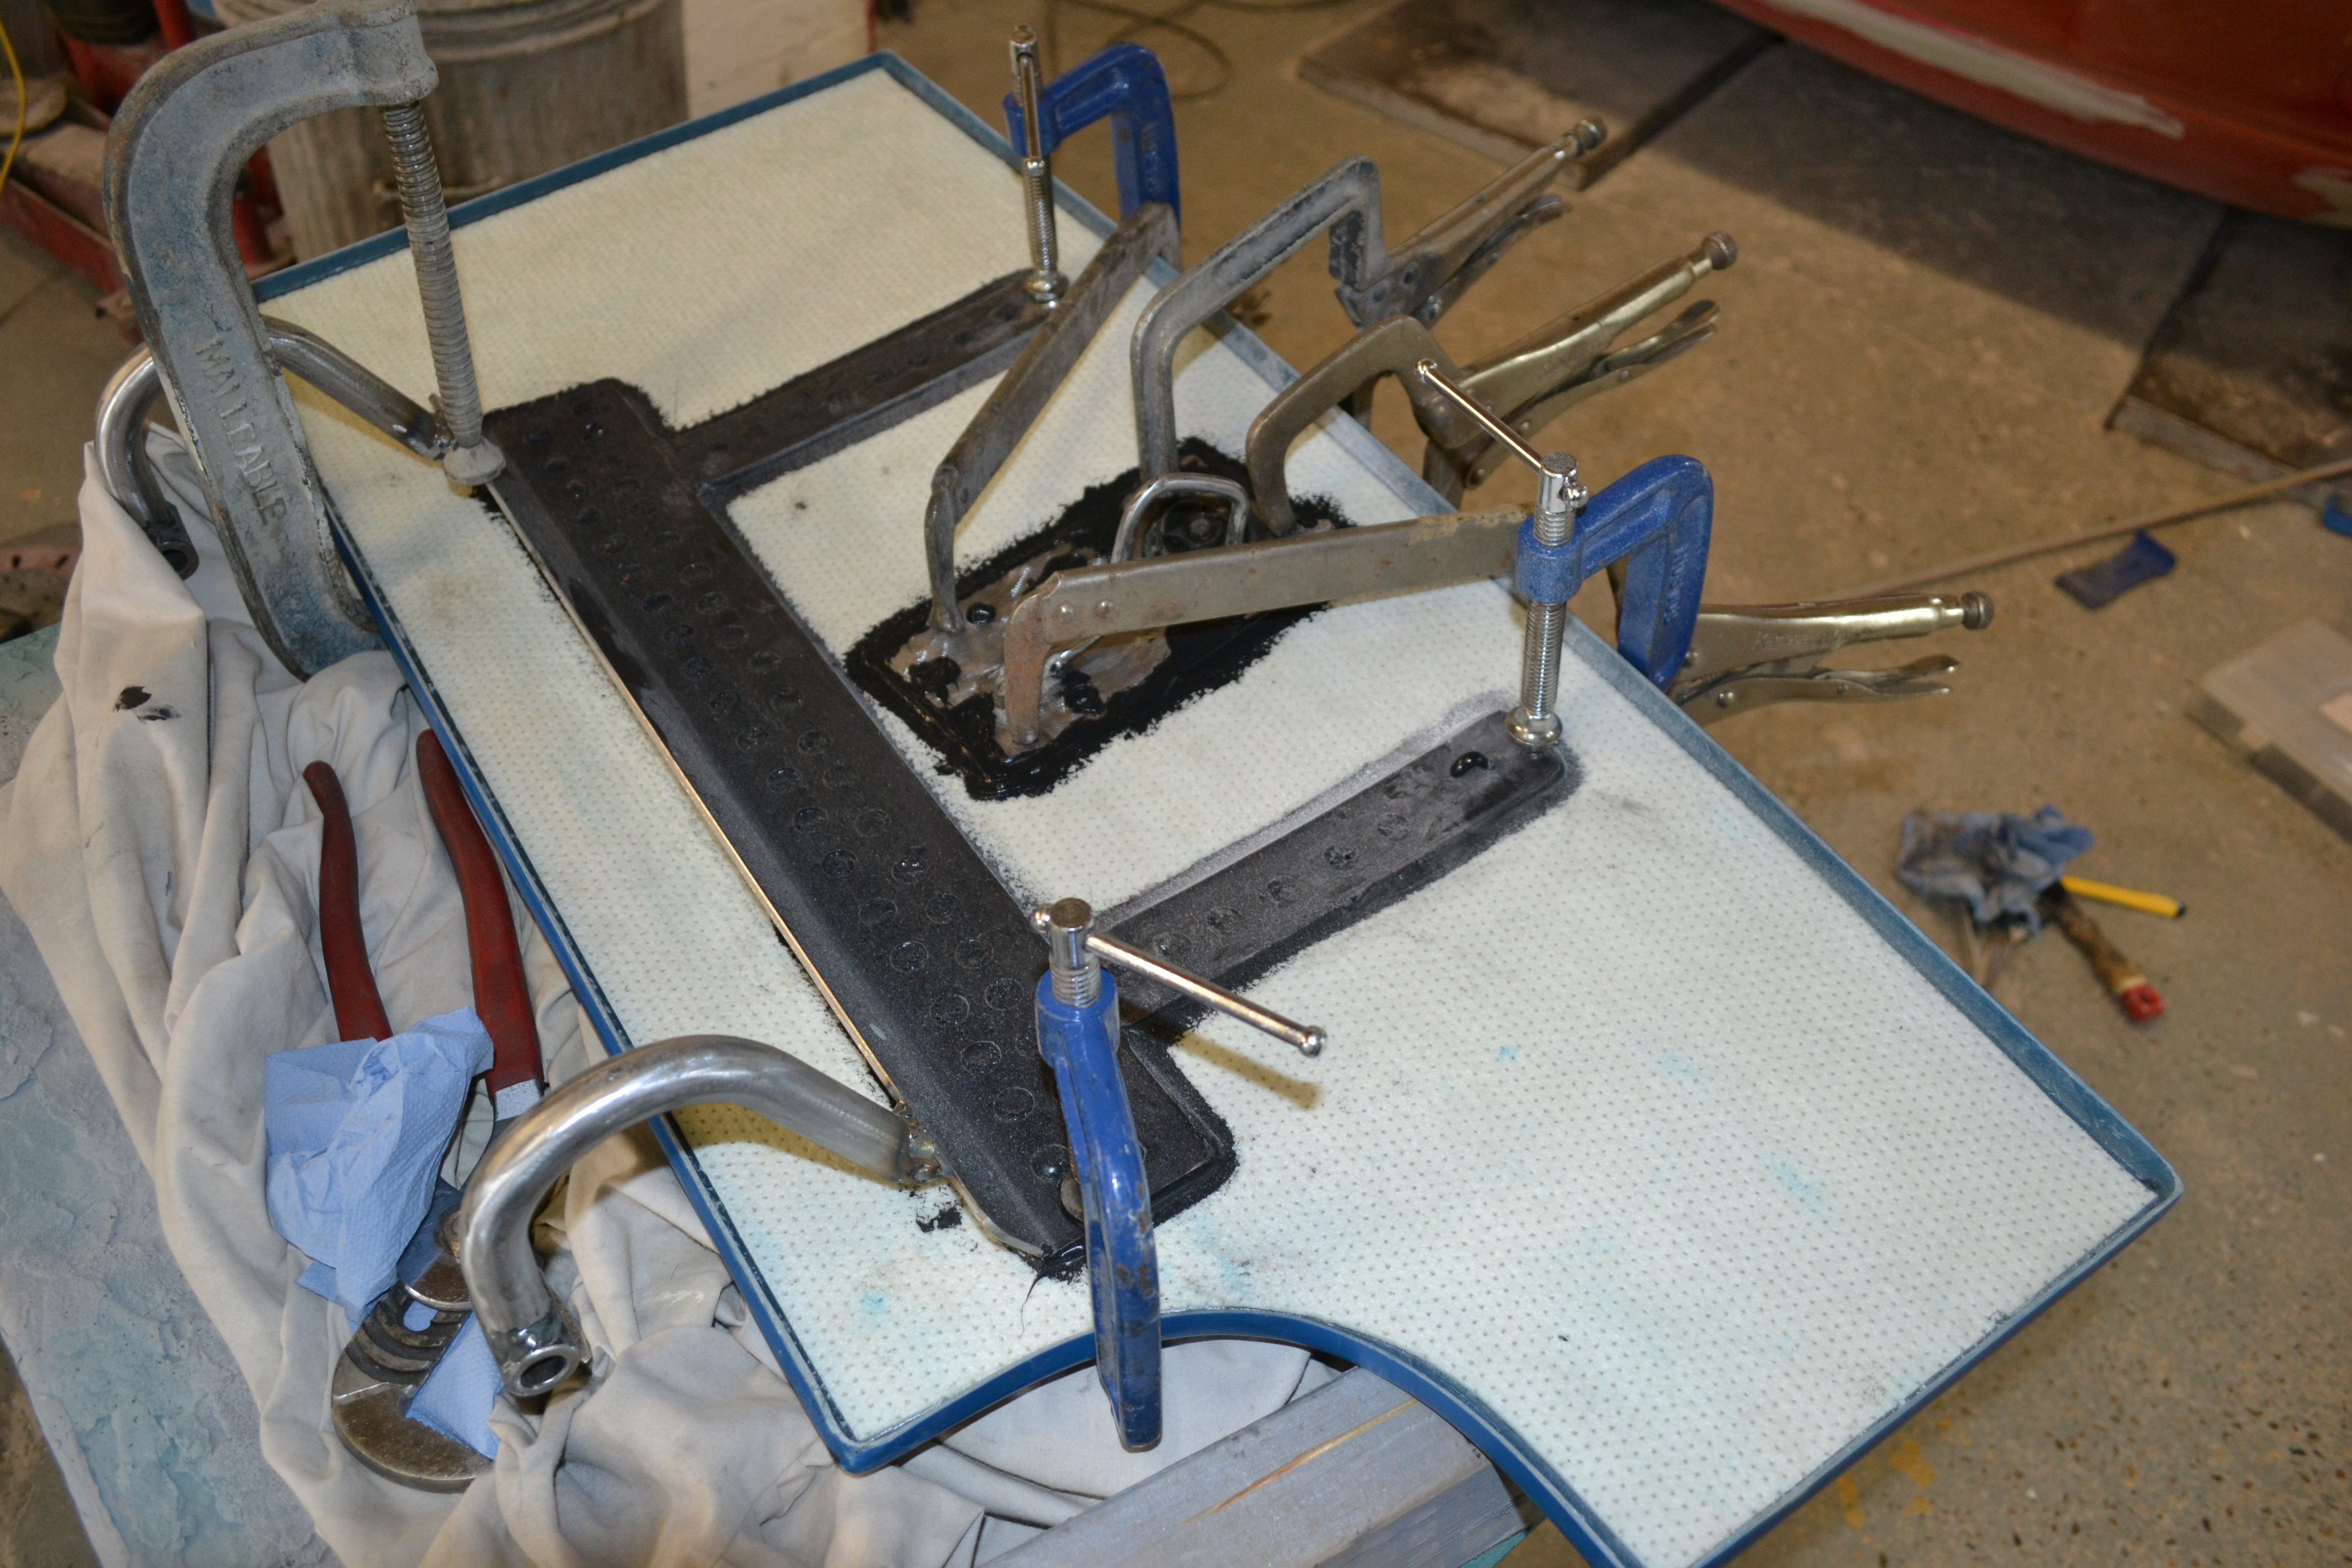
On to the bootlid, I had another mate fold me up a bracket that I could bond and glass in to to the back of it, it is a bit heavier than I would of liked but I don't think it is going to come apart.
-
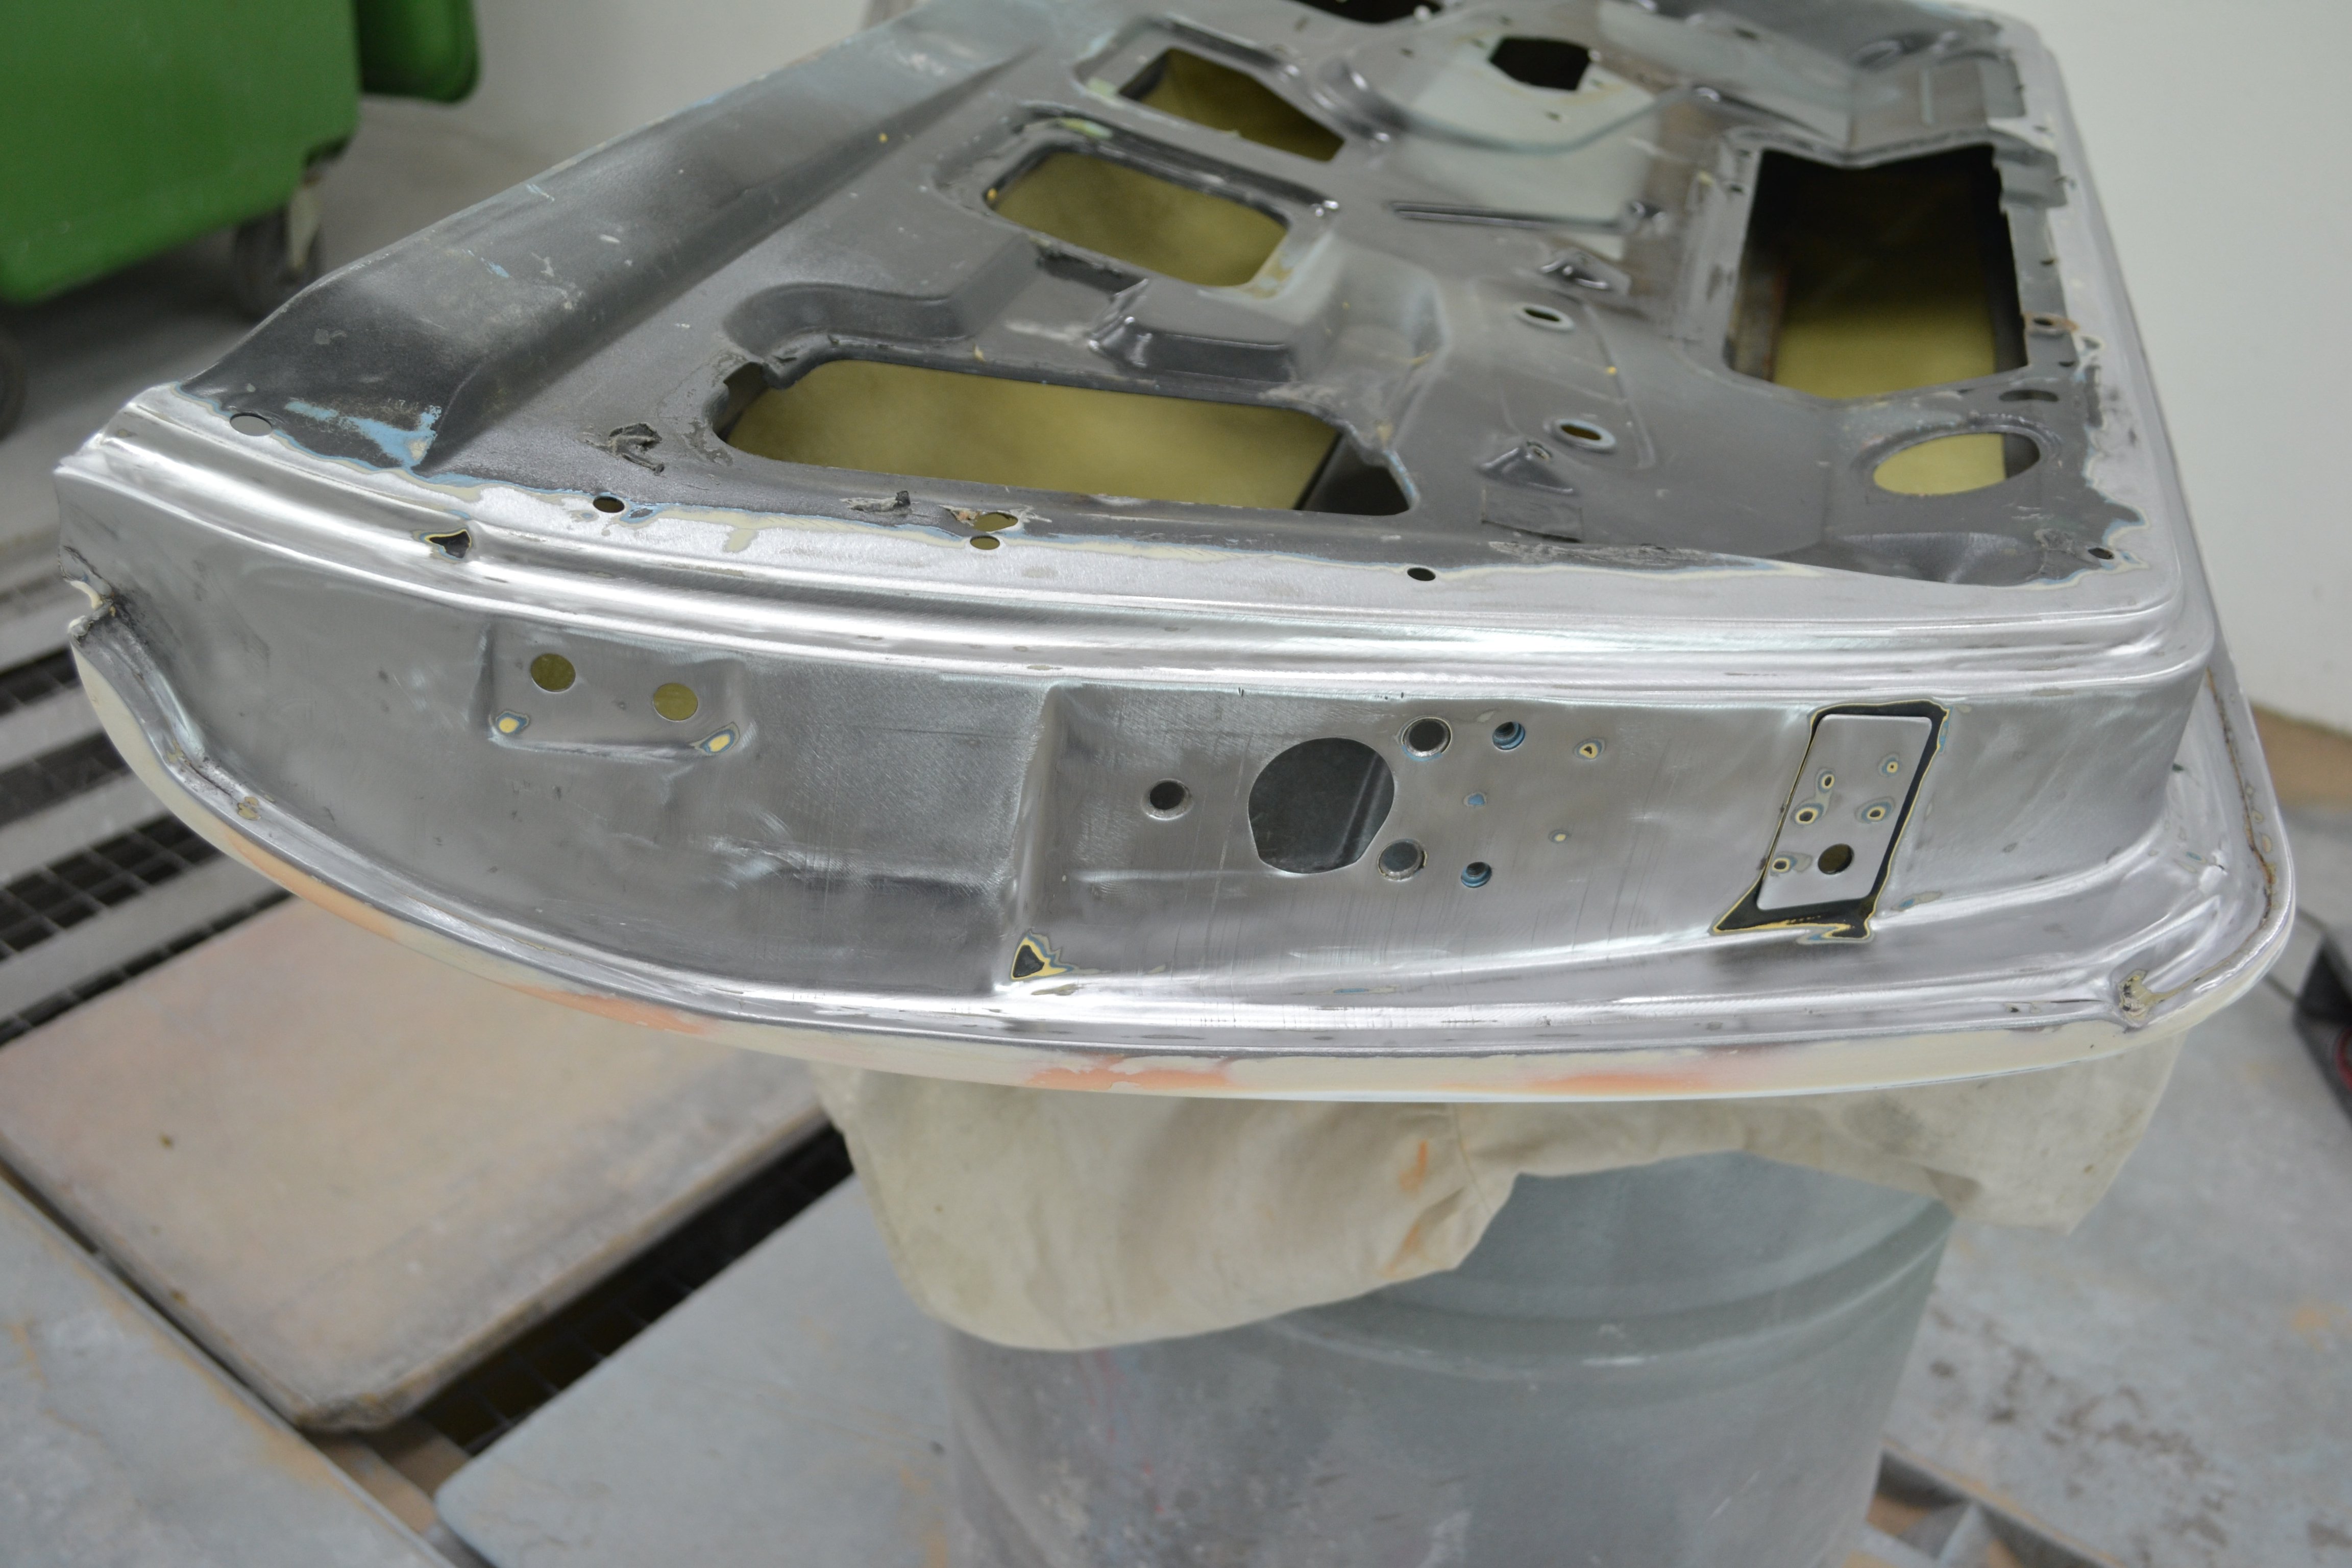
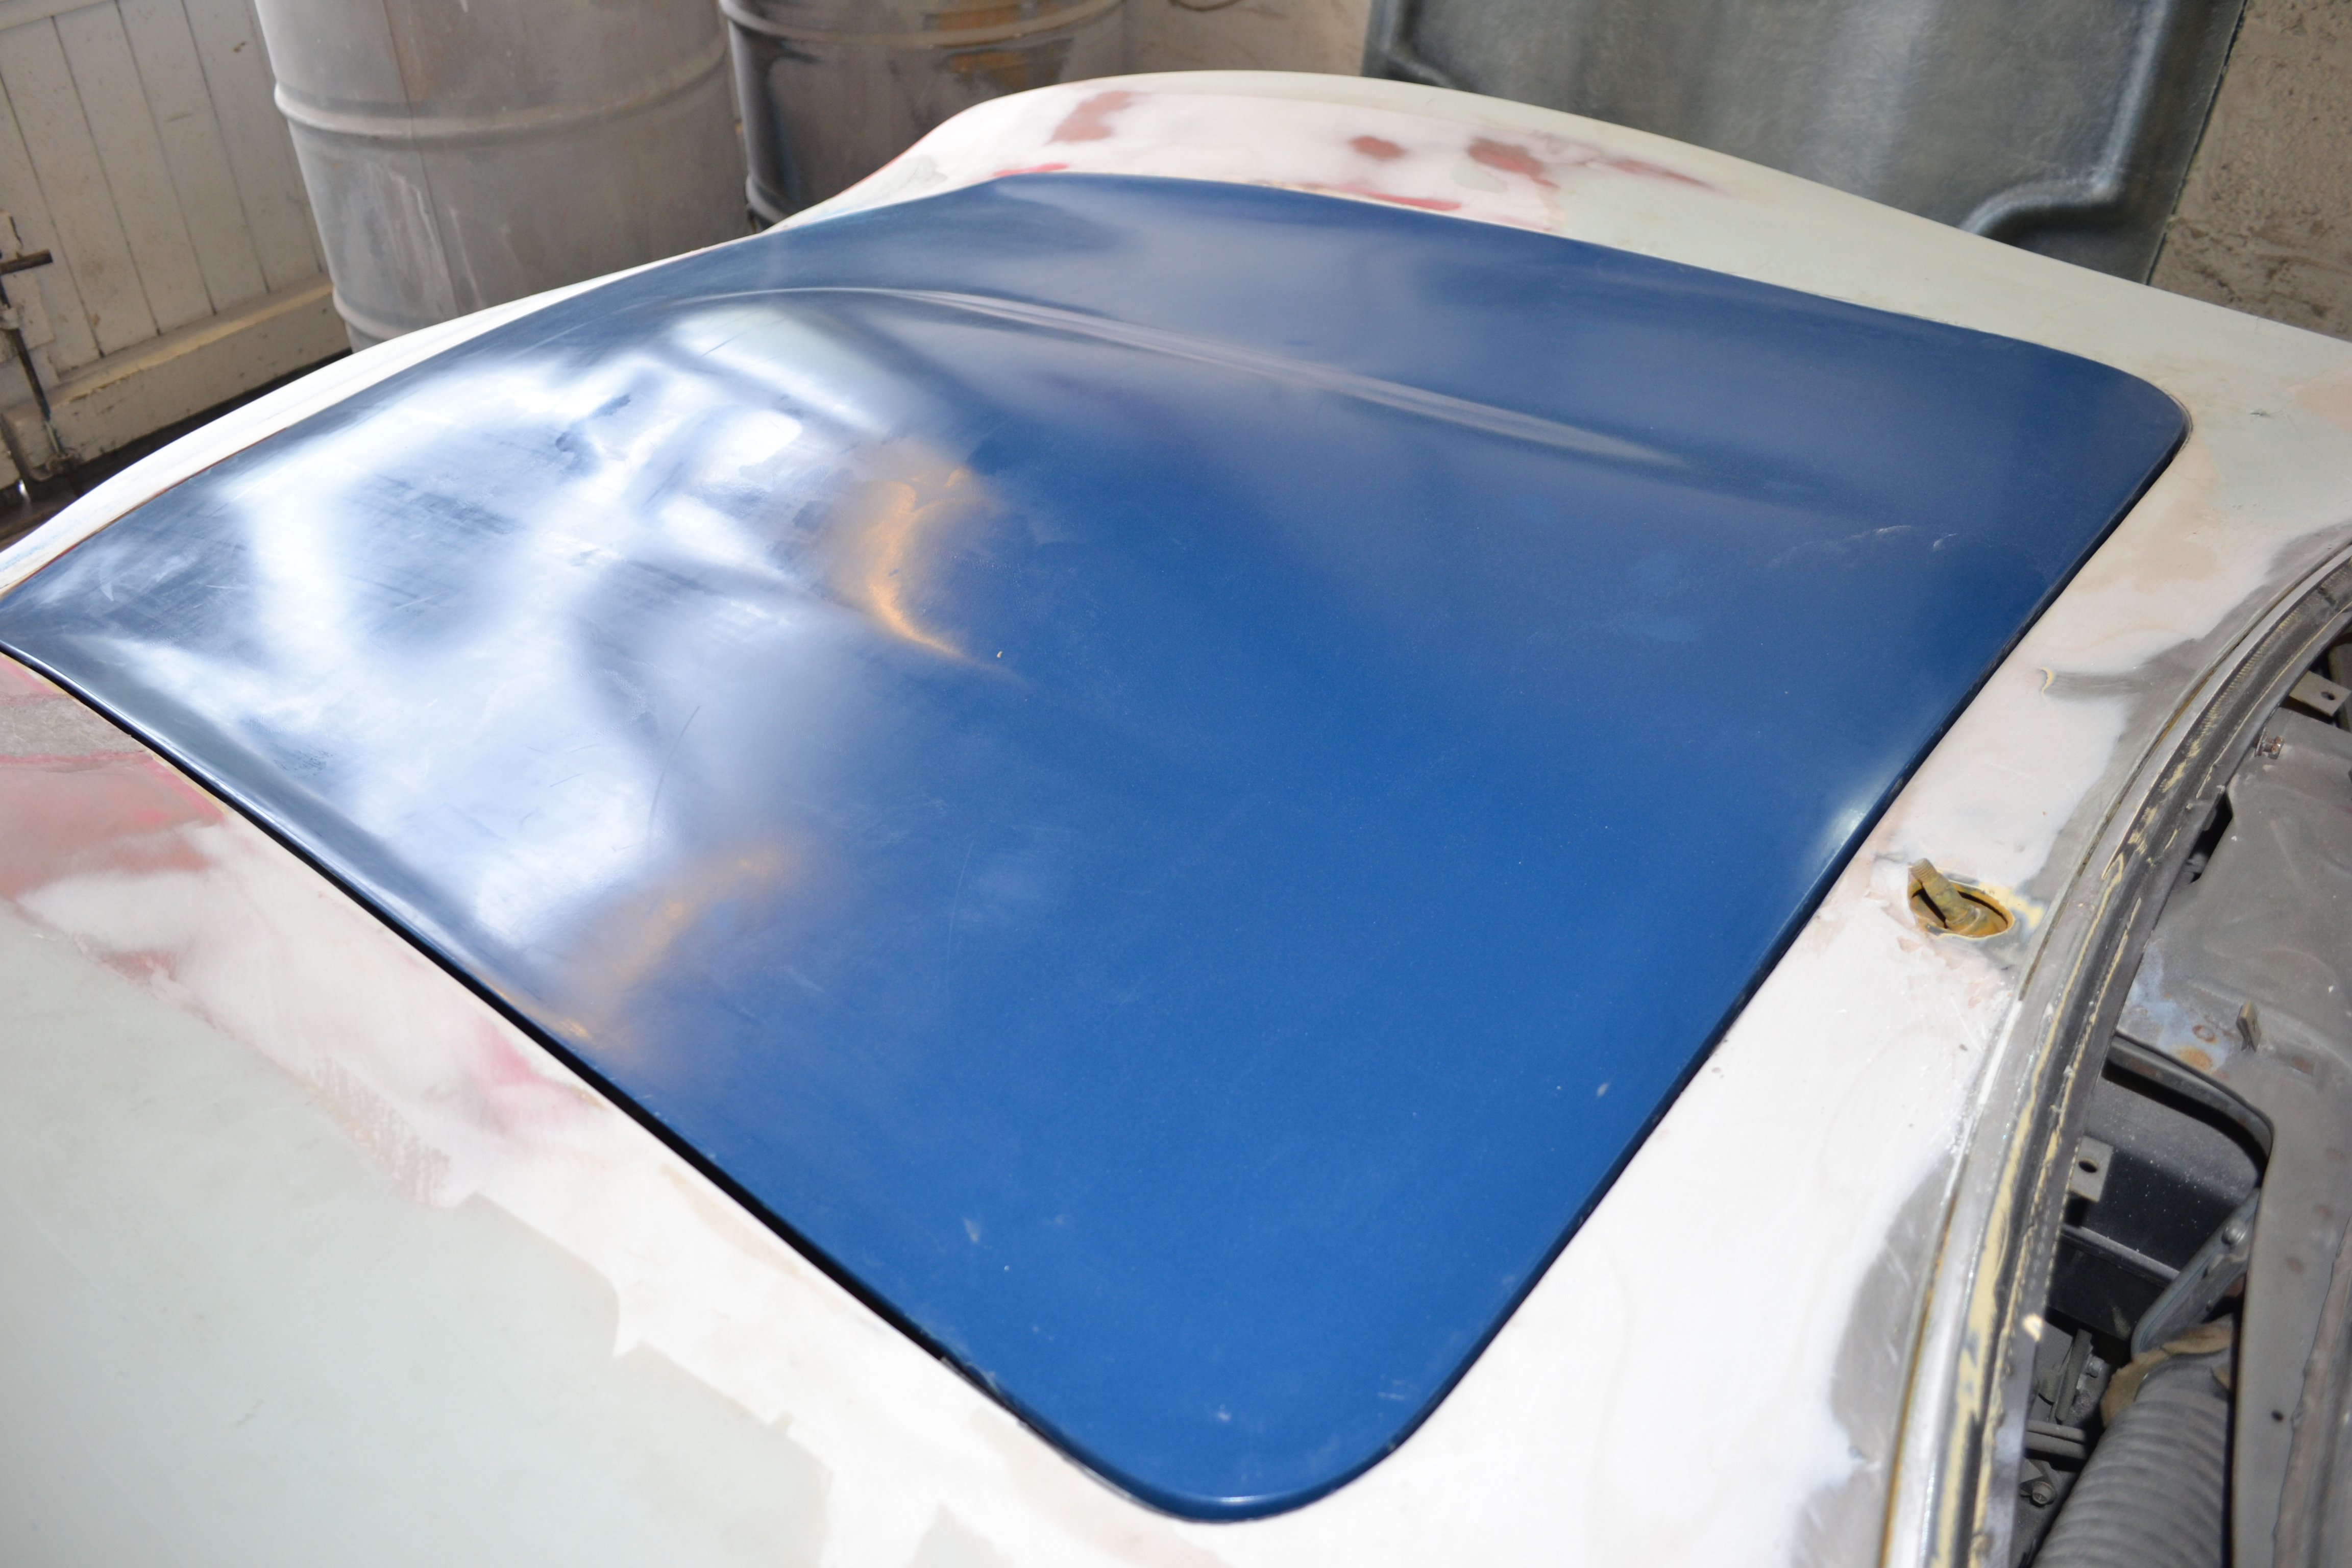
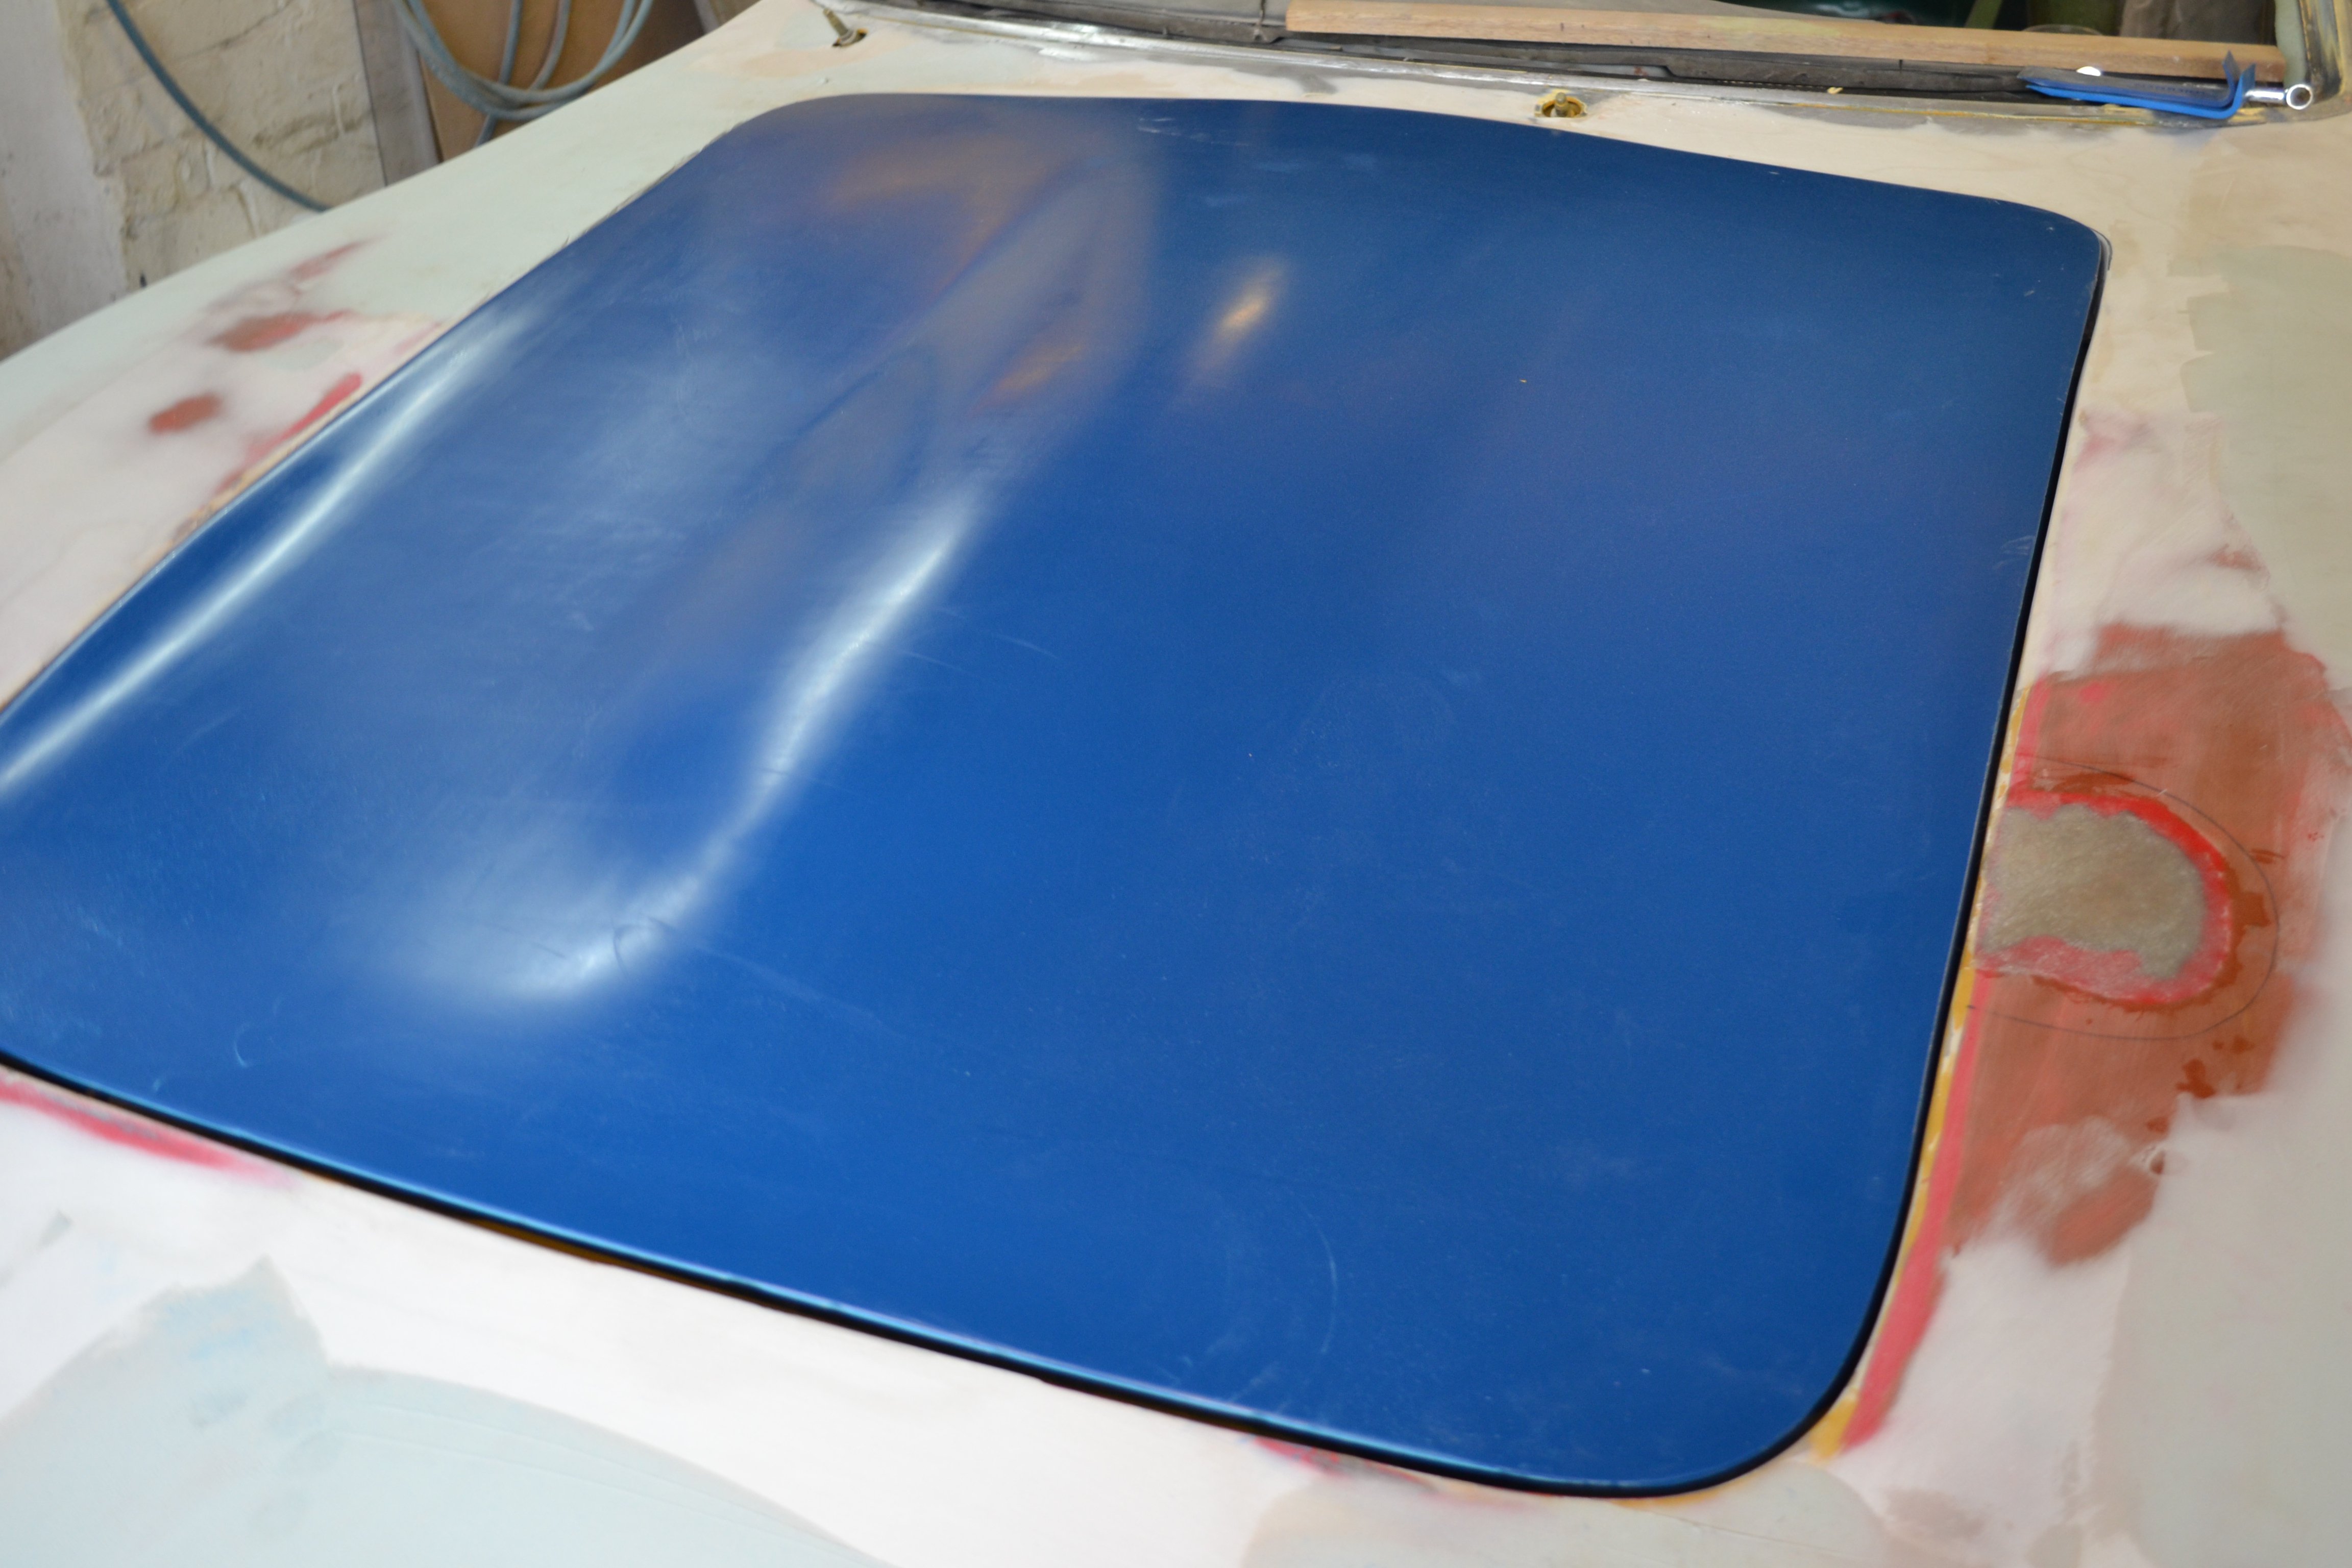
This is the bonnet fitted to the car, the inner skin is not the greatest as the buck was pretty crap to be honest so it has a few ripples in it, I am very pleased with the outer bonnet, it fits well to the car and will only need a small amount of prep before painting.
-
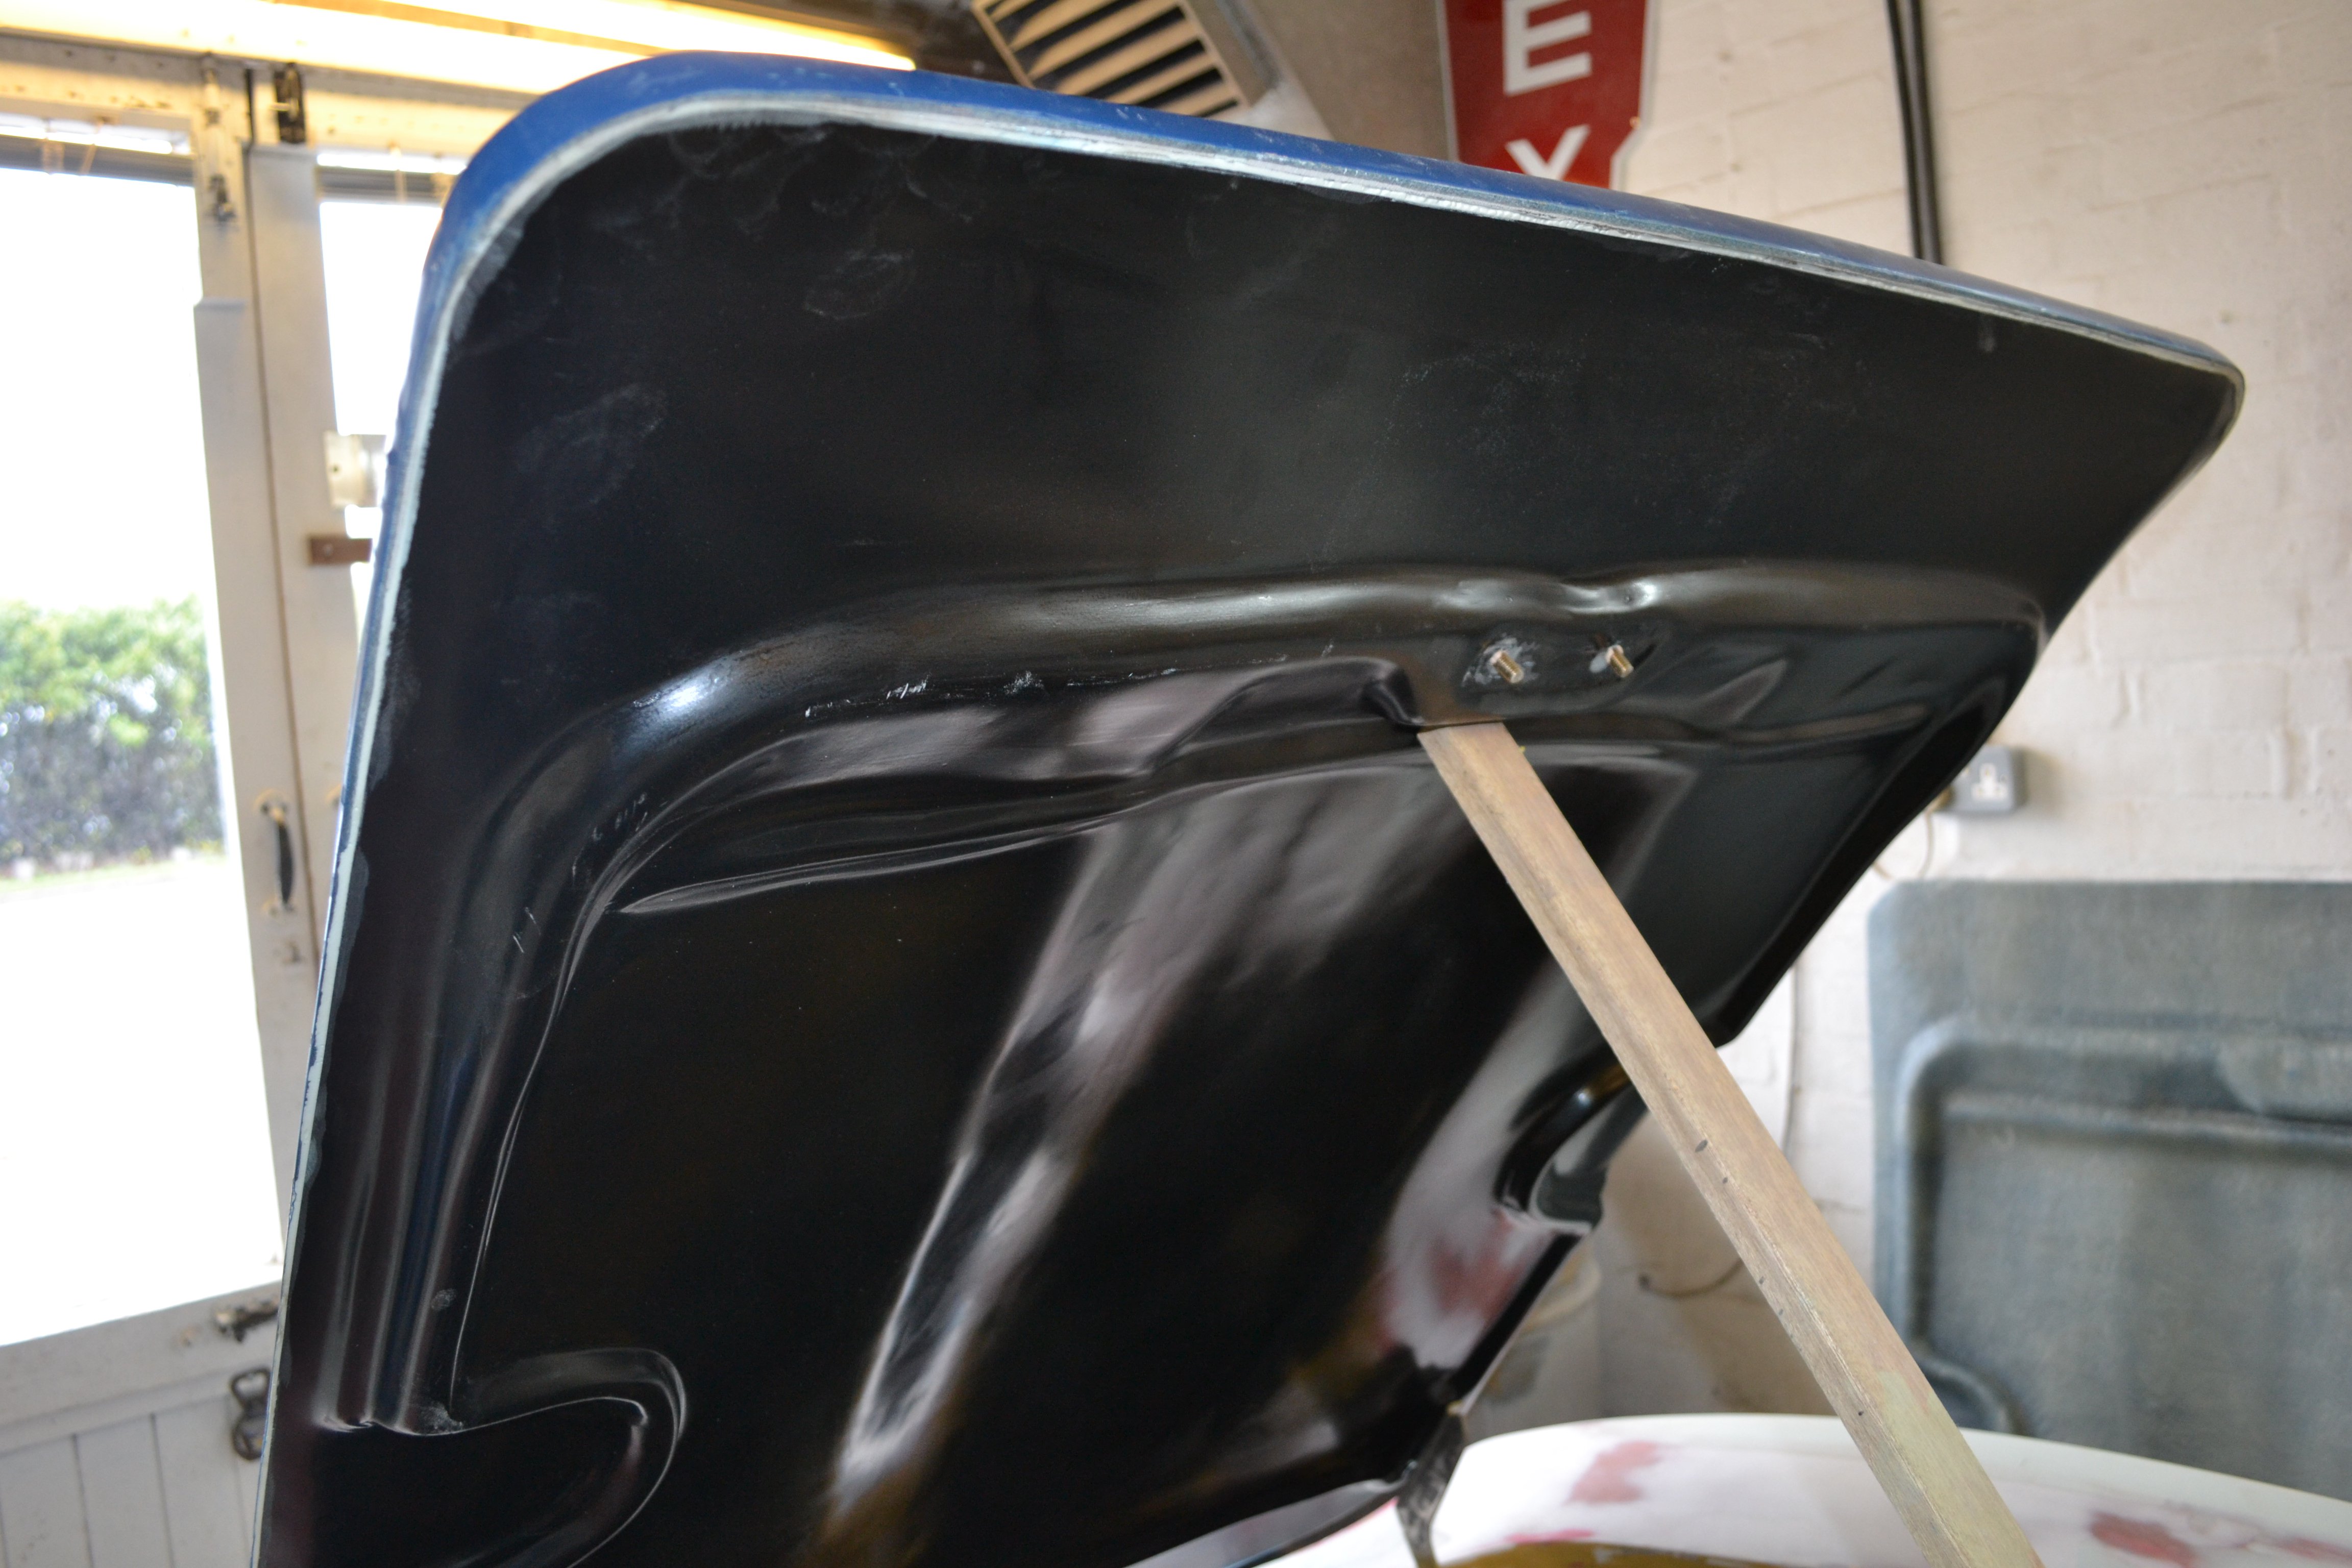
I wasn't there when Lee released the bonnet from the mould, he sent me some pics of how he used some foam in between the two skins to stop it drumming, I also had some new stainless mounts made for the hinges and bonnet catch which Lee bonded in before bonding the two skins together for me.
-
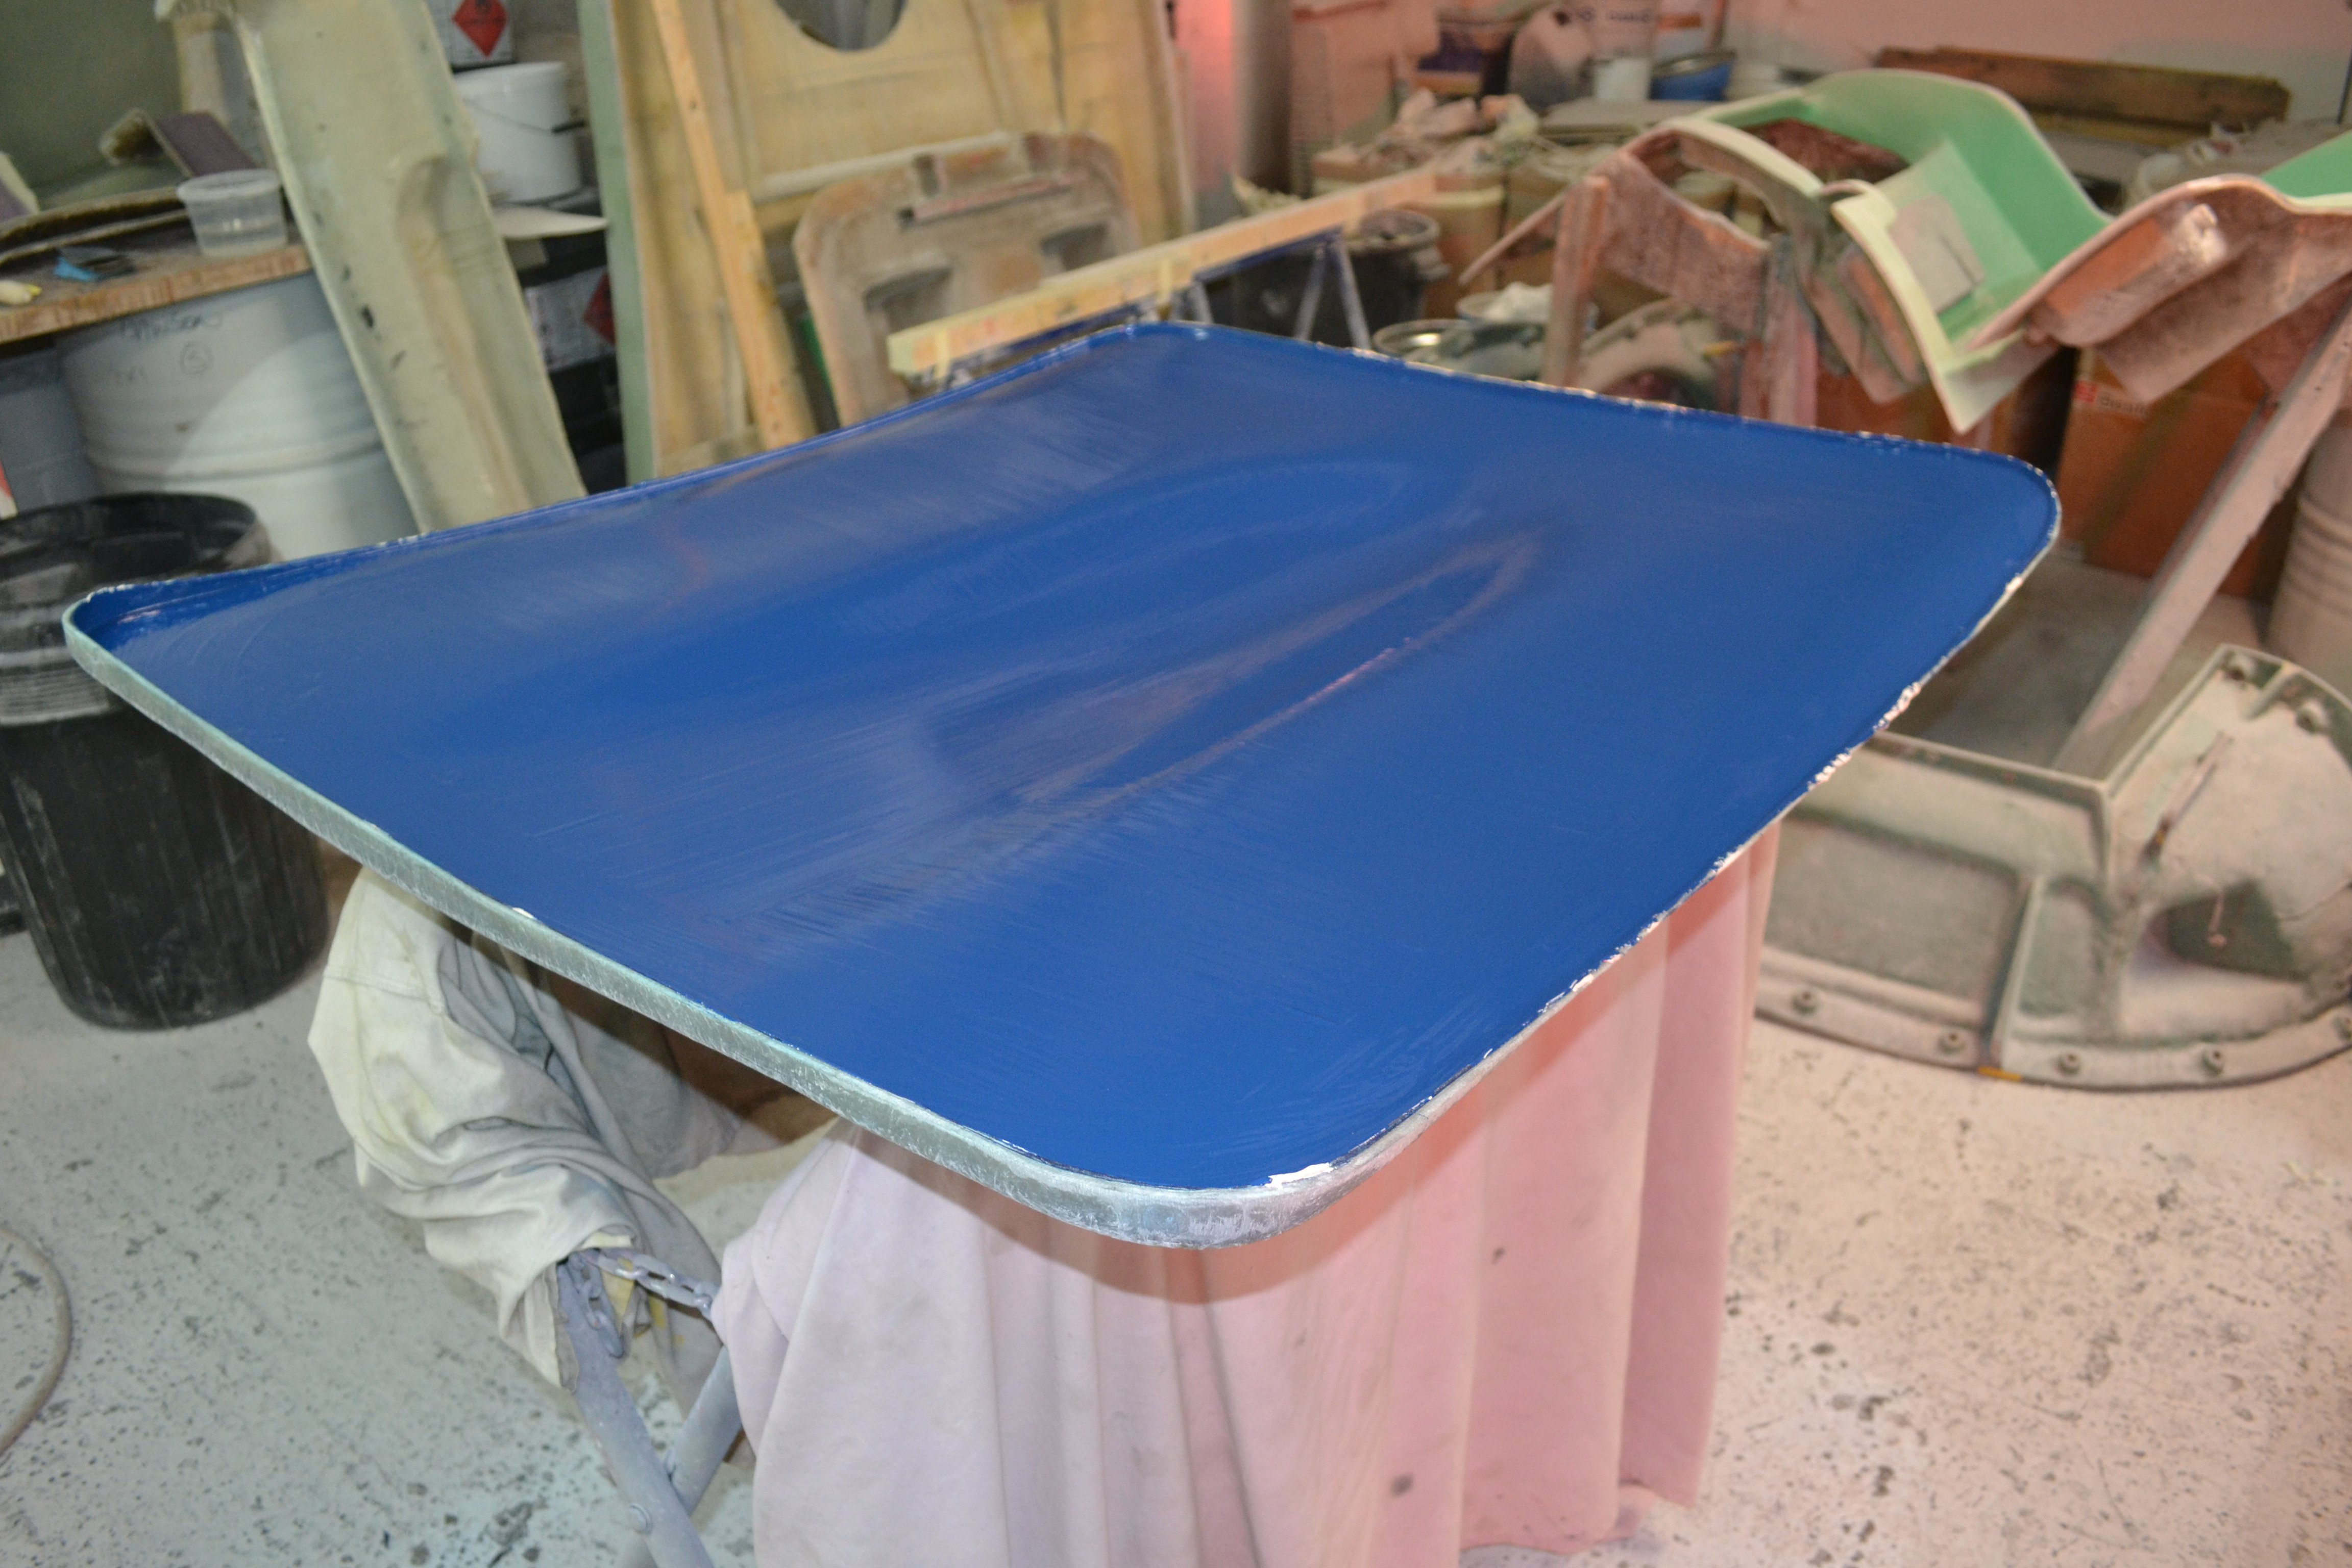
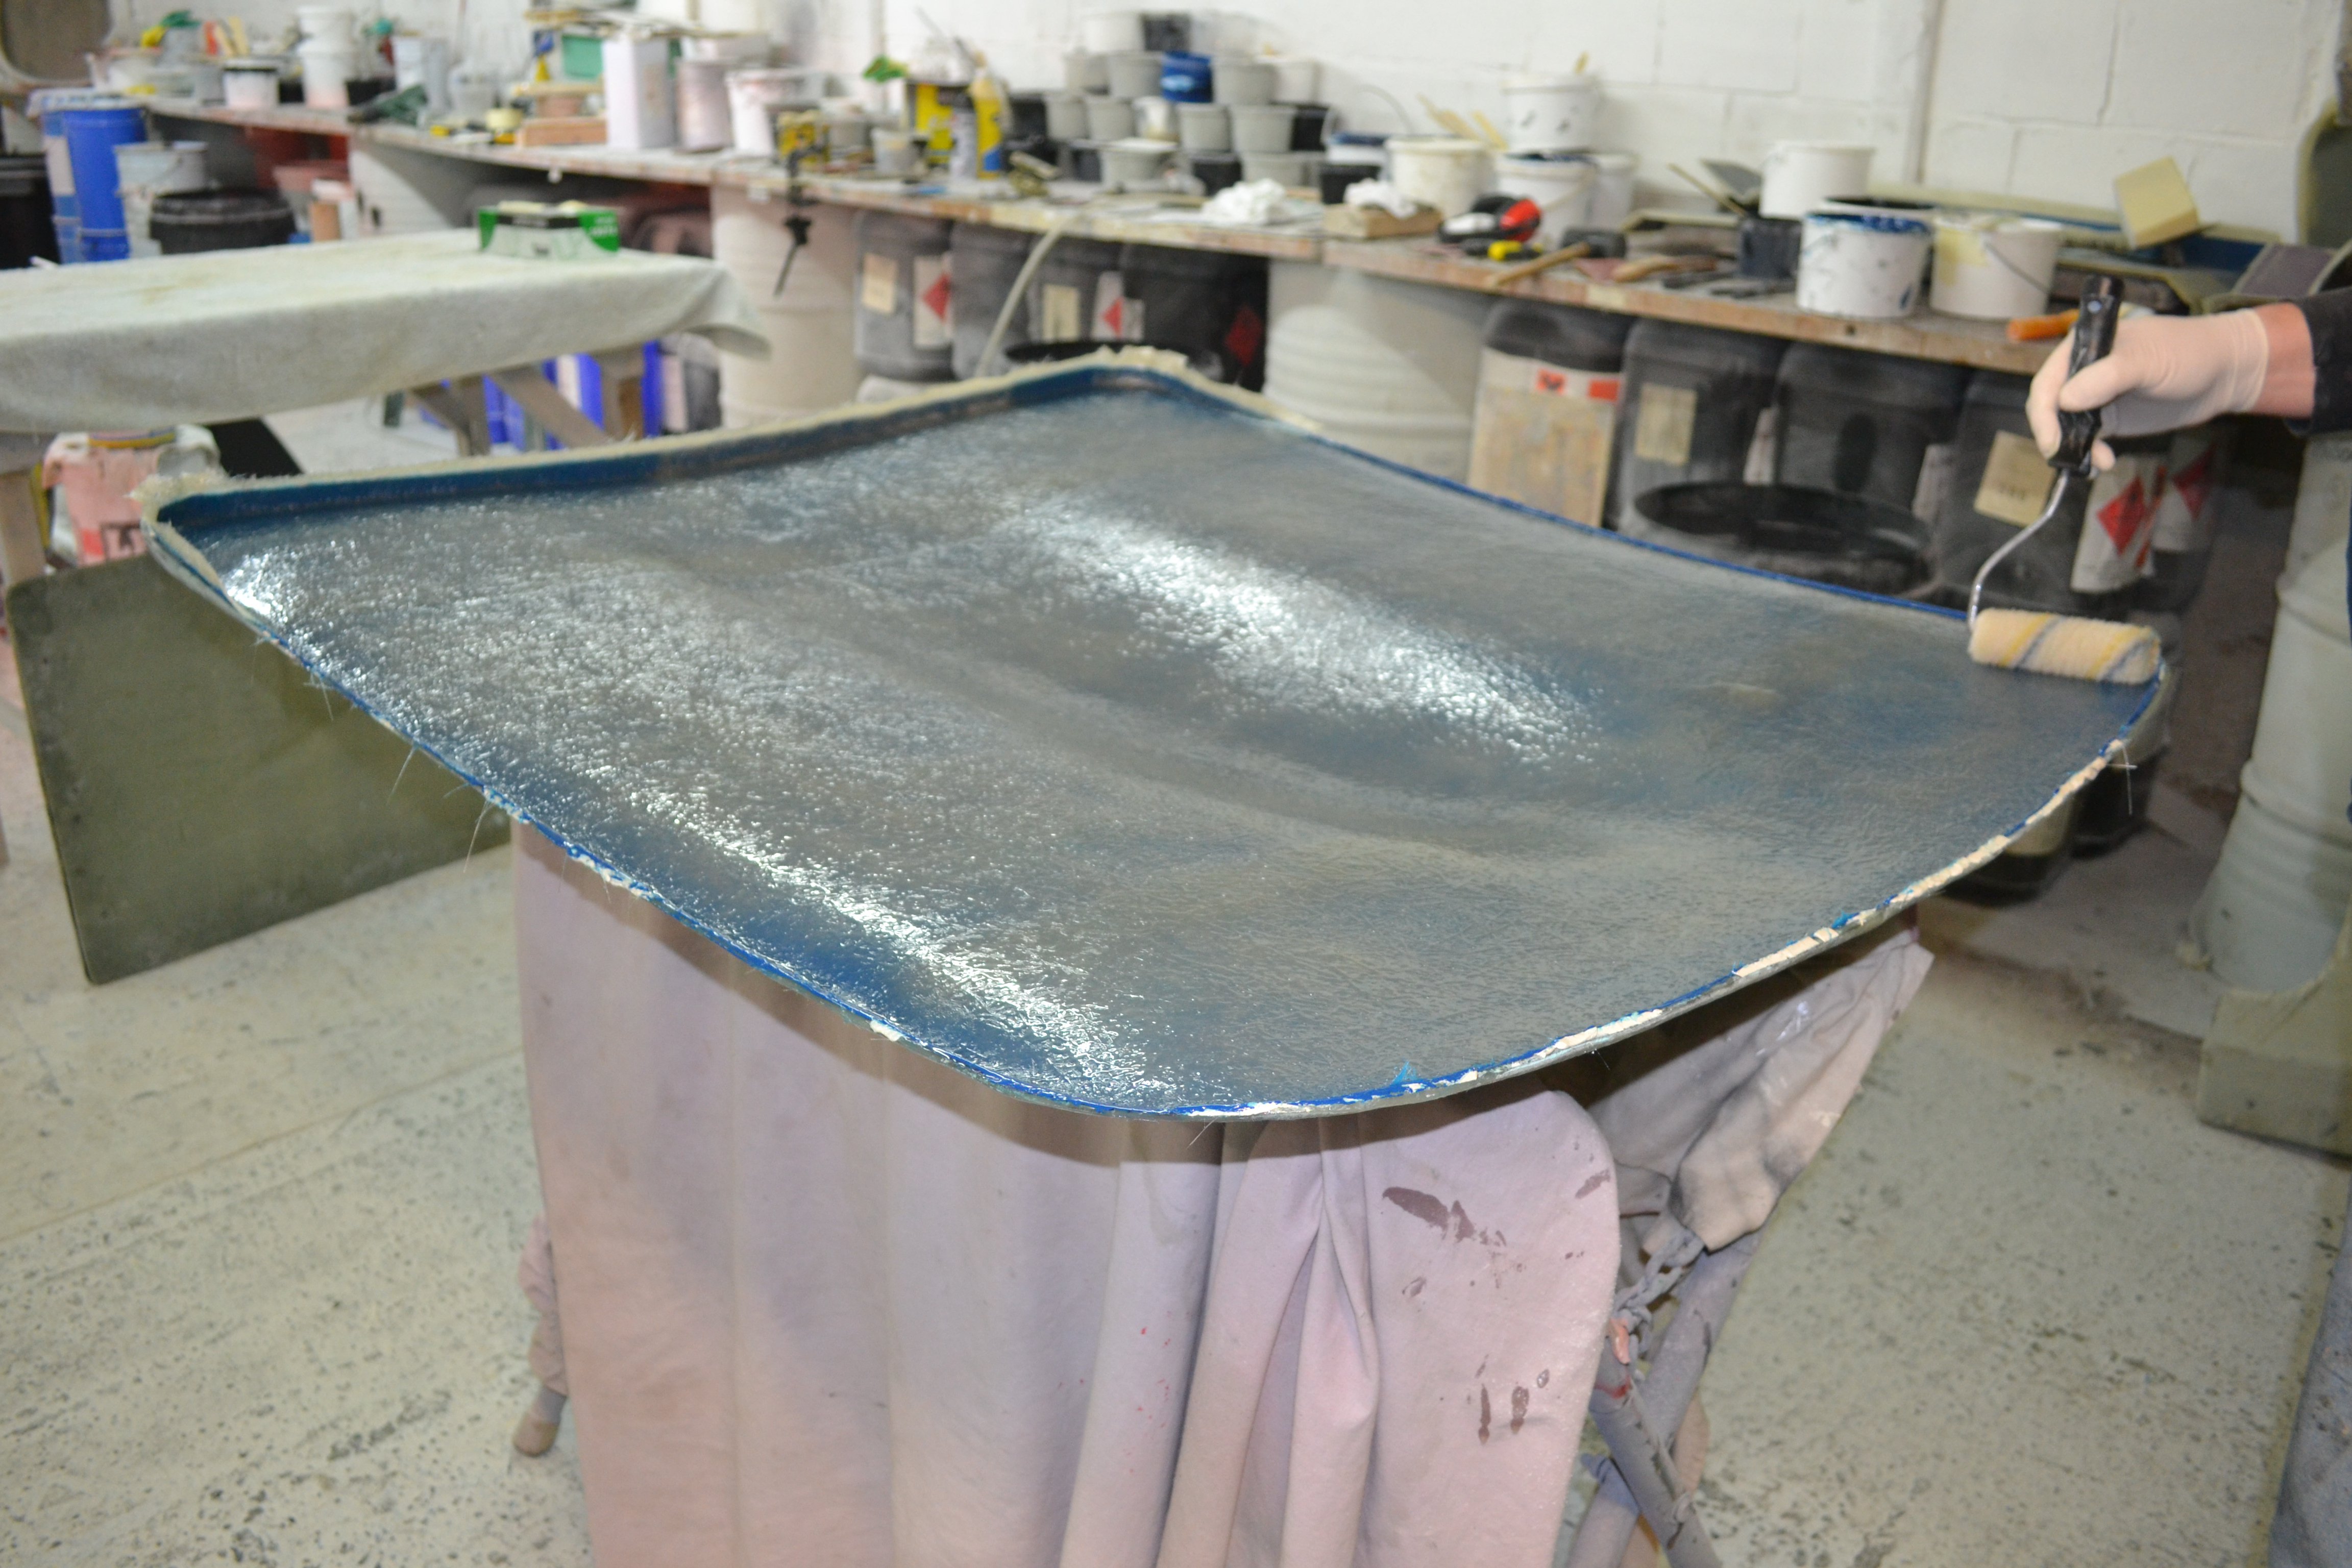
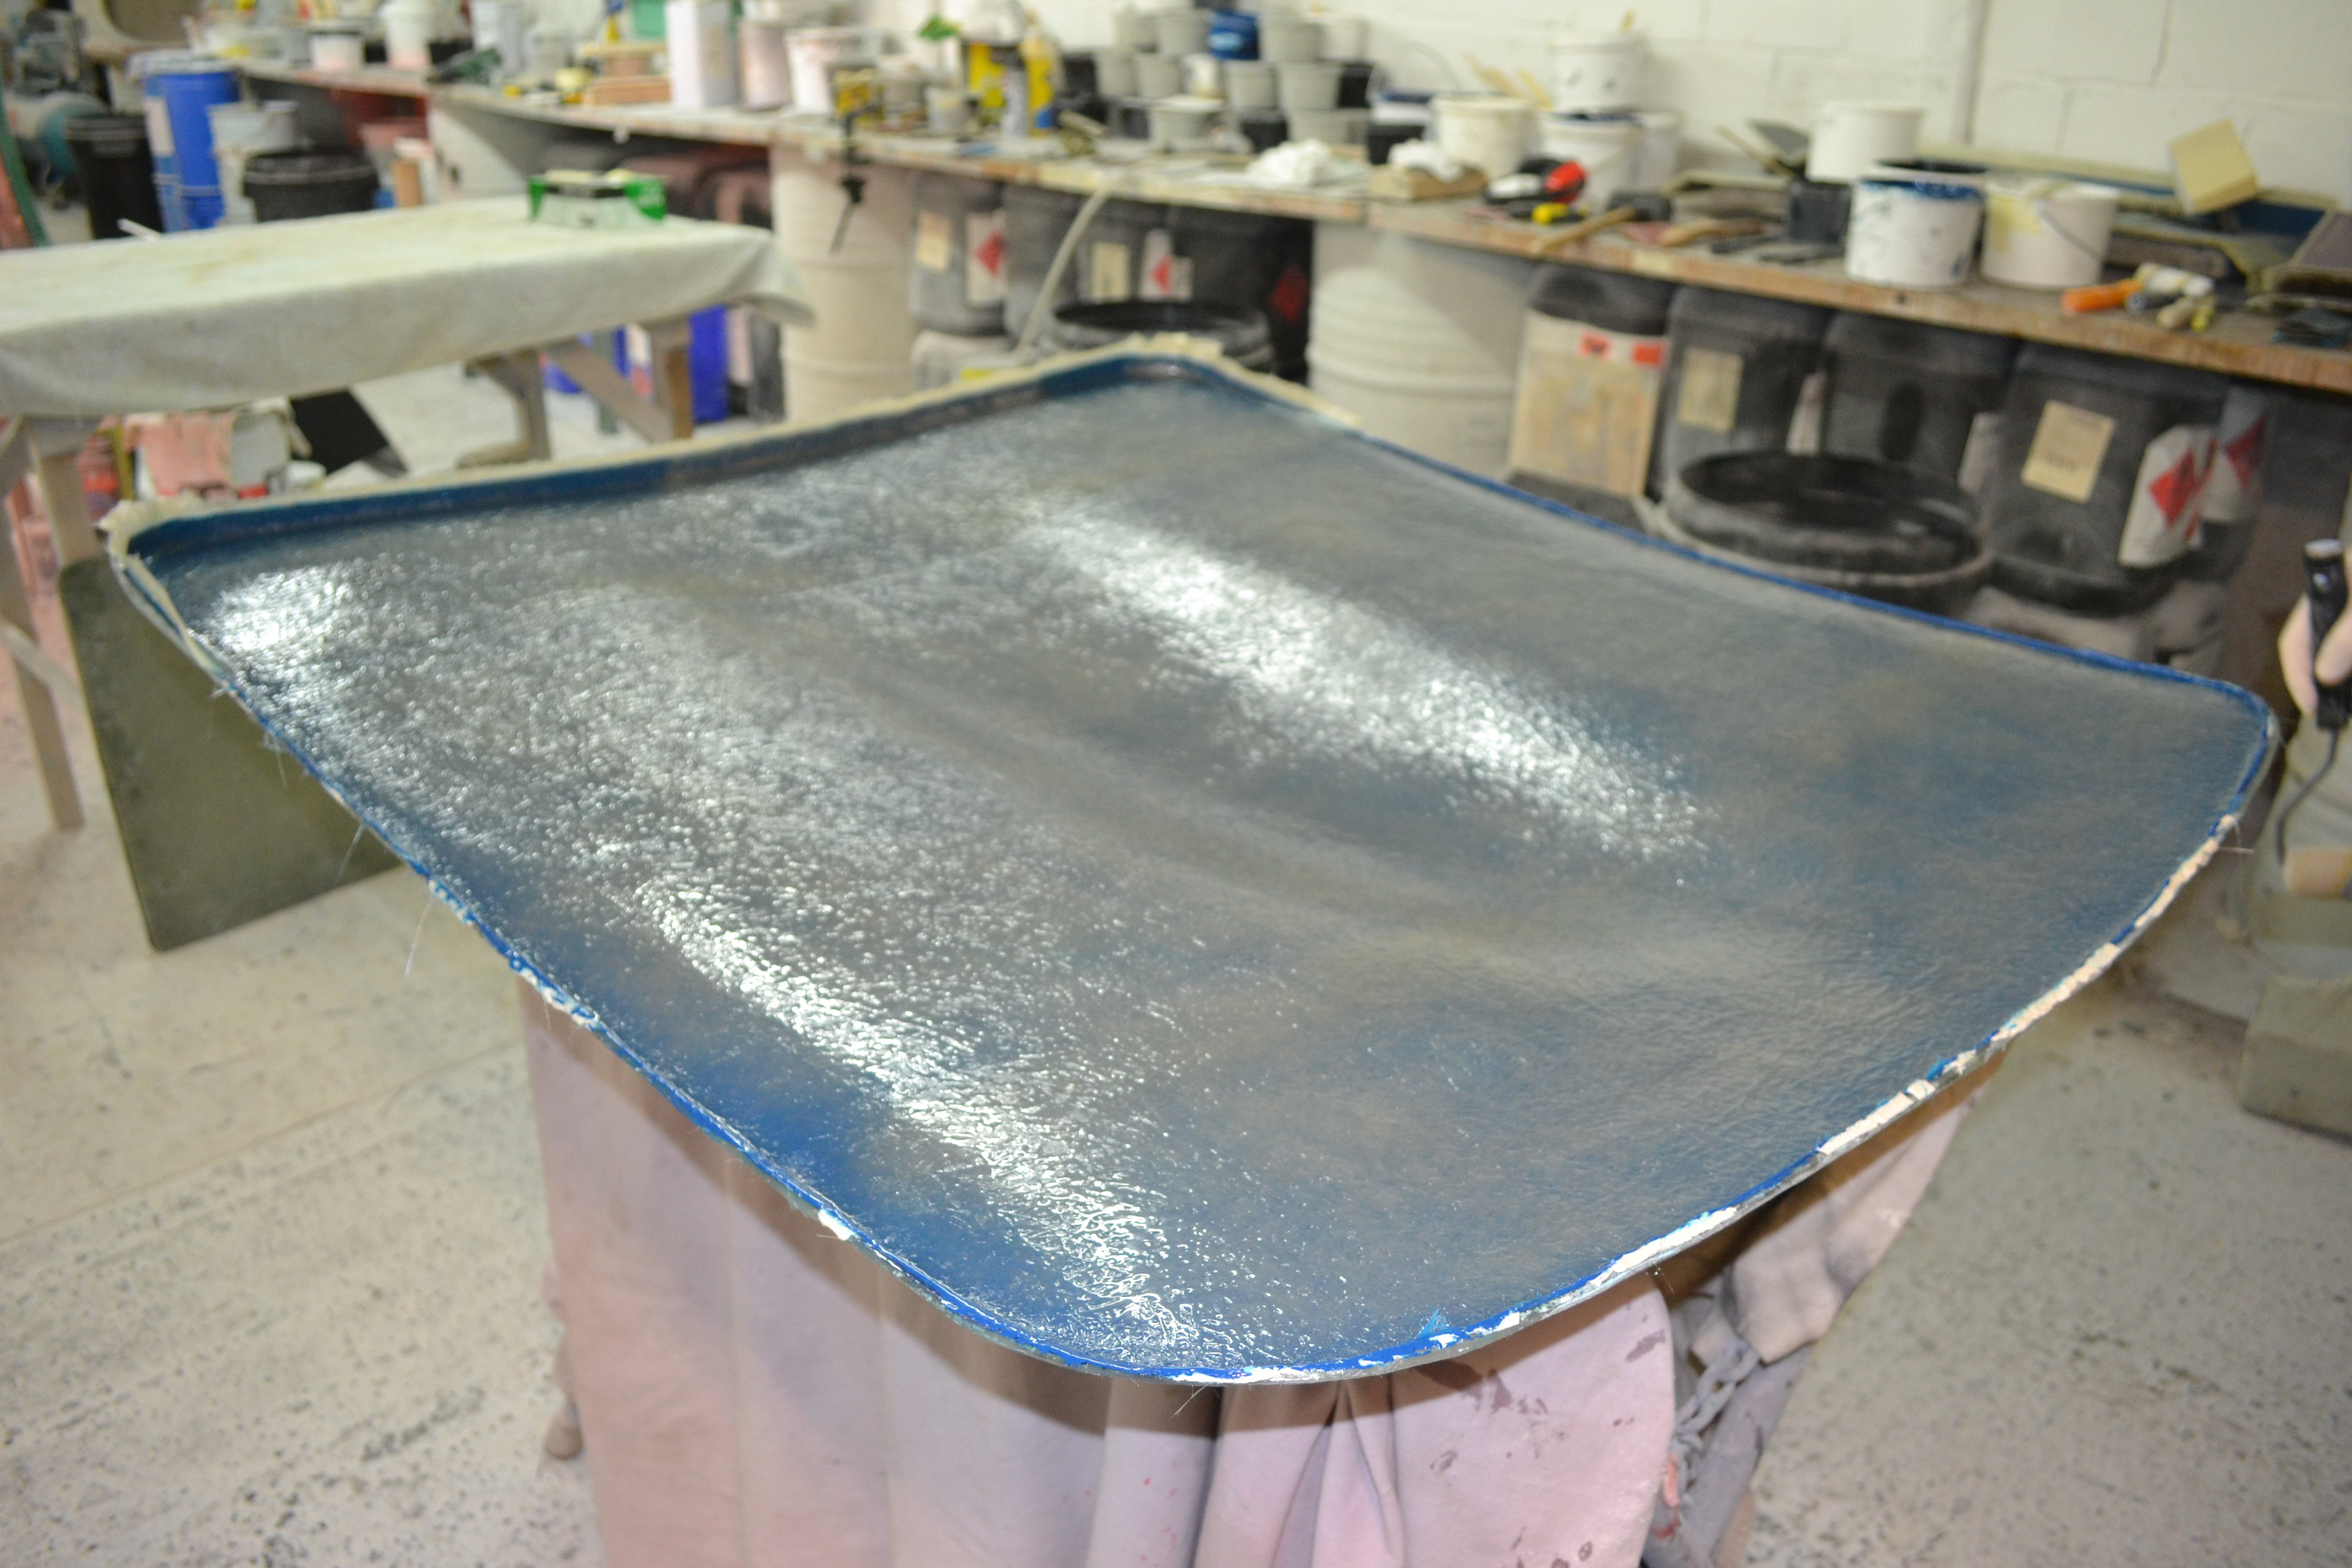
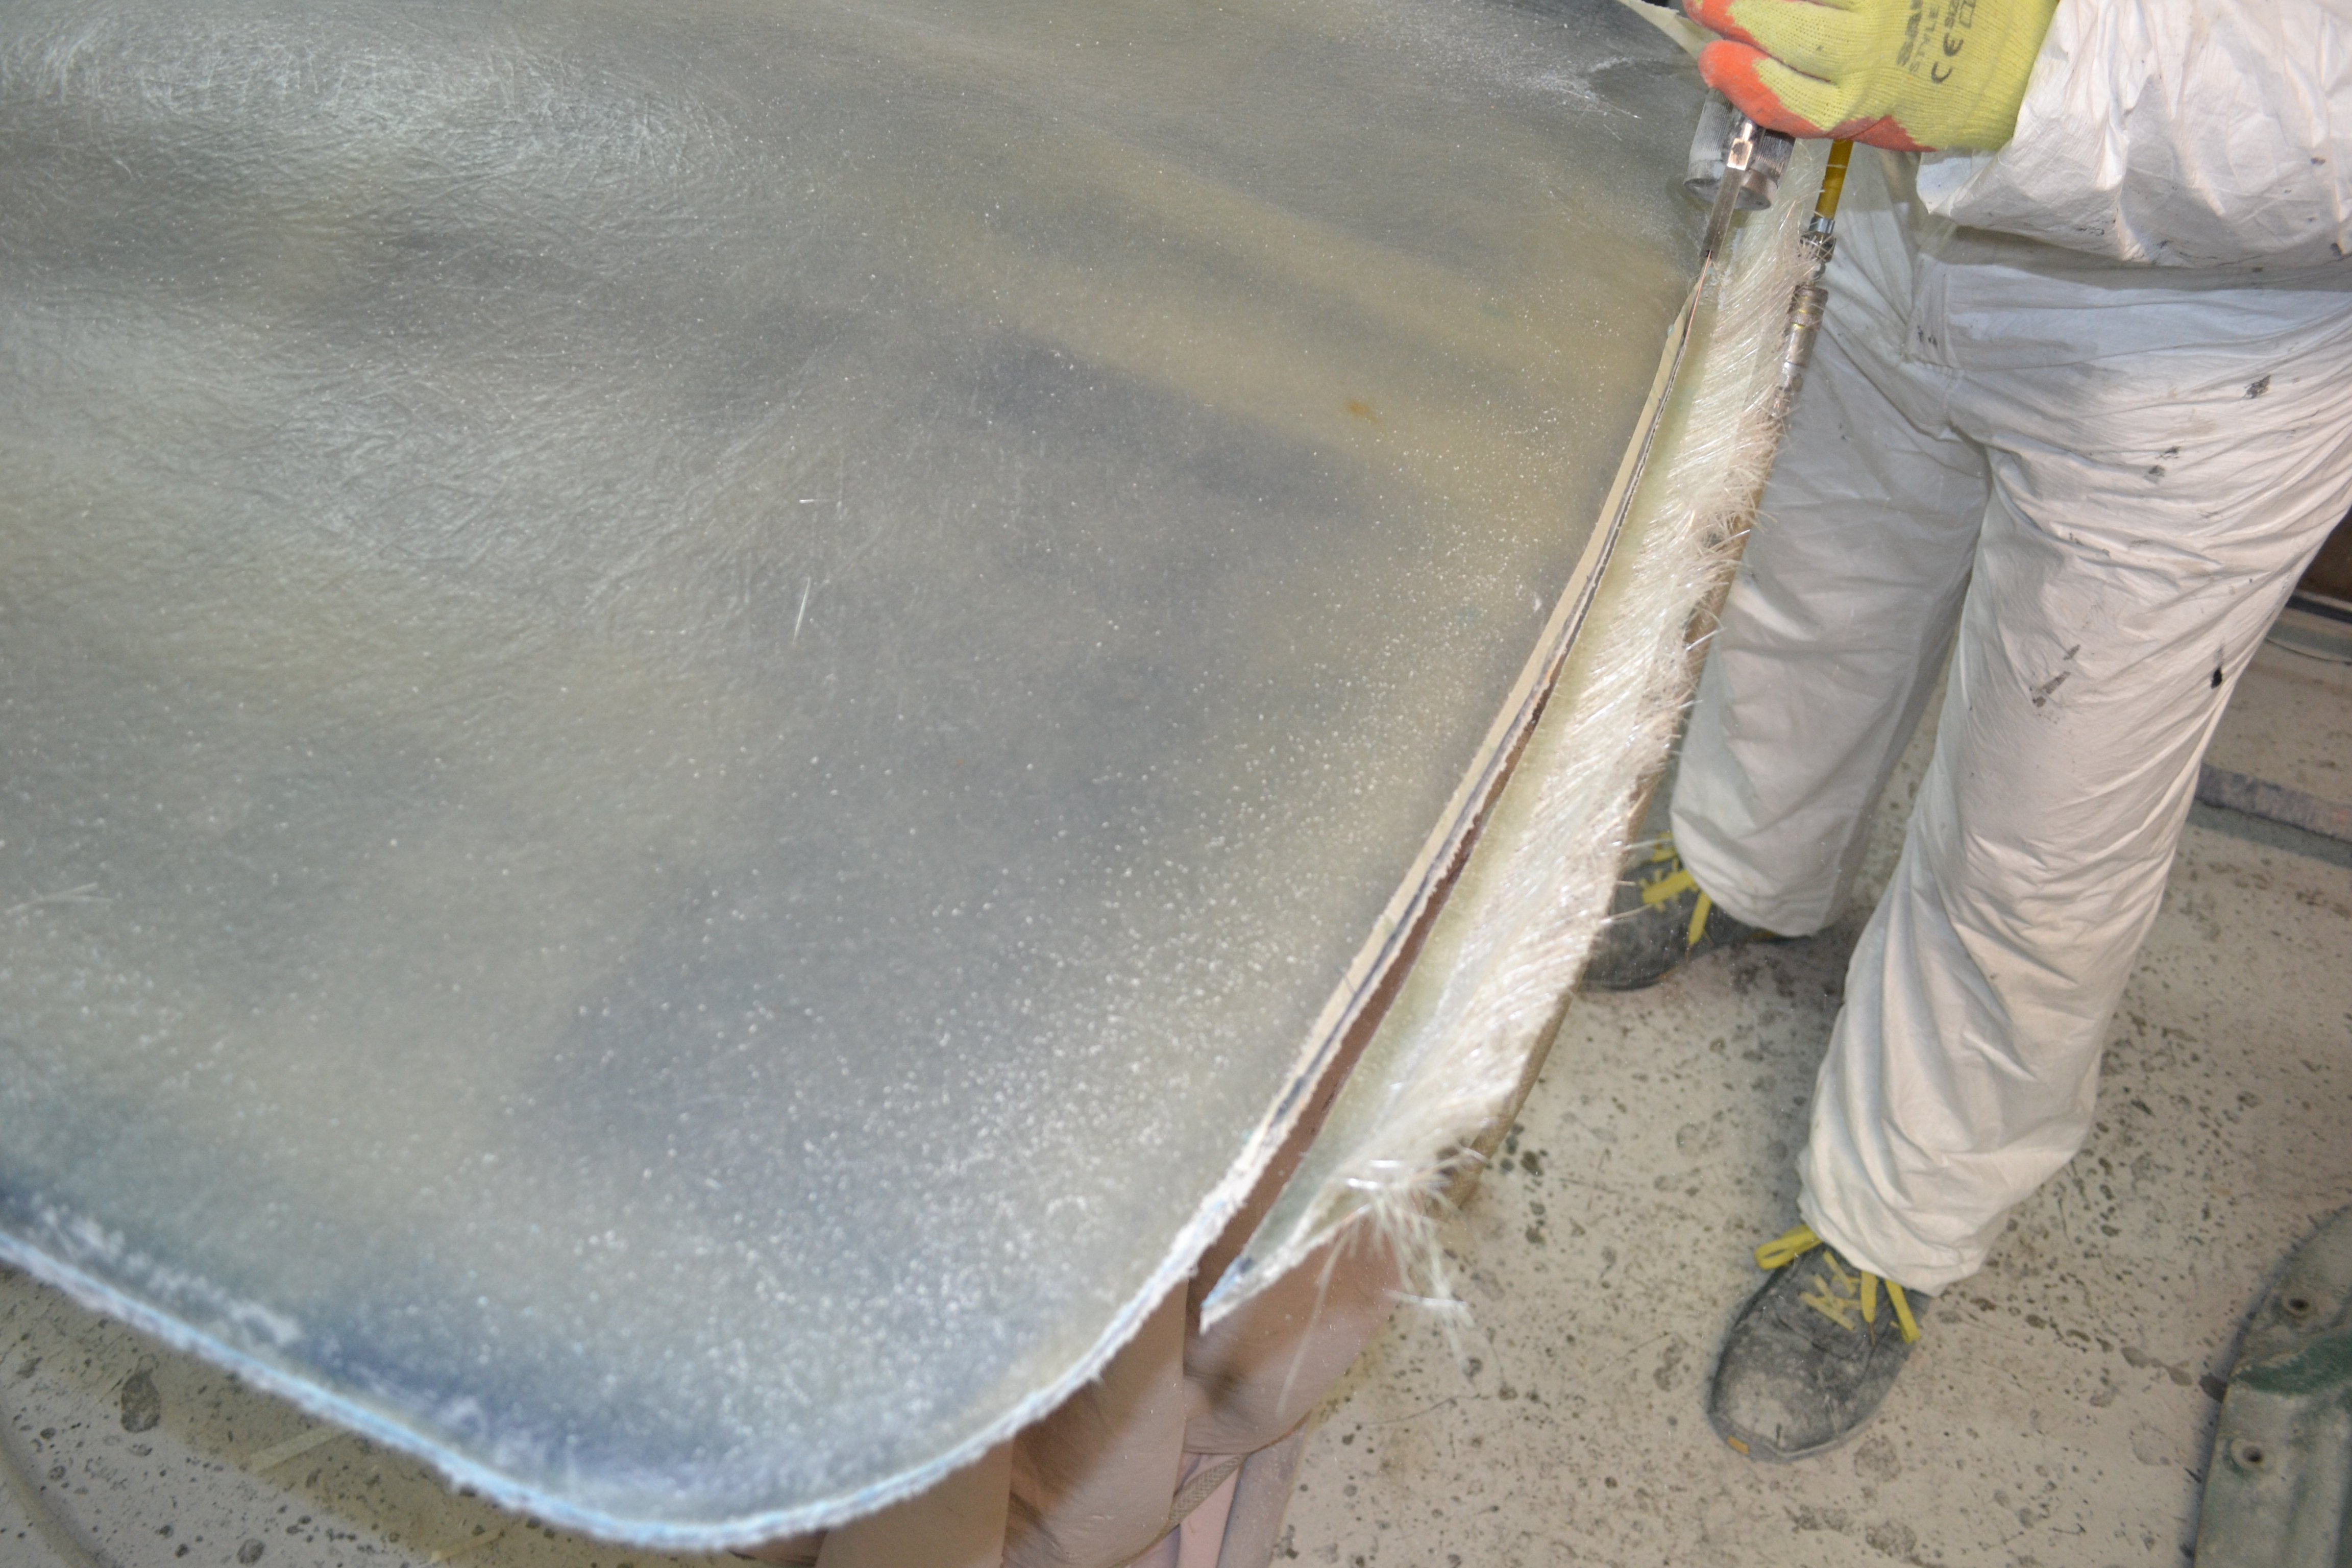
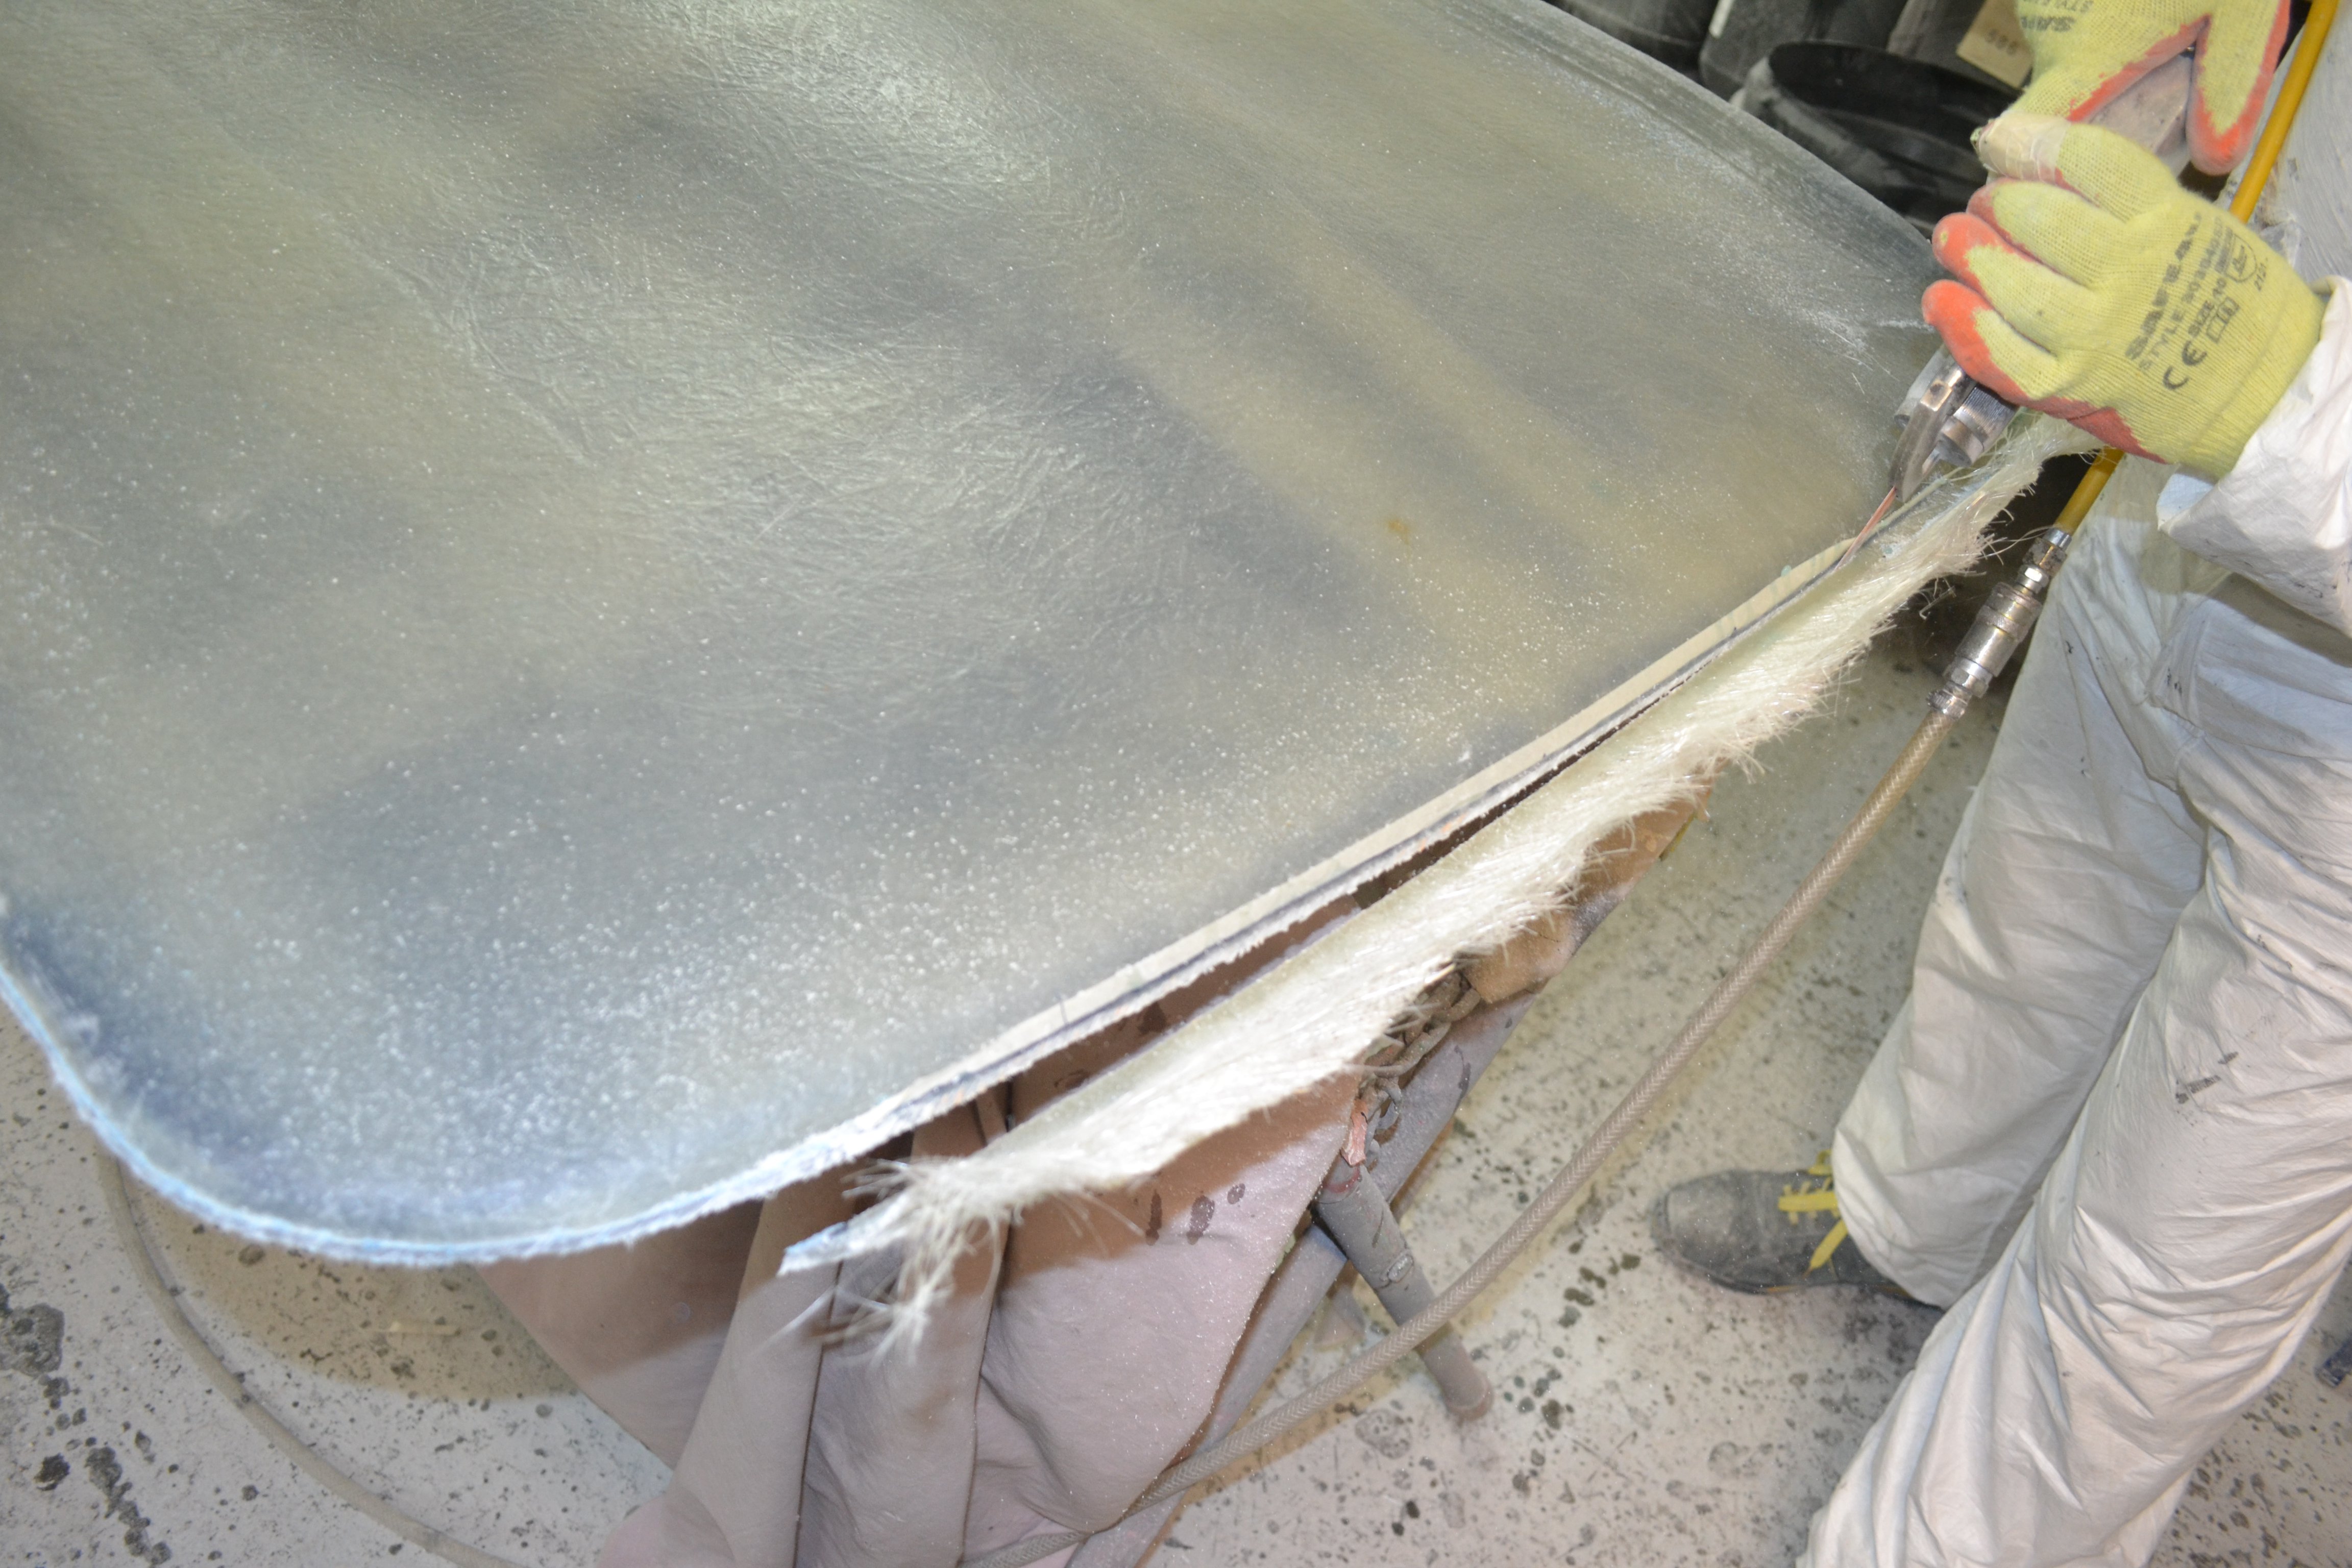
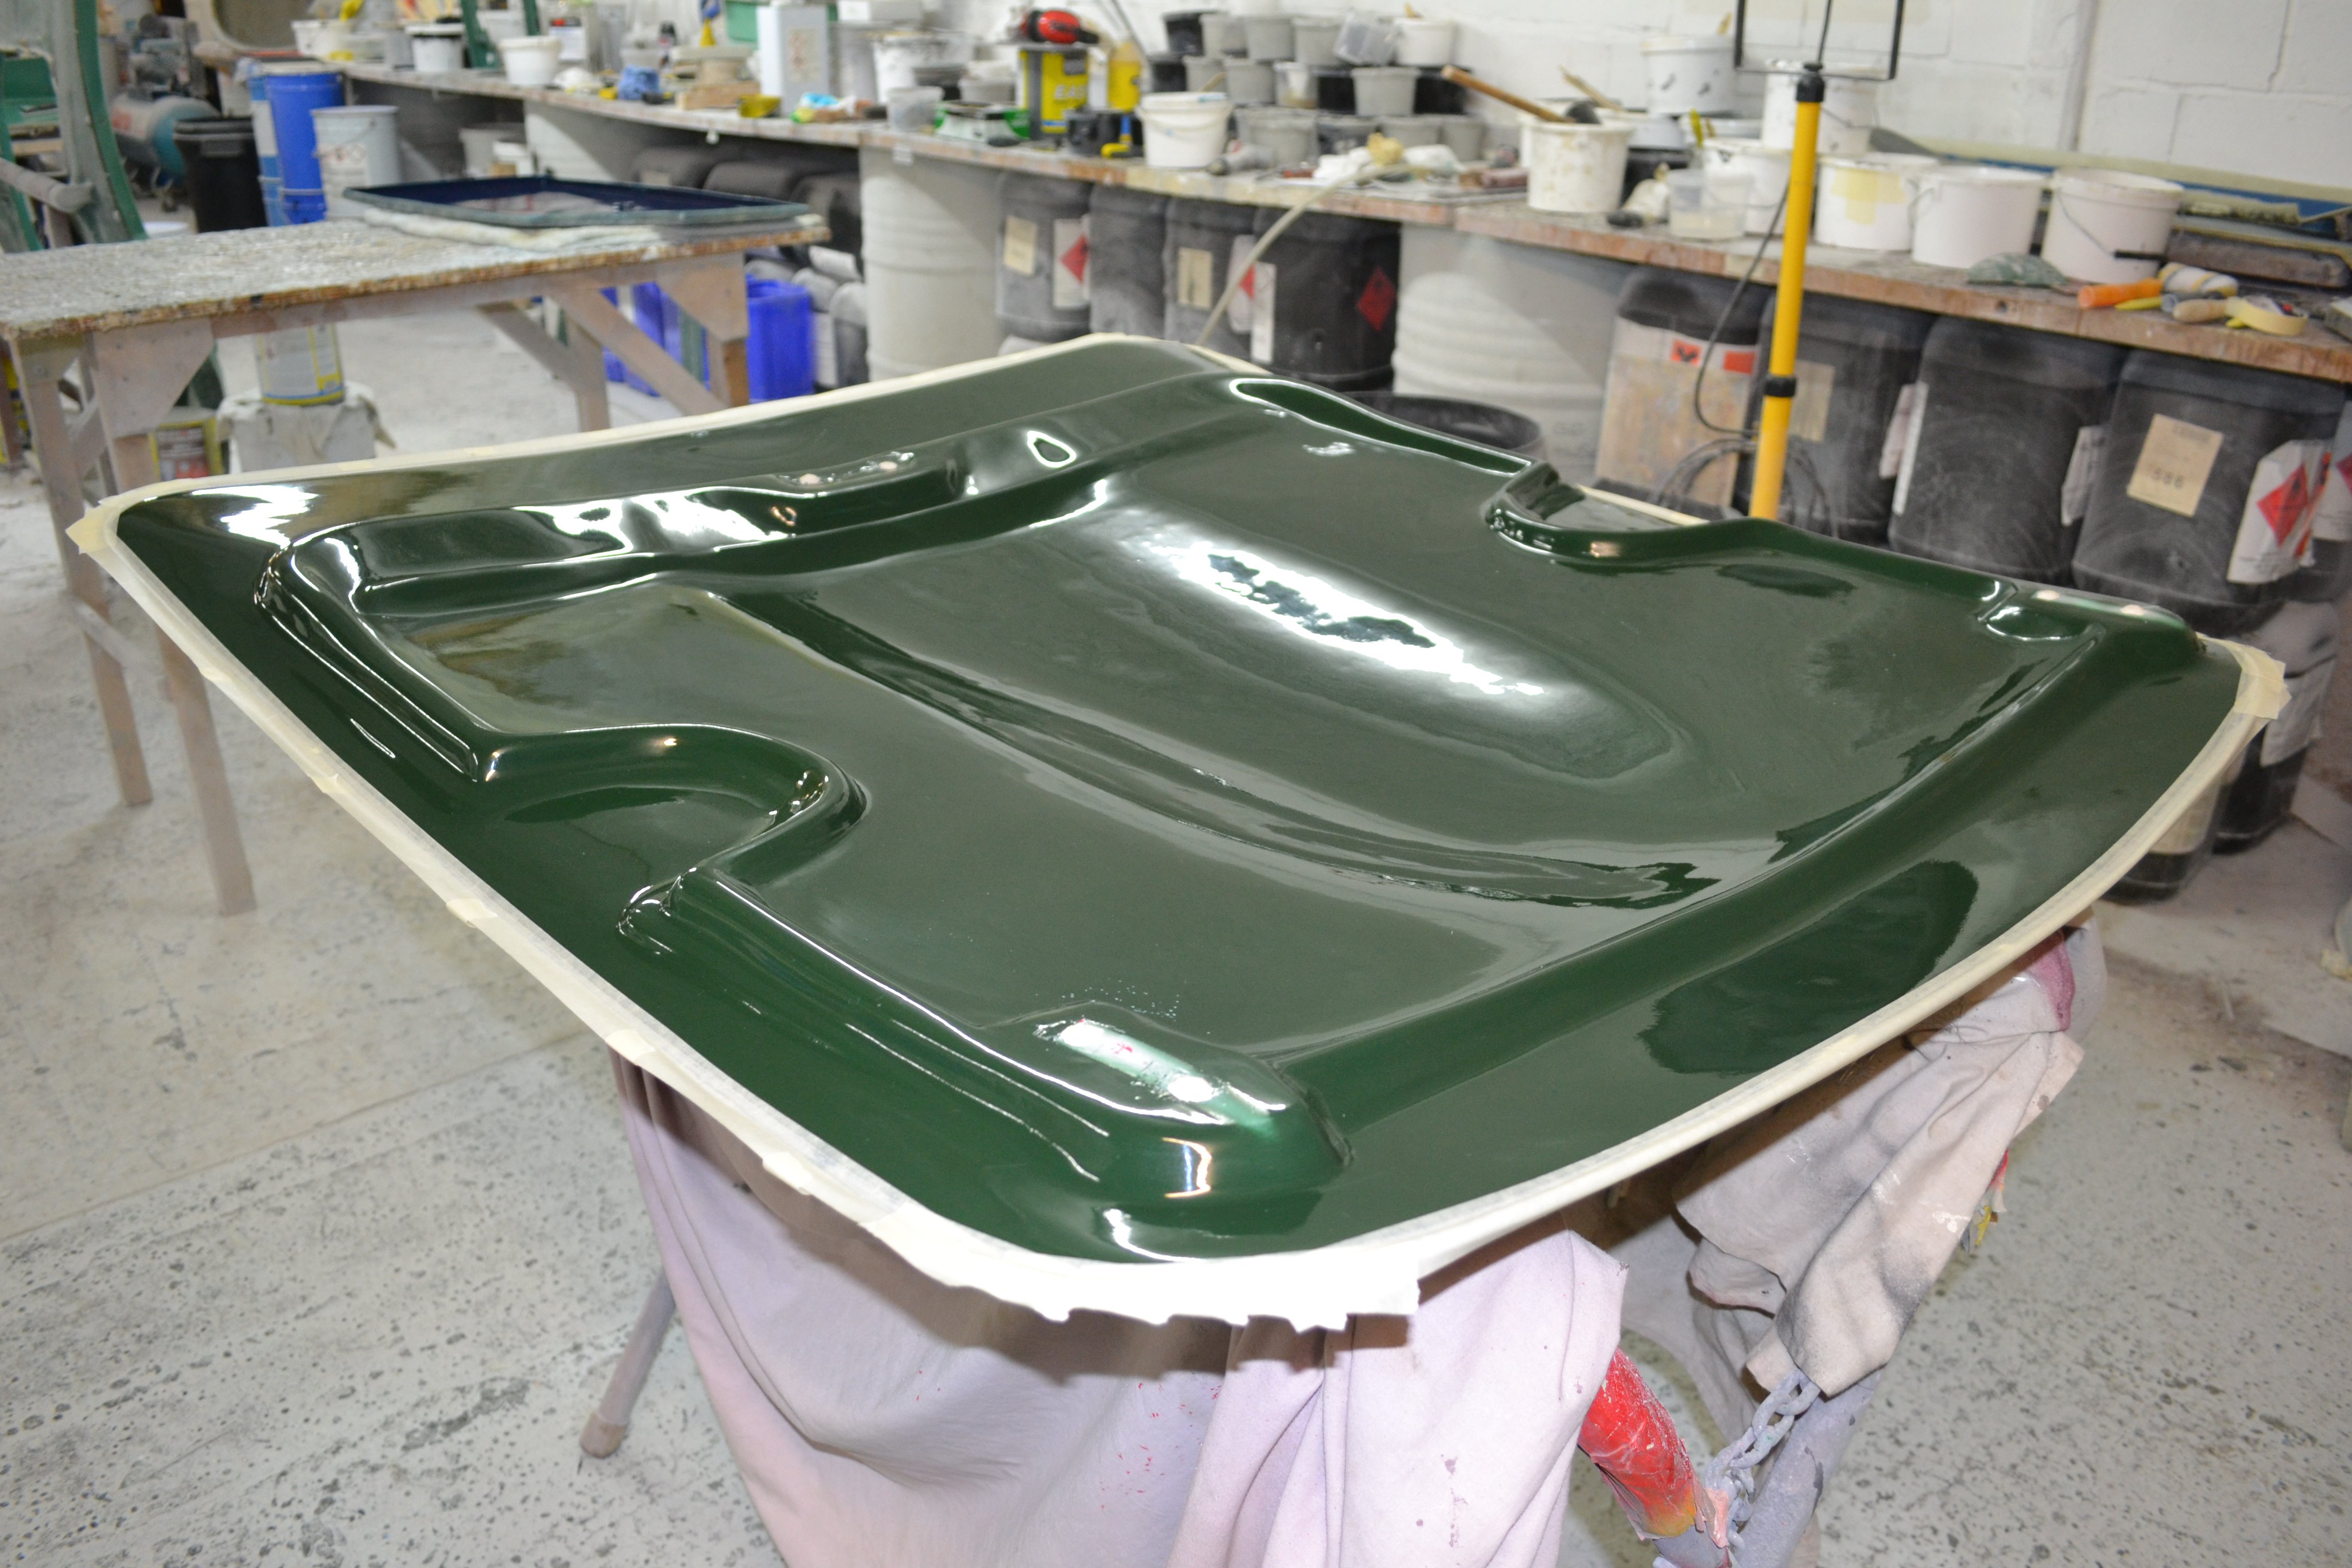
Same process for the outer skin, wax, gell and matting.
-
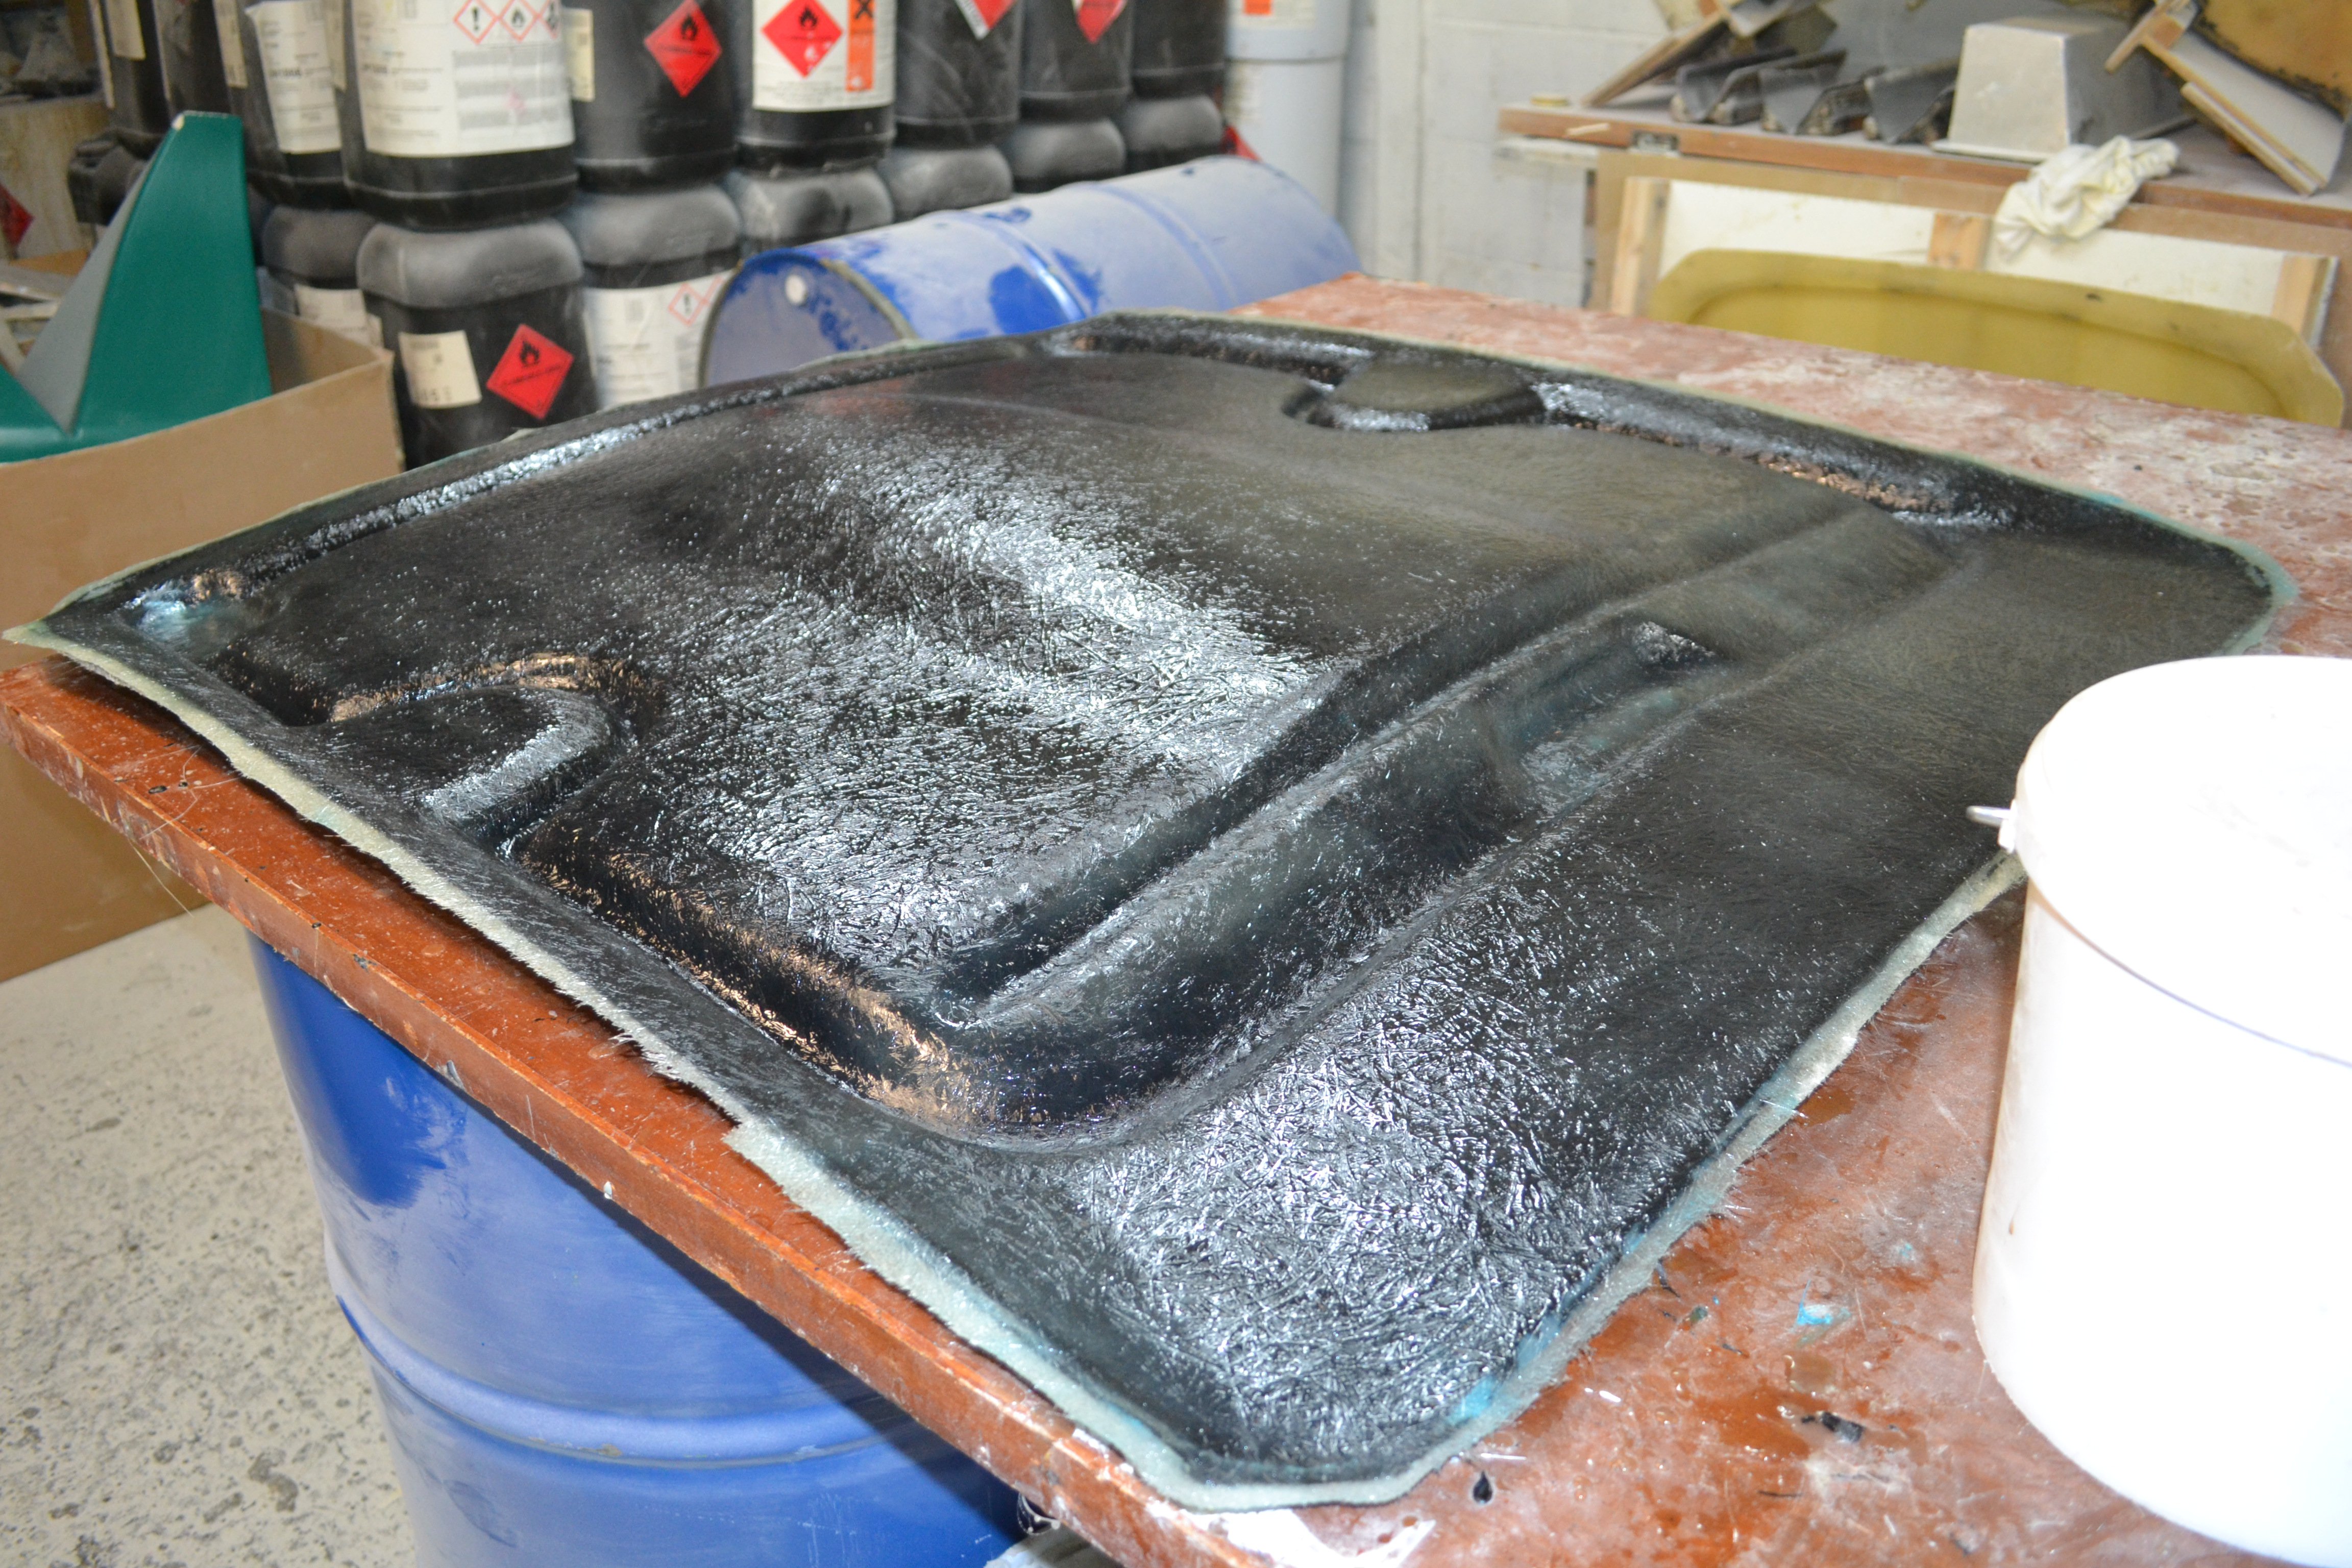
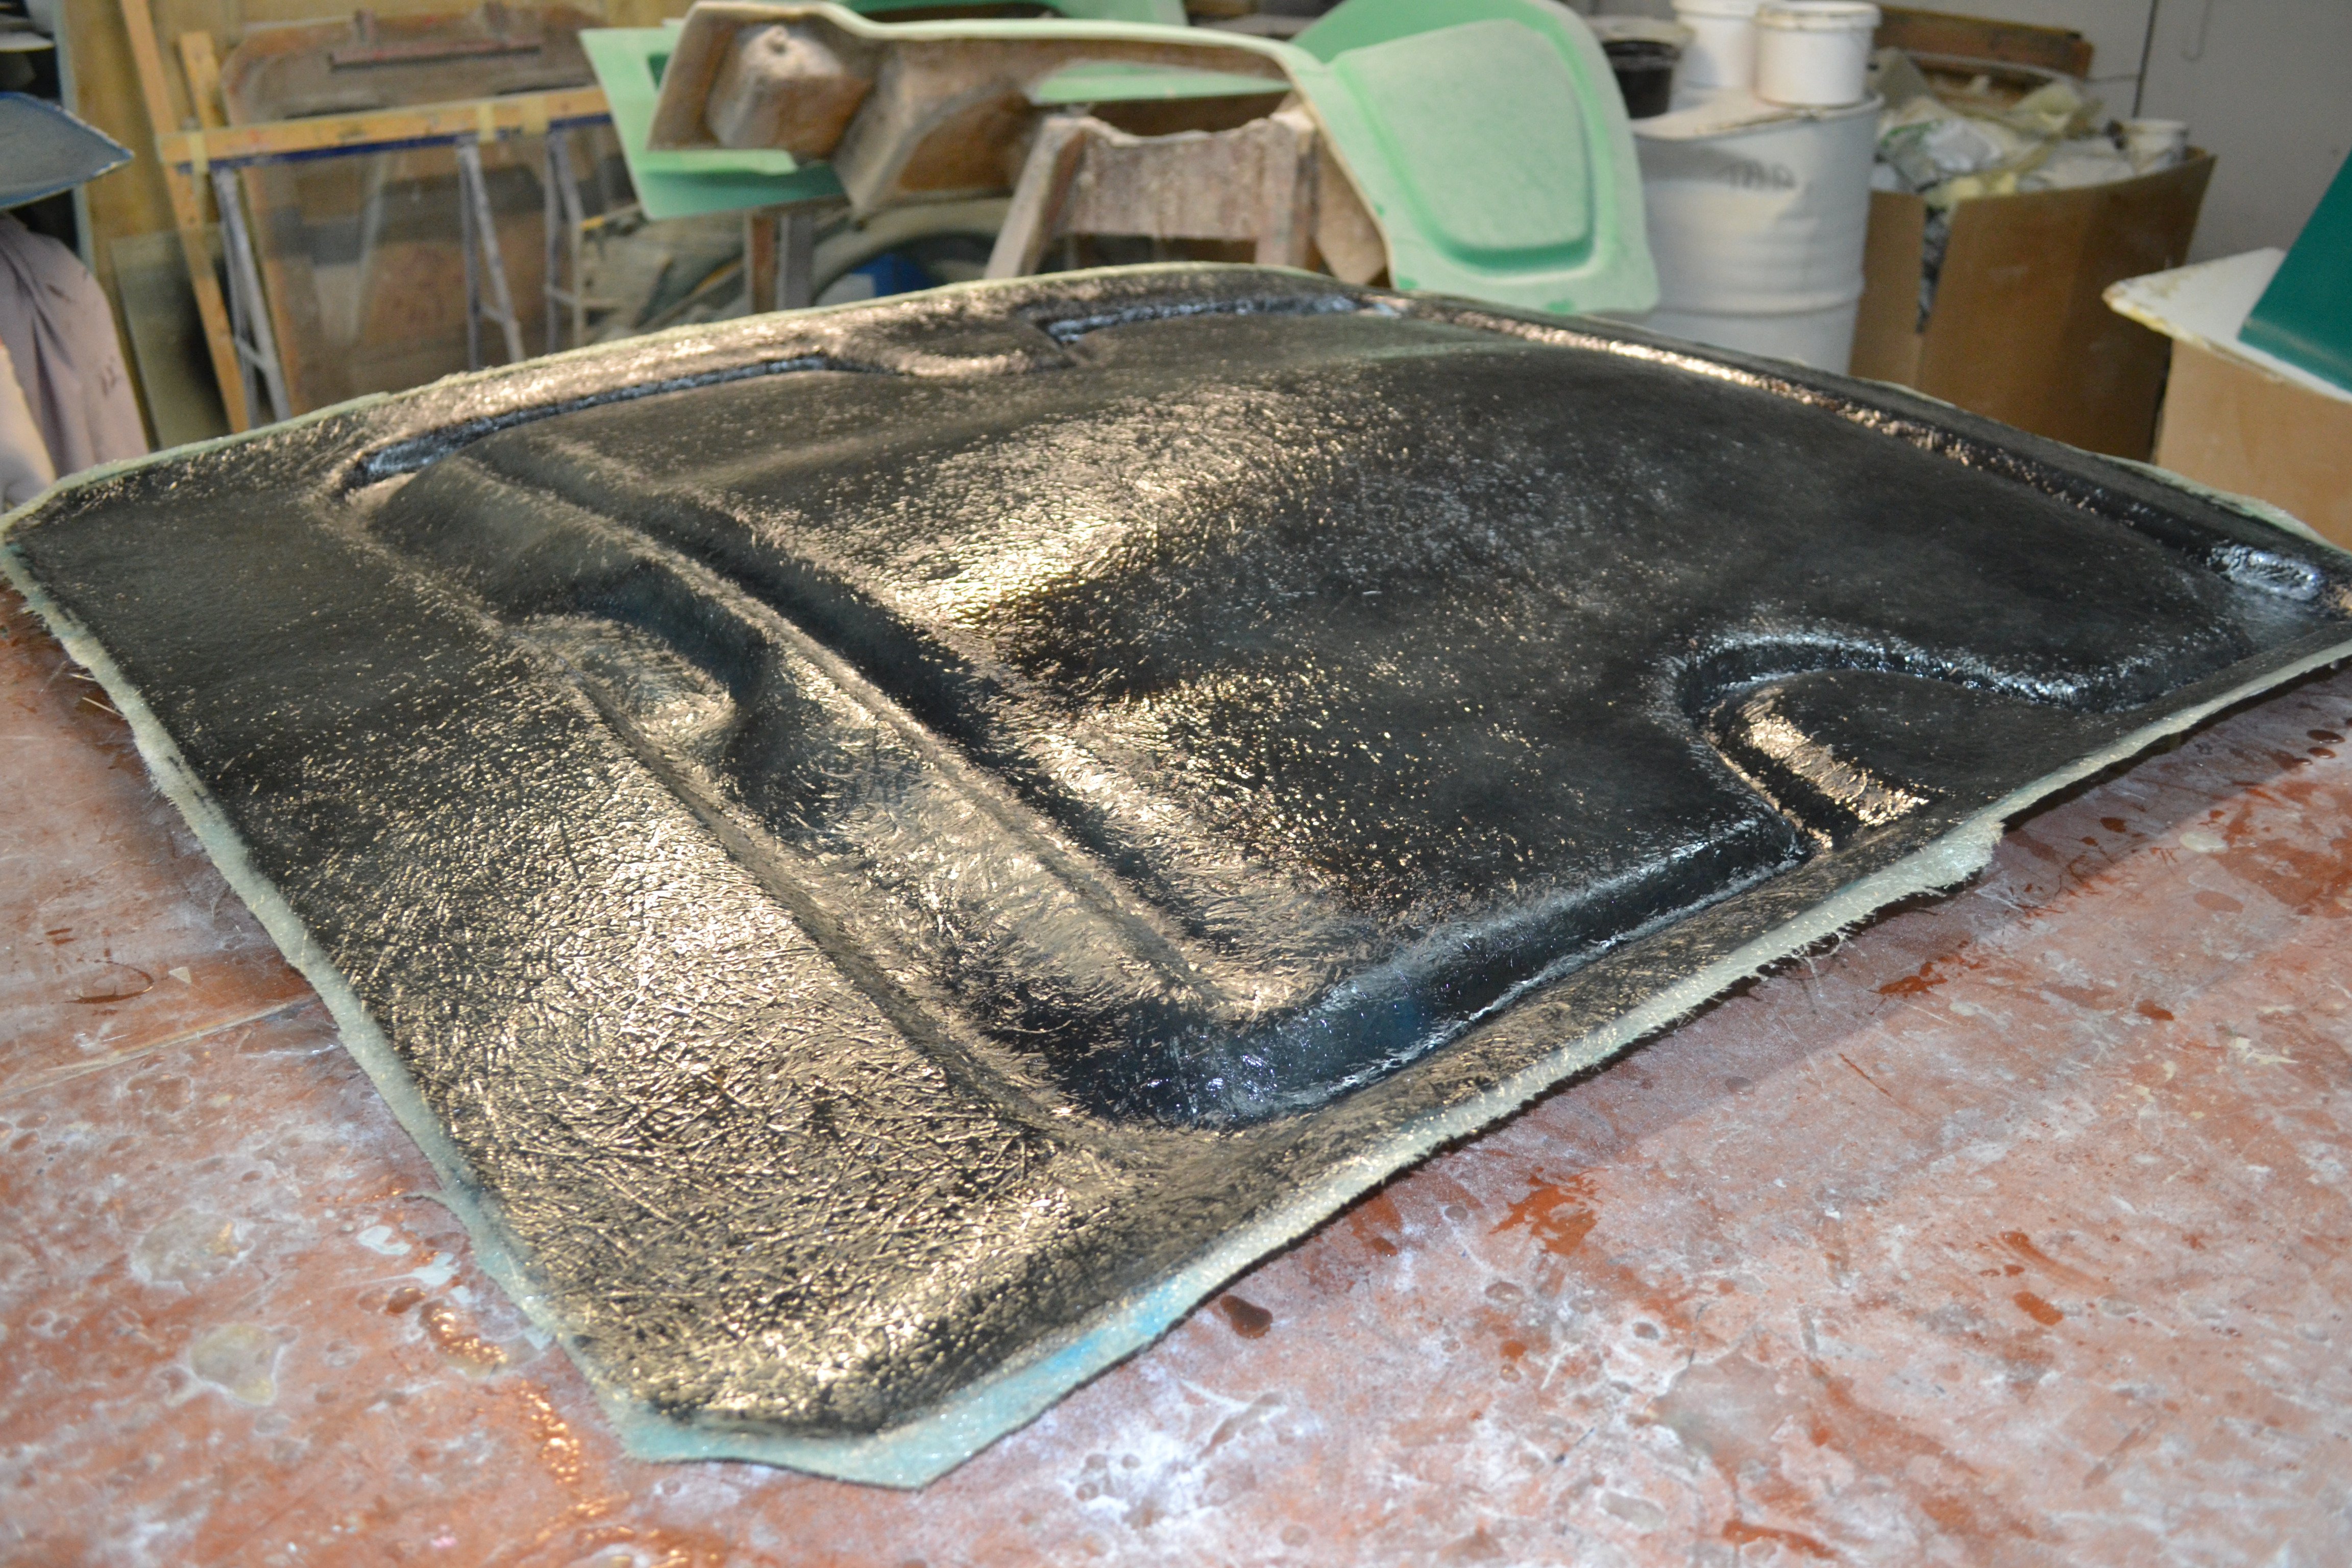
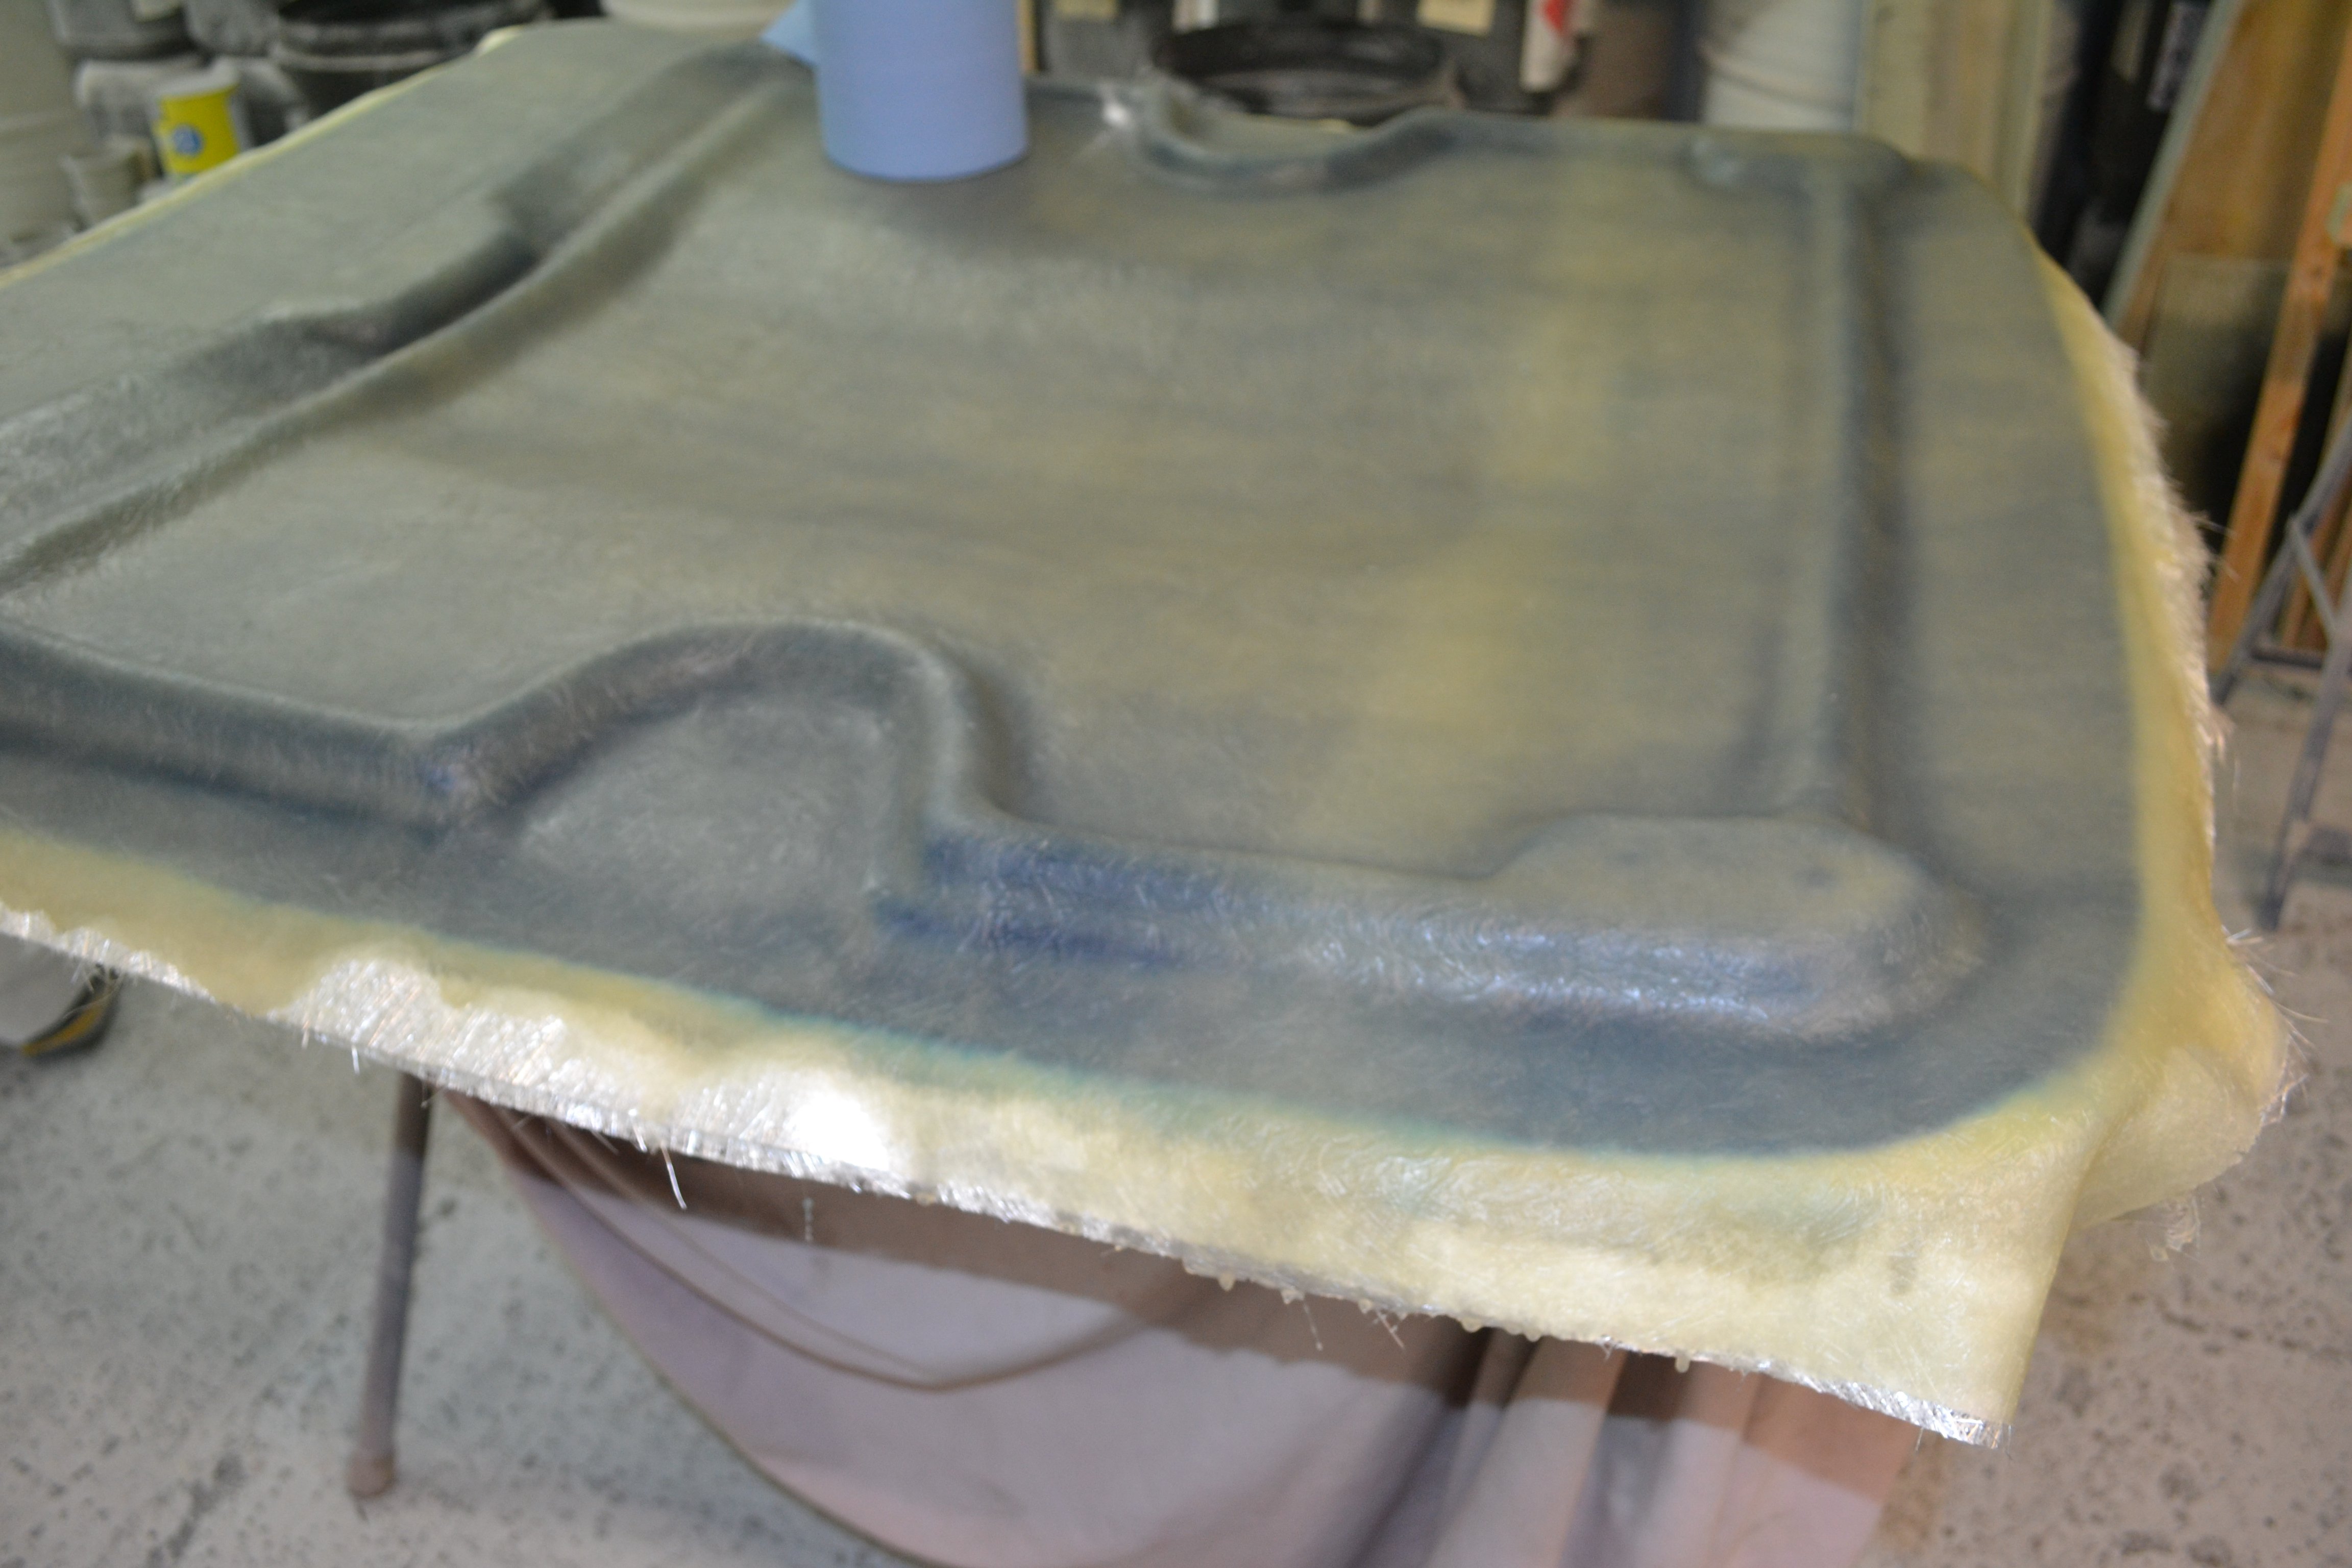
These were de nibbed where necessary and waxed once again before being gelled and layed up, the inner bonnet only had one coat of heavy 600 gram matting, Lee thought this was ok as once bonded to the outer skin formed a nice light but strong finished piece. The outer bonnet and boot was layed up with two coats of the 600 matt. these pics are the inner skin.
-
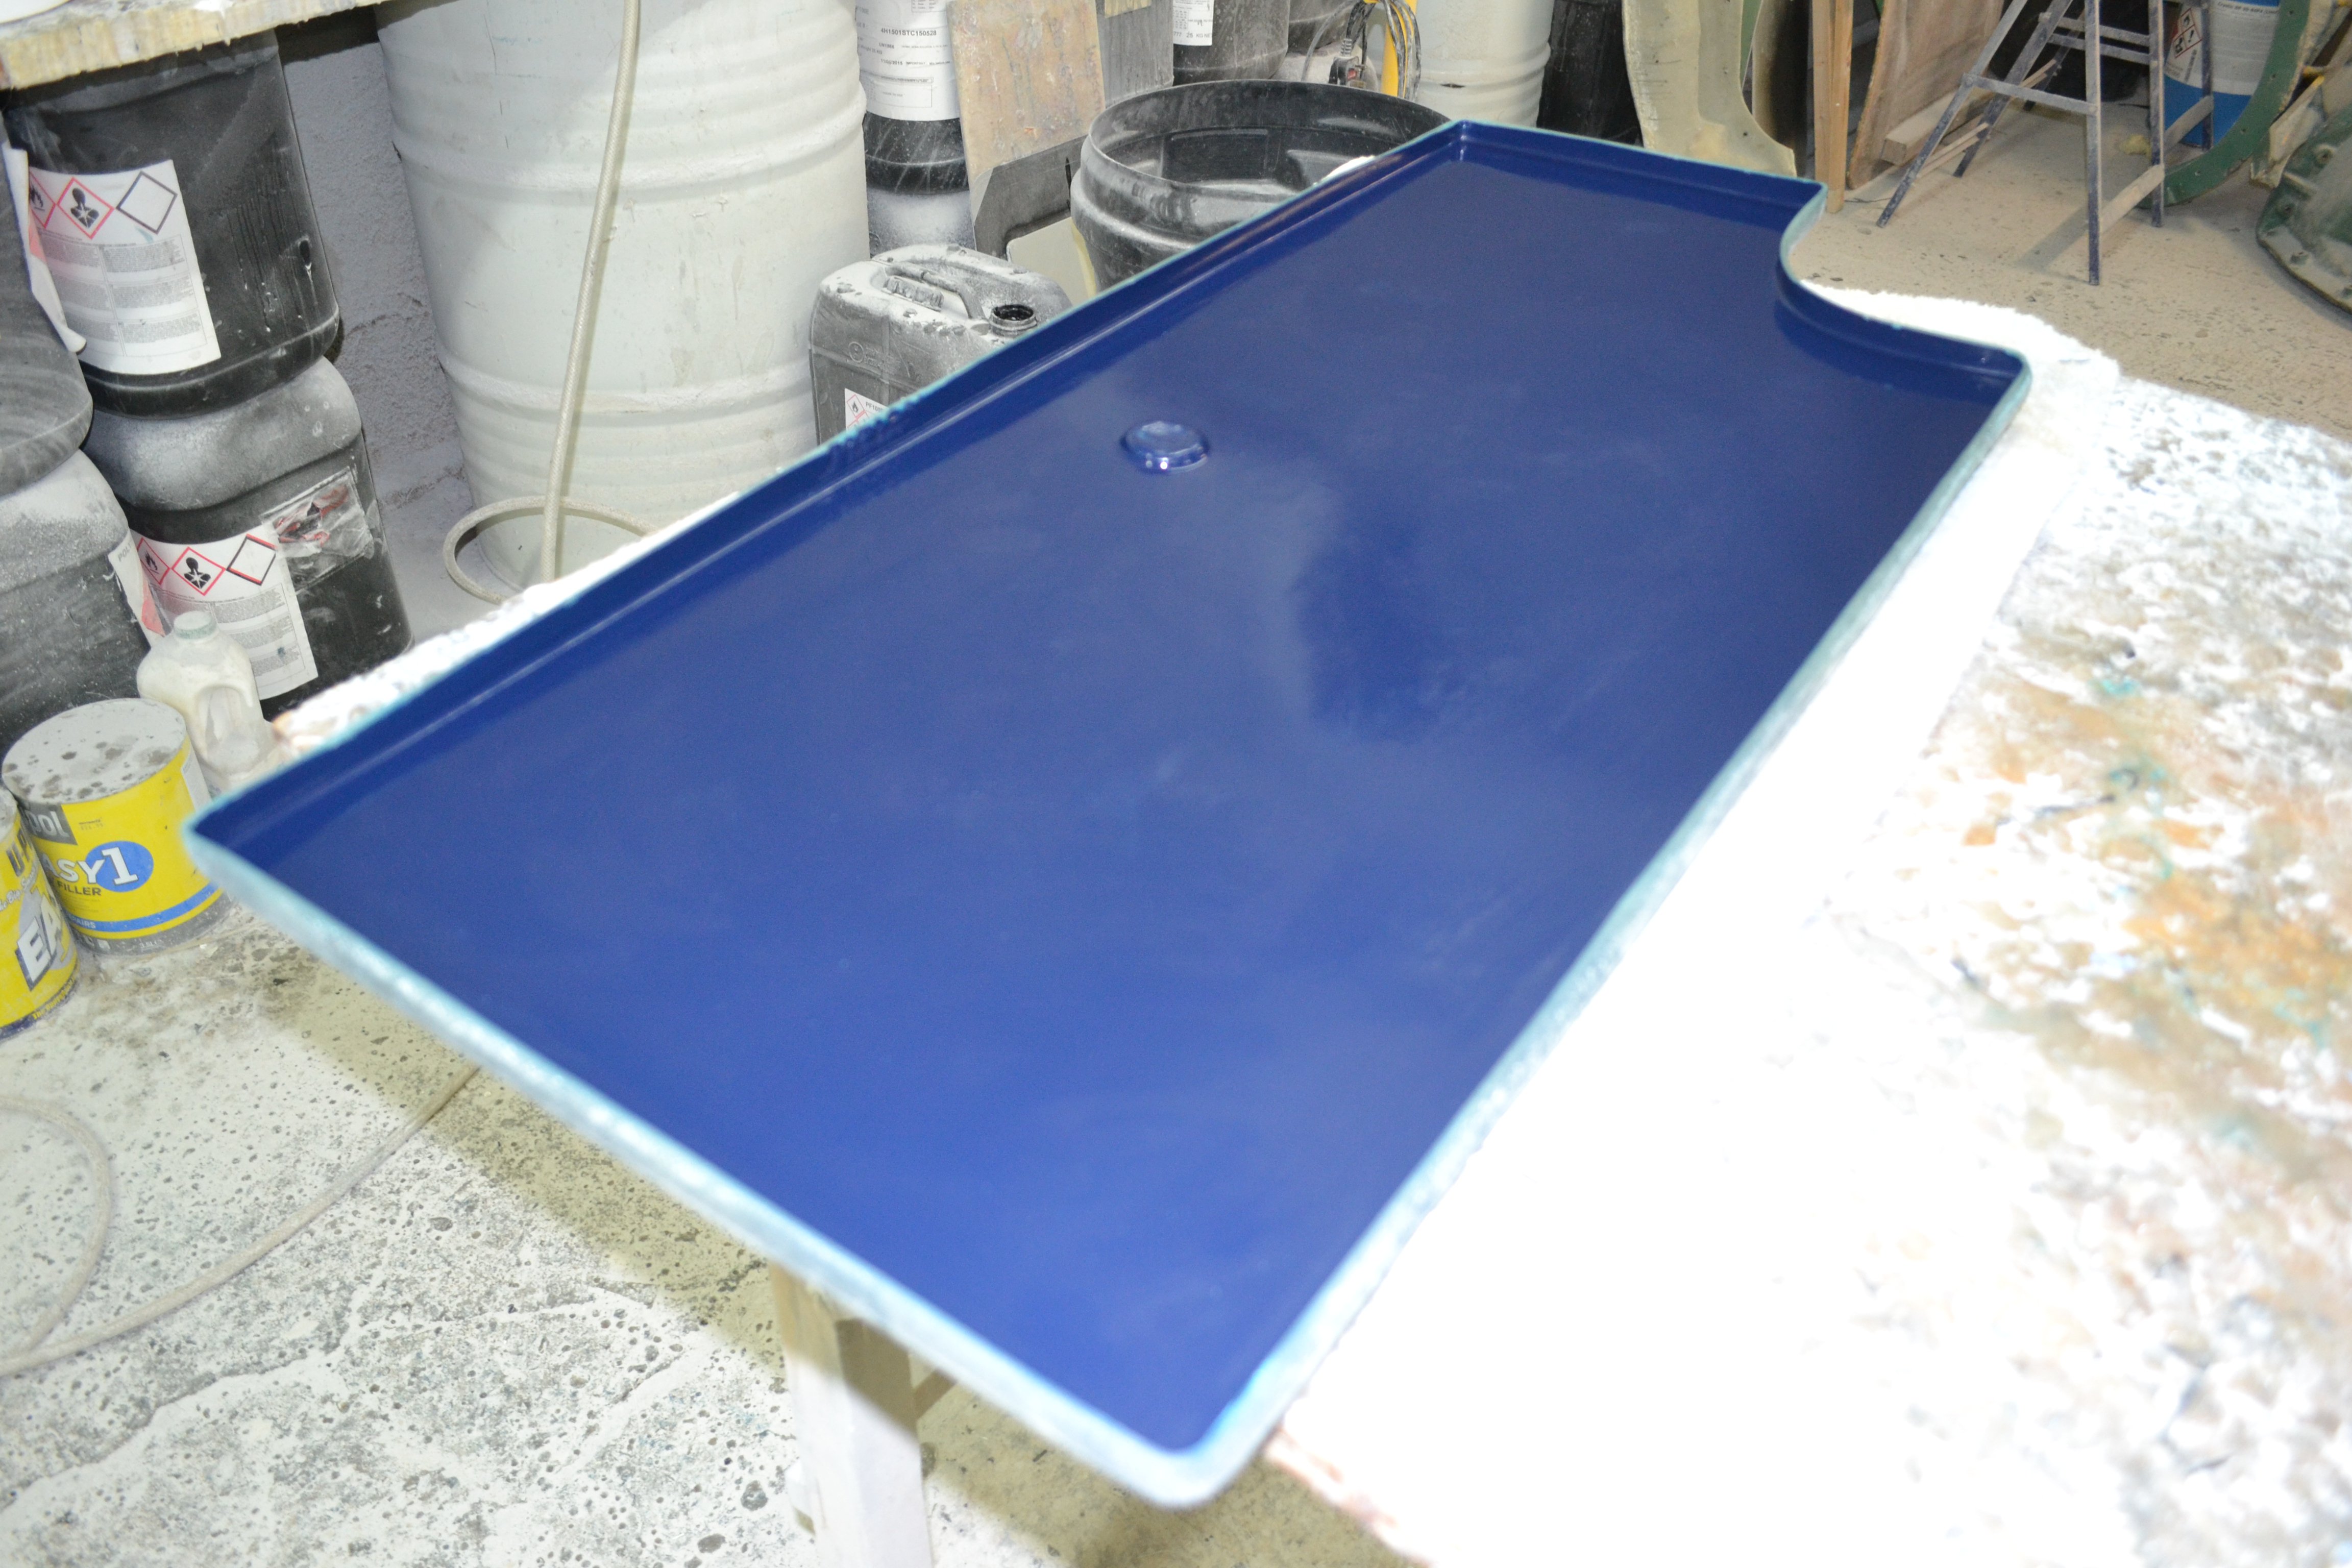
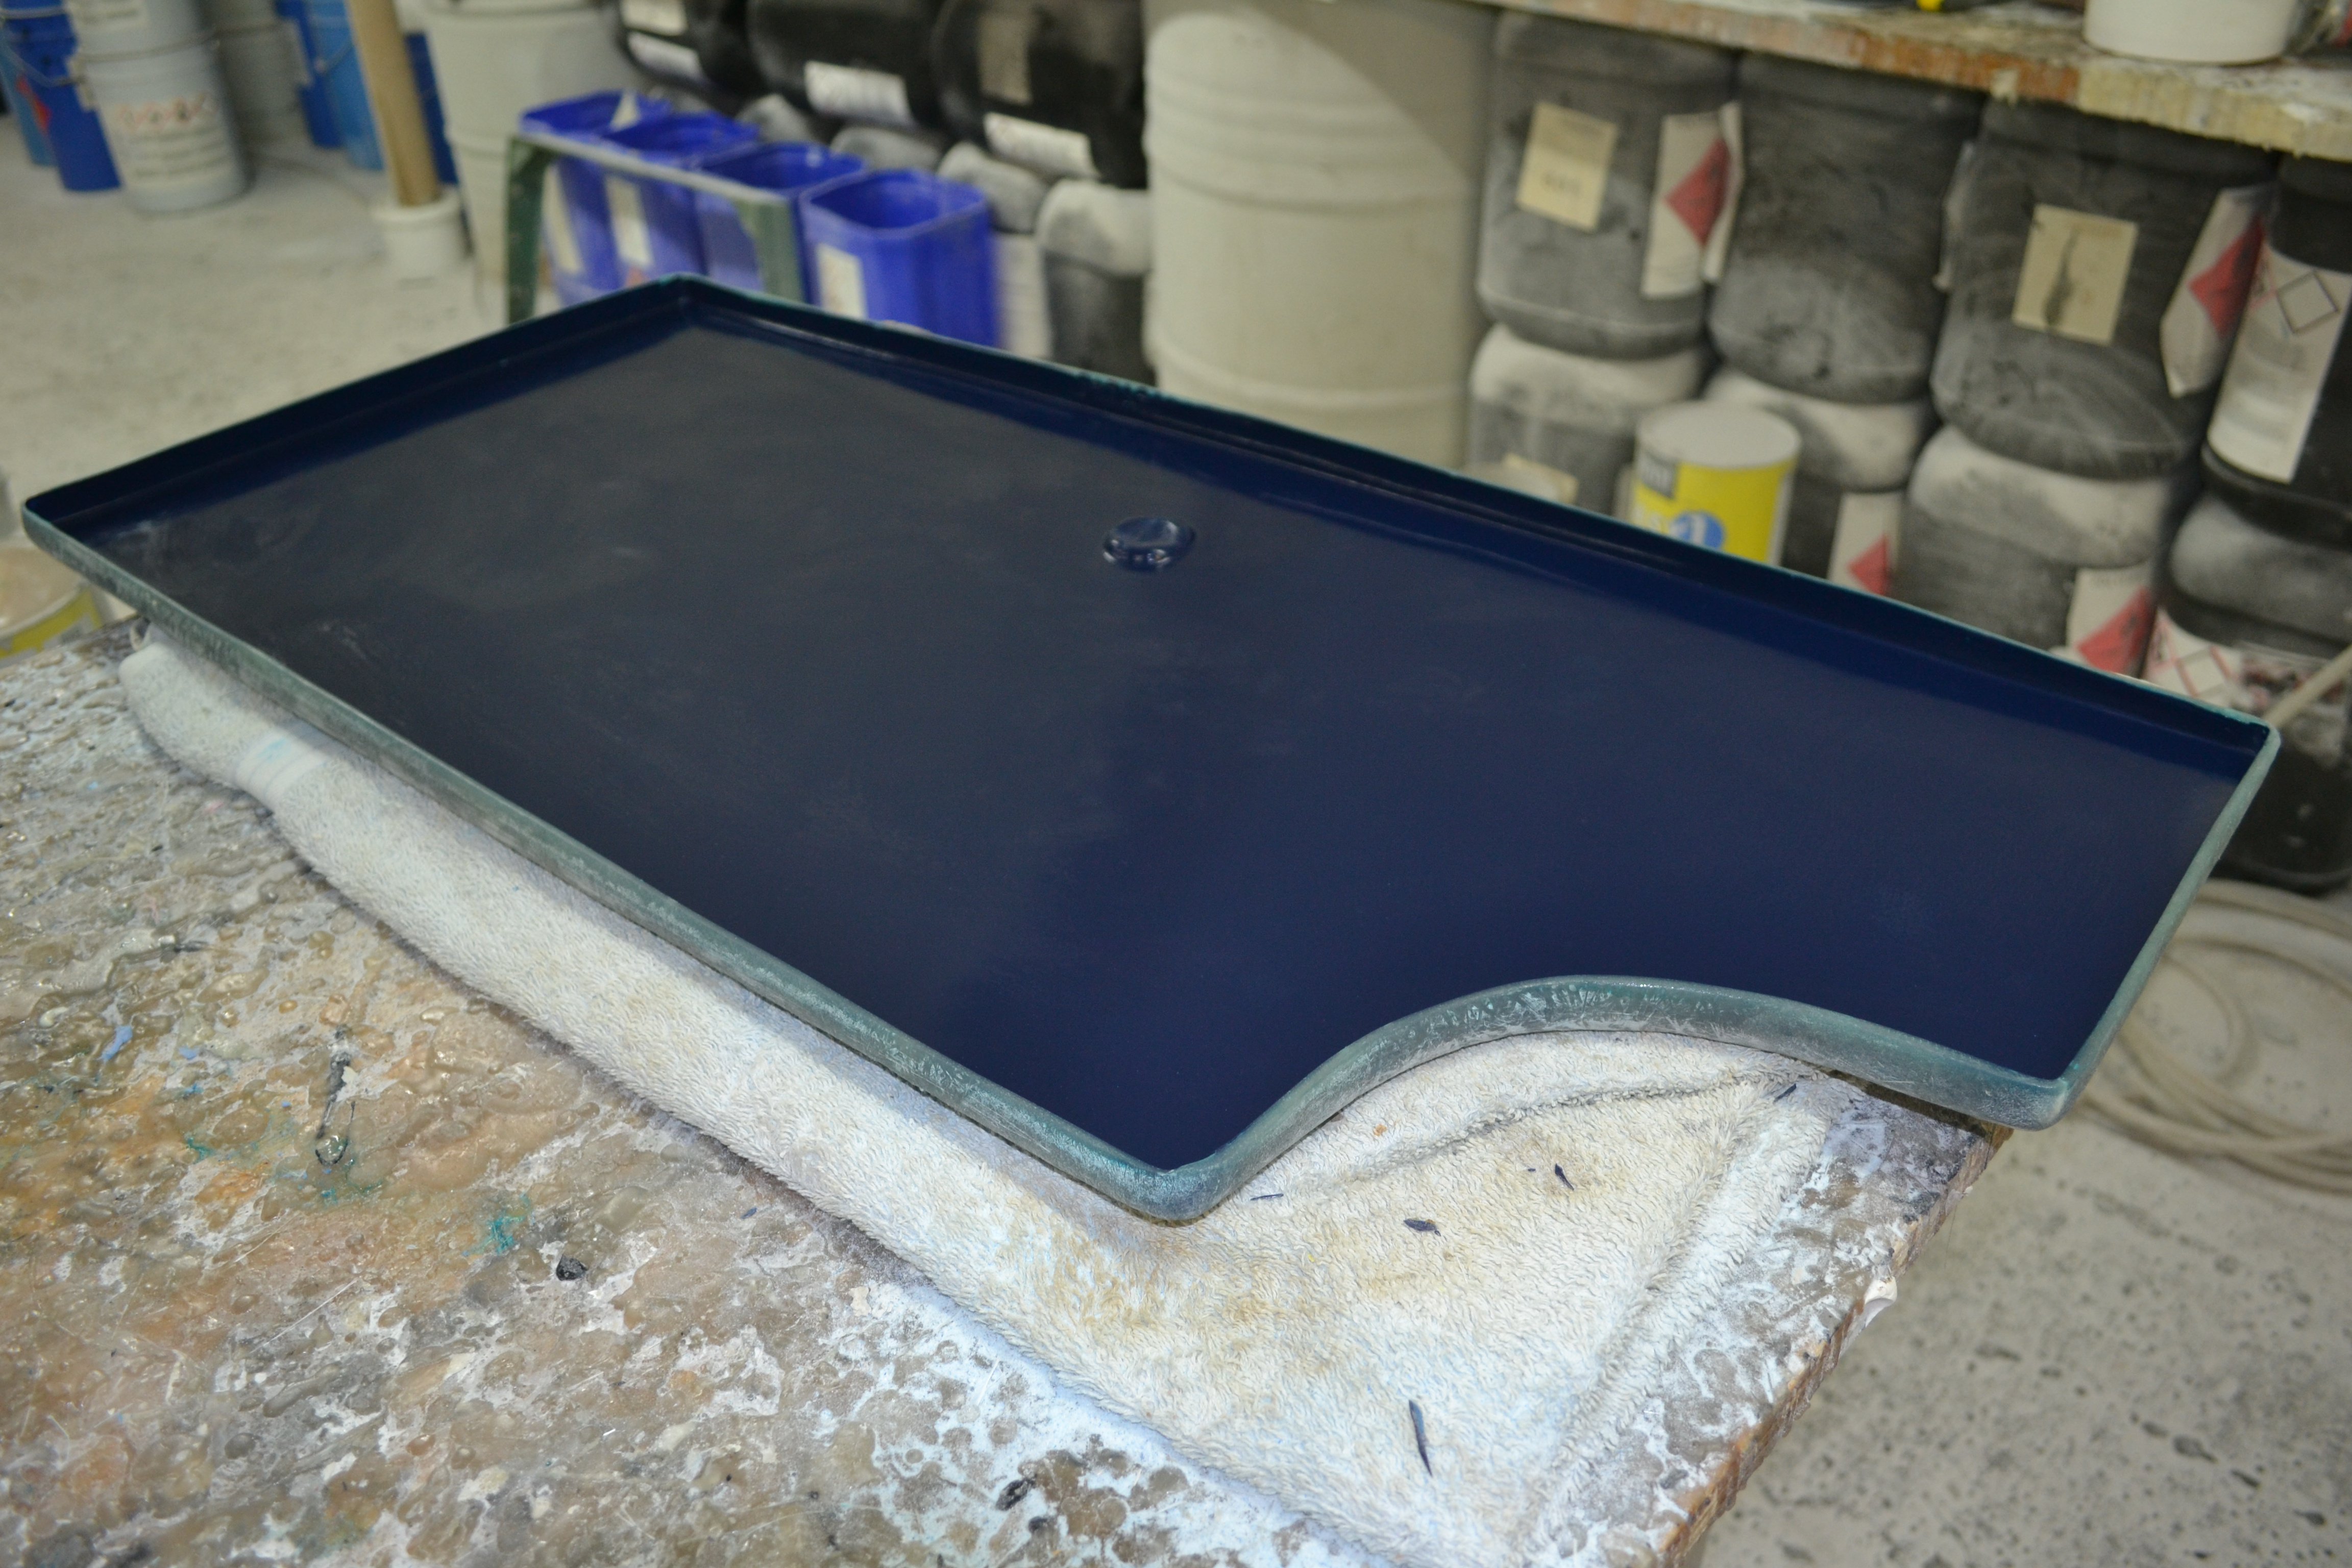
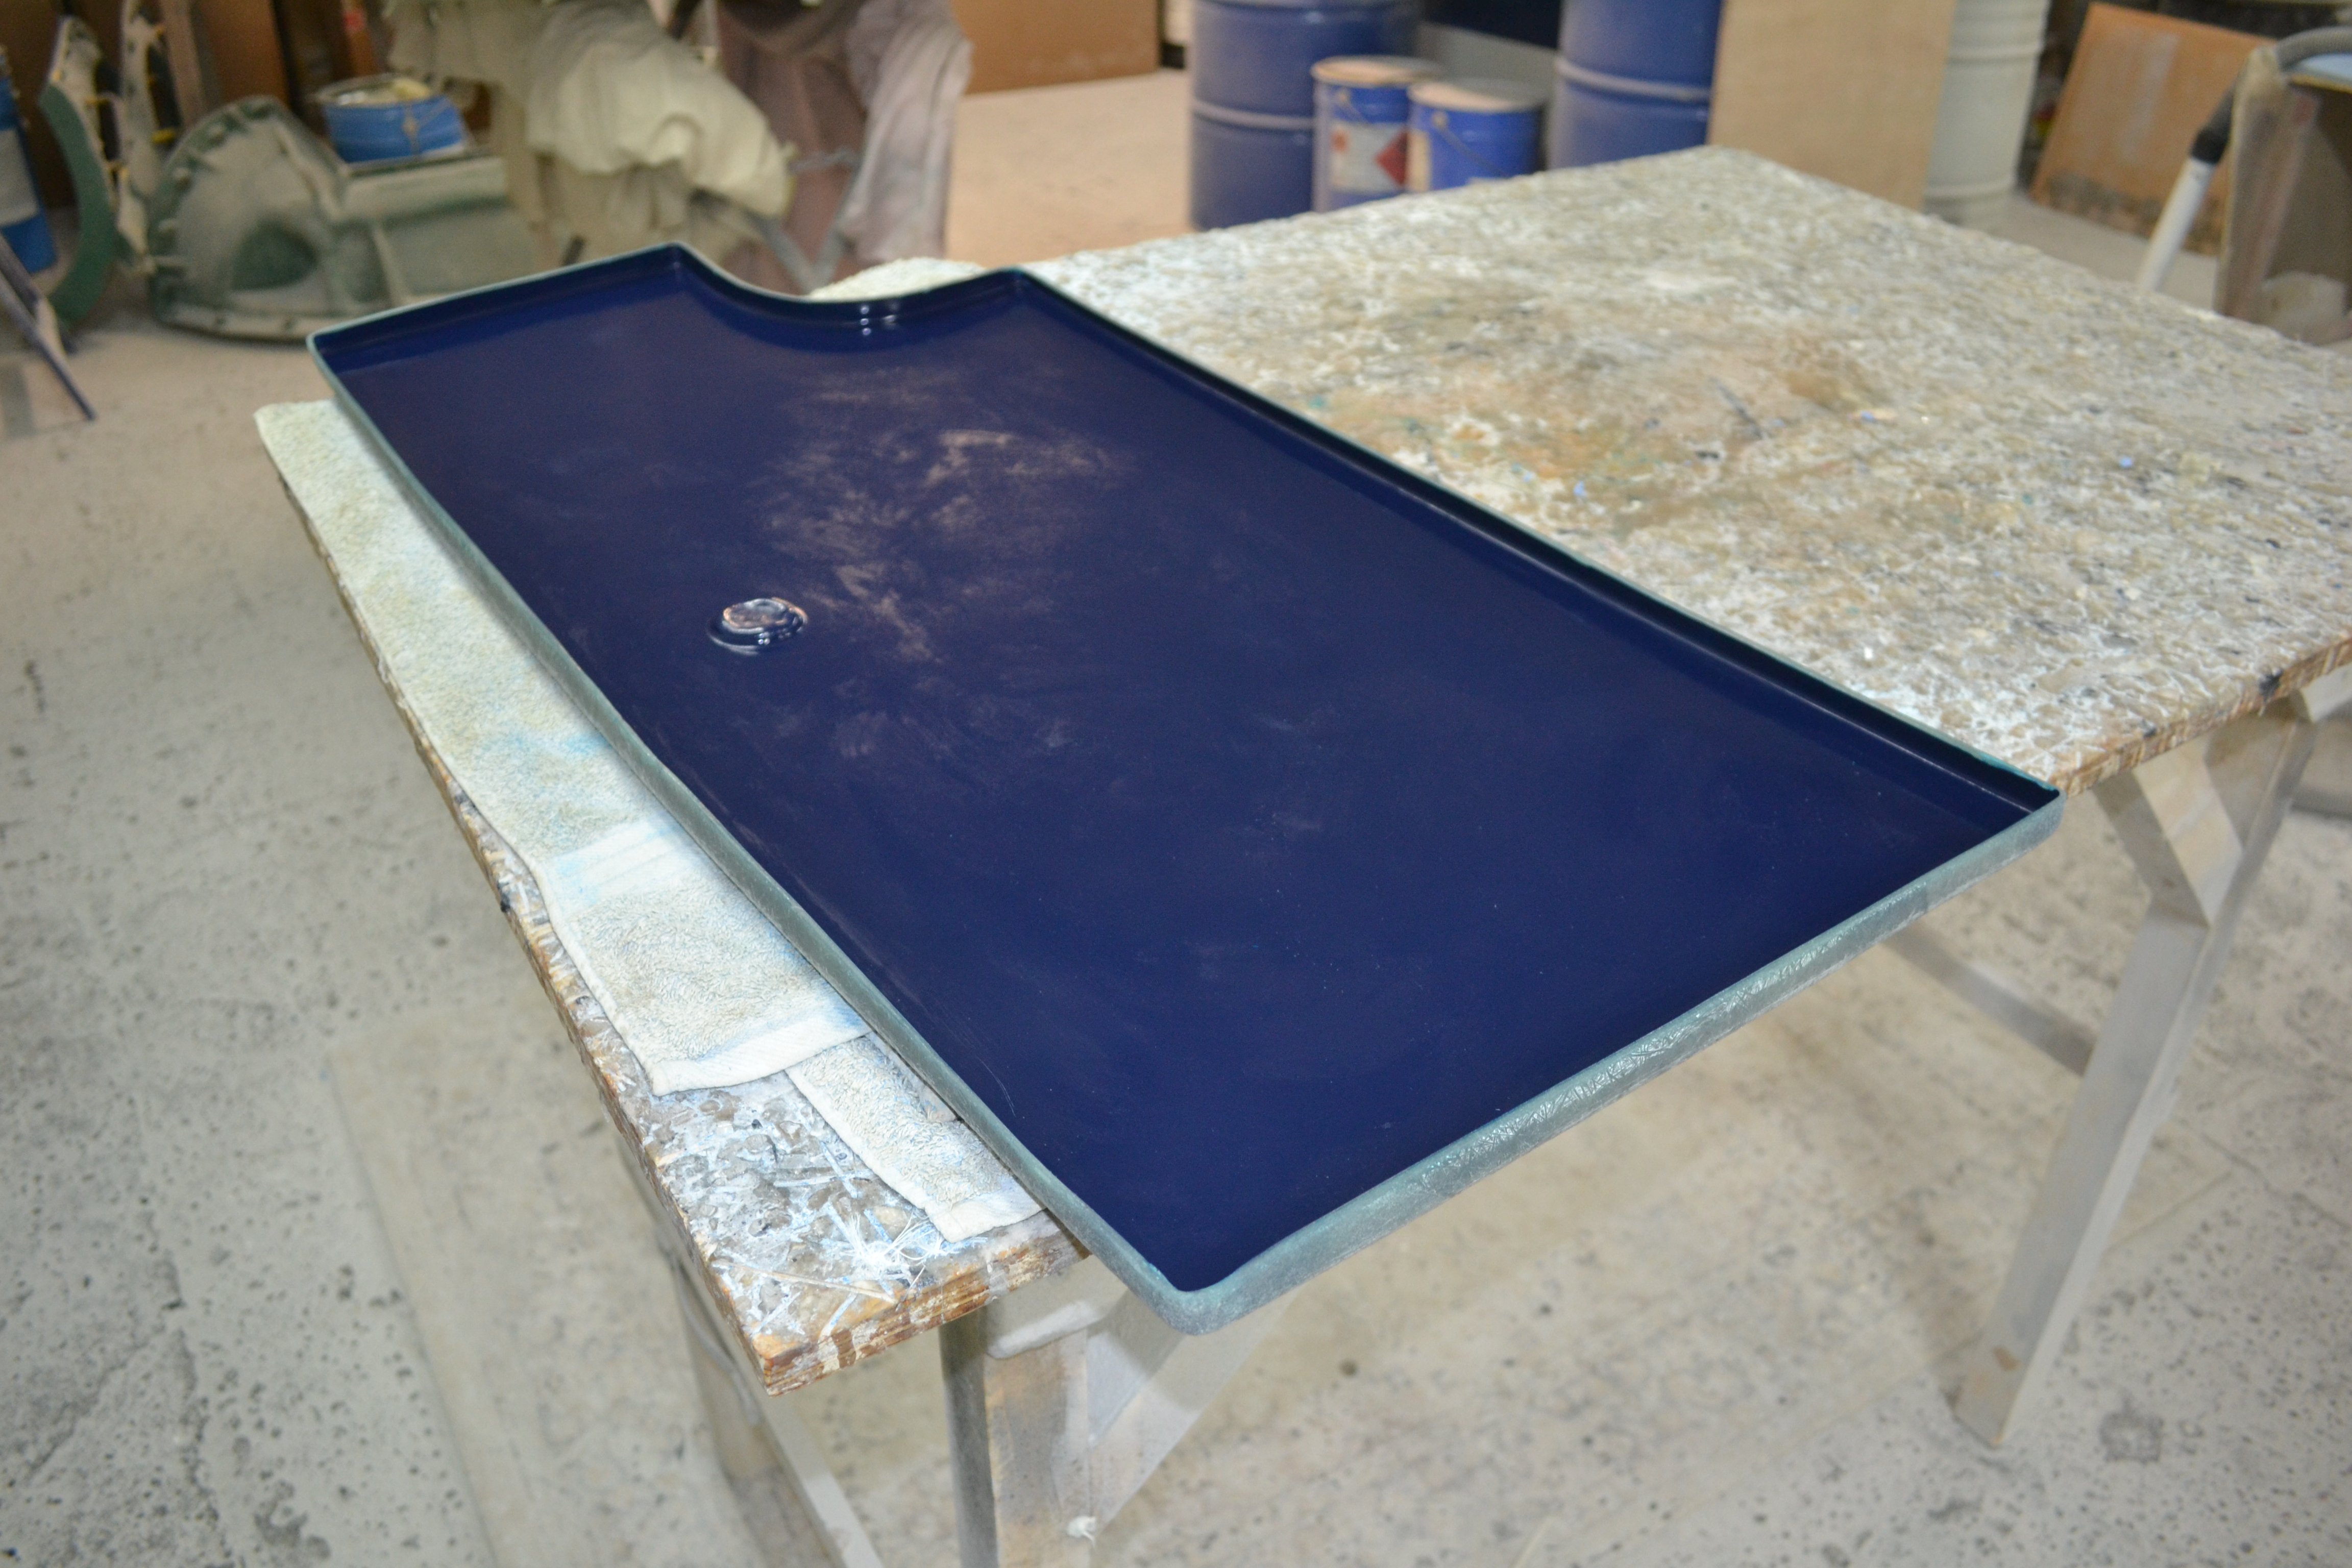
So we now have three moulds ready for prepping to produce the new items.
-
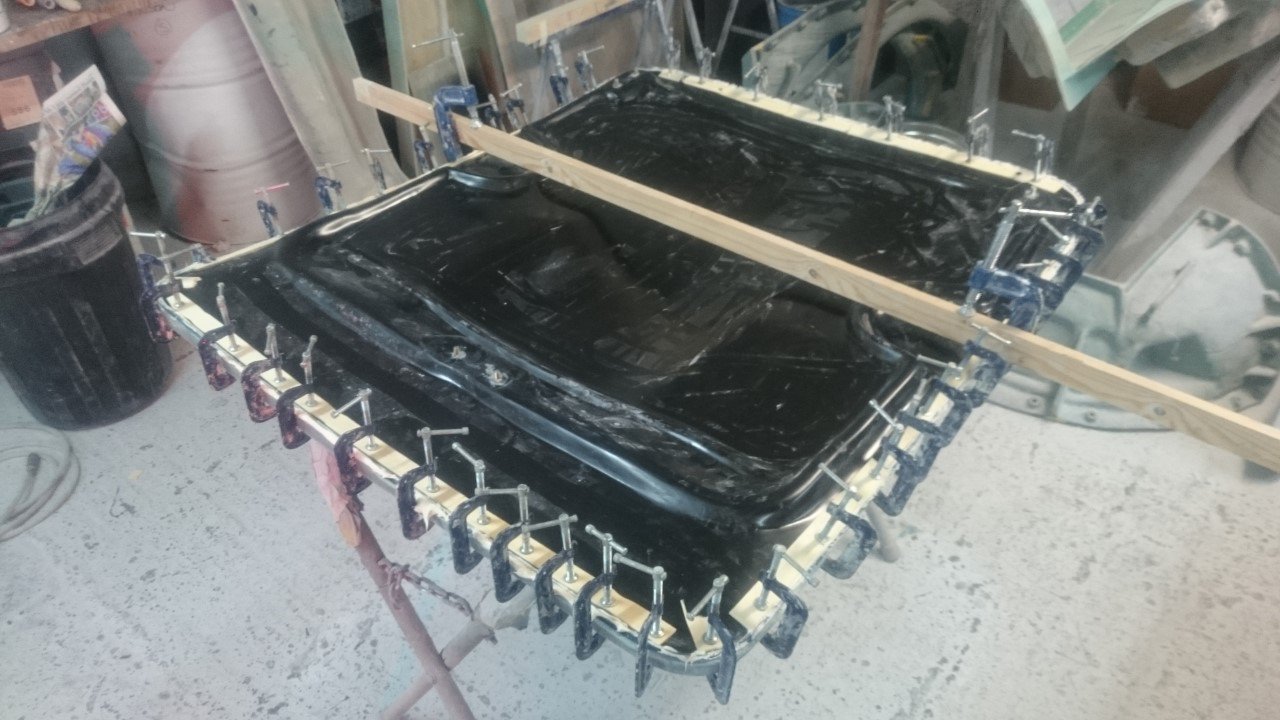
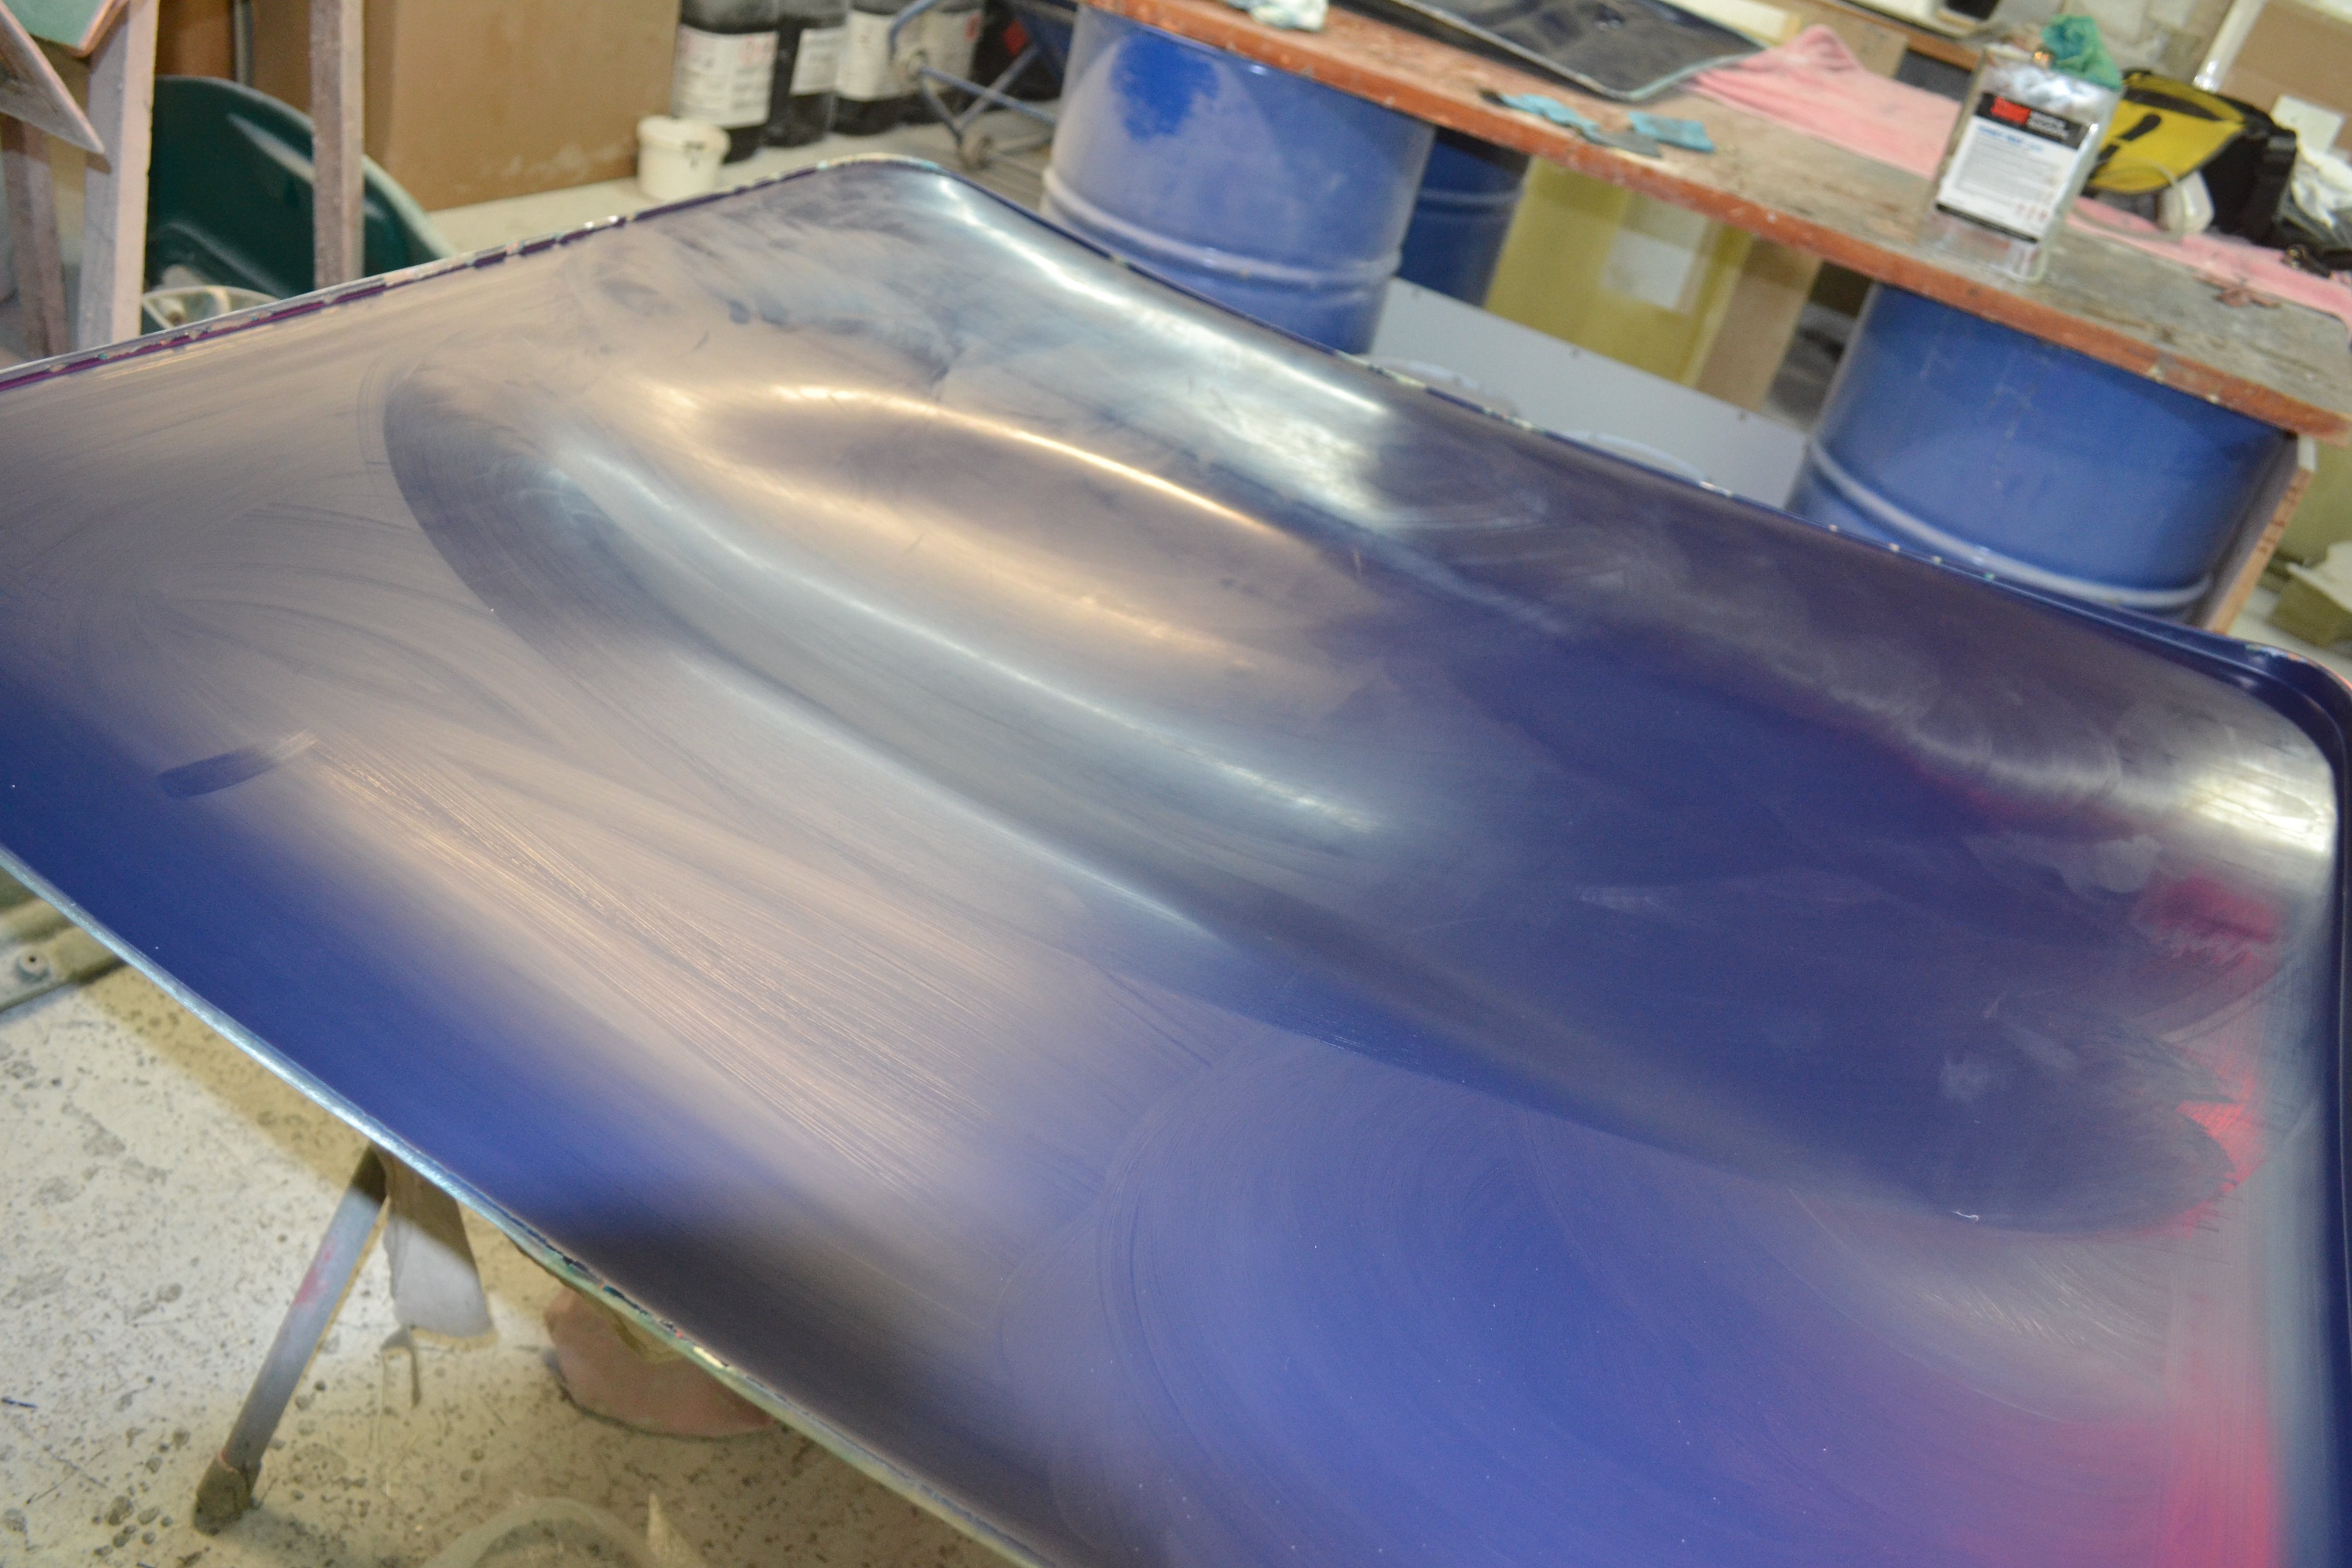
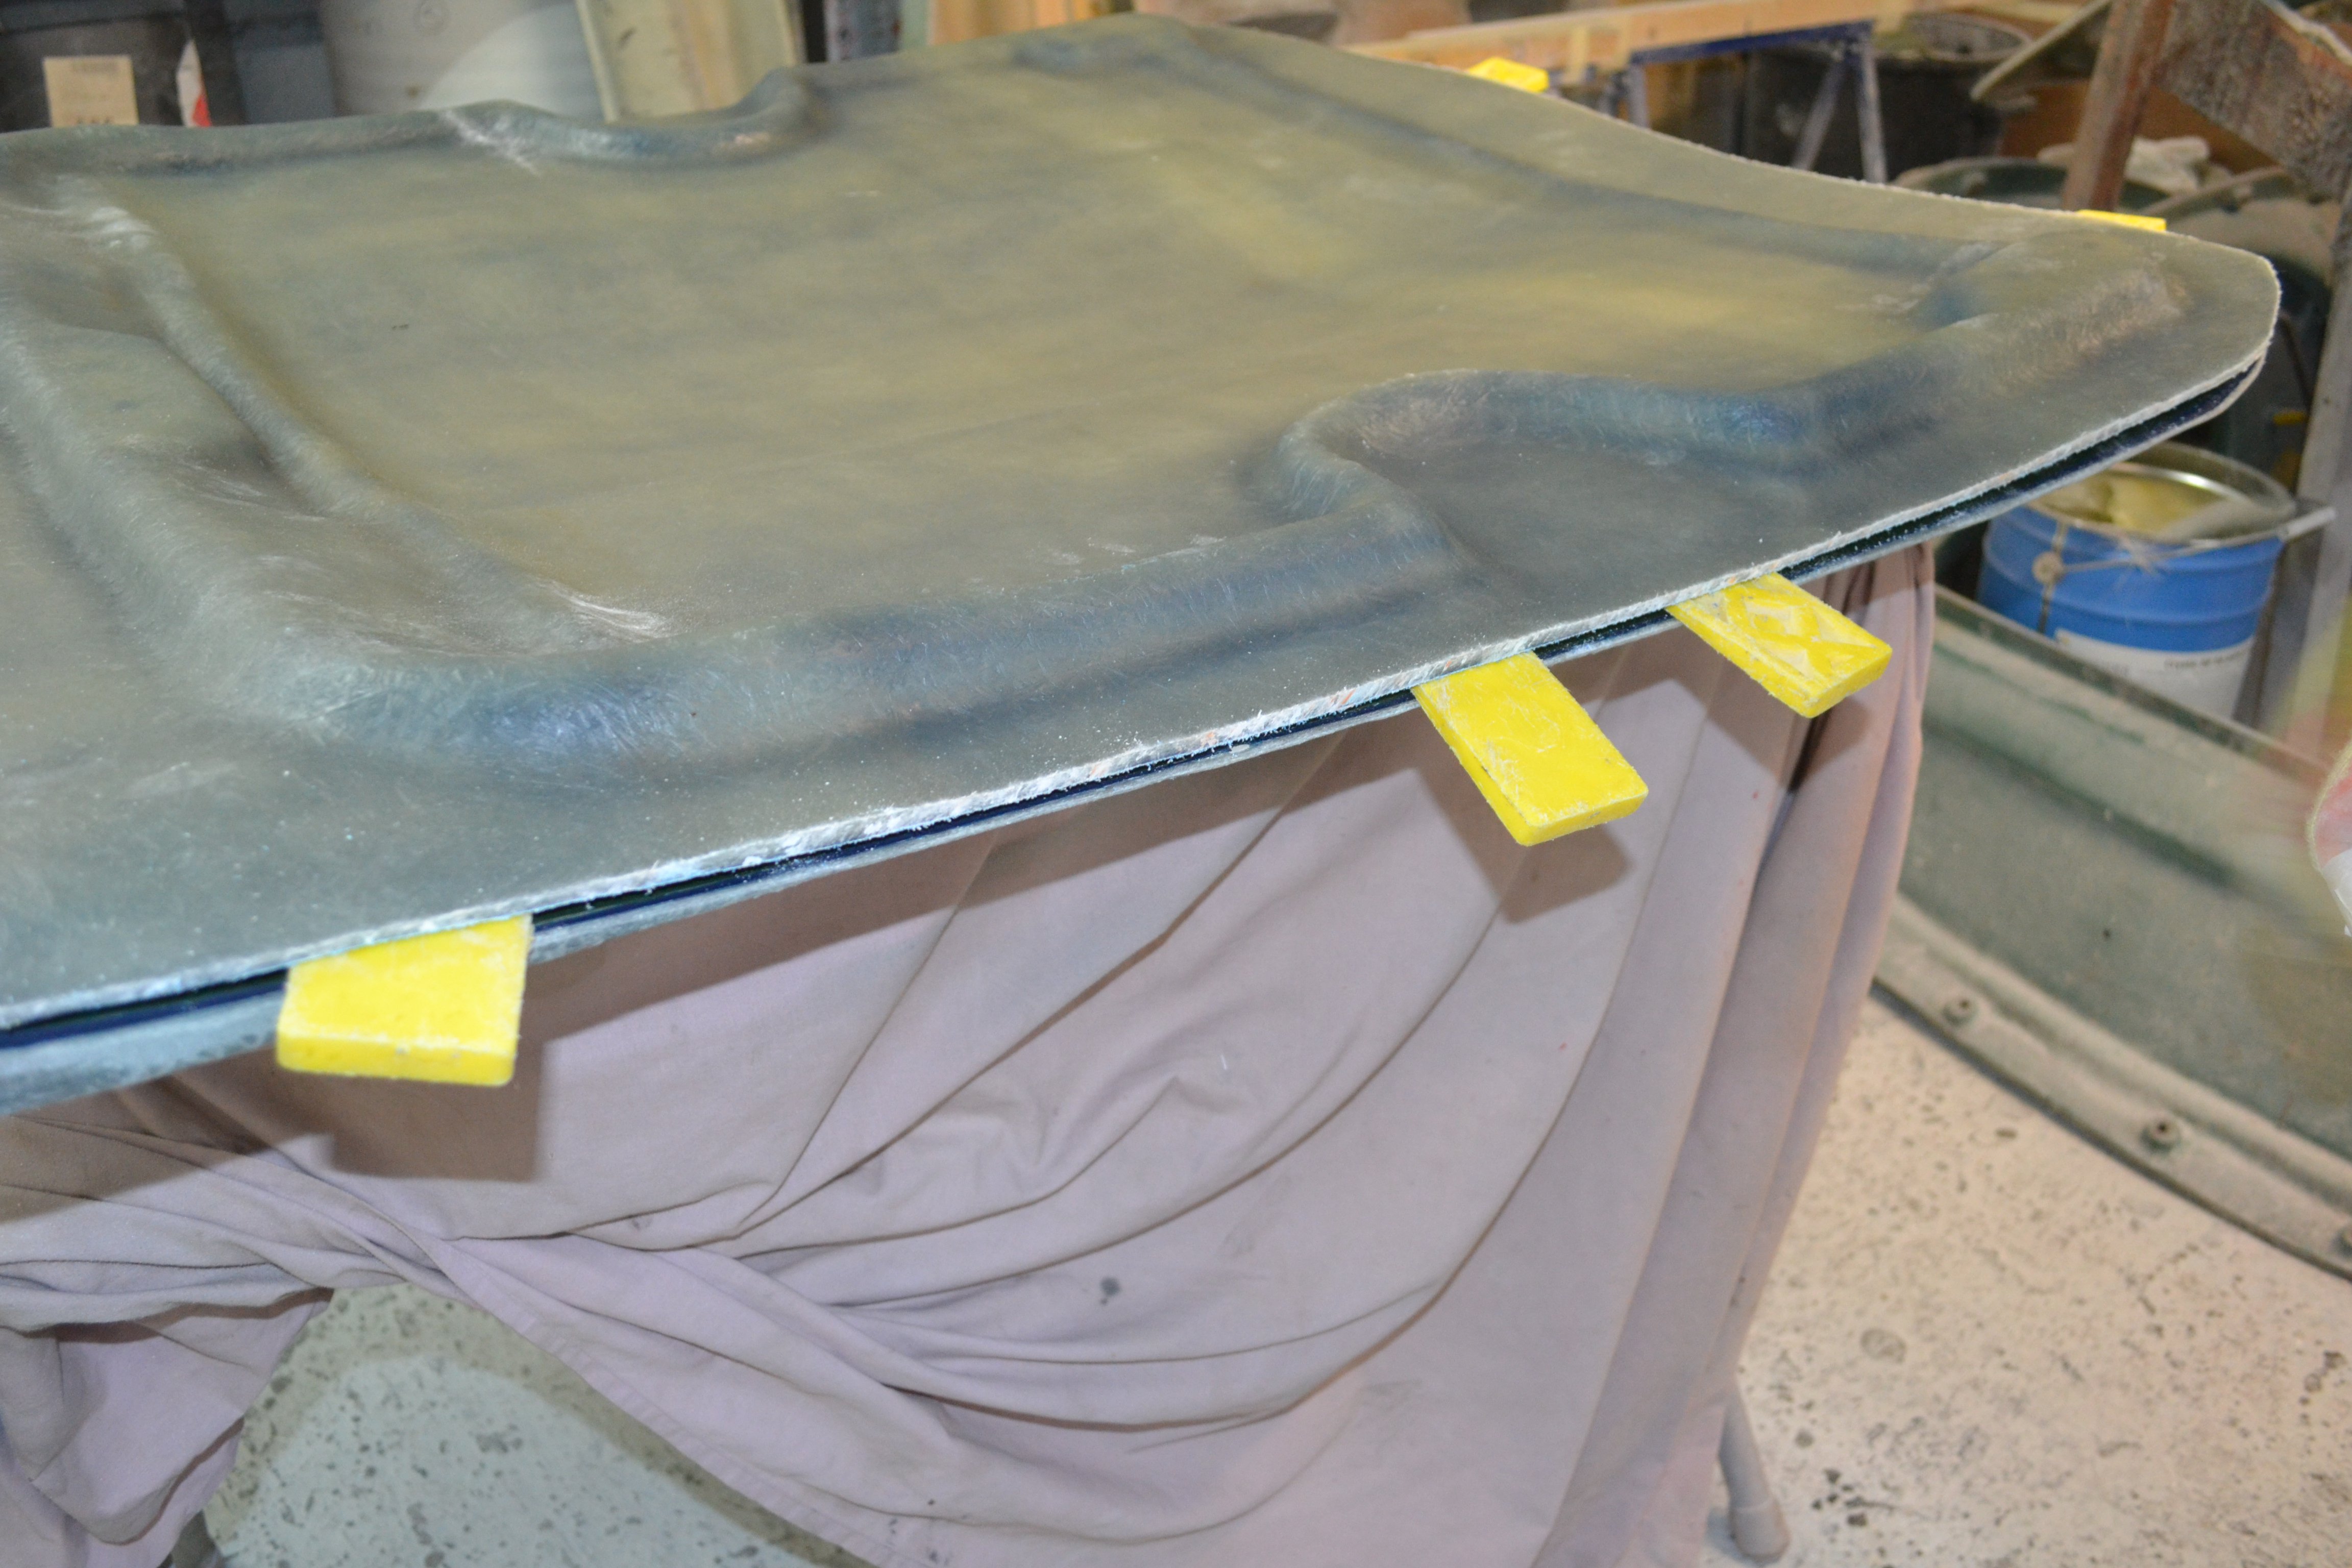
We then cut around the edges to get both parts of the mould apart. we did use tape around the edge to stop a mechanical lock of the two moulds.
-
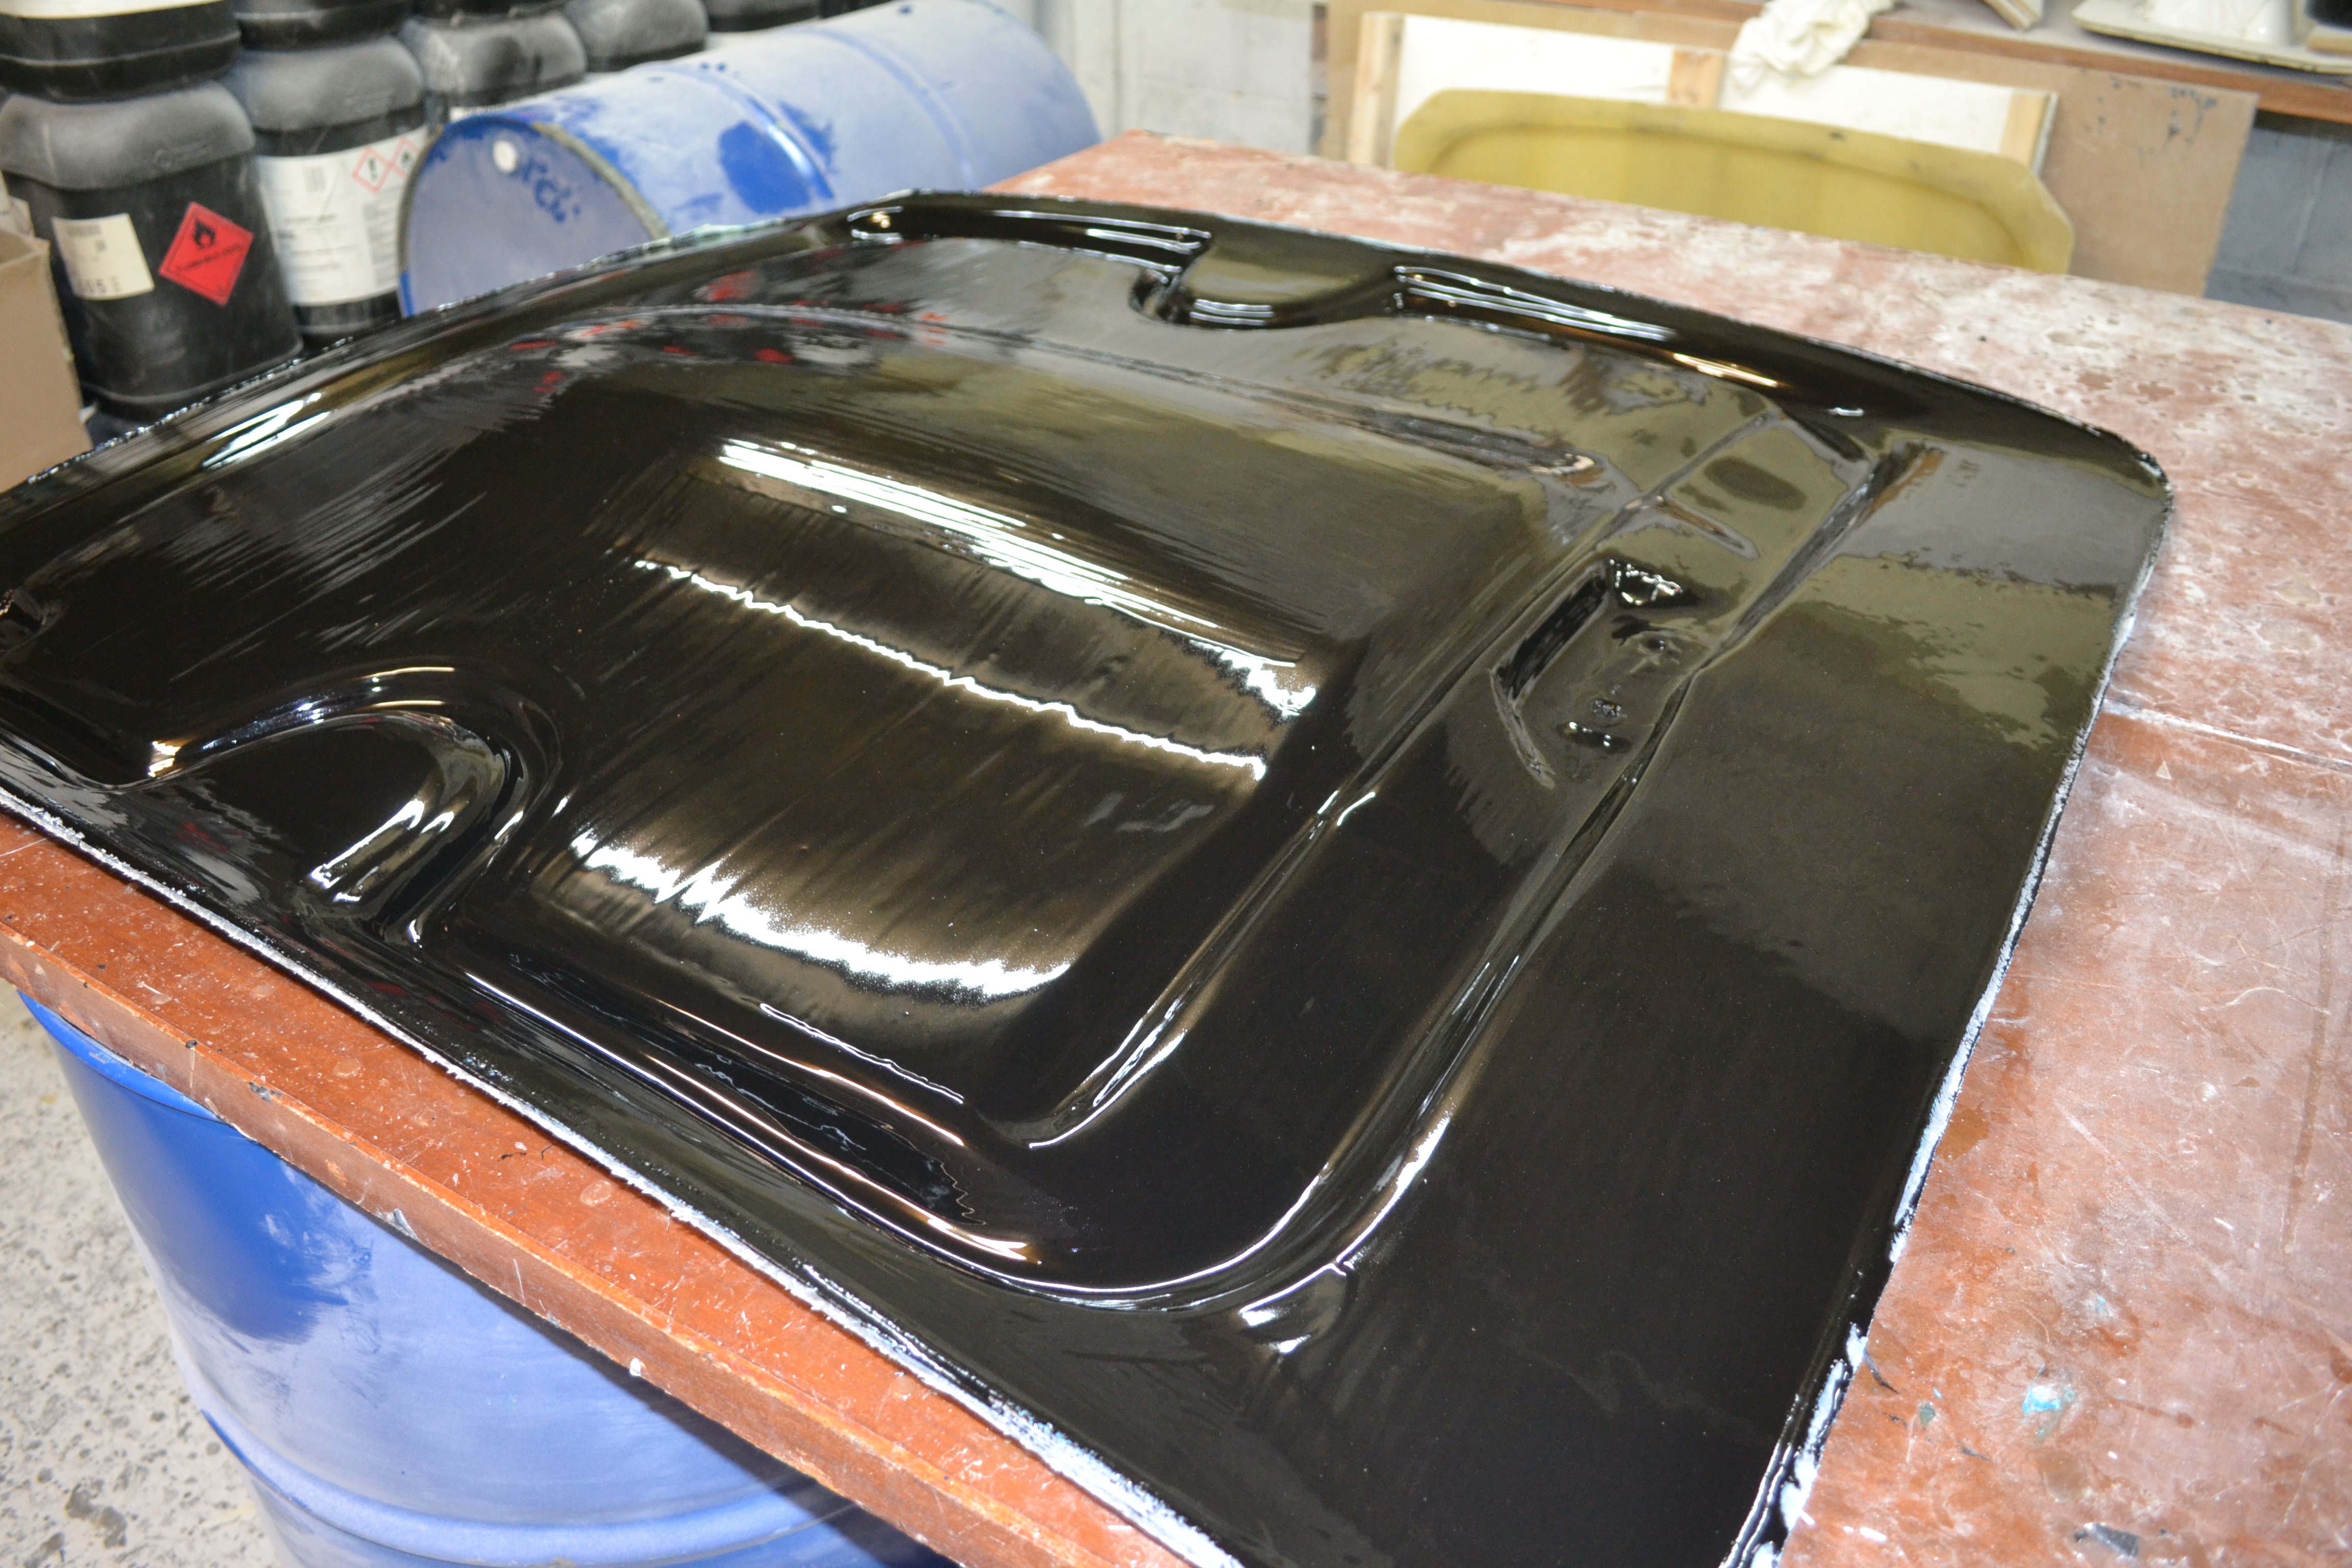
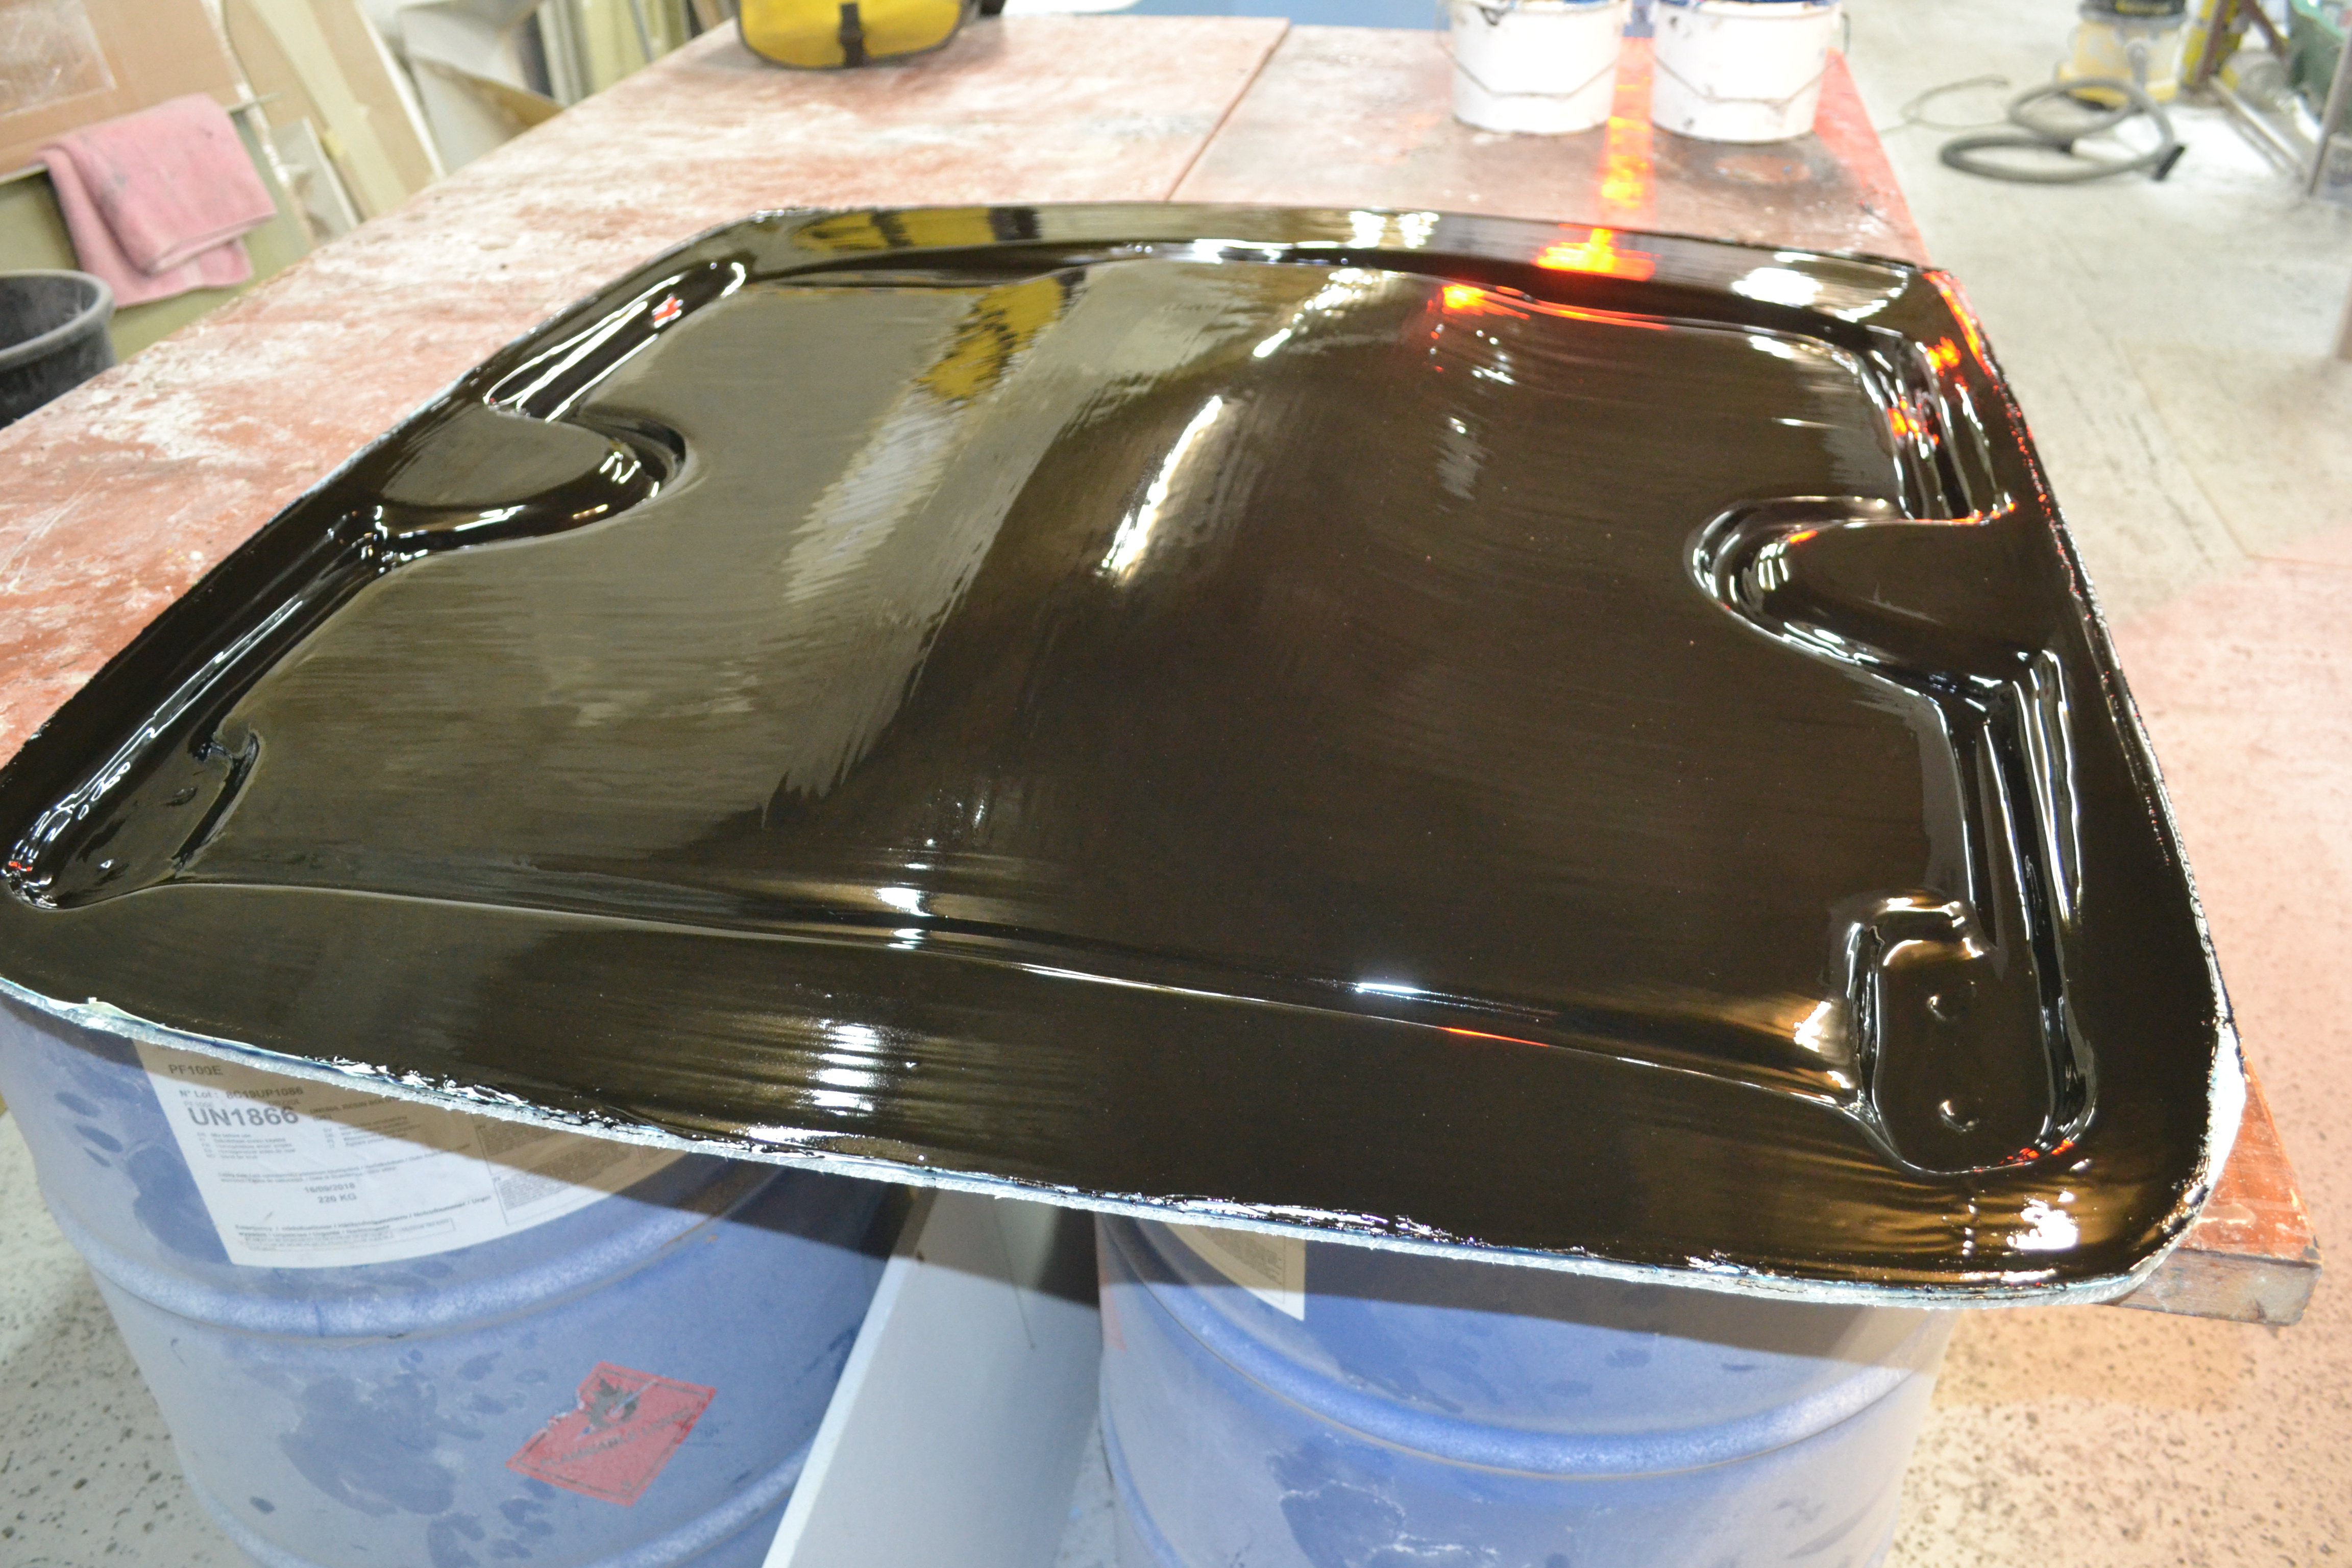
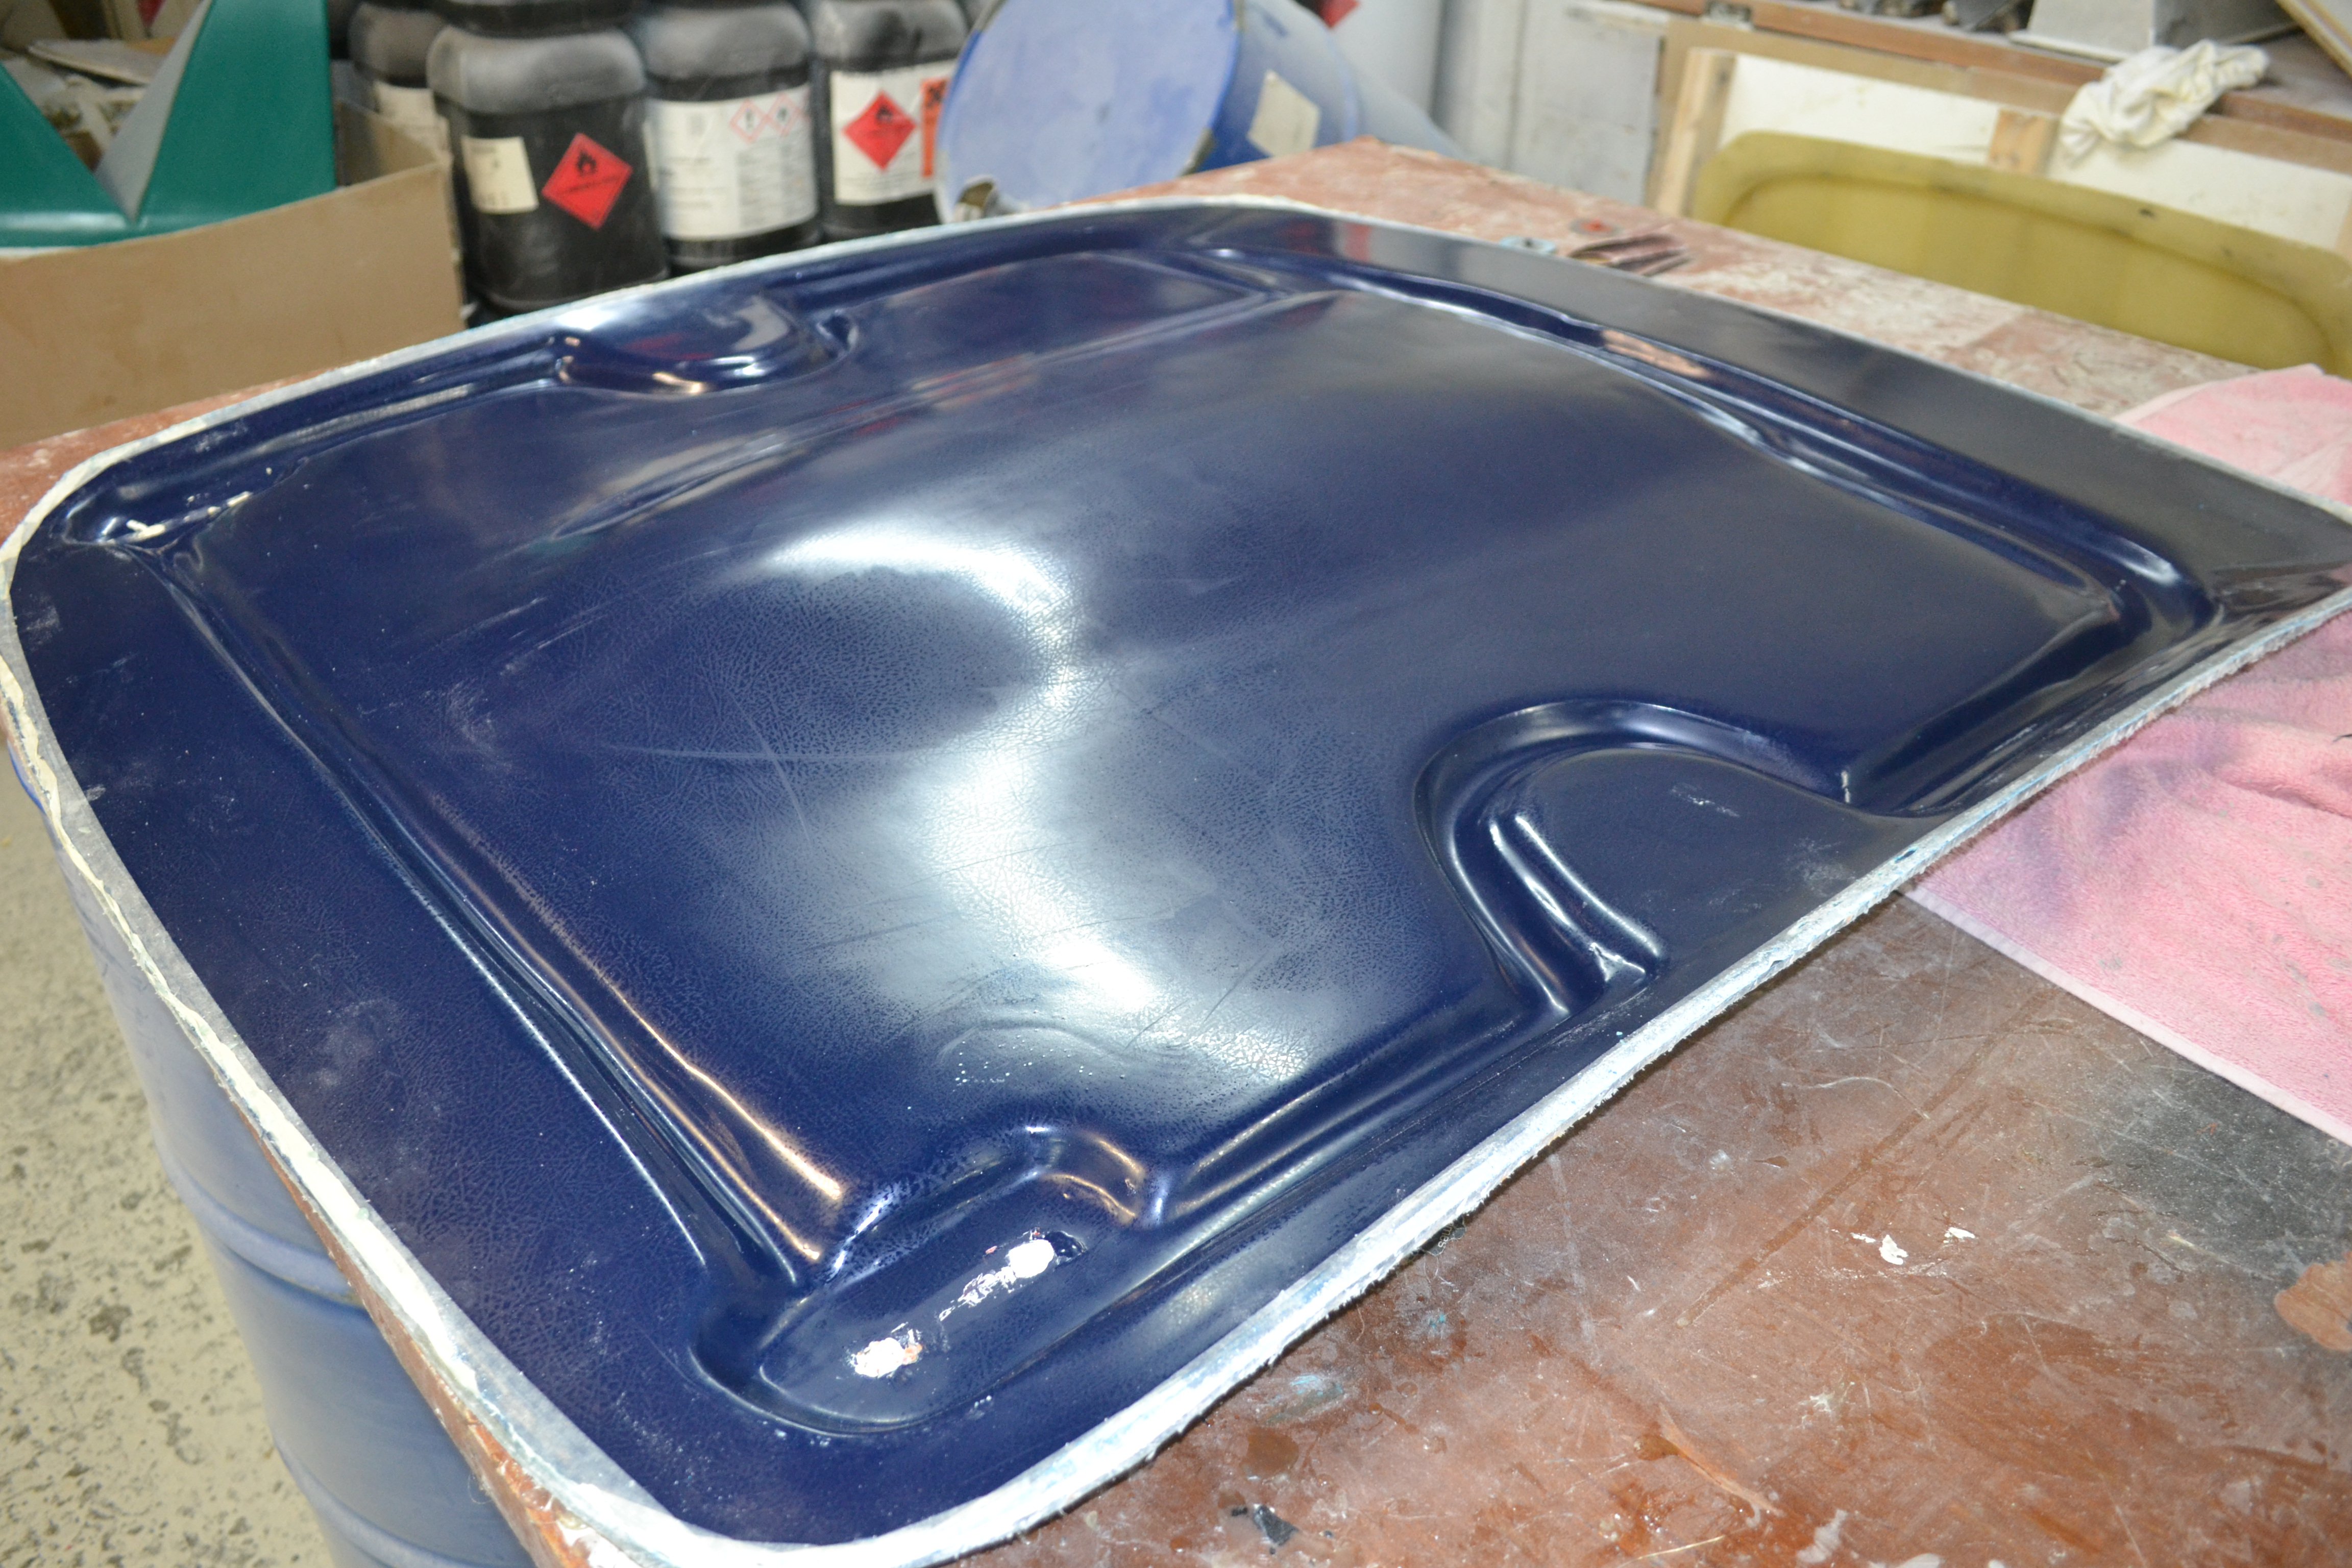
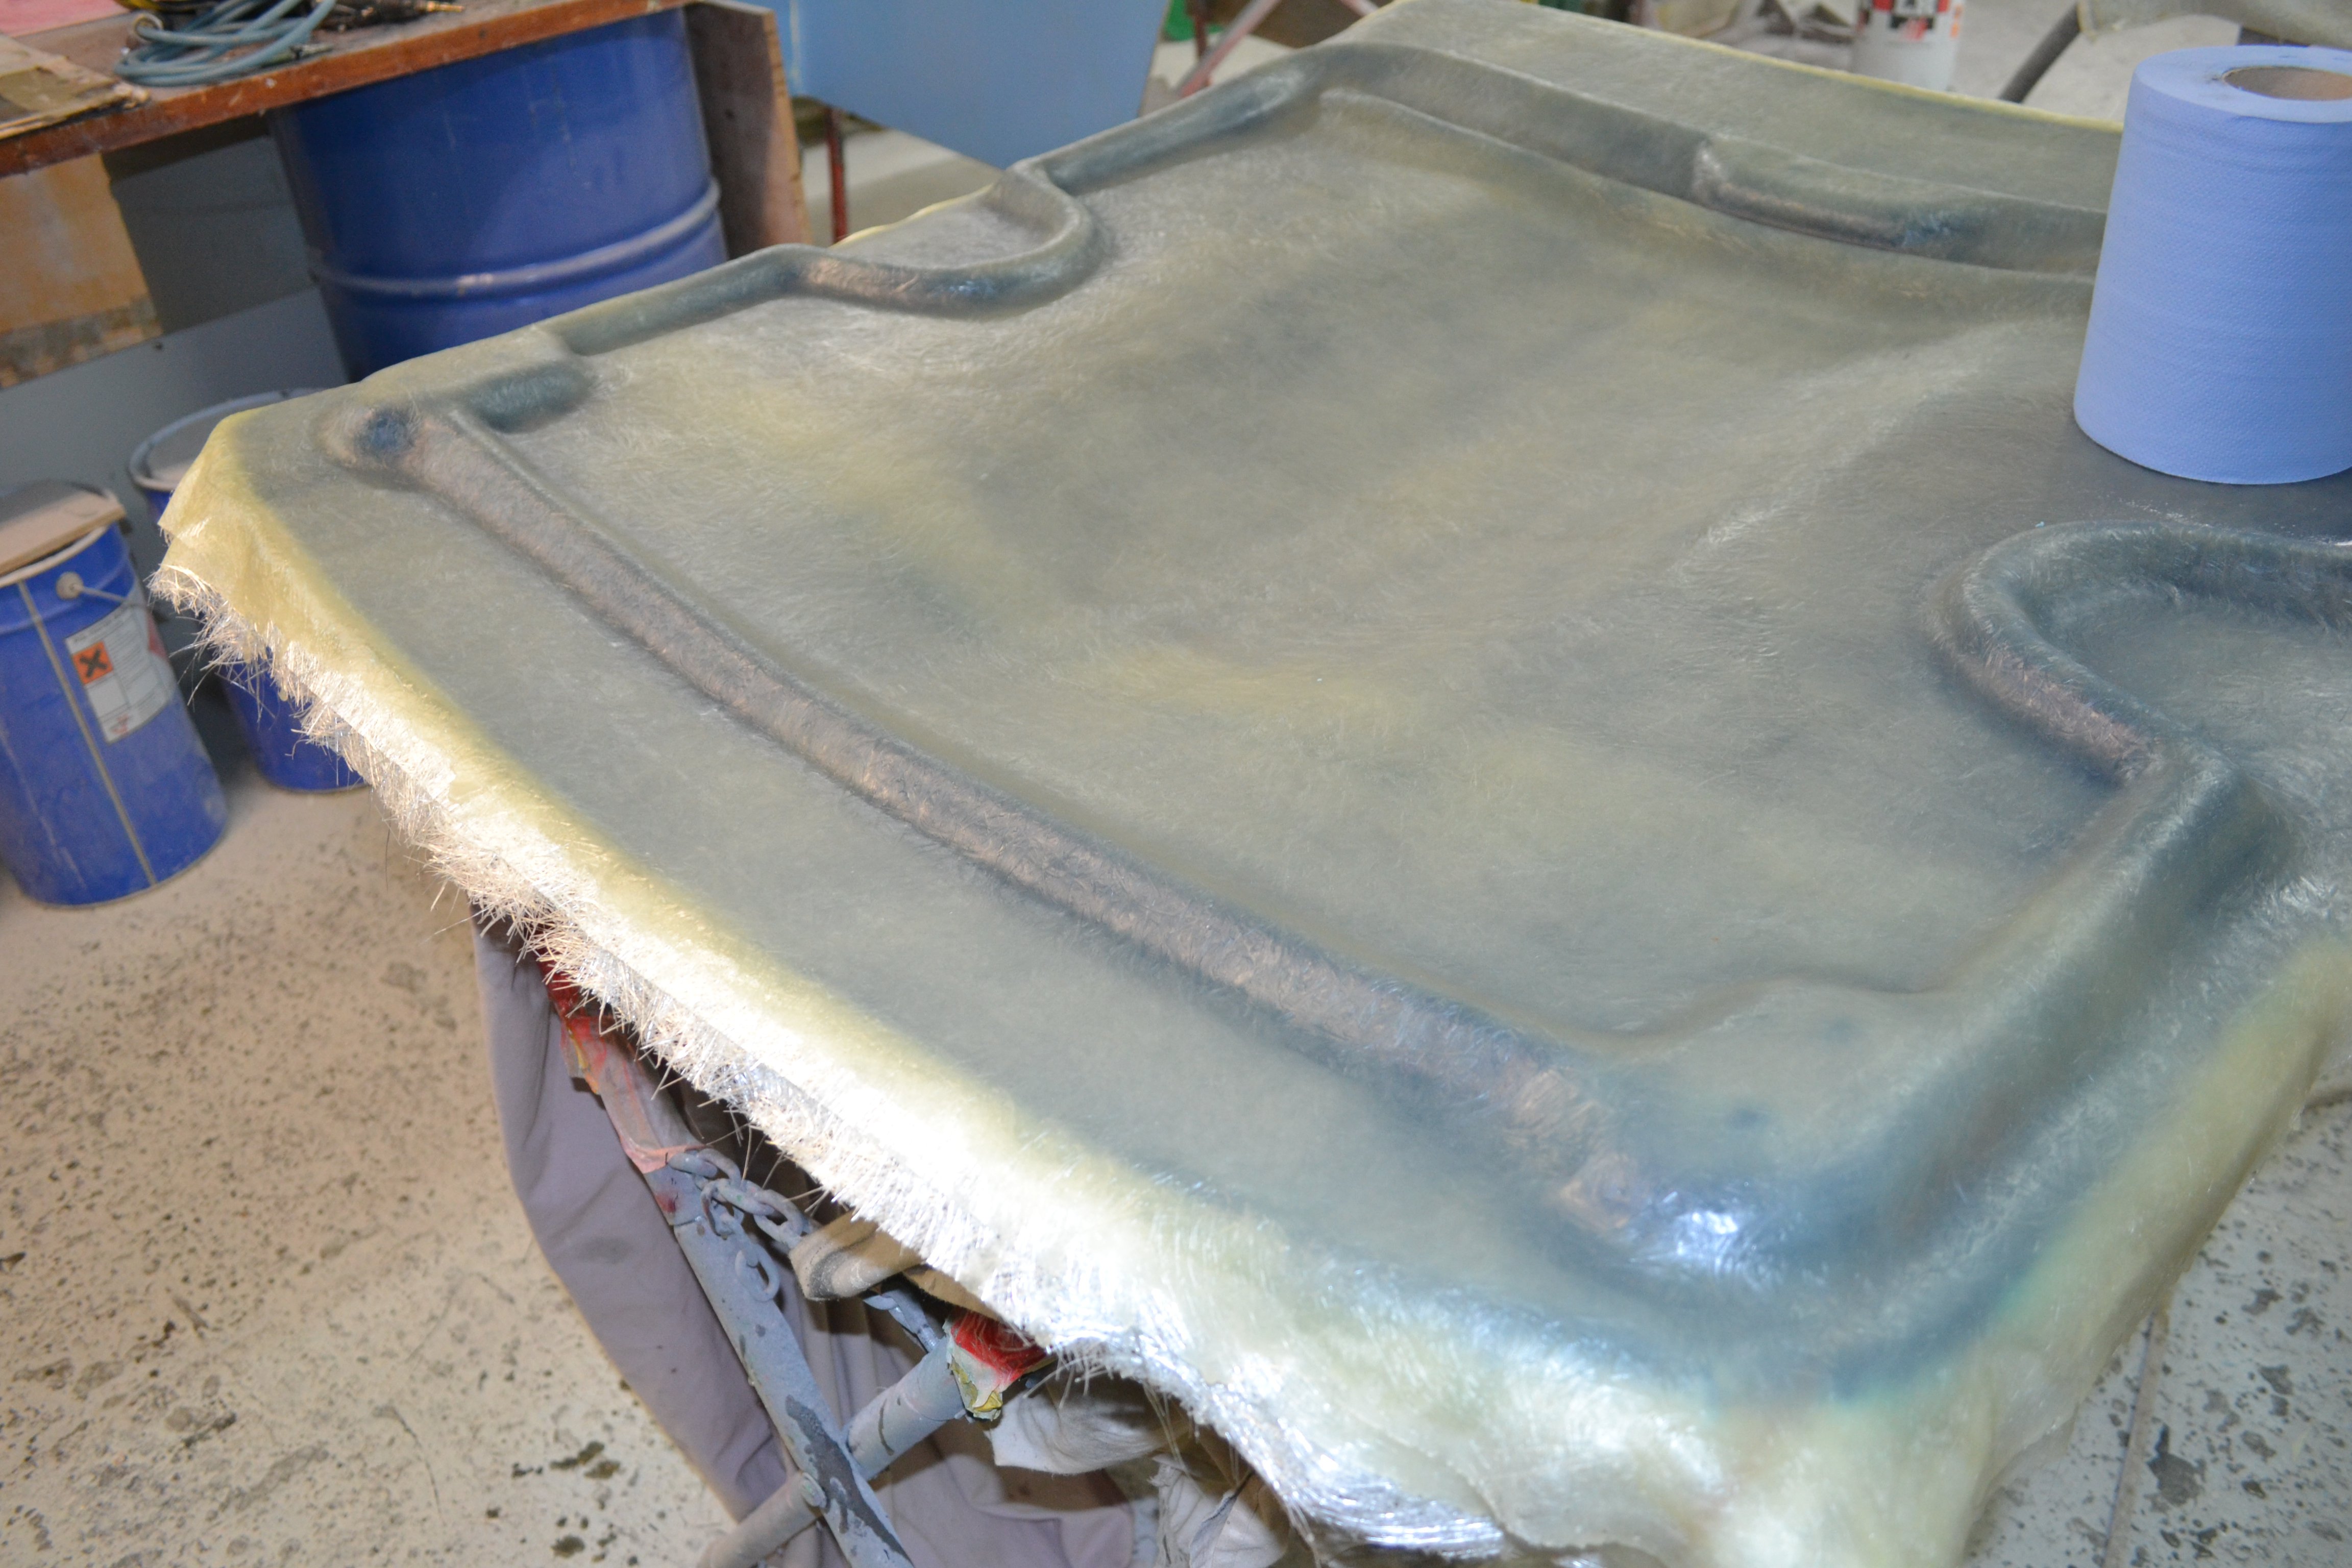
We then moved on to the inside of the bonnet, it was of coursed waxed with the release mould wax, then gelled up, a skim coat of matt was applied and once dry a further two coats of heavy matt were applied. I missed the pics of the wax and gel process on these ones.
-
Then the edges were trimmed back and the boot lid was pulled from the mould, we left the outer skin on the bonnet to keep some strength in it as we had to turn it over to take a mould from the inside of the bonnet.
.JPG.dda820c8d3e15dd0760ae19c57e9f6ea.JPG)
.JPG.e617f271e2c94e4fcdfdbfb68efcd376.JPG)

.JPG.f63632ae59fcd91e430aa7c21c8f76ac.JPG)
.JPG.35447ab493ad97f38dad4870f85e4b13.JPG)


.jpg.ce5a2186fc19c143eef59d9411fb574f.jpg)