

chris51881
-
Posts
48 -
Joined
-
Last visited
Content Type
Profiles
Forums
Blogs
Events
Gallery
Downloads
Store
Posts posted by chris51881
-
-
Can you post a pic of the complete engine bay?
do you mean as it is or after i get the engine back in? im currently building the engine, just ordered the cam 2 days ago. i started welding all the seams a few weeks ago and then went on a vacation so ill be picking back up with that shortly.
-
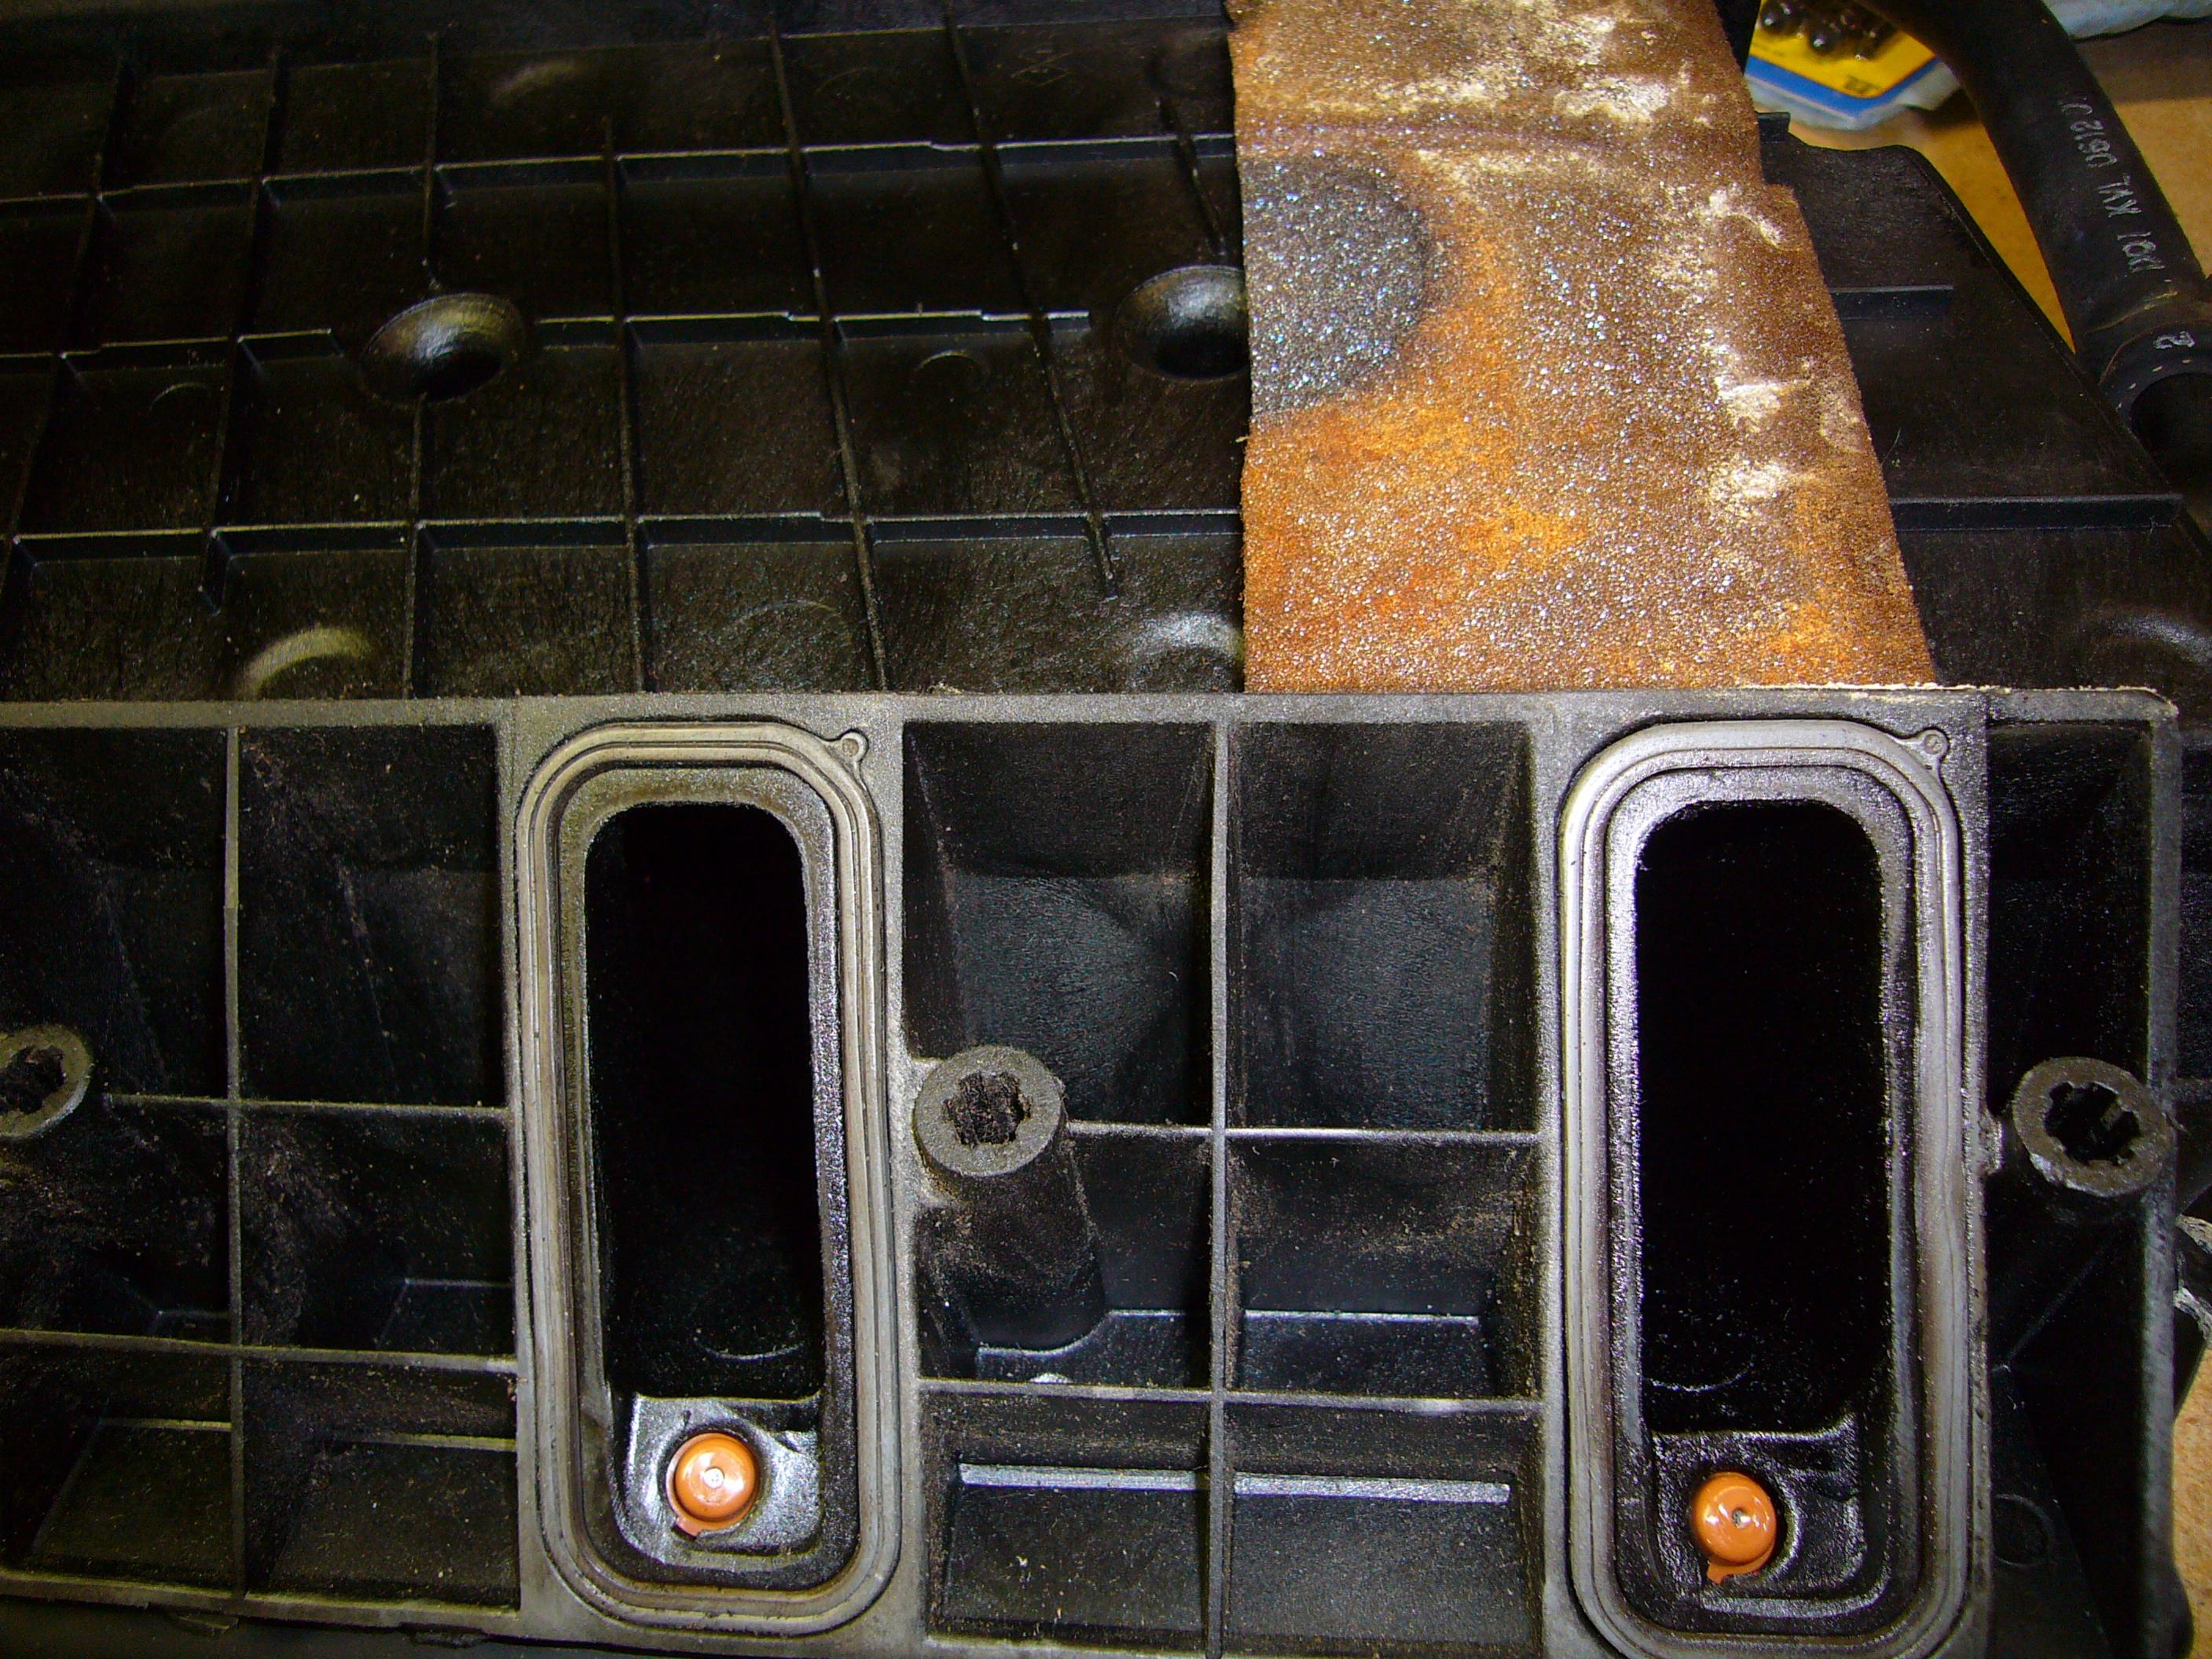
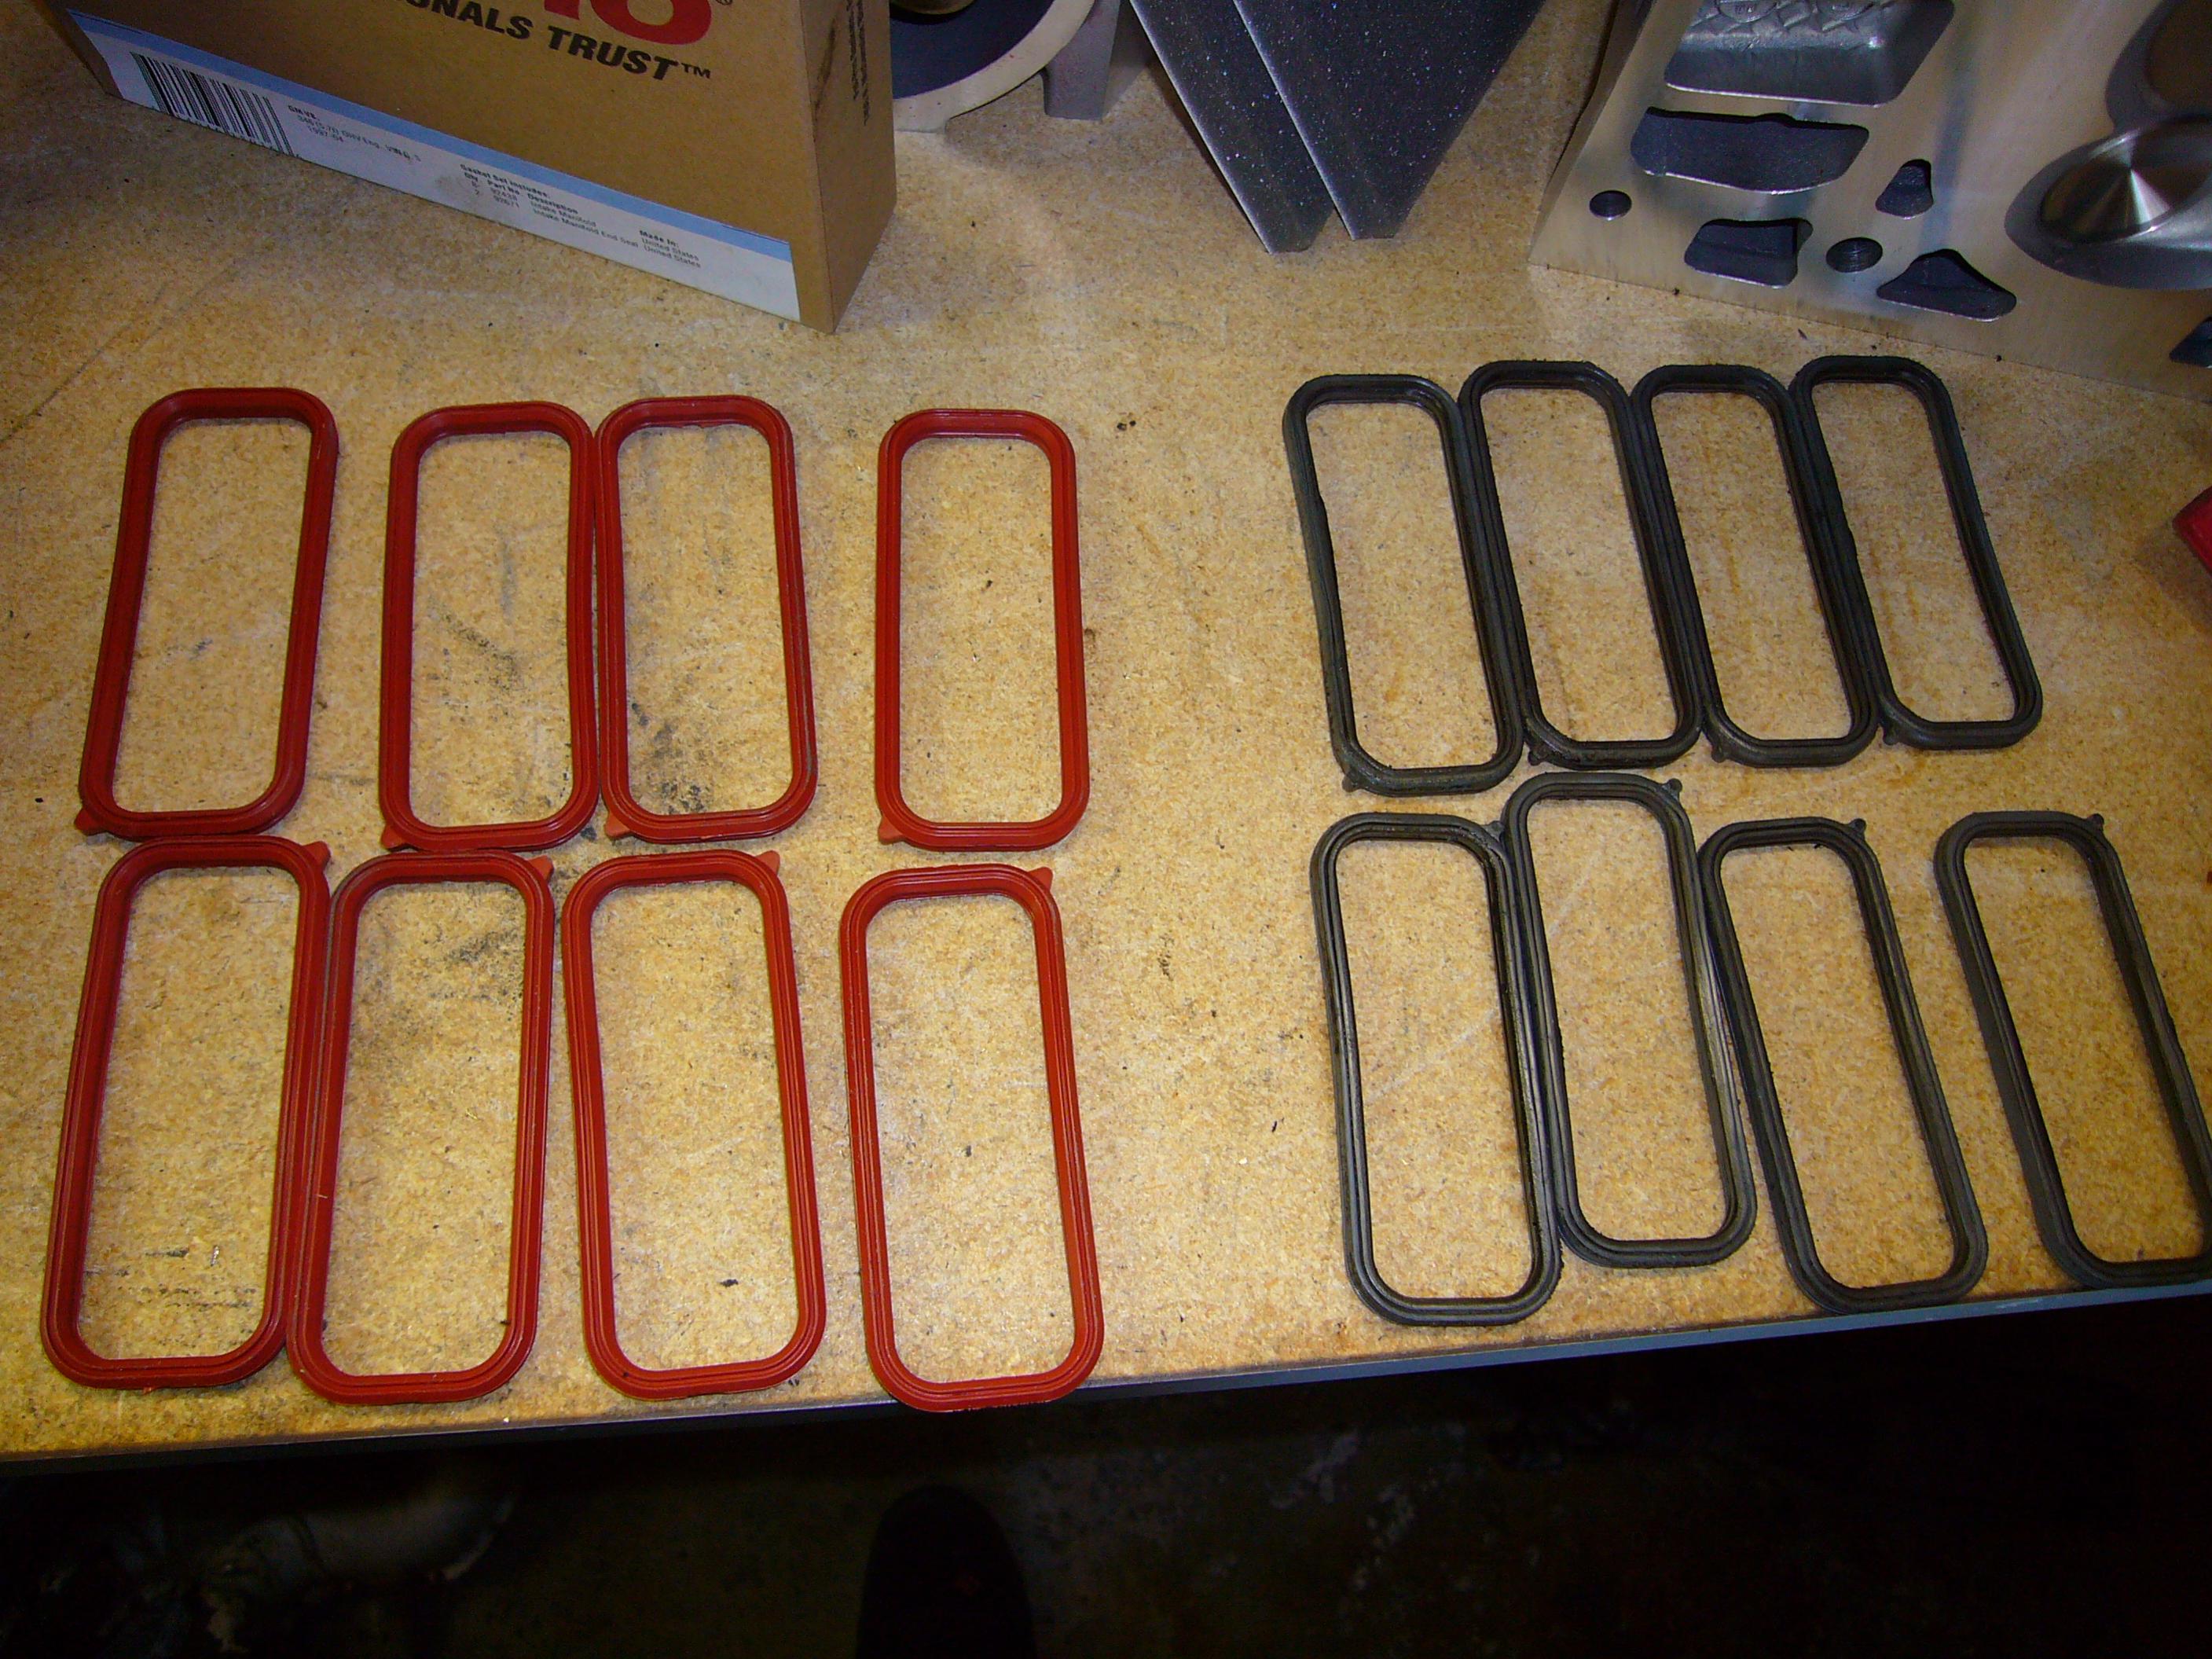
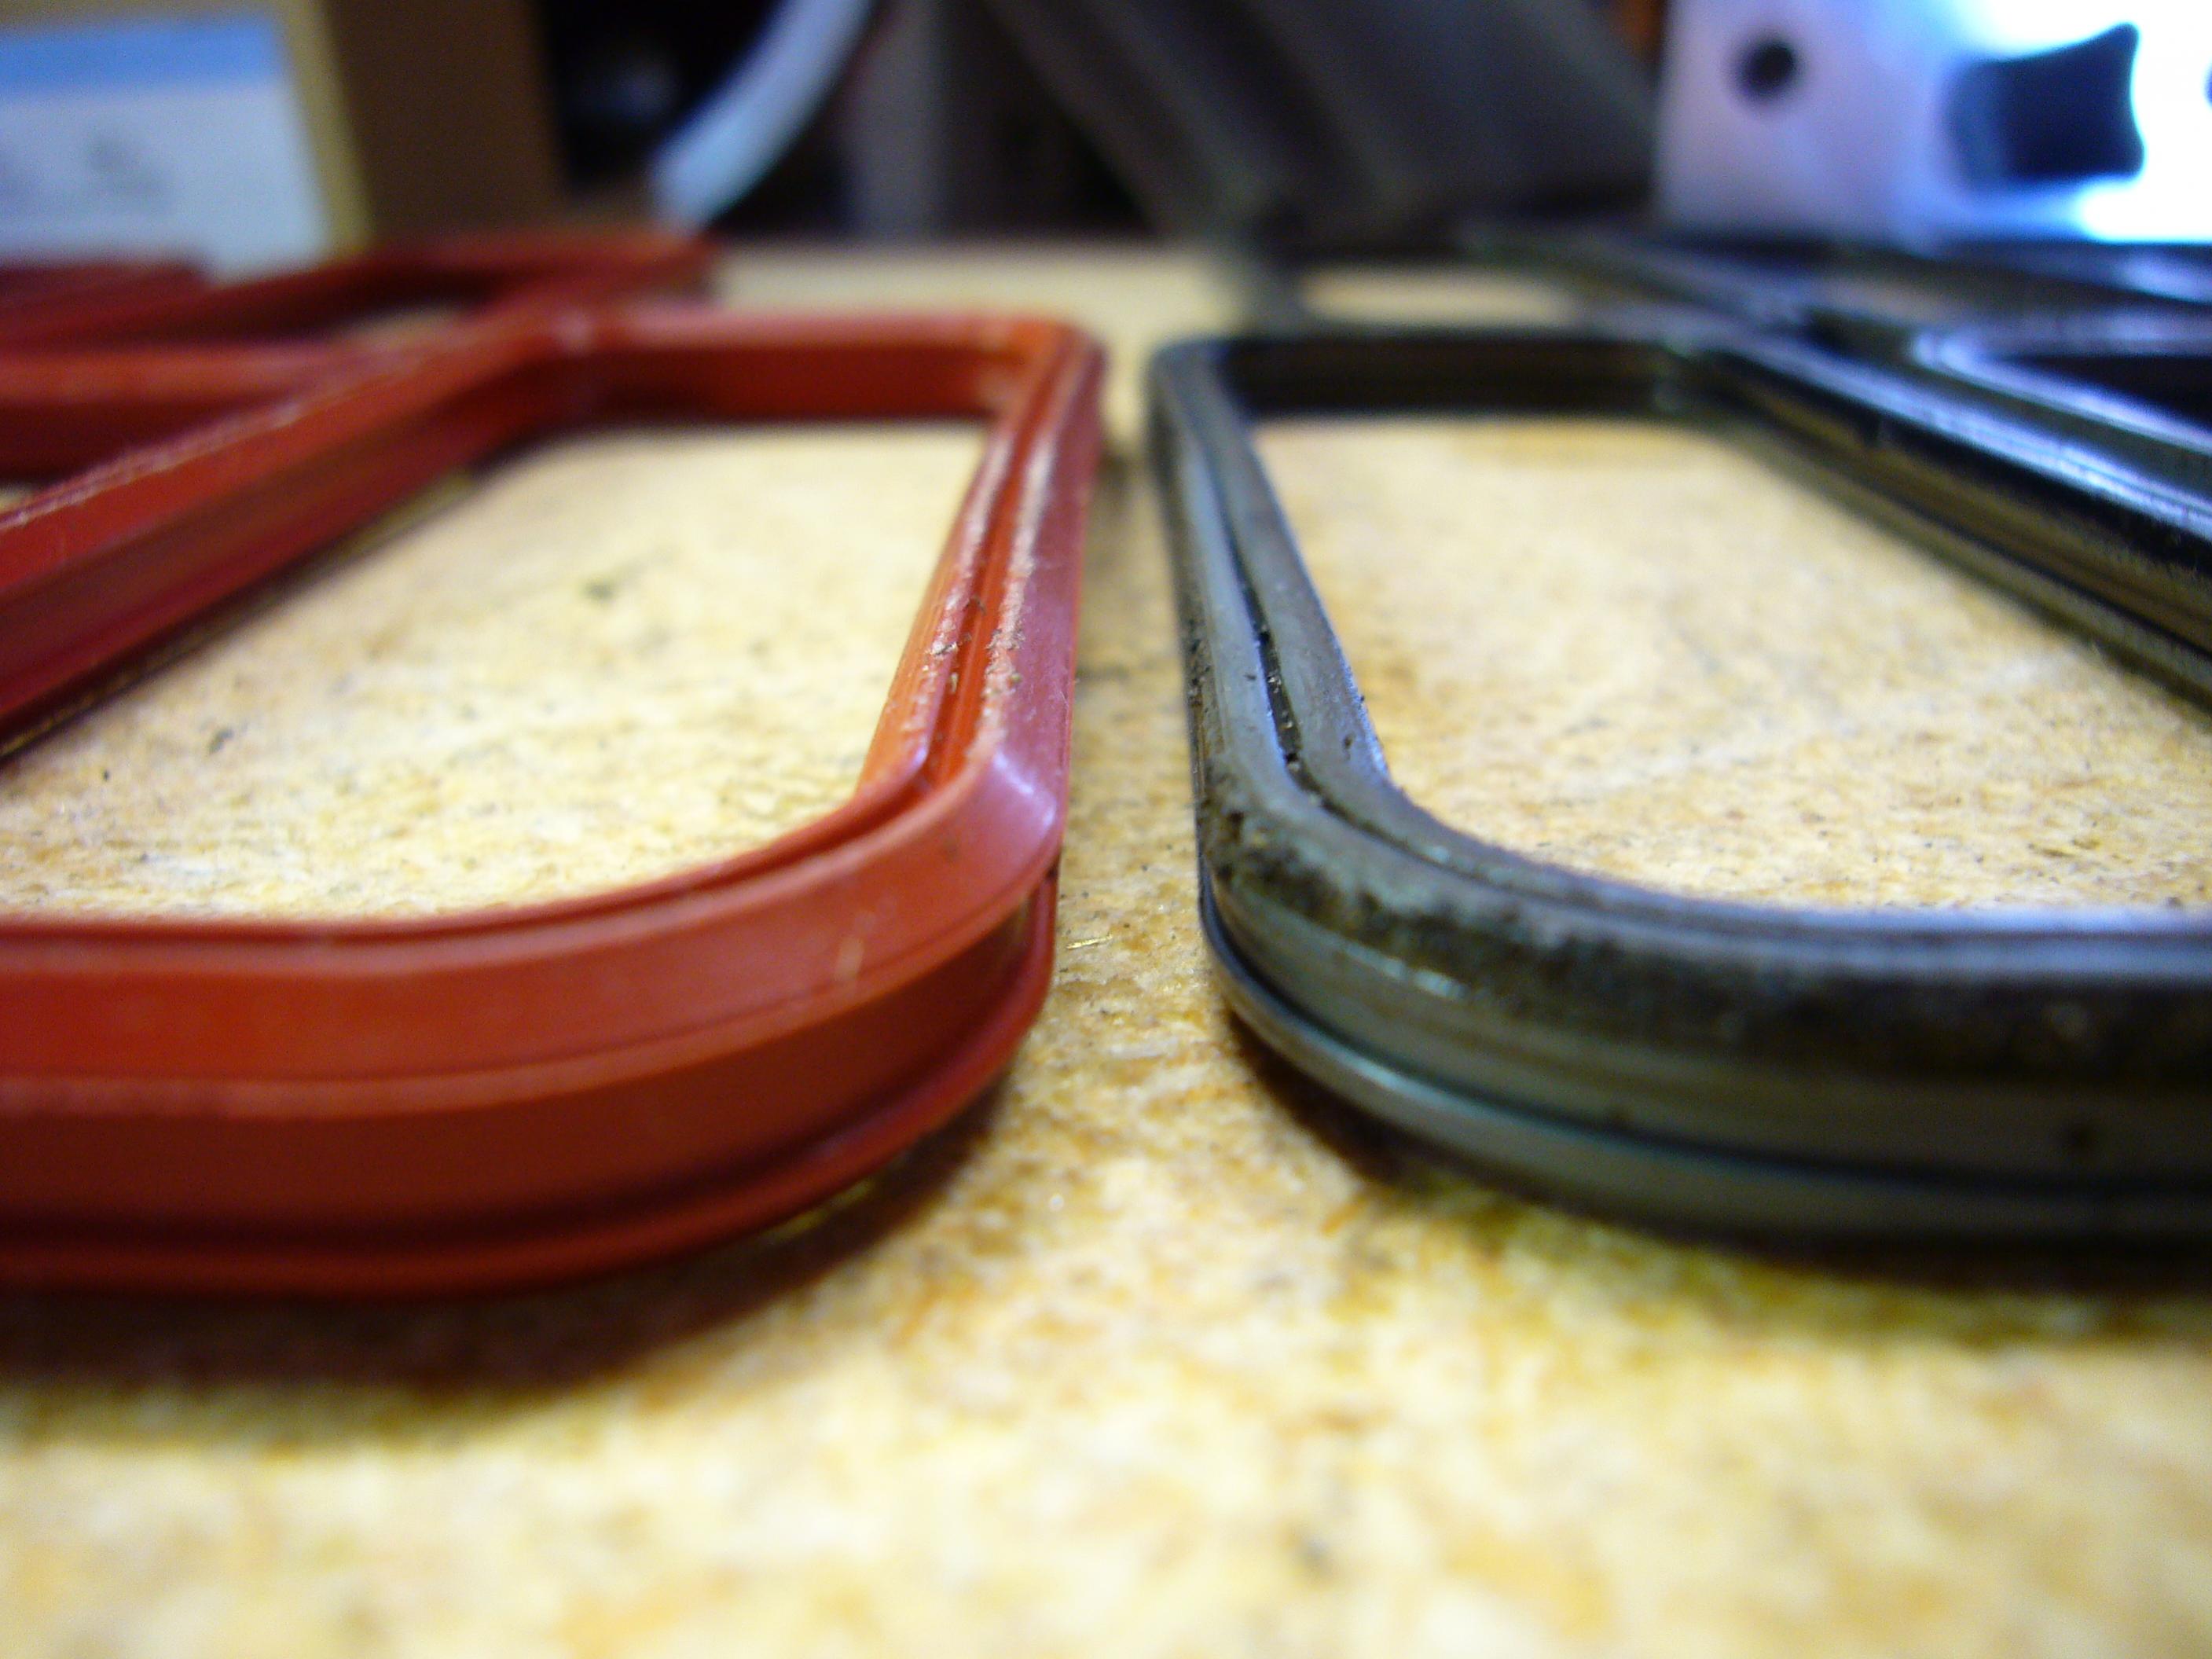
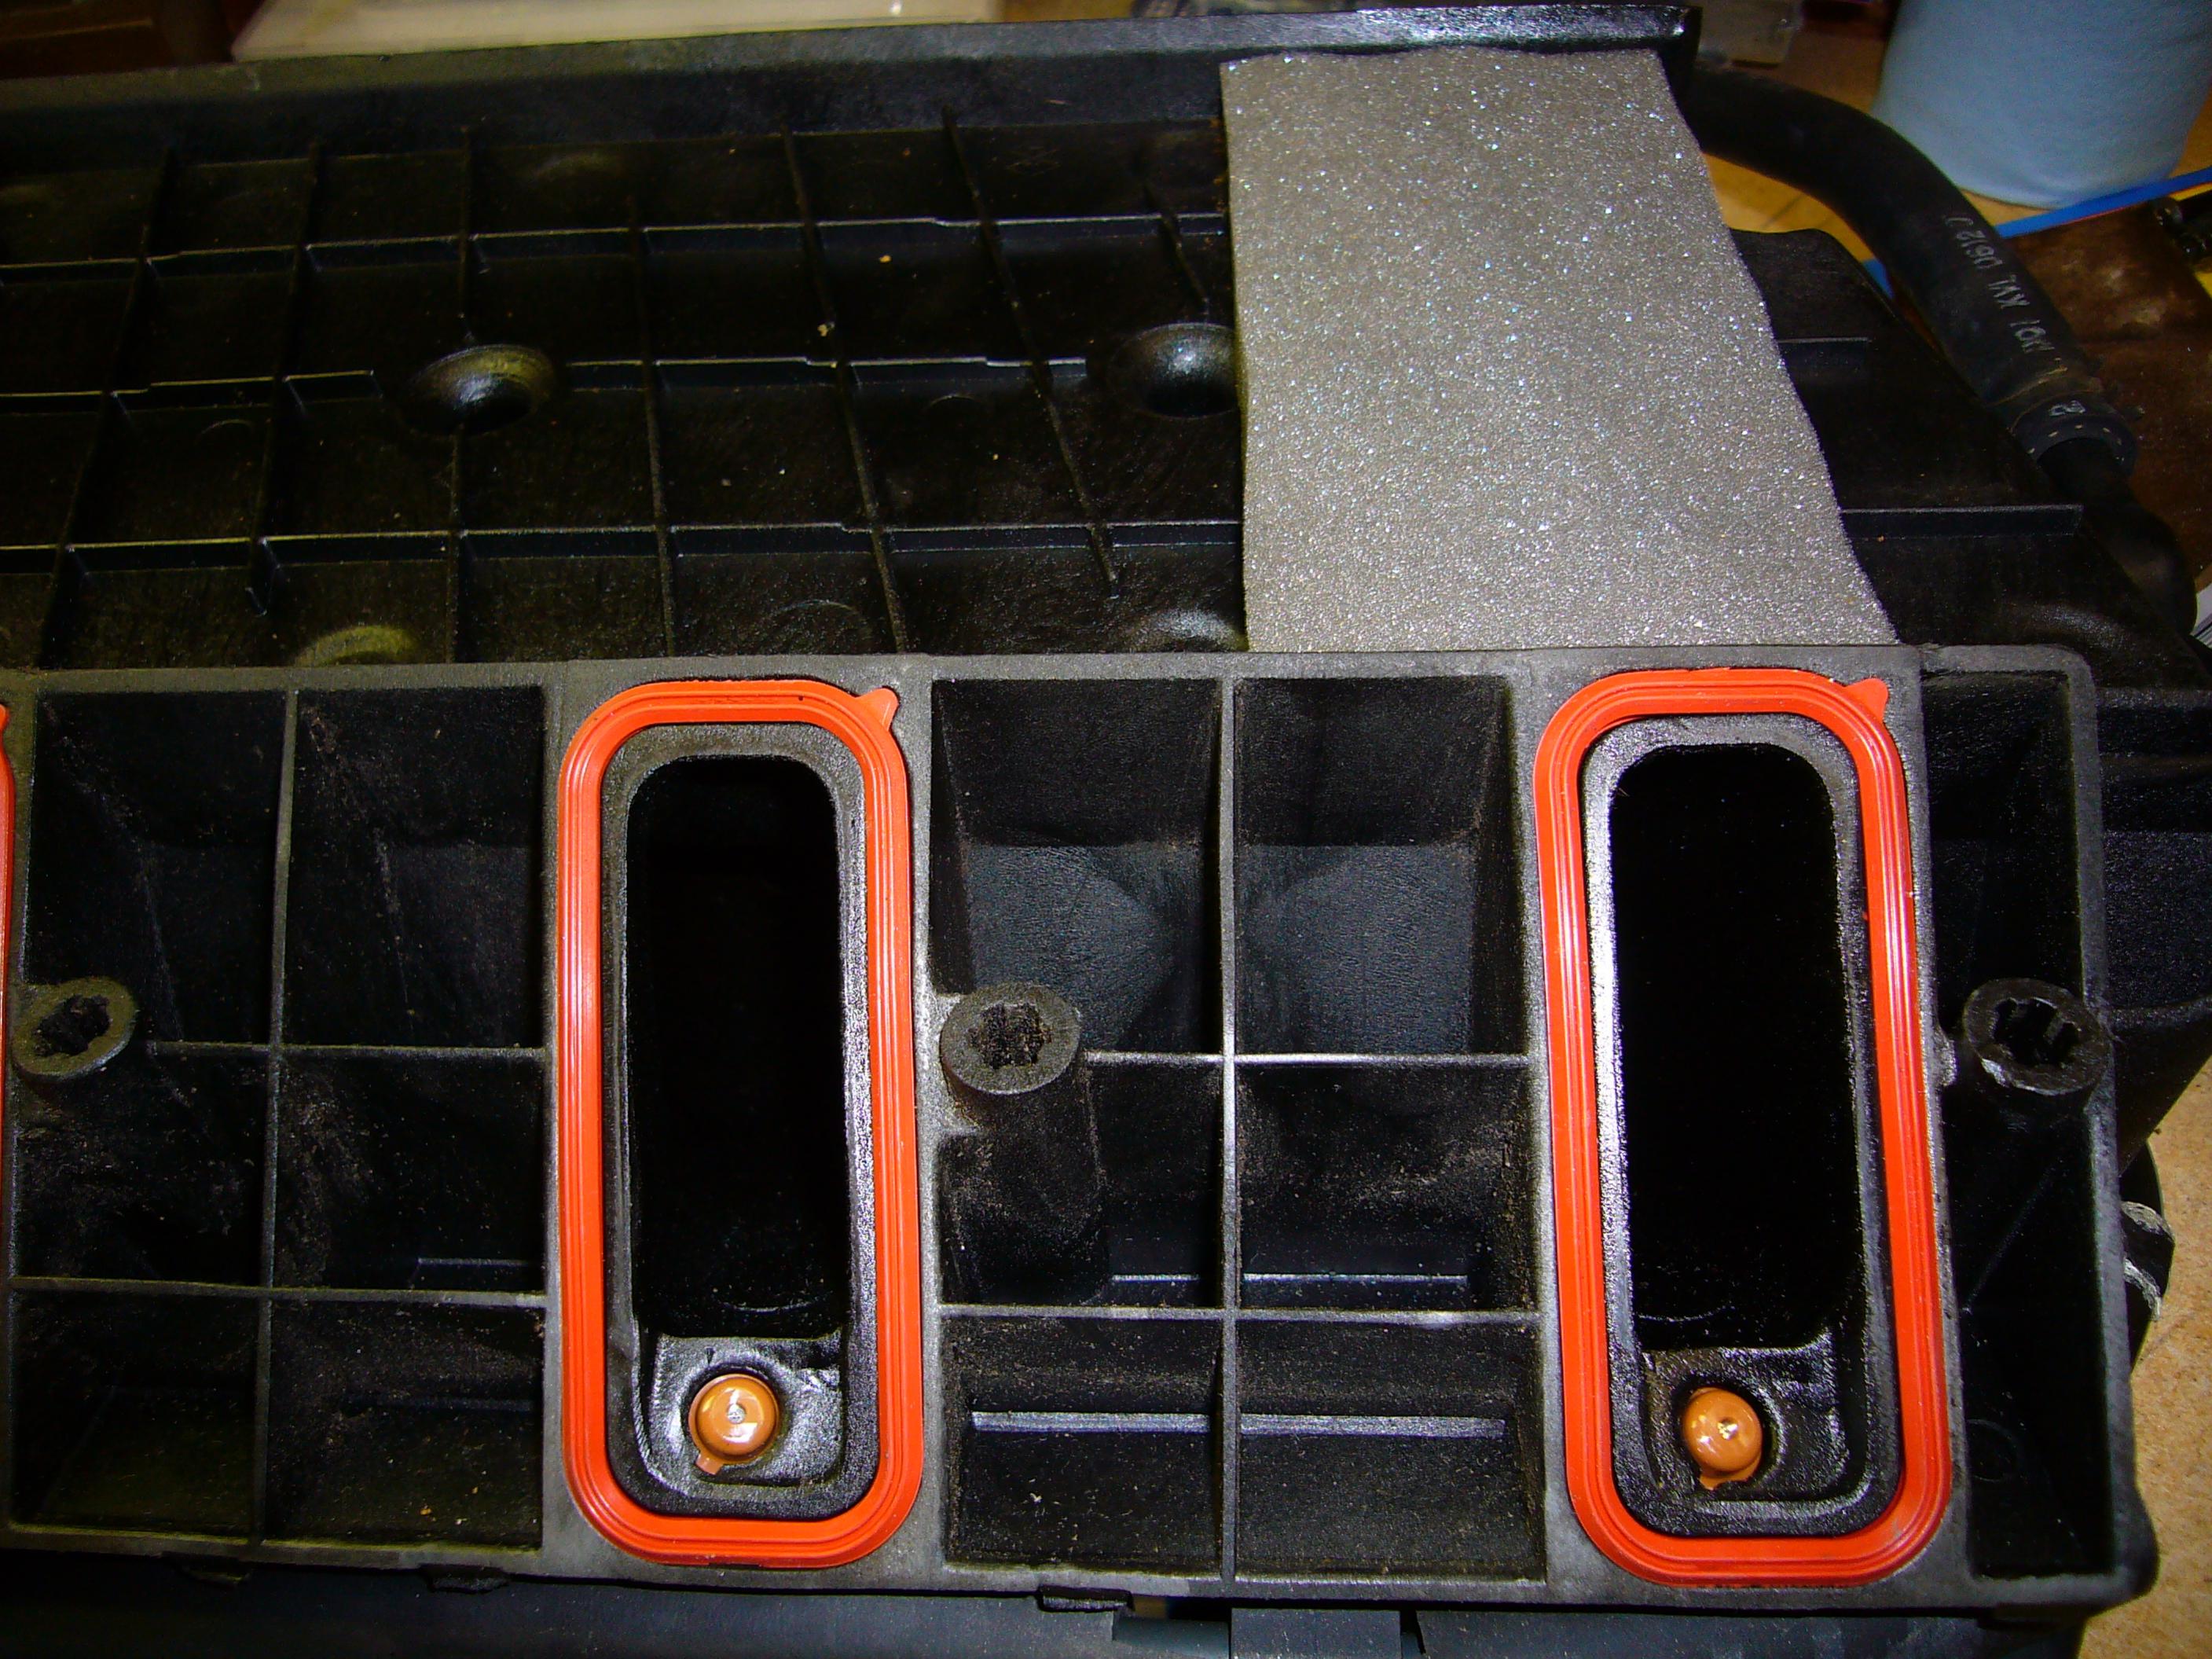
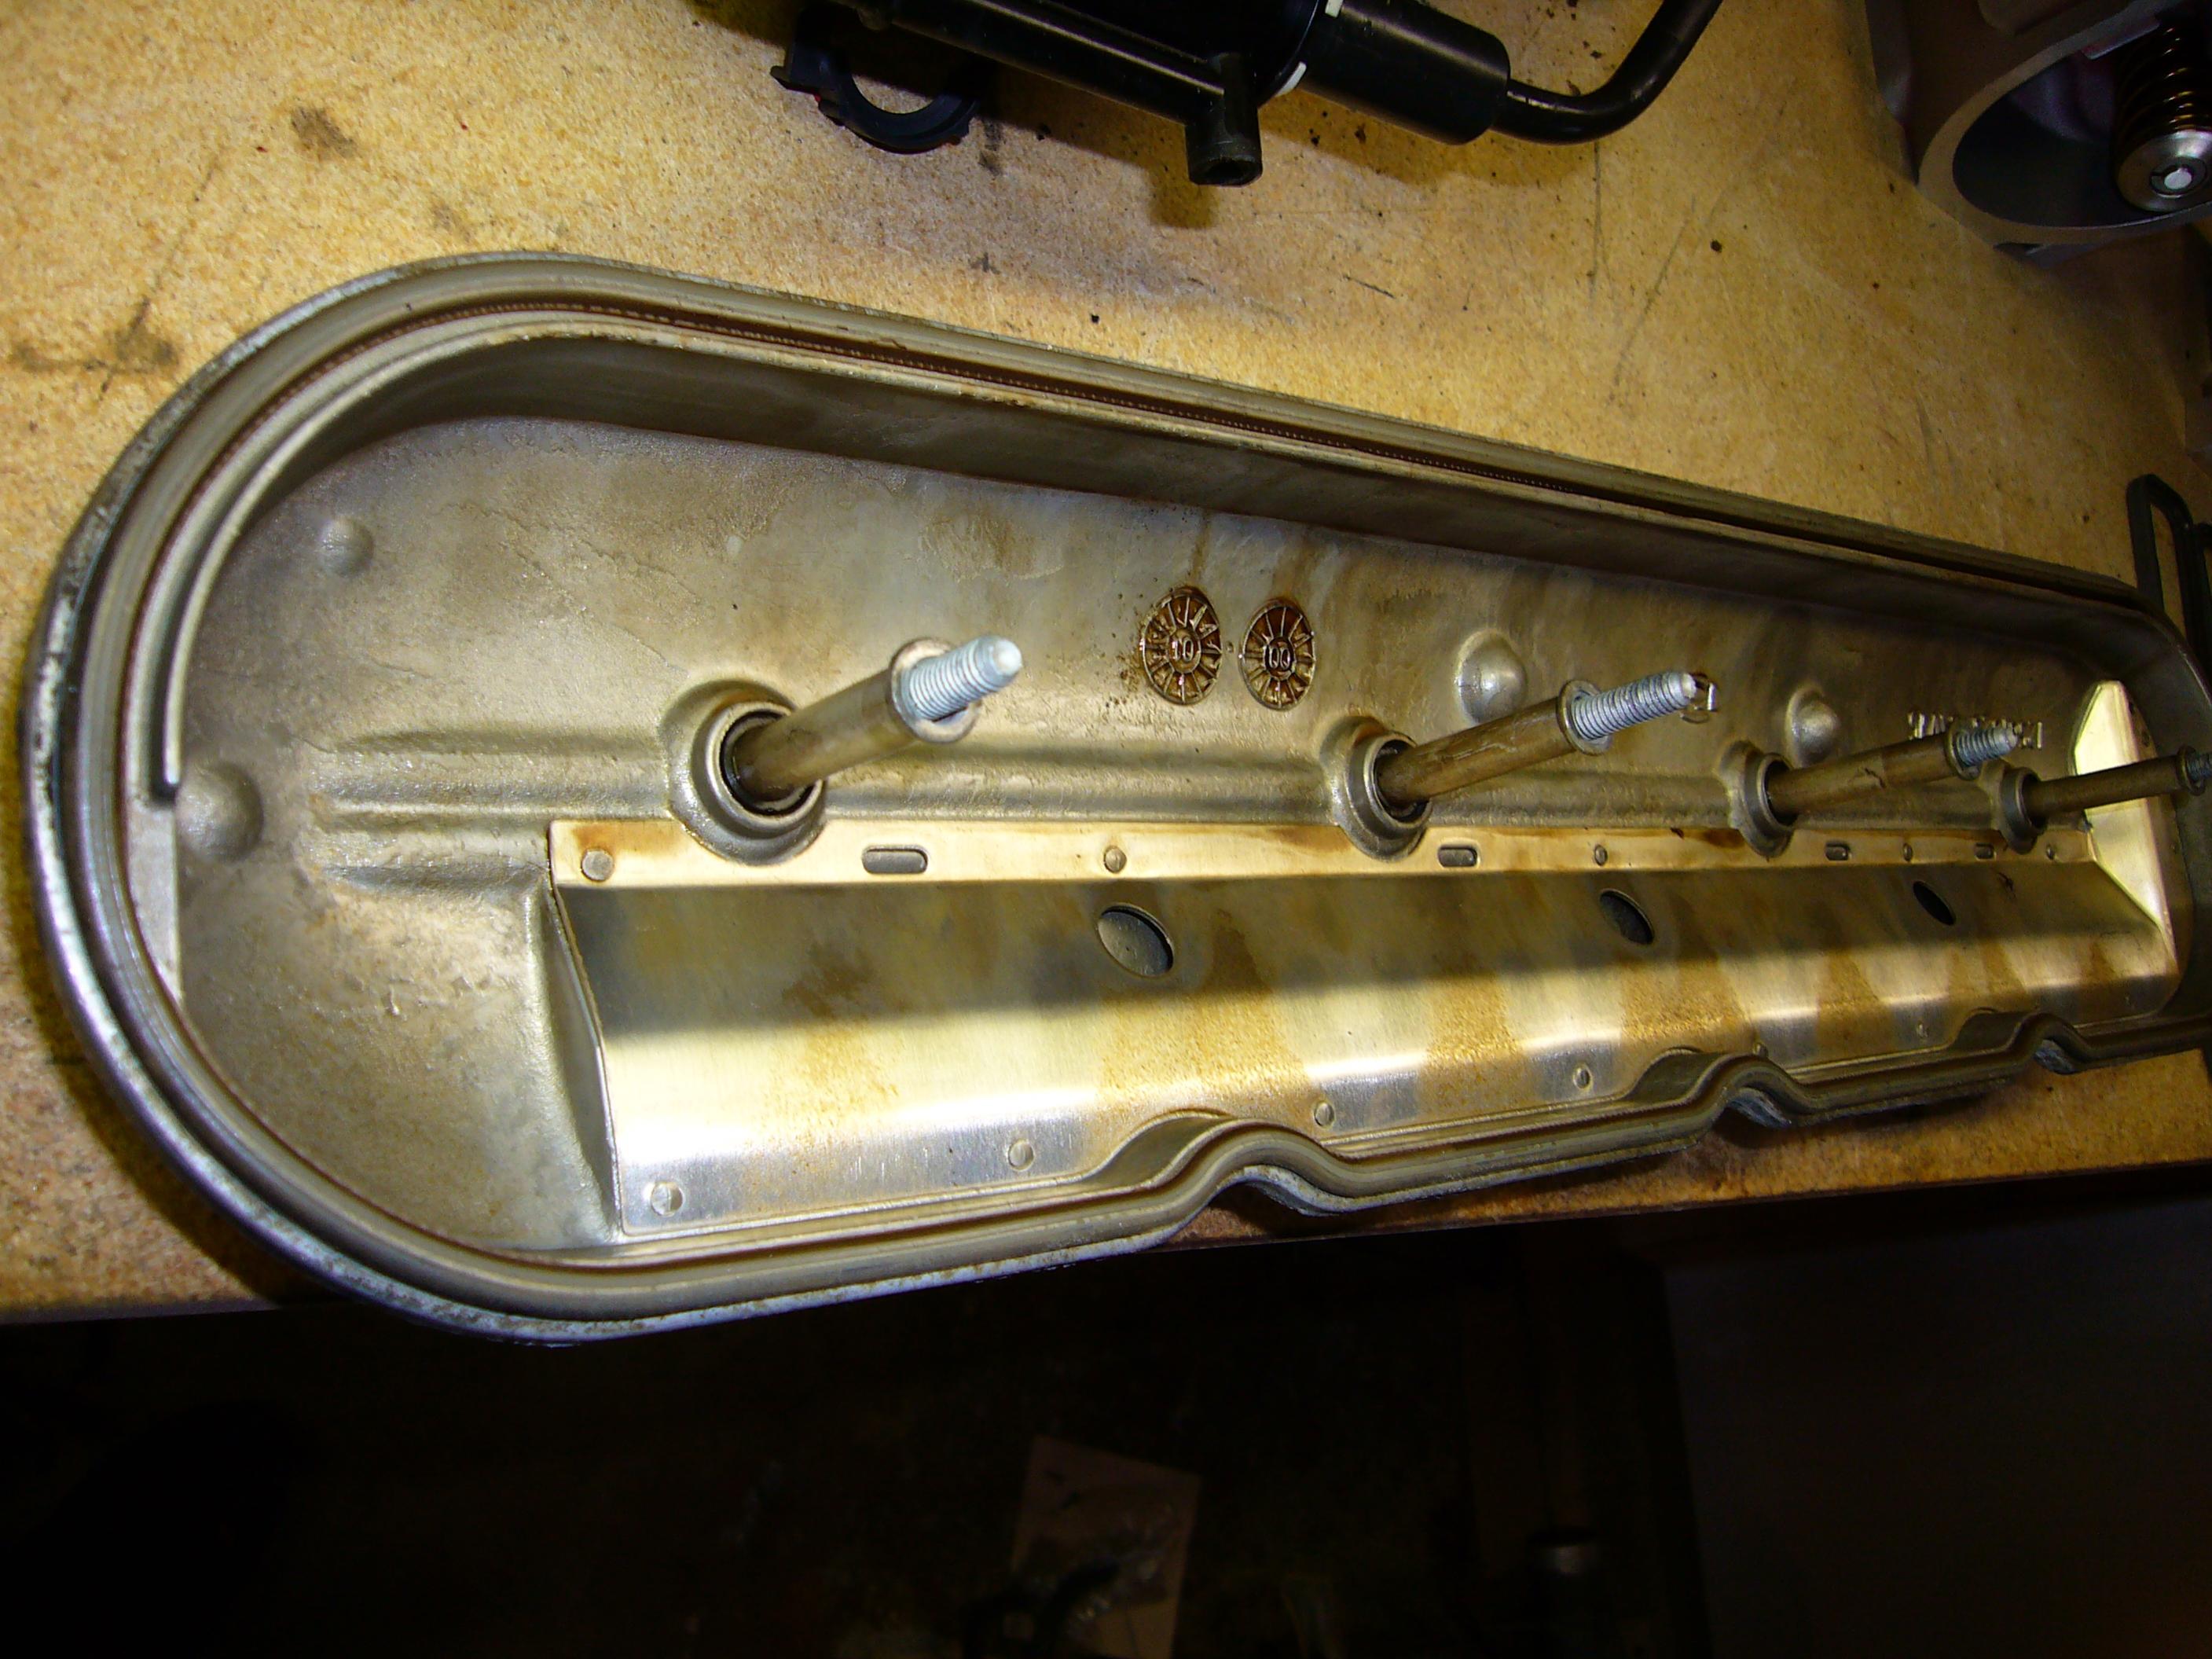
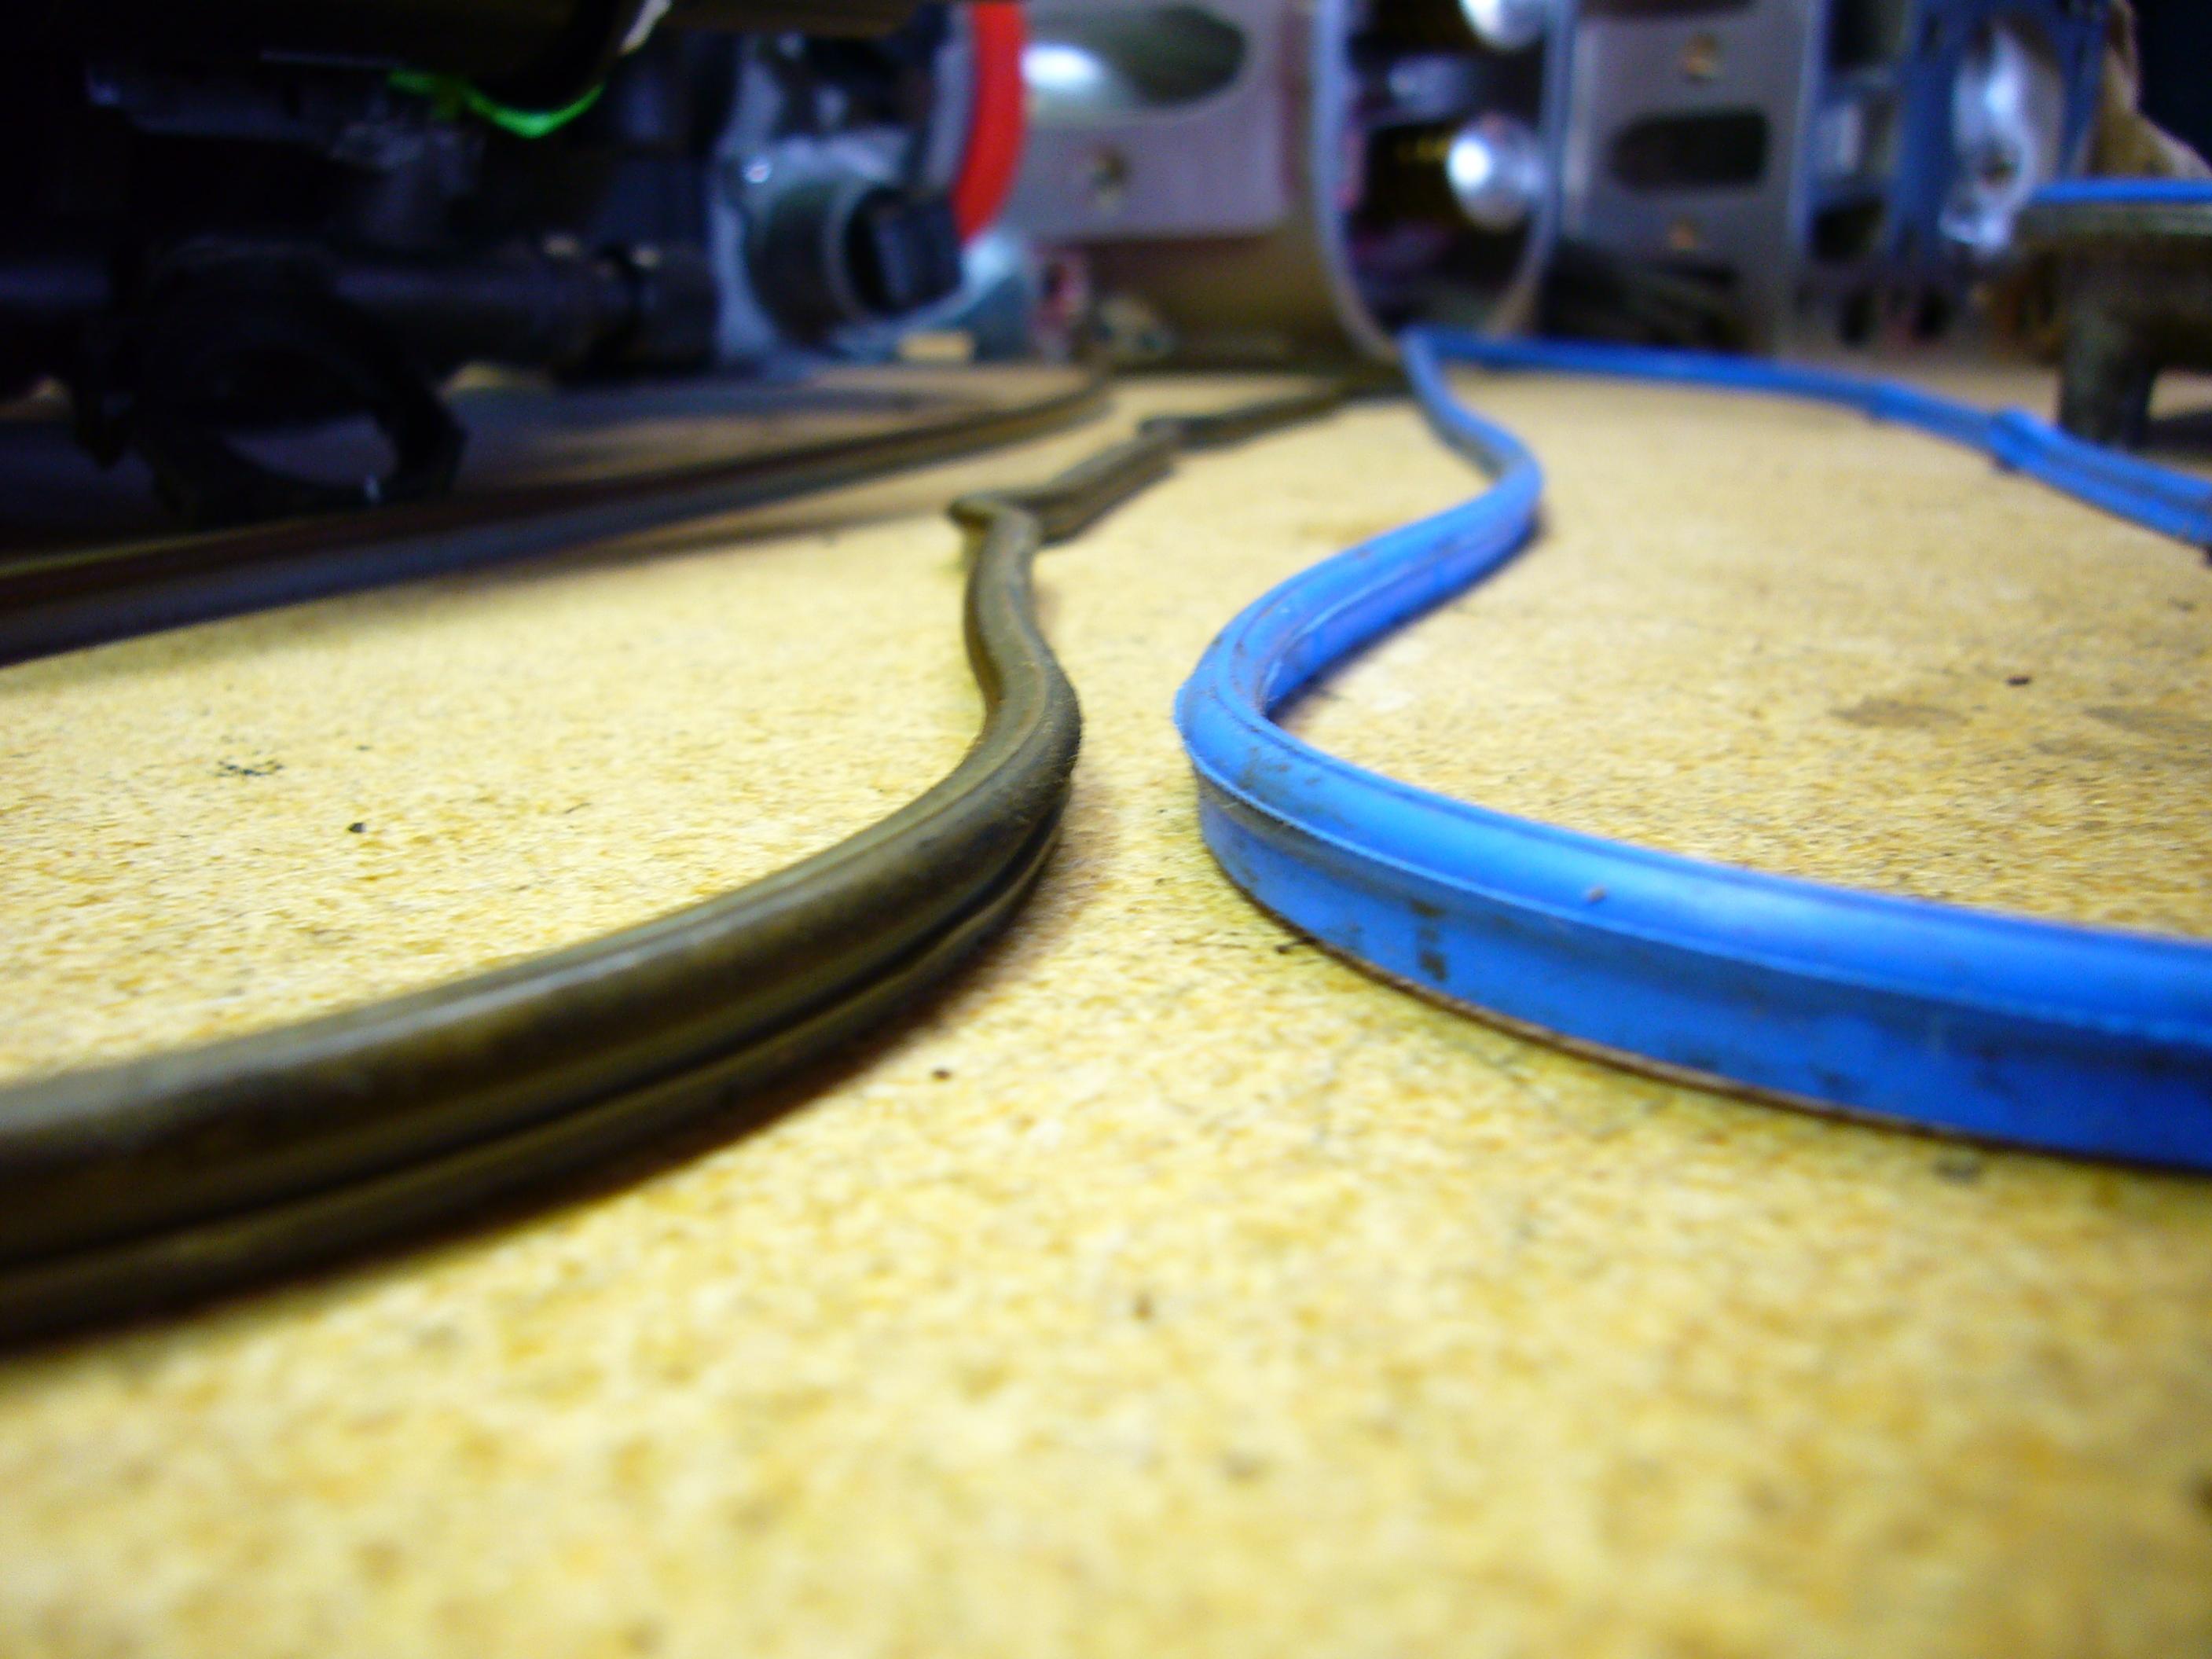
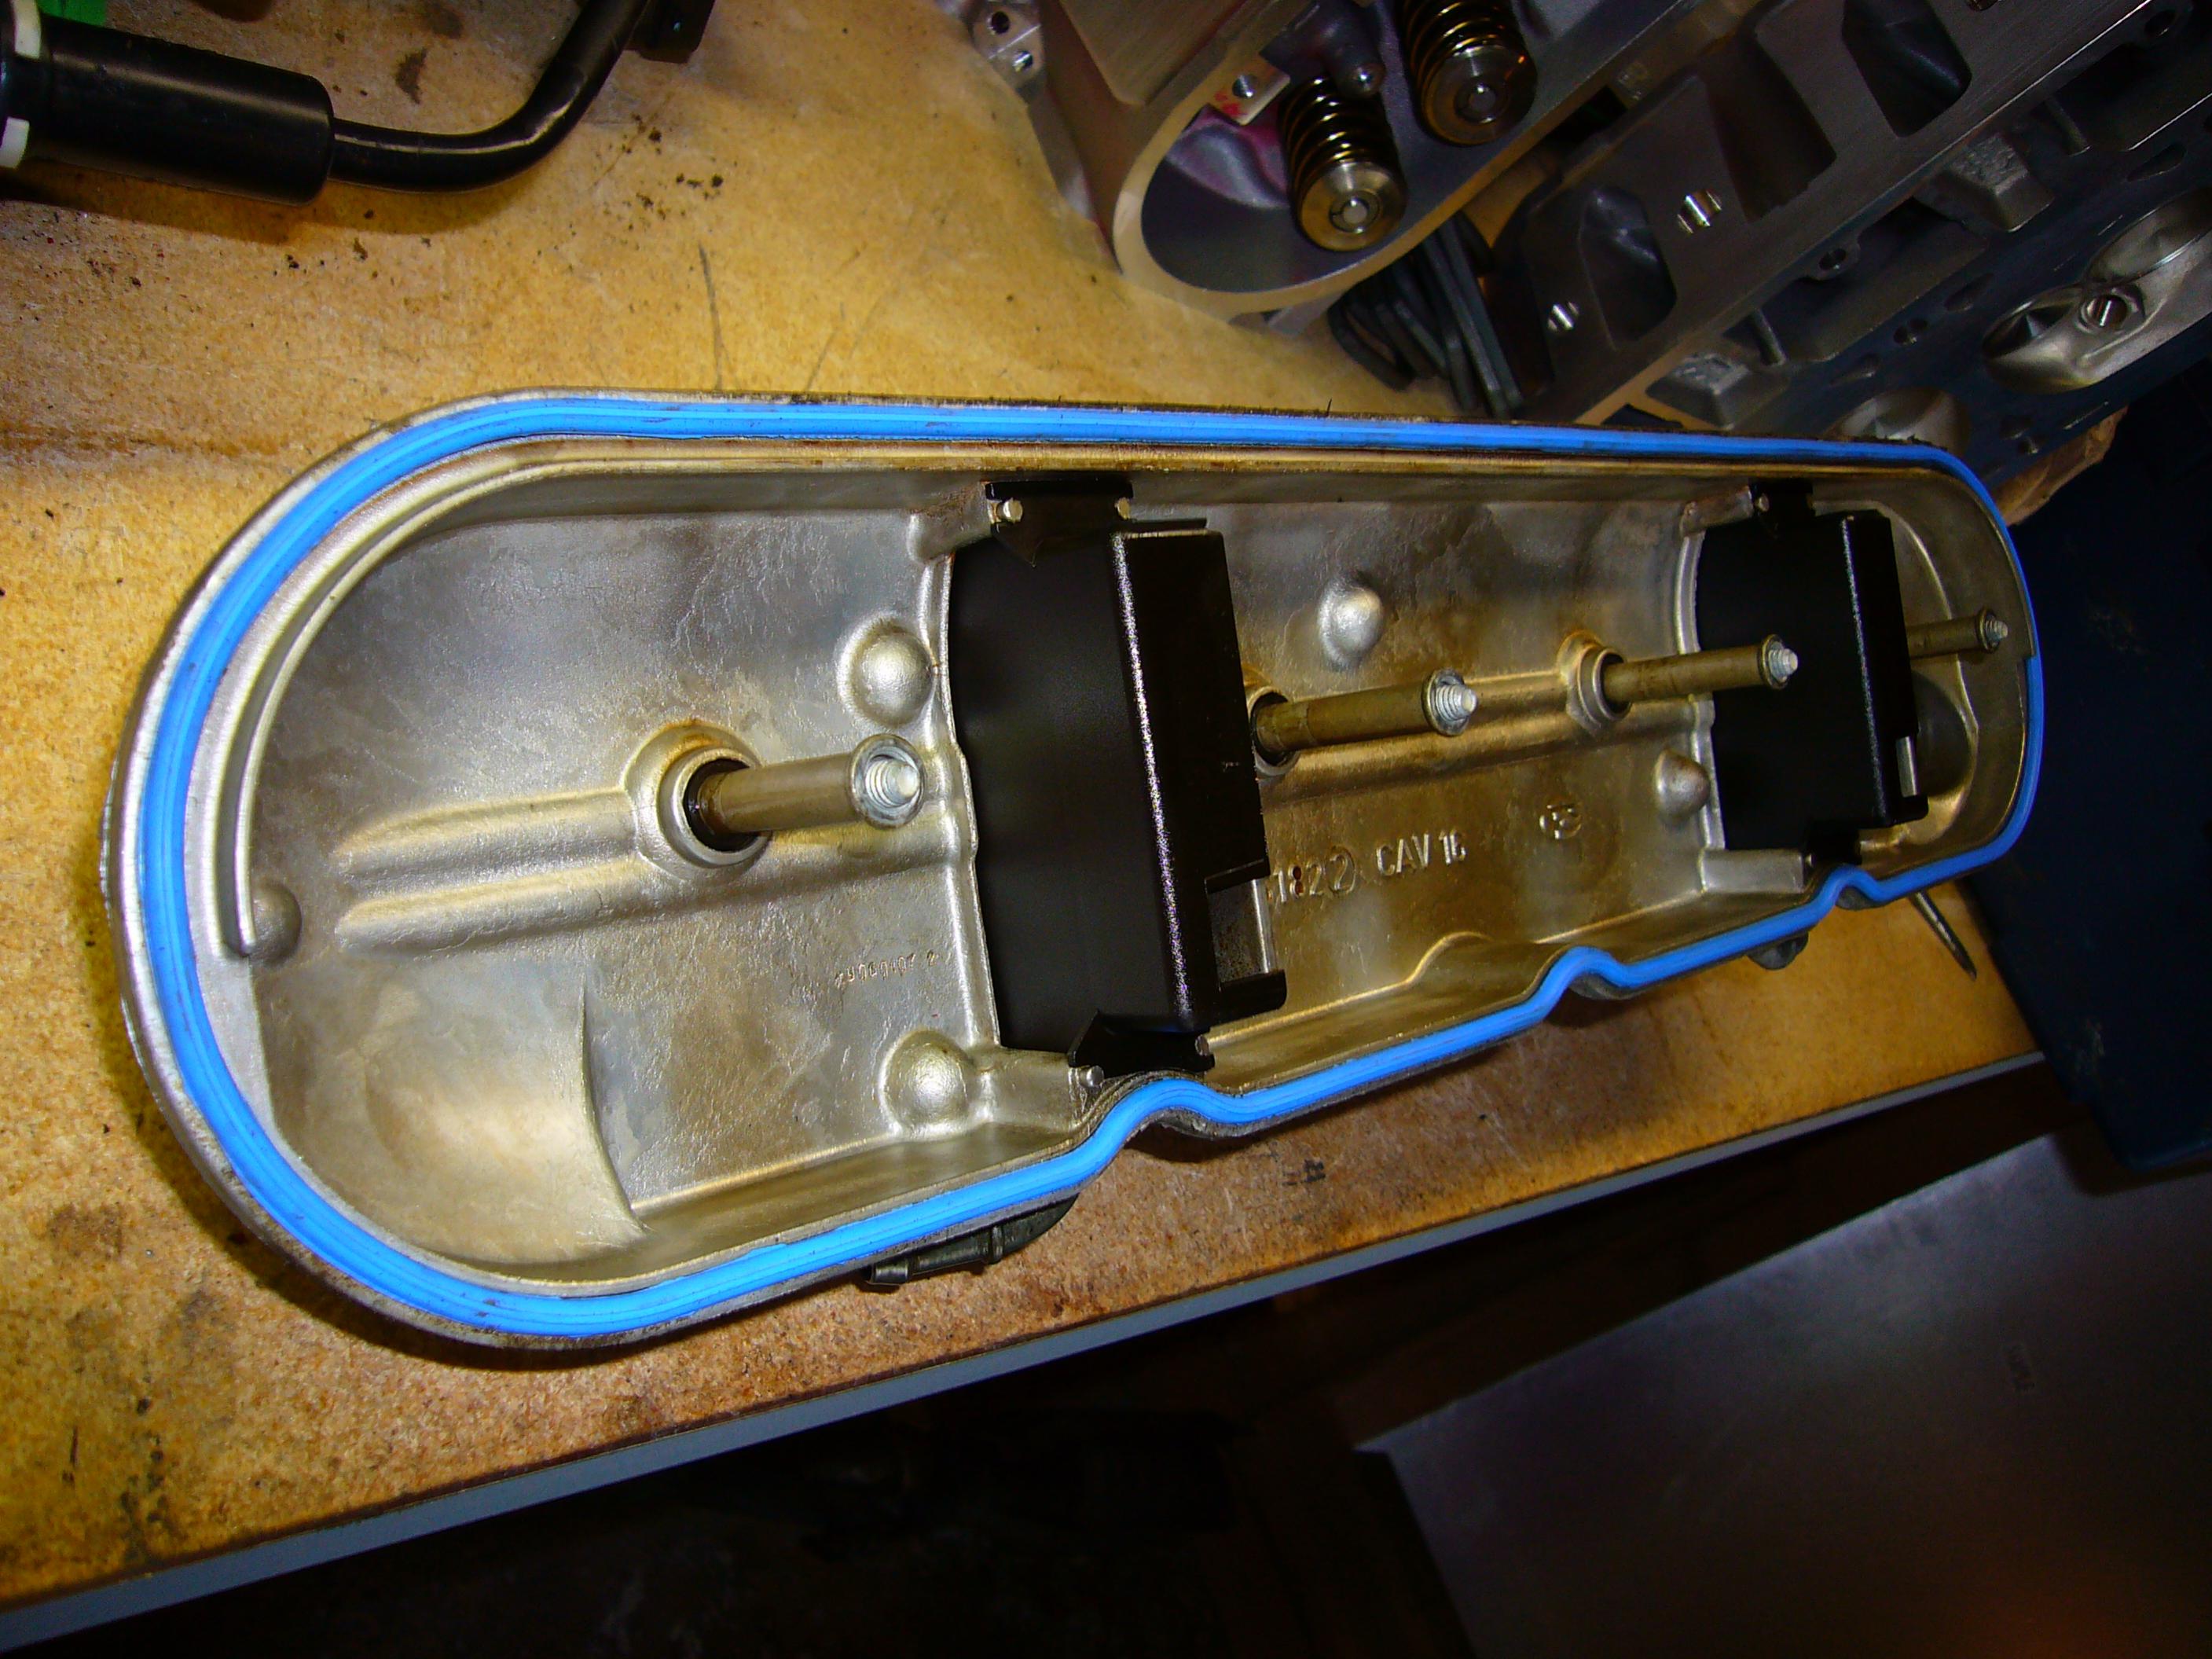
i got the "while i'm at it" bug a little and went to Auto Zone and picked up:
and
simple install. i just took a hook pick and pulled out all the gaskets, cleaned out with a paper towel where they were, then pushed in the new ones. the foam under the intake was a little stubborn but nothing i couldn't handle. minor upgrade for under $45.
there is a before and after of each here. the new intake gaskets are red and the new valve cover gaskets are blue.

-
BRAAP is the man!! you just can't shake this guy.....
-
i found this thread on here. looks like this guy wanted to try the same last year. seems people don't approve.
http://forums.hybridz.org/showthread.php?t=141501
BRAAP is right though, the LS1 would have to be about 4and1/2 inches in front of the firewall if you tried to keep the Nissan transmission. that would throw off all kinds of geometry. unfortunately it looks like you'll have to try to sell your Giken setup.
glad to see someone else doing this frankenstein though. keep us posted, lots of pictures.
-
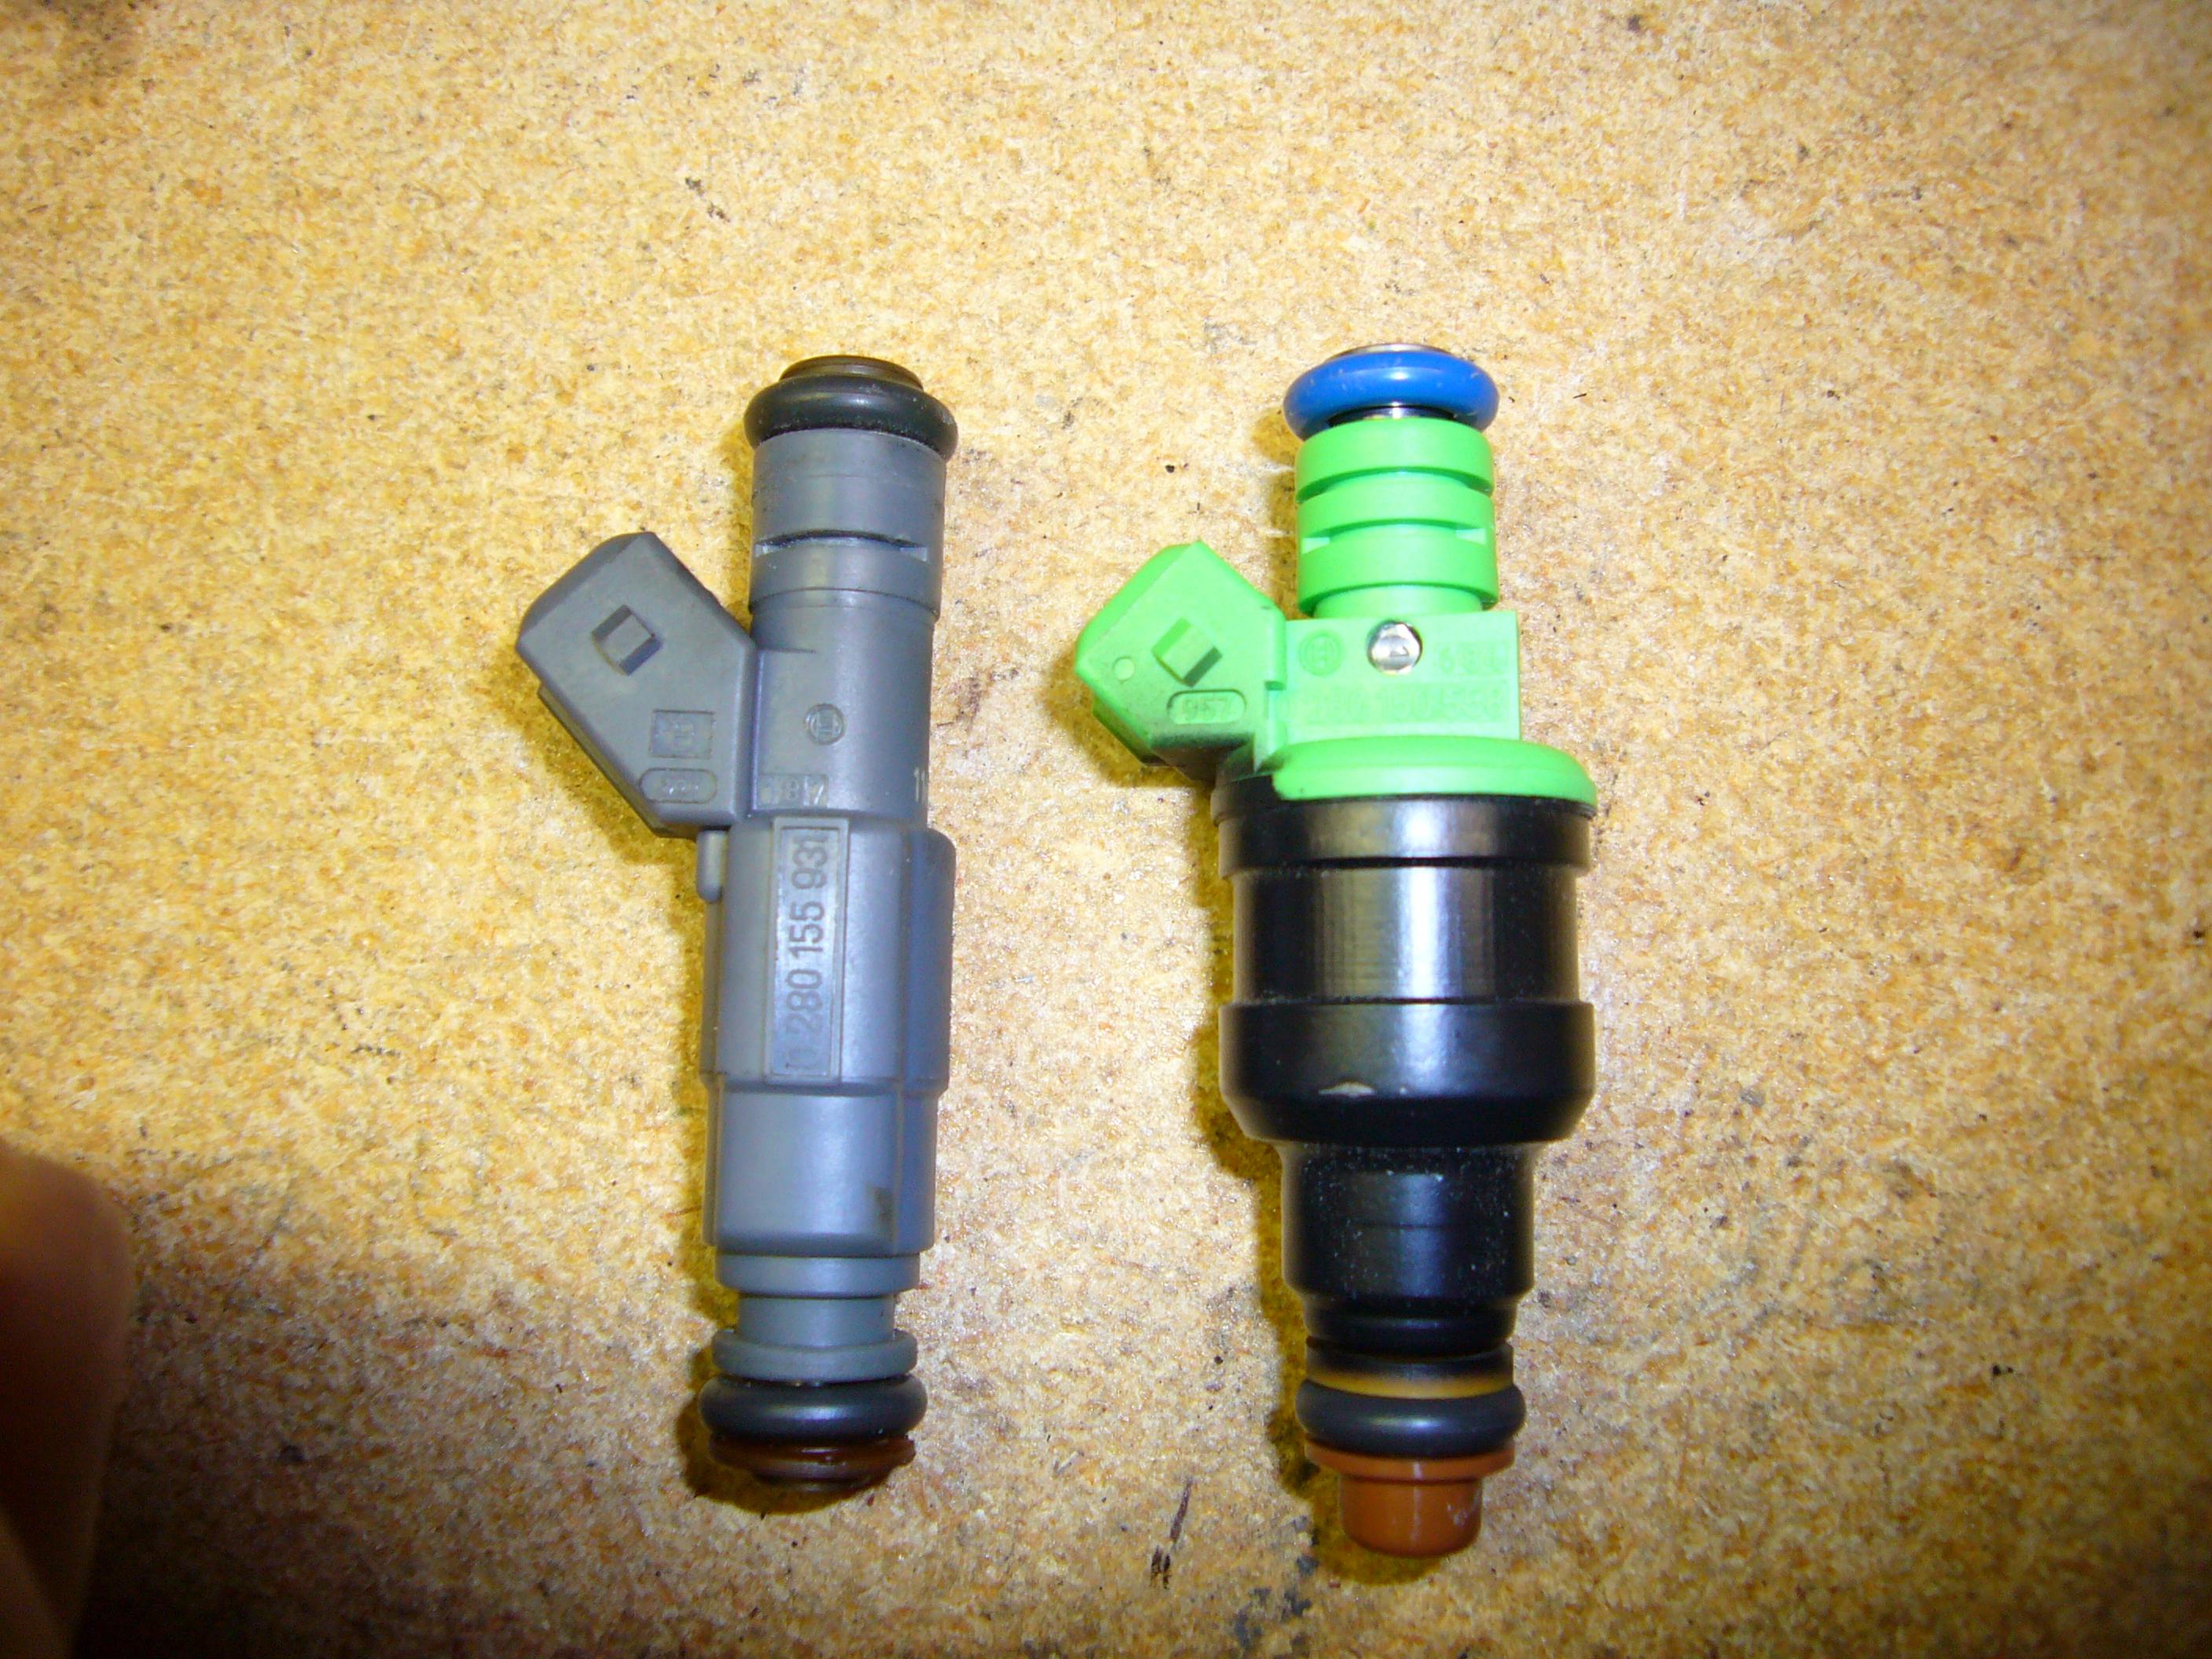
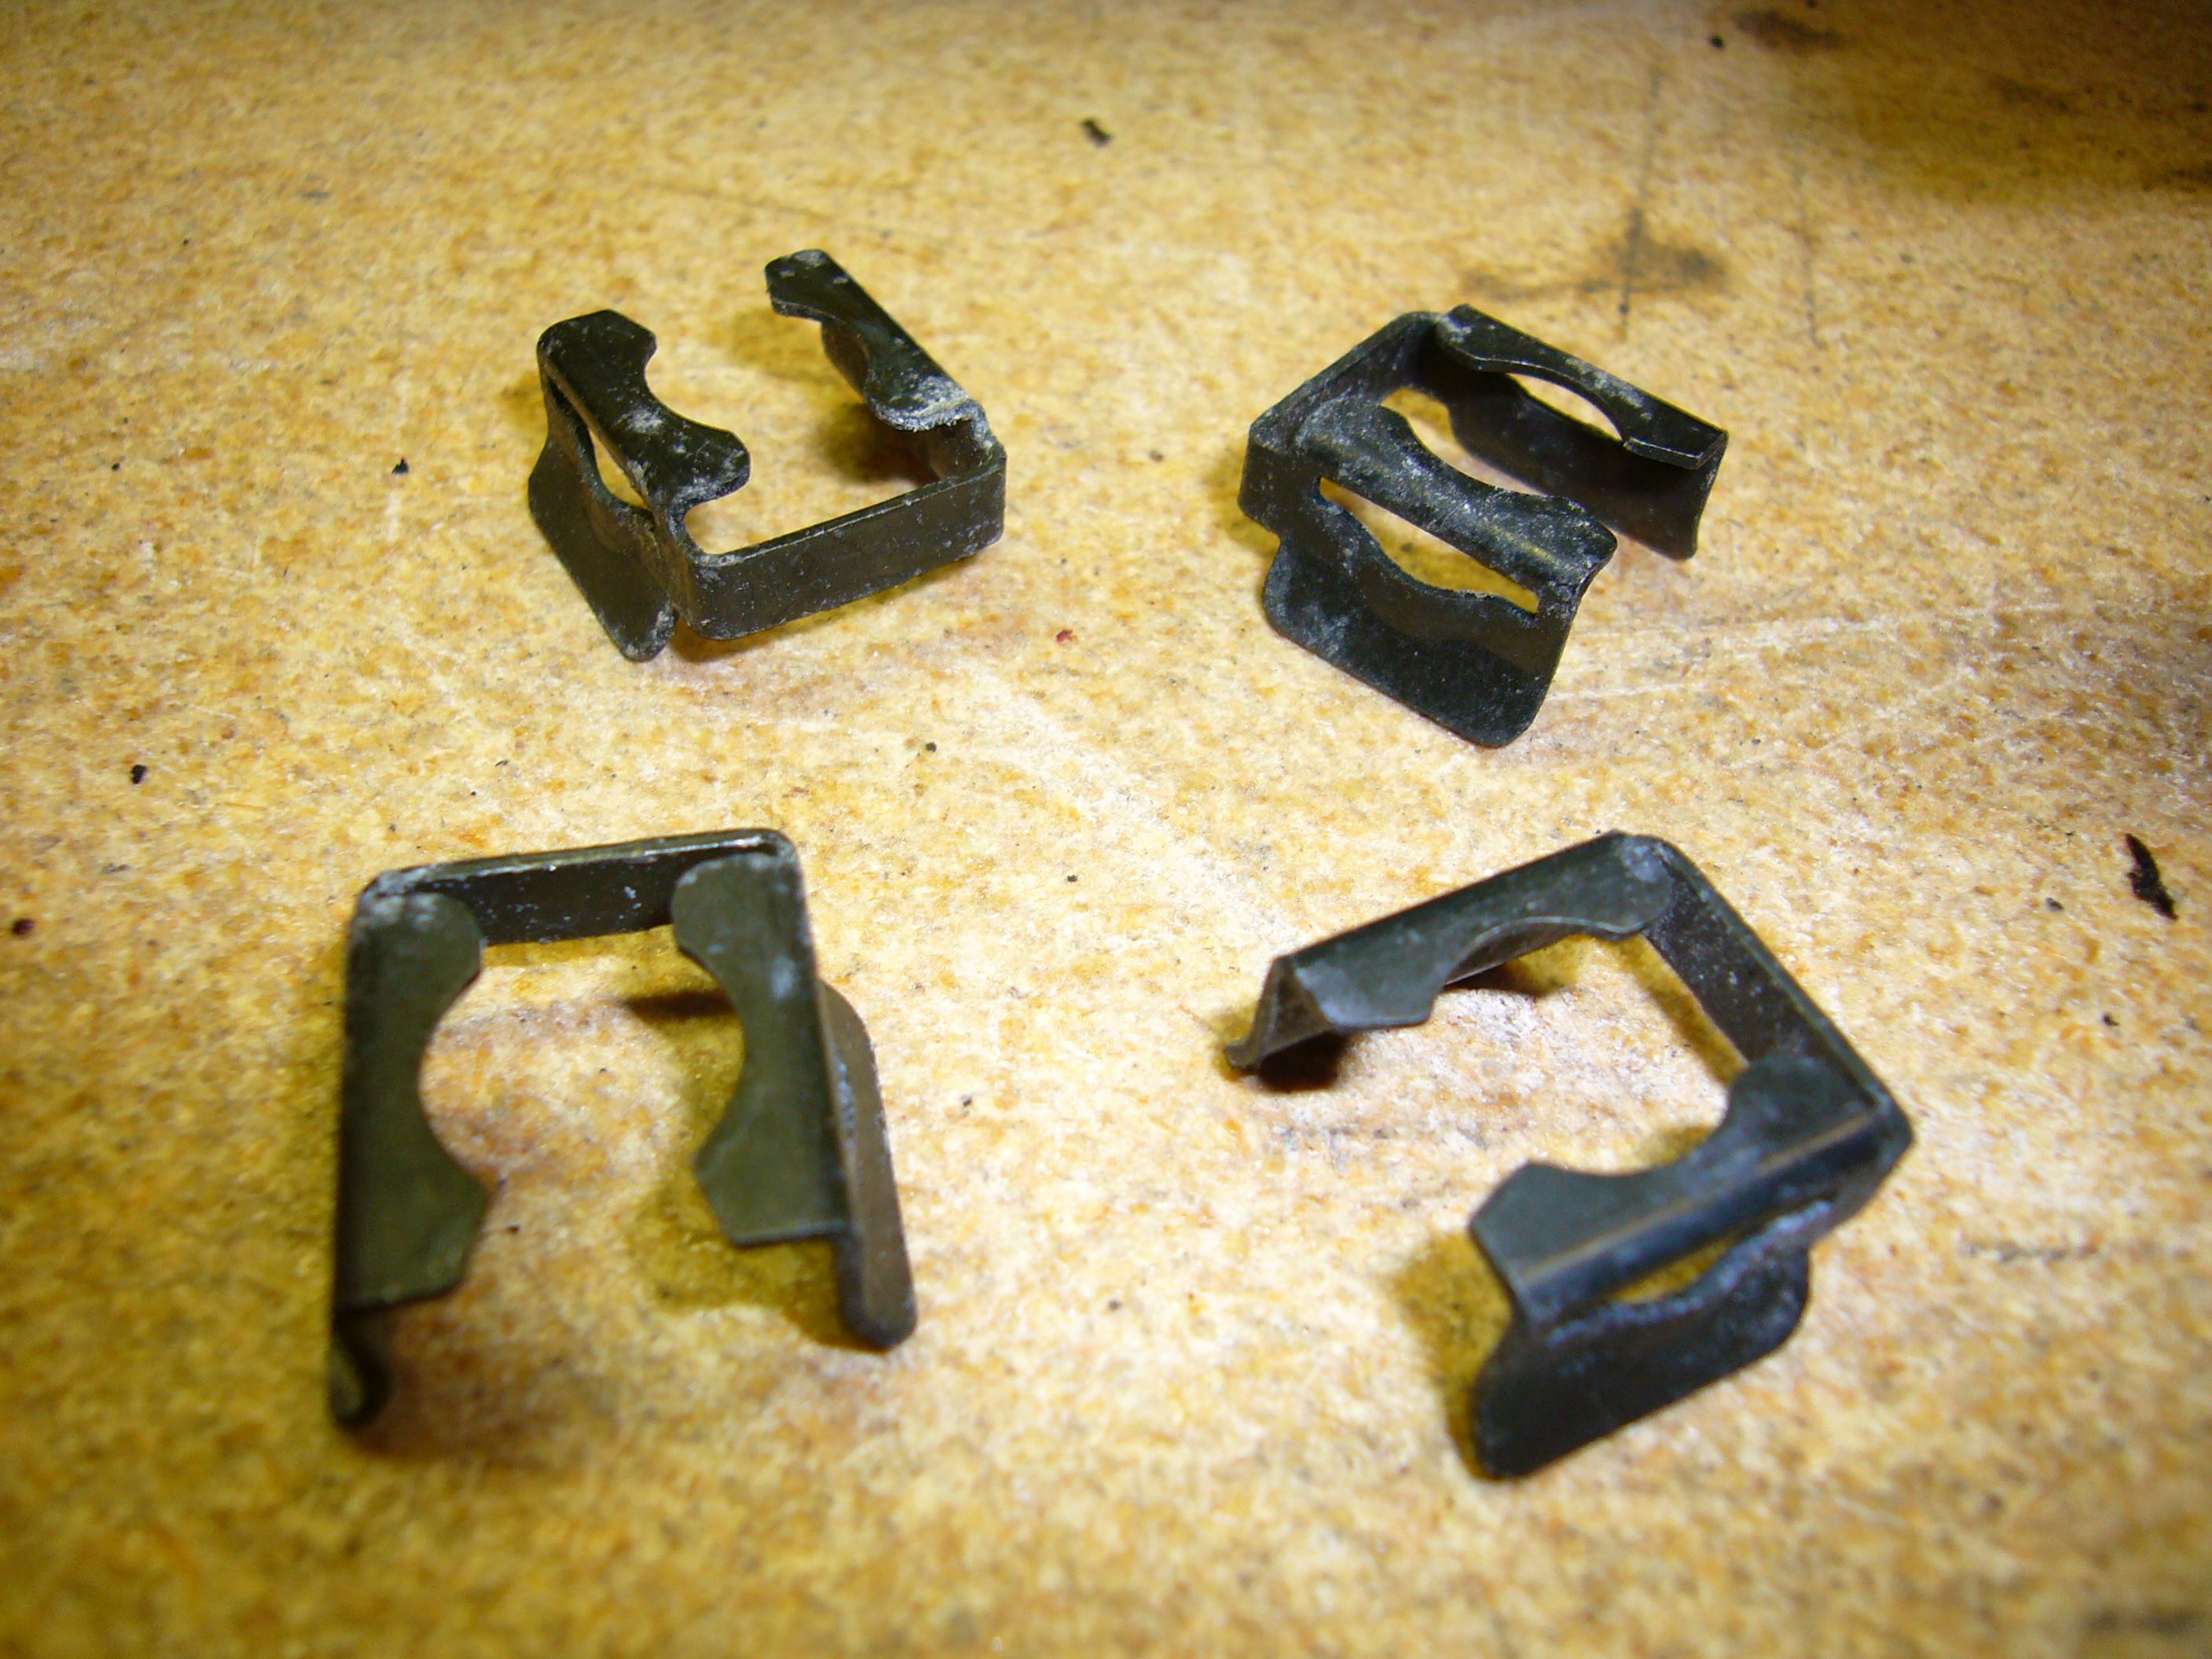
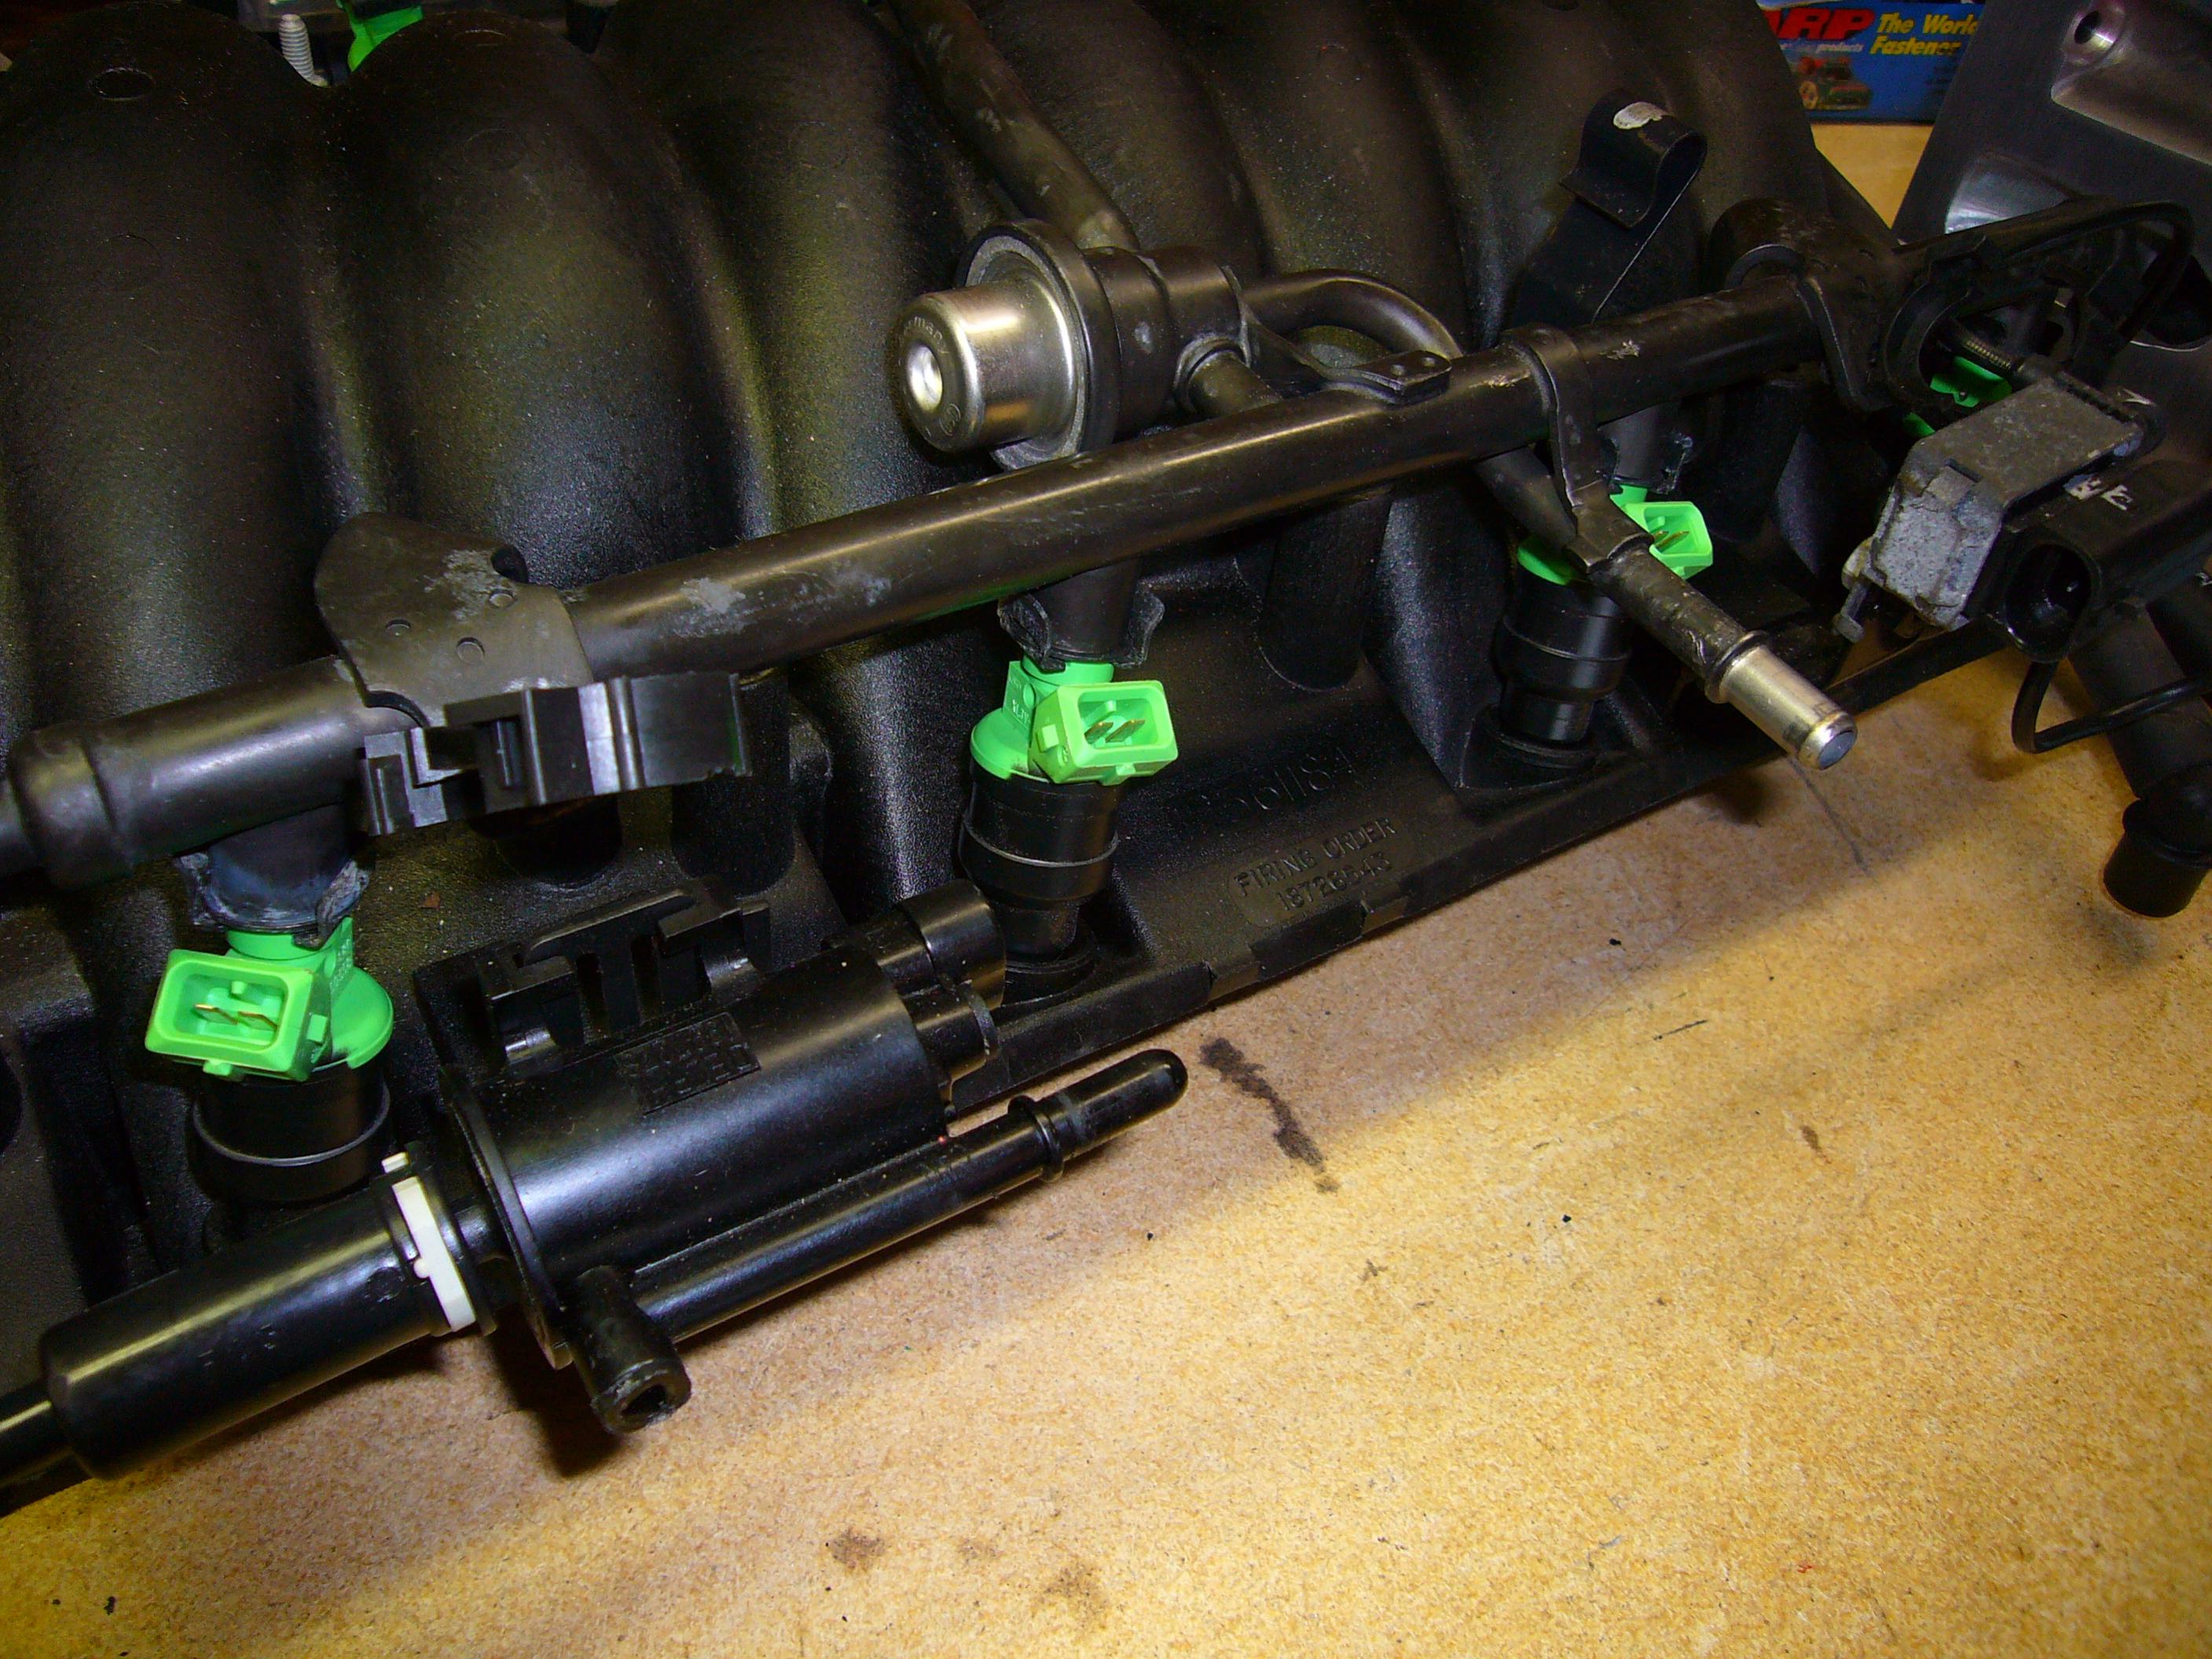
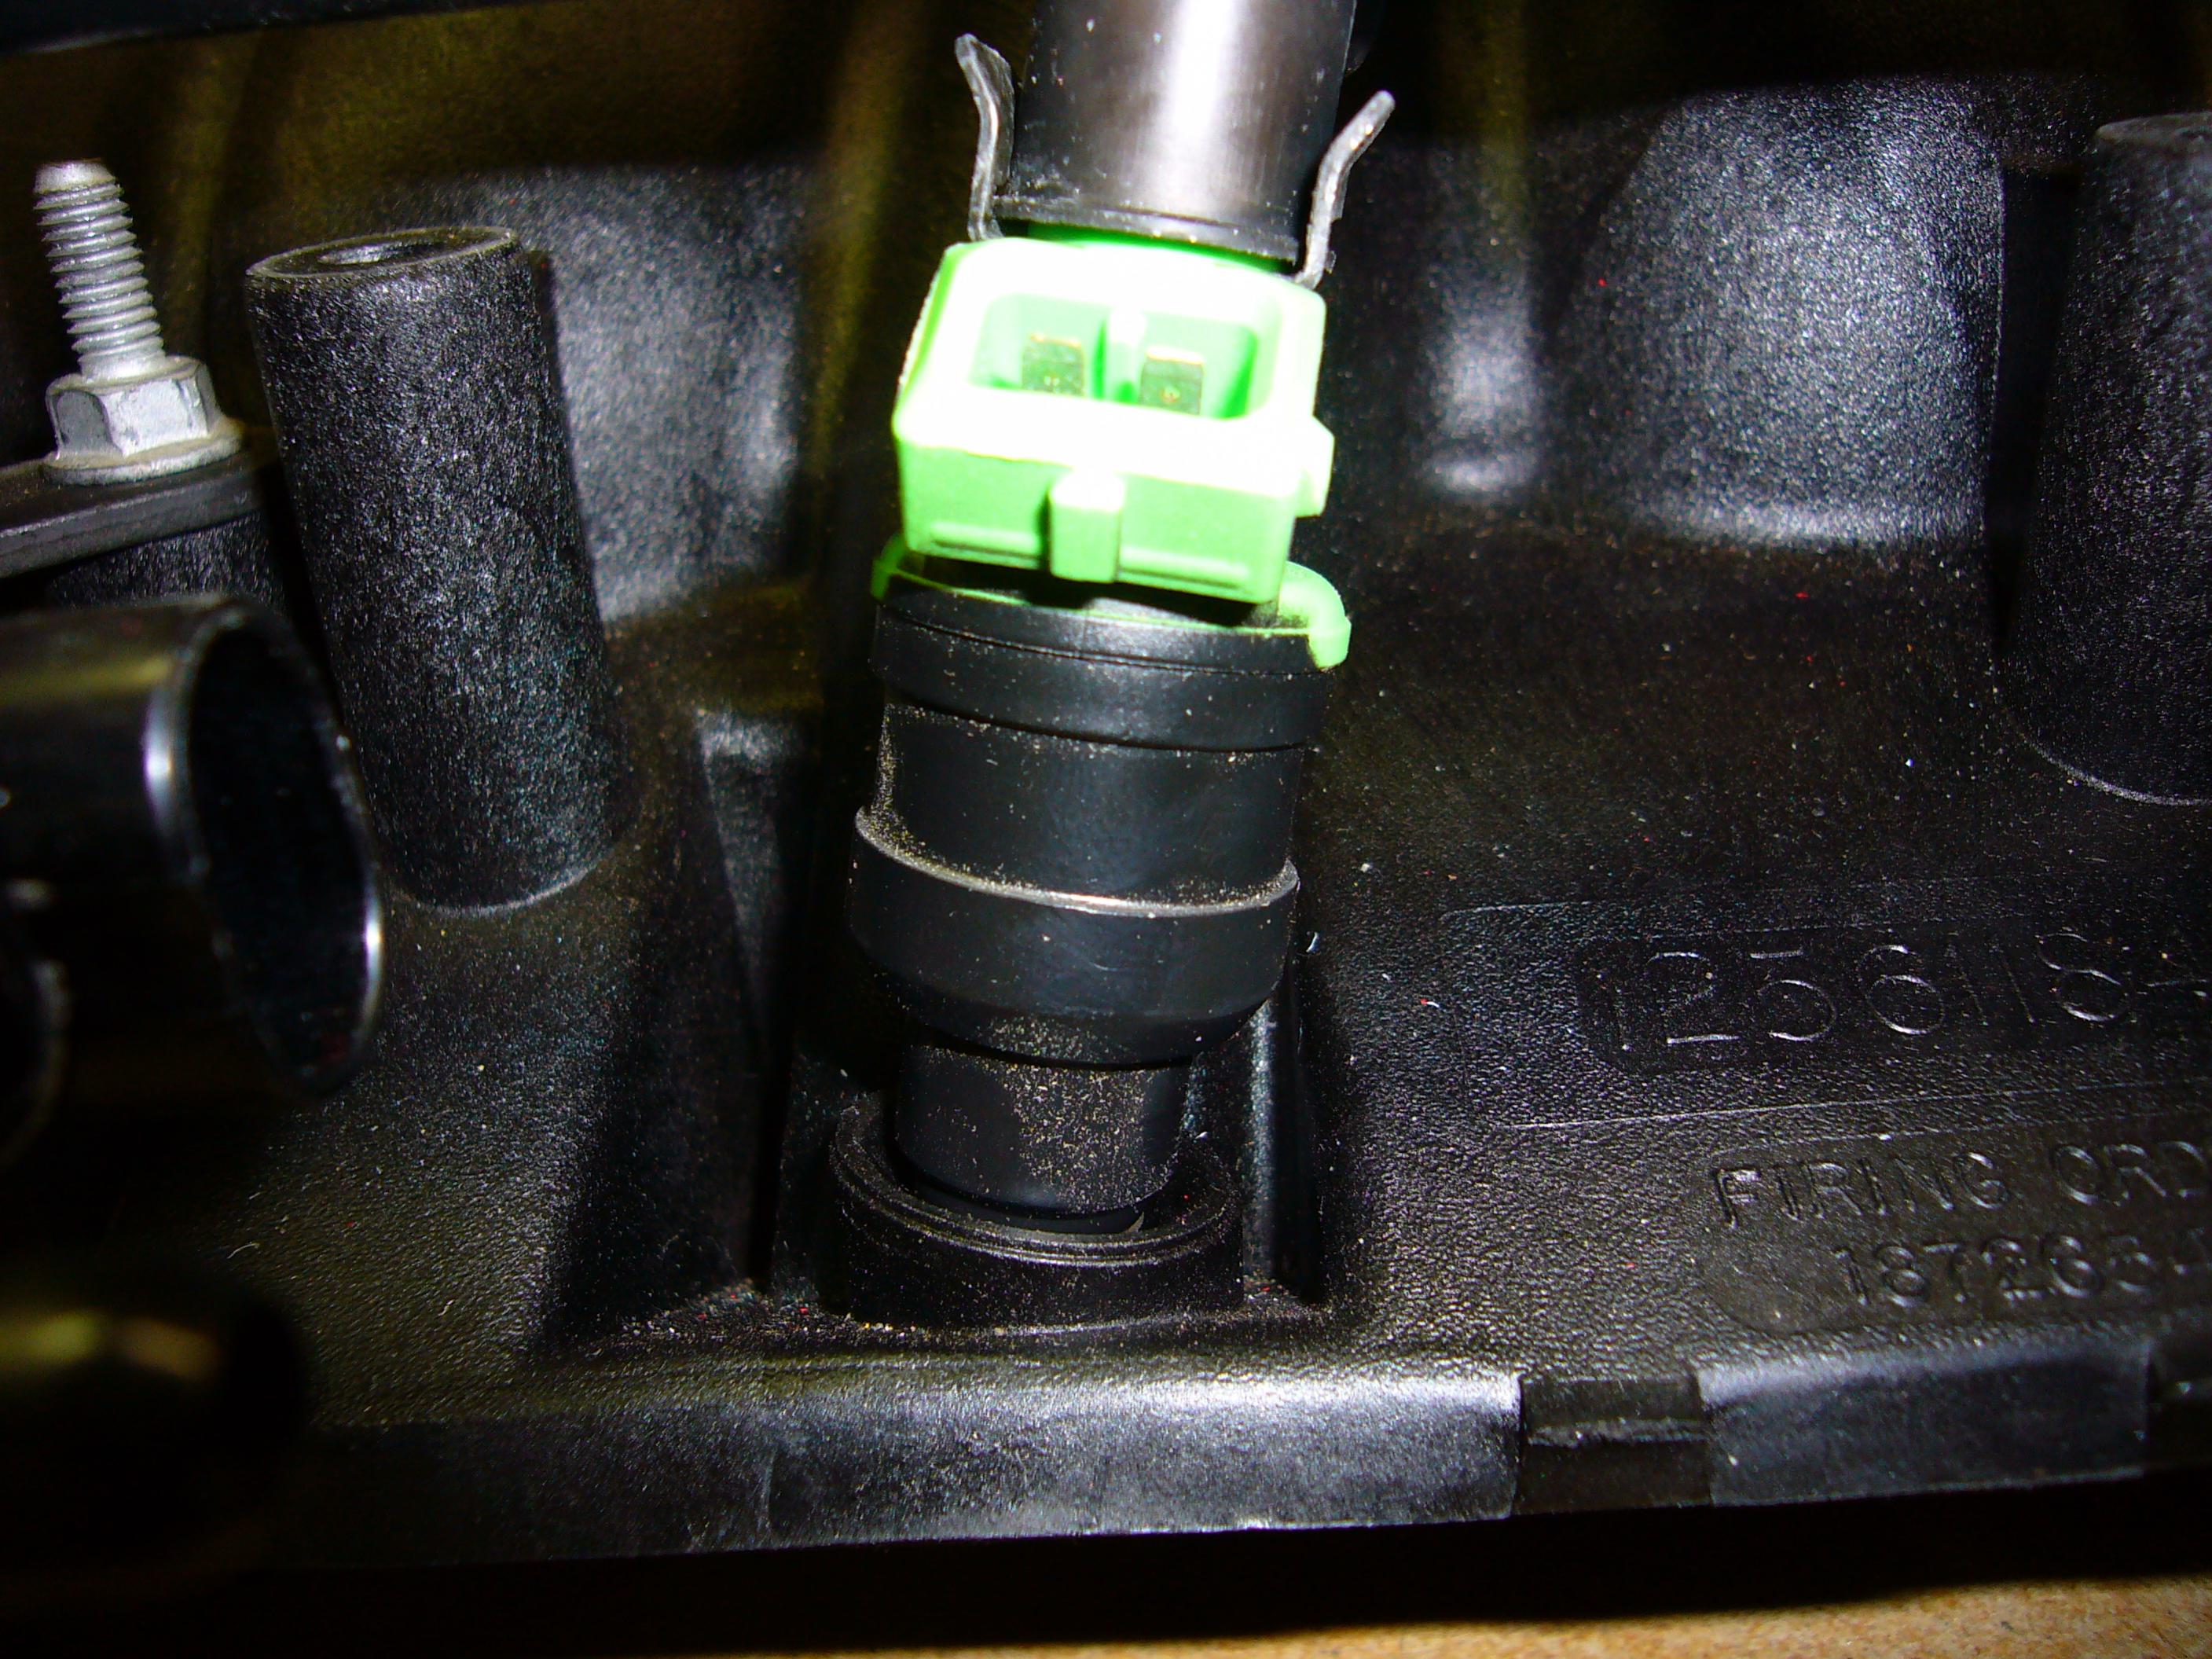
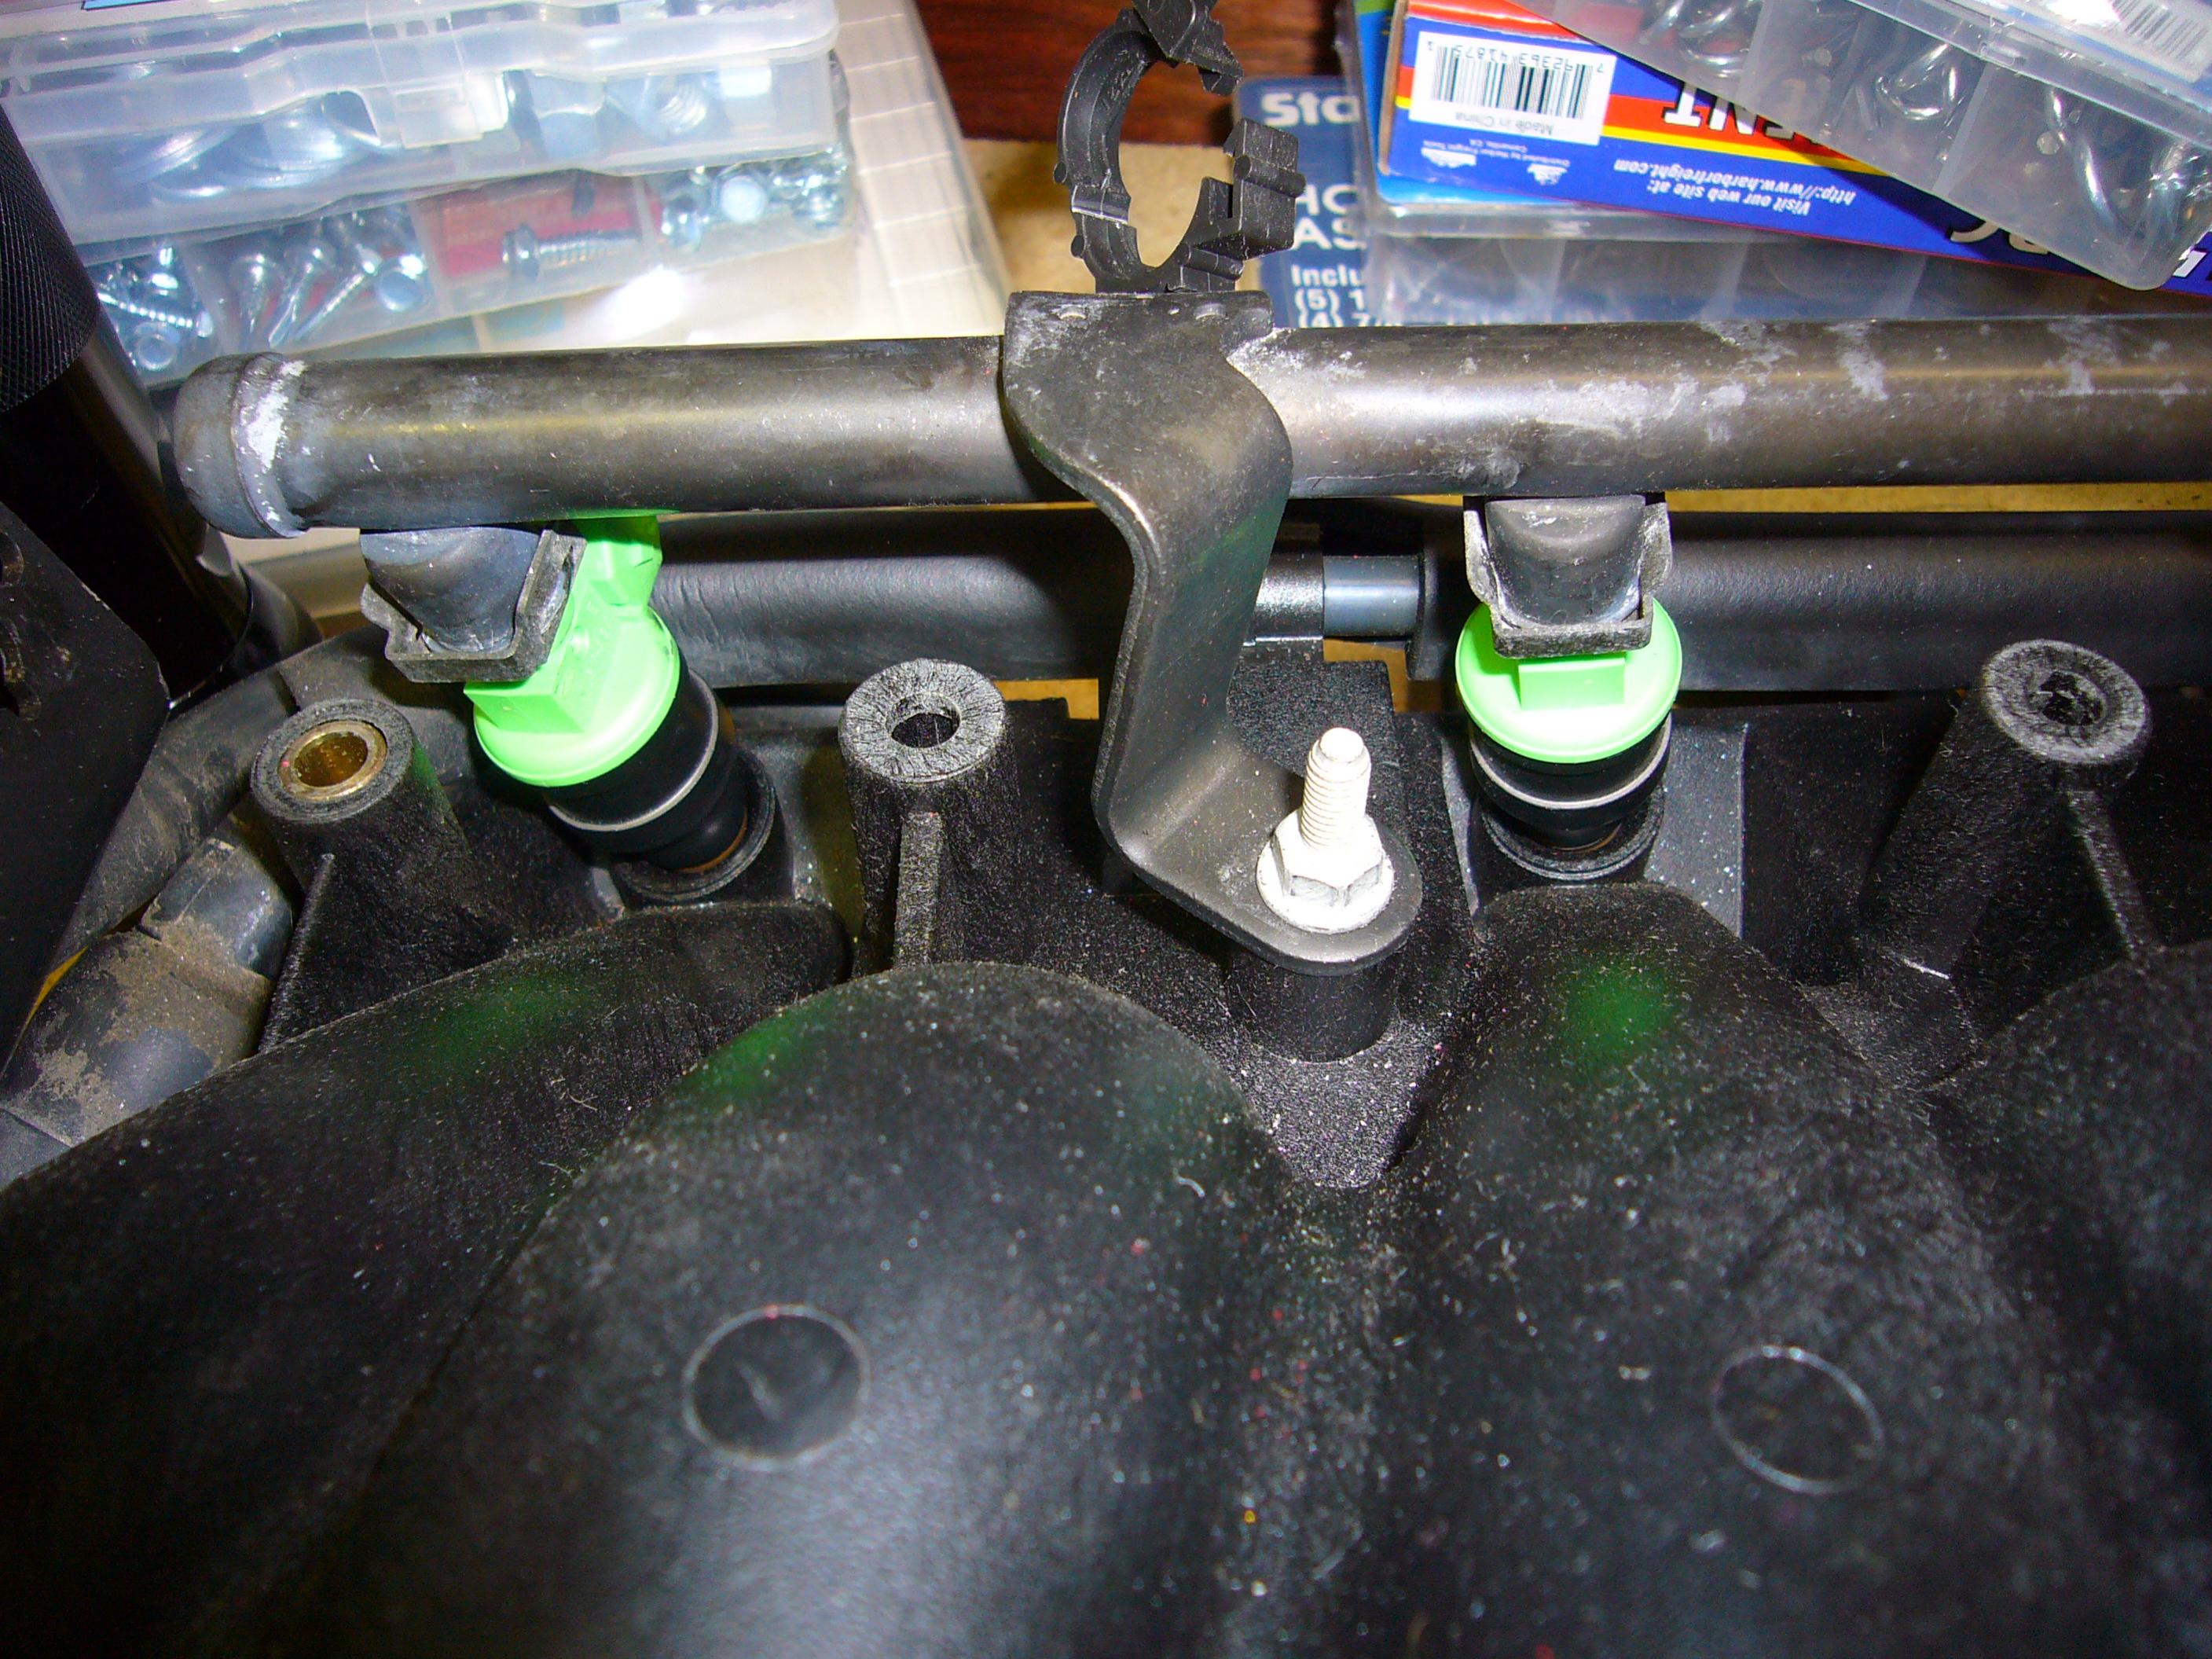
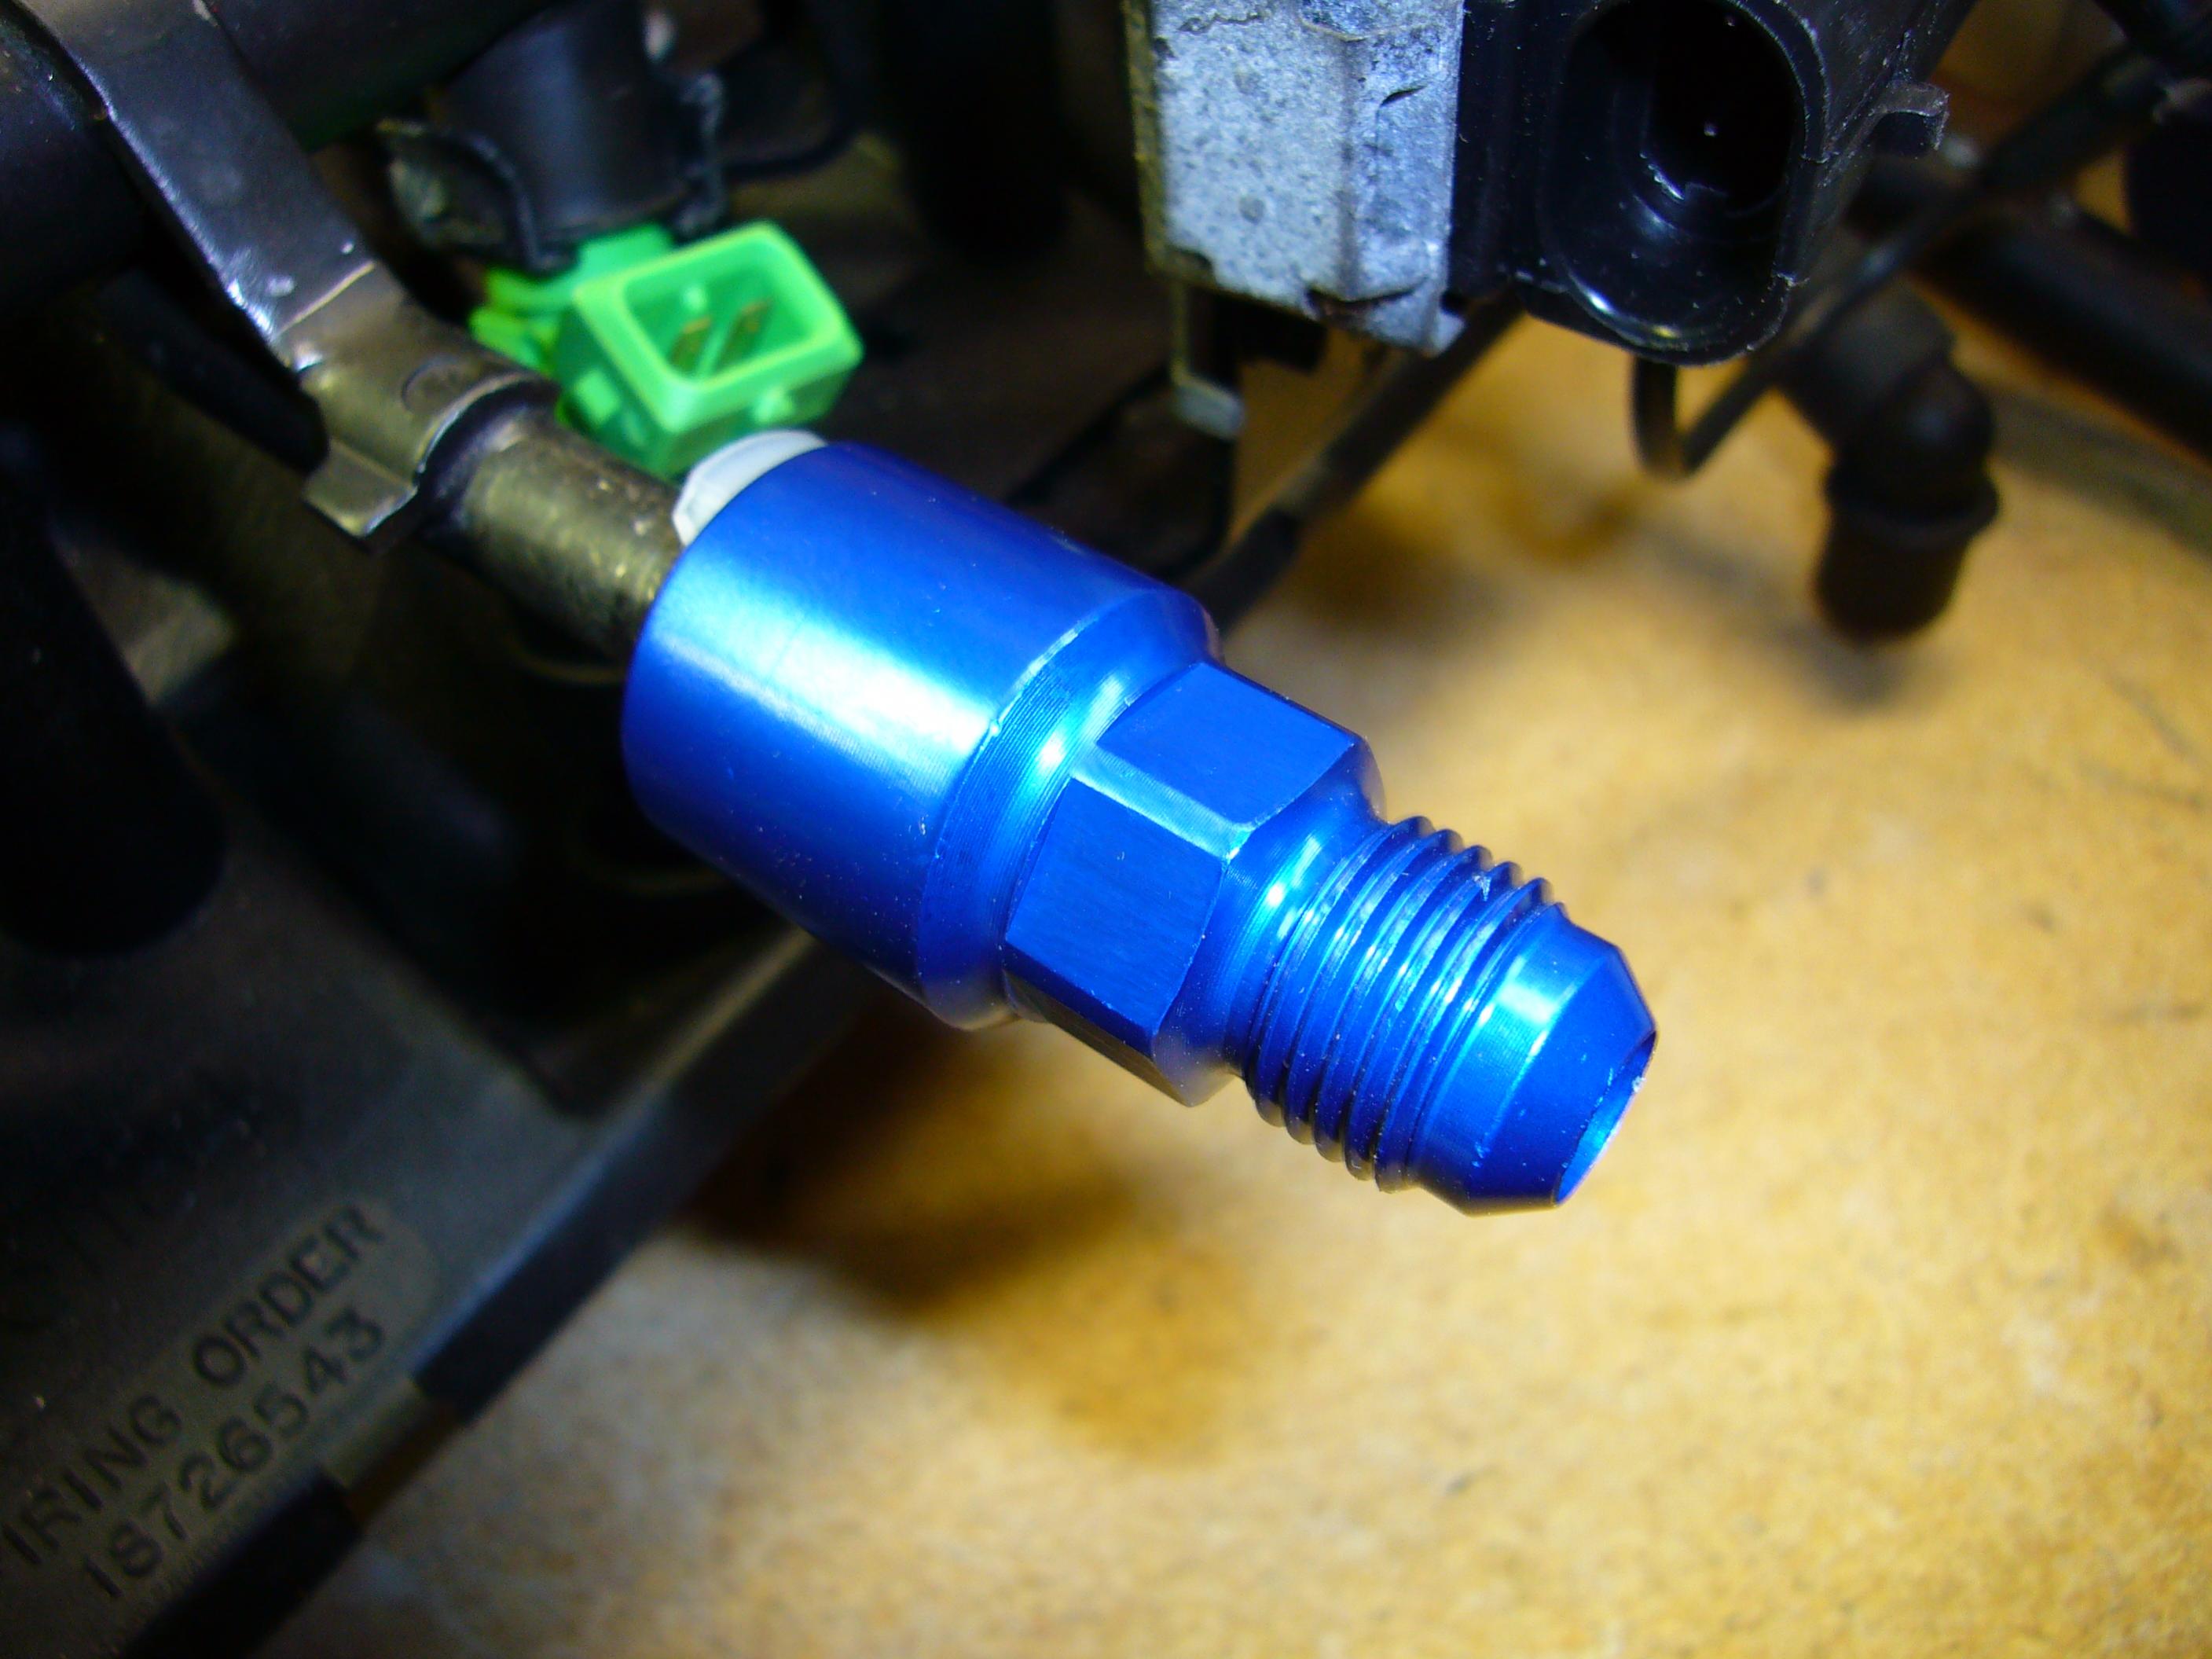
fuel injectors came in today. i got 42# SVO Ford green tops. they are a direct replacement. same height, same plug-ins.
i also got a fuel rail adapter so i can put a regular fuel line on there from the filter. (the blue piece in the last picture)
to take the old injectors out you need to remove the clip from each. then each injector needed a little force to come out. i touched a little oil on each o-ring just so they would slide back in easily. i found a good how-to but this guy used EV6 Blue Giants from a Cobra. he needed an adapter kit but mine fit perfectly.
-
Think I may have the oil pan situation figured out. There are several makers of an oil pan for 1st Gen Camaro/LSx swaps that seems to fit my application perfectly. This pan may prevent any issue with the intake clearing the hood or the bell housing hitting the firewall. Either way, based on my measurements, no factory oil pan will suit me.
All factory pans listed here:
http://www.gmtruckhq.com/lsx-discussions/ls-engine-oil-pans-all-them-2720.html
My current truck pan is sticking down about 3" past the cross member. I want the engine to set as low as possible for obvious reasons and I want the ability to scoot the engine forward if I have to to keep from having to modify the firewall or having to buy that expensive bellhousing. This pan may be the ticket to all that. IF it does all that, then one $280-$400 pan would be a steal if that's the only custom part I have to pay for in this swap aside from a driveshaft.
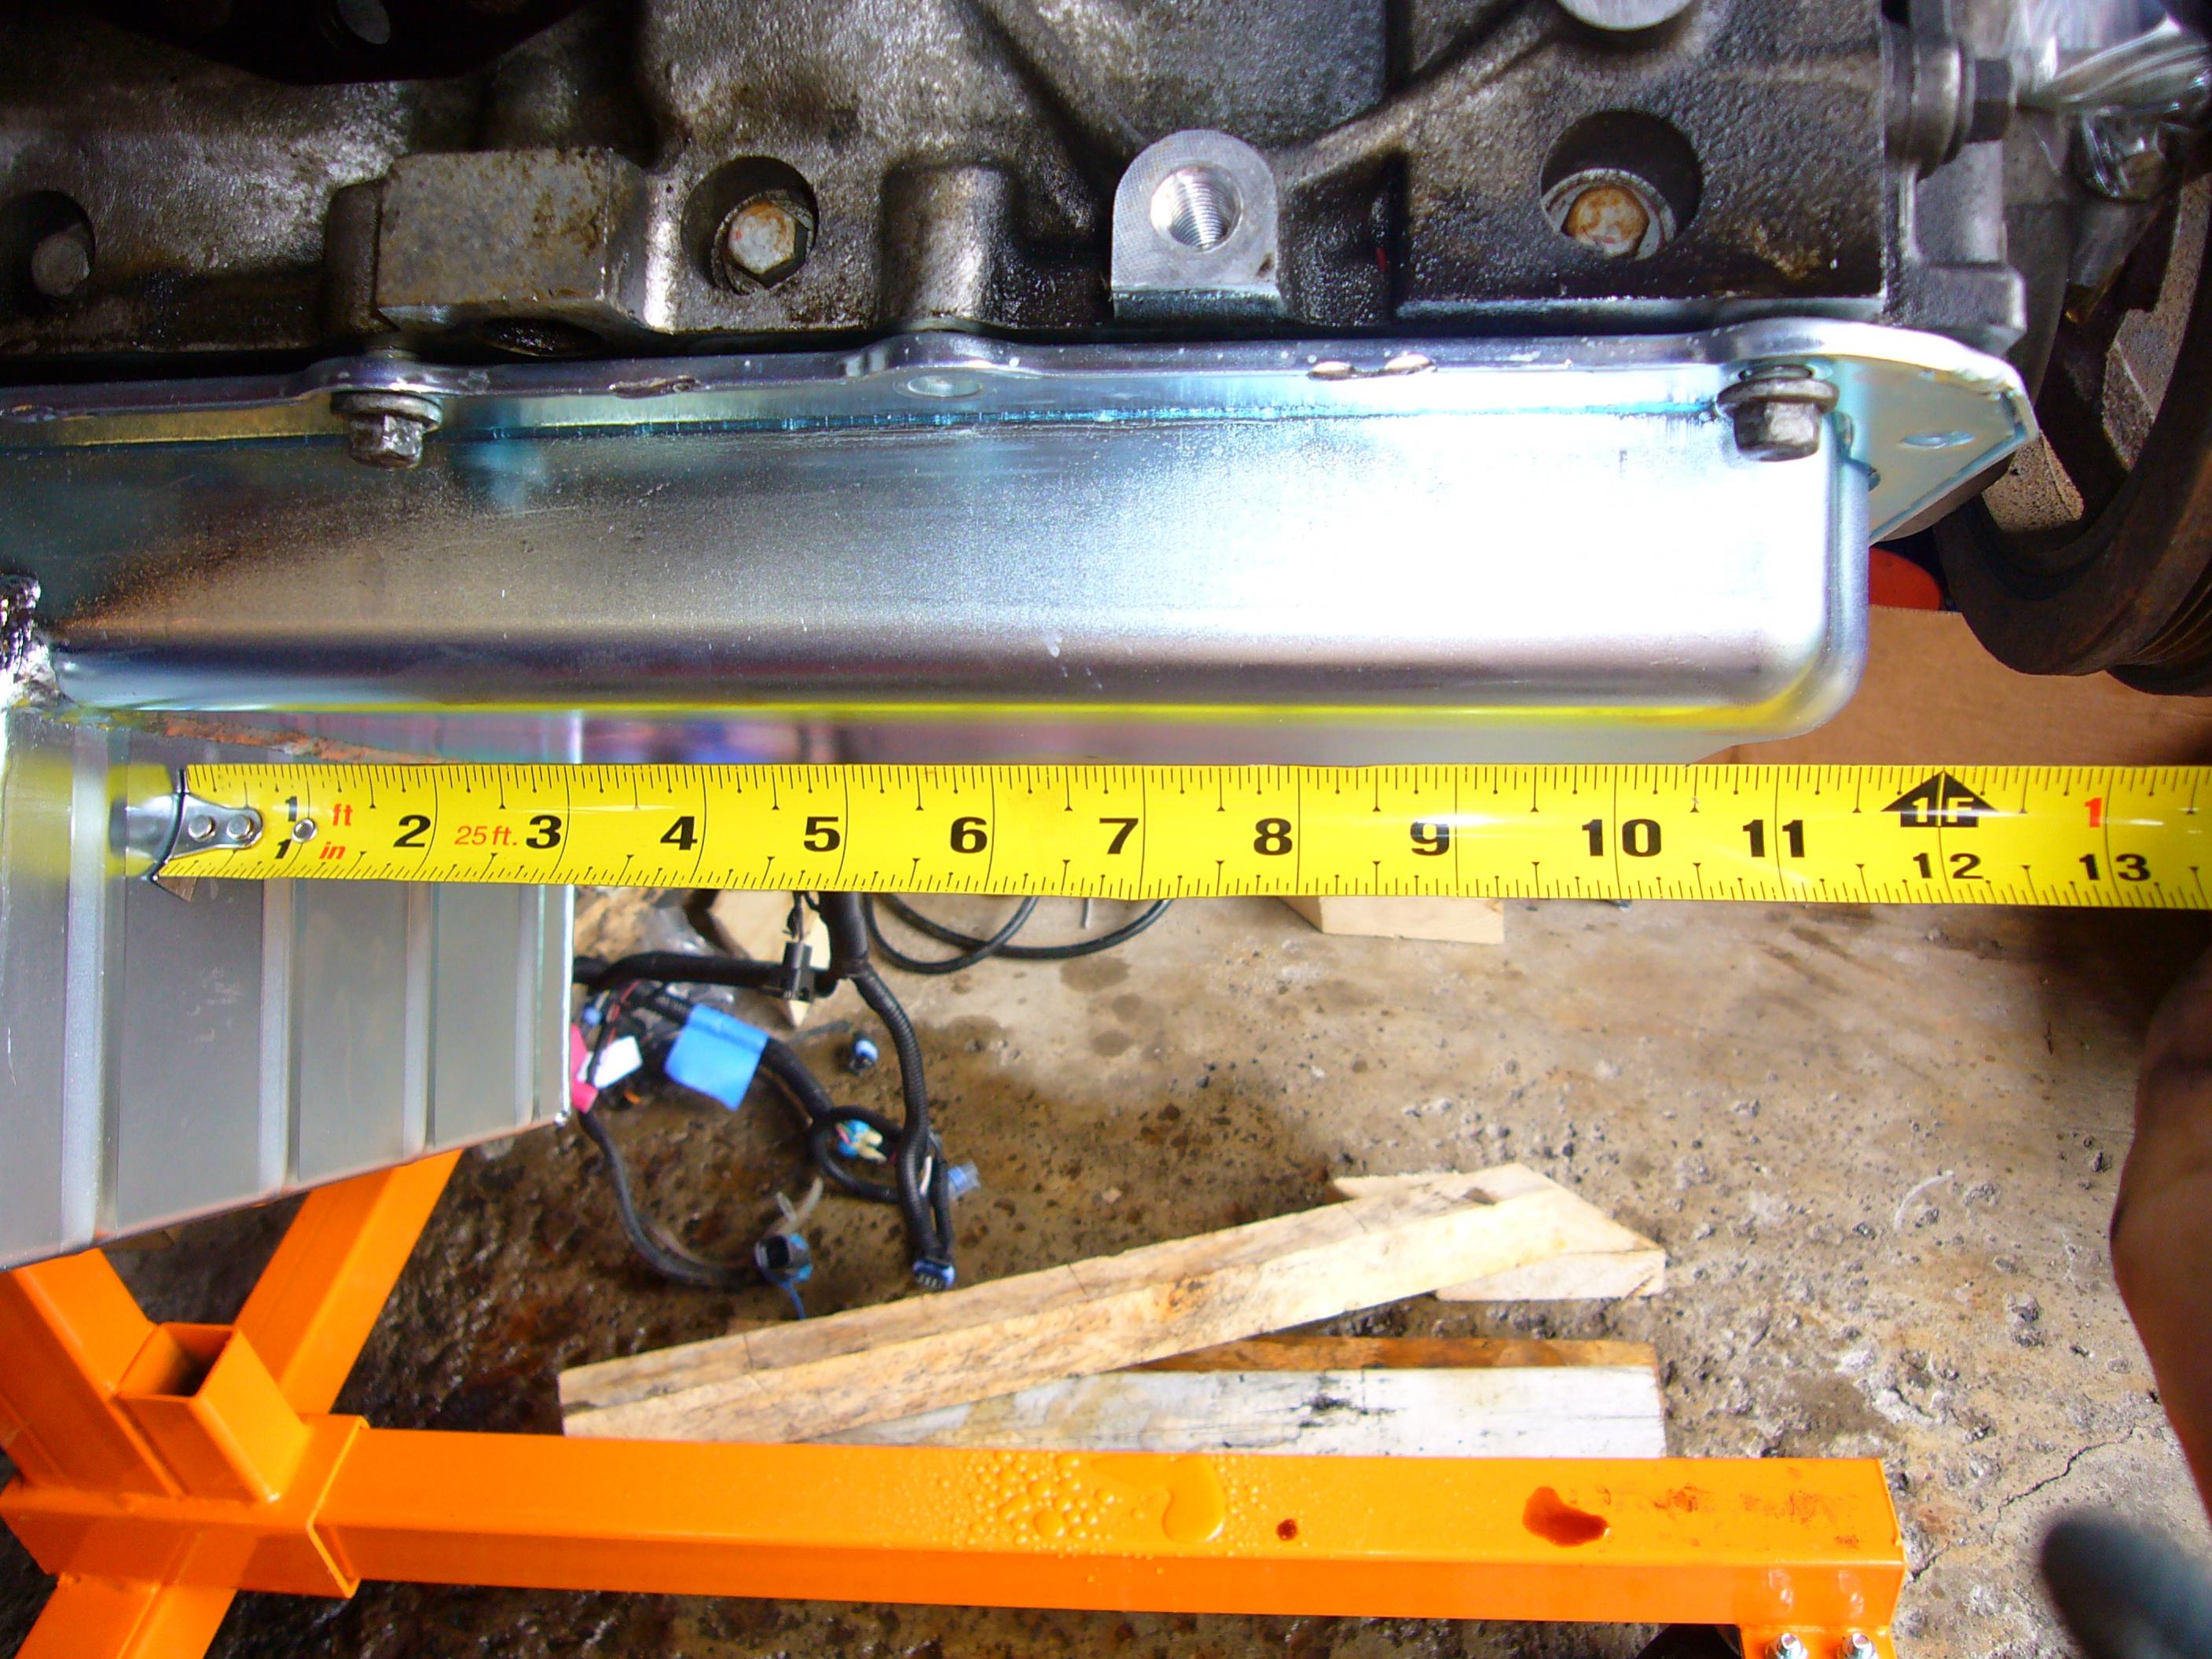
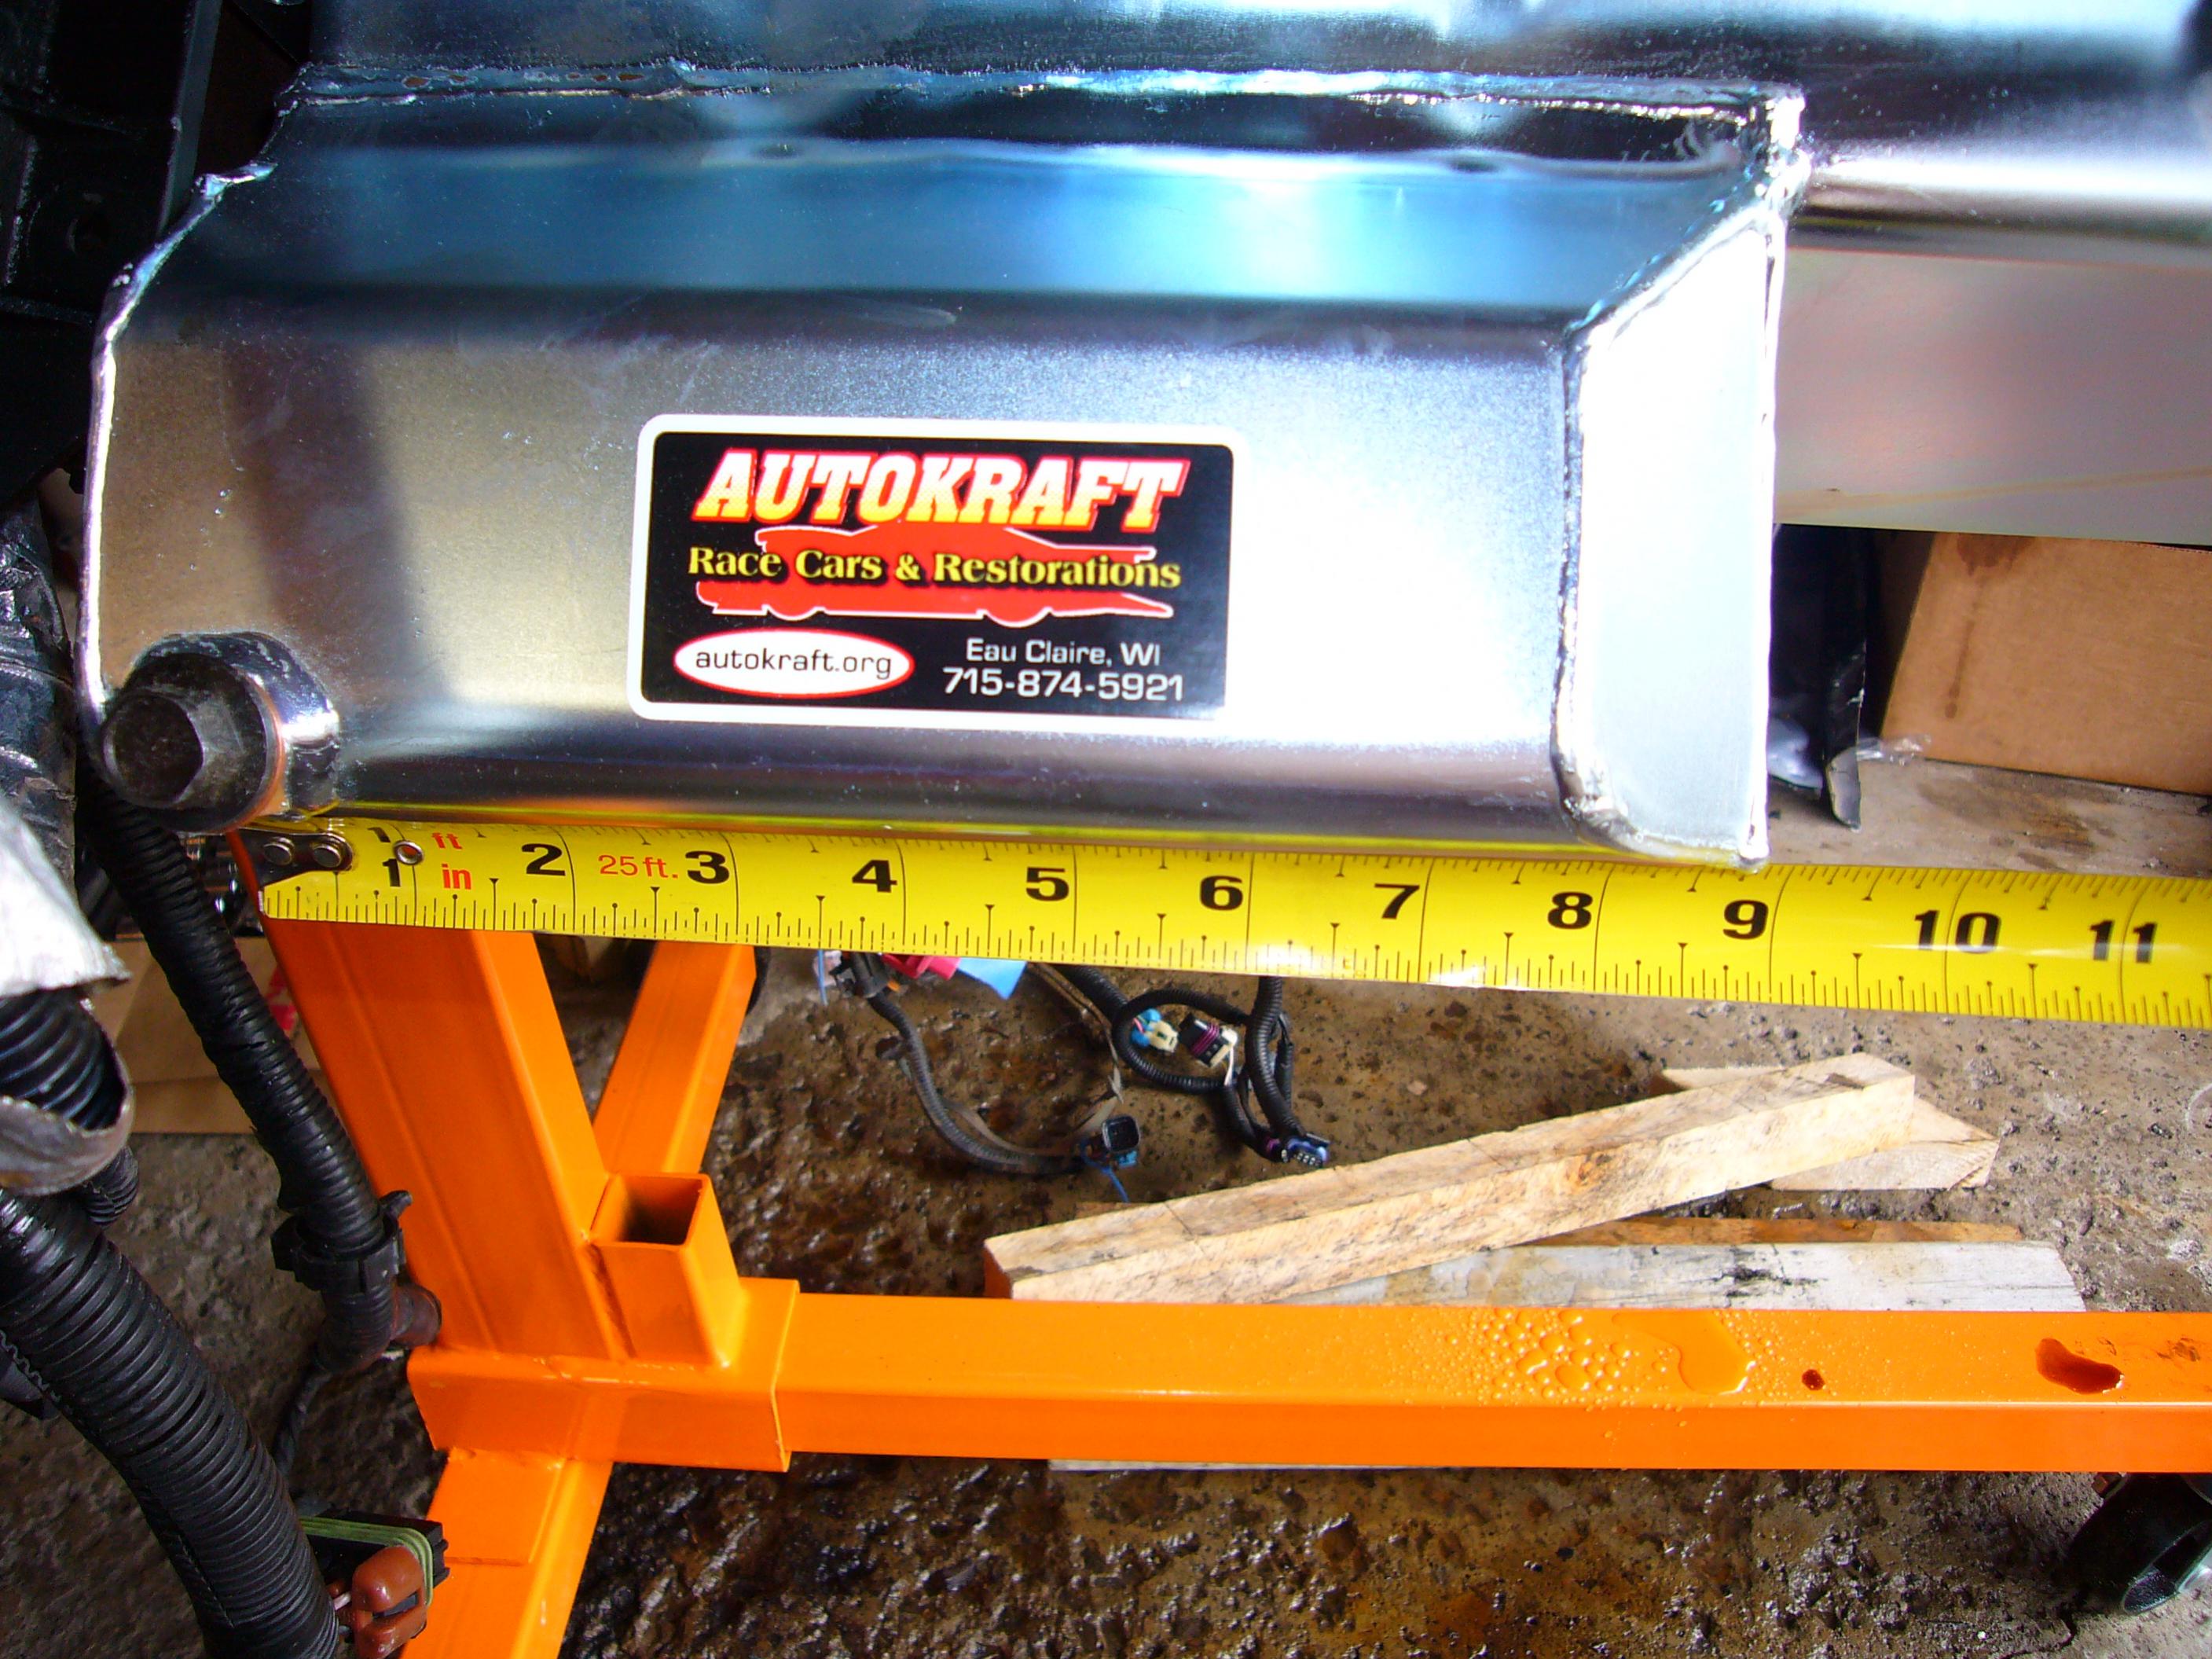
if you didnt get around to getting this AutoKraft oil pan then take a look at my build. i have all the dimensions of that pan shown. you can be sure if itll fit. i got it and it looks great. the pickup fits perfect and everything. it is post #38 on page 2 here ---> click
great write-up so far though. keep up the good work!
-
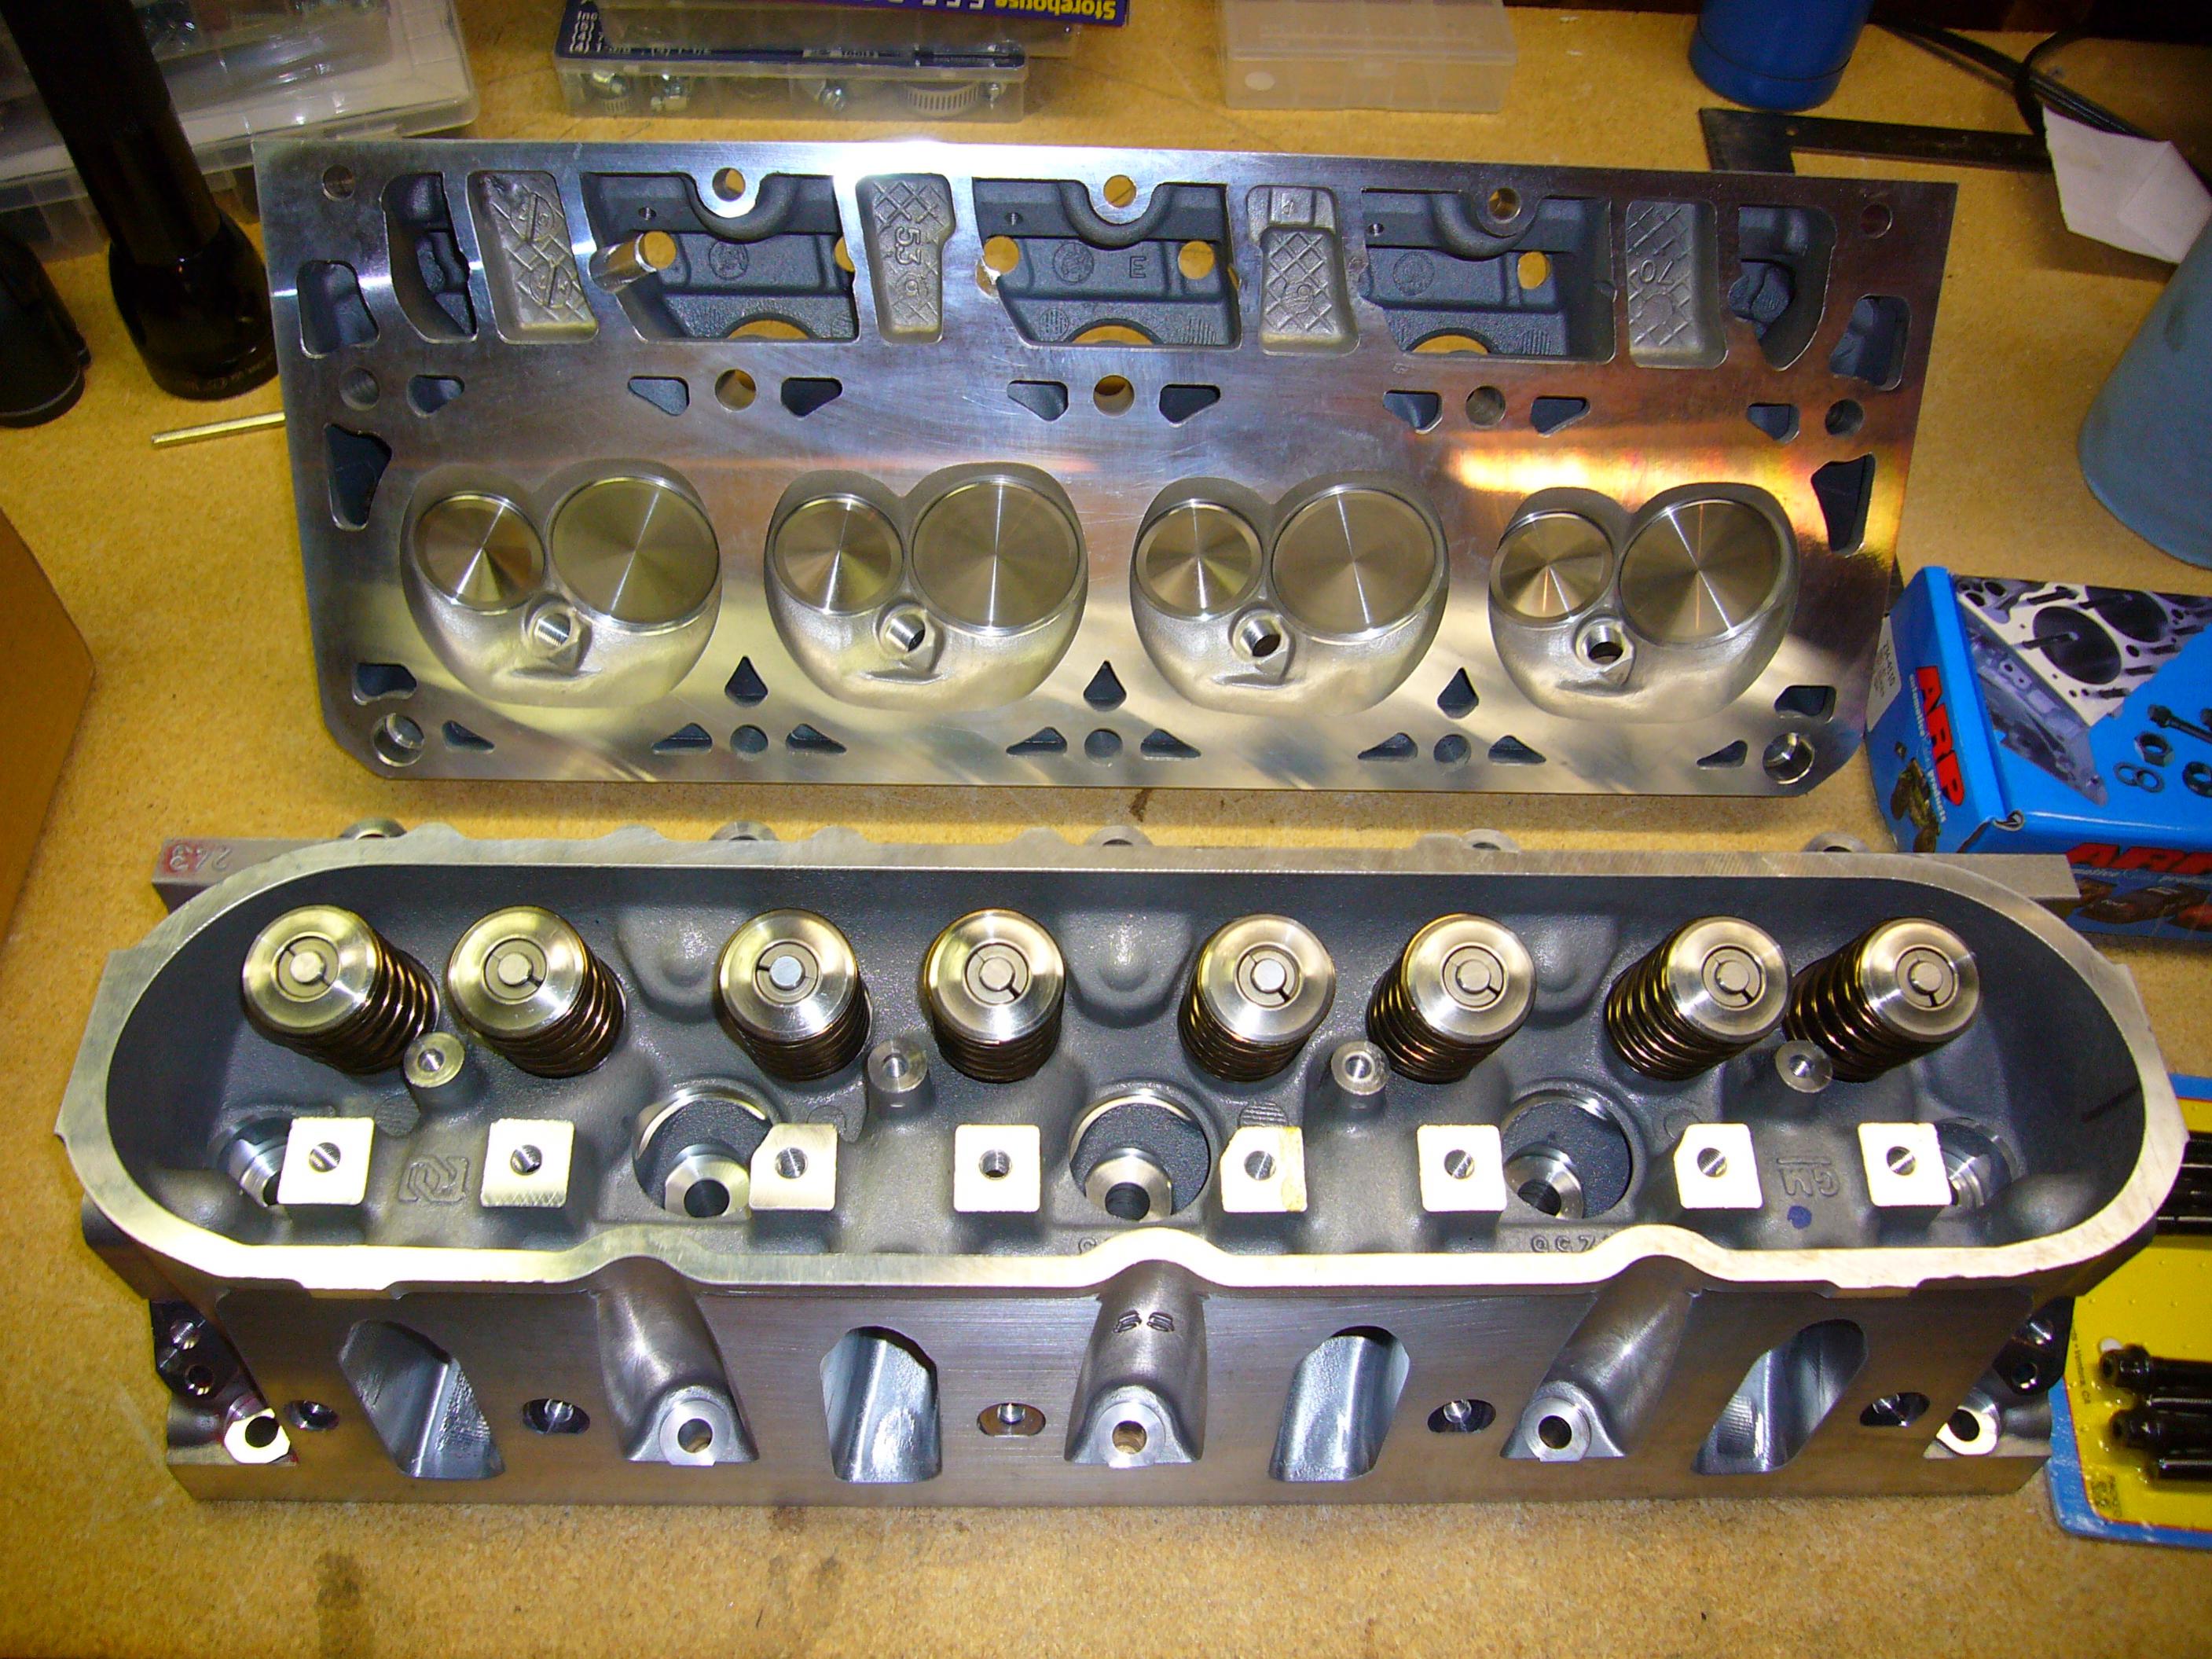
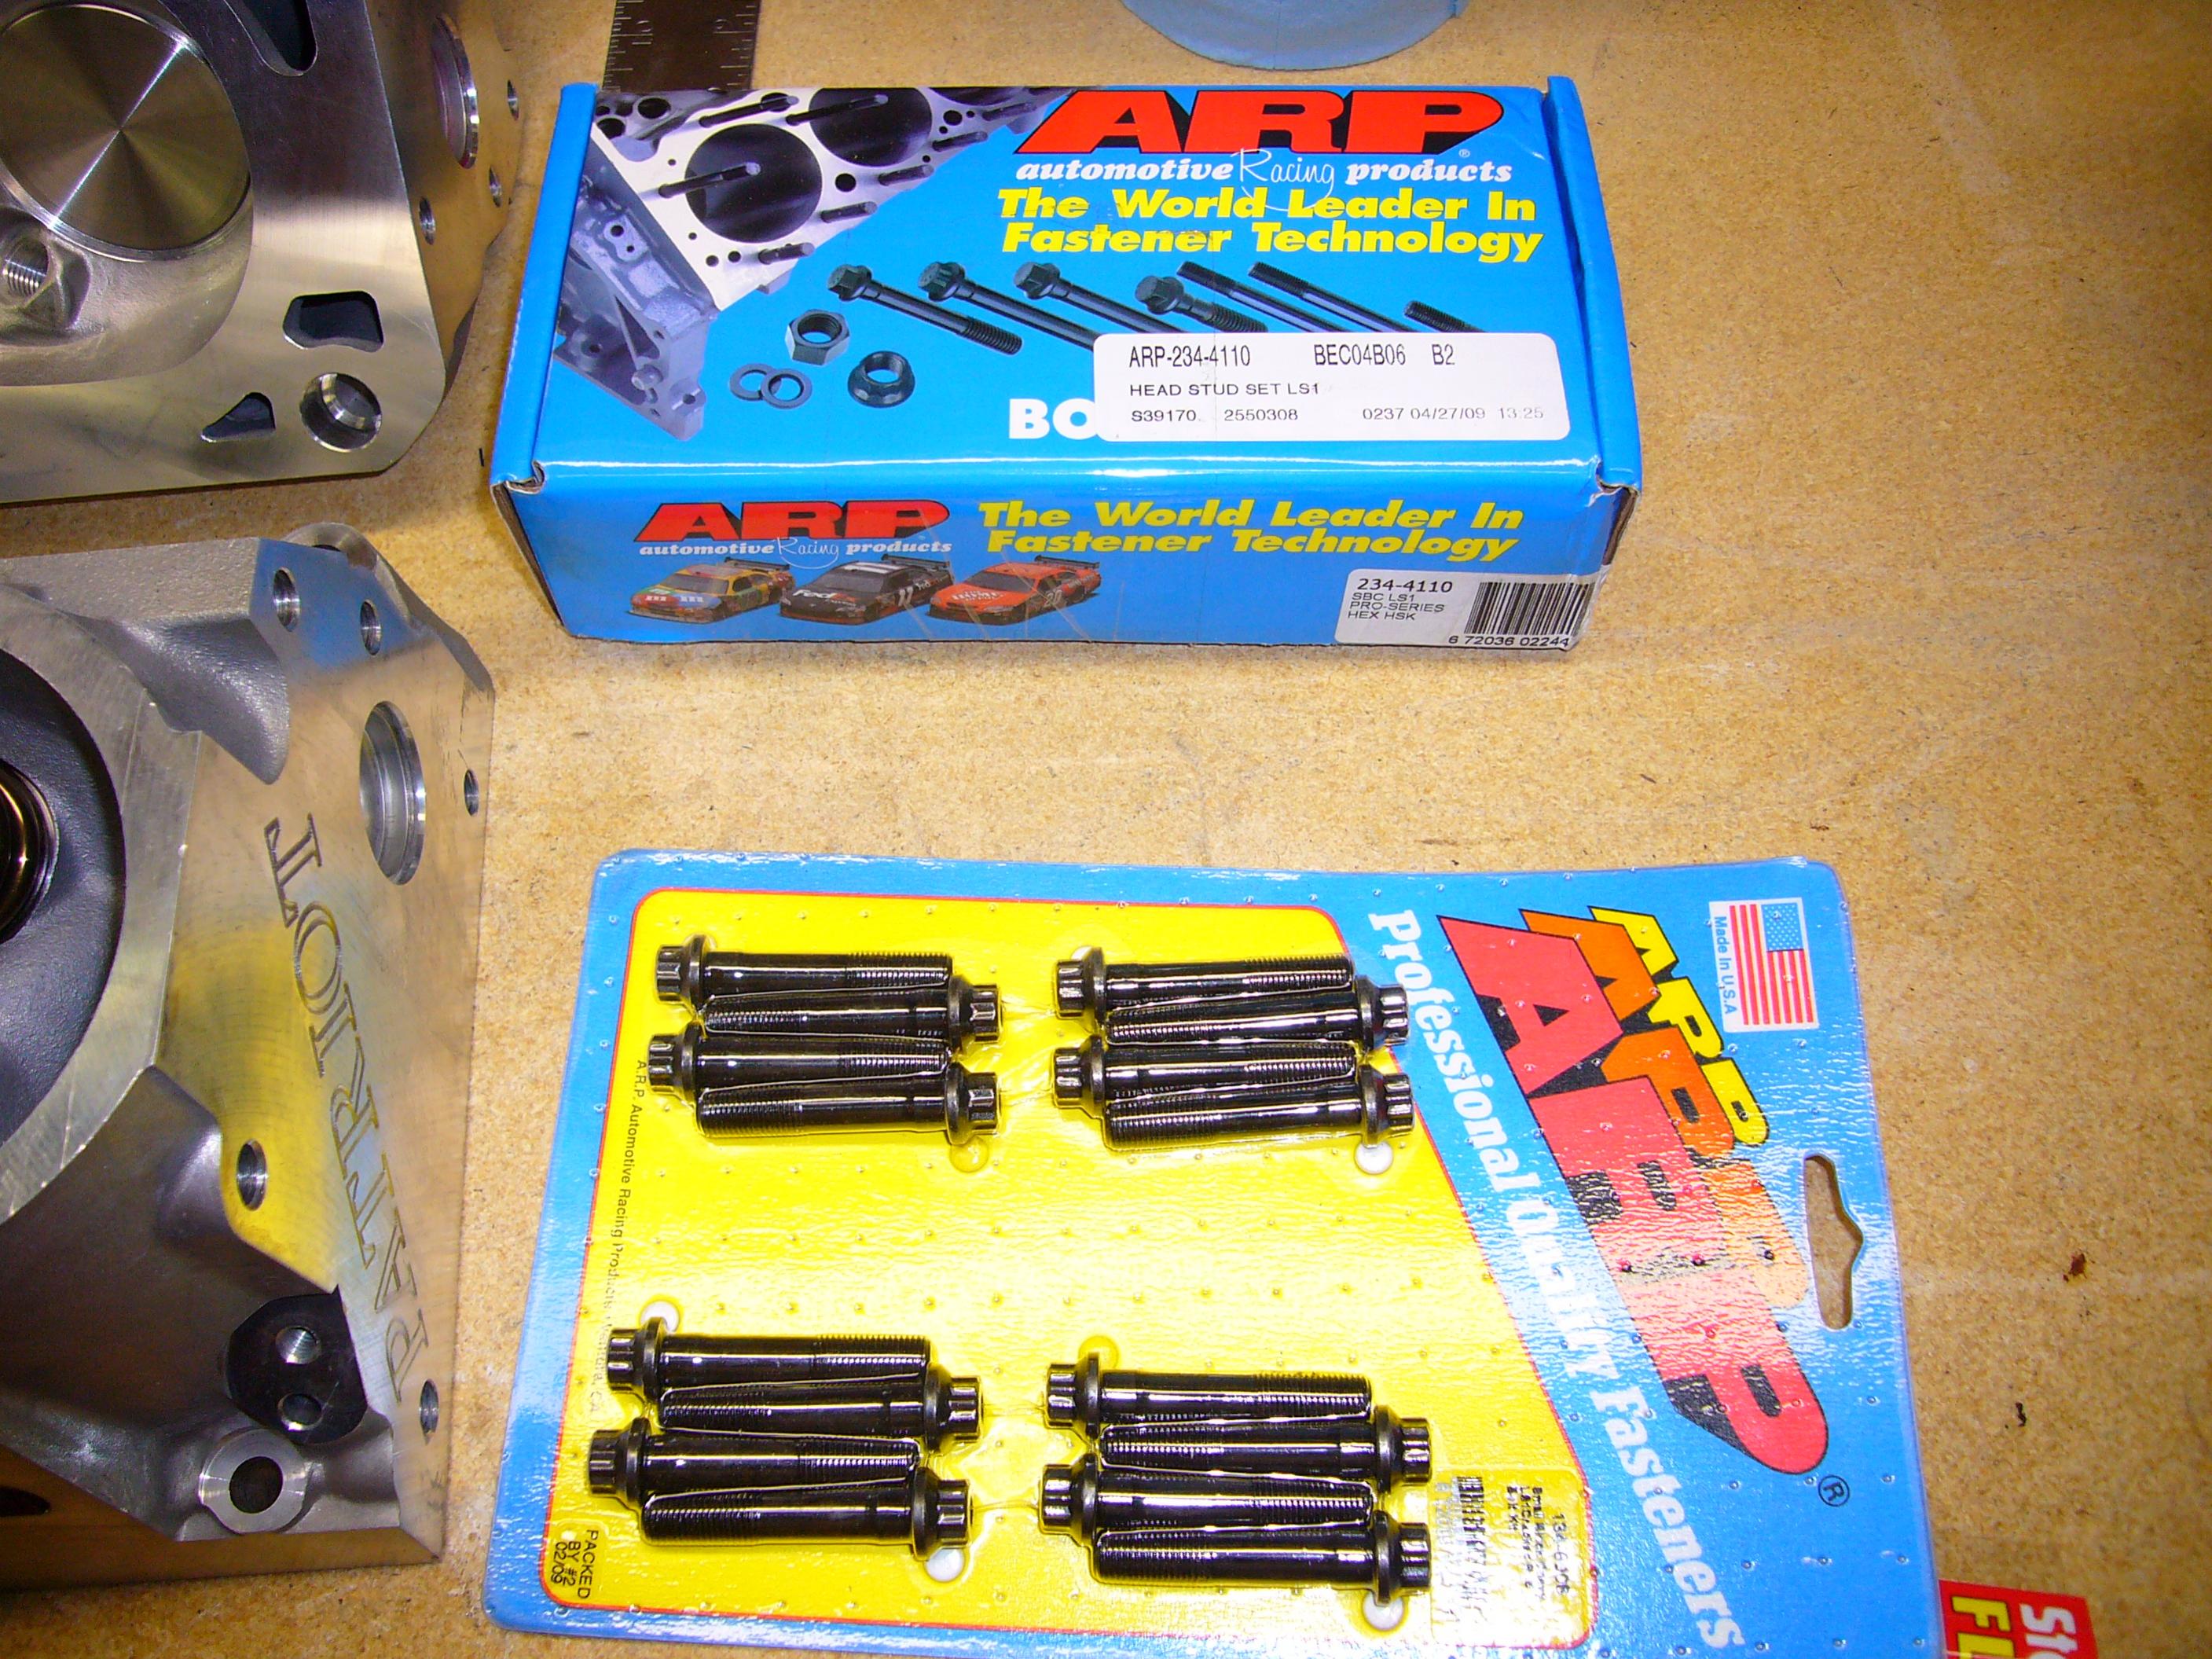
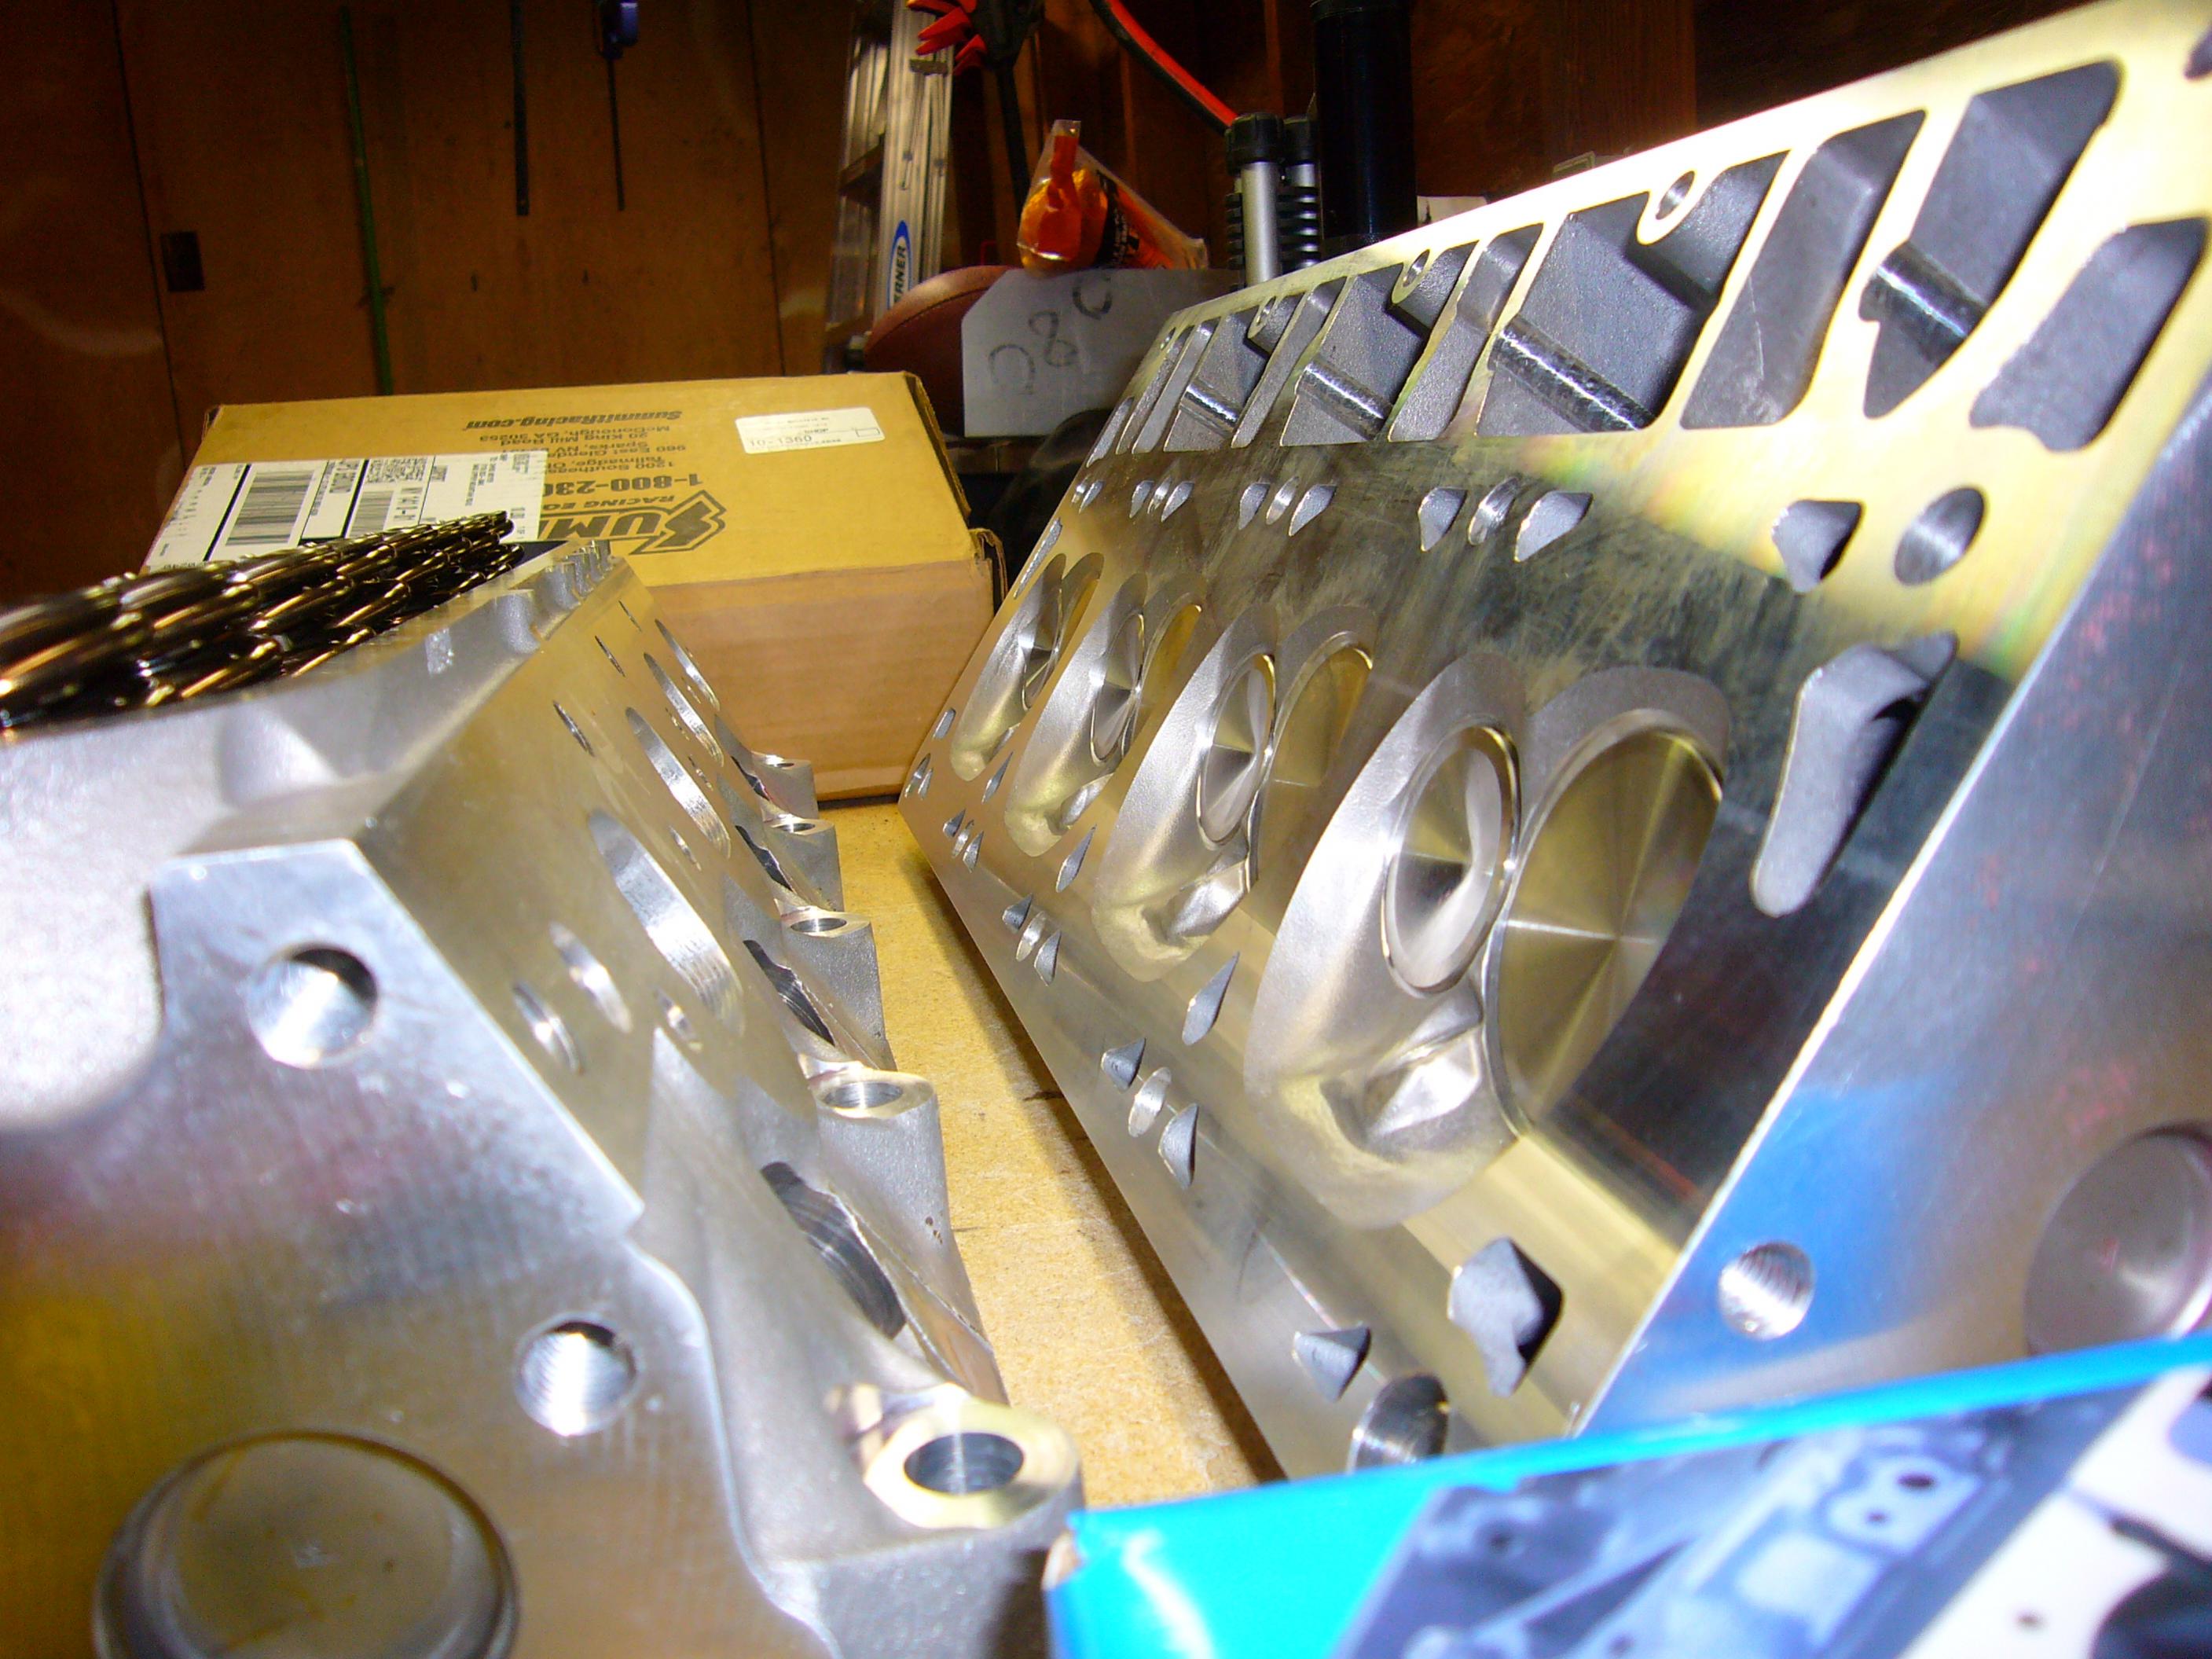
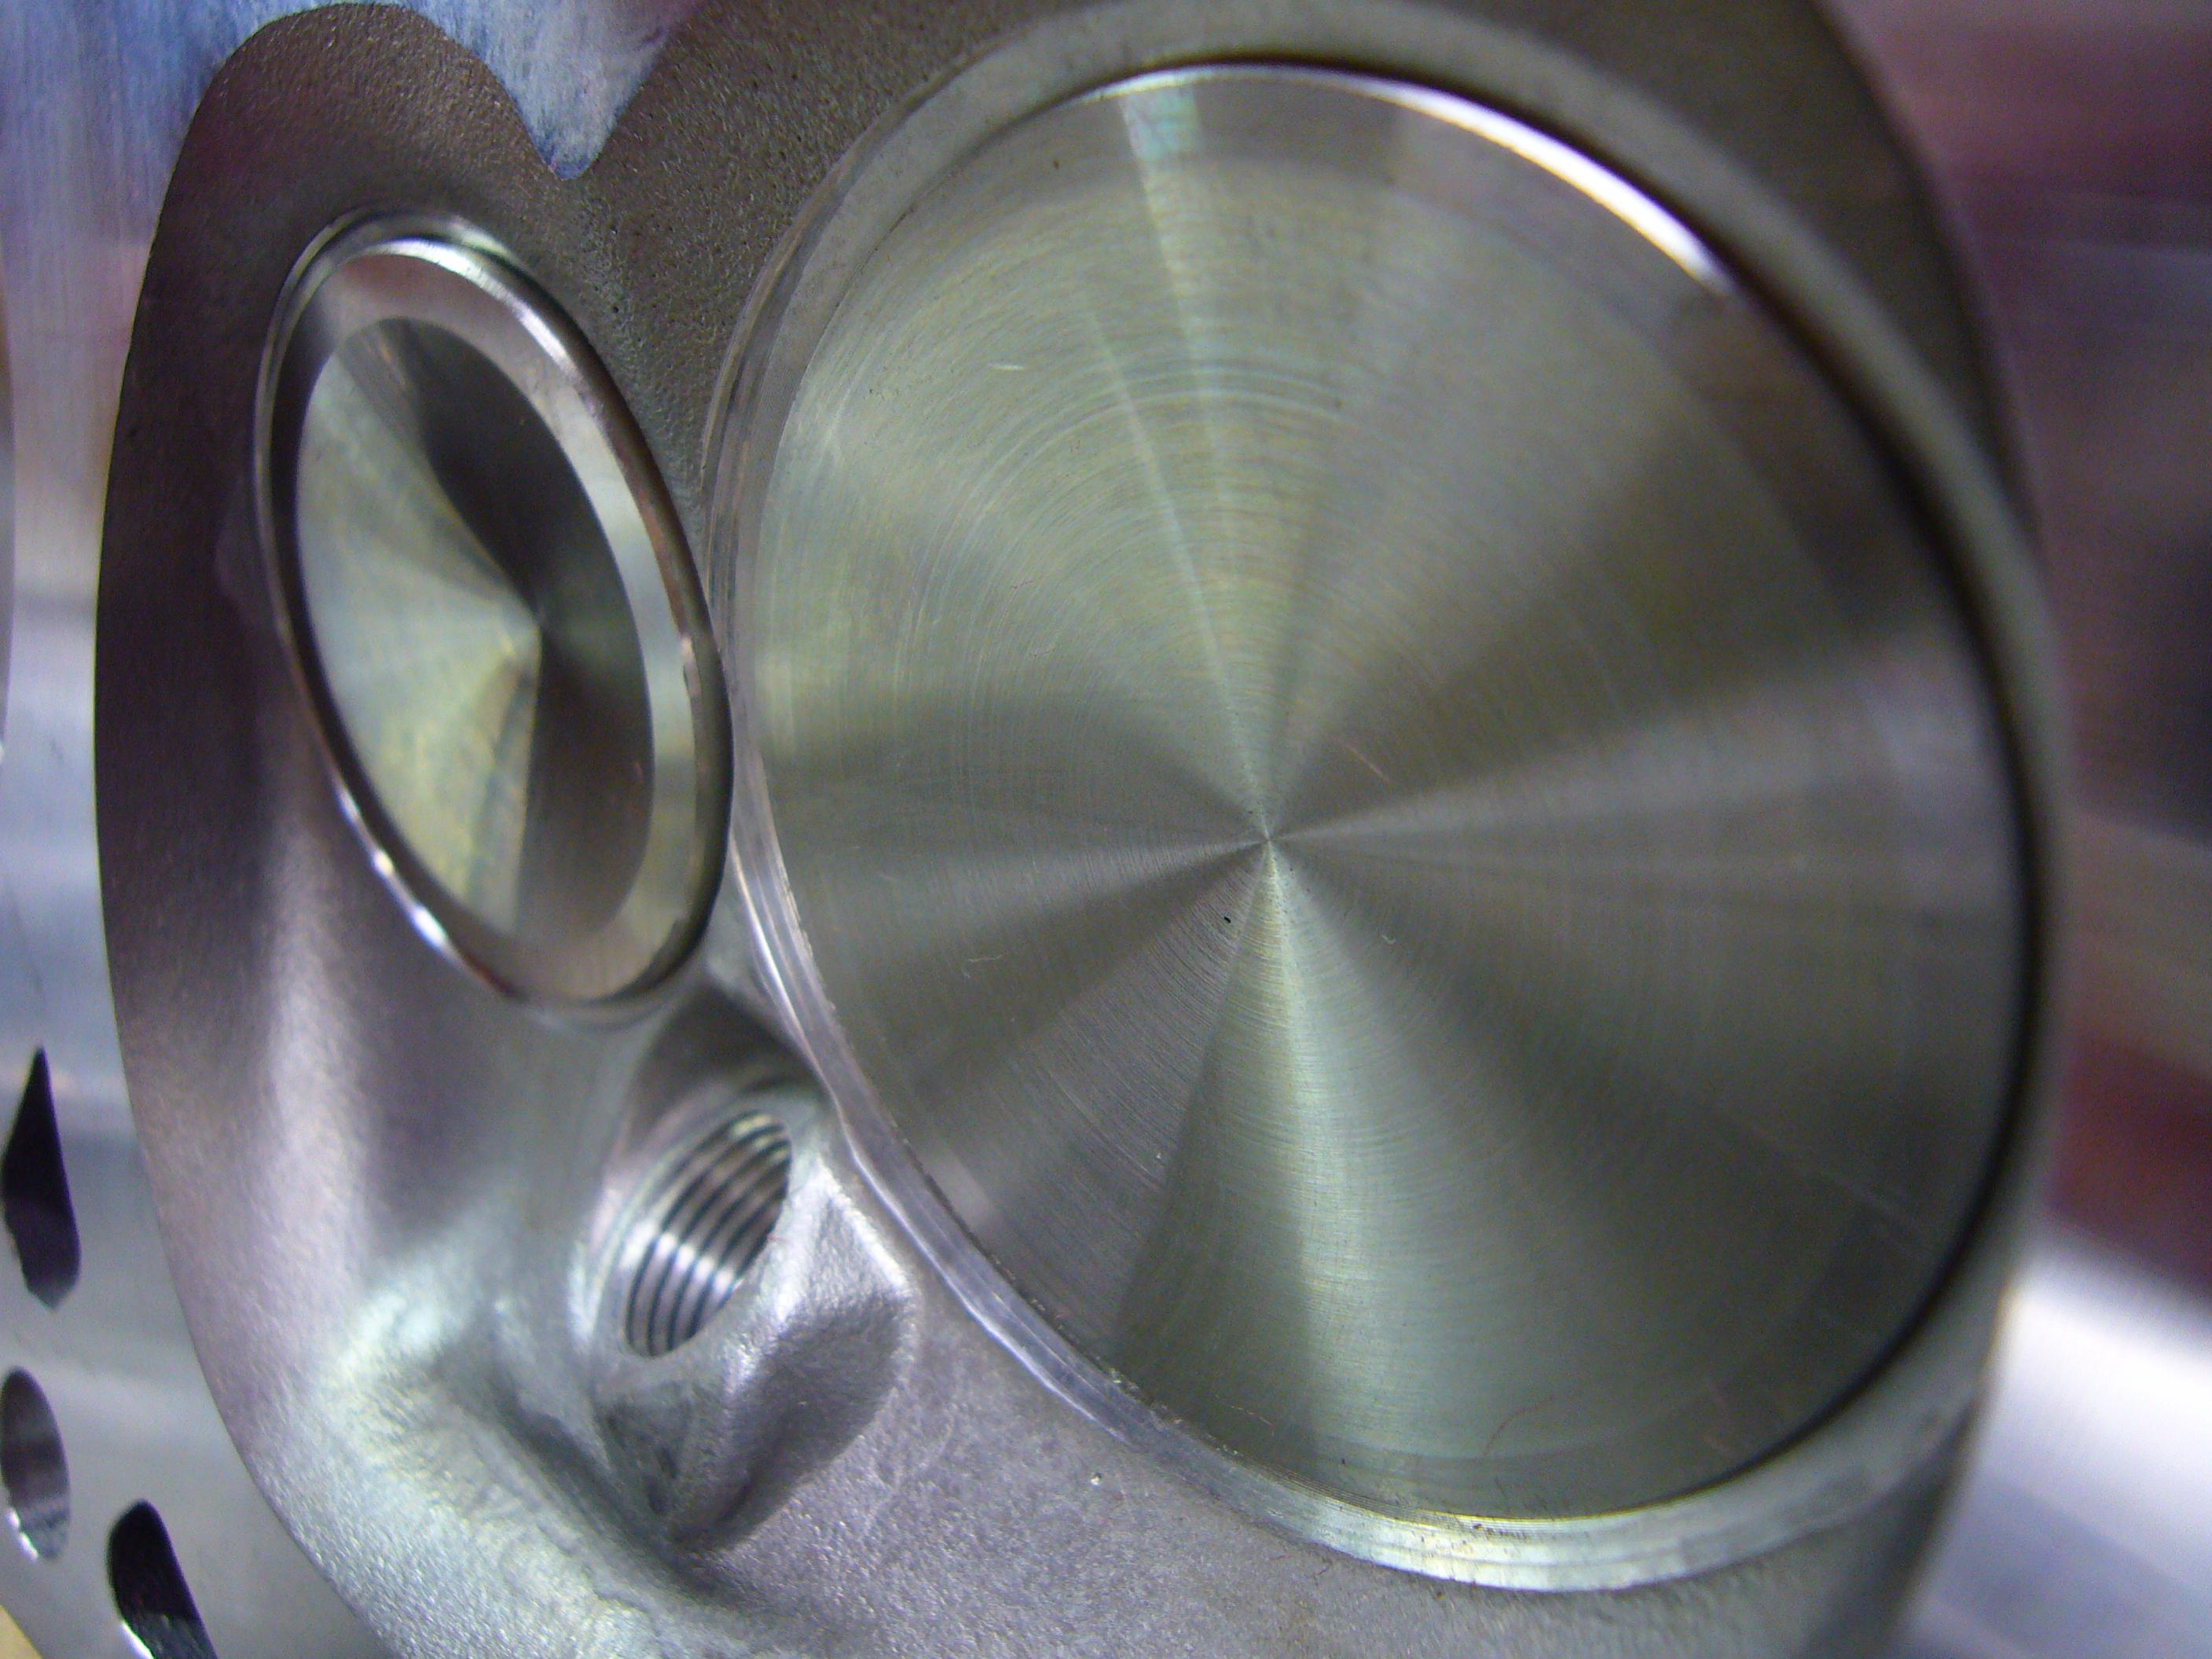
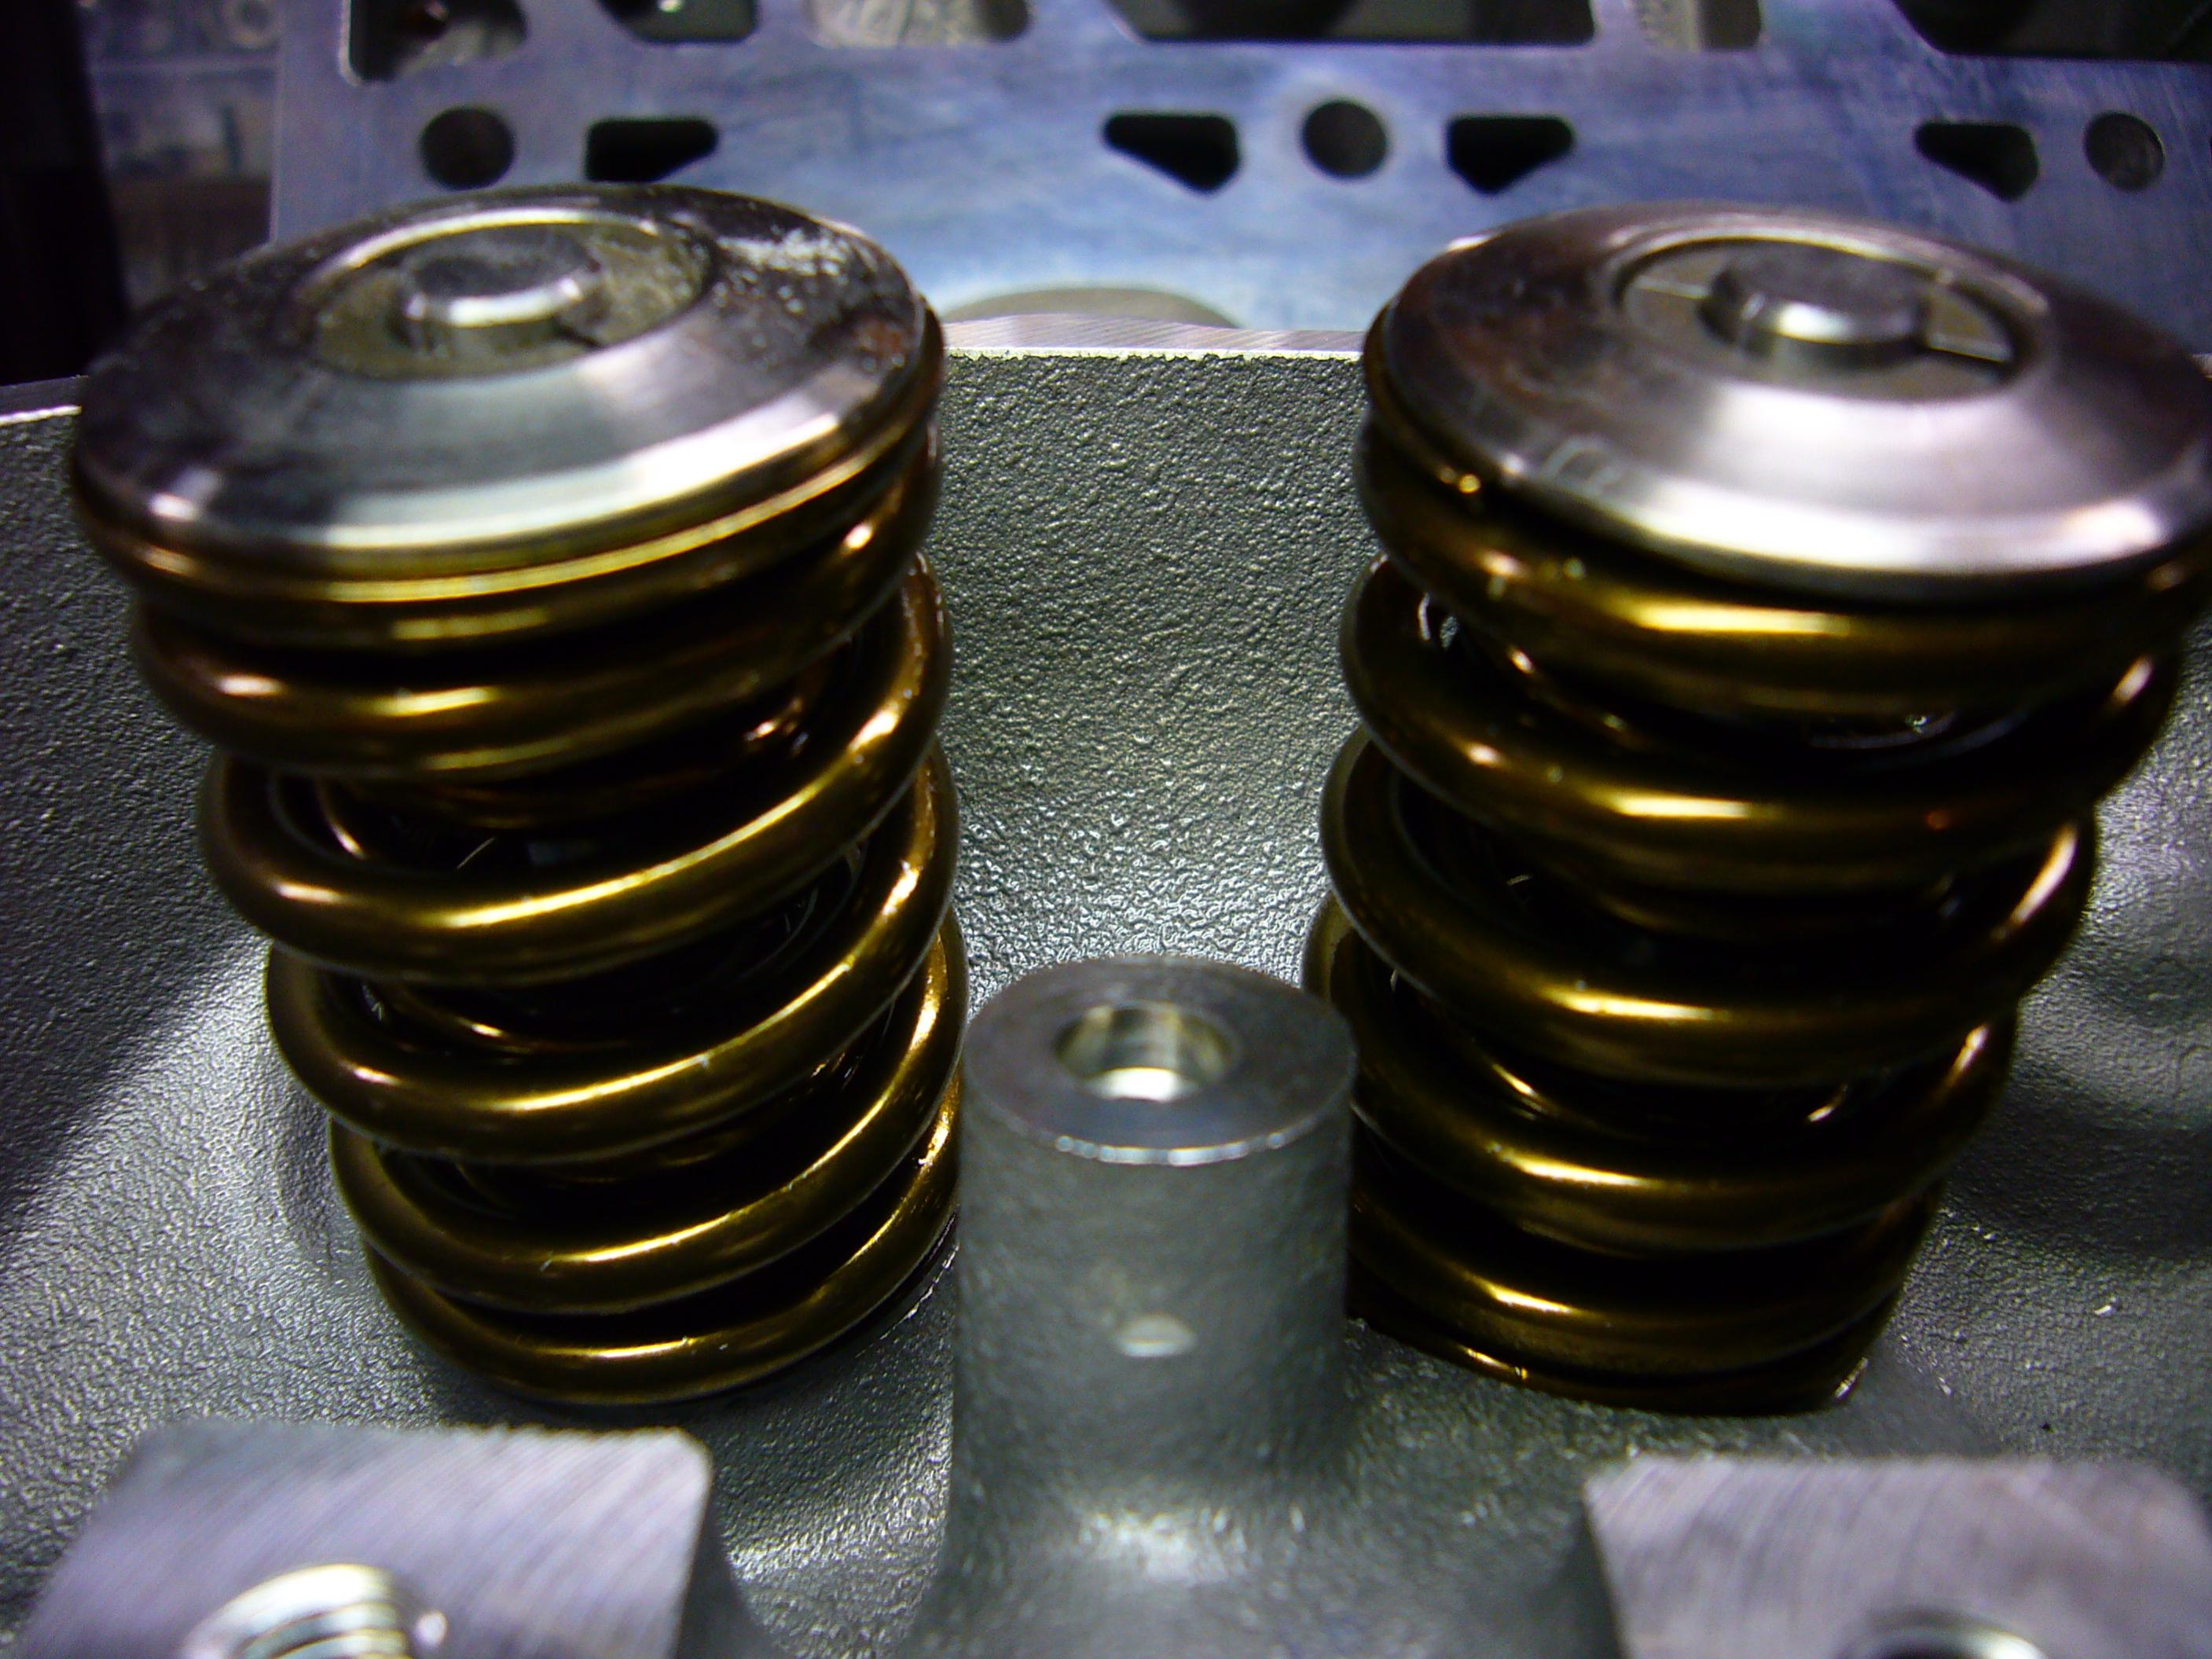
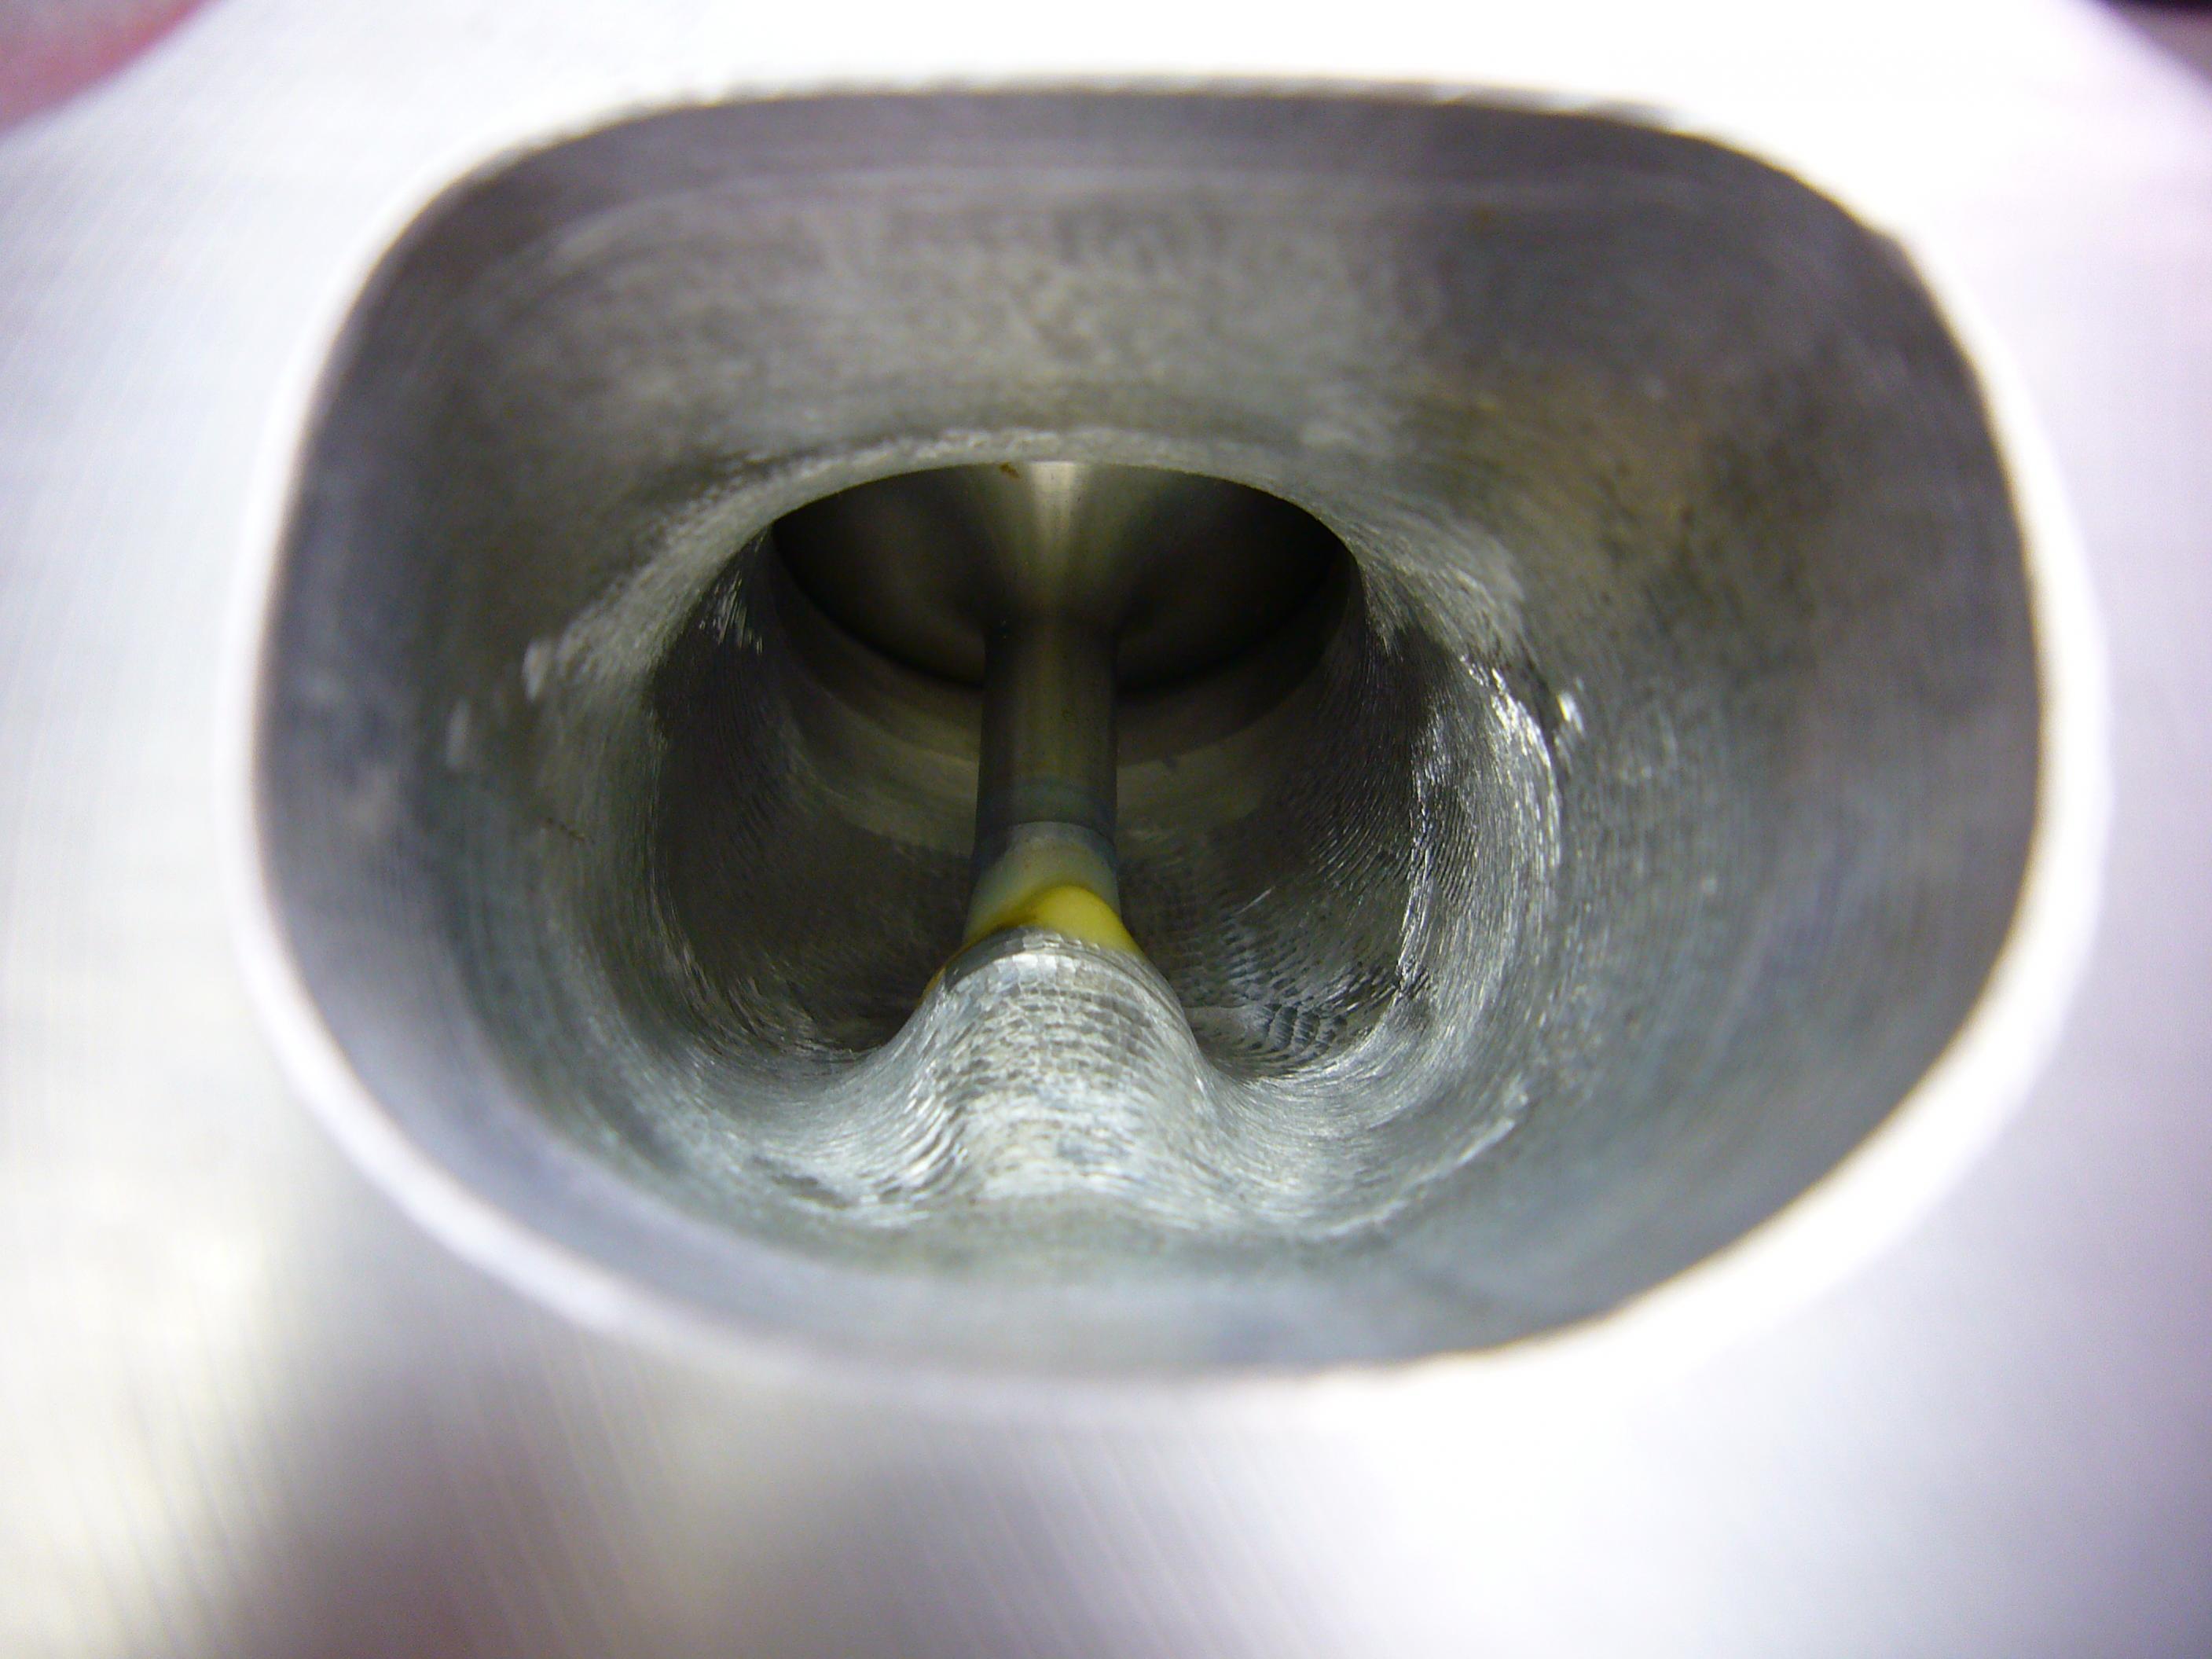
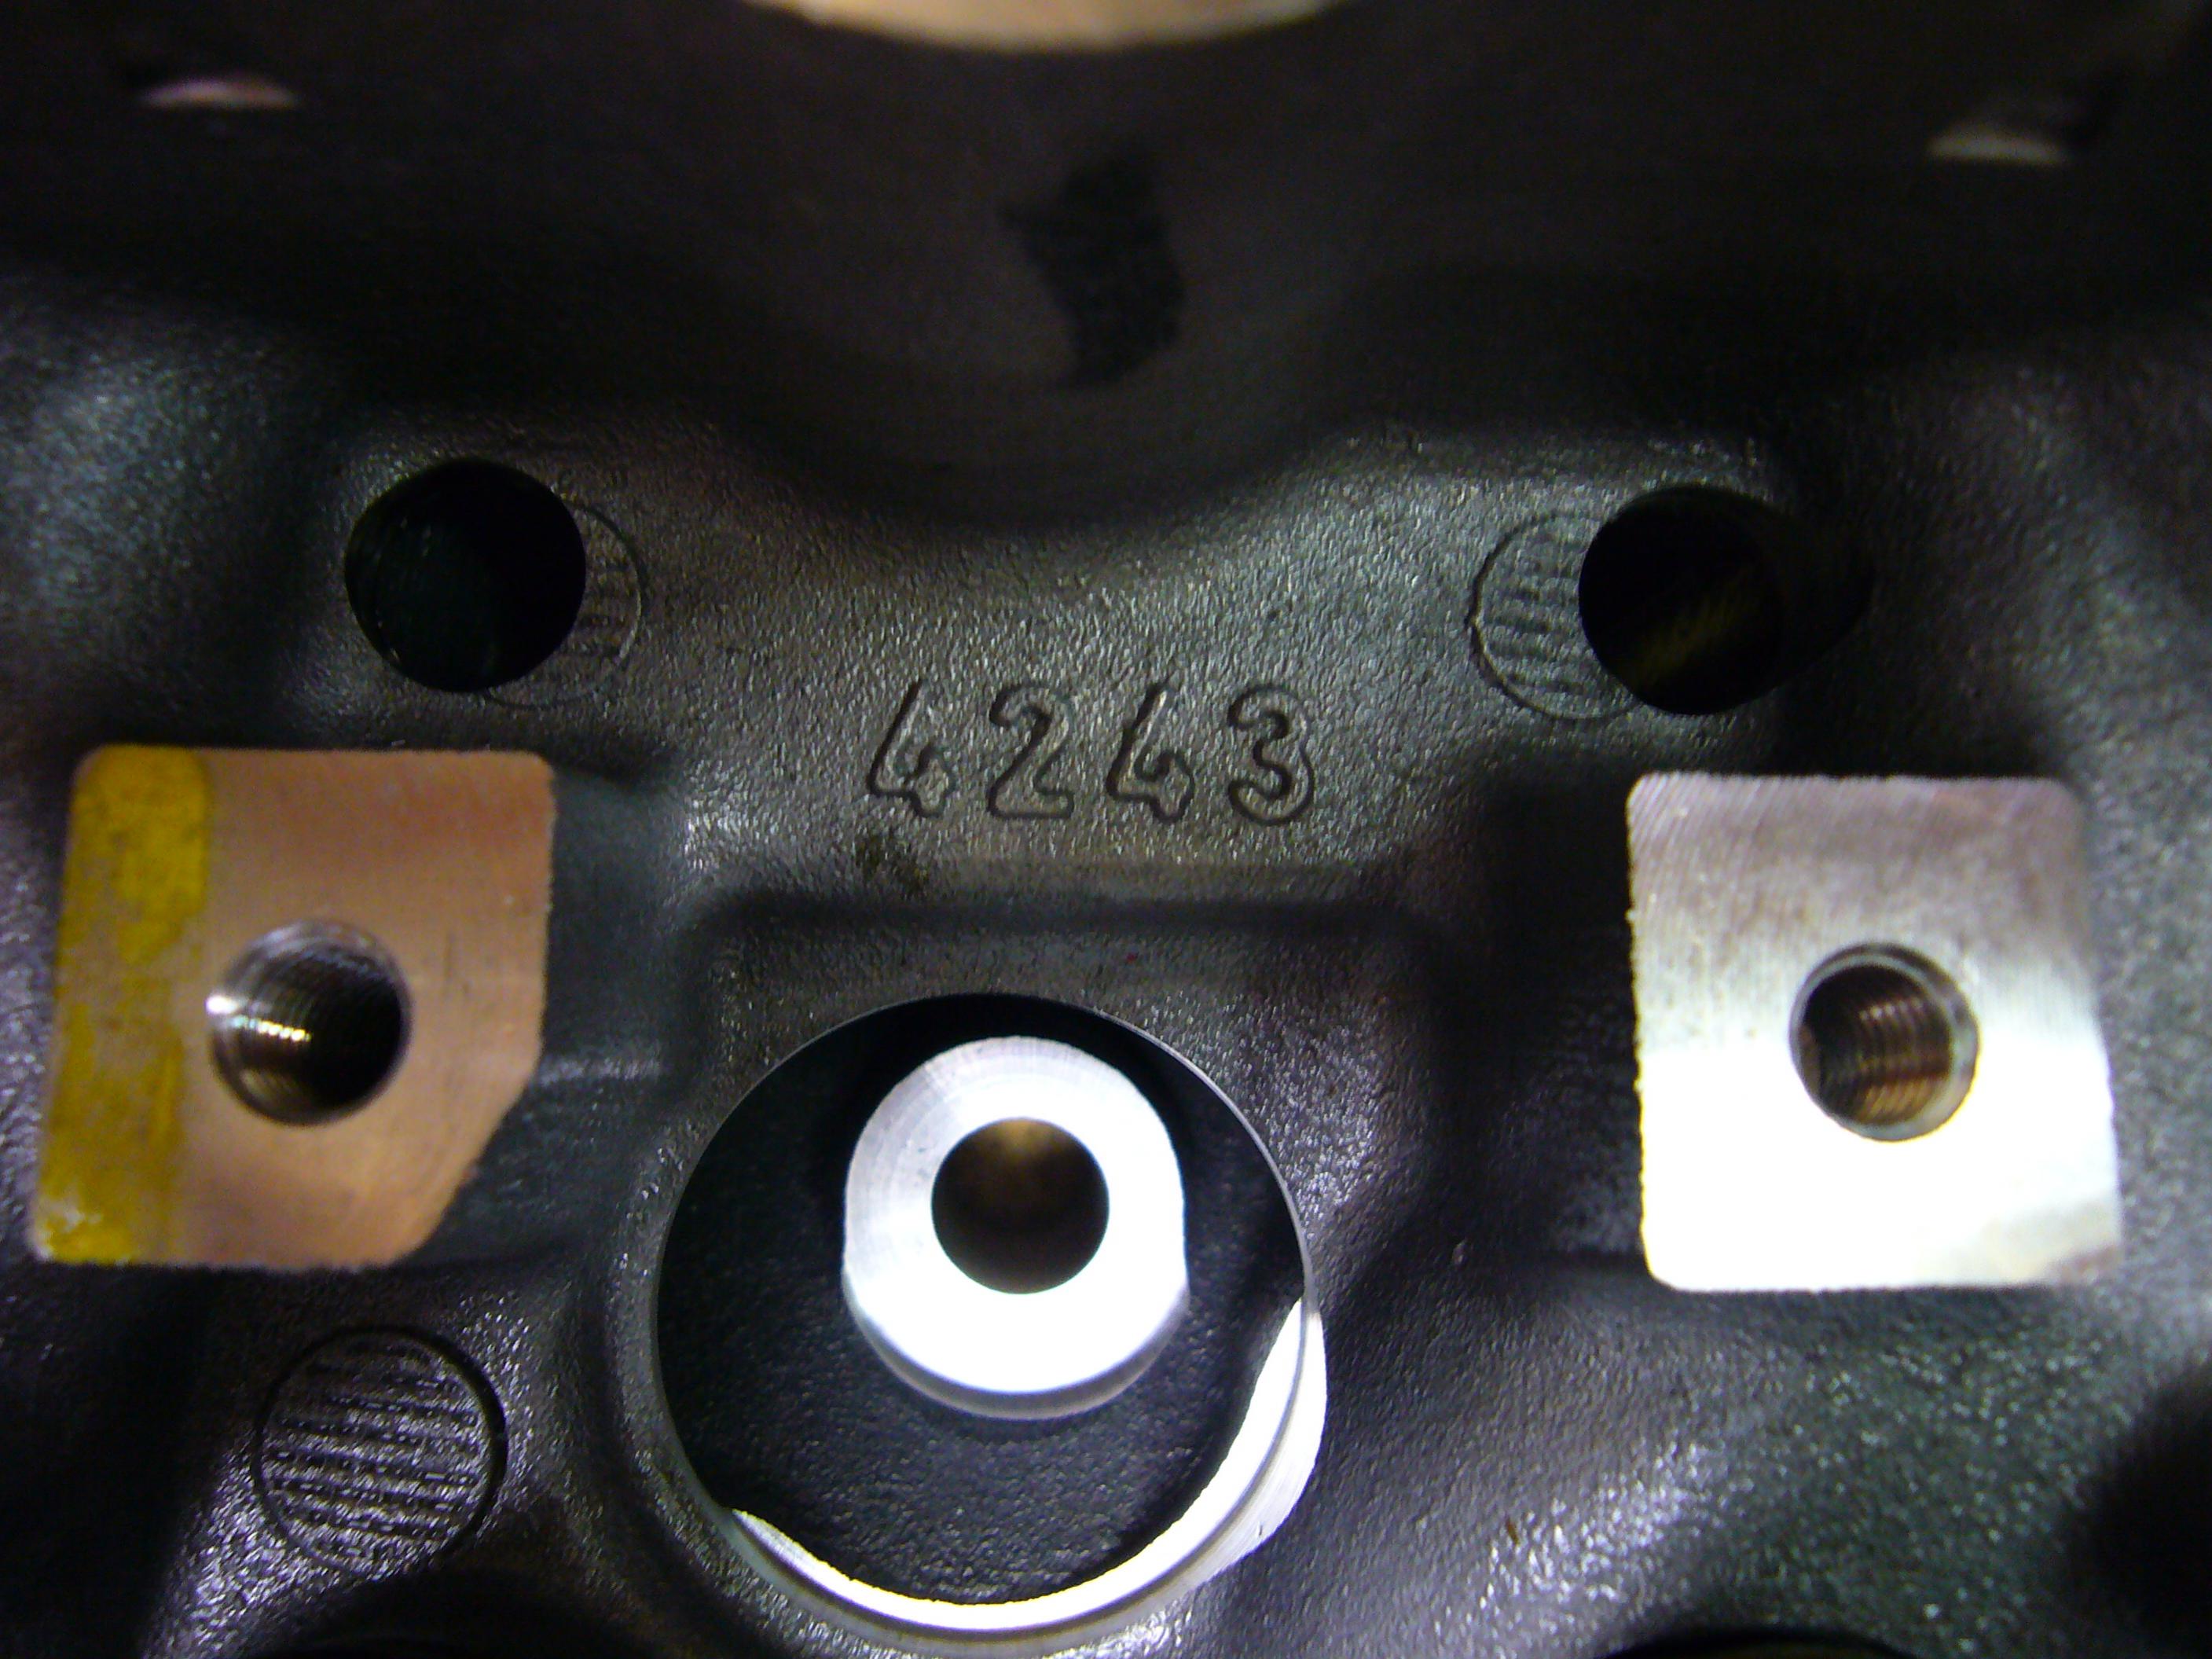
so i just got my Patriot heads and ARP head studs and connecting rod bolts. i cant wait to get these on.
the heads are CNC ported, 5 angle, 64cc (good for 10.5:1 compression), 243 cast (LS6), and flow 304cfm at .600 lift
304cfm seems a little underrated though because they claim 65cfm over stock flow and stock LS6 heads flow about 260cfm at .600 lift.
-
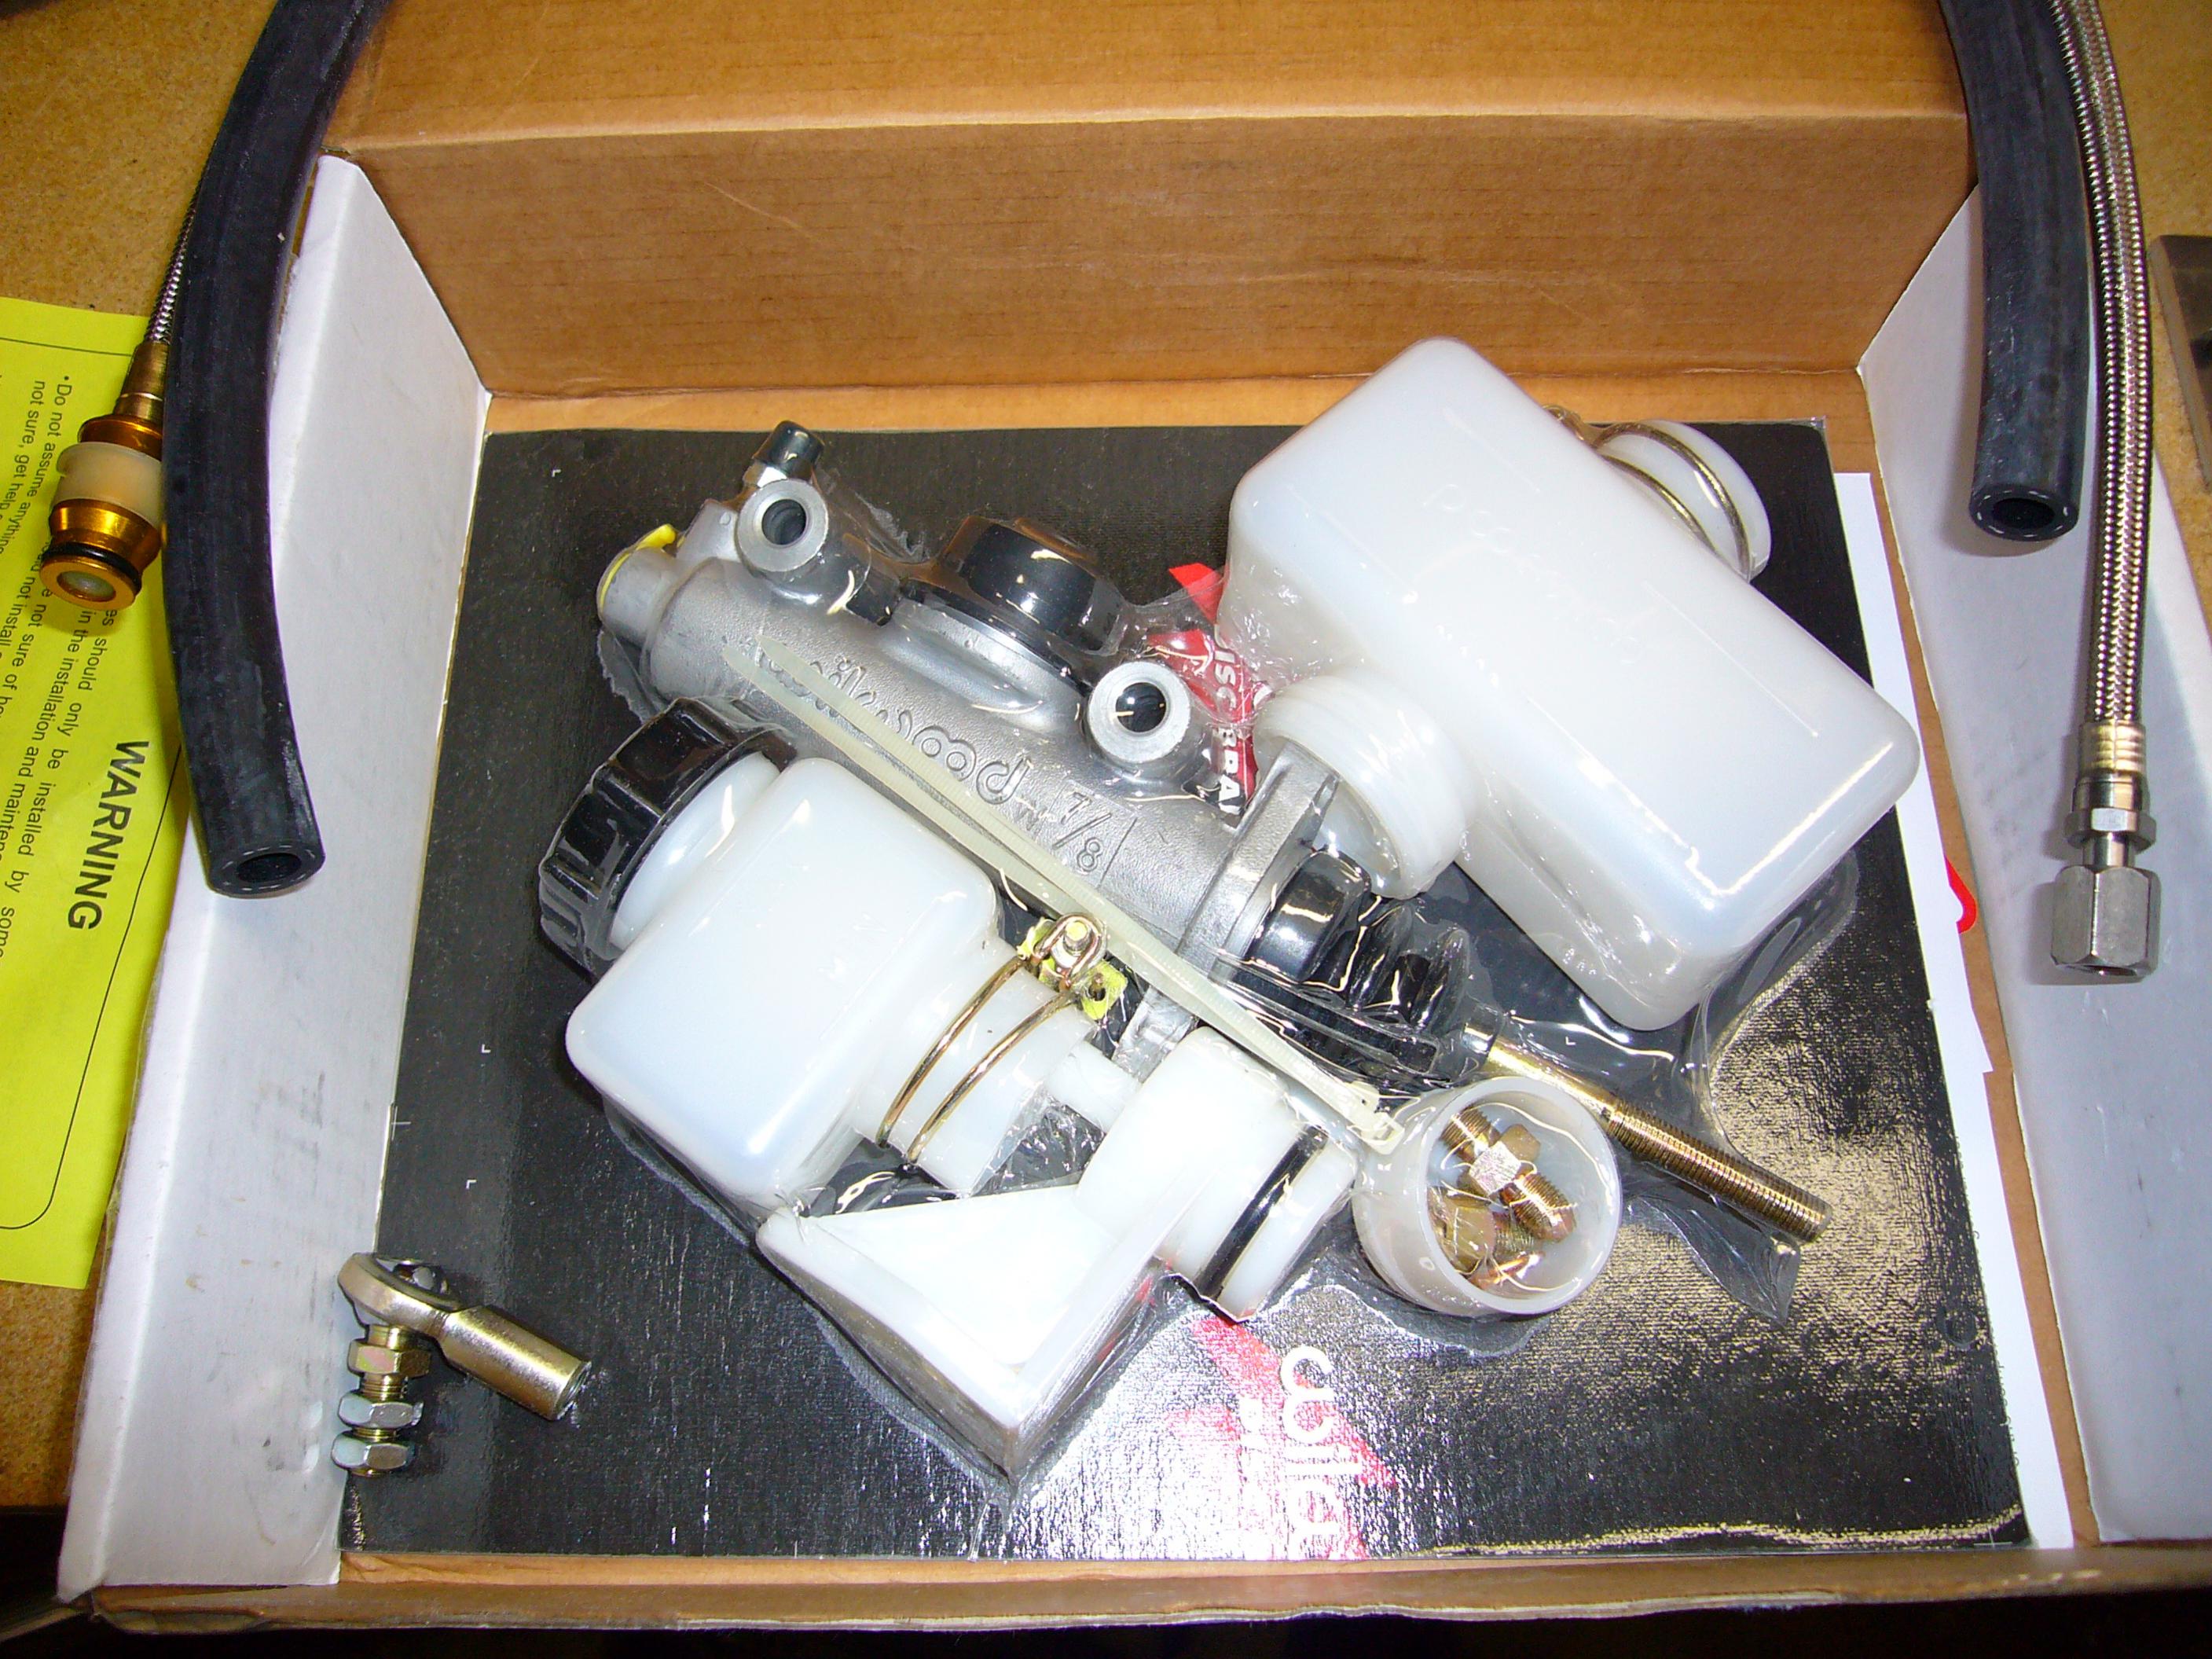
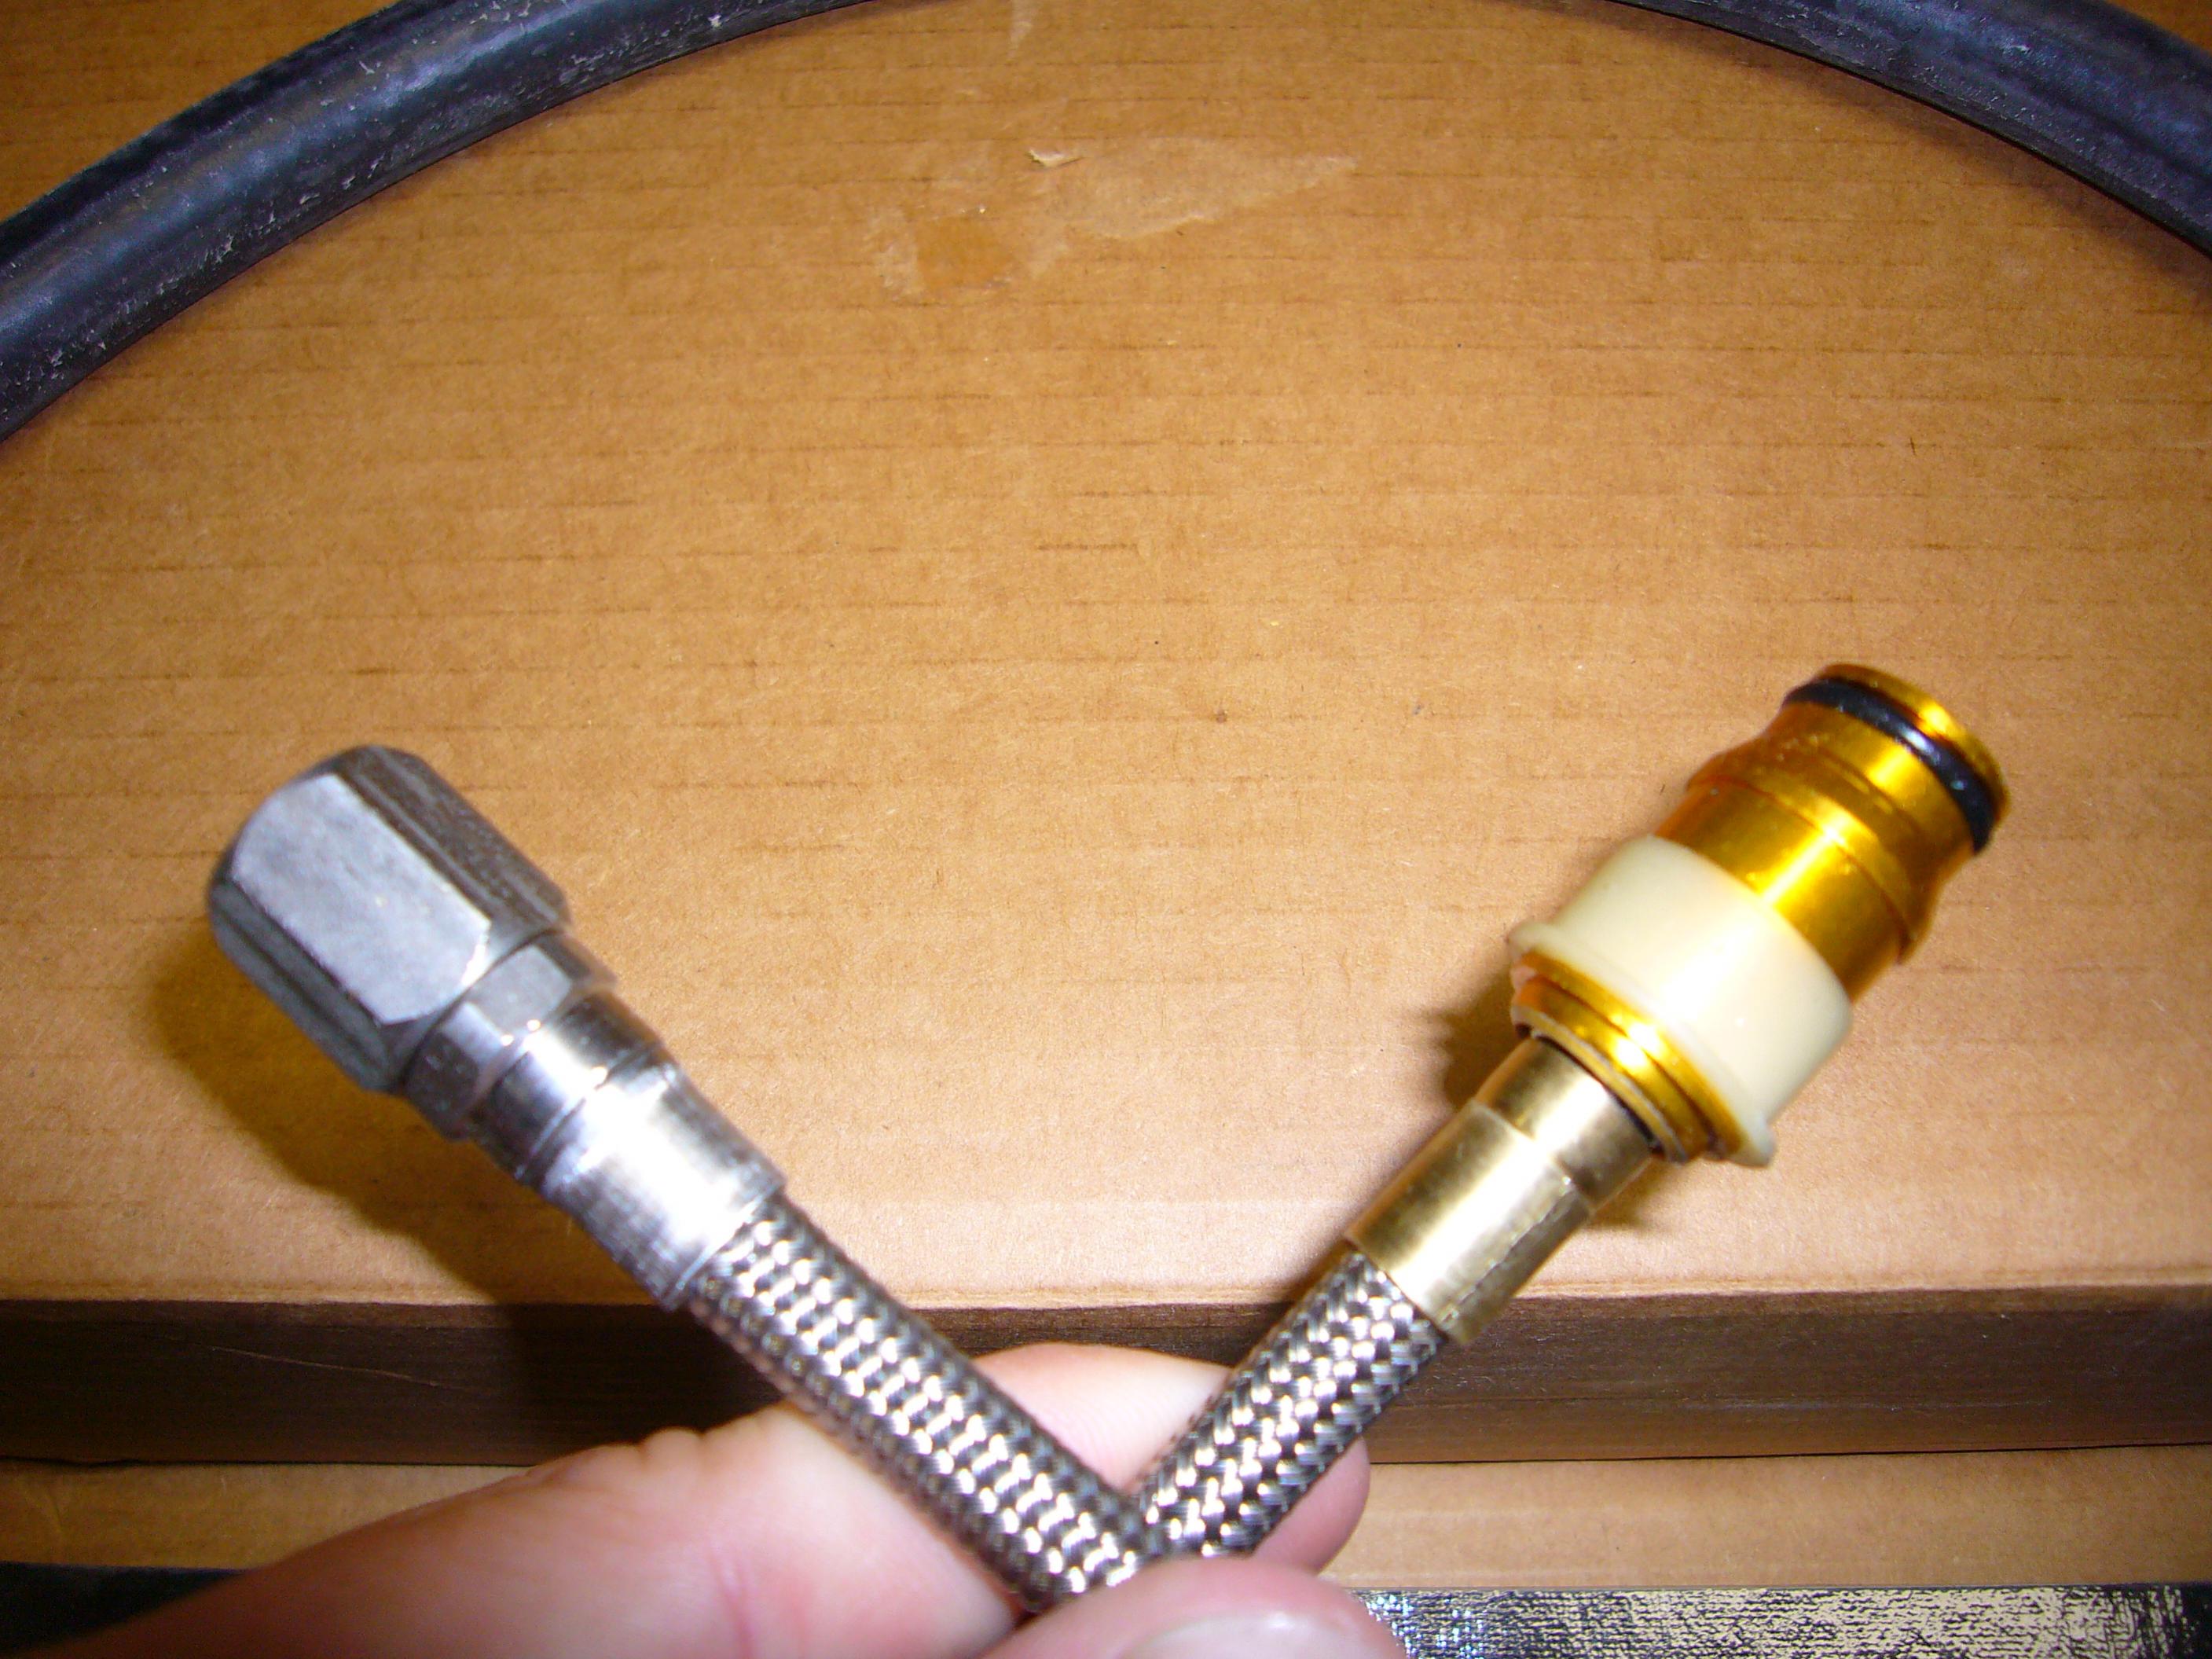
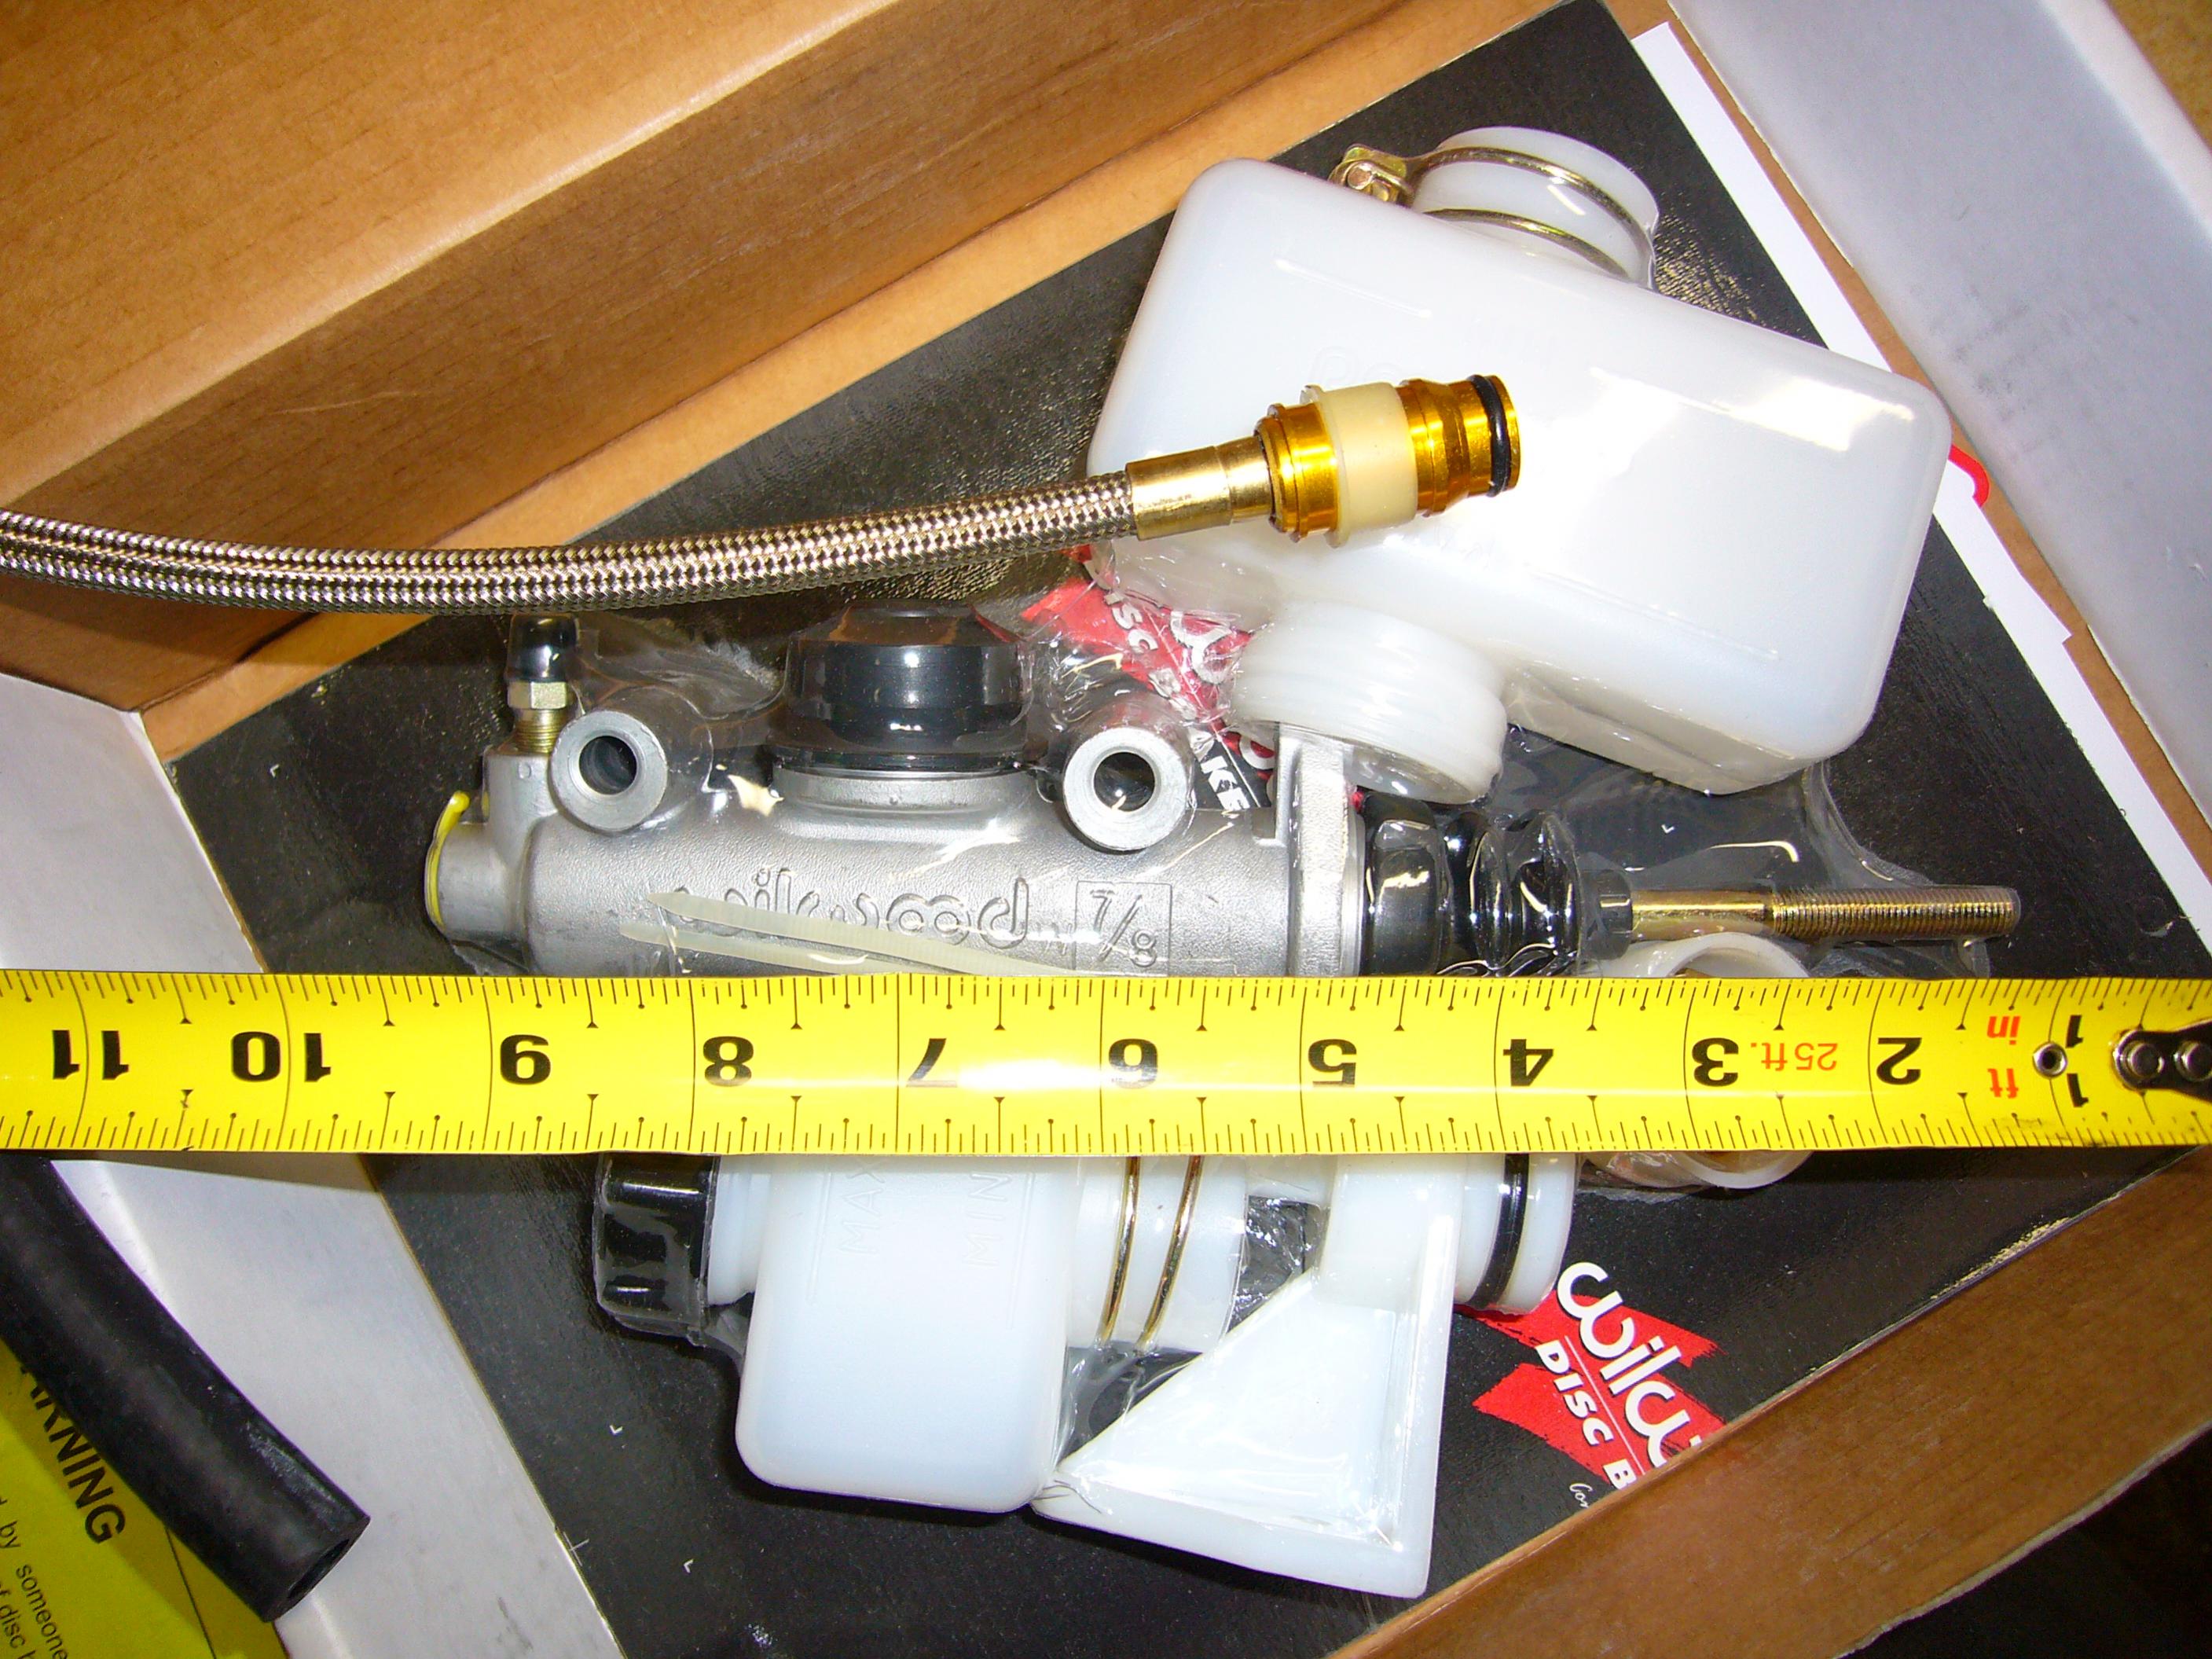
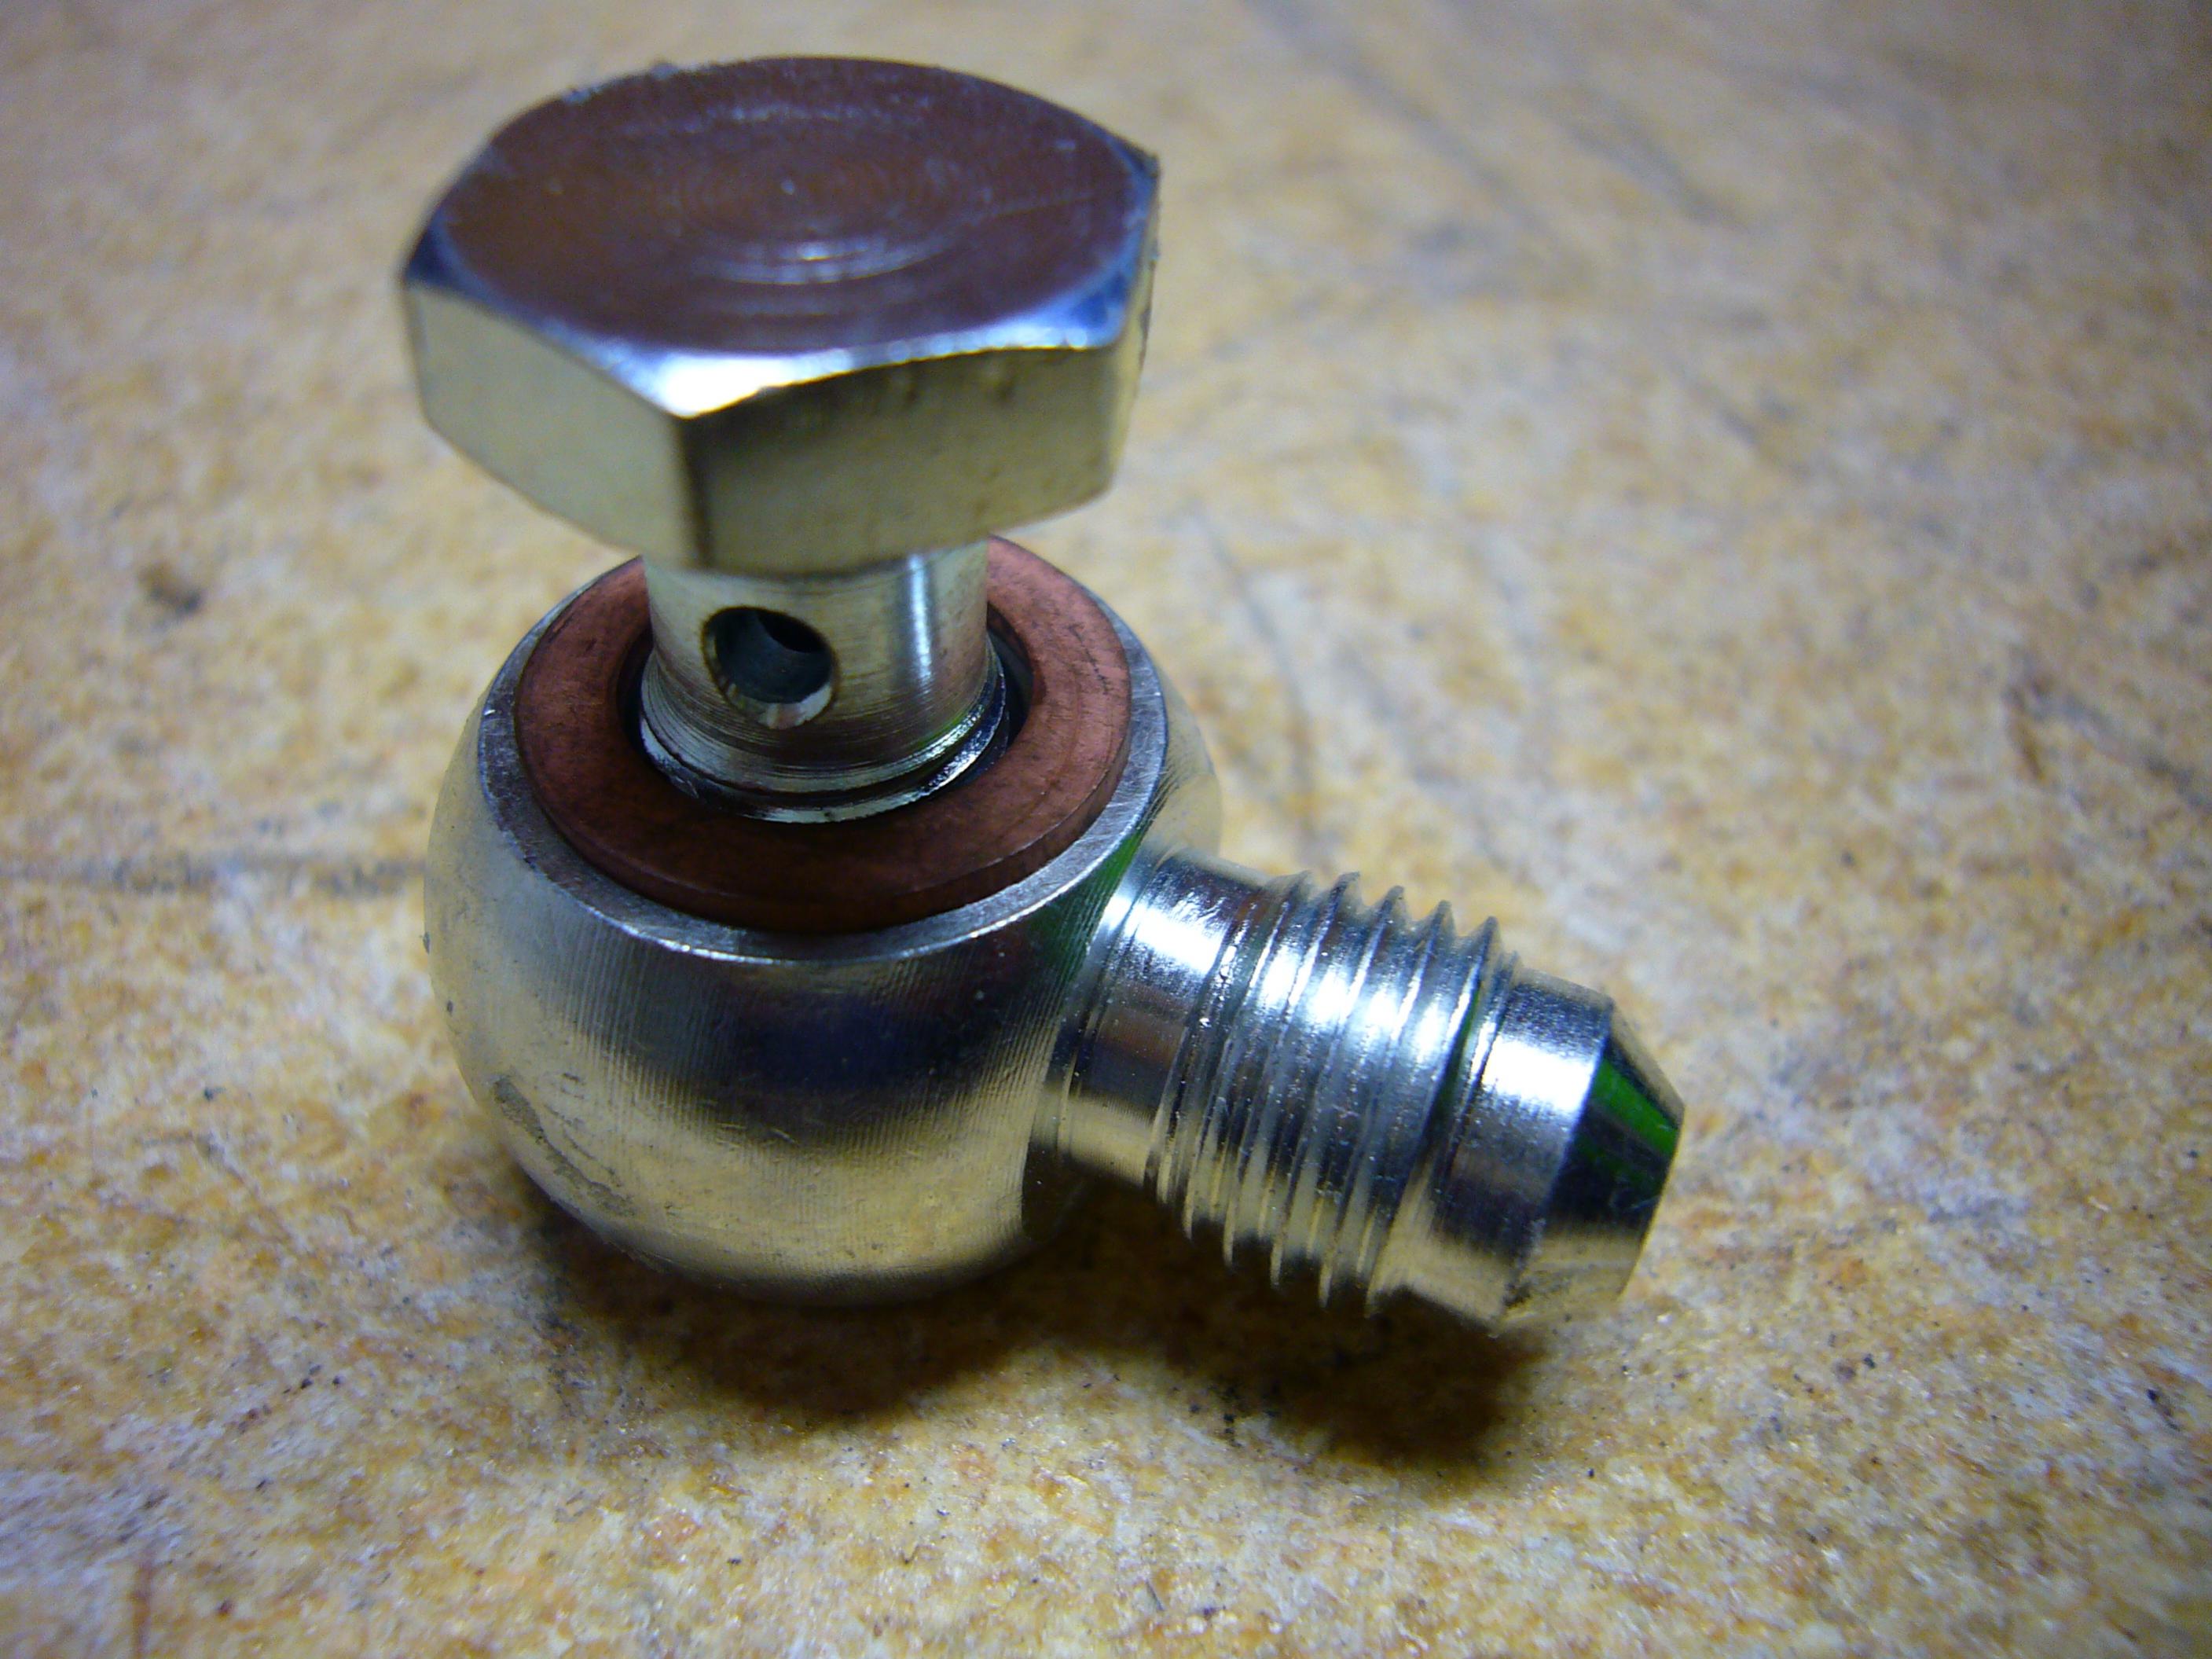
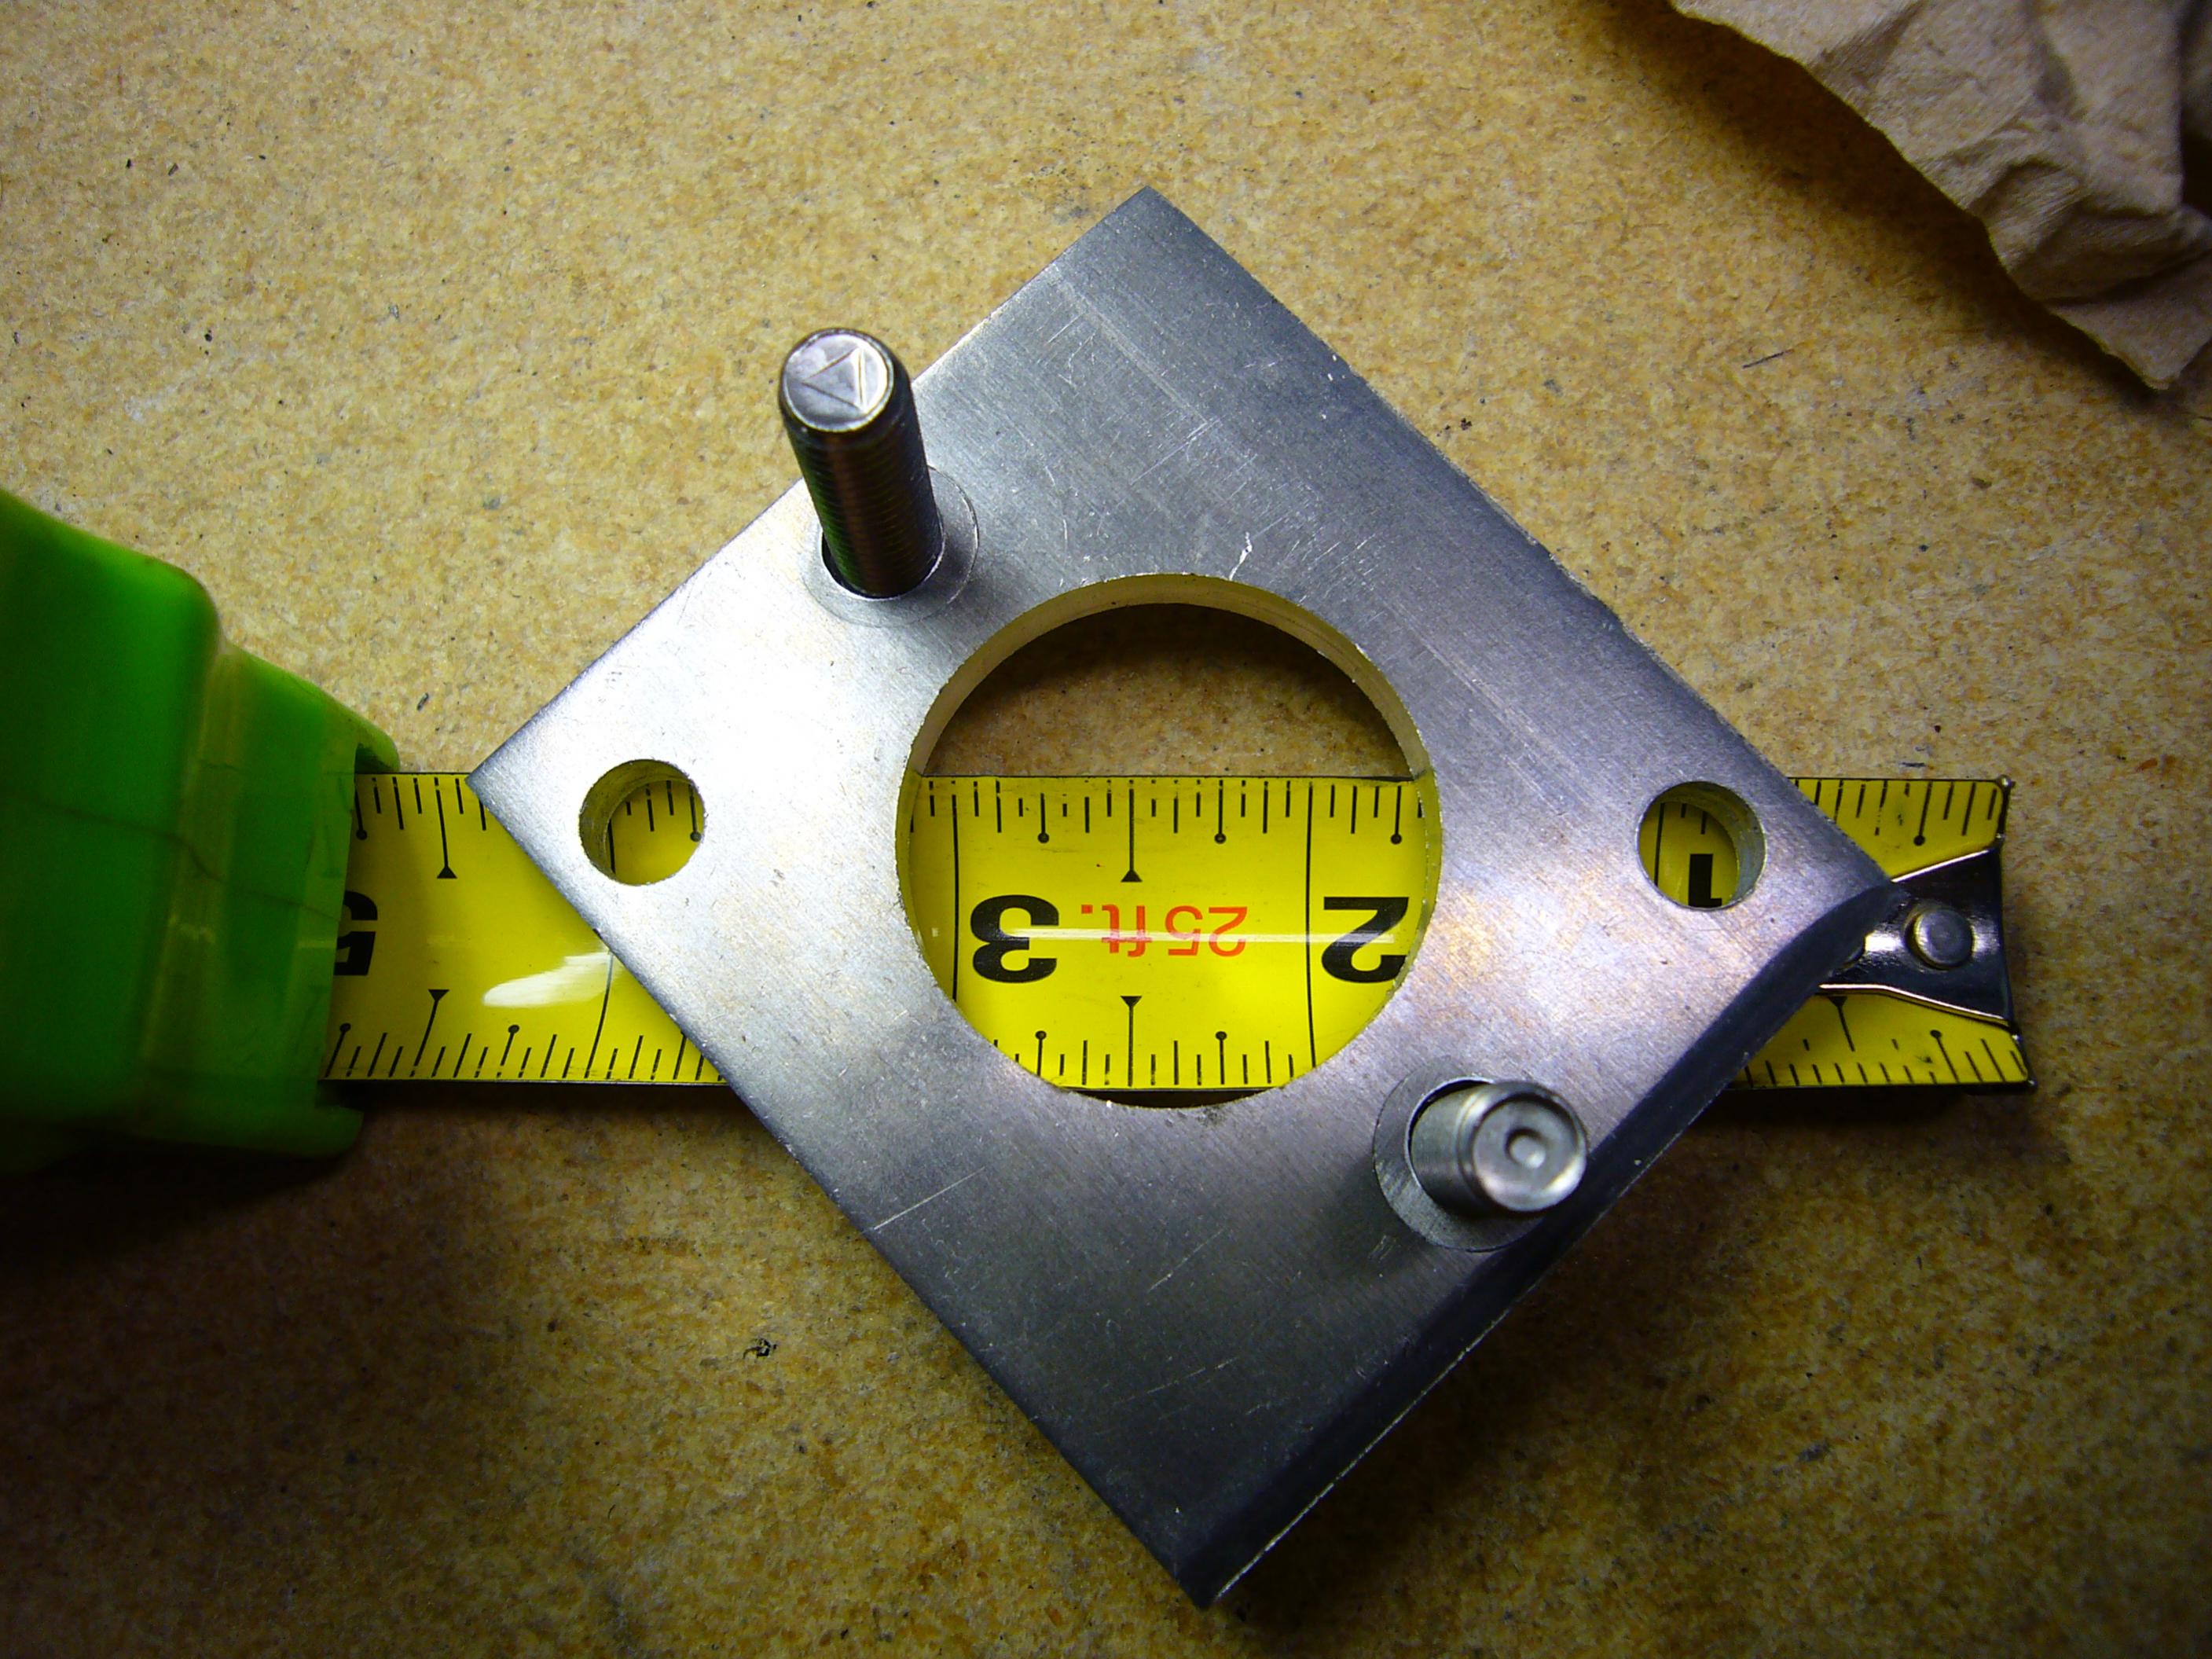
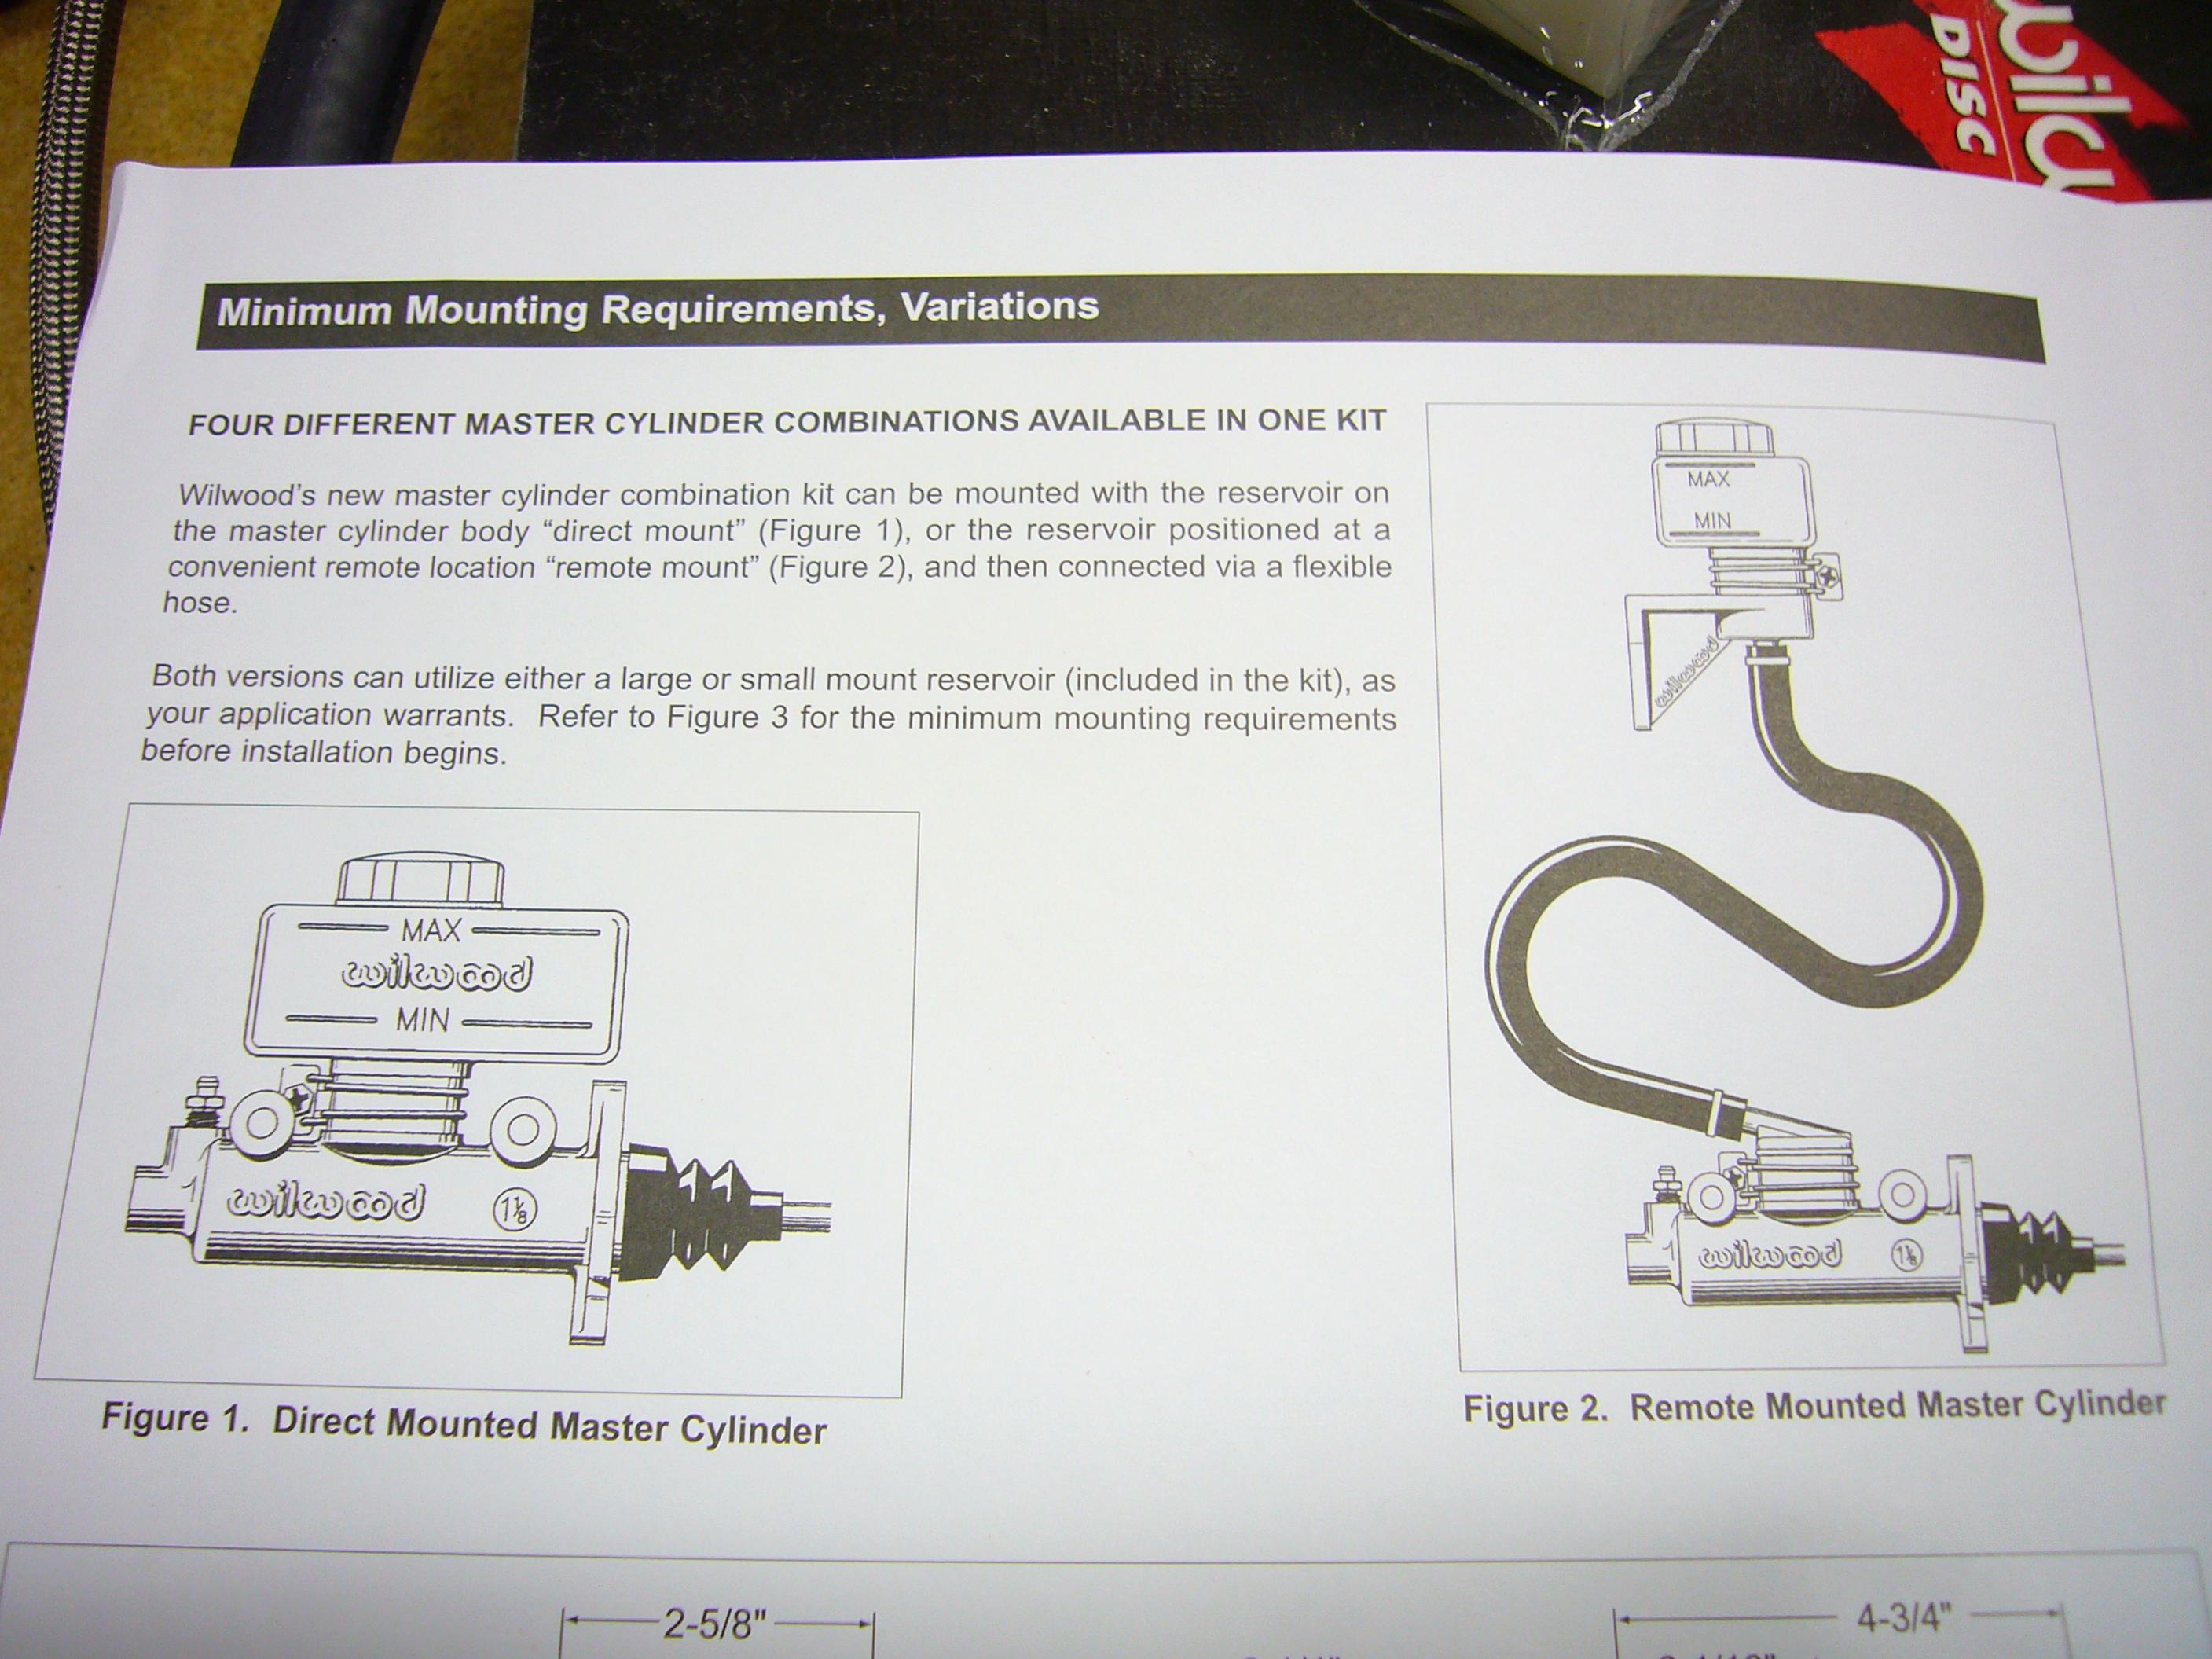
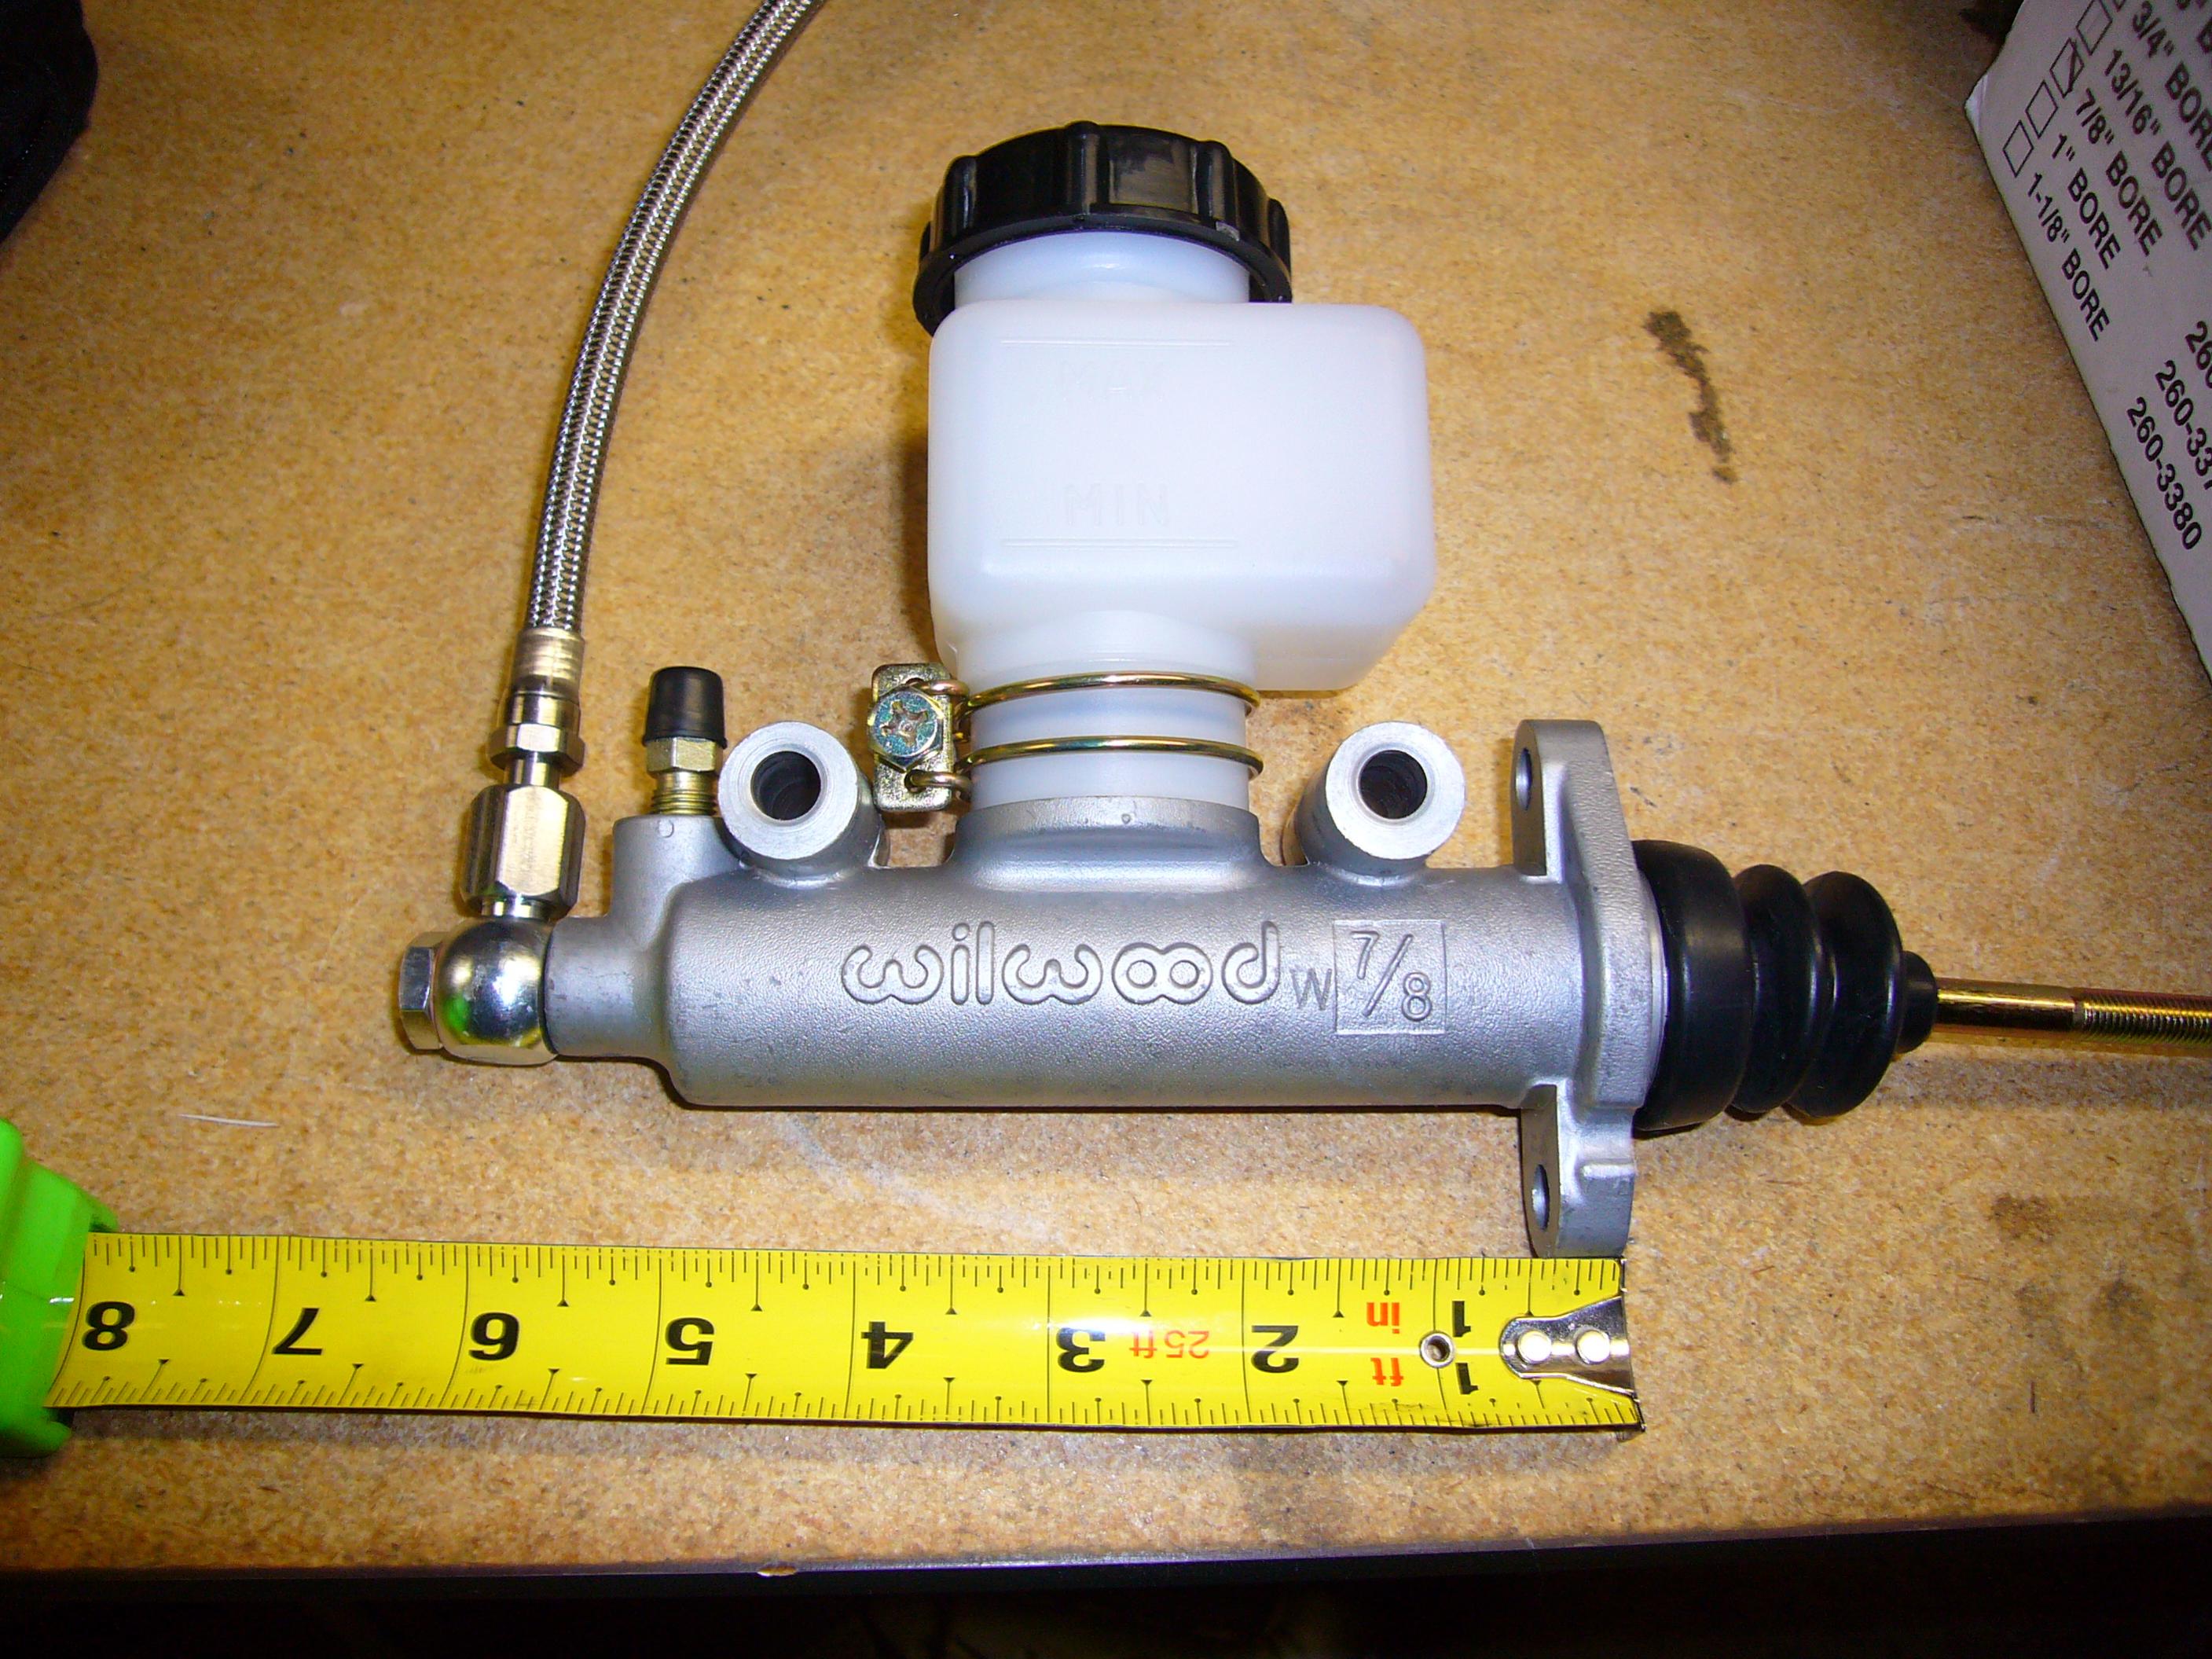
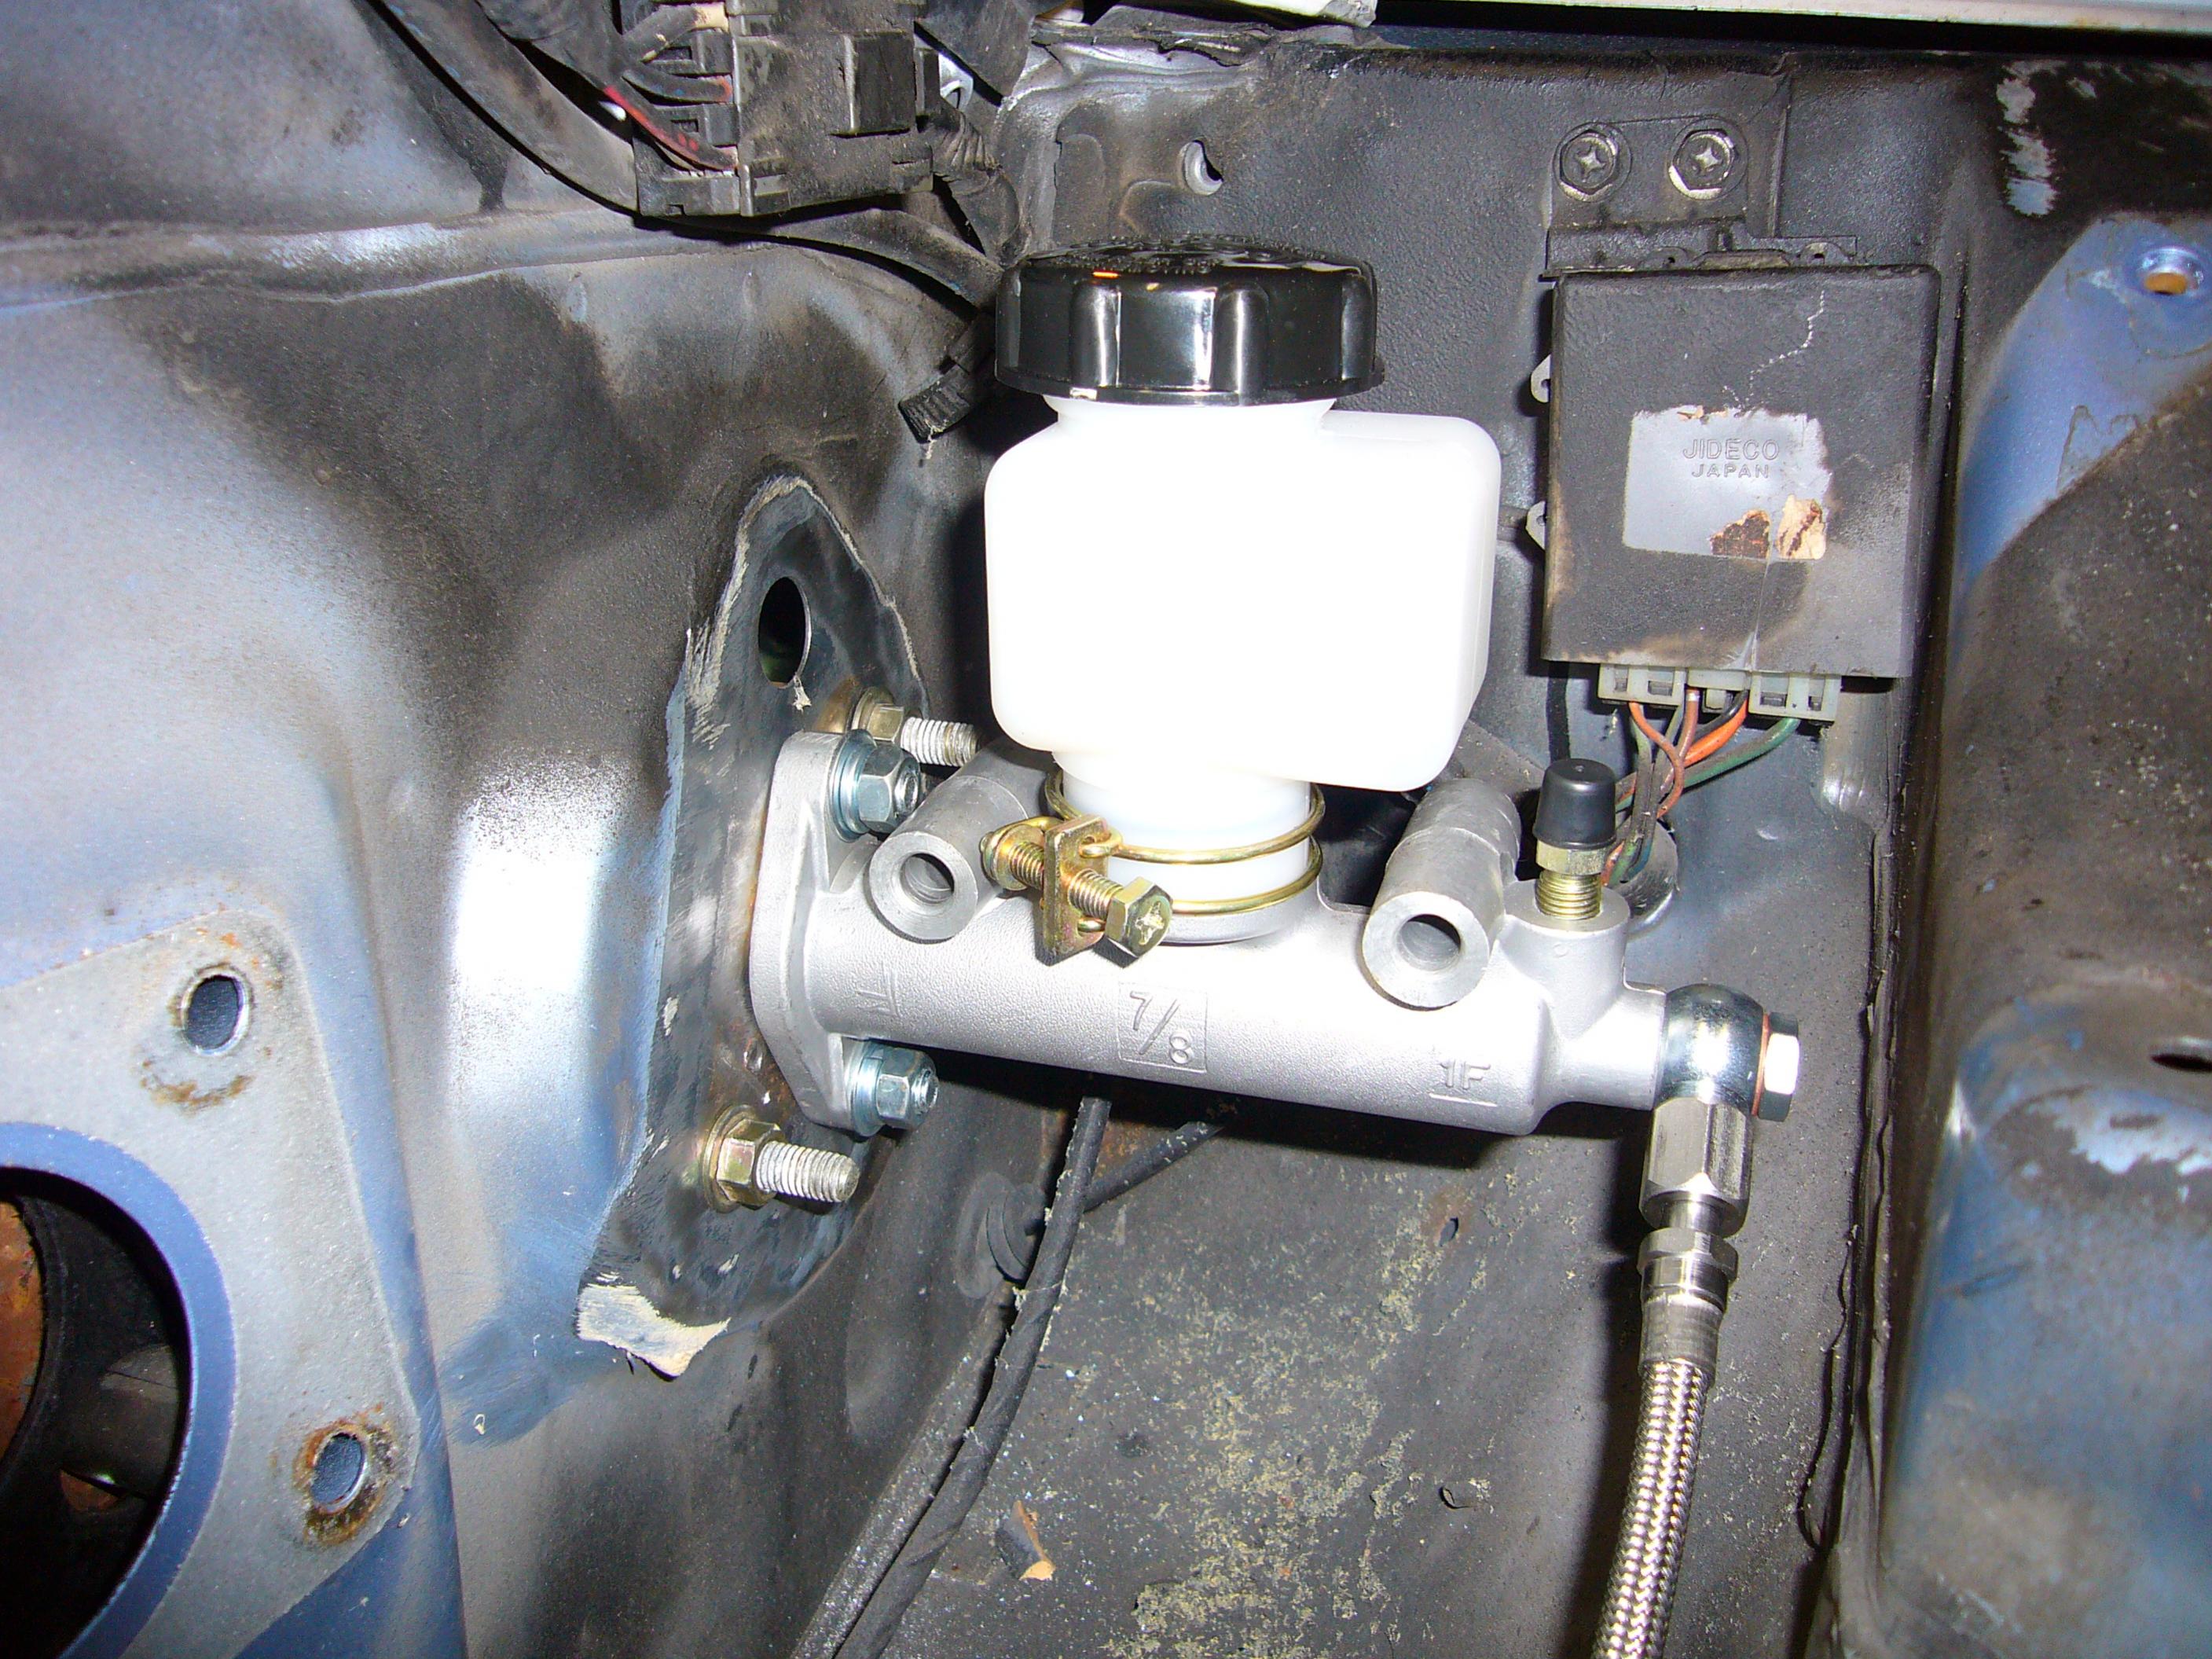
so i got my CMC today. i ordered the Wilwood setup with optional remote reservoir from Hinson. i also got a banjo bolt and an adapter line so i could hook it up to the t56 plug-in. the adapter plate in the pictures came from Hinson also but it is for a 240 and doesn't fit.
Wilwood 7/8 master cylinder:
http://www.hinsonsupercars.com/p-479-wilwood-master-cylinder-78.aspx
LSx hydraulic line:
http://www.hinsonsupercars.com/p-763-new-lsx-v8-hydraulic-line.aspx
3/8 banjo bolt:
http://www.hinsonsupercars.com/p-689-banjo-fitting-bolt-38-sae-washers.aspx
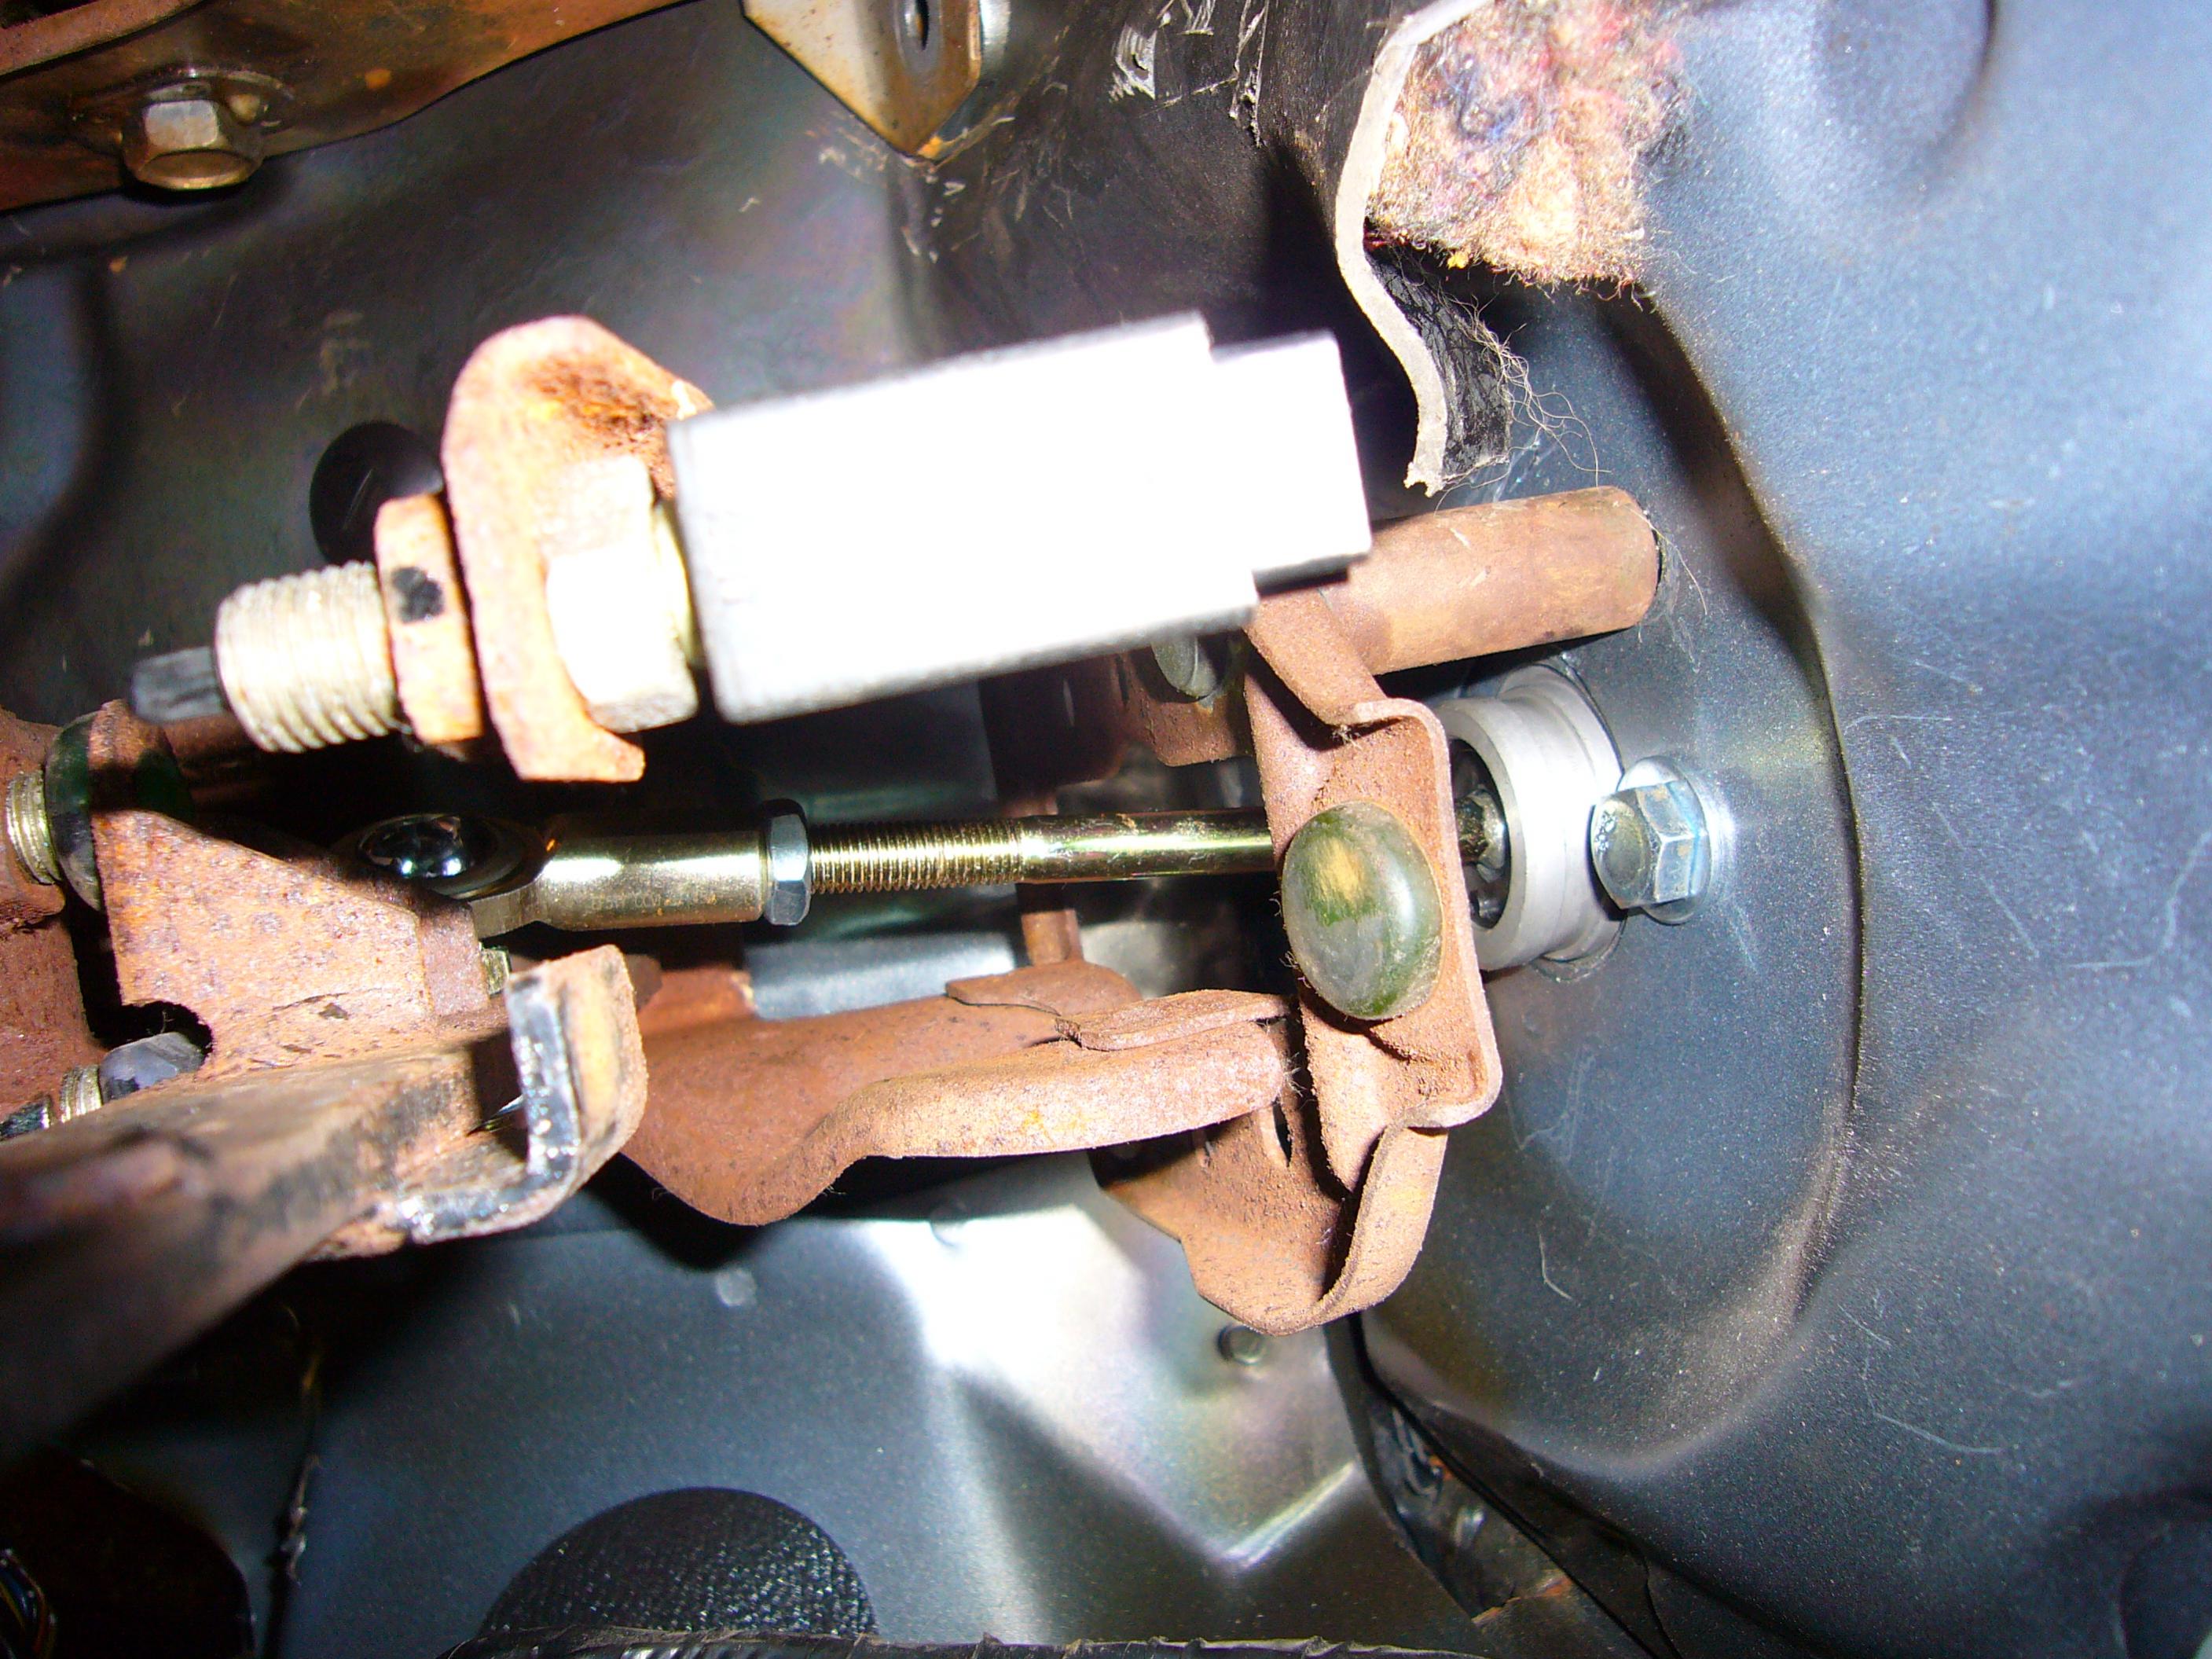
its was an easy setup. i just had to drill 2 new holes so i could bolt the CMC in place. theres a jointed bolt to connect it to the pedal. i would wait to put the reservoir on the top (unless you are going to use it remotely) until you get it in place so you can get a wrench in for the bolts.
-
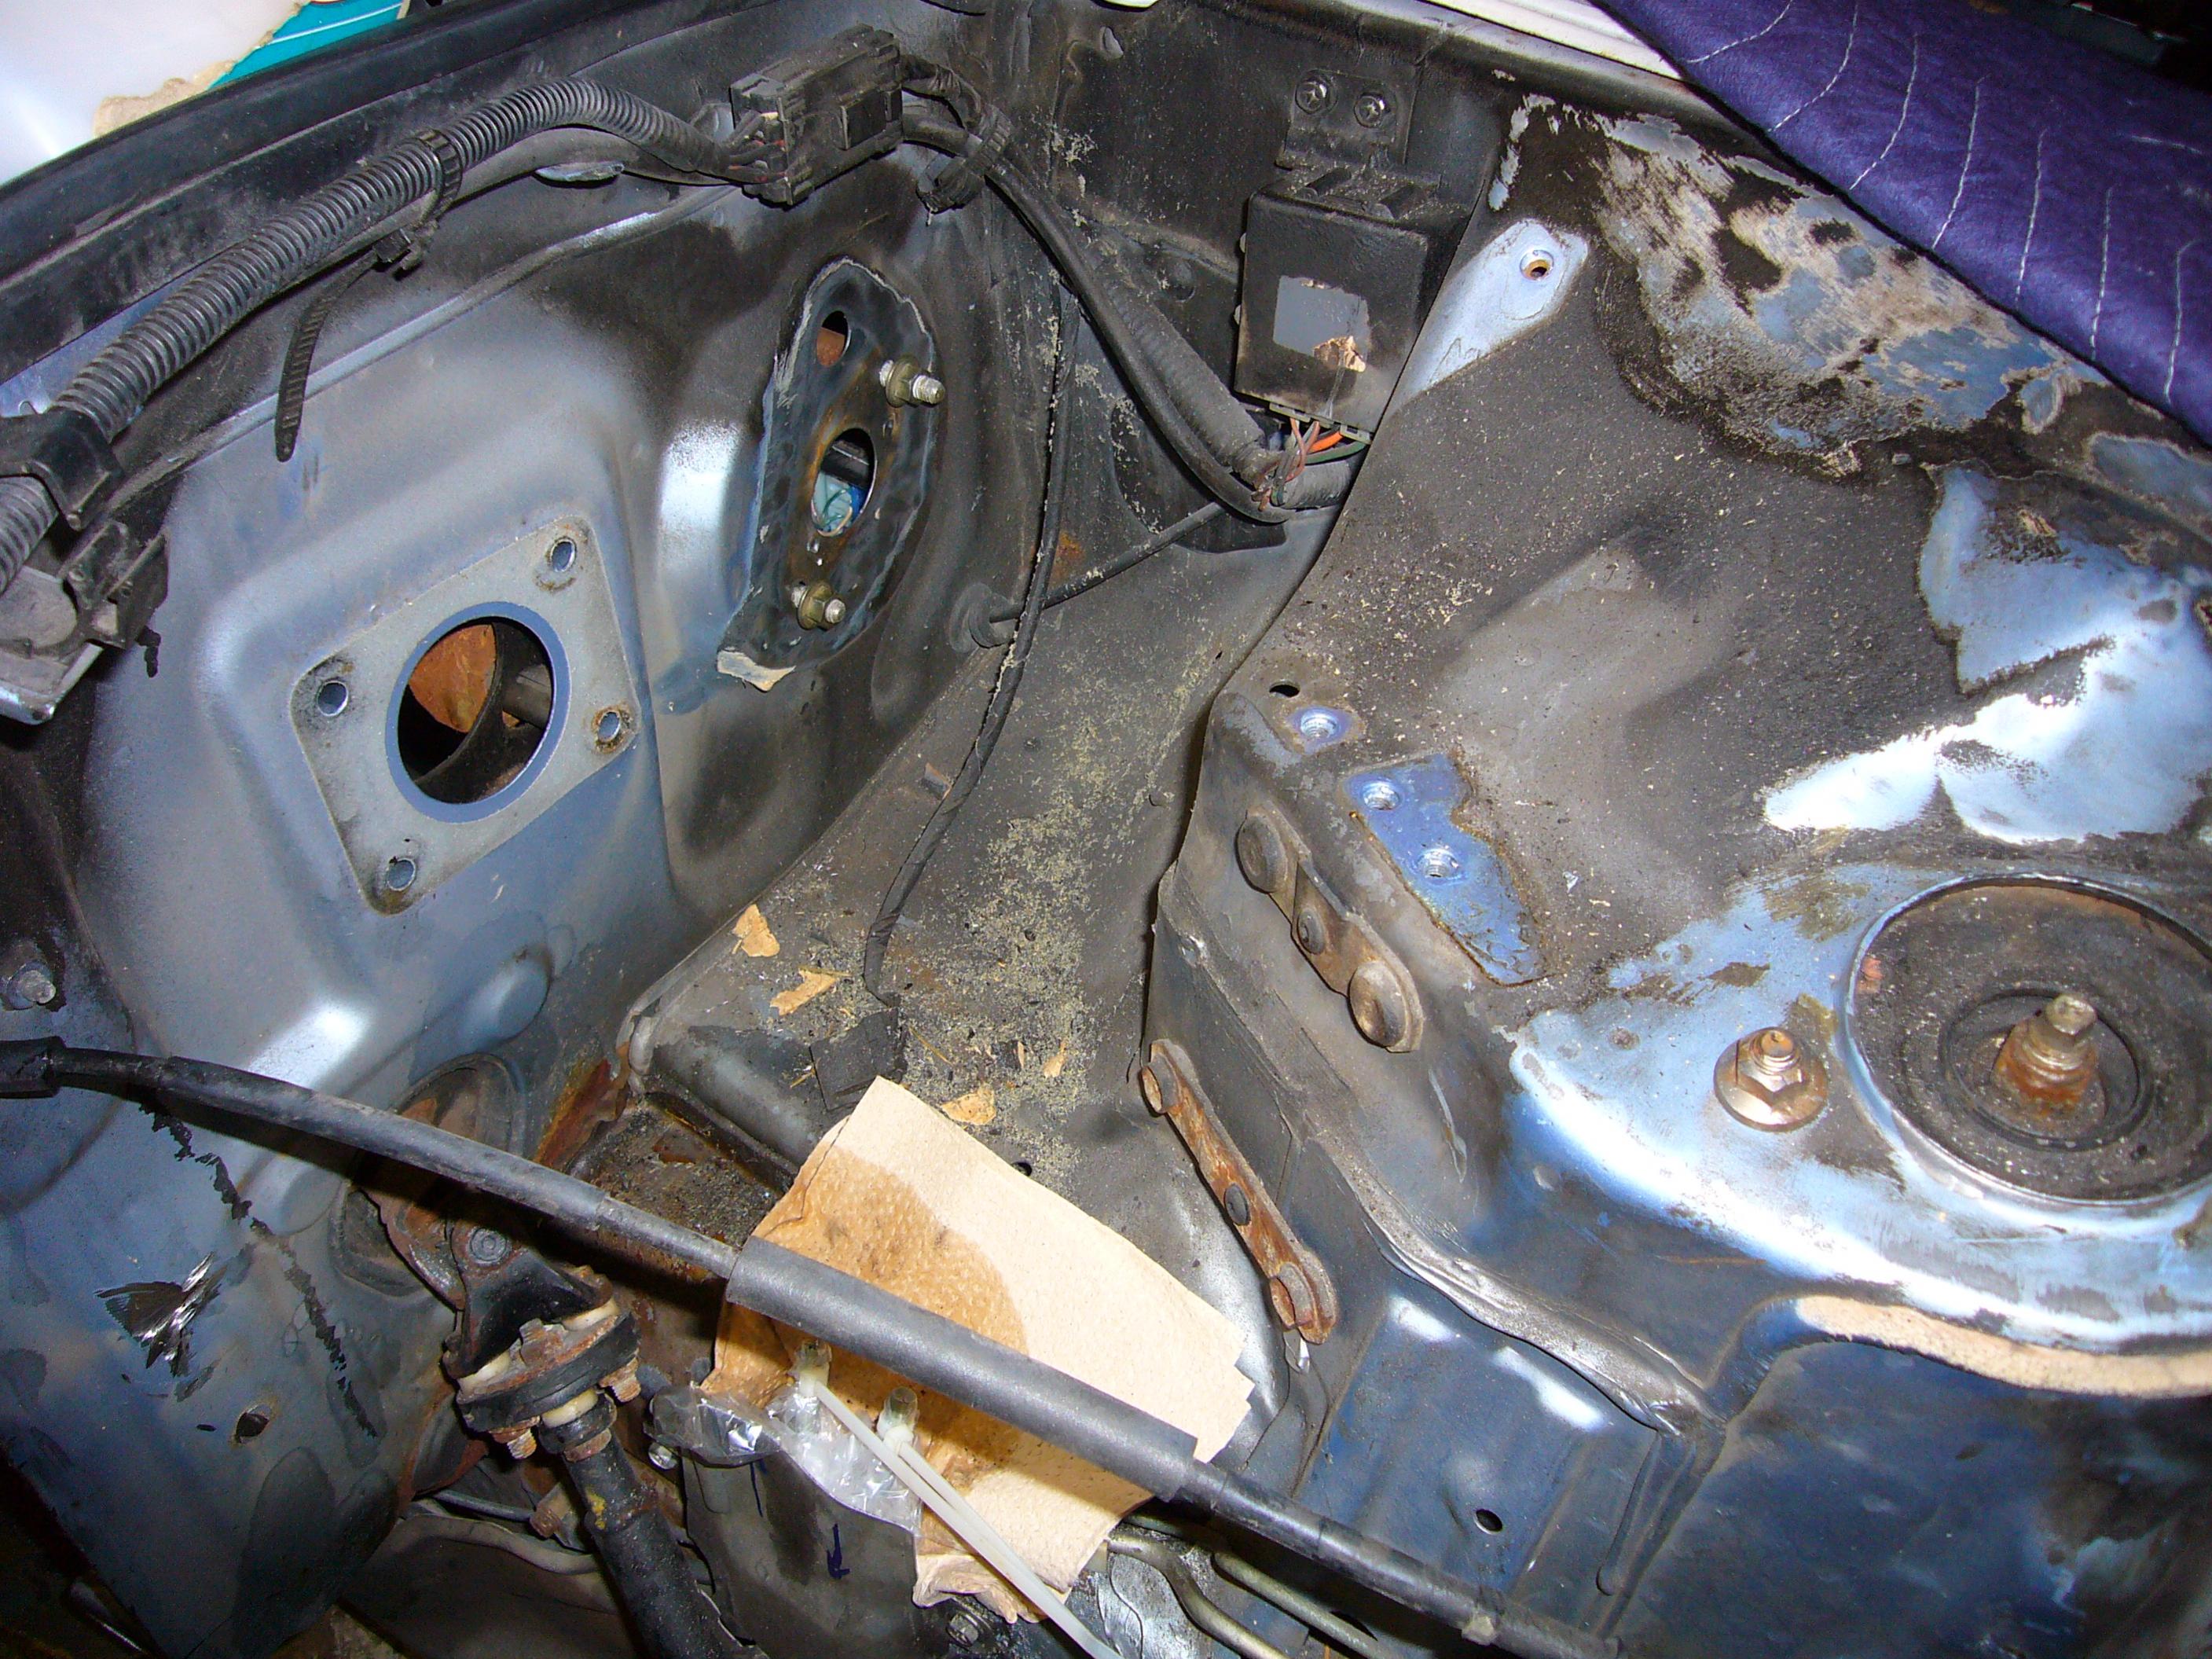
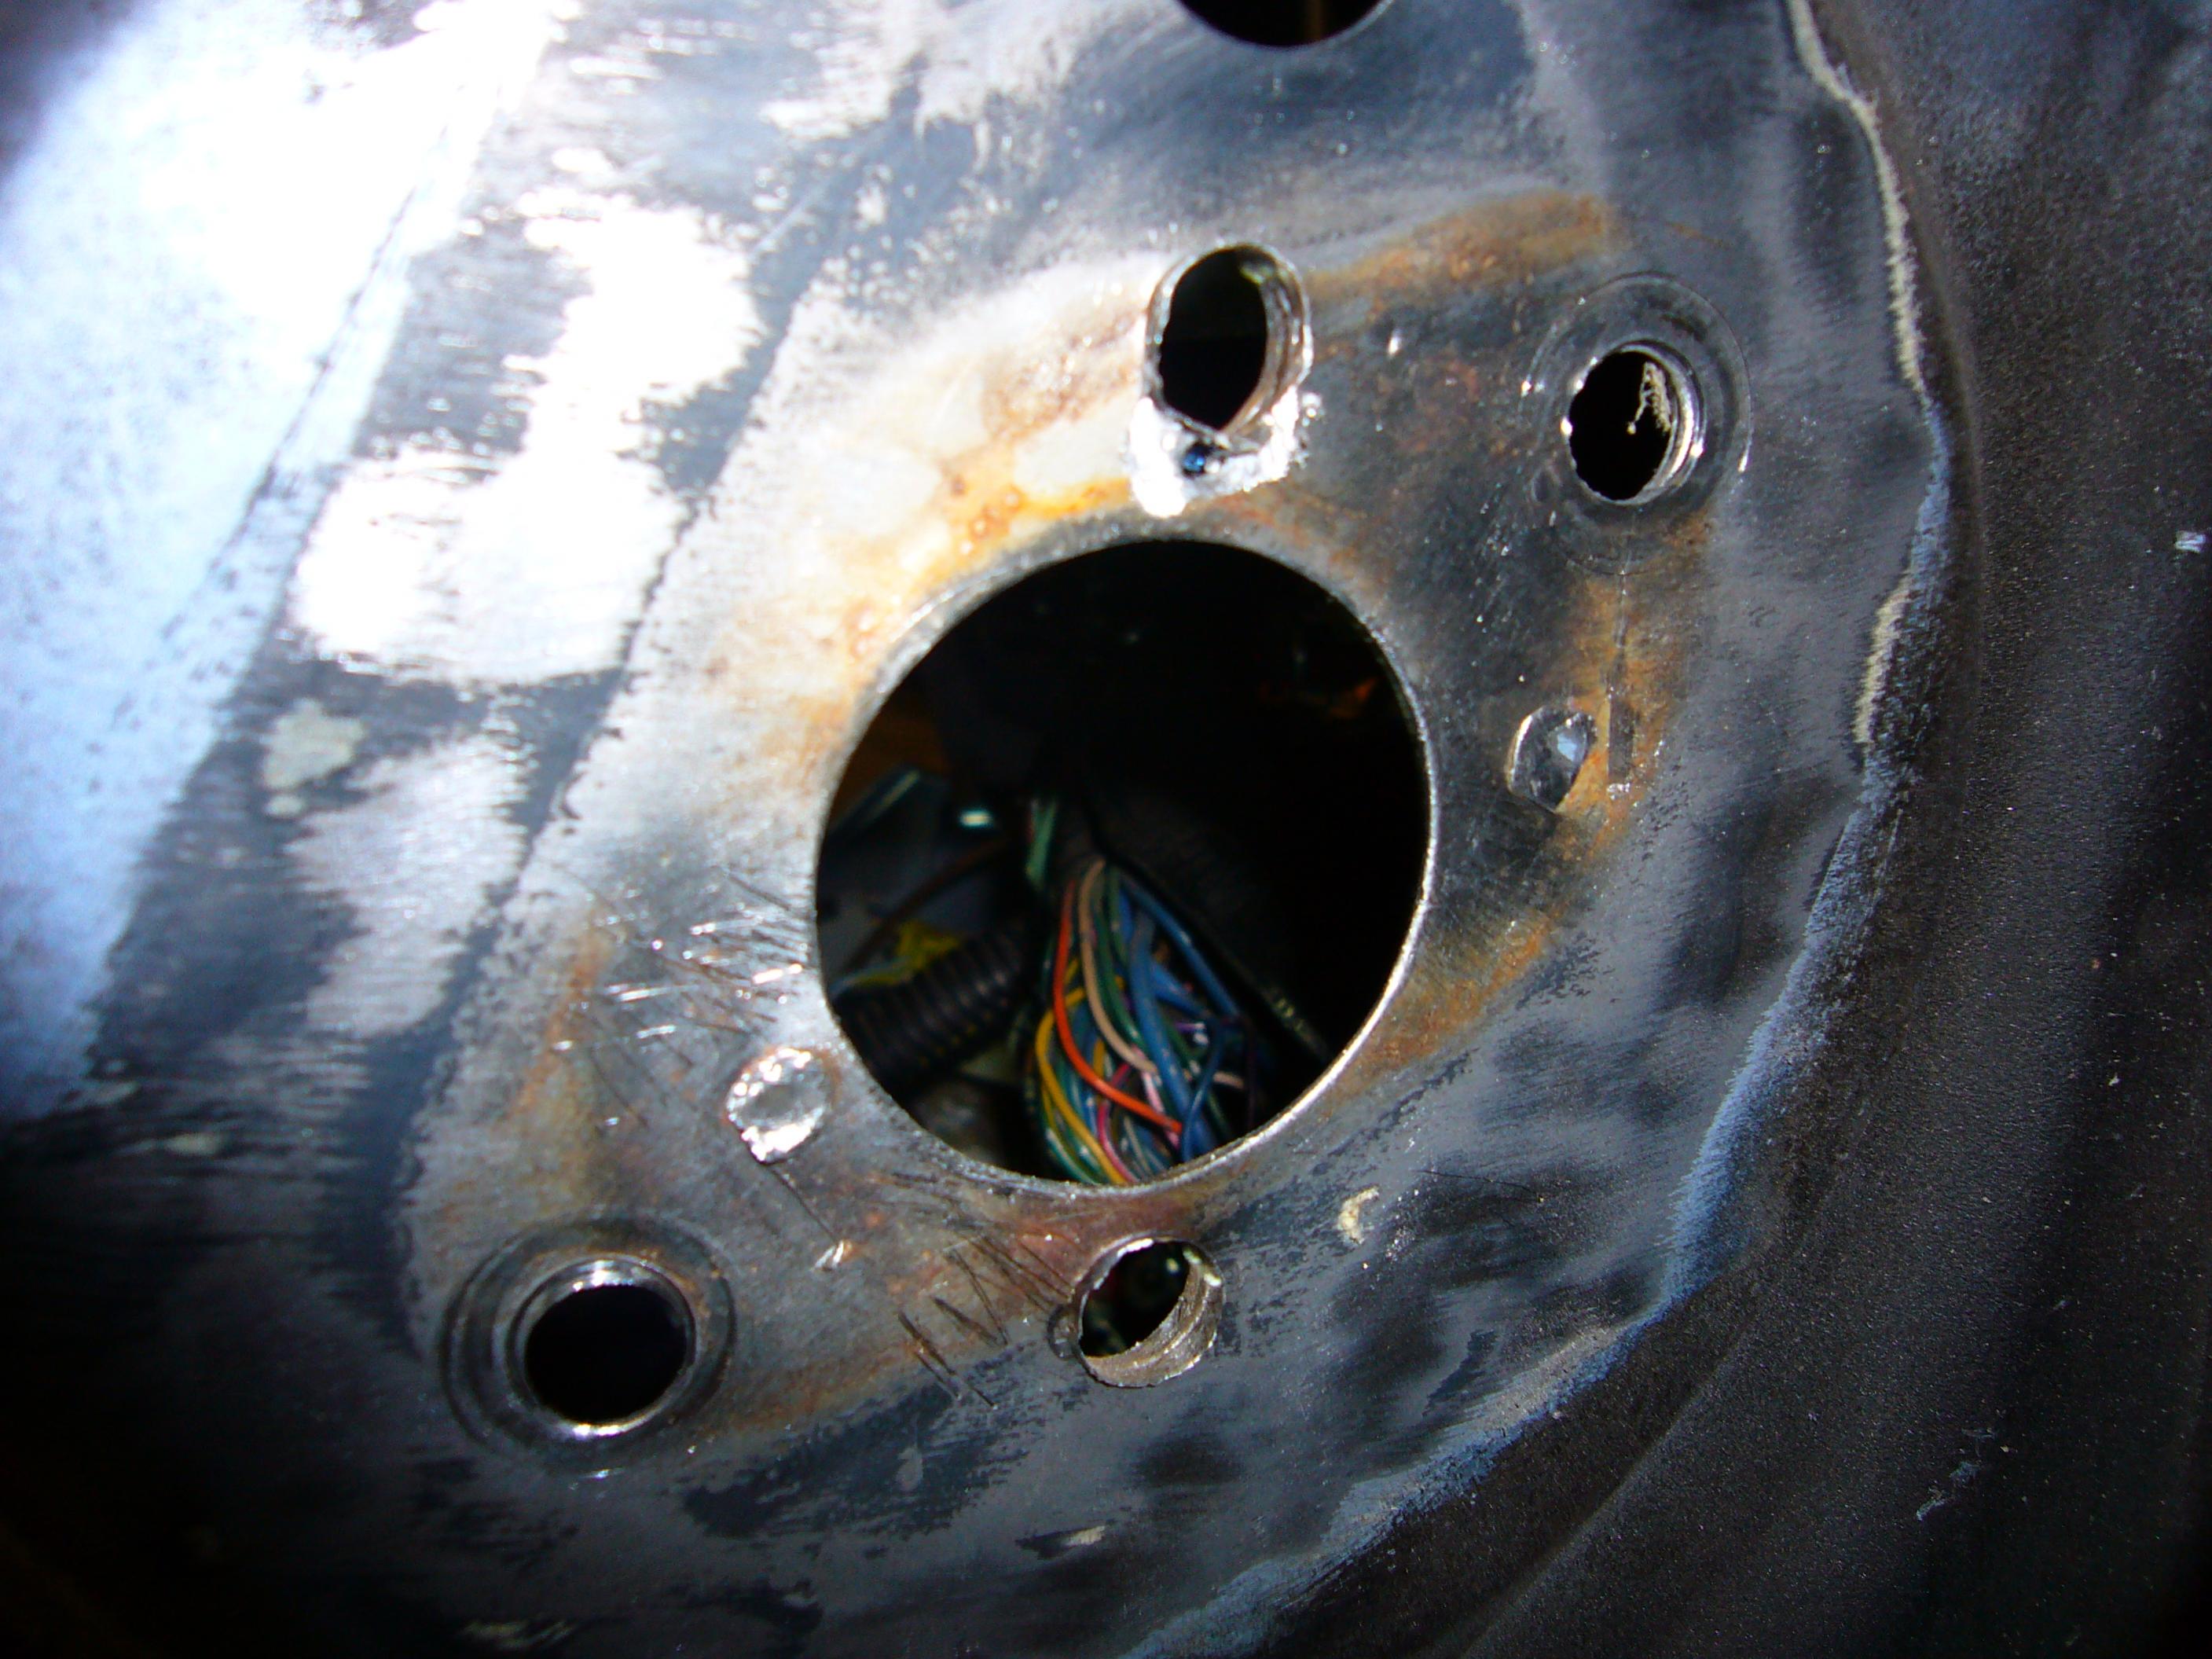
so i finally found some junk yard pedals (clutch and brake because im going from auto to manual) and put them in tonight. they look good. $130 says they dont look THAT good but they look good enough. i did have to pry off a panel that covered the holes for the clutch pedal and master cylinder. no big deal. im going to call Tilton tomorrow to see what they have me in the line of a clutch thatll fit with the t56 fitting on the end.
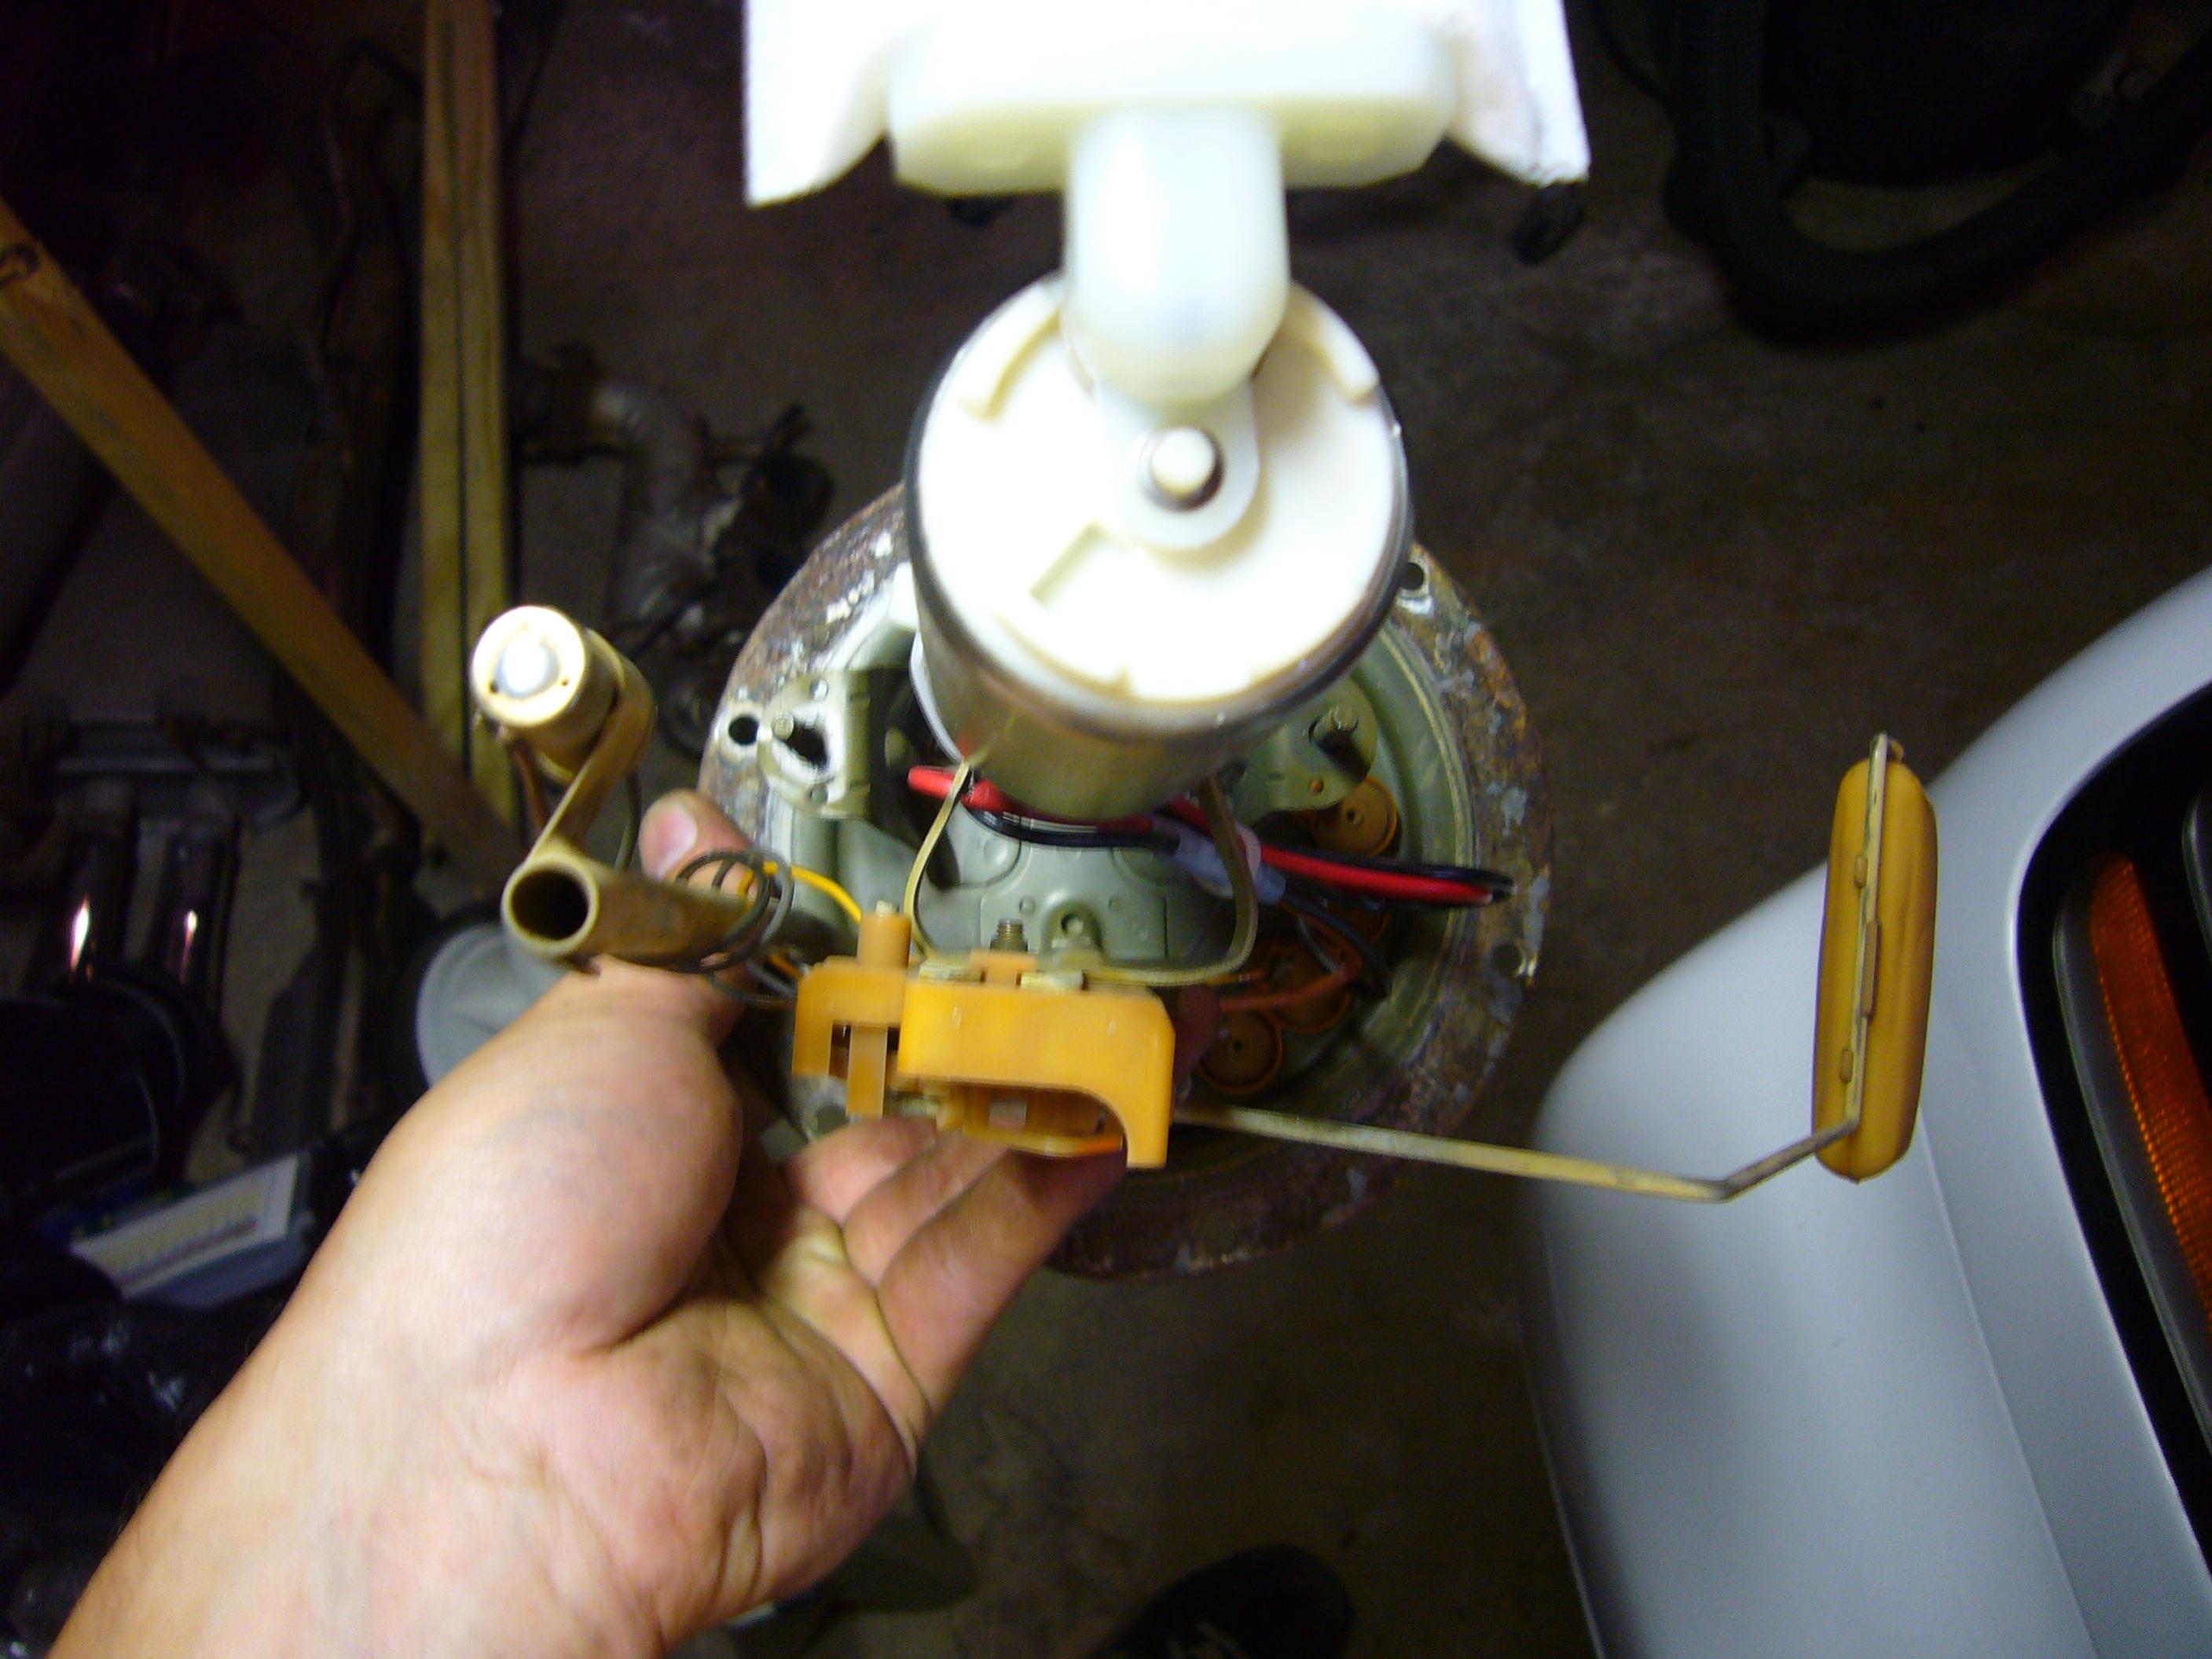
i put in a Walbro 255lph fuel pump also. i got it from TREperformance.com and they had about the same price as everyone else but they also have ebay and i like paypal so i went with them. the pump is pretty easy to get to, theres a door under the spare tire. make sure you blow all the crap/rust off the top before you open up the tank. the Walbro pump is significantly smaller than the OEM pump so i had to get creative. (see pics) i drilled a hole in each side of the bracket that held the old pump in and bent them in so they touched the new pump. then i ran a zip tie around it. the kit i got didnt seem to have any way to hold the pump in place so it would have just been swinging around the tank. other than that it went smooth (surprisingly). but when they say "work in a well ventilated area" apparently garage door open doesnt cut it. id suggest having the car outside.
as far as the motor goes, i ordered Patriot heads and a SPEC stage 3+ clutch. ill have links for those after i get some pics of them on here.
-
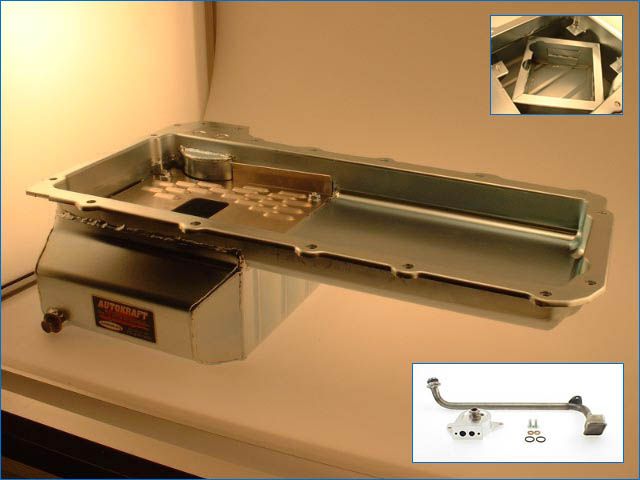
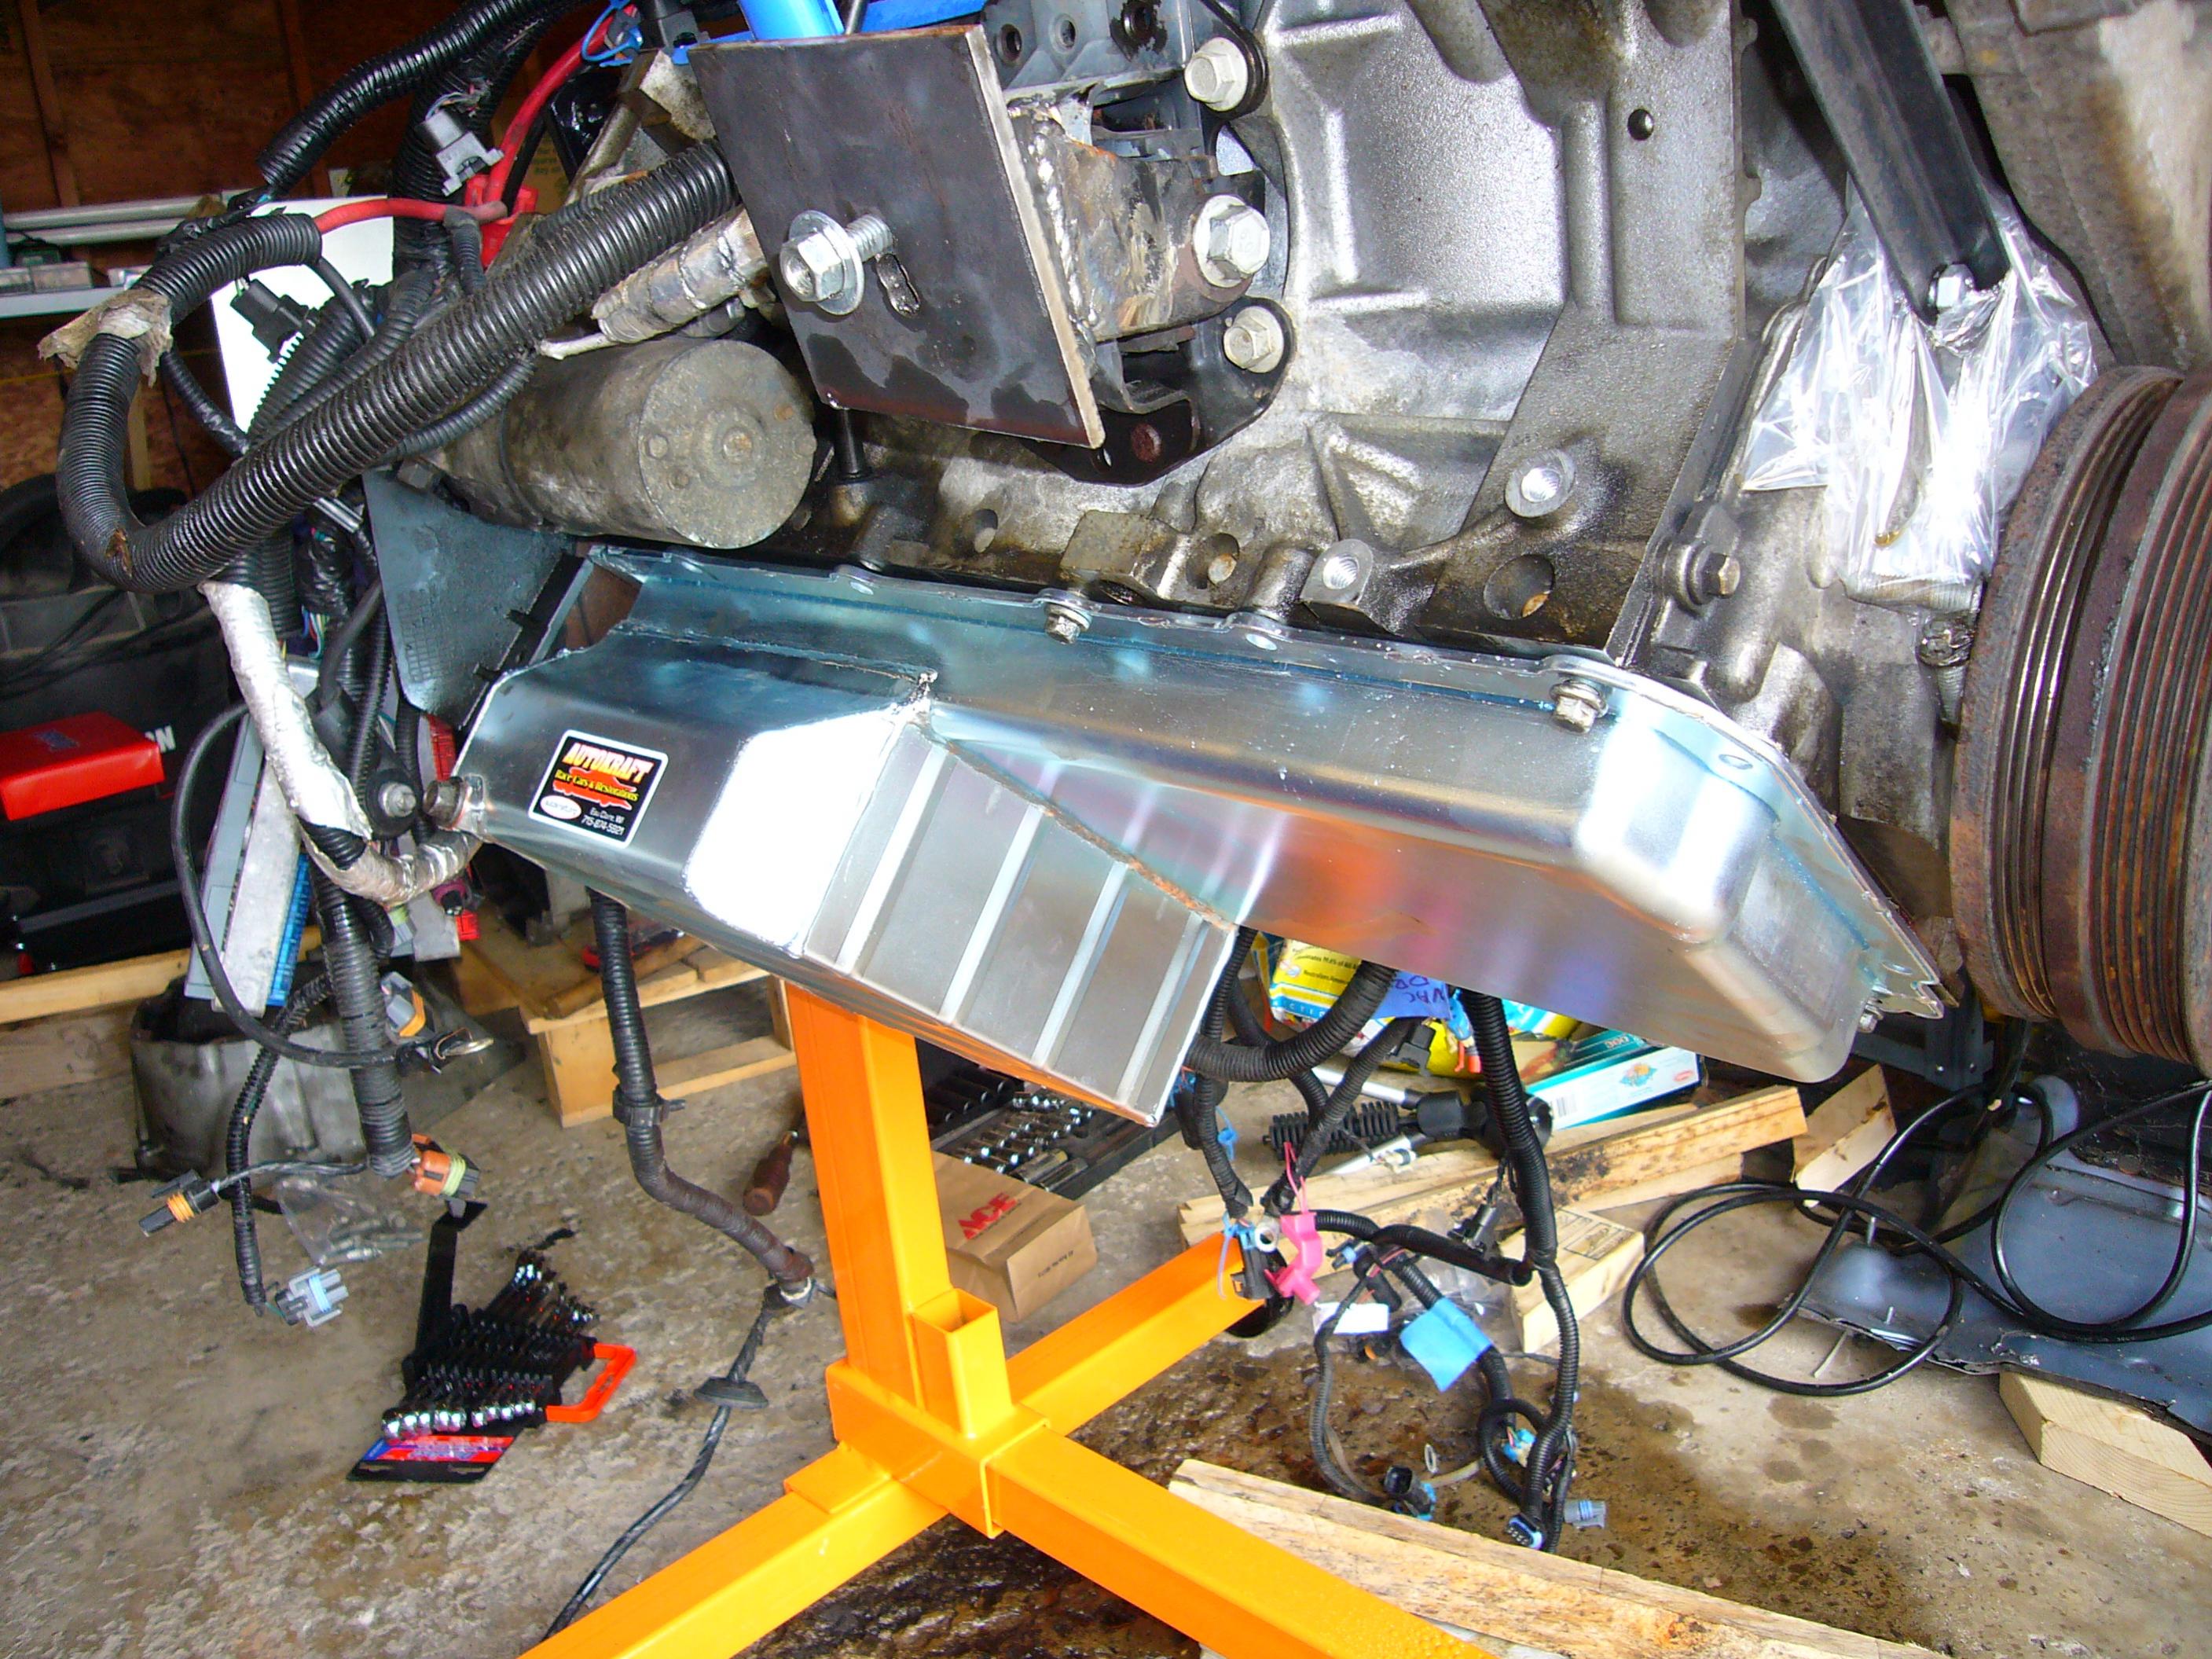
so i got my oil pan today. Autokraft LSx pan kit:
http://www.autokraft.org/products/
came with the pick-up and billet oil filter adapter. looks good and fits well. you will need to get a new gasket as it doesnt come with one.
i posted the dimensions before but here are the pics of them.
-
ok, so we got the motor apart and im going to do some work. im trying to decide whether to go with the patriot head package or a CNC port job. anybody had an experience with either?
https://www.patriot-performance.com/xcart/home.php?cat=12
also, after we get all the head internals sorted out im going with a bigger cam. does anyone have any suggestions on a good cam company?
im looking to push 400+ which shouldnt be any problem.
thanks
-
i had the same ? on my build and dts300z sent me this:
>>I posted the information below to help the other guys out with wiring in the factory gauges.
Quote:
Originally Posted by dts300z
I have retained the factory gauge cluster and all the factory functions minus a/c and power steering. I also built my car with the understanding that it will not be a daily driver.
If you read my post above it tells you what harness you need to tie into to get the majority of the gauge's to work. You will need to run a wire in the new engine harness for the temp sensor for the factory gauge and tie into the accessory connector coming off the engine harness (located under the dash).
The trim pots can be adjusted to dial in the tach but I would recomend a ERA (Electronic Ratio Adapter) for the speedo. Here is a link for the one I'm using http://www.abbott-tach.com/era.htm . The guy who posted the way he adjusted the trim pots to calibrate the speedo was TwinTurbo in this thread http://forums.hybridz.org/showthread.php?t=110873 . Here is a great place to get all your wiring information on the Z http://www.300zx-twinturbo.com/cgi-bin/manual.cgi . Here is Firion 13's thread that also has alot of good information http://forums.hybridz.org/showthread.php?t=125578 .
If you look in my build thread here http://forums.hybridz.org/showthread.php?t=141130 you will see how I constructed my mounts. Also there are lots of other good pictures that will be of great value to you guys in all of the above threads including this one.
Hope that helps!
Dan
Also you can view the rest of that thread here http://forums.hybridz.org/showthread.php?t=141356 and it has tons of useful information.
I actually ended up using the ABS sensor to get my speedo working (it works great) since the TH350 transmission came with a mechanical speedo.<<
dts300z runs an LT1 instead of an LS1 but im sure the basics are similiar. good luck.
-
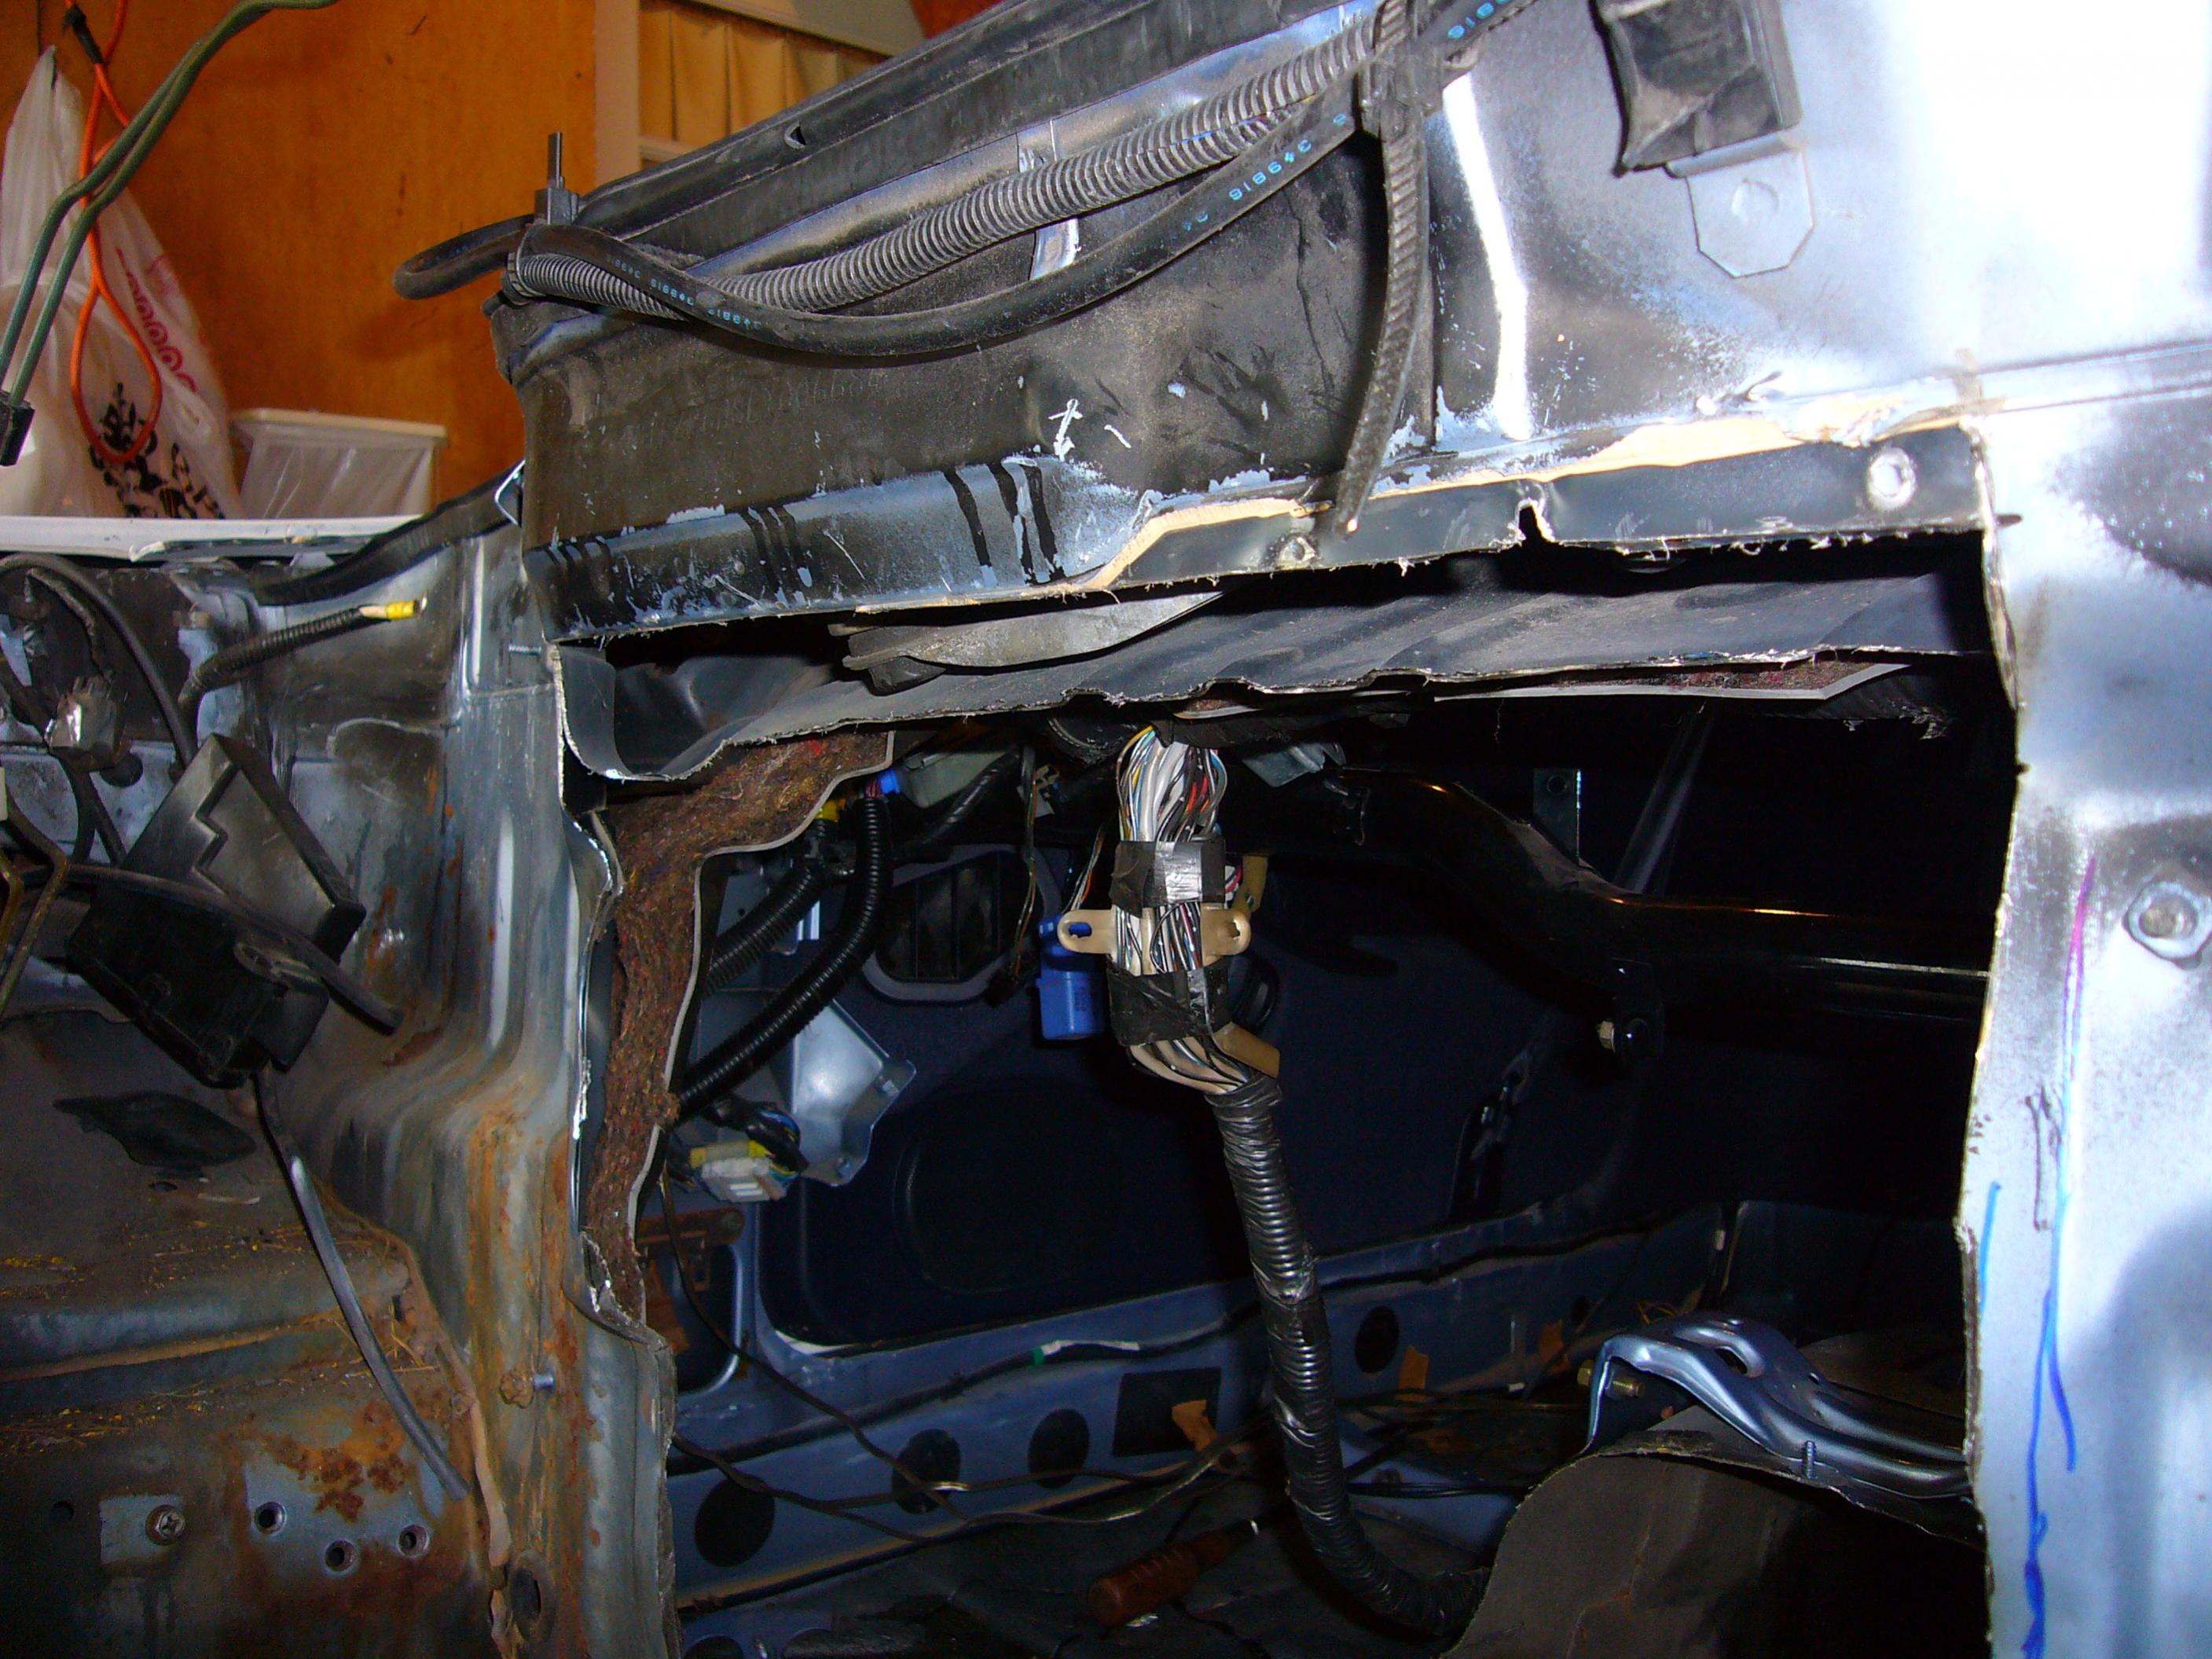
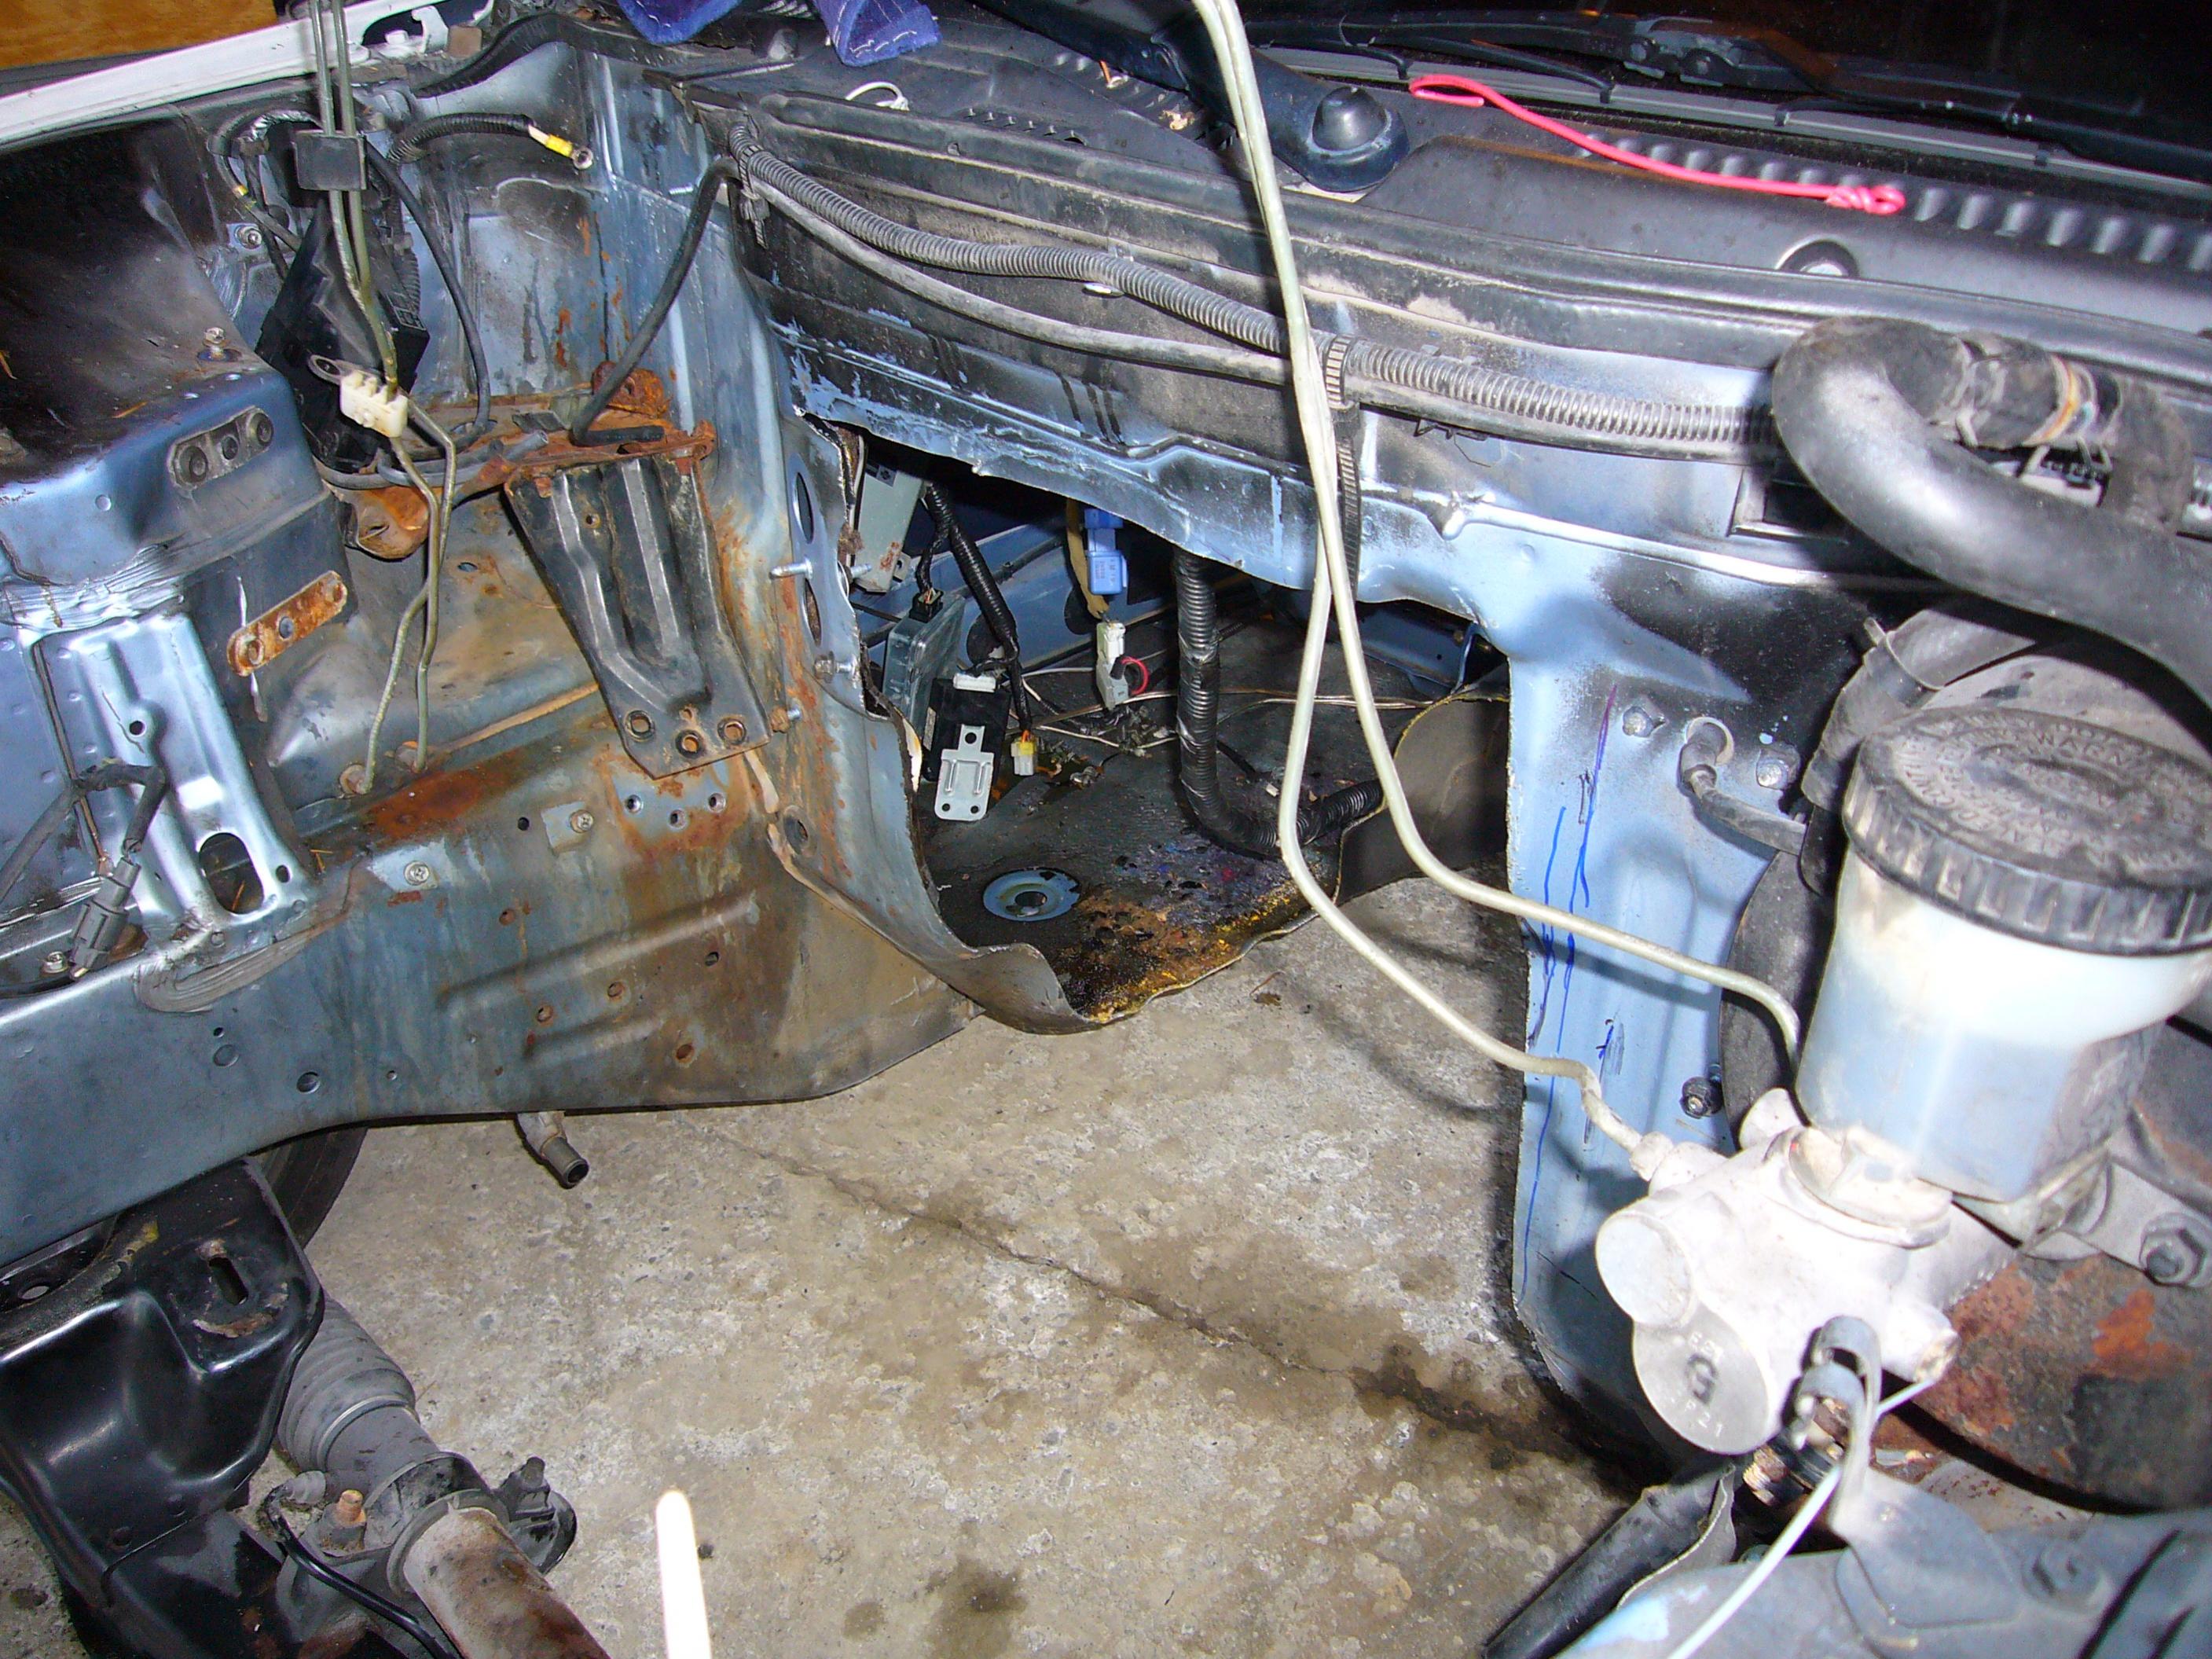
so i cut more of the firewall out including the bottom of the wiper tray. there's plenty extra down there to cut off. i also took a little more off the drivers side near the pedal.
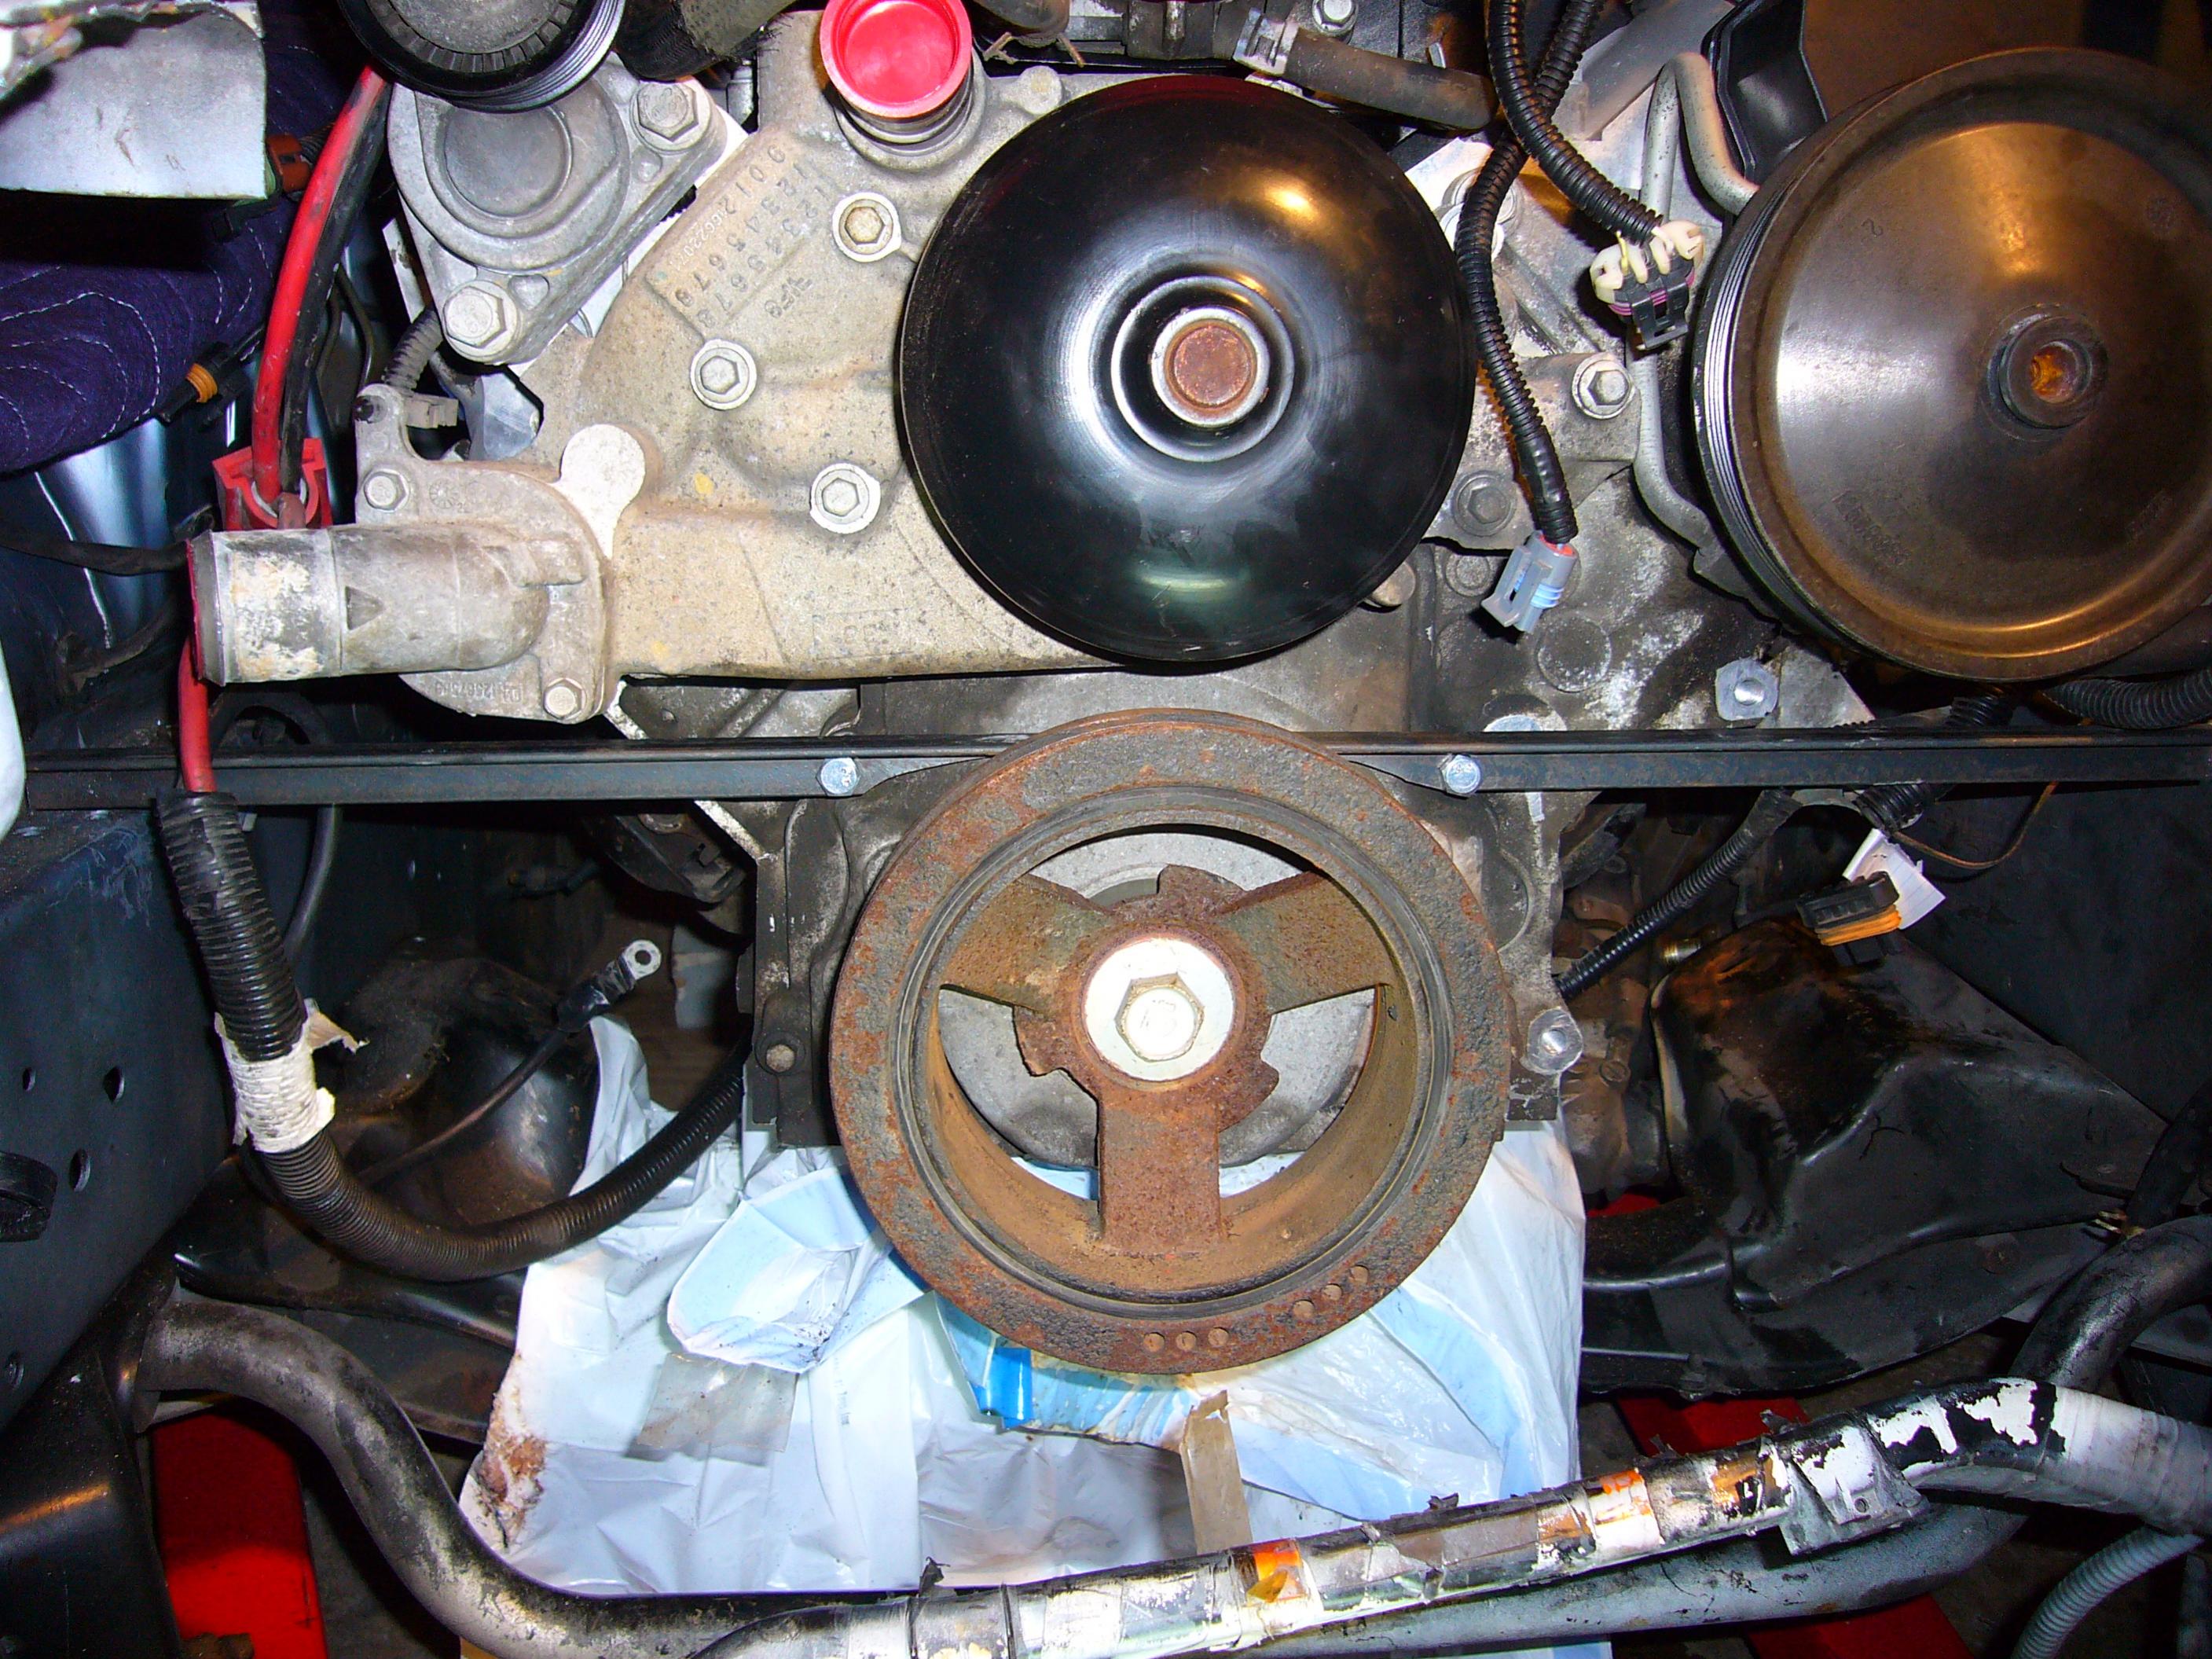
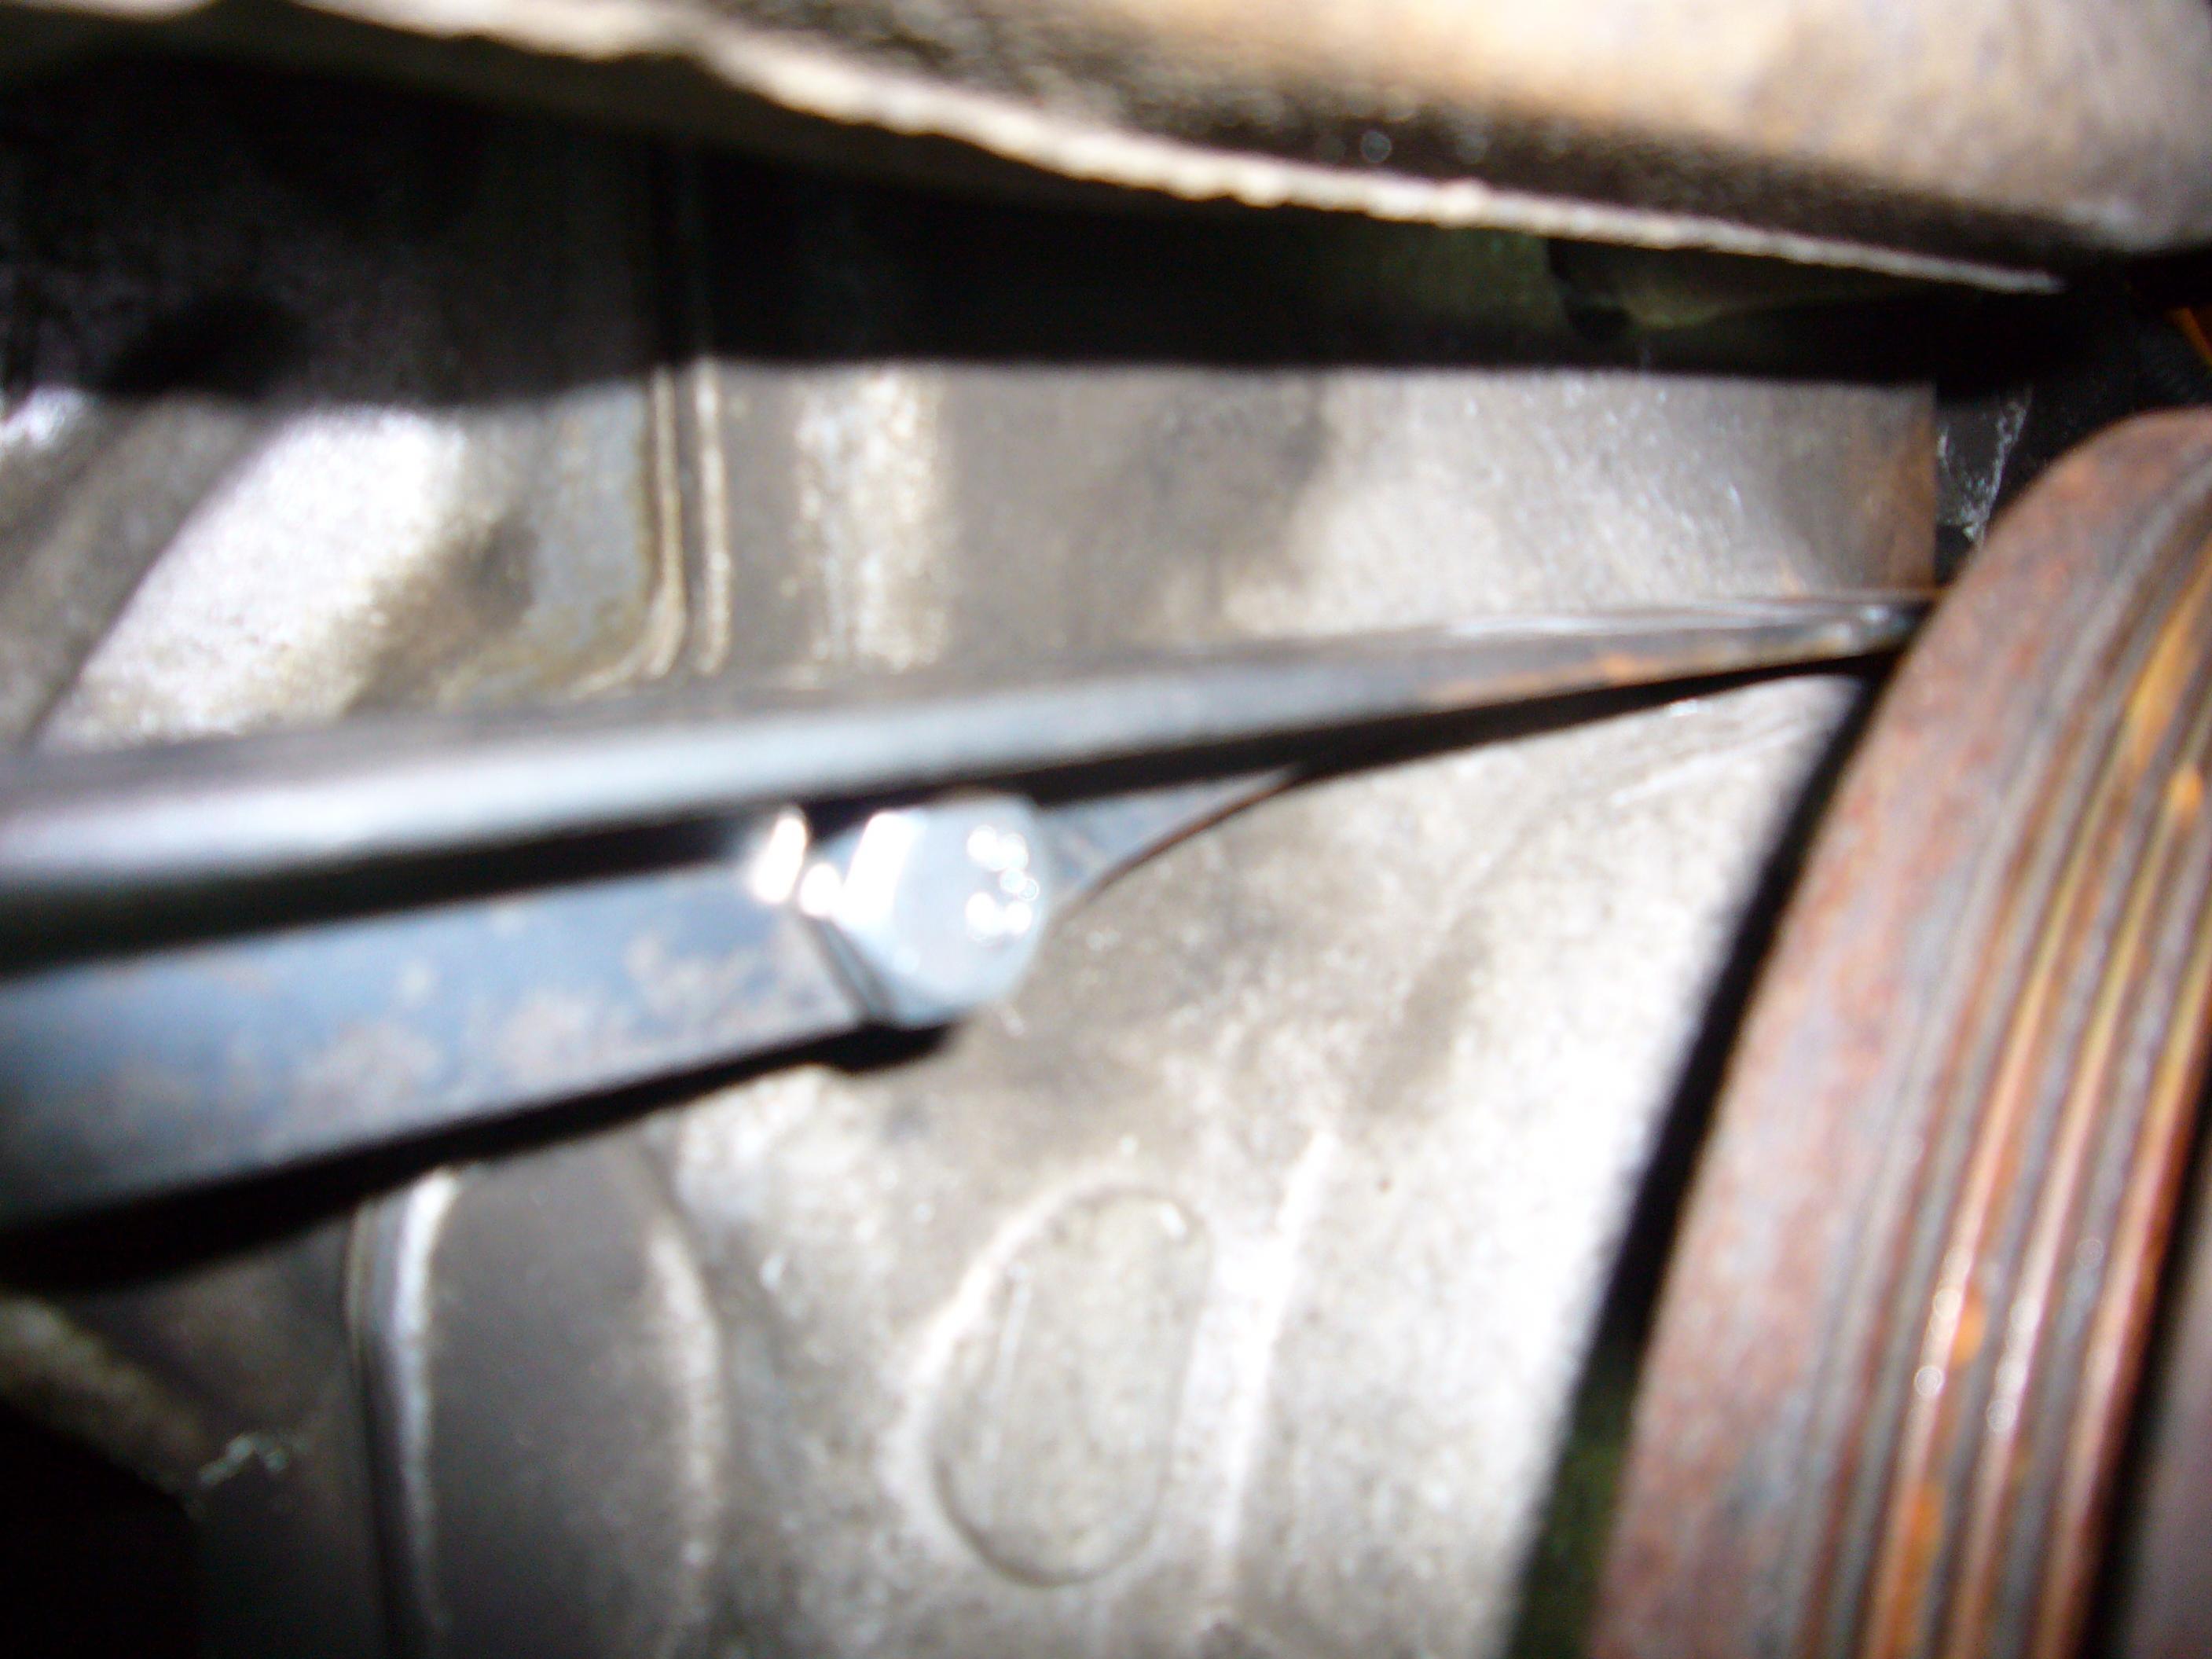
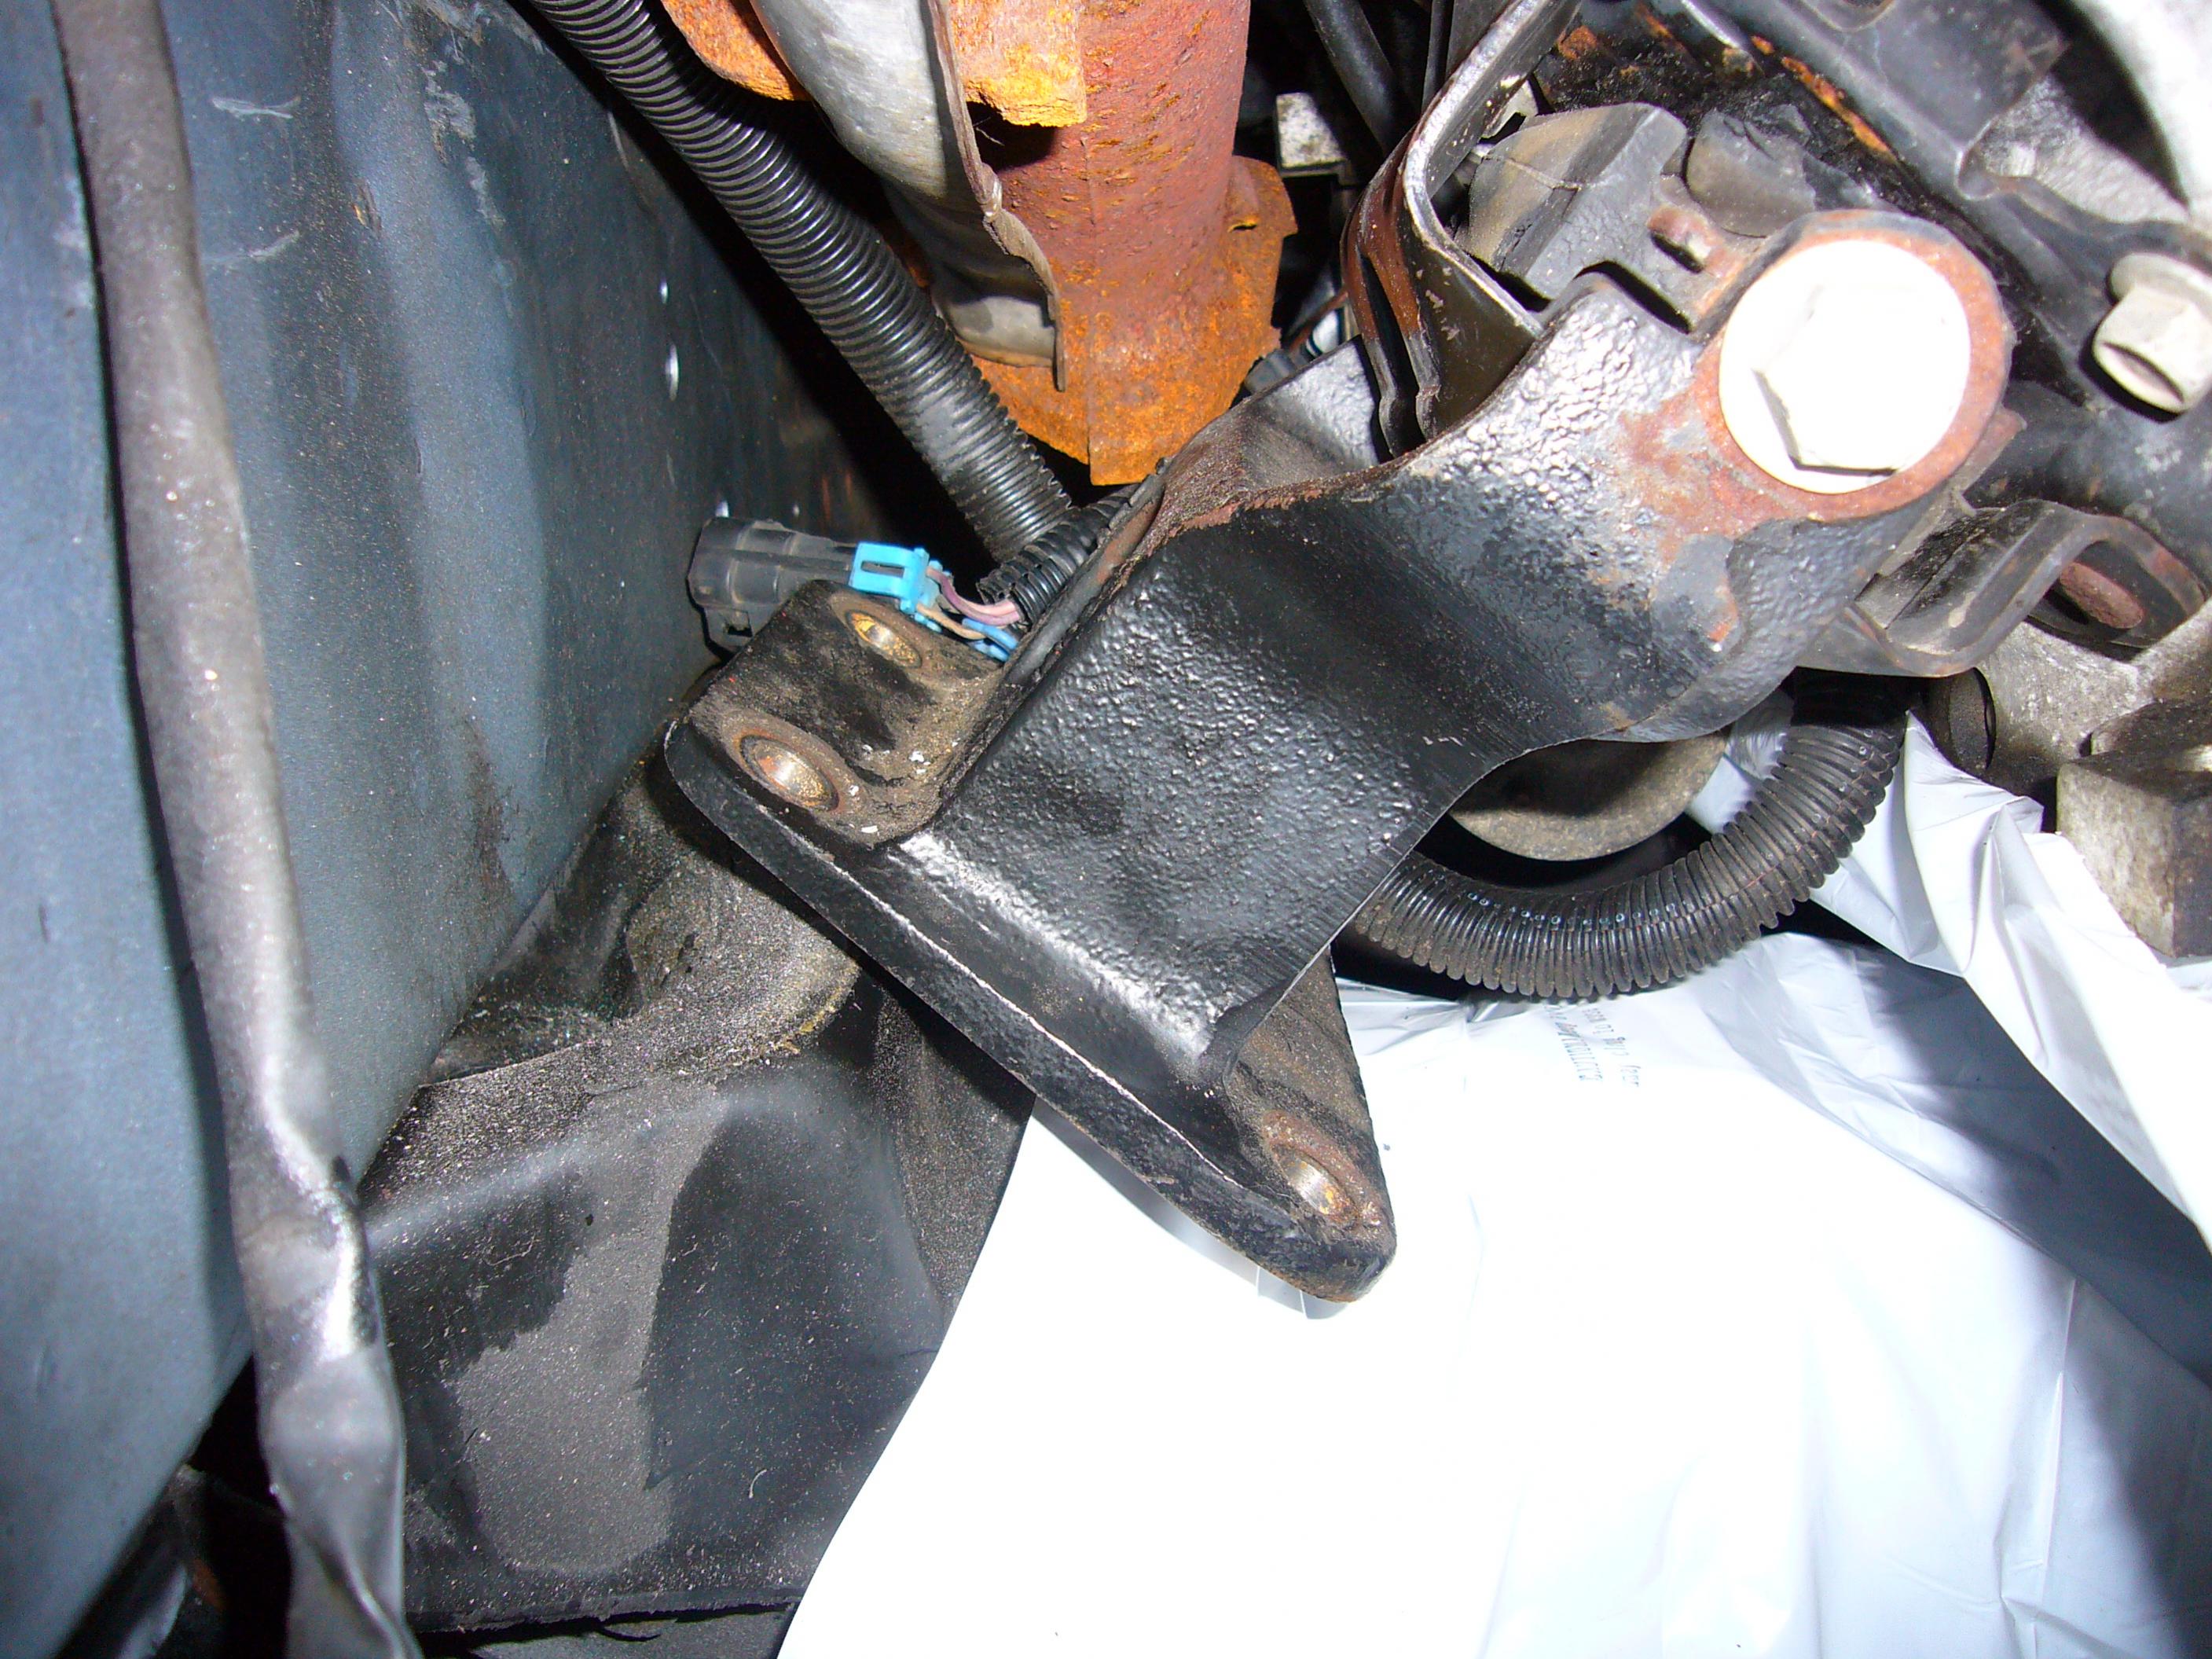
i used the idea we got here to put a piece of angle iron on the front of the block to help center it. we found 2 bolts on either side of the crank that worked. i cut around the bottom so it would fit over the top of the crank. we went to the hardware store and picked up 2 long bolts with the same thread as the factory. we should have gotten longer ones. if the iron was in front of the crank it would have worked much easier.
next we took a torch to the factory LS1 mounts and cut the top off that goes around the bushing. i ground it down most of the way. now we can use that to weld the new mount to.
so as it sits, we seem to have enough room everywhere. its going to be kind of a tight squeeze to get the hood to set down. its pretty close to the throttle body.
there is just over 2 inches underneath to fit the oil pan. Autokraft has a pan kit for $400 i think i'll go with (unless i can find a used one).
http://www.autokraft.org/products/
they told me that it was 1and3/4 inches deep in the shallow end and 5and1/2 inches deep in the sump. also, 11 inches wide at the base of the sump and 9 inches from the front of the sump to the back.
hopefully we'll get the mounts started today.
-
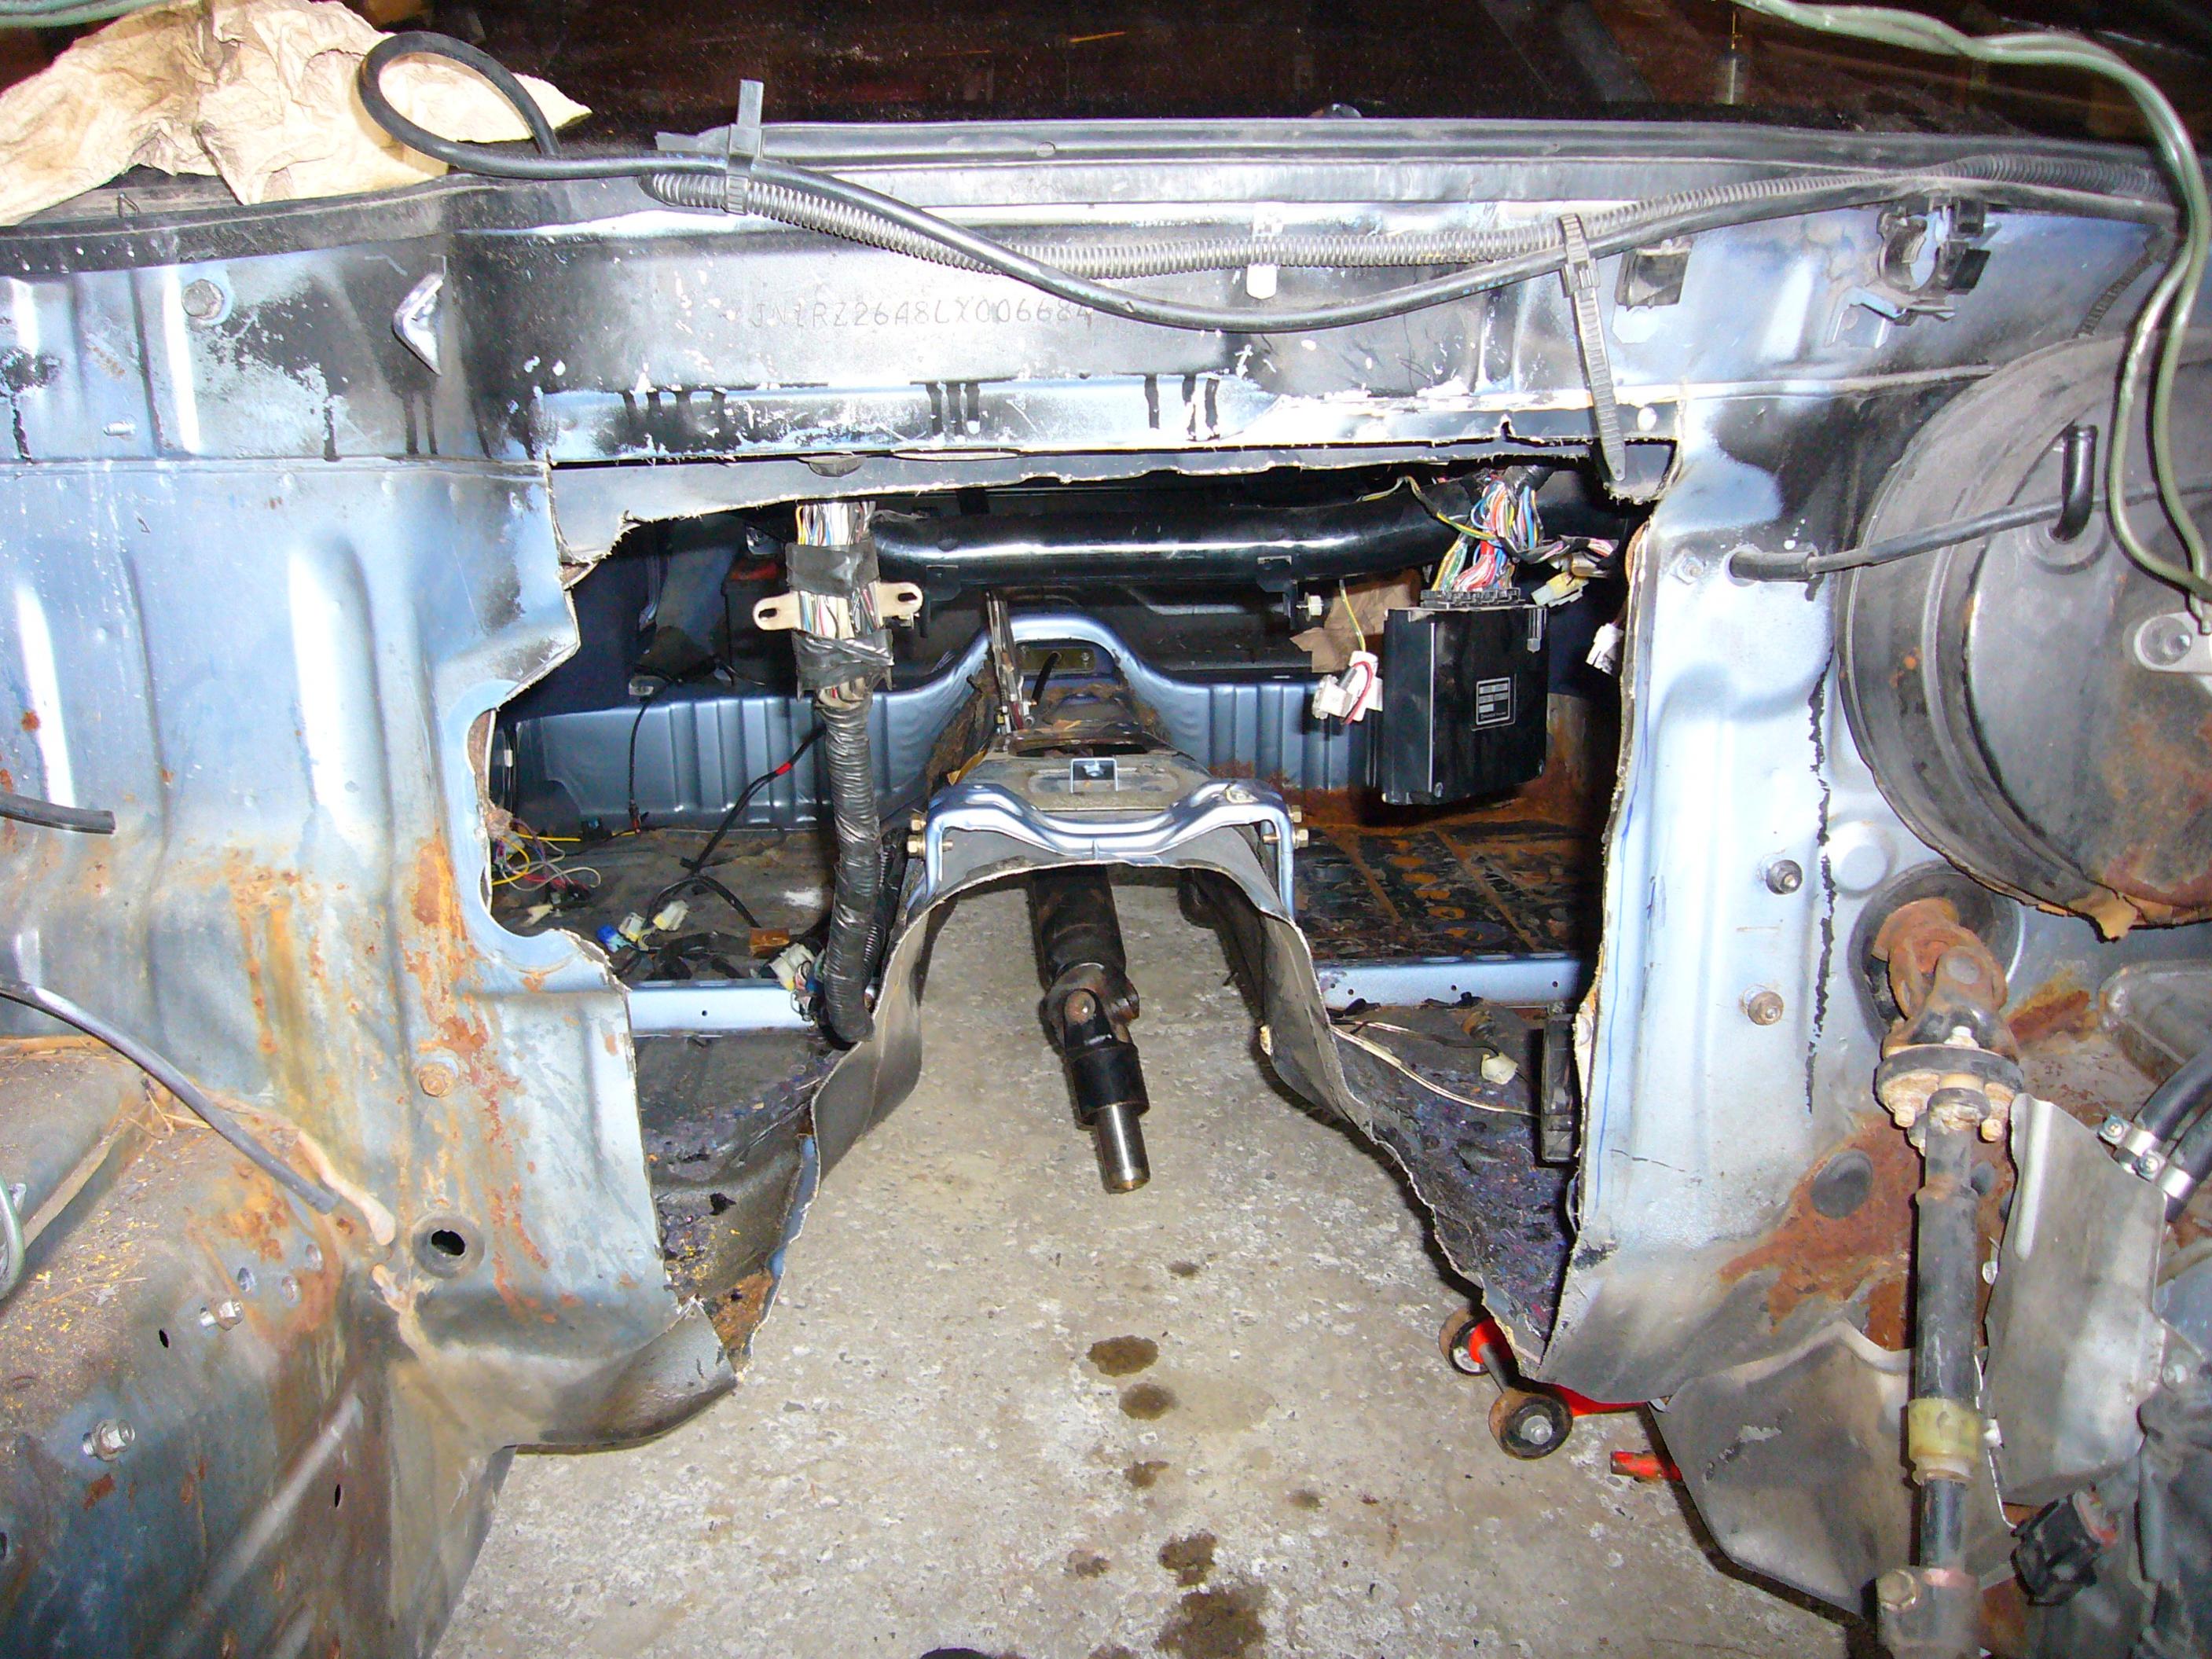
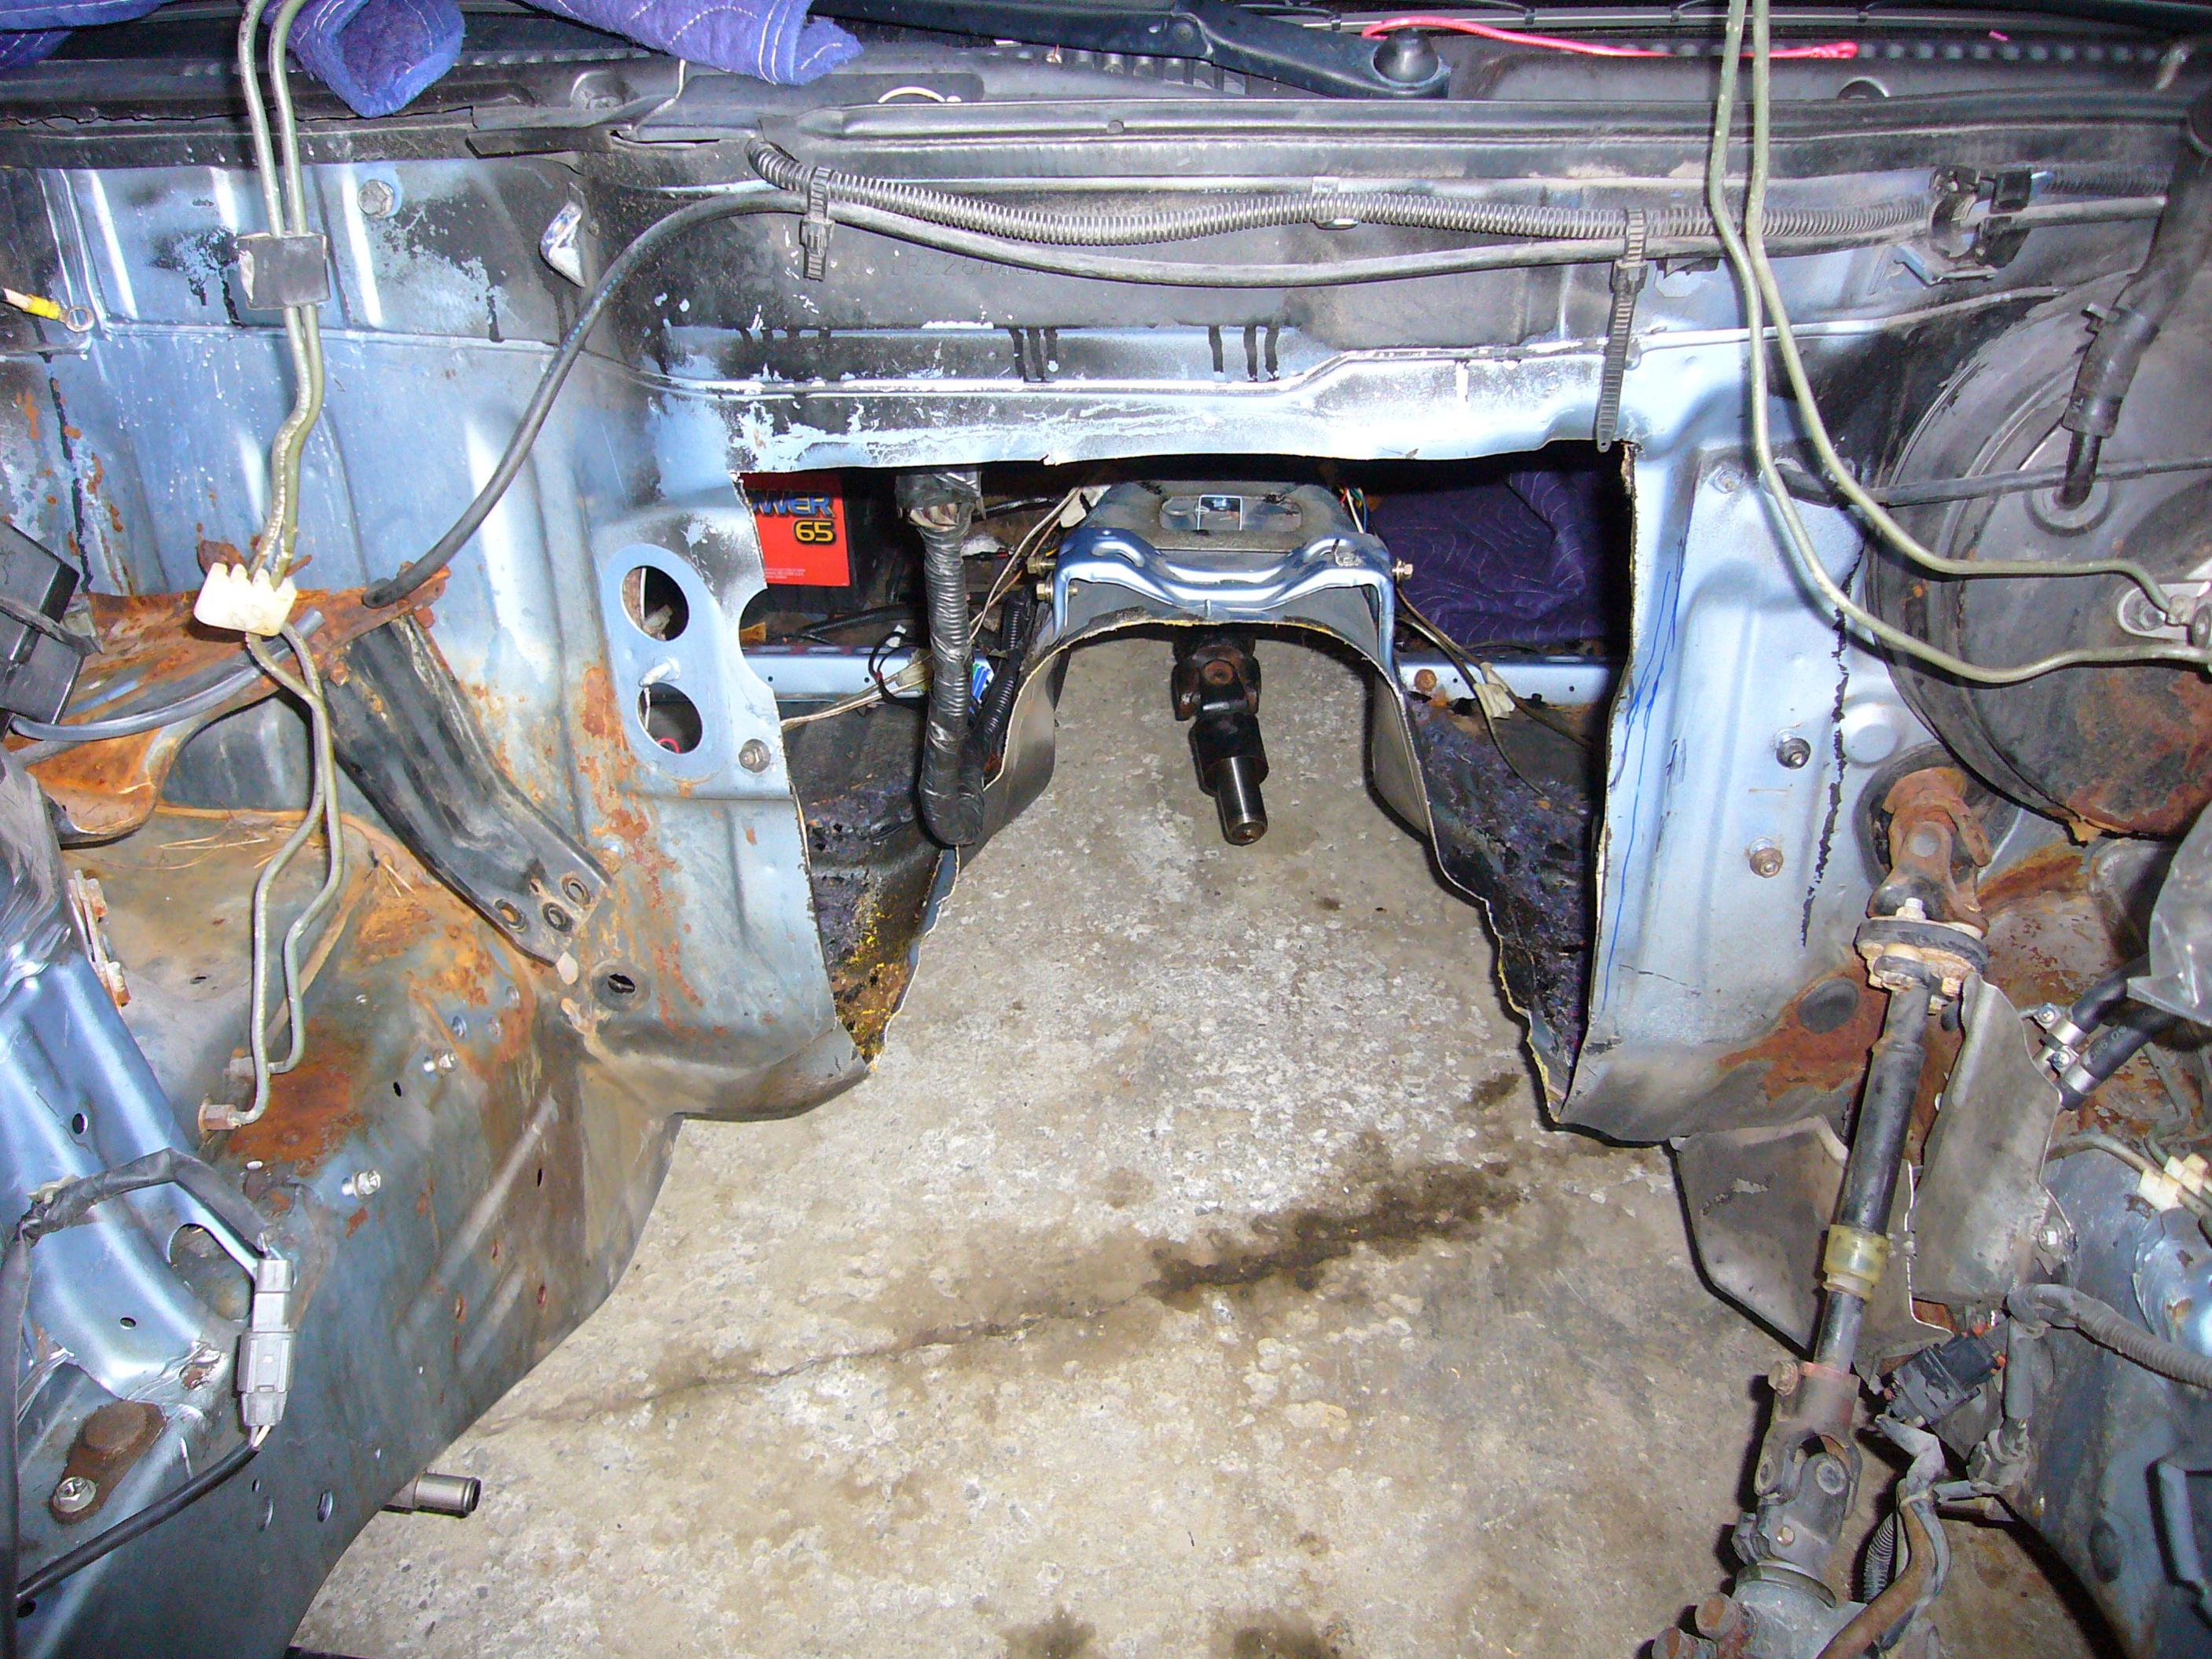
see if this makes sense. (note: the front and the rear of the car are both on jackstands so the whole car is not level.)
i got the trans centered and back about as far as it'll go. i measured down from the center of where the driveshaft goes in (see picture) down to the that flat part under it (about 2 and 1/2 inches) and then did the same at the pinion. i tied a straight bar along that line (2 and 1/2 below the center of the driveshaft).
i found a factory driveshaft mount point (see picture) that should be perpendicular to the factory driveshaft and got a level on it (see picture). the bar i tied up looks to be level with that mount point.
so.... my question is... is this a good way to determine if my driveshaft will be where it ought to be?
-
note: putting an LS1 w/ t56 transmission from 2001 trans am WS6 into a 1990 300zx 2+2 auto.
1.) what are some suggestions for the clutch pedal and slave cylinder? the car was originally automatic so i don't have either stock but i can get them on ebay. if i did get them, how would i connect them to the t56? also, the LS1 i got came with pedals and slave cylinder. if i used them, how much effort would be needed to fit it?
2.) what are some suggestions on the driveshaft? the stock 2+2 has 2 joints. should we make it just 1 long section or leave it that way? also, how accurate does the t56 have to line up with the drive shaft? will we be able to get away with a little play in it?
3.) what are the dimensions of the 1995 240SX engine bay compared to the 1990 300ZX engine bay? i ask because my buddy put an LS1 in a 240 and he got a header kit that fit nicely. i was hoping i could use the same kit.
4.) there is a sensor on the power steering line and if i delete it will it cause any problems?
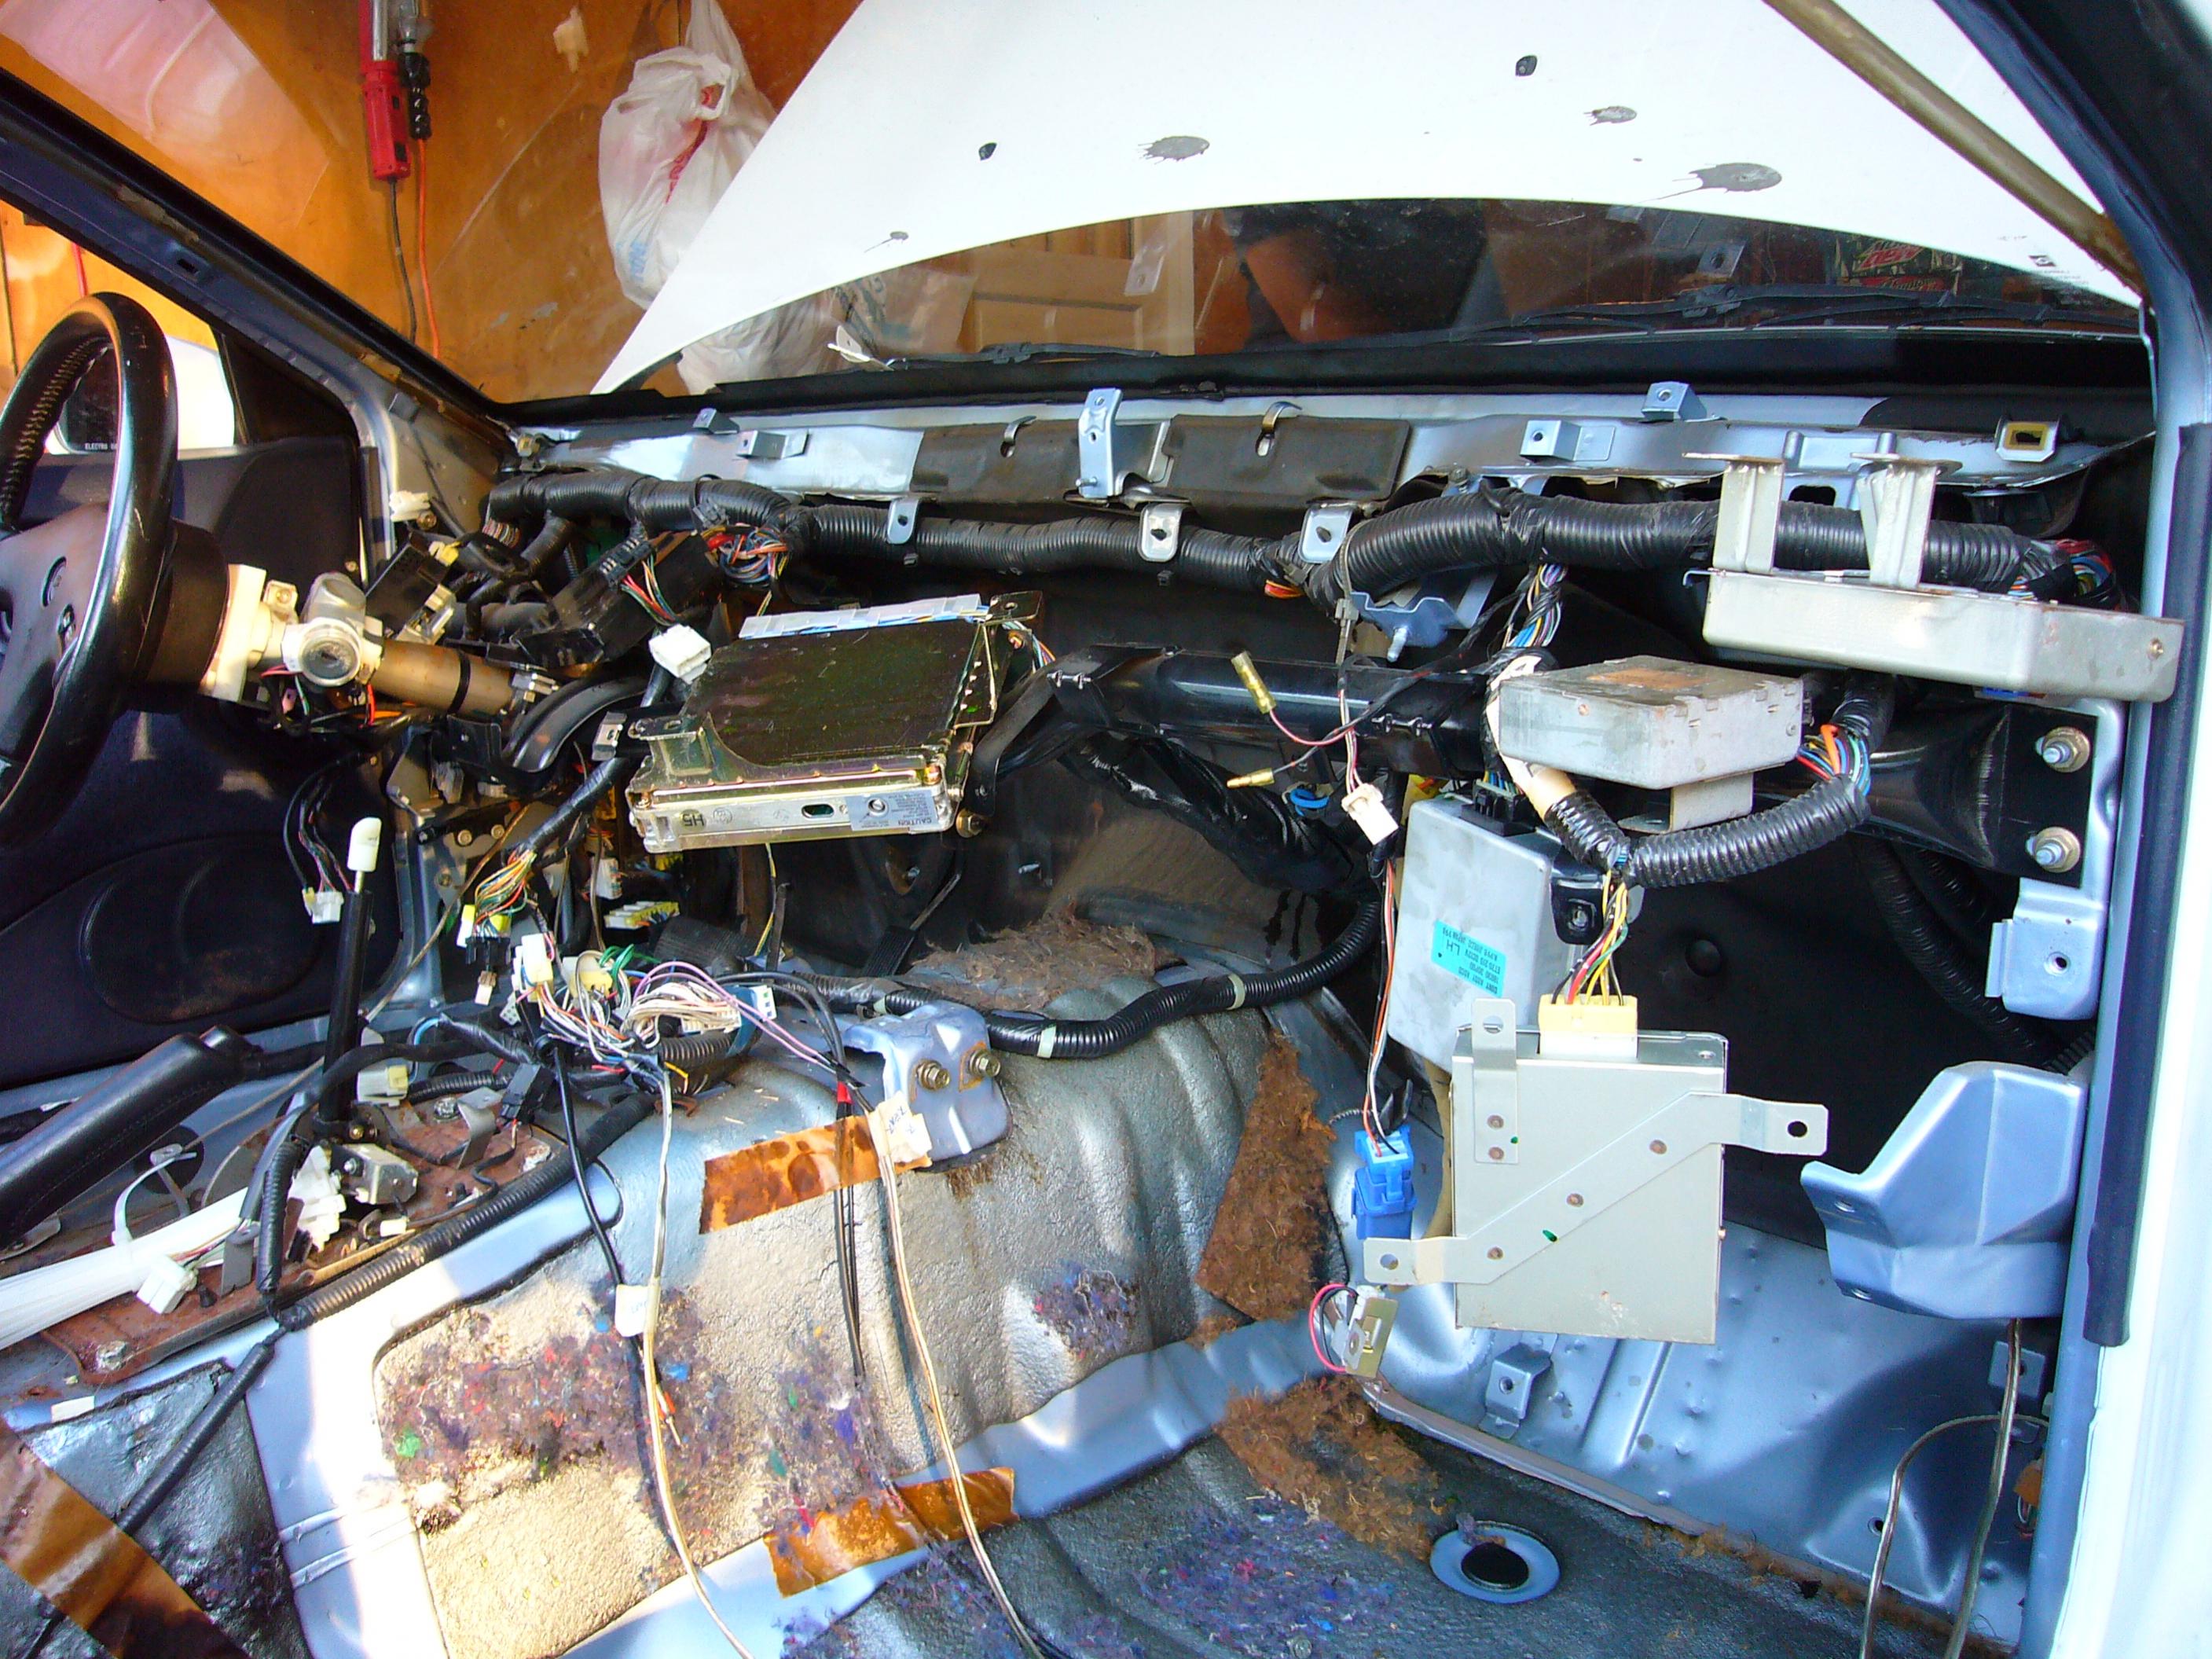
5.) does anyone know what each of the 5 computers under the passenger foot panel are? i found the cruise control and auto trans computers in the service manual but the other 3 are a mystery. also, what is the computer to the right of the steering wheel?
any input would help. thanks.
-
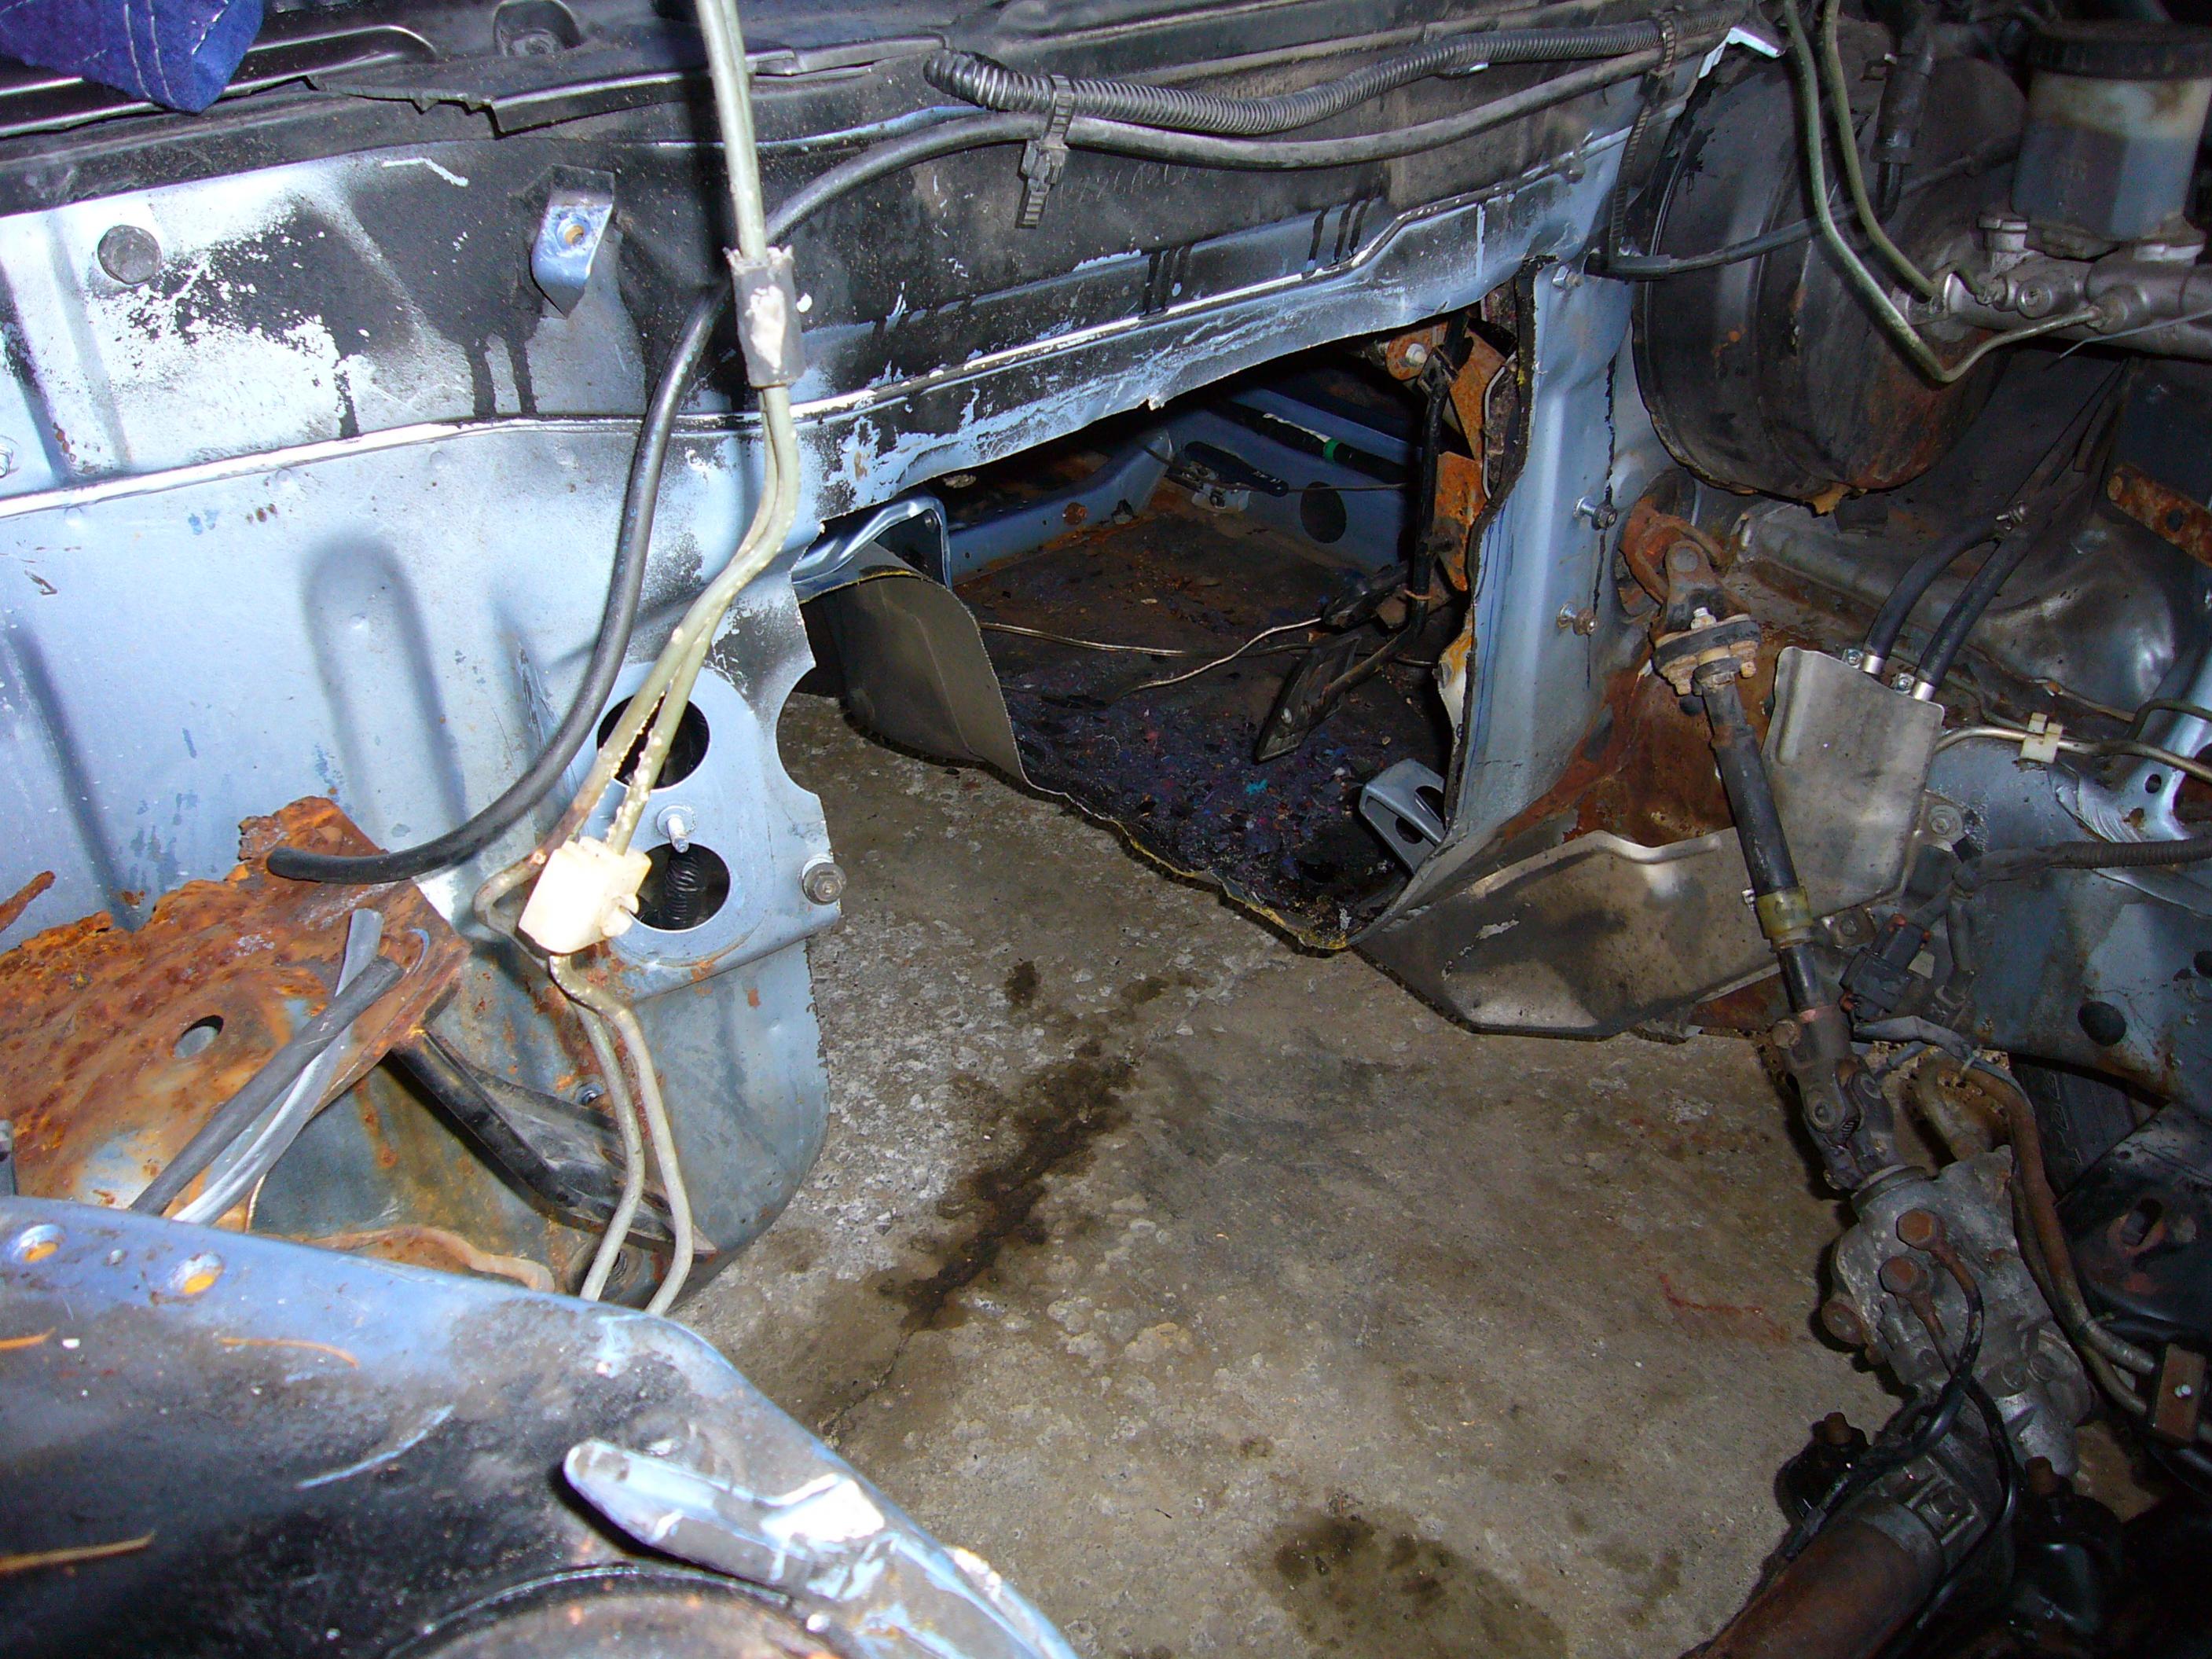
so we cut out the trans tunnel. about 17-18 inches wide. the t56 is 16 inches wide so we'll have some breathing room. we made sure not to cut too close to the gas pedal so we would have enough foot room when we were done.
i was going to keep the stock radiator mount that has the hood latch on it but it saved a ton of trouble cutting it right off. it freed up plenty of room for the transmission to go through when we were putting the motor back in so we didn't have to raise it too high. also, the radiator, fan, and intake will have extra room when we get there.
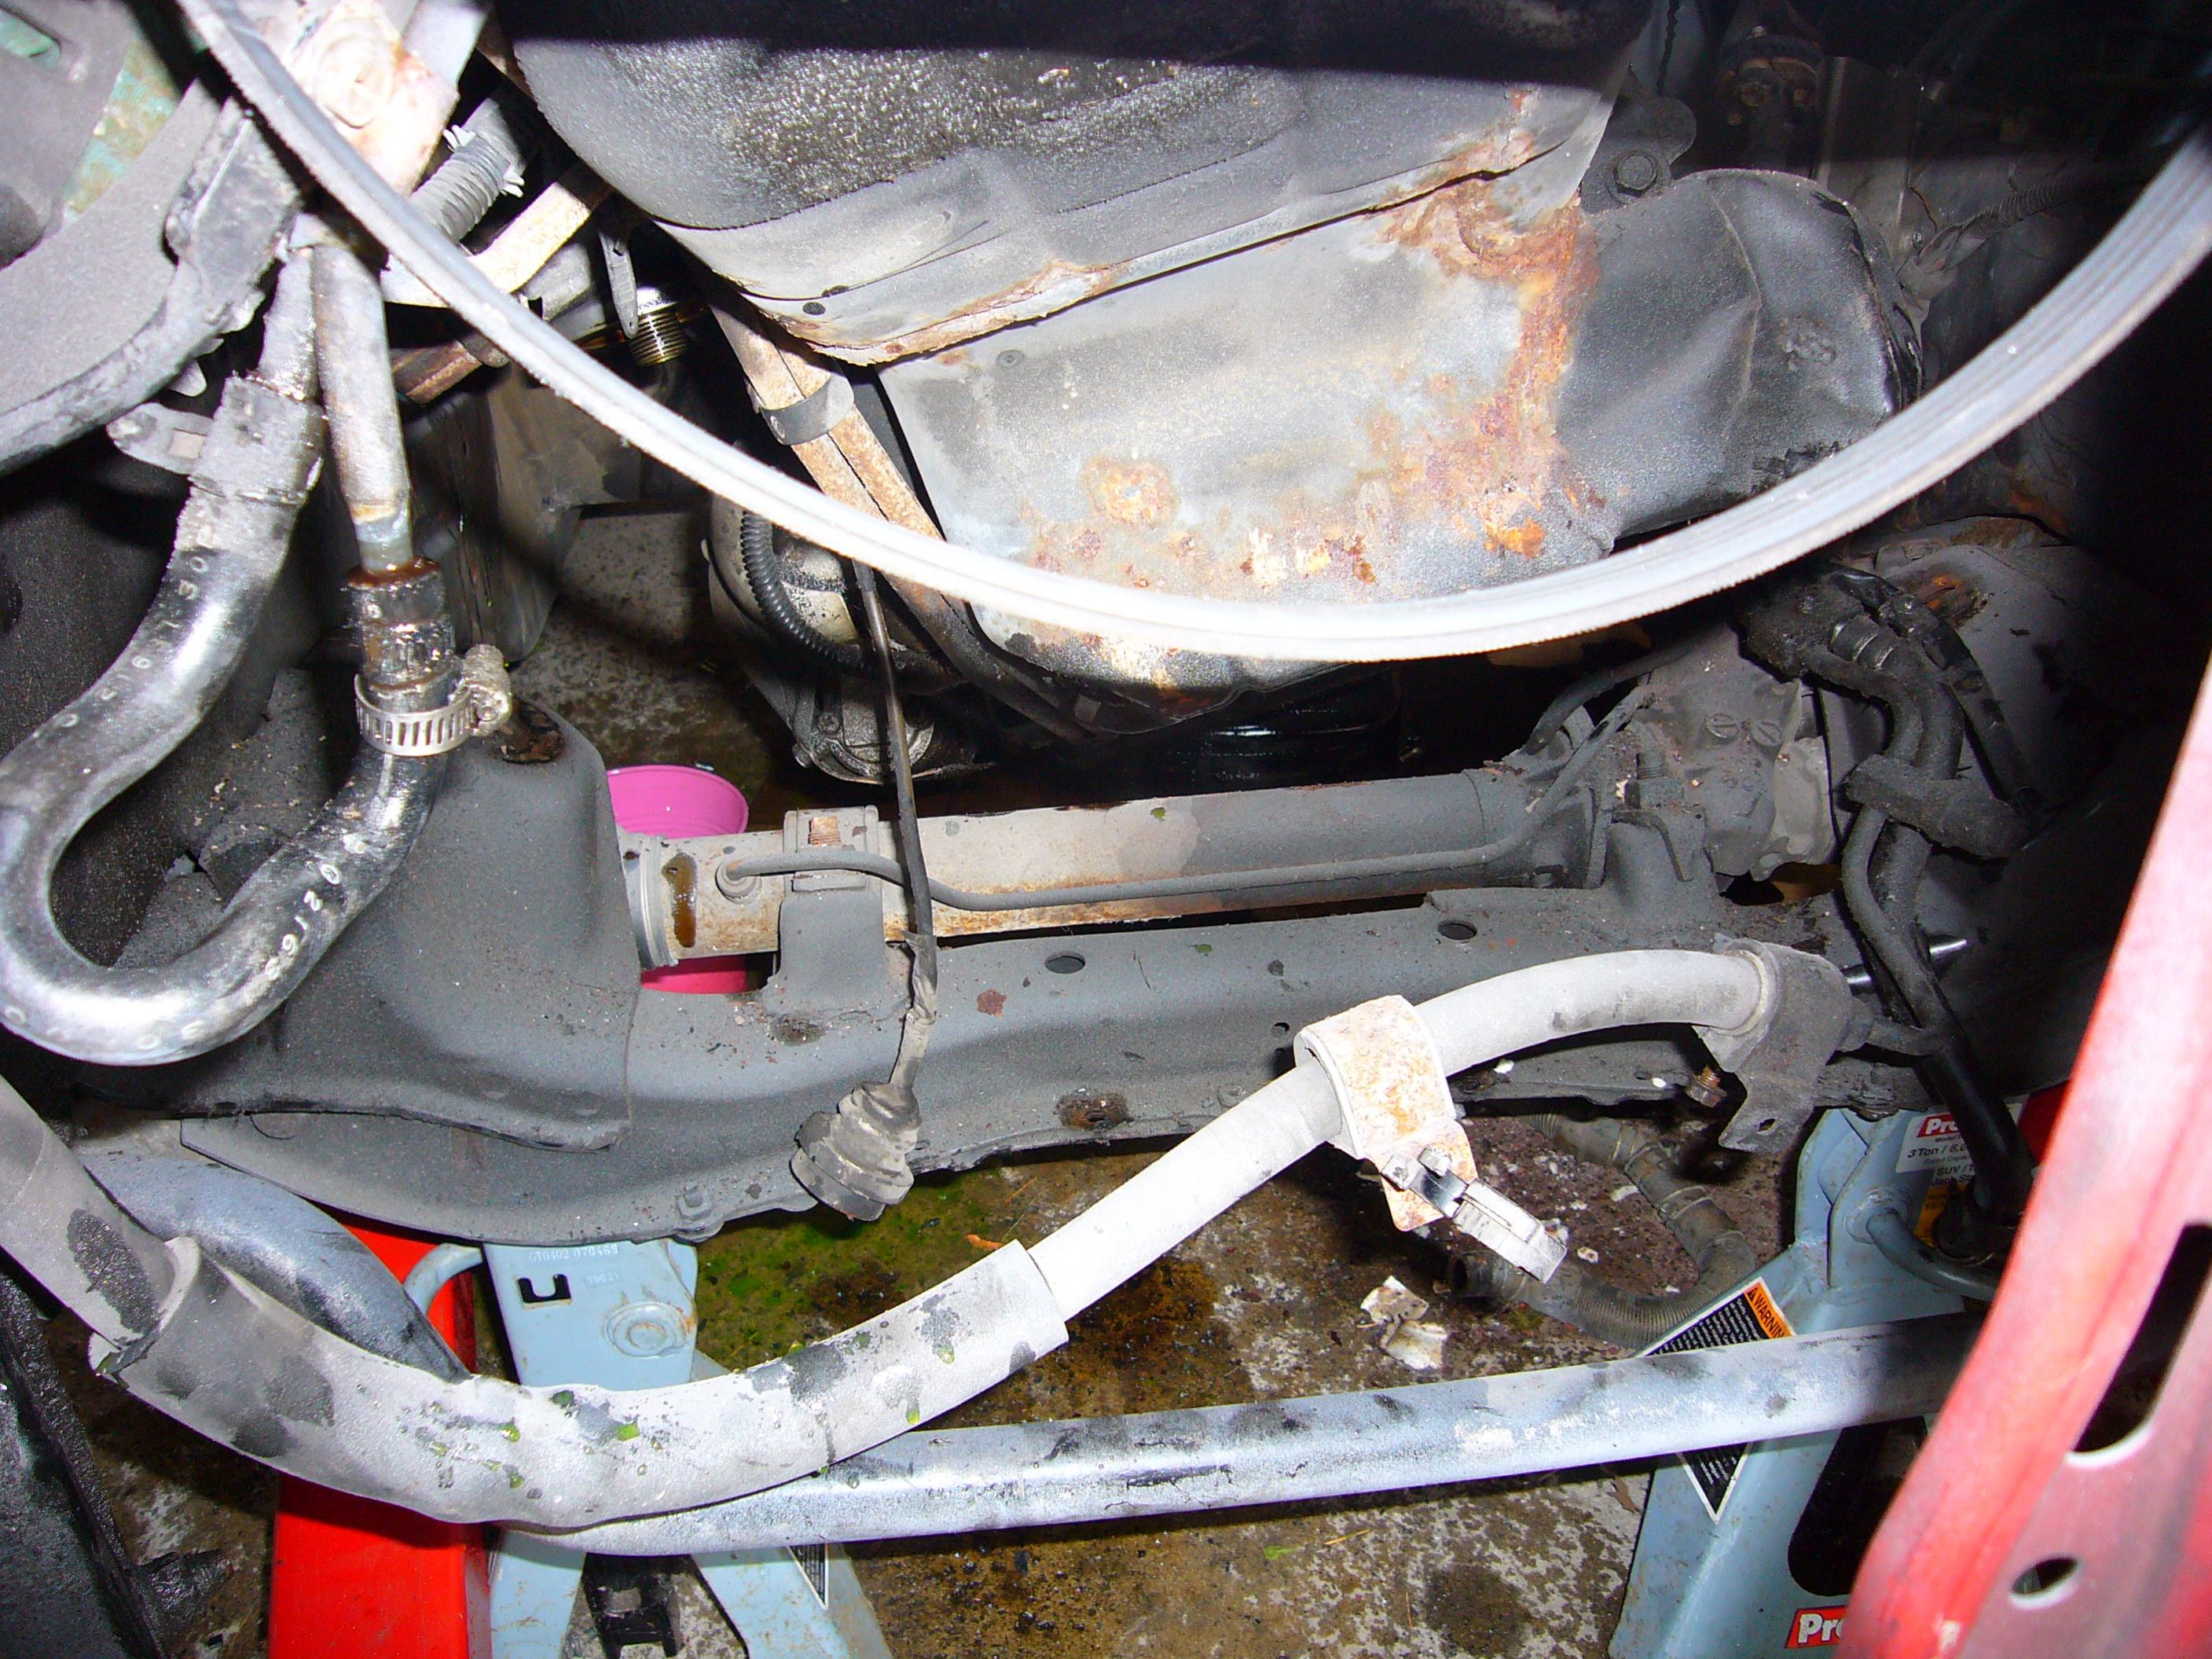
as we started pushing the motor in we realized that oil pan is no where near clearing the rack so we pulled the motor back out and removed the oil pan. we got a little creative and bolted a garbage bag in where the oil pan was to keep dirt out. without the oil pan on the bottom we had enough room to move around. it seems like maybe the way to go will be to get and aftermarket pan and bolt it up there after we get the motor settled in. the GTO might work too. we'll see after we get the mounts done.
we planned on mocking up the motor mounts and wondered if the stock LS1 mounts would work. after we got the engine back in, it was up just a couple inches too high but the arms on the mounts are 2 1/2 inches high. cutting the arms off and welding the top of the mount directly to the bottom might work. i'm feeling pretty good about that. we'll get to it next time. with the motor where it was it seems like the shifter is going to come up right where the stock one was. that will be great. i'll have more pics when we find out.
-
finally got my LS1. came out of an 01 trans am WS6. it has a t56 6 speed trans and an LS6 intake. i plan on a new clutch and a big cam.
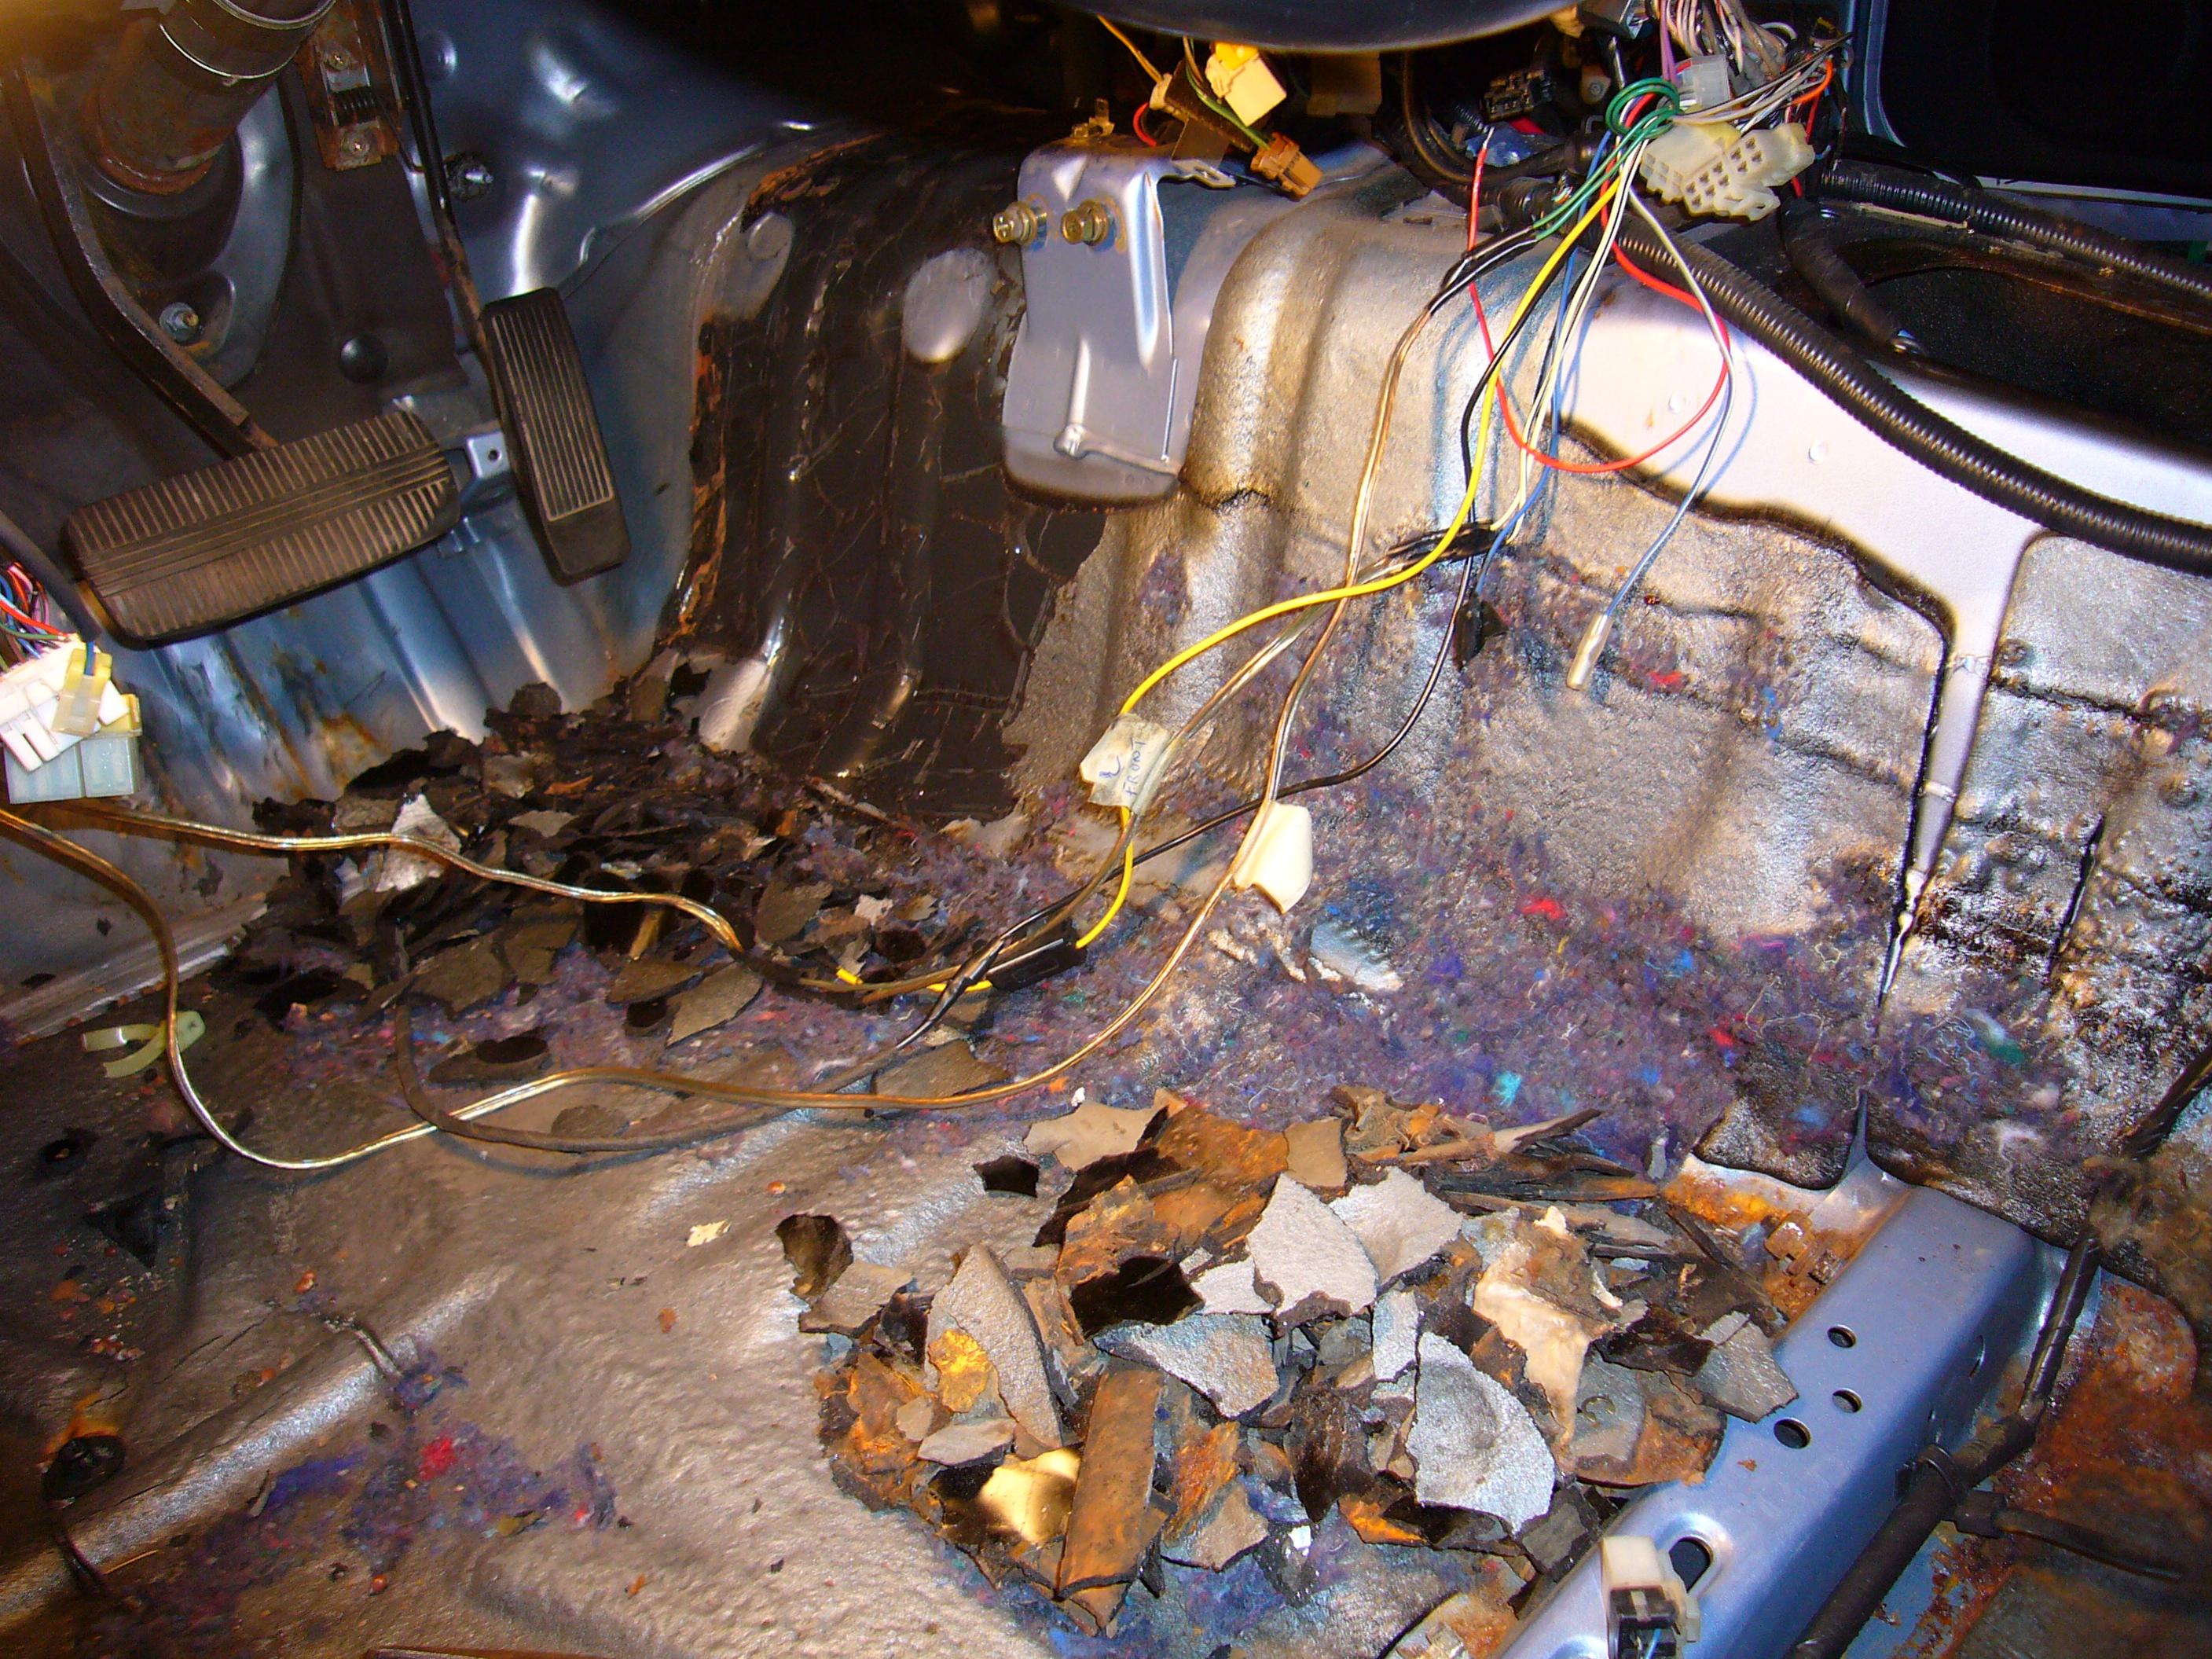
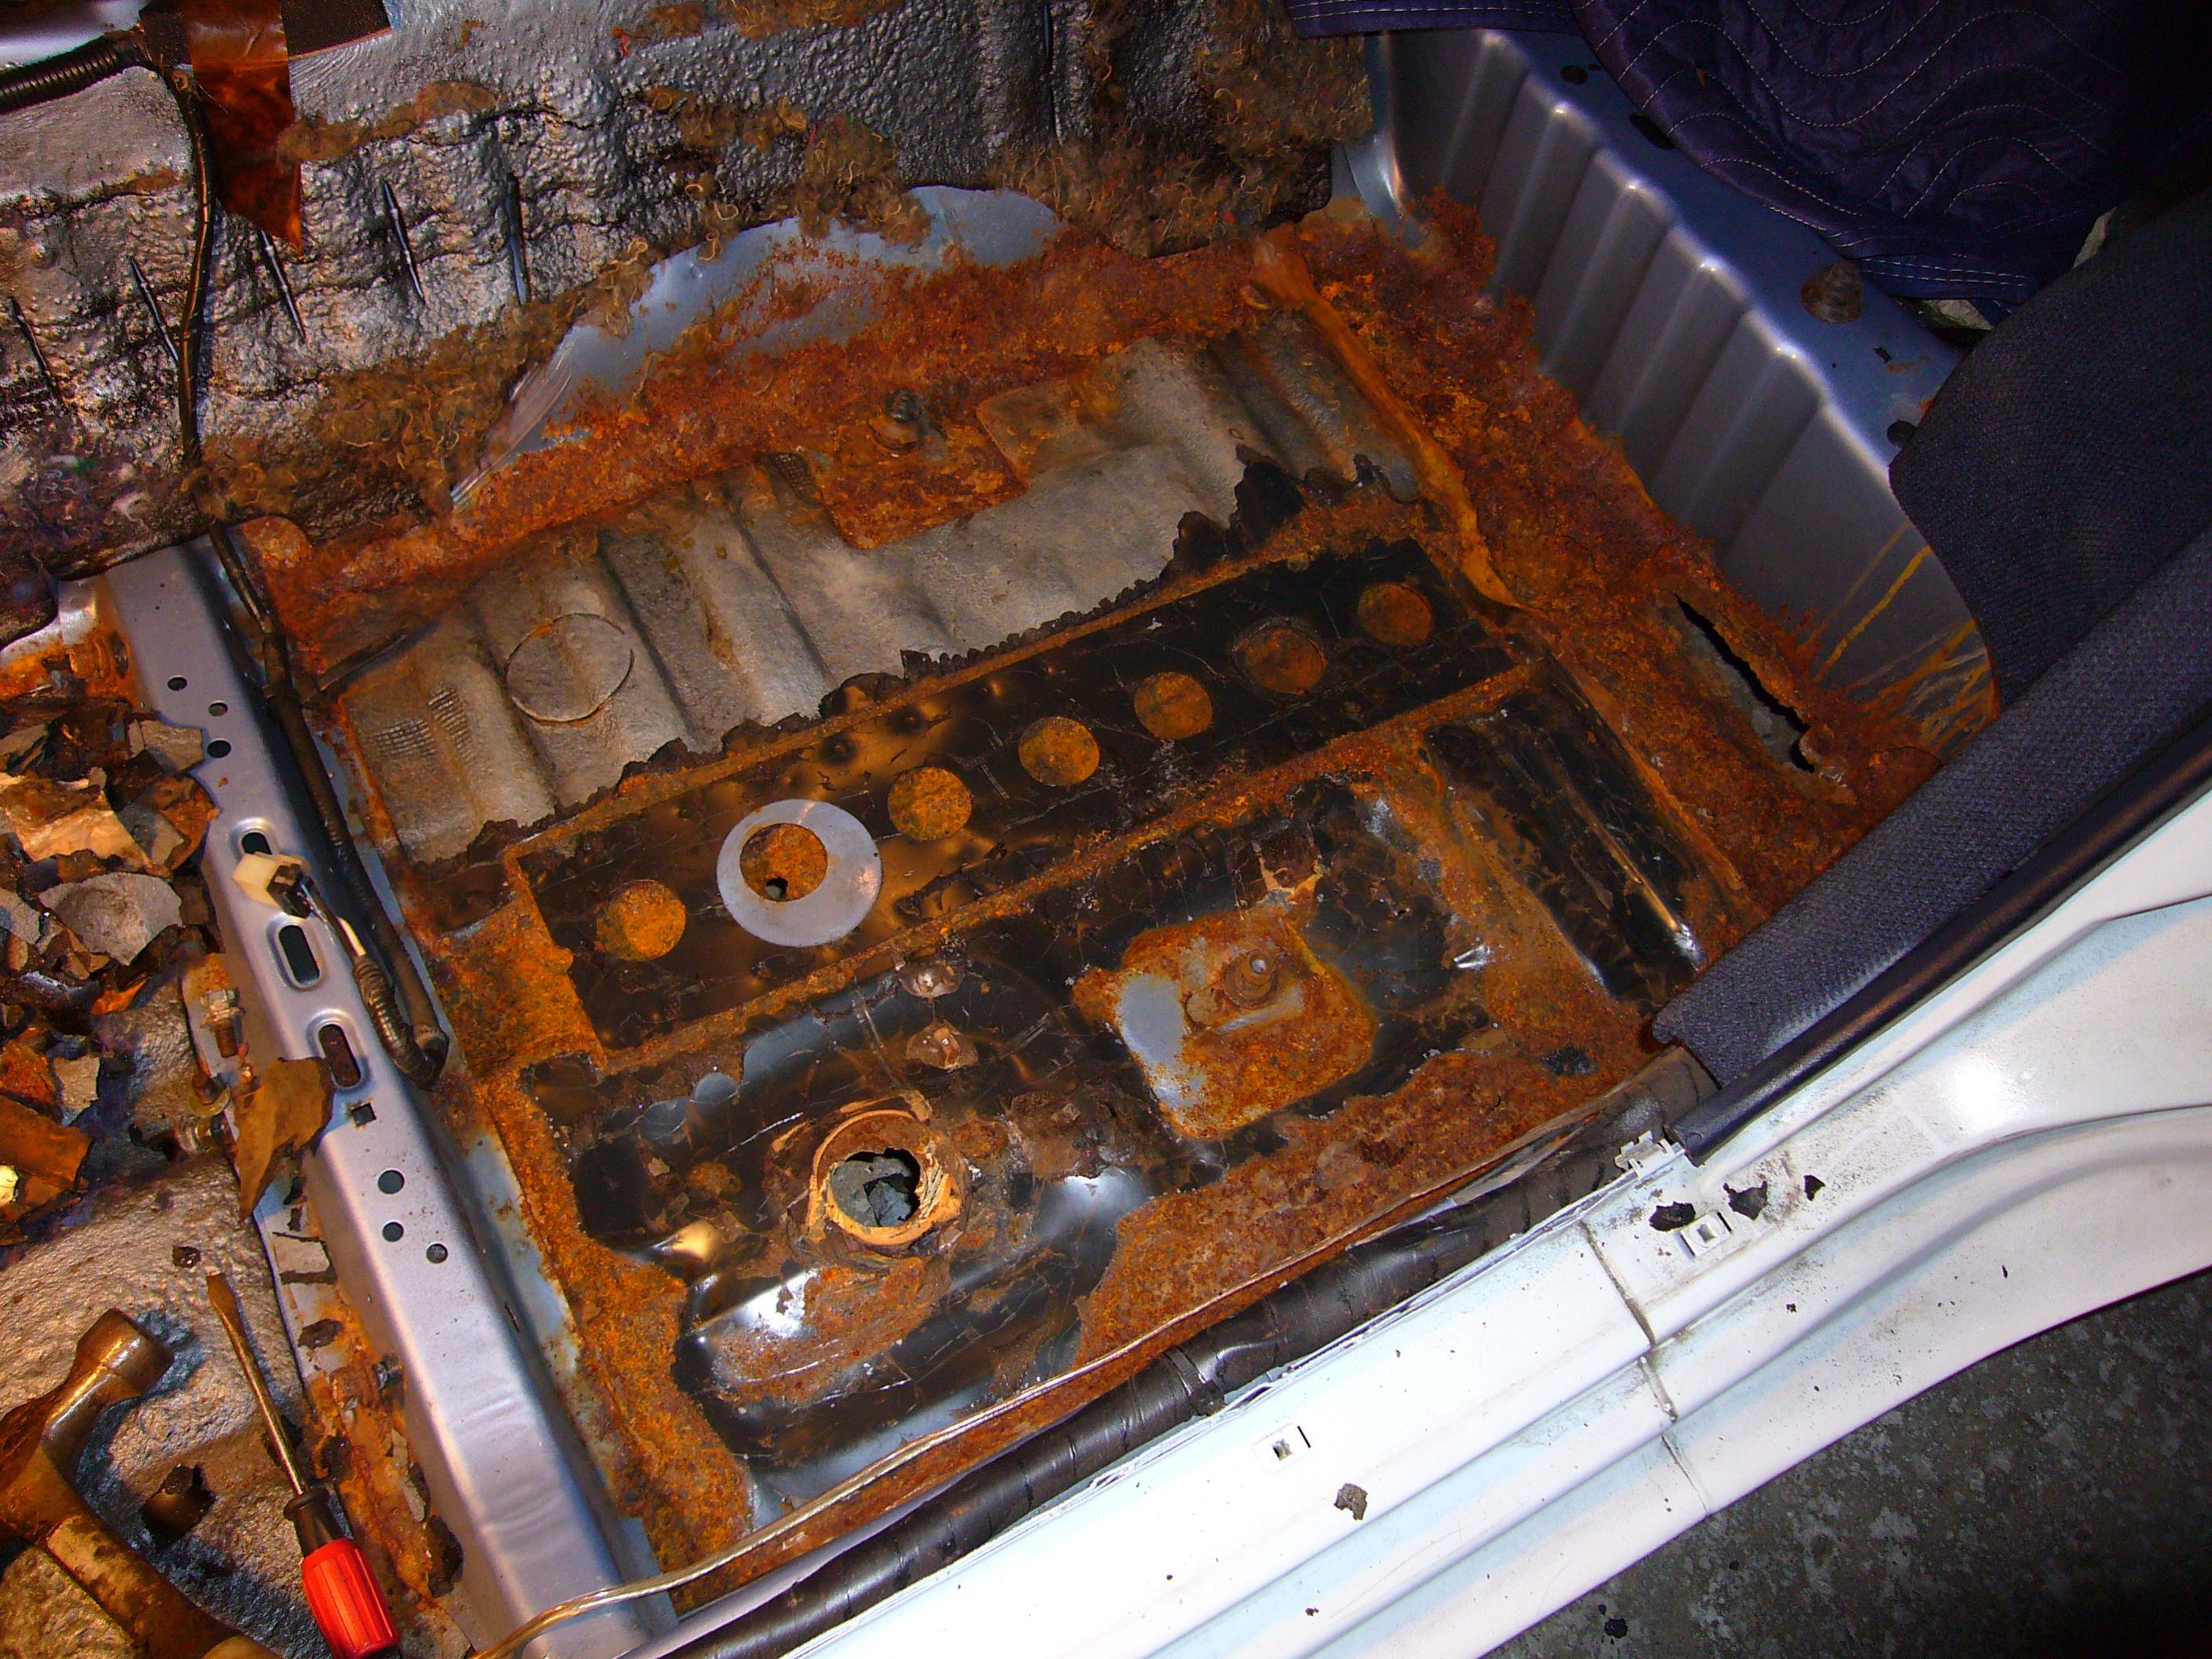
i started to mark where we're going to cut the firewall (thanks for the pictures from dts300z). i tried to remove the matting on the inside of the firewall and the floor panels. turned out i had to chisel out the matting with a hammer and screwdriver. looks like the driver's side floor needs a whole new panel. i'll deal with that shortly.
-
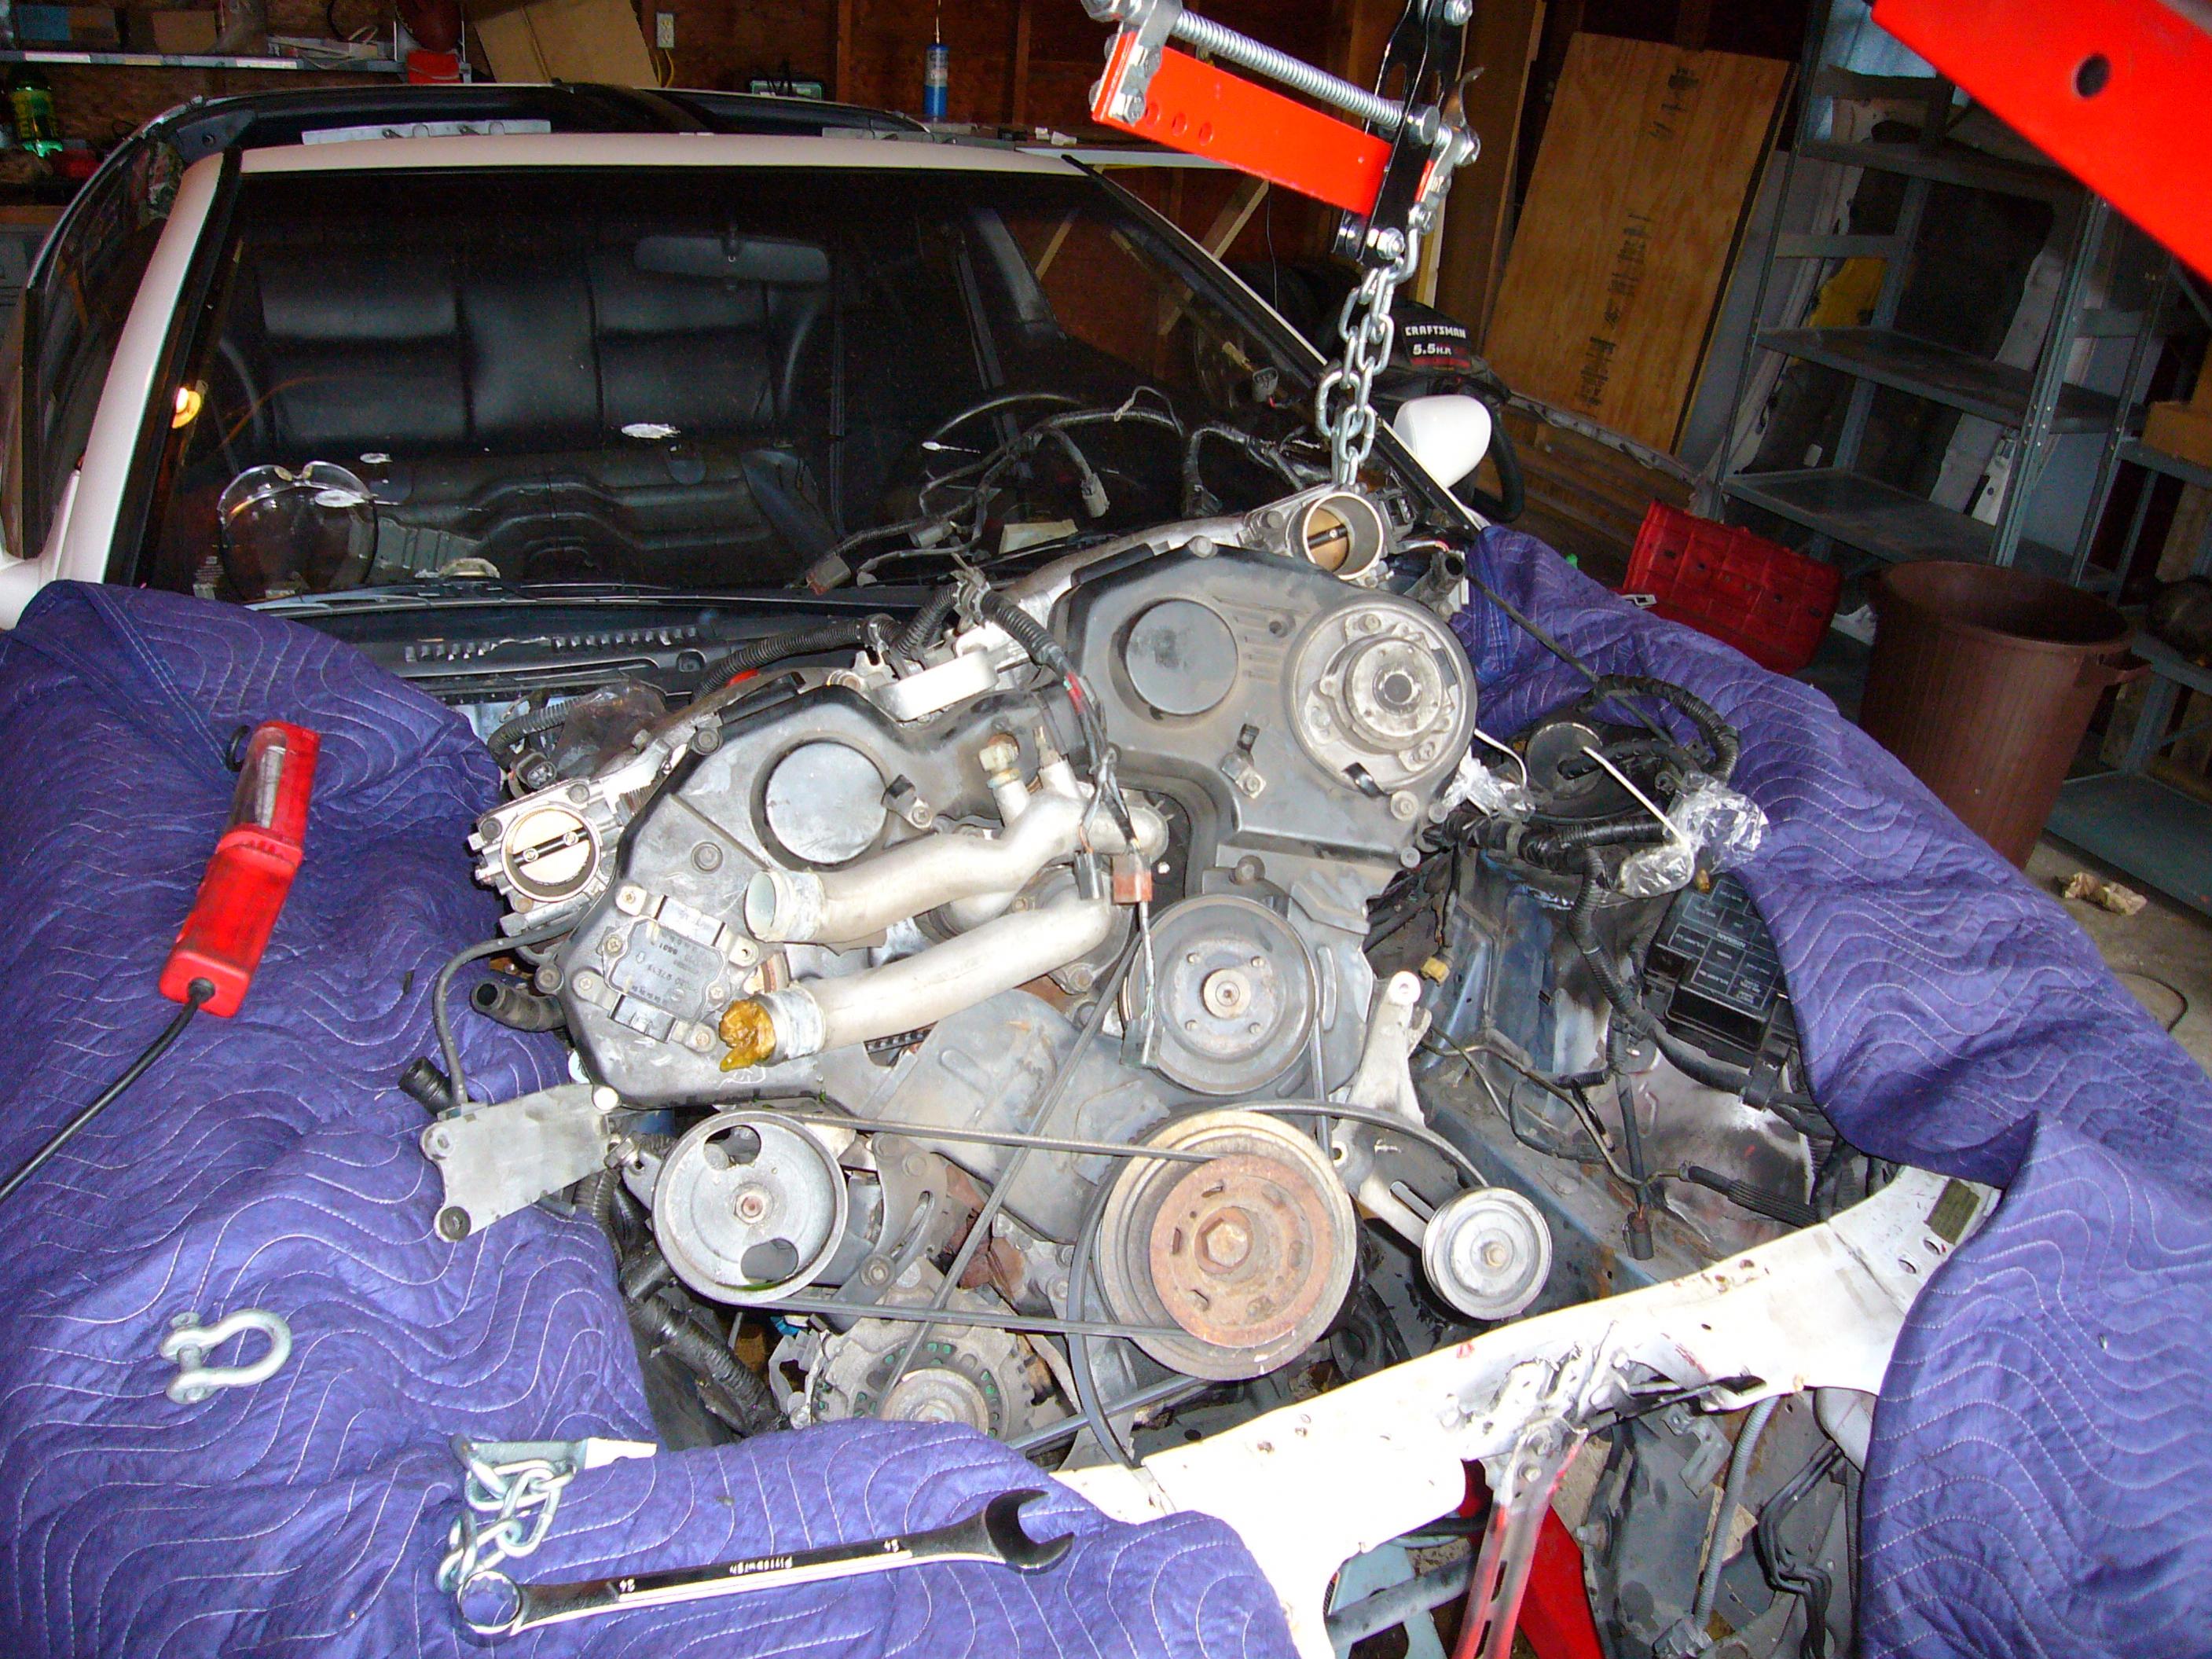
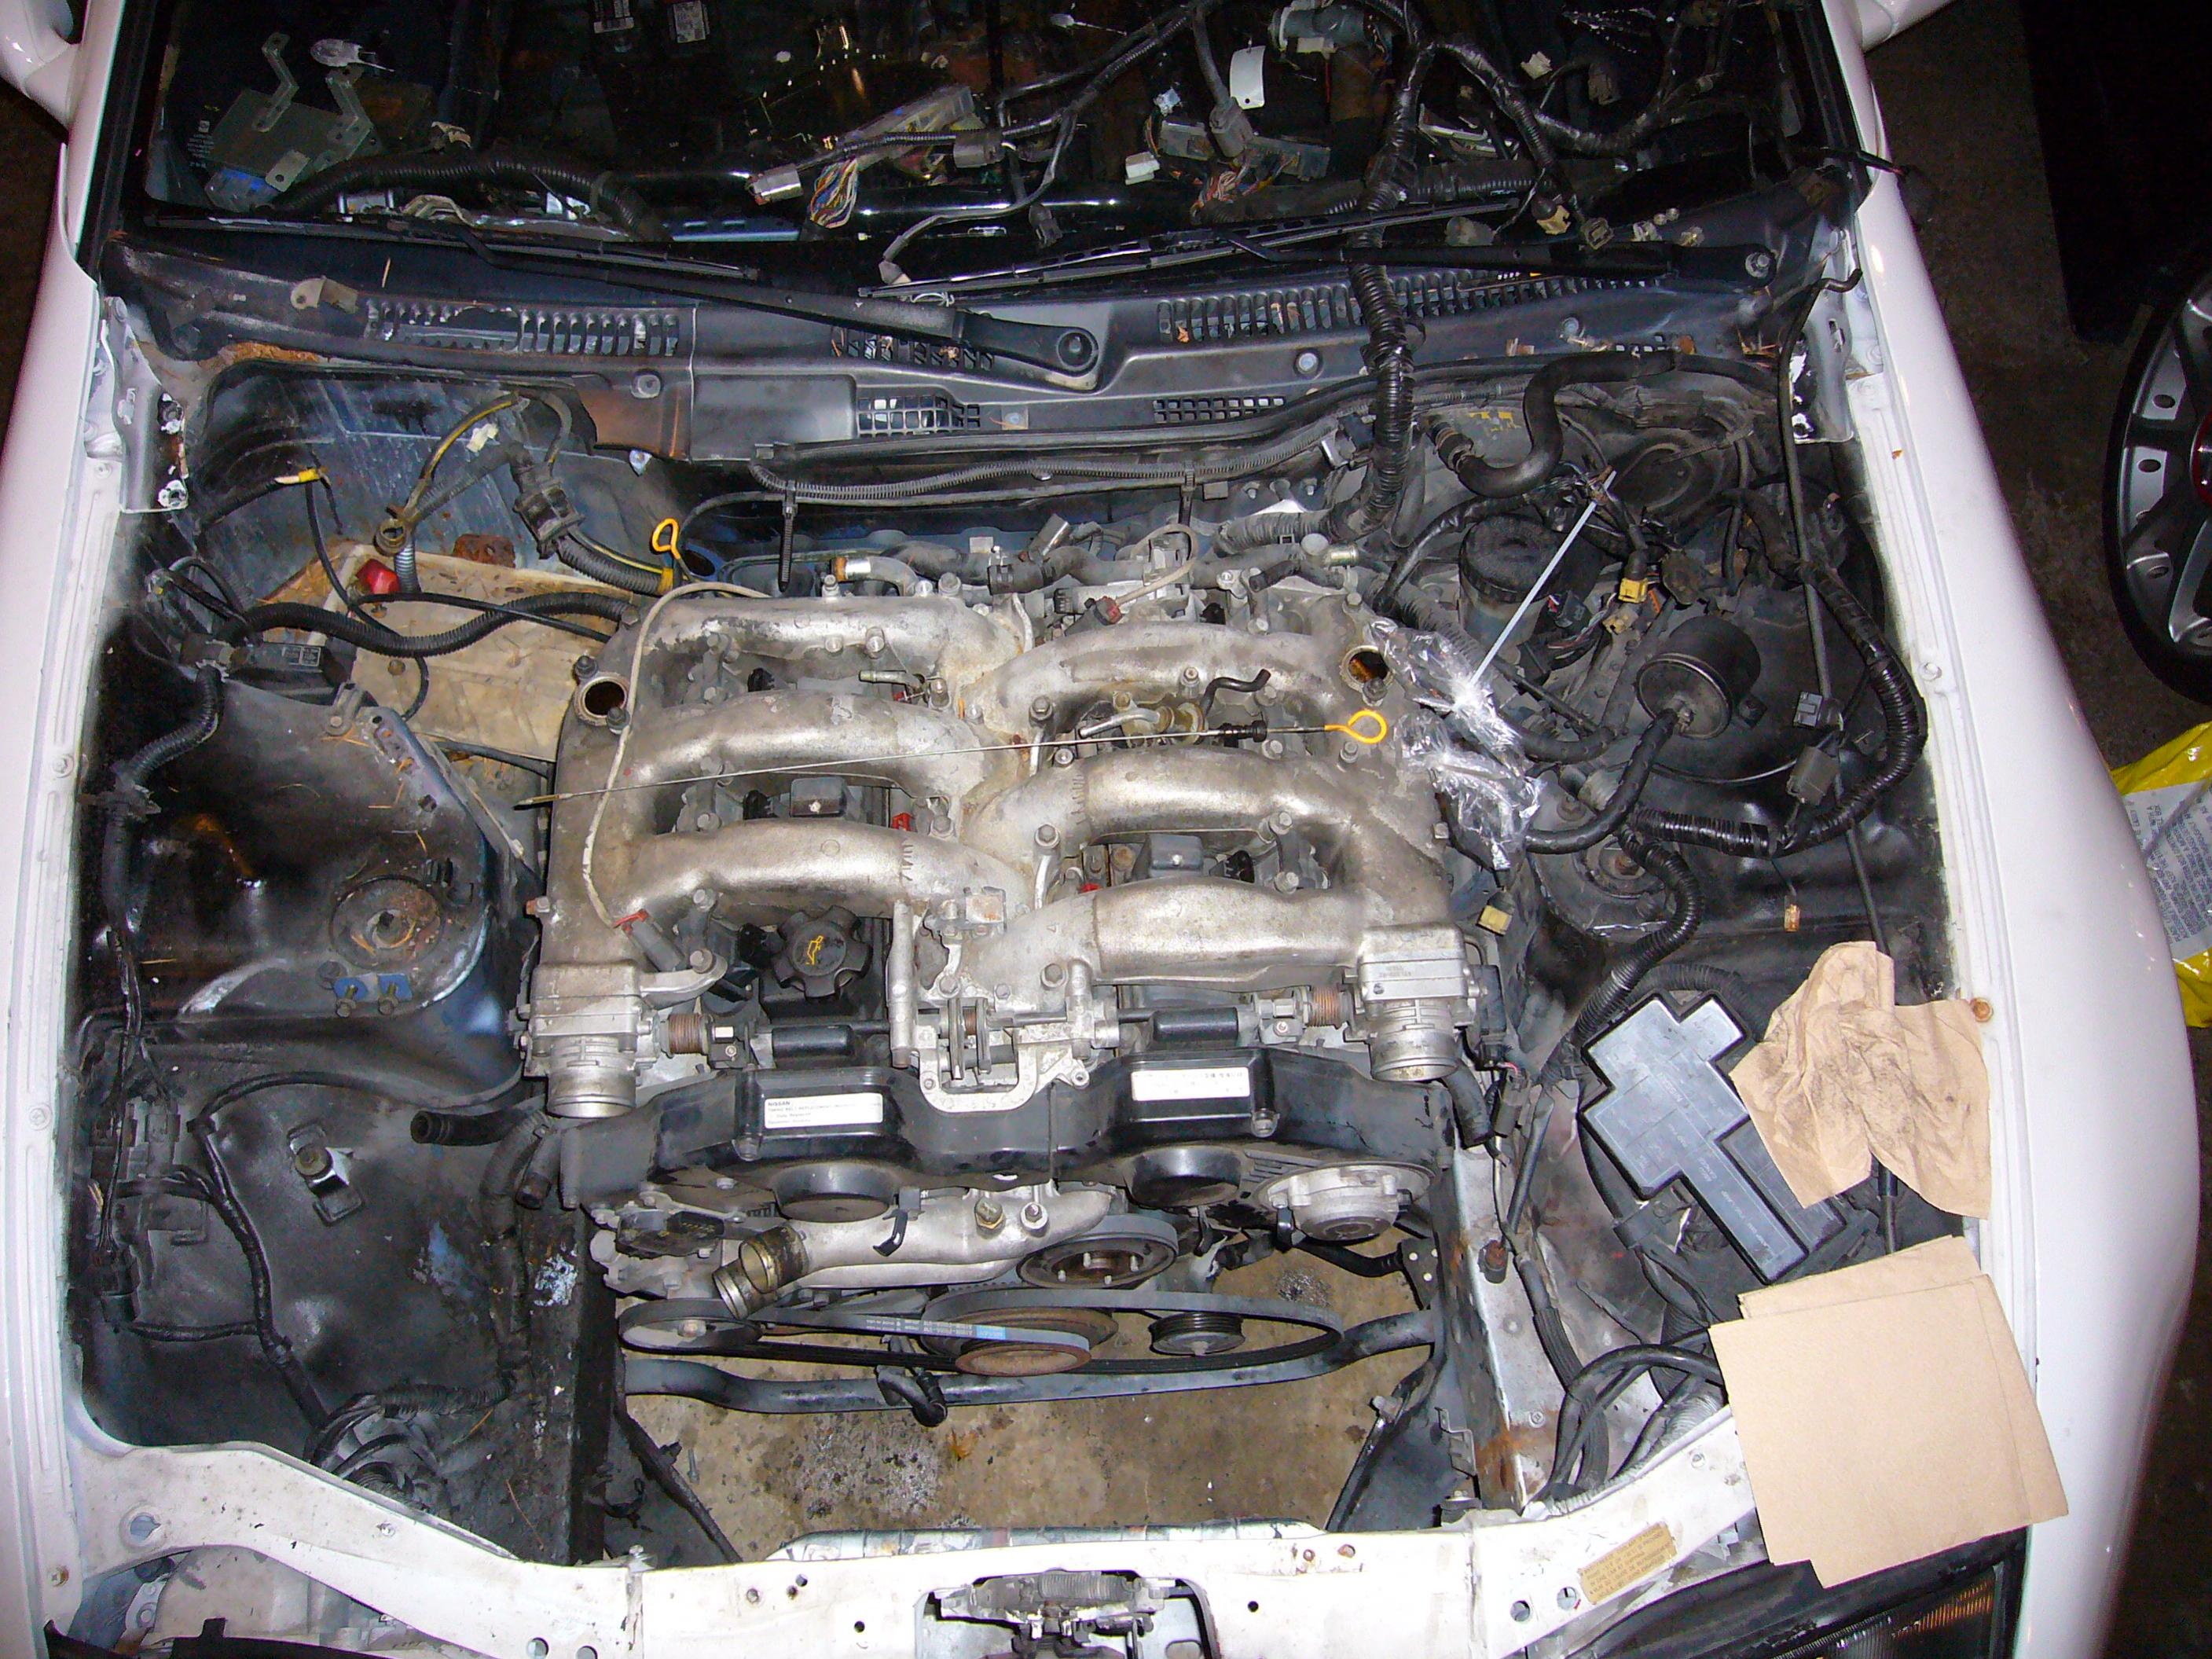
so we decided to just move the engine out instead of fooling around with the steering column. we got it half way out and the manifold slid out the bottom. what a mess of tranny fluid we had. good thing we had cardboard down. it soaked most of it up. on to the kitty litter!!
we couldn't get the engine to tilt up to get the back of the transmission out so we took 2 of the 4 bolts out of the lift and it started to go until 1 of the bolts stripped out and let go. its a miracle that the other bolt held. the engine was dangling over the rack by 1 bolt. we got a longer piece of chain and connected to another bolt hole. almost lost the whole front end of the car.
anyone trying to take out an engine on the 300 should take off the aluminum bumper that holds the running lights. we kept bumping the lift and the handle for the lift on there. it was just in the way.
also, there's 3 plugs right behind the passenger side headlight that run to the alternator. better to disconnect those before you lift the engine.
-
i appreciate all the help here. the links are great. thank you.
we hit a few snags so we didn't get a whole lot done. (thanks new york winter salt). needless to say i broke a few bolts and a couple sockets. i tried to get all the exhaust off so we could get to the drive shaft. we left off tonight trying to get the steering column separated so we could pull the manifold out. the 3 bolts that hold the manifold to the downpipe are just not going to budge. i got the passenger side manifold out with them still connected but the steering is in the way on the drivers side. ill have some more pictures as soon as we get through all that. hopefully the next round will include the actual motor pull, we borrowed a cherry picker so we're good to go.
-
Fogged306,
Glad to see more people doing this swap! I'm going for an LS1/t56 swap in my coupe and will be starting the teardown process here soon. Any hurdles to watch out for during the engine and under dash removal?
Good luck!
KC
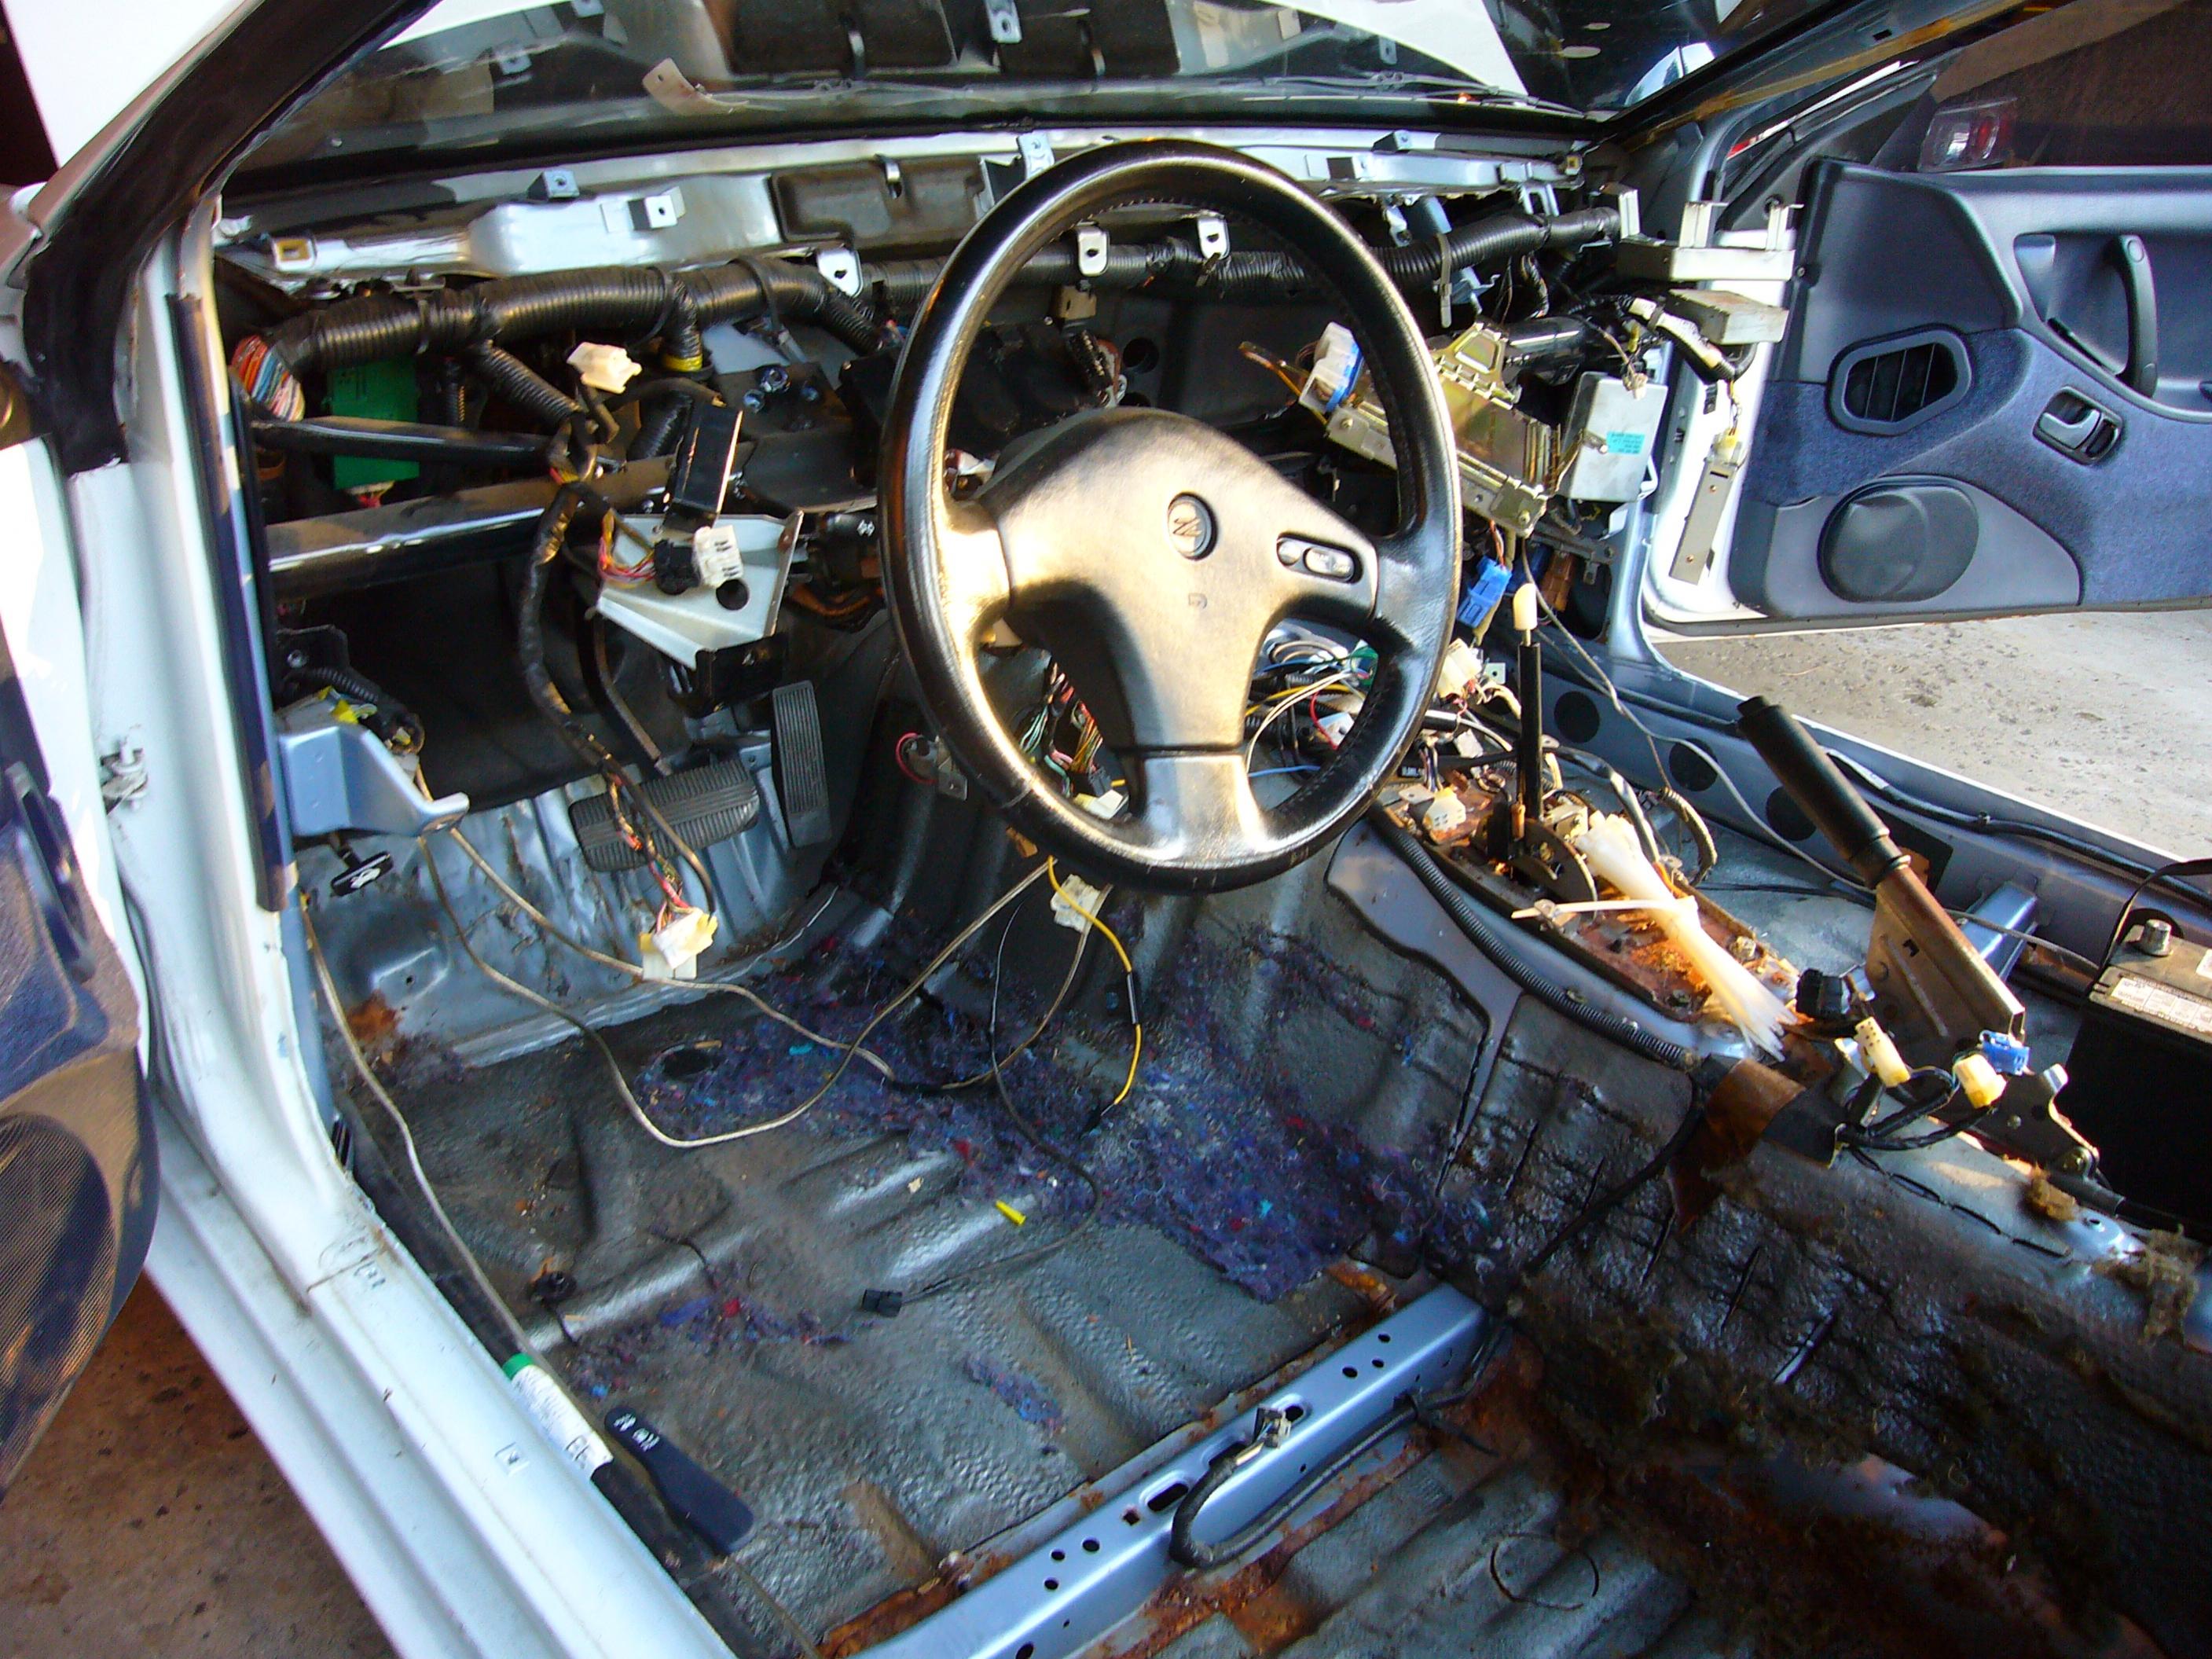
pulling everything out of the dash isn't too bad. there's a lot of bolts. the evaporator lines have to be disconnected on the engine side of the firewall before you can get that box out and the heater lines have to be disconnected out there to get the heater box out. take the battery out to get at those lines. the heater lines are a little tougher to get at. there are 5 computers on the passenger side floor and one on the drivers side of the heater box. be careful when you take out the gauge cluster there are open contacts on the back.
as far as what we've done with engine parts, there's trans fluid lines into the bottom of the radiator. the front bumper has to come off, remove the turn signals to access the 3 bolts holding the bumper to the fenders.
fogged, feel free to add to any of this.
-
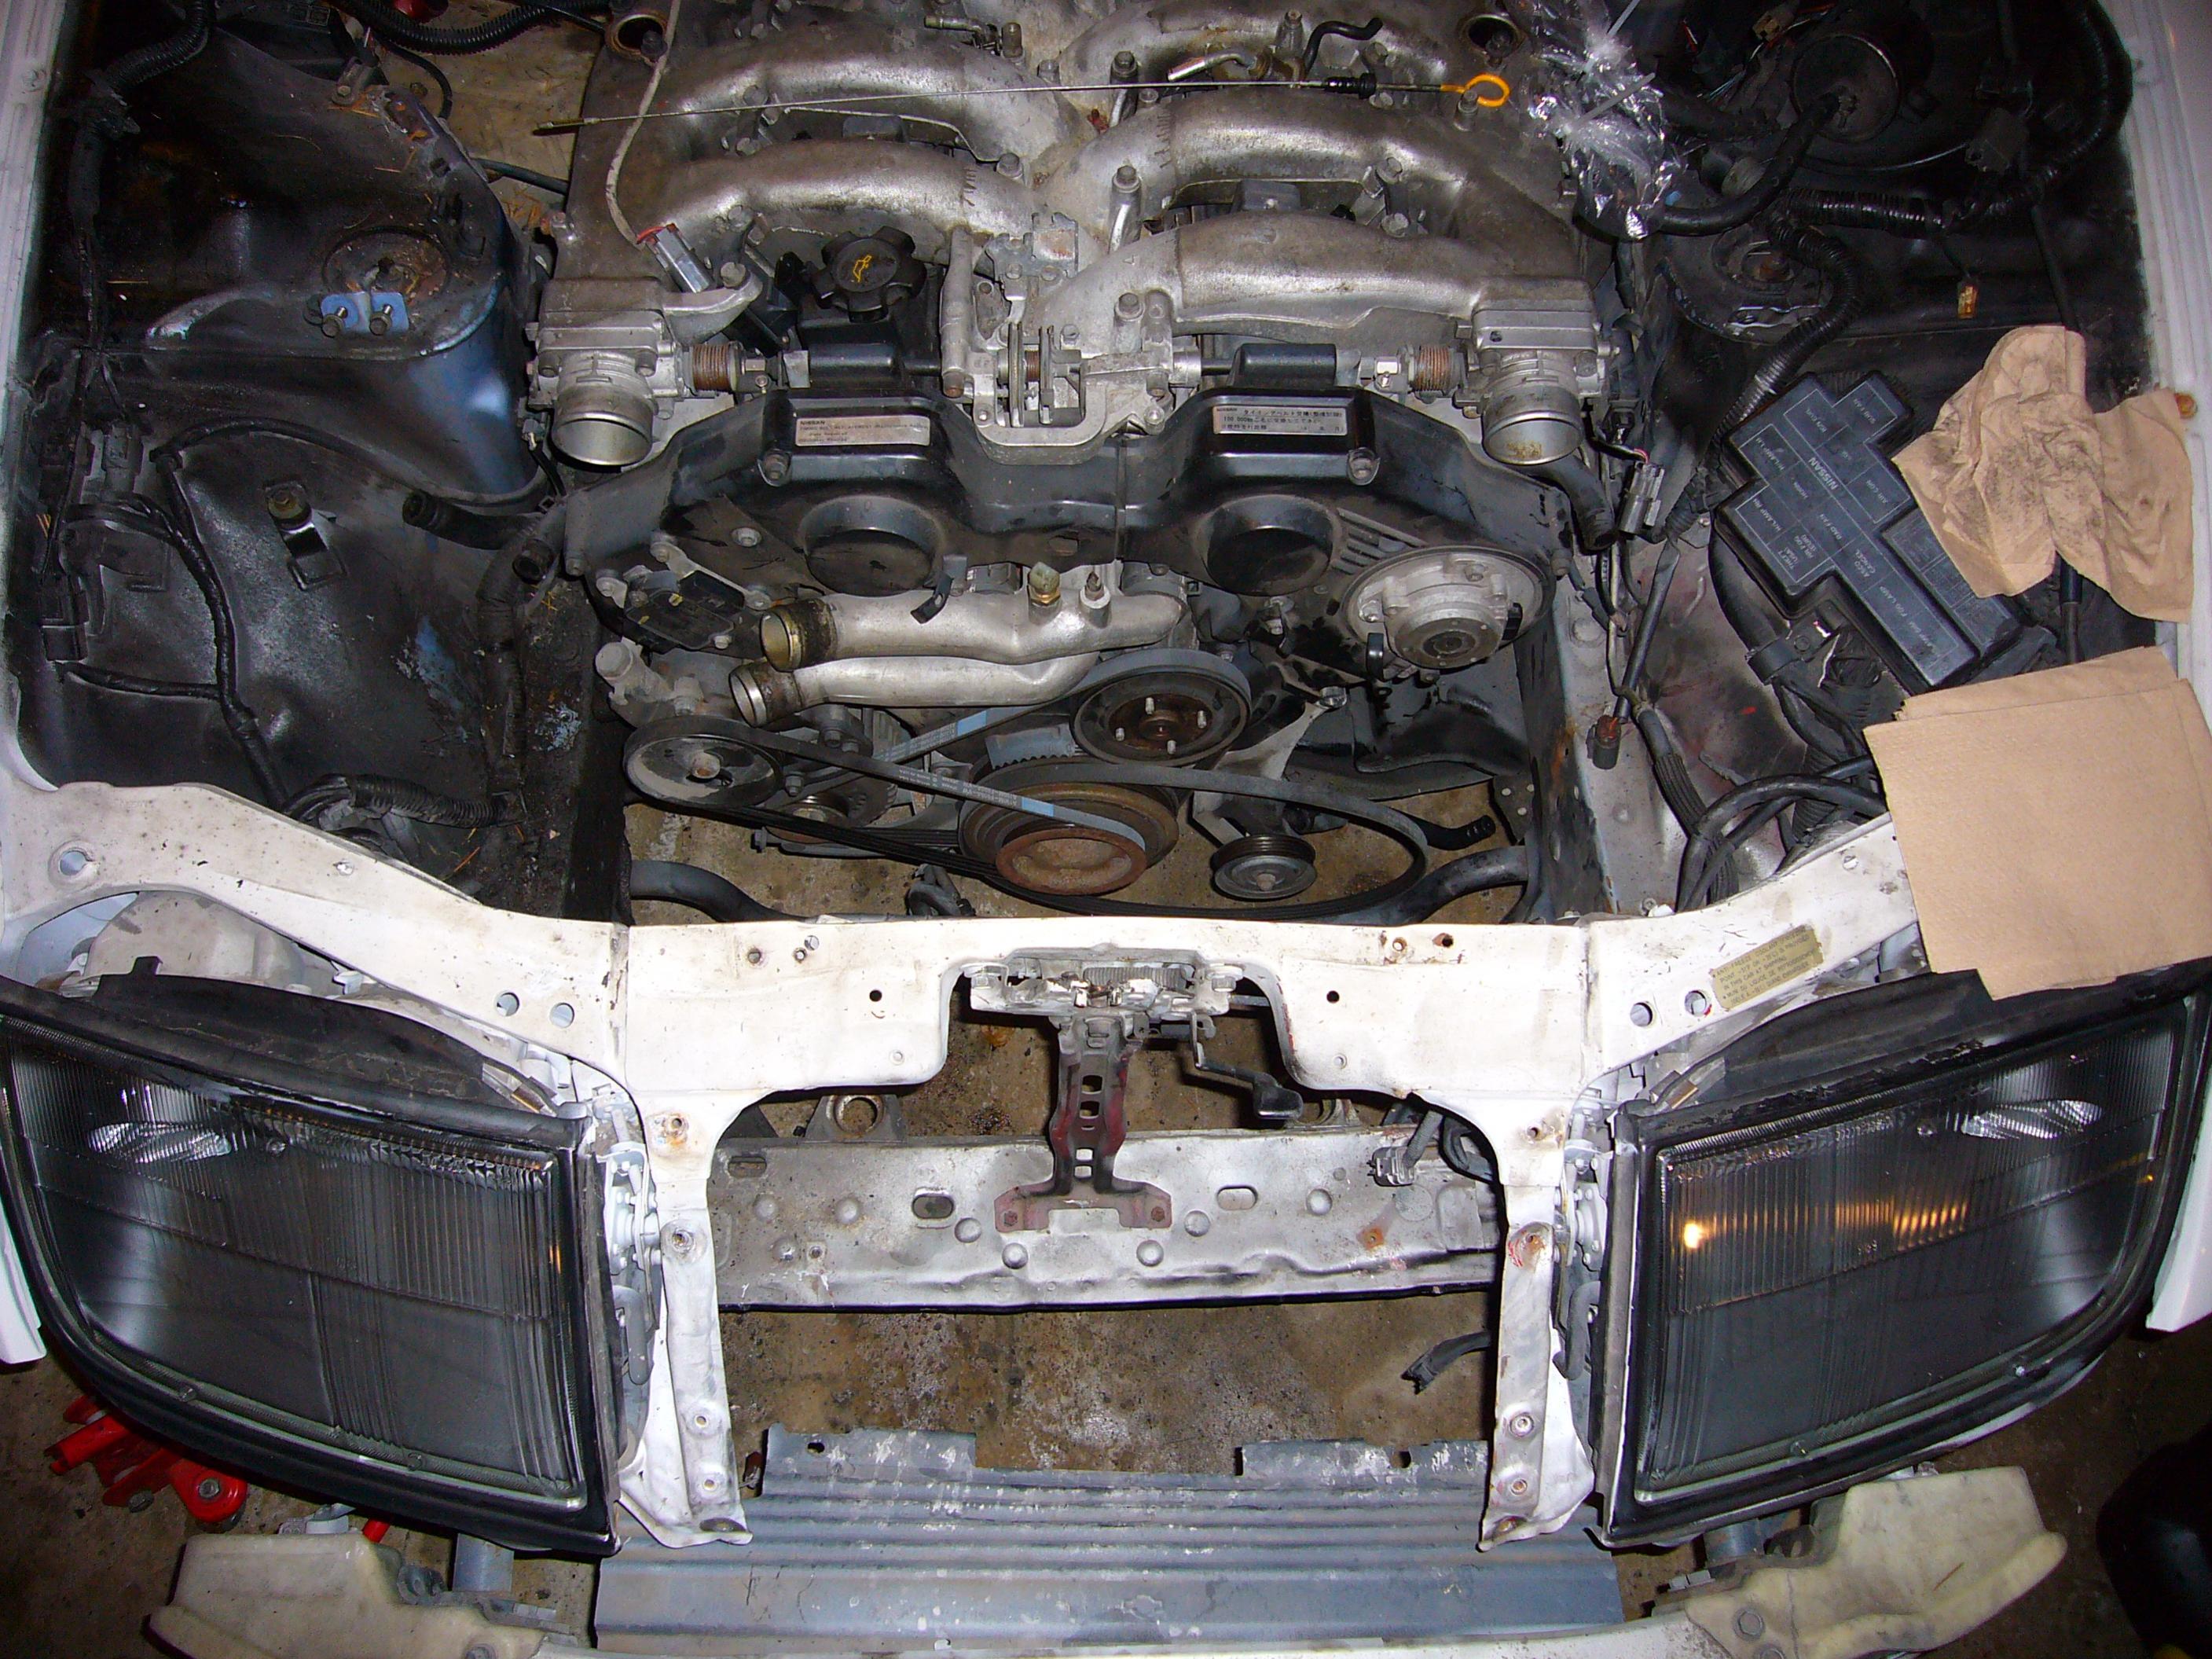
today we got under the hood and removed a variety of parts. The front bumper and piece between the headlights came off too. here's a list of most of the parts that were removed: radiator and hoses, air box and intakes, electric fan, condenser, ac pump, all ac lines, power steering reservoir, power steering lines, fuel rail, injector plugs, and most of the harness plugs.
-
so far we stripped out the interior


Z32 LS1 project thread... questions inside
in Z32 Series - 300ZX
Posted
i put in my connecting rod bolts and my head studs. theres a link to both on post #43 of this thread. the new 12pt ARP rod bolts are slightly longer. the tiny instruction sheet that comes with the ARP's is hidden with the moly lube. they call for 45 ft/lbs of torque and to do it 3 times on each bolt.
the head studs get hand tightened in with an allen wrench. make sure the bolts holes are clean and dry. you can get this air tool with the extension or i heard you can use a can of spray air from office max.
slowly but surely...