redzedsled
-
Posts
10 -
Joined
-
Last visited
redzedsled's Achievements
")
Newbie (1/14)
0
Reputation
-
240Z Stainless Steel Exhaust
redzedsled replied to redzedsled's topic in S30 Series - 240z, 260z, 280z
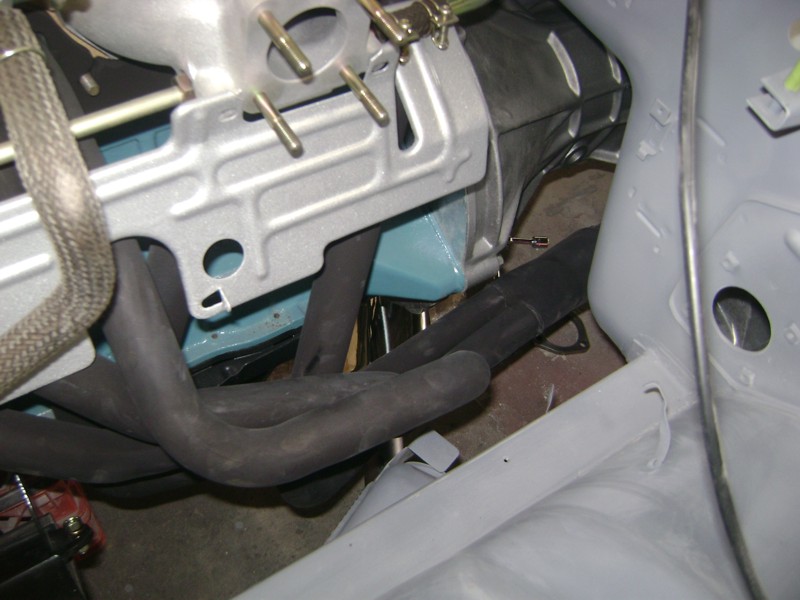
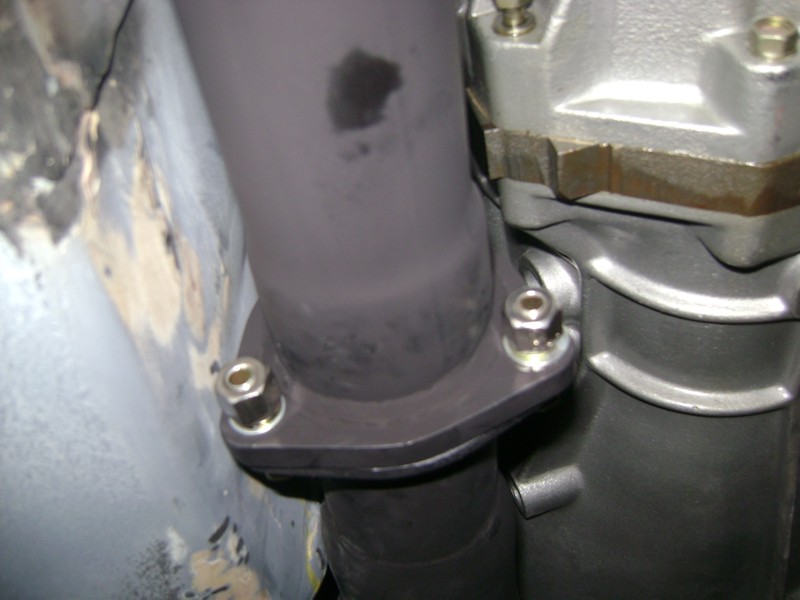
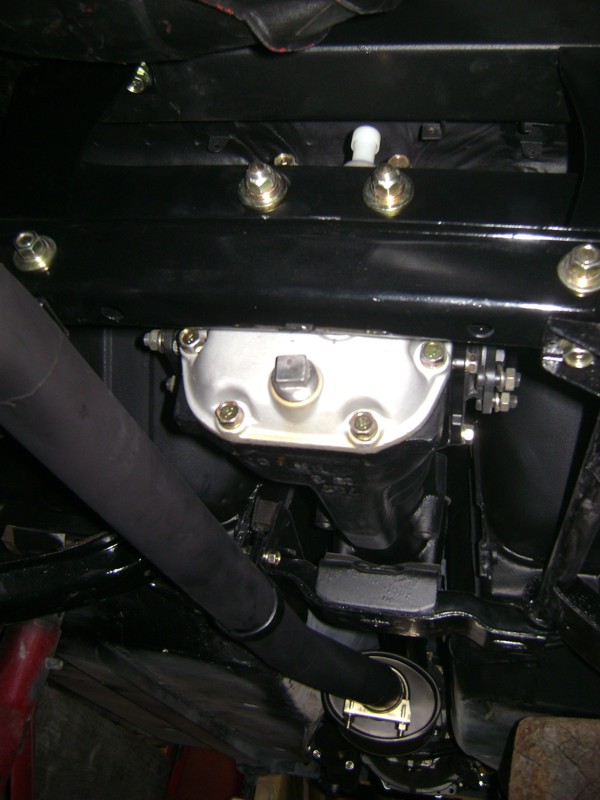
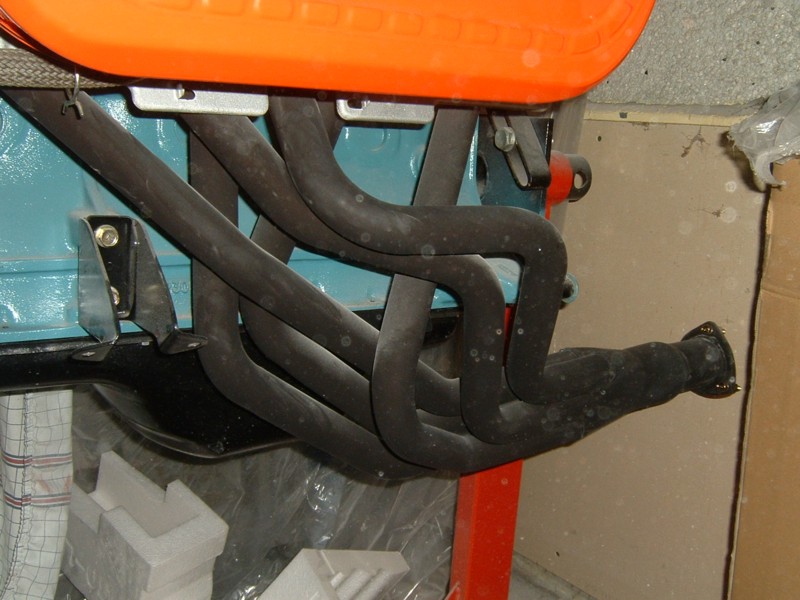
Thanks for your comments. I should also mention that the MSA header was challenging to fit. I had to remove a small section of aluminum from the bottom of the Intake manifold as the header was touching. The header also touches the corner side of the transmision tunnel. The flange cleared but the tube ahead of the flange was touching. This provides the infamous "hot foot" you hear so much about, as the header touches just where your acceleator pedal is positioned on the inside of the car. I had to gently bump the body metal back in order to provide enough clearance. I thought that the fit of the header could have been better, but perhaps this header was an older 6-1 MSA version that was known for fitting problems. I am very curious to hear other accounts of header fitting problems with respect to the MSA brand. I hope for other peoples' sake that they have improved on their 6-into-1 design. I agree with the comments on the pre-muffler, this is why I went to this one, it resembles the stock one, and should help with "header boom" you hear alot about. I am no expert, this is just in my opinion. -
240Z Stainless Steel Exhaust
redzedsled replied to redzedsled's topic in S30 Series - 240z, 260z, 280z
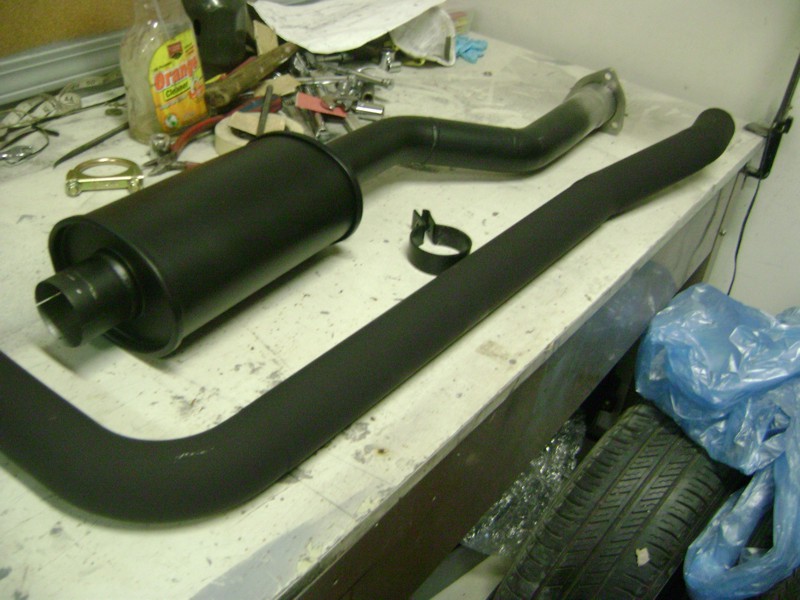
I can't tell you just yet, as it is being readied for paint. I wanted to mock-up the exhast before paint went down. I must tell you though that I probably would have preferred to use a 300 series stainless in hindsight. The 409 stainless was easy to weld, but I could not find suitable wire for my MIG welder, so I opted for a 308 wire. The 409 was only available in huge sized rolls and stainless wire aint cheap ($45 for 2 lb roll of 308). The 308 wire (.023 DIA) is compatible with mild steels and 409 stainless steels. I made sure I left the fillet of the weld intact for strength. If I began with 300 series stainless in the first place, then I would have used 308 filler weld that would match the parent metal. In the end, I could not be happier with the look of the exhaust. It looks quietly understated painted Black, yet I know it should perform and sound great! -
240Z Stainless Steel Exhaust
redzedsled replied to redzedsled's topic in S30 Series - 240z, 260z, 280z

-
240Z Stainless Steel Exhaust
redzedsled replied to redzedsled's topic in S30 Series - 240z, 260z, 280z
-
Really old thread, but I was wondering why nobody mentioned a 9" gear puller. You can pull both drums in less than ten minutes, with no damage to the drums.
-
240Z Stainless Steel Exhaust
redzedsled replied to redzedsled's topic in S30 Series - 240z, 260z, 280z
It's a small world, Verocious is where I purchased the 304 resonator for this project. This resonator is very close to the original dimensions of the stock resonator on the 240Z. -
240Z Stainless Steel Exhaust
redzedsled replied to redzedsled's topic in S30 Series - 240z, 260z, 280z
All valid opinions, I appreciate your input. 304 Series Builders Kits were about twice the price at MBS, and they never offered the preferred 321. I made the decision based on a budget and I couldn't justify aluminized steel. The rear muffler I purchased was made of 409 so I thought I would follow suit with the same 409 in the builders kit. Looking forward to reading more posts! -
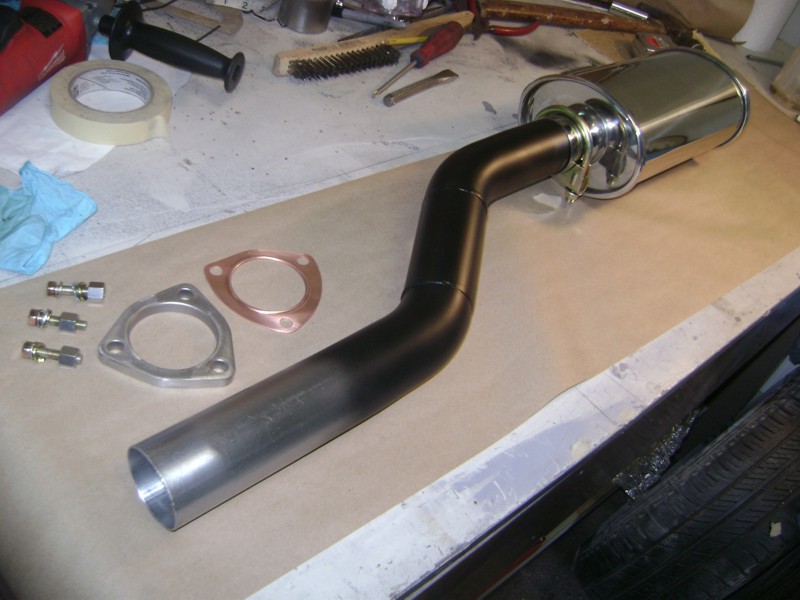
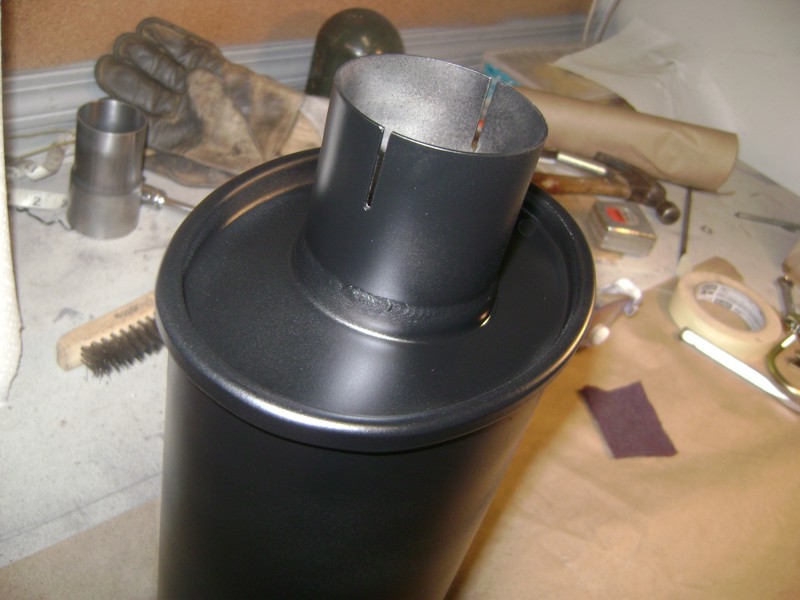
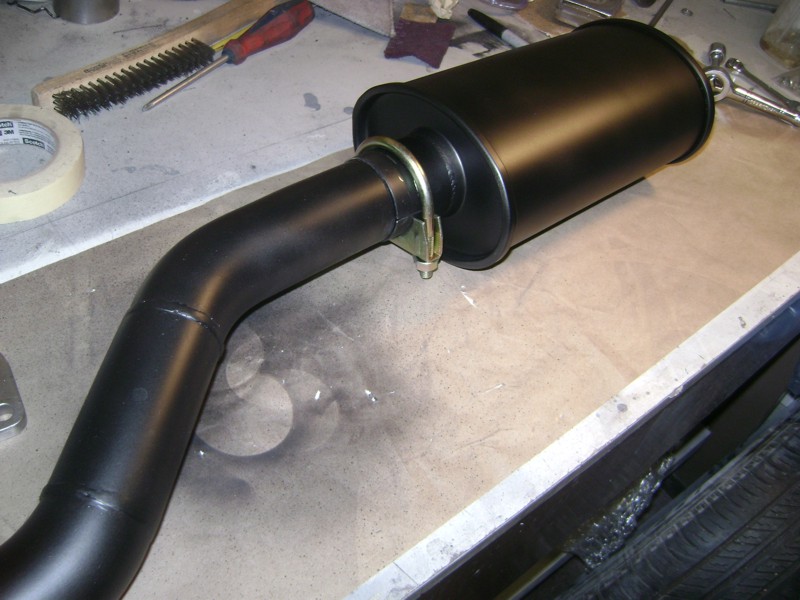
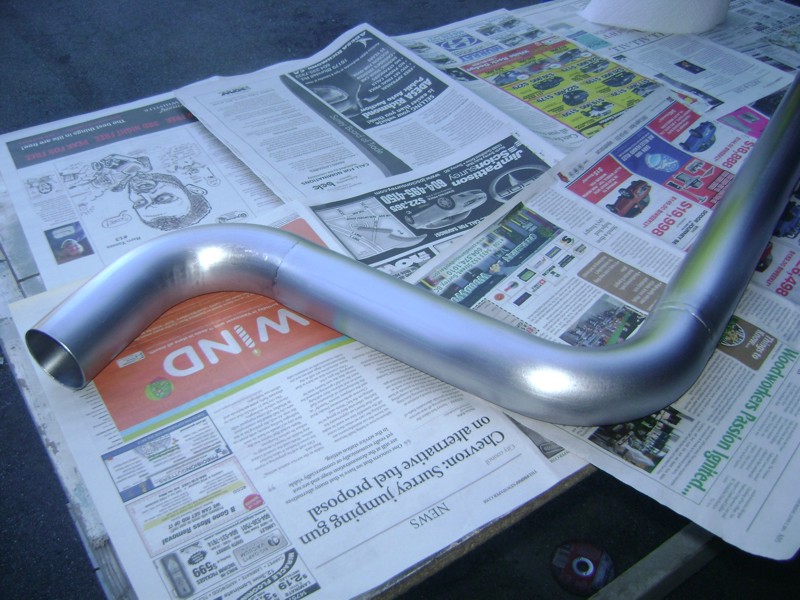
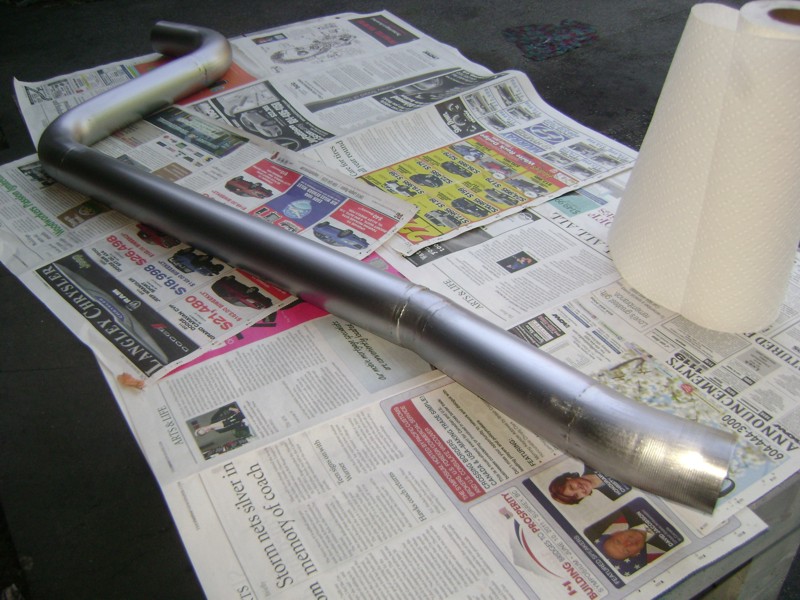
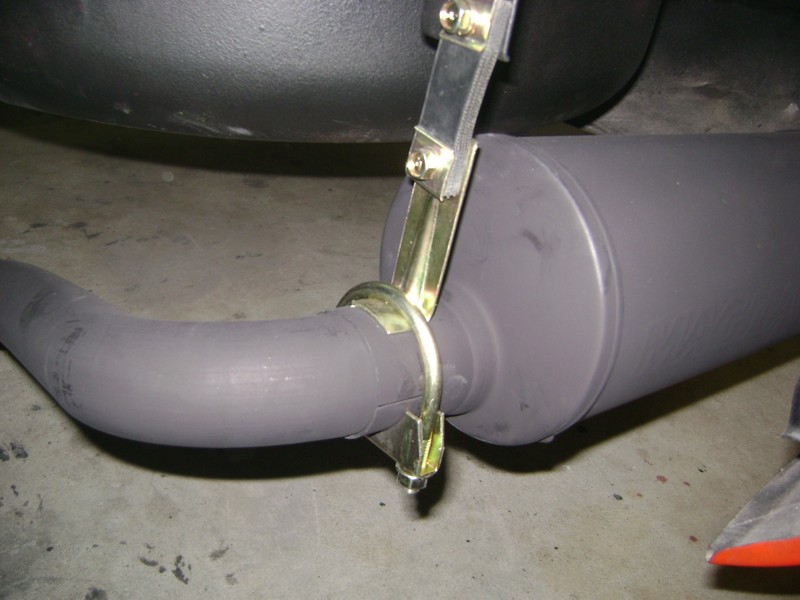
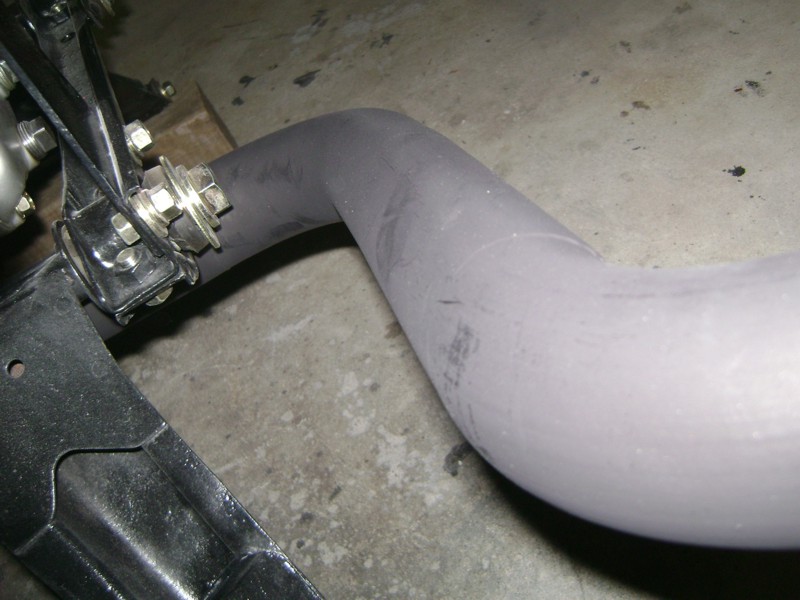
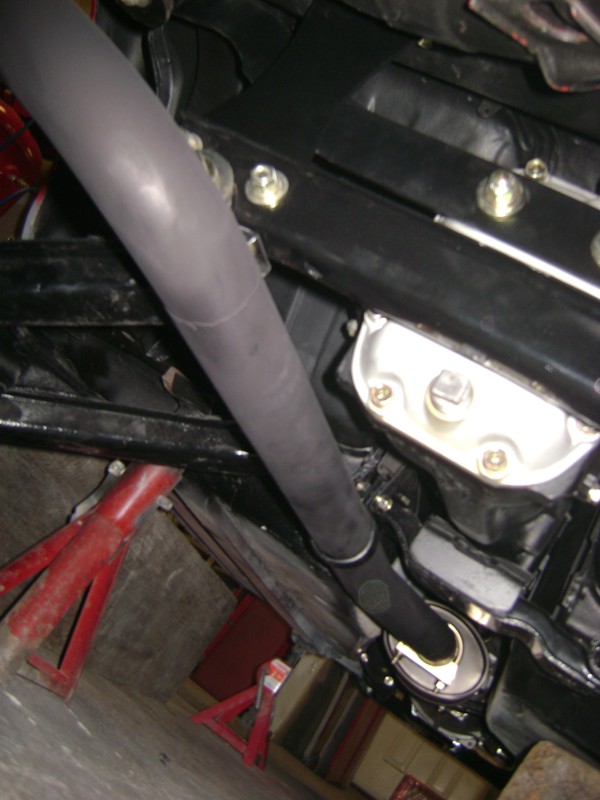
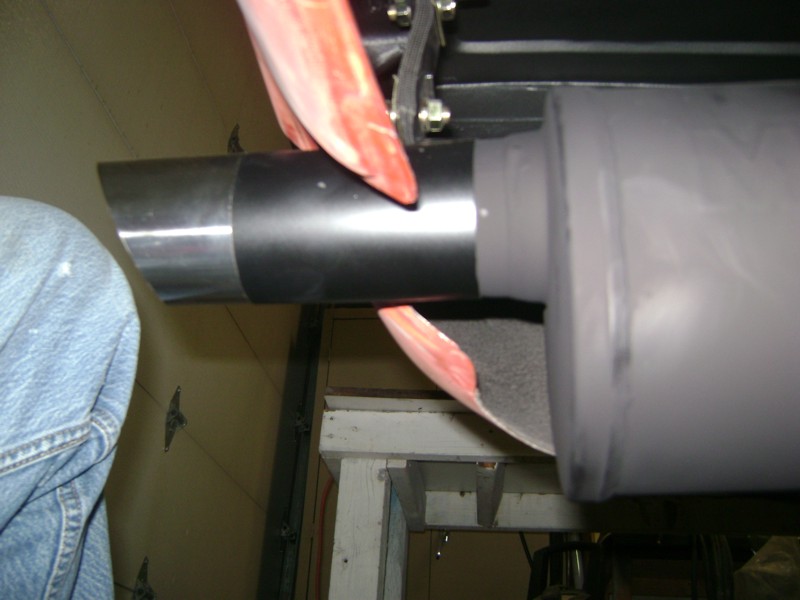
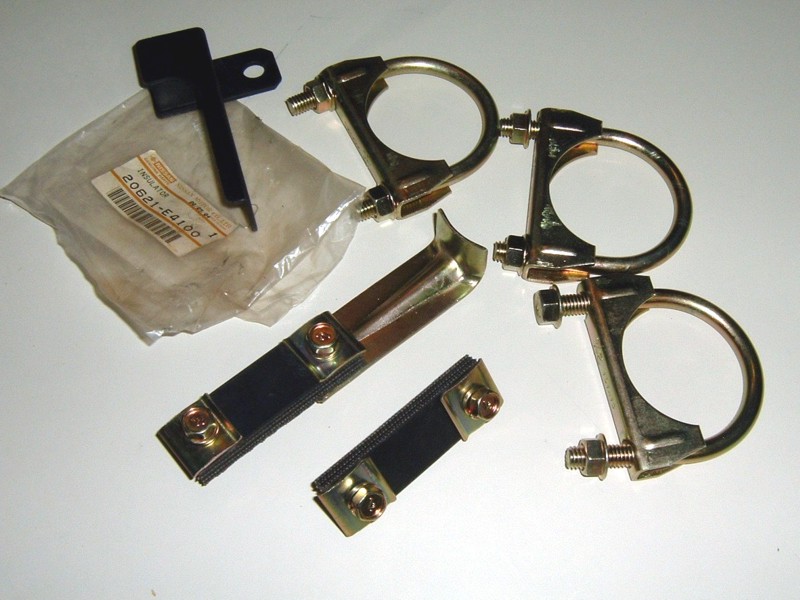
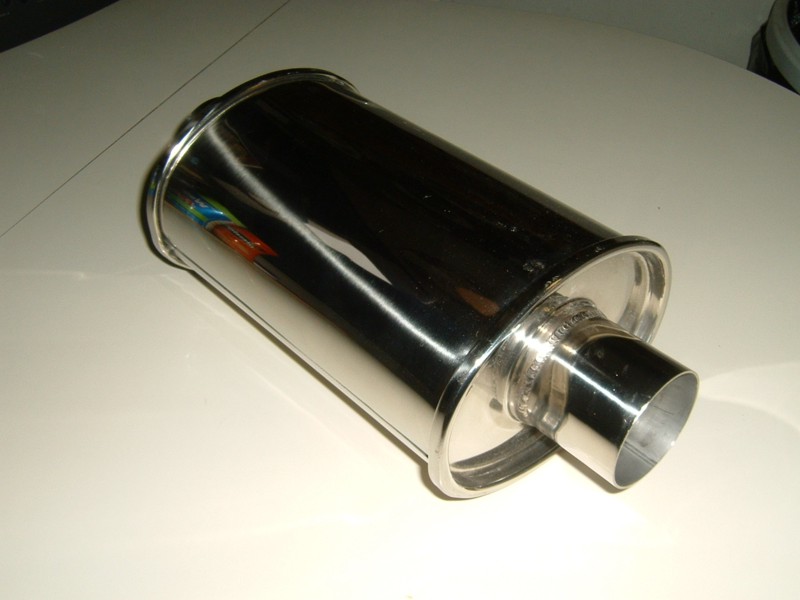
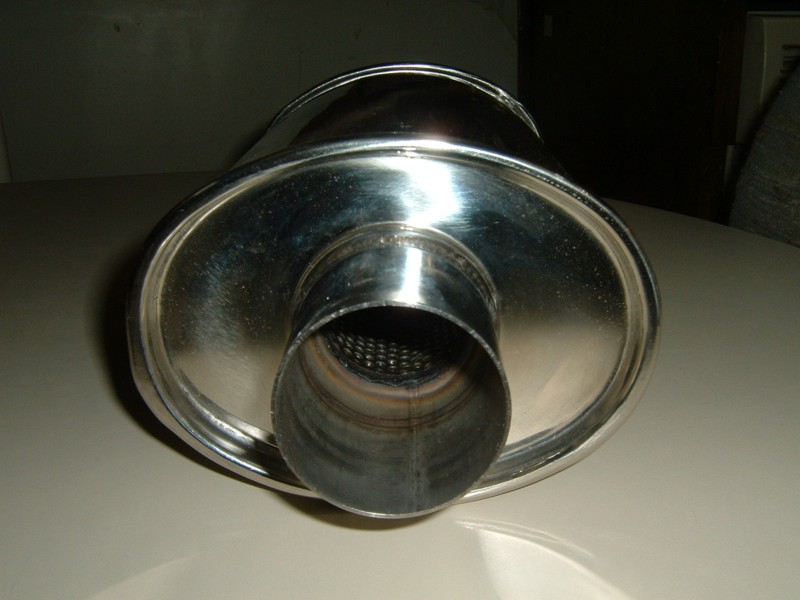
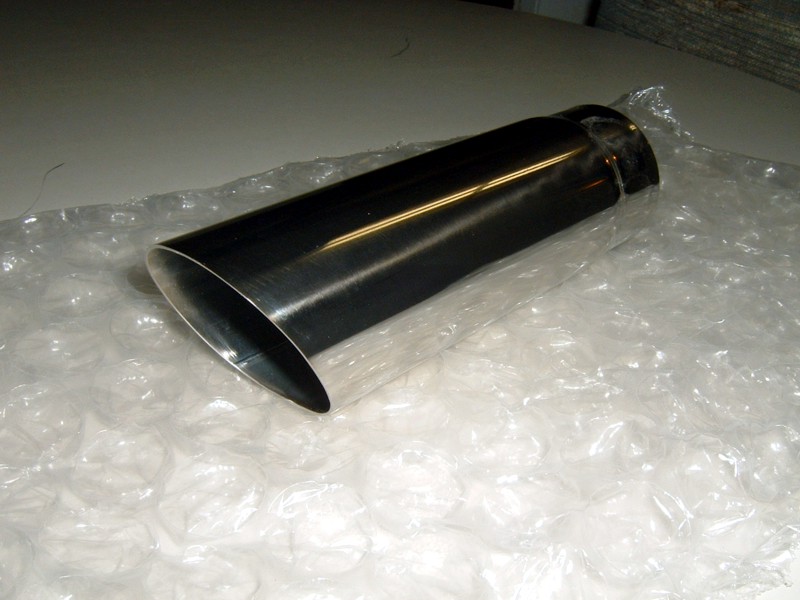
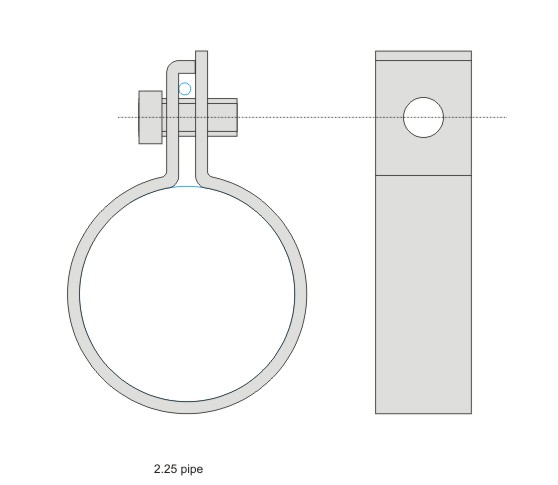
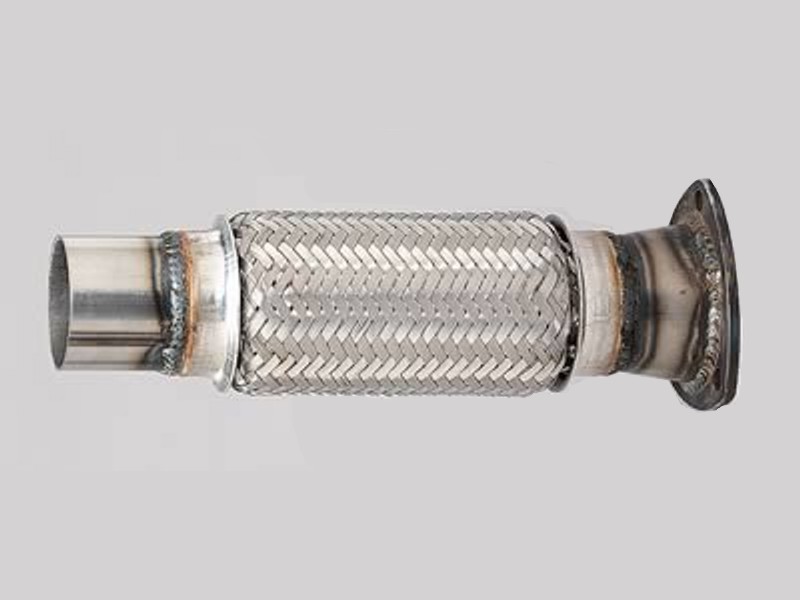
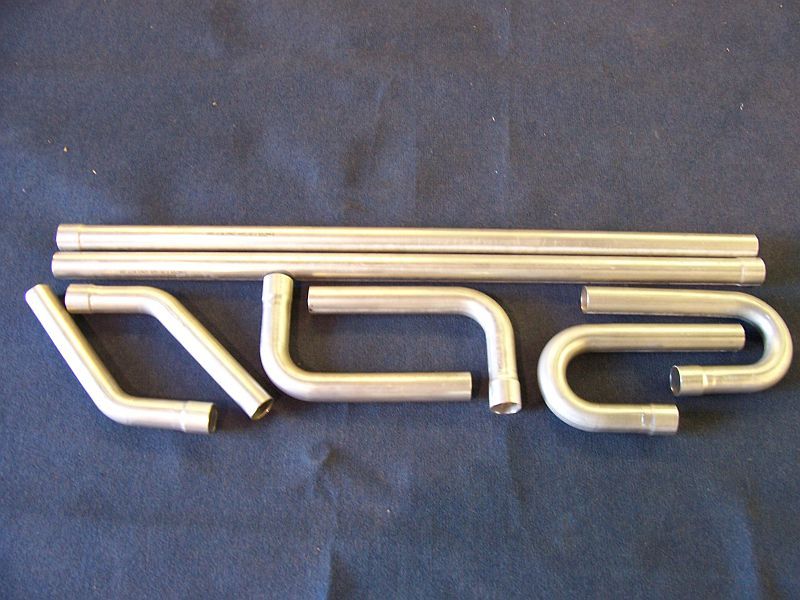
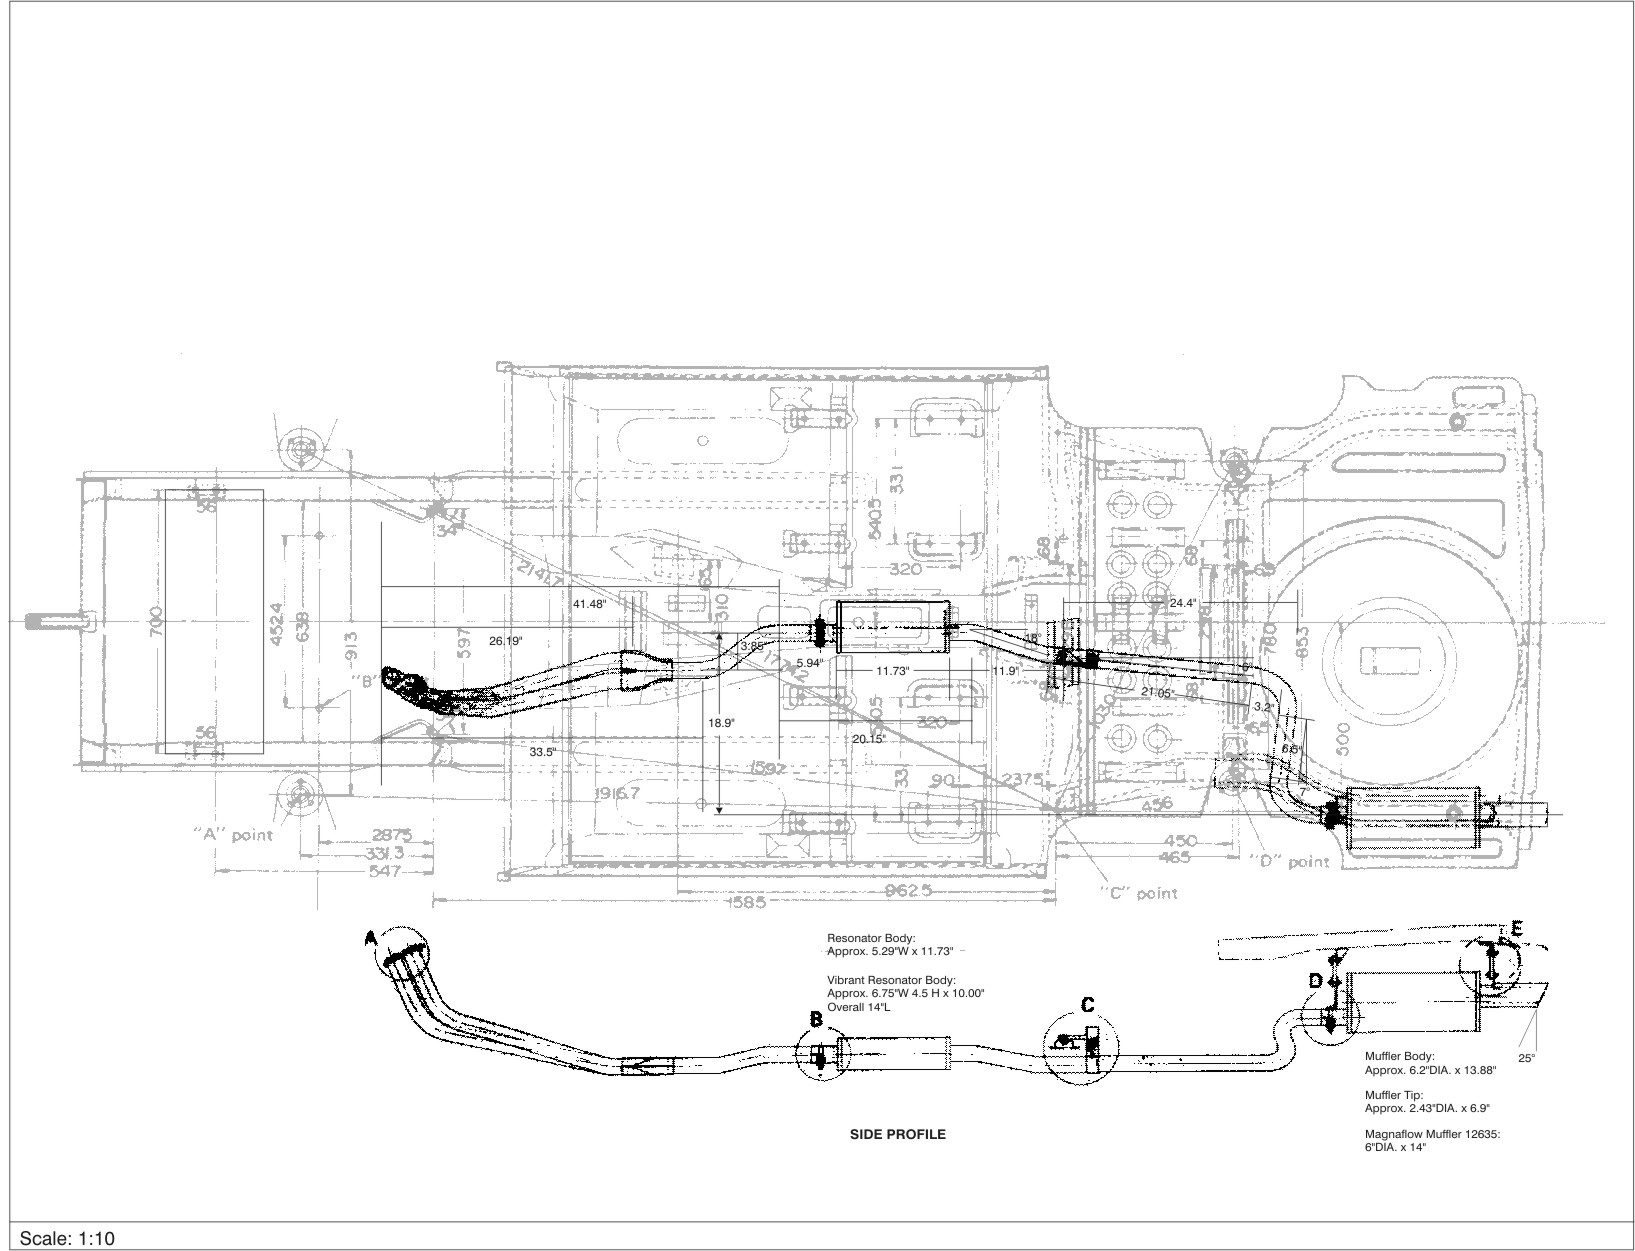
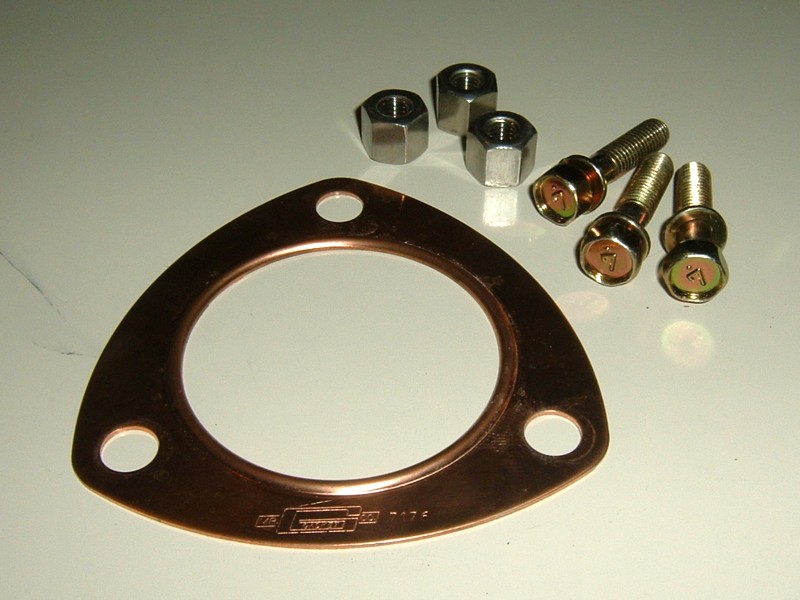
Just thought I would throw some dicussion on where to find stainless mandrel bends for a 240Z exhaust. I just received a 2-1/4" Builders Kit from Mandrel Bending Solutions located in Pasadena, Maryland. Their website is http://www.mandrelbendingsolutions.com. You can also purchase their products on EBay as well http://stores.ebay.com/Mandrel-Bending-Solutions. They do not gouge folks on shipping either, very fair company that way. The builders kit was only $159.00 US and they delivered by way of USPS in two separate boxes for $62. Arrived to my door with no duties or unwanted UPS brokerage fees. It turns out that this stainless steel is fabricated in Canada by Fischer Canada Stainless Steel Tubing Inc. It is a 409 Stainless and is available as expanded or non-expanded ends. Since it is getting closer to spring, I will post my exhaust building results here in this posting. I thought that there is still enough early Z fans out there who would appreciate some info with respect to building the ideal exhaust system for a 240Z. I will re running a Motorsport header with a flexible 2-1/2" to 2-1/4" transition fitting by Pacesetter, part number 82-4114. It will then carry on until it reaches a Vibrant Performance Stainless Steel Resonator Part No. 1140 http://www.vibrantperformance.com. Because the resonator is 300 series stainless steel and the fact that the resonator is sacrificial, I have decided to have this piece slip fit into eventually what will be an expanded end on the exhaust that connects to it. I will then use an old style muffler clamp which has been re-plated yellow zinc to give it the retro look I am after. The mandrel bends will make up the rest of the exhaust and finishing off with a Magnaflow Performance Muffler Part No. 12635 Offset/Offset 2-1/4 409 stainless muffler. The goal of this exhaust system is to have a fairly stock looking system that performs well. Stock exhaust is usually 1-5/8 O.D., so moving to a full flow 2-1/4 should be the ticket. I have chosen 409 stainless steel for several reasons, cost, weldability effected my decision. Because I do not want a polished stainless system, 409 is more cost-effective, and is considered a better choice for exhaust because of its ferritic content. Ferritics are best suited for high temperature applications that require corrosion resistance and high strength. Because 400 series stainless exhaust tends to brown out when it oxidizes, it is considered a non-polishable steel. You can give it a brushed look with a scuff pad, but I have opted for a flat black VHT Brand header paint to cover up the scars created when put through the bending process. This will also make the whole system look more discrete once mounted. I am sure the wife won't mind me oven baking my exhaust componenets. Because my car is basically stock with some Nissan perfomance add-ons such as non-emissions balance tube and air cleaner, Euro distributor and harmonic balancer, and without the air pump, etc, I have decided to use all stock hardware components in the exhaust wherever possible. I have begun by tracking down had-to-find exhaust brackets and hangers from E-Bay. Remember the goal is to appear stock but with the emphasis on performance. It seems a shame to paint what is a polished finish on the resonator, but I really want to "downplay" the exhaust look, even though very few actually see it. The mid exhaust hanger will be fabricated in the shop, and I have included the drawing below. I have chosen a generic tip that I will modify substantially to appear as if it were the stock tip, which is no longer available from Nissan. Even though the tip was originally chromed, I have opted for polishable stainless so I can buff out my adjustments. The first thing I did was to grind down the angle to 25° on the slash cut according to the plan. MATERIALS LIST It all starts with a plan... Motorsport 6-1 Header... Nissan hardware where possible.. Mandrel 409 Stainless Builders Kit Mr. G Brand Copper Crush Gasket Pacesetter flex fitting... Magnaflow Muffler, after painting... Vibrant Performance Resonator ... A generic 300 series stainless exhaust tip.. Draft of mid hanger bracket (item C on plan)...
-
I have a brand new set of 240Z door panels, please contact me at metic@shaw.ca
-
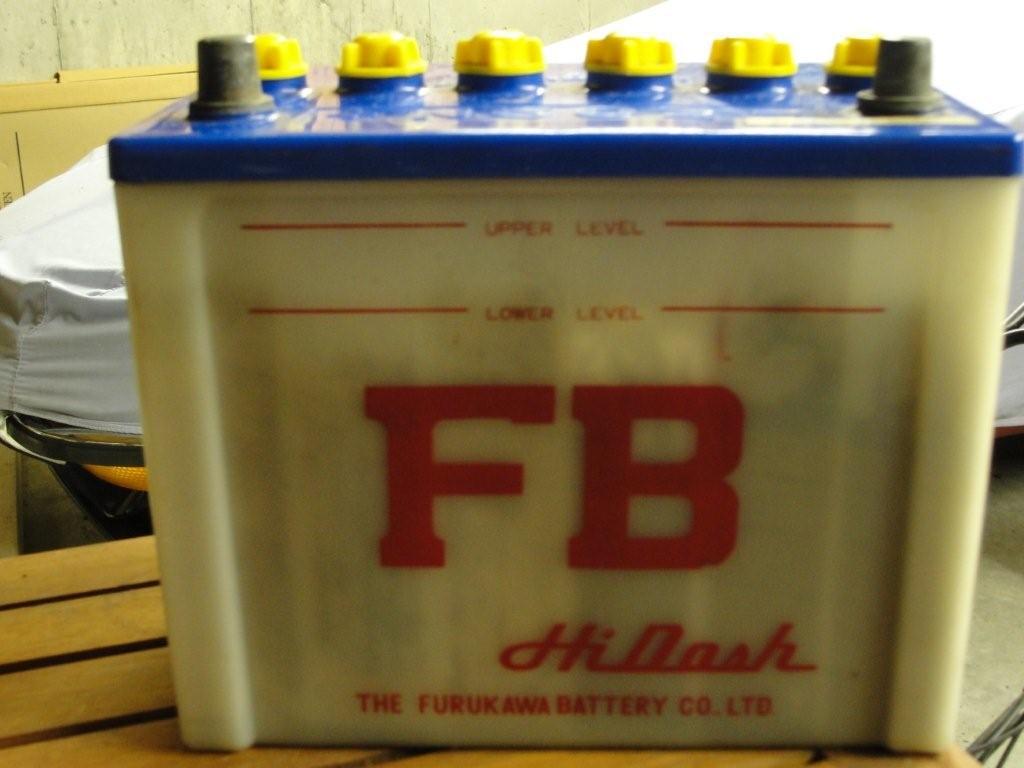
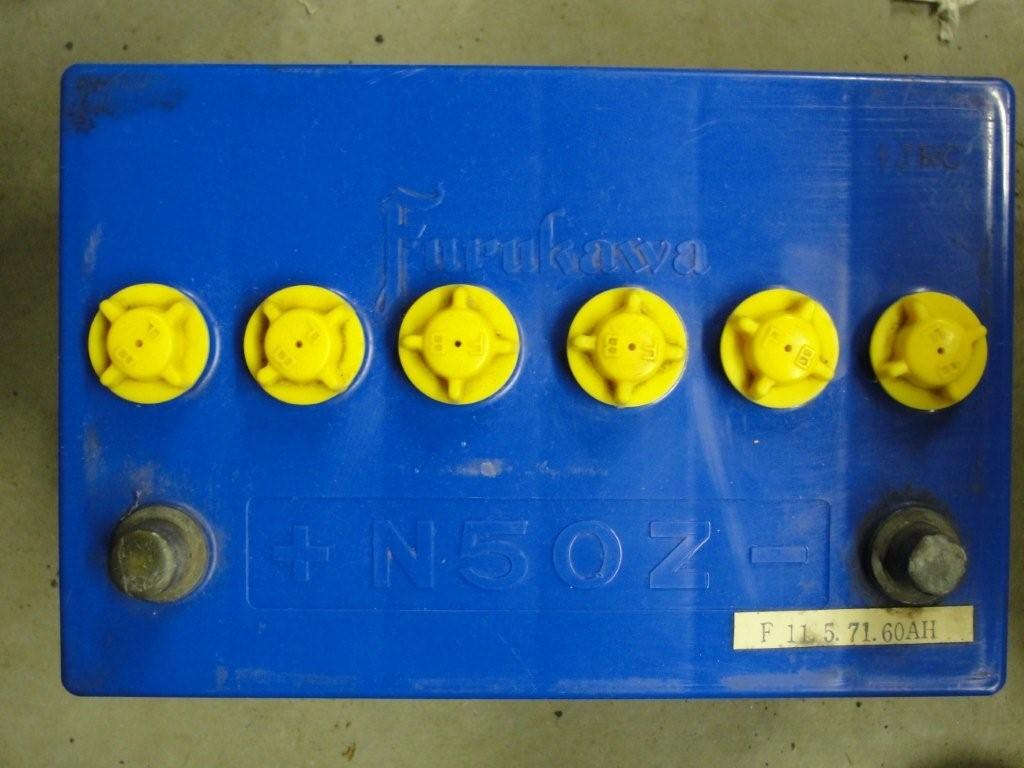
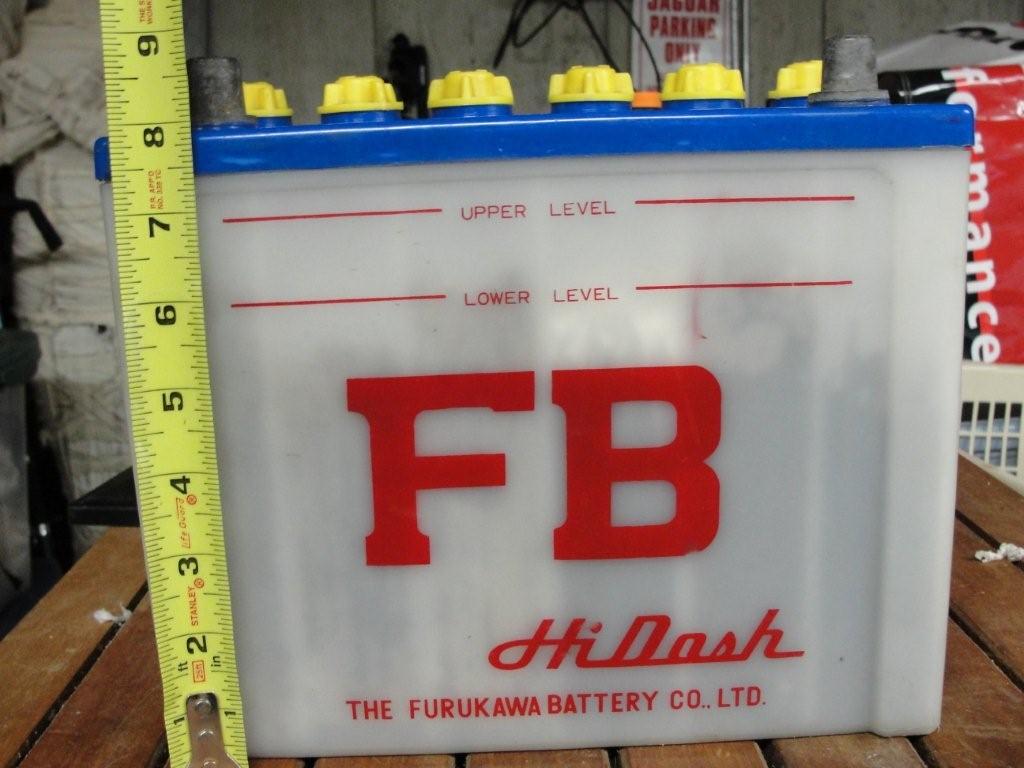
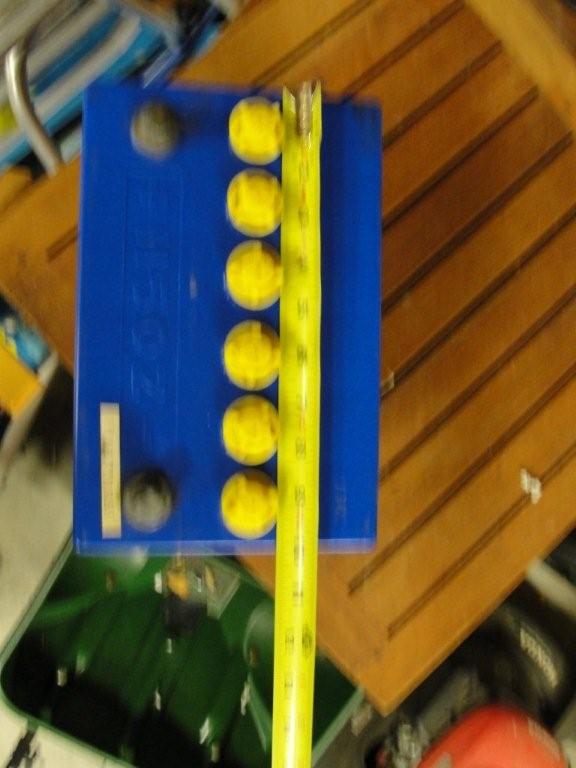
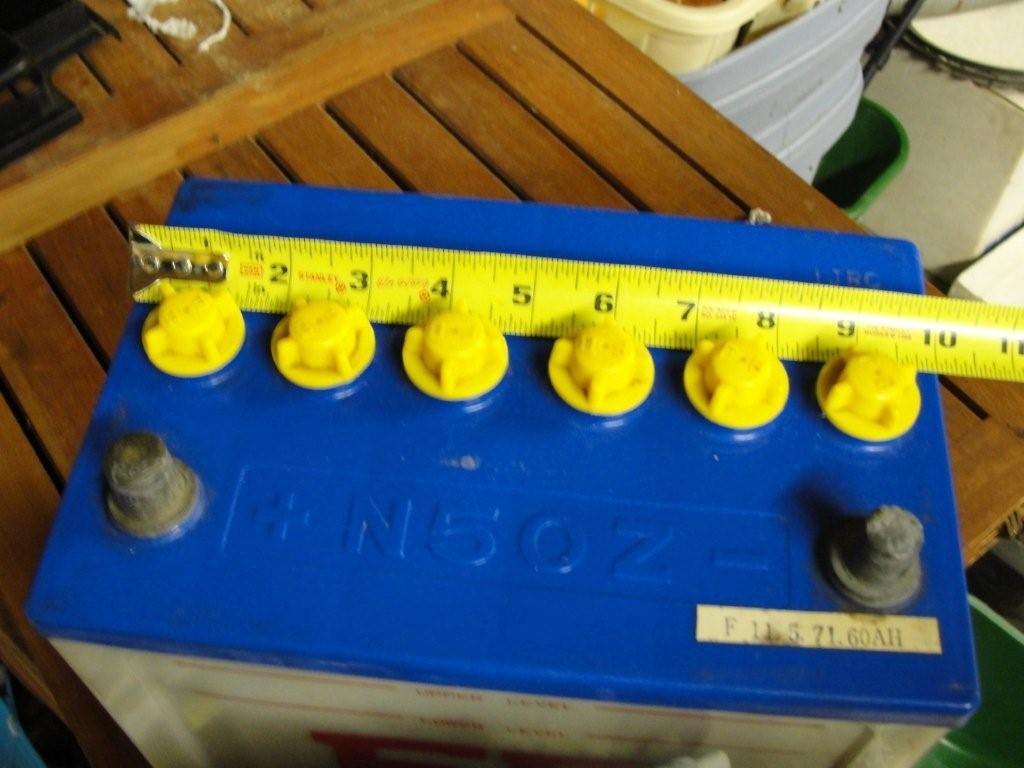
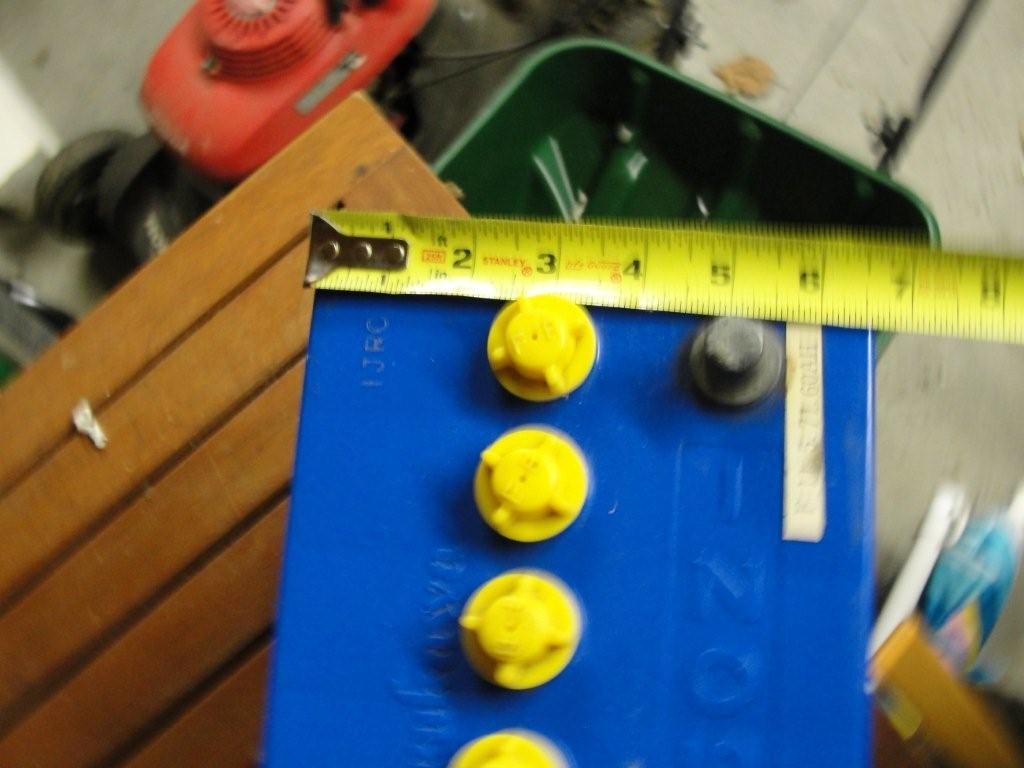
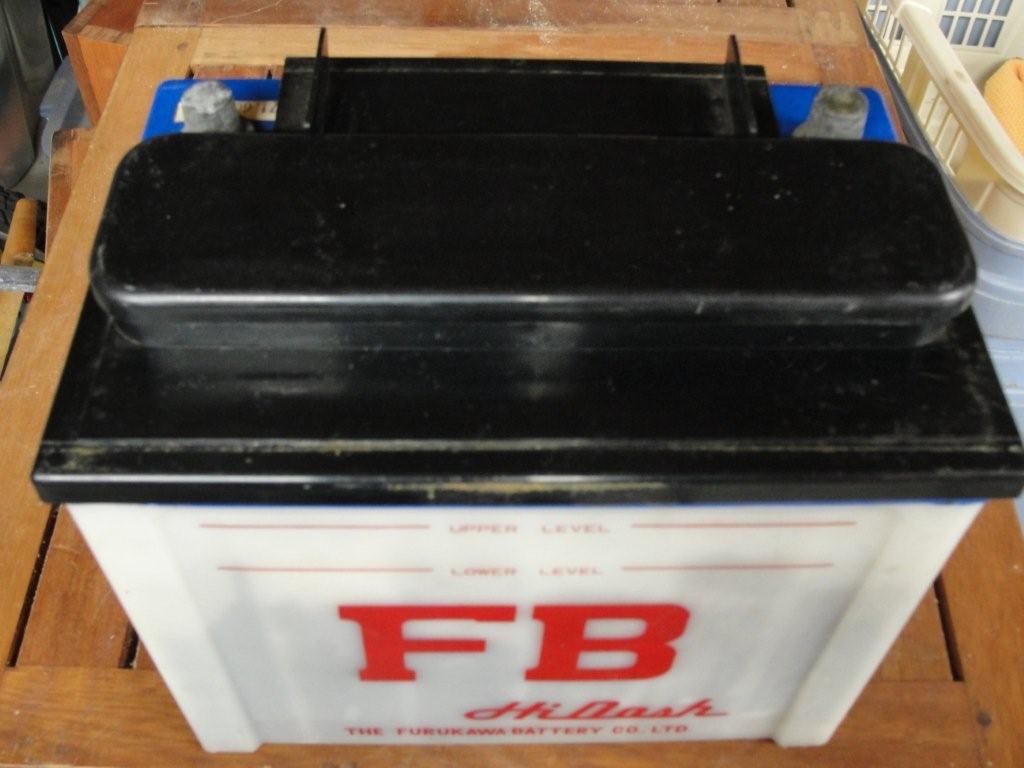
I appreciate your input. I have checked out other sites with respect to this topic. It has been suggested that the Yuasa battery was used for Series I 240 models only, and later changed to the Furukawa perhaps. Still theory and conjecture though... still searching for more input. However based on your "post" this only confirms further what my friend has been suggesting. Regards, Rob.
-
Hello! First time user, so bear with me... Does anyone out there in cyberland have an image of an original Yuasa battery for the Datsun 240Z. I have been in debate with another gentleman who suggests they used a Furukawa battery and not the Yuasa battery. Please find attached photos my friend has submitted. Can anyone shed some light on this topic and perhaps confirm it with an image. Best Regards, Rob.