Search the Community
Showing results for tags 't-tops'.
Found 1 result
-
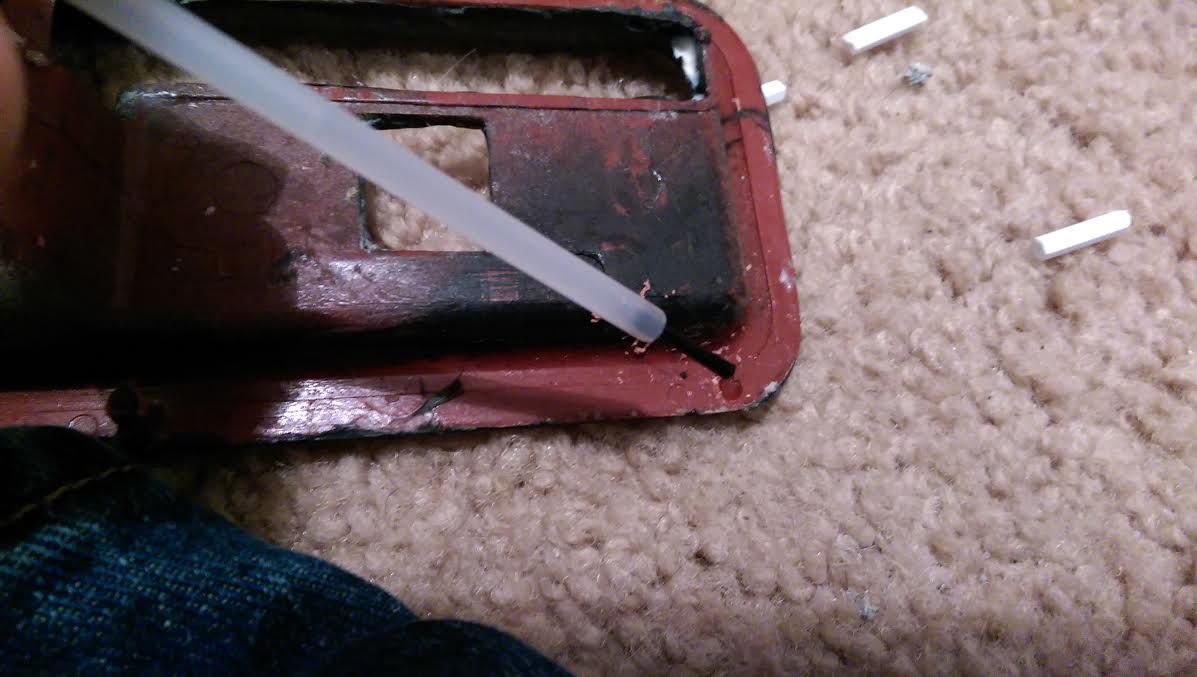
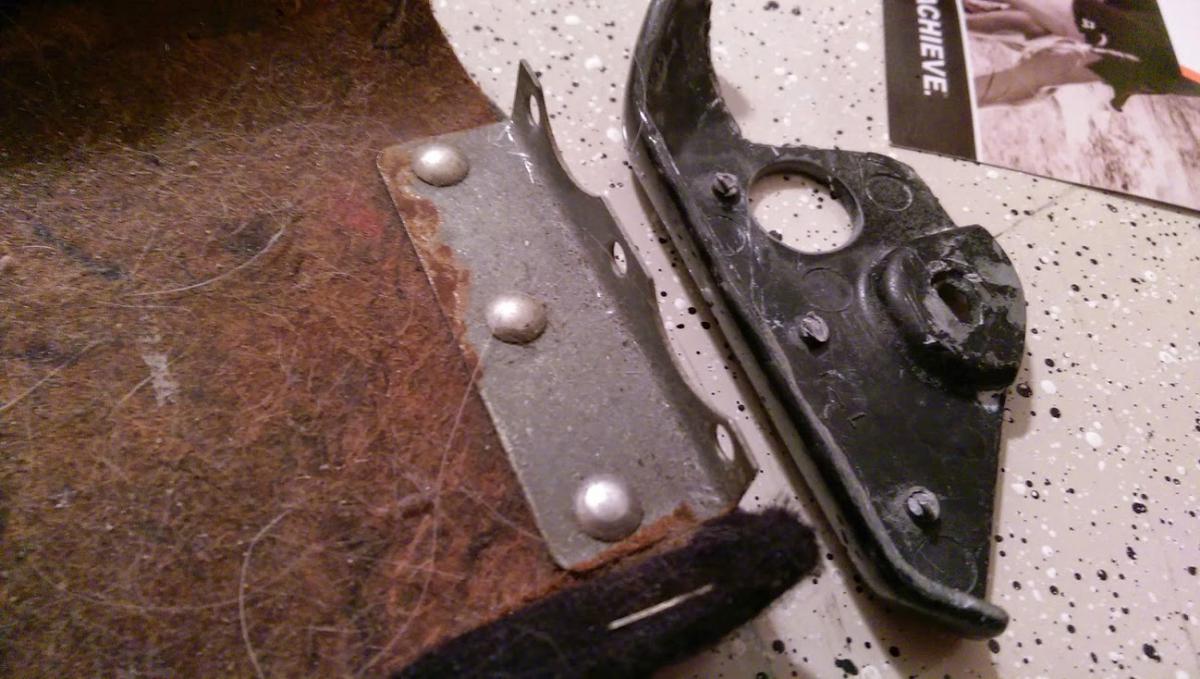
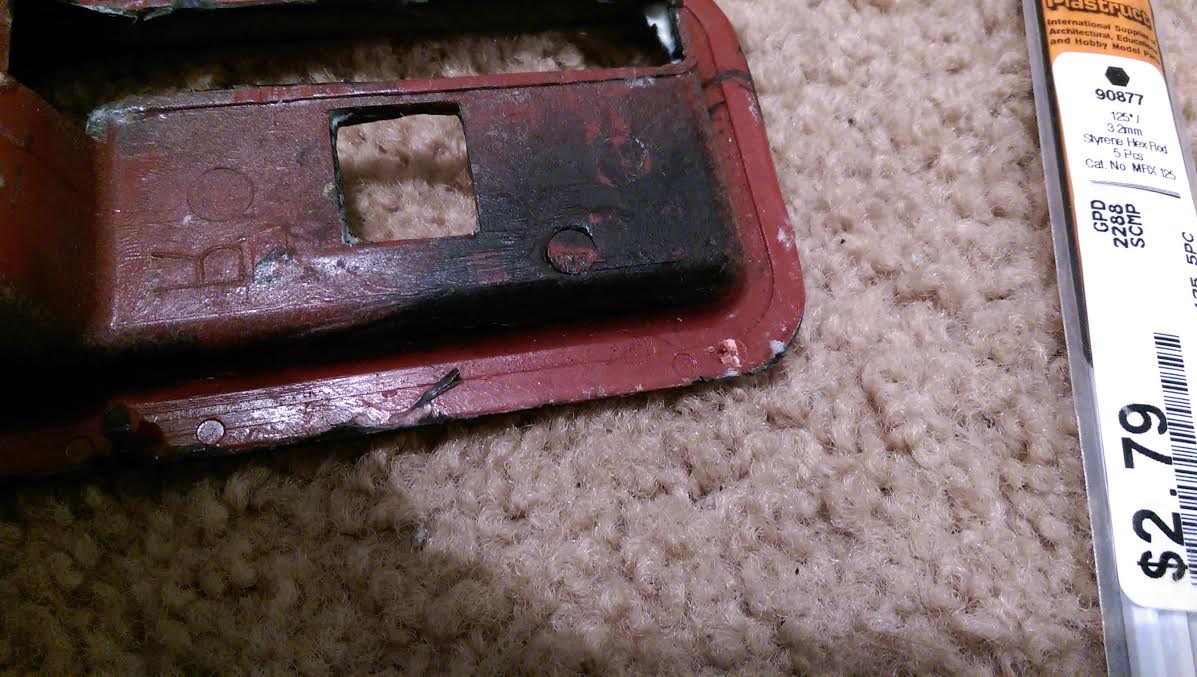
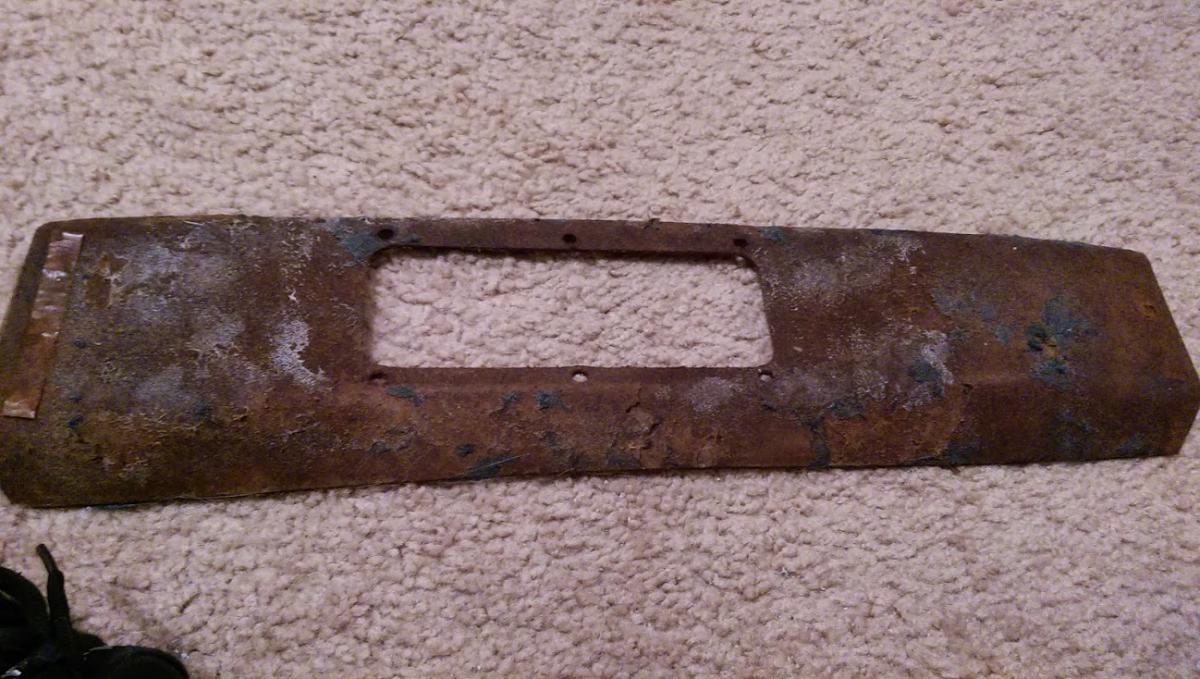
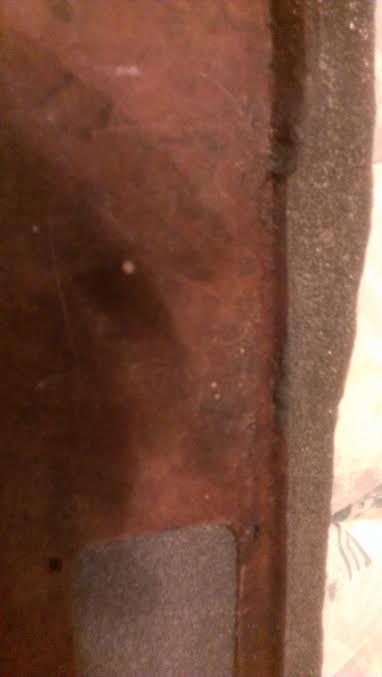
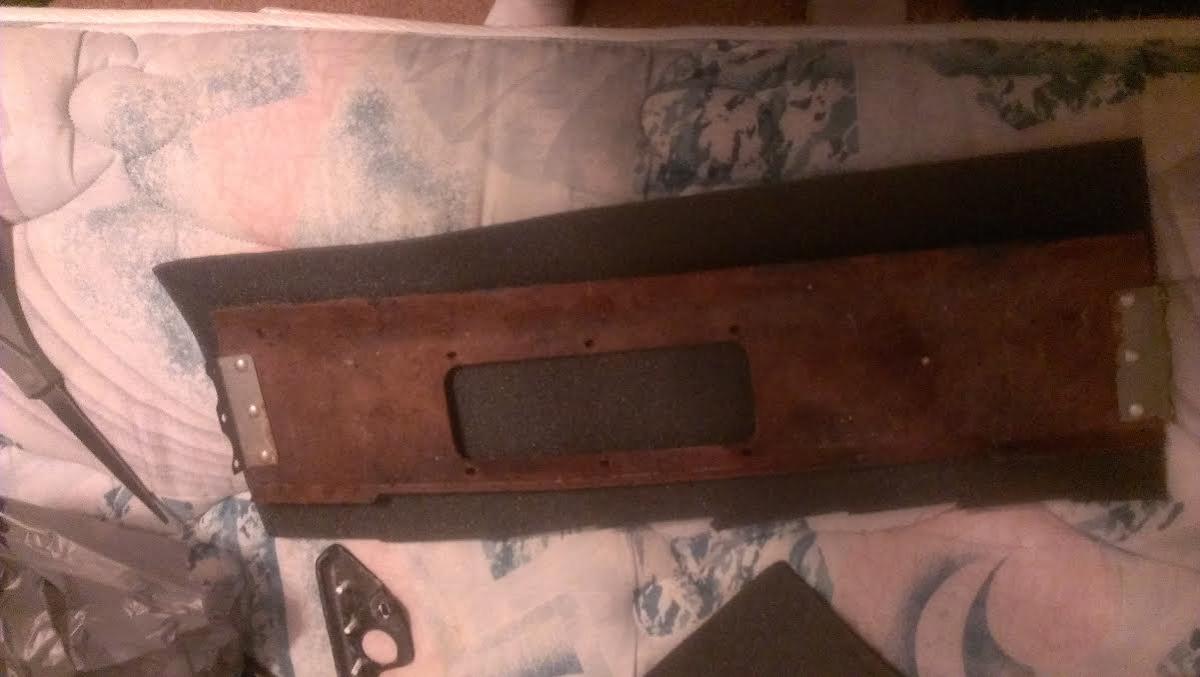
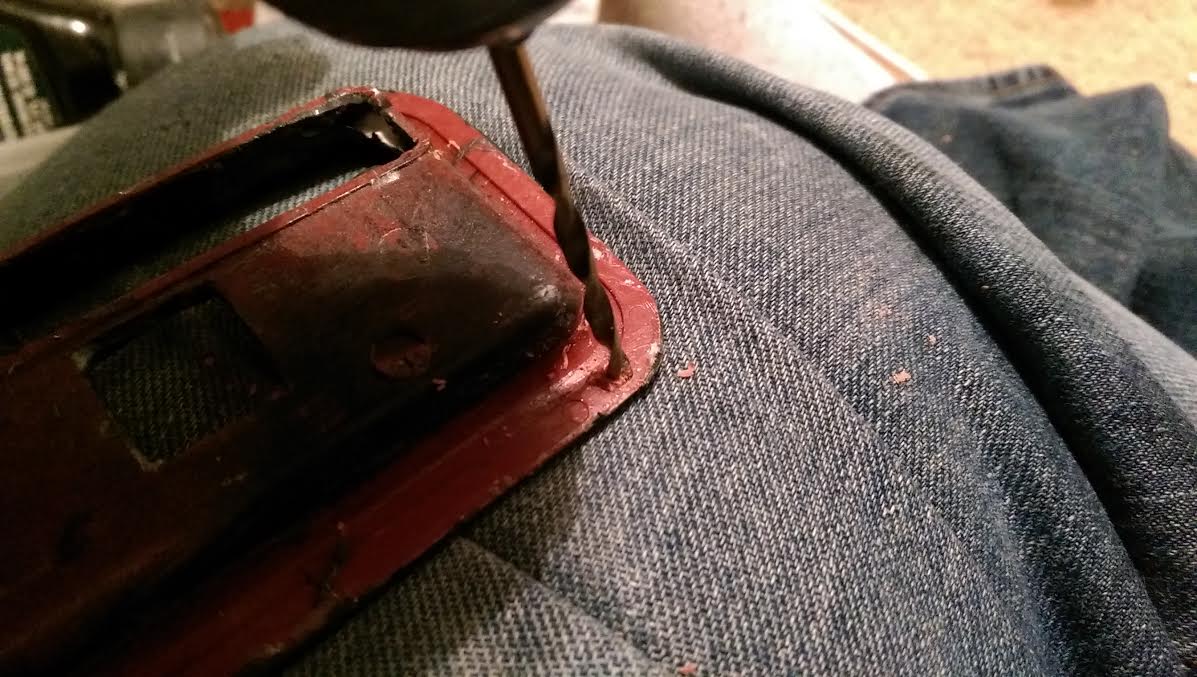
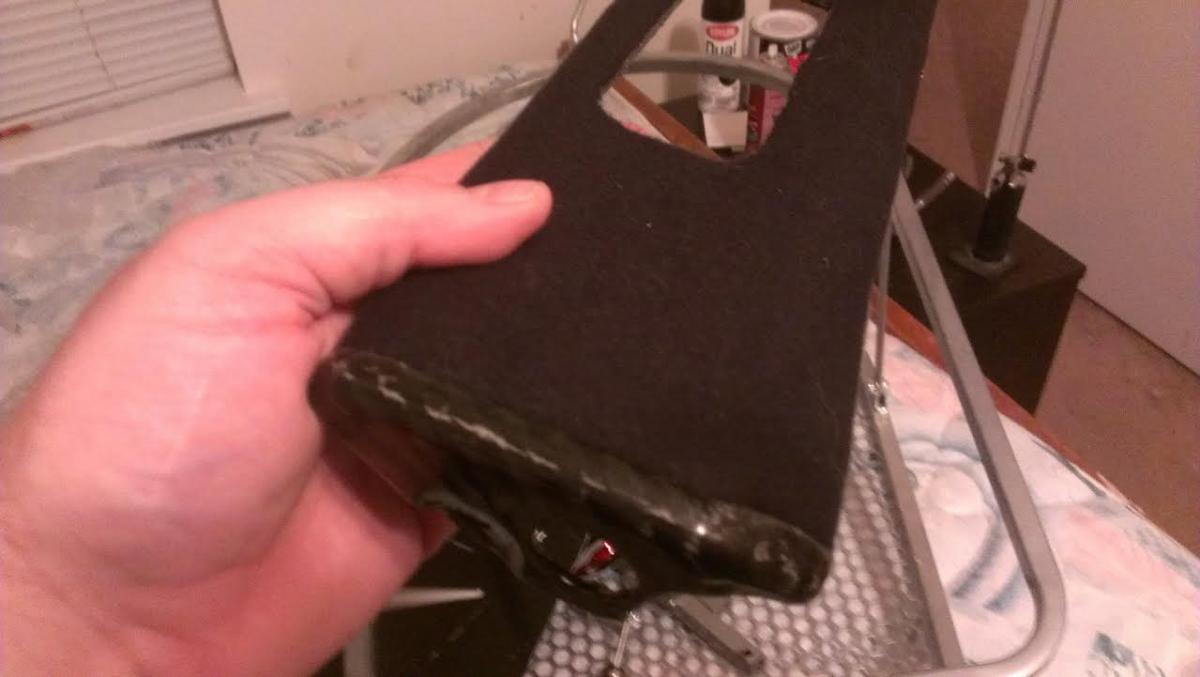
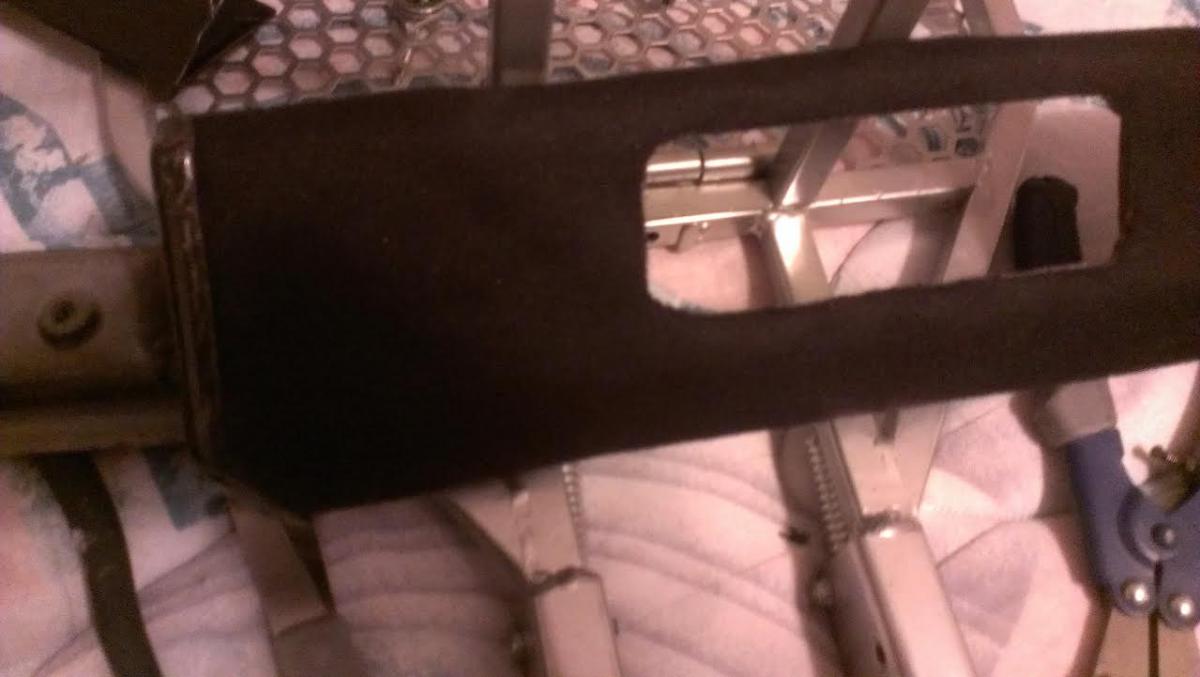
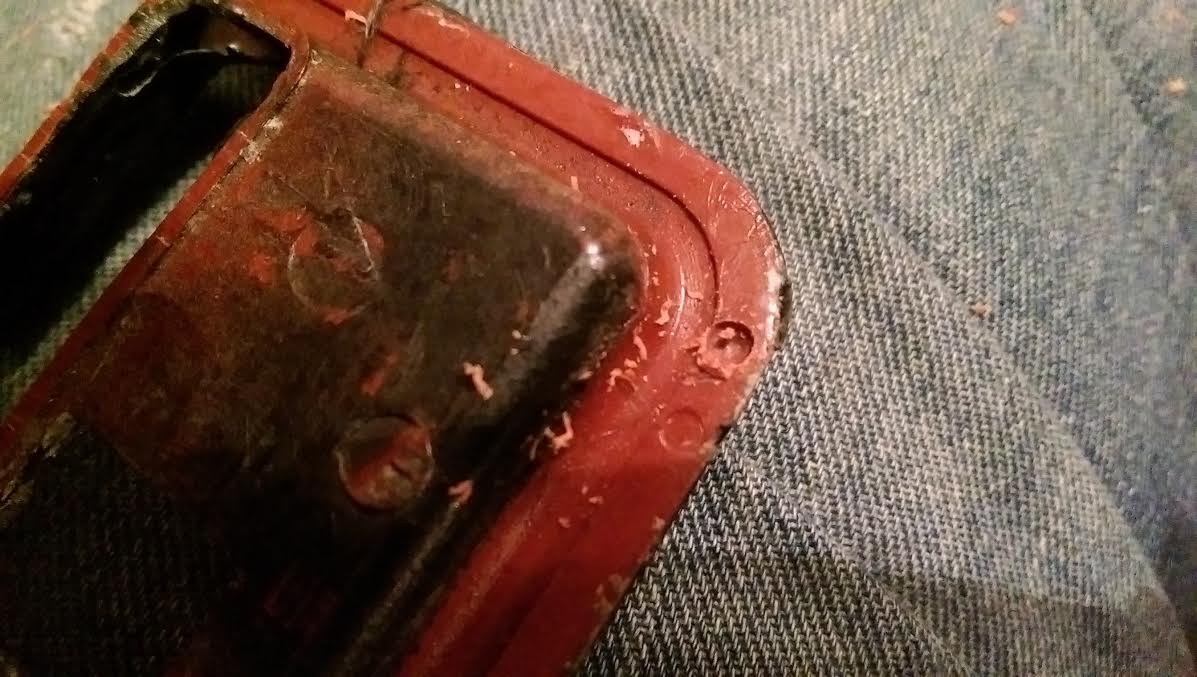
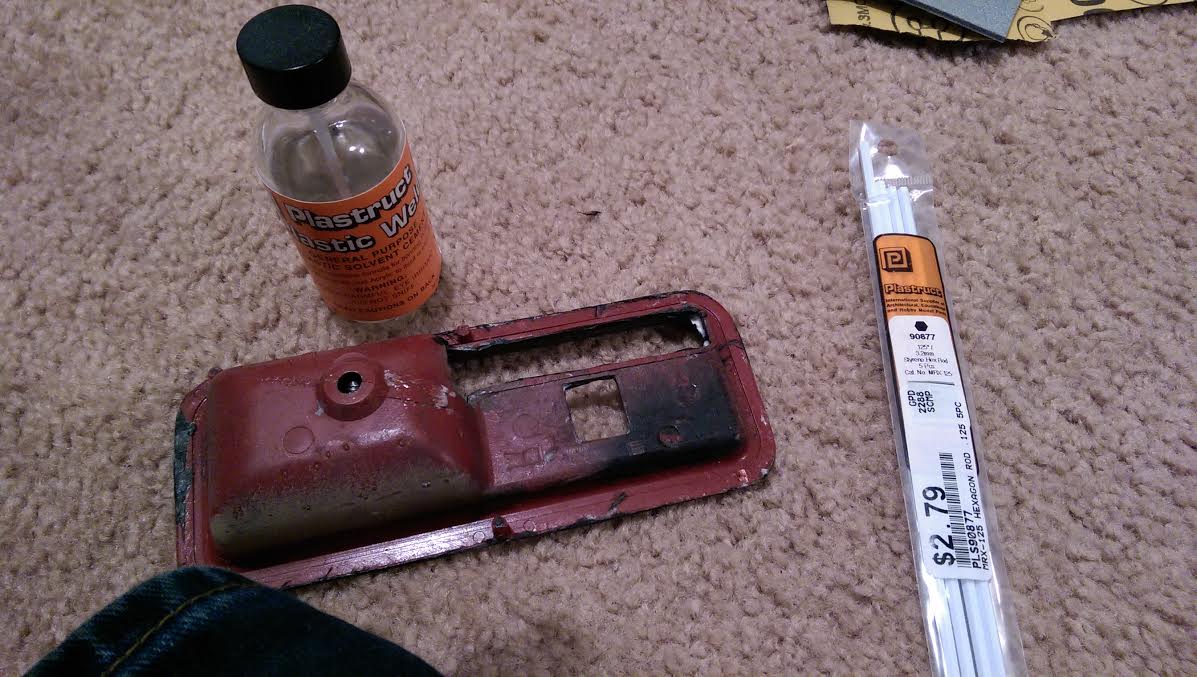
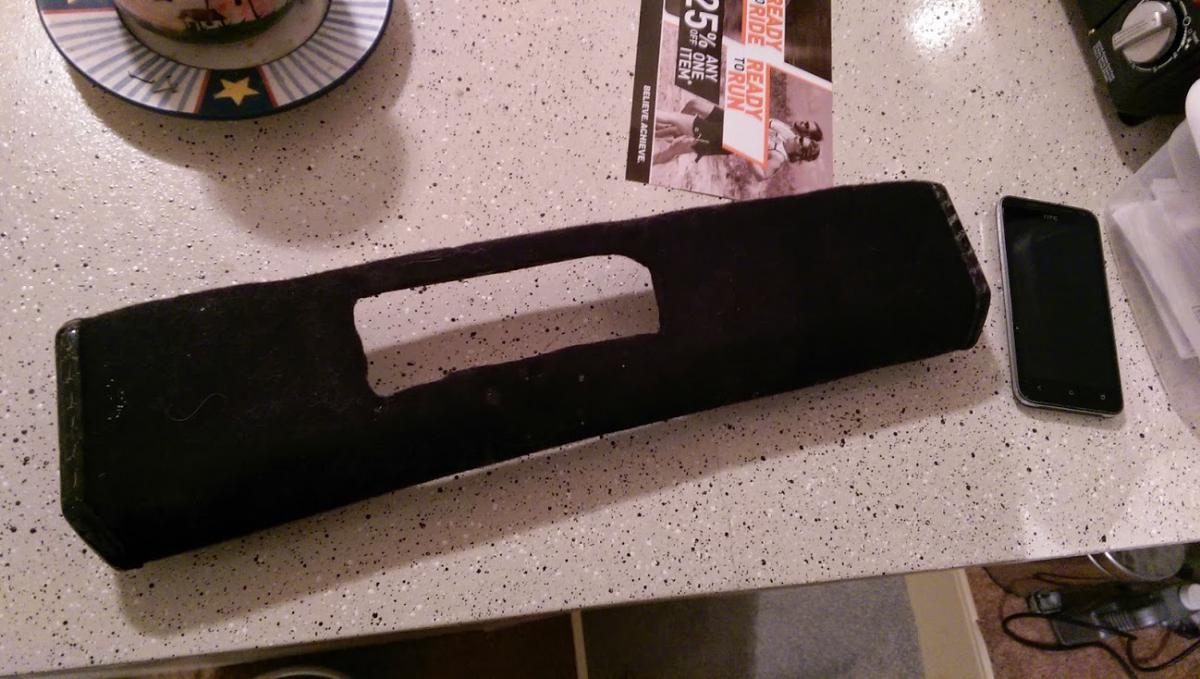
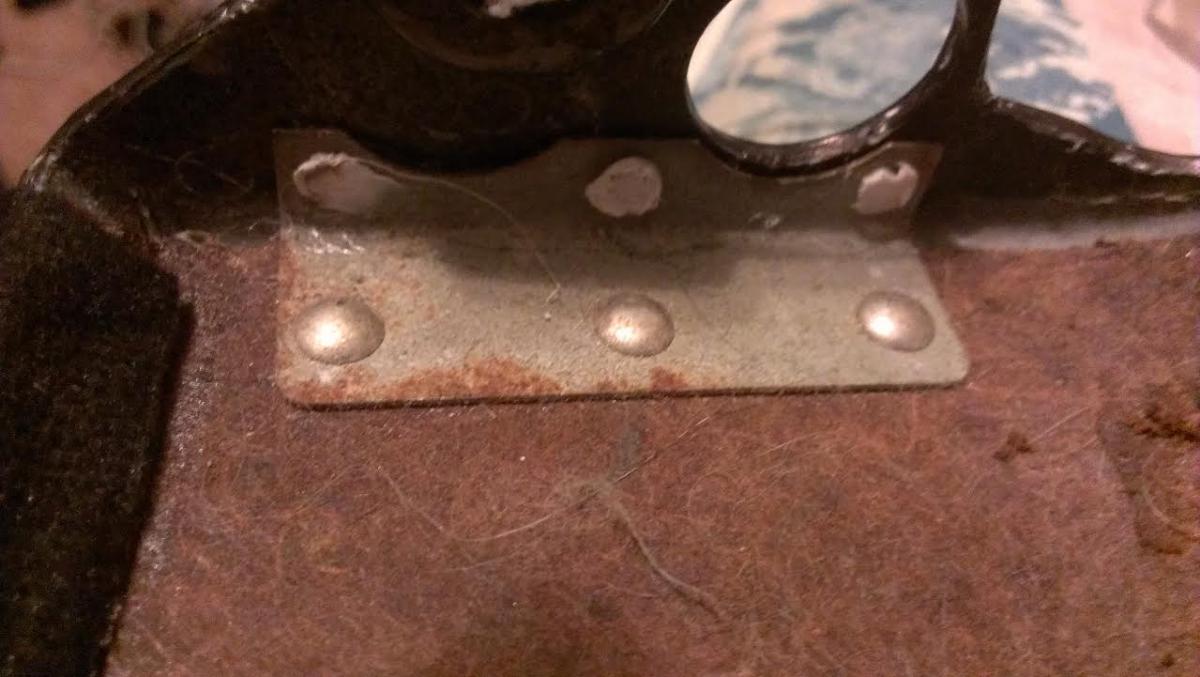
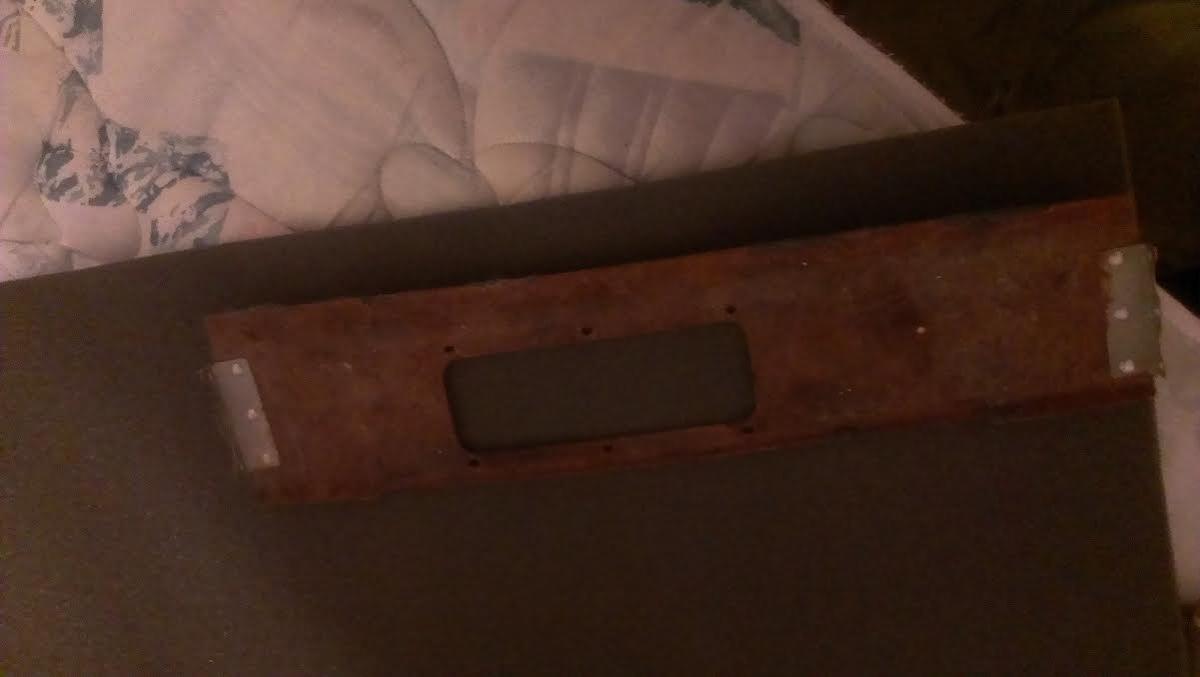
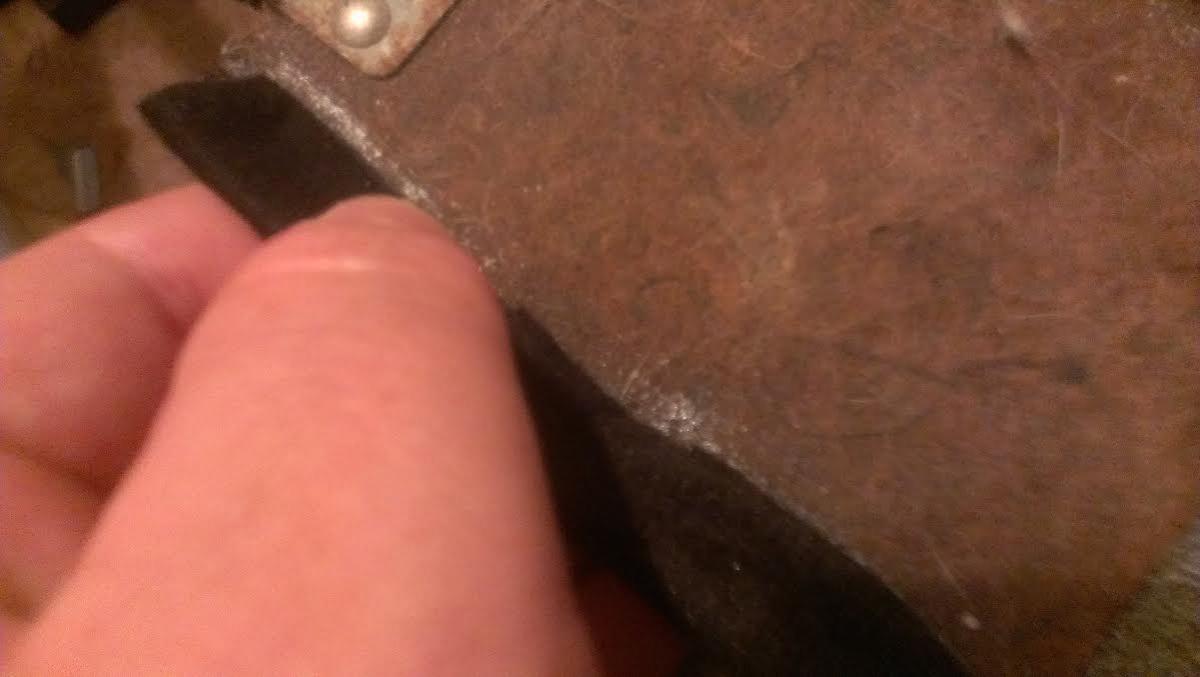
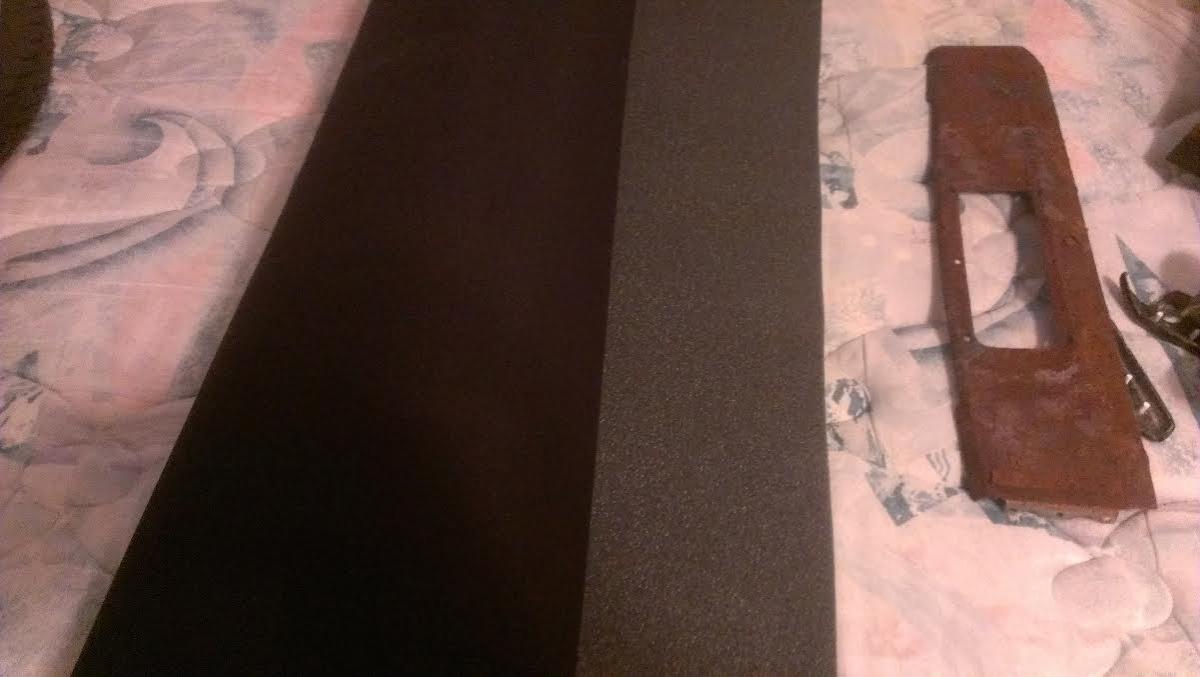
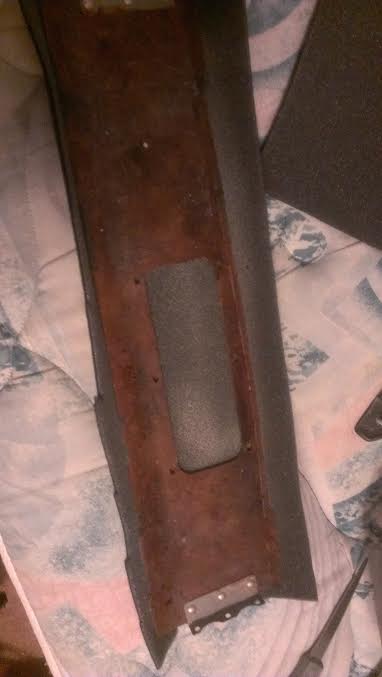
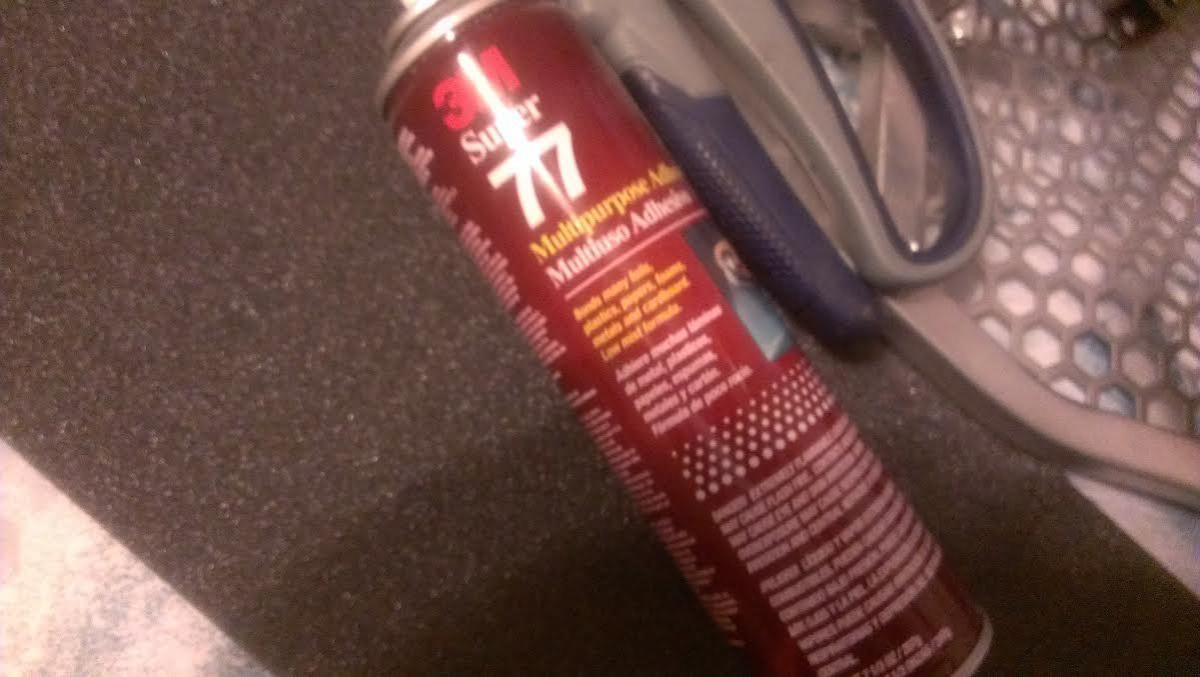
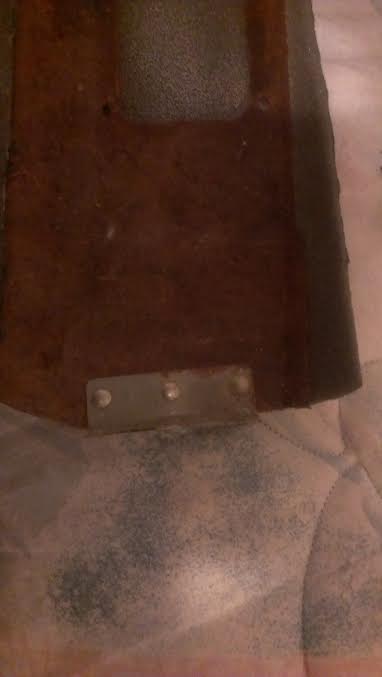
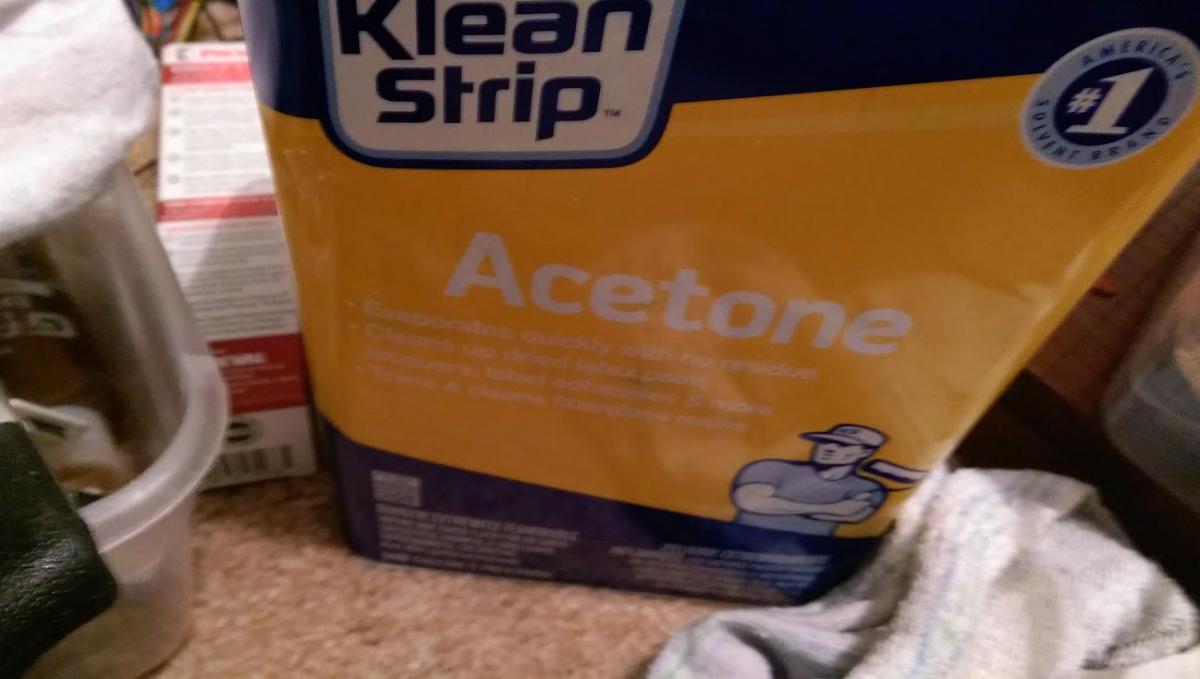
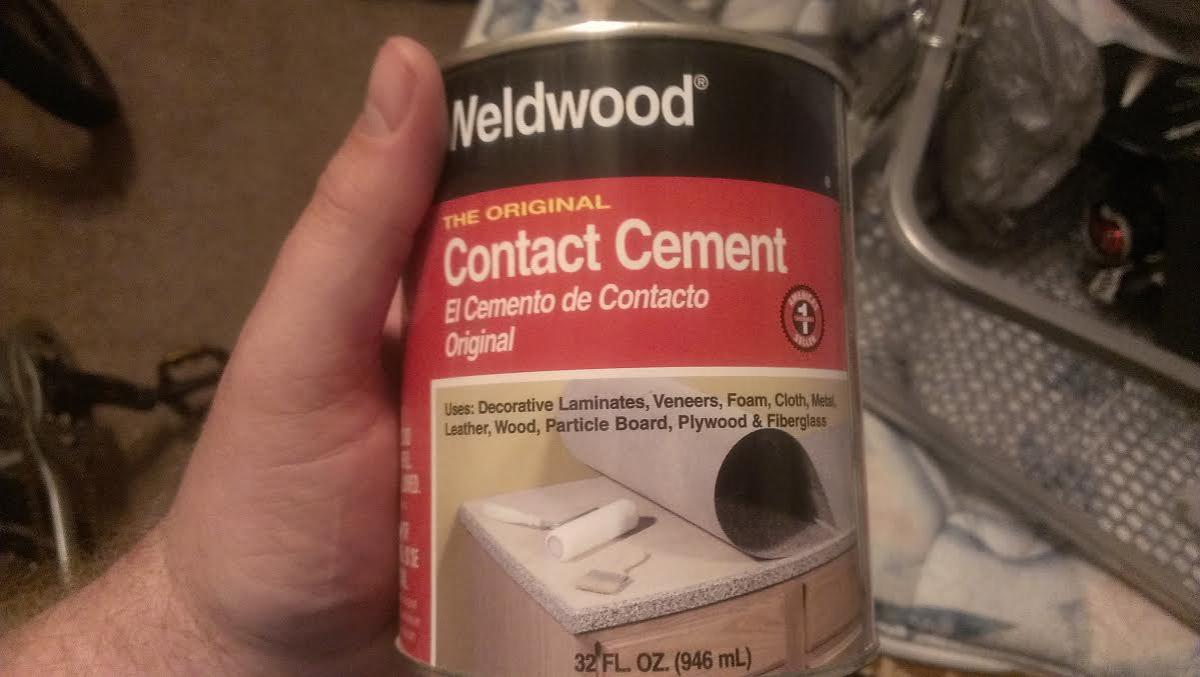
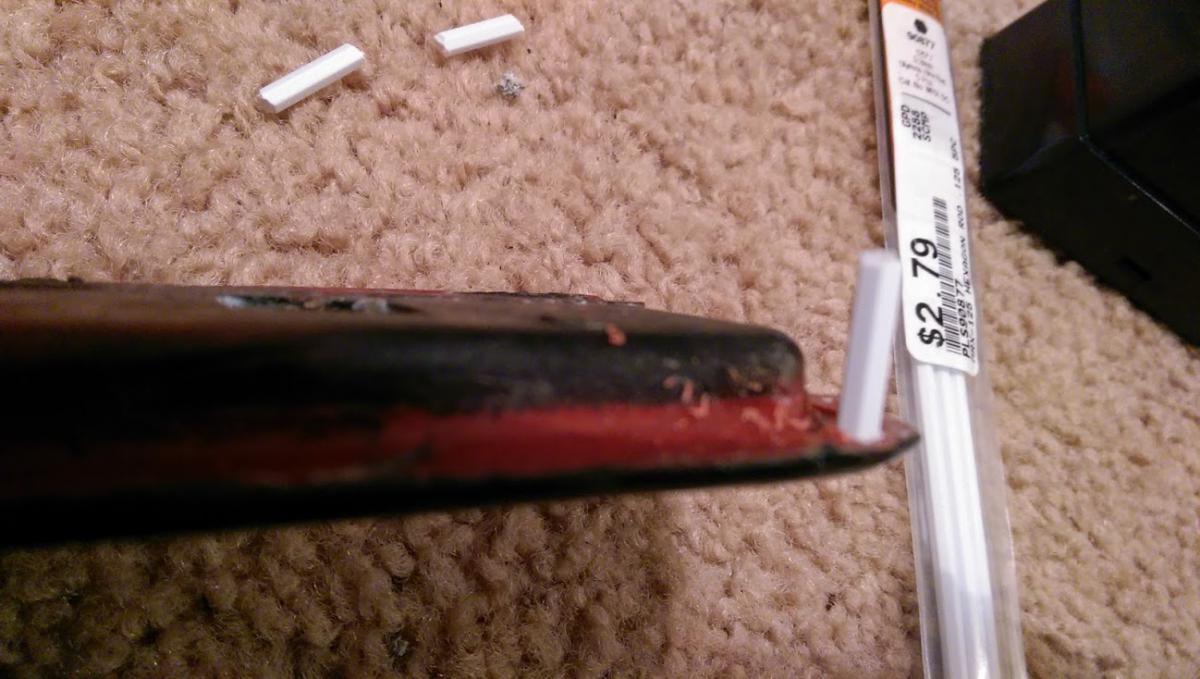
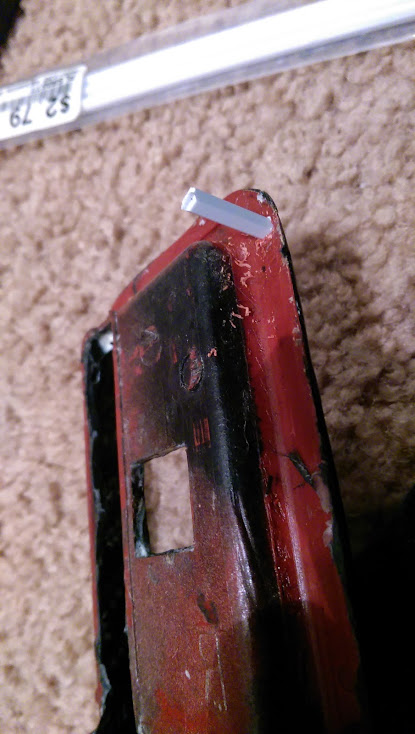
Hi everyone, I wanted to make a little "how to" for how I reupholstered the T-top inserts (dont know the actual name) on my 280zx. I had already completed the part once, but thanks to a sick cat, I had the pleasure of doing it again. Since I was going to do it all over again, I figured I could at least document it, with a few little tips I figured out myself (that apply to other interior pieces as well). I know when I first started messing around with interiors, I had trouble finding information, so I am hoping someone may find this useful. I will be doing my sun visors soon, if anyone wants a write up, let me know. First off, the part has to be removed, FSM or just looking at it should explain how it comes off, mine was already off and not installed (and covered in cat hair and snot): The first thing you want to do is remove the existing fabric, the plastic pieces are attached with pegs that fit through holes then are melted: take a knife and you can snap them pretty easily to get the parts off (I'll discuss putting them back on later): Most of these pieces on our cars is just chip board with a vinyl attached using adhesive, rivets, and staples, the staples in this case need to be removed: Now remove the material: Vinyl usually comes off relatively easy, be careful not to destroy the chipboard piece, since I used headliner material on mine....it tore apart and was a little more difficult, to make it easier you can use acetone and a knife to scrap the stuff off (works really well for headliner pieces). Once done you should have a "clean" part: If you are recovering with vinyl, you may want to run coarse sand paper over the piece to make sure and get everything even and all original fabric off. Any little piece left can be seen or felt through vinyl. I purchased some headliner fabric at Joannes, it's really easy to work with and relatively inexpensive. Lay the part on the fabric and cut to size...well, close to size: I prefer Super 77 for attaching light fabrics, it is somewhat forgiving and, if used correctly, makes a pretty strong bond. I coat both the fabric and the part in glue and let set for about ten minutes until they are both tacky then stick them together: Check to make sure that there are no large bumps in the surface and that it looks nice and even: If it looks good, trim off the excess on the parts where the fabric sits flush and the other edges keep about half an inch to a quarter of fabric hanging over so that it can be securely fastened to the bottom. The Super 77 and other spray adhesives I have used are all really good at clinging to surfaces, as long as there are not too many bends or complex curves, but if there are they seem to want to release over time. My solution to this is Weldwood contact cement, my personal choice, there are others that work just as well I am sure. You can attach the excess to the back of the part using staples if you wish, but I could not find any more really shallow staples, so I went ahead with my contact cement. I added the cement to the excess fabric on either side and to the back of the part itself. (not very noticeable) Then I waited about thirty minutes for it to become quite tacky and rolled the excess onto the part as tightly as I could. Normally you would want to start from the middle and work your way out, since this was a smaller piece it really didn't make that big a difference. Let this set while you go and tend to your plastic pieces. . . . . . . .. . This feels like one long run on sentence, sorry for that, . Now to the plastic pieces, I had cut the little pegs off of the parts, now I need to fix that so that I can reattach them. First you need materials: I could not find ABS rods, but I was able to find 1/8th inch styrene rods, a plastic "glue" a power drill with ~1/8th inch bit..some flexibility here and the part. The glue is actually a solvent, Instead of sticking the pieces together it actually "welds" them. It dissolves the plastic into a paste, when it evaporates out you are left with a rigid plastic once again. If you have a crack in a plastic, or a chip, you can dissolve some shavings with the solvent and use it as a filler, just do not go on too thick or the solvent cannot dissipate and it will look horrible. I use to use acetone for attaching a lot of plastics, it works extremely well for acrylic, but doesn't seem to hold as well on abs and other automotive plastics (for me). This particular solvent is mostly MEK based, which you could buy at most home improvement stores, MEKP is used as a catalyst for lower end fiber glass resins and I have heard that it works to weld plastics, but I have never tried it myself. Take the piece and locate where the peg was, then drill this area out Spot found Be very careful to not go completely through the piece, we are just trying to increase the surface area that is being contacted as well as aid in holding the peg in place long enough to stick. You should end up with a shallow divot Now add a large drop of solvent into this hole and let set for a few seconds While the solvent is setting, go ahead and cut a piece of the rod off, longer is better than shorter, usually I start with a little under a 1/4" Now shove the peg into the divot, twist it so that it will conform to the shape of the divot then hold it in place a good twenty or so seconds, until you can let go and it does not move: Now add some more solvent around the base of the peg, I like to push shavings around the base to build it up a little and hopefully make it a little stronger: That's one down, now go ahead and do the rest. I sometimes take my chances with the original pegs if they were not broken completely off, but it is probably best to go ahead and replace them all. I let the solvent do it's magic for a little bit then I do a test fit to make sure that the pegs line up with the holes on the part, as long as you do not wait too long (time varies with conditions), you can still move them around a little. Then I let them set overnight..because that's what the bottle says to do. . . . . . Next day: The best part, putting it all back together. Take the pieces you have added pegs to and put them in their appropriate places and trim the pegs down a little (if needed): ] Now take a soldering iron, wood burning tool, hot piece of metal, whatever works and melt the pegs to the part. I use a small butane torch and spoon....which is probably not the most innocent looking way of doing this....I heat the spoon up then press it to the peg until it melts flat. Be careful when melting the pegs, they can catch fire, the fabric is flammable as well. Once done it should look like this (or hopefully better): Continue for all the pieces you removed, also give a little strength check to make sure everything is holding firm. As long as everything is holding well and it looks good, you are done, now all that's left is installing it back into your car. I hope this helps some one. In the mean time I'm going to continue with my interior and slowly customizing everything.