juliarosario
-
Posts
73 -
Joined
-
Last visited
-
Days Won
1
Content Type
Profiles
Forums
Blogs
Events
Gallery
Downloads
Store
Everything posted by juliarosario
-
Wide body build thread! Fiberglass Mafia kit MOLDED
juliarosario replied to juliarosario's topic in Body Kits & Paint
-
Bodywork and paint included, it was around 6k for everything!
-
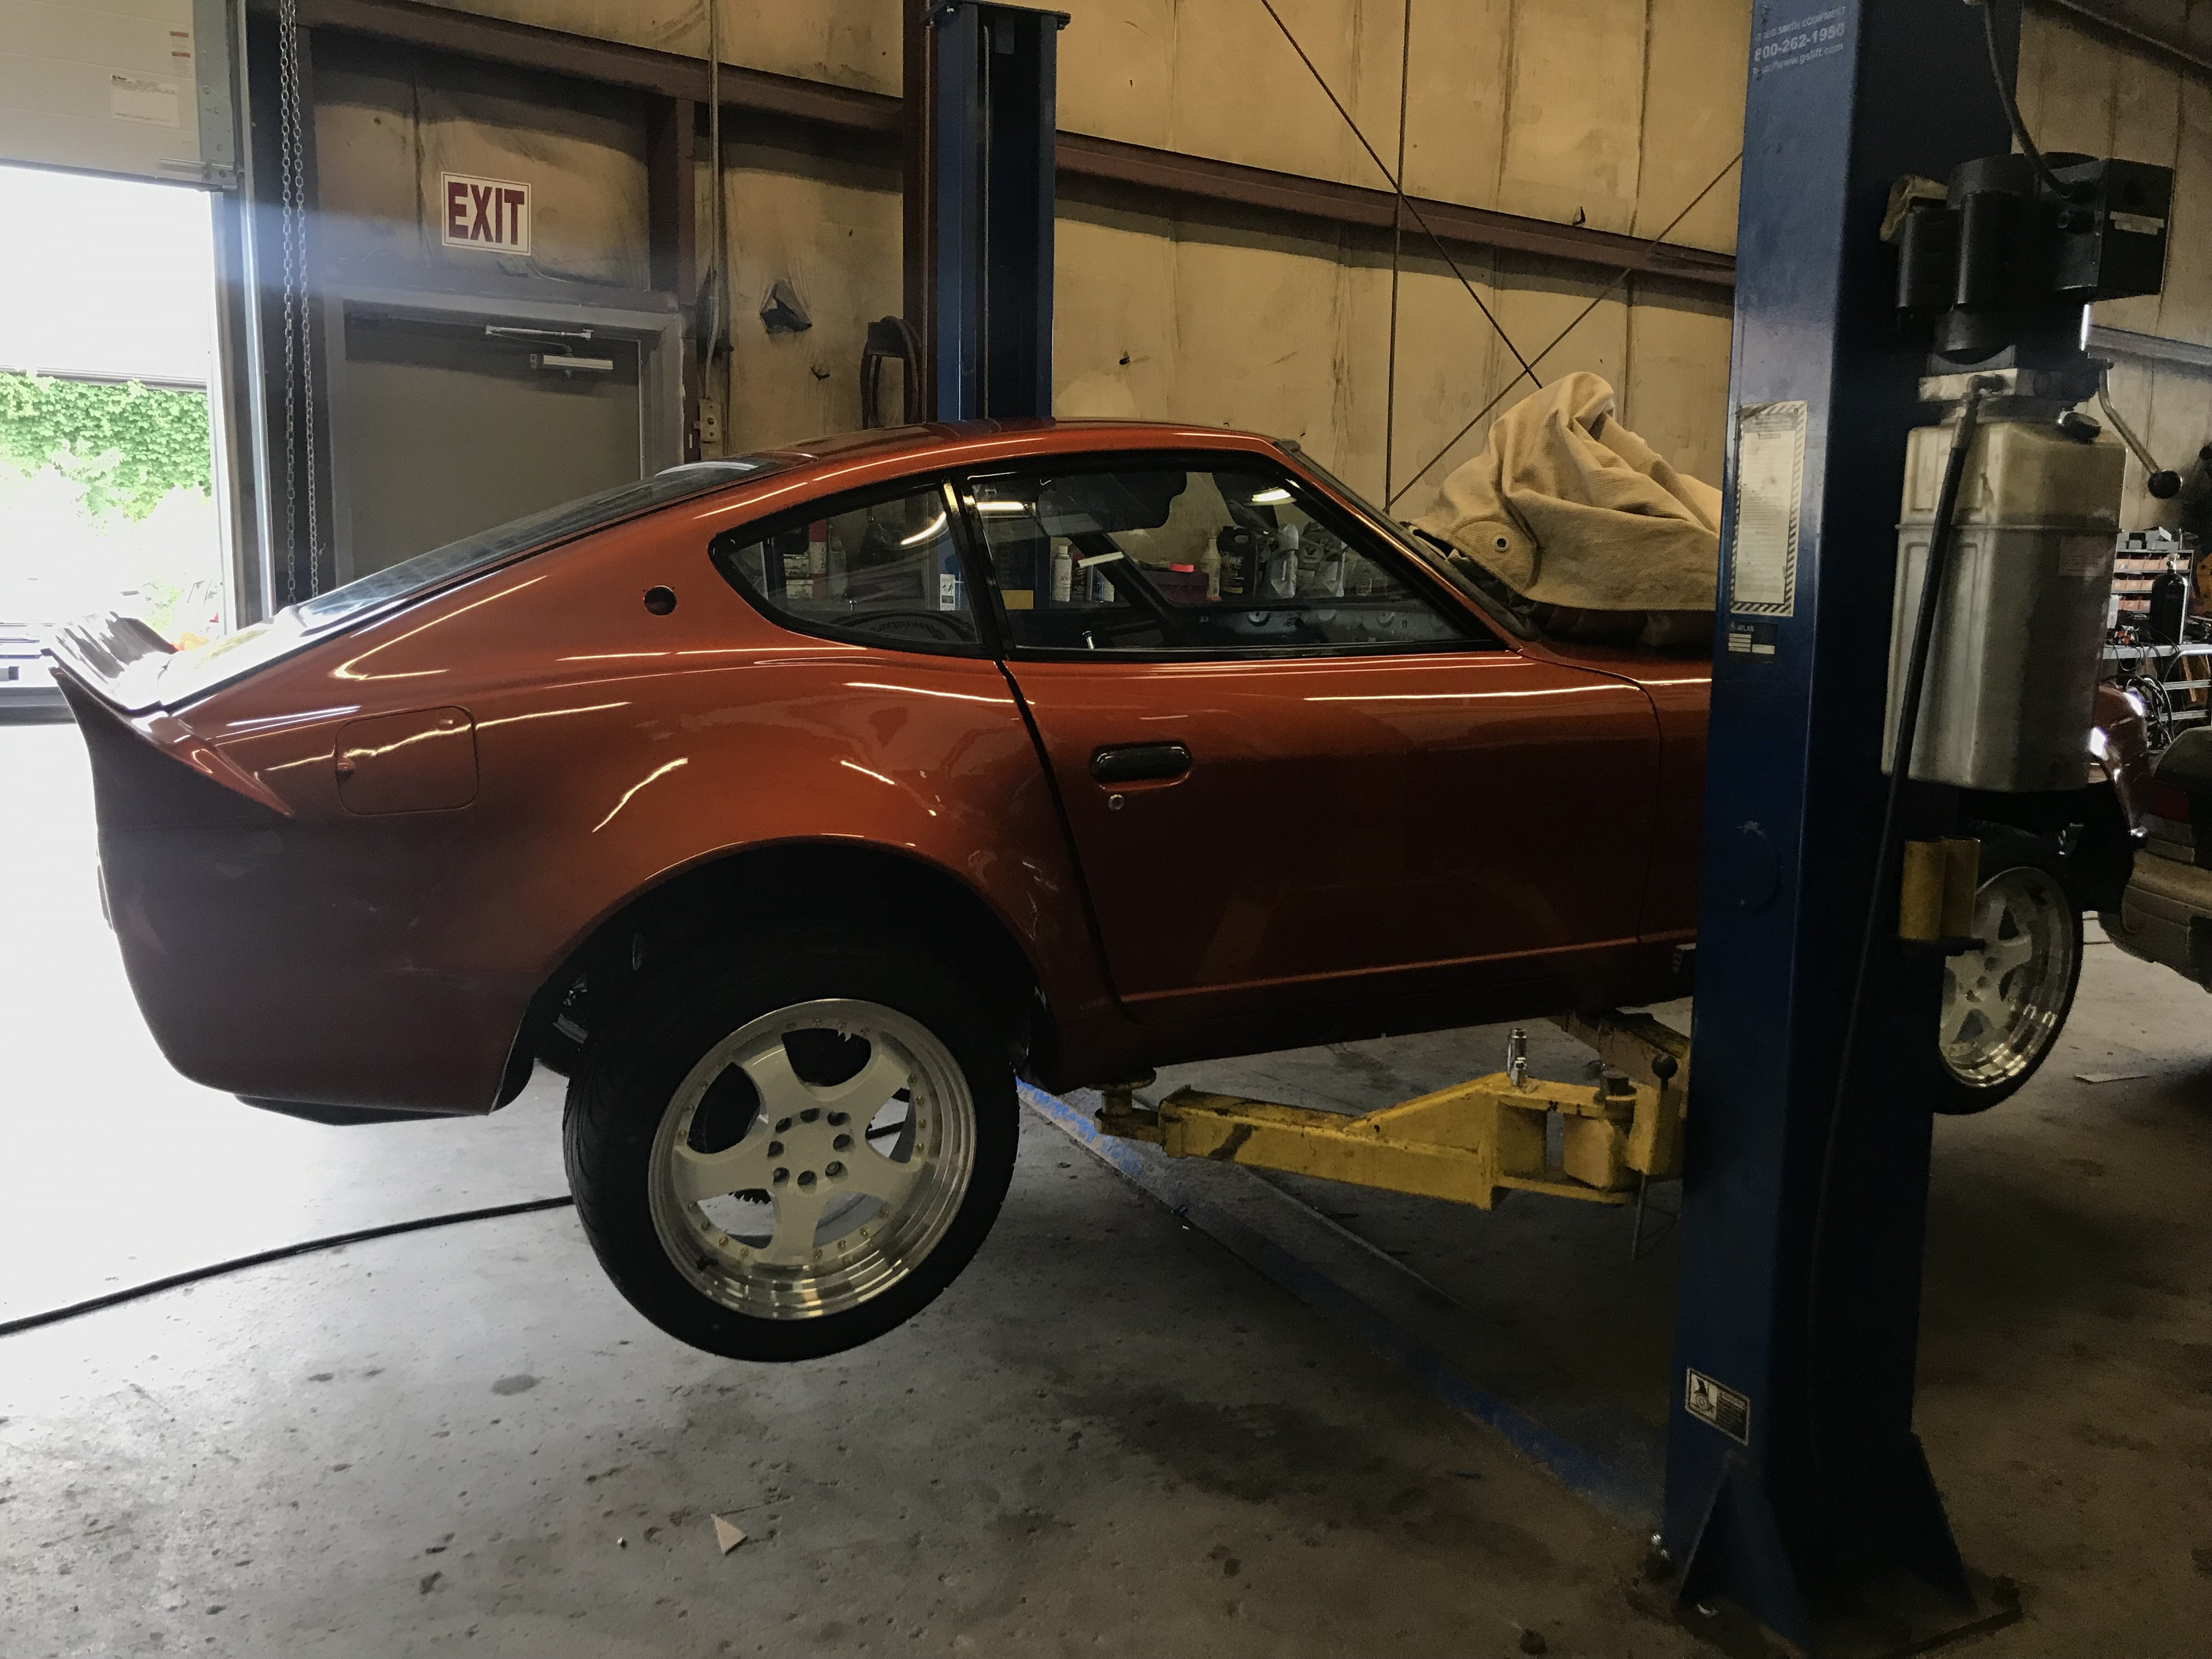
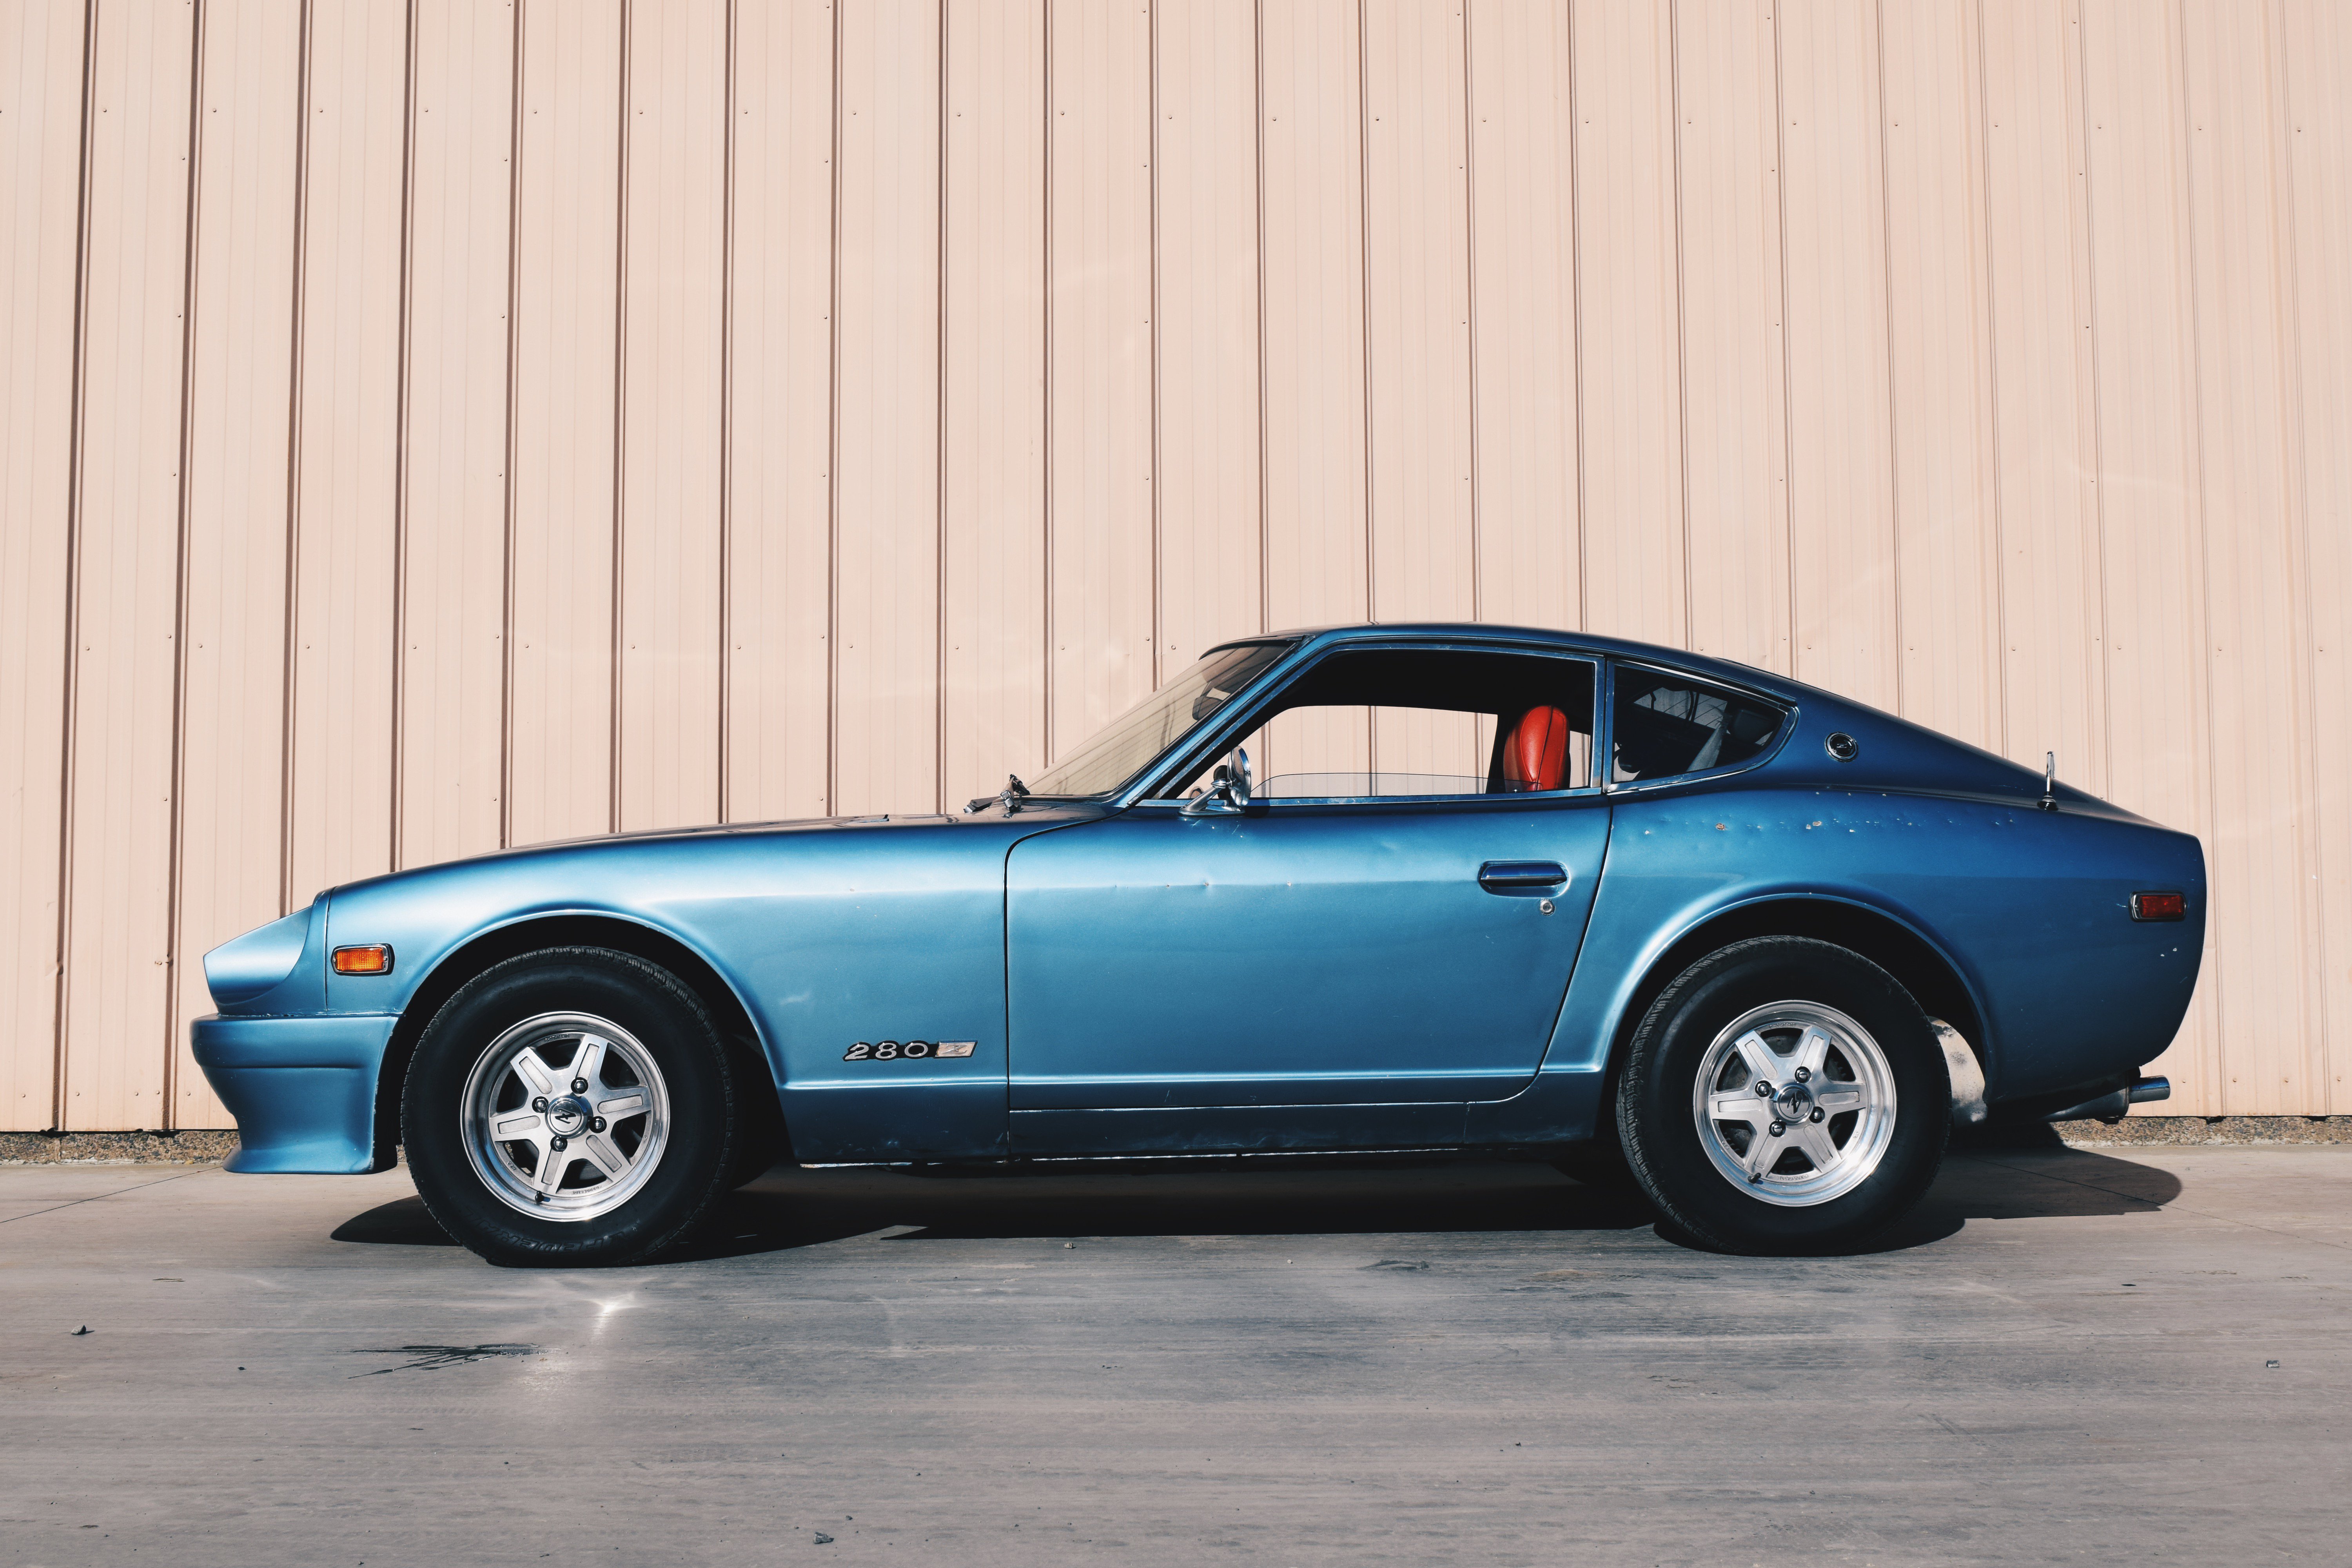
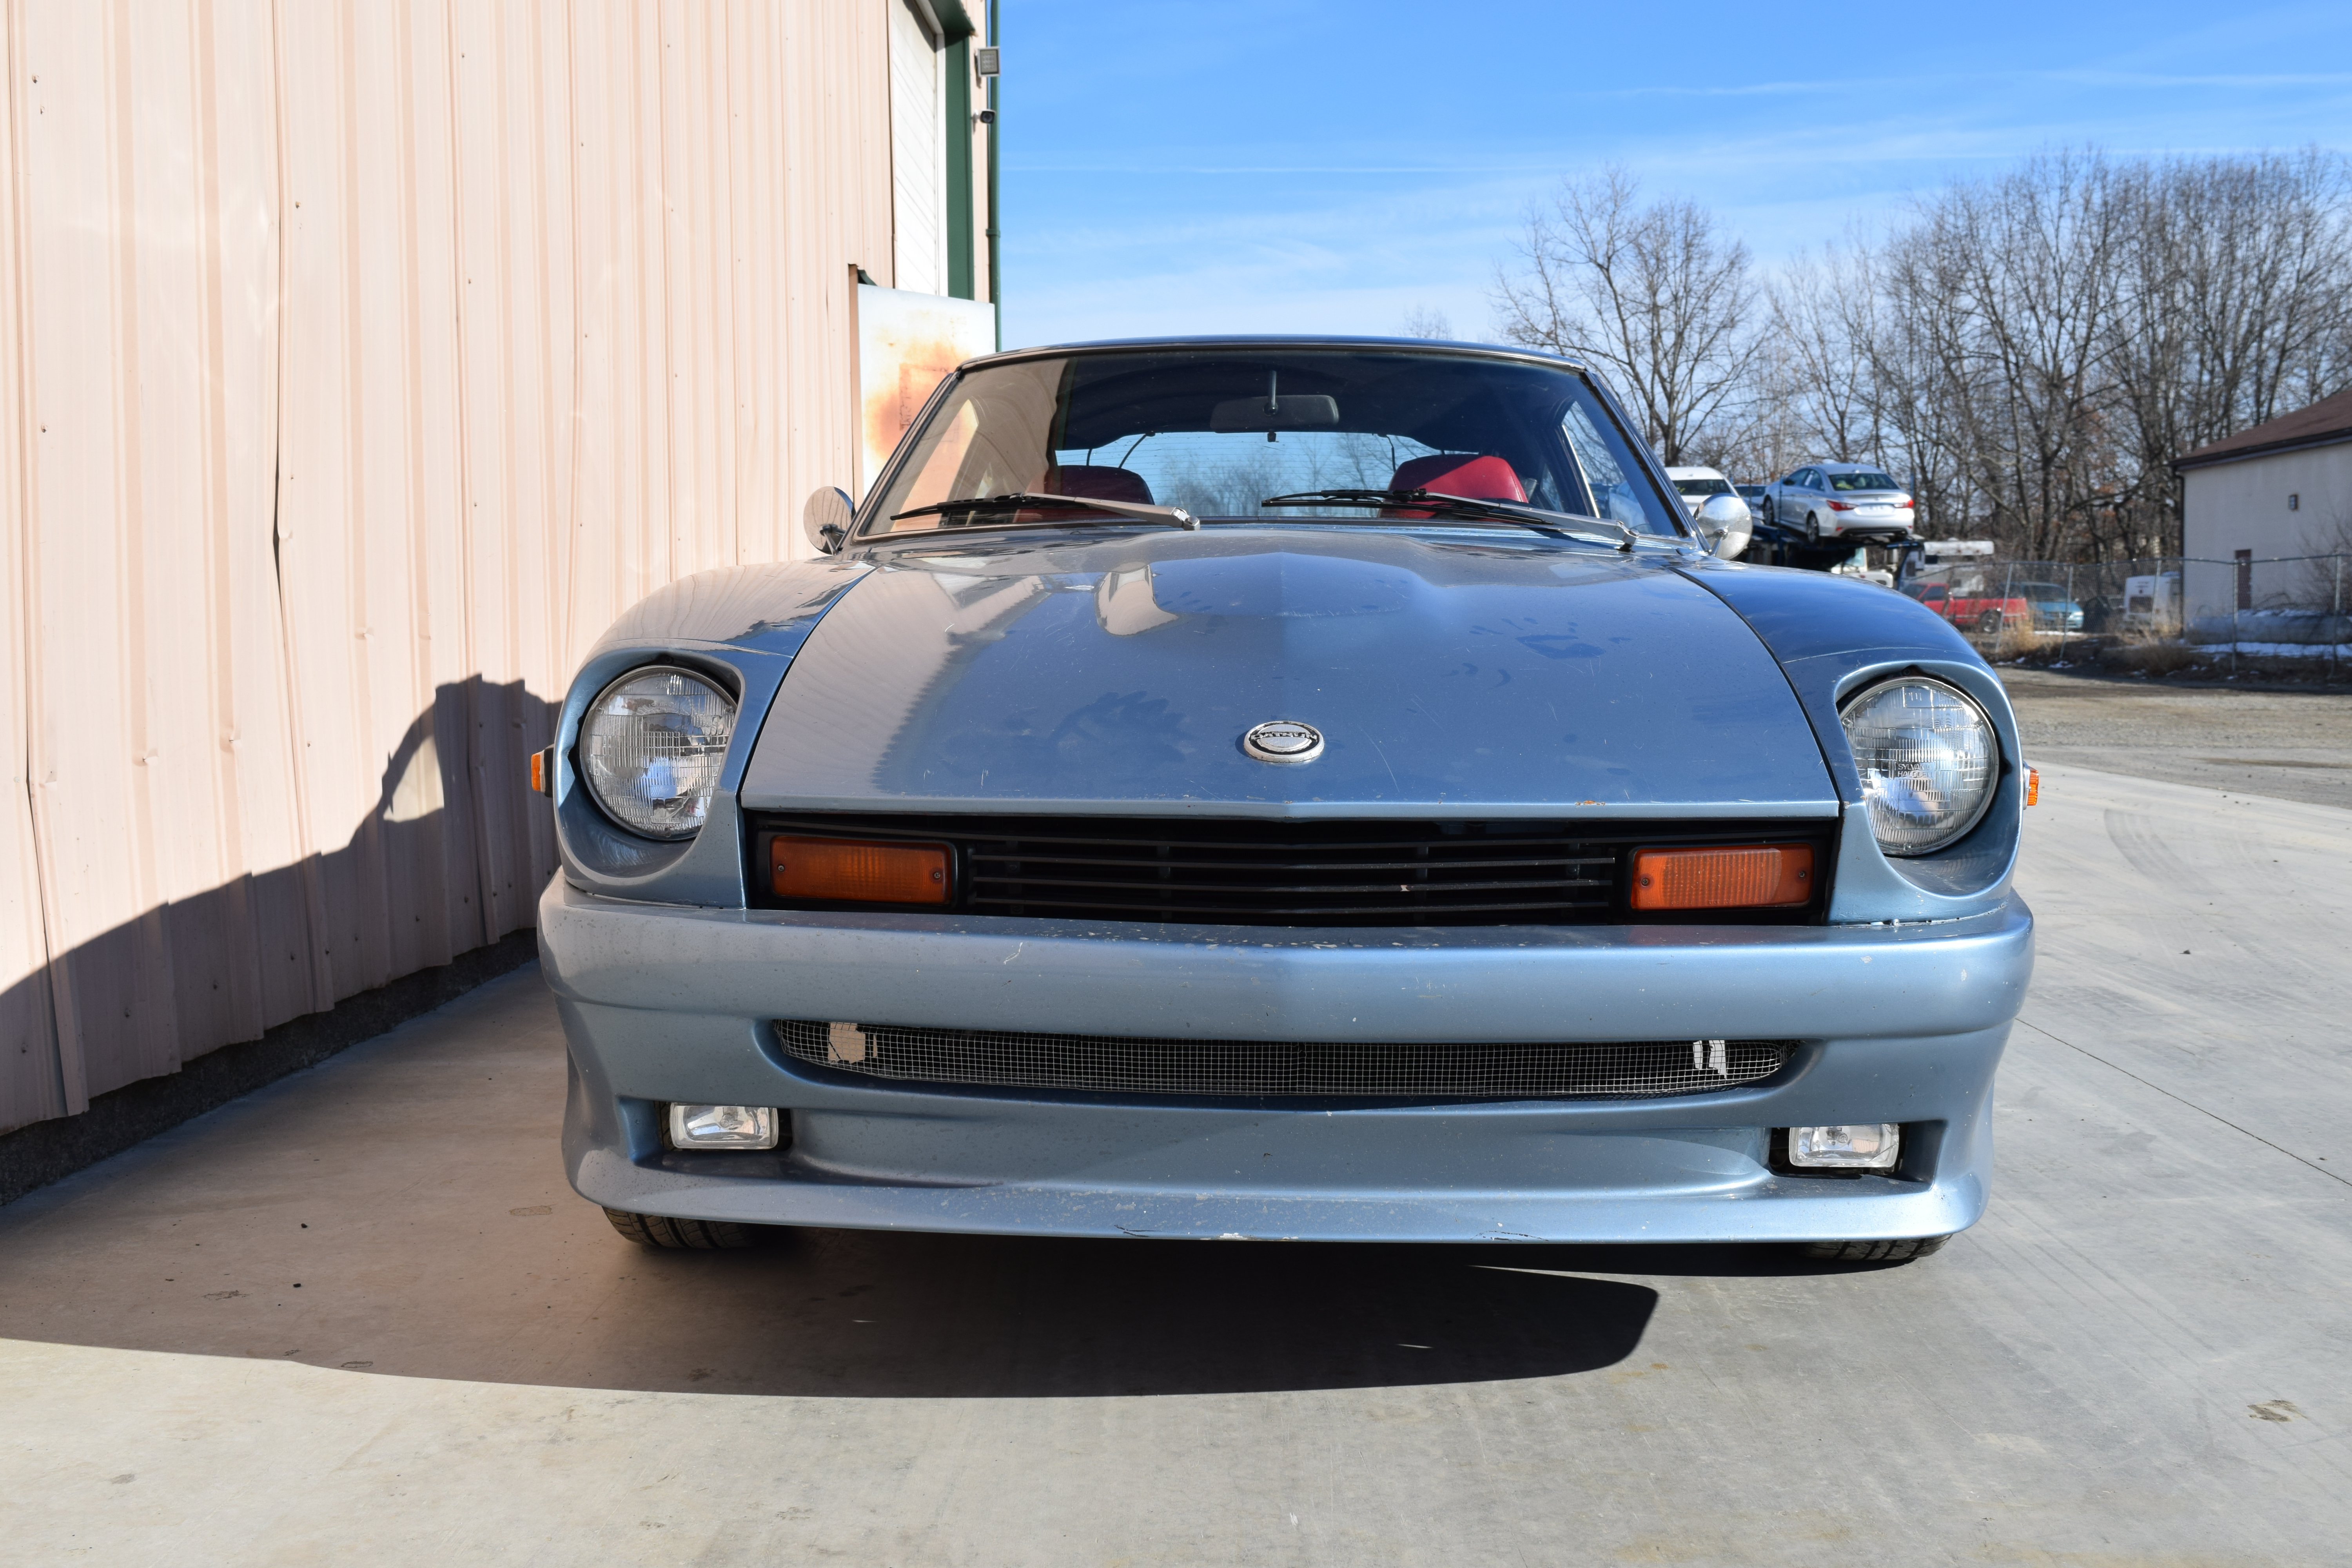
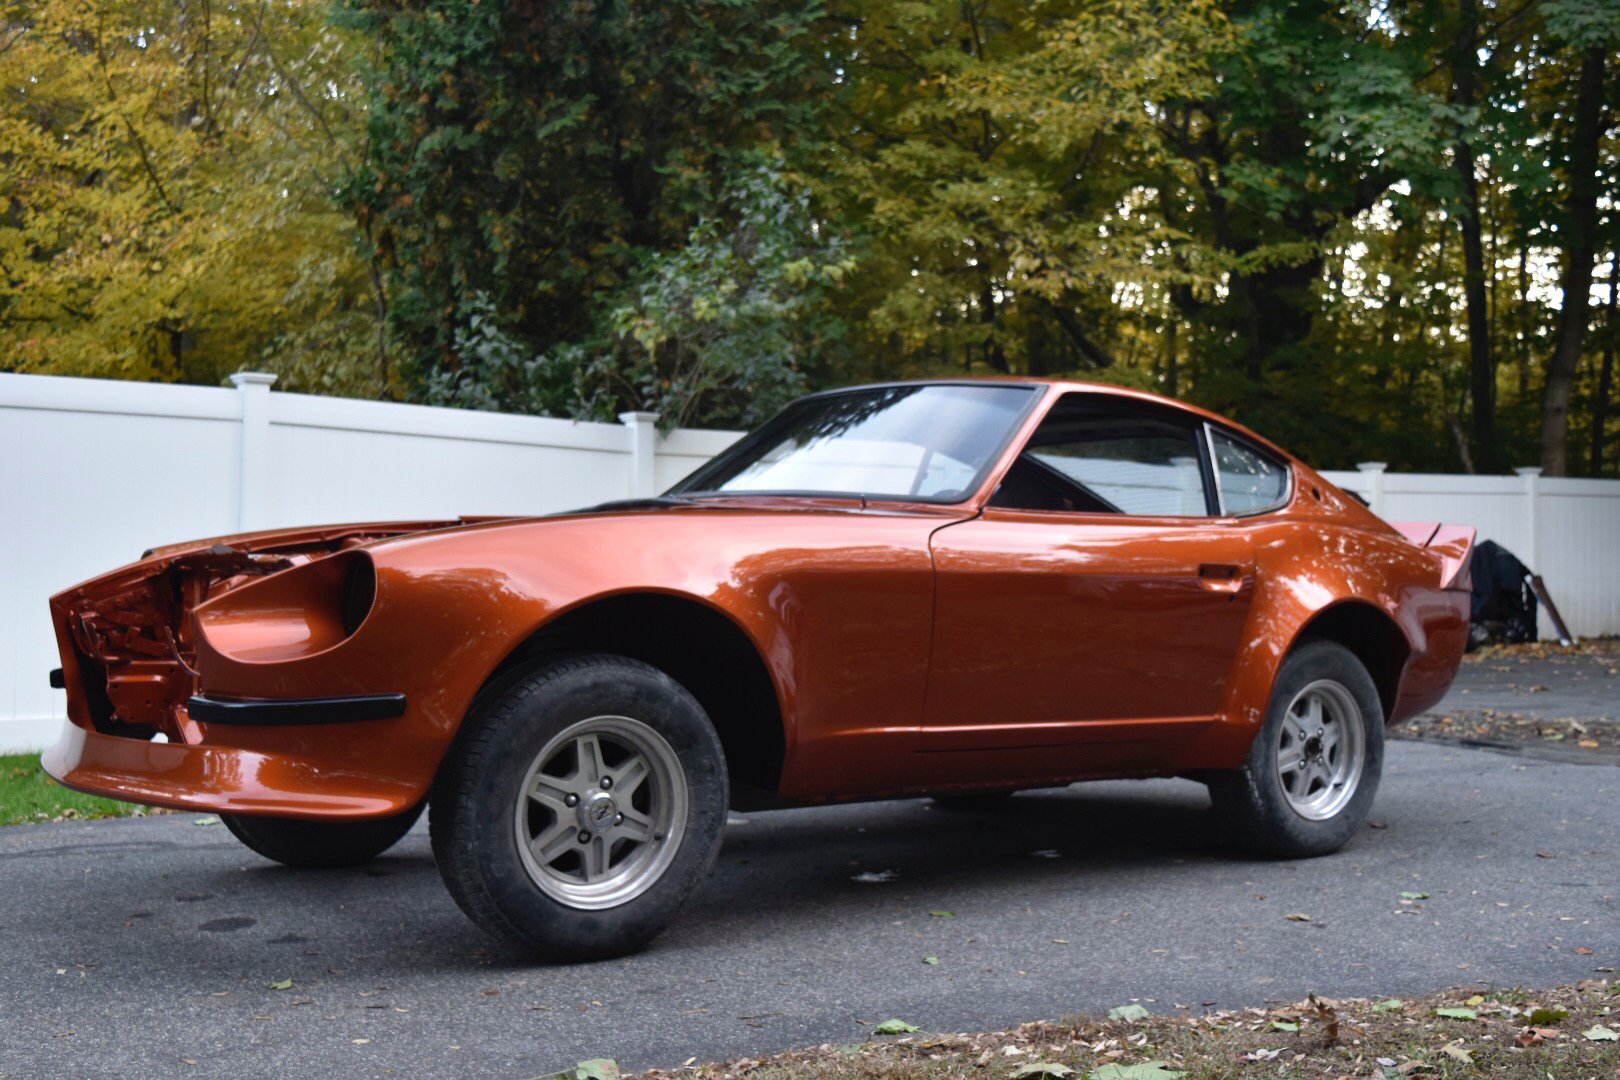
One last thing!! HERE IS WHAT IT LOOKED LIKE BEFORE: I have a build thread on my profile if you're interested in all the details but I thought some before and after pics would be cool!

-
Sorry, forgot to add in these pictures as well. I think the color changes so much between natural and indoor lighting, as well as when direct sunlight hits it!! Absolutely insane, I love it. 😍
-
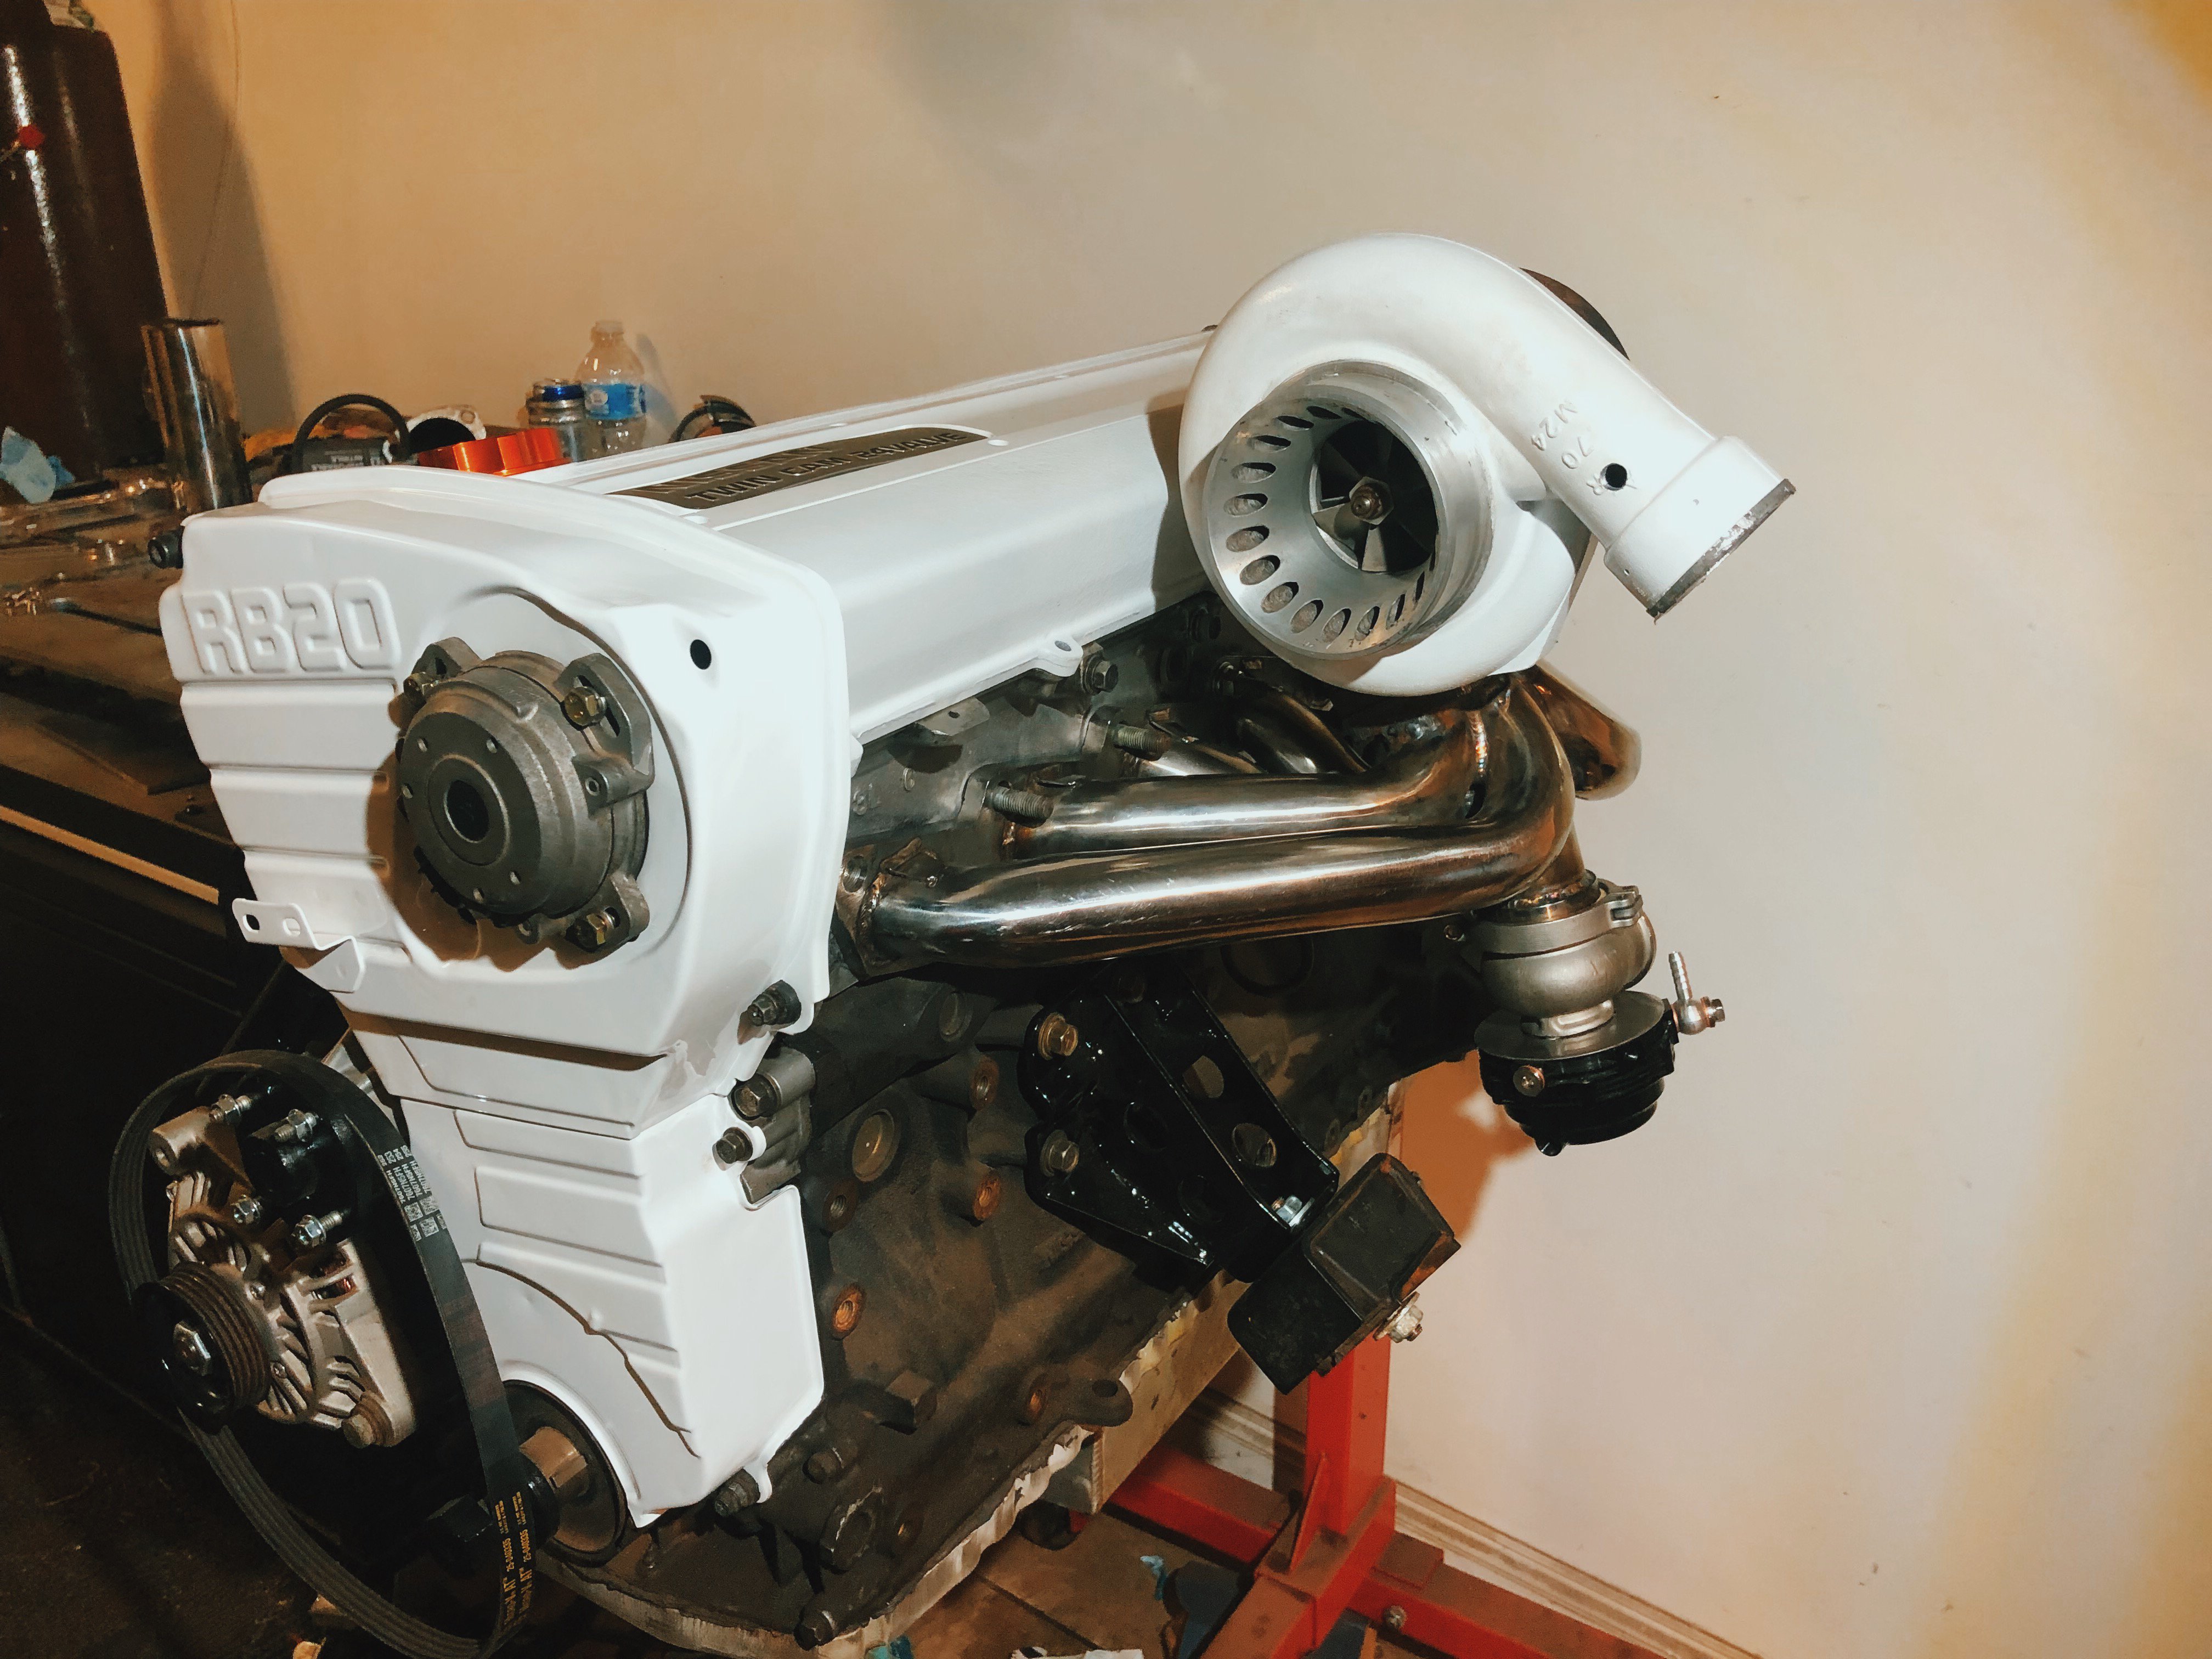
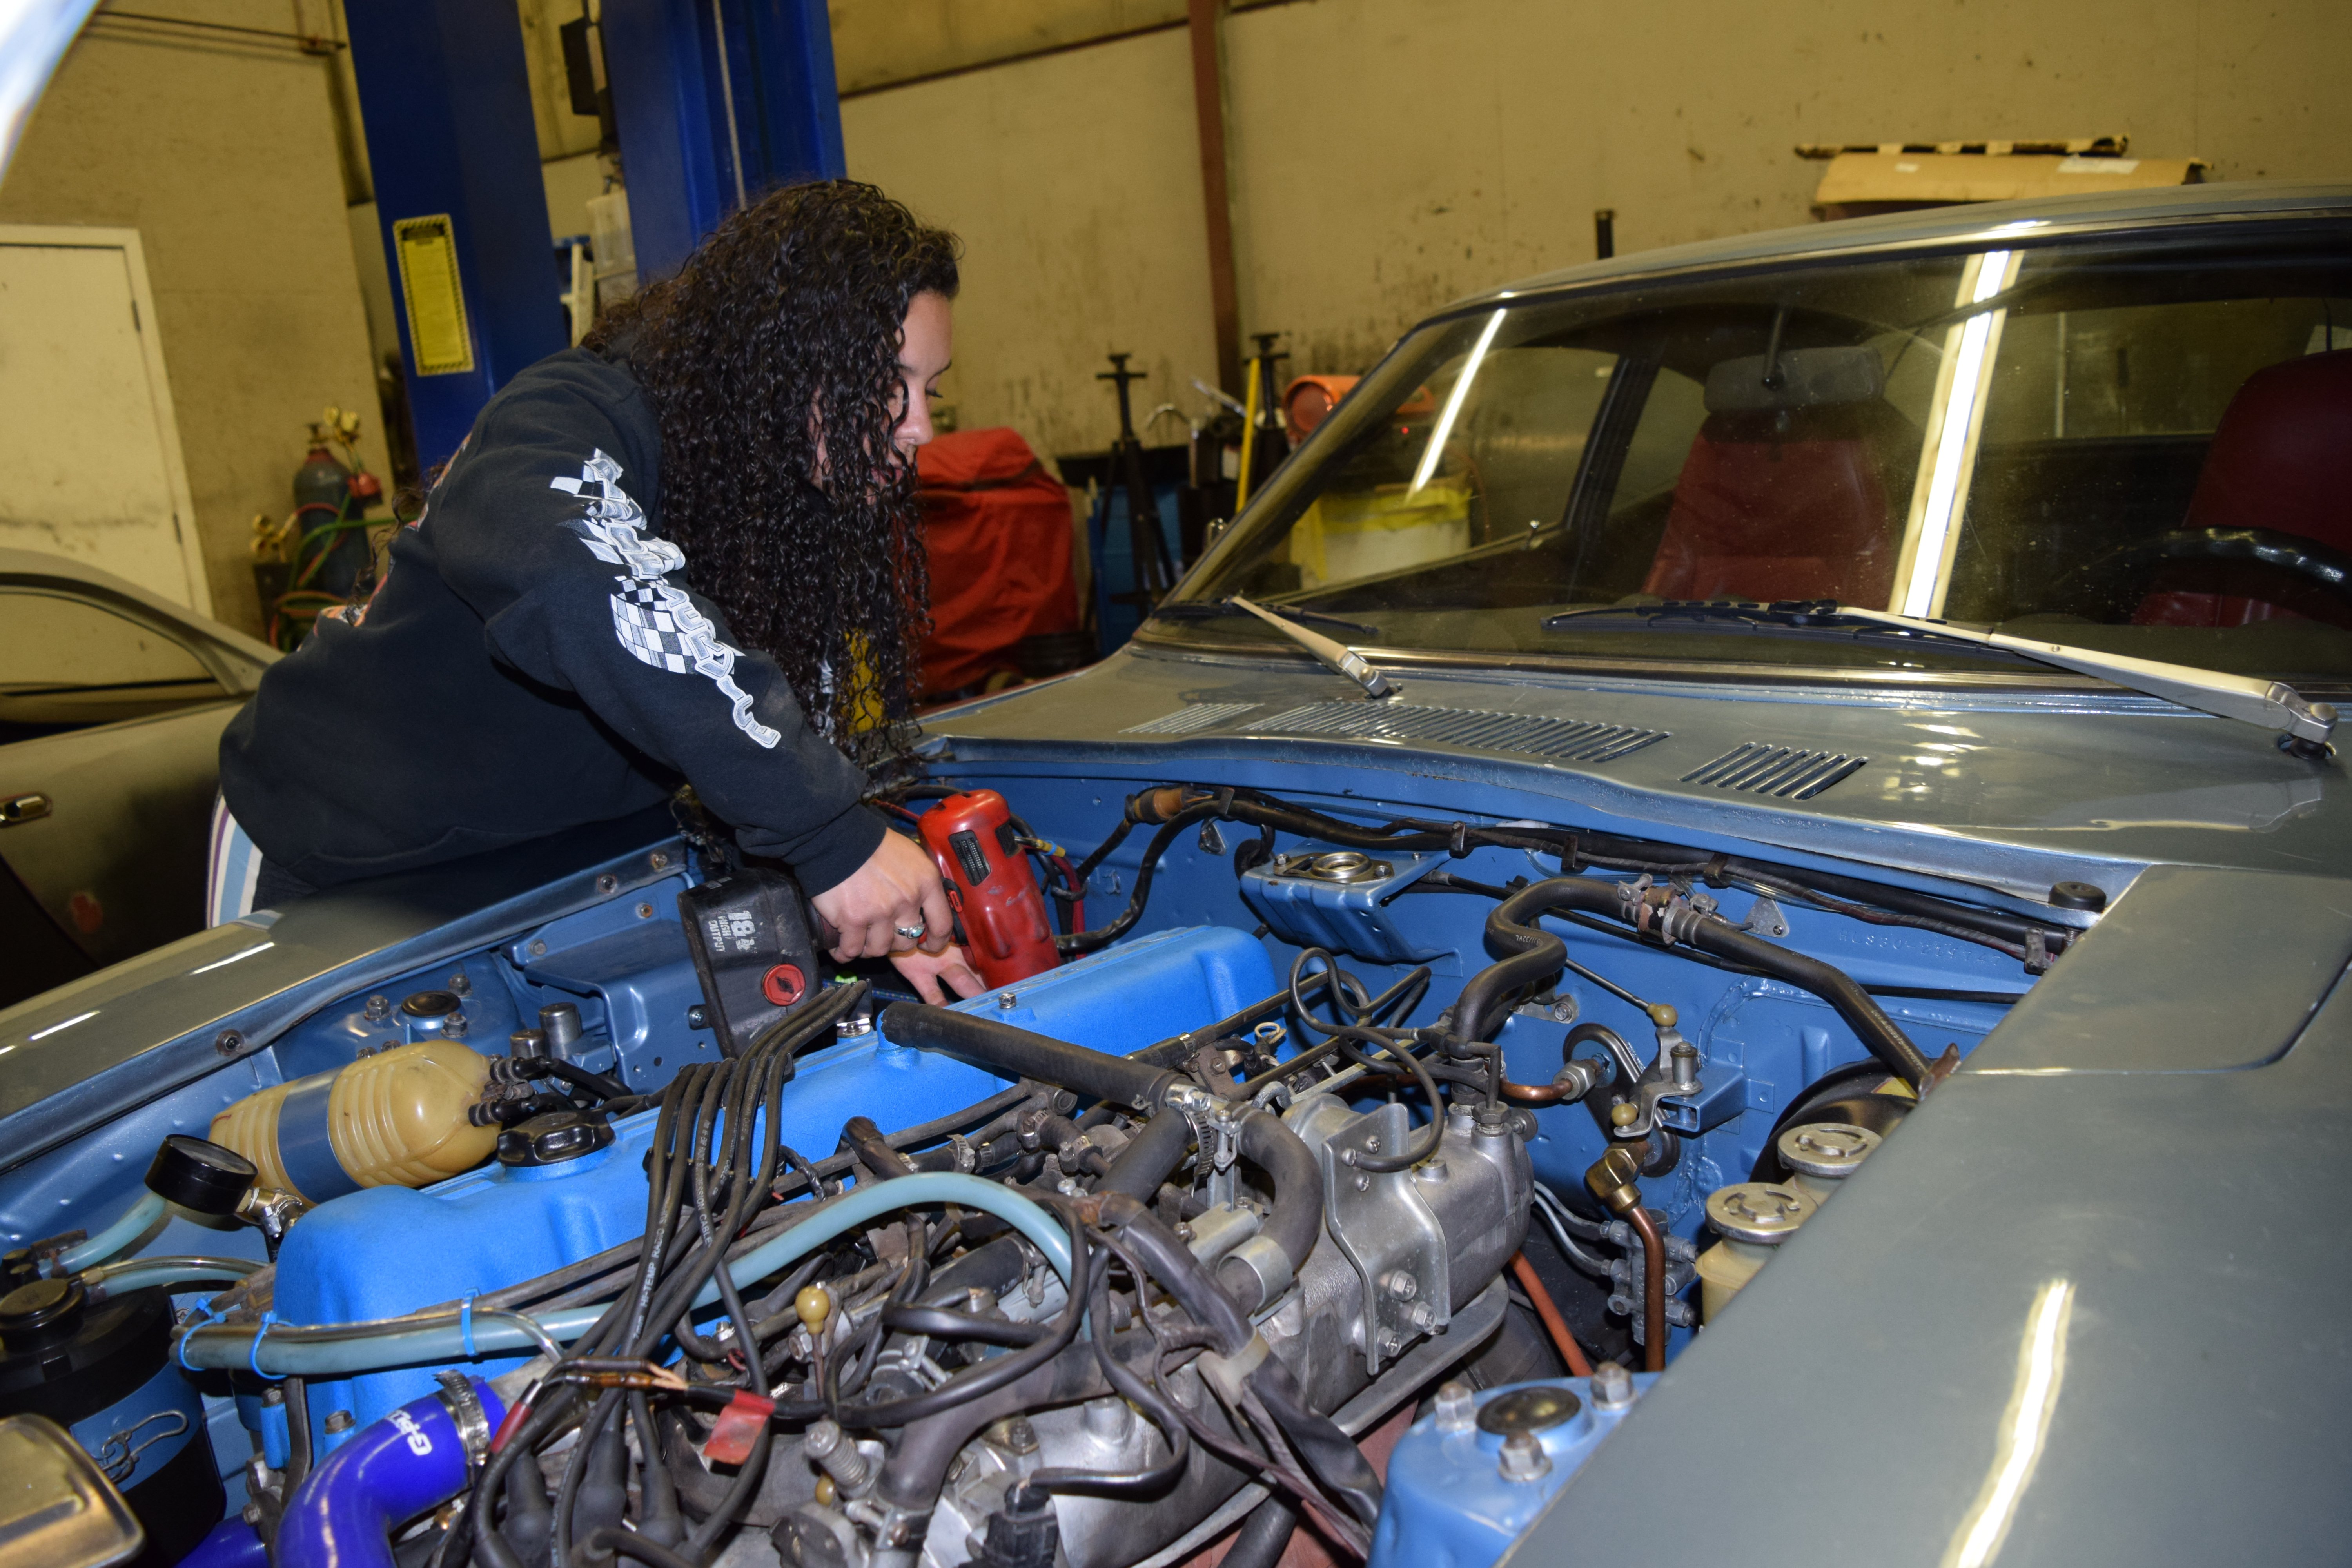
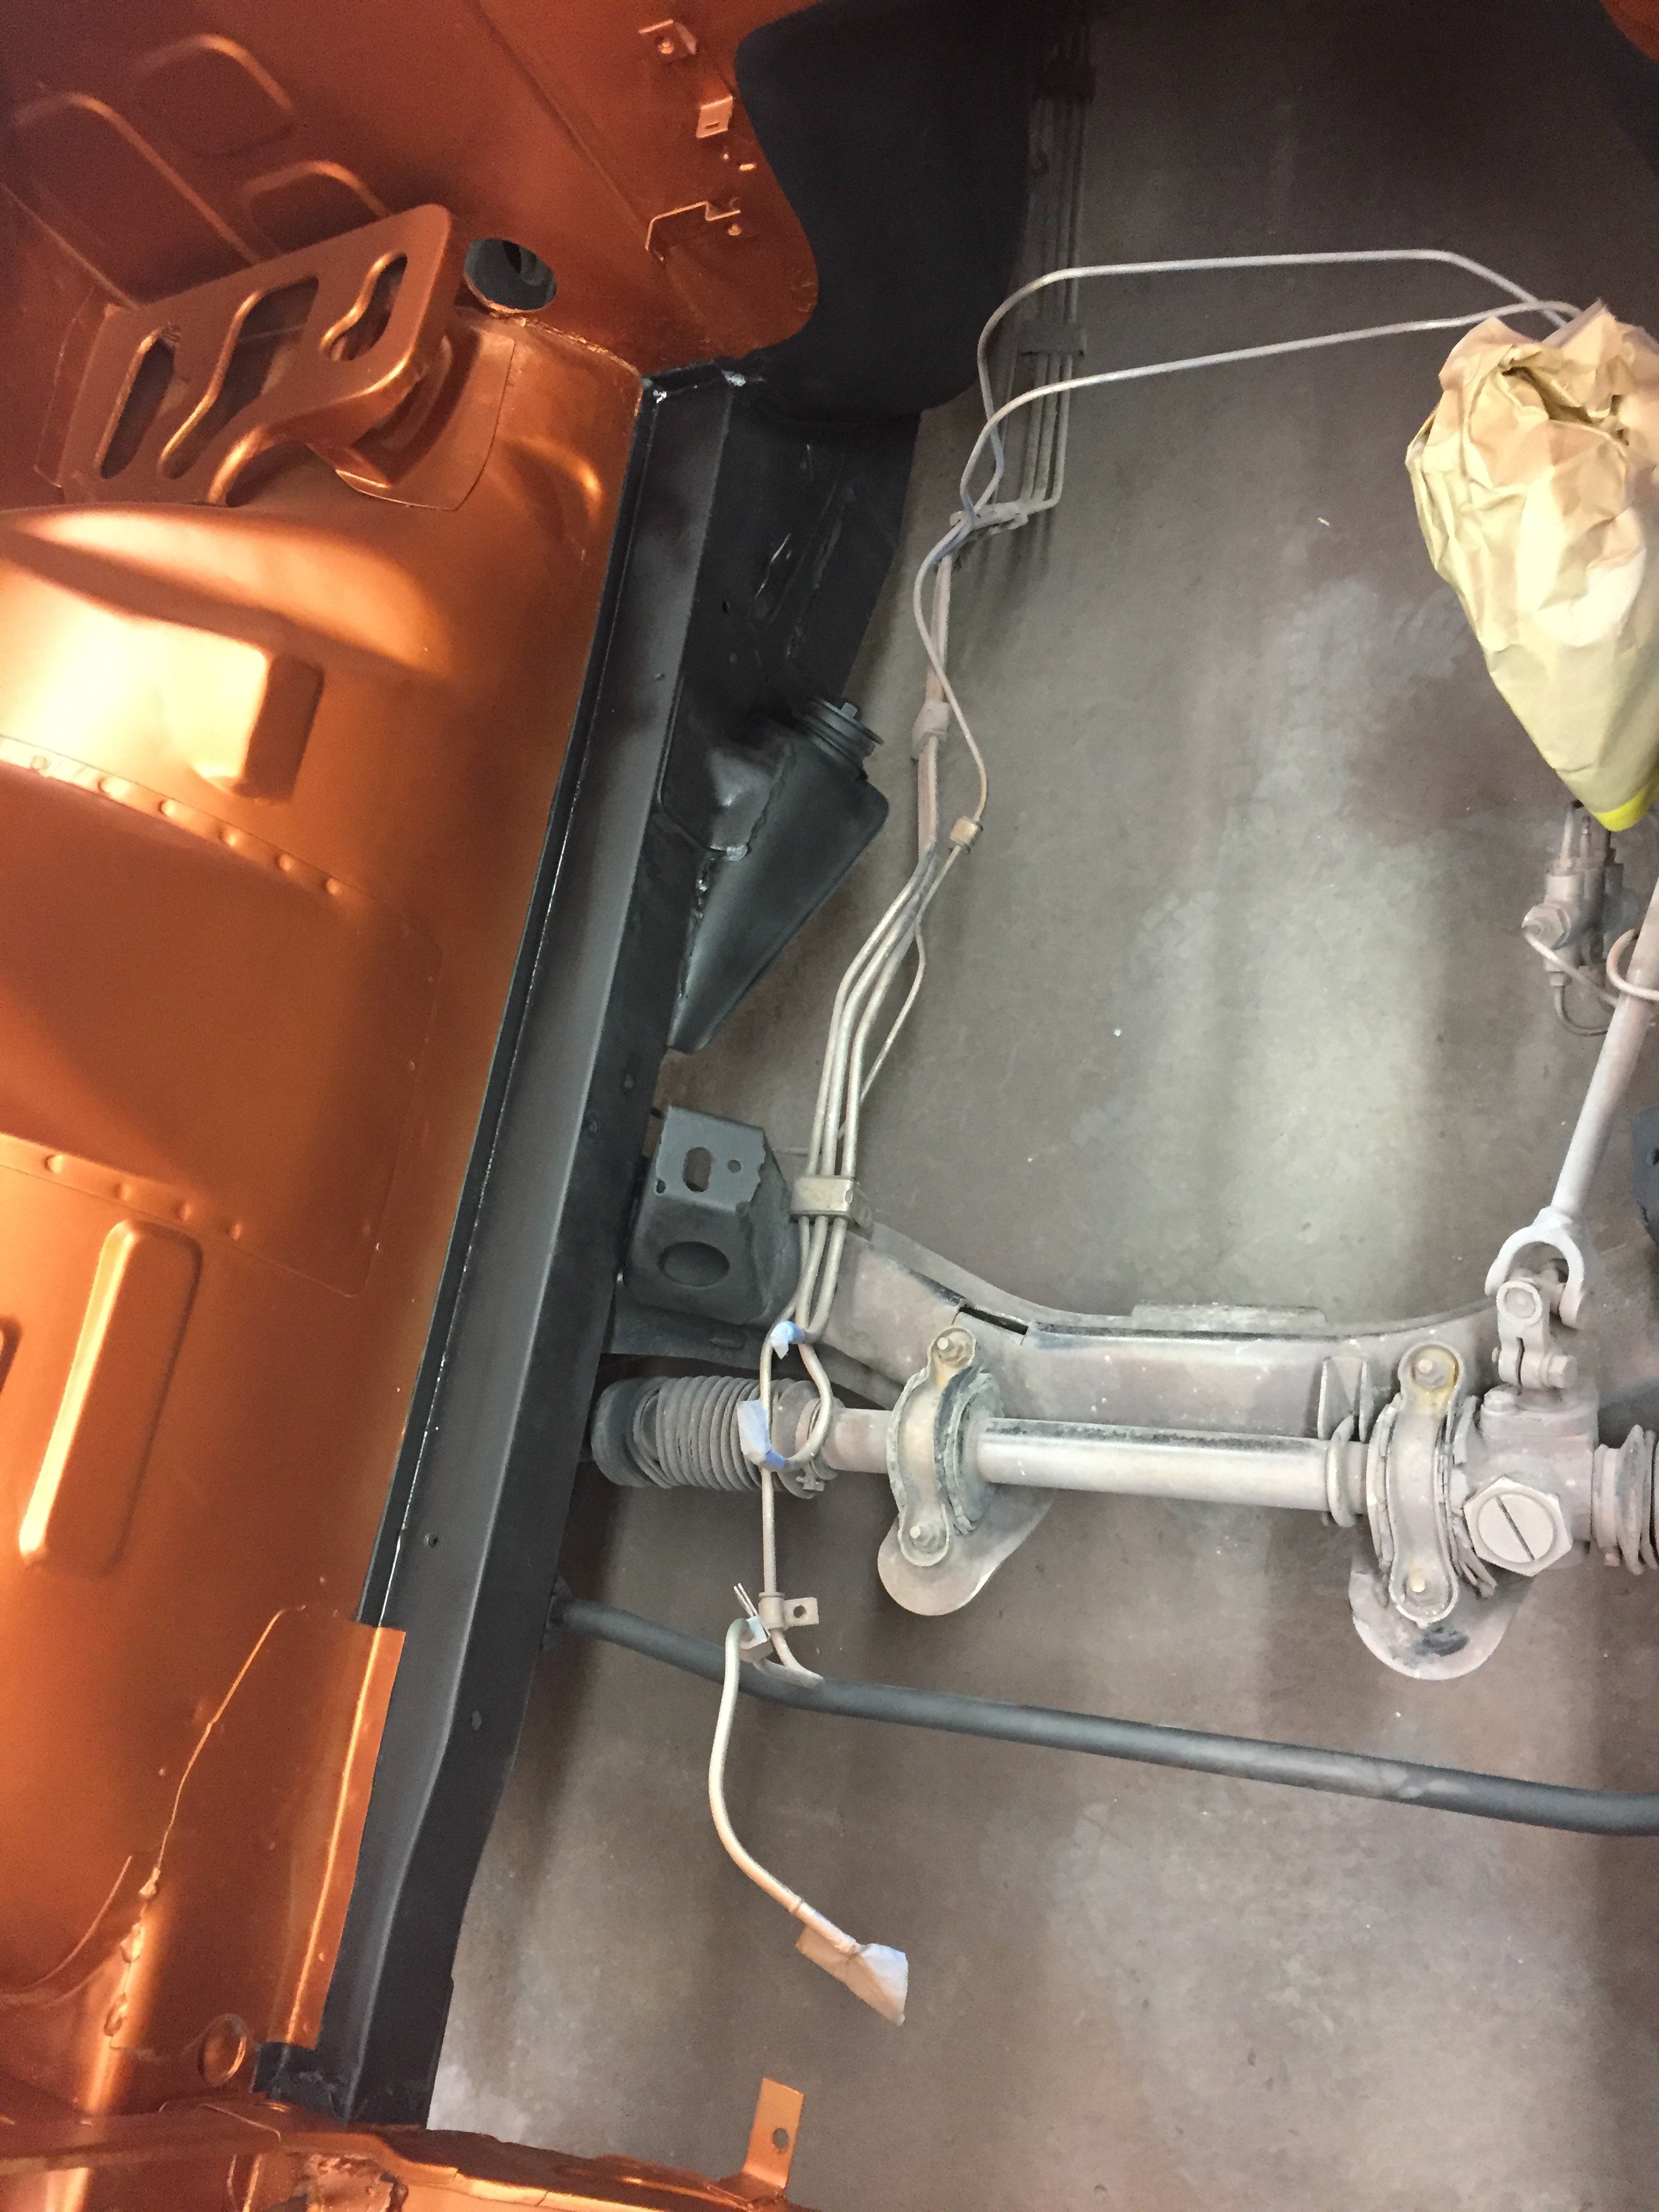
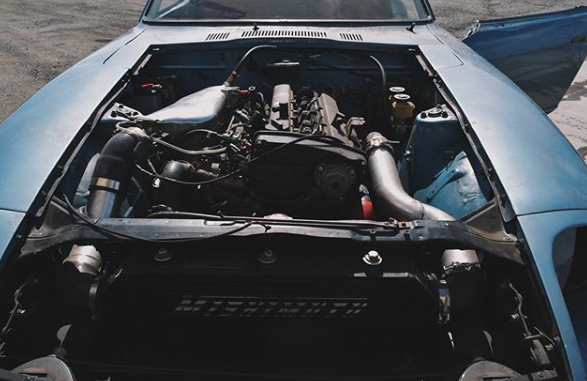
A little background info: car was stock when I bought it from NC, with 80k on engine frame rails replaced undercoating redone floor pans replaced tub scraped, repainted, dynamat l28e replaced with rb20det rb20det with new intake manifold, exhaust manifold (soon to be replaced turbo, injectors, coils) custom exhaust I'm in the process of putting the engine back together and then it is getting dropped back in. Then will put in some coil overs, even though bags would be INSANE on this car. Then tires, wheels, some small other changes, as well as putting in a nice interior. I'm hoping this car will be up and running for Spring time!! I can't wait to rip my baby around(:
-
Hi Guys! I just wanted to show off my new body kit and paint job and hear what you guys think! As well, if you have any tire and wheel suggestions I would love to hear them, along with any other comments you may have. Thanks for checking out my baby! -Julia
-
Wide body build thread! Fiberglass Mafia kit MOLDED
juliarosario replied to juliarosario's topic in Body Kits & Paint
Hey guys! It's been a while but I just wanted to upload some pictures of the finished paint job. It's all nice and shiny! All it needs now is a wet sand and buff and it's all mine to pick up. The glass is getting put in in a couple days so I'll post some more pictures when I get them!
-
Wide body build thread! Fiberglass Mafia kit MOLDED
juliarosario replied to juliarosario's topic in Body Kits & Paint
Ohhhh yeah, hahahaha I will be scared to even sit back inside lol! -
Wide body build thread! Fiberglass Mafia kit MOLDED
juliarosario replied to juliarosario's topic in Body Kits & Paint
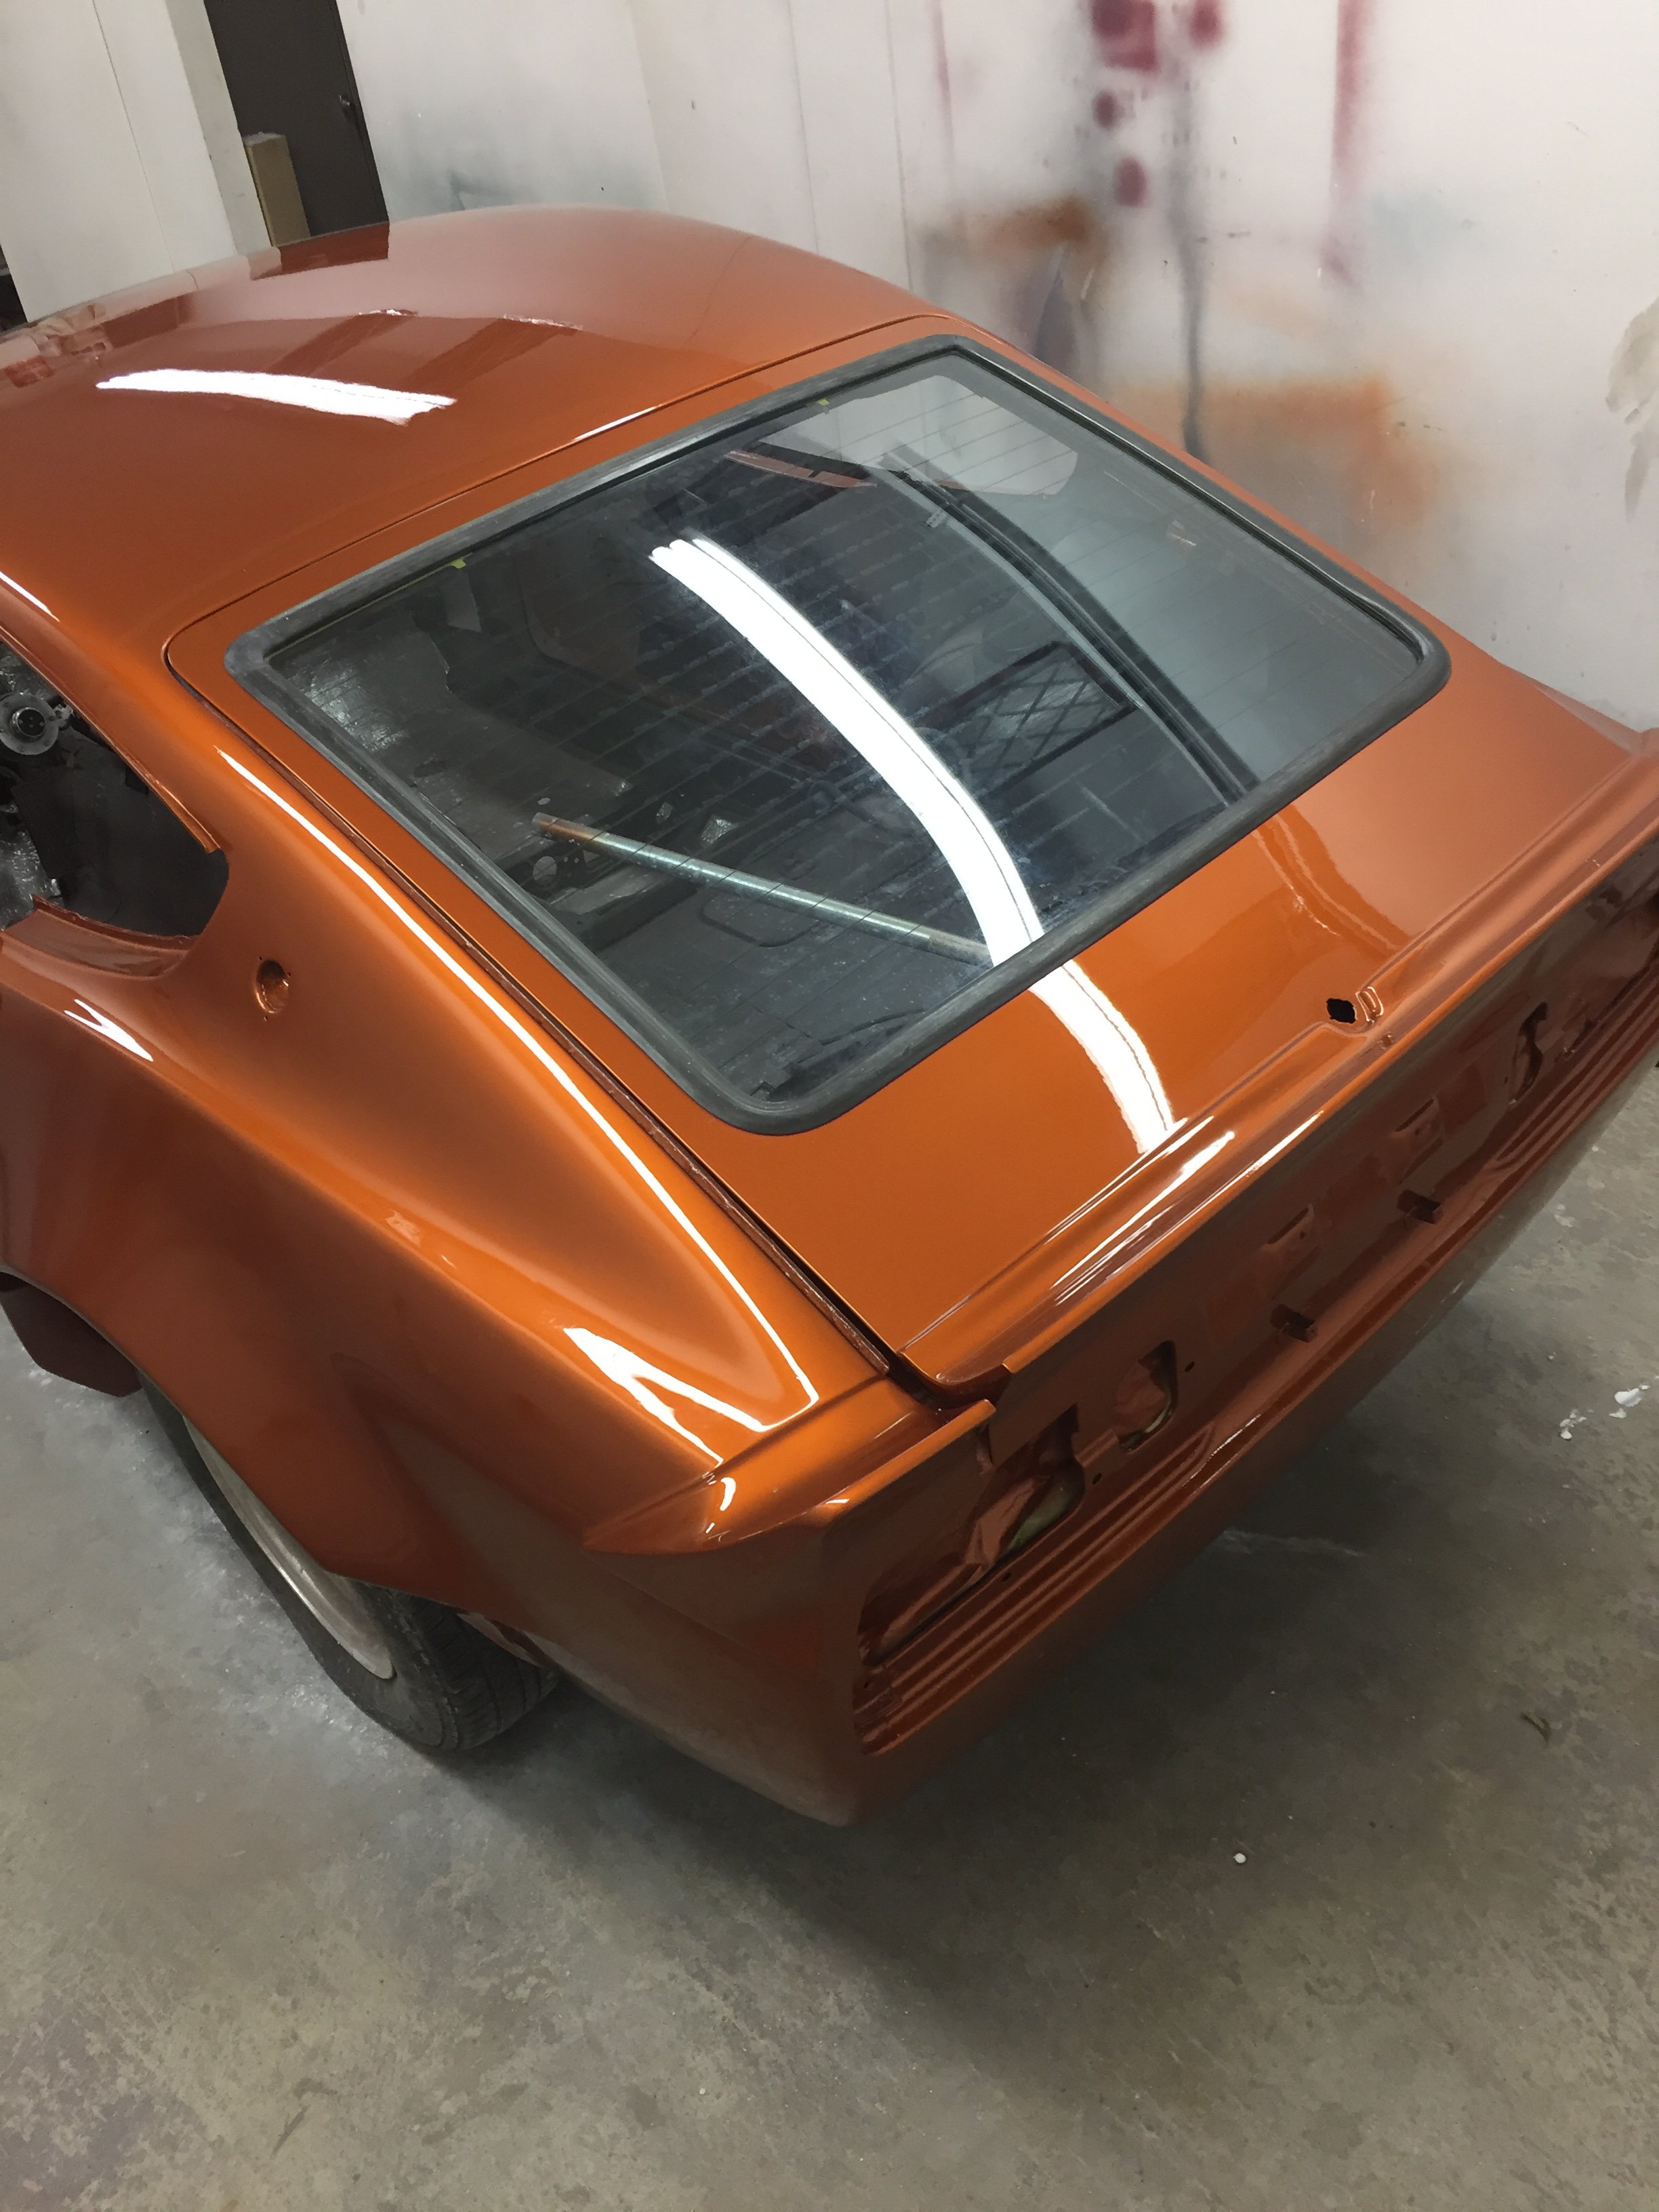
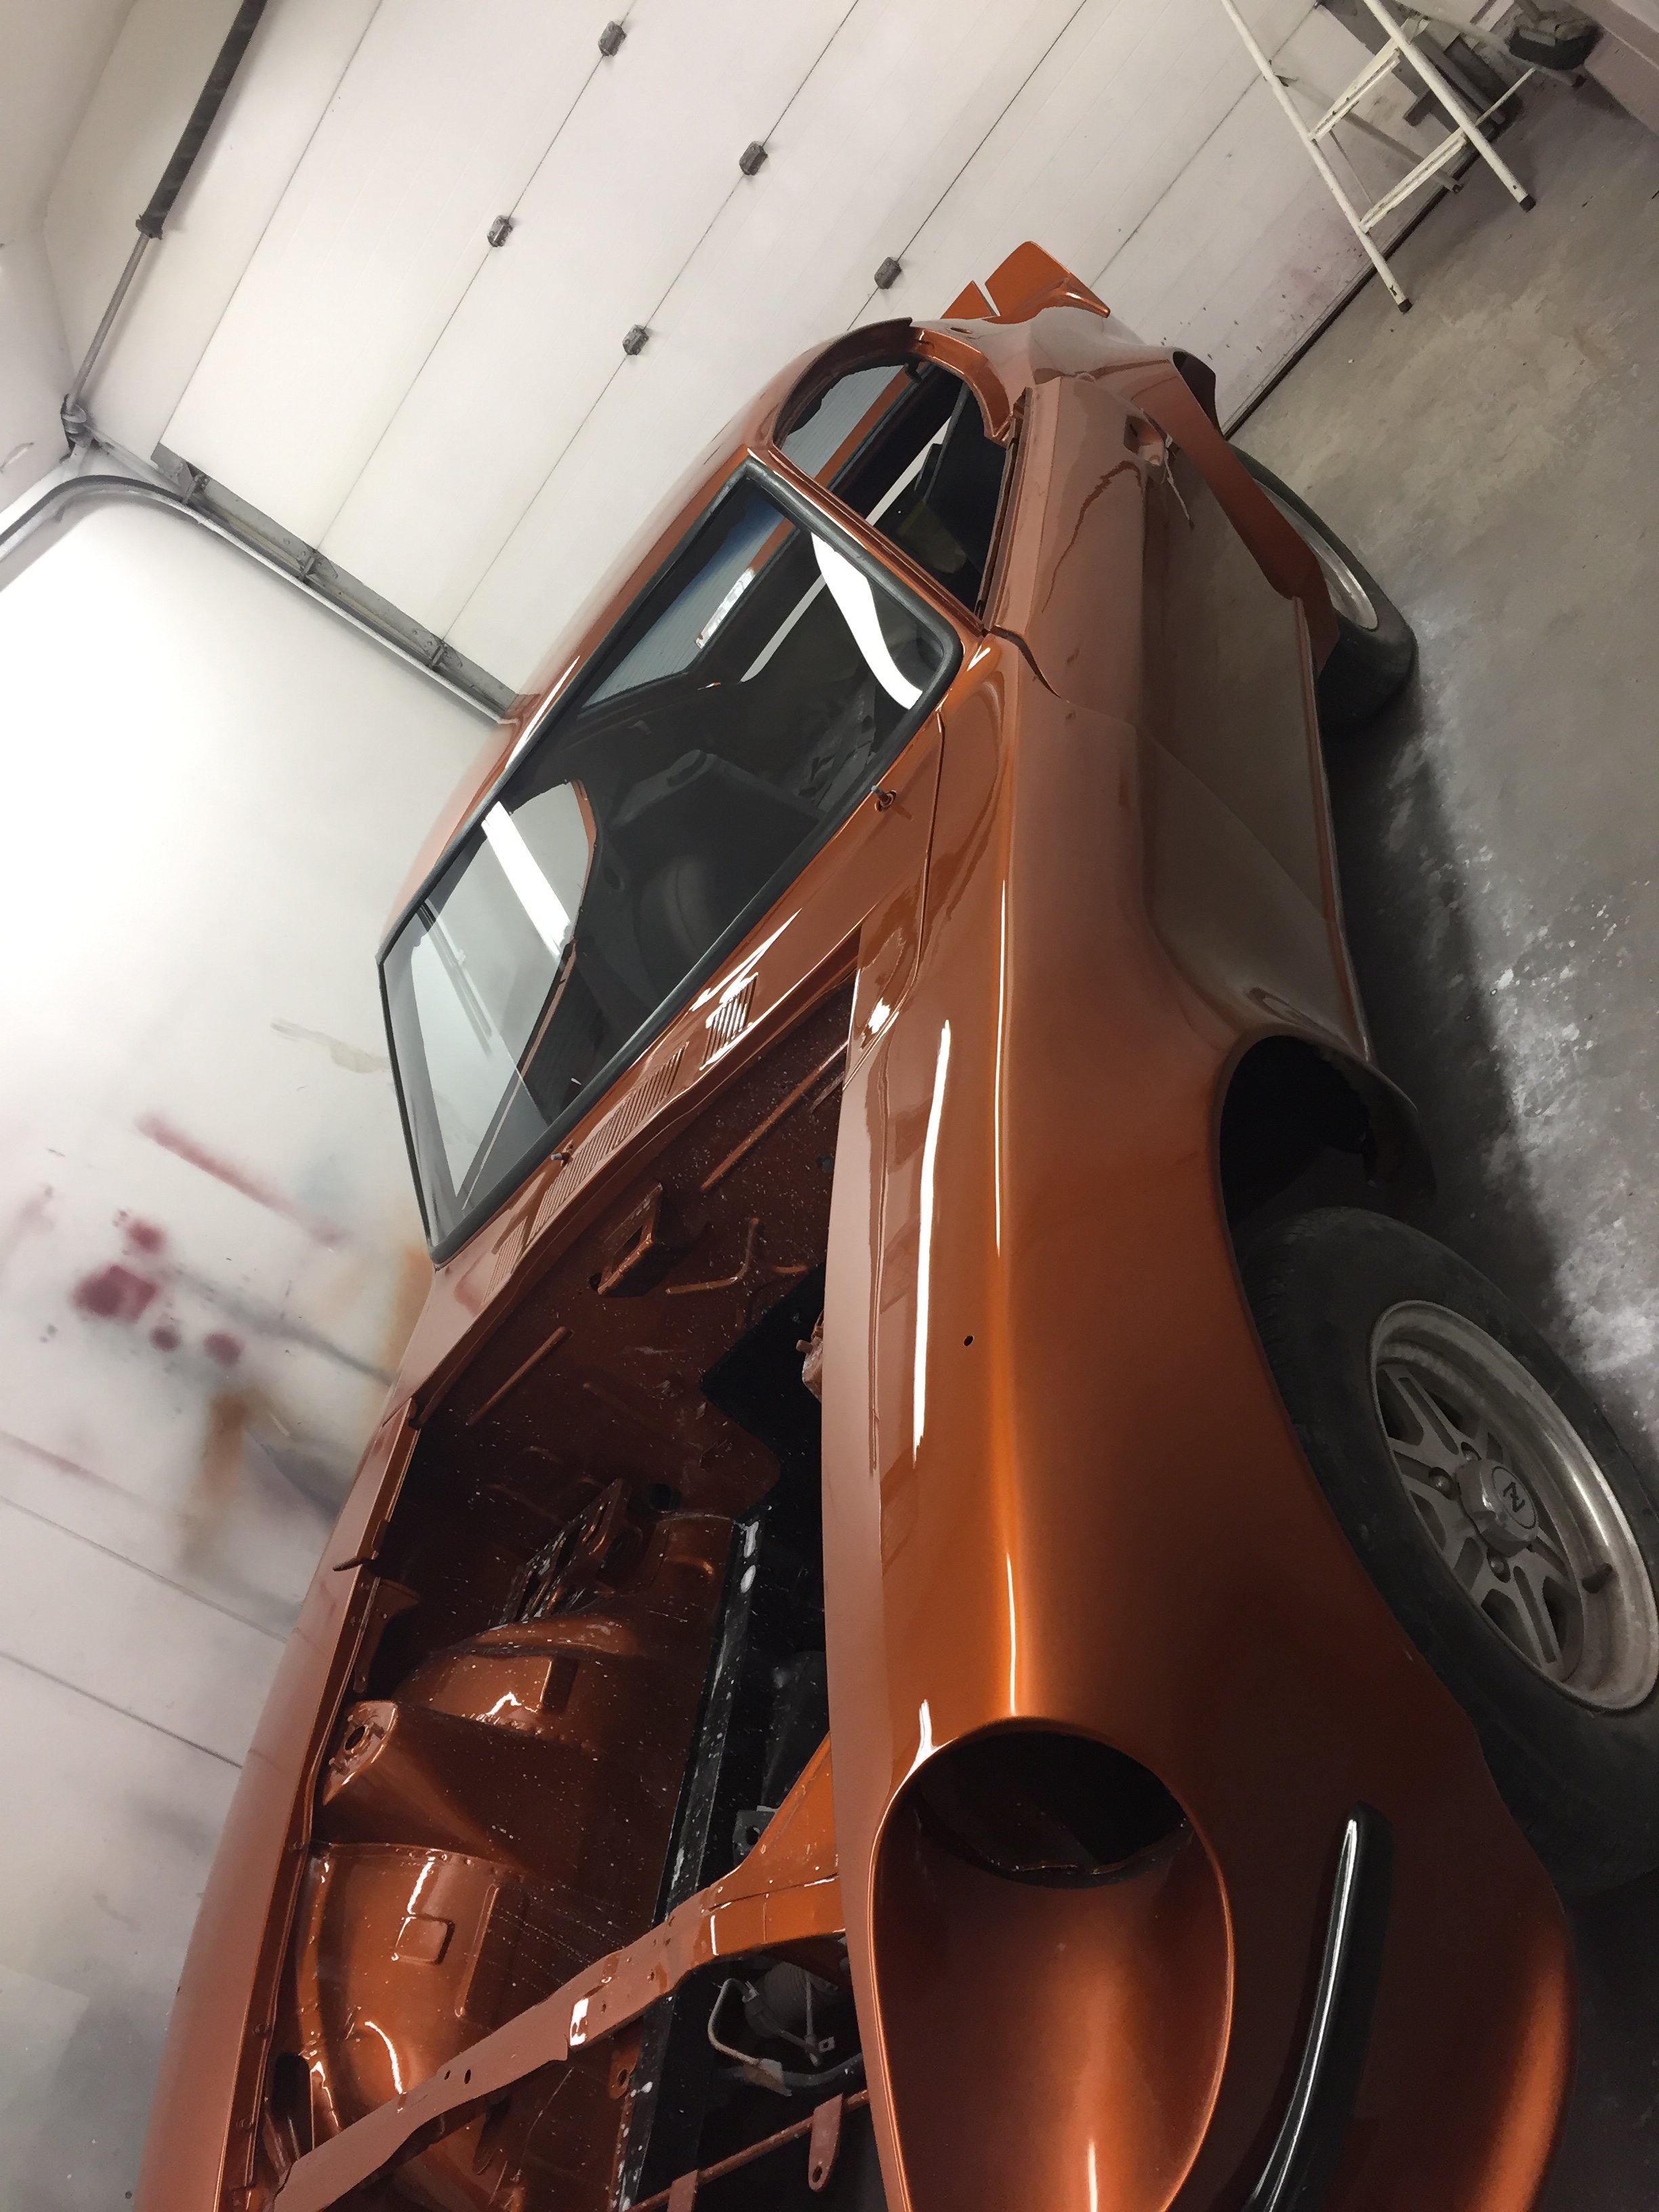
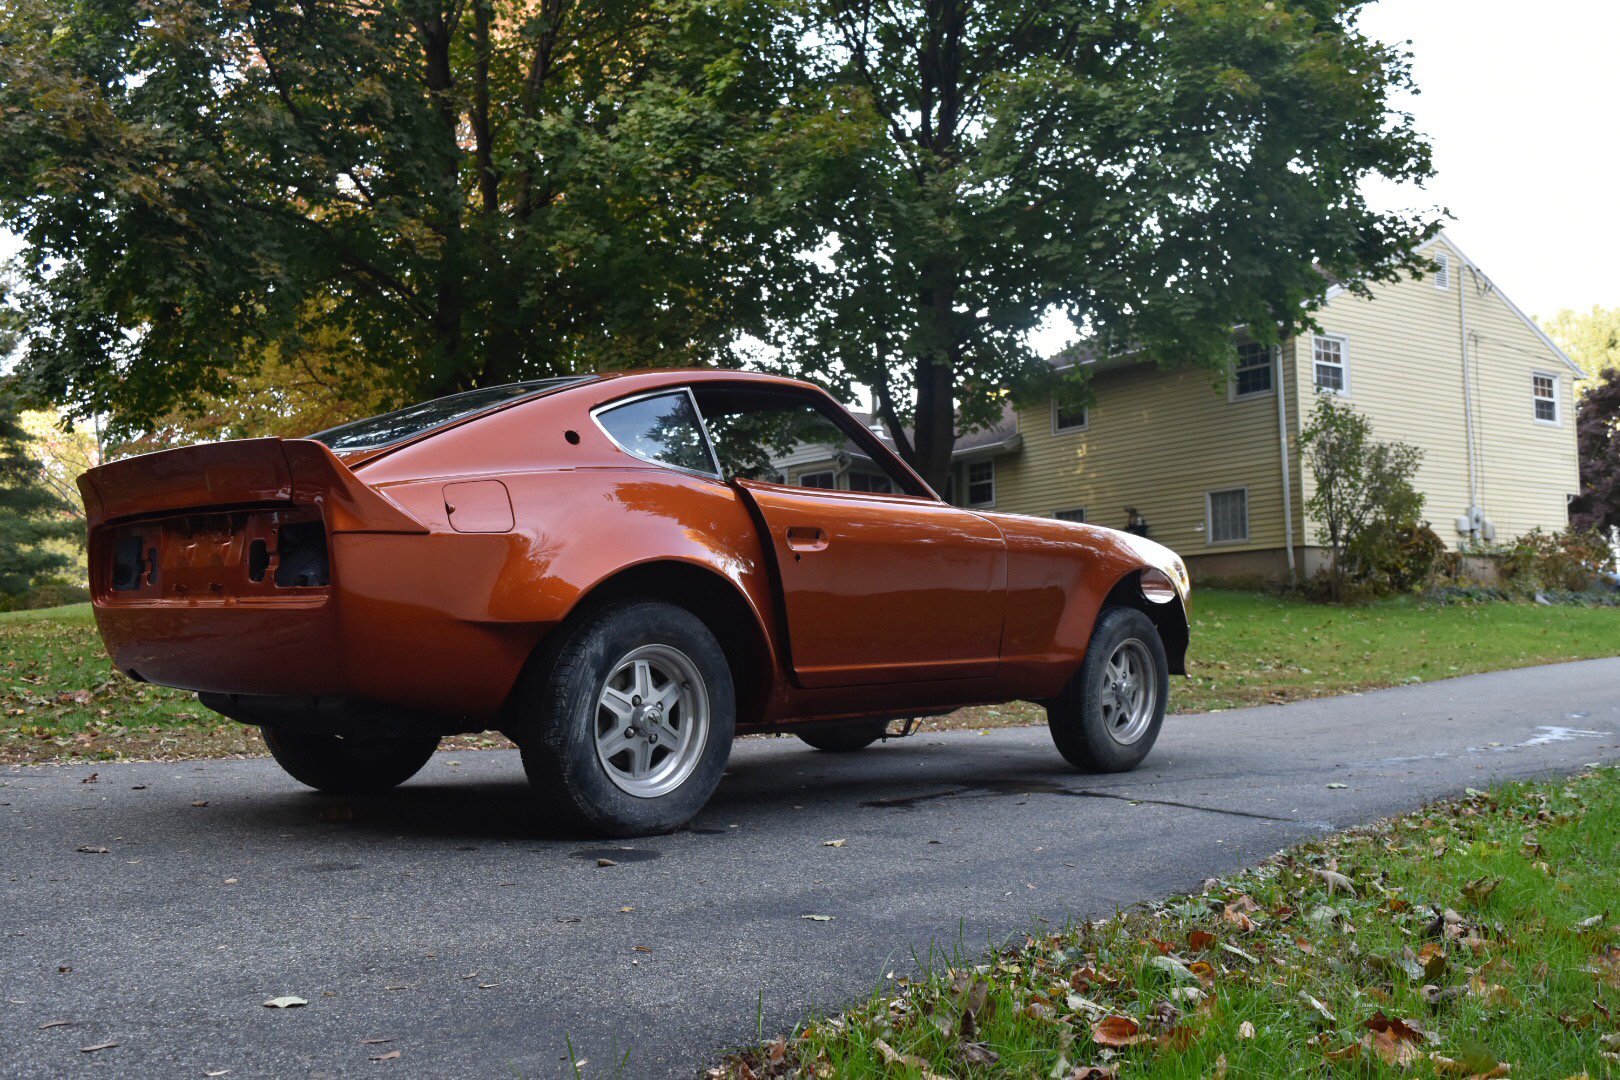
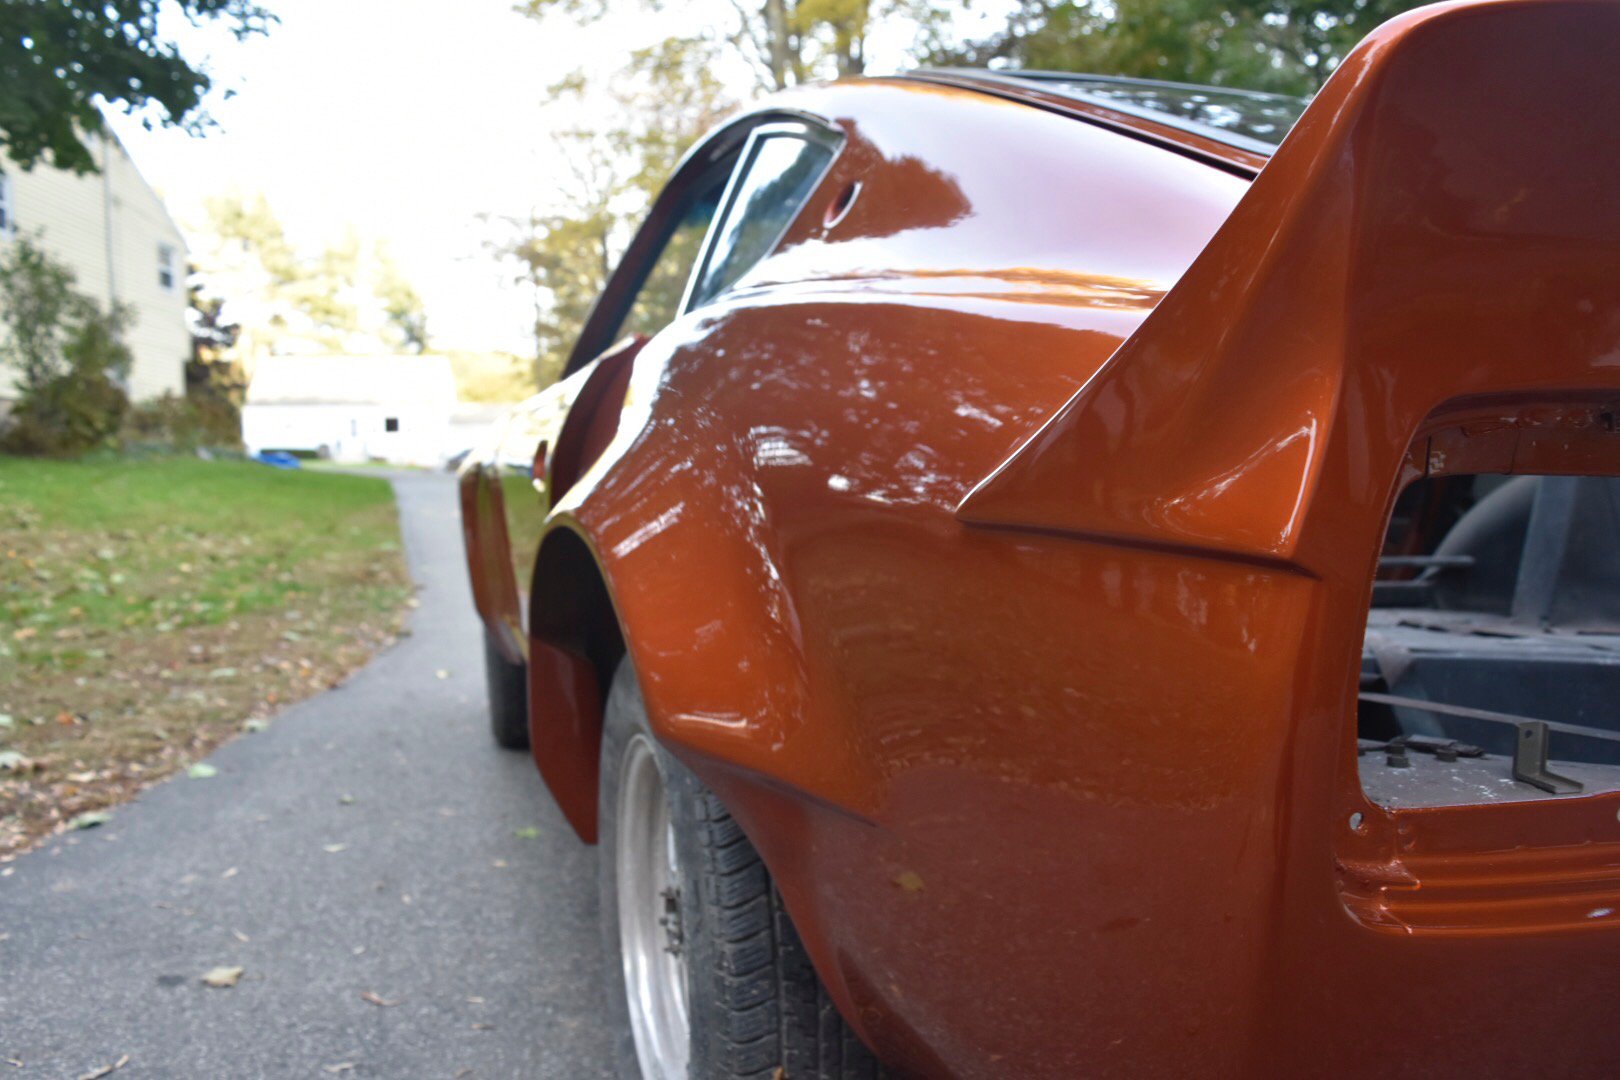
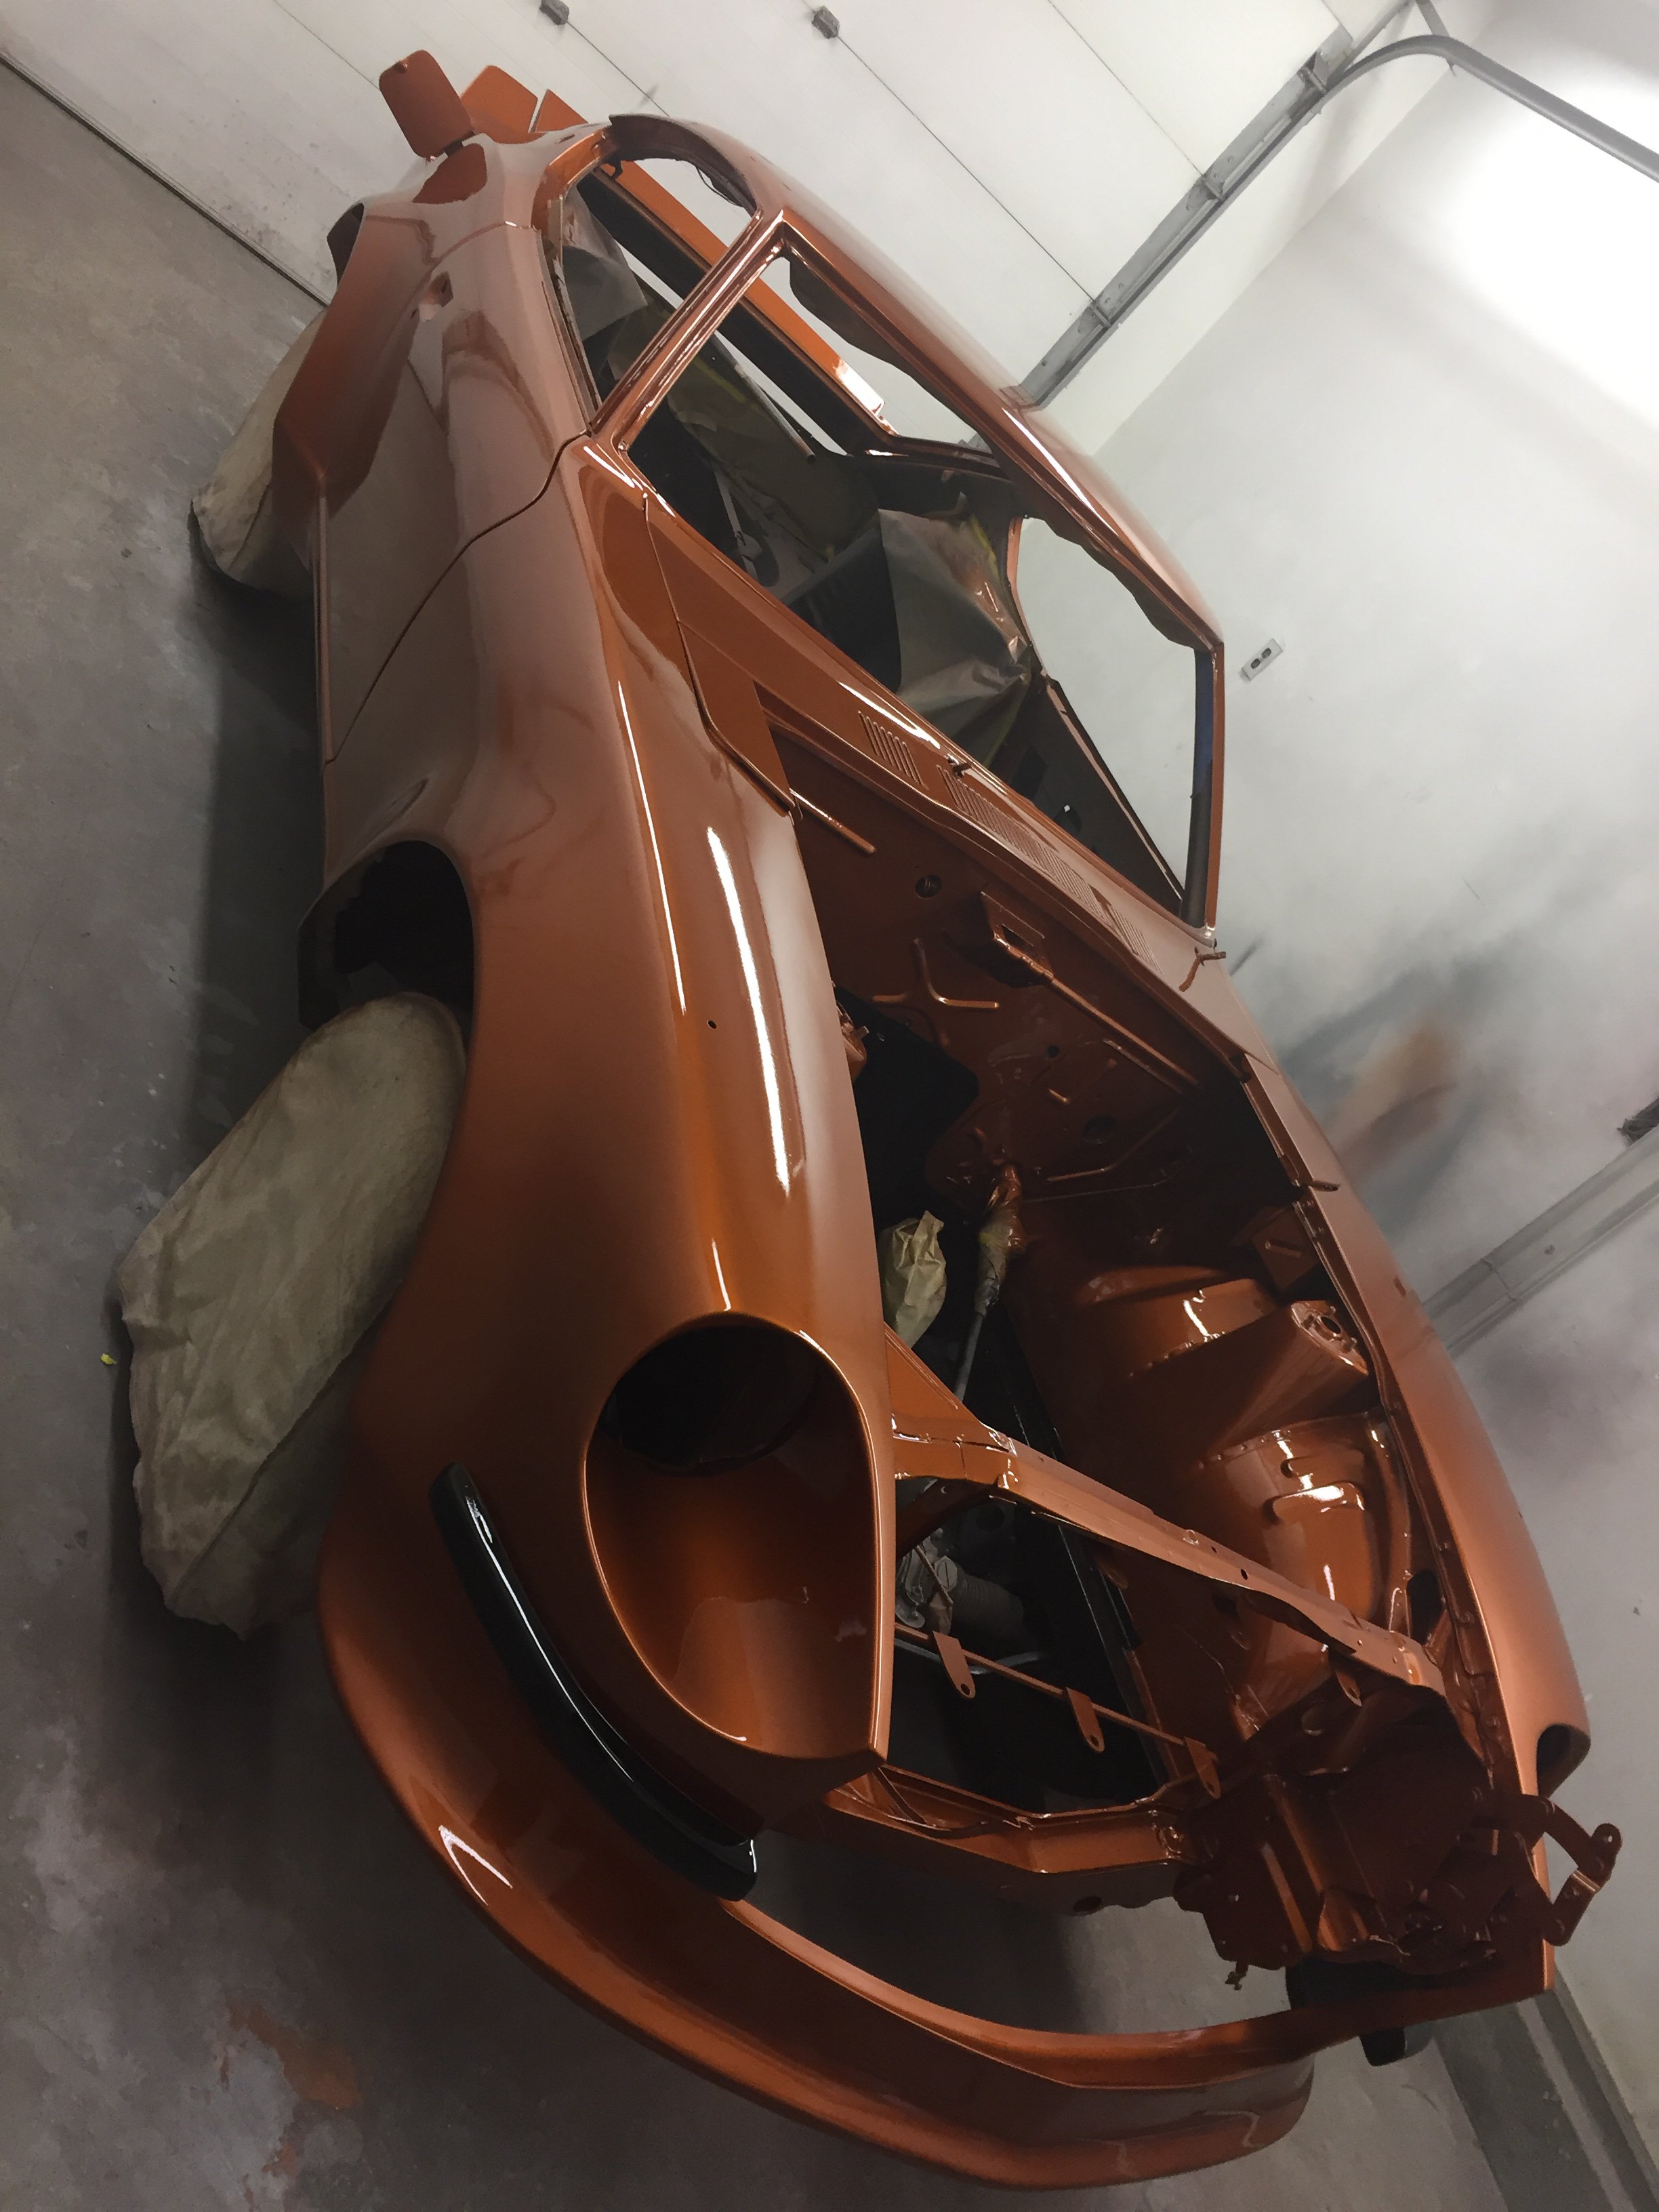
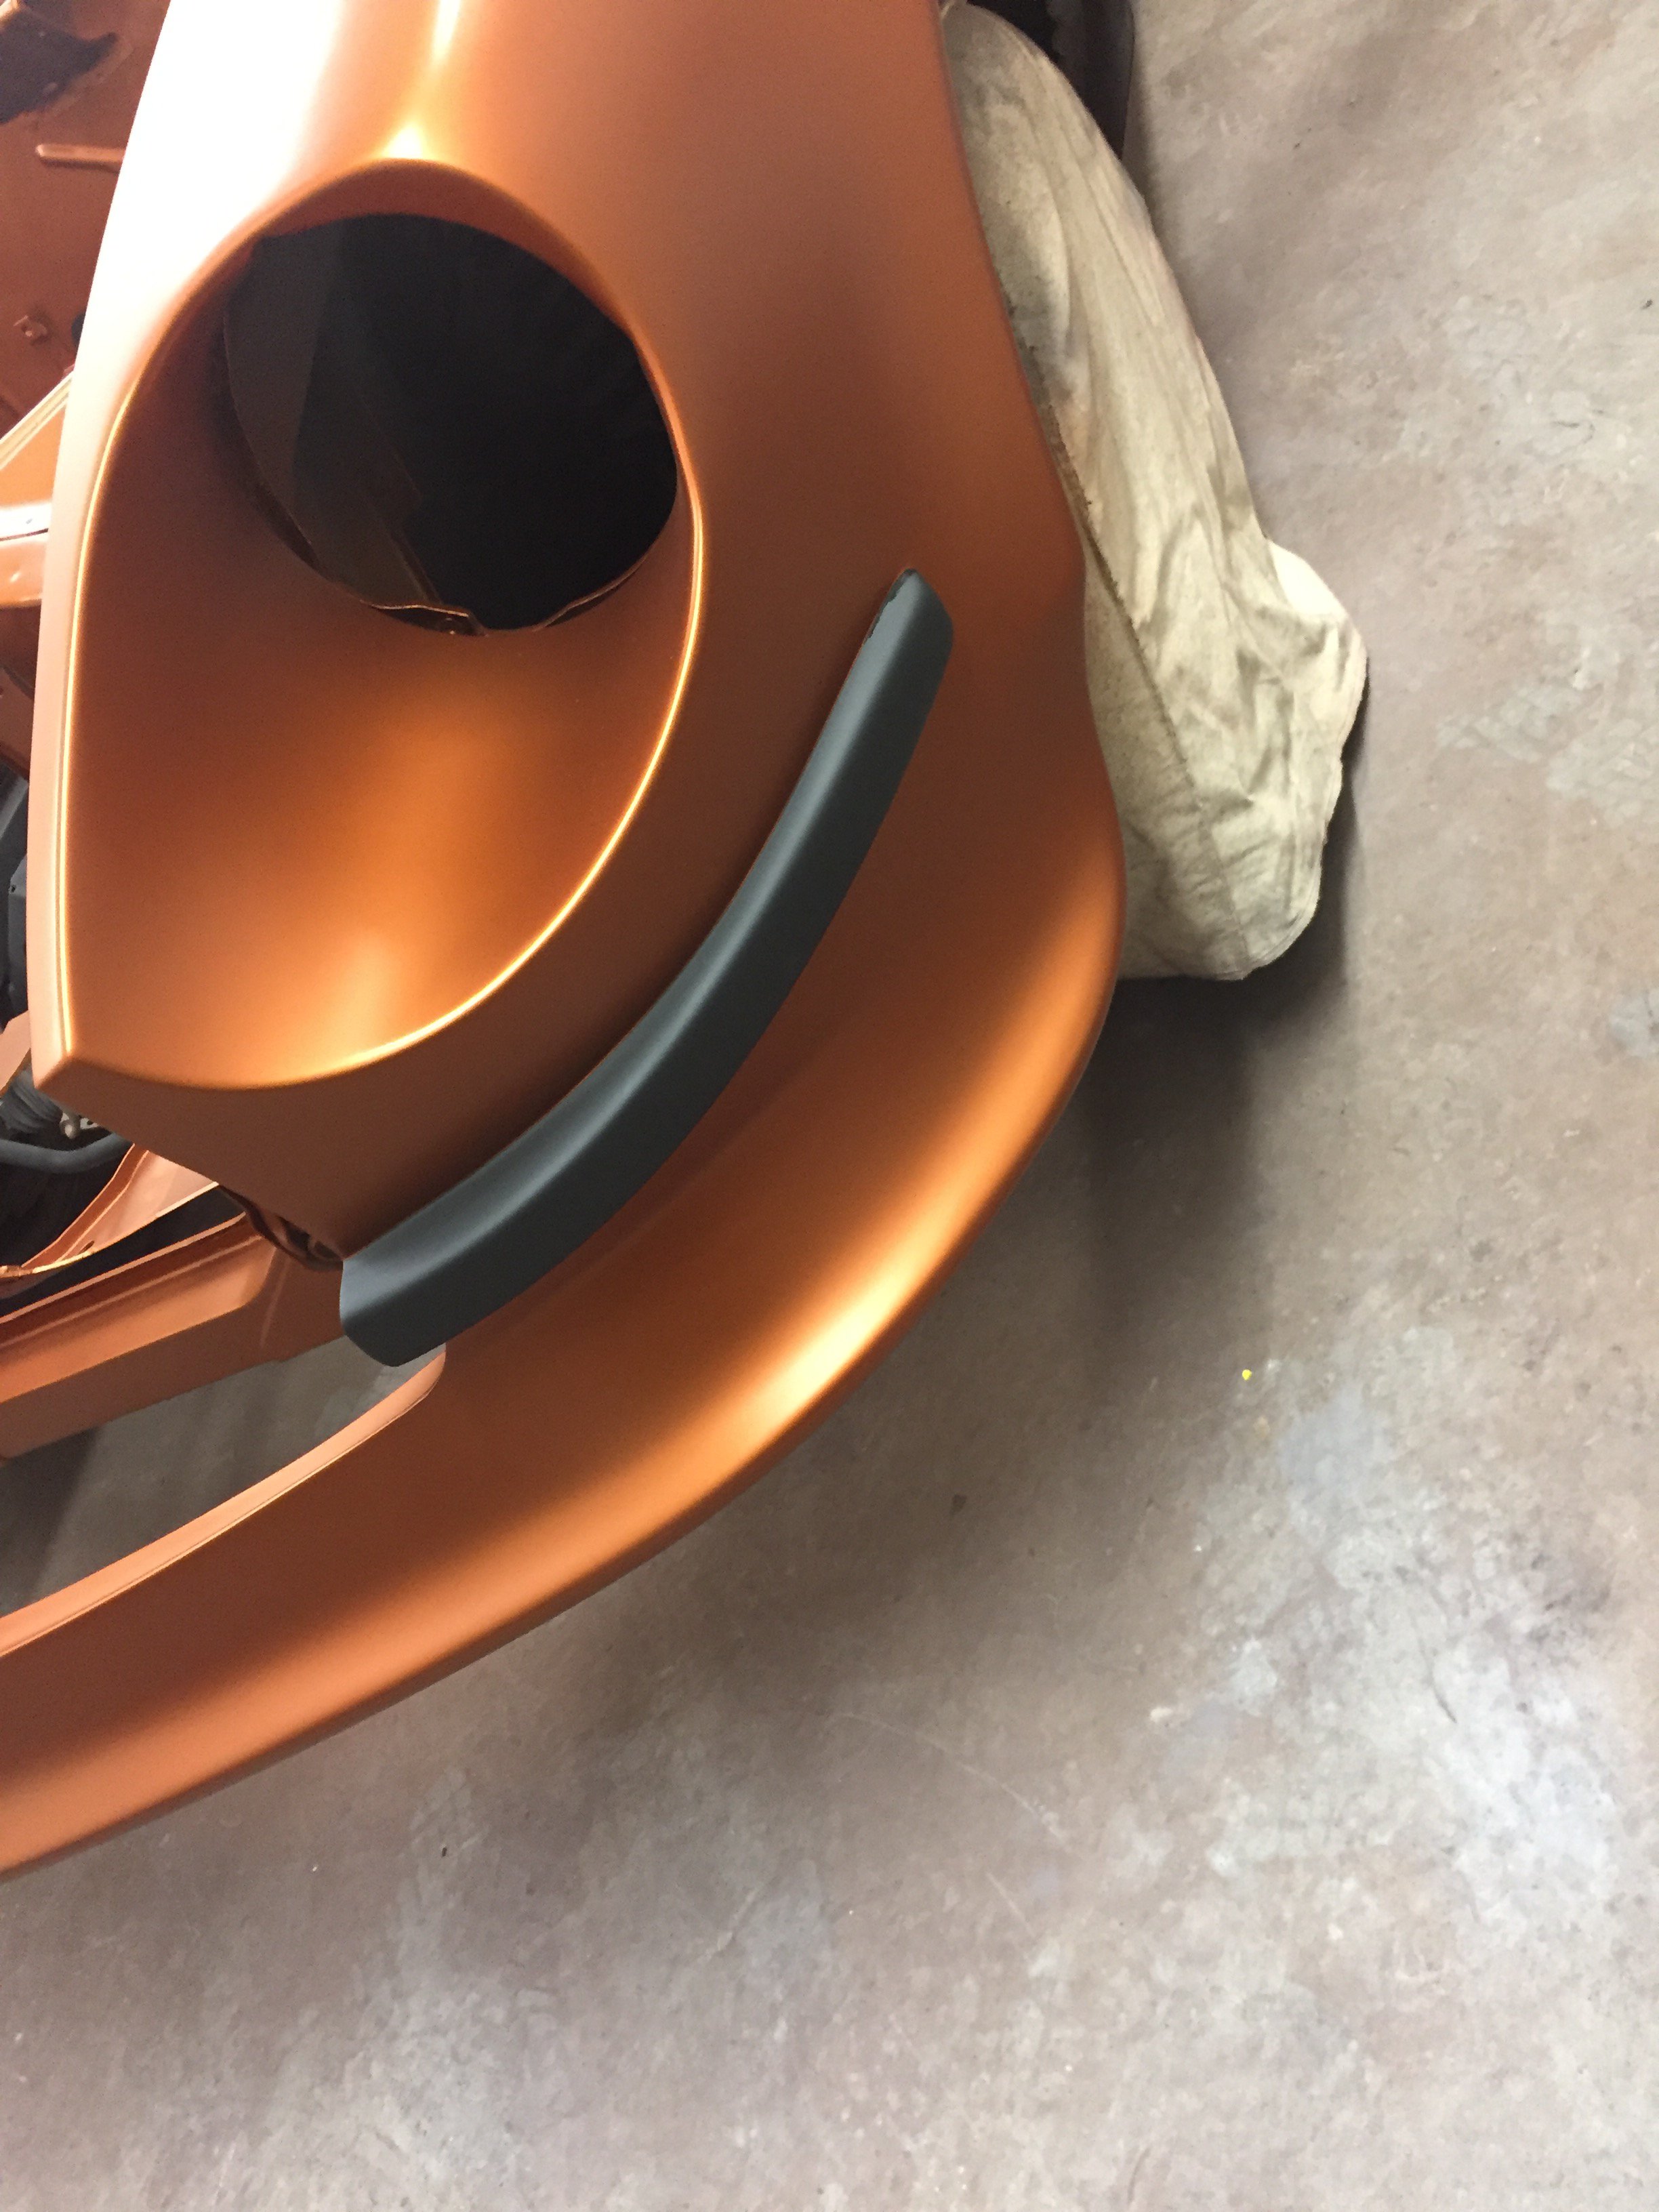
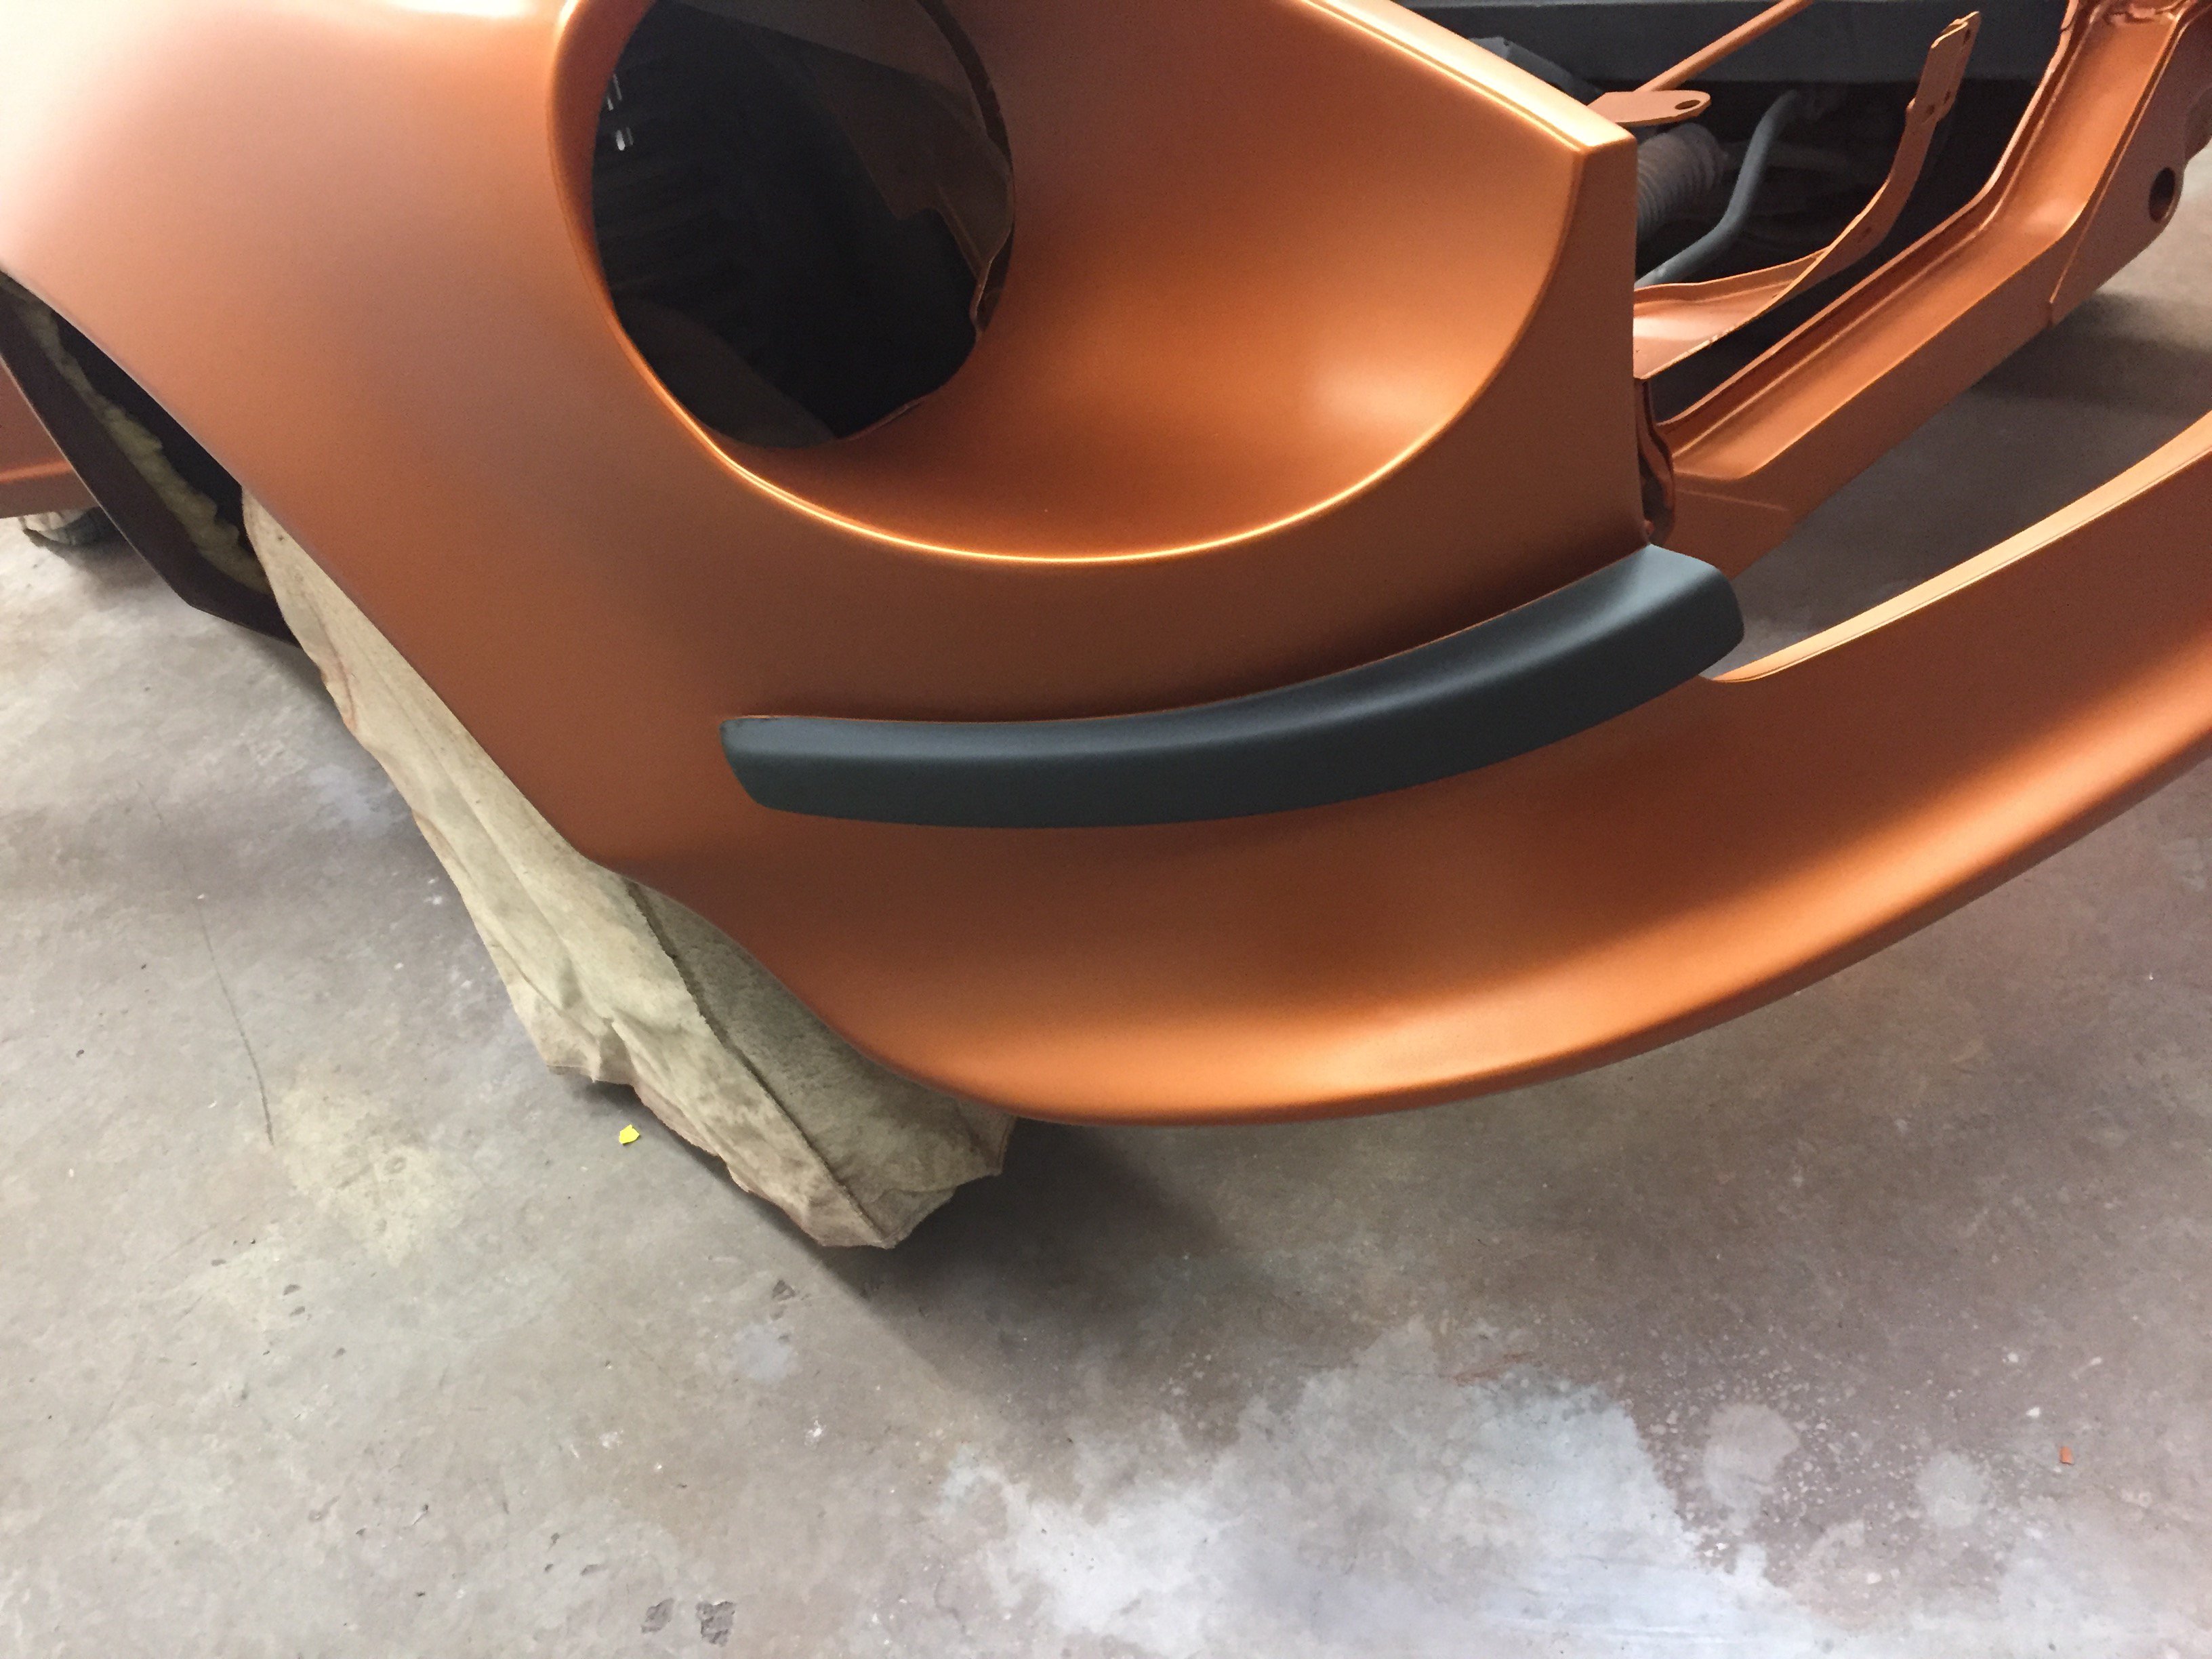
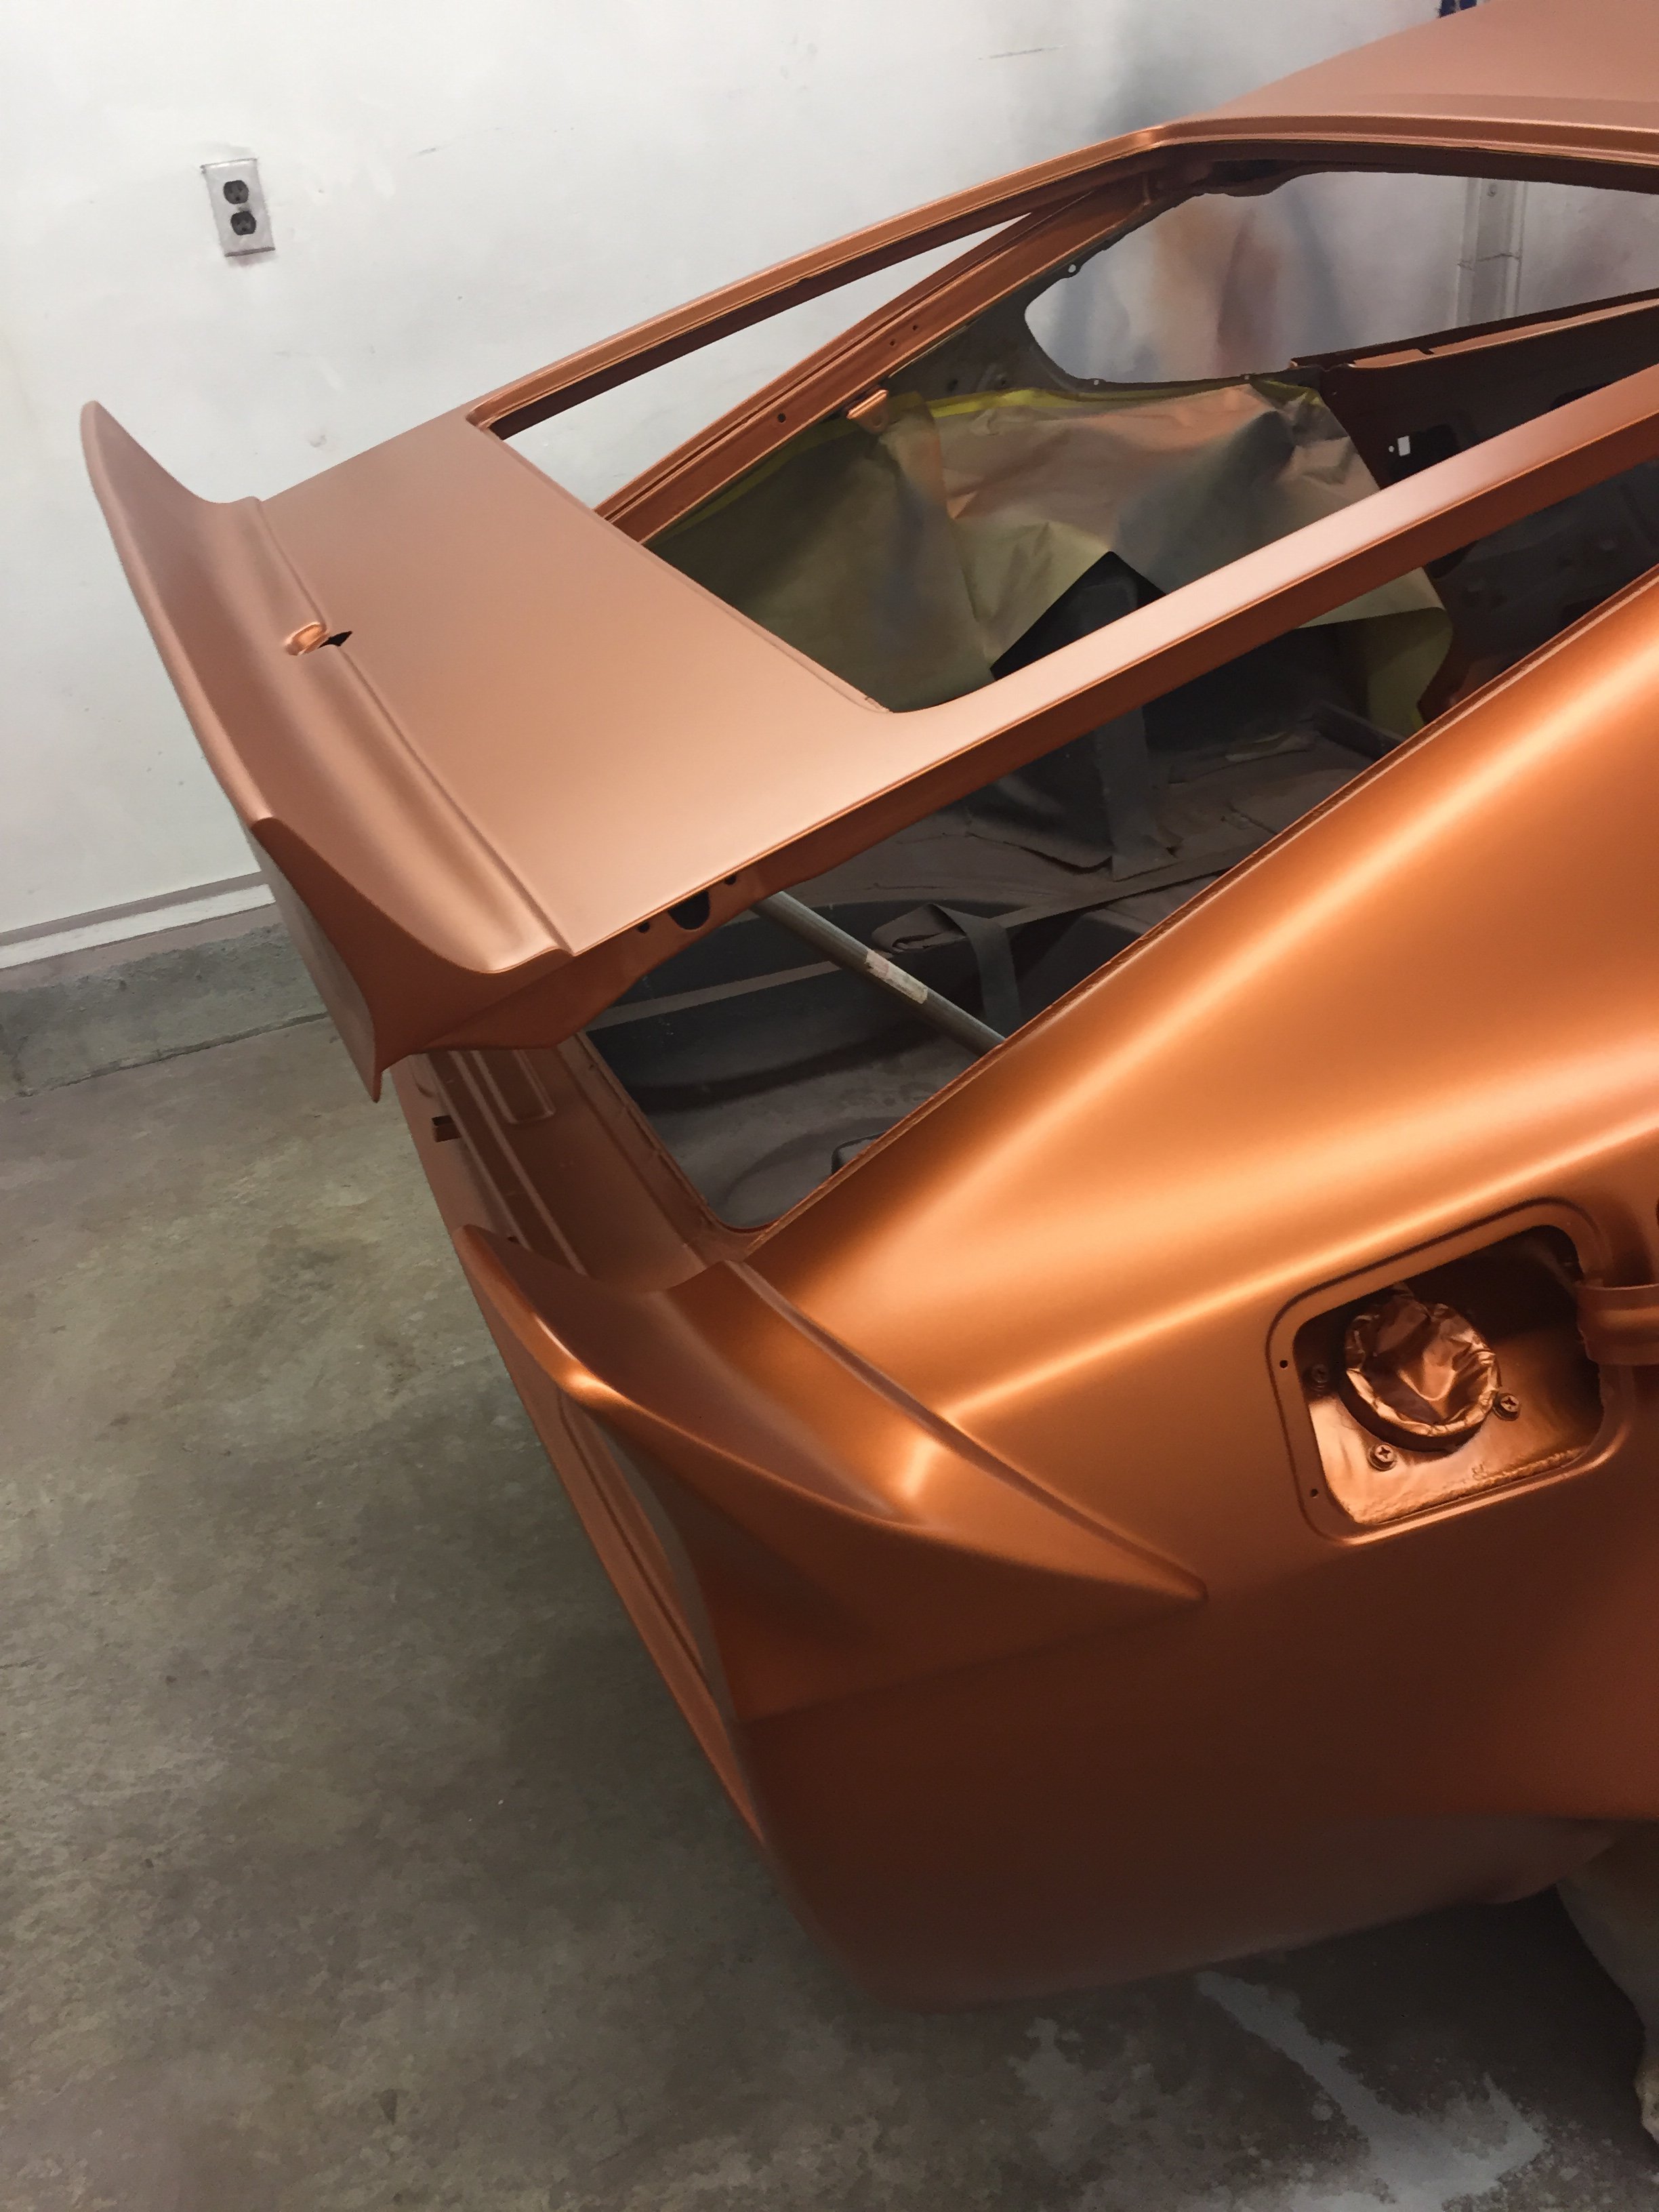
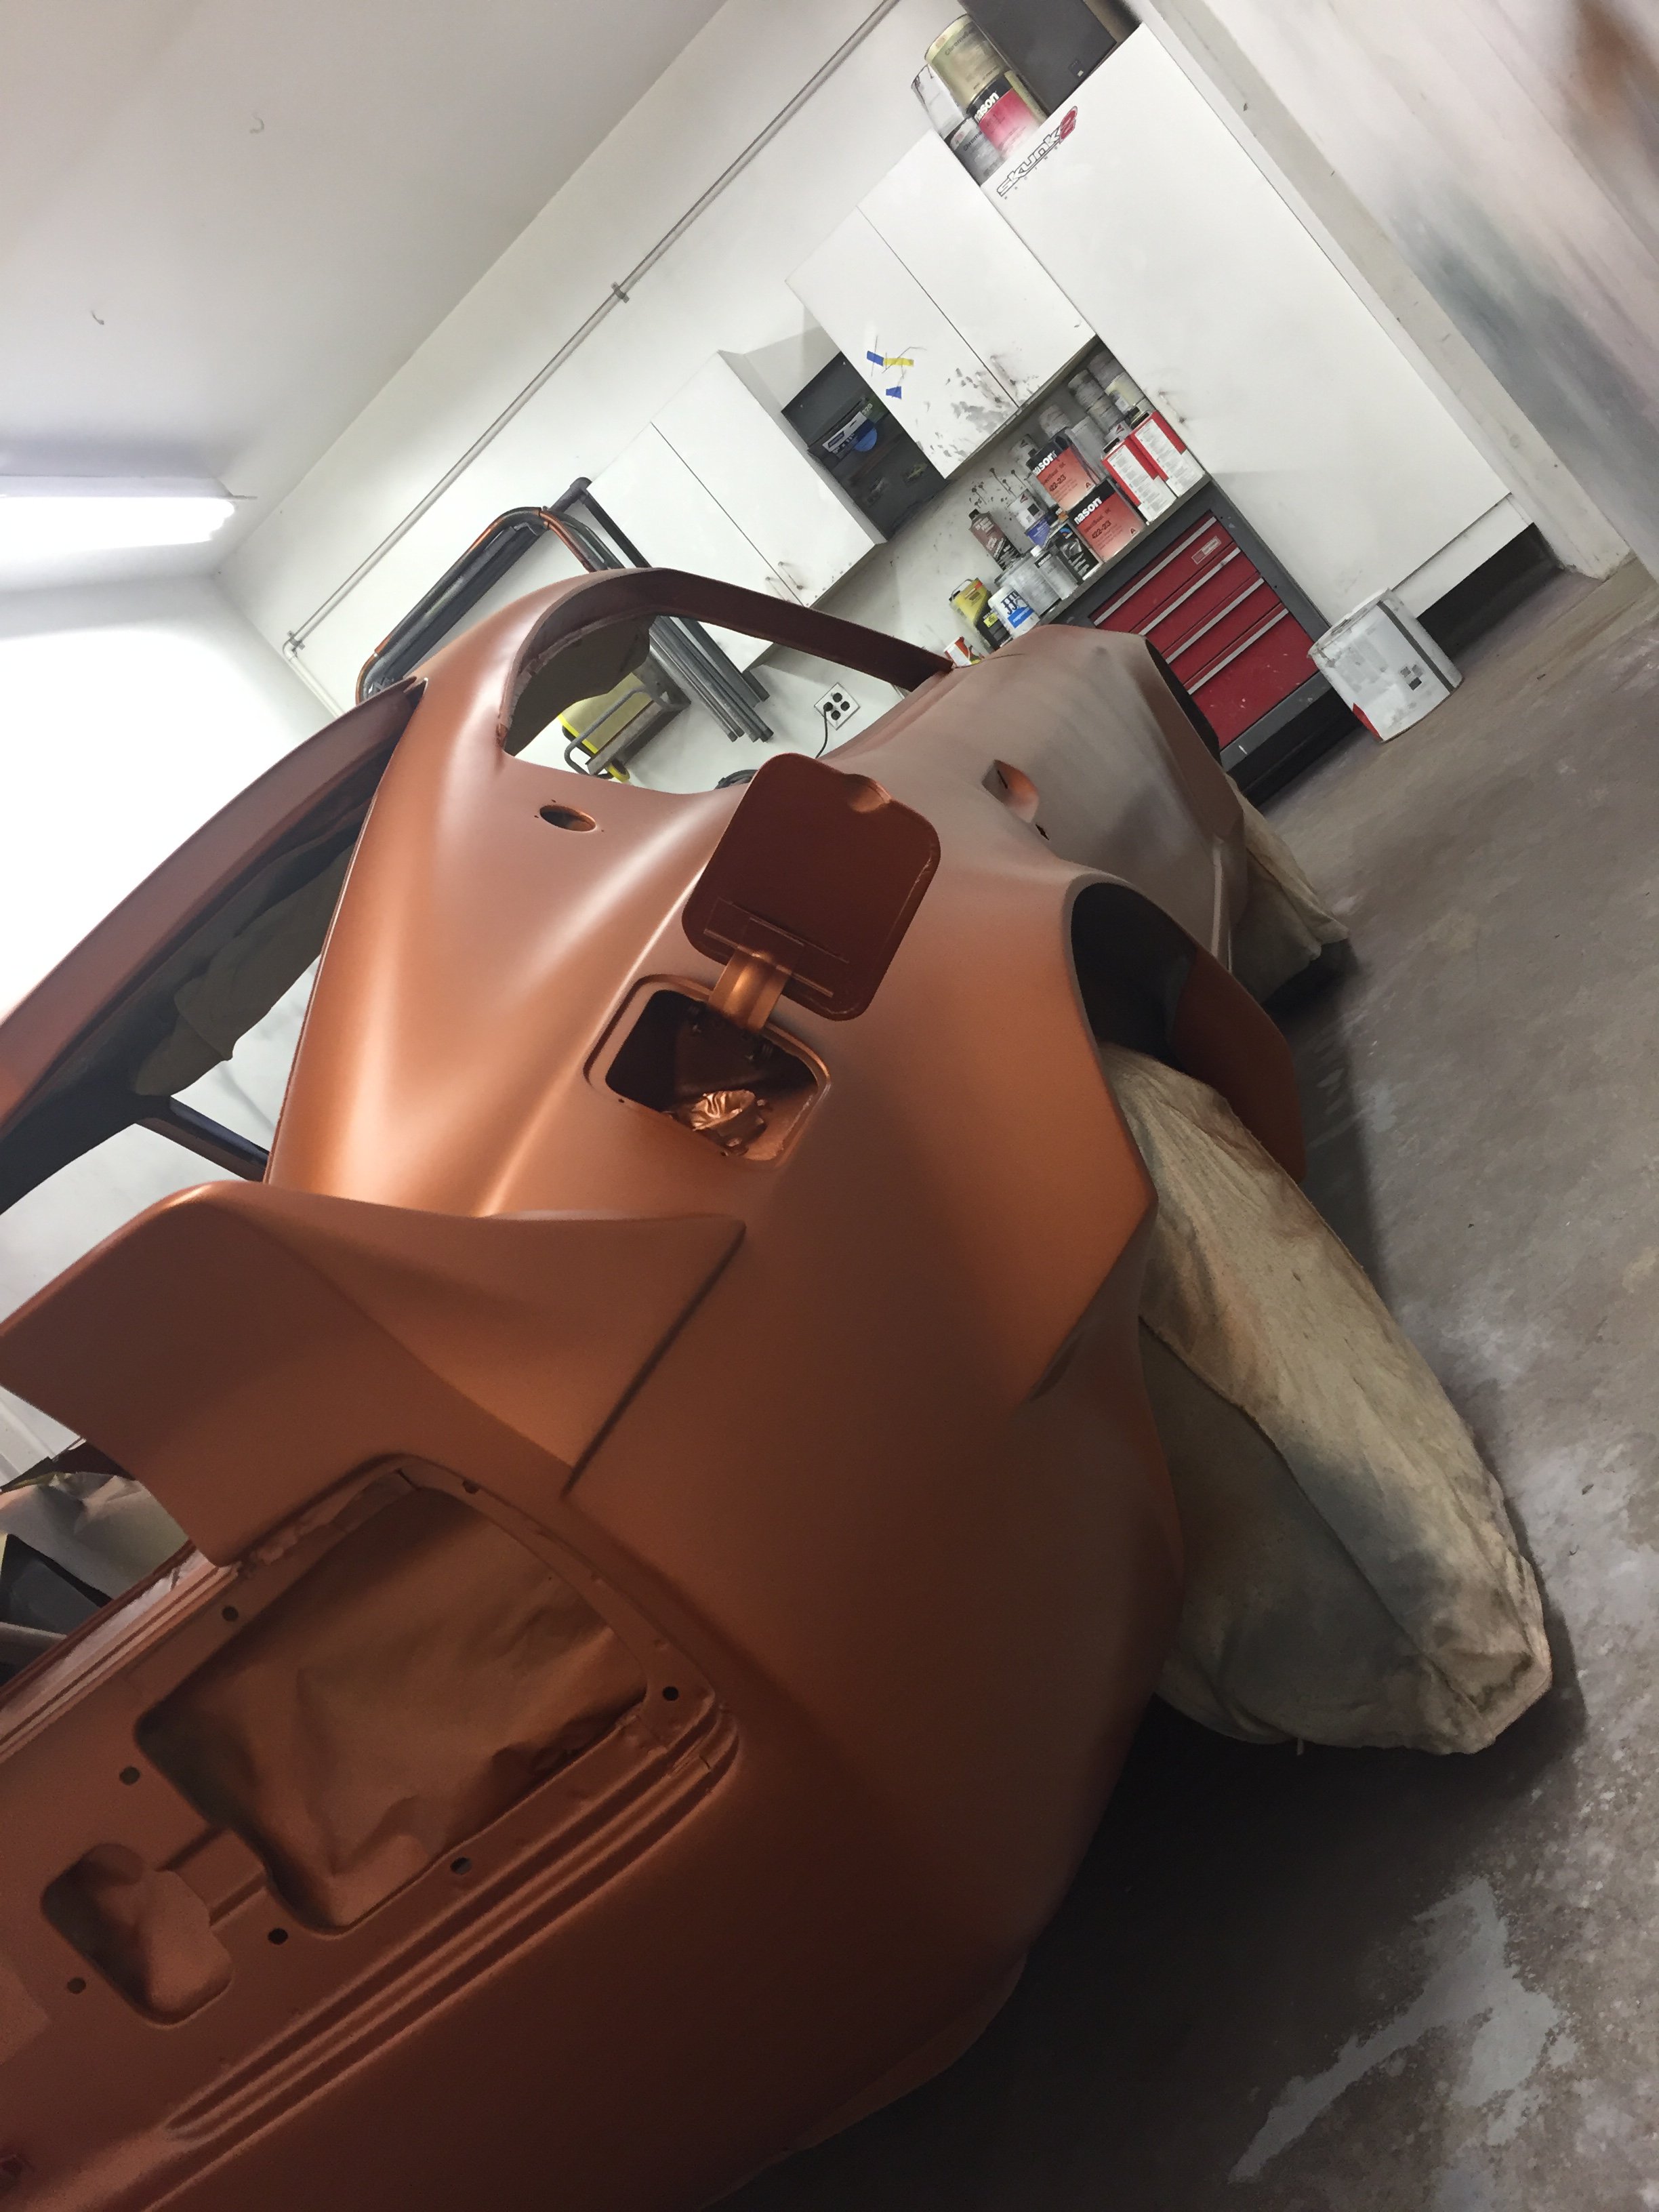
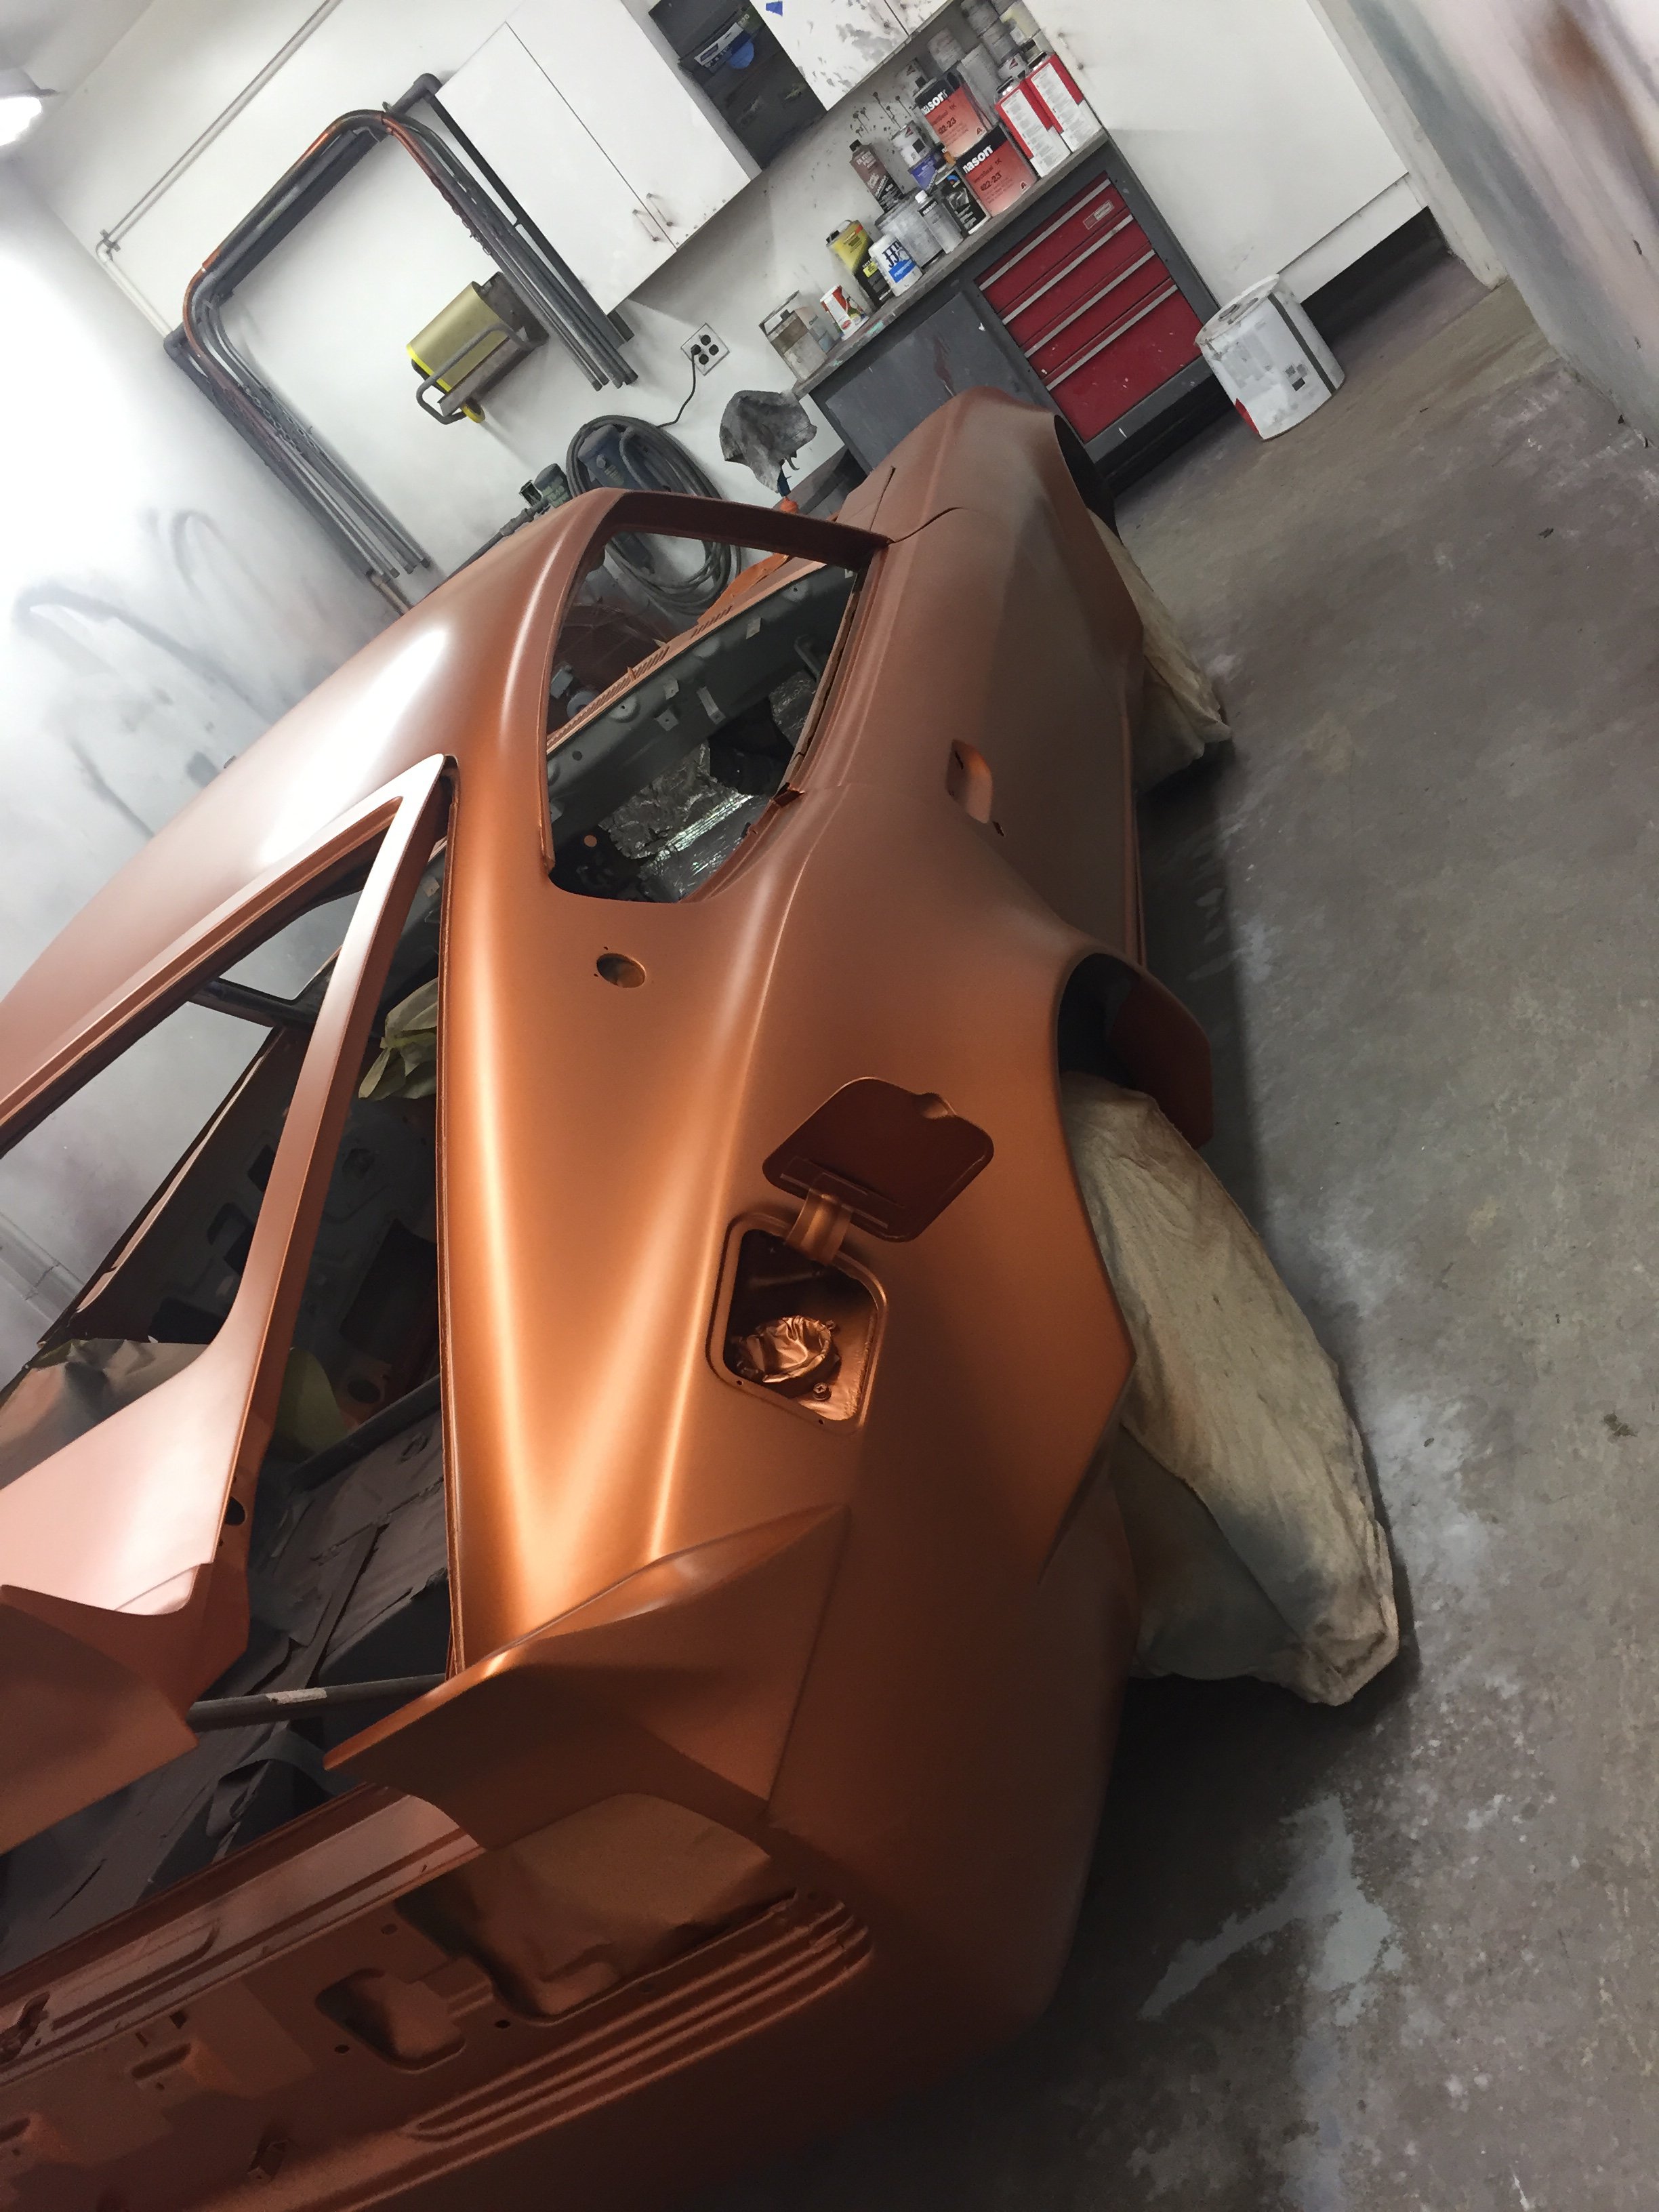
I really like how the paint changes color in the light. In a dark setting its more of a copper base and in the light its a nice orange. I almost had the engine bay painted black as well but after all the hard work put into making it smooth I opted to keep it orange. The frame rails and bumper ends were painted black. Like I said, clear coat is still to come and then the glass is getting put in and its coming back to me!!😊
- 35 replies
-
- 1
-

-
- body kit
- widebody kit
- (and 3 more)
-
Wide body build thread! Fiberglass Mafia kit MOLDED
juliarosario replied to juliarosario's topic in Body Kits & Paint
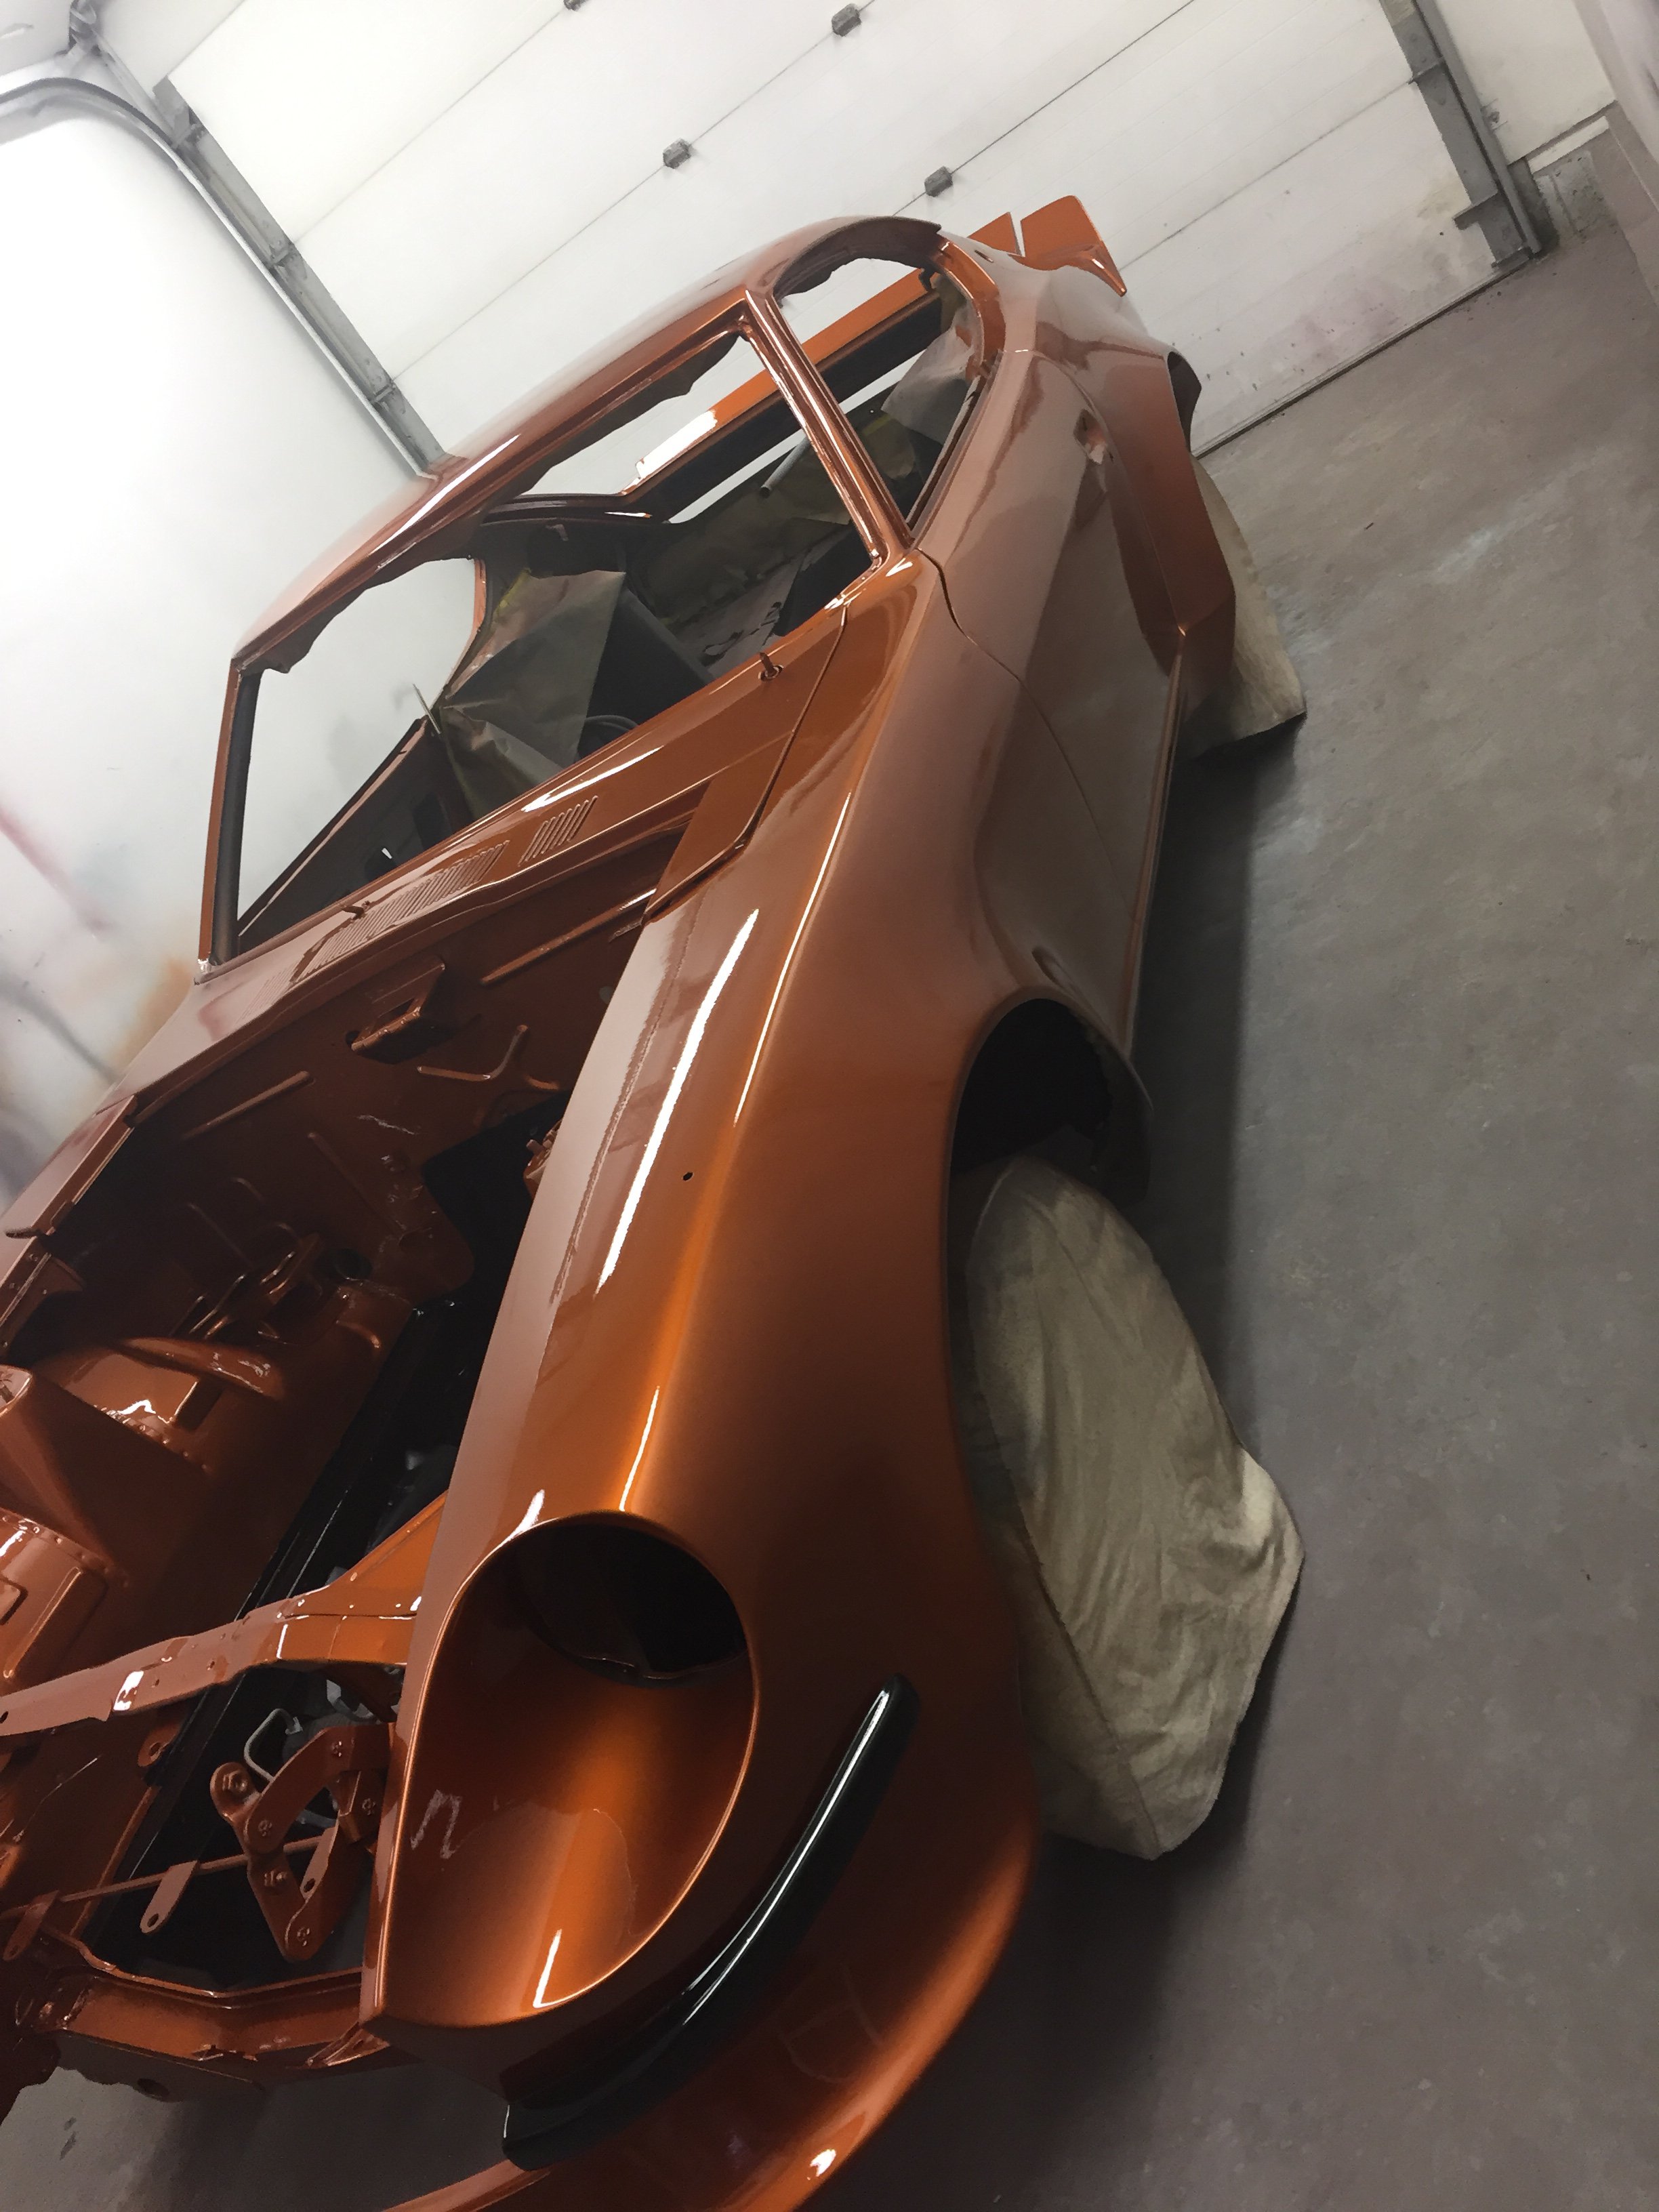
Hi all, It's been a while but now all the bodywork is almost done, I thought I would give a little update. The car needed a lot more attention after we last talked. The fiberglass had multiple pinholes in it after the primer and sealer, so we had to fill and sand again, fill and sand again. Primer again, seal again, and then over here in CT we had about a month and a half of humidity and horrible weather. Not ideal for paint! THEN THE TIME CAME!! I'll cut to the chase and show some pictures. This was just after paint, it still needed to be clear coated so don't get caught up on the matte paint! It will be glossy don't you worry.
-
Wide body build thread! Fiberglass Mafia kit MOLDED
juliarosario replied to juliarosario's topic in Body Kits & Paint
Thank you so much! I'll upload more updates when I have them😊 -
Wide body build thread! Fiberglass Mafia kit MOLDED
juliarosario replied to juliarosario's topic in Body Kits & Paint
Thank you I appreciate it! It definitely does sit very low which is kind of what I wanted. I think when the suspension is all finished and tire and wheels are on its gonna look insane! I can't wait to see. -
Wide body build thread! Fiberglass Mafia kit MOLDED
juliarosario replied to juliarosario's topic in Body Kits & Paint
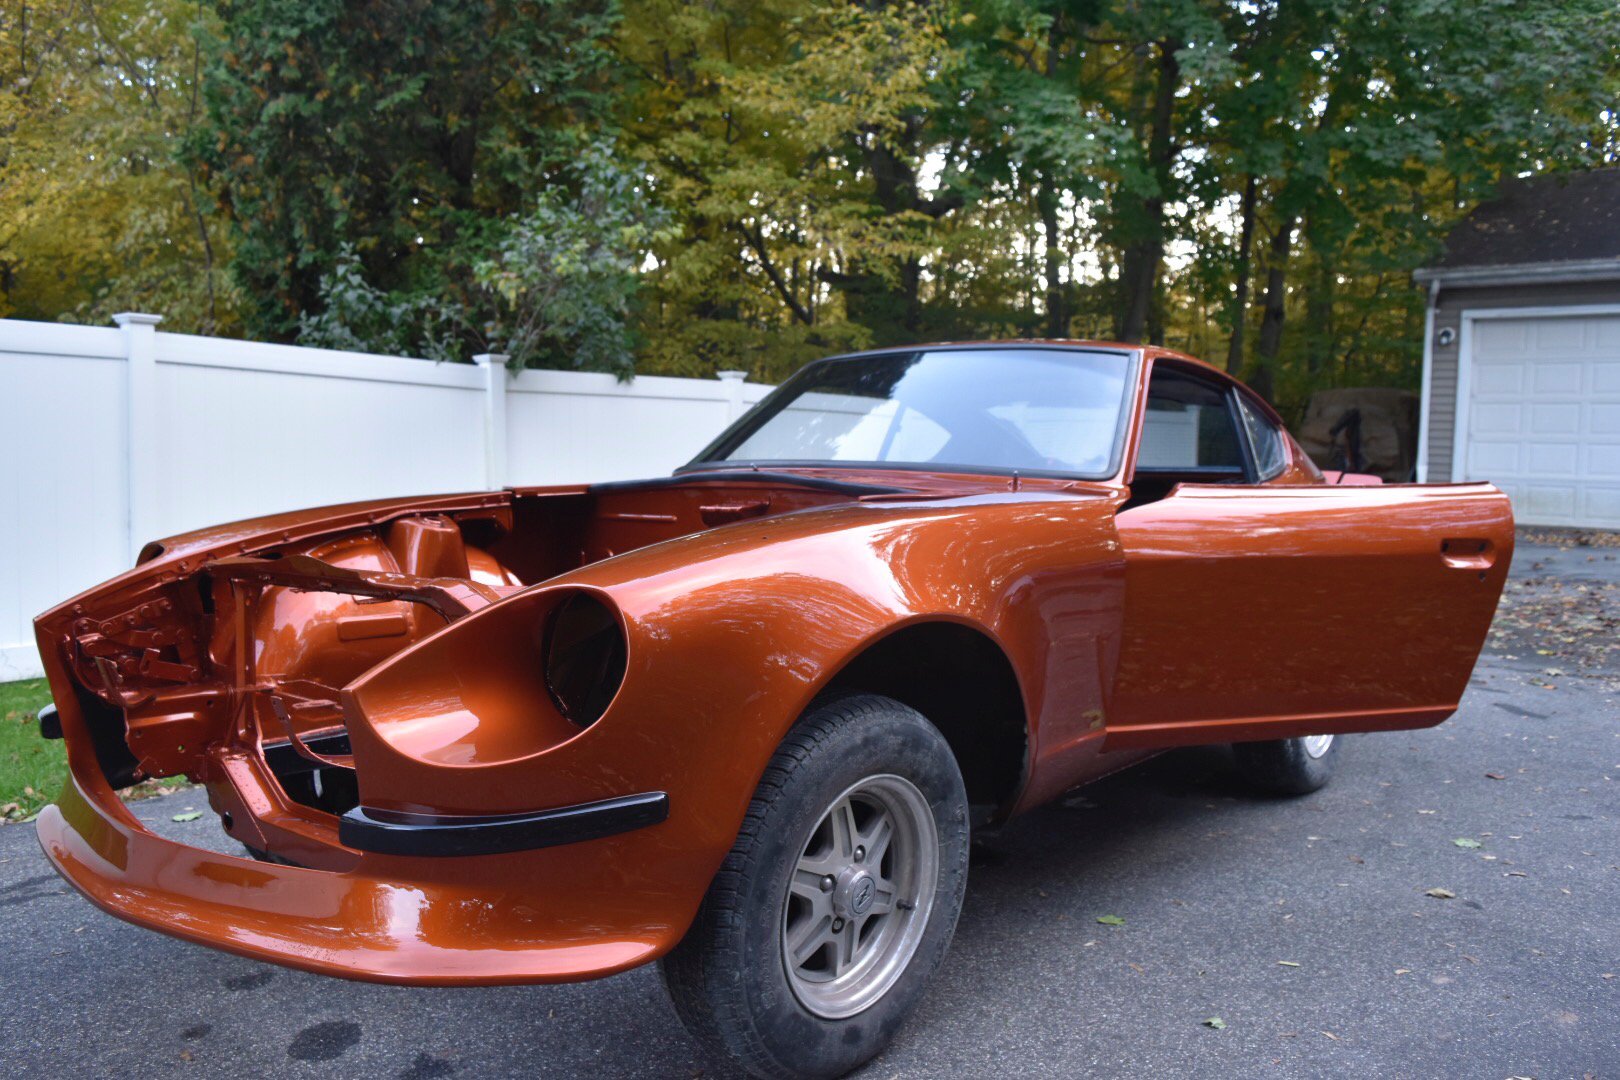
The next night I stopped by to take a look at my baby in person, and let me say, the pictures do not do this car justice! Before this, I was trying to decide whether I liked the look of the car with no bumper, and I do, or if I wanted to add a bumper. I think I decided to put the bumper ends on to give the front end some contrast. I also propped the grille in there just to see how it would all look and DAMN I am psyched!! This is gonna be awesome! He said the next step is attaching the front bumper ends, either making them permanent or detachable. Either works for me, I trust his judgement! Then he's gonna block sand the car and fill any air bubbles the fiberglass flares have left, then sealing, AND THEN I THINK PAINT!!!
-
Wide body build thread! Fiberglass Mafia kit MOLDED
juliarosario replied to juliarosario's topic in Body Kits & Paint
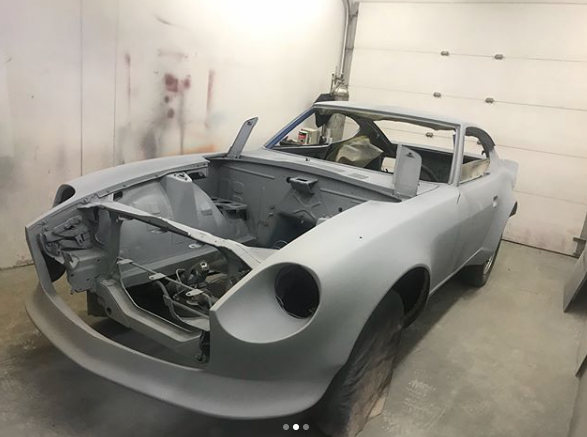
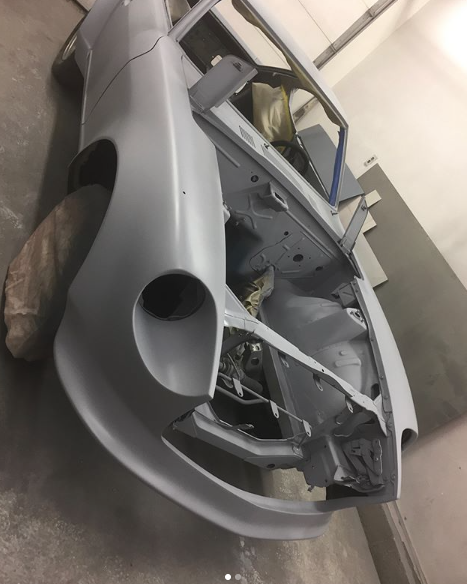
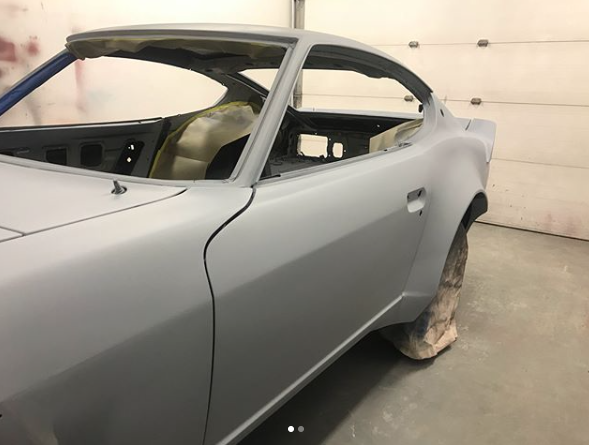
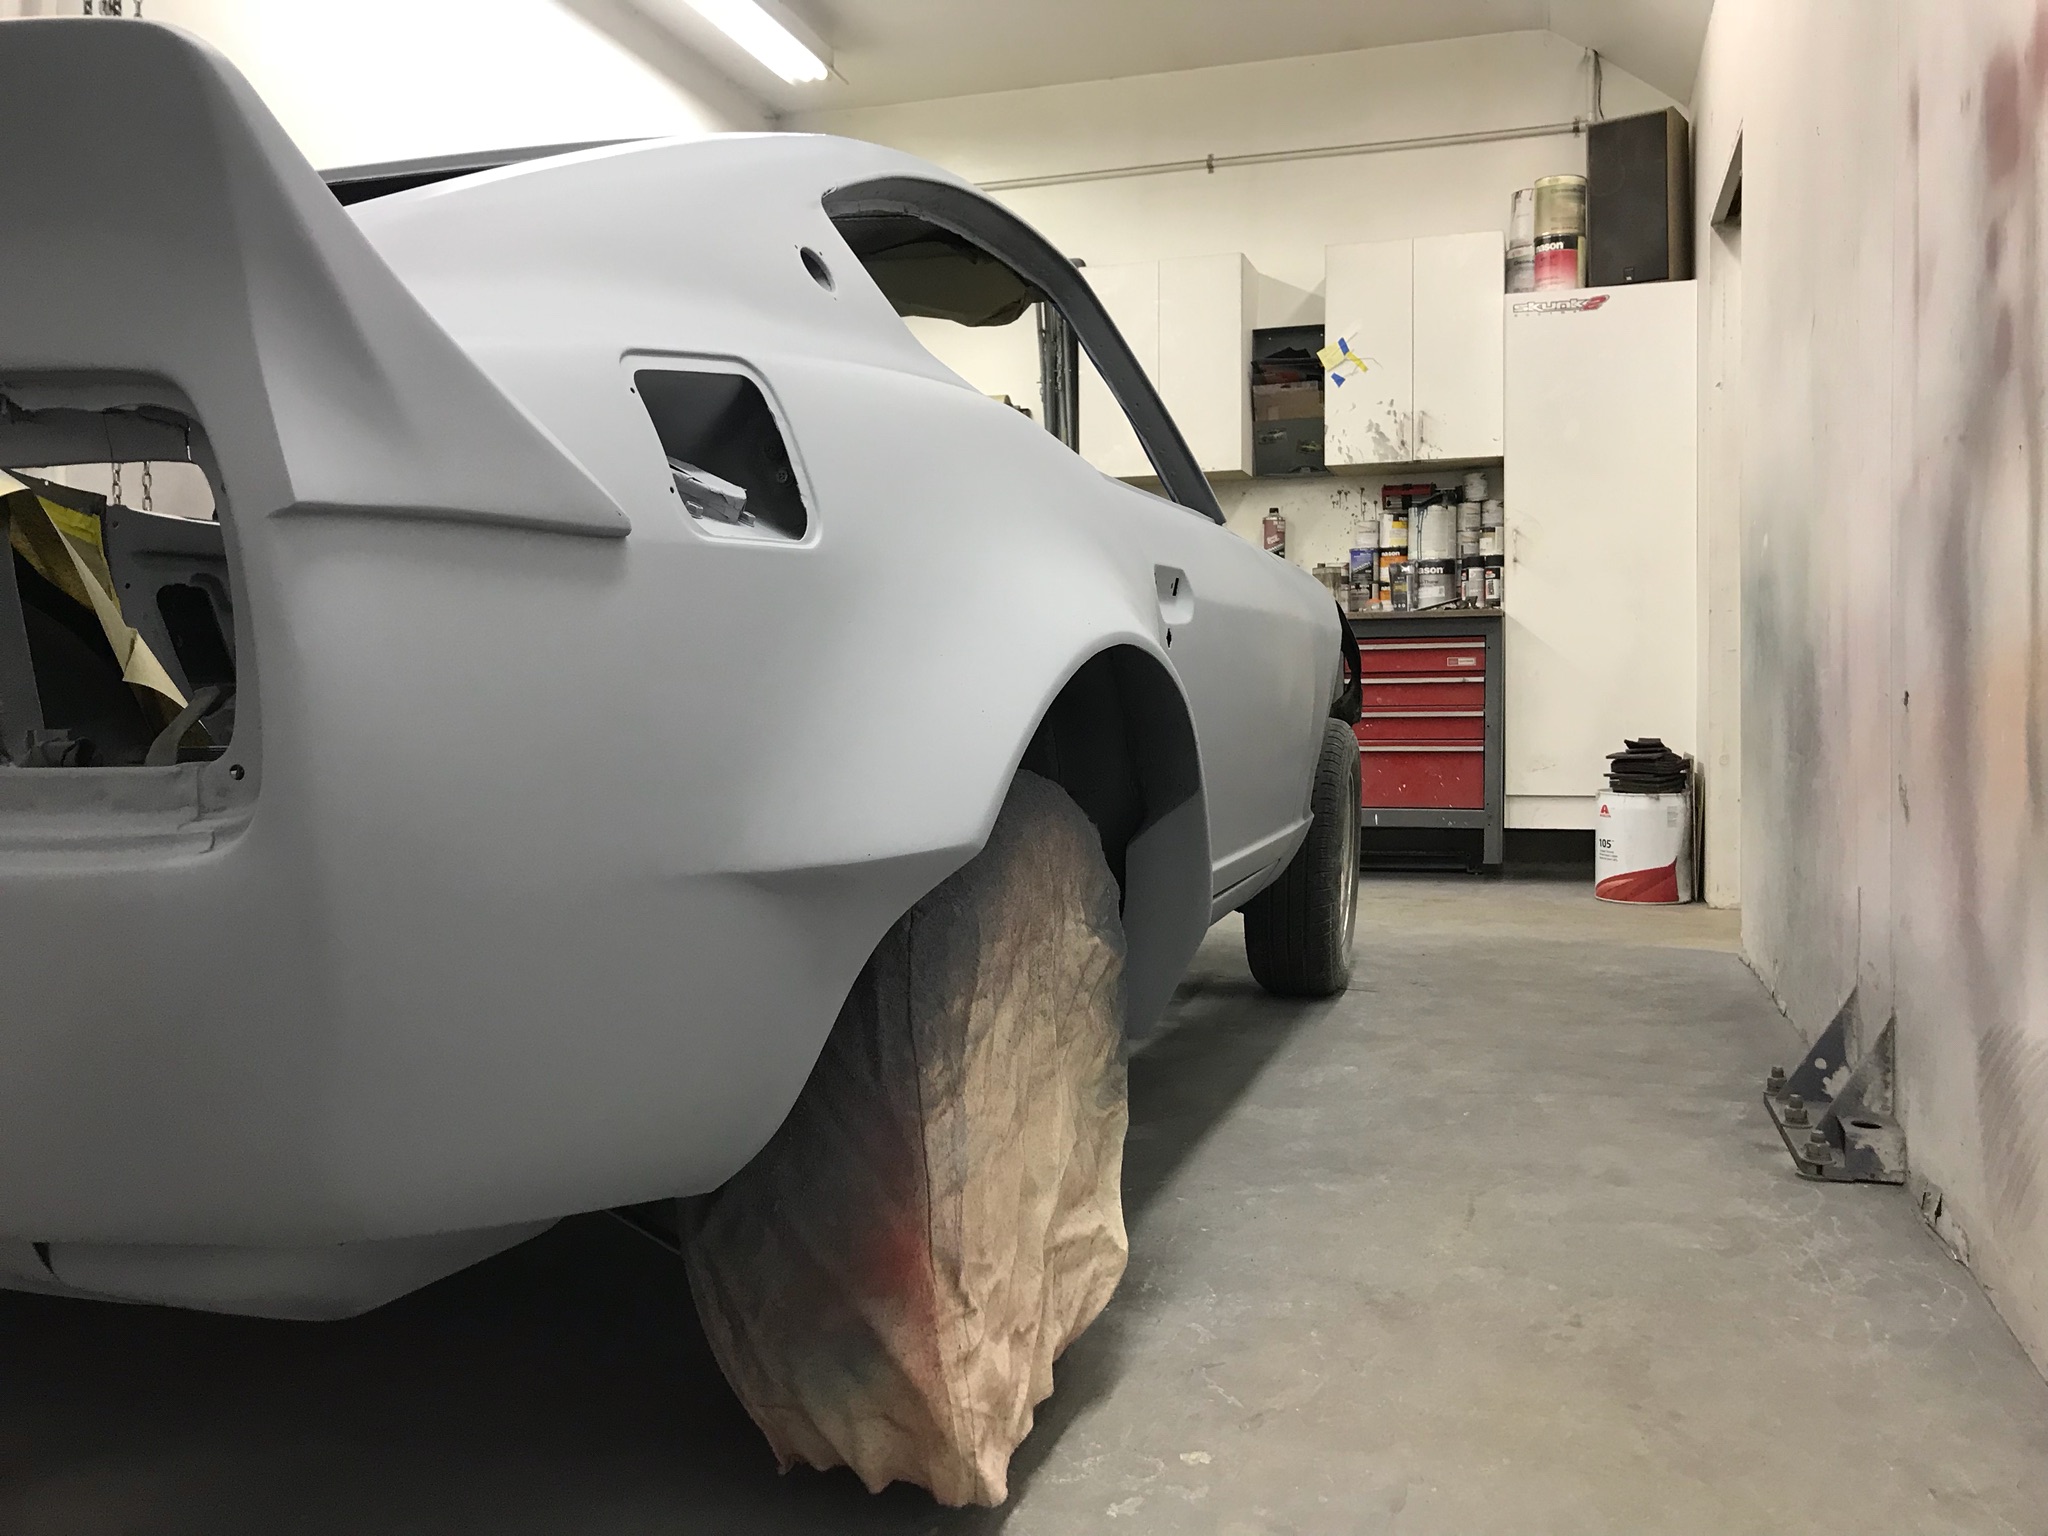
Alright, so after I got the last pictures I was ACHING to see the car all one color! I just wanted to get an idea of how nice the body kit looked without all the colors distracting me! Then, a couple days ago, at around 11pm I got the NICEST text message. My body guy said he had finished up all the body work and was just about to primer it!! Within an hour or so, I got the coolest pics ever. Take a look and see how awesome the car looks! I WAS SOOOO HAPPY. The car looks insane. It looks like the wide body kit came stock on the car and that's exactly what I was going for!!
-
Wide body build thread! Fiberglass Mafia kit MOLDED
juliarosario replied to juliarosario's topic in Body Kits & Paint
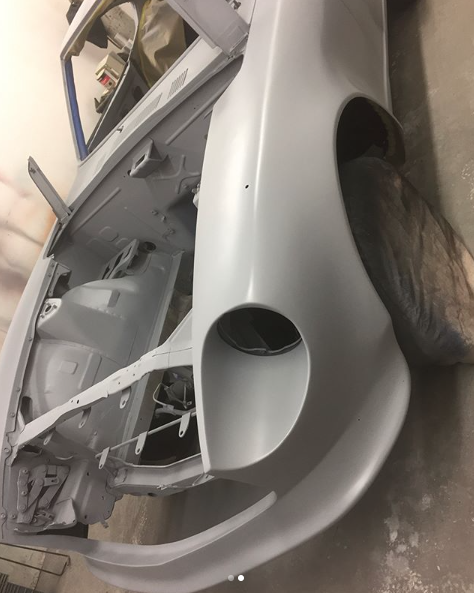
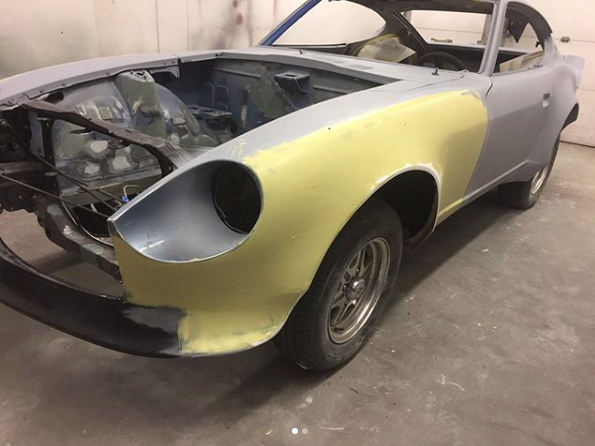
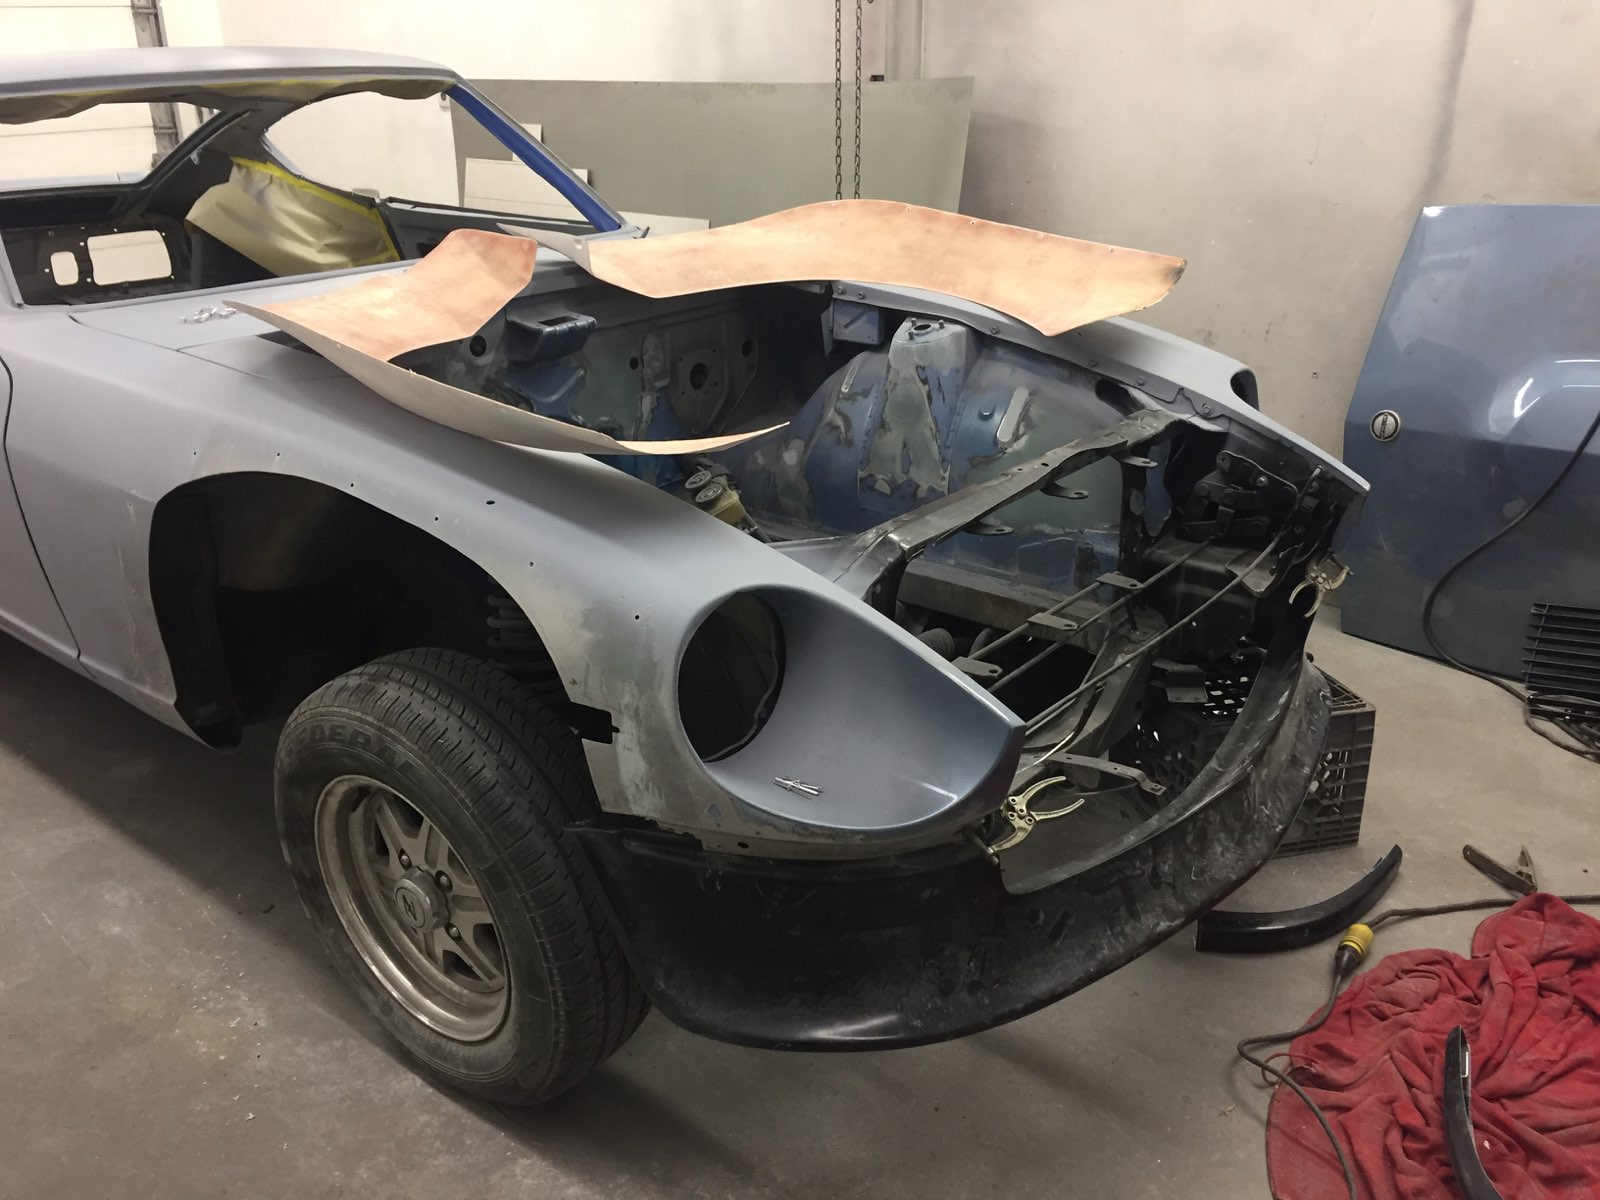
So after I got the last set of pictures, I didn't hear from my body guy for about two weeks. He was slammed at work and I don't blame him for taking some relax time for himself! I am in no immediate rush and he's done such a great job so far, I figured a few weeks off is no biggie. However, then he sent me some more pictures of my baby and I got all excited all over again! He was telling me that he had the most trouble blending in the flare to the little end piece that came with the flare, to the air dam. He explained that they all had different contorts and body lines and to get them to mesh together so clean took some work! HOWEVER, IT LOOKS AWESOME!!! It's starting to look like the front end is all one piece and that is something that I like!
-
Wide body build thread! Fiberglass Mafia kit MOLDED
juliarosario replied to juliarosario's topic in Body Kits & Paint
The blending process continues....
-
Wide body build thread! Fiberglass Mafia kit MOLDED
juliarosario replied to juliarosario's topic in Body Kits & Paint
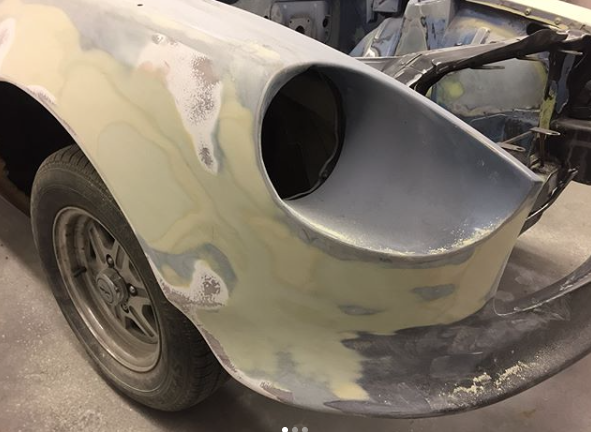
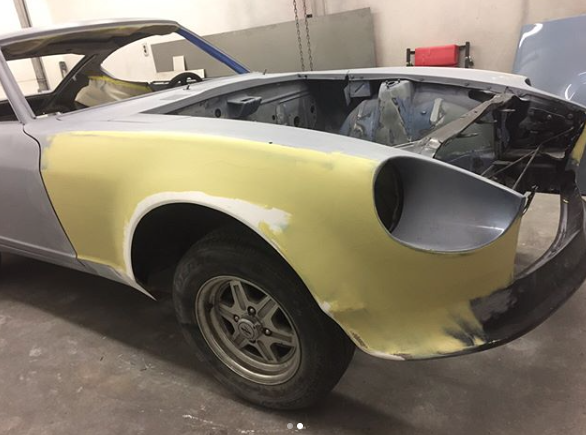
Hey guys, I am back with some more updates! So, last we left off with the fronts riveted in place and leaving to set. Next we started blending the fenders into the body. I was super excited to see how everything was starting to look so smooth!
-
Wide body build thread! Fiberglass Mafia kit MOLDED
juliarosario replied to juliarosario's topic in Body Kits & Paint
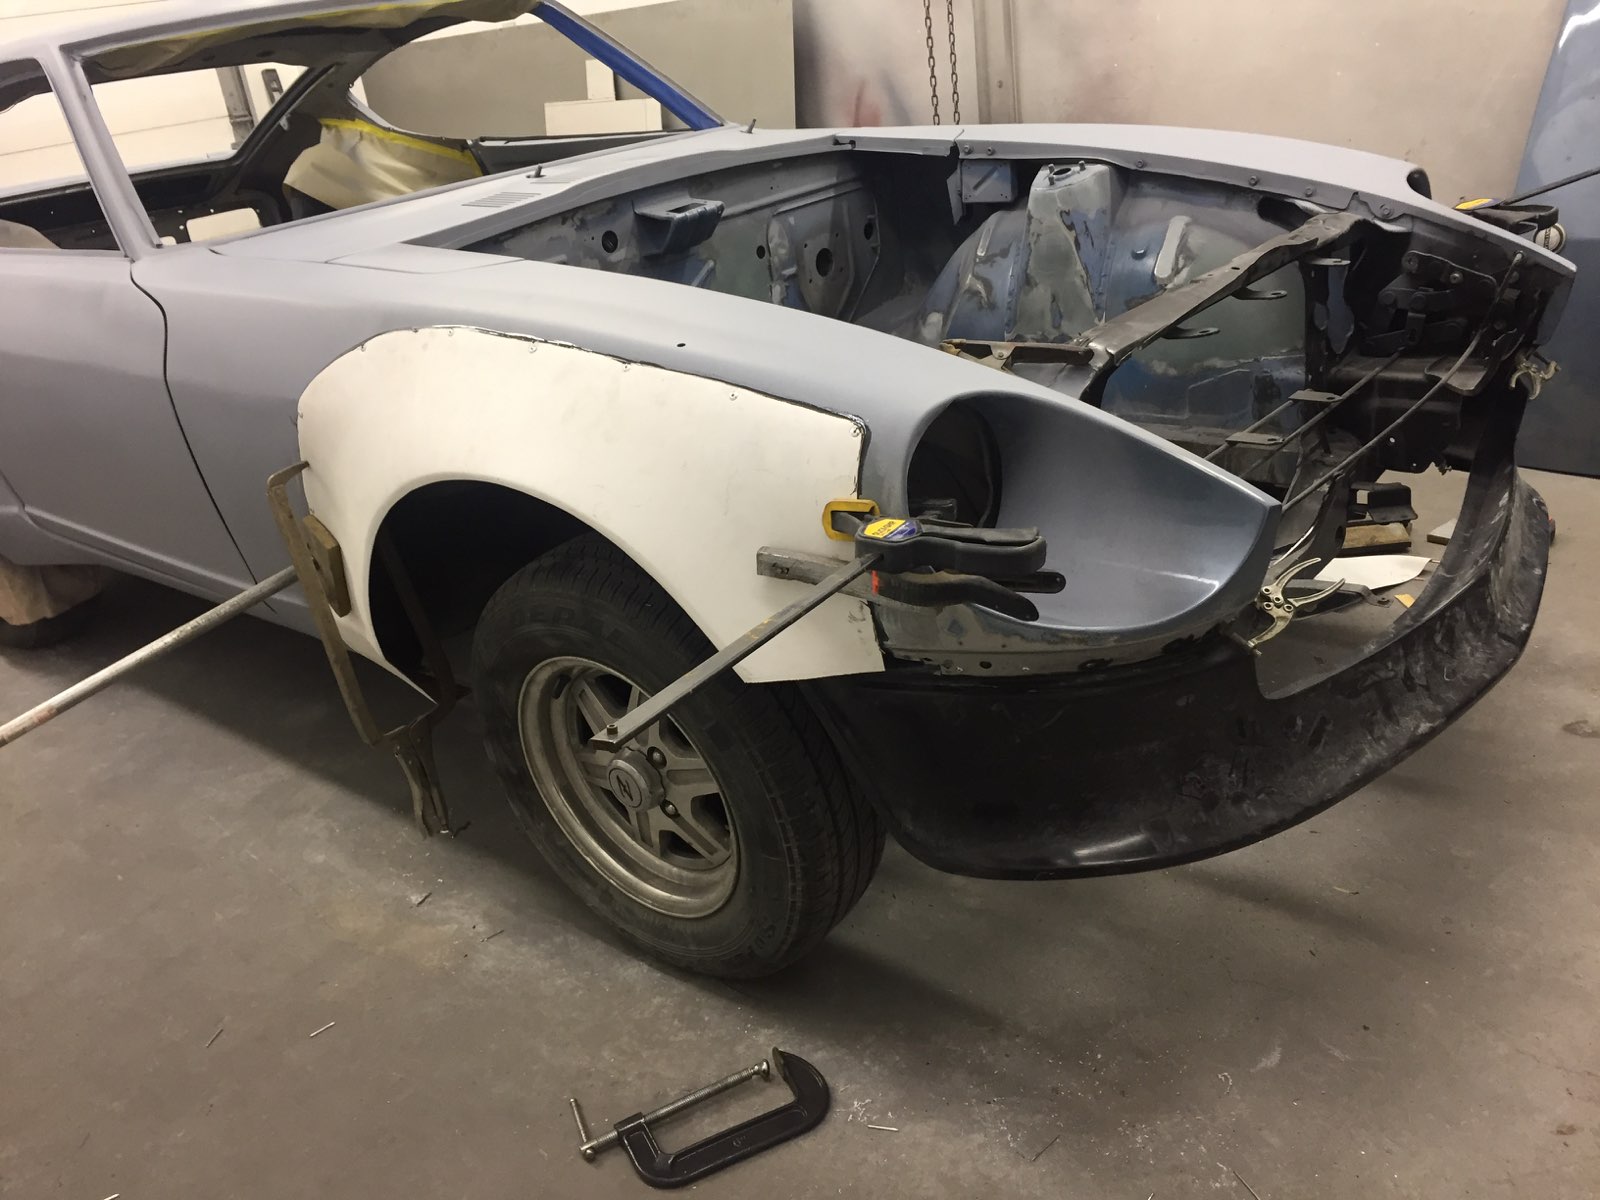
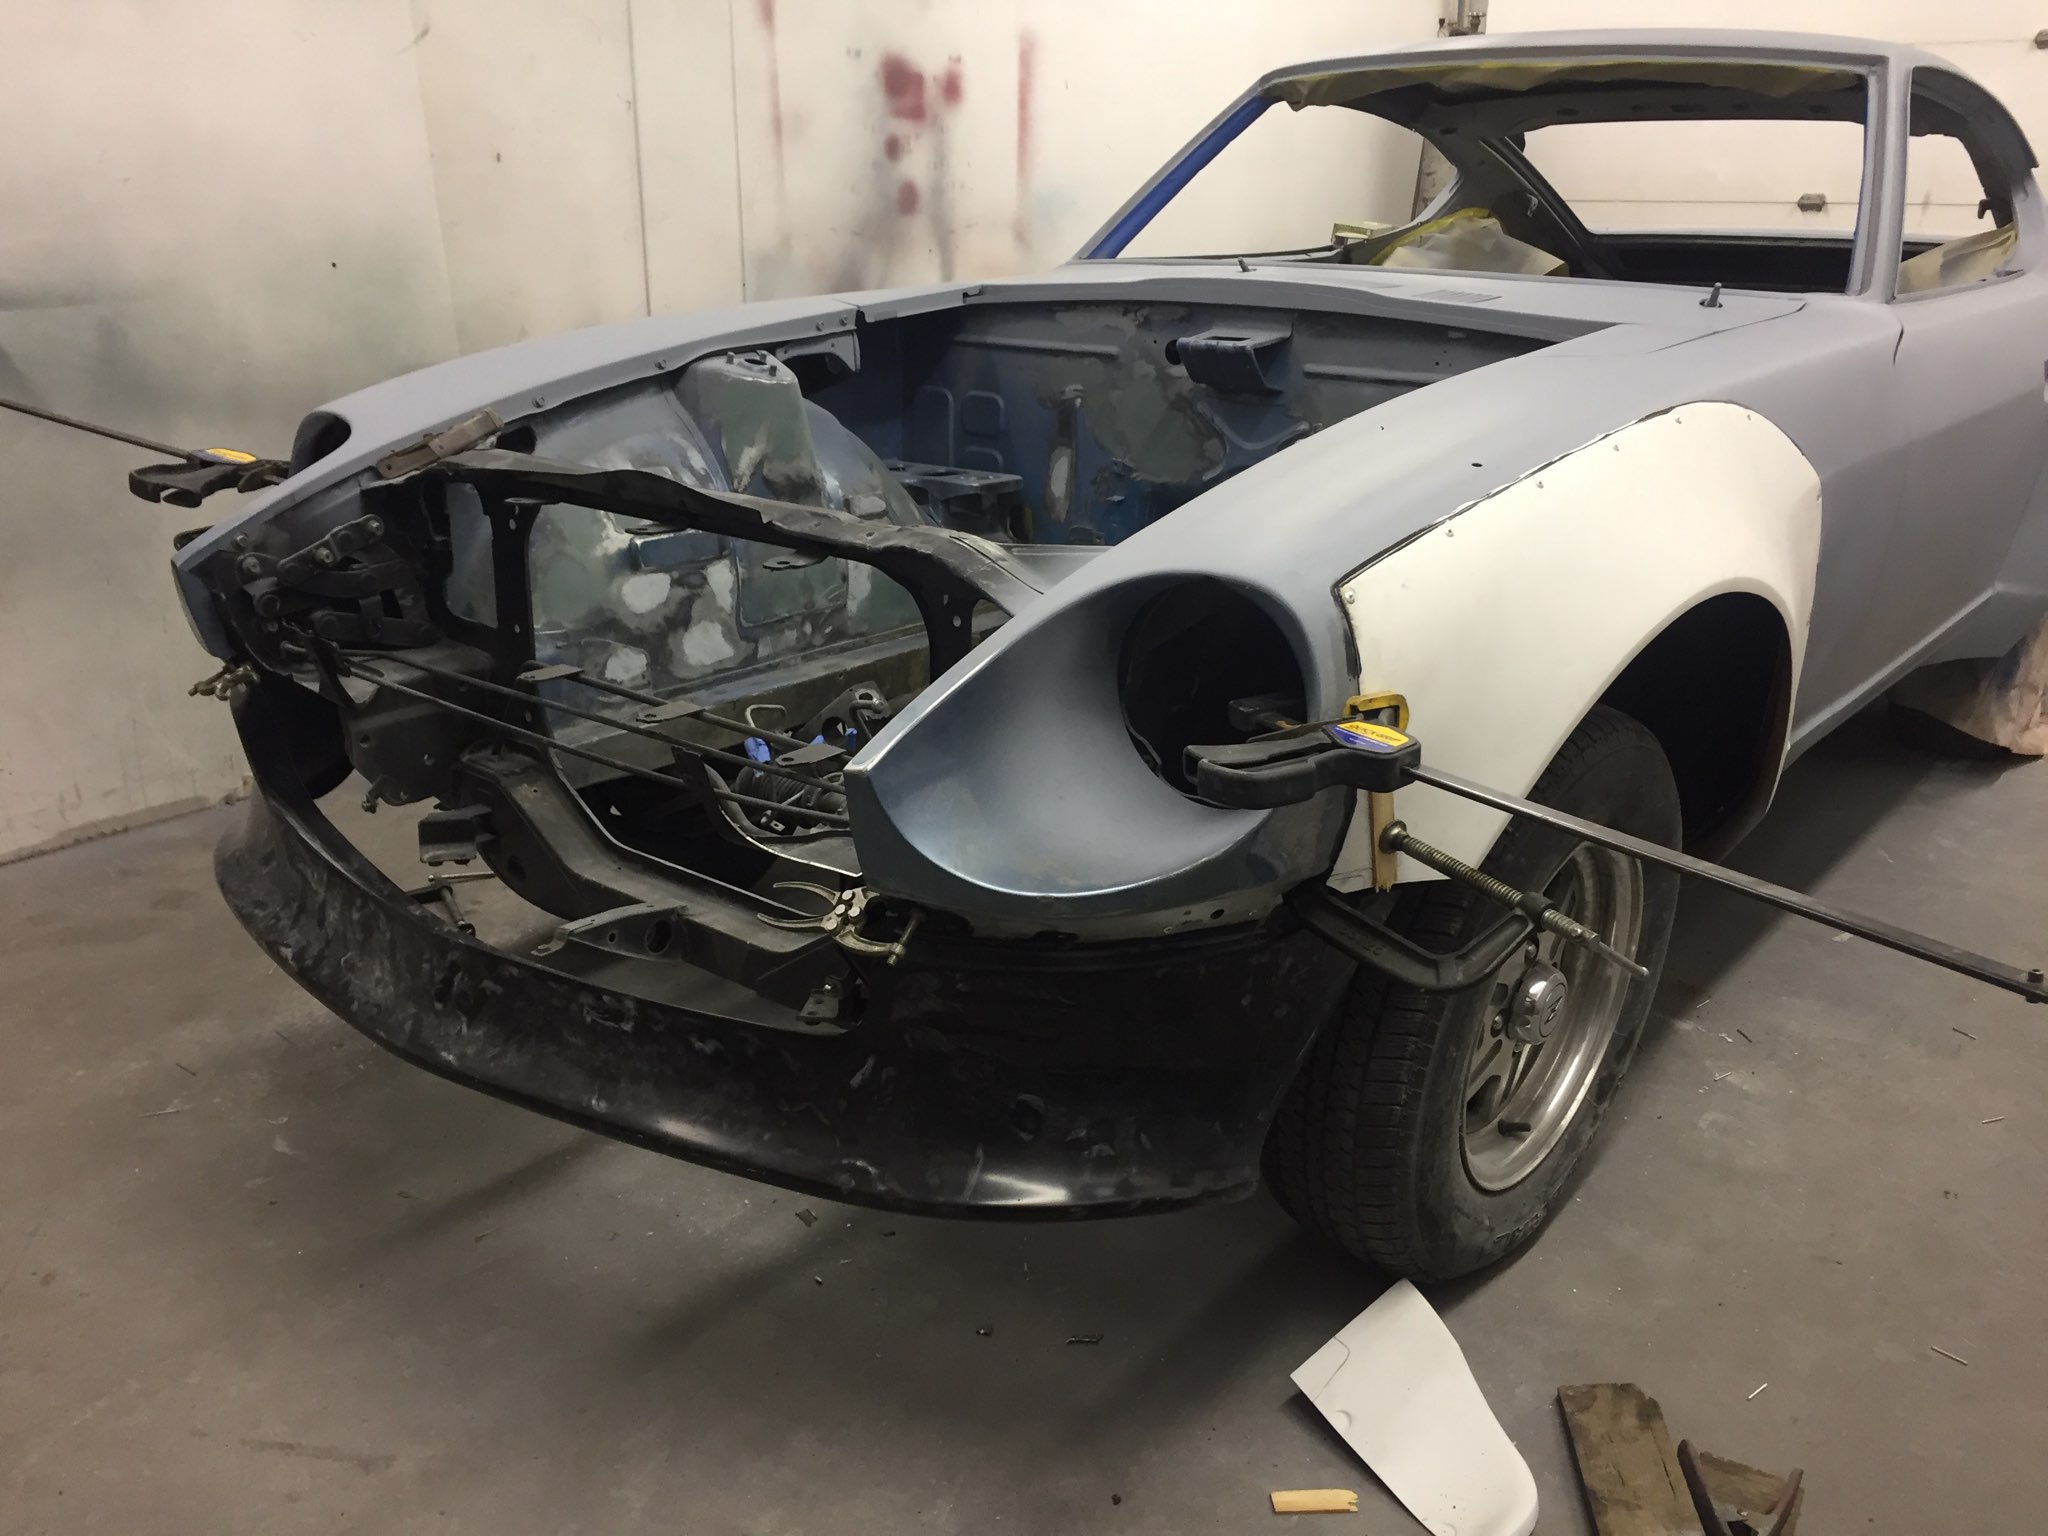
So, the fronts have been fitted and riveted in place and are now bonding and drying as we speak! It looks a little crazy with all the mismatched colors but then I thought back to how crazy the backs looked midway through progress and how great they look now. Tonight if they're dry its time to start molding them to the body and molding that little piece going from the bottom of the fender to the top of the bumper.
-
Wide body build thread! Fiberglass Mafia kit MOLDED
juliarosario replied to juliarosario's topic in Body Kits & Paint
Okay, so we have made some more progress! The bumper came in. It turns out it was a little long but we were cutting it up anyways so that didn't matter. Right now we just needed it for spacing the air dam and fenders properly. You can see the the bumper on the ground, we cut off the middle of the bumper and decided to just keep the sides. I think it would look pretty sweet like this. I also have seen some other cars with this done to the bumper and I absolutely loved it. Originally we were just going to go off the bumper delete plates made by Skilard but it turned out they were not quite what I was looking for. I didn't like their quality or style for this particular piece. However, I have their grille and it is excellent. Anyways, yes! So we fit the bumper to the air dam and everything spaced out okay. But then, we ran into our next issue. The contouring of the grille did not exactly fit in with the contouring of the bumper, and there was about a 3" gap between the air dam and grille Which AGAIN, I was so surprised by, because on the Skilard site, if I'm not mistaken, they used the Type 1 Air Dam, WHICH WAS WHAT I HAD. I got a FaceTime call from my body guy and he showed me the gap and asked if it was okay to cut my expensive grille and change some things to match the contour of the air dam. Yes it's okay I BELIEVE IN YOU. I'll get some pictures once the grille is cut, painted, and adapted to the air dam.
-
Wide body build thread! Fiberglass Mafia kit MOLDED
juliarosario replied to juliarosario's topic in Body Kits & Paint
Thank you, yeah it has been a lot of work and there's still a lot to go! And ugh, words of wisdom. I guess I would say definitely don't be discouraged to do the bodywork your own way. As said before, so many people warned against blending but here they are looking great. I don't know if I would do anything differently just yet, everything is coming out, THANKFULLY, just right! But I will keep you all posted!! -
Wide body build thread! Fiberglass Mafia kit MOLDED
juliarosario replied to juliarosario's topic in Body Kits & Paint
Okay, so last weekend my body guy called and said I should stop by and take a look at my car all one color, with the back fenders molded on, so I can get an idea how its gonna look when its done! LOOK AT THIS BABE! It looks insane!! It got me even more excited for how the fronts are going to come out. The bumper will be in this Saturday so he can start right away on fitting and molding the fronts. I'm thinking that in about two weeks the car will be completely done, bodywork and paint! I love how the car looks like it came stock with these flares! HOWEVER, I also love feedback, let's hear what you guys think!!
-
Wide body build thread! Fiberglass Mafia kit MOLDED
juliarosario replied to juliarosario's topic in Body Kits & Paint
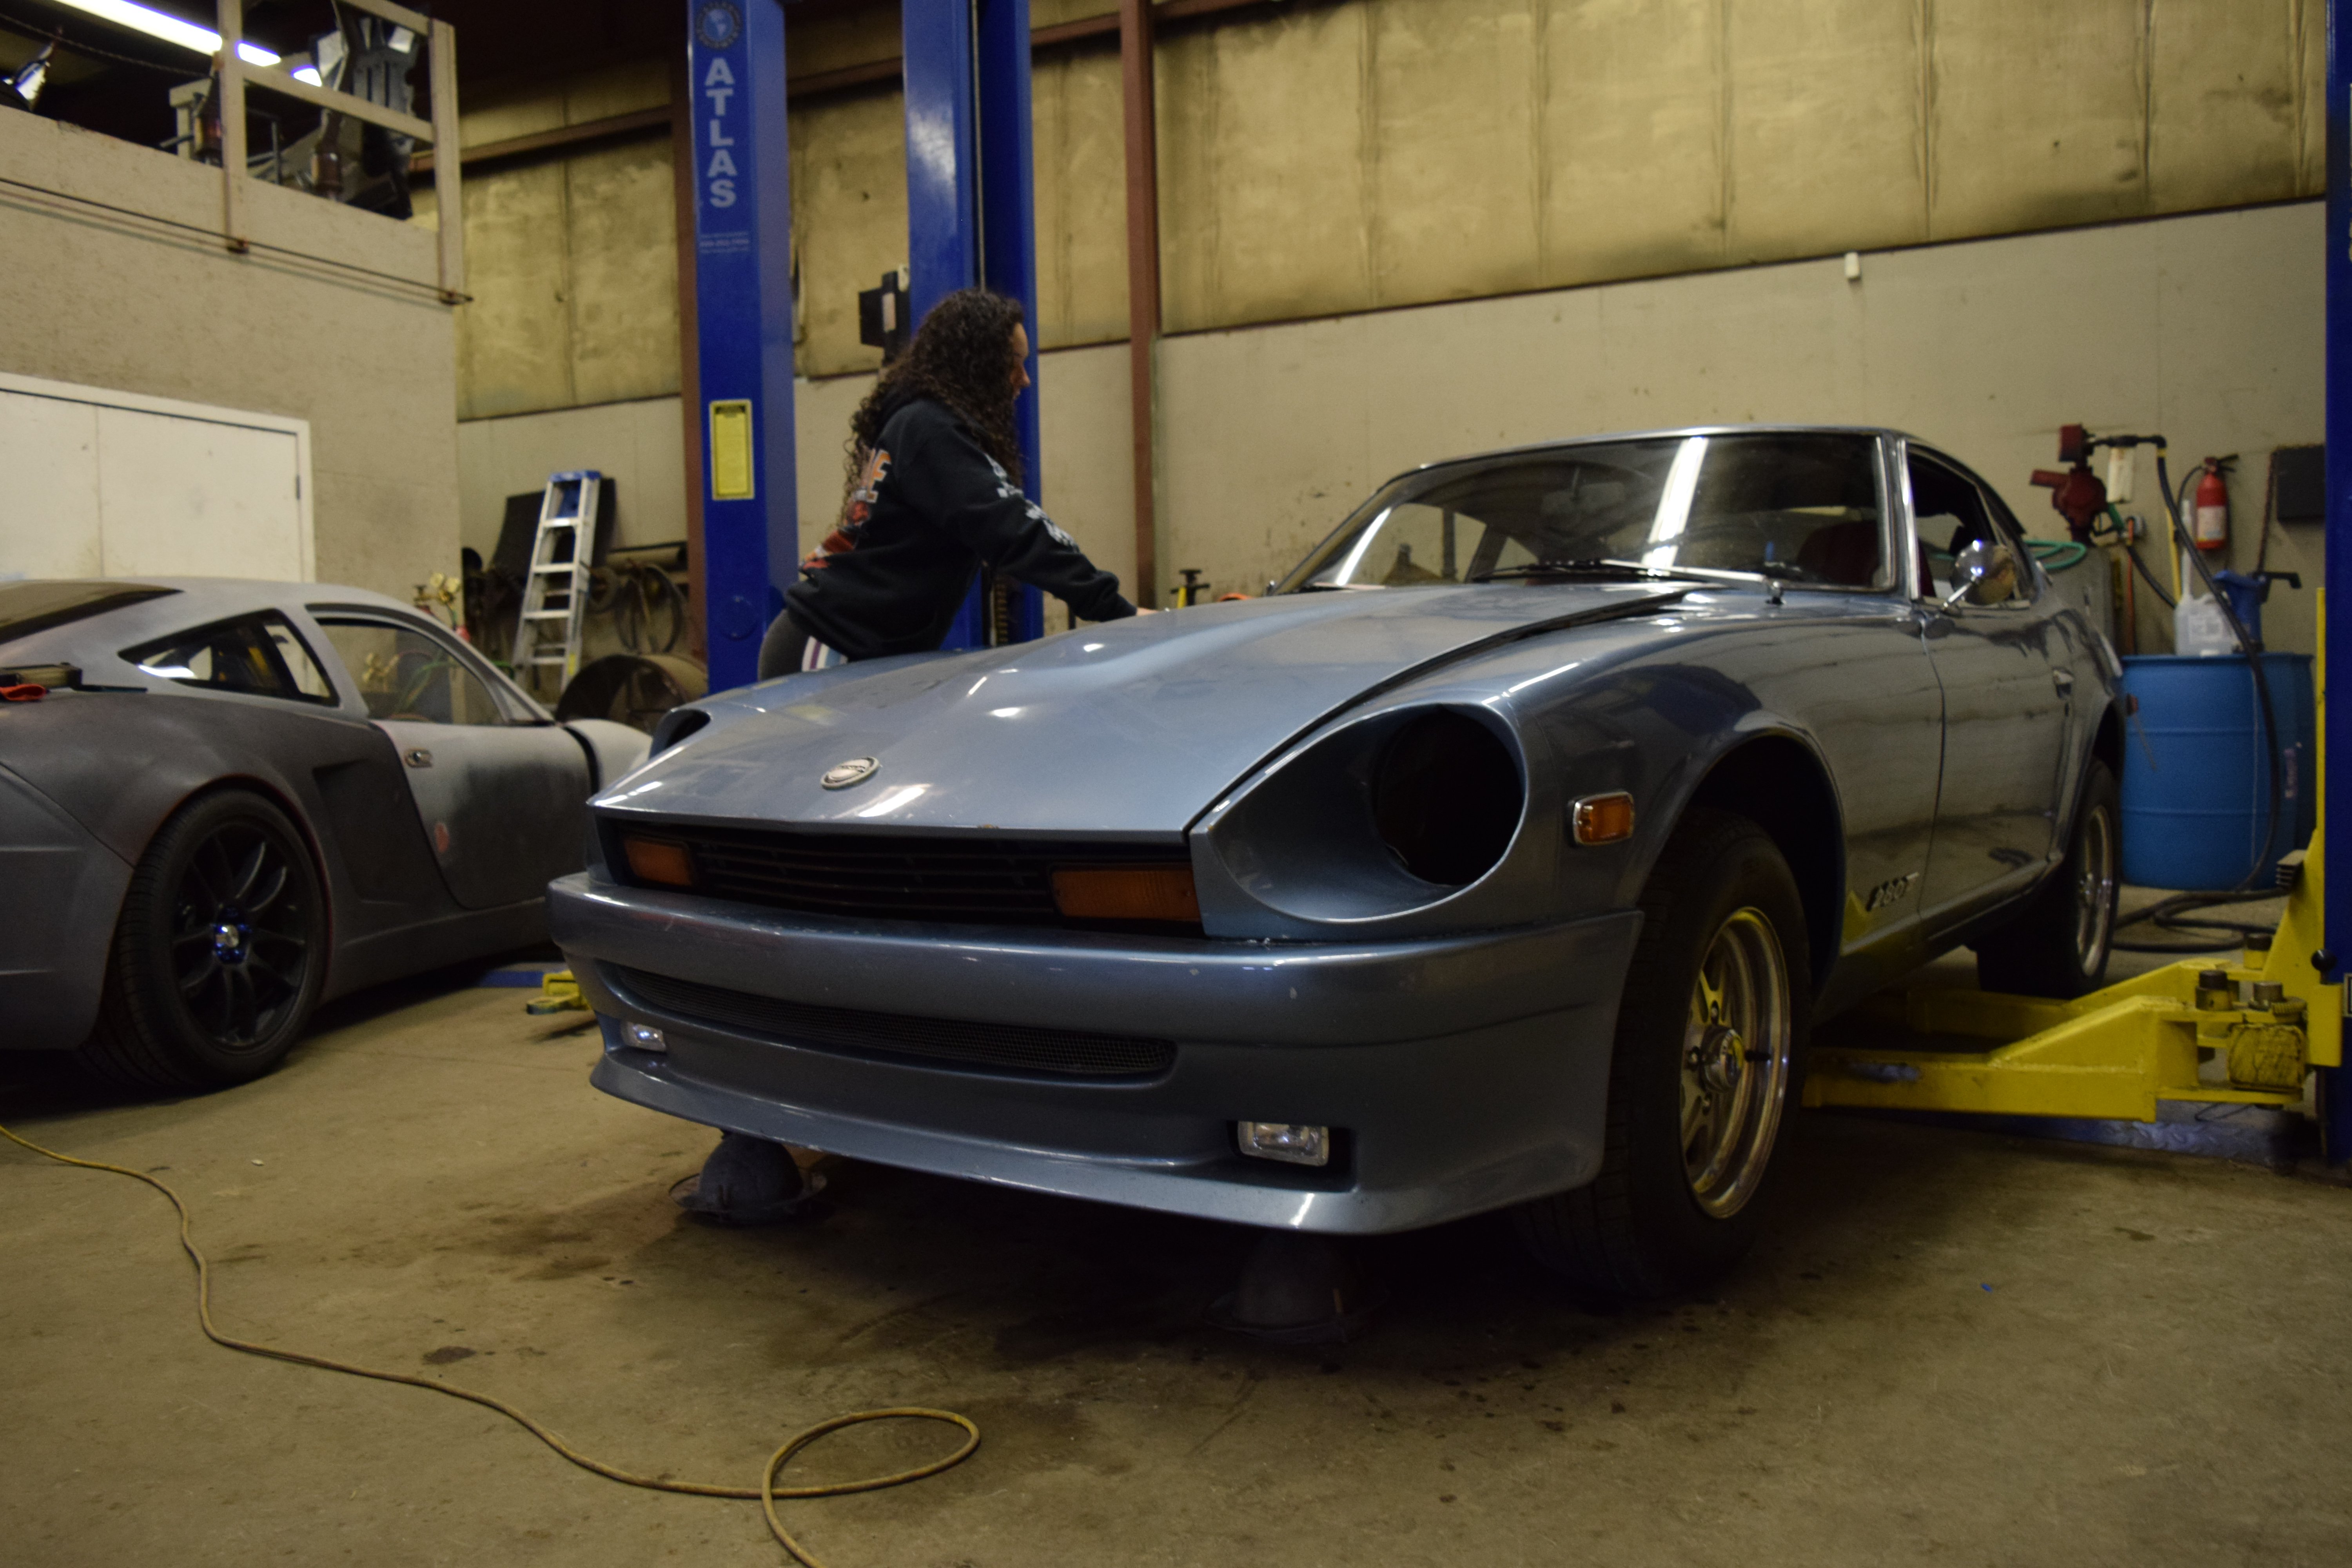
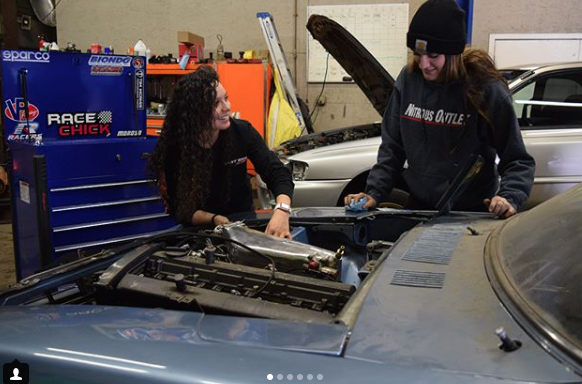
OKAY Okay, so before I show you the most beautiful of pictures (the back molded on completely), I'll give you some back story about my car and myself. I have another thread going into details about the car build as a total but this is just quick recap! I bought the car last year from South Carolina It's a 1975 280z Its RB20det swapped It's my absolute baby New frame rails, undercoating inside and underneath, all rust in floor pans patched and welded, new dynamat Sounds absolutely insane I love driving it Here's a couple pictures of the car and myself!
-
Wide body build thread! Fiberglass Mafia kit MOLDED
juliarosario replied to juliarosario's topic in Body Kits & Paint
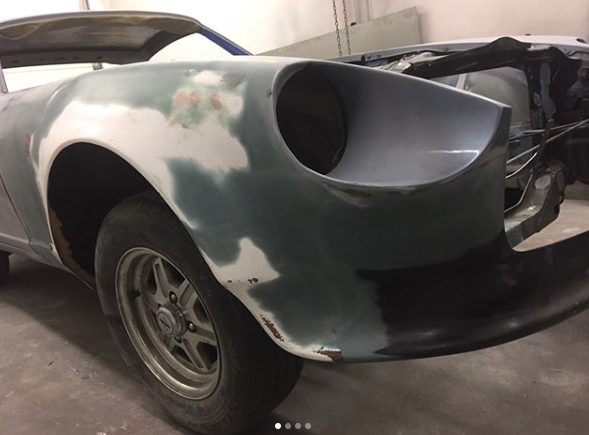
A couple days later I saw some more progress and I was SOOO relieved. My car looked completely different and at last I was finally happy I chose to have them molded in! My baby is THICCK!! At this point I was beyond excited that I chose the fiberglass mafia kit, everything is coming together so well!
-
Wide body build thread! Fiberglass Mafia kit MOLDED
juliarosario replied to juliarosario's topic in Body Kits & Paint
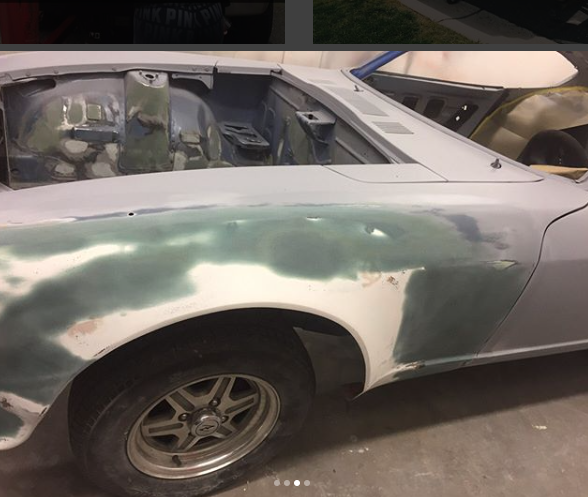
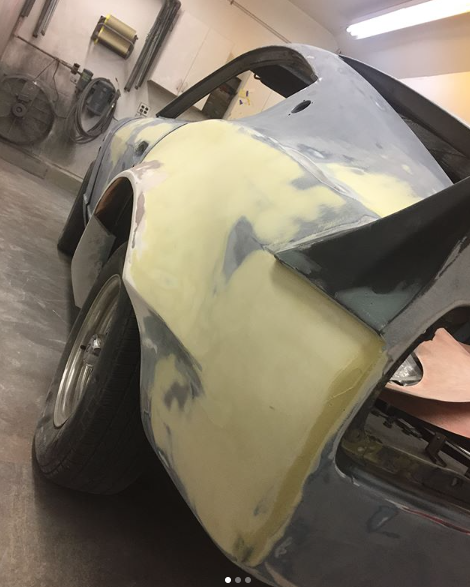
After my fenders were bonded and set, the molding process began! Here is a picture mid way through! When I saw the fenders like this I was definitely excited that work was getting done but I was scared! I was like wow maybe molding wasn't the best plan but oh well! I STILL TRUST IN THE BODY WORK!!