Leaderboard



Popular Content
Showing content with the highest reputation on 09/07/26 in Posts
-
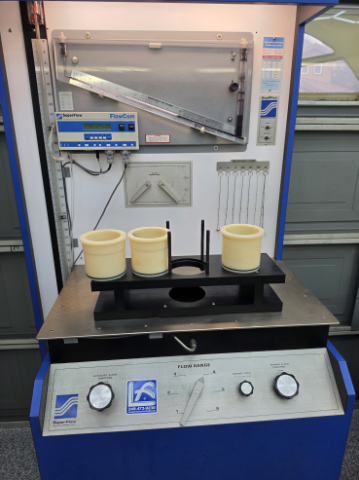
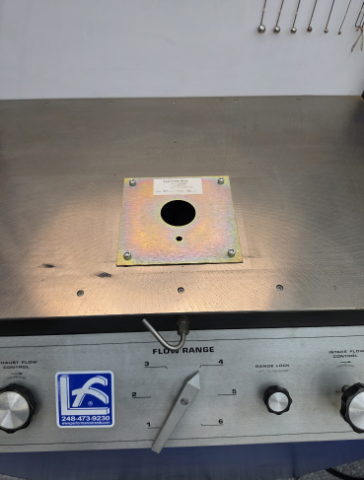
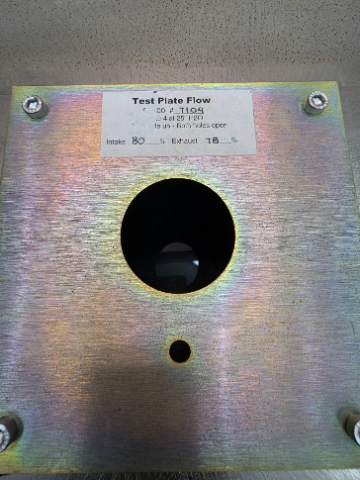
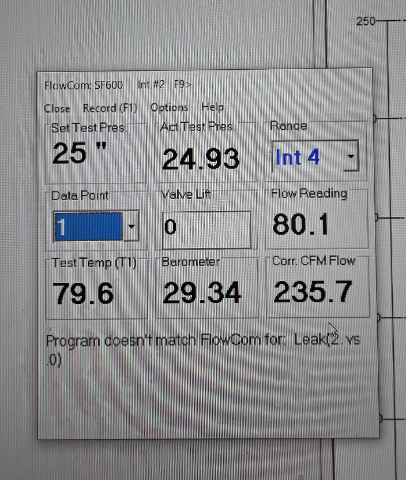
I've decided to build a detailed thread to document L-Series cylinder head flow testing and the results. Like many aspects of these engines, it's sometimes hard to know what to believe or how to interpret what you see and read. Test setup, equipment, testing methods, and just straight-up BS can all contribute to the confusion. I don't sell a product or service and have nothing to gain from the results I post, so my goal is to keep the testing unbiased and as consistent and repeatable as possible. Feel free to comment or criticize as I move through this. I'm happy for any input. First up is the equipment. I have a SuperFlow 600 converted to run the digital FlowCom directly to my laptop where I use PortFlow analyzer from Performance trends. This software sets up the test and aids in the data logging and reporting. It also compensates for Altitude, Barometric pressure, ect. So no math or reading of the old school manometers. Its super accurate and very repeatable. I built a L-Series specific test stand and replaceable cylinder bores to test the common sizes, 84mm - 240z , 86.5mm 280z, and 89mm - Big Bore. This has a considerable effect to the max flow due to bore shrouding, so its important to test on the correct size. This is the first place numbers can get "offset" If some guy is flow testing a Z head on his 4" Chevy bore, you bet the numbers will look good. More on this later. These bores are made of nylon and seal to the test stand with an o-ring. However any leakage can still occur, so the software takes a zero measurement first, and this leakage is then subtracted out automatically Next up is calibration - the bench should be calibrated on a regular basis to check for issues. You do this by bolting the supplied test plate that is matched to the machine and simply flowing it. Here you can see the plate bolted on, it has calibration flow percentages written on it to compare Ans this is the screen on the laptop, you can see the bench is within .1 percent calibration for the intake and exact for the exhaust Ill flow and document the heads I have as well as some I will borrow from friends. Some will be stock, some will be modified to various states. Ill also do some test to help point out important details. So stay tuned Thanks - monZter
 2 points
 -
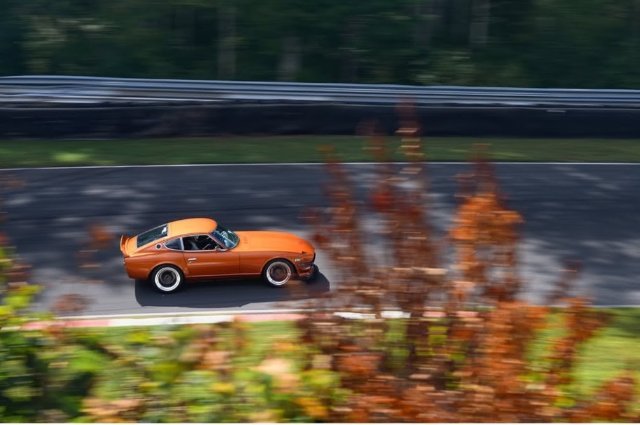
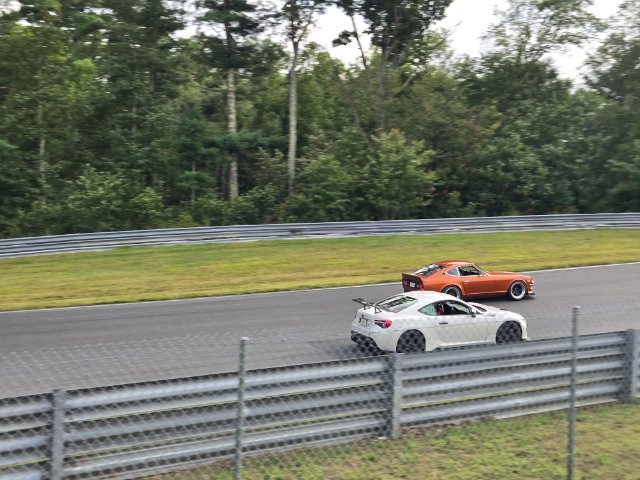
couple videos the wife had taken. looking over some datalogs this morning. Car never got over 201ºF in any log that I could see. I can't find a spot in a log where the oil temp even got over 200ºF. oil pressure never dipped on any turns or hard braking. Really impressed the car didn't skip a beat. For a shakedown i was pleasantly surprised. New track for me so i worked on me as a driver rather than swings at setup changes to bandaid a driver problem but my lap times where improving fairly significantly every session and was having so much fun doing it. 20260905_111217.mp4 20260905_173624.mp42 points
-
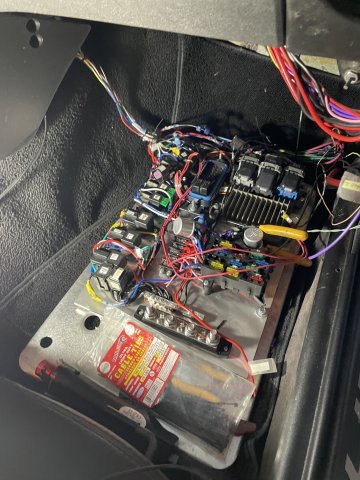
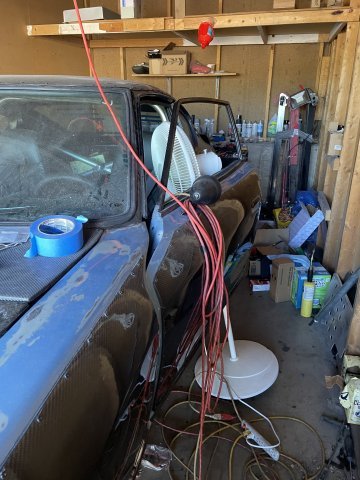
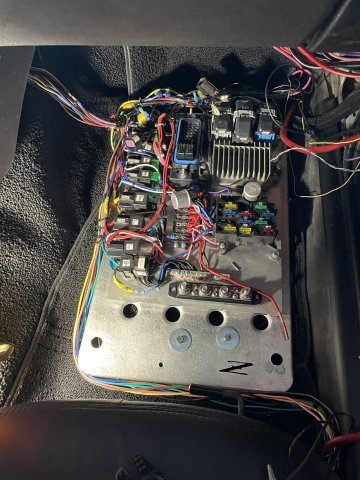
09-06-2026 ATLAS Z UPDATE: Ok, so I mounted my electric panel into the car and began wiring it up. The garage is SO HOT. I had to go inside and get a fan to blow in there on me (see pic). going pretty well! about 75% done. PICS
1 point
-
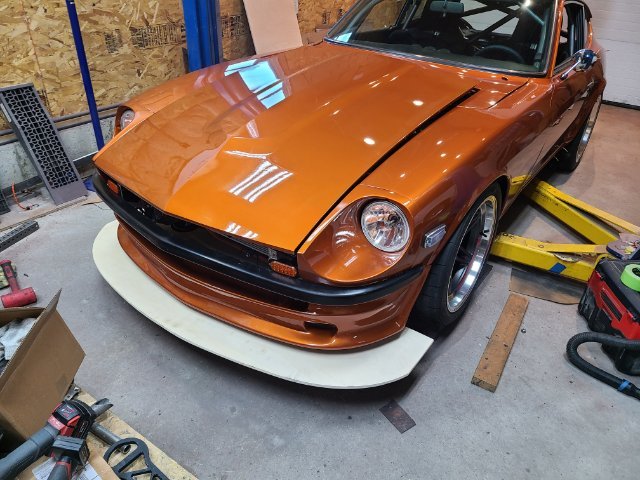
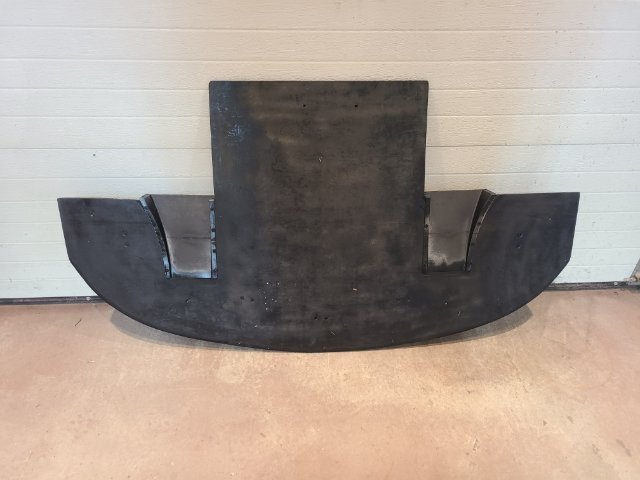
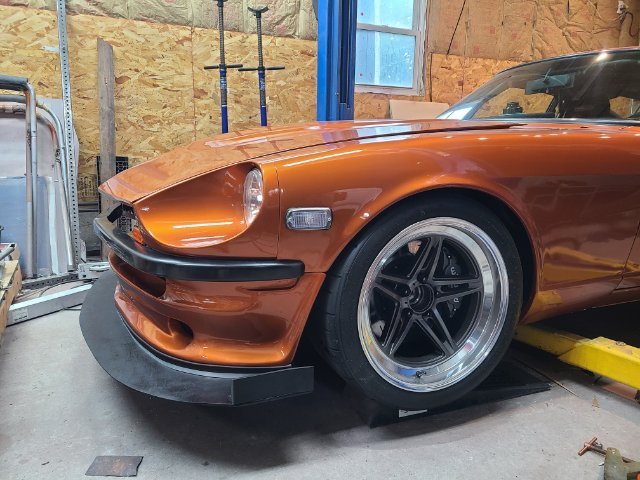
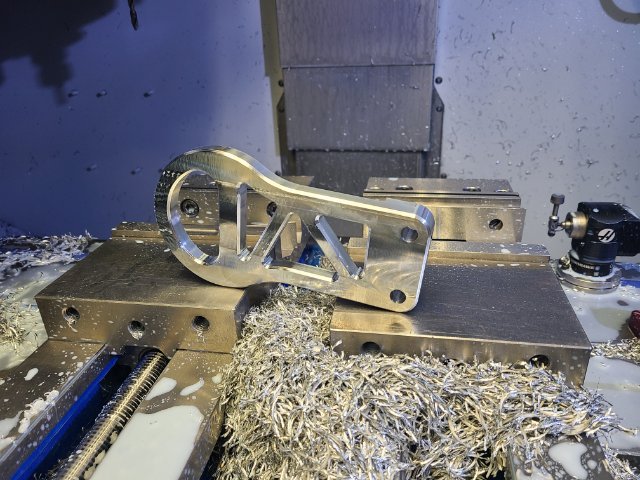
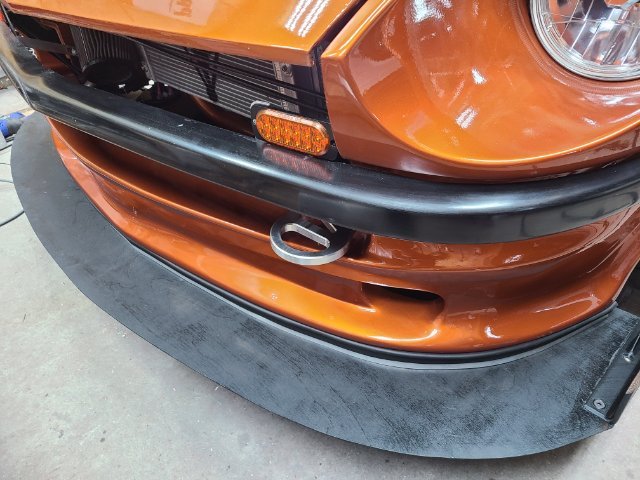
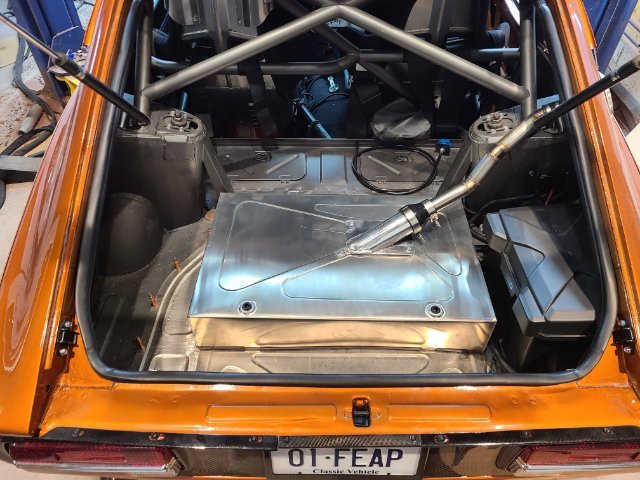
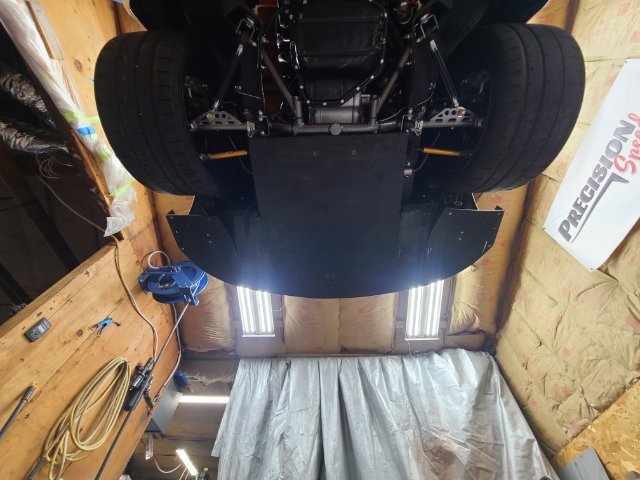
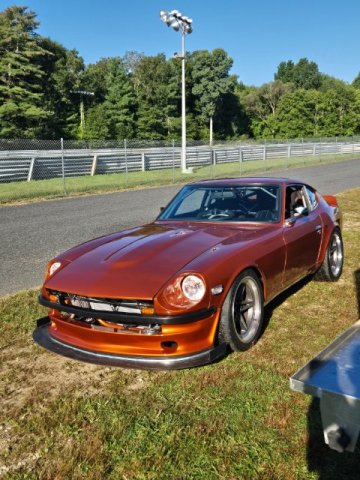
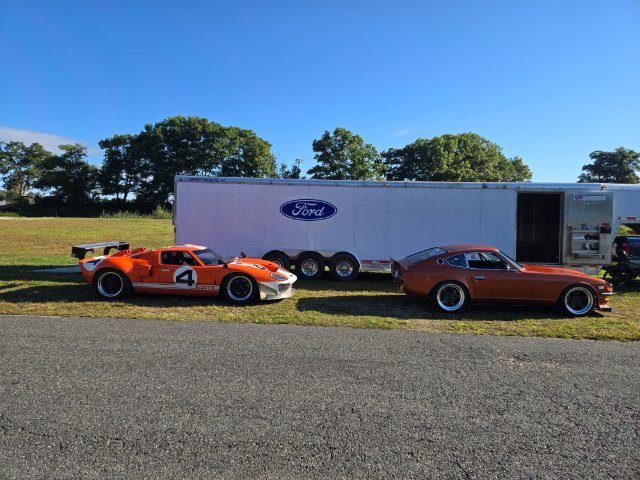
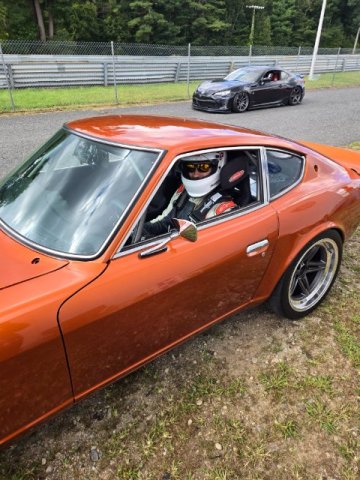
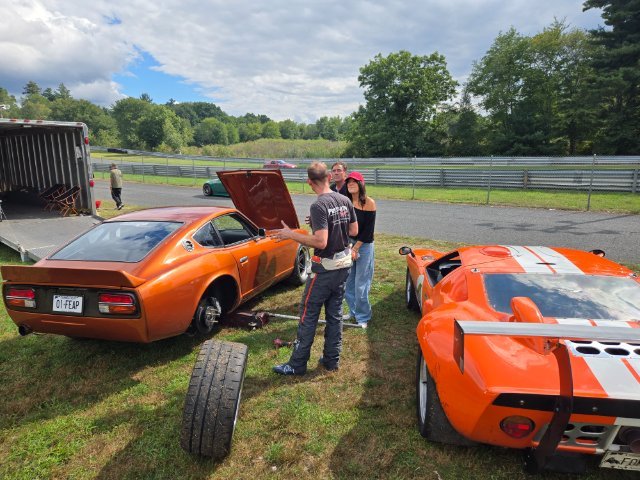
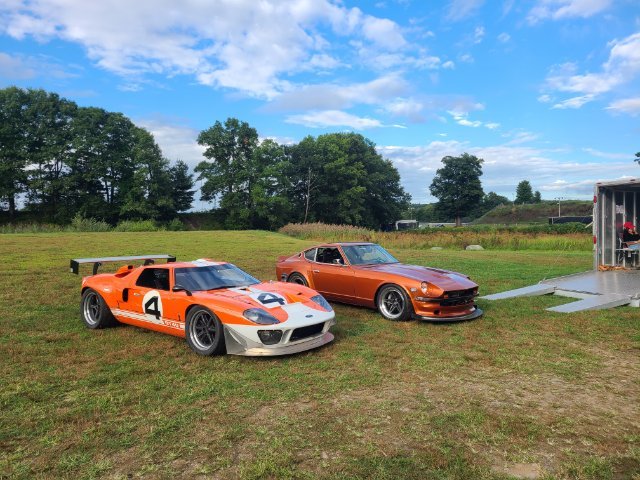
Last weekend i got the offer to run a single day of a multi day event if I wanted to shake down the car. So i scrambled all week getting a bunch of things checked off the list. a couple days getting up at 5am and working for a couple hours before work and then to 10-11pm after work but got it so i could run it. Added a front splitter. strut bar, seat belts. fuel cell bulkhead, fire extinguisher, coolant overflow, battery tie down and kill switch, tow hook, brake bias controller, some tuning changes and im sure a few more things. But i made it. My uncle and I loaded up friday evening and saturday morning drove an hour and a half to the track. Had a great time. car was an absolute trooper and didnt skip a beat. New track for me so had some getting used to the track and the car. but i did 4 sessions problem free, I didn't change a single thing all day. found one loose bolt after session 3 that i caught before it was a problem. Car performed well. Had a fairly competitive pace by the end. Anyway. huge photo dump
1 point
-
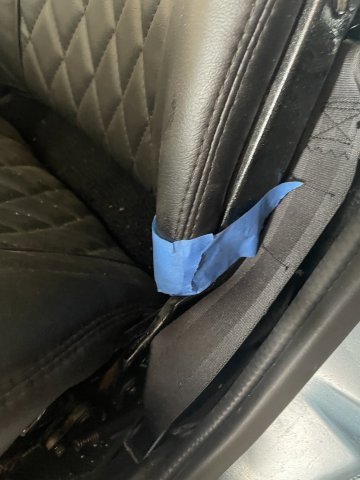
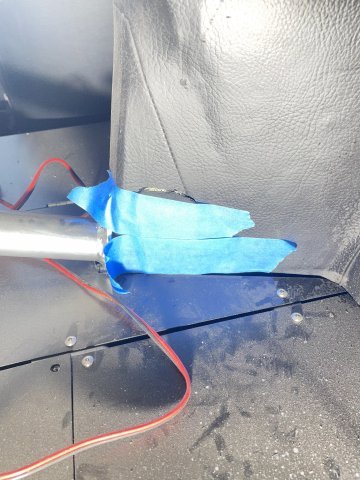
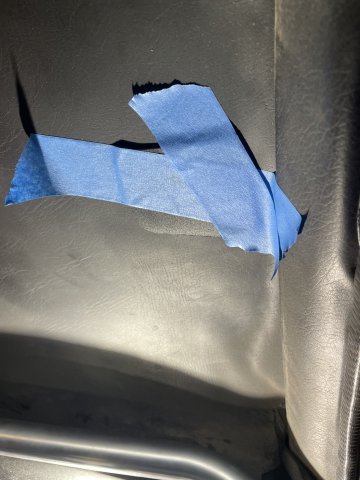
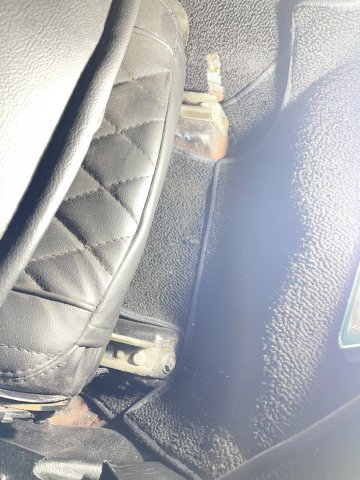
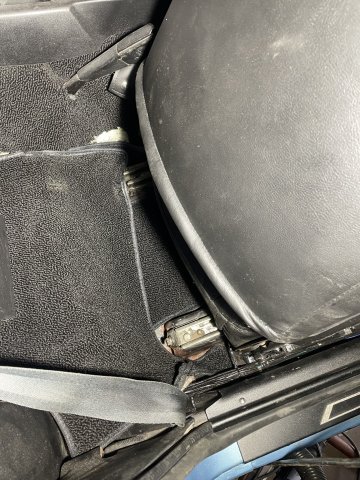
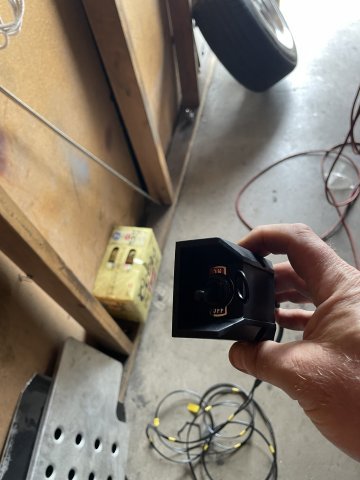
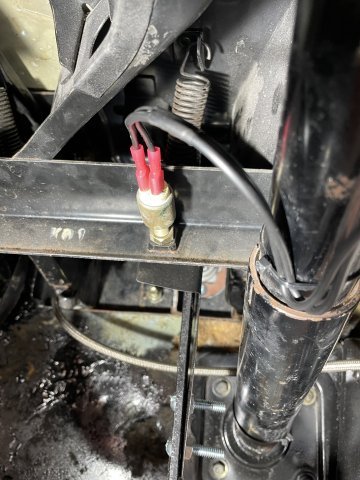
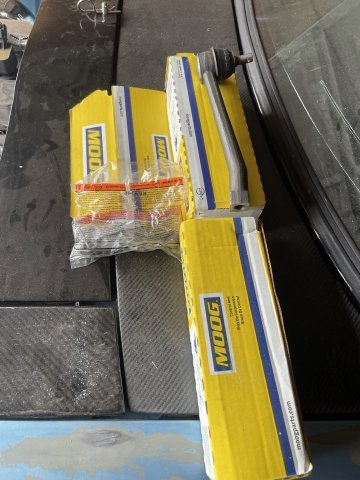
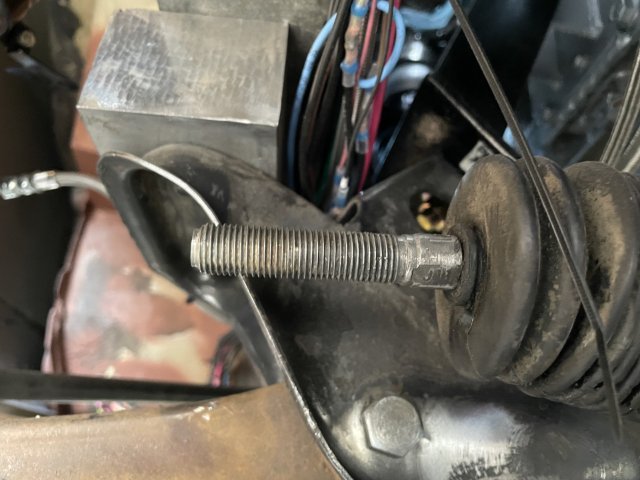
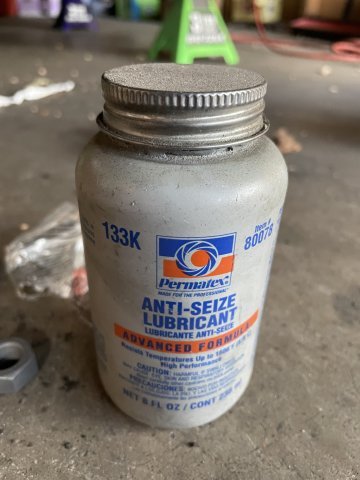
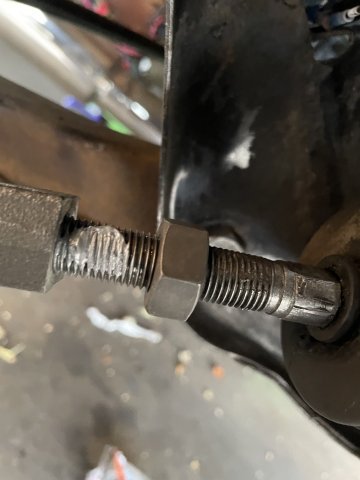
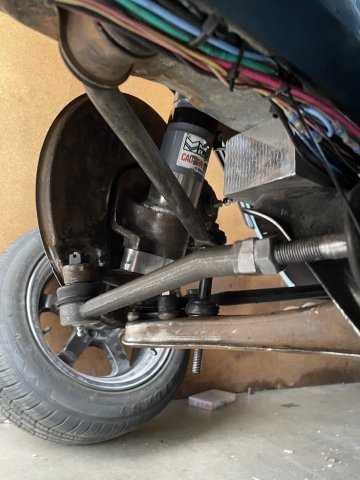
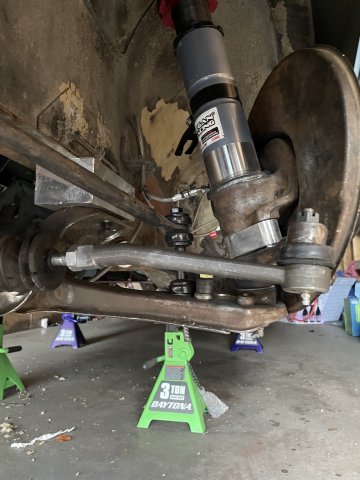
08-30-2026 ATLAS Z UPDATE: Started the day with putting some cut leather on the upholstery sections that needed to be covered. Amazing my new seat covers, have managed to have a worn spot....but it's all better now. Working in tight quarters these things happen.:) Then I went ahead and bolted the seats down in then vacuumed it all up and installed the hidden toggle switch to turn on so the car will start, my theft deterrent, and wired in the brake light switch....just running the wires over to the passenger footwell.... labeled, so I can start on that soon. I finally managed to get the last piece of the end links on the steering rack off, and then wire wheeled them down really clean, and used anti-seize and installed the Moog end links for now...I will have to adjust when I am ready to align the front wheels, but for now, a lot of progress made! The whole car is about 75% done already and it's only been a year! PICS:
1 point


.jpg.1990af17048858cad04130309b7009f5.jpg)
.jpg.45075ff6916891e2f05a046adae76a2f.jpg)
.jpg.cd24ccb14d0d6e48f6ad41acc08cda77.jpg)