

lowrider
-
Posts
402 -
Joined
-
Last visited
-
Days Won
2
Content Type
Profiles
Forums
Blogs
Events
Gallery
Downloads
Store
Posts posted by lowrider
-
-
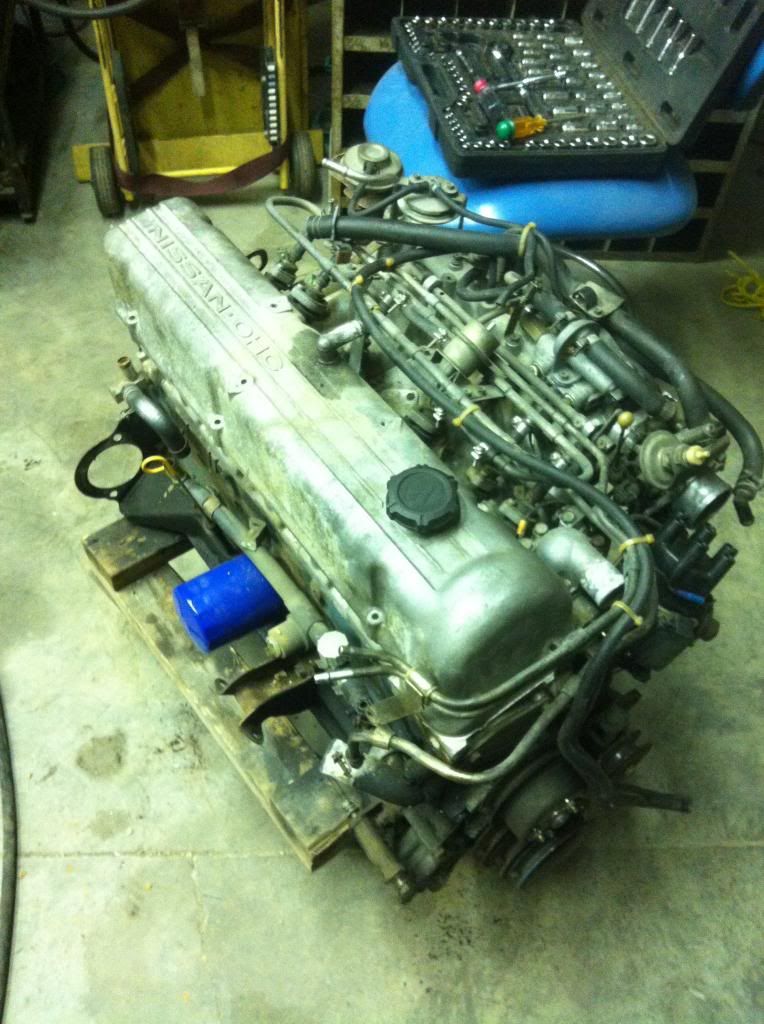
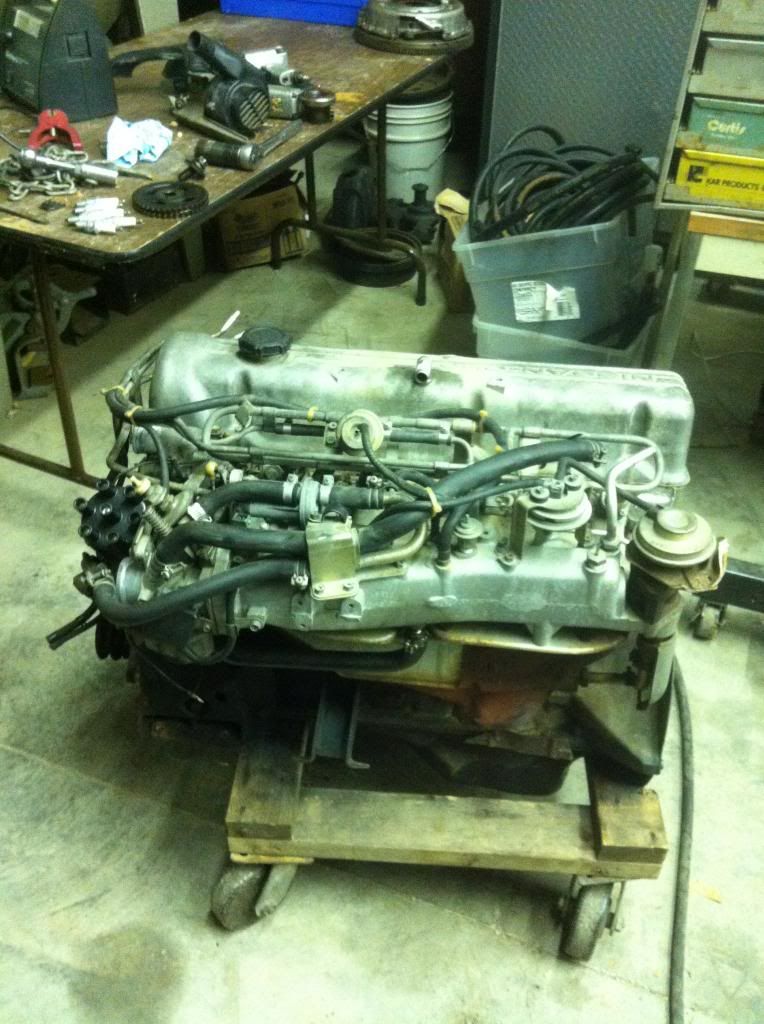
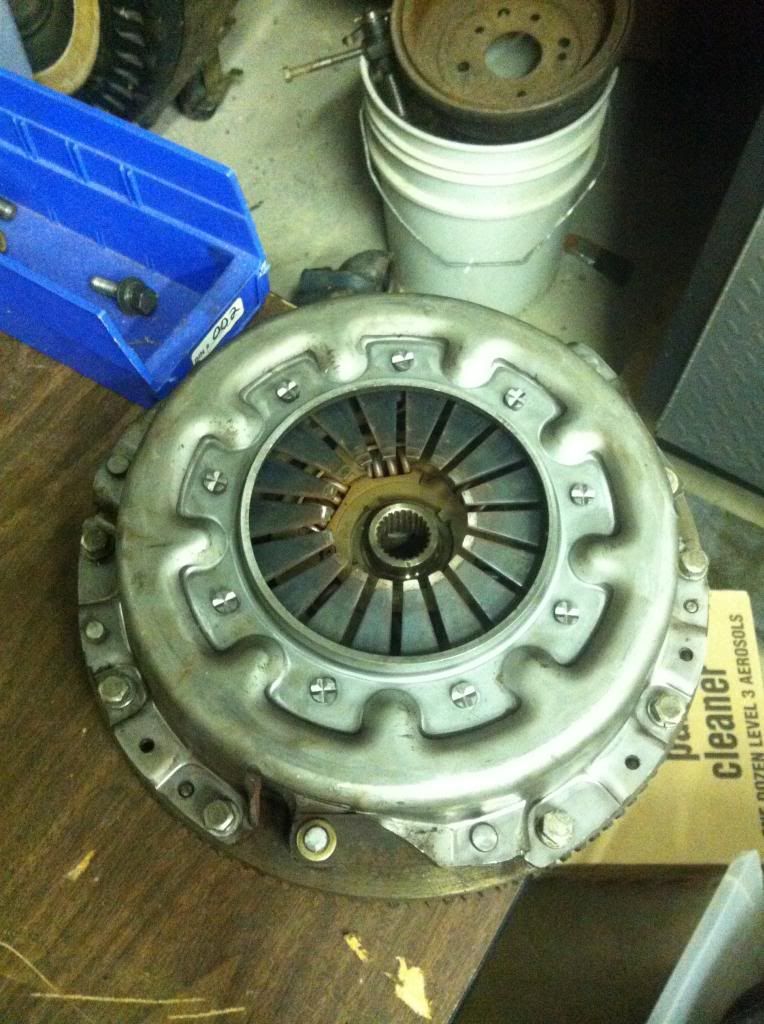
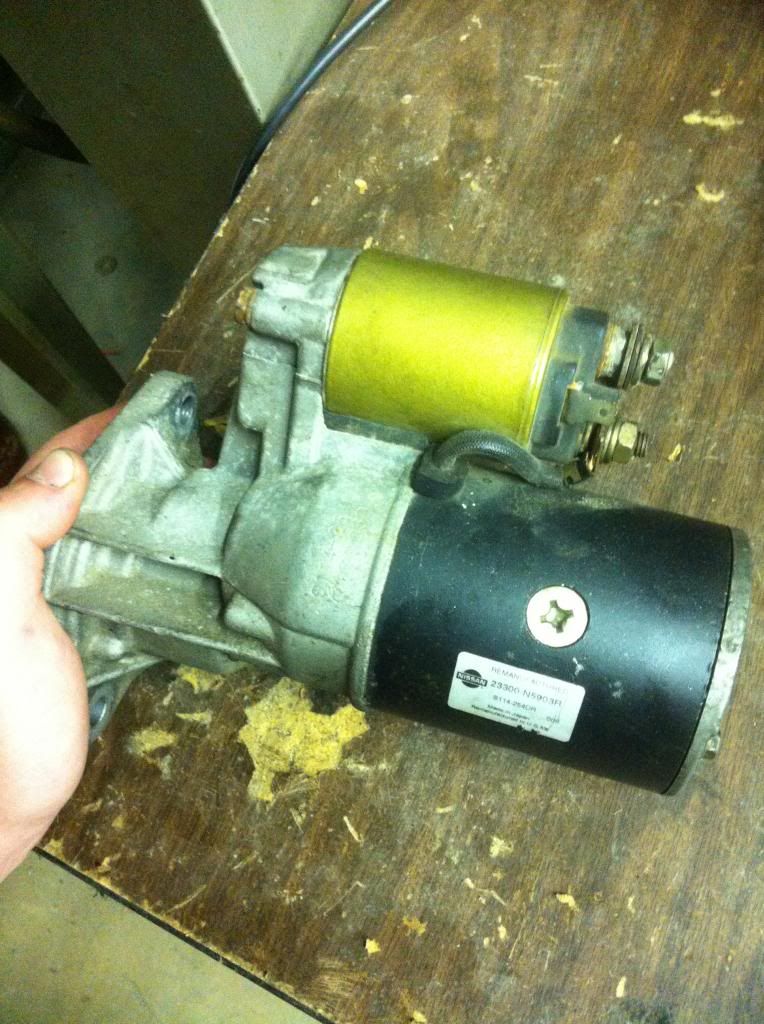
Okay, we’re partly there! While driving spiritedly in Asheville I hurt the motor, It started smoking/missing after a good romping at 18psi one day this summer. It was found that number 5’s plug was fouled and the compression was down on that cylinder. After the compression test, the goal was to give the motor even more heck. It just so happened I was browsing craigslist and got an amazing deal on a 79’ ZX motor and trans a few months earlier. The kid had trouble to getting it running right he said it would do nothing but foul the plugs. He was pulling it to go V8 and ditch the engine. I ended up getting the motor, Trans, and efi wiring for $50. The motor came with new Taylor wires, new clutch(240mm), new cap, new rotor button, Nissan remaned starter, and a few other goodies.
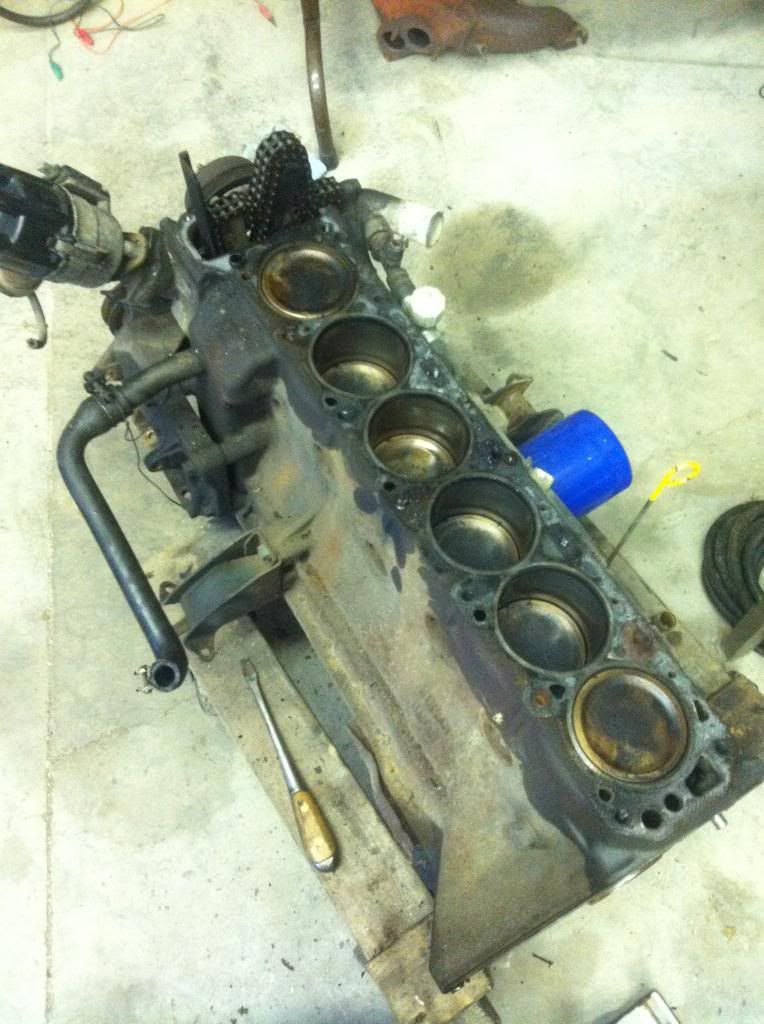
Anyhow, I moved back to Knoxville to start school back in fall 13’. I decided now would be the perfect time to swap the bottom ends out. I got the 79 motor out of the storage container and started disassembling it.

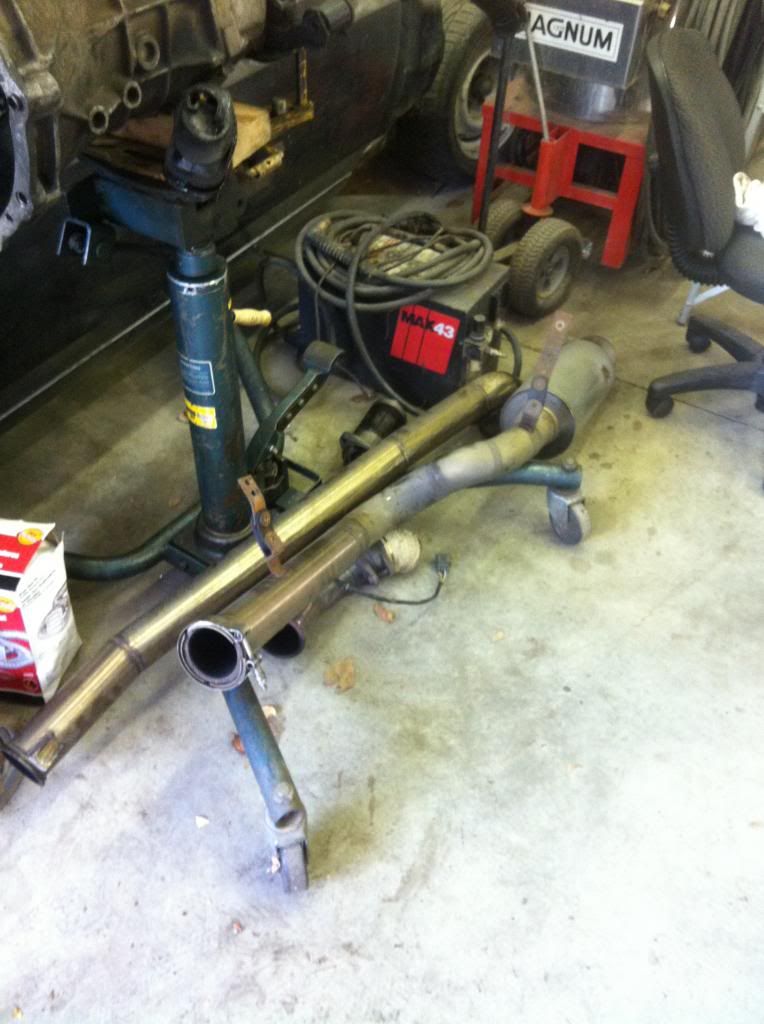
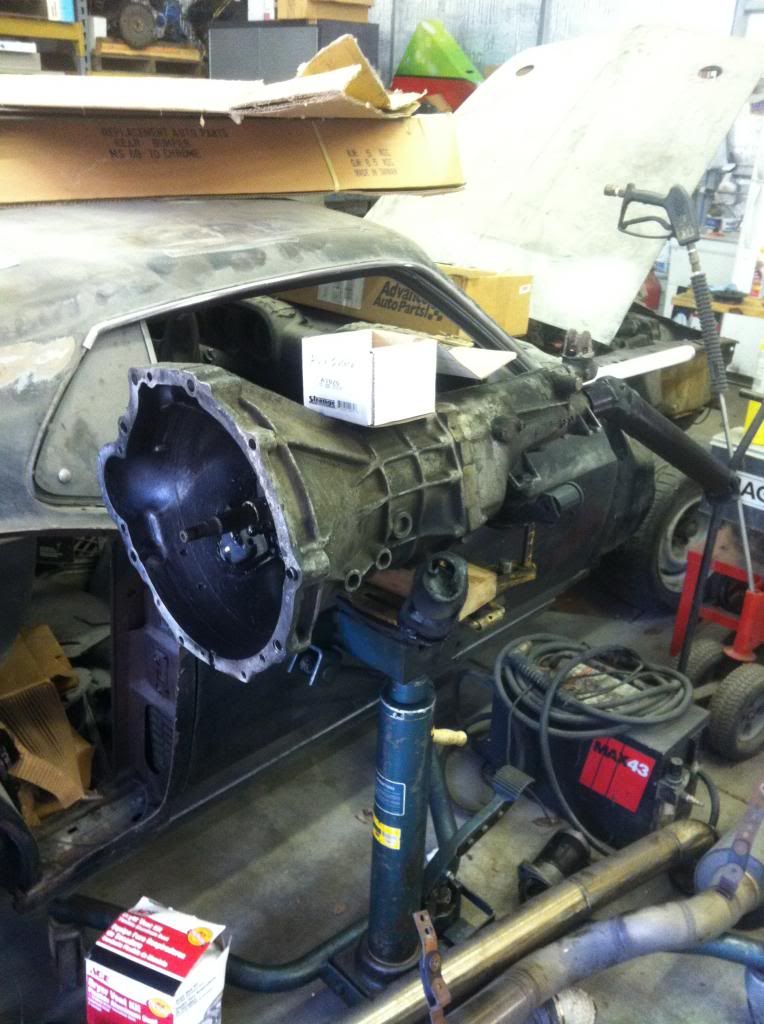
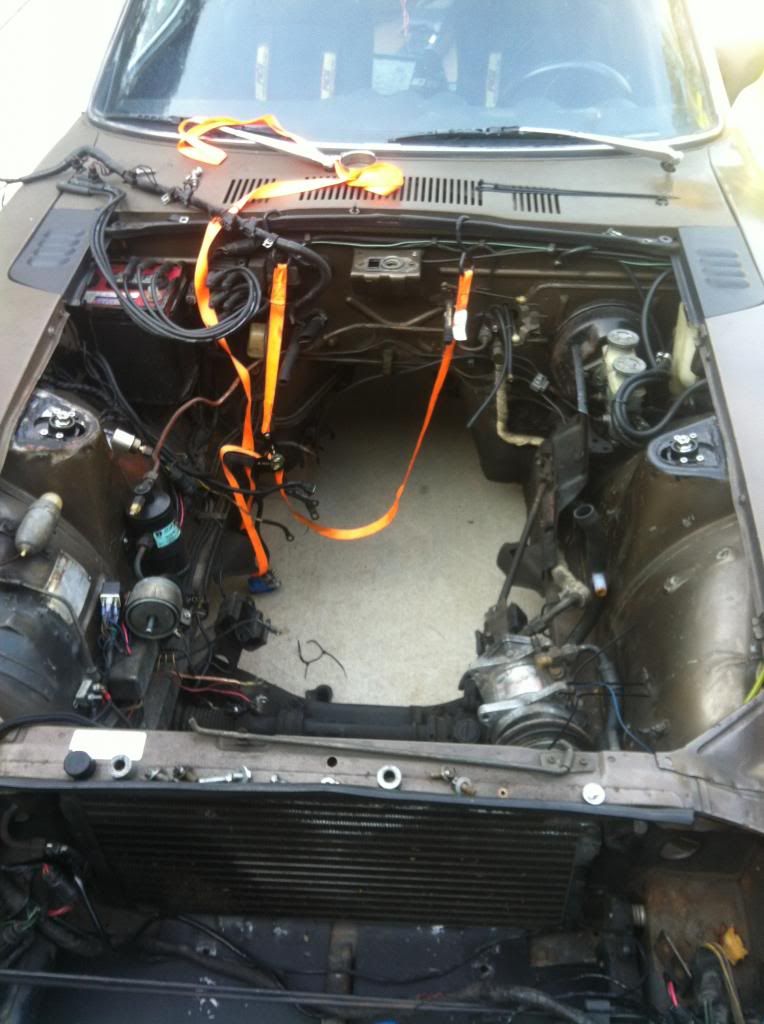
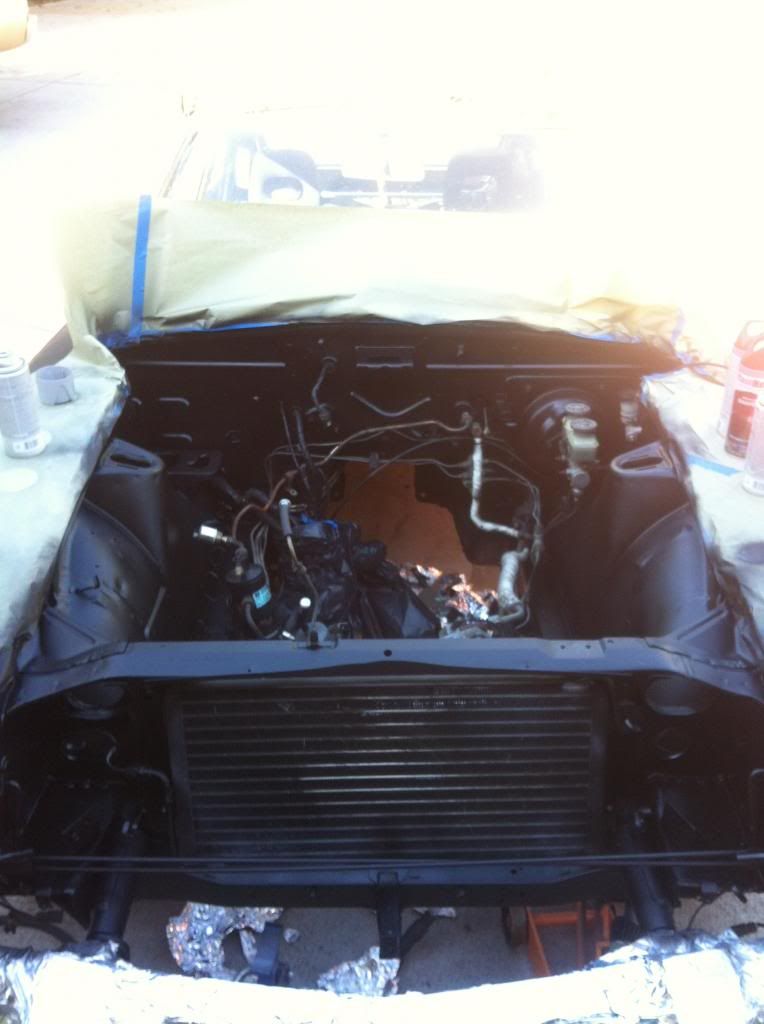
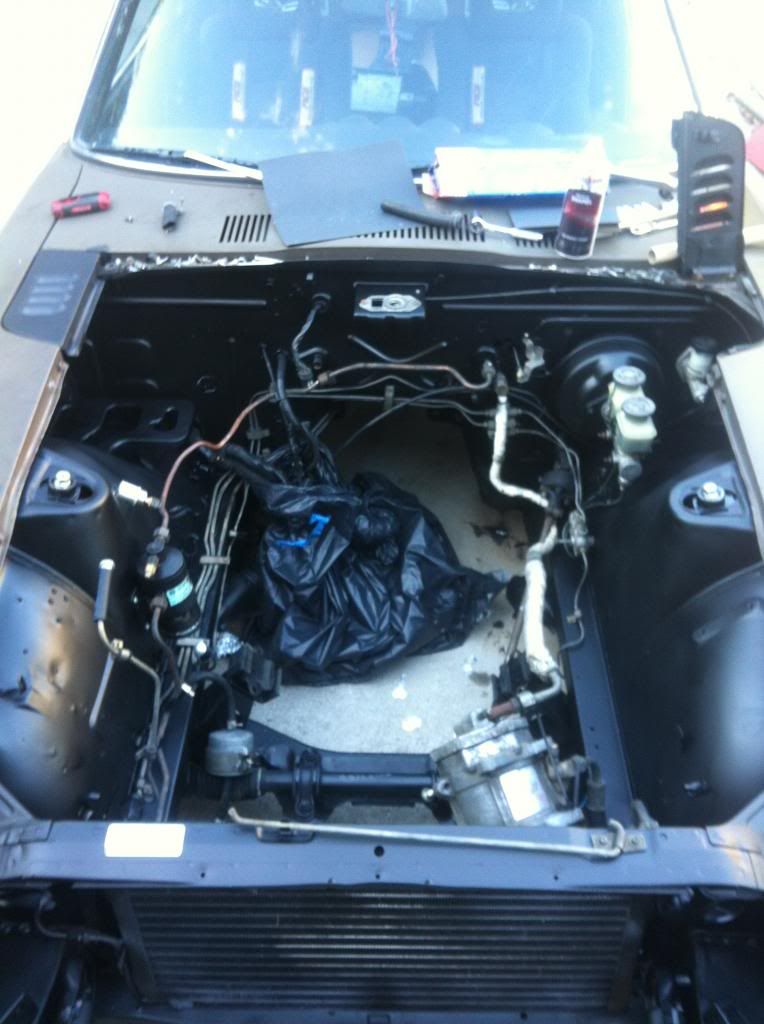
I then started removing components from the car. The intercooler piping, exhaust, and trans were among the first things taken off. Finally the motor was ready to come out. I had always questioned my dad in buying a forklift; however I can’t argue that it was a bad decision now. This thing made it so easy to remove the engine!
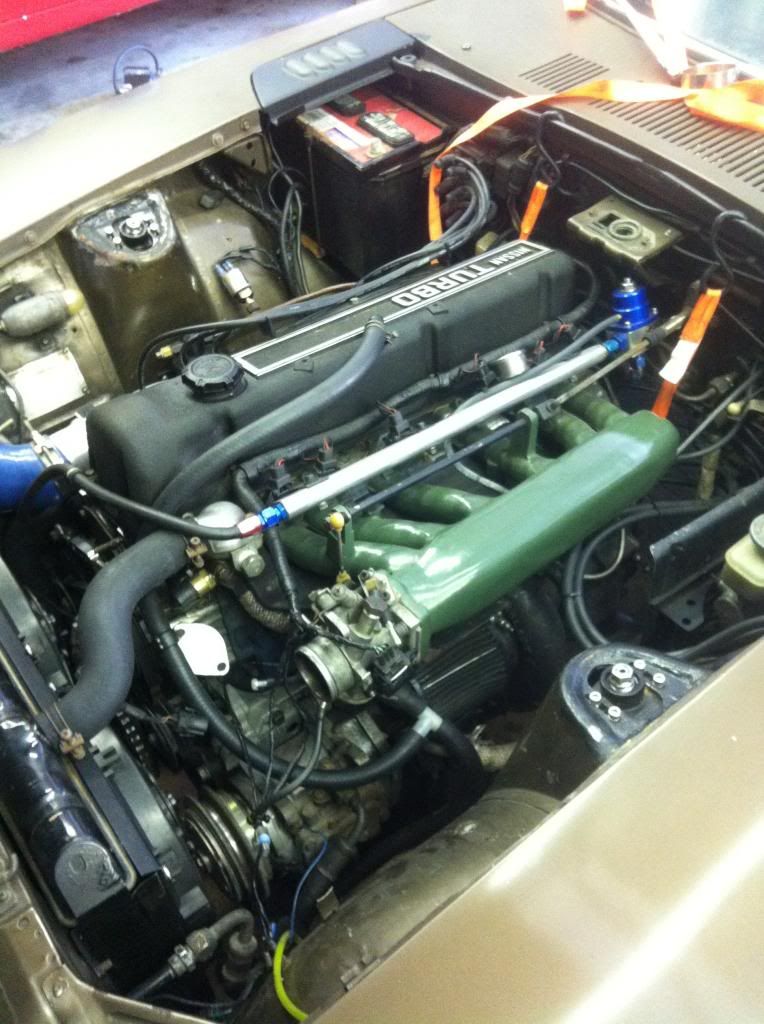
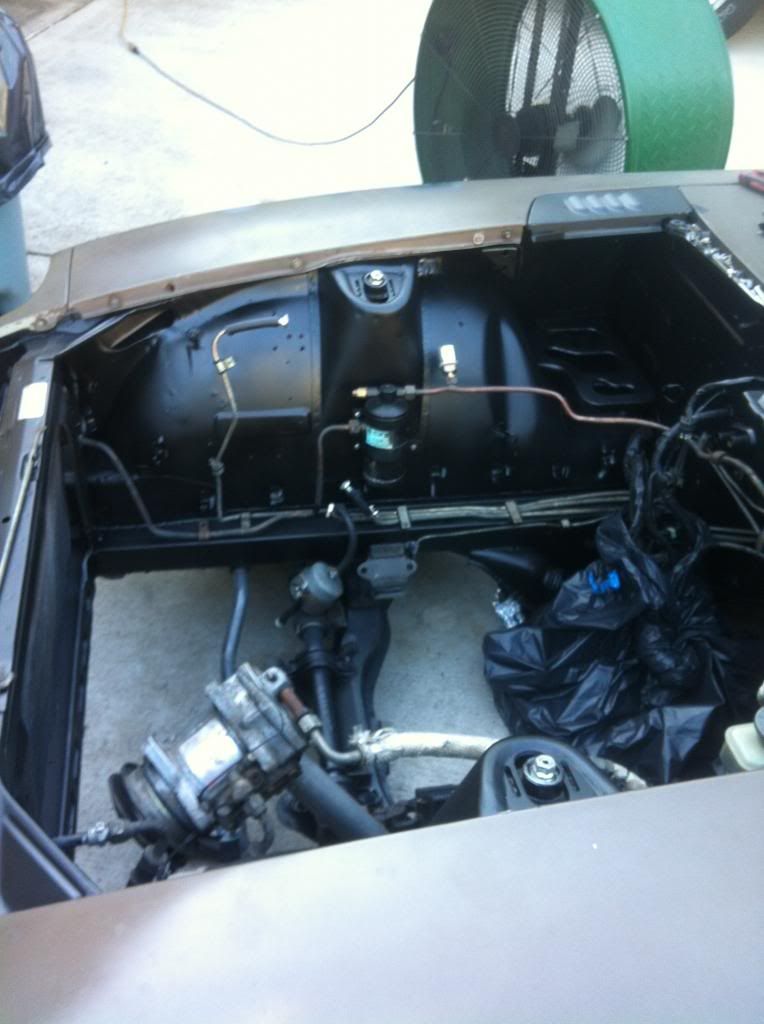
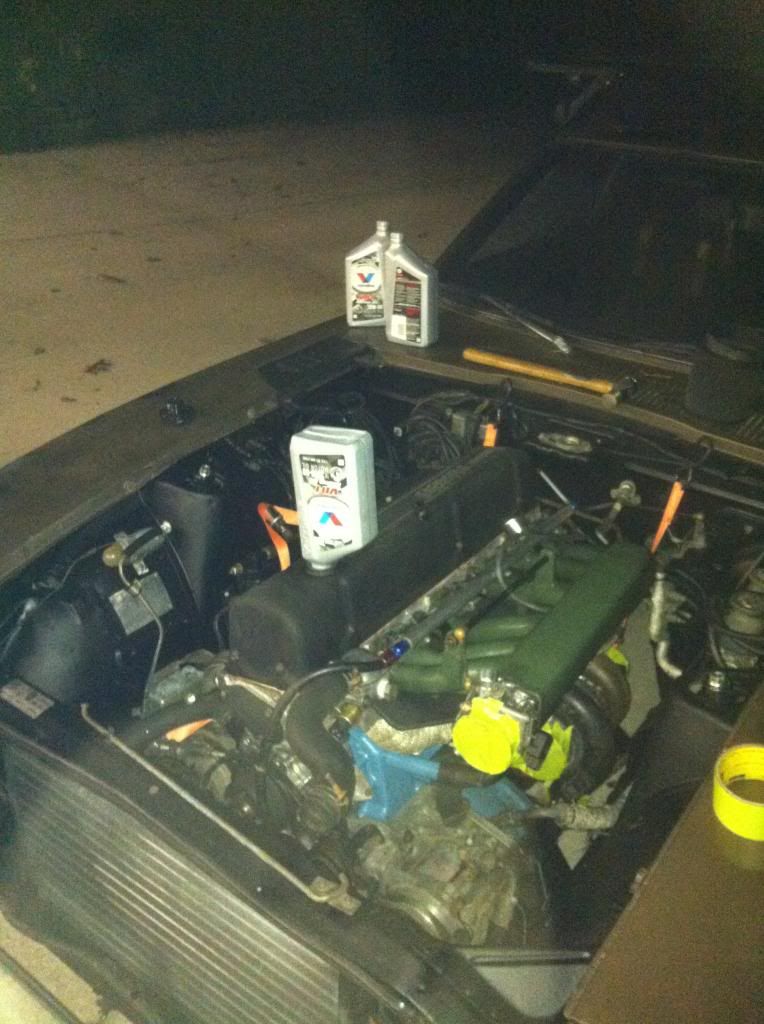
While the motor was out, I decided to paint the engine bay. After smoothing out the camber plates a little more I primed and then painted the bay semi flat black. Needless to say, the engine compartment looks 1000x better now!
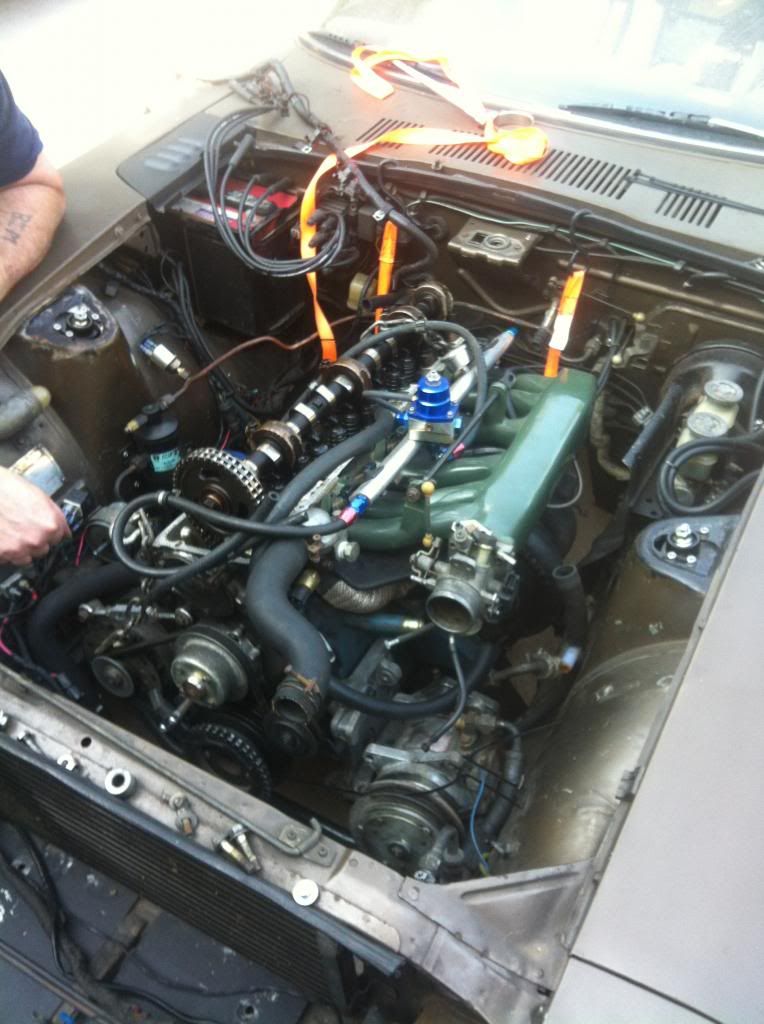
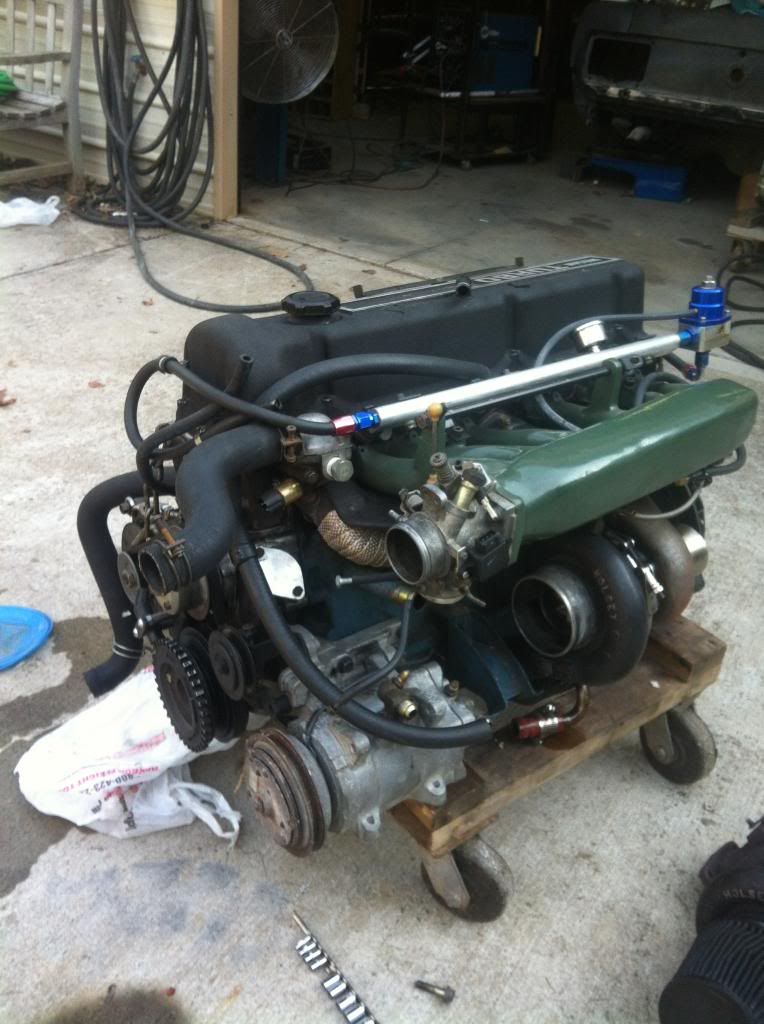
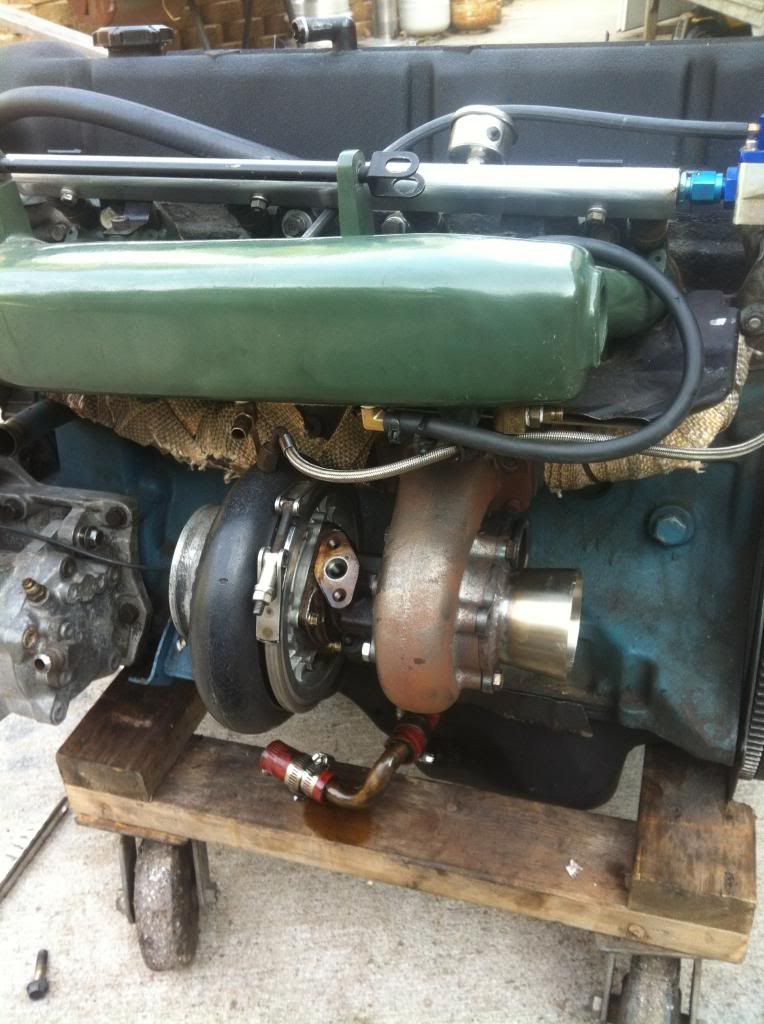
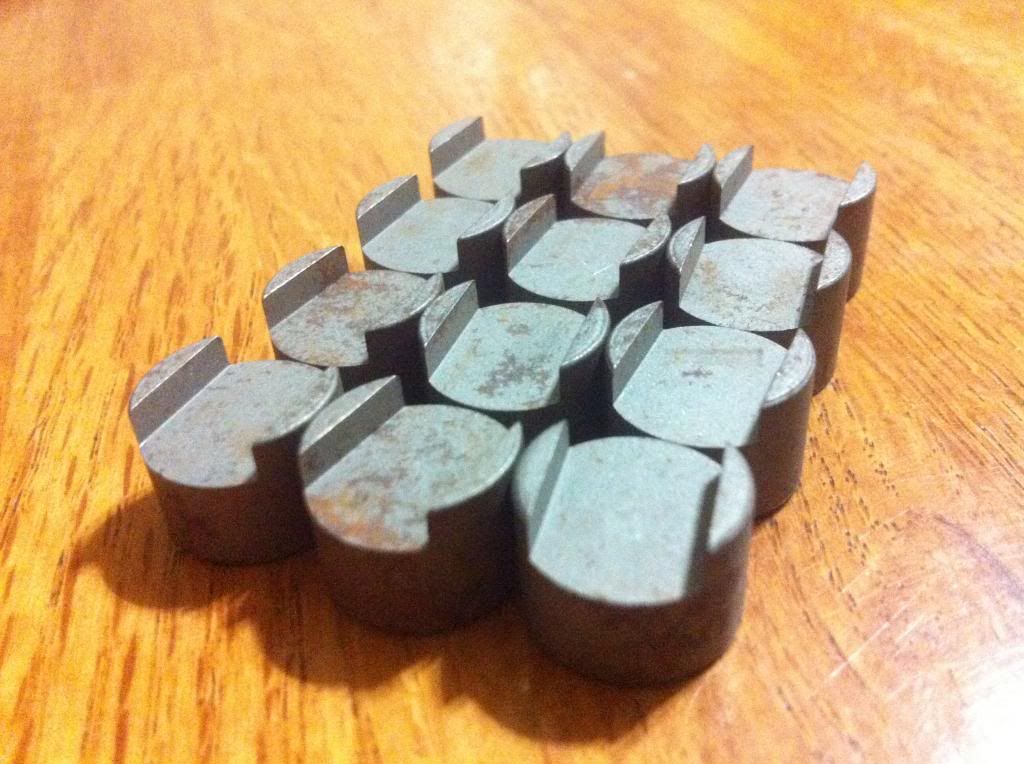
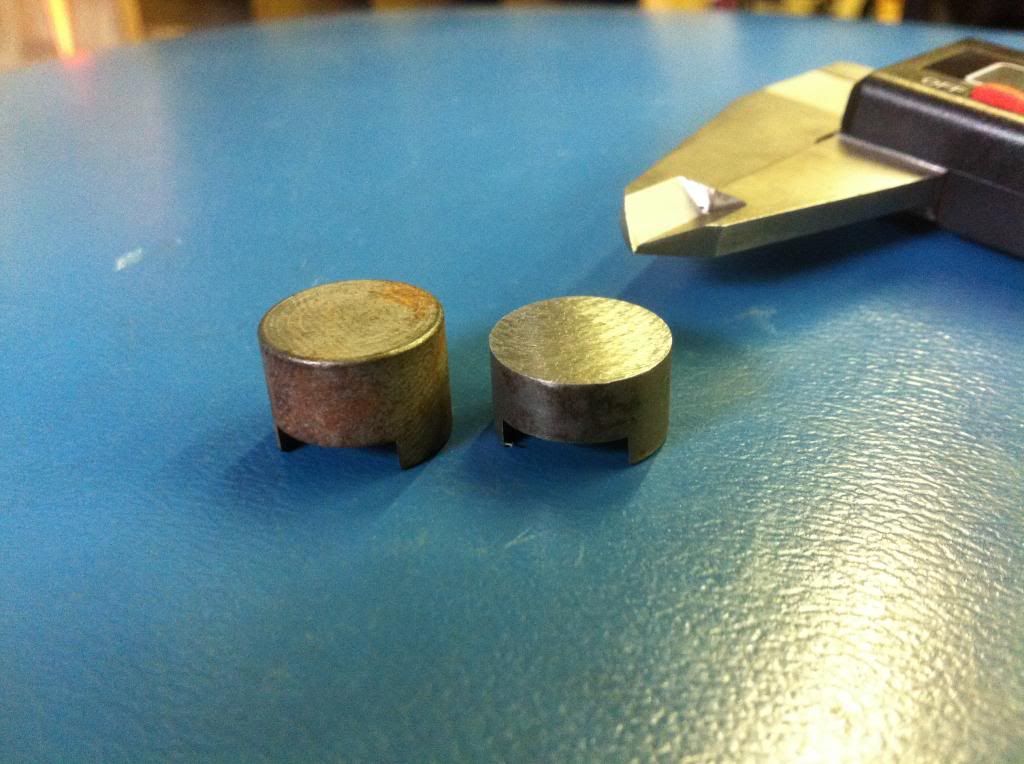
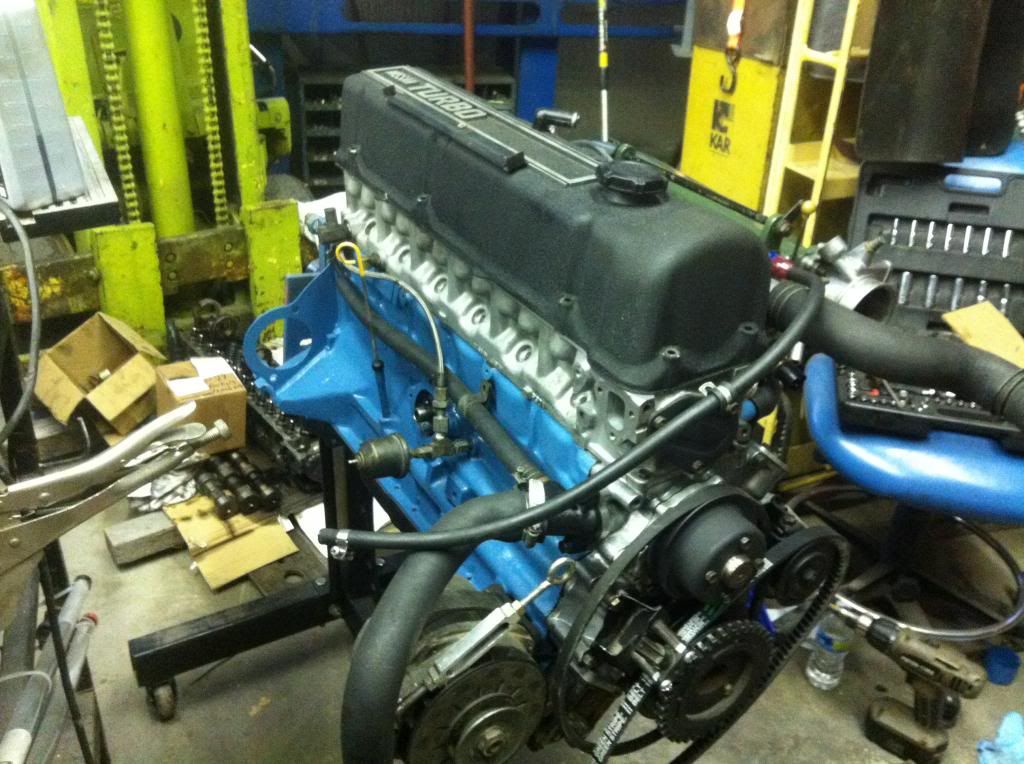
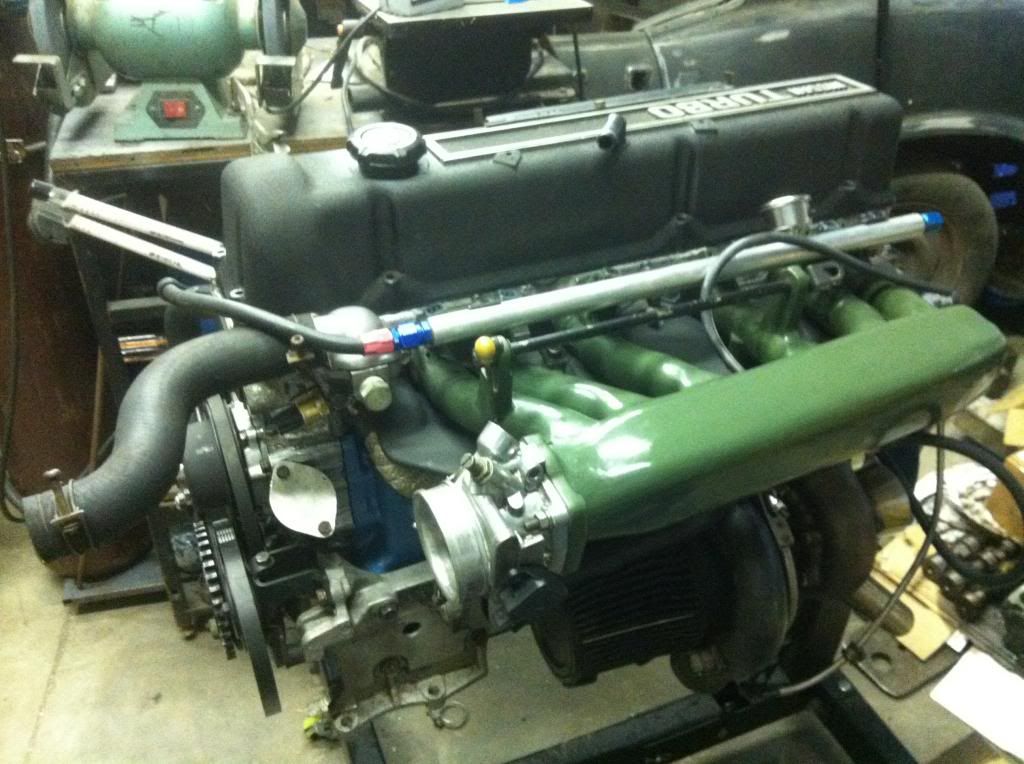
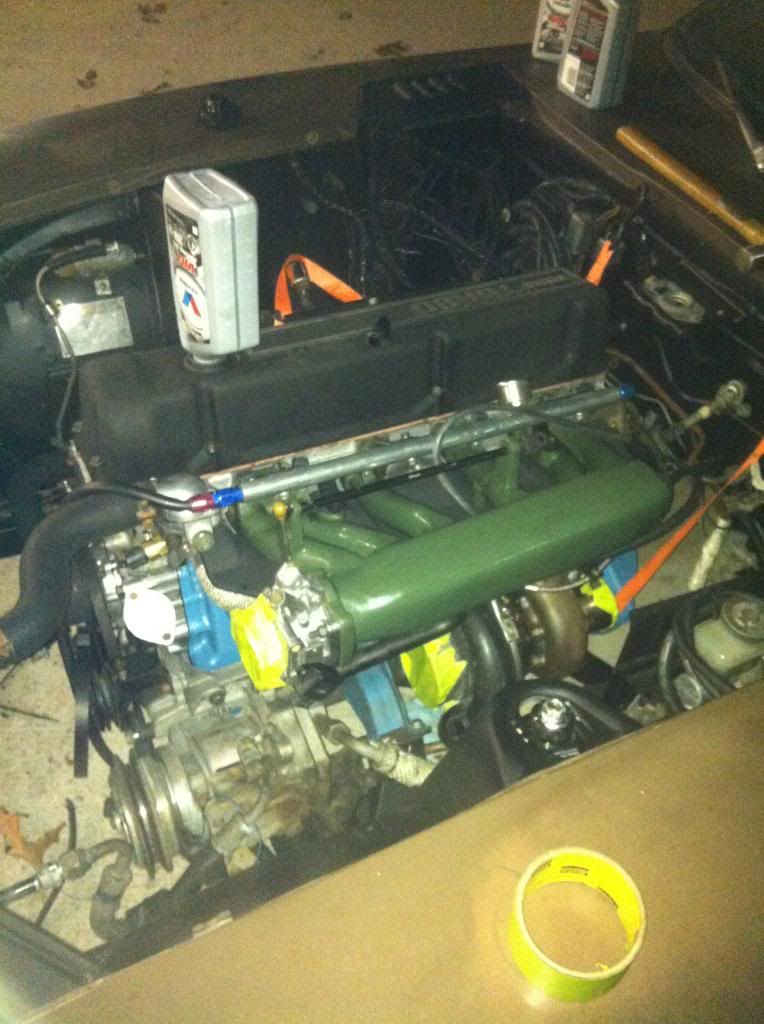
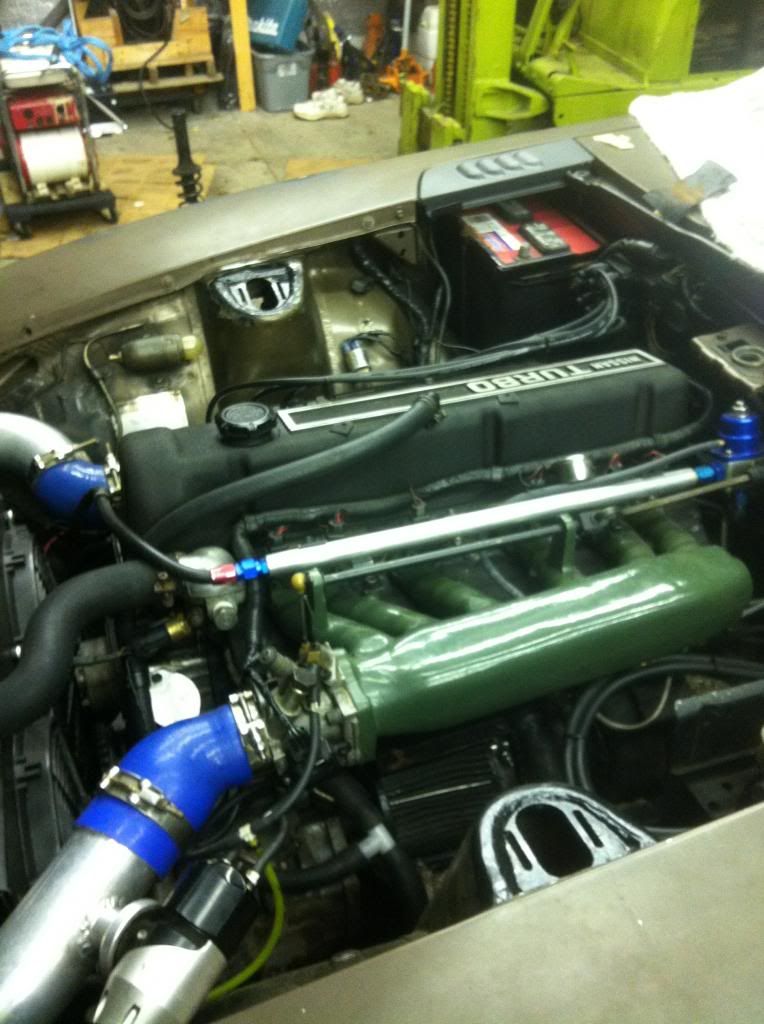
With the old motor out, It was a matter of swapping parts over to the new block. Before I started doing that I decided to check the rod and main bearings on the new bottom end. Everything looked good and they also plasti-gauged within spec. For this motor It was decided to us the P90 that I had sitting on the shelf, I also ran across a TEP turbo cam in the classifieds here I used in this motor. The cam was unused for the exception of setting the lash. It spec’d out at .460 lift with 272 intake/274 exhaust duration. I bought a set of lash pads from MSA and a set of outer Valve springs from Rebello. MSA didn’t have a set of pads the thickness I needed, so I had to turn them down in the lathe. I also splurged on an exhaust housing for the Holset. I was getting tired of the lag of the stock 12cm^3 housing so after $180 I had a .63 AR housing that bolted up! The only thing I had to modify was the down pipe, which was no big deal. After I got the head back from the machine shop, things started going together quickly. Pictures!!
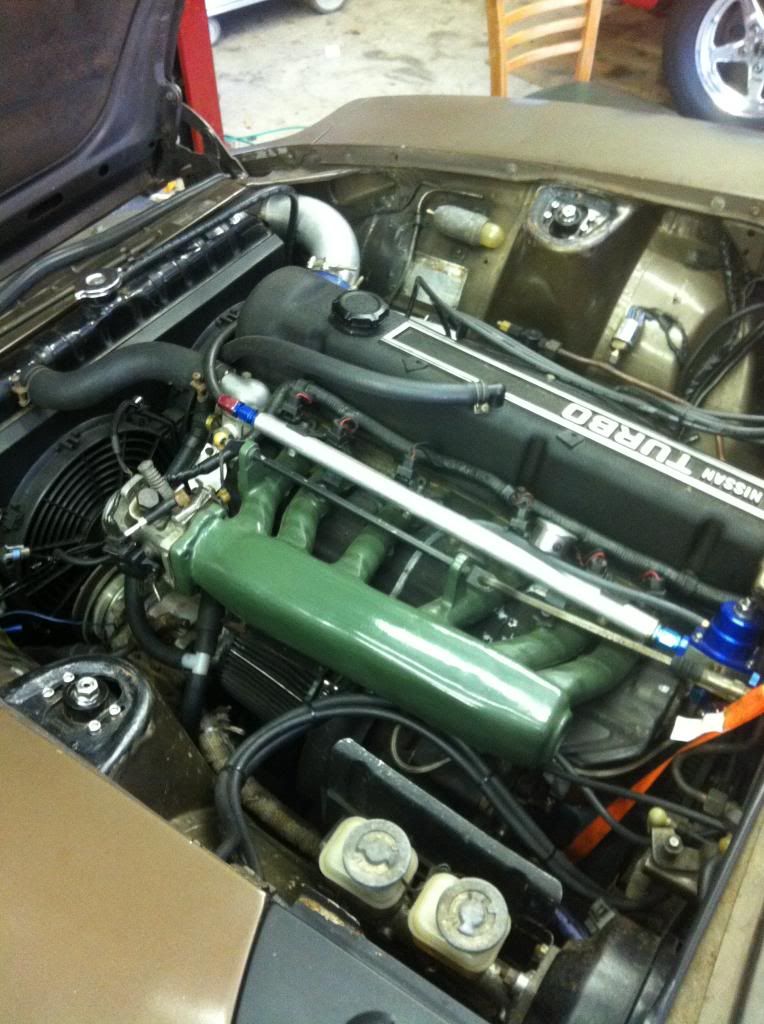
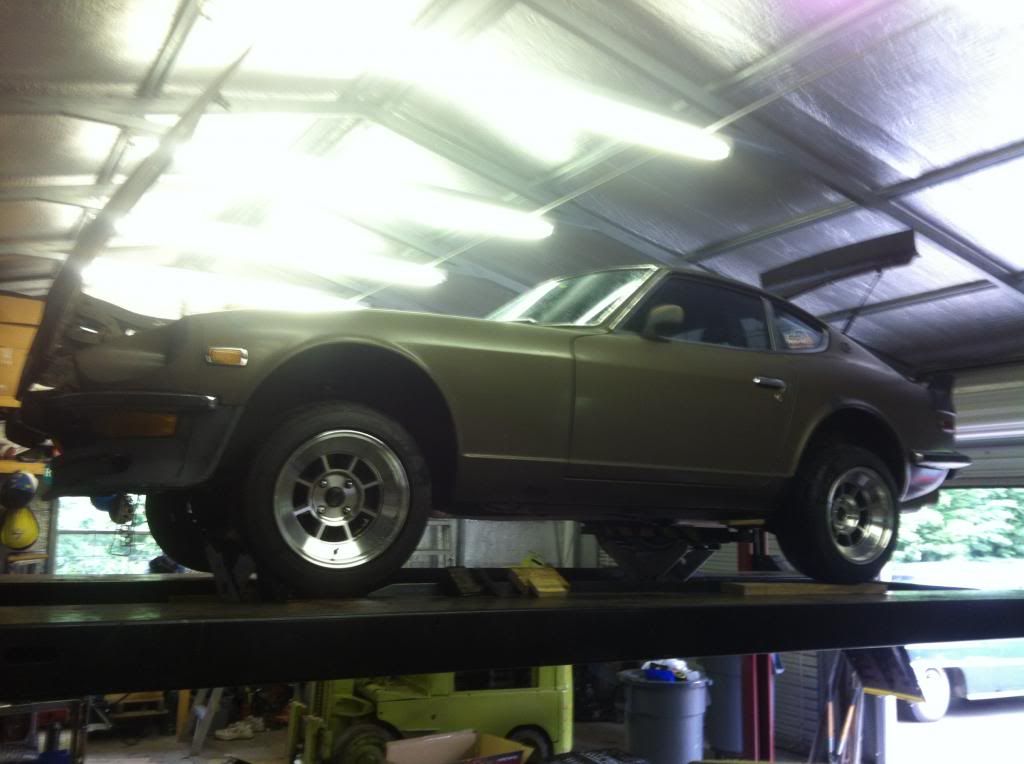
I got the motor set in the wee hours of the night.
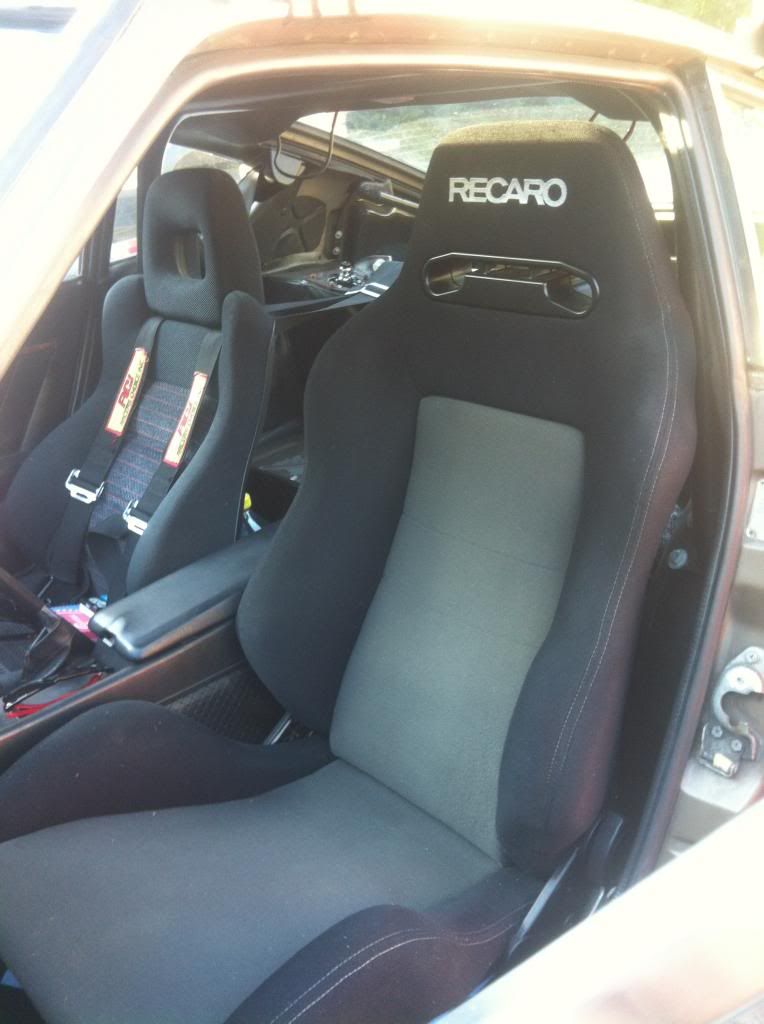
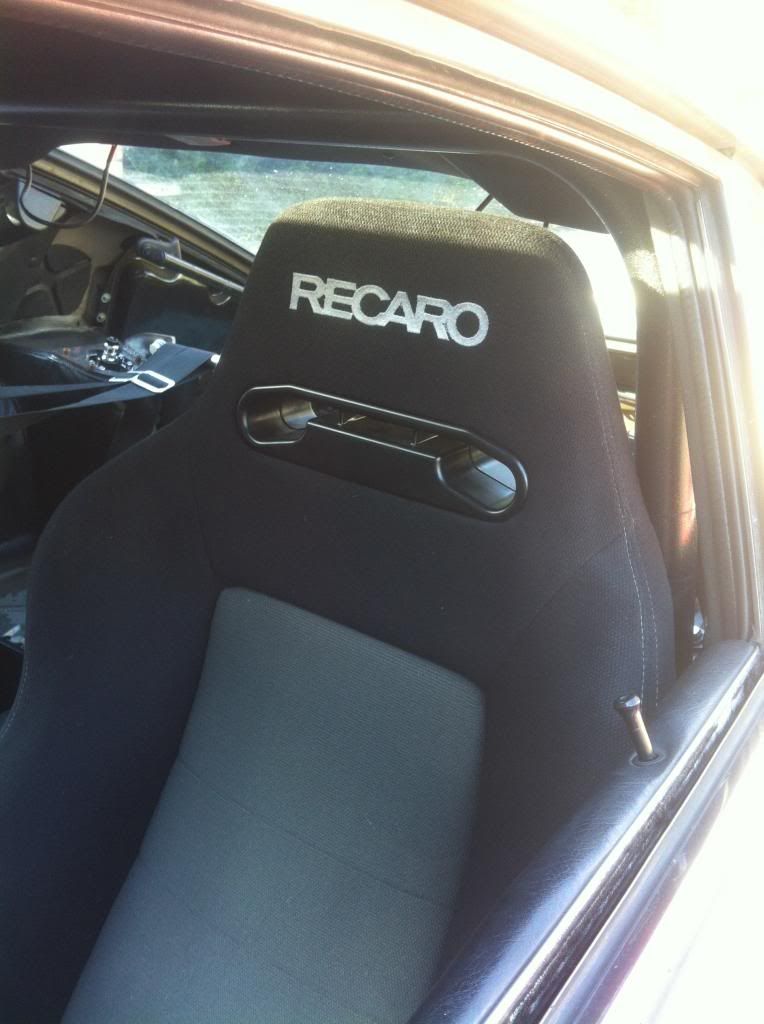
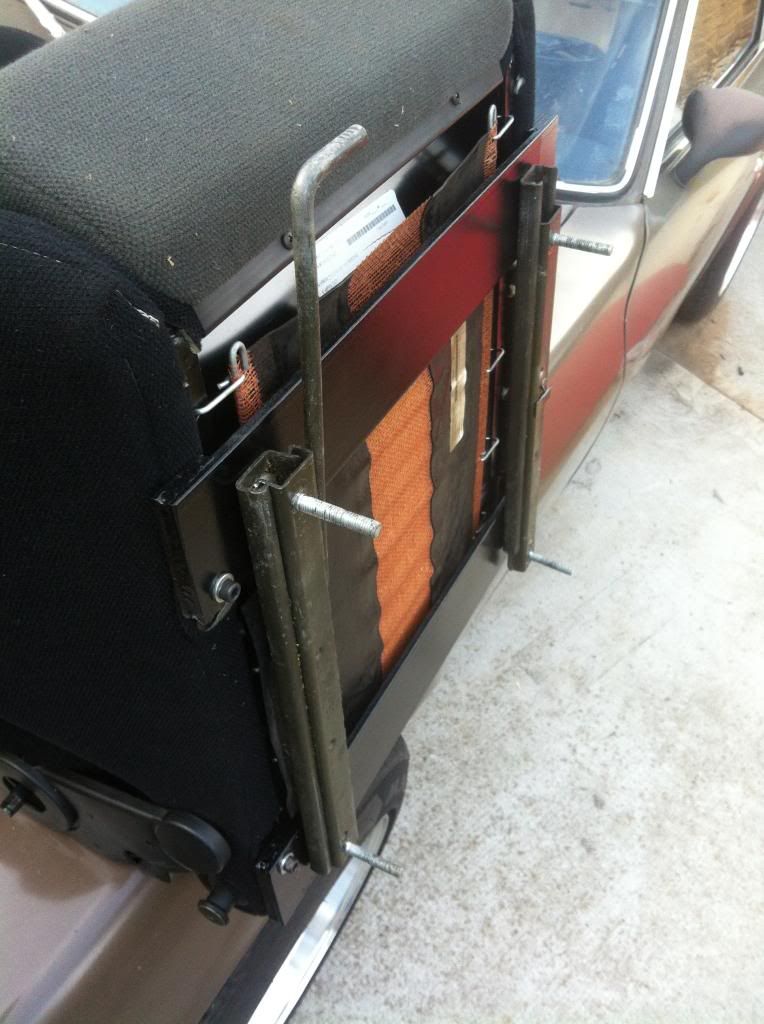
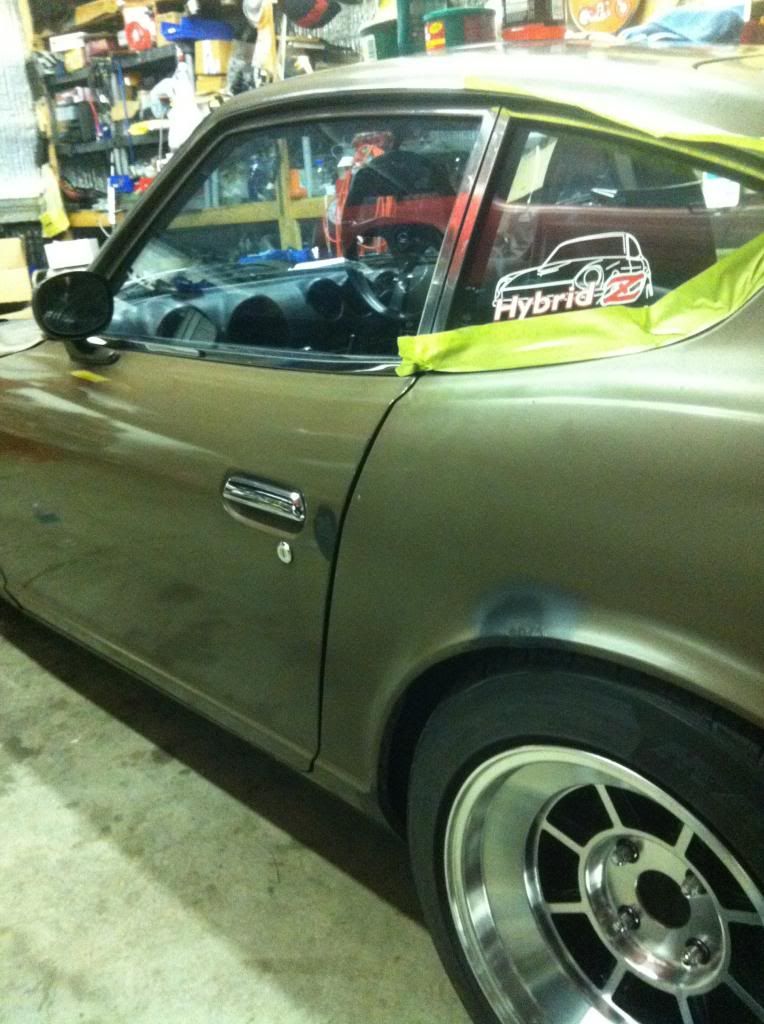
Immediately after I got the motor in, my buddy gave me an excellent deal on a set of Recaro seats. After picking up some metal, brackets were made and the seats were fit into the car.
These were to test fit the seats before I actually bought them. In the second picture you can kind of see my roll bar. I forgot to mention it before, I picked it up second hand from the same friend as the one who sold me the seats.
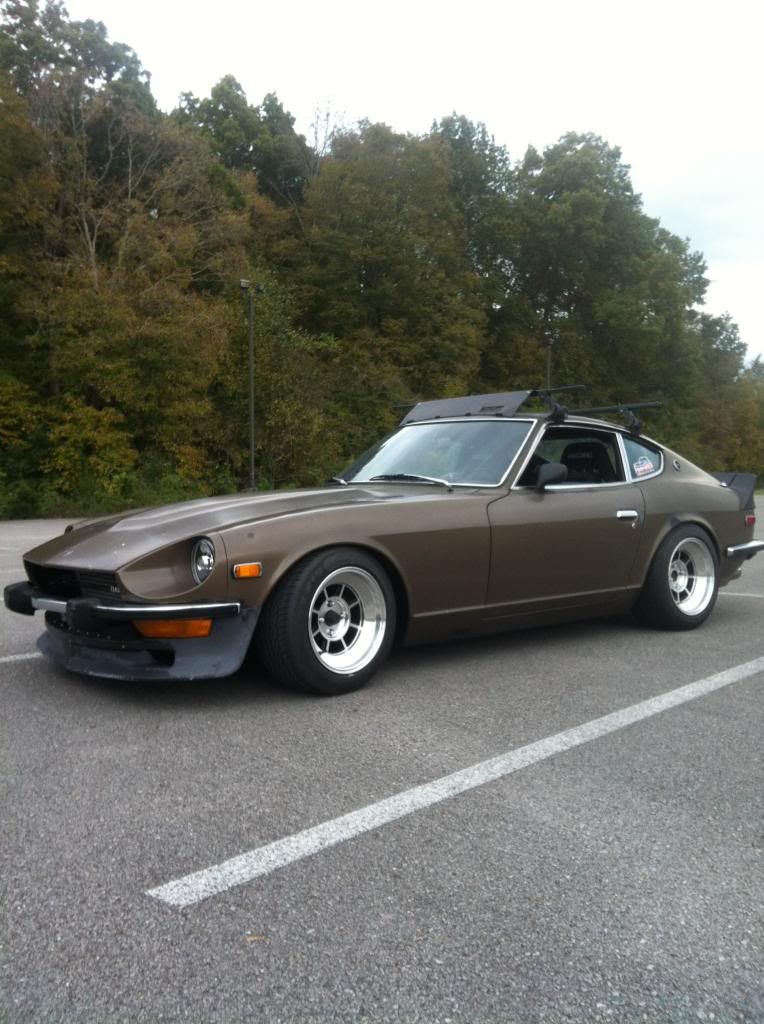
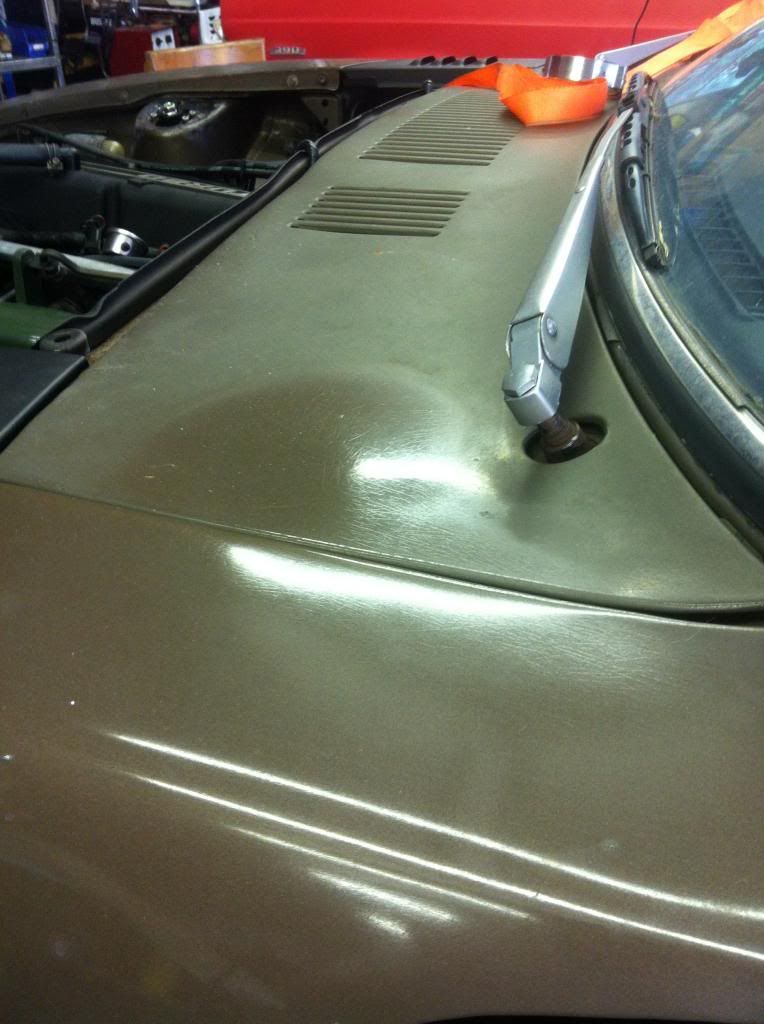
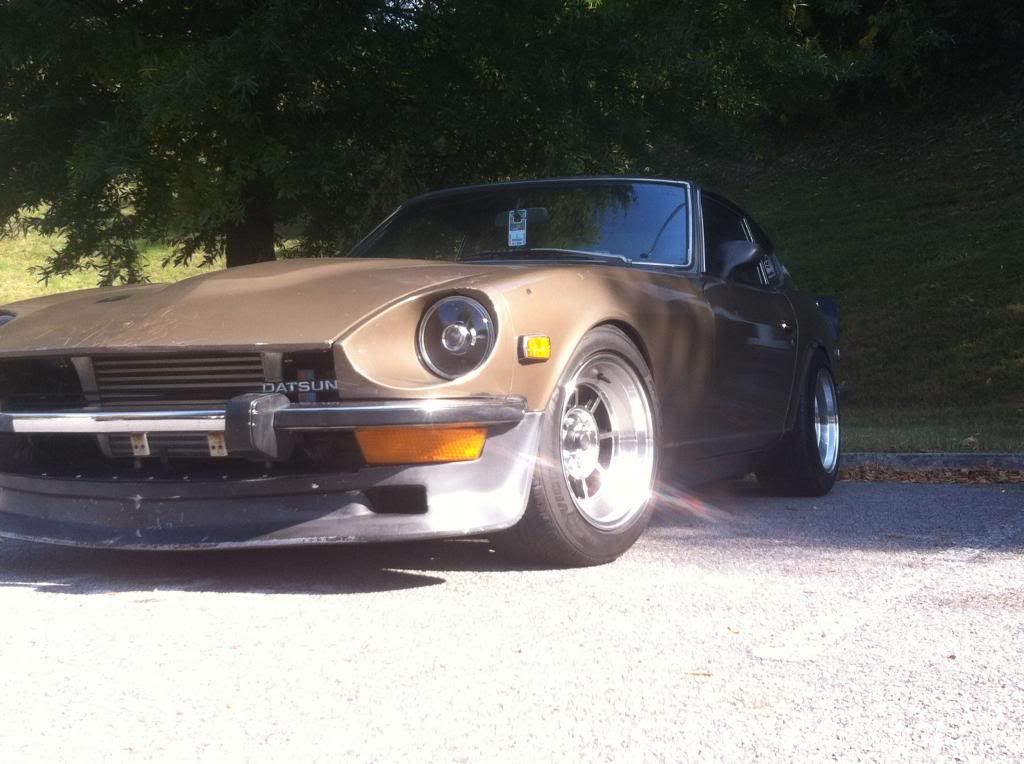
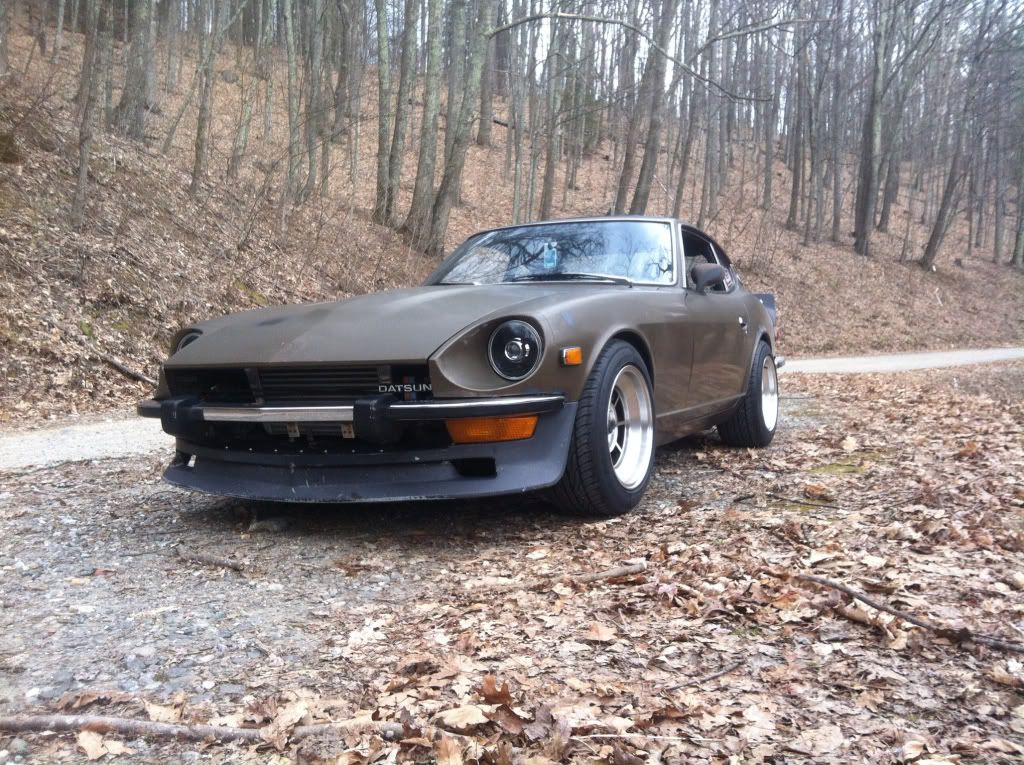
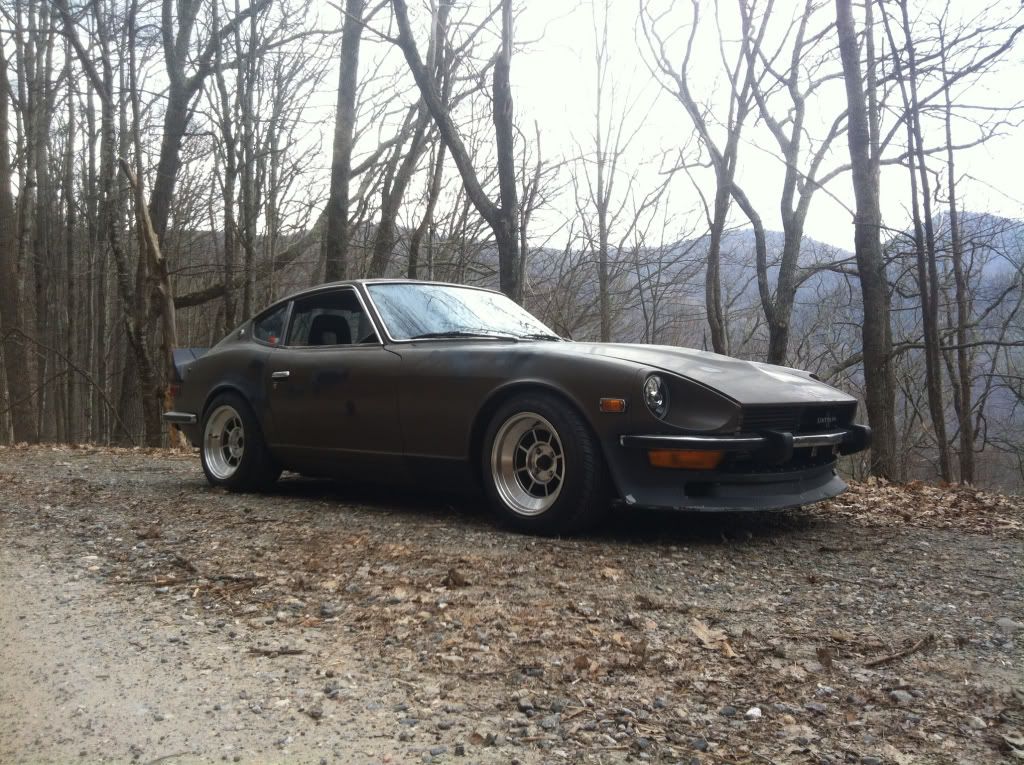
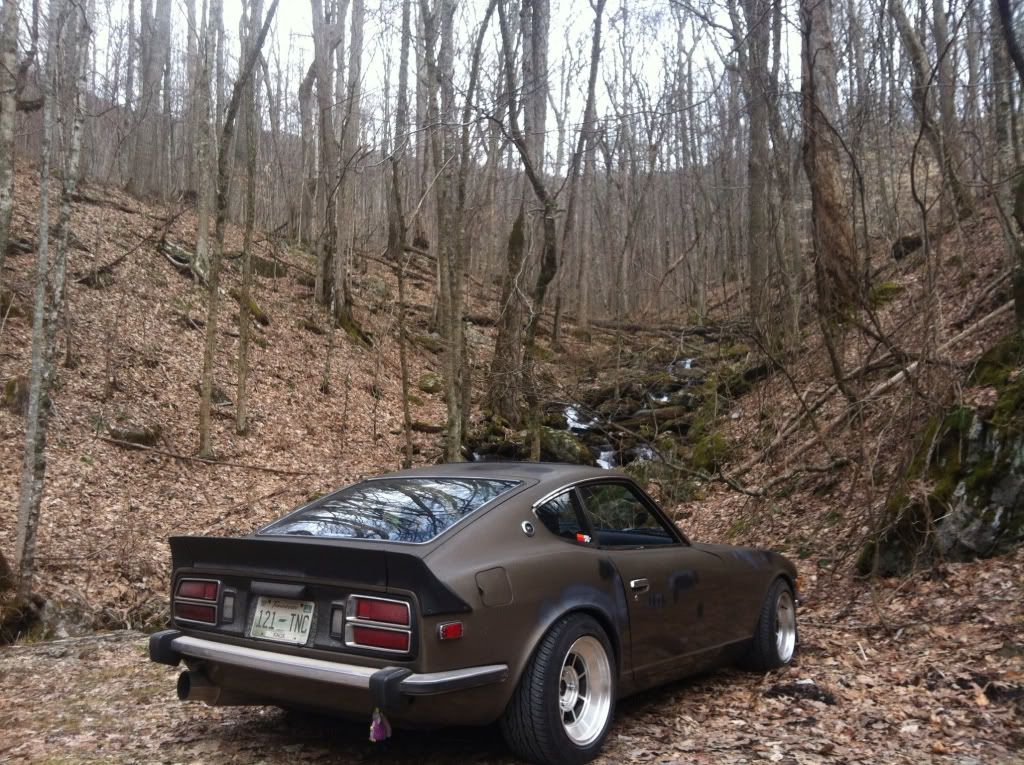
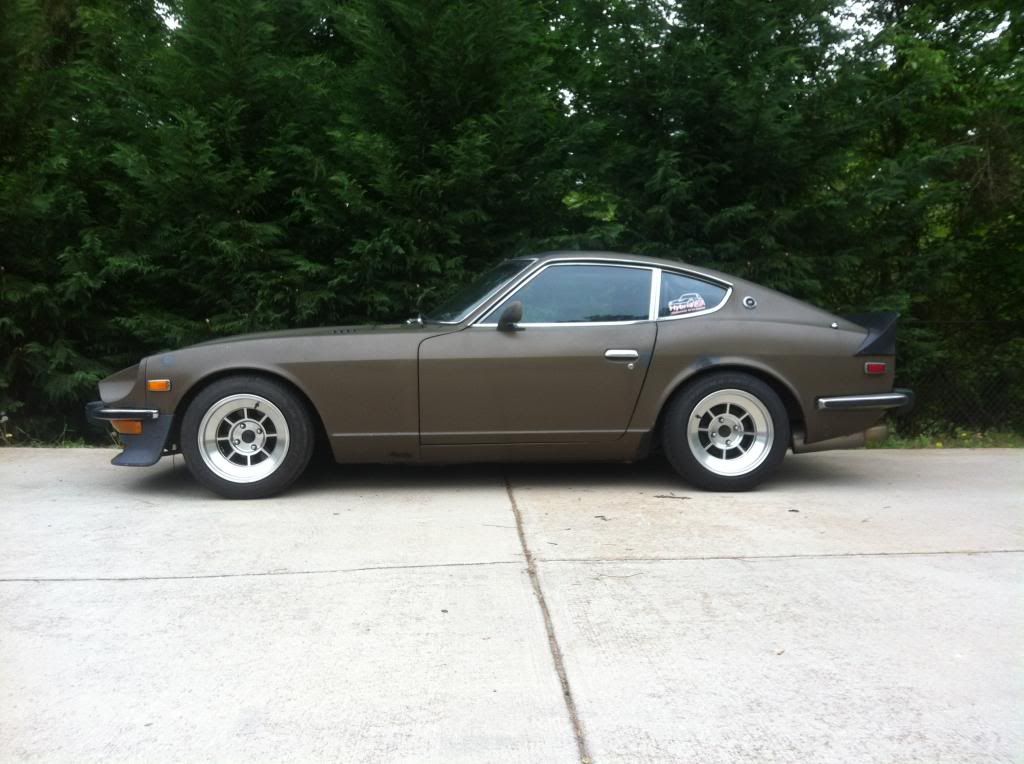
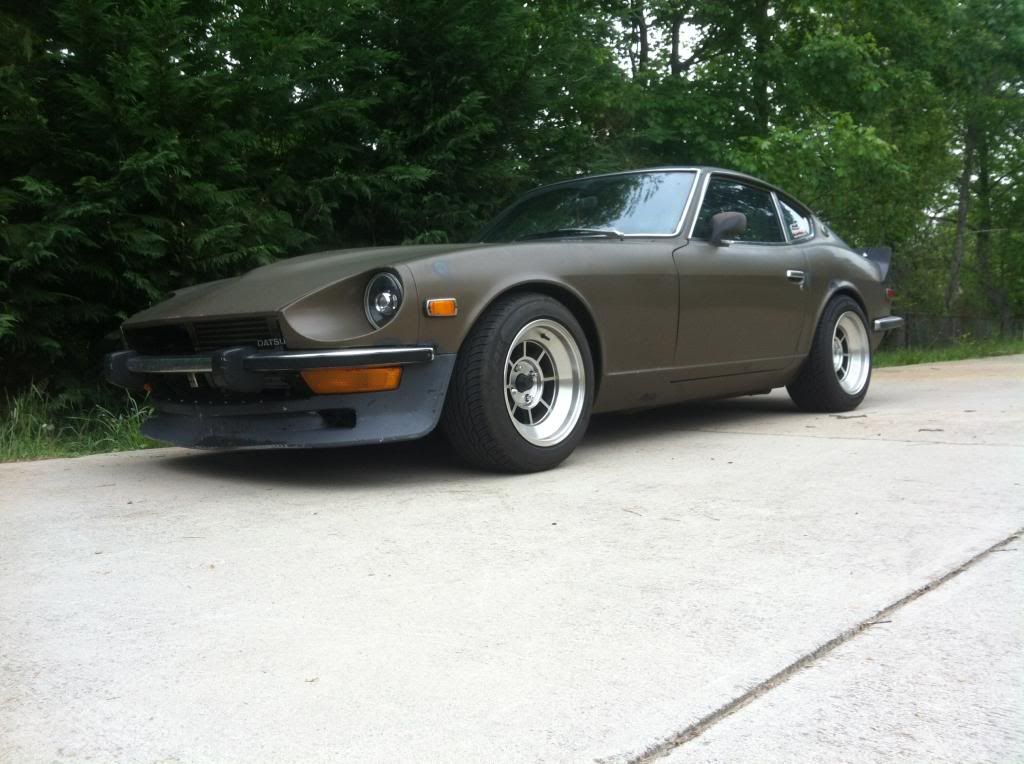
I got the car running and drove it for a few weeks, then decided to try and buff the faded paint out a bit. It turned out better than I could have hoped for the age and the shape the paint was in.
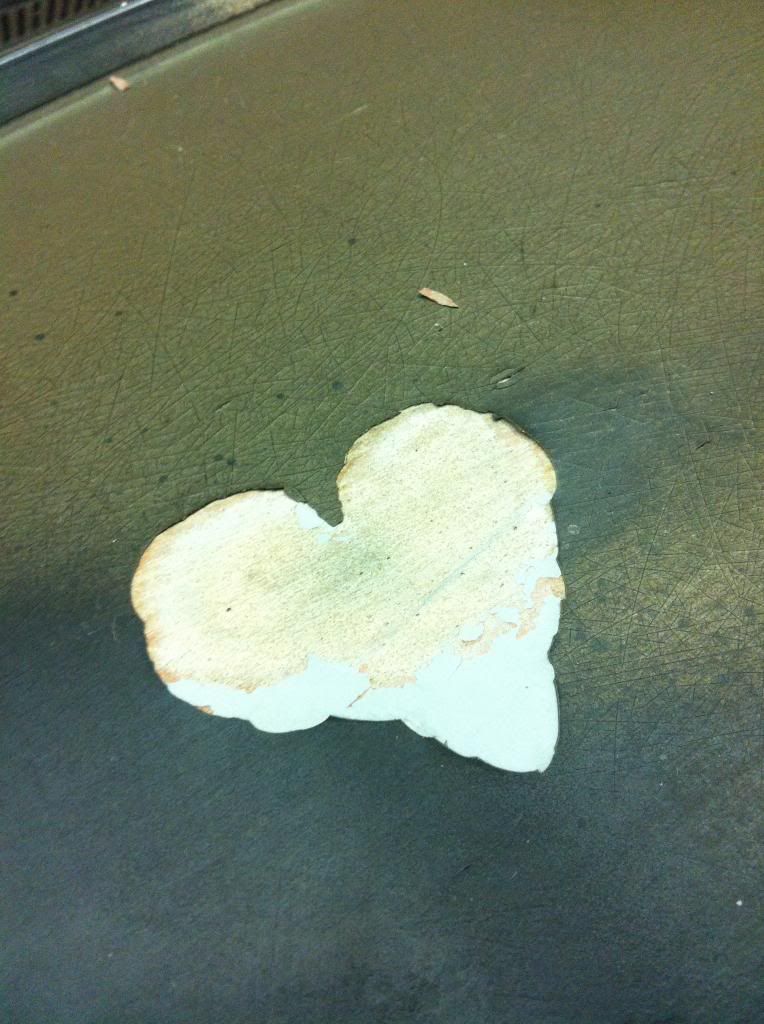
The car must love me! Haha Ironically there was a paint chip on the roof in a heart shape. I decided it had to stay!
A few pictures after I got the whole thing rubbed out.
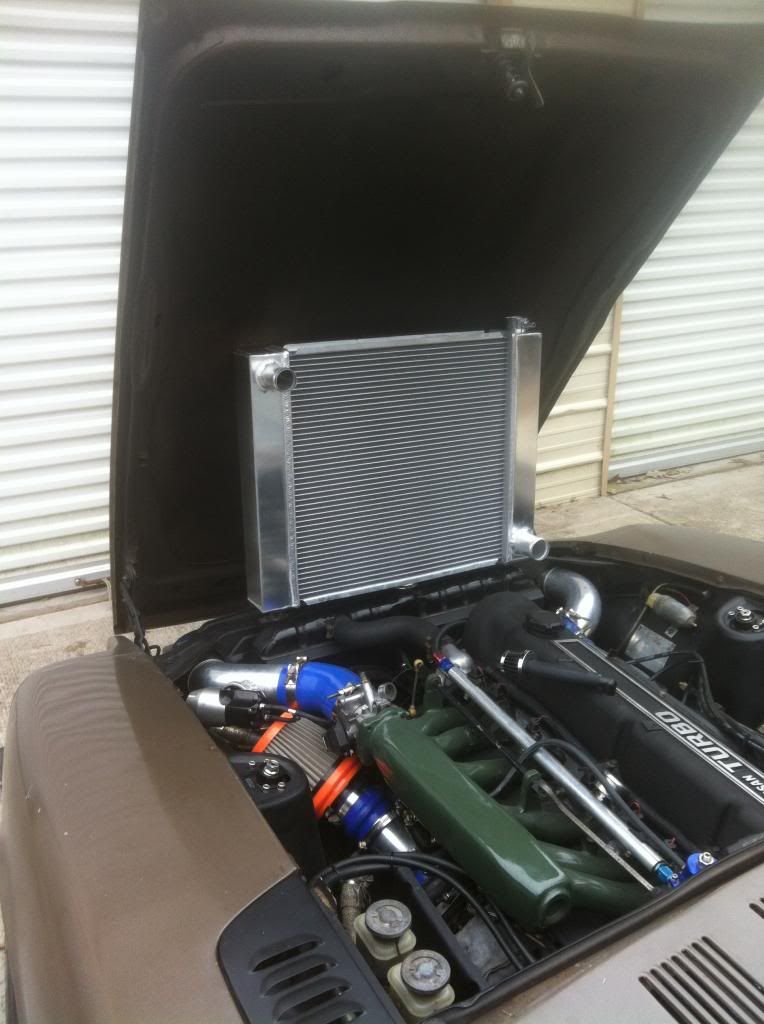
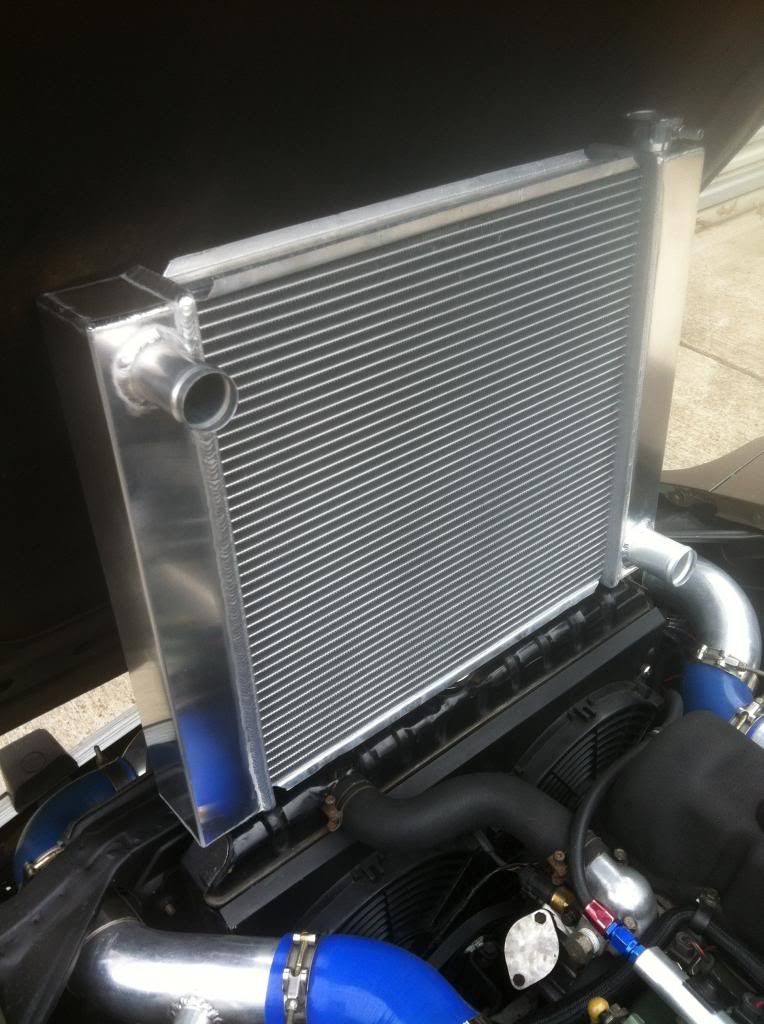
That pretty much has us up to date to how the car currently sits. Last week, I bought an aluminum crossflow radiator for it, but I haven’t installed it yet.
-
Again, build thread neglected…
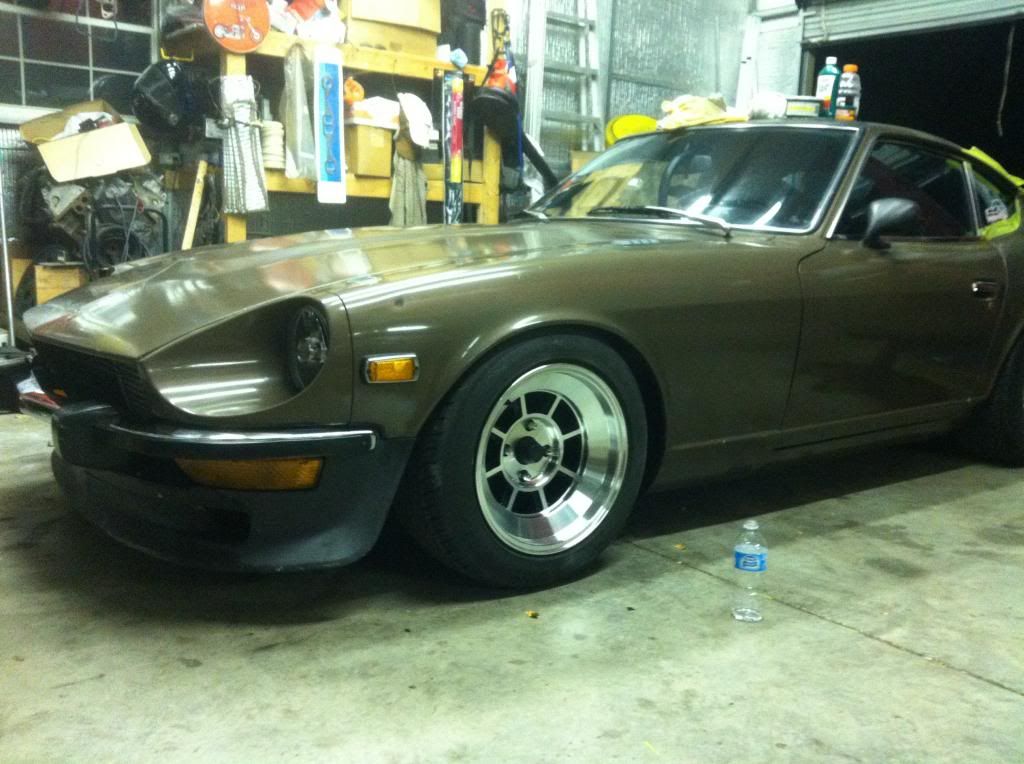
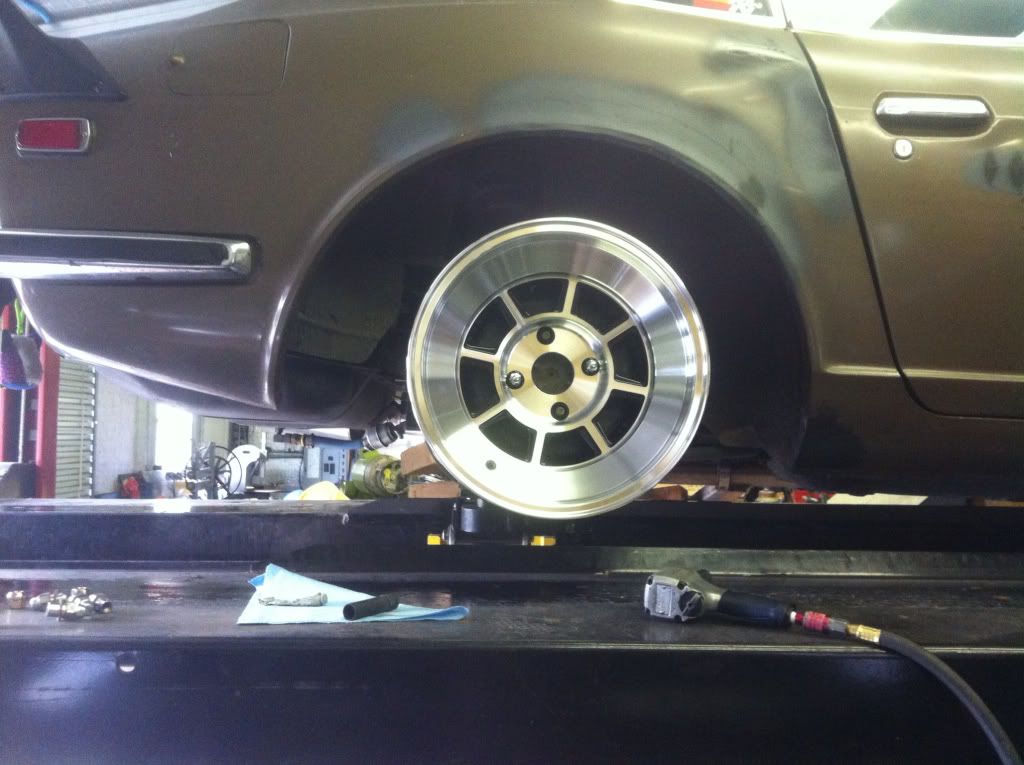
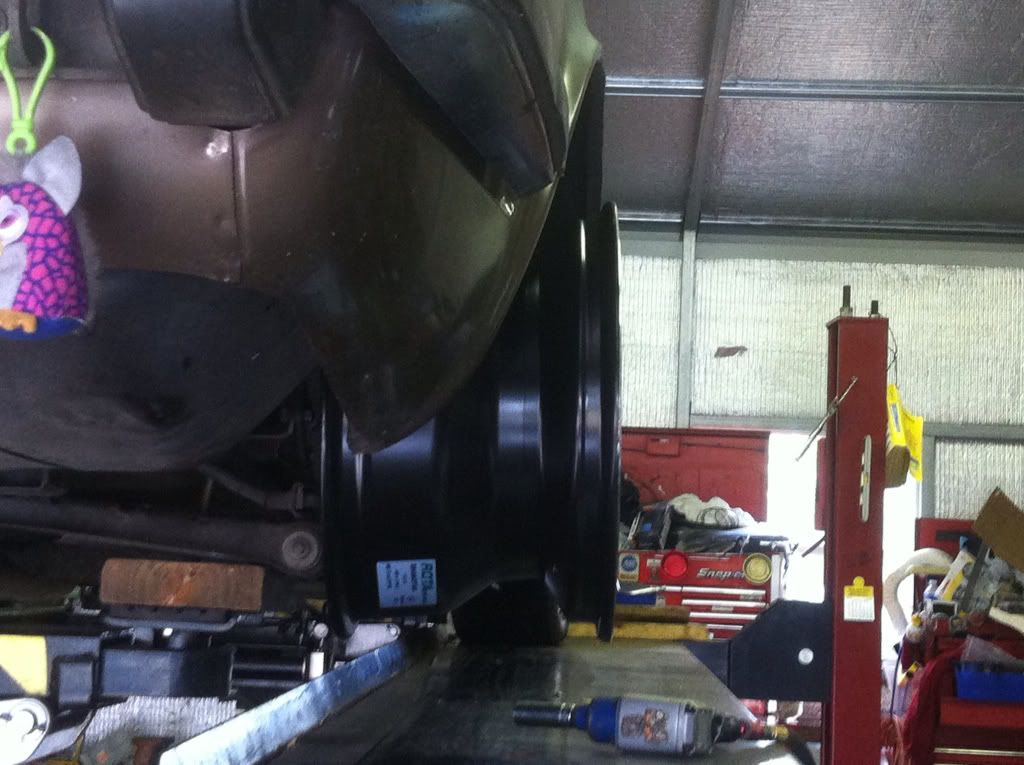
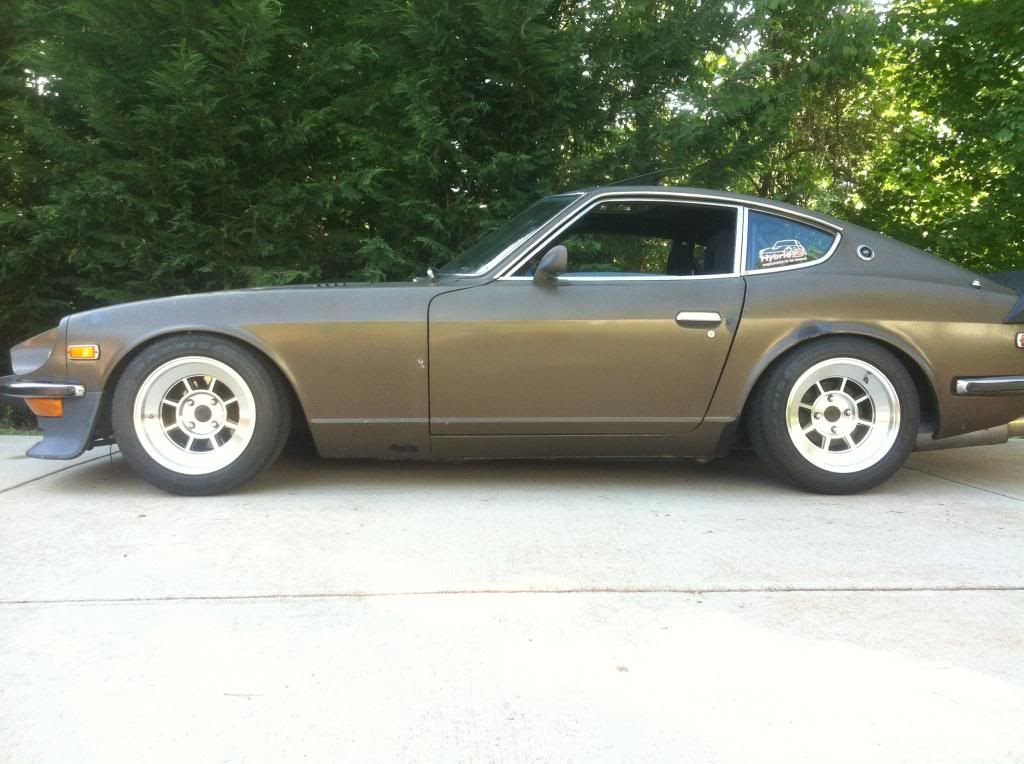
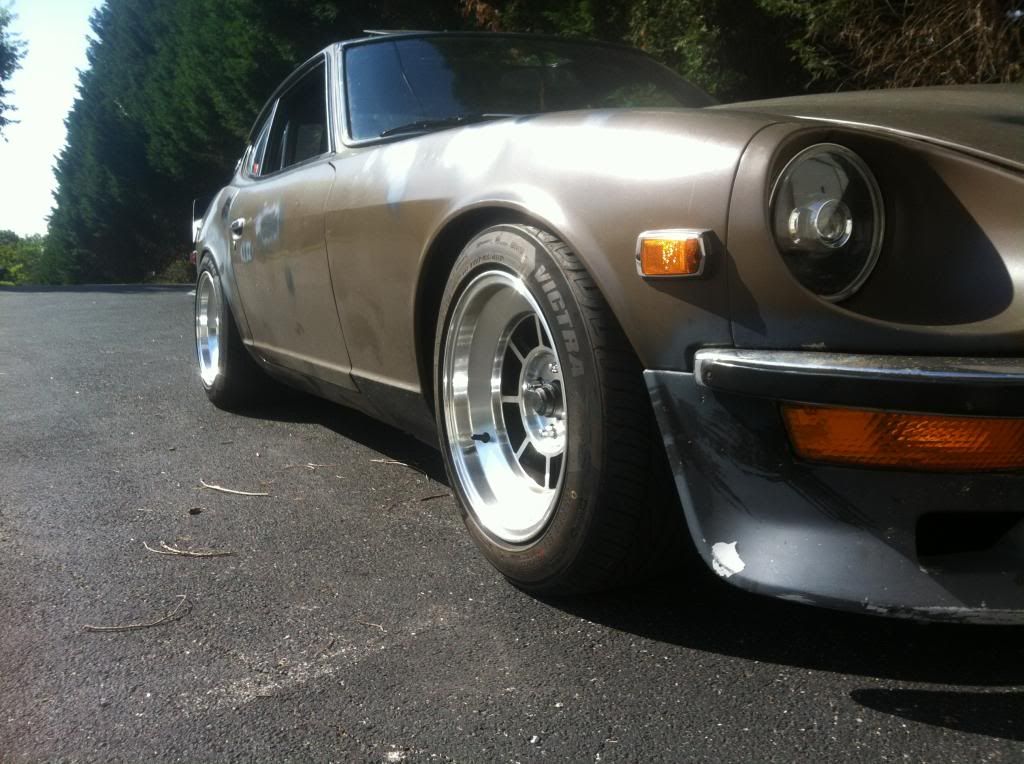
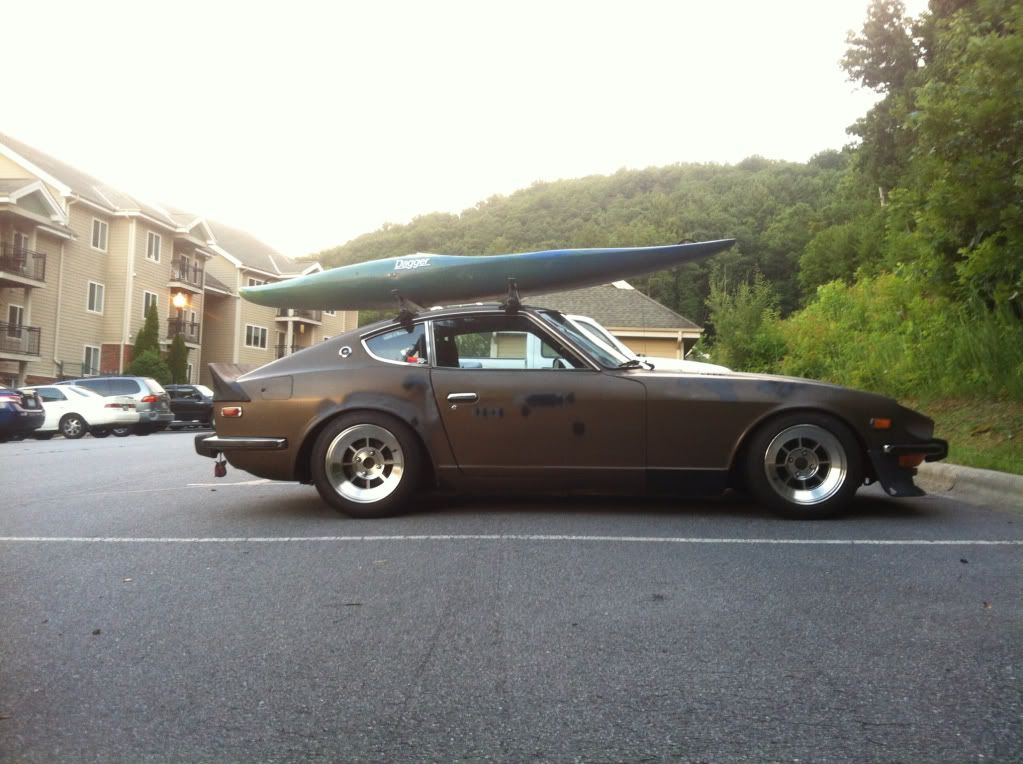
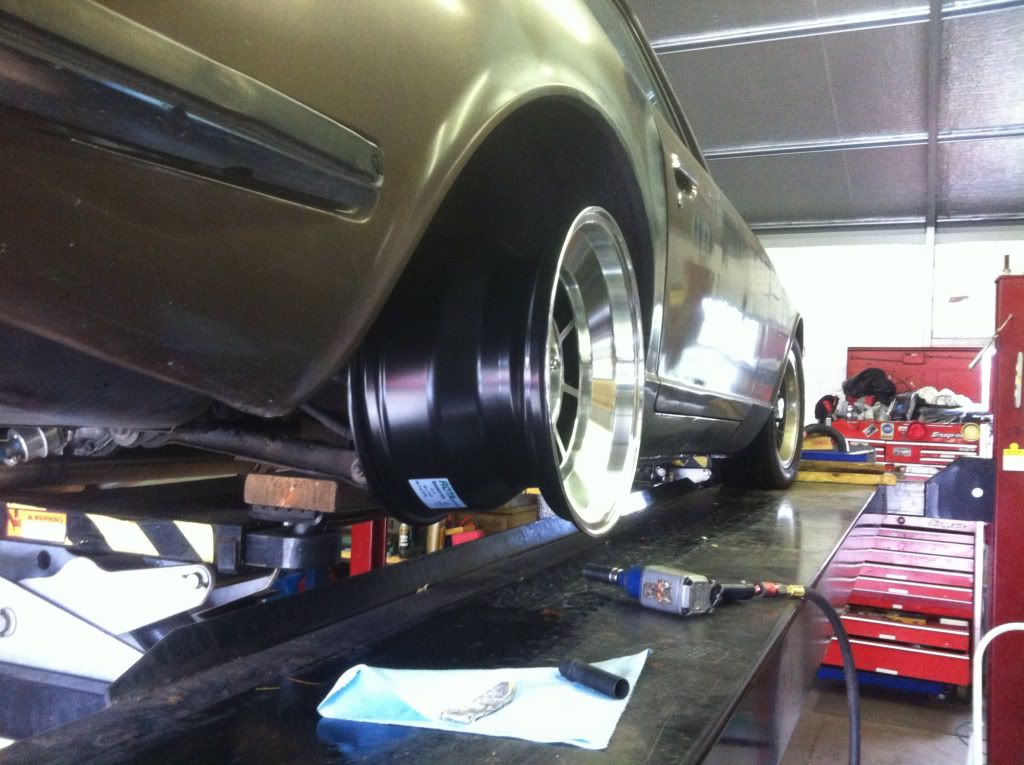
The car has been progressing nicely since I’ve left off. As I said, I did an engineering Coop in Asheville North Carolina from January until August. During that time I made pretty good money, so with that disposable income come parts for the toy! After saving up some cash I went ahead and bought a set of wheels and tires. I finally settled on a set of Rota Shakotans after browsing for a few months. The final specs were: 15x9 0 offset accompanied by 225/50/15 tires. The fitment was spot on, the only modification I had to do was run a set of .25†wheel spacers on the front to keep the wheel off the stock spring perch.
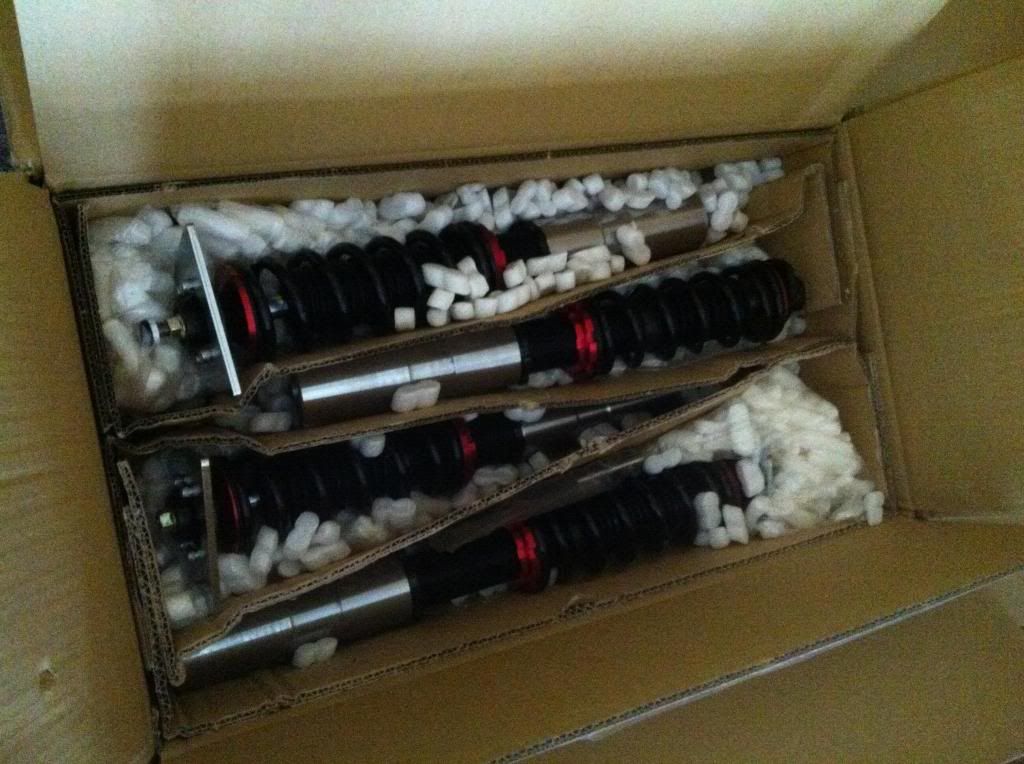
I ran the car around for a bit like this while I saved up for coilovers. Then came the time, the time for coils! I settled on coilovers from McKinney motorsports. The fact that the ride height and preload were independently adjustable is what sold me. I placed the order and a few weeks later, this arrived on my door step:
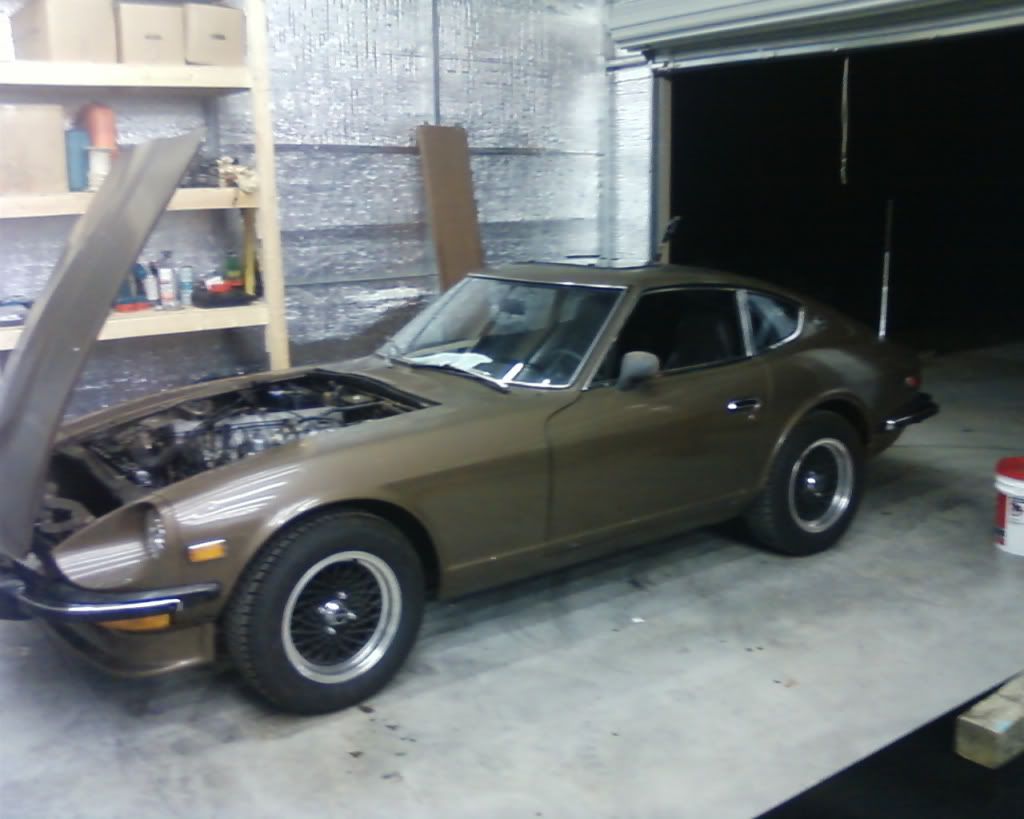
I continued to drive the car until I had ample time to put the coilovers on. I took a few pictures before and after. Here are the before pics.
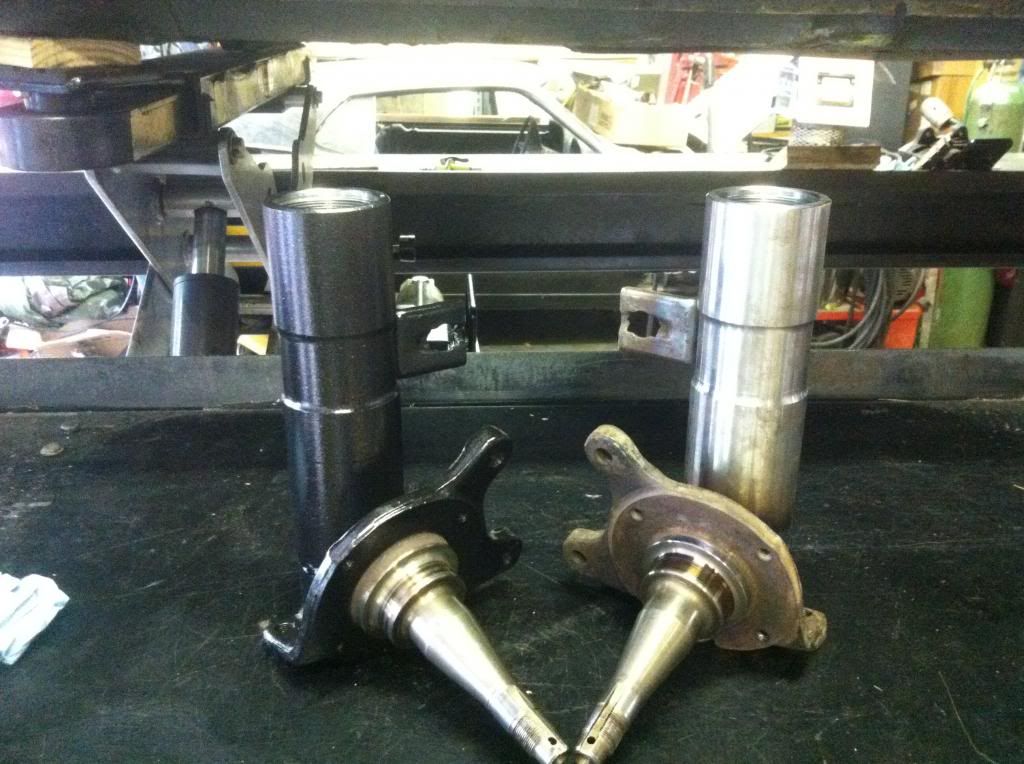
Then it was time to dig in! I started by hacking the strut tubes off the front and rear struts. The threaded inserts were then Tig welded on, and immediately followed by a few coats of textured black/gold flake. Camber plate installation was the most time consuming by far. I cut the strut tops out with a cut off wheel and installed the camber plates from underneath. After it was all said and done I ground down the welds and applied a layer of POR patch for rust protection/filler.
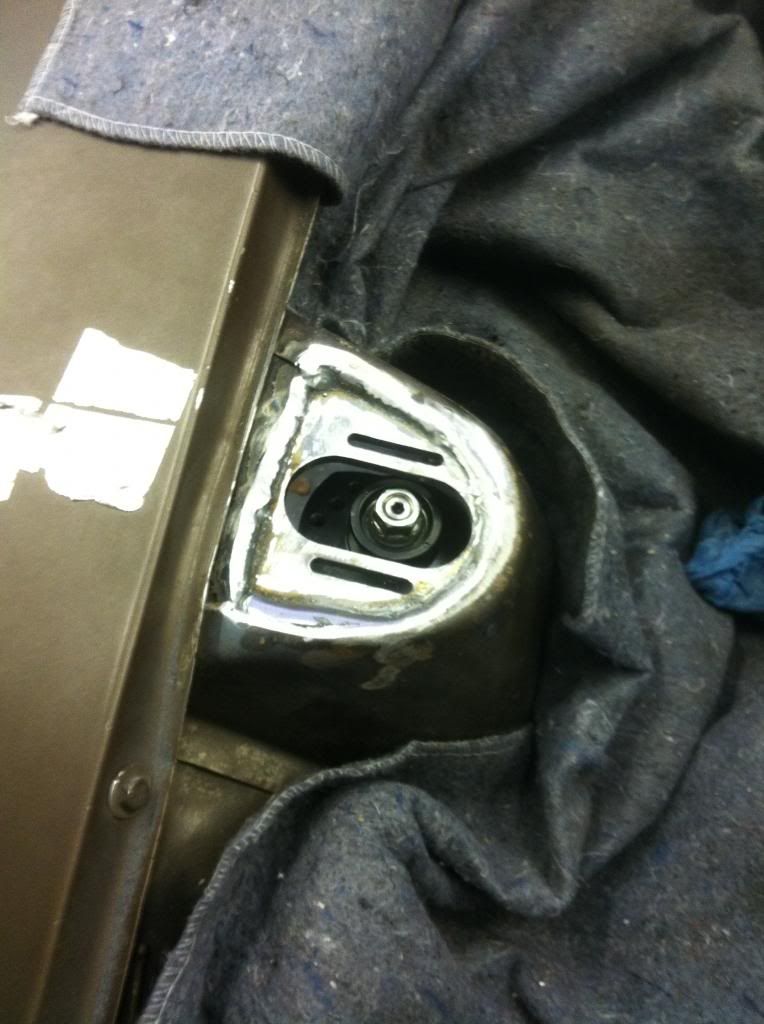
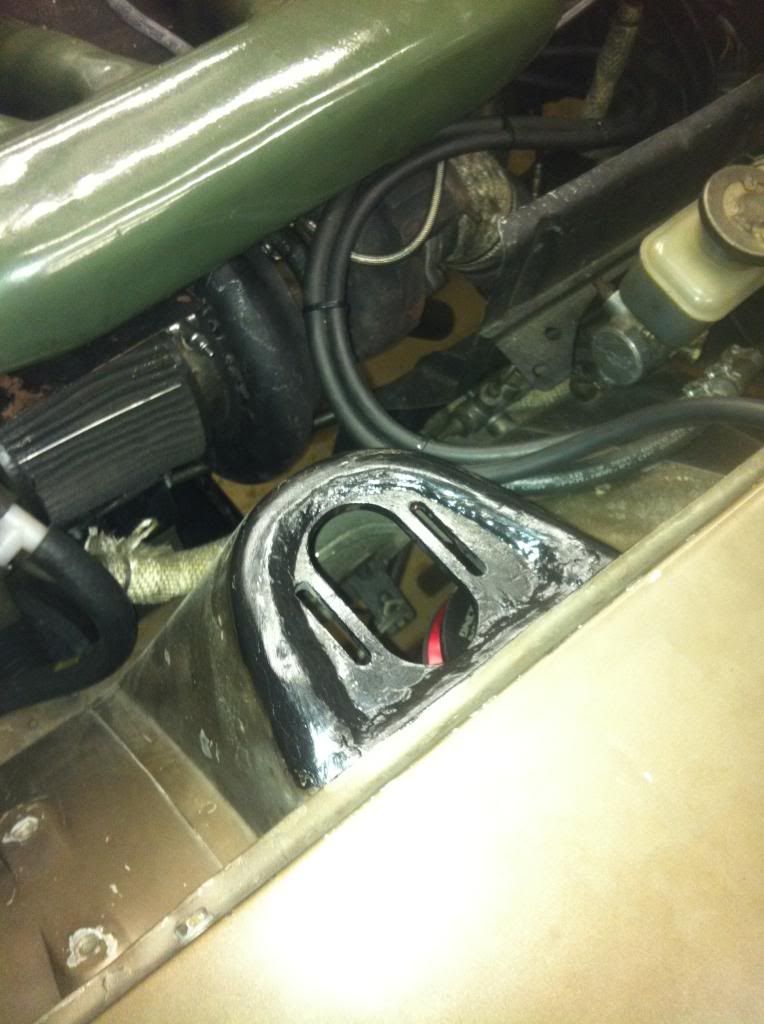
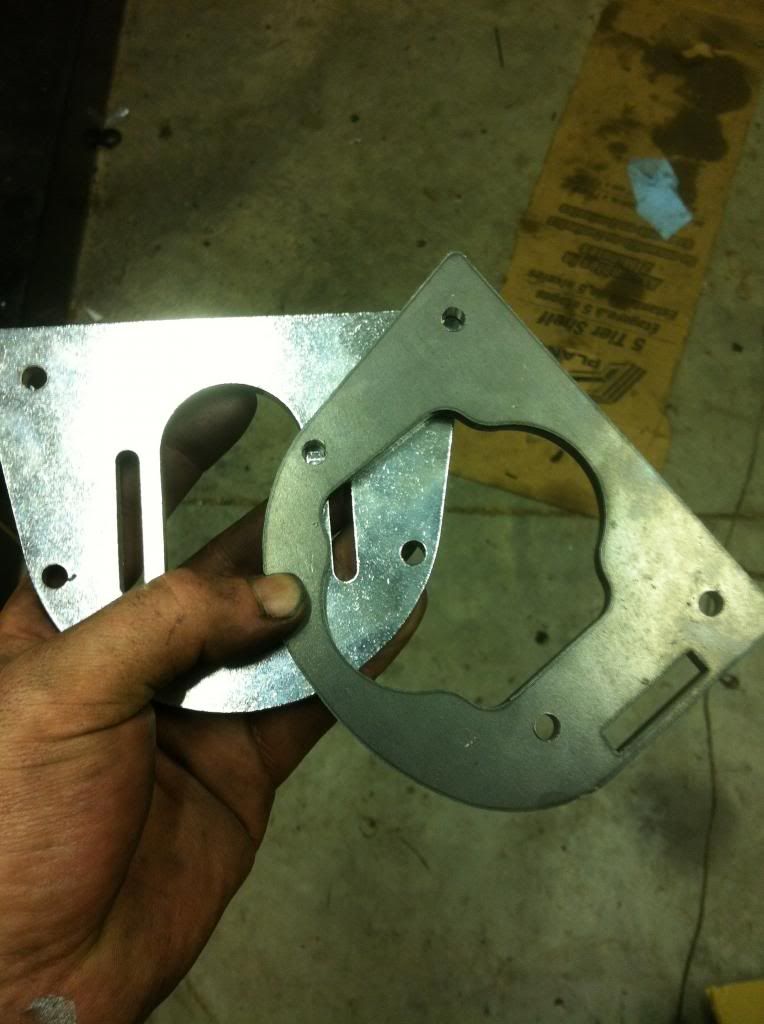
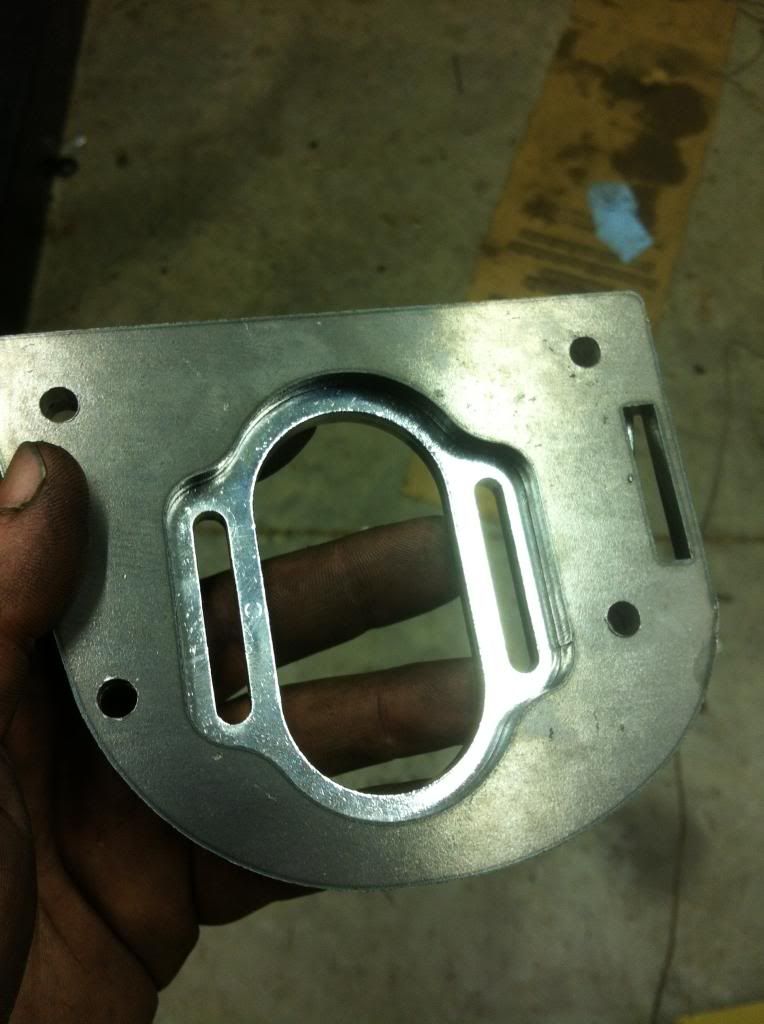
For the rear, I wanted provisions to keep my strut tower bar without welding tabs onto the camber plate. While I was at my Coop I had access to a CNC “lazer beam†cutter. A quick solid works part was soon turned into a plate that will attach to tabs to hold the strut bar and bolt to the McKinney camber plate.
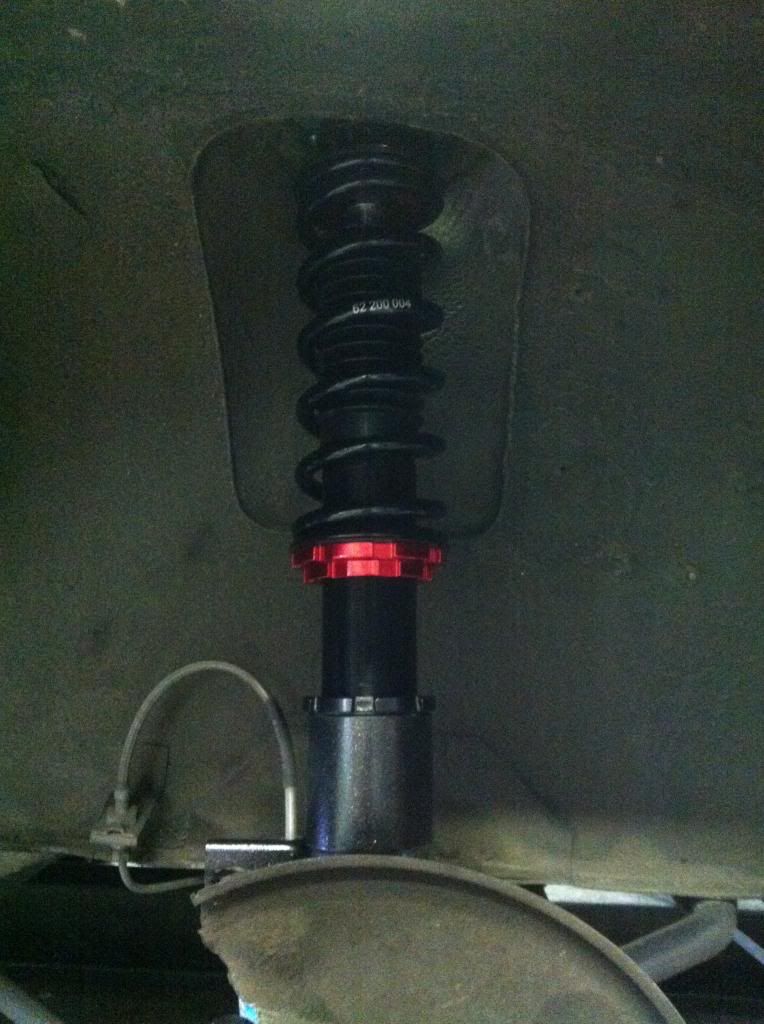
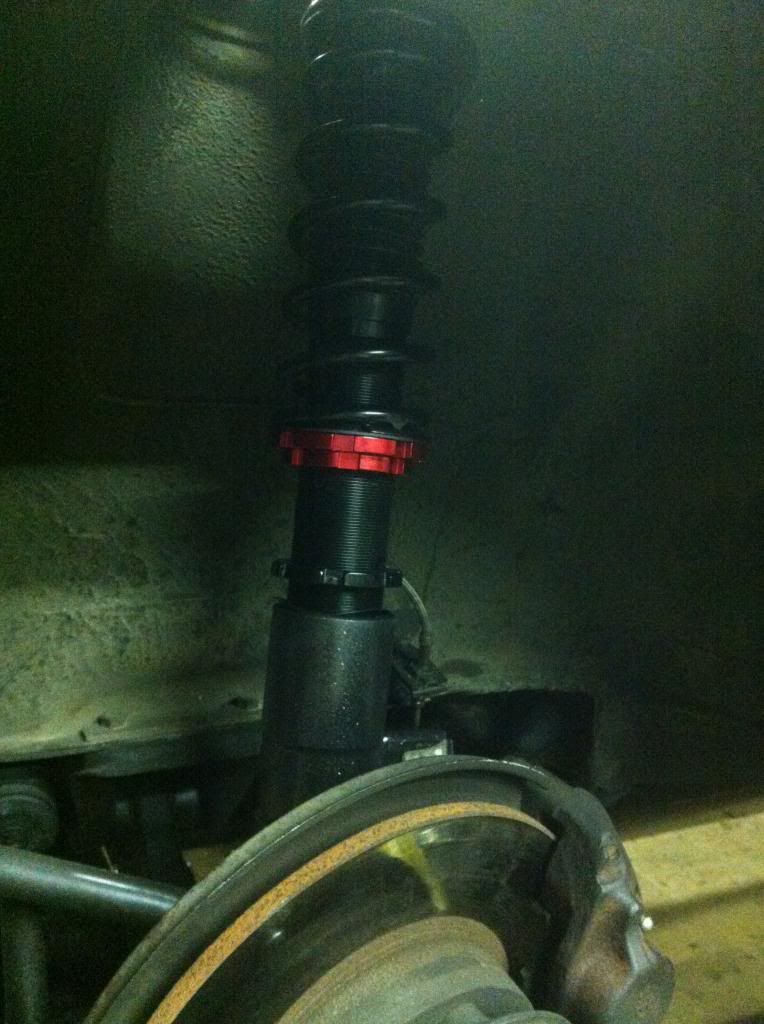
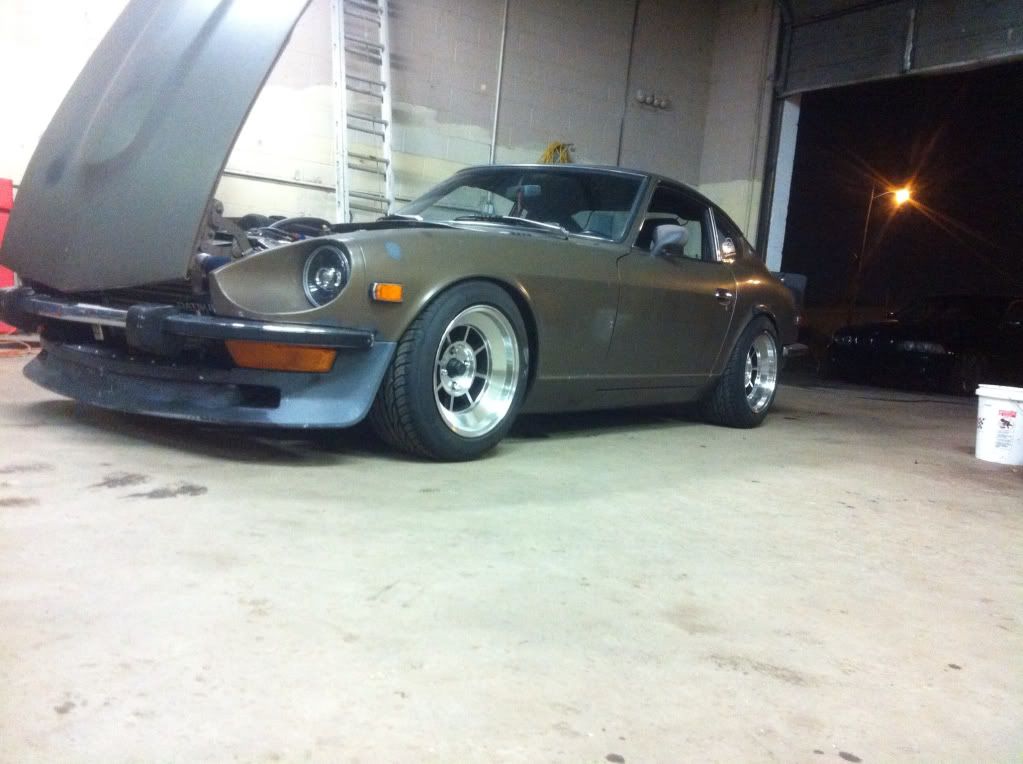
And finally the after photos:
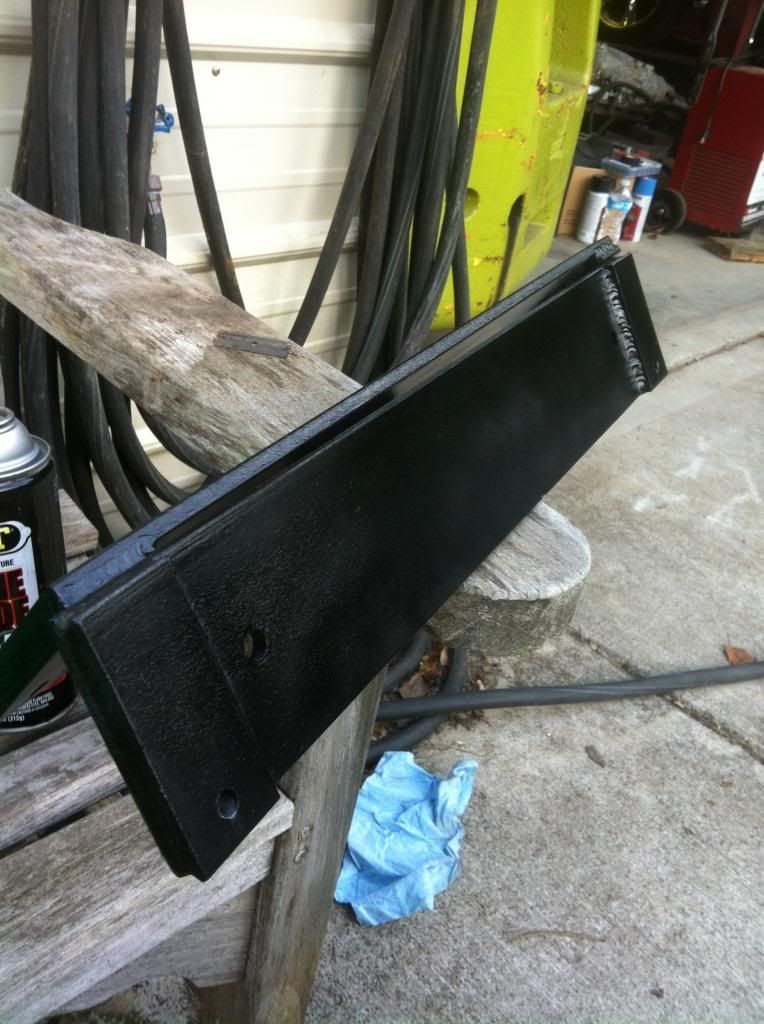
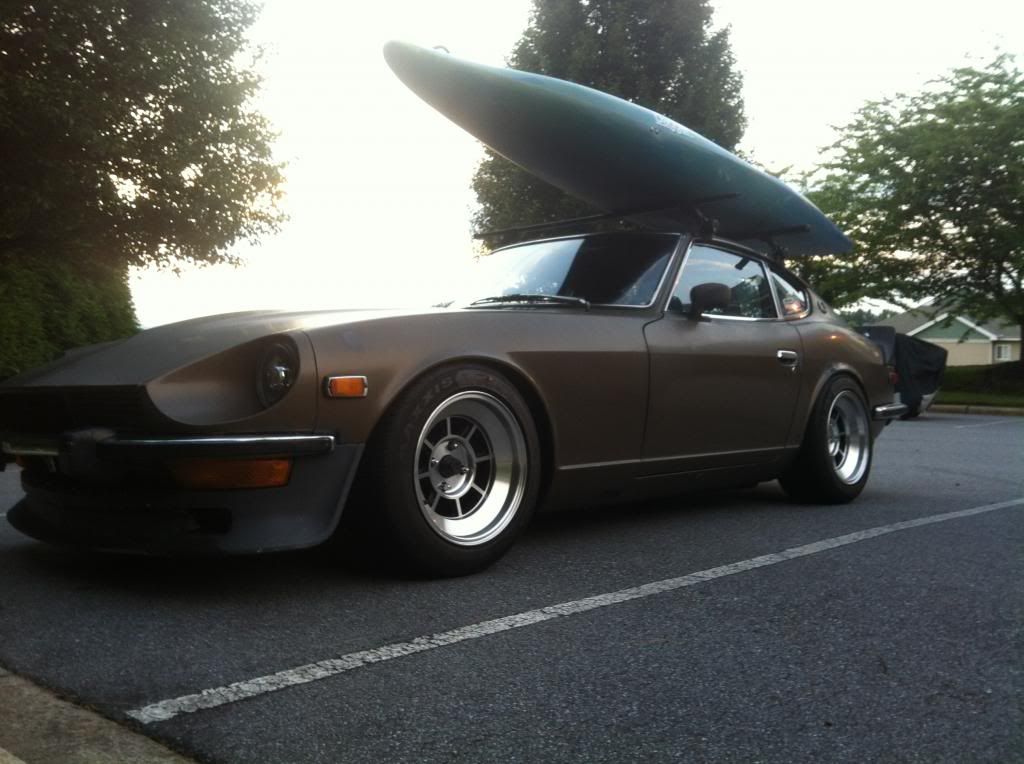
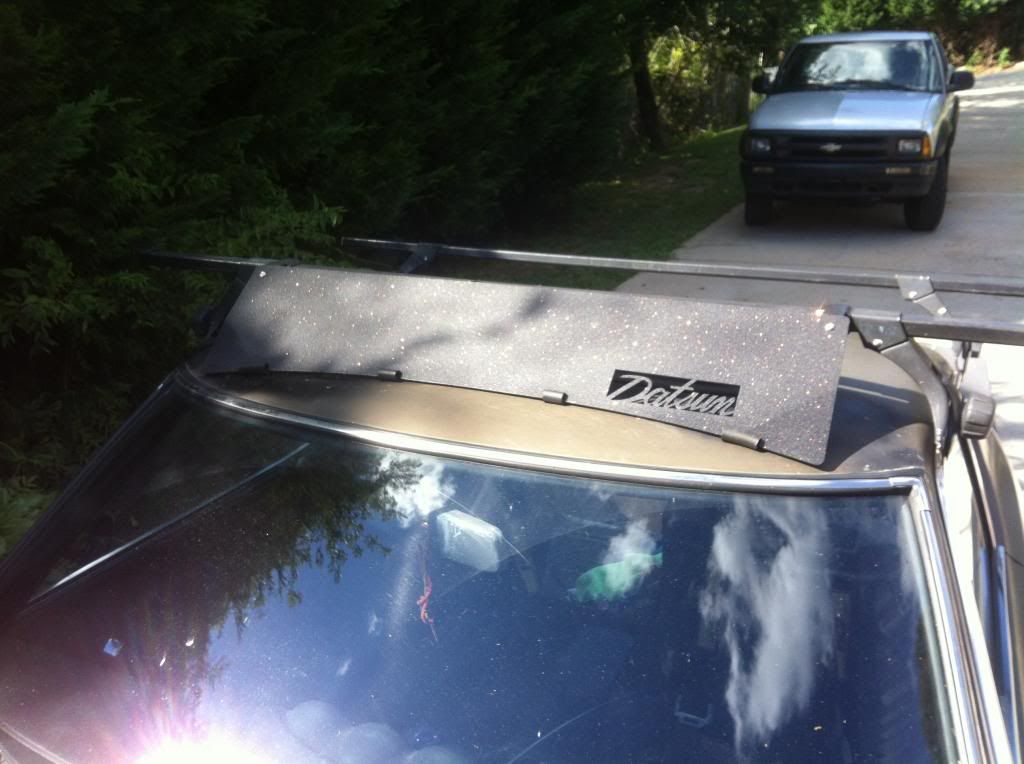
I drove the car for a few months like this. During this time in Asheville I got into whitewater kayaking, so it only seemed logical to get a roof rack so I could haul my boat around. I picked up a Thule on craigslist a couple of miles away for $50. I used it for a few weeks but the howling of wind whistling between the bars and the roof were driving me crazy. Yet again, I turned to laser cut metal for the solution. I made a cardboard template of the wind deflector I wanted to make, and drafted it on SolidWorks with a nifty “datsun†cut out of one of the corners. Took it home (after paying for it of course), made mounts out of aluminum, then painted it textured black/gold flake like the strut tubes. It turned out excellent and no more whistling!
I also made a pretty sweet key chain on the laser
-
I made it down to the stage and pulled mine off the shelf. I took a ton of pictures that I will upload later when I get access to the computer. Unfortunately after going over every inch, it had no markings what so ever on it. Like I said, ill post pictures shortly.
-
I haven't, school has been a bear this week. I'm going to the garage today, I will try my best to remember to get it off the shelf and snap a few pictures.
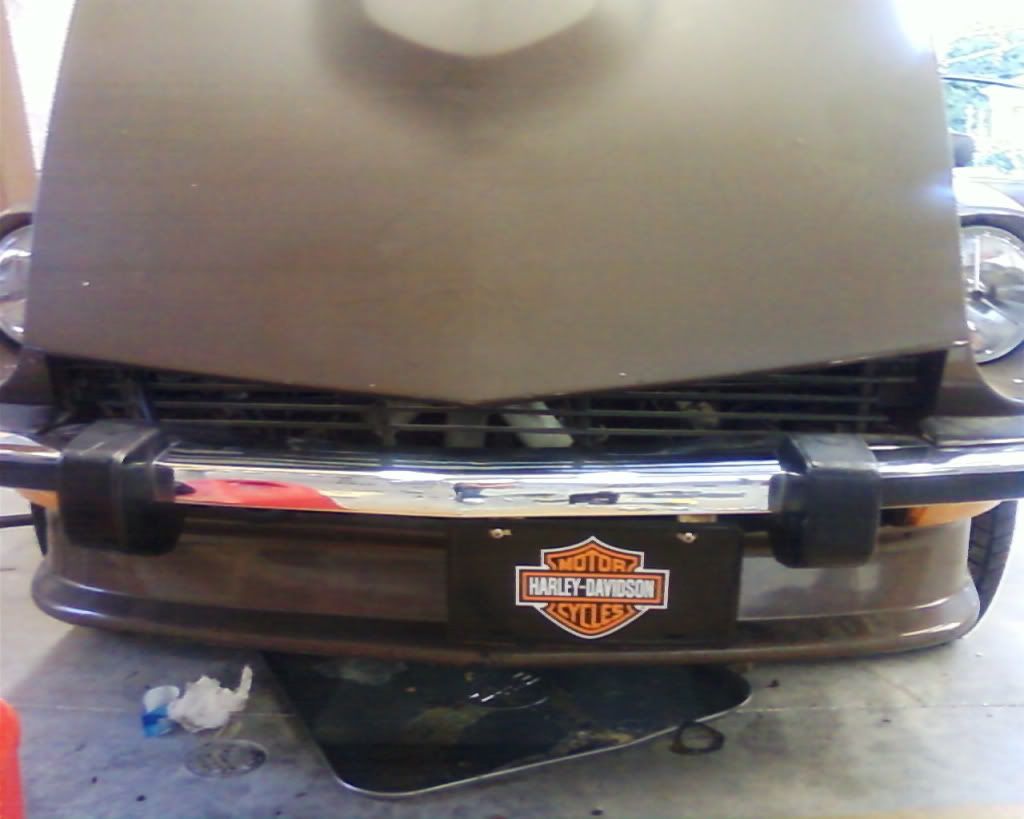
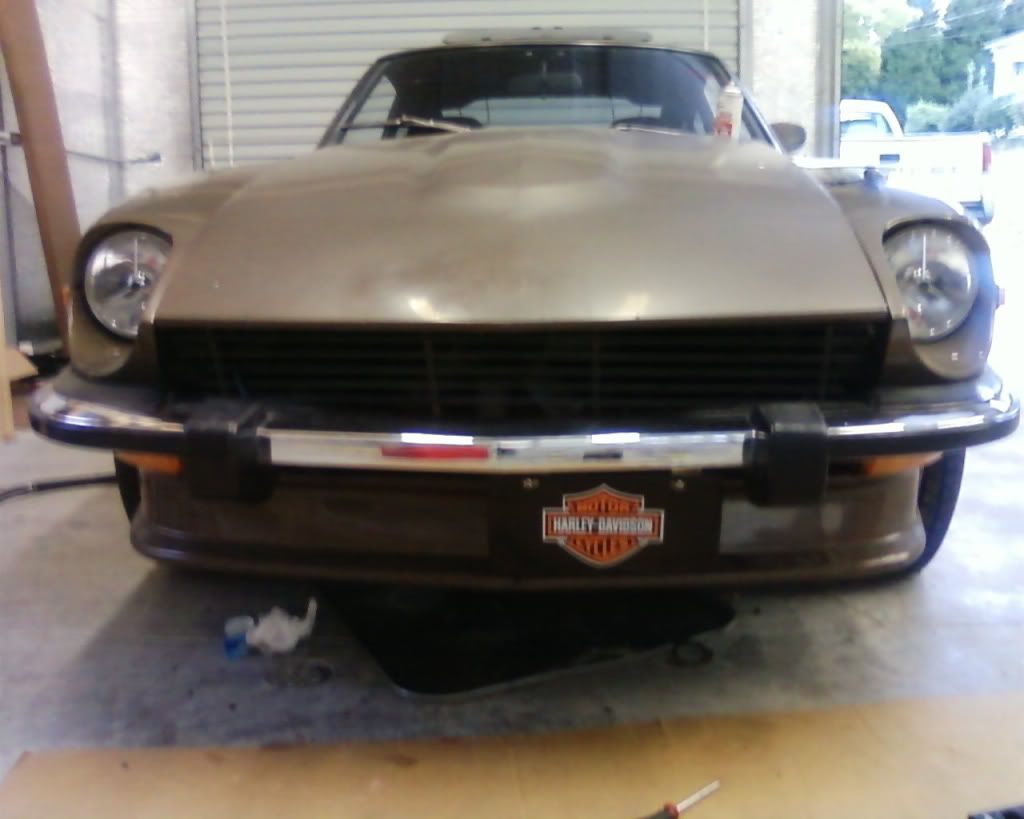
After looking I found some old pictures of when I first bought the car back in 08'. Here are a few blurry pictures that somewhat show the air dam.
-
I have one that I shelved some years ago. It was on my 260z when I bought it and I have no idea who makes it
.When I get down to the garage today I'll see if it has any markings that would identify it.
-
I ran the 15x9 0 offset rota shakotans on stock suspension with lowering springs before I when with coilovers.
They will fit. The fronts need a 1/4"spacer to keep off of the spring perch. It's also highly recommended to roll the rear fenders to keep from rubbing on large bumps.
-
I'm running the McKinney motorsports coilovers.Sito, 2+2's don't usually do it for me, but that one's catching my eye!
Lowrider, what's your suspension setup look like?
-
Here are a few recent pictures of my turd.
-
http://students.sae.org/competitions/bajasae/results/2013_Tennessee_Scores1.xlsx
If its the University of Tennessee - Chattanooga it looks like they did really well, 10th overall
-Will
Crap, I forgot to distinguish, Its the University of Tennessee Knoxville.
-
Out of curiosity was the University of Tennessee team there? I was participating in the program last fall, up until I took a 6 month Coop in January. I didn't really keep in touch with the team after I left, I'm curious if they competed/ how they did.
-
I've been looking at these rims on a similar tire set up. Look great! Did you have to roll your fenders or modify anything to prevent rubbing?
The rear rub a little on bumps that bottom the suspension out, I need to get around to rolling the fenders. The fronts required a small 7mm spacer and longer wheel studs to get it off the stock spring perch. Other than that they fit amazingly.
-
I ran a Taurus fan with my L28 for a while. It required a ton of trimming on the shroud, but it barely cleared the water pump. The only downside was the fact that to remove the fan, the entire radiator had to come out. I think I have some pictures somewhere I could post.
-
I had the same issue with my HX35. I ported the wastegate hole and it helped a bit but still didn't control boost to my liking. Then I removed the divider all the way to the wastegate hole (I'm using the factory non-divided T3). I then replaced the flapper with a larger 35mm piece along with porting the hole more, it helped but didn't solve the problem. Finally I had enough and finally went external, boost control is no longer a problem. I would suggest going external if possible, it provides a substantial amount of control over the internal flapper.
-
The car has eibach lowering springs for the time being, I plan on purchasing coils in the next few months. The rear didn't require a spacer, the front however needed a 1/4" spacer to keep the tire off of the perch. As for the tires, they are 225/50/15's.
-
Finally ponied up and bought a set of 5x9 +0
-
Rota shakotans 15x9 0 offset
225/50/15
-
From the pictures on page 64 those appear to be H4 bulbs. The backing and spade layout are Identical to the H4 bulbs I recently replaced in my Z.
-
I guess I should have stated that I was looking for a used one that would be less expensive.
-
The speedo cable in my 260Z finally gave up the ghost. It snapped while getting on the interstate the other day, thus Im in the market. I need the entire thing, from speedo to trans.
Thanks,
Andrew
-
This project is awesome! Please keep the updates rolling!
-
So your running the stock spring perches?
-
finally got them. here you go. 15x9 all around. had to roll fenders a bit
What size tire and what suspension are you running? I plan on purchasing these wheels come tax time!
-
I love the progress on your build thus far, keep it up man!
May I ask, where you bought the sunroof from? I love the one in my car, but one of the forward piviots are broken forcing the sunroof to stay closed.
-
Hey man, this is Andrew (milky), I meant to get back in touch with you but I've been so busy with school here lately. I should be free some this Sunday, if your not busy, I could swing by with my laptop and see if my tune does it any good. I will try and remember to shoot you a text message tomorrow morning. If anything, I can help get the tune closer than what it is currently.
*edit
It appears you bought the car from CJ. Anyways, the same offer still stands, I would be more than happy to help you out putting a tune on it.


Trigger wheel mounted WITH A/C pics?
in MegaSquirt
Posted · Edited by lowrider
Here is my first setup:
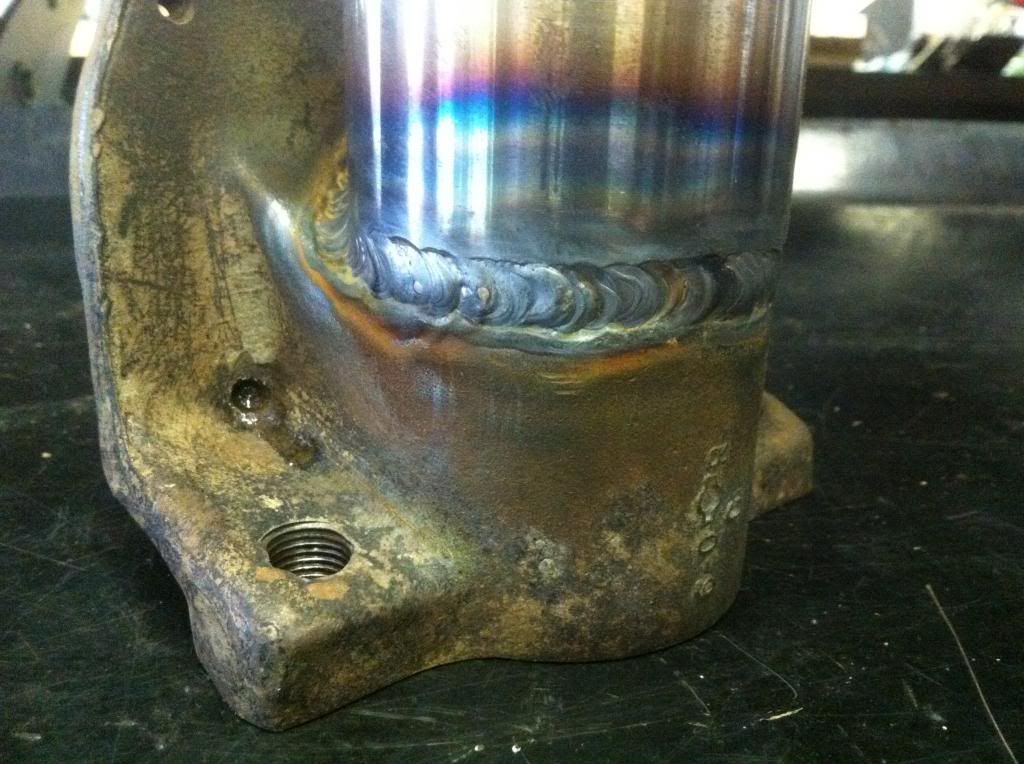
I made this setup before I had AC, I essentially followed a thread here and turned down the AC pulley groove and pressed on a trigger wheel from a Ford Escort. I fabed the pickup mount from aluminum sheet. I decided to put AC on the car, so I had to replace the trigger i already had. I took the idea from a member here that sold inserts for the 280Z dampener. I found a stock insert for a third groove that fit a spare dampener. I turned the groove down in the lathe and put another Escort wheel on it. I messed up the press fit so I had to weld it on. The only modification I had to make was to space the pickup out. I don't have any pics of the new setup, but I do have some of the insert.
*edit
I may I have misinterpreted the "DIY trigger wheel" portion of your post. lol