

nismo kid
-
Posts
529 -
Joined
-
Last visited
-
Days Won
4
Content Type
Profiles
Forums
Blogs
Events
Gallery
Downloads
Store
Posts posted by nismo kid
-
-
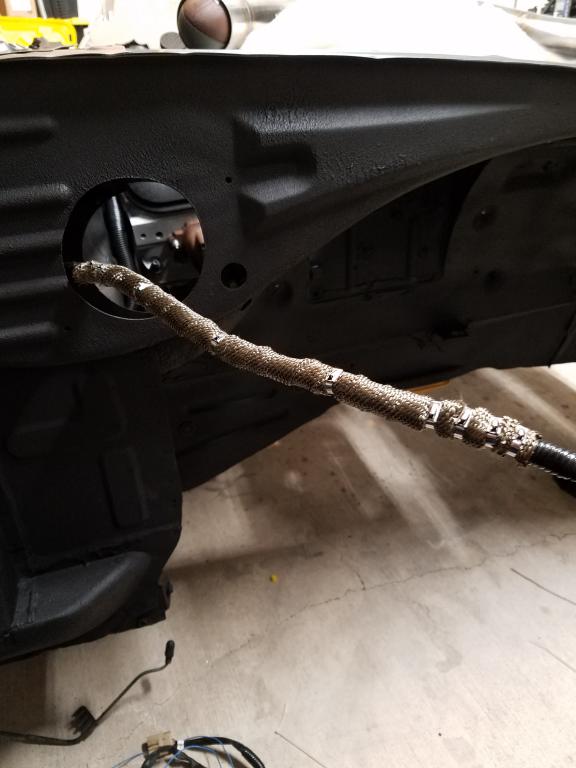
Passenger side
Wrapped this portion with DEI Titanium heat wrap for extra protection from the downpipe.Attached Thumbnails -
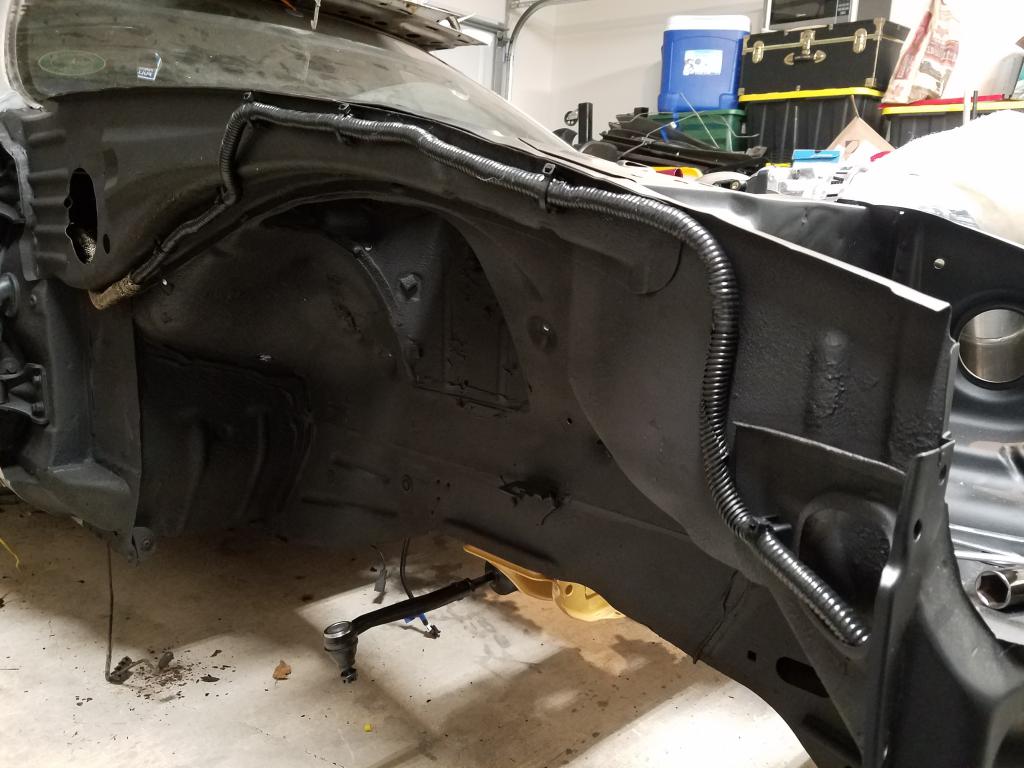
The only section that's mostly installed is the front body harness. The rest of it is kind laying in its place at the moment. Here's pics of the partially installed front body harness.
Driver sideAttached Thumbnails -
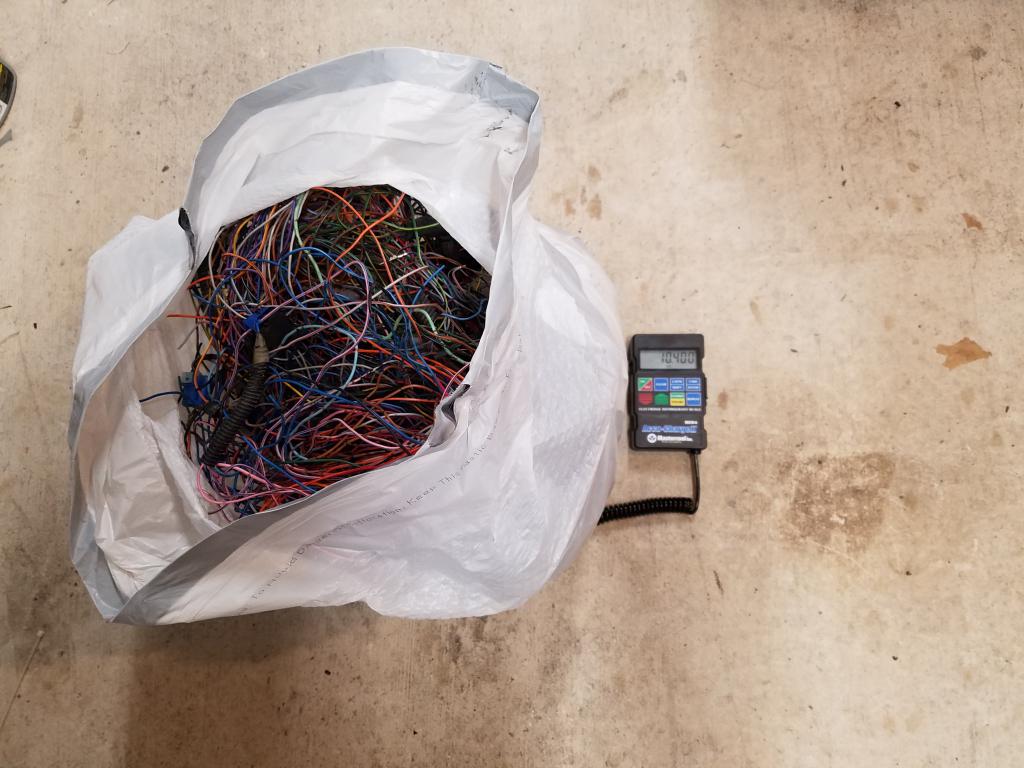
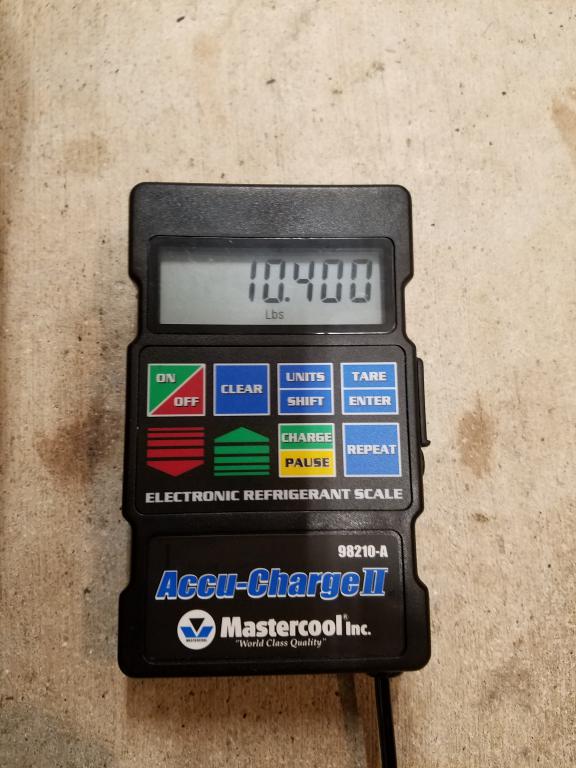
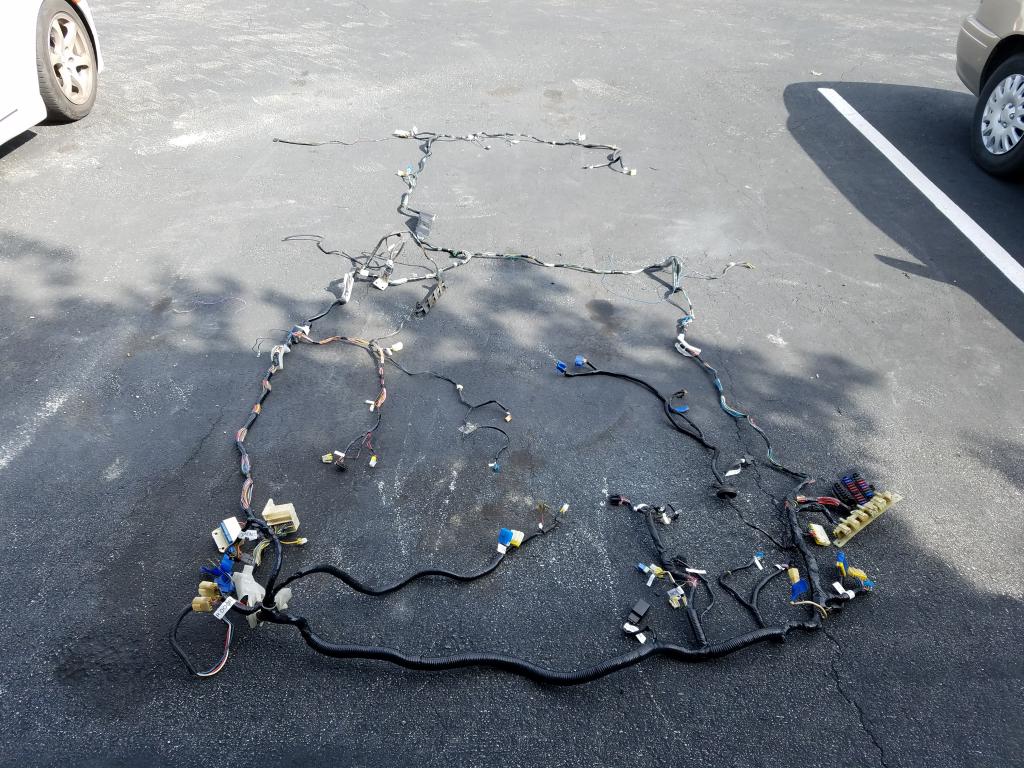
Out of curiosity I weighed the all terminated wires. It weighed in at 10.4 Lbs exactly. To be honest it wasn't worth the 60+hrs I spent terminating, labelling, & reworking the harnesses. I also replaced all factory loom & re-wrapped all the harness with fire resistant electrical tape. I could've done it faster but even if it only took 30 Hrs, it would still be too much in my opinion.
Attached Thumbnails -
-
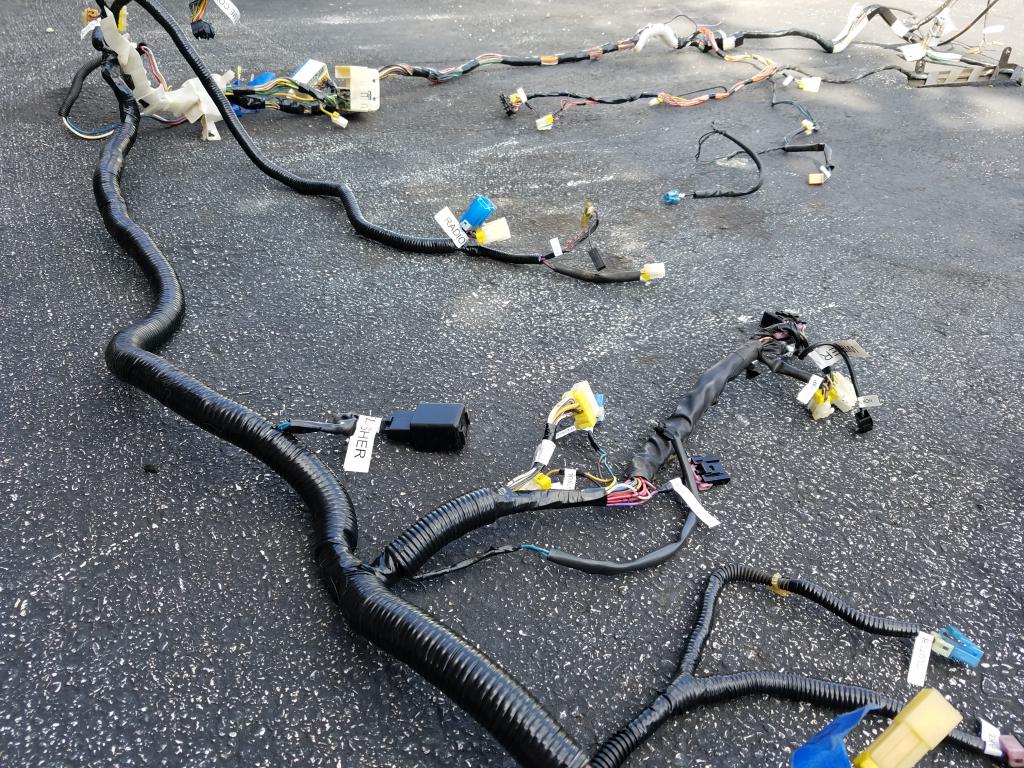
I relocated the relays inside the cabin. Which meant I had to extend all the front accessory harness sections(headlights, turn lamps, horn& side markers) here's the after.
Attached Thumbnails -
-
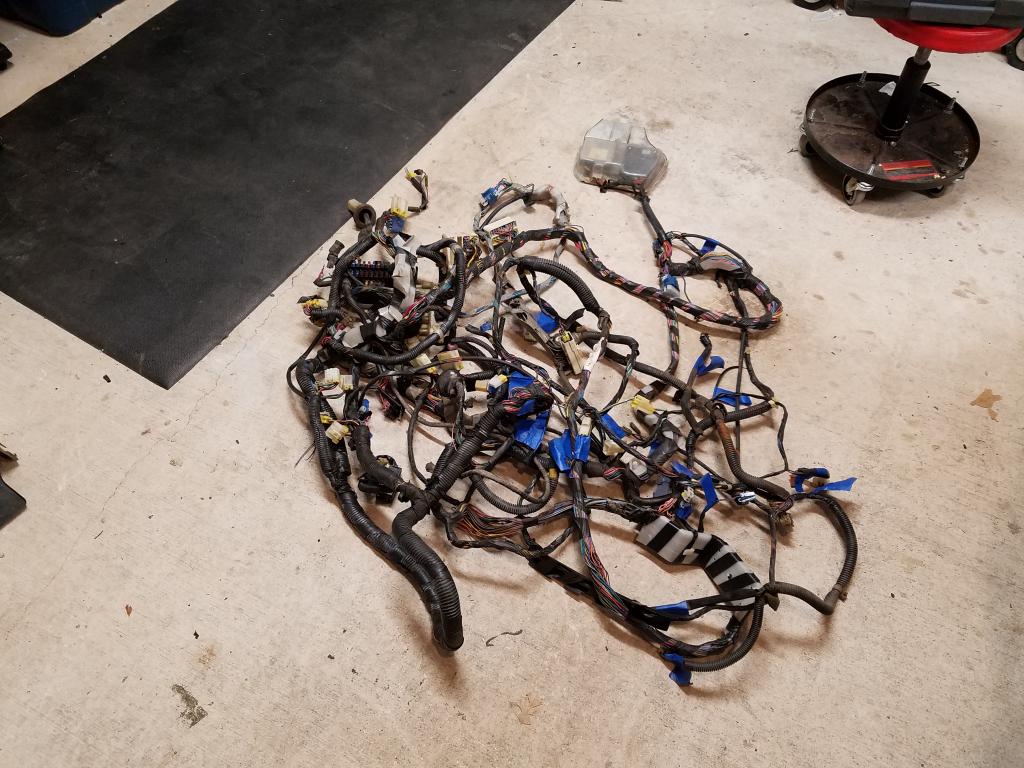
Body Harness
Before
Attached Thumbnails -
-
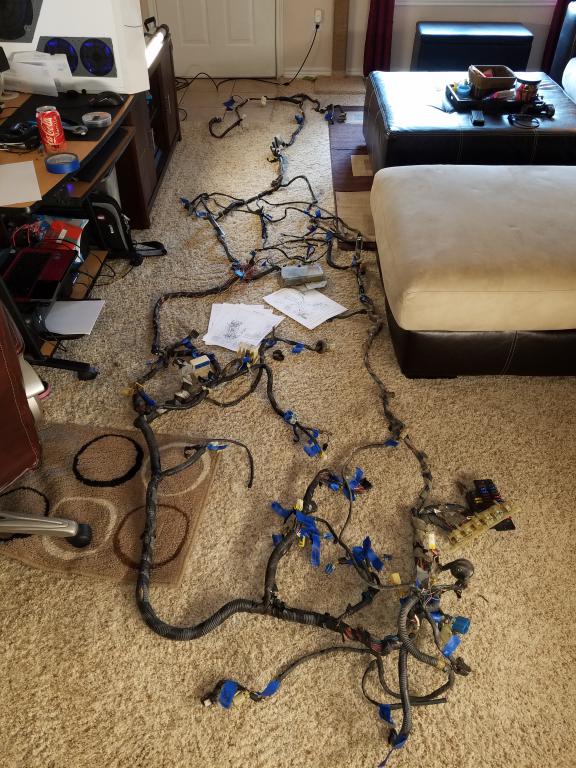
After
Attached Thumbnails -
-
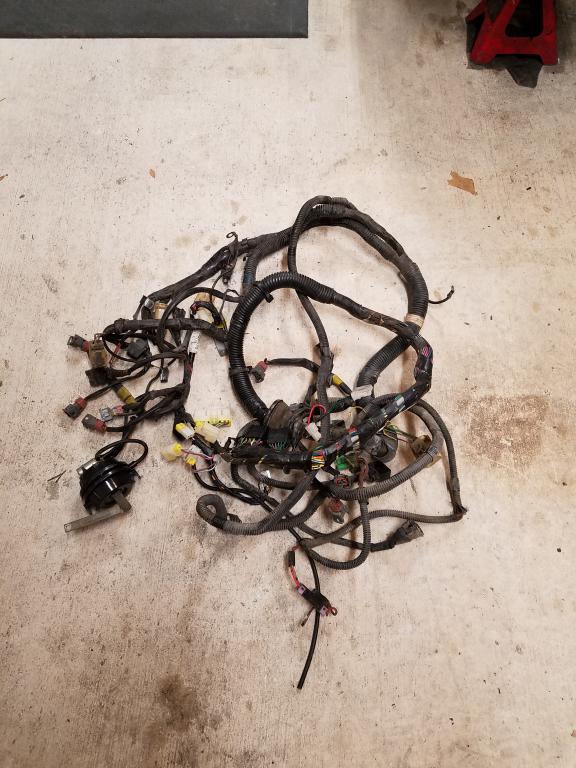
Factory Engine Harness
Before
Attached Thumbnails -
-
After
Attached Thumbnails -
-
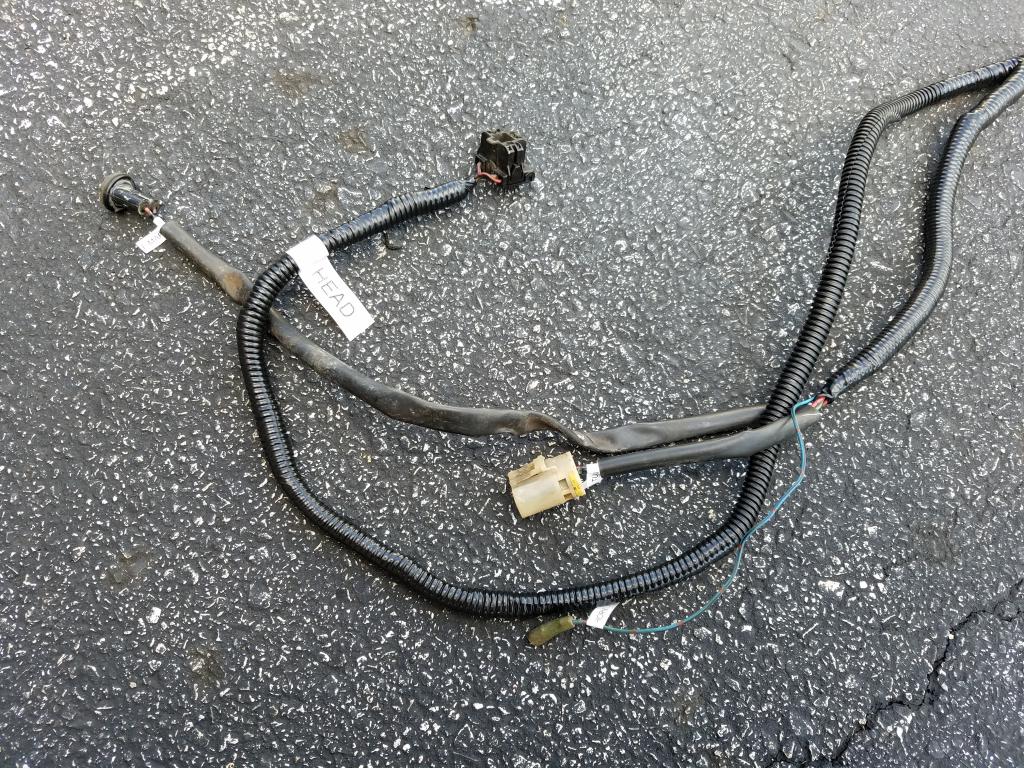
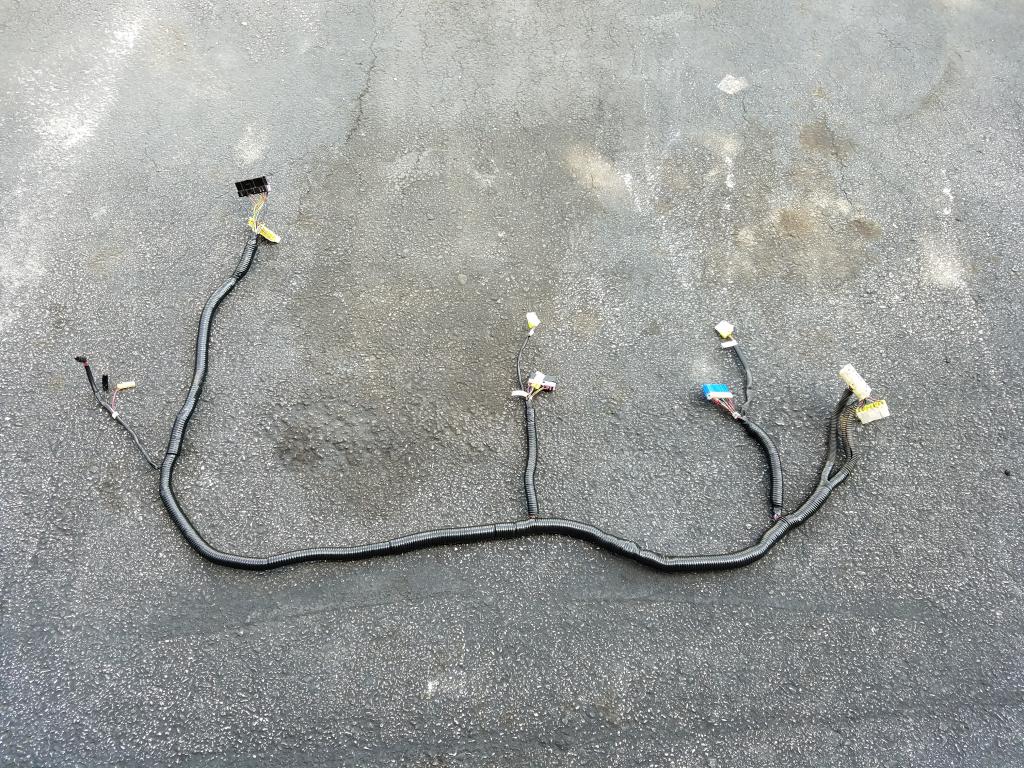
Figured I might as remove all unwanted wires from each of the factory wiring harnesses. Each terminated wire was properly depinned from the connector. Armed with the Z31 FSM I identified & labelled all connectors. The label maker I used is the Dymo Rhino 5200. It's hands down the best label maker I've ever used/owned.
Chassis Harness
Before
Attached Thumbnails -
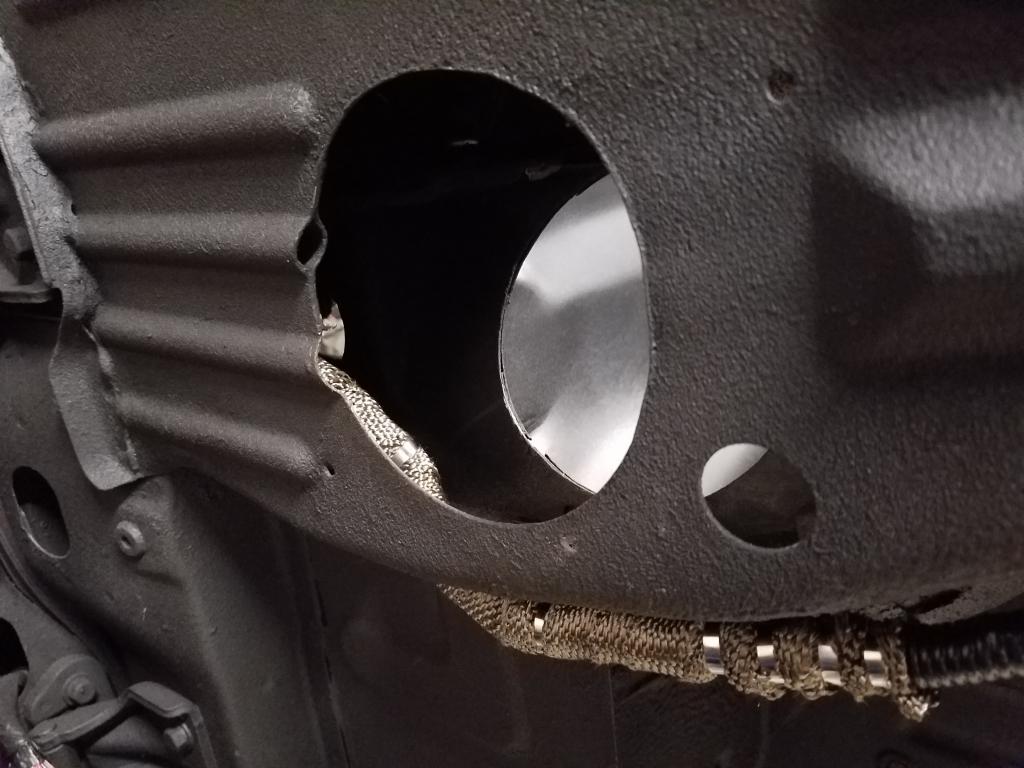
Then I drilled a hole into my firewall for my engine wiring harness. The hole I saved during the engine bay work was too far away for the harness to reach. Unfortunately I did the engine bay work before I purchased my ecu & harness.

Attached Thumbnails -
-
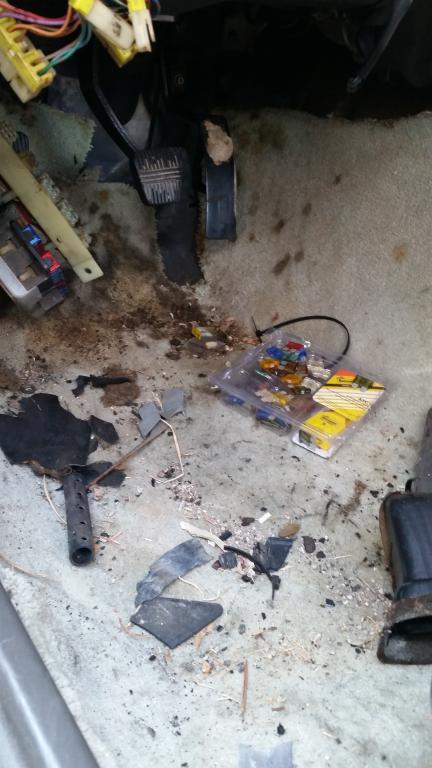
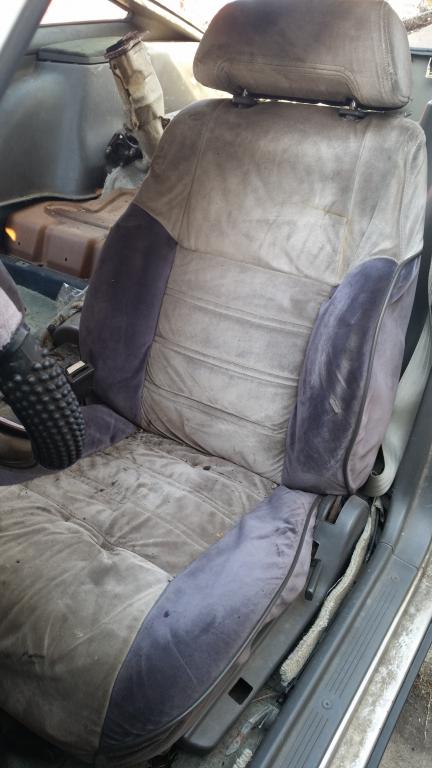
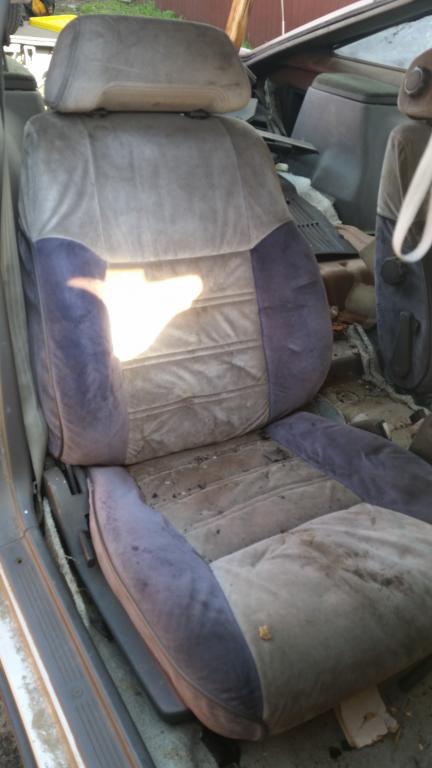
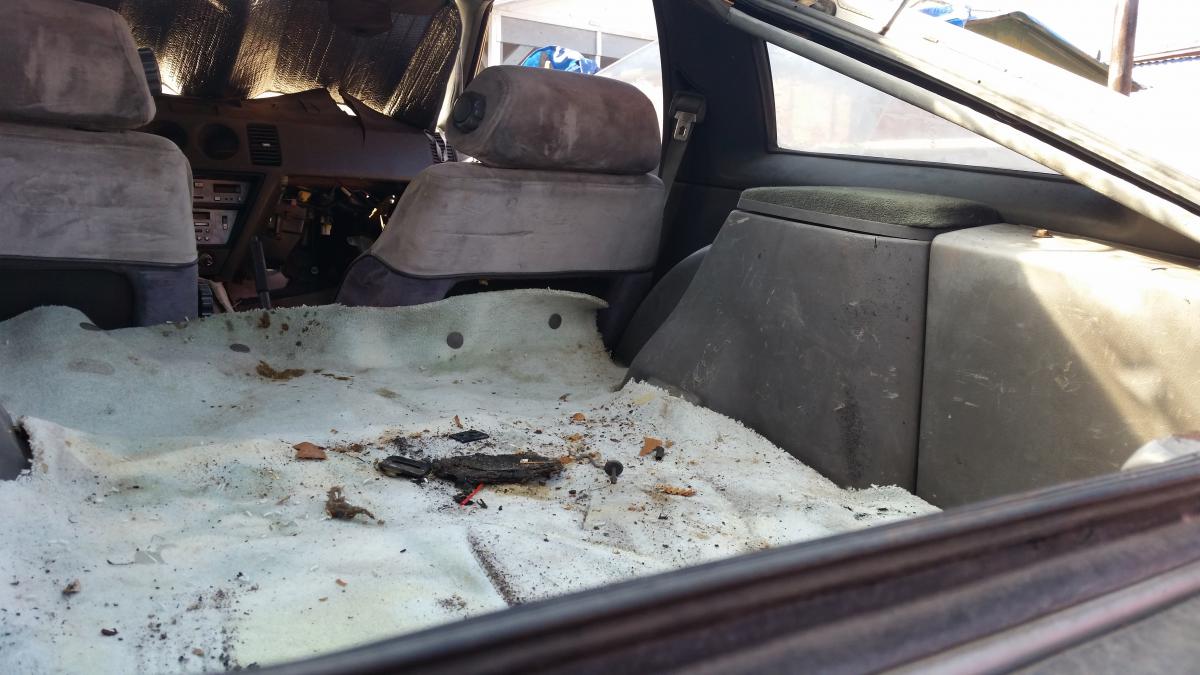
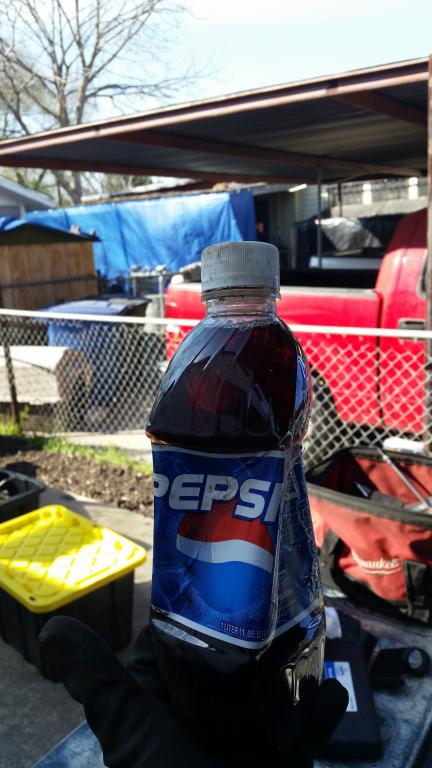
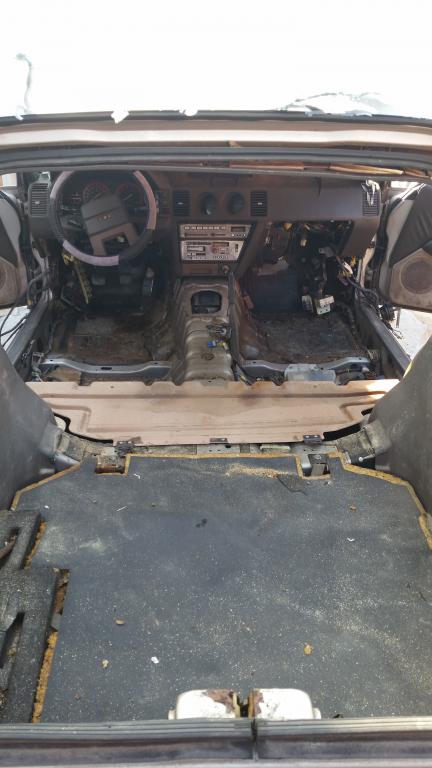
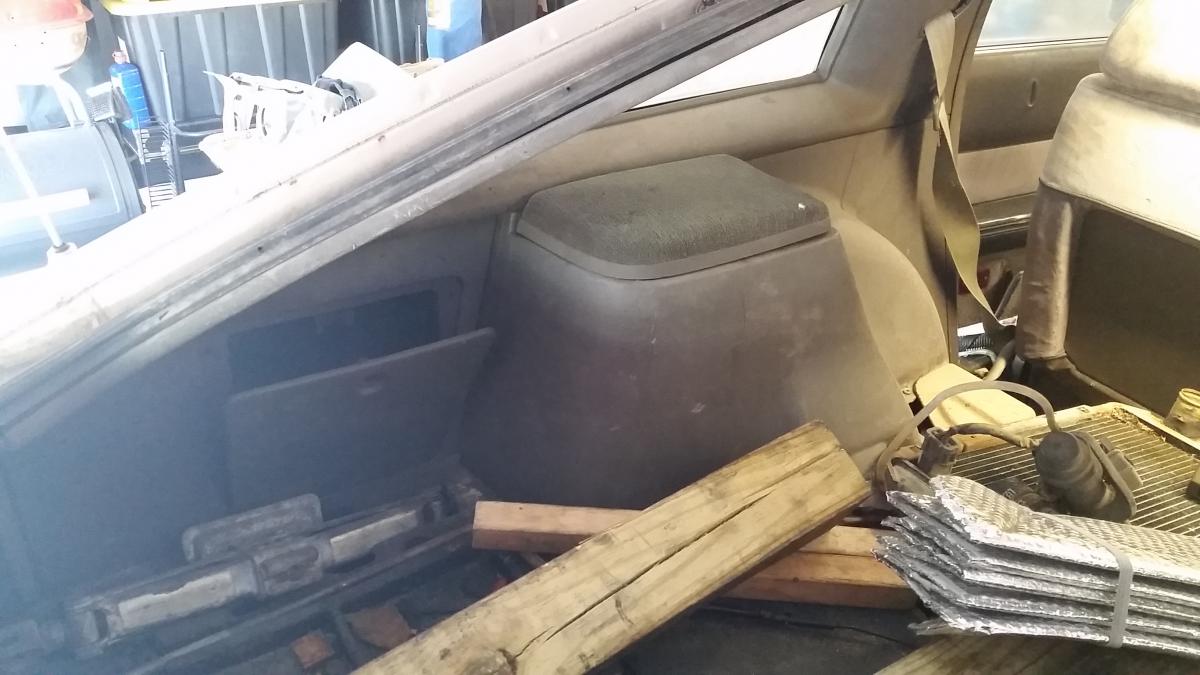
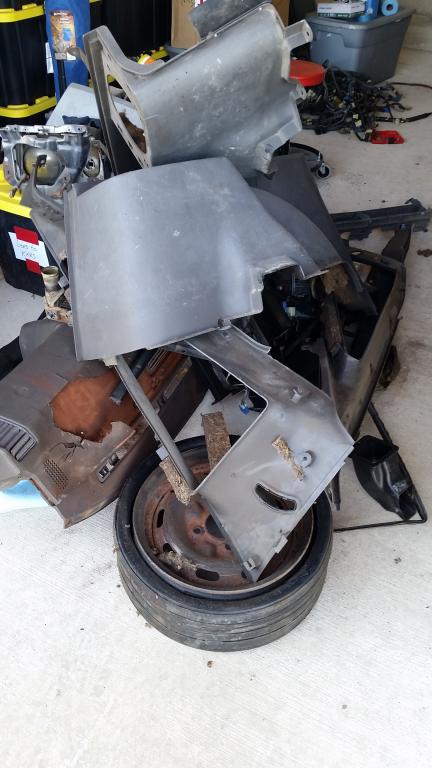
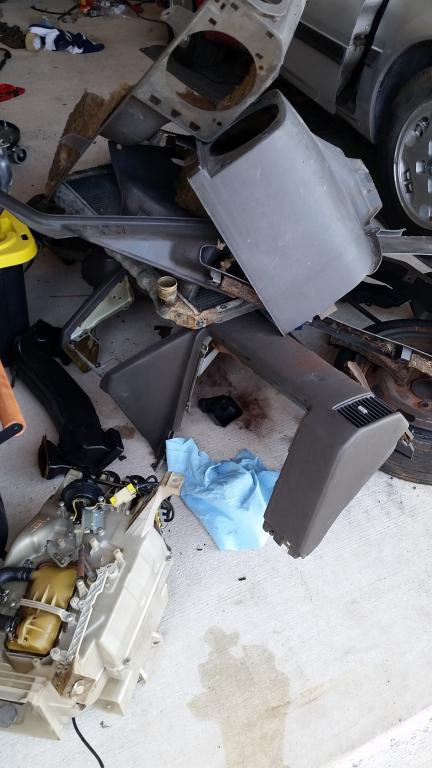
Got tired of seeing & smelling the interior of this car so I tore it all out. And yes that is house carpet smh......lol. Check out that 14+ year old unopened 1 liter pepsi. Well it expired over 14 years ago. Found it under the driver side seat. Needless to say it went to the trash immediately. The last 2 pics are of the pile that went to the trash.
Attached Thumbnails -
-
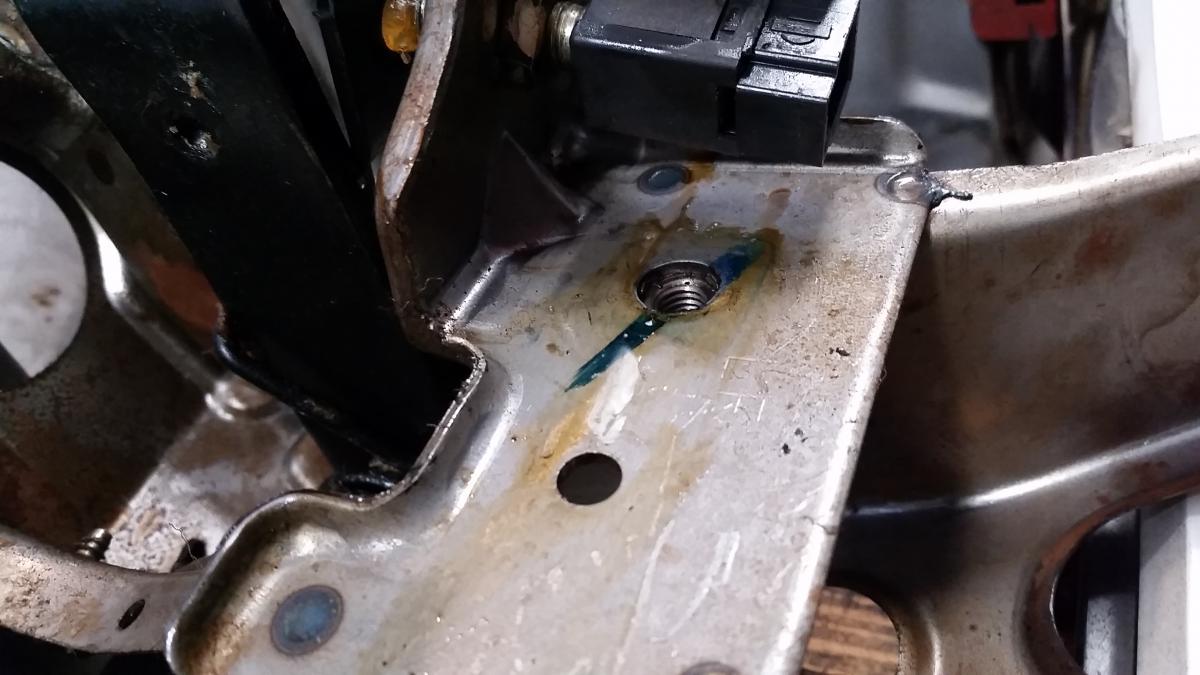
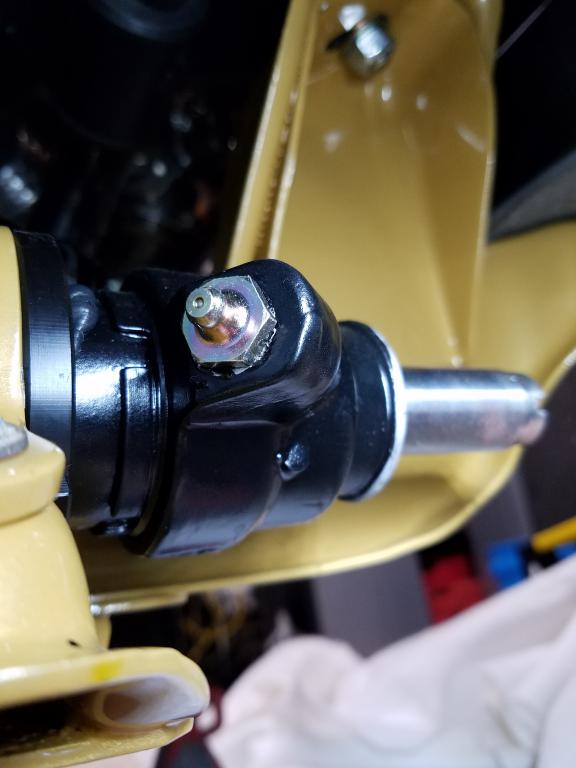
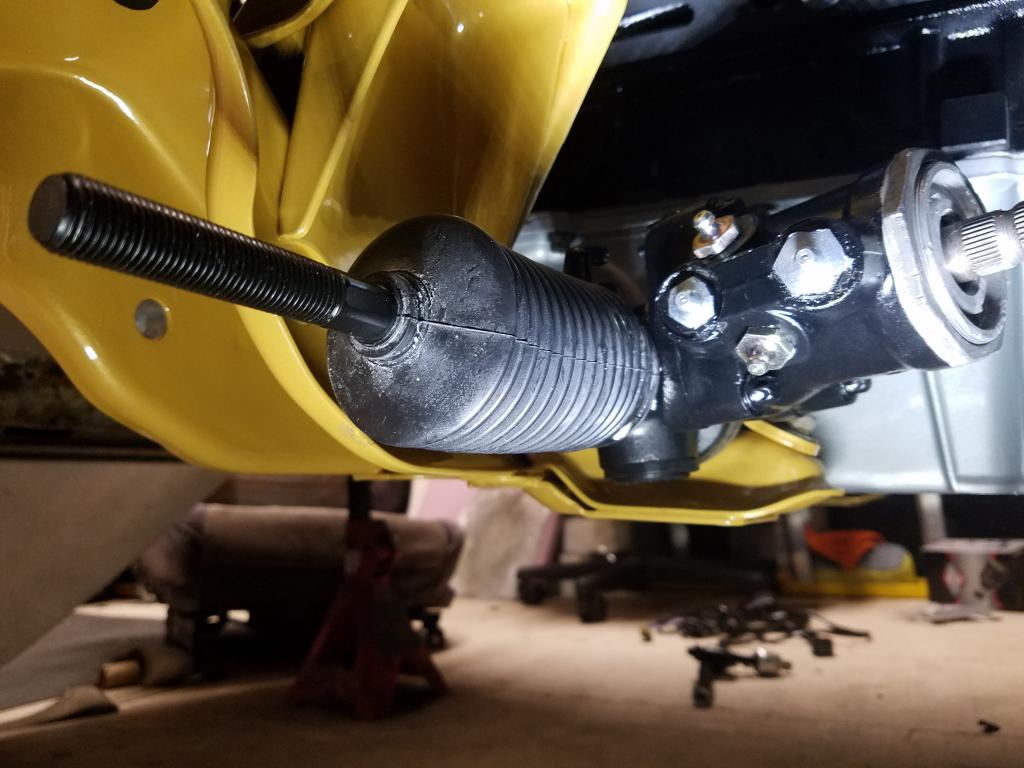
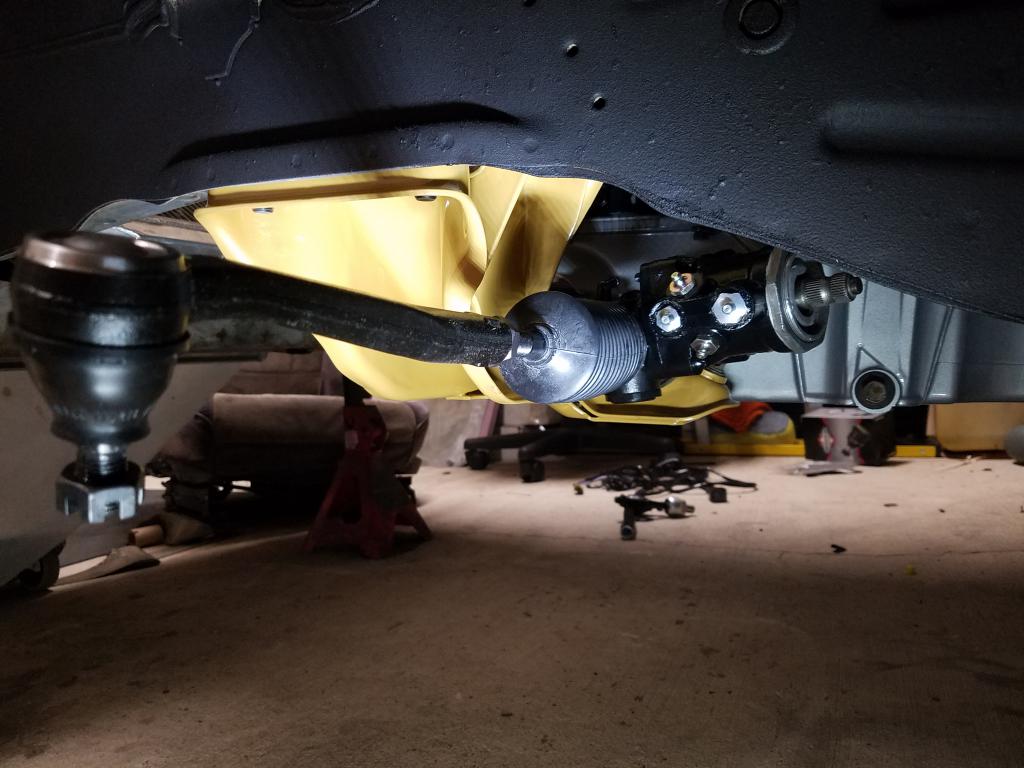
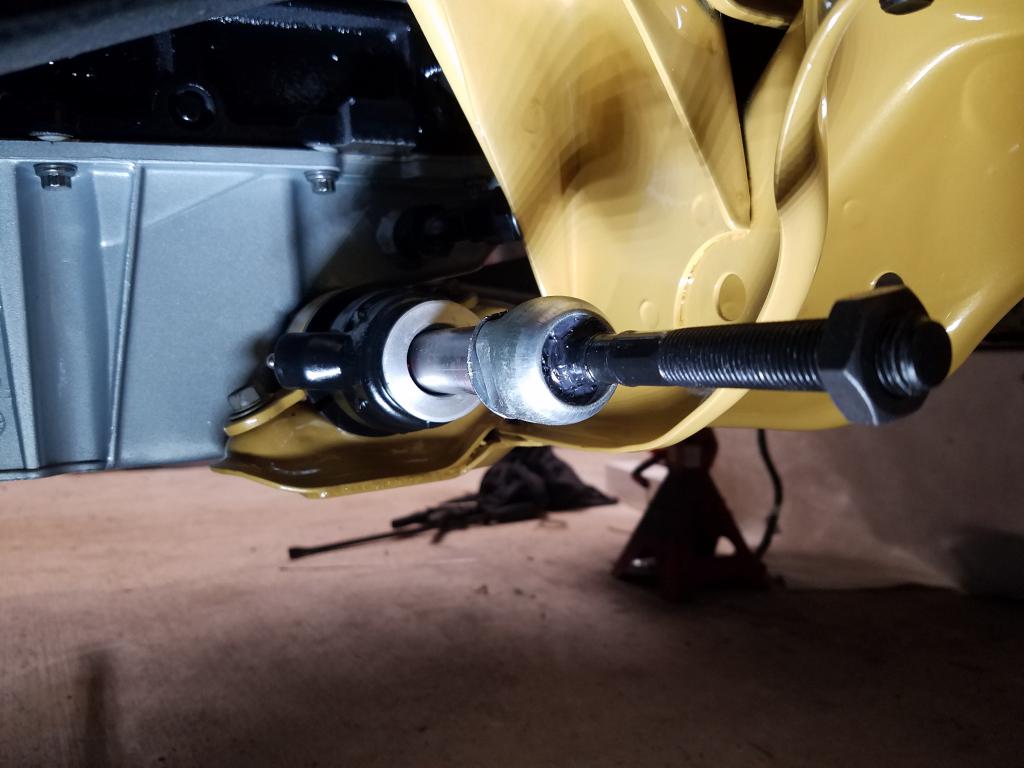
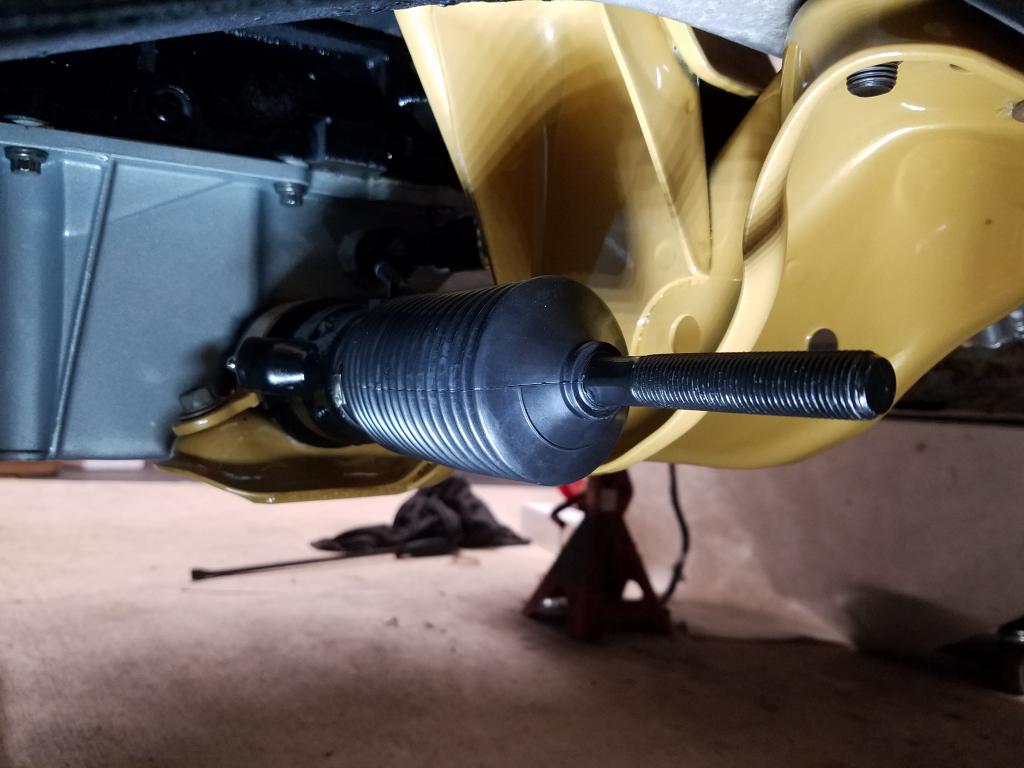
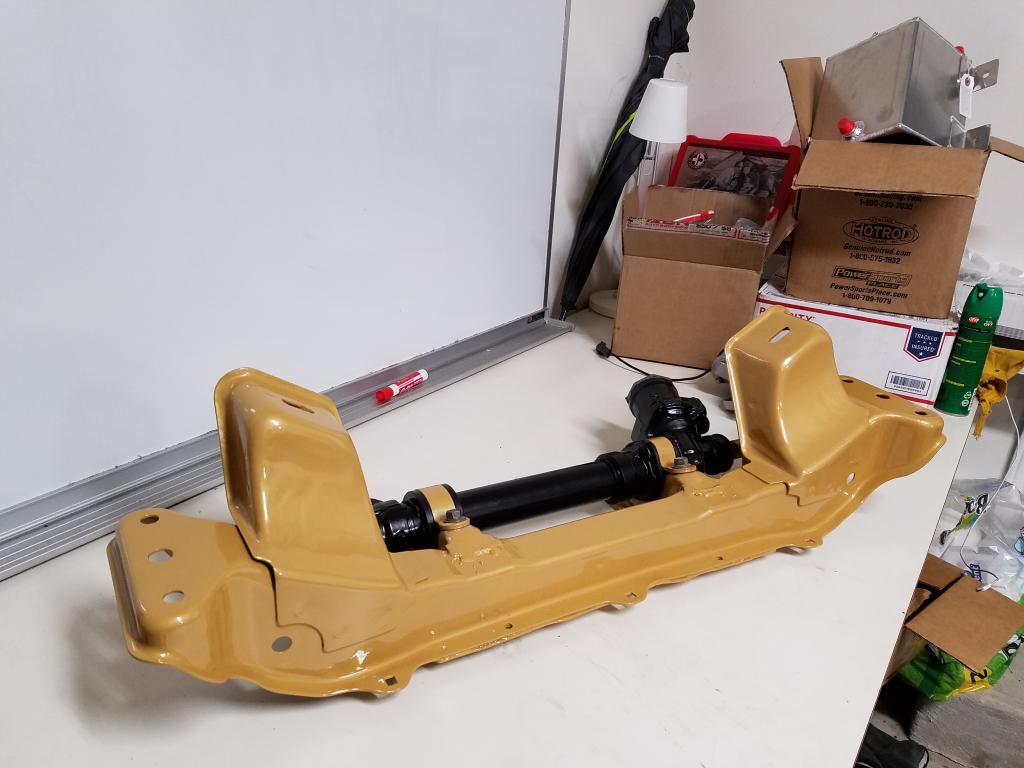
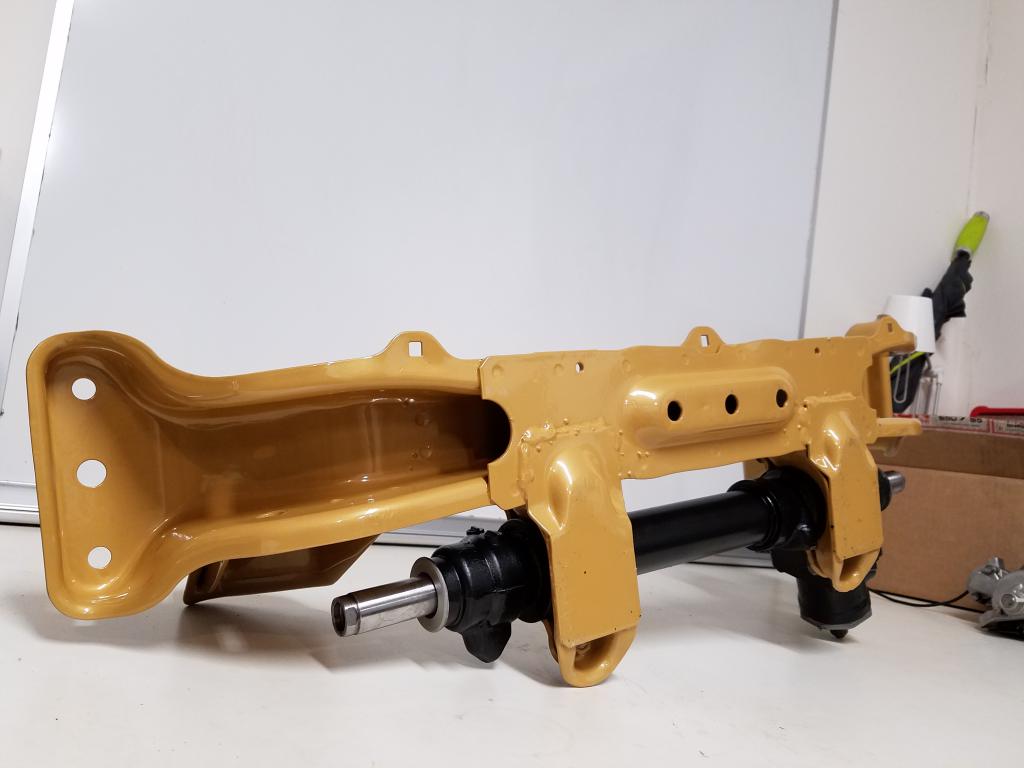
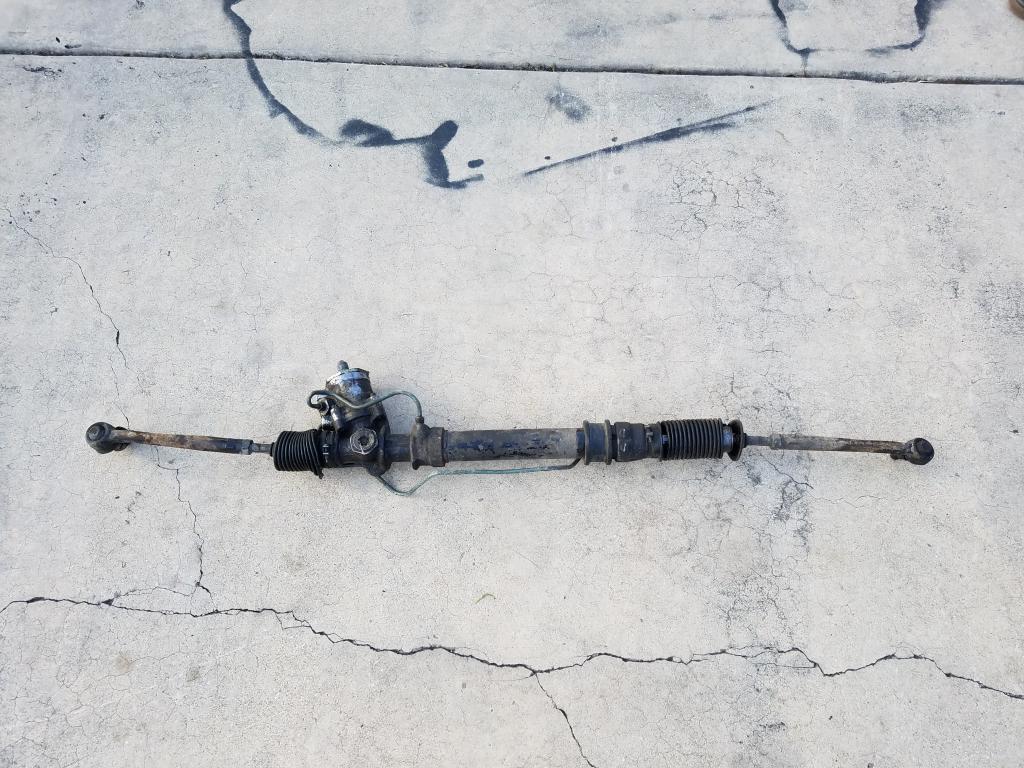
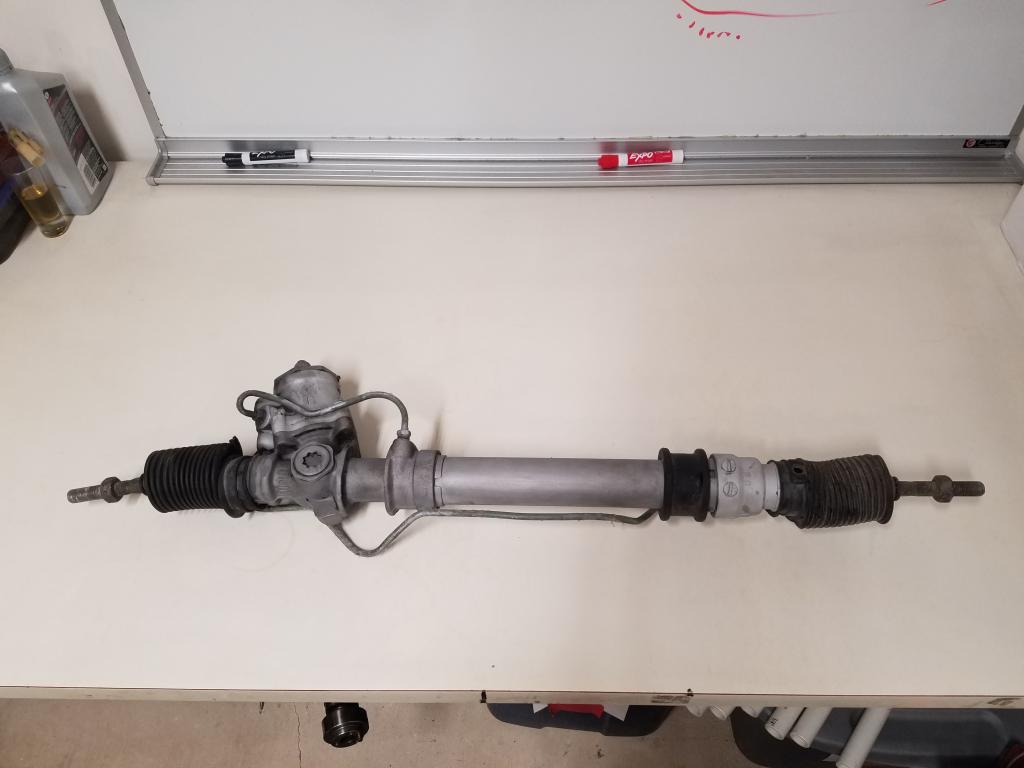
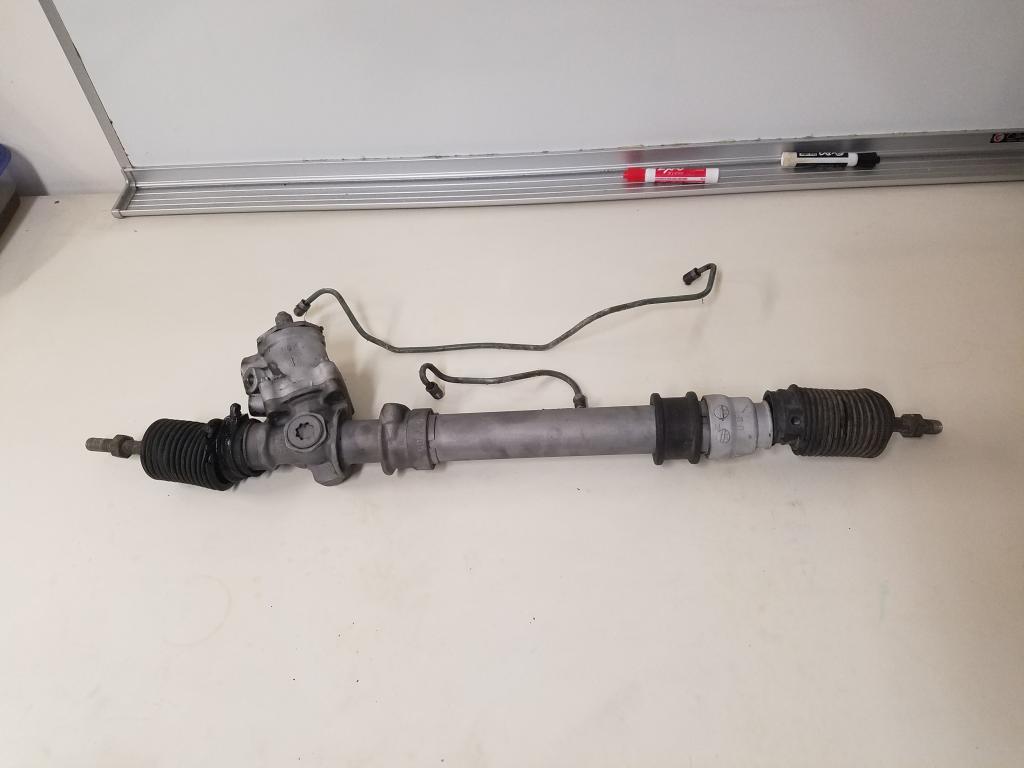
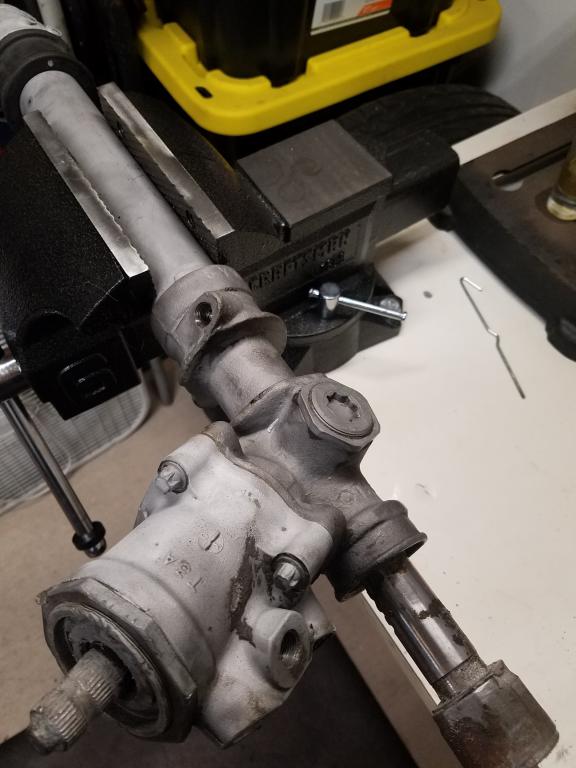
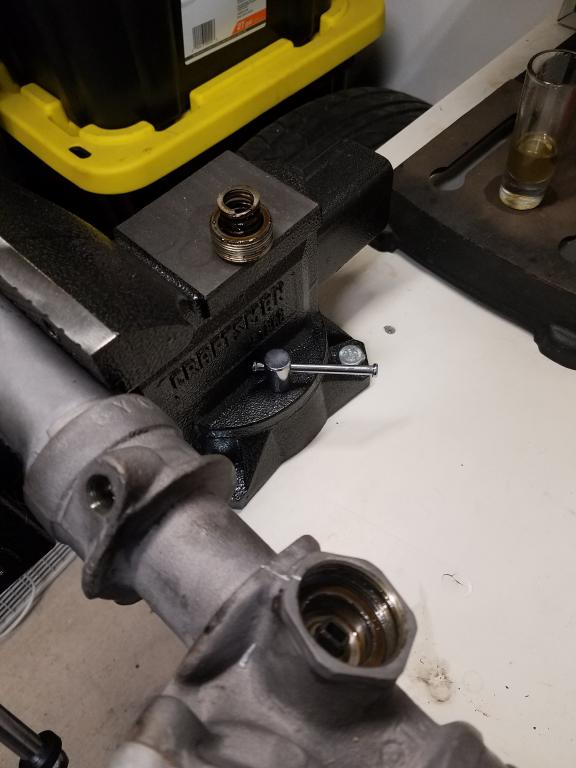
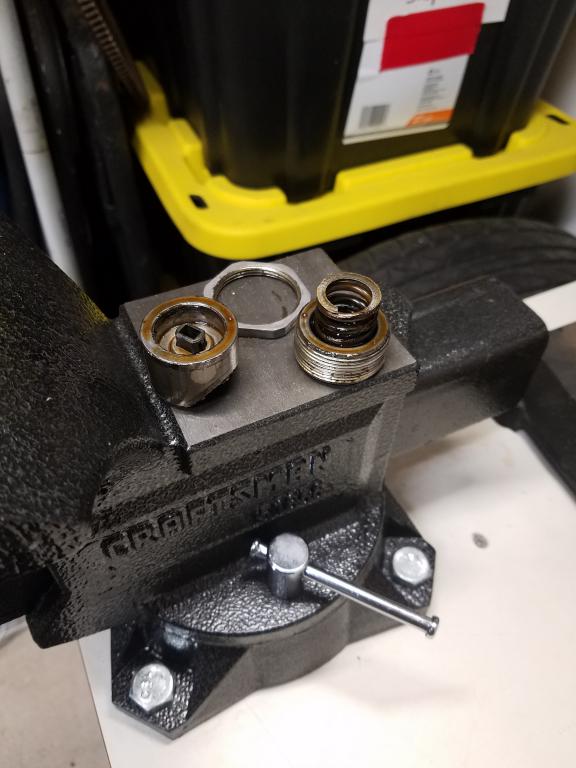
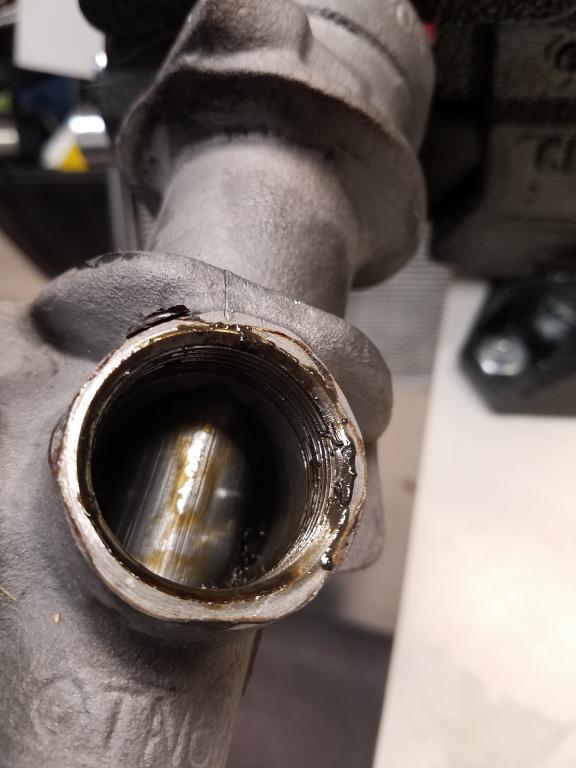
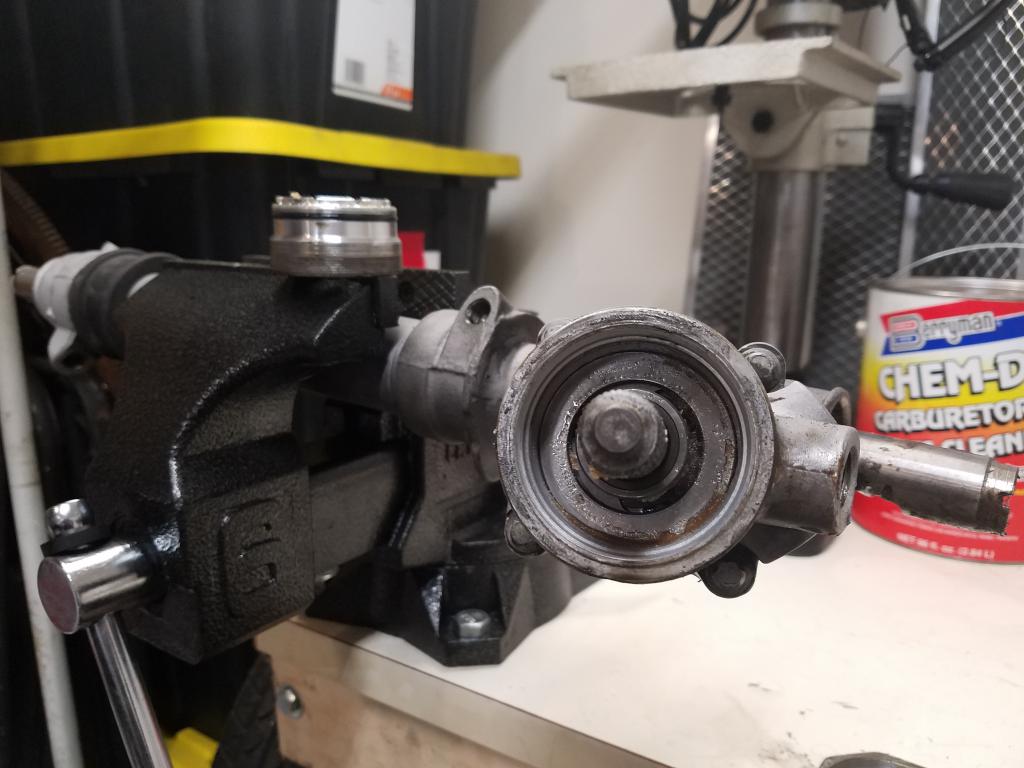
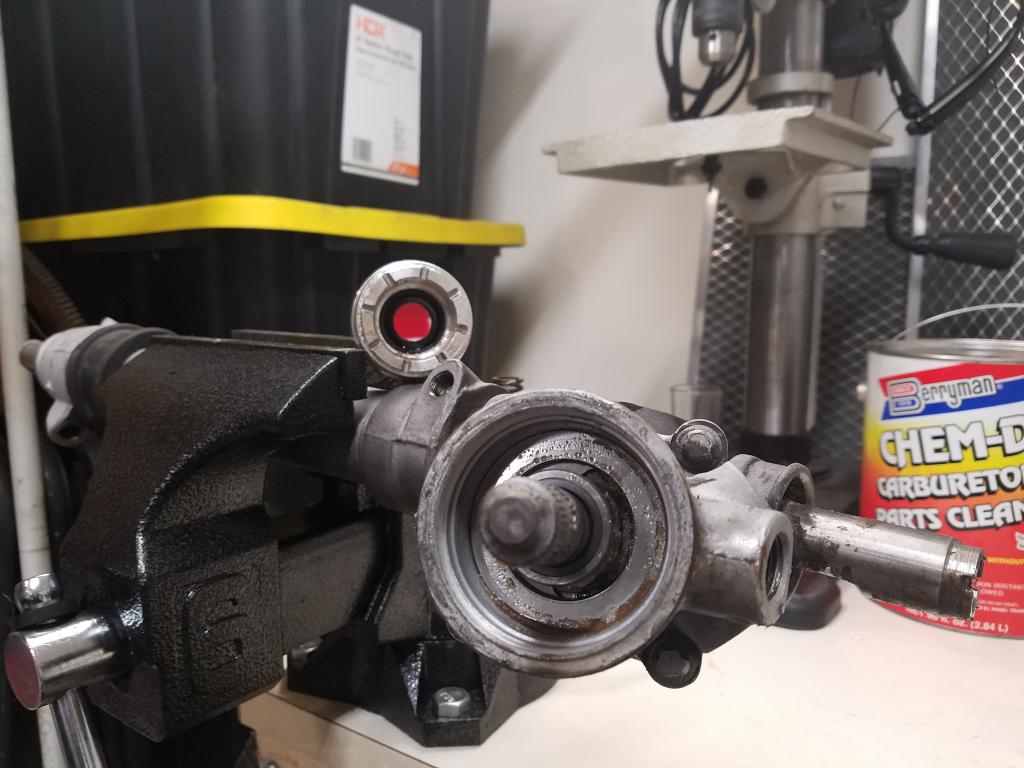
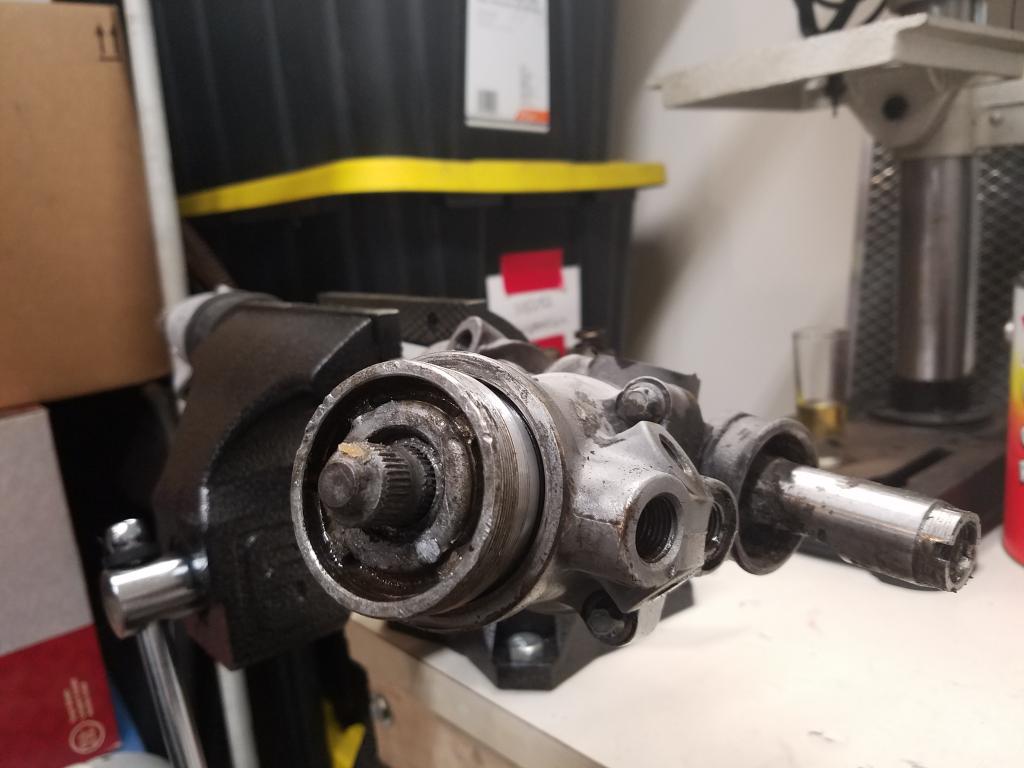
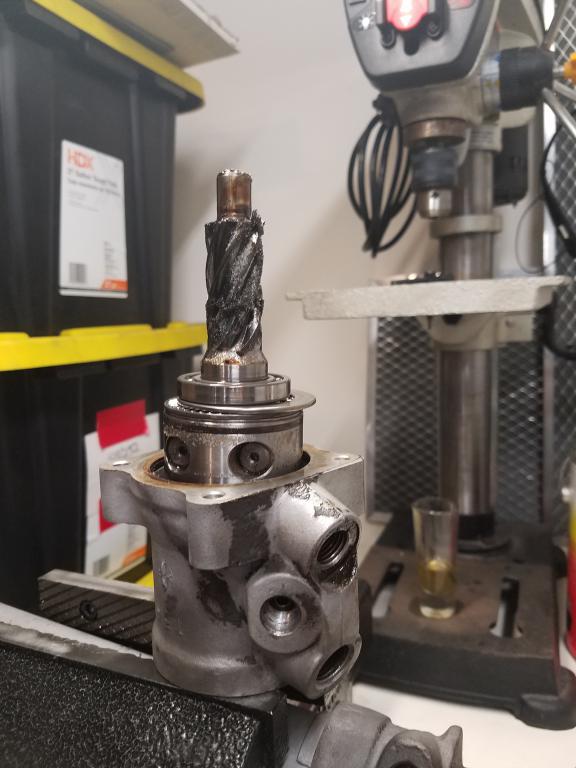
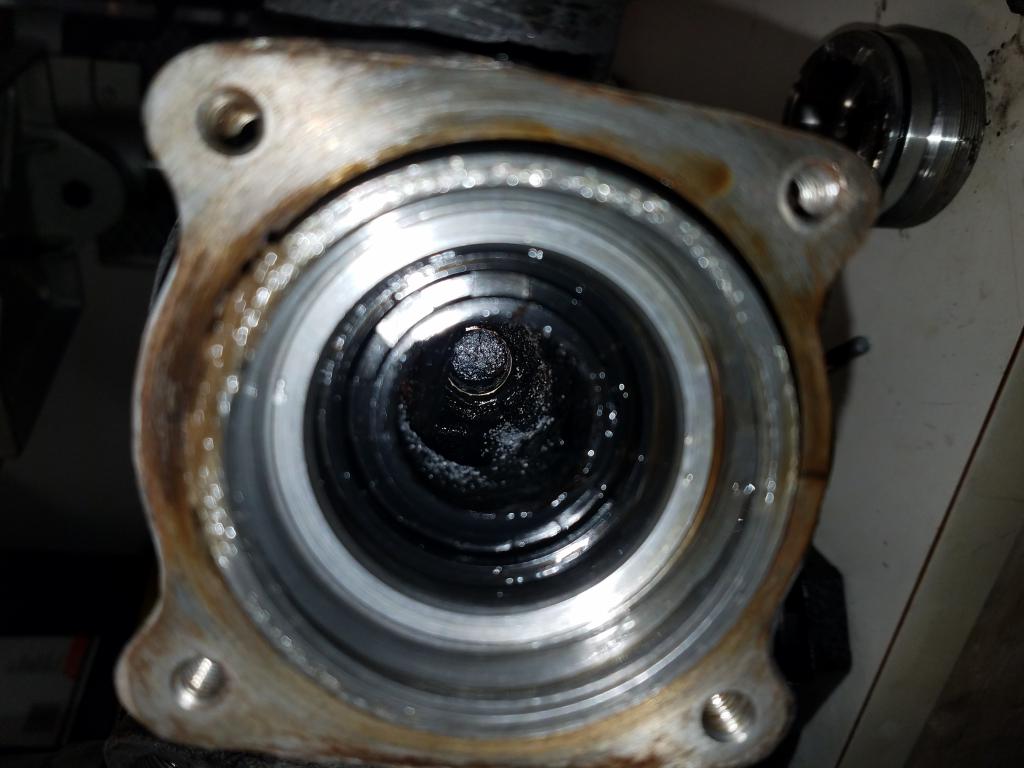
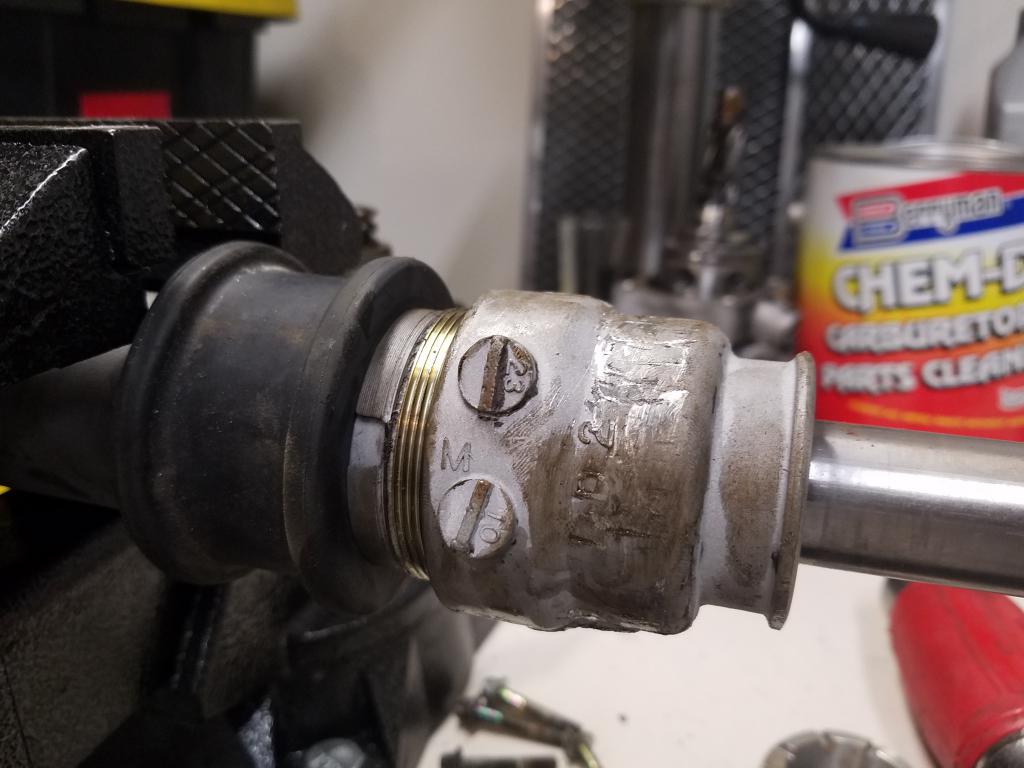
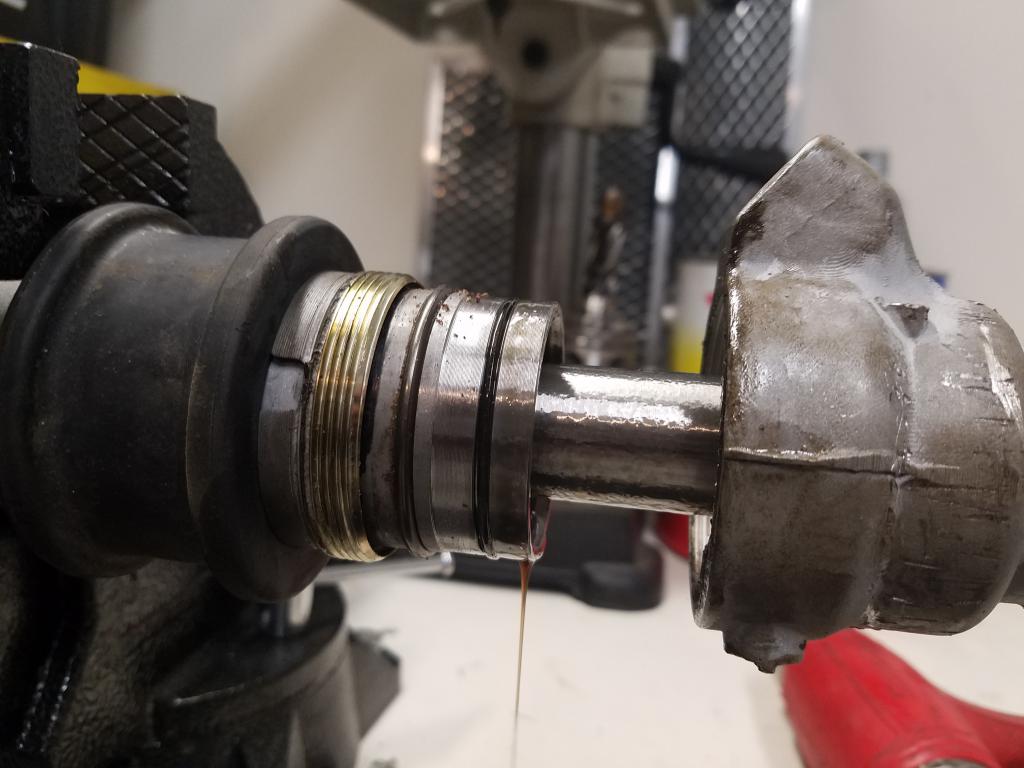
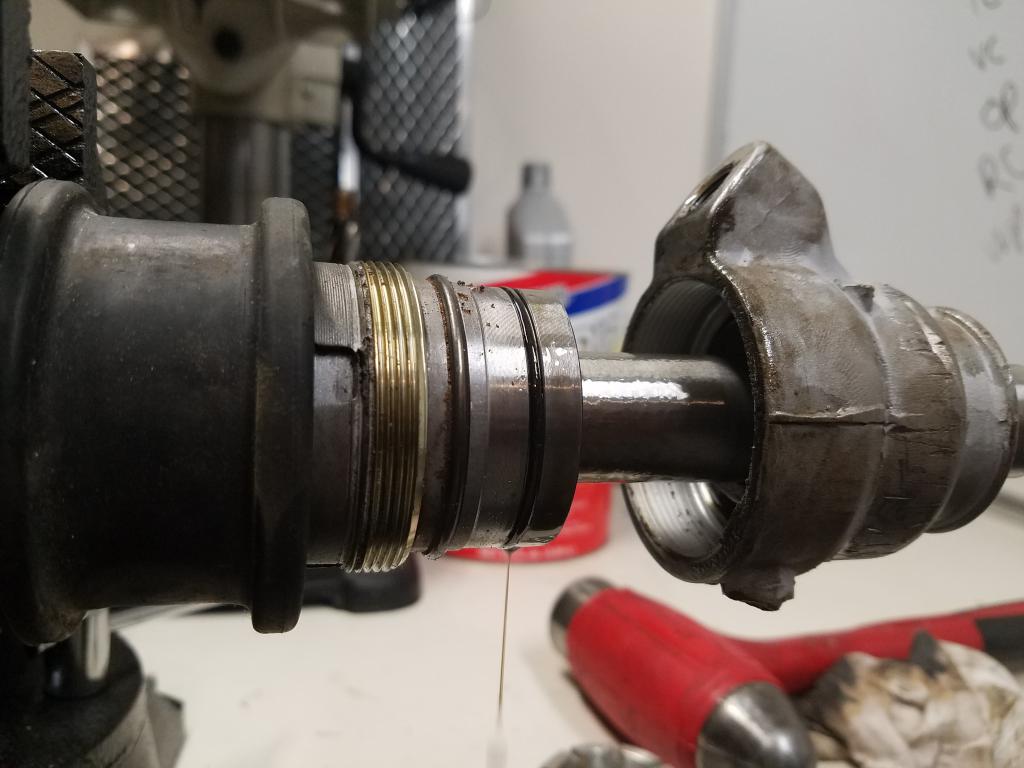
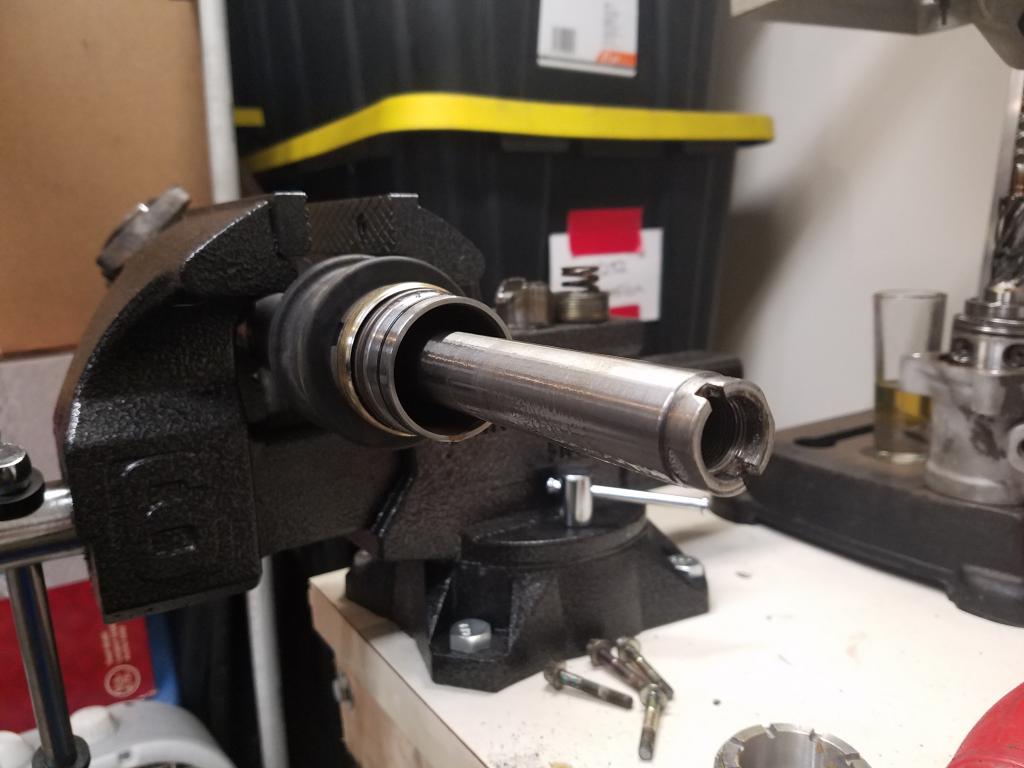
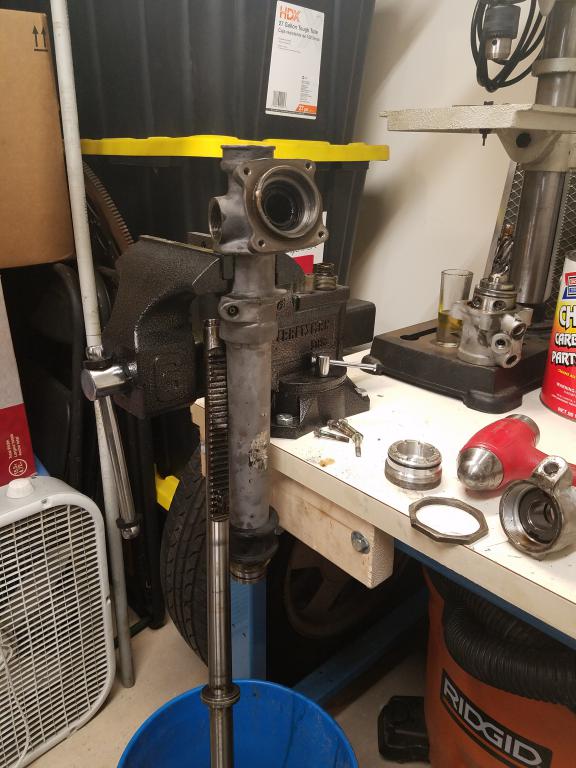
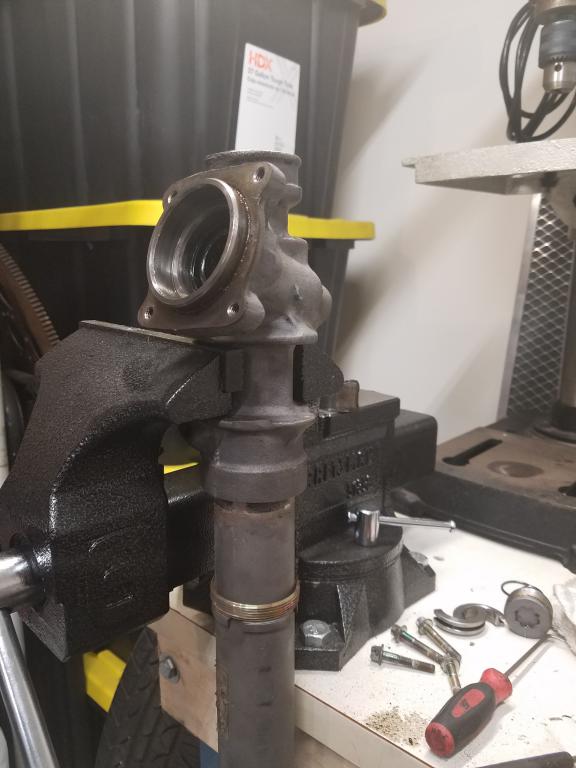
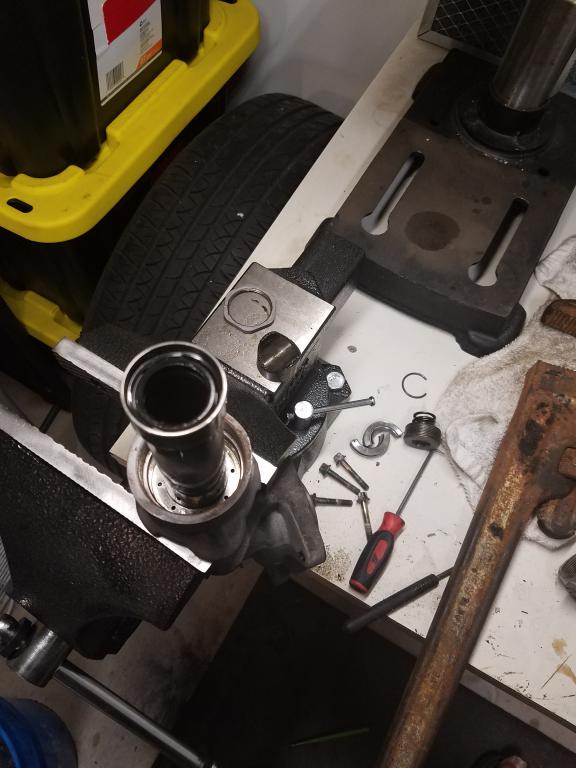
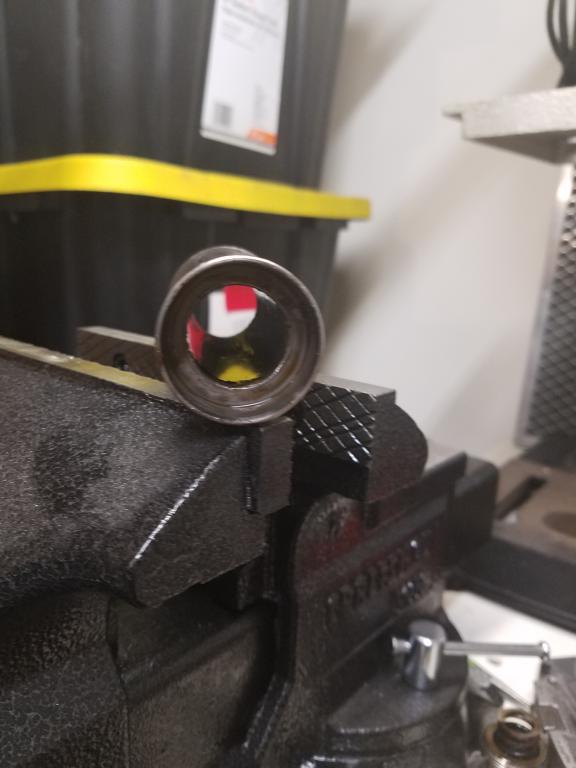
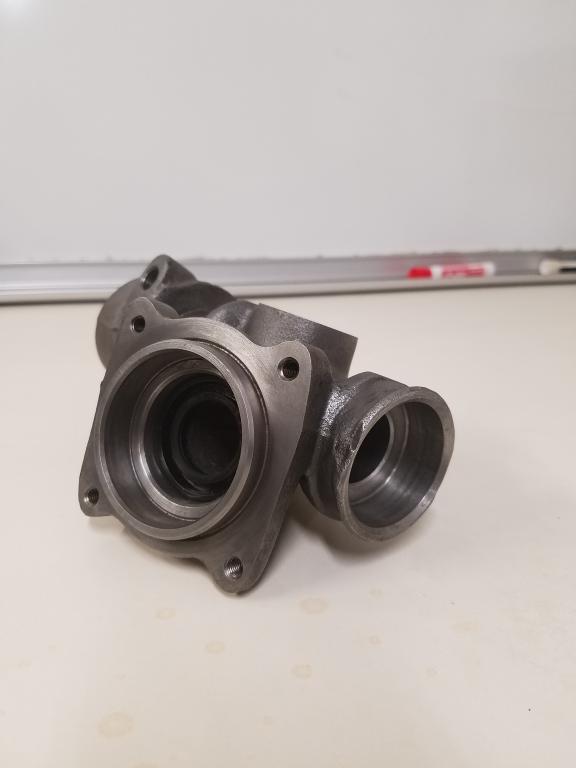
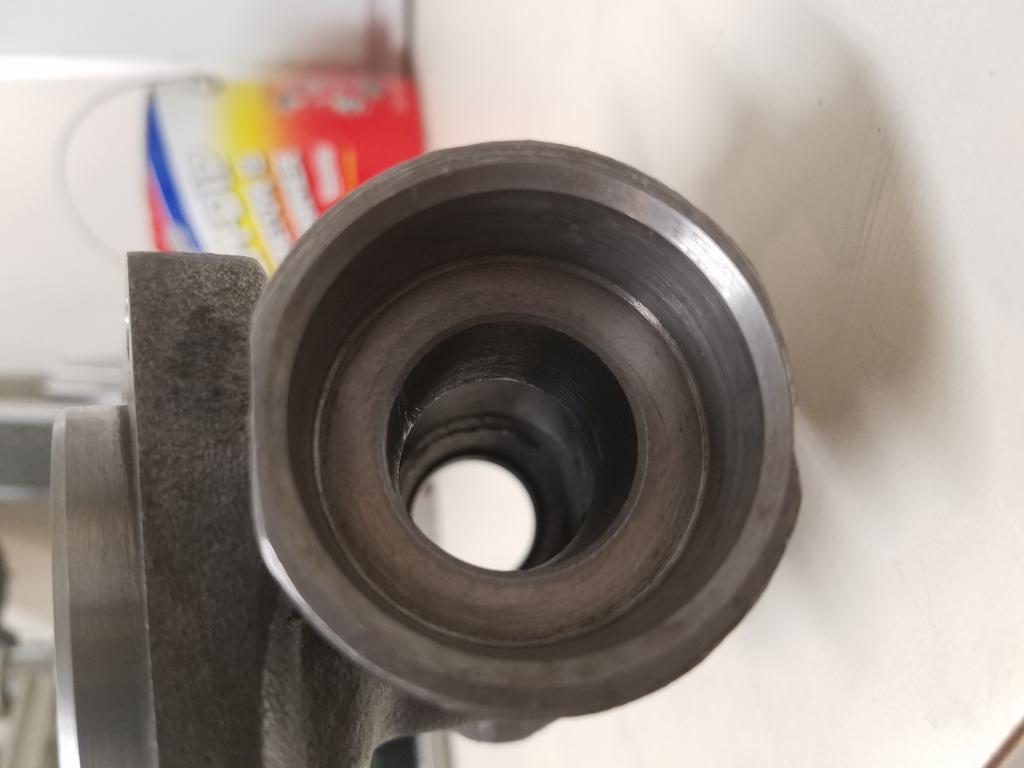
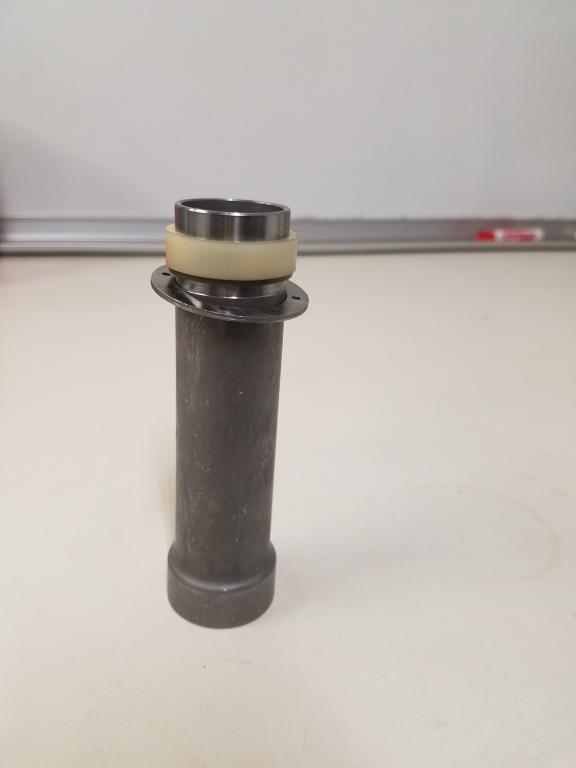
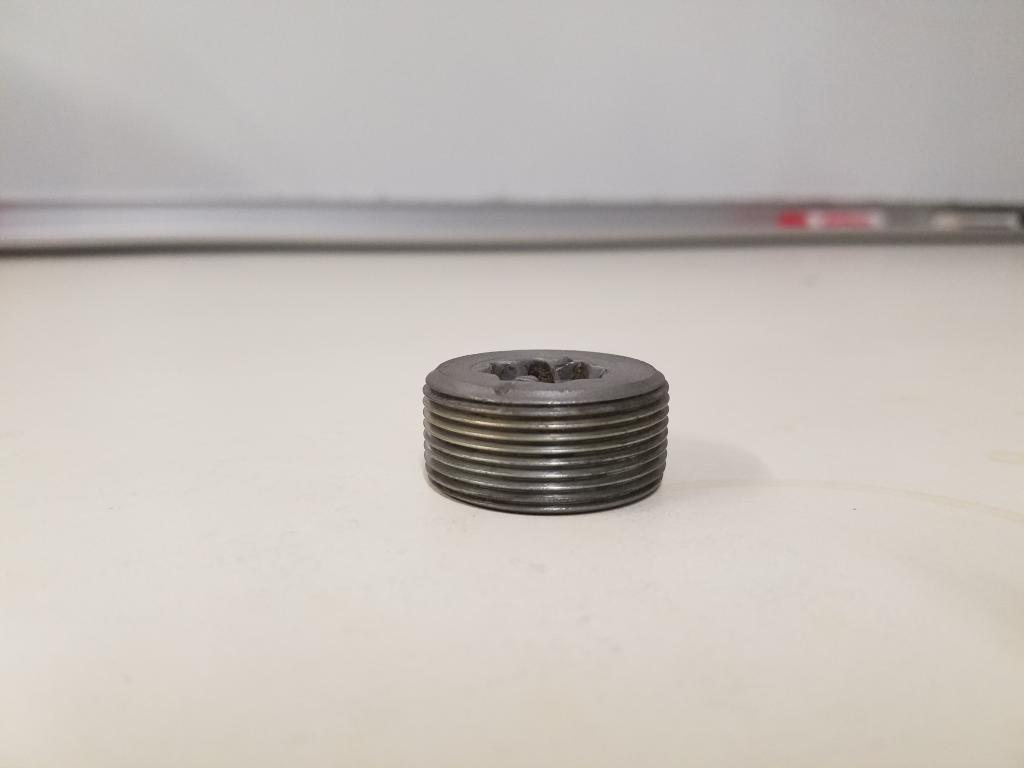
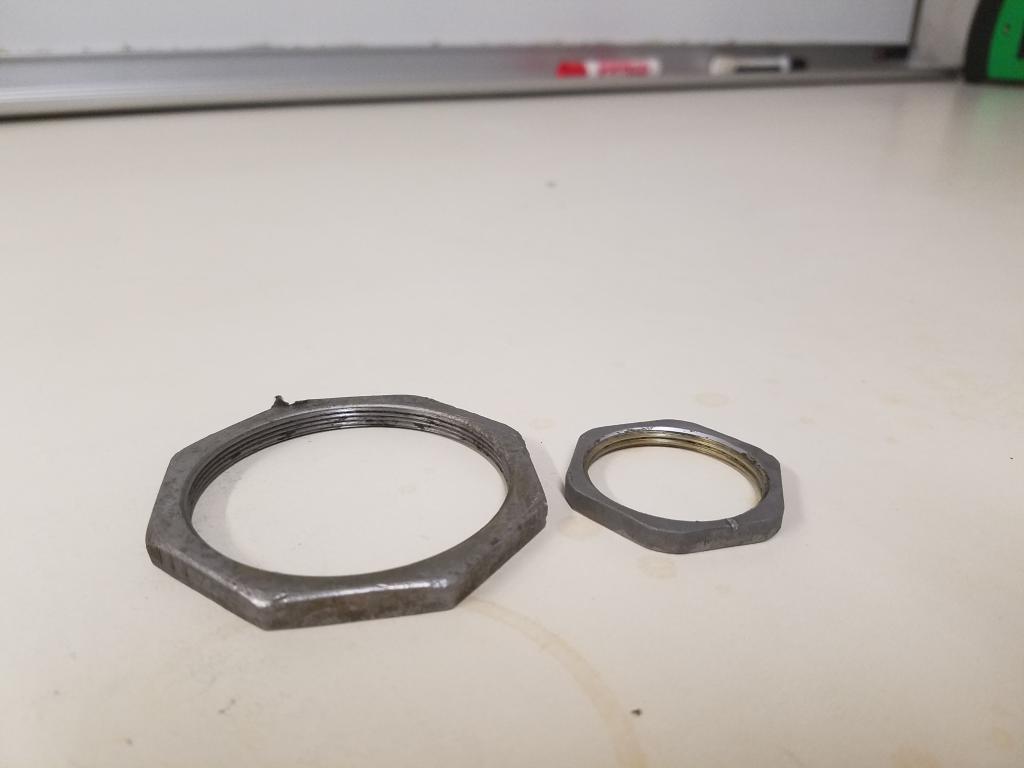
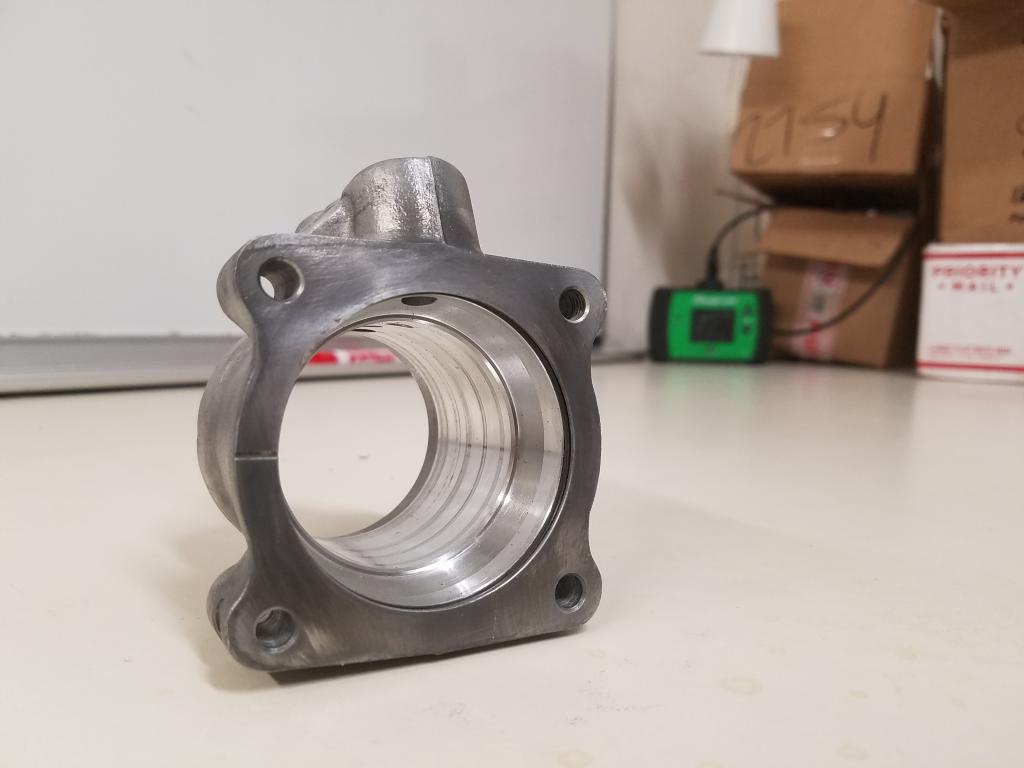
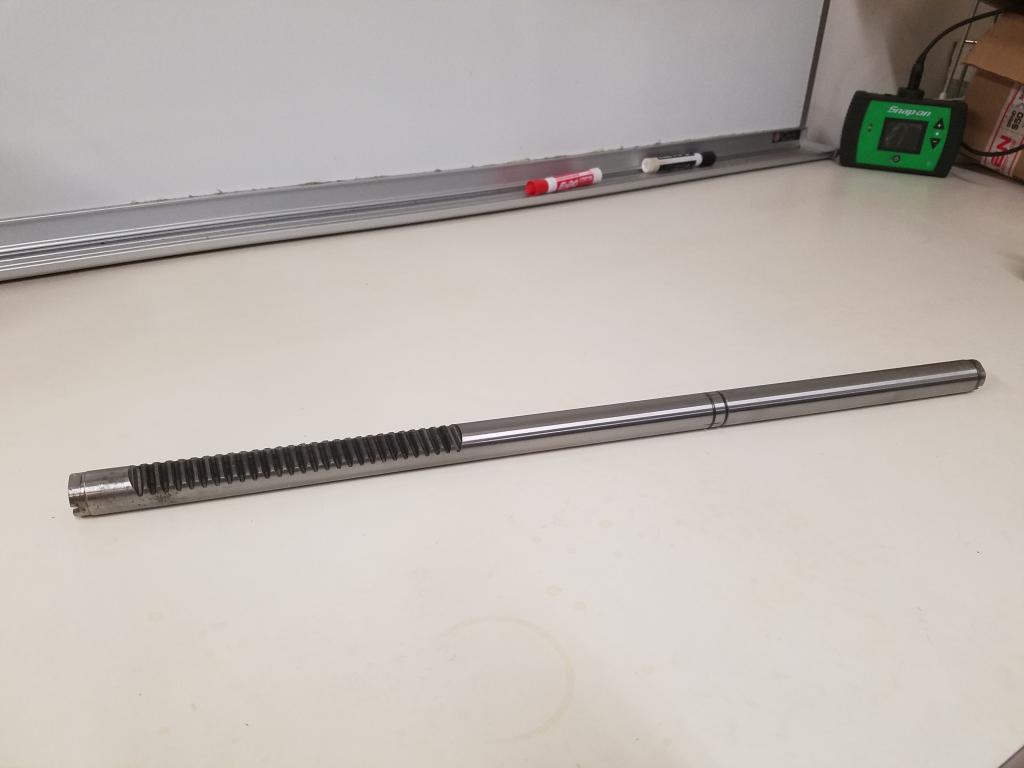
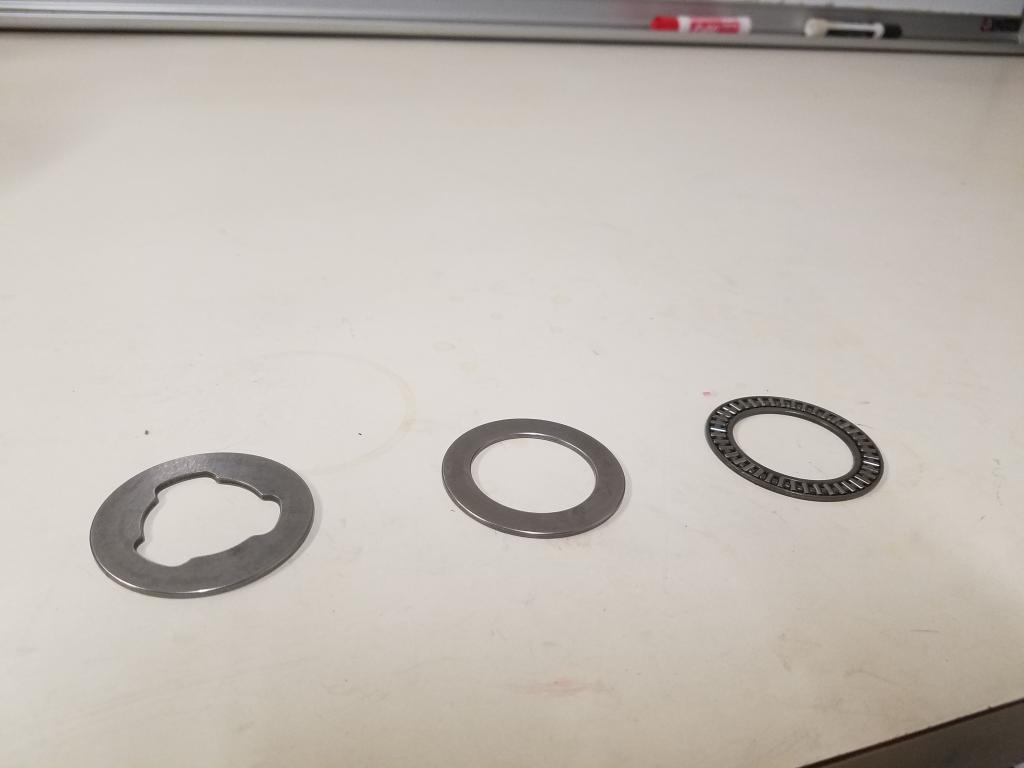
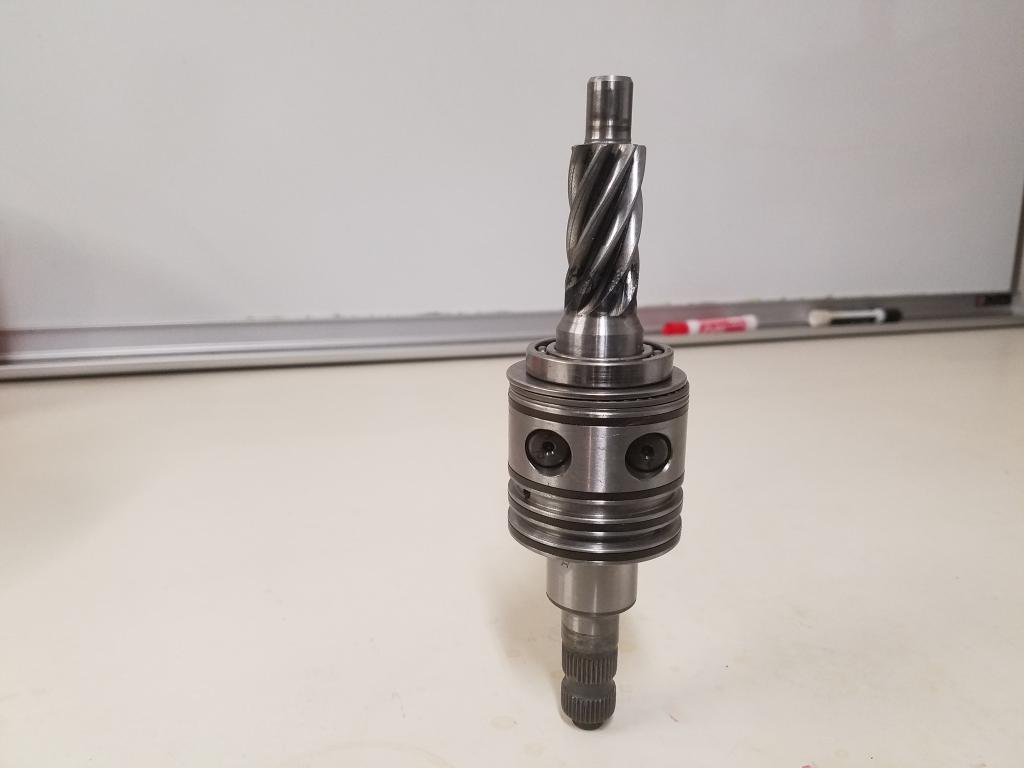
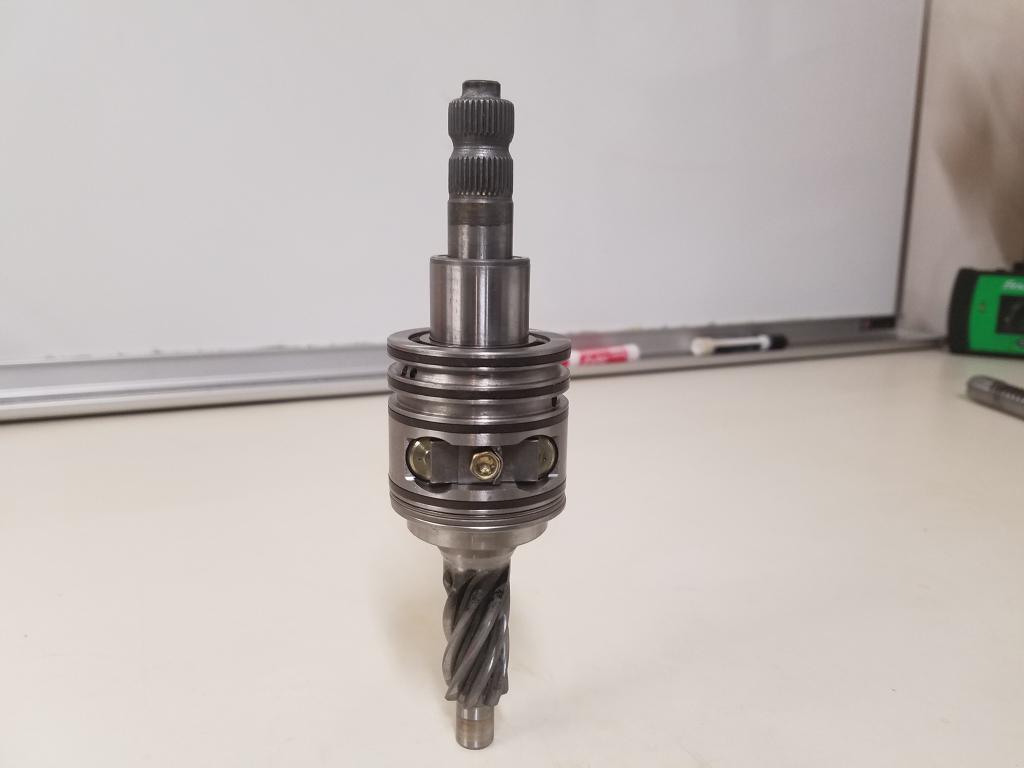
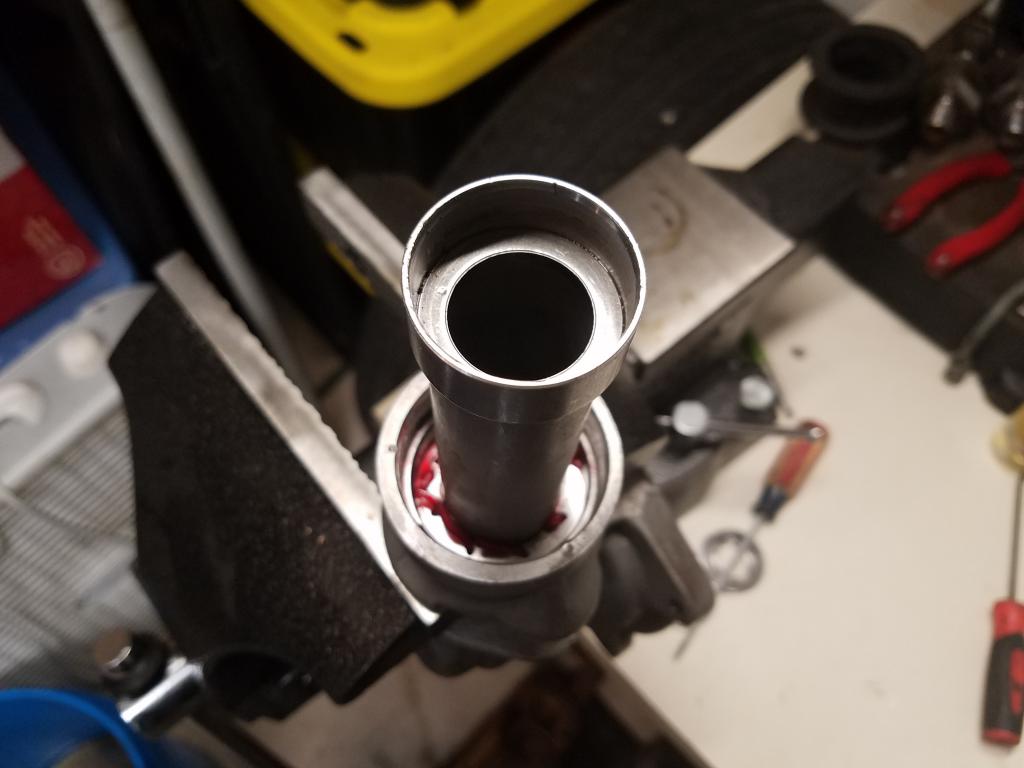
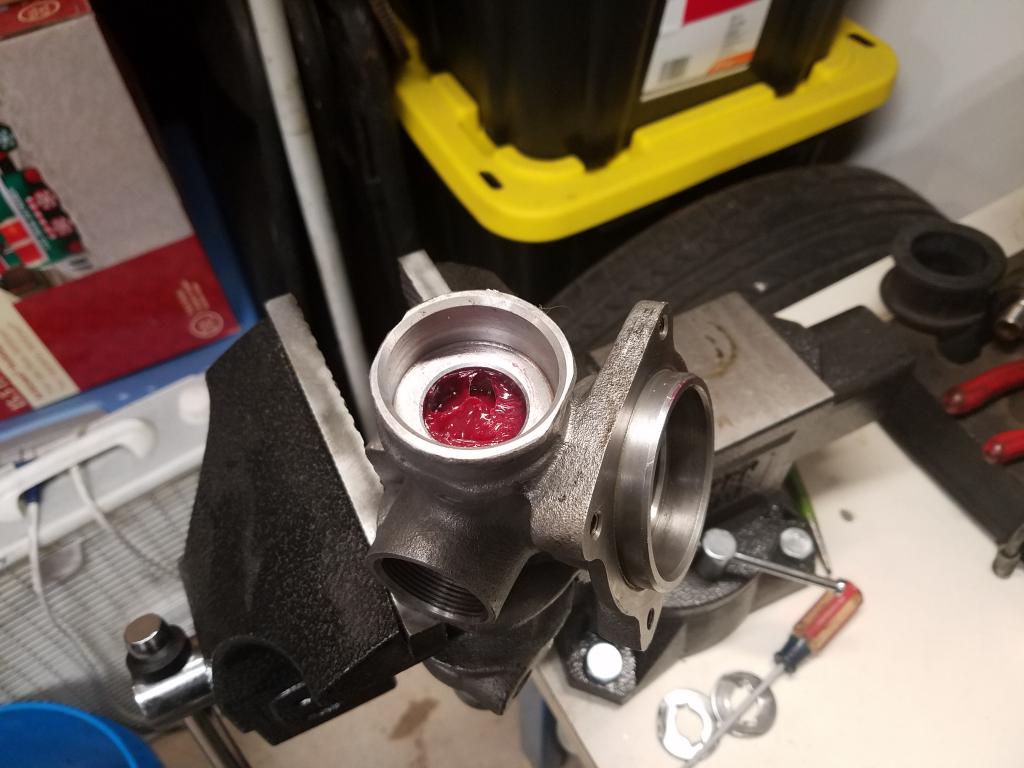
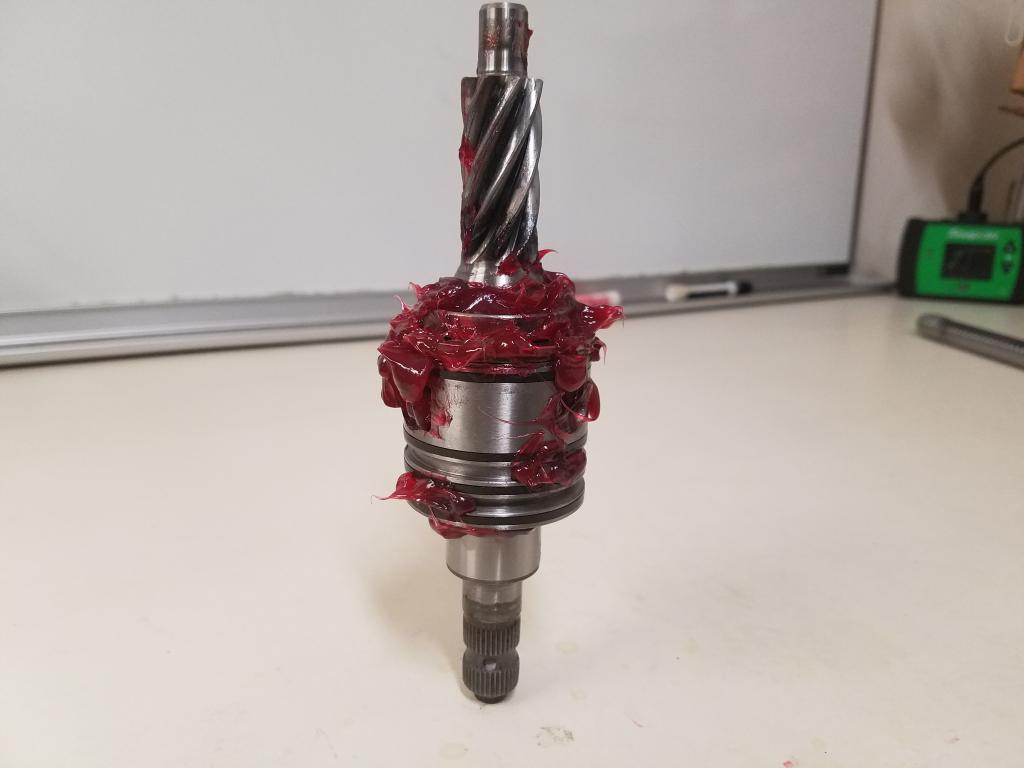
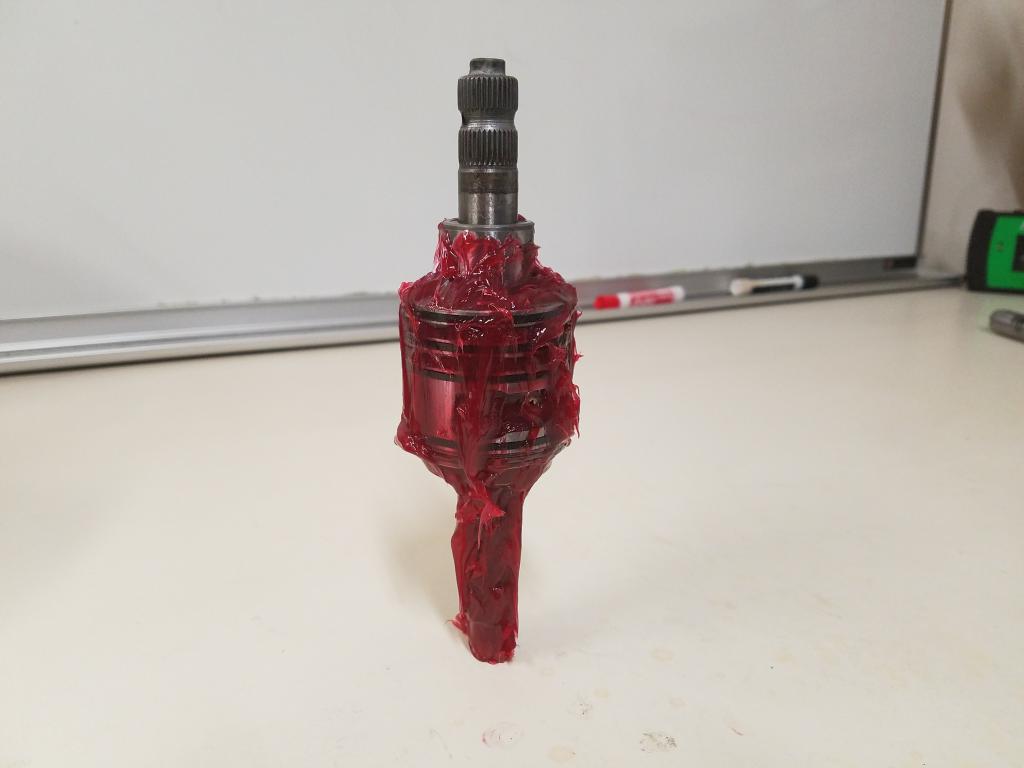
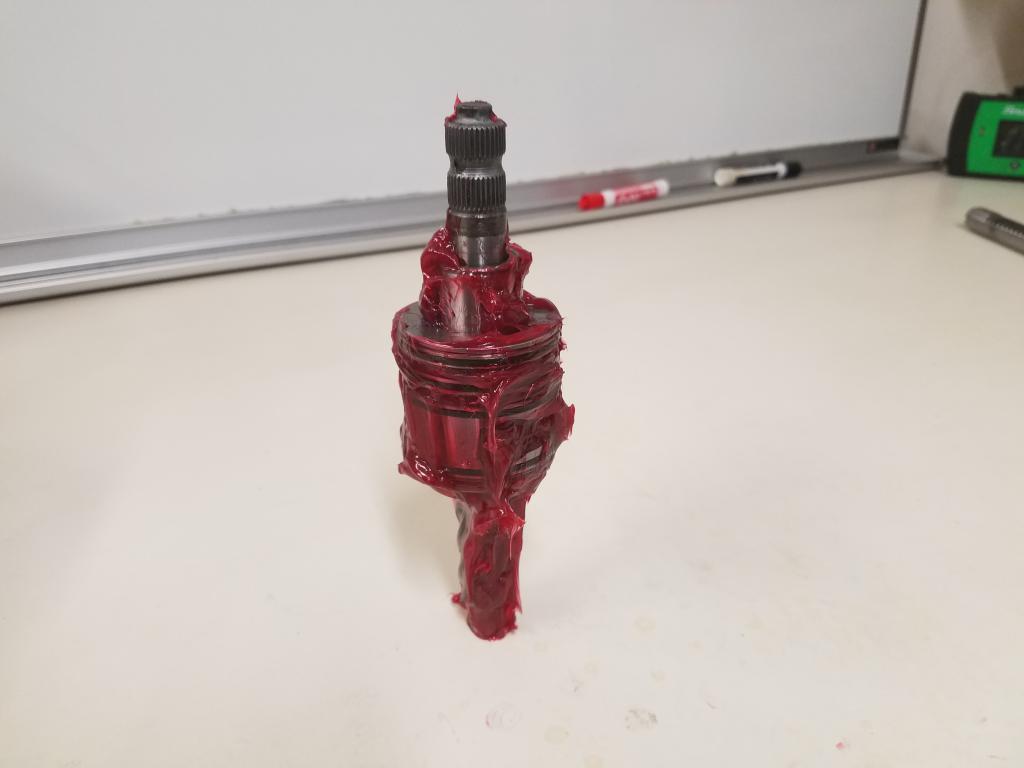
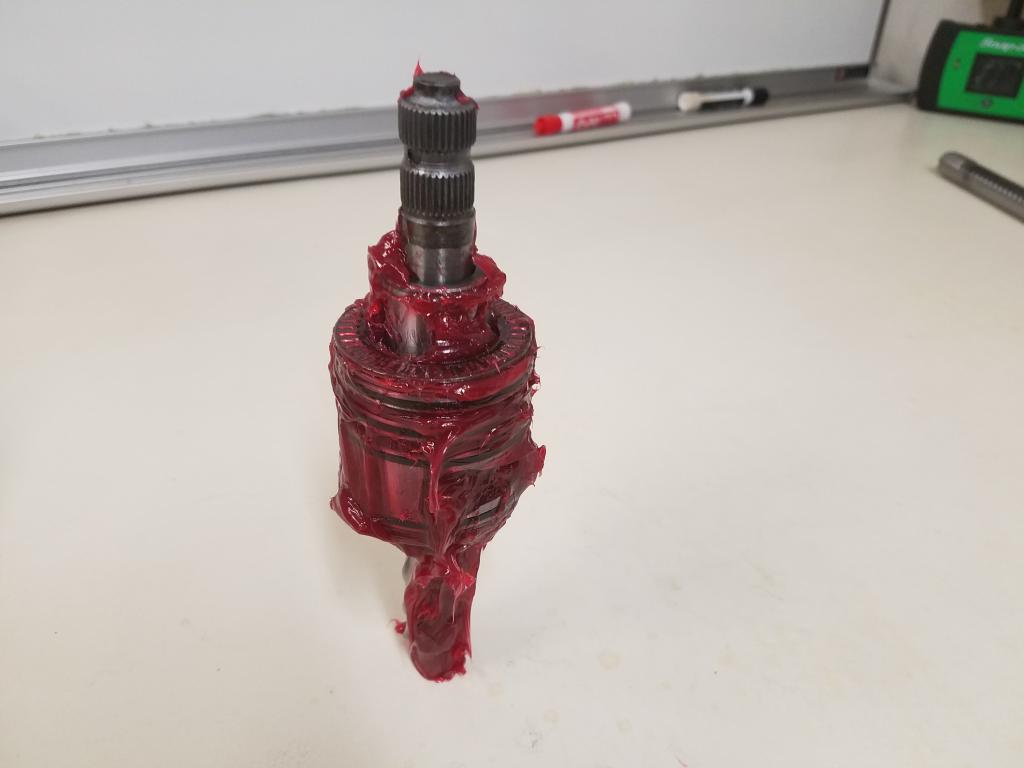
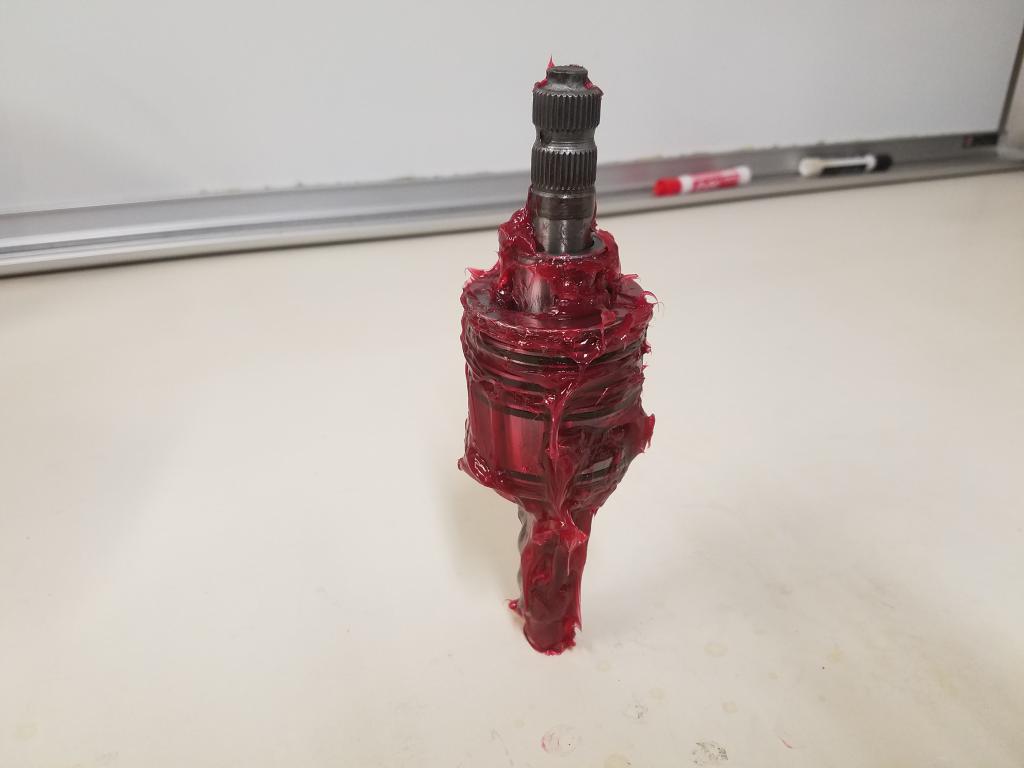
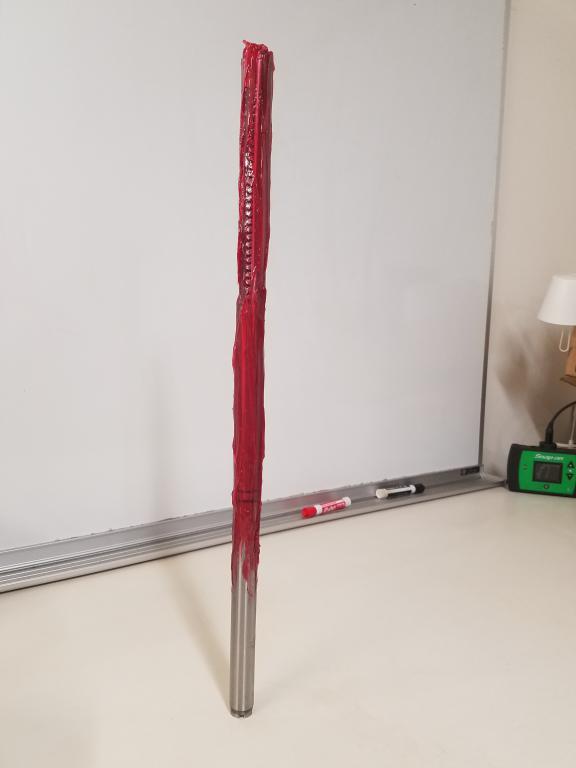
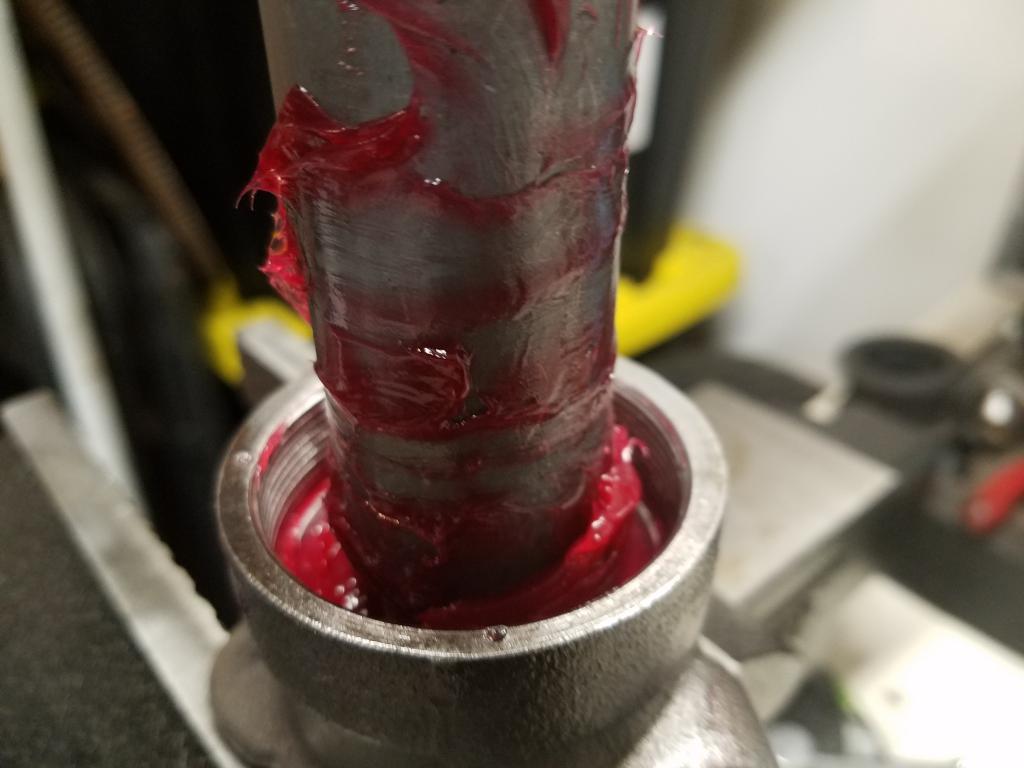
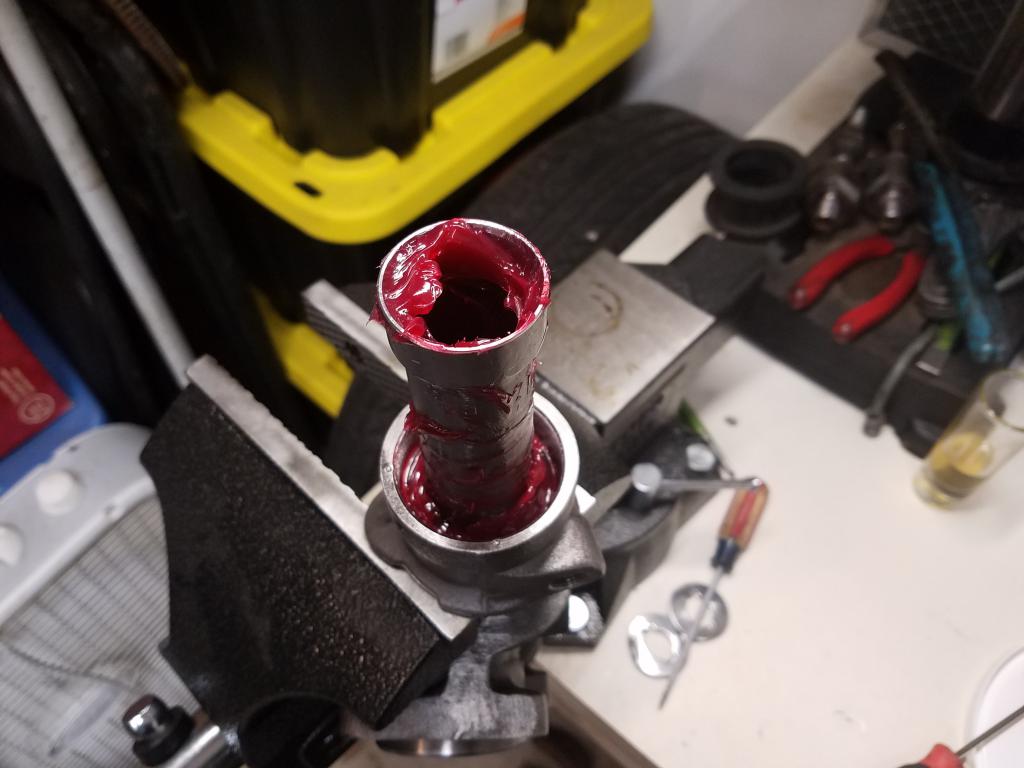
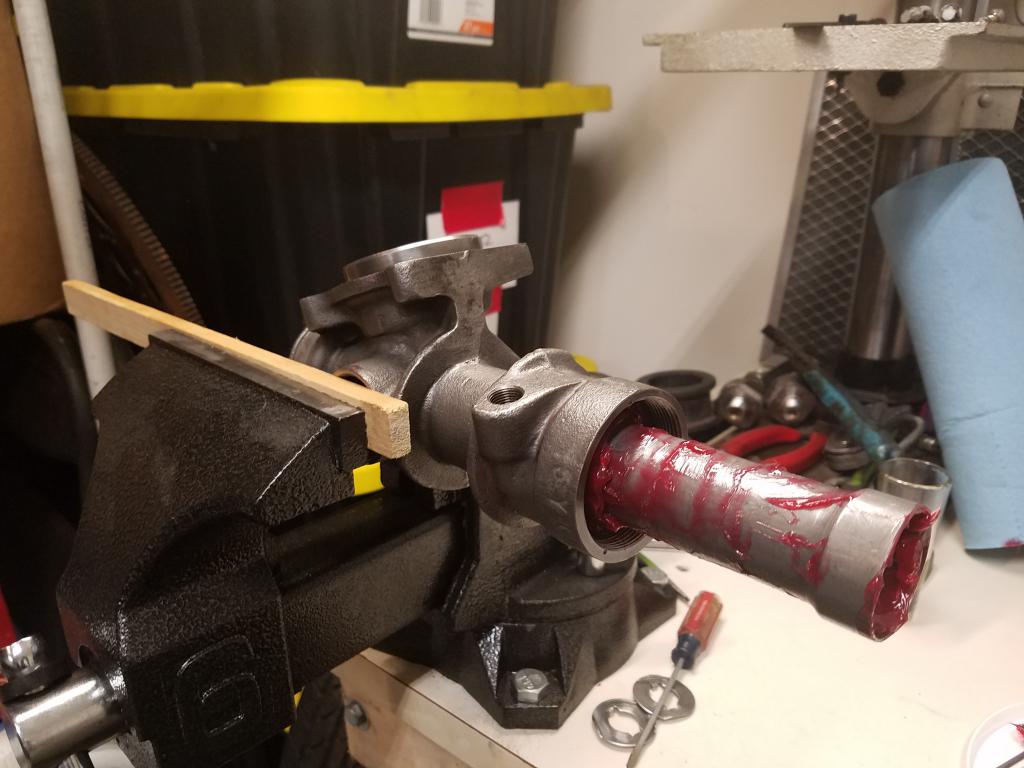
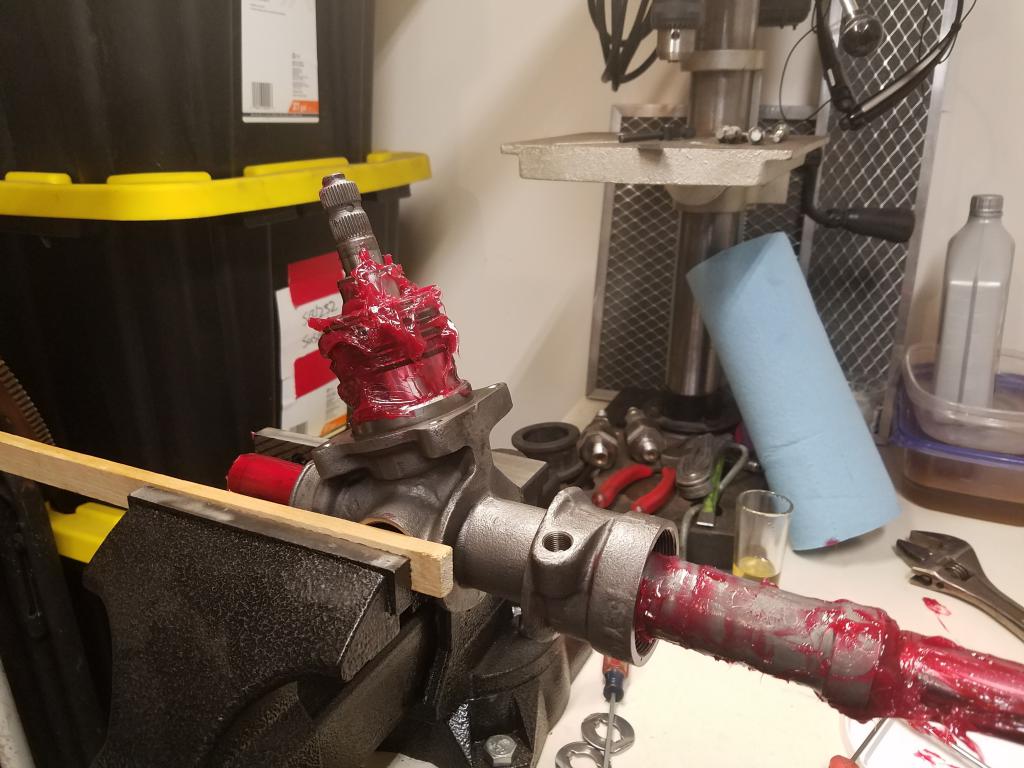
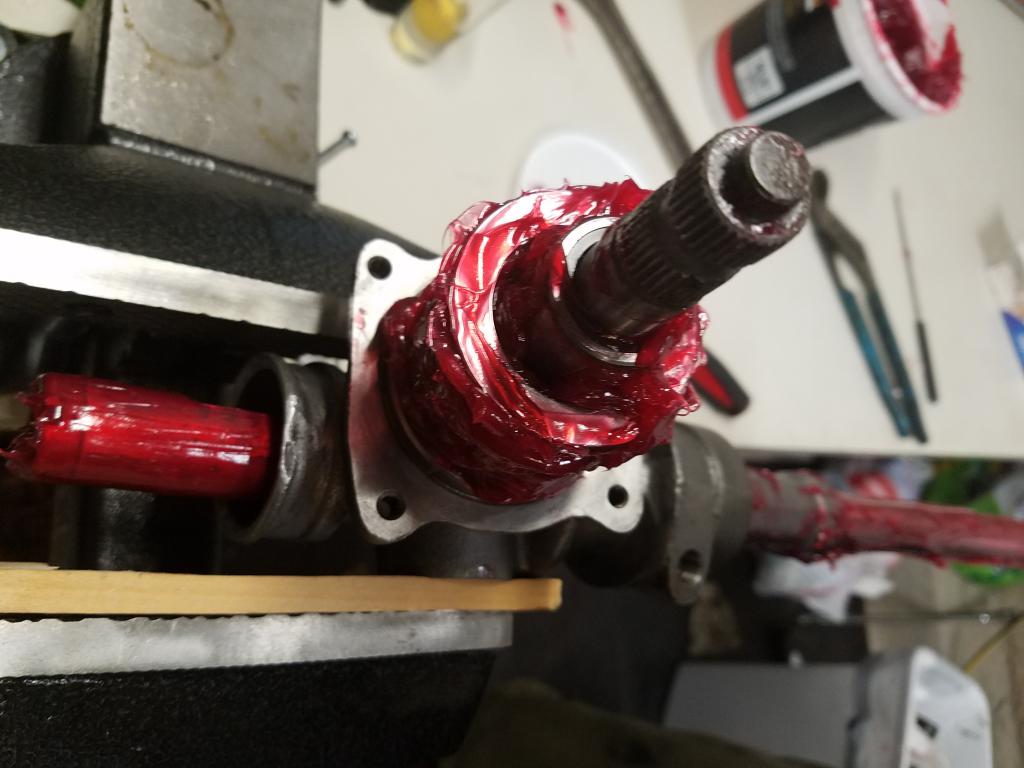
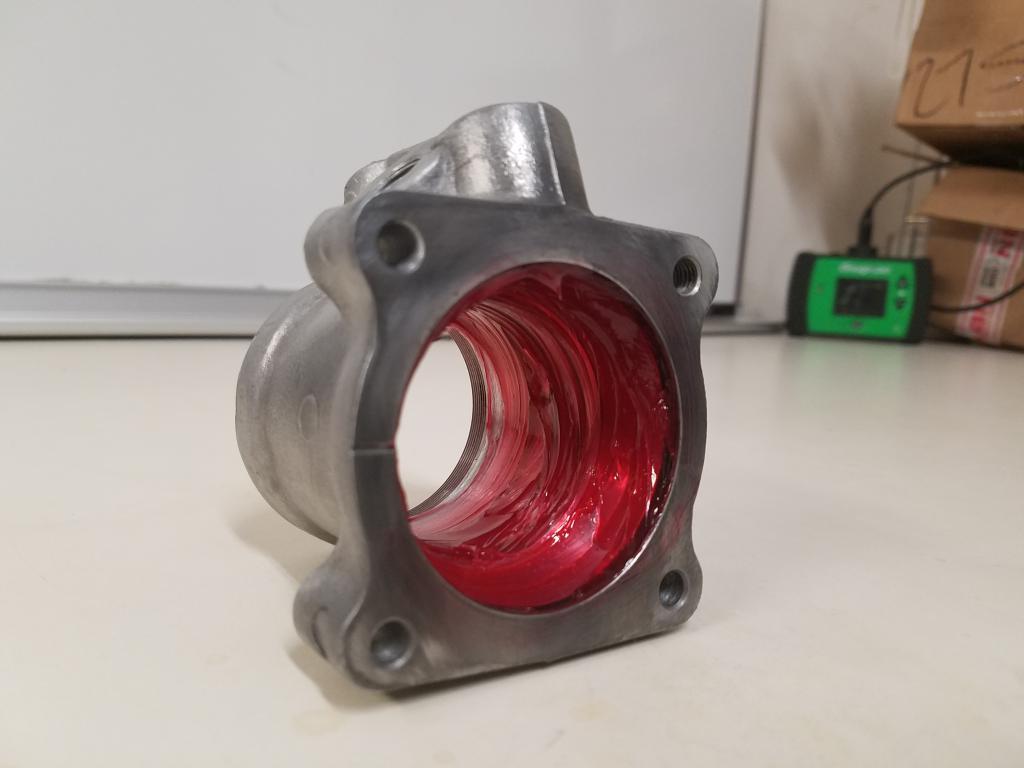
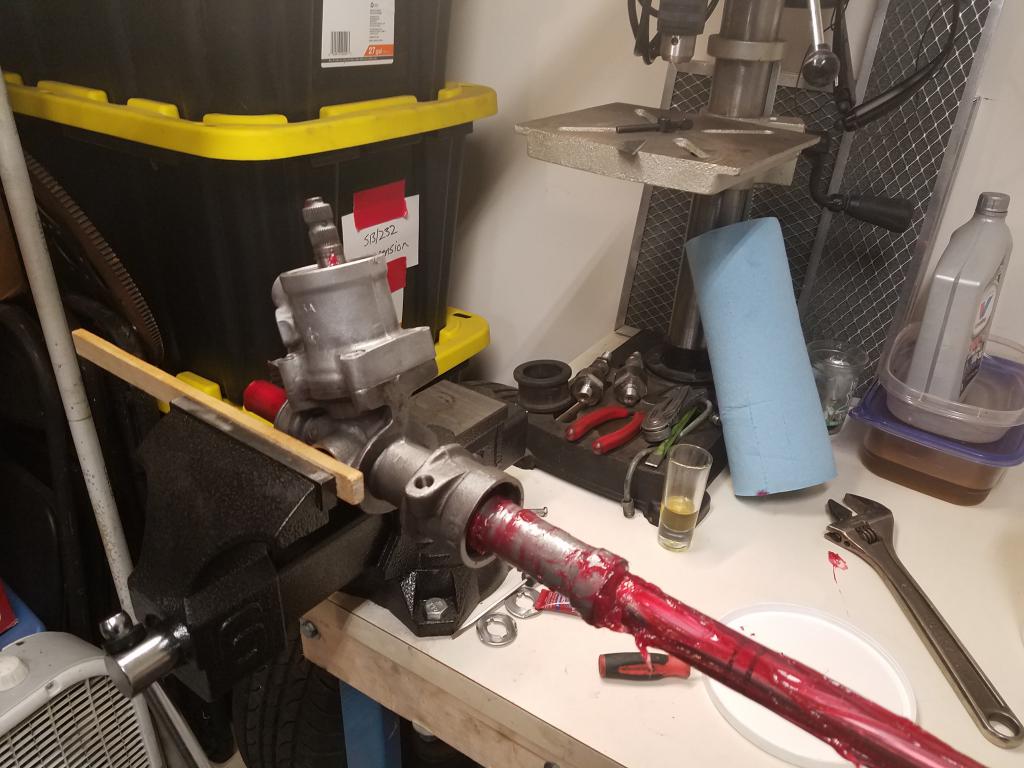
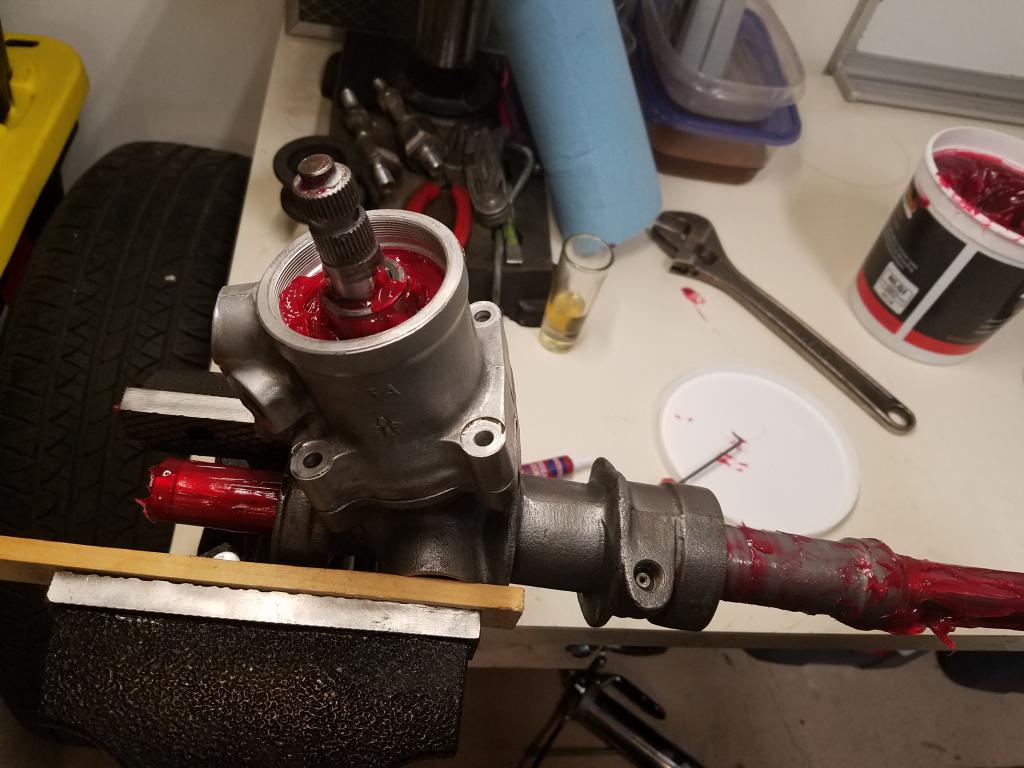
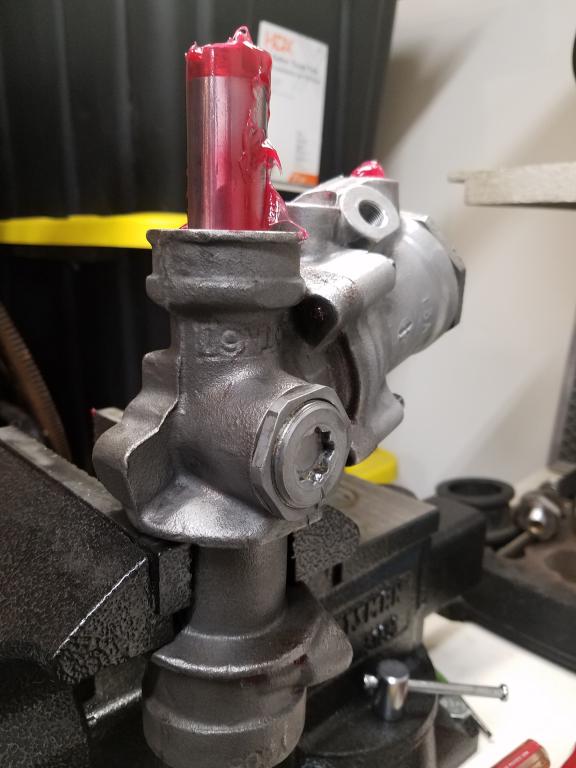
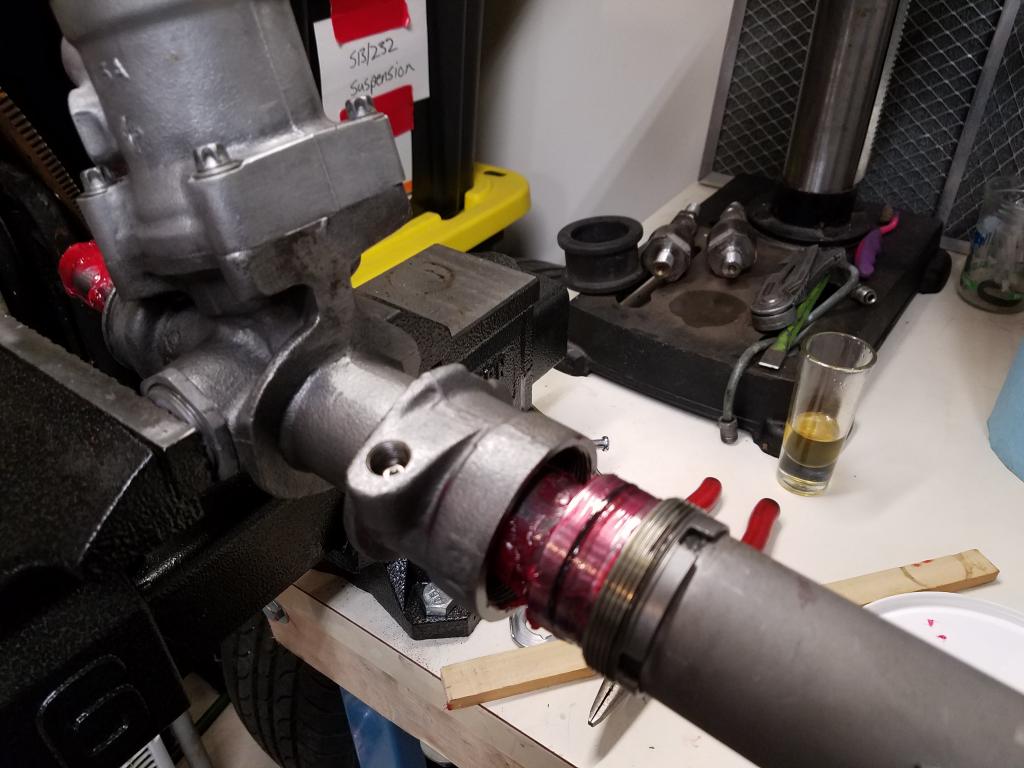
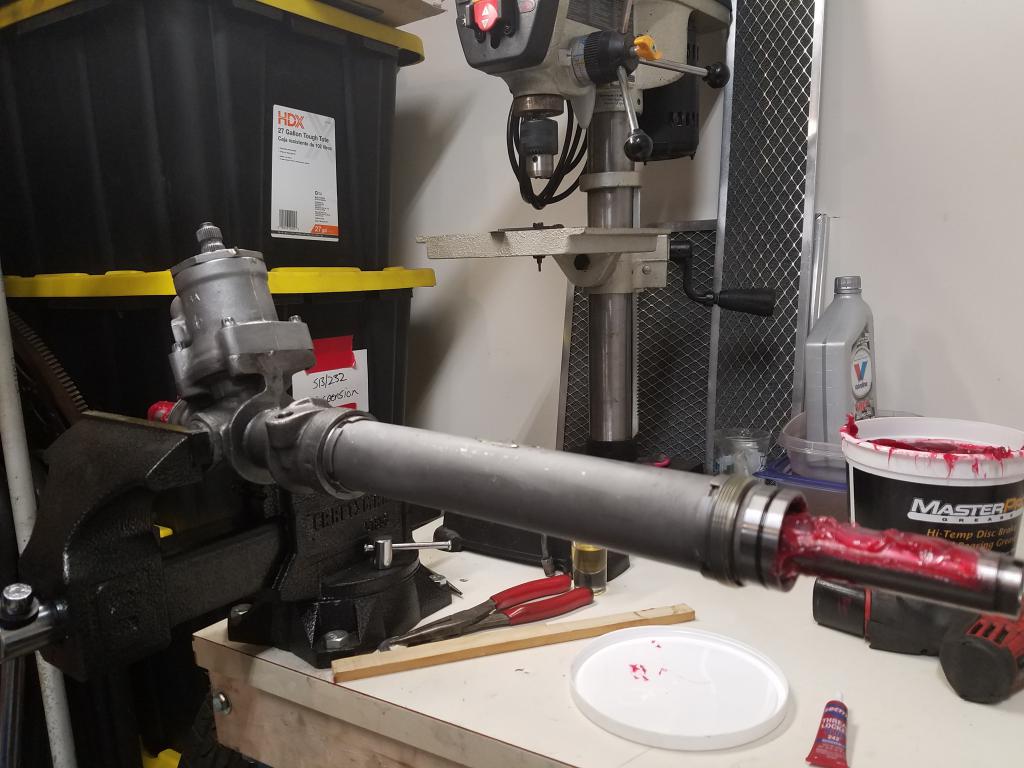
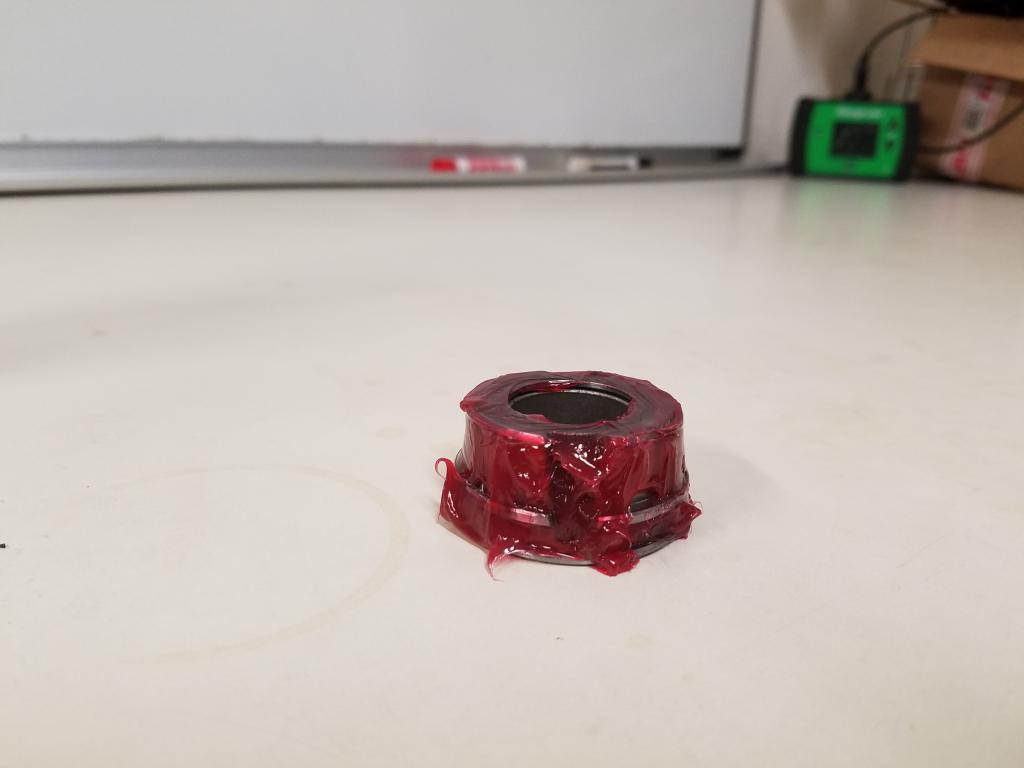
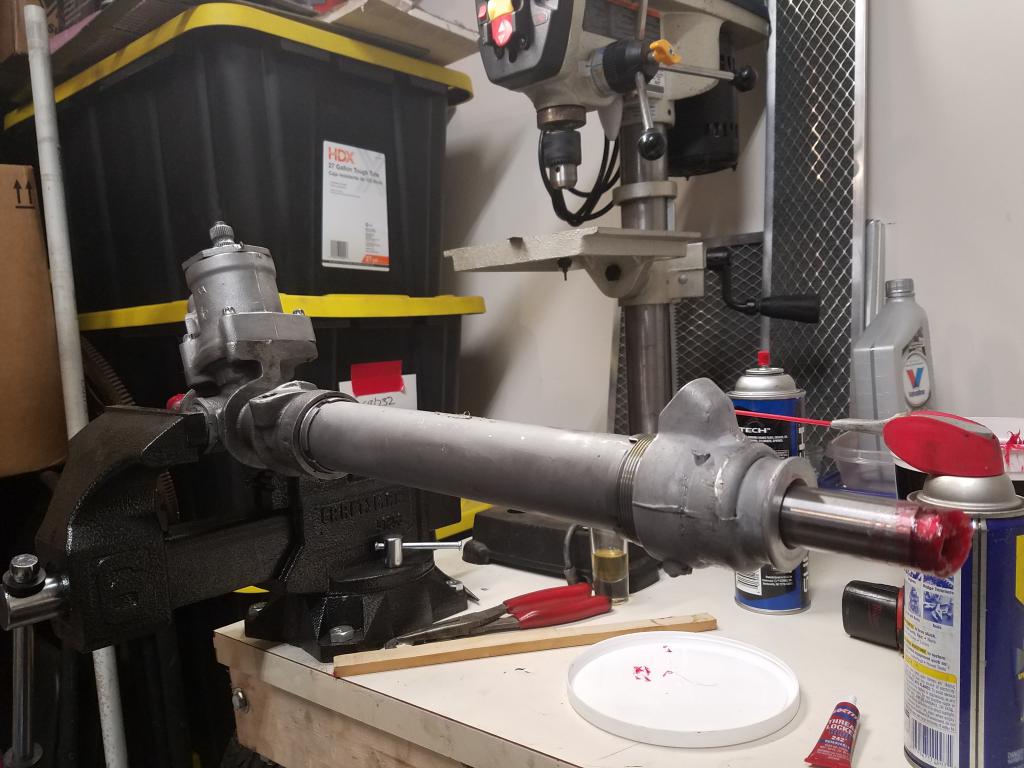
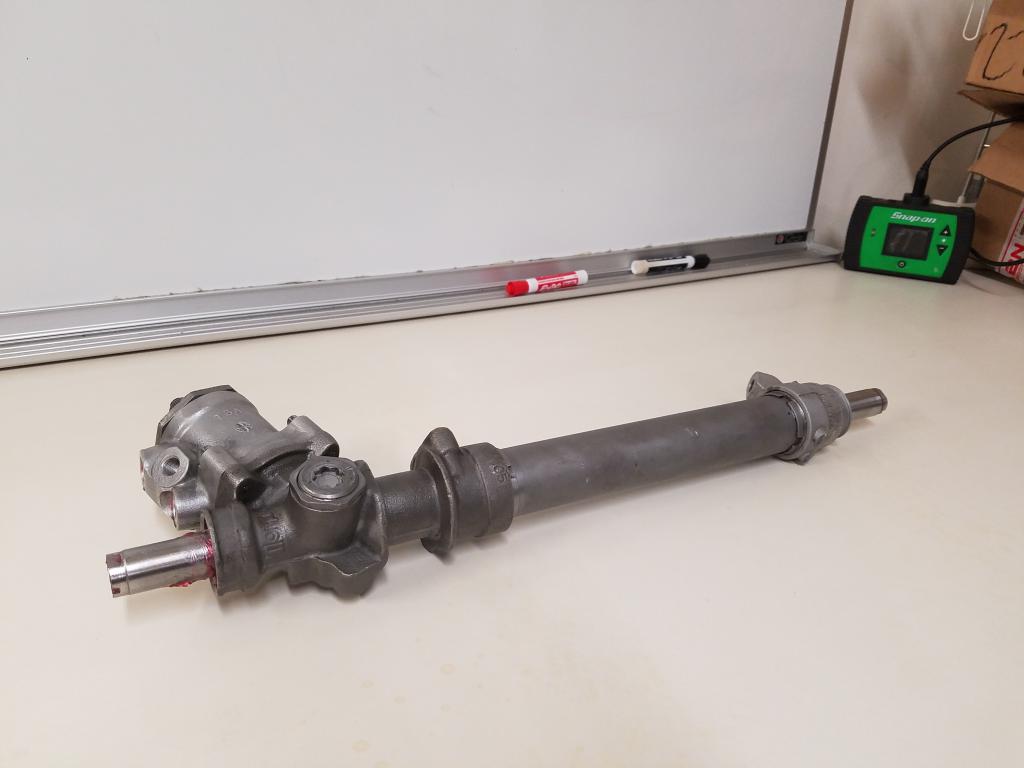
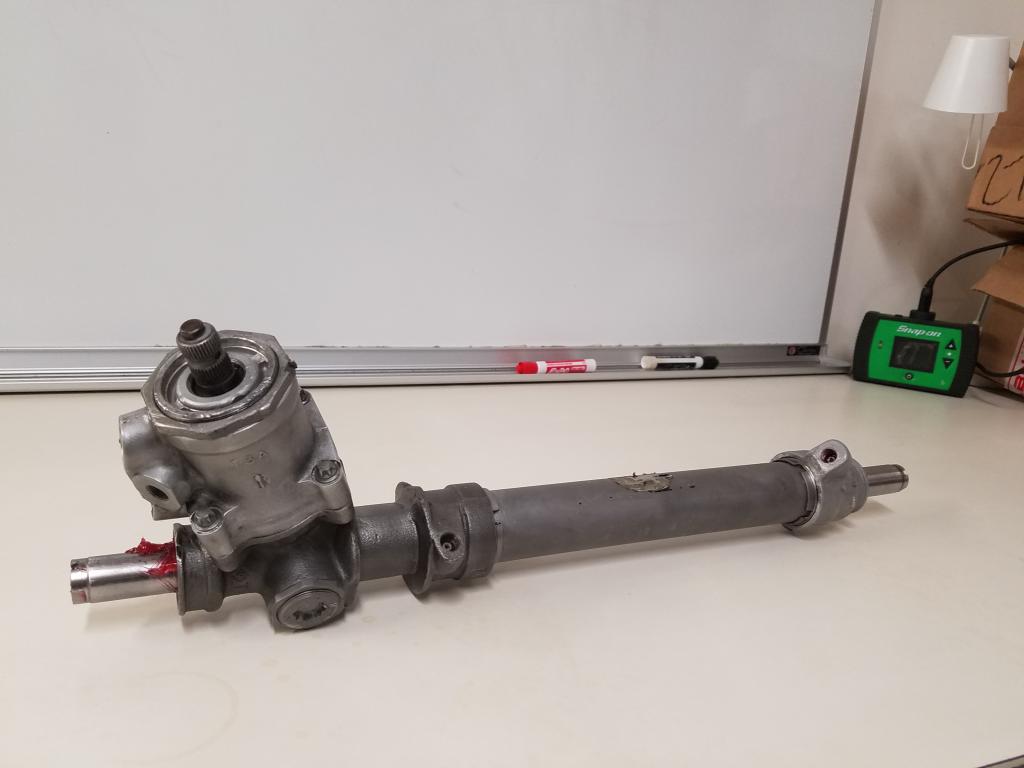
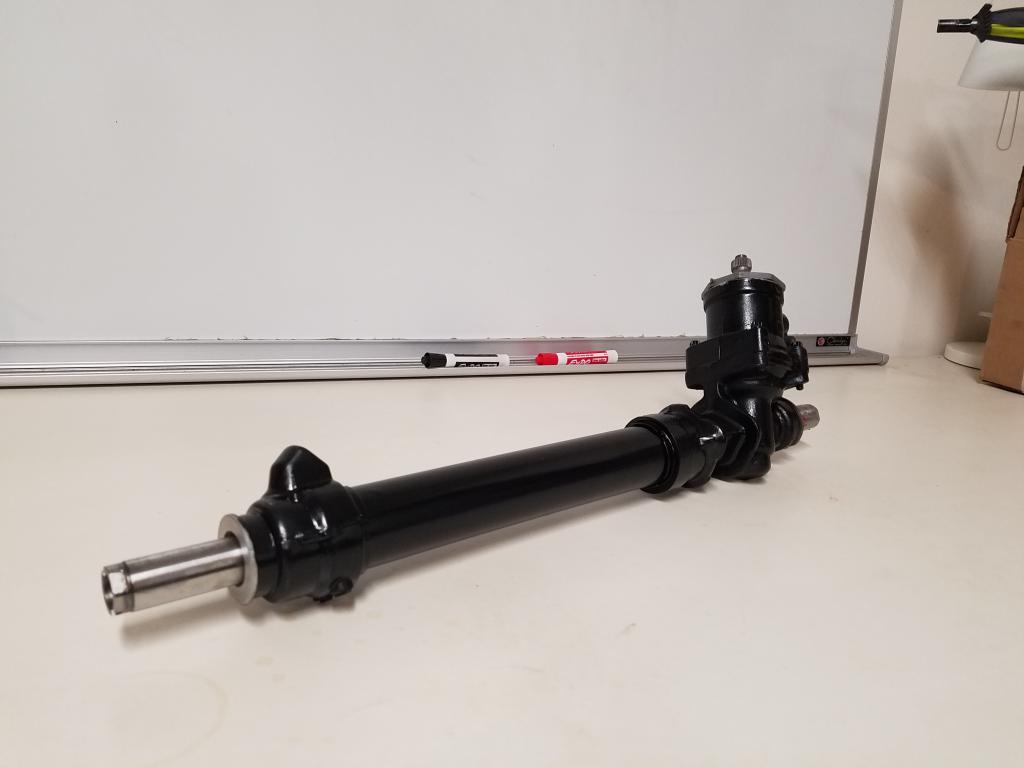
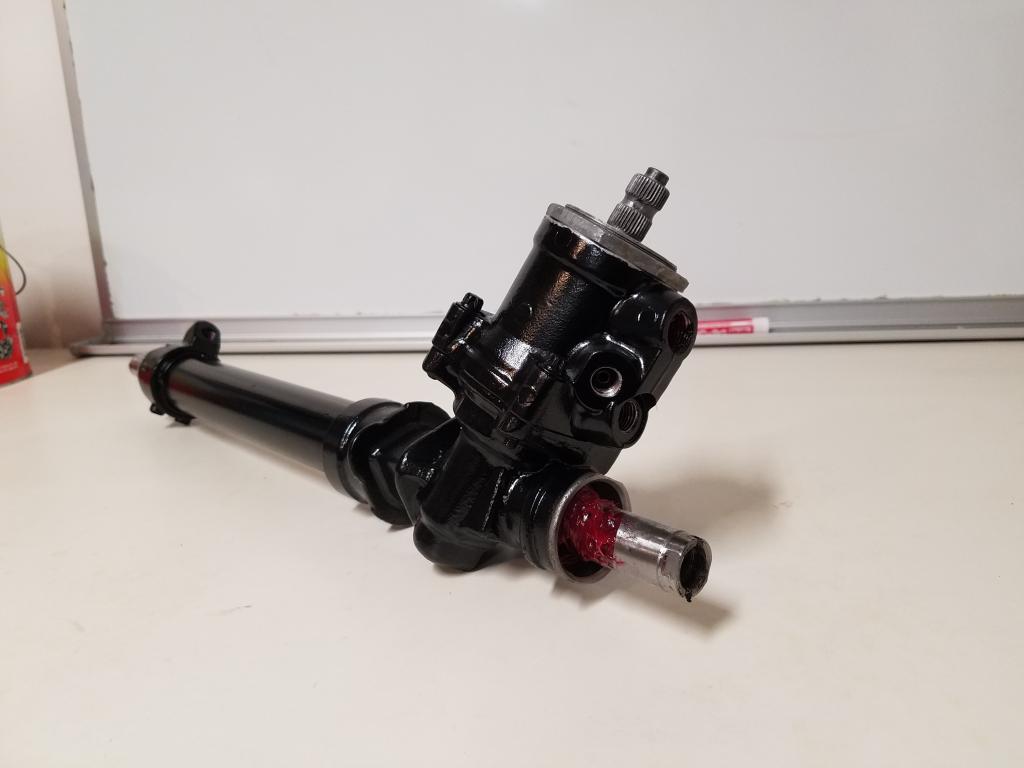
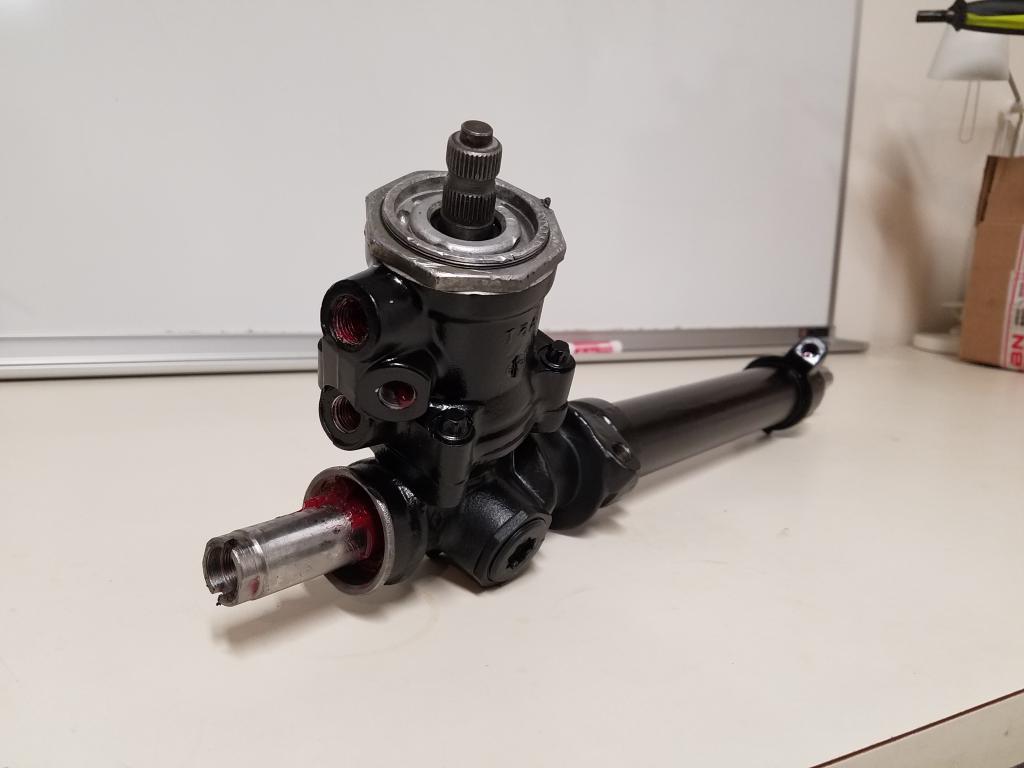
Well the time has come for another update on my build. It's a small update but an update none the less. The 1st item on the list was buttoning up my manual rack. By installing new grease fittings, tie rods, & boots.These are grease fitting sizes were used M12x1.0mm, M14x1.5mm, & M16x1.5mm.
Attached Thumbnails -
-
Thanks again, your whole build is a real credit to you.
Thanks
-
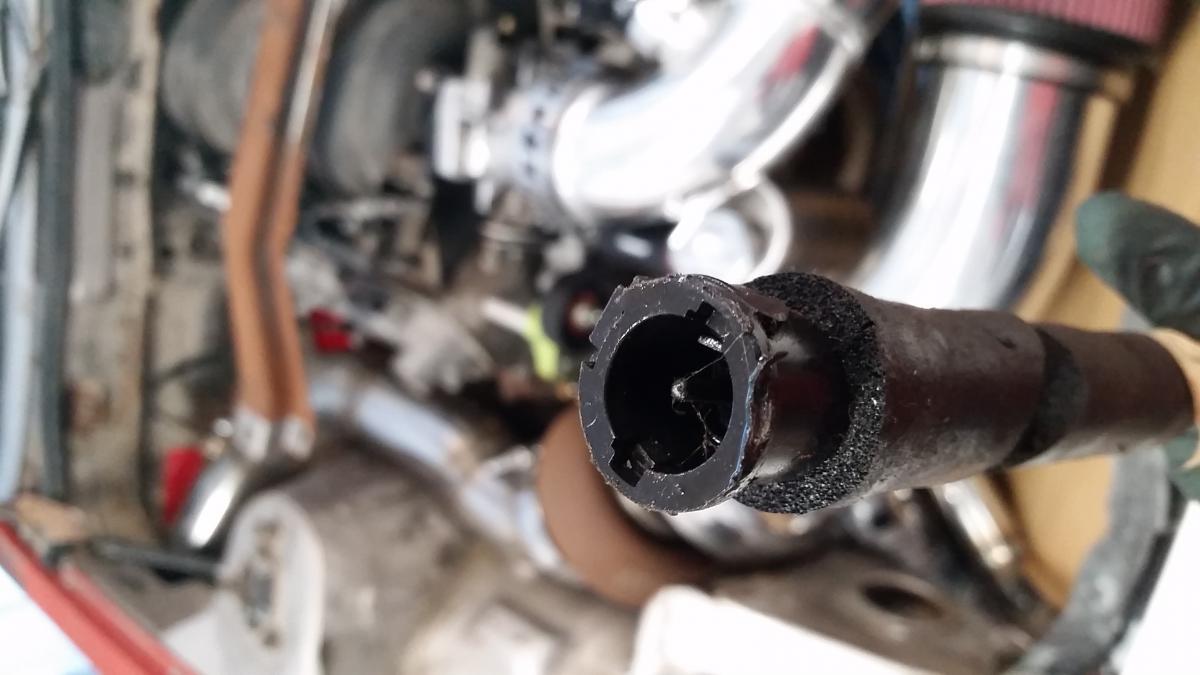
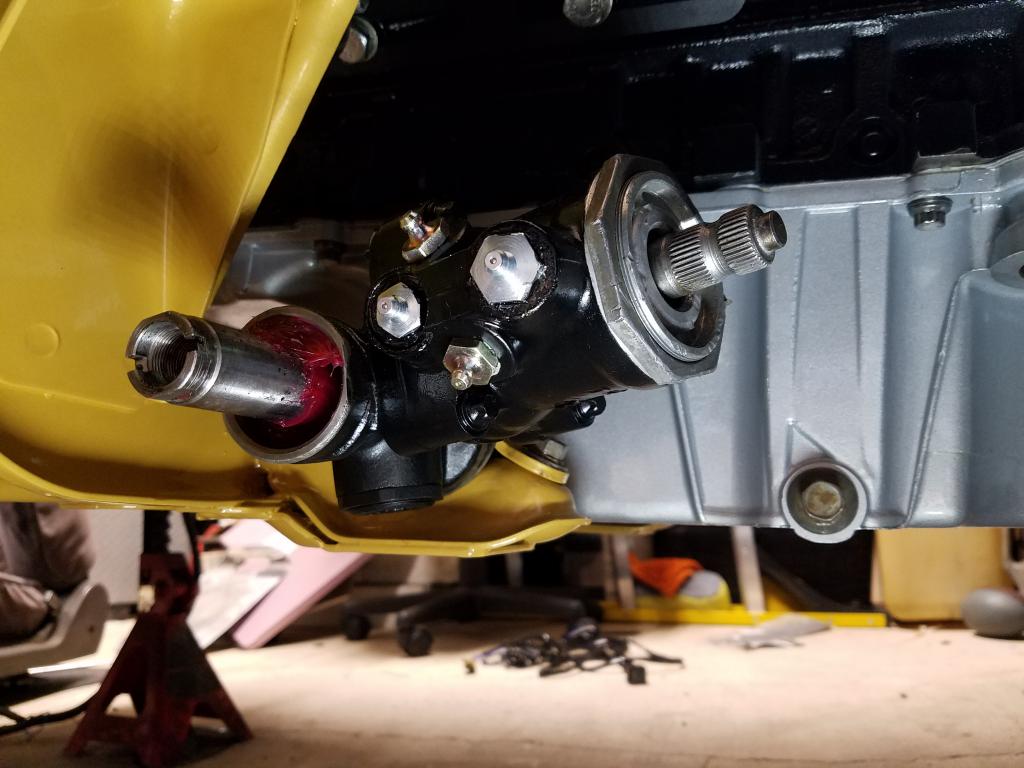
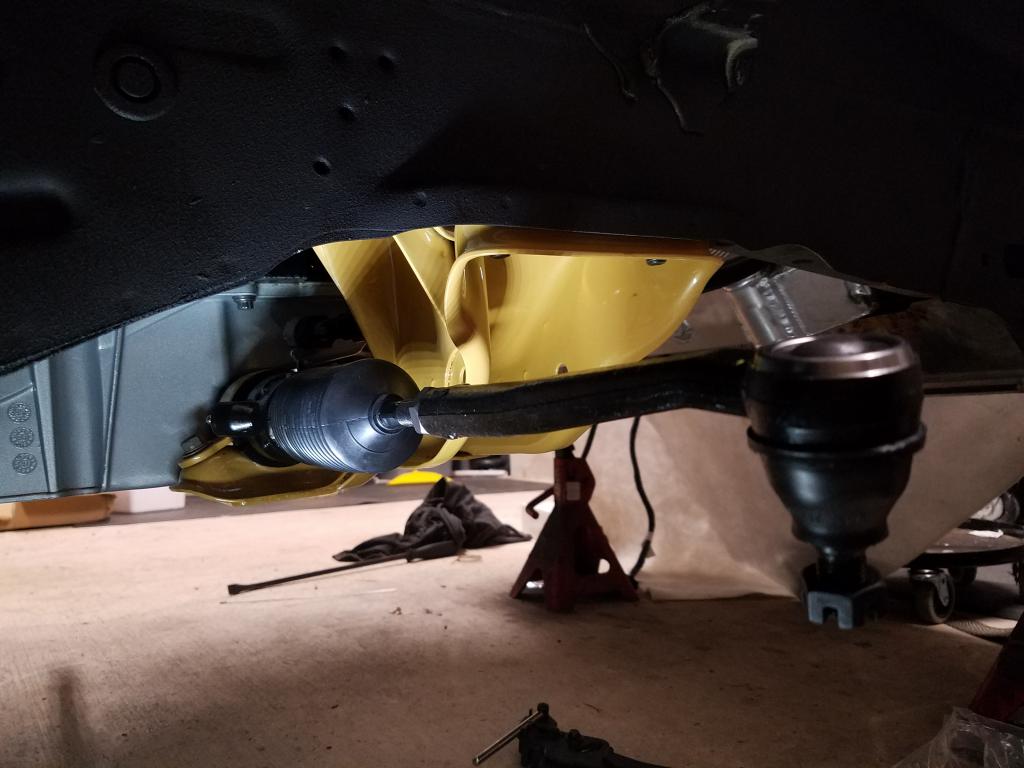
Thanks, and that cleared the power steering bits on the rack OK? Will probably use electric power steering on my Z31 which will allow more front space for the sump.
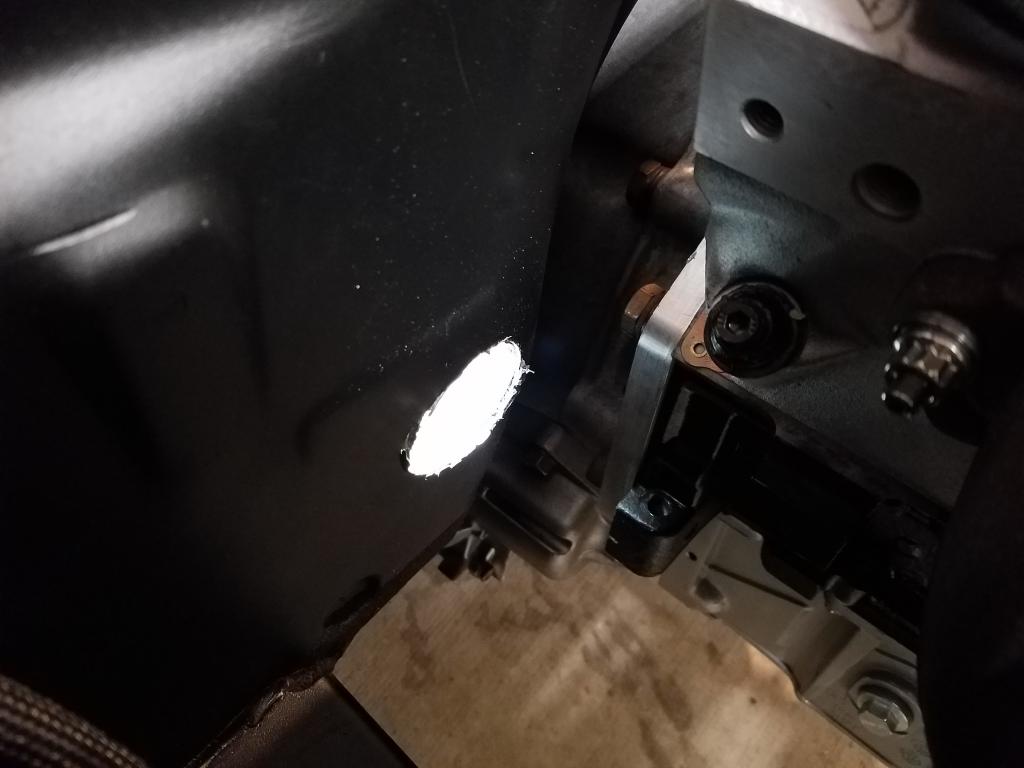
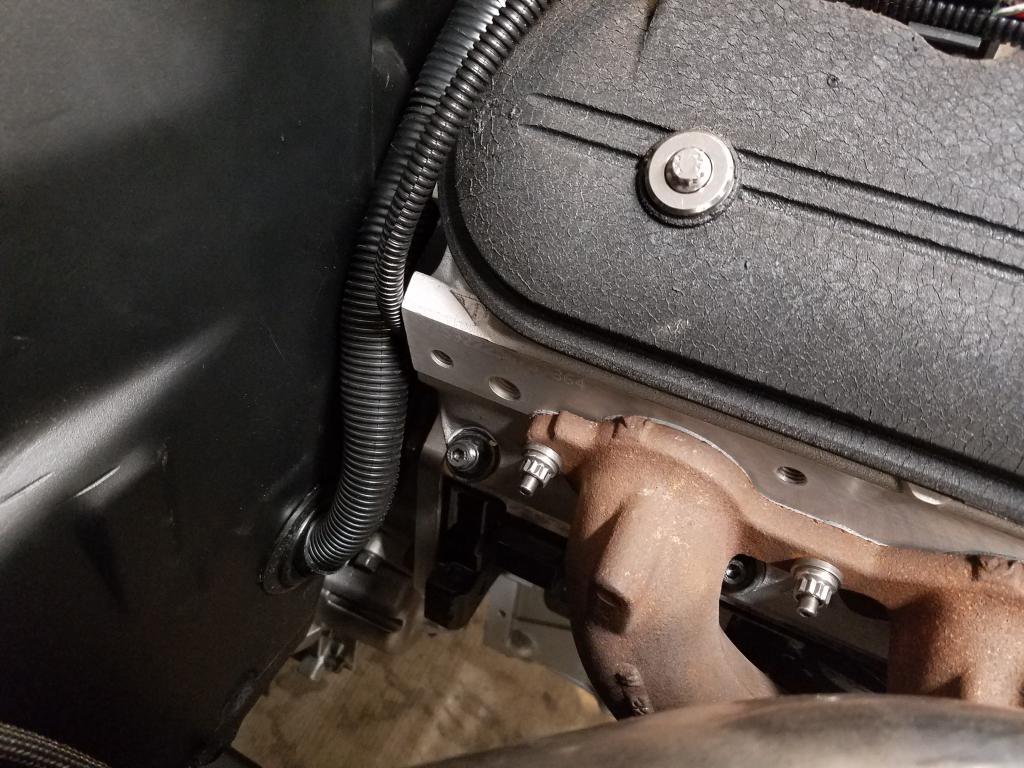
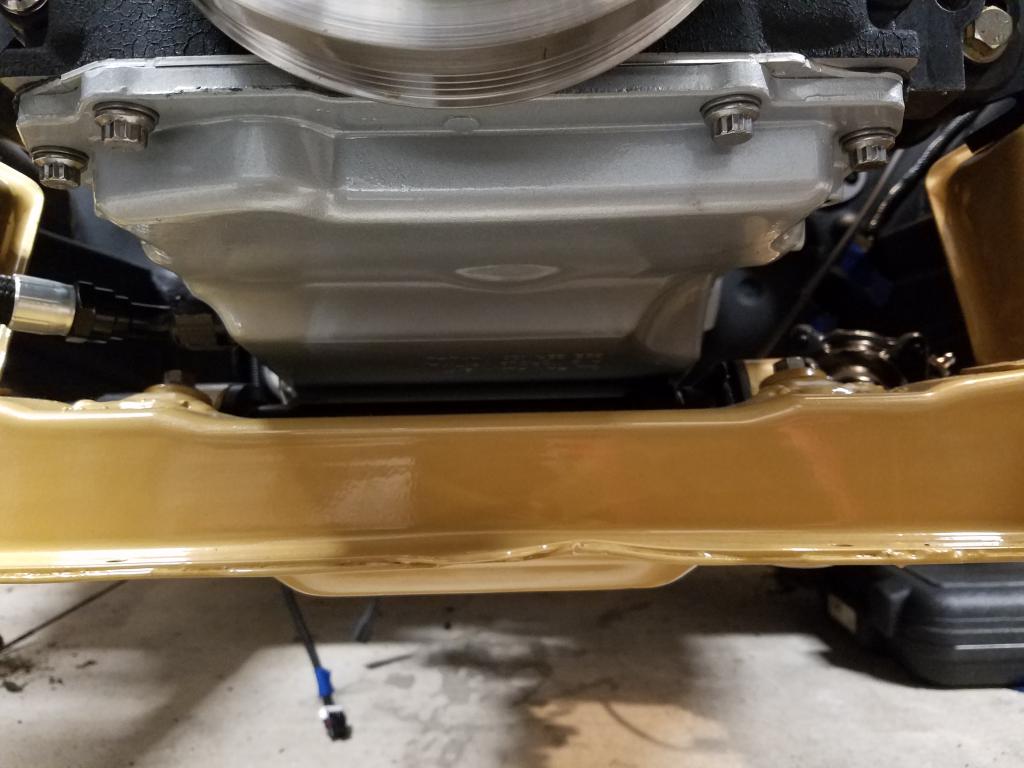
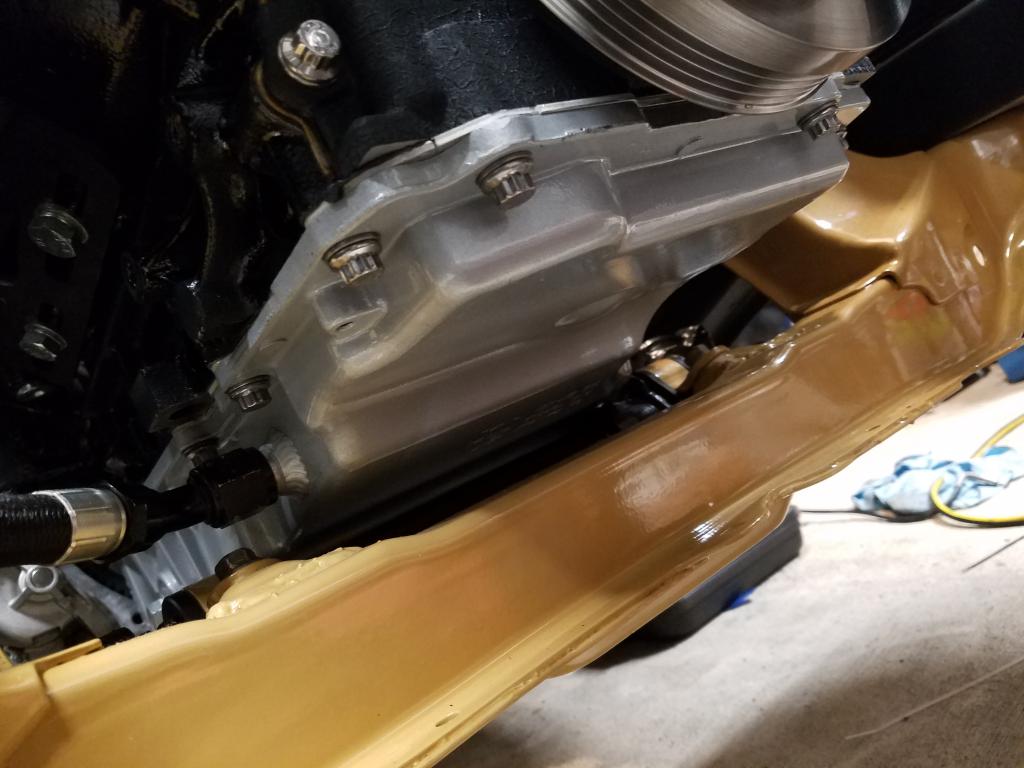
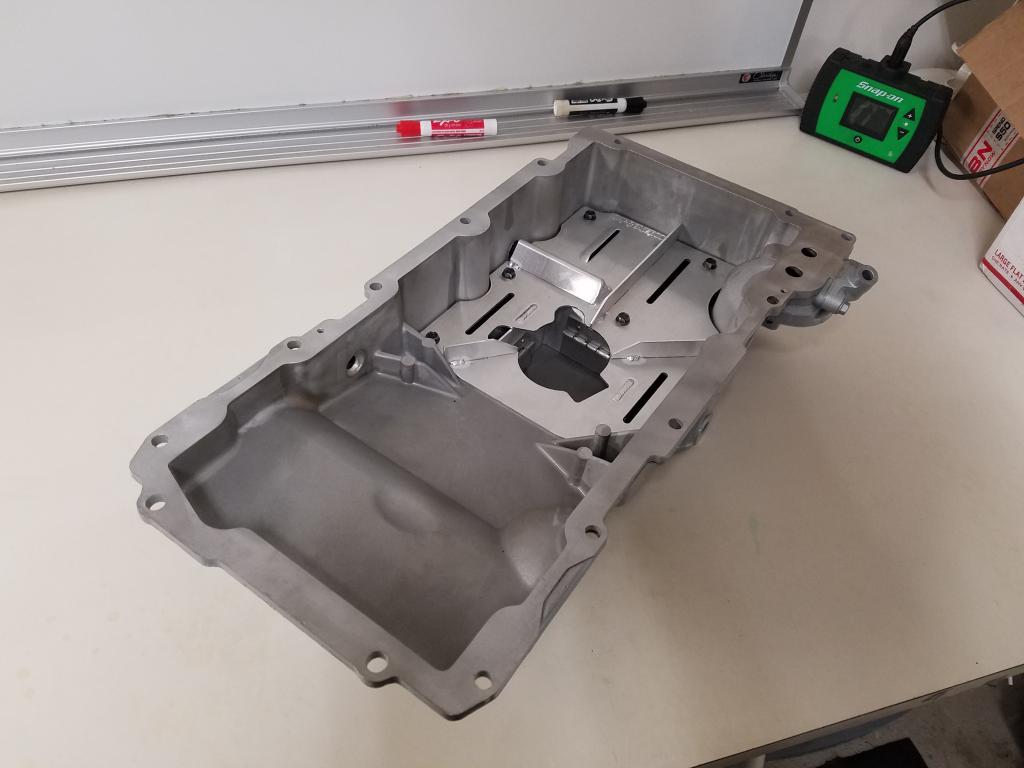
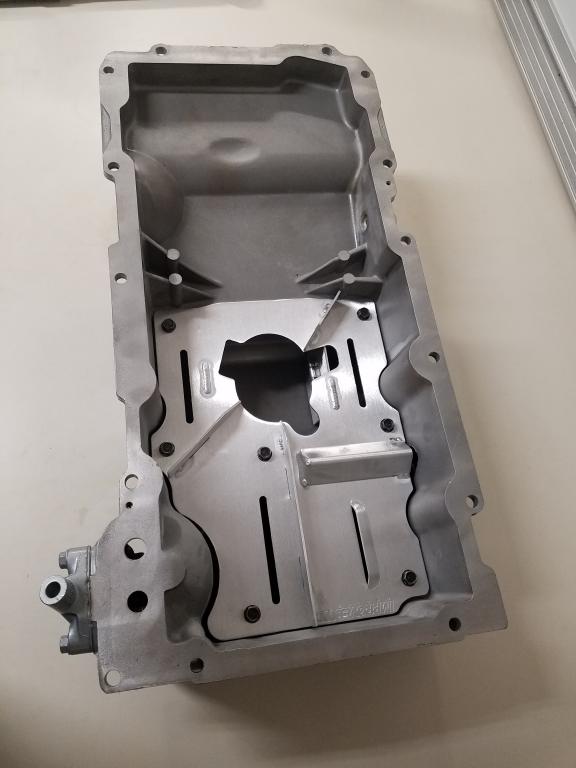
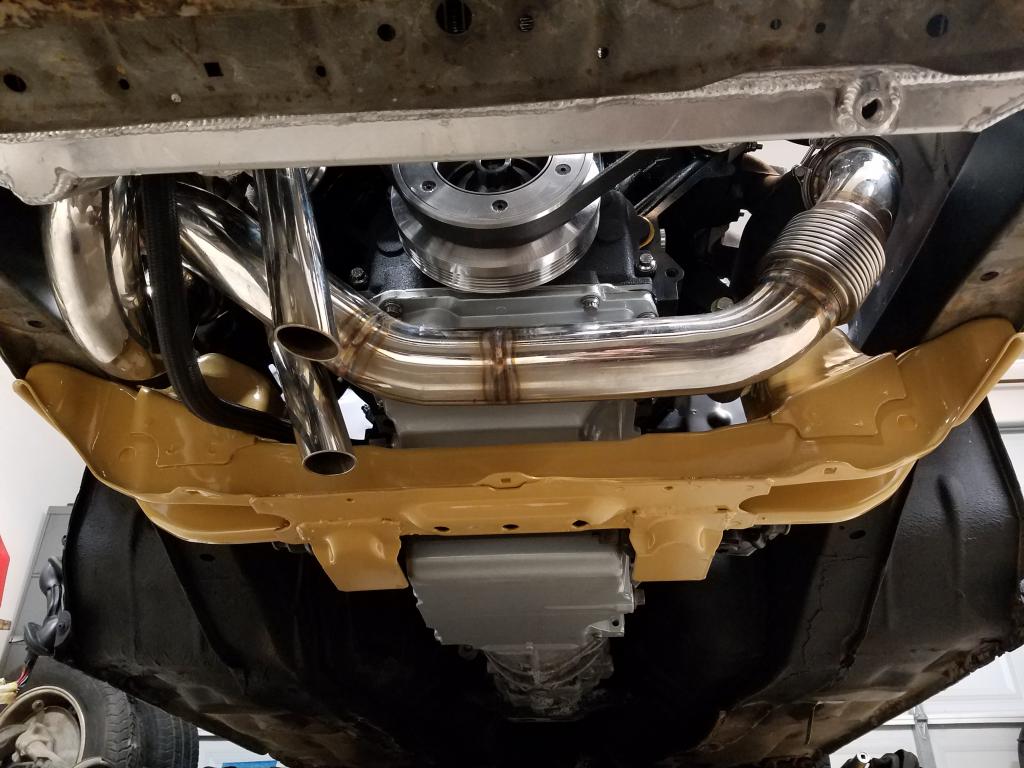
By using the Dirty Dingo engine mounts 4th gen Camaro/fbody oil pan clears the rack perfectly. Here's the thread on the Dirty Dingo mounts. http://forums.hybrid...ts-for-the-z31/
I also attached some clearance pics with the turbo kit off.
-
Need more pics lol no, great build and documented to the max. I forget, what sump did you use with this?
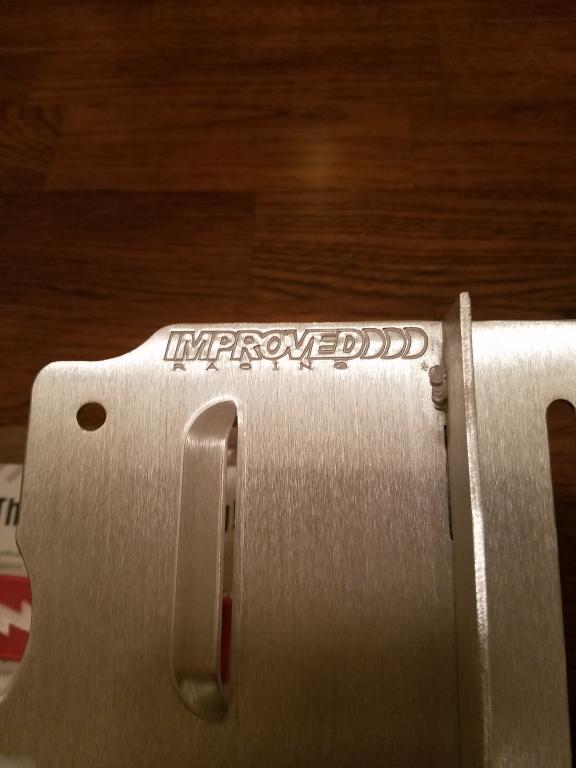
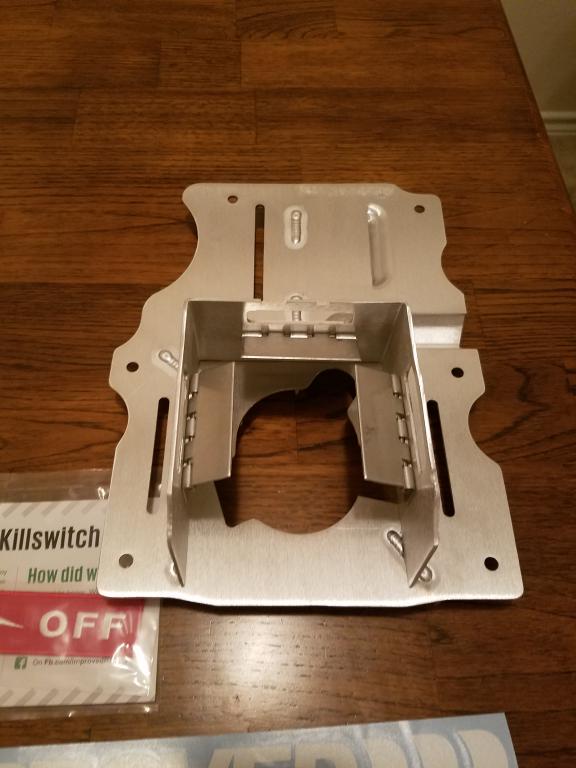
Thanks for the kind words. I'm using the Improved Racing oil pan baffle with the factory Camaro pick tube.
-
Don't know how I never saw this before. Badass build man.
-
-
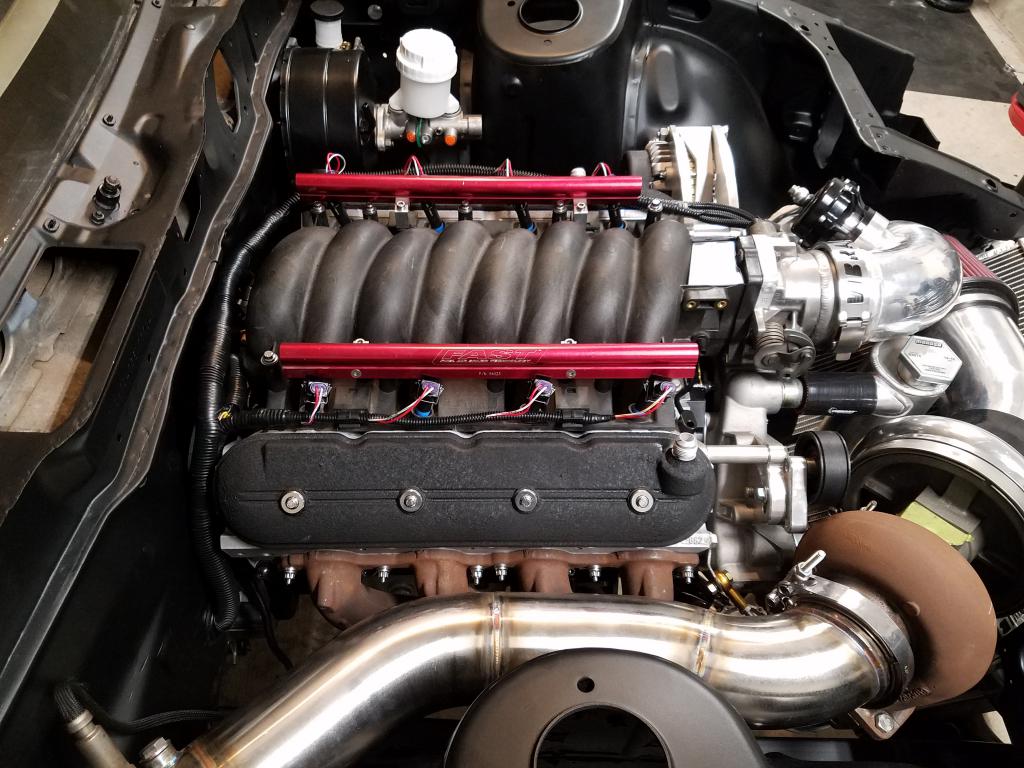
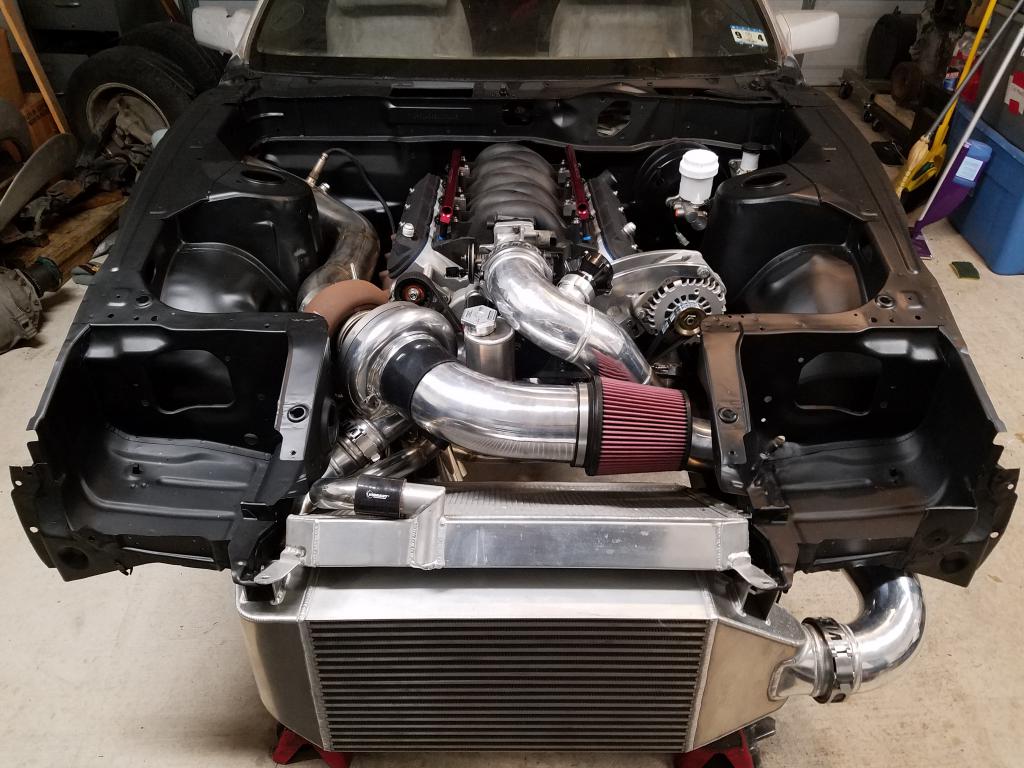
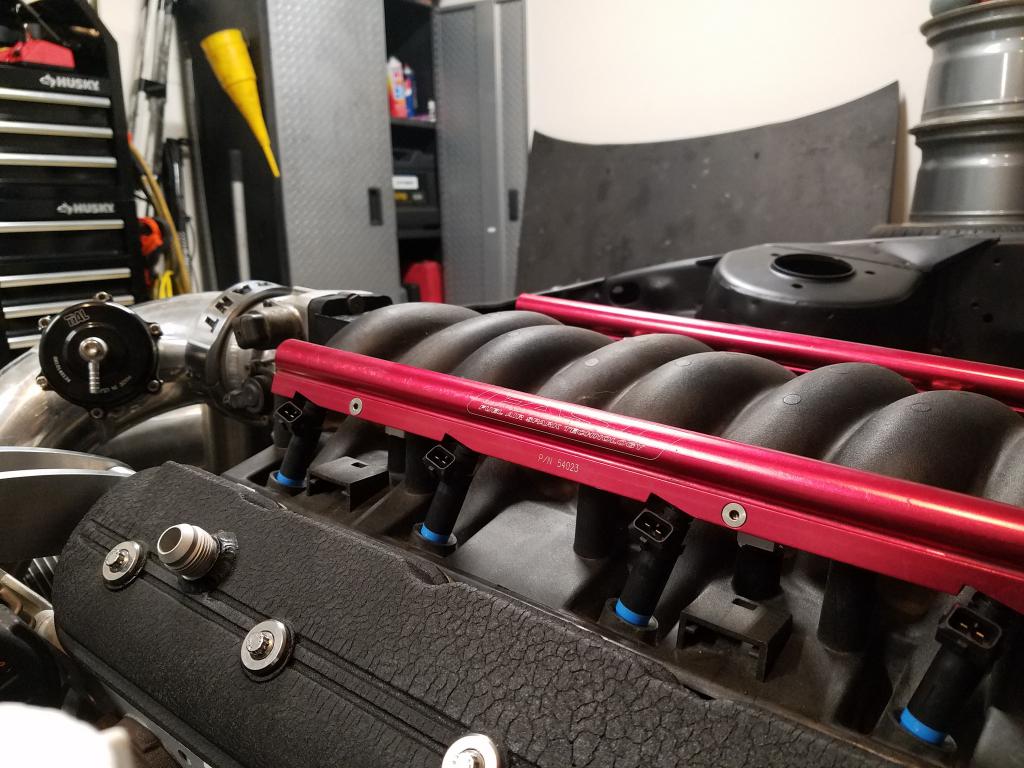
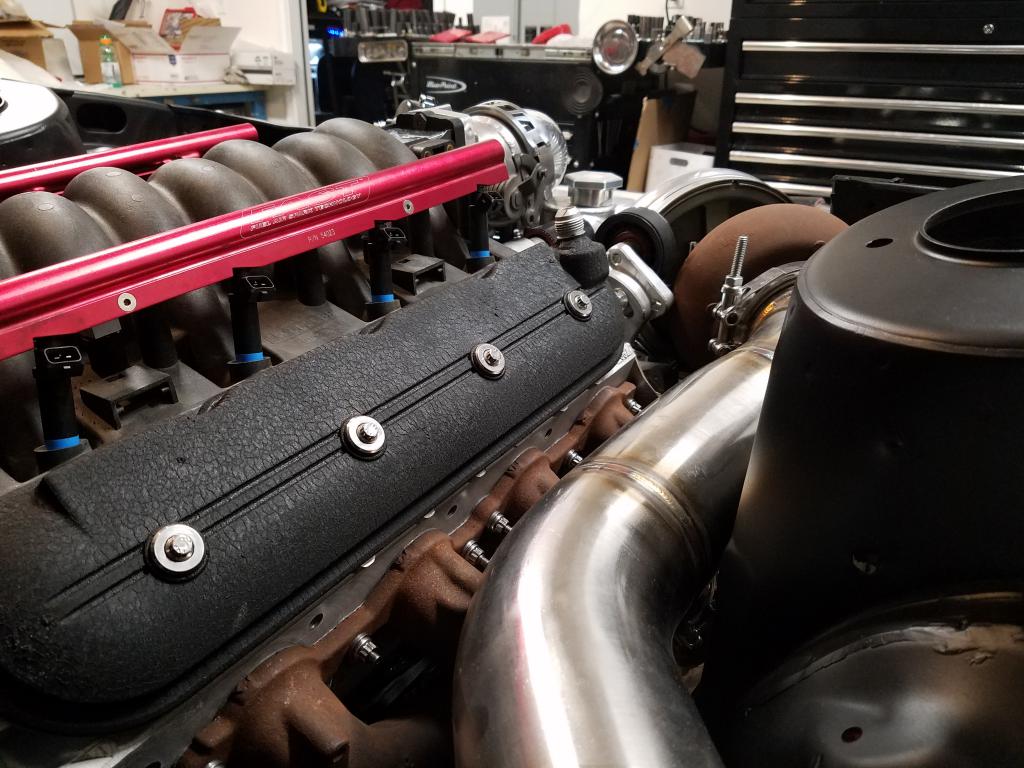
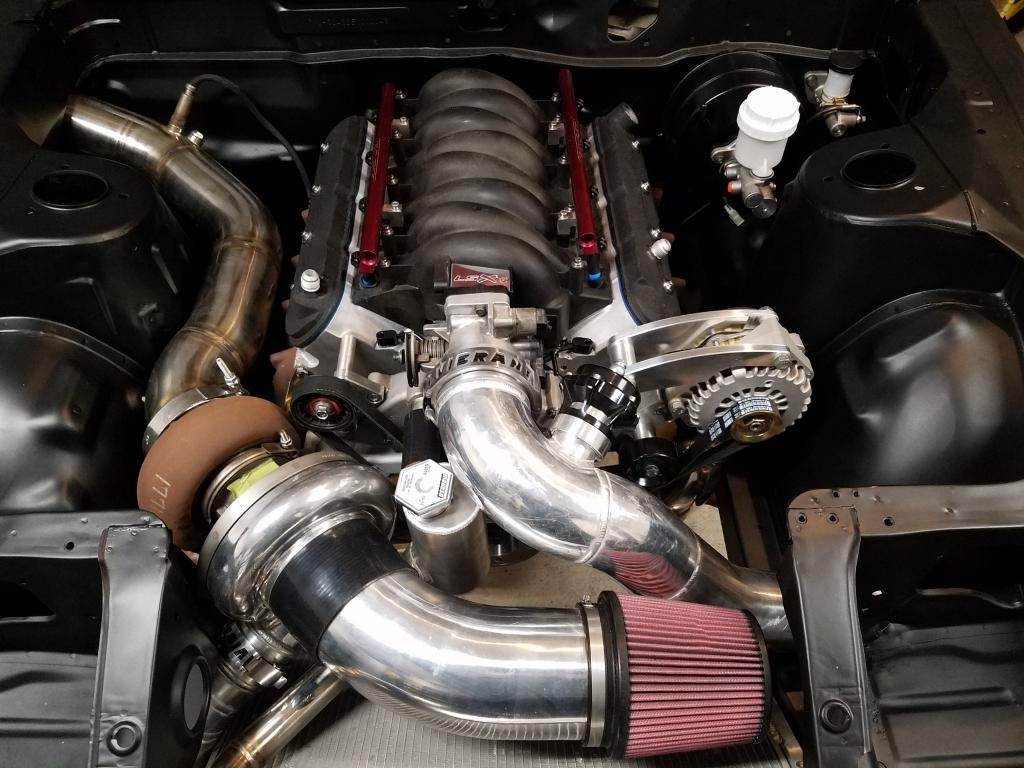
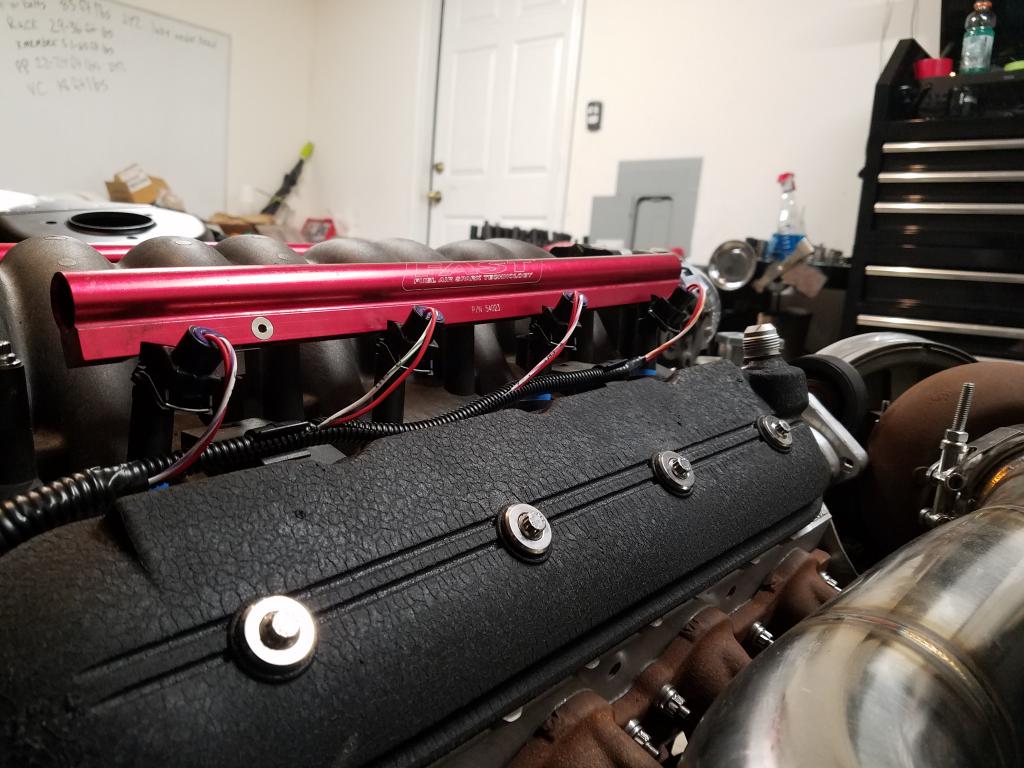
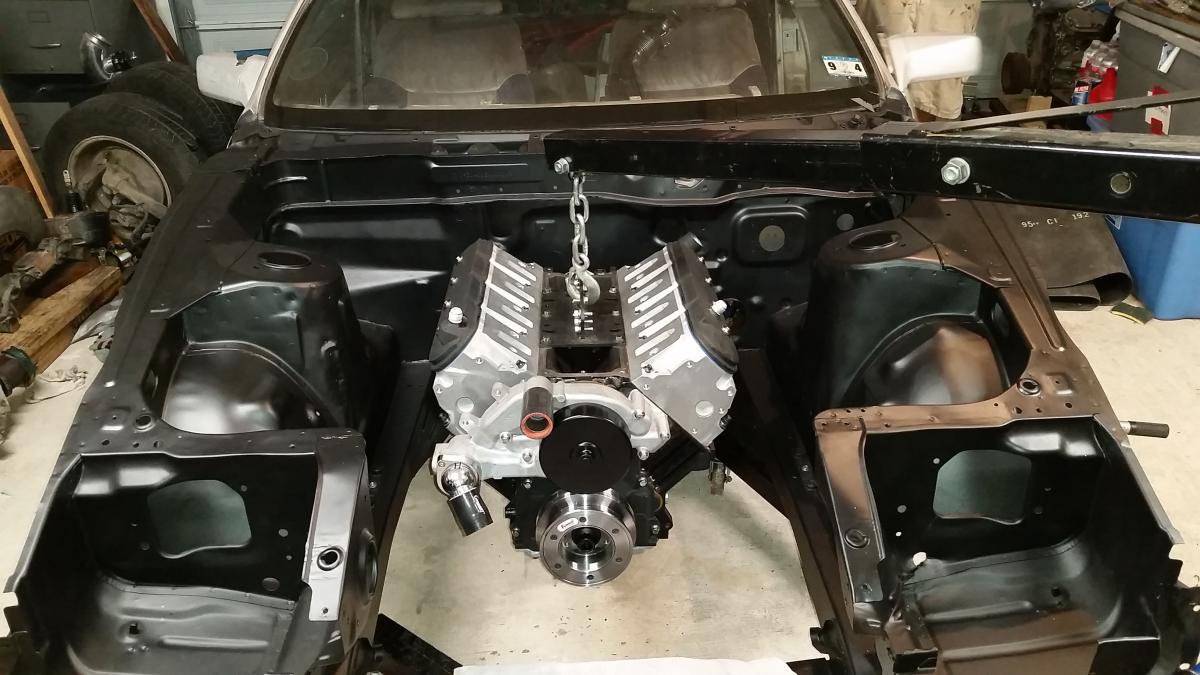
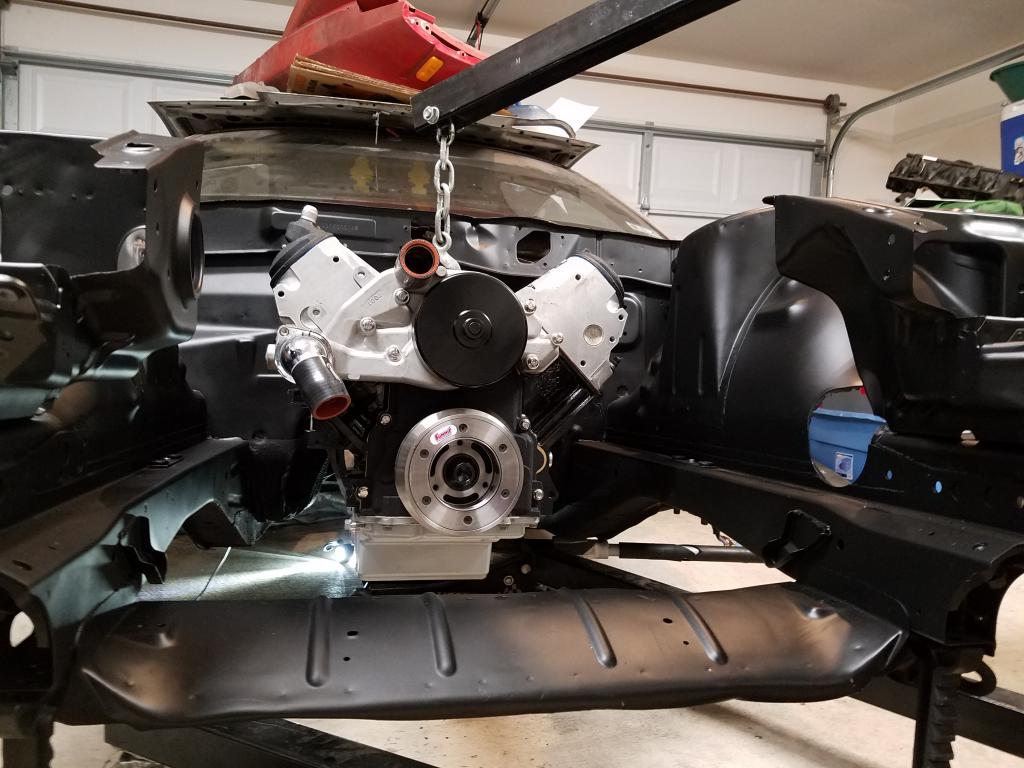
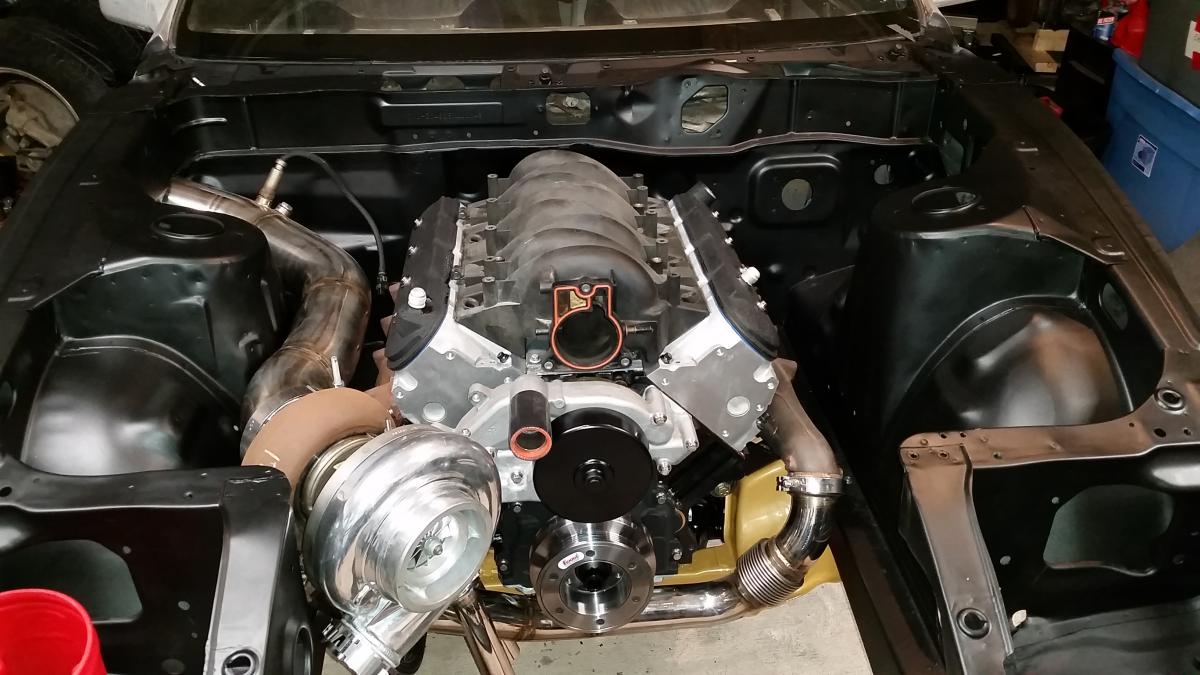
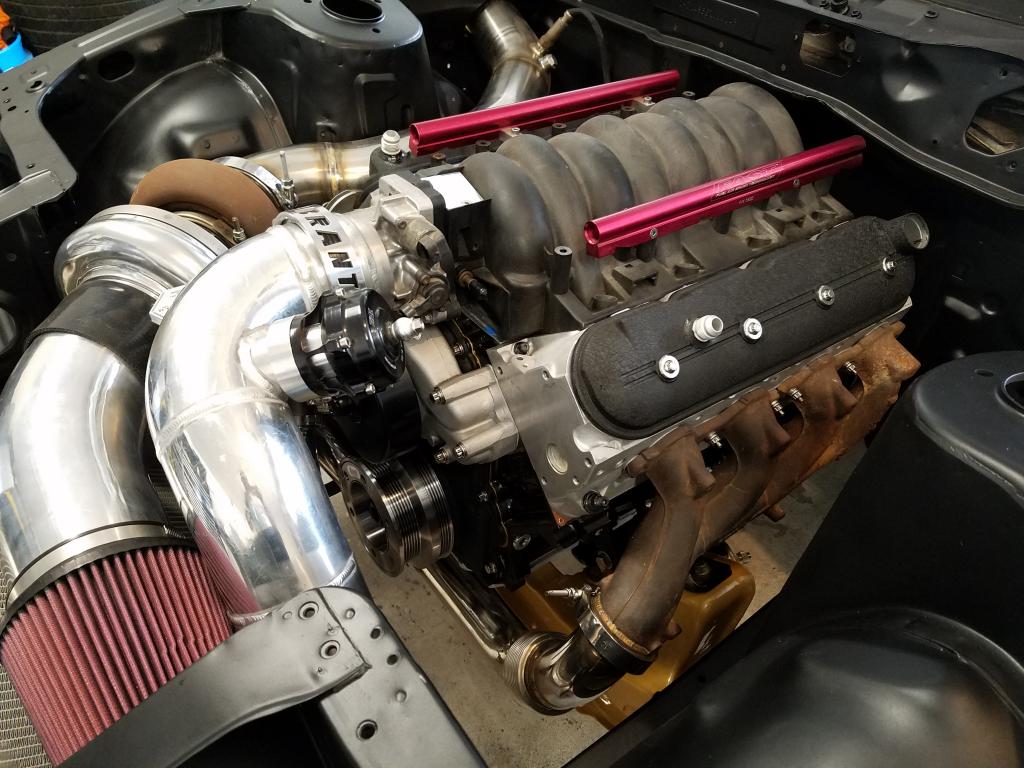
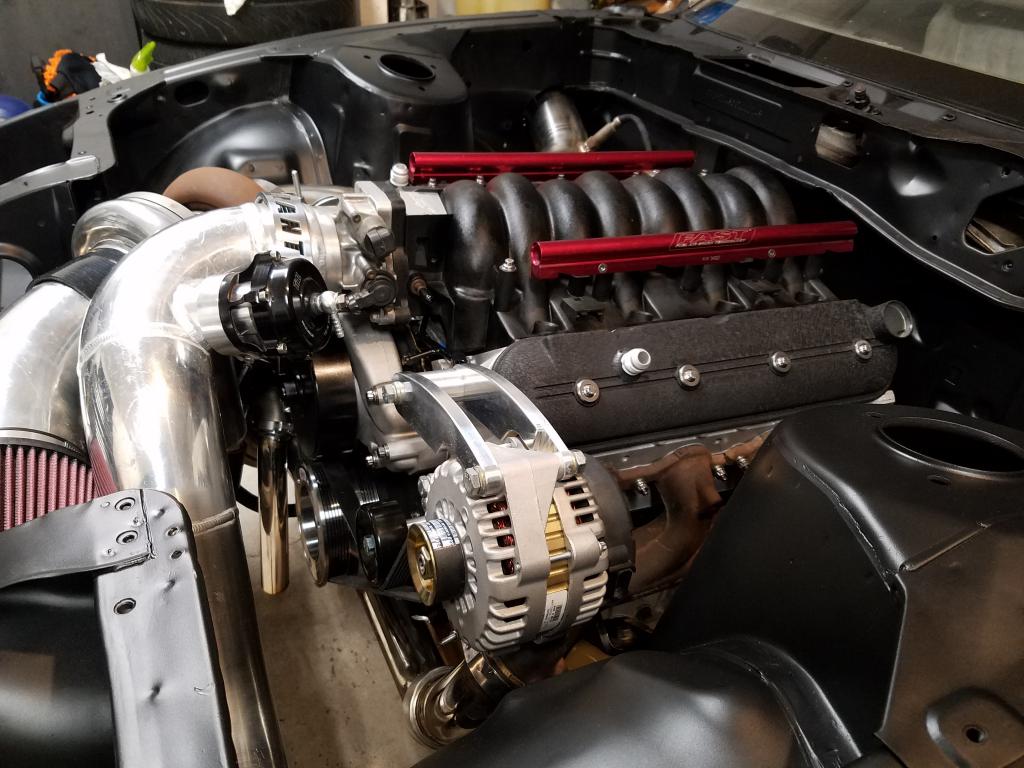
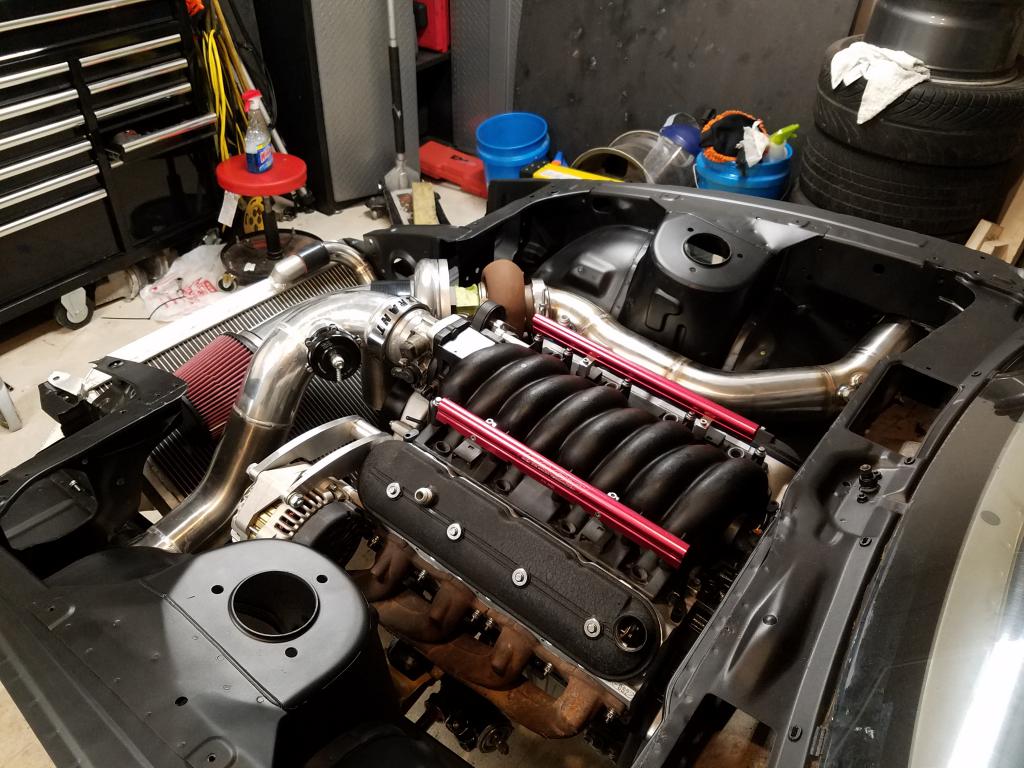
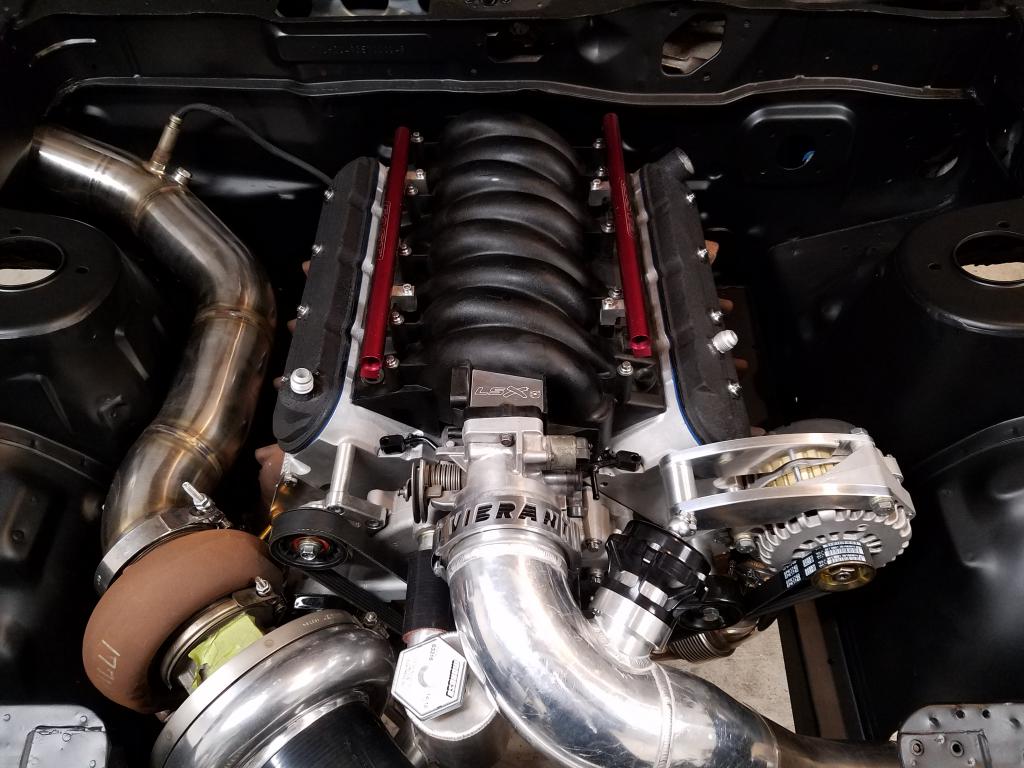
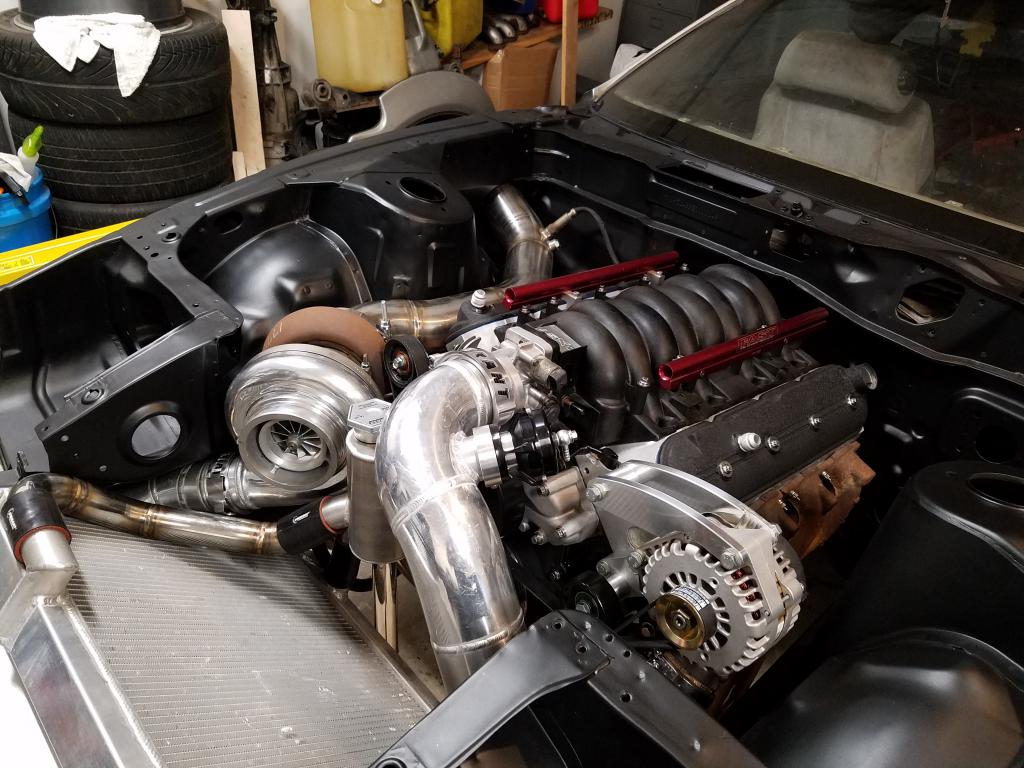
To finish up the 4.8 I installed my injectors, fuel rails, intake manifold, billet EGR block off, alternator, billetbelt tensioner, & serpentine belt.I also reworked/wire tucked my gold box harness. I relocated the coil packplugs & coolant temperature sensor plug without any cutting of the harness.My main goal is reaching180+mph in a standing mile. I'd also like to trap 135mph+ in the 1/4. I wouldn't mind seeing if this little 4.8 can make 600whp on E85. It'll still be stock bottom end & stock cylinder heads. I'm not really too concerned with a dyno sheet. I'd be ecstatic if I could reach any of my goals with this little 4.8. I should have another small update within the next couple months. Thanks for stopping by.
-
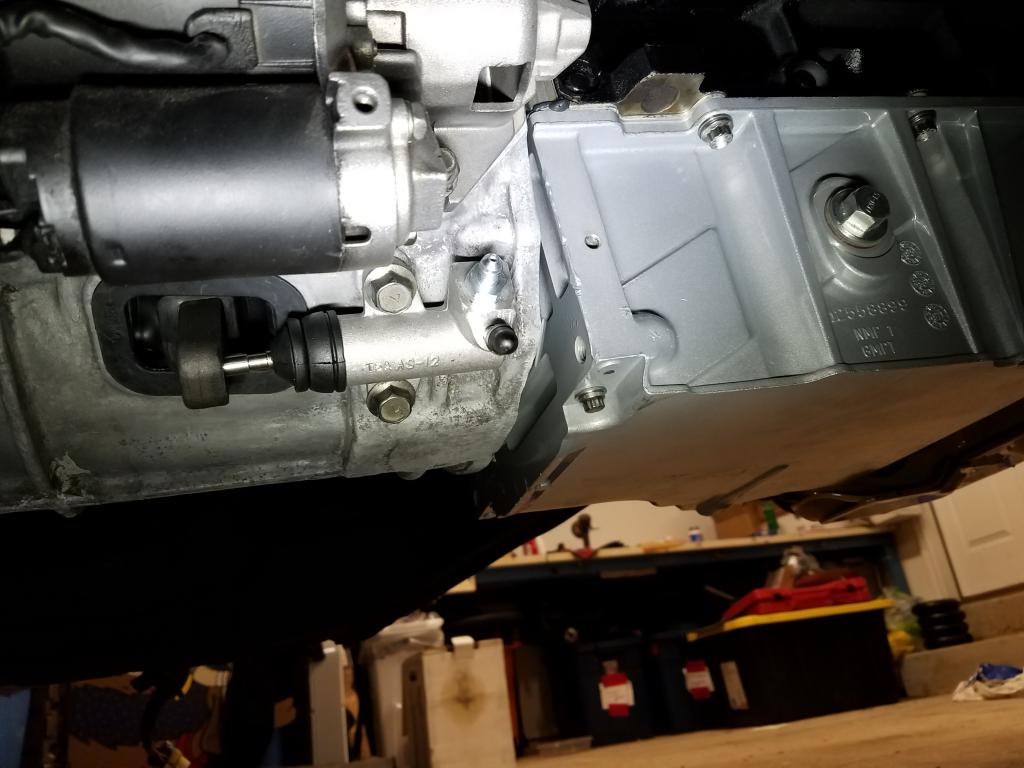
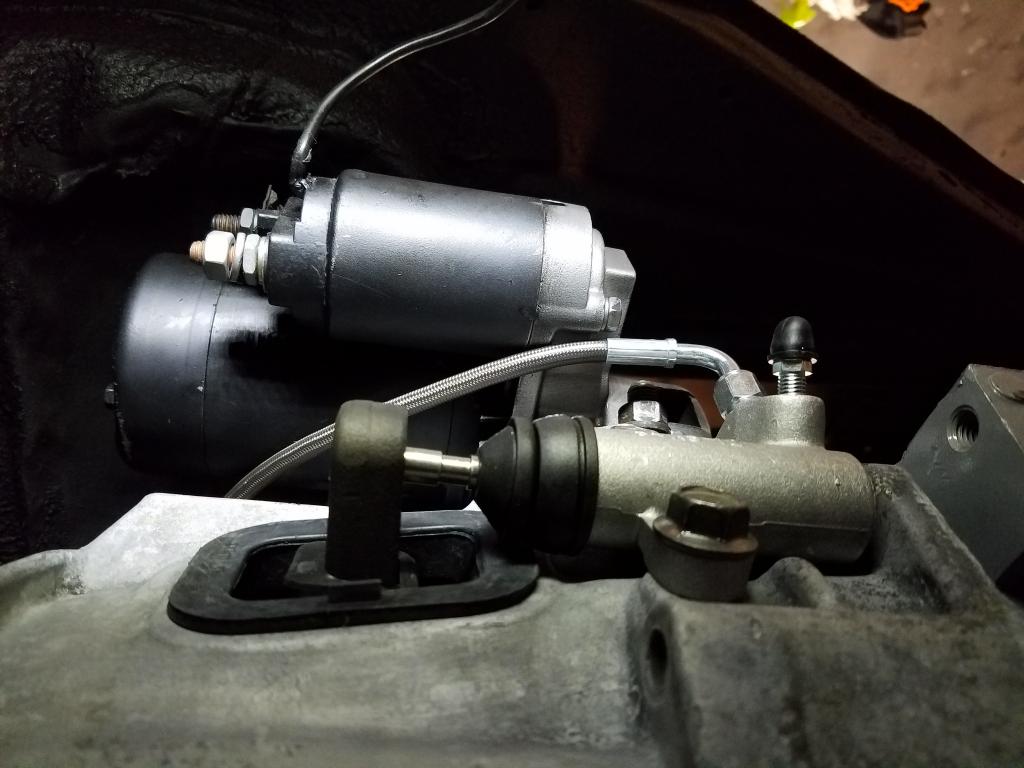
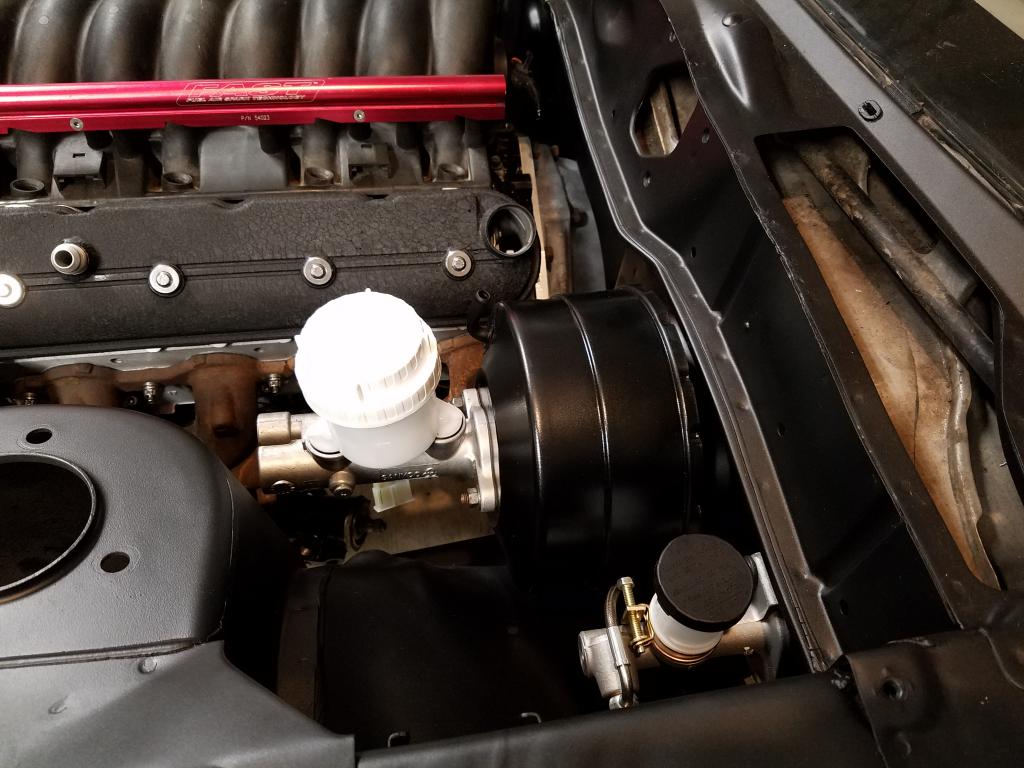
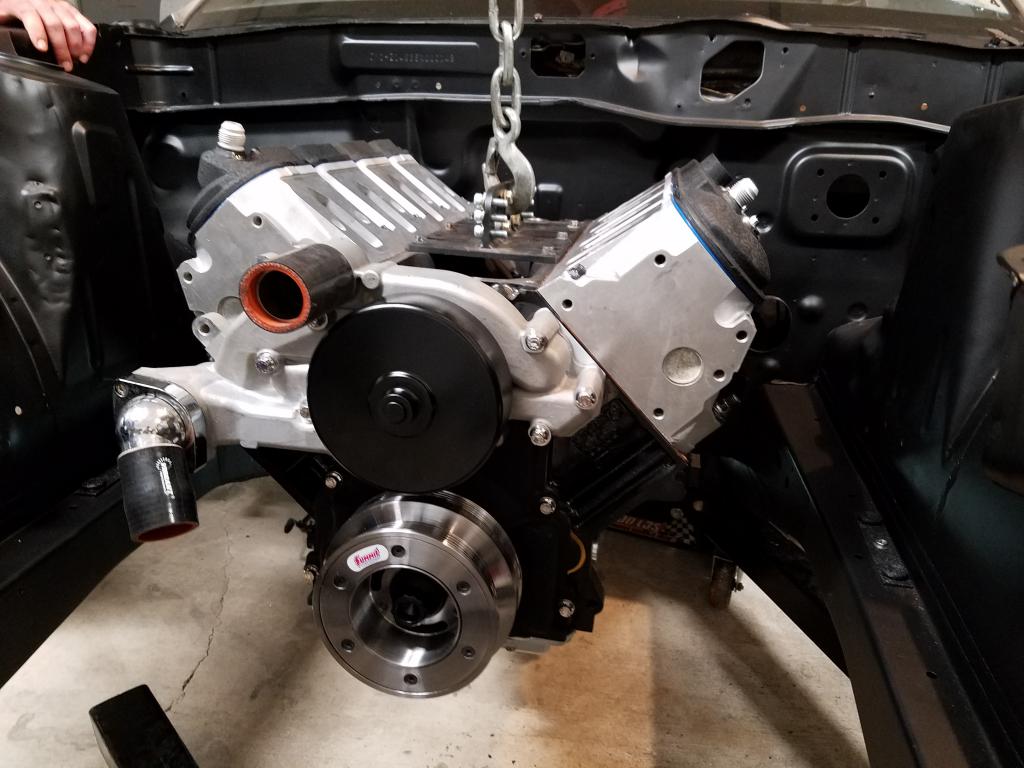
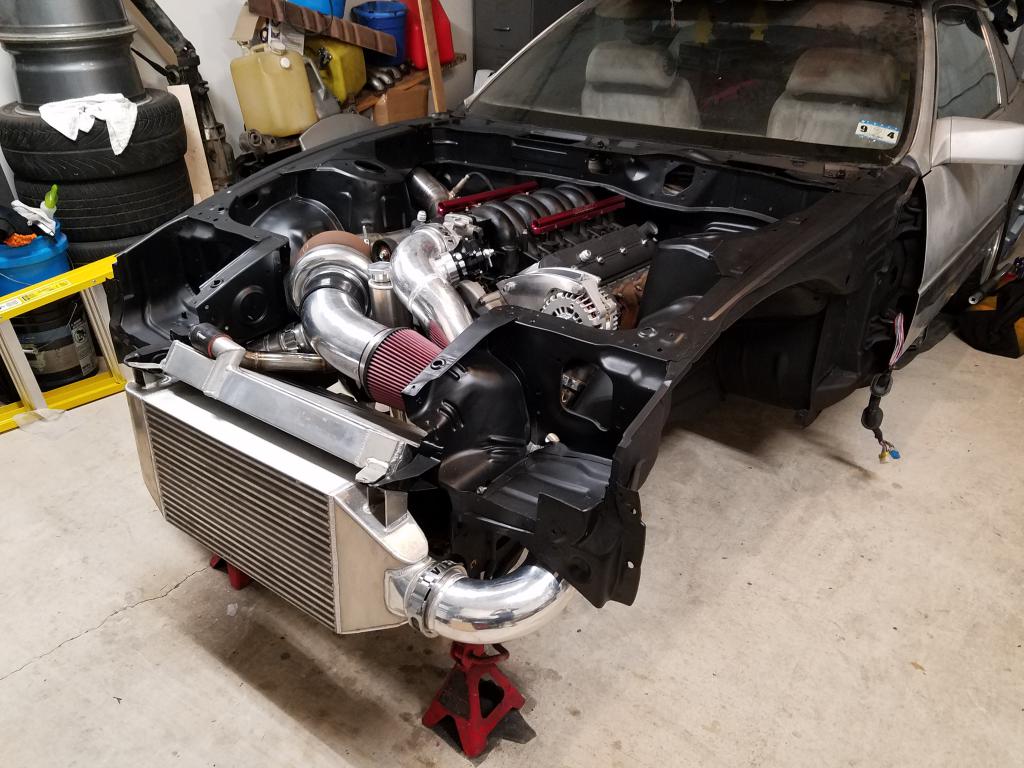
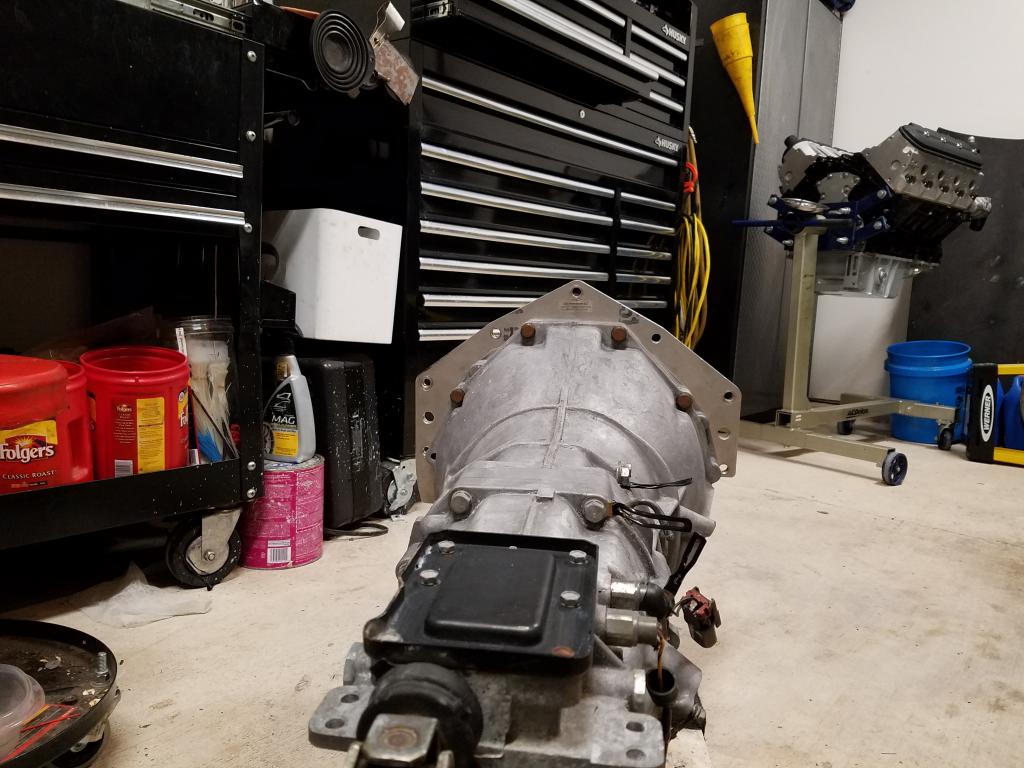
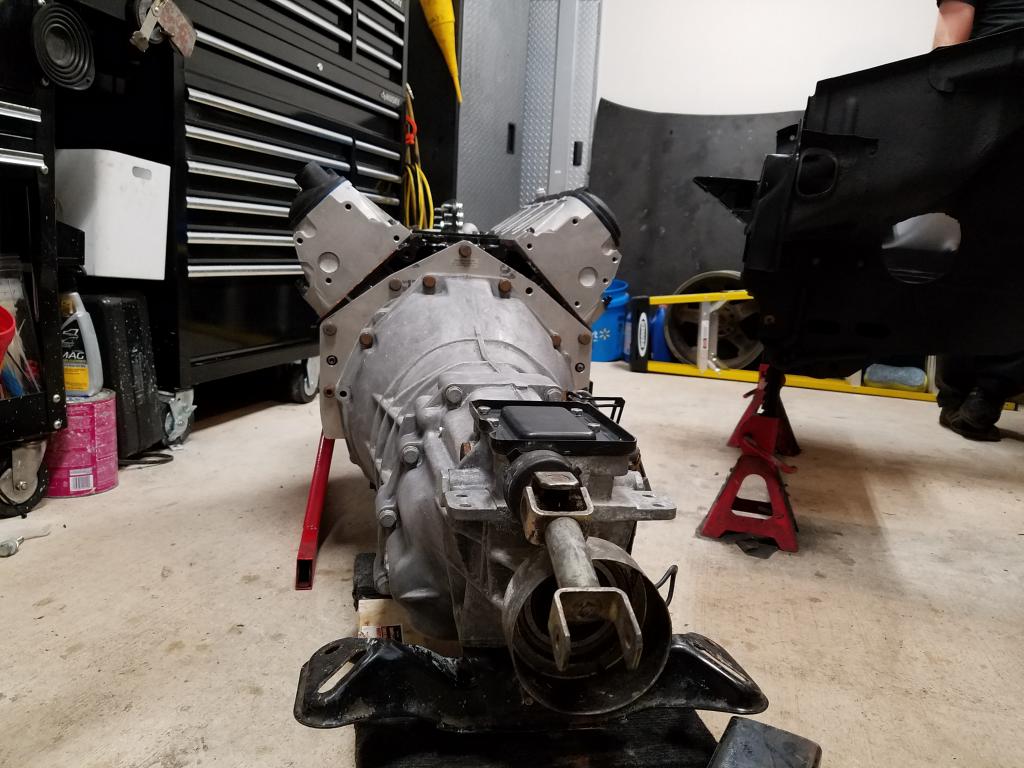
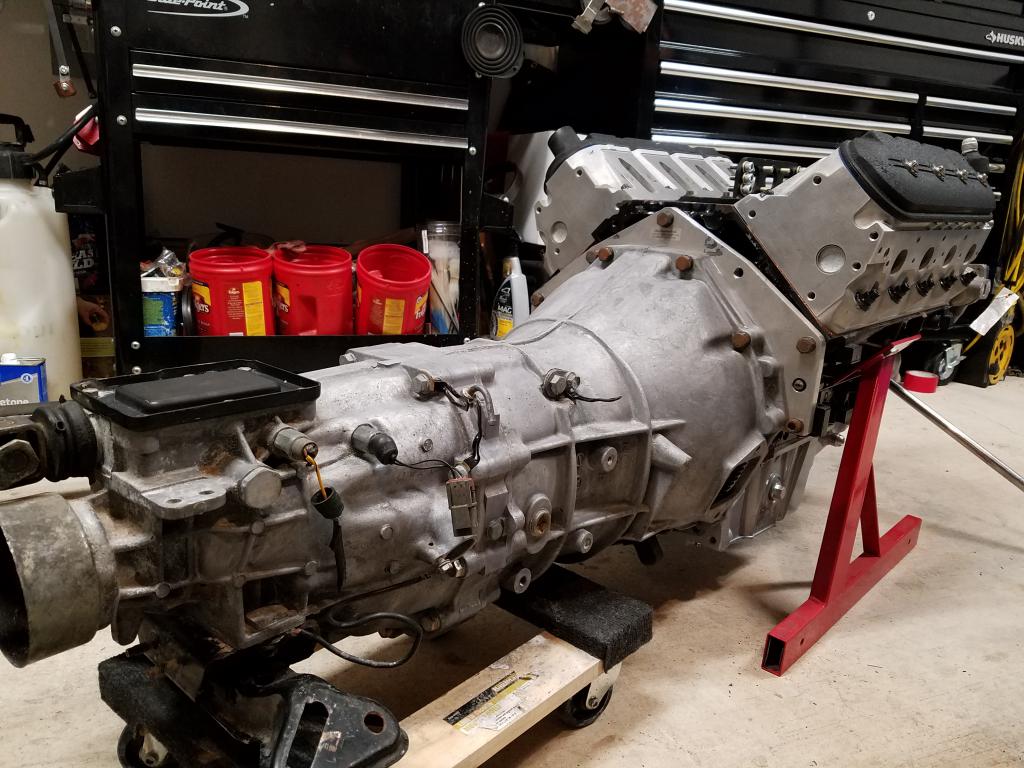
With the engine & transmission in I began to install more parts from my collection.
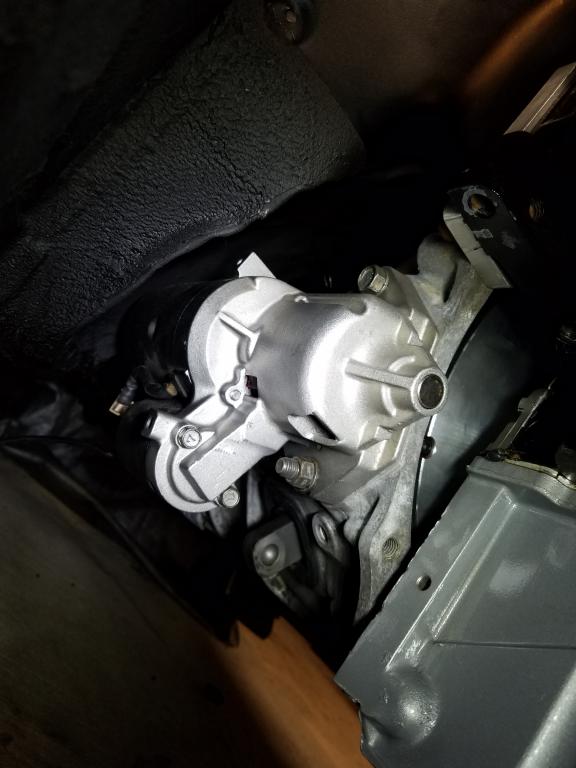
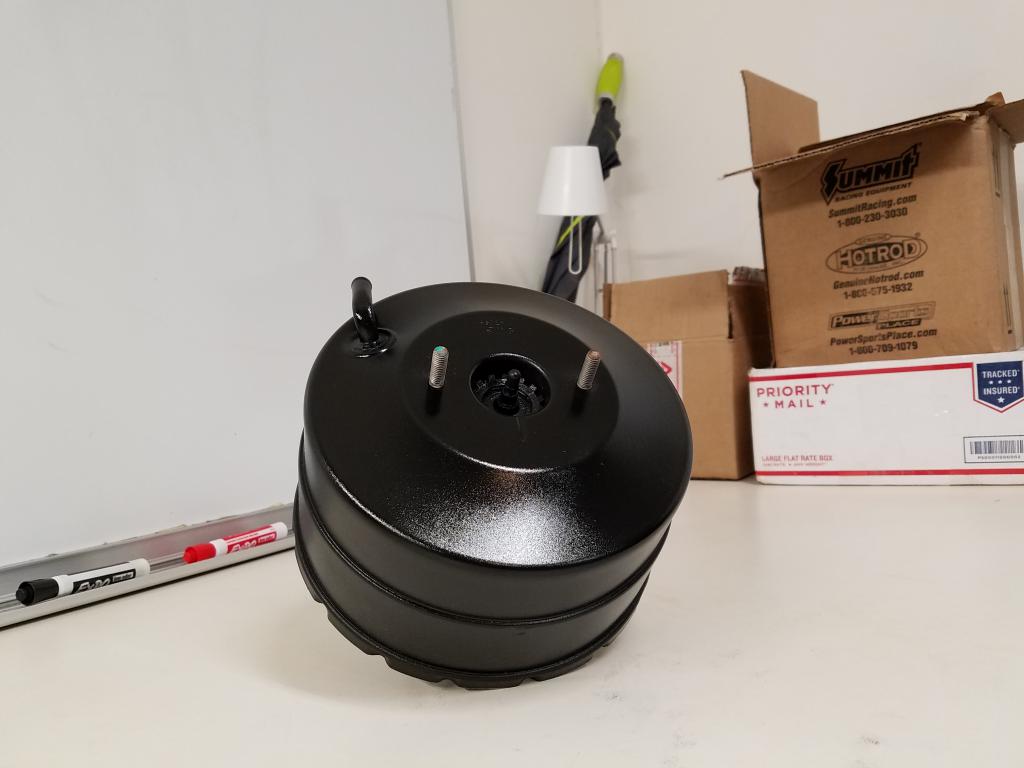
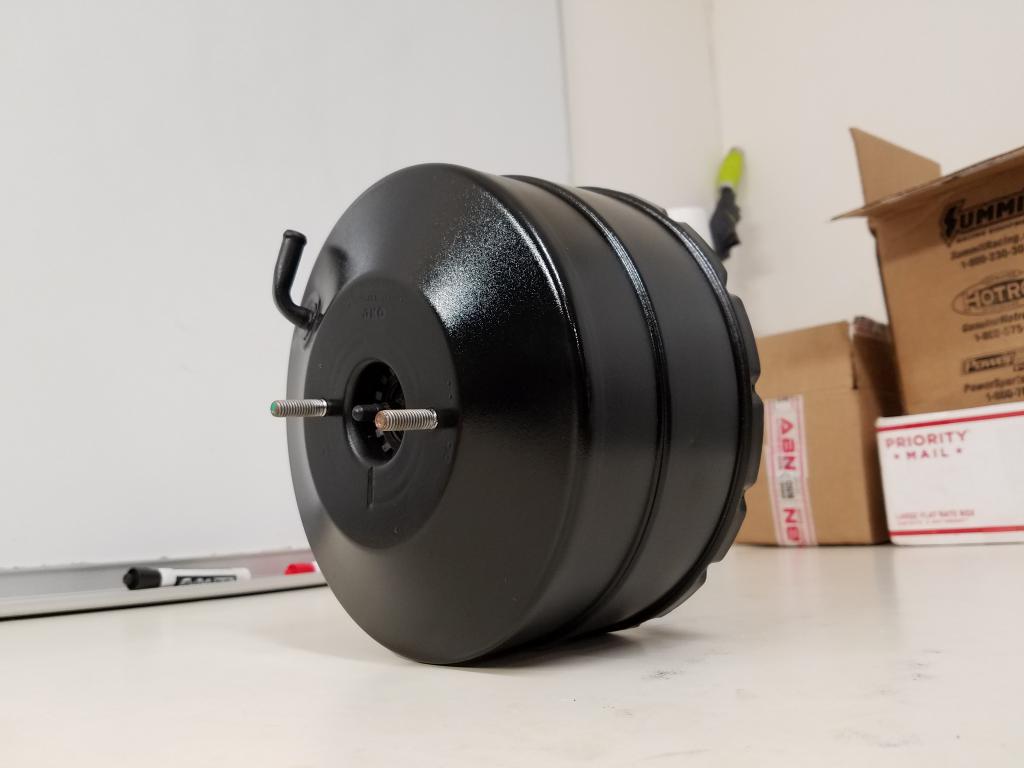
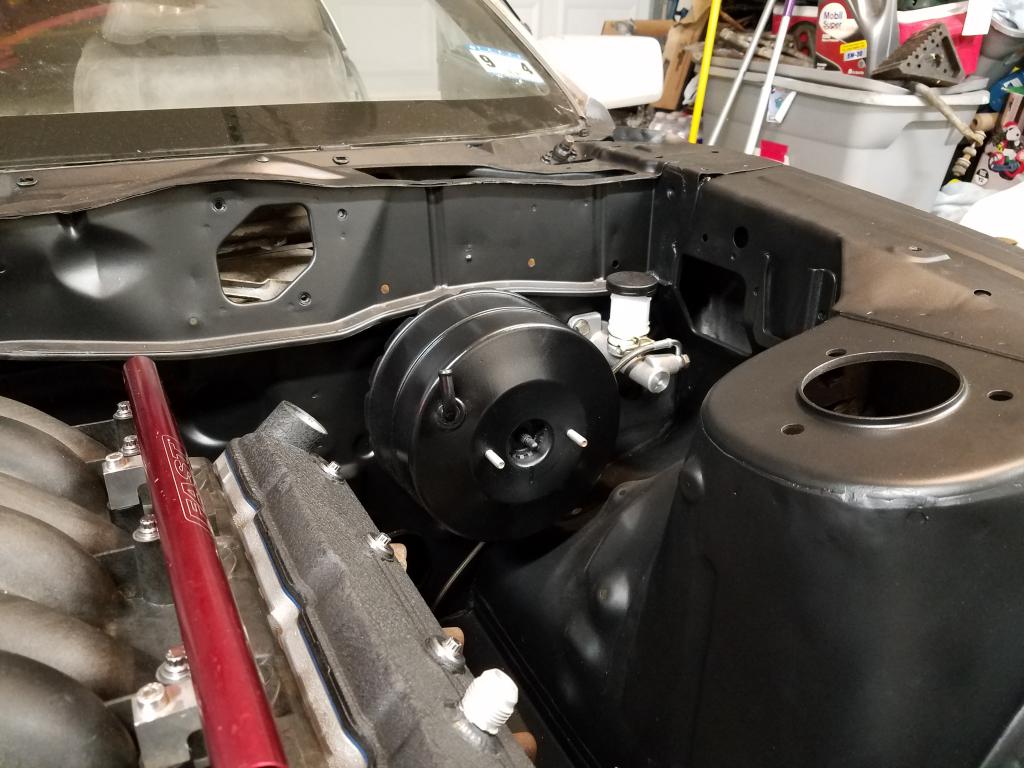
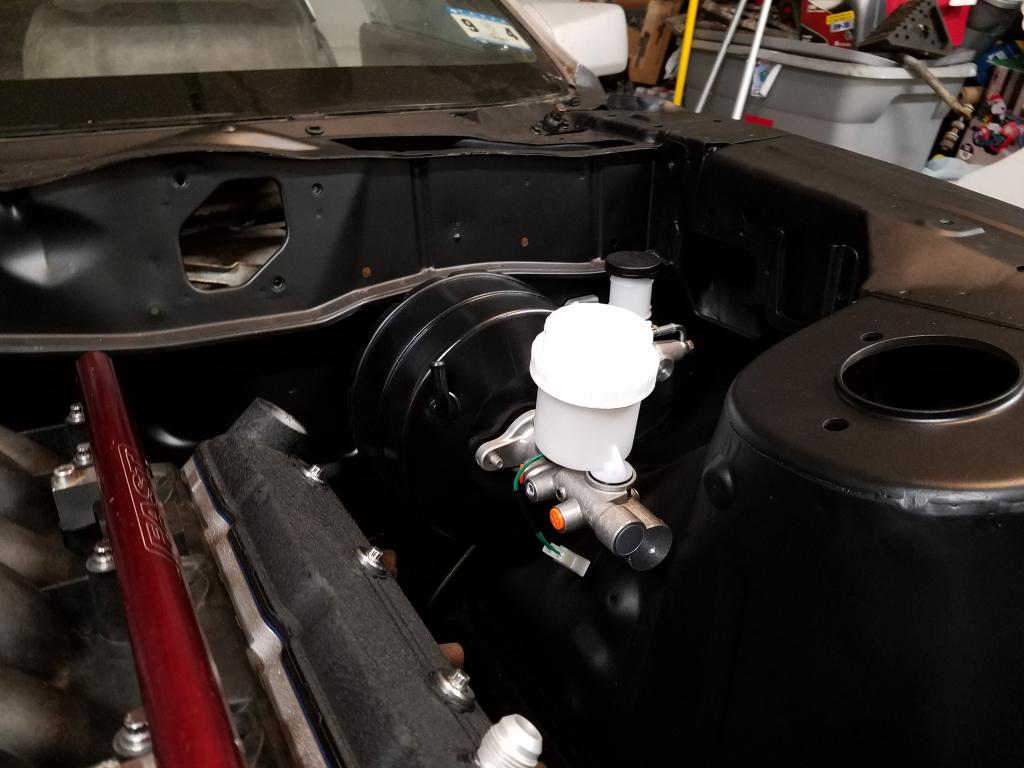
Installed the rebuilt starter. Purchased a new brake booster, z32 brake master cylinder, z32 clutch master & slave cylinders.Decided to paint my booster prior to install. Installed the brake booster, brake master cylinder & all the clutch hydraulics. -
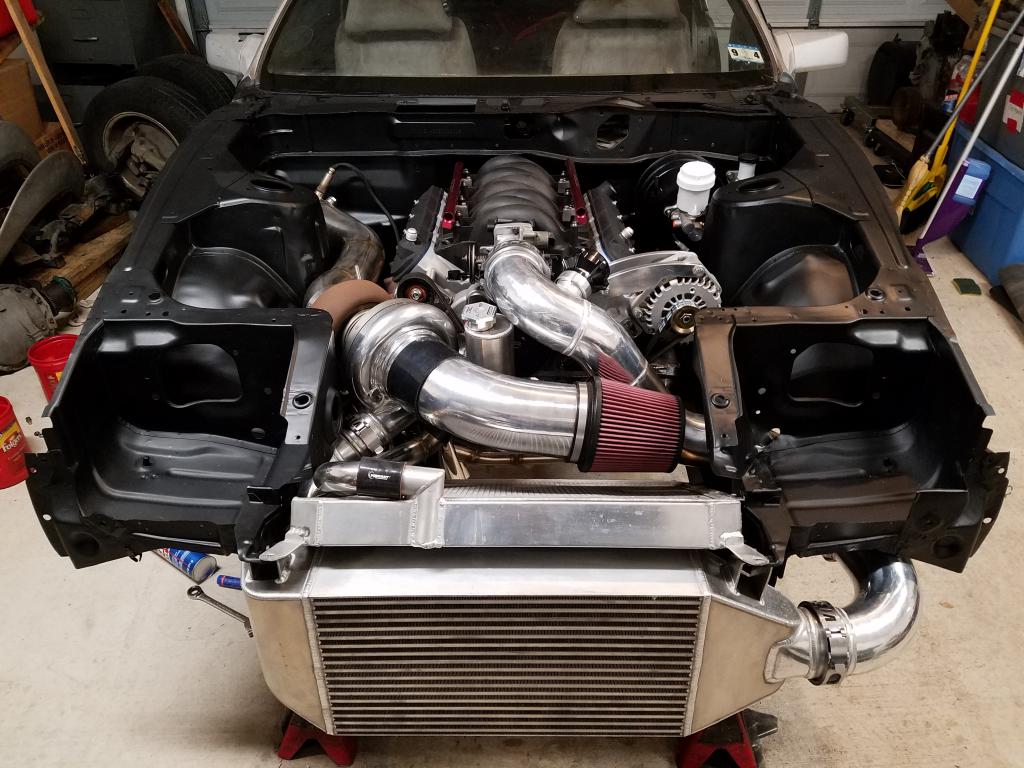
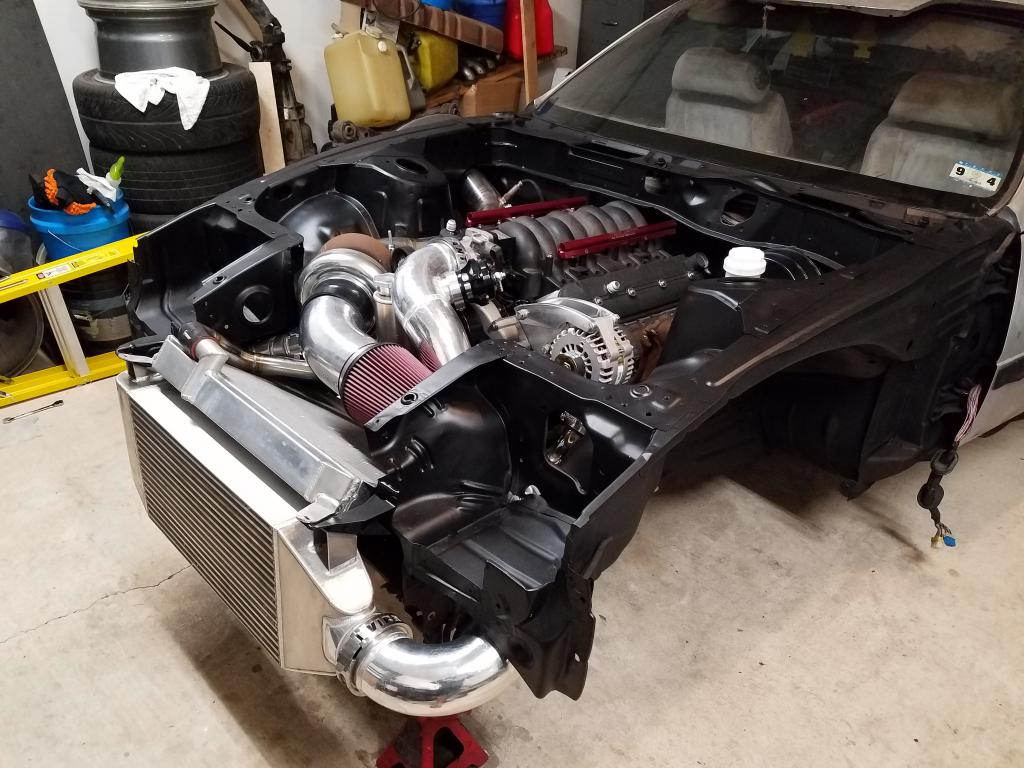
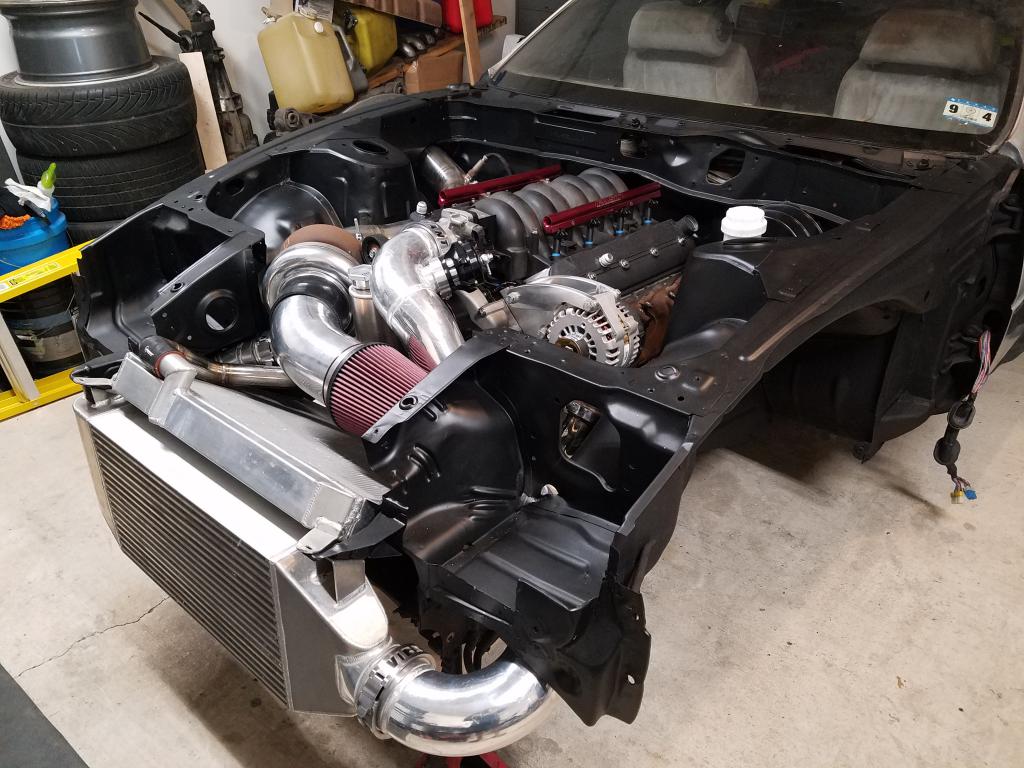
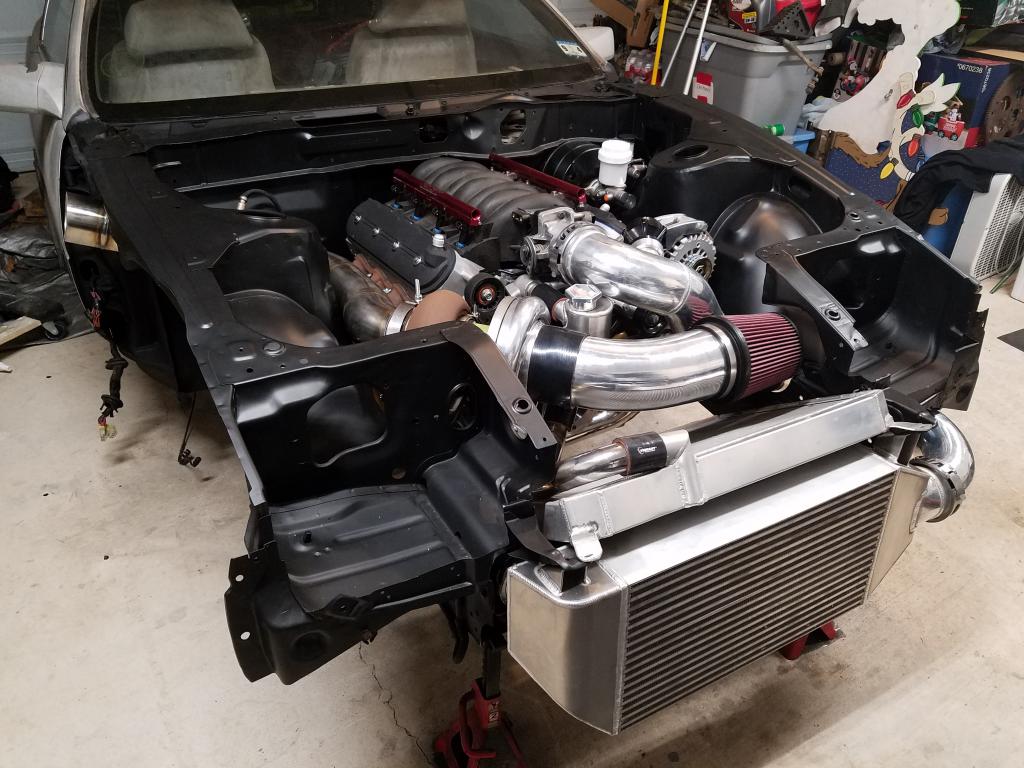
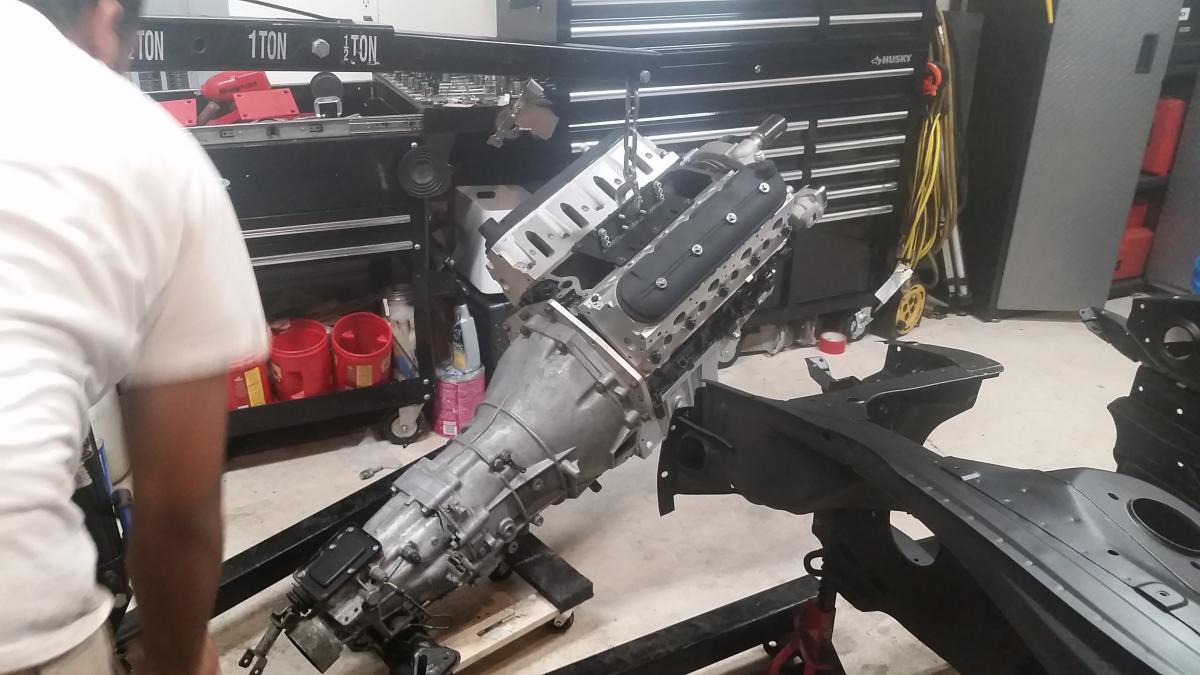
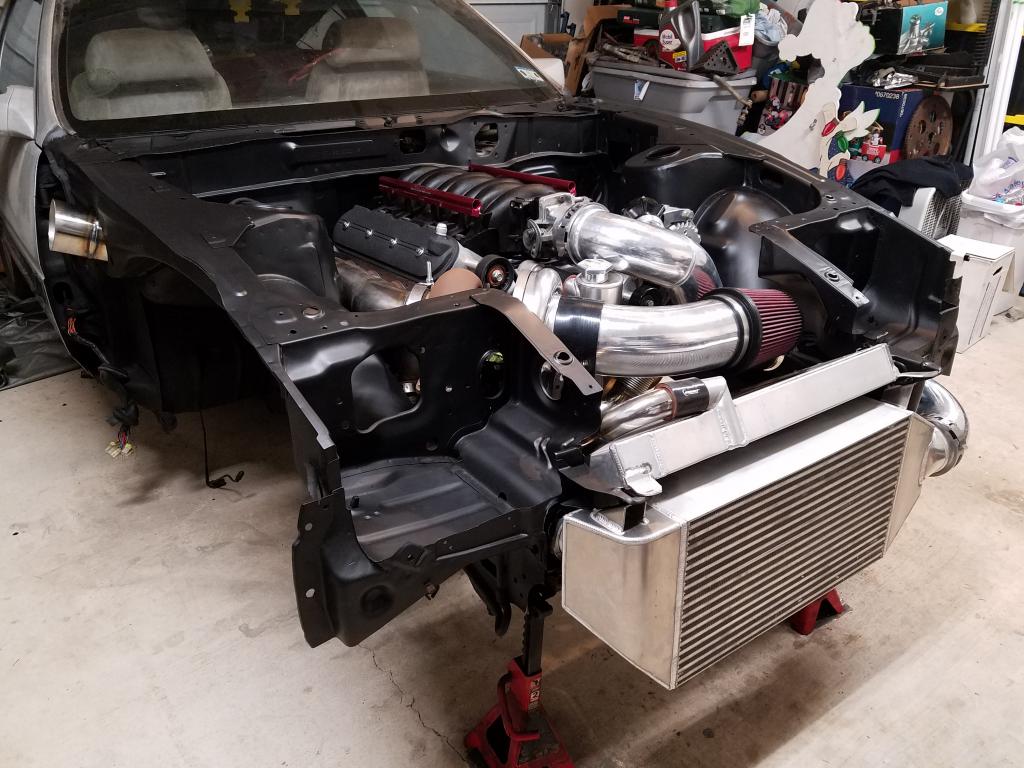
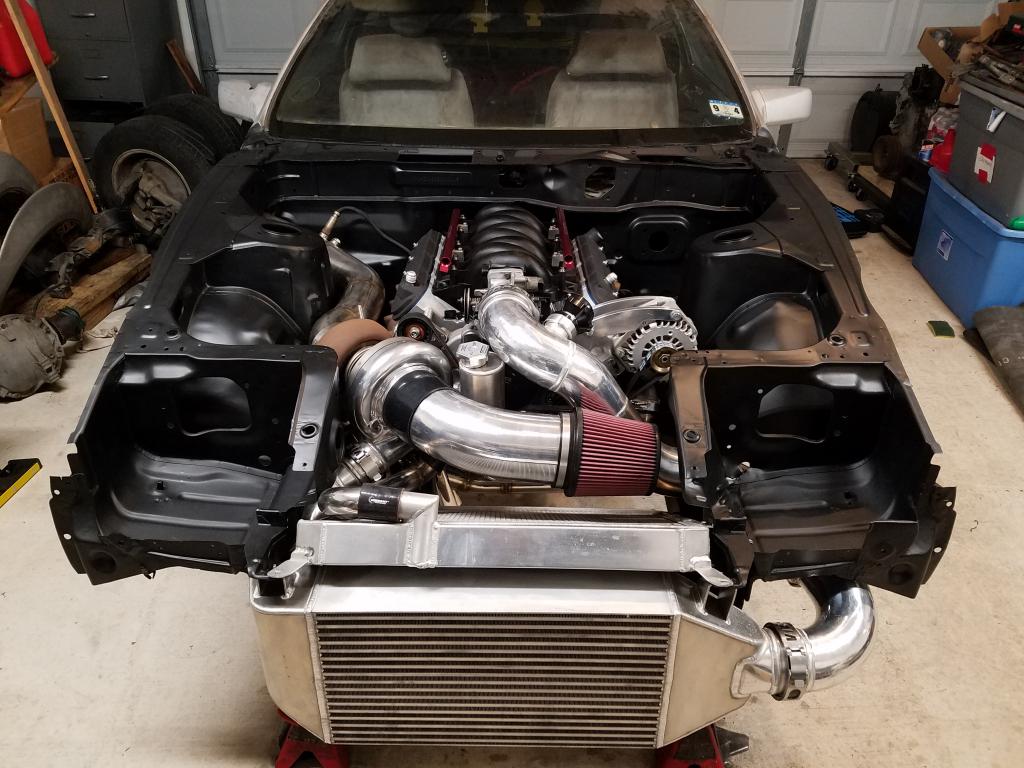
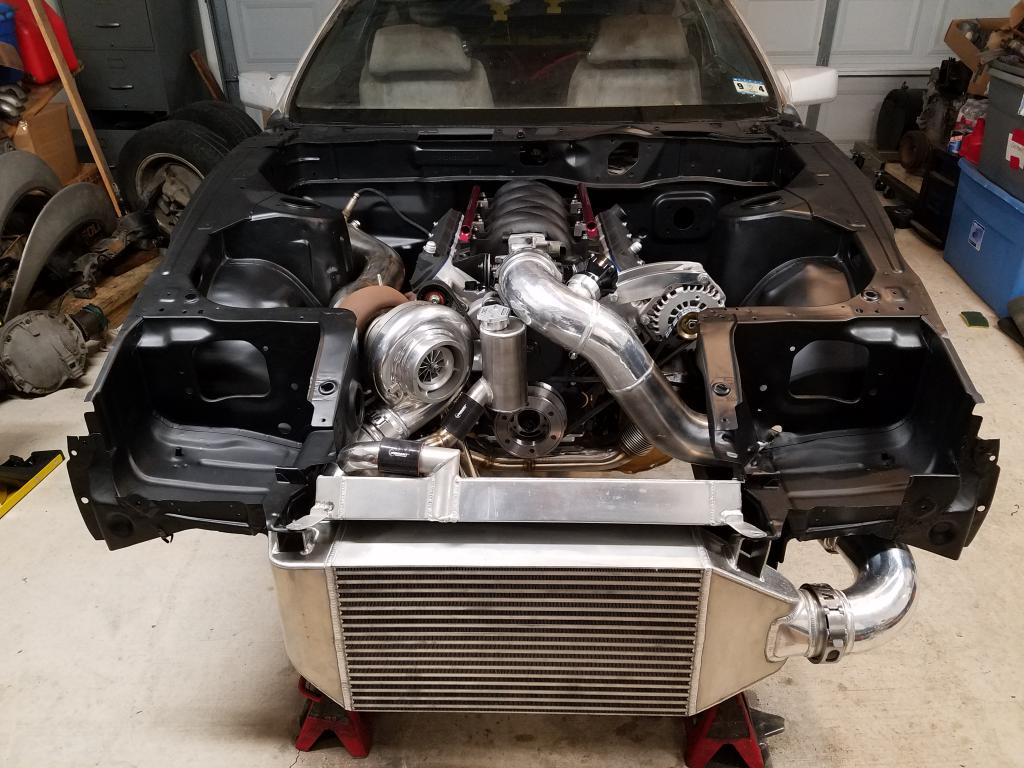
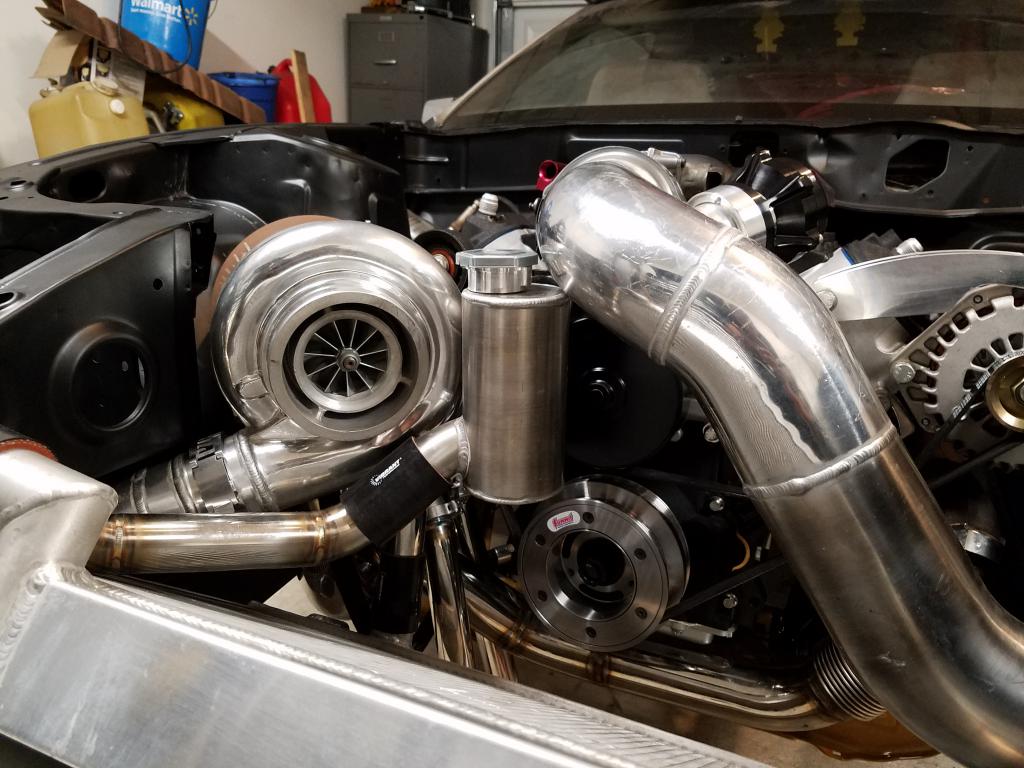
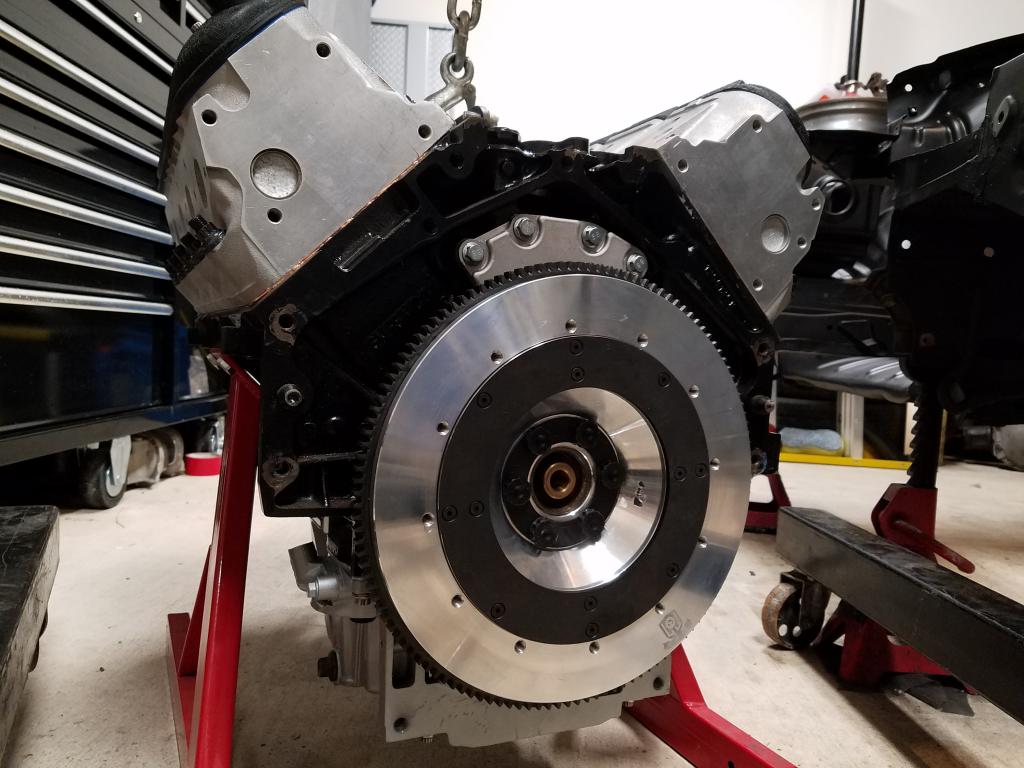
I finally installed my engine & transmission back into my Z!It's beginning to resemble a car again. Lol
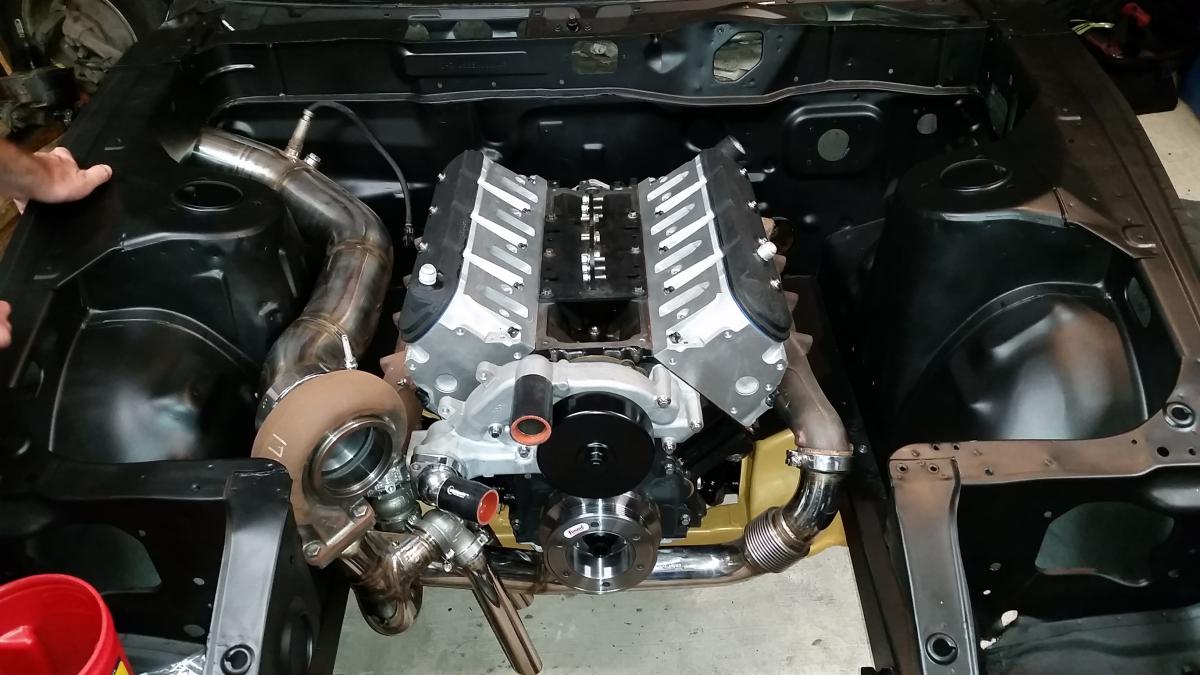
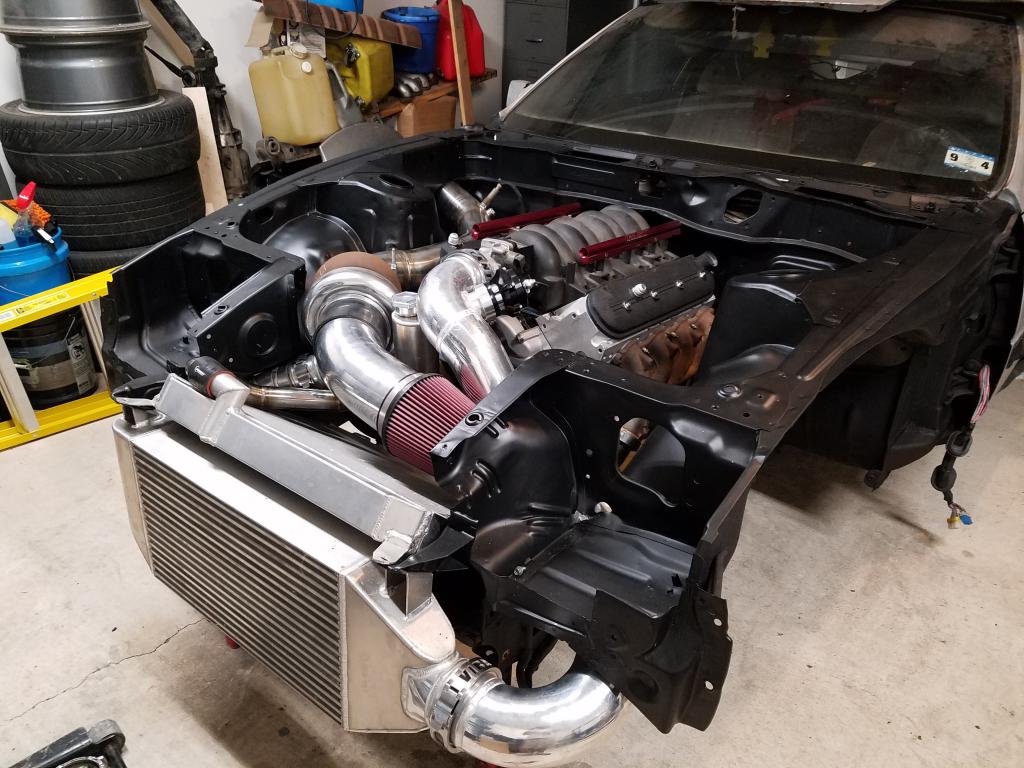
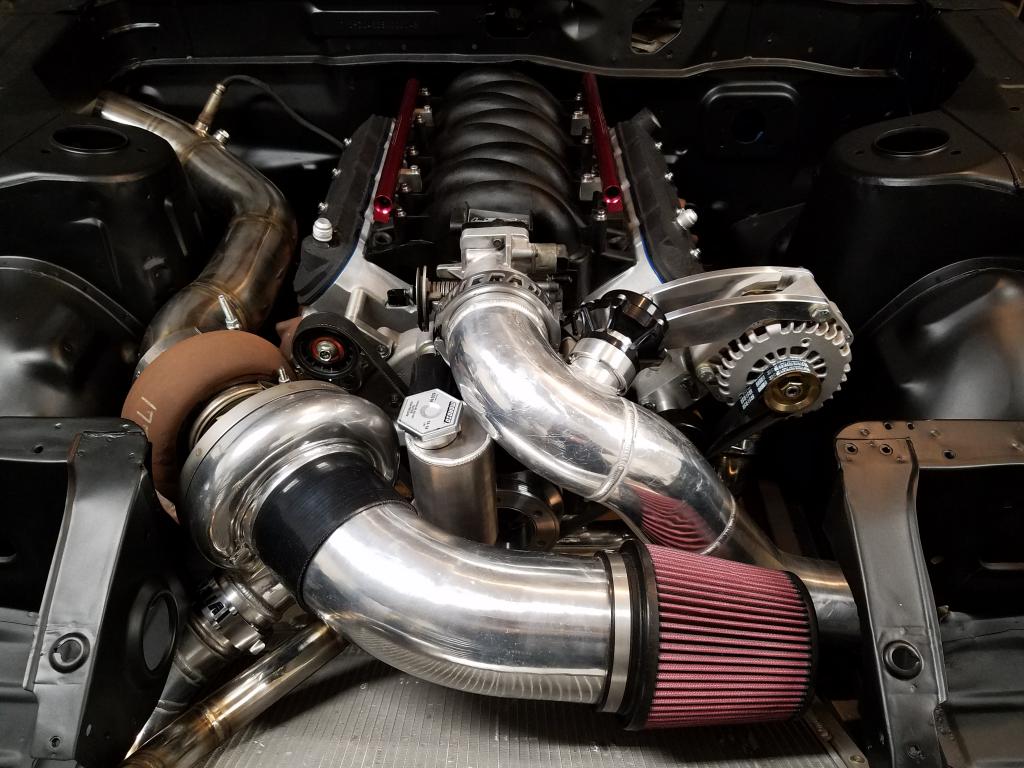
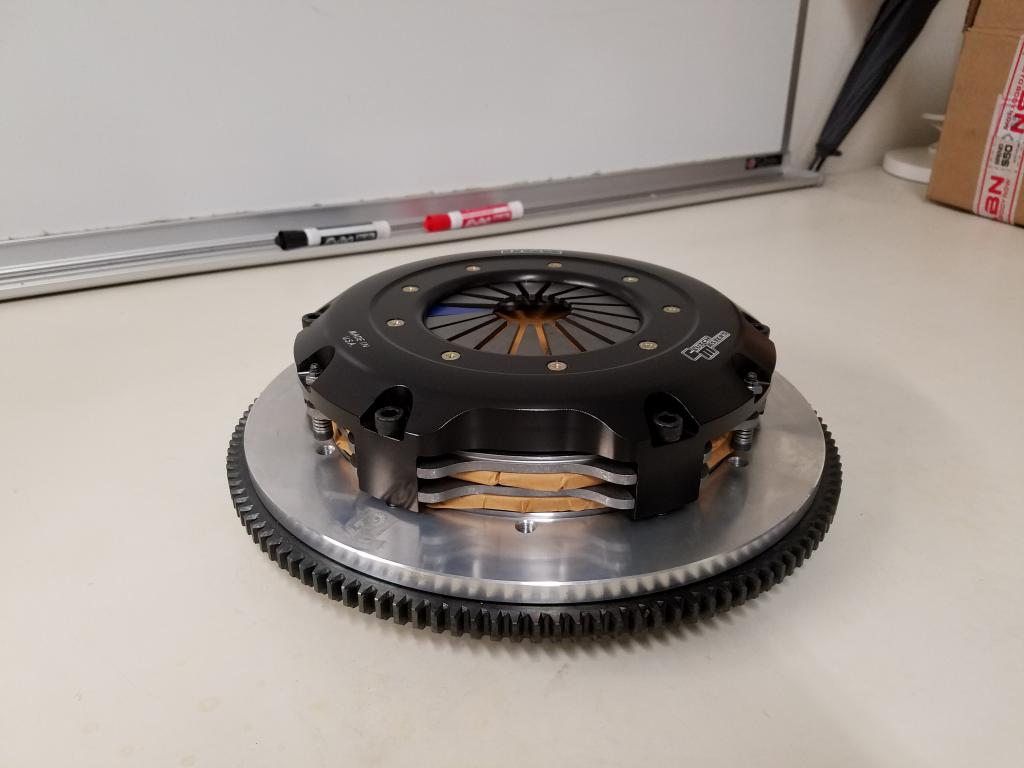
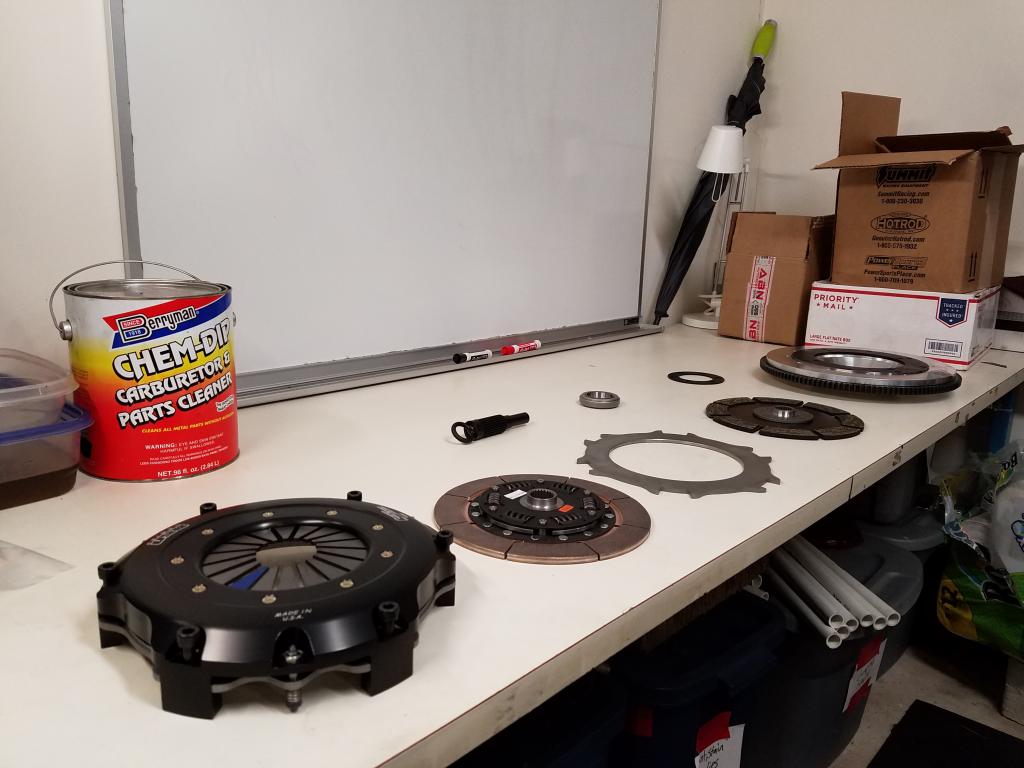
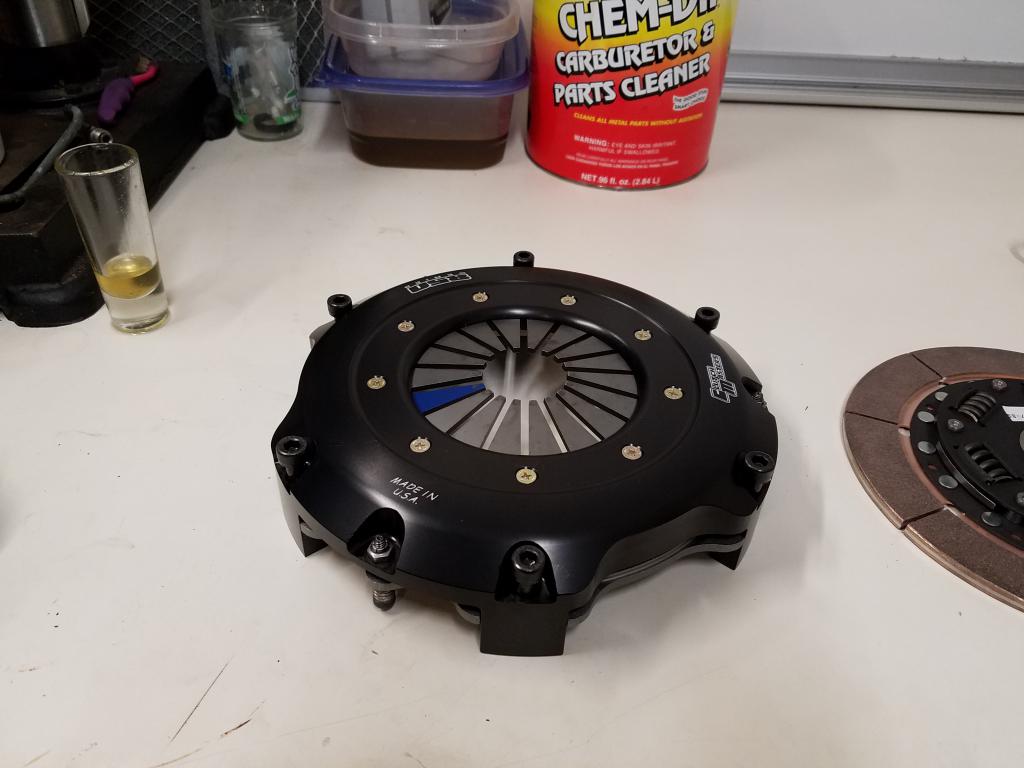
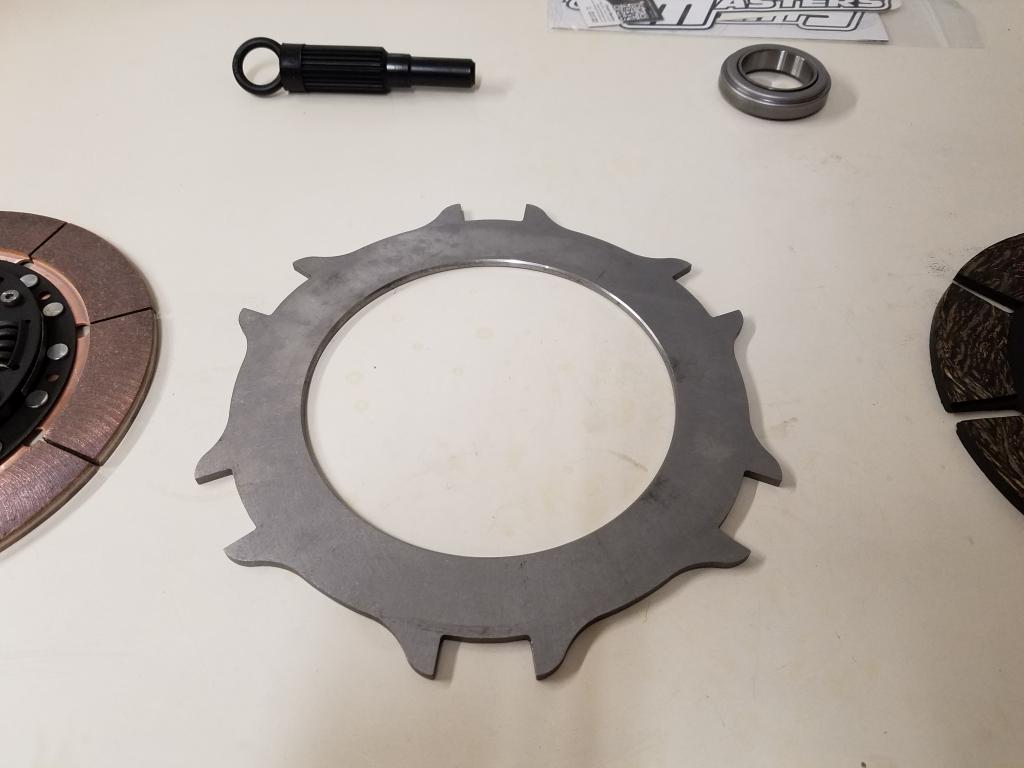
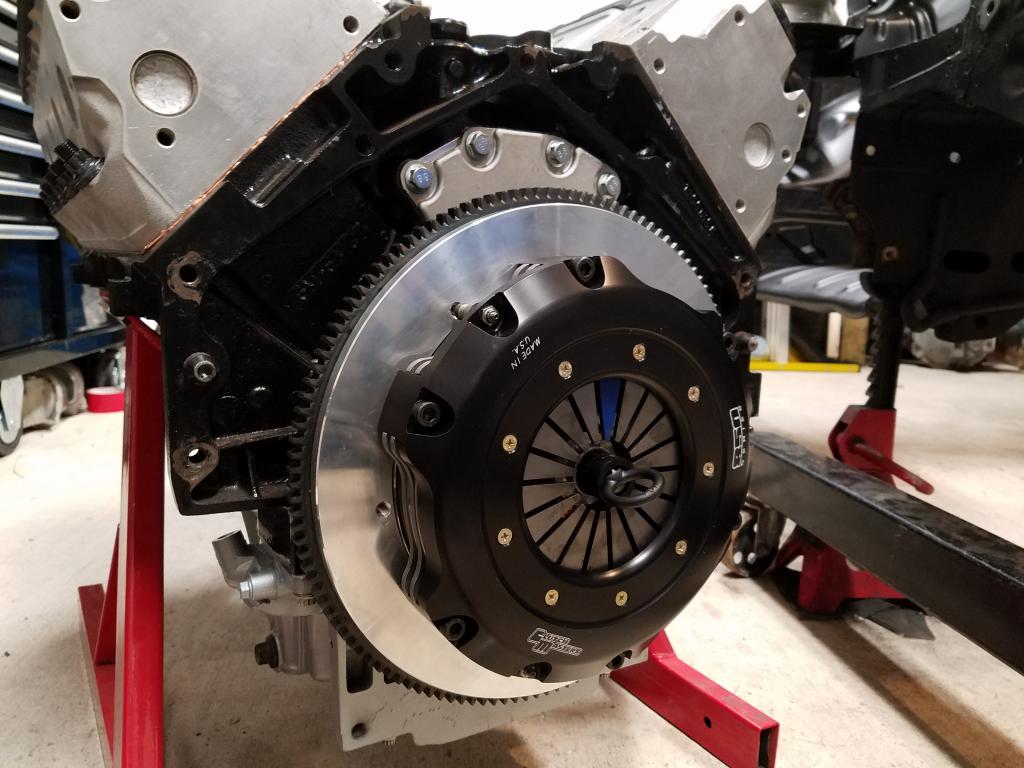
I told myself I wouldn't install the kit until I got it Ceramic coated but I couldn't take it anymore.
-
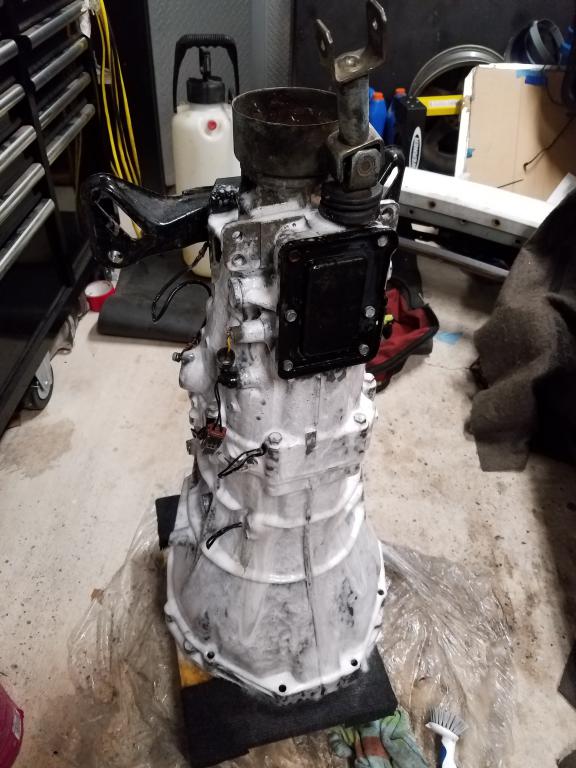
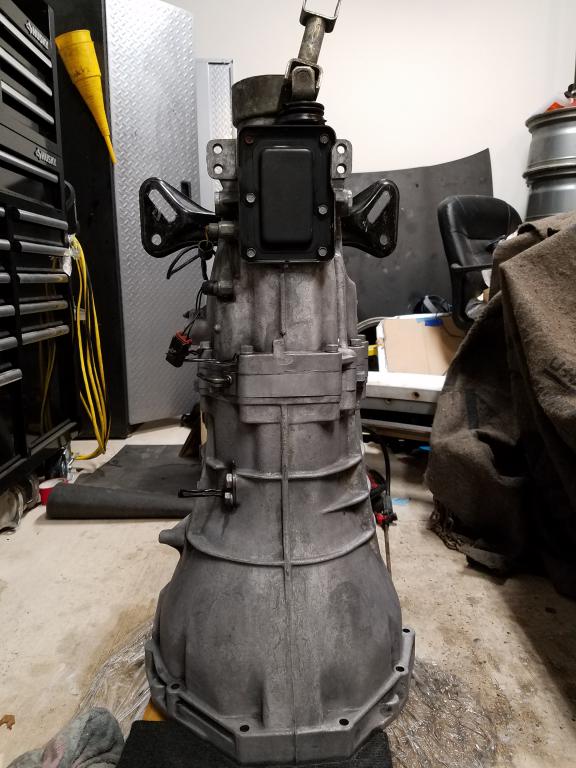
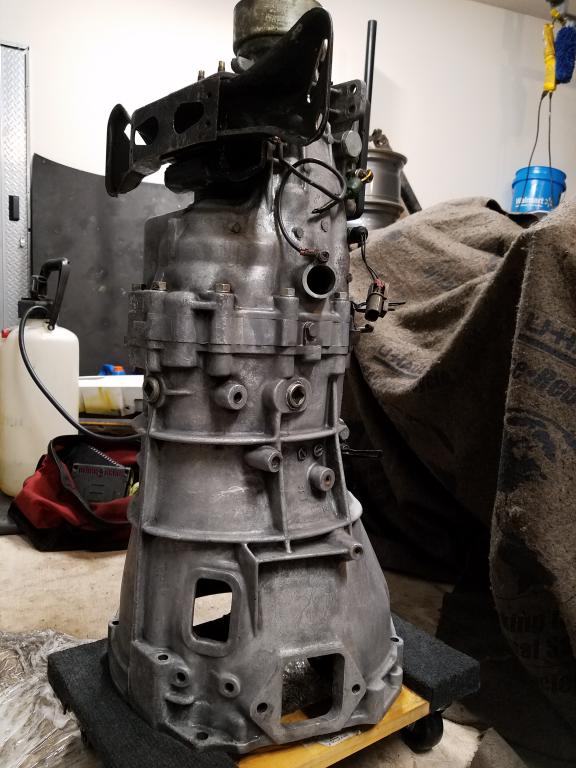
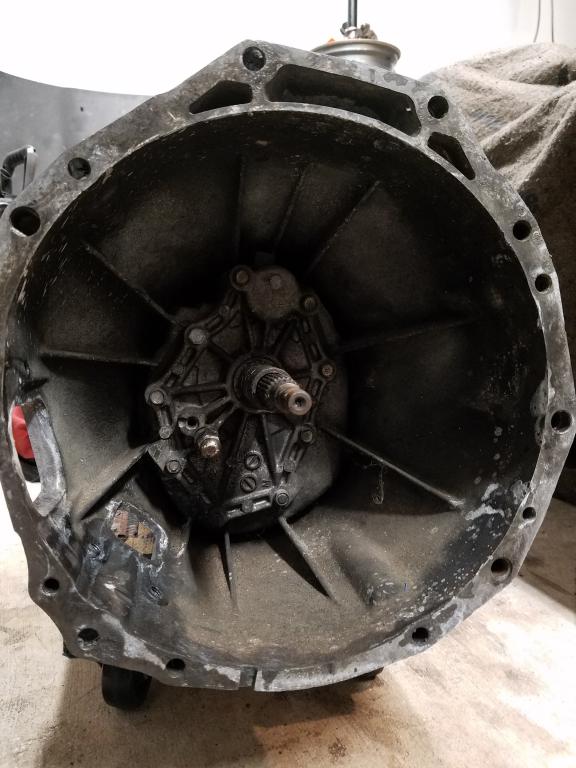
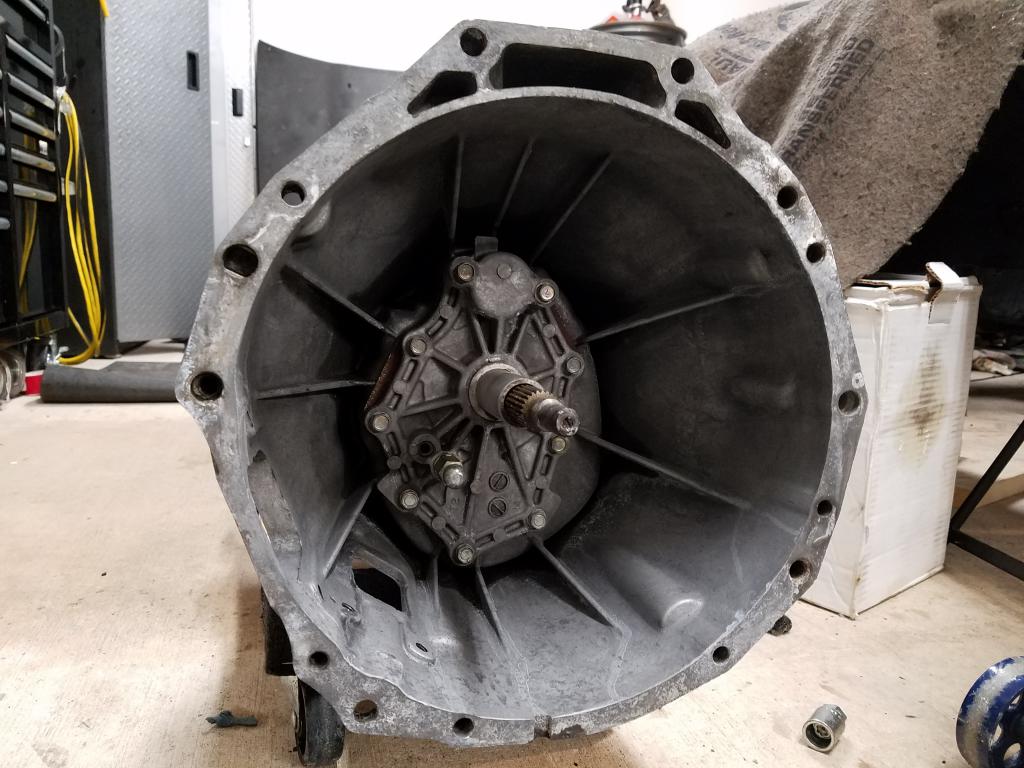
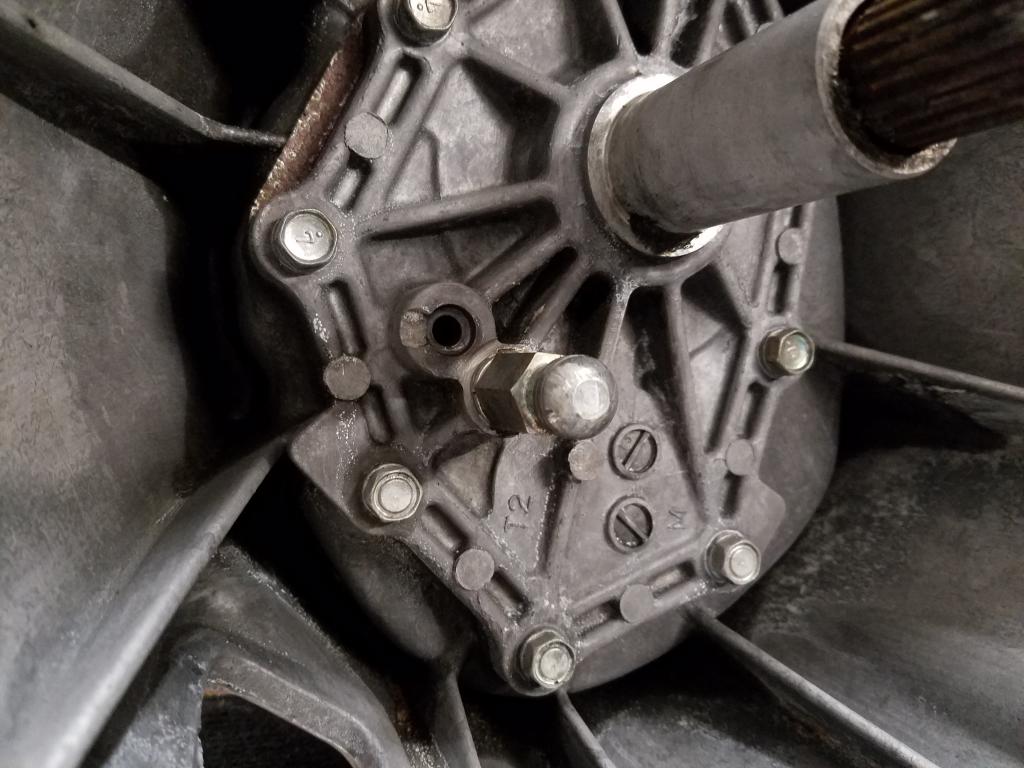
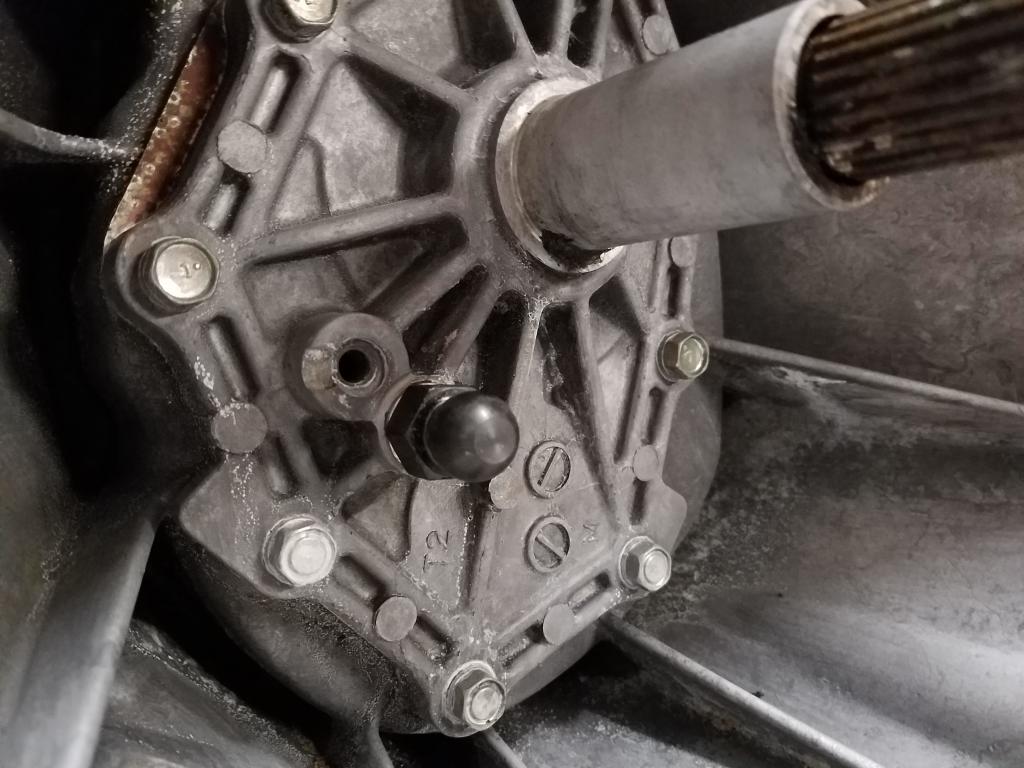
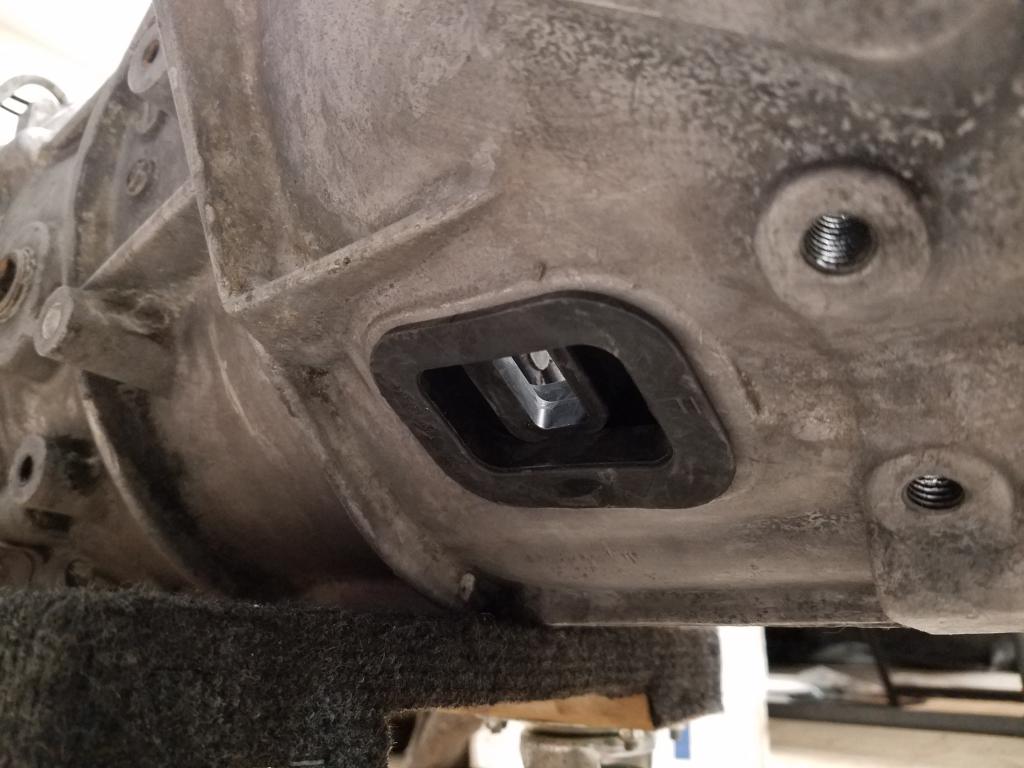
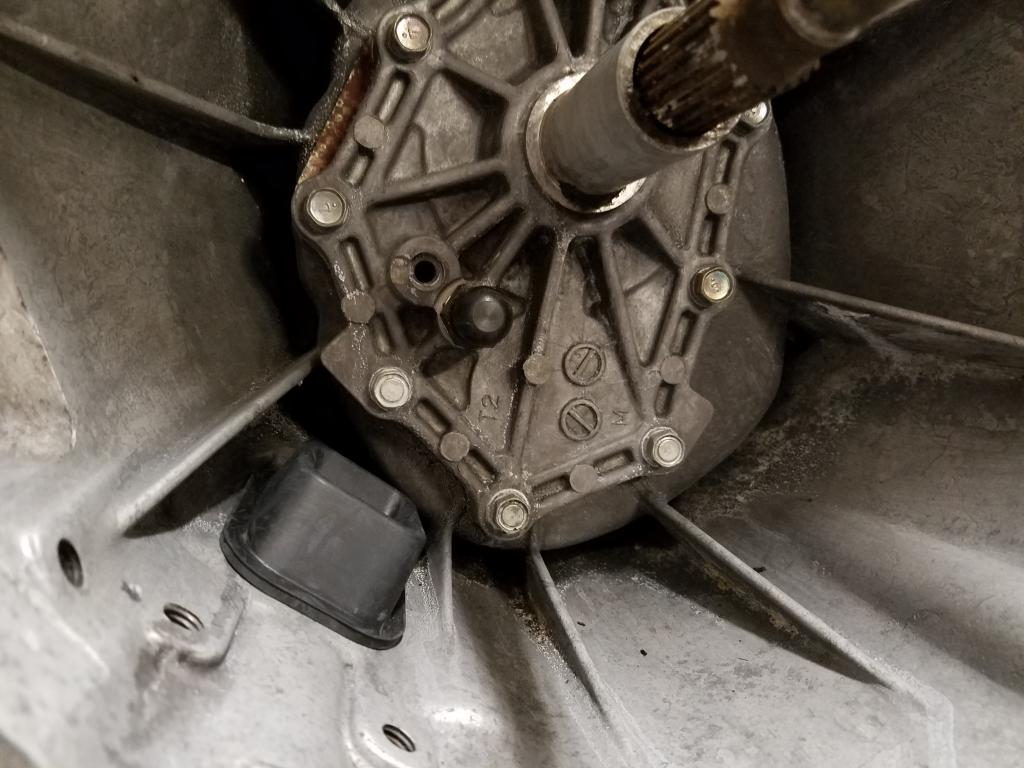
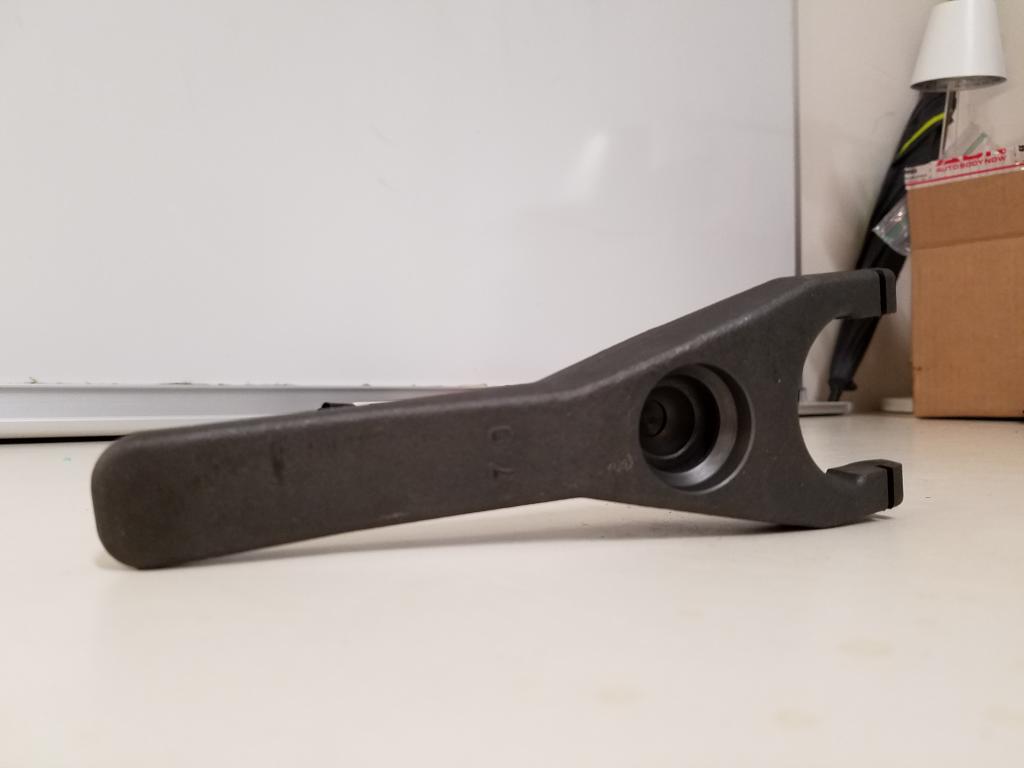
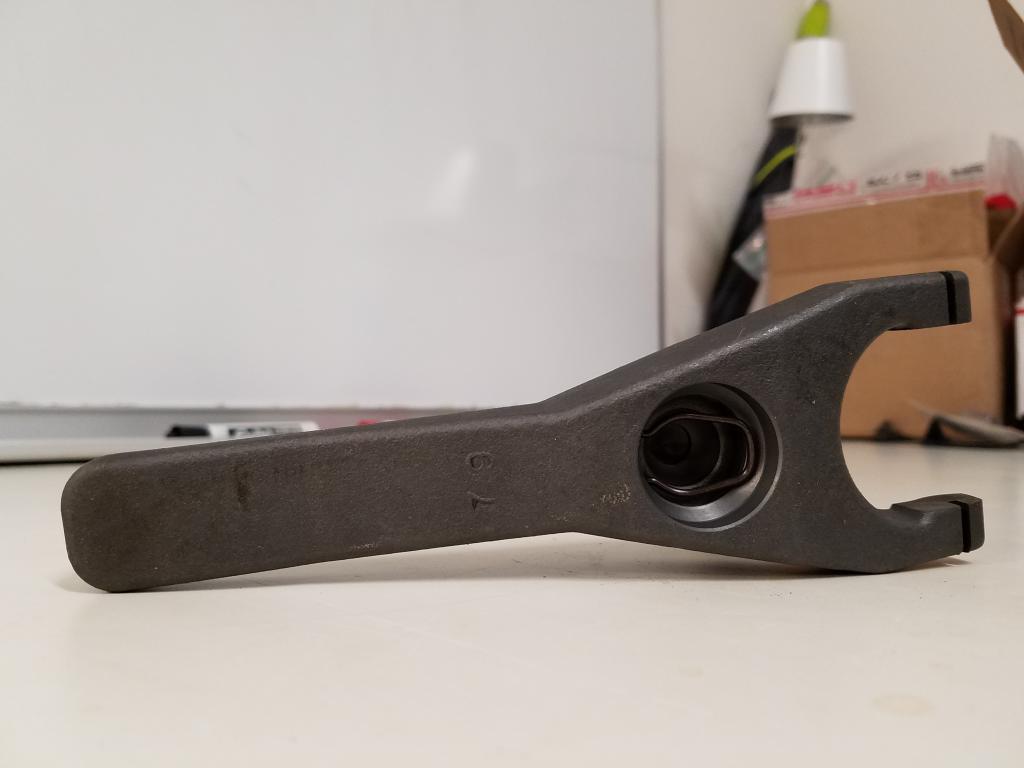
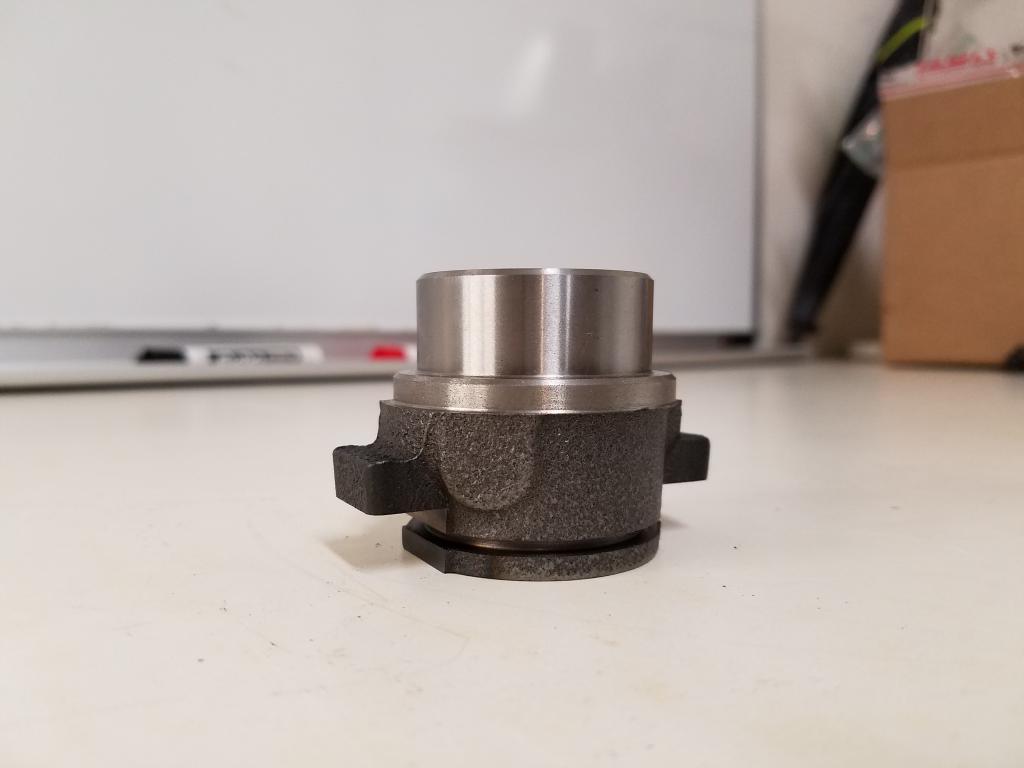
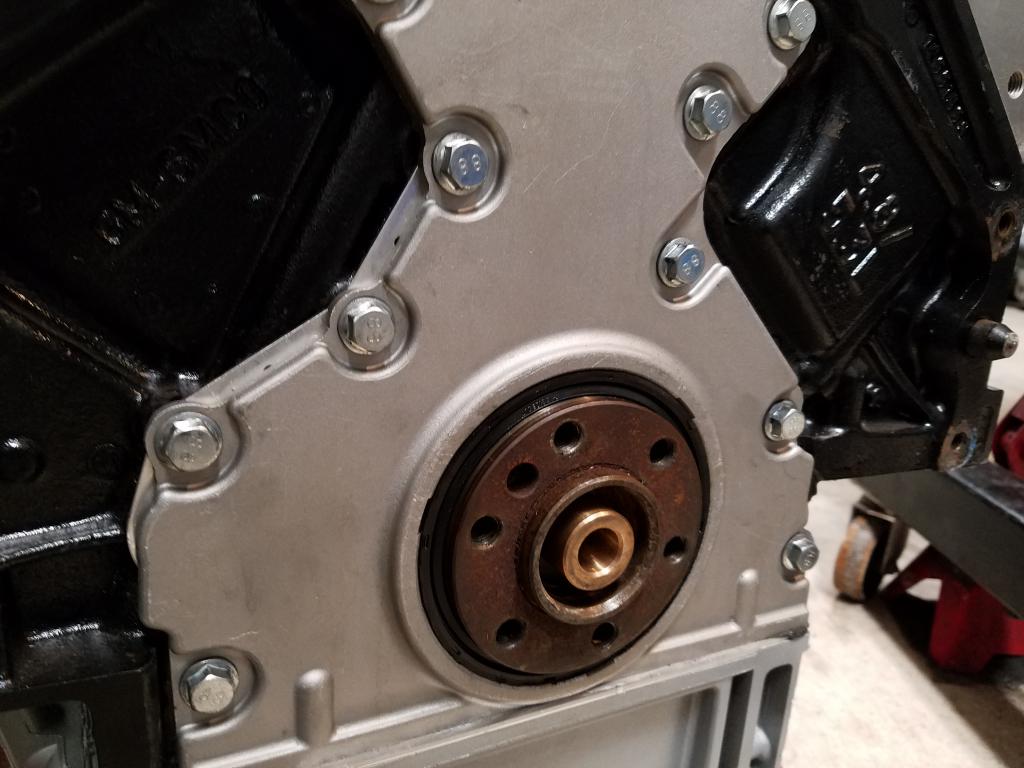
Decided to clean the transmission up a bit.Installed the clutch fork dust boot, chromoly pivot ball, 350z clutch fork, throw out bearing & sleeve Then I mounted my transmission to my engine.
-
-
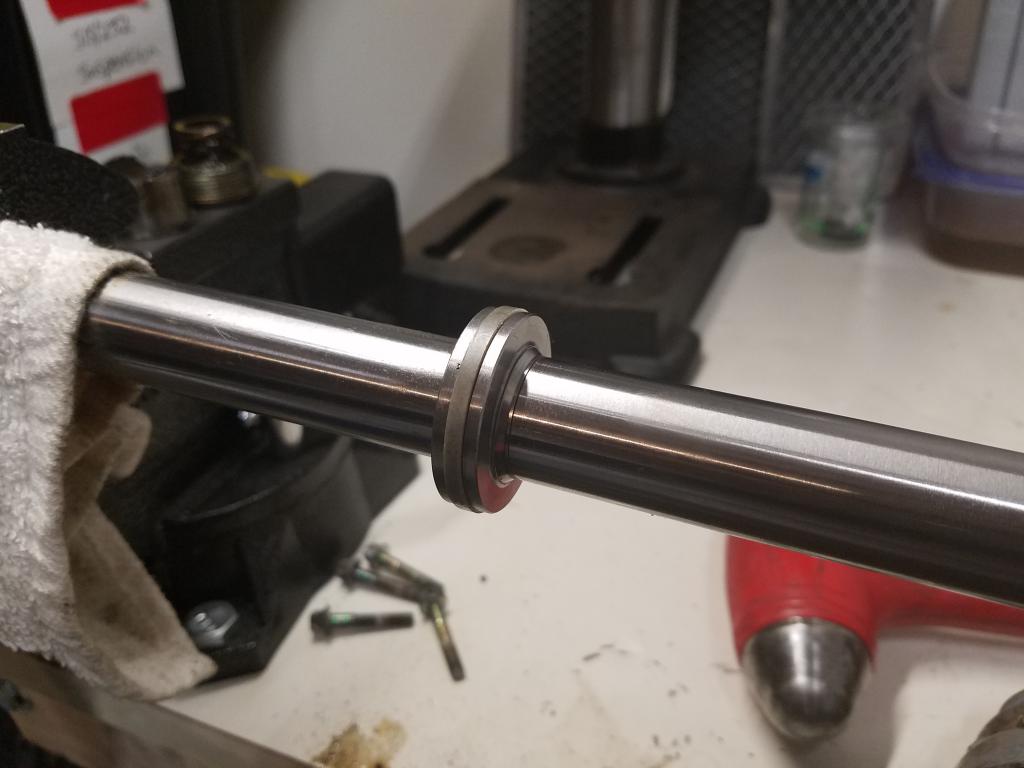
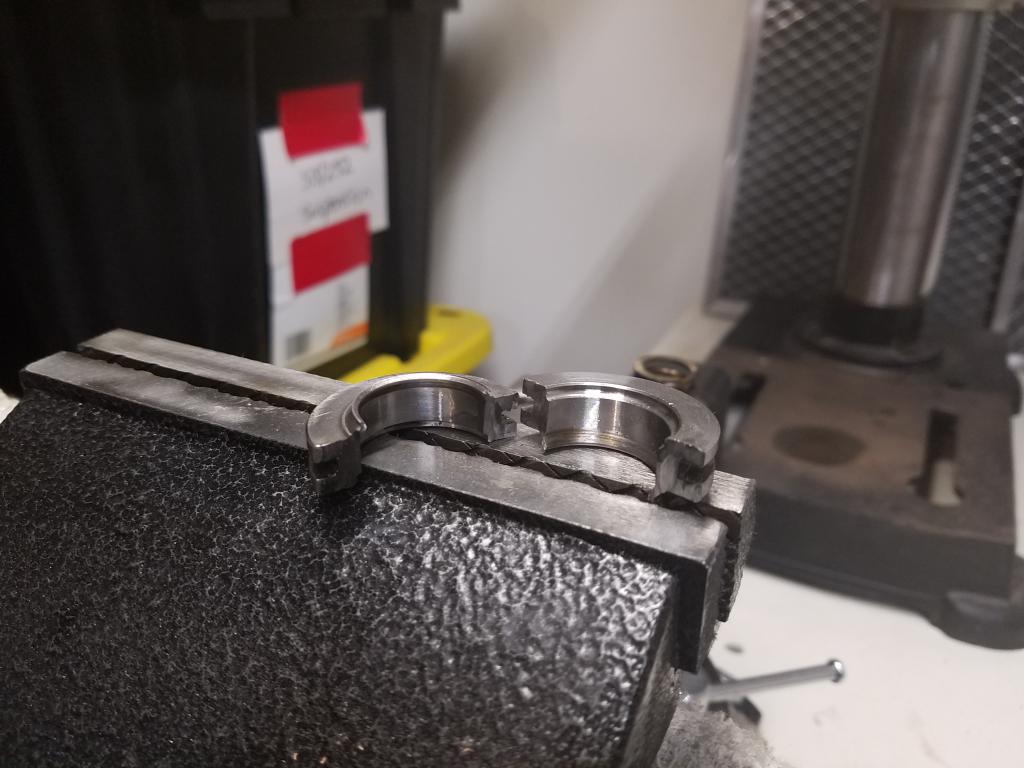
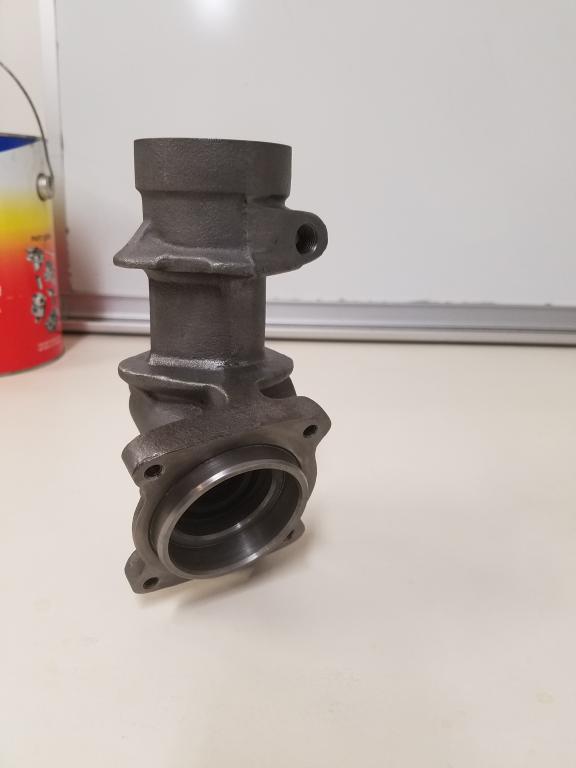
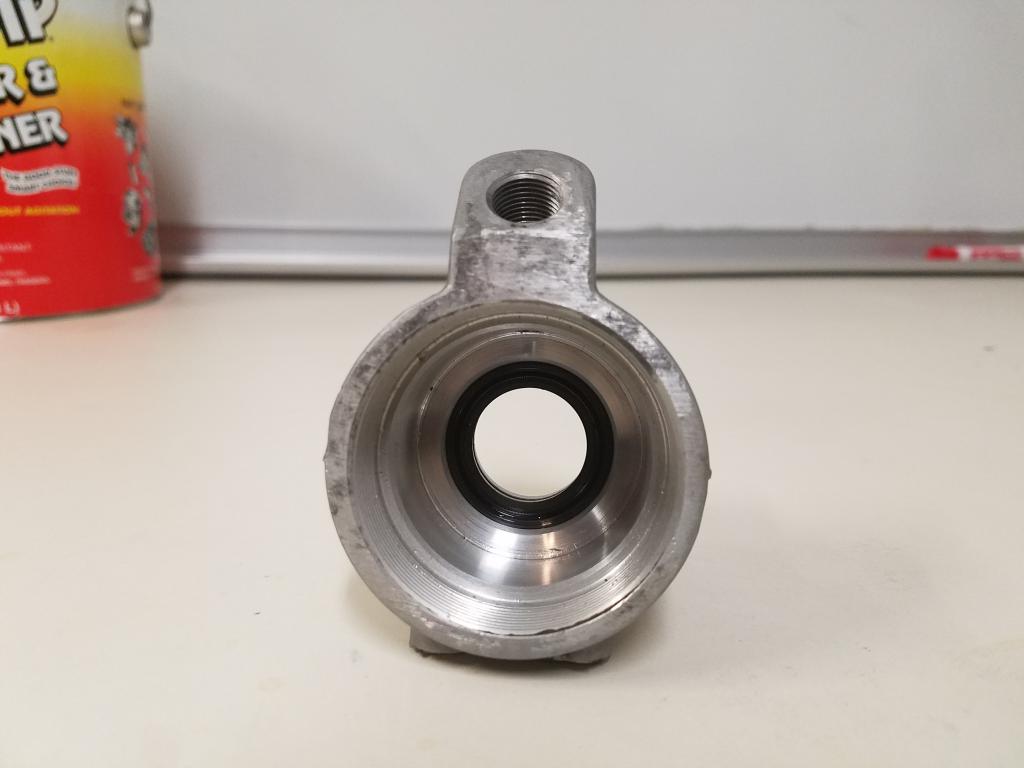
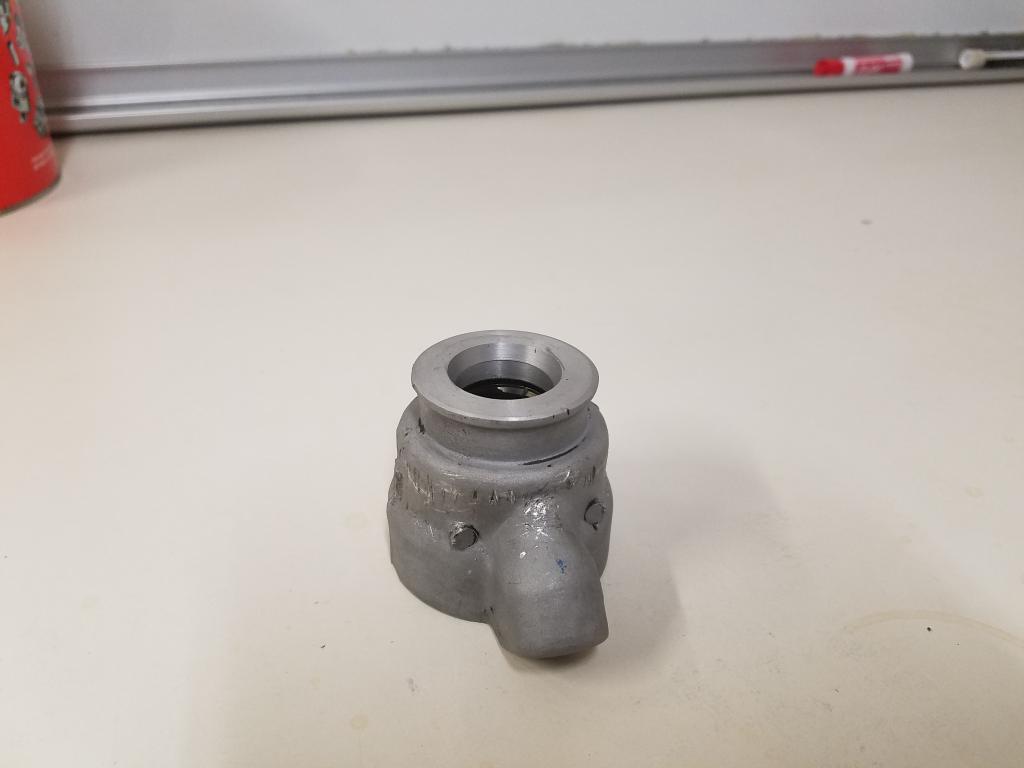
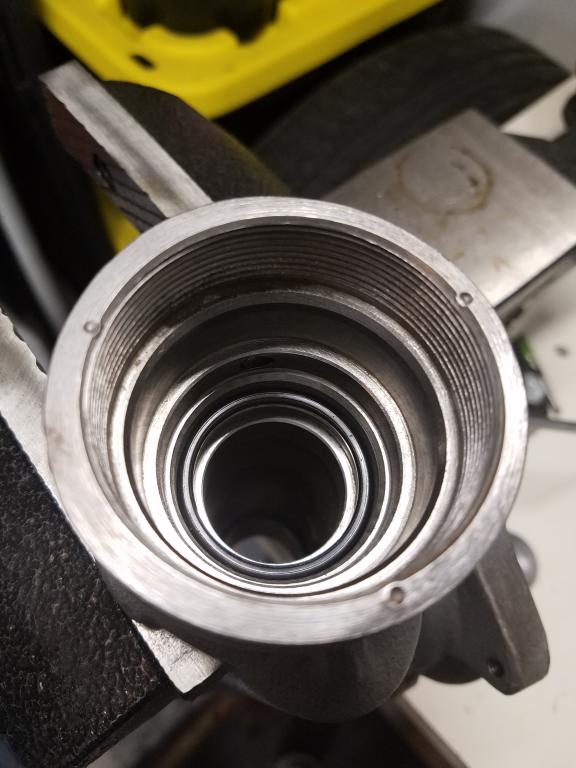
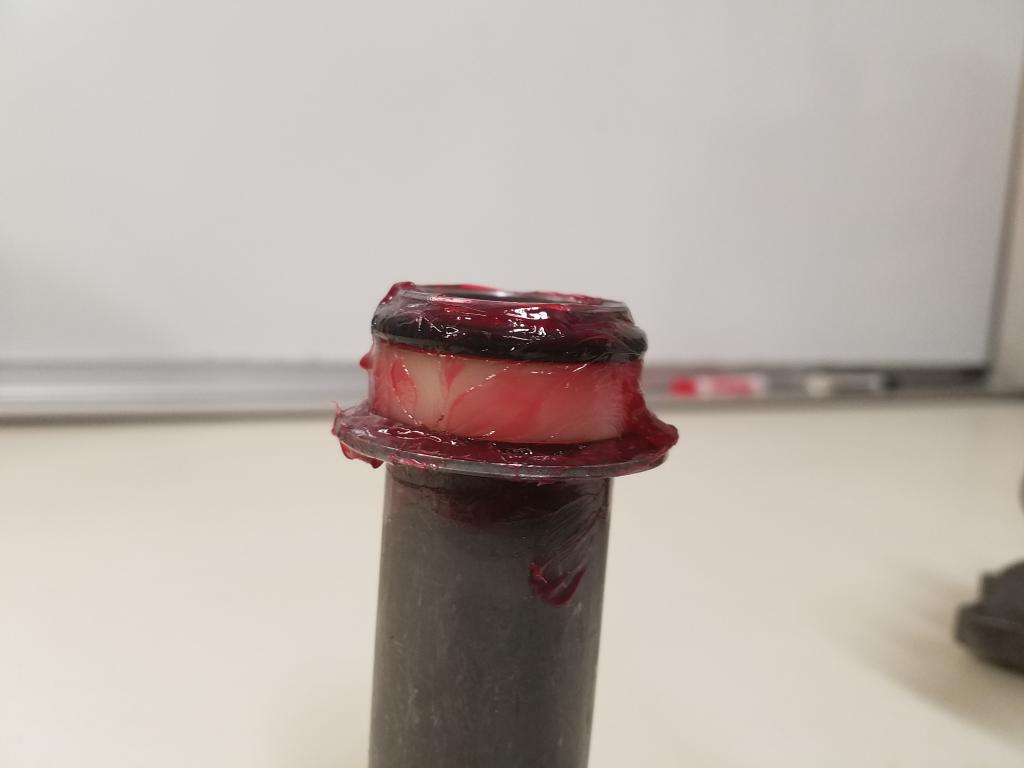
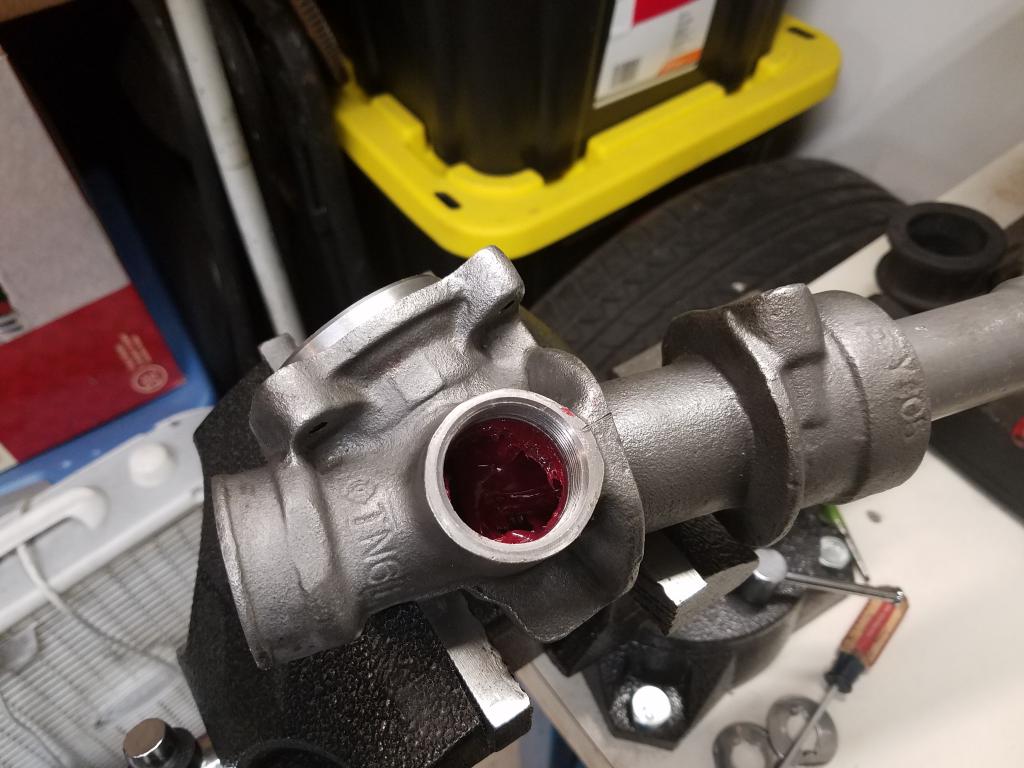
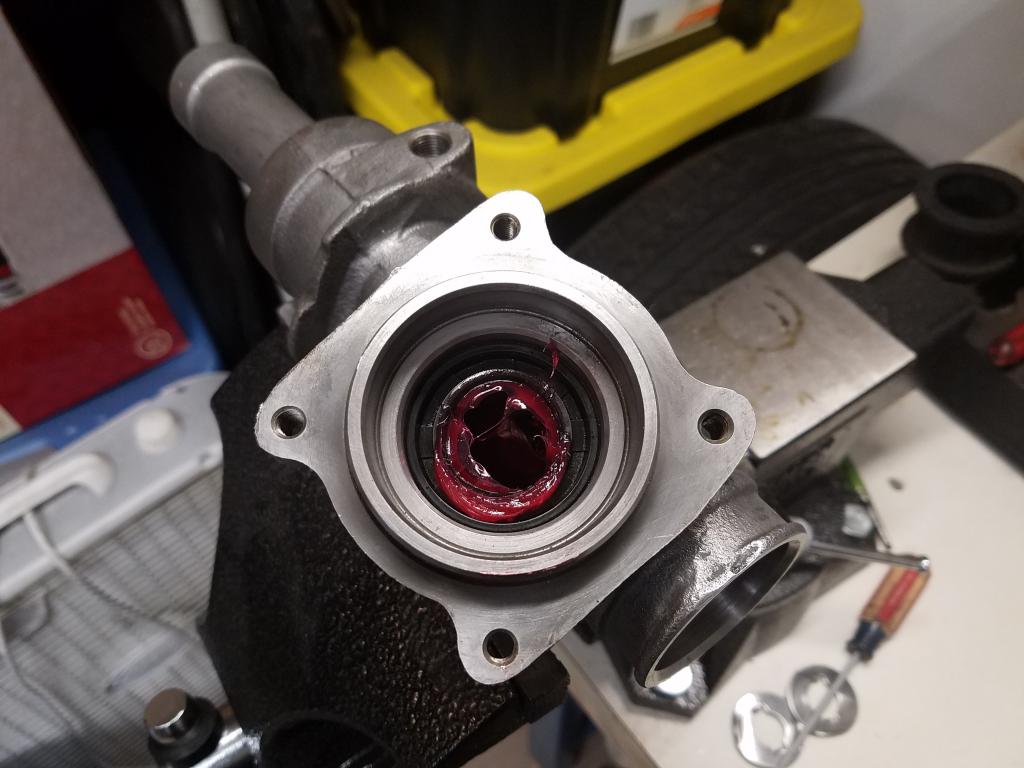
I ordered some grease fittings for the finishing touch. But I'm still waiting on them to arrive. That way I could grease my steering rack during routine maintenance. I'll add some pics in my next update.
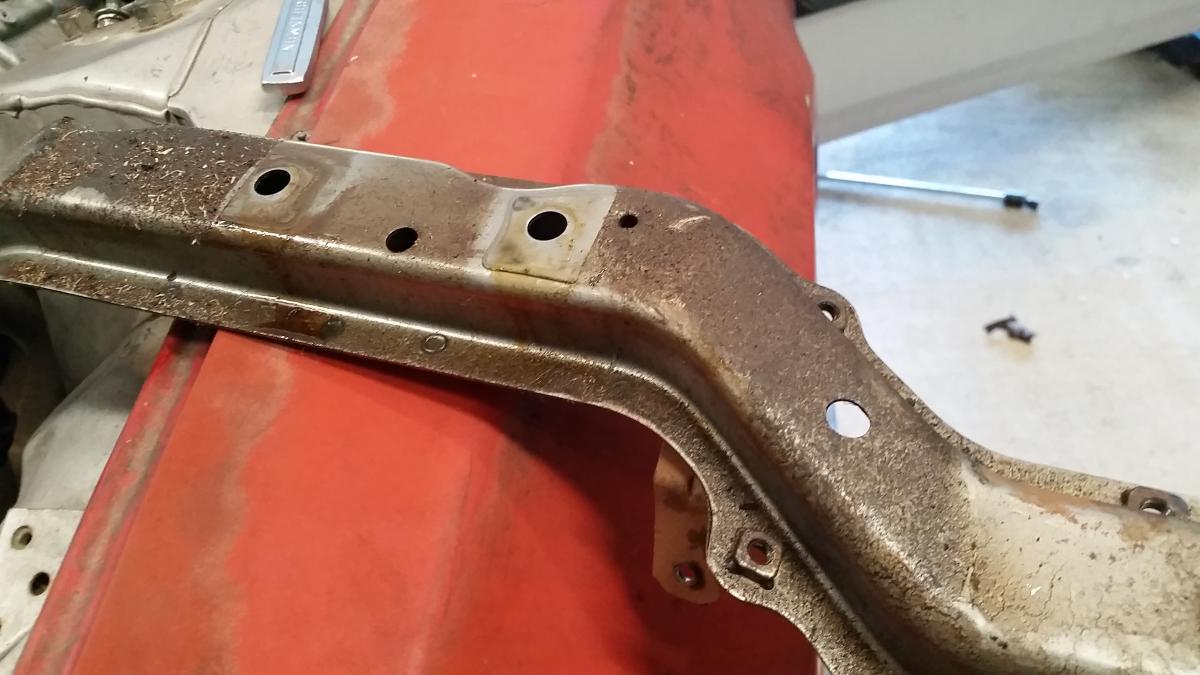
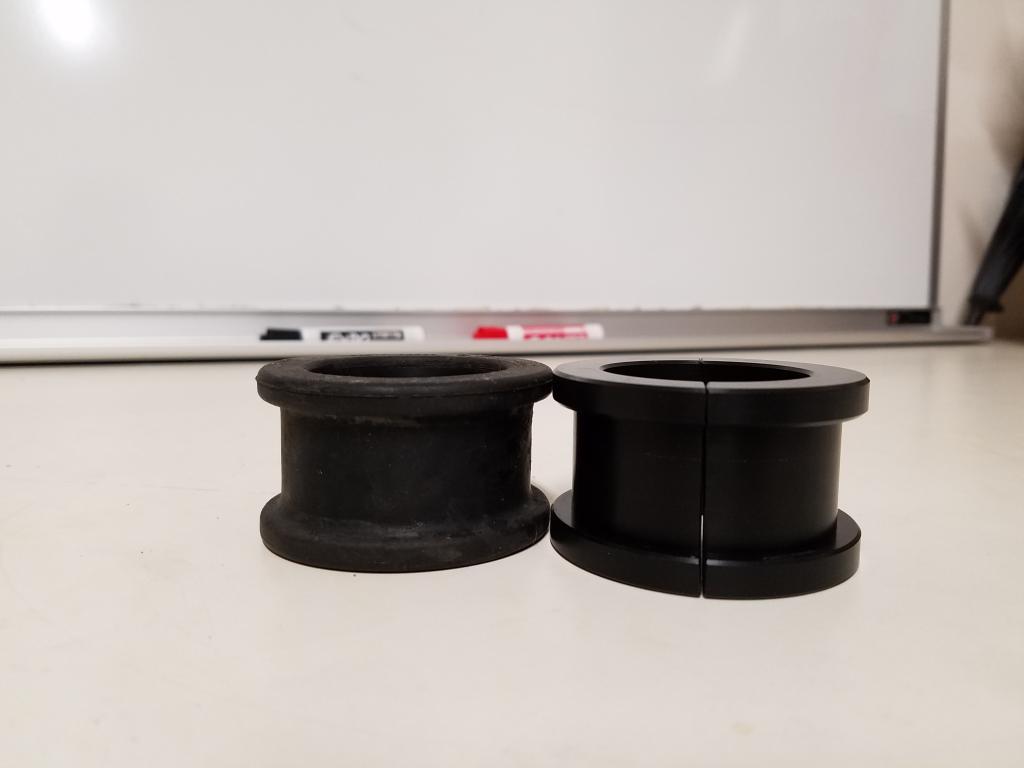
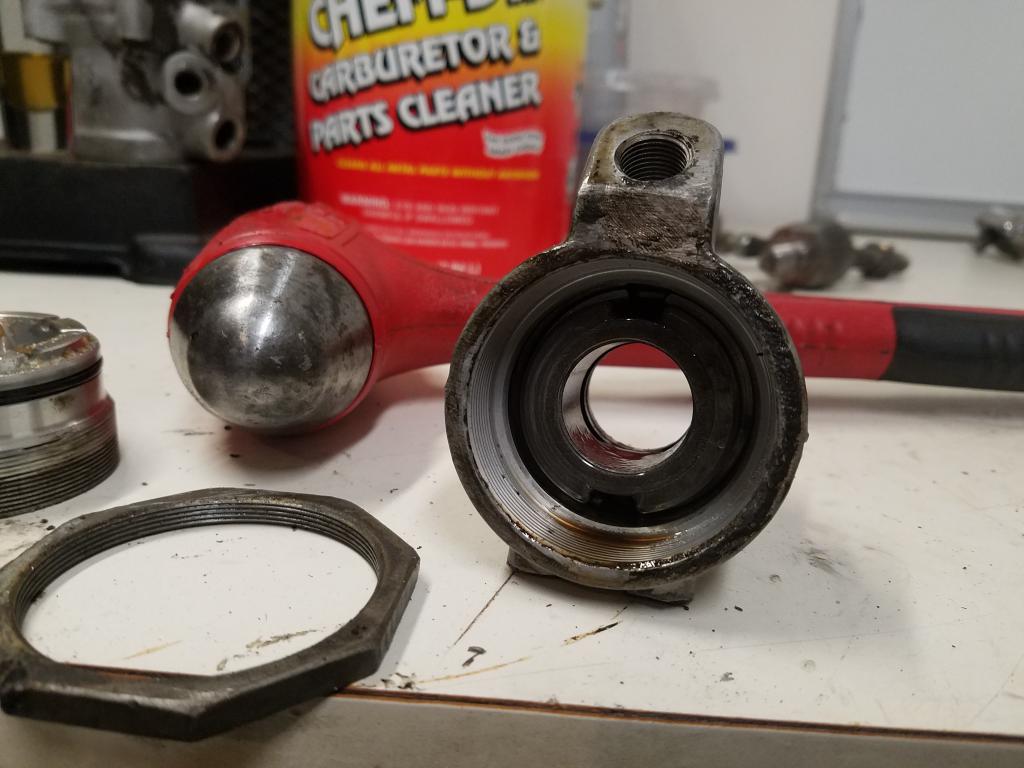
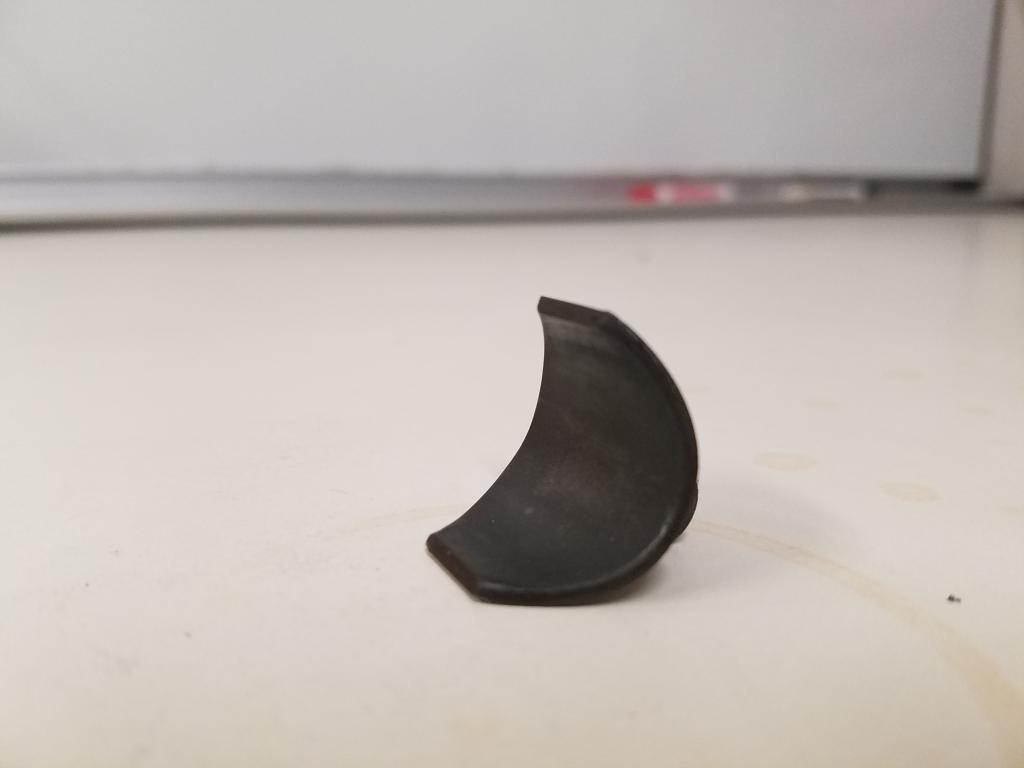
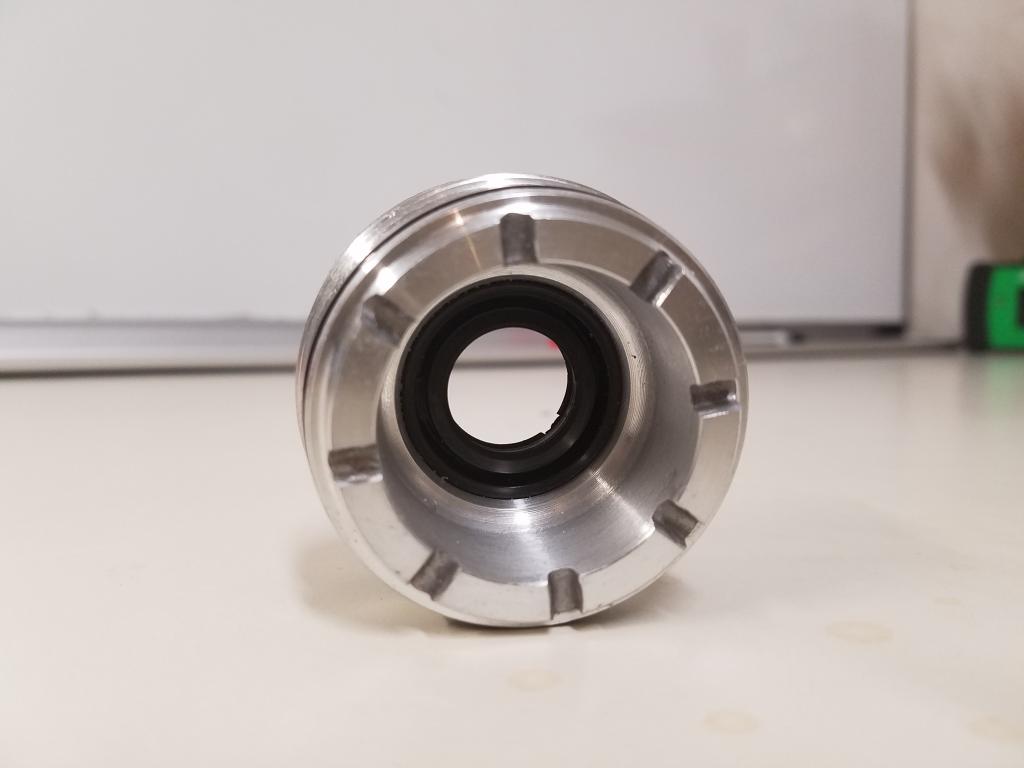
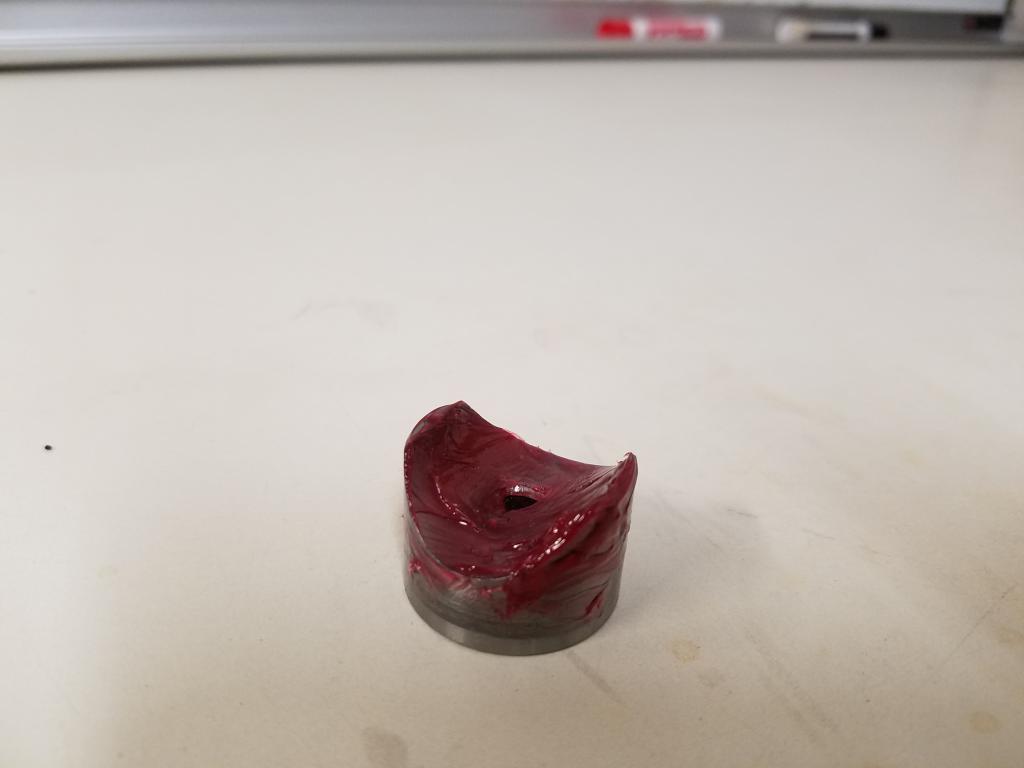
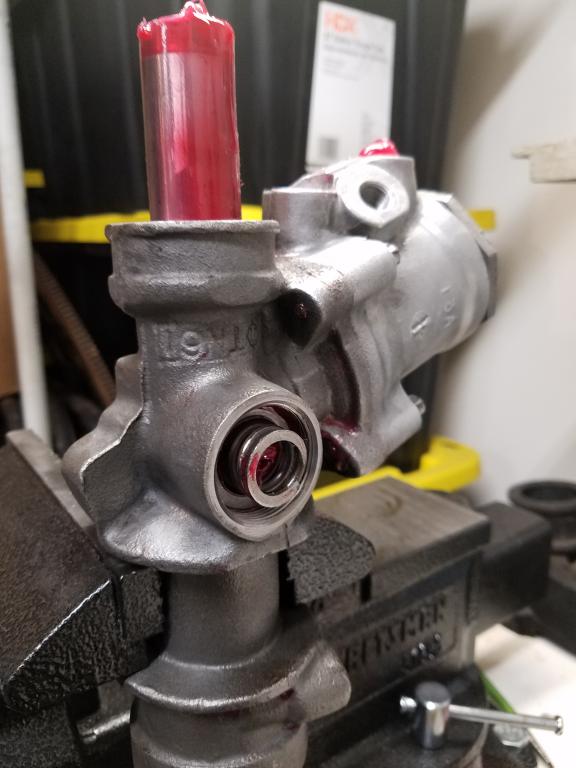
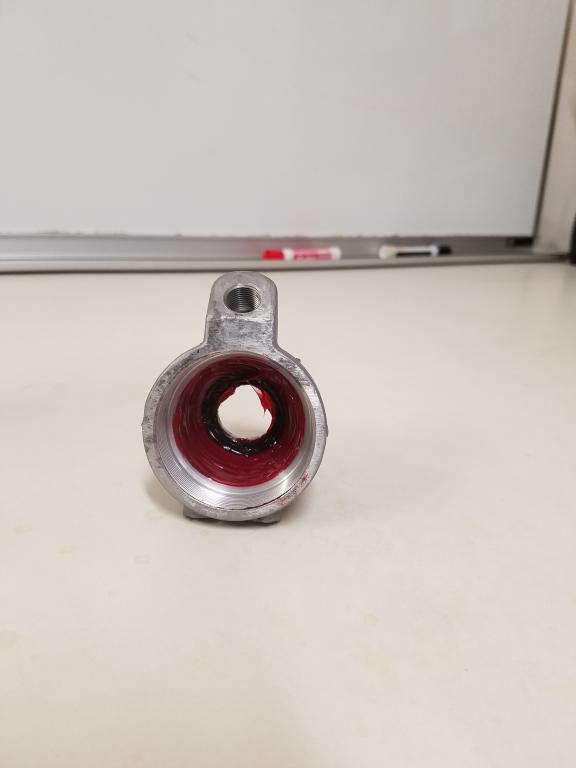
Sold vs Factory rubber bushing & Installed manual rack with new sold bushing. -


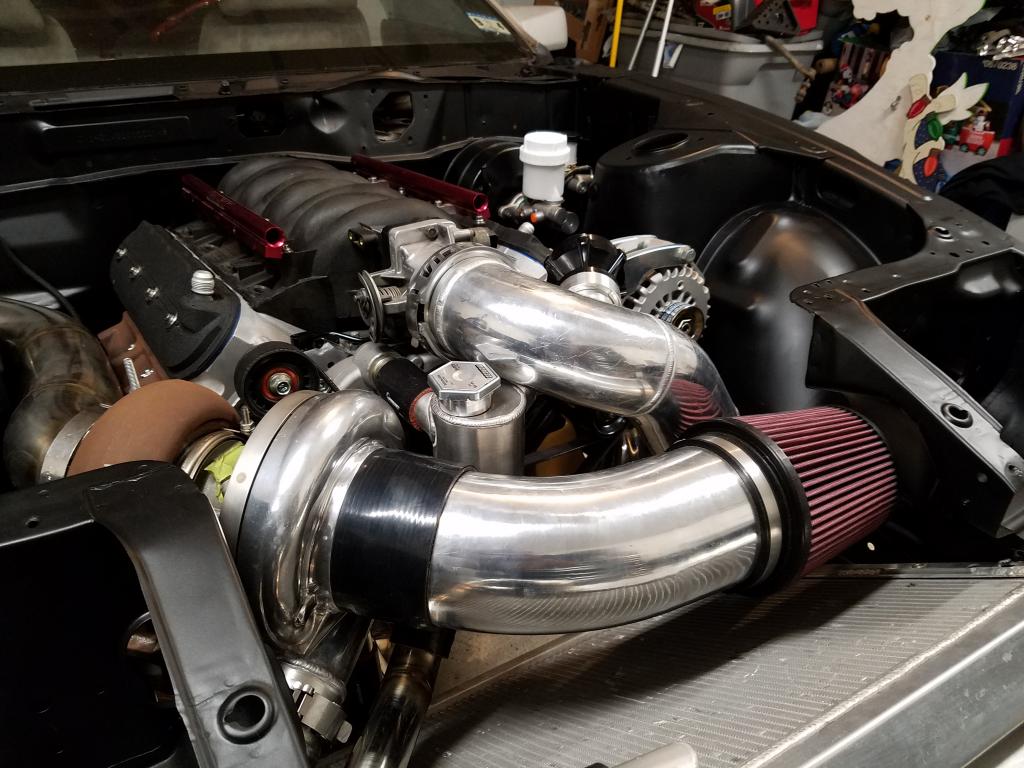


My Turbo LSX Z31 Builld
in Z31 Series - 300ZX
Posted
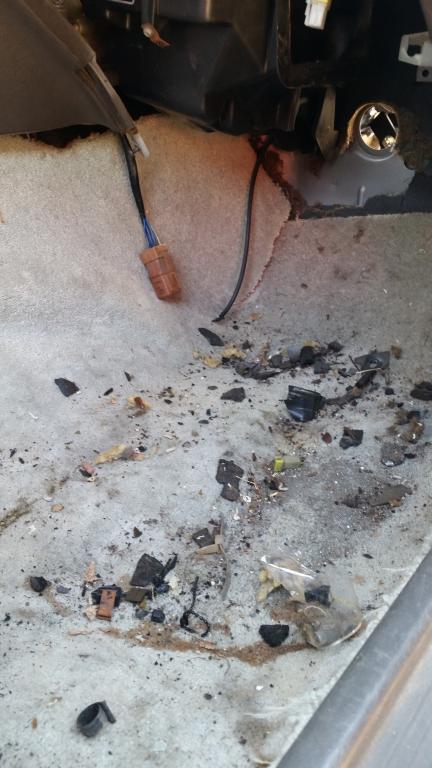
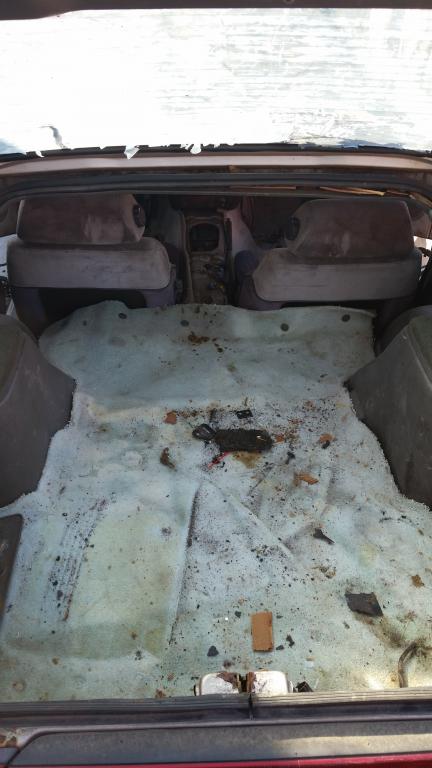
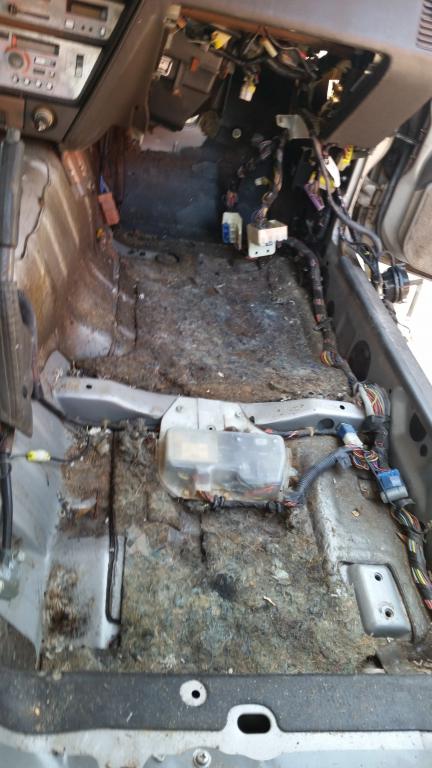
Seemed like the perfect time to remove majority of the sound deadening. Considering everything inside the cabin removed. I've removed my fair share of sound deadening out of several different vehicles over the years. I've found dry ice to be the fastest, easiest, & cleanest. The dry ice method leaves minimal amount of residue. The only downside is dry ice is kinda pricey. But well worth it in my opinion. I also like to use maximum strength Goo Gone to remove all left over residue. It literally wipes off after letting it soak 5 minutes. Here's some pics of sound deadening removal process.
Before