

z240
-
Posts
397 -
Joined
-
Last visited
-
Days Won
4
Content Type
Profiles
Forums
Blogs
Events
Gallery
Downloads
Store
Posts posted by z240
-
-
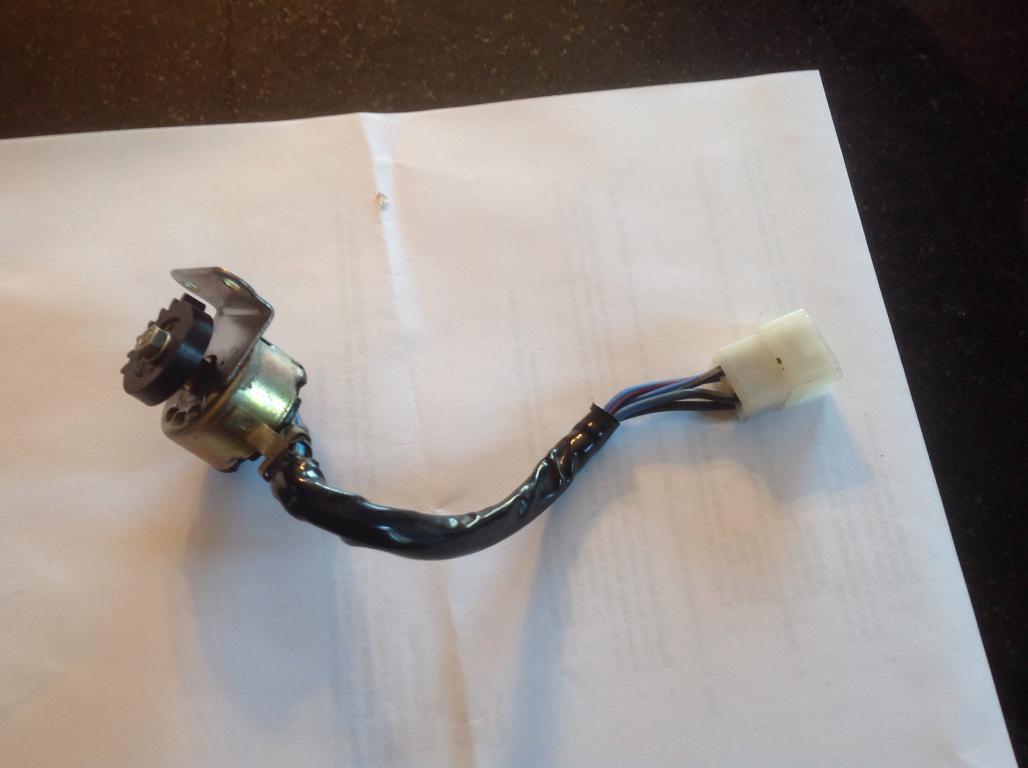
Aha! Got lucky.

Continuity on all three positions is good.
-
I'm pretty sure I have one way over here in Calgary. Let me go digging today, drop me a line to z240@shaw.ca and we'll take it from there.
-
Here you go. There are a few shallow pits on the rad hose end. If you're worried I can weld them flush before it goes.
-
Are you desparate enough to get one from me in Western Canada? $20 + shipping work for you?
Let me clean the one I have up and post a picture. I think it's in decent shape.
-
These cars were never designed for spirited driving or to have any serious fun in them. I believe the Envoy Epic has superior chassis rigidity. I'd get your chassis boxed and get triangulated strut bars installed soon
Now that you've read my clever prose and absorbed my emoticon's hidden meaning, I trust you see the folly in your initial question. About the only structure damage you are likely to cause is if the unibody is currently badly comprimised with rust. But that's never the case with a Datsun, is it?
-
Plus or minus its about what it would cost to have all this fine work done if you bought a raw old chassis, so now just need to decide if this is the right market value for the car in your opinion, or you just want to buy a finished one and not put two years (and the $$) in to it.
I will be very interested to see if this car of this quality (given only info at face value) sells in that asking price range.
-
Buy Buy Buy Buy Buy Buy!!!!!!!!!!!!!!!!!!!!!
-
Laquer thinner eats plastics! Acetone is better if feel like using primary . WD40 the soap and water is a great idea. The citris based GOO cleaners are also a great product
-
Well I can help with a decent set of pins if you can't get a set from Nissan or from someone closer. Checked with Whitehead Performance? Drop me a note to z240@shaw.ca if you want some. $20 each.
-
Different lengths ??????? WTF! Impossible! Maybe your pounding shortened that one.... Not...
-
My utterly self serving and self defined 5 level spindle pin removal scale is as follows:
Level 1. They were out before, and properly greased. Come out again with with nothing but light taps with a punch or pulls out with two fingers.
Level 2. Some heat, some pentrating oil, some pounding required to make them move. No external puller, pounding does not distort threads.
Level 3. Additional level 2 persuation plus the use if a self created, or loaned/purchased spindle pin puller tool.
Level 4. Level 3 fails and you wreck the pin threads or the puller. Cut the pins to separate control arm from strut and take the strut housing to a machine shop to press the pin out in their 11,000 ton press. Significant money and time spent. Possibly some blood spilled.
Level 5. Pin wins. Strut destroyed doing level 4. Buy another strut and/or control arm and return to levels 1-4 for next round of fun.
-
Congrats and welcome to the club. You were blessed with a level 2 pin removal apparently, still, no small feat. Feels good, don't it?
Remember to clean and anti-sneeze the beejeezus out of that pin and hole when it goes back in. And note that the slot for the lock pin is not in the center when you put it back in. Short length to the front.
-
Hey Maxxx! Getting extra parts is easy. Every Z I work on, I give it back to the owner with significant weight savings
Actually I'm not quite sure where it all comes from, its like it just follows me home... -
If NW240 can't help, let me know. Got lots of the round (no scallop) types, maybe getting it from Canada will be quicker. Same deal. Will ship method of your choice. Let me know z240@shaw.ca.
-
Found this from a post on the 510realm forum this morning on the topic of Z33 trans adapters. Maybe this is a workable solution from another vendor.
I don't claim to be familiar with the KA trans bolt pattern but the discussion in the thread from knowledgable 510 folks suggests L fitment would work. Worth a look at least.
-
-
I'm fairly sure the North American Z's didn't have a passing relay.
My guess is that you have a failed H4 bulb that has connected the high and low beam circuit. Not likely but not thing you'd think might happen.
Since the HB switch affects both bulb circuits together, the issue must be somewhere up front in the wiring near the bulbs. Grounding either side of the switch would like both High or low beam filaments.
-
You can determine the length you need by measuring the thickness of the bellhousing, plus the thin plate between the trans and engine block, + a lock washer (call it 3mm) and then adding 2 x the bold diameter or 20mm for the length that threads into the block. The bolts are M10 x 1.5mm pitch BTW.
-
Well I'll be horn swaggled. You-all are right. Clearly I was having another my spells. Sideways it is.
-
By mounting the mustache bar solidly you are moving the majority of the loads into the mustache bar mounts and the rear diff cover. Depending on power and tire size/grip you can start cracking in those areas.
The ZX and 510 semi trailing arm suspension simply makes the long bar that the control arms and diff nose attach to, into the equivalent of the S30 mustache bar, it just happens to be at the front of the diff. Its mounted to the chassis the same way our M-bar is, with bushings on a body pin. Same same, not odd, just kinda backward. ZX ties the suspension hanger and M-bar together, rather elegant I thought.
The point of these things, either kind, is to use a long bar to transmit the twisting diff torque to the body. The other end, nose on s30, and tail on zx/510 just need to be held steady from lifting/dropping, so need a simpler lighter mount. The 510 actually has a little m-bar on the back of the diff, total overkill, but that's why they work so well... Oh right, Z forum, back on track, sorry...
The bushings at the ends of the Mbar are for noise isolation and vibration damping and to remove the stress related solid mount failures that John alludes to.
-
I've bent those too. Not all that strong when not assembled.
If you need one, just let me know. z240@shaw.ca
-
Yes, mine is correctly oriented. Your 73 is nearly identical in build date to mine. You have some trouble with your window track alignment. Have you ever replaced any of your regulator or window guide tracks? 260/280 stuff is sublety different. I didn't think there is enough alignment room to make that much difference. wierd....
-
The bumper is a V shaped valley rubber piece, so the valley is aligned front to back. It gets a clip like the ones that hold the door panels on, press it into the U shape of the clip from the front or back, and that clip then snaps into the pedestal you mention. if the pad appears to not be centered well, try putting the clip on from the other side of the bumper.
-
There are some very simple 1/4 turn valves available for common household 1/2" water lines that can be substituted for you current valve. 1/2 lines fit very nicely into standard 5/8" heater hose. That way you can at least adjust the heat and turn it off when it you don't need it. If defrost is all you want you can mechanically fix the linkage to that position. Vacuum control suck, especially 40 year old ones, but I don't have to tell you that!
There are some really nice aftermarket remote controlled heater valves out there like this one from Vintage Air.
http://www.vintageair.com/2014catalog/Pages%20from%202014%20VintageAir%20Cat%20rev%208-15%2090.pdf


260z Window Regulator
in Parts Wanted
Posted
I may be mistaken, but that regulator in the link is a 77-78 regulator. Is that really the same as the one you want (but the other side)? If so then you have more trouble than just the regulator. The latch and striker mechanisms are very different on the 77-78 doors and just don't bolt on to the 240 striker locations.
Maybe best to post a picture of the doors you have (interior view) so we can diagnose what you have properly.