
MONZTER
-
Posts
832 -
Joined
-
Last visited
-
Days Won
31
MONZTER's Achievements






-

Nissan L-Series Cylinder Head Flow Bench Testing and Development
MONZTER replied to MONZTER's topic in Nissan L6 Forum
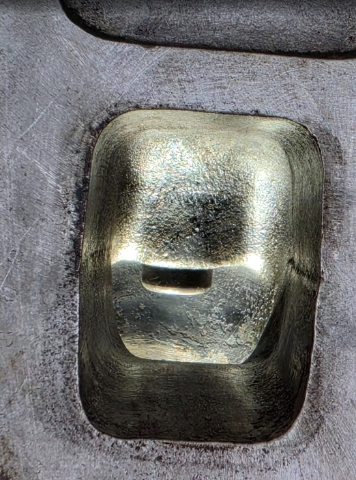
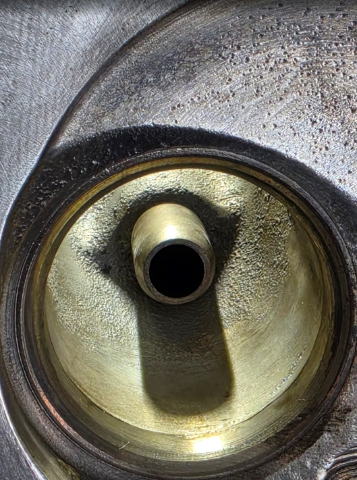
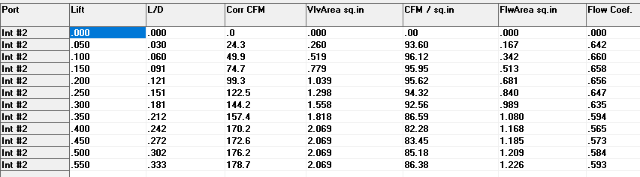
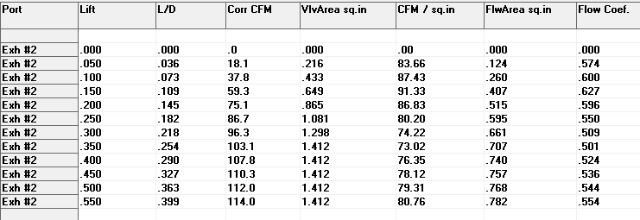
The first head to document will be an old E88 from my 72. I used this head a long time ago worth 40DCOE triple Webbers. In typical fashion long long ago I did my best to do what I thought was right. I blended the seats to match the bowls with a grinder, and port matched the head to the intake, opening up the port about 1" in from the entrance to blend the new opening (not good). other than that, stock valves and chambers So lets flow it. Hoping to borrow a stock E88 to compare later. Some pics for referance Here are the head Specs Cylinder 2 Intake with 84mm Bore And Cylinder #2 Exhaust with 84mm Bore I then switched out the bore to 86.5mm and tested again, here is a comparison chart of the effect of only a larger bore Sorry the image is hard to read I need to figure out how to upload better resolution pics, but you can download the PowerPoint below E88_Flow_Bench_Comparison_Cyl2_84mm_vs_86.5mm_FIXED (1).pptx
- 1 reply
-
- 1
-

-
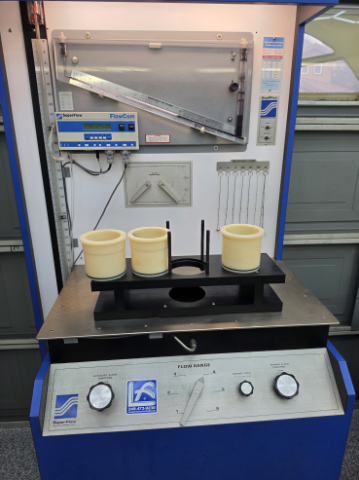
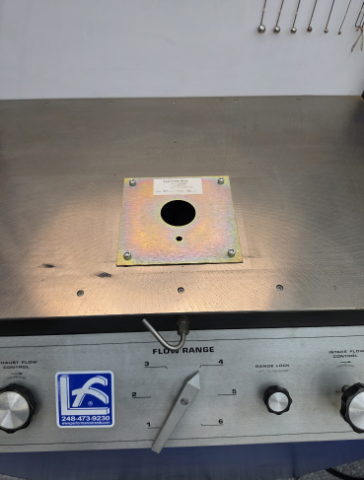
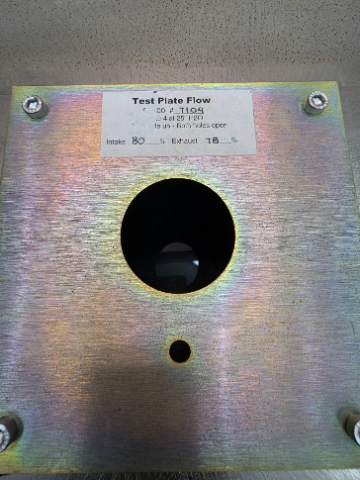
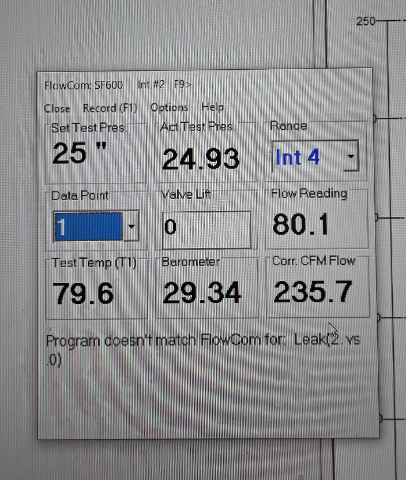
I've decided to build a detailed thread to document L-Series cylinder head flow testing and the results. Like many aspects of these engines, it's sometimes hard to know what to believe or how to interpret what you see and read. Test setup, equipment, testing methods, and just straight-up BS can all contribute to the confusion. I don't sell a product or service and have nothing to gain from the results I post, so my goal is to keep the testing unbiased and as consistent and repeatable as possible. Feel free to comment or criticize as I move through this. I'm happy for any input. First up is the equipment. I have a SuperFlow 600 converted to run the digital FlowCom directly to my laptop where I use PortFlow analyzer from Performance trends. This software sets up the test and aids in the data logging and reporting. It also compensates for Altitude, Barometric pressure, ect. So no math or reading of the old school manometers. Its super accurate and very repeatable. I built a L-Series specific test stand and replaceable cylinder bores to test the common sizes, 84mm - 240z , 86.5mm 280z, and 89mm - Big Bore. This has a considerable effect to the max flow due to bore shrouding, so its important to test on the correct size. This is the first place numbers can get "offset" If some guy is flow testing a Z head on his 4" Chevy bore, you bet the numbers will look good. More on this later. These bores are made of nylon and seal to the test stand with an o-ring. However any leakage can still occur, so the software takes a zero measurement first, and this leakage is then subtracted out automatically Next up is calibration - the bench should be calibrated on a regular basis to check for issues. You do this by bolting the supplied test plate that is matched to the machine and simply flowing it. Here you can see the plate bolted on, it has calibration flow percentages written on it to compare Ans this is the screen on the laptop, you can see the bench is within .1 percent calibration for the intake and exact for the exhaust Ill flow and document the heads I have as well as some I will borrow from friends. Some will be stock, some will be modified to various states. Ill also do some test to help point out important details. So stay tuned Thanks - monZter
- 1 reply
-
- 2
-
-

-
All the Pop up ads make me hate being here, how to stop the madness
MONZTER replied to MONZTER's topic in Site Support
I figured it was necessary to keep the light on. Is it still the same as before the ads turn off with a premium membership or donation? Or are they always on no matter what? I use Chrome, so not sure what settings, do you have a page with instructions on how to set this up, membership benefits, ect? Happy to help. Thanks Jeff -
I used to be a lifetime member years ago before I was away for like 10 years. Had to re-start my account since an old email was gone. So I'm no longer a life-time member, is this why I get such a ridiculous amount of pop-ups that I literally cant even read post? I hate Facebook, but its free and you can read what people post. Is there any solution, or are the ads the only thing keeping this plate alive? Thanks, I really want to be here and share content with others, but it is so frustrating. I want to do a new thread on Flow-bench testing and actual flow bench results, but its out of control. Thanks Jeff
-
Thanks guys, appreciate the comments, it was a ton of work, now it's on to the doors, hatch and hood next. I moved the car home into my garage, as I closed down my shop for good. Hope to keep making progress
-
It feels slow often for me from all the ads, pop ups, click bait ect trying to load. Its practically useless to view on a phone. But I get it, need money to host it, but it also destroys it. Sorry
-
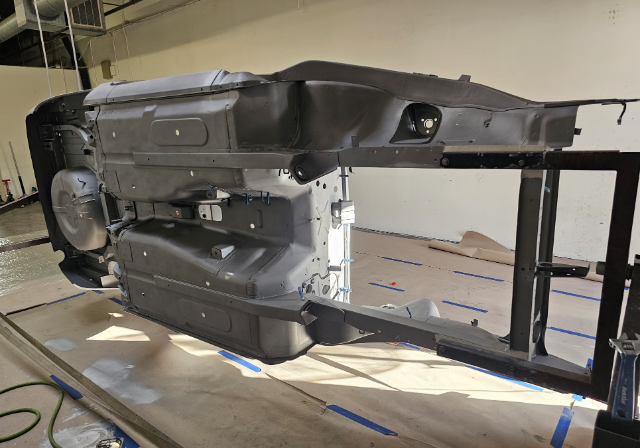
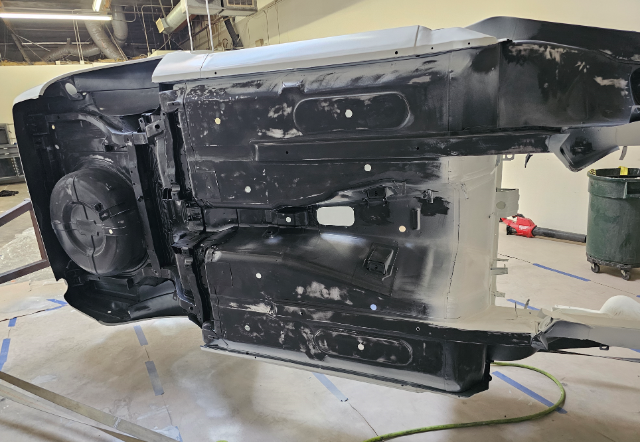
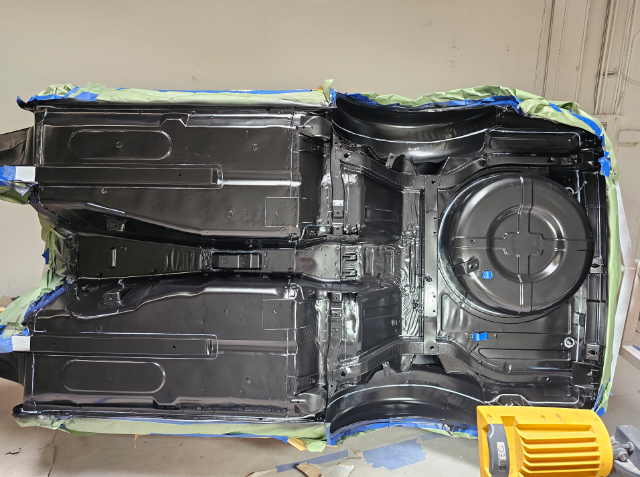
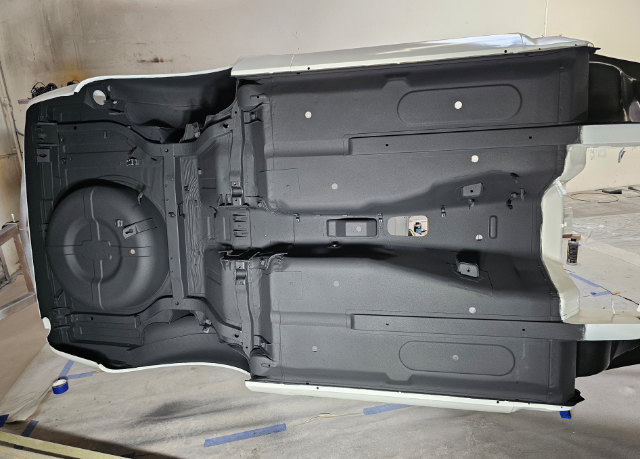
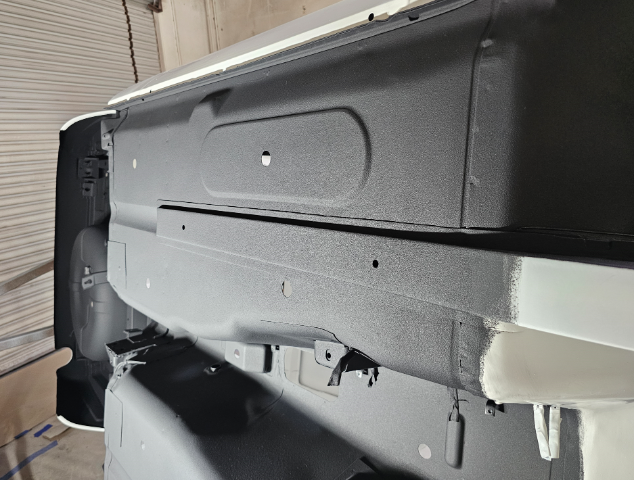
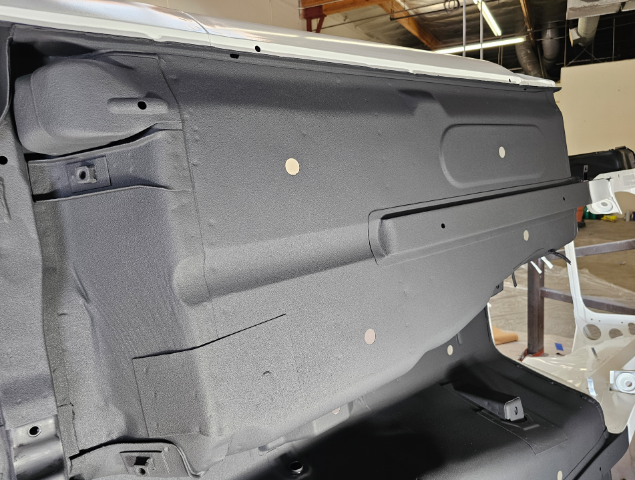
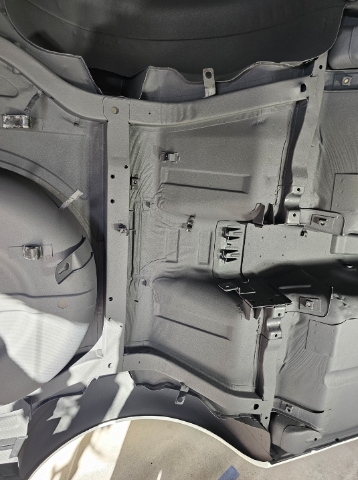
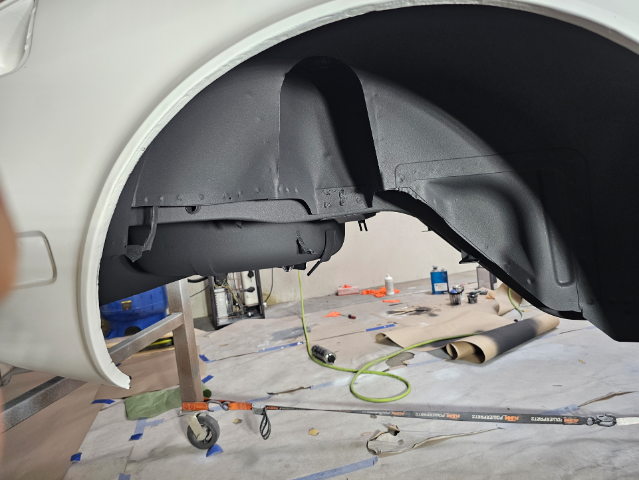
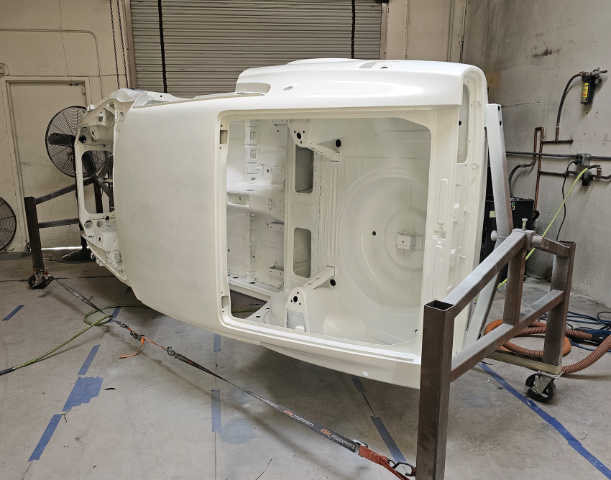
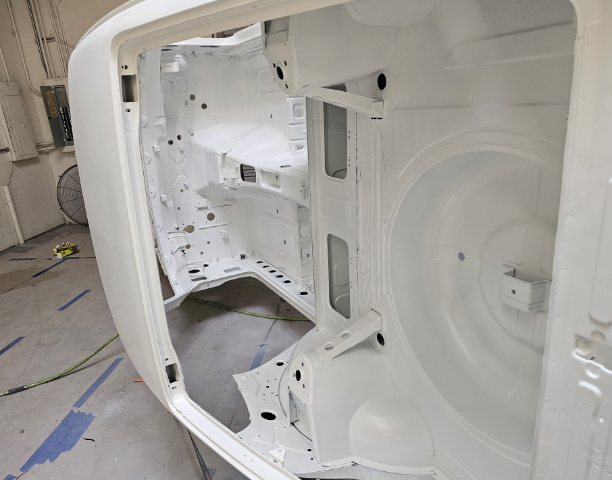
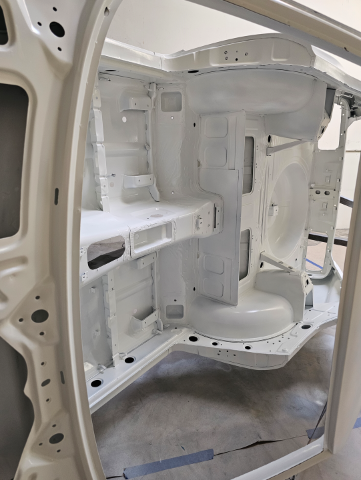
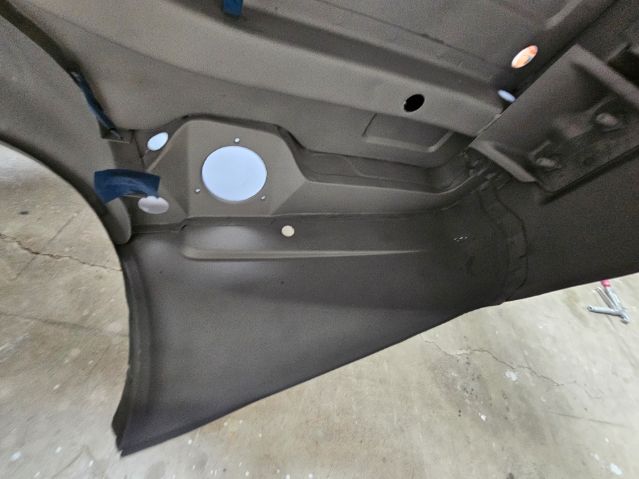
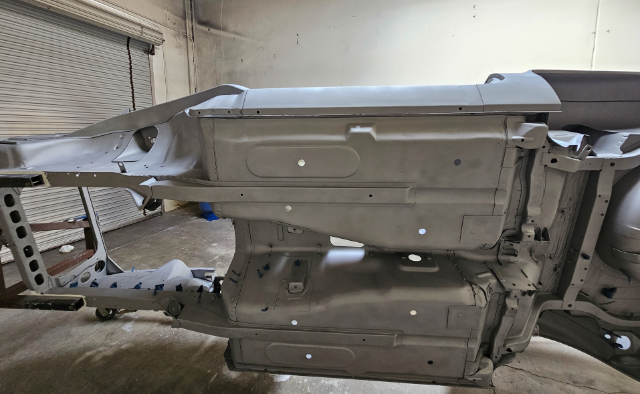
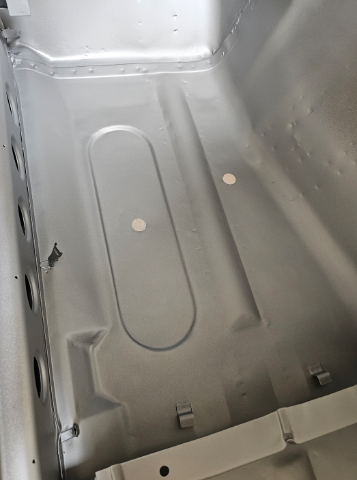
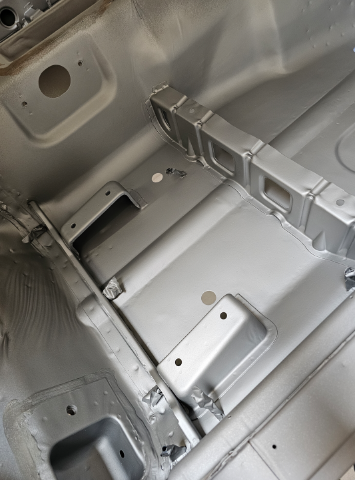
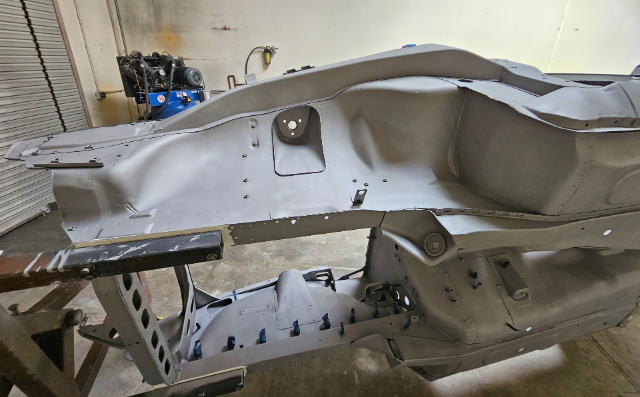
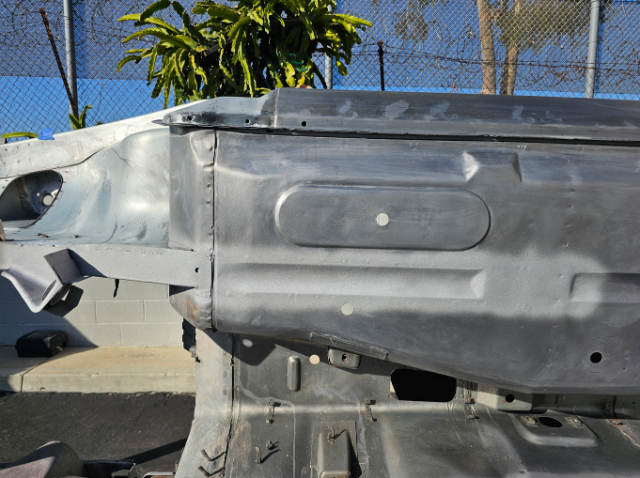
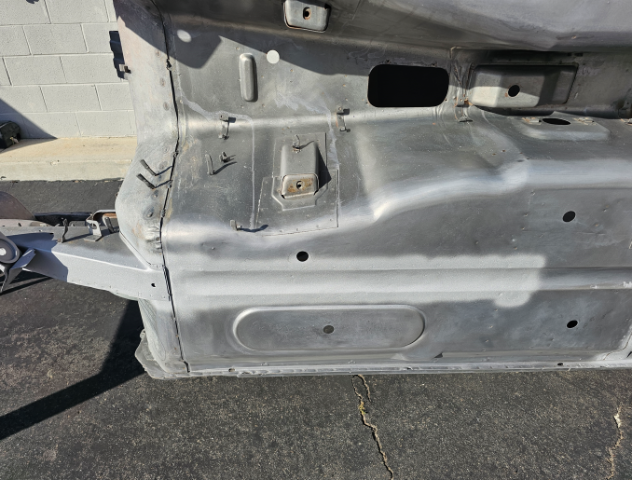
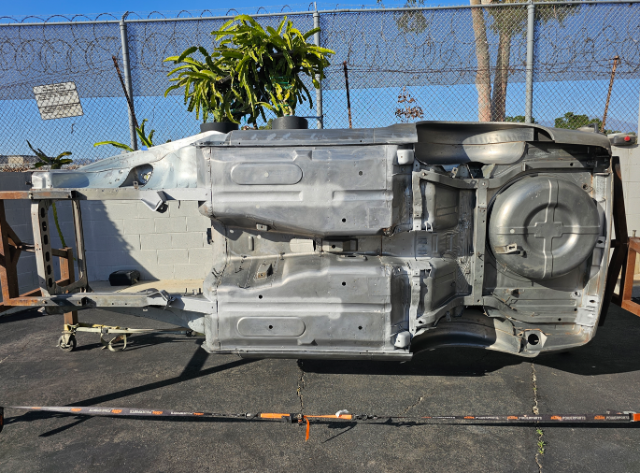
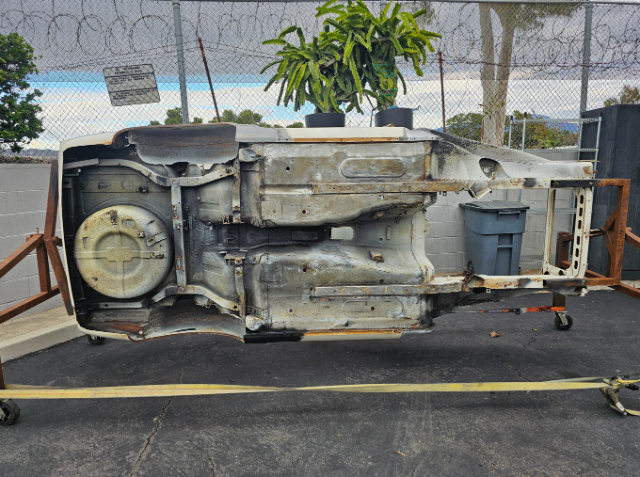
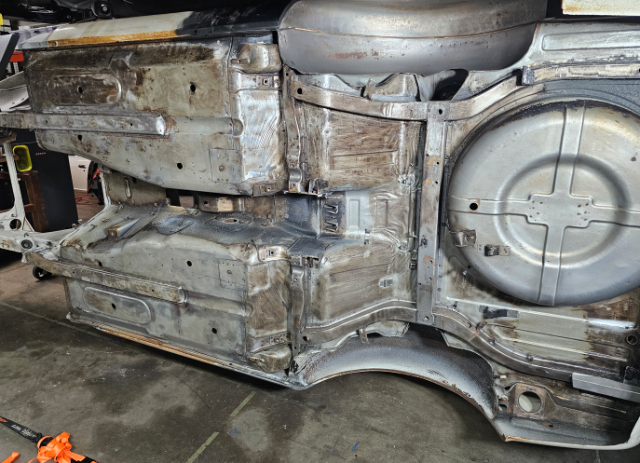
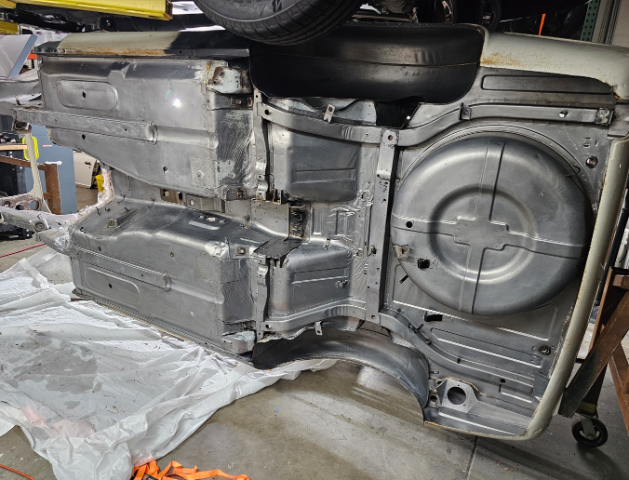
Before getting the top side and interior sealed up in 2 coats of white epoxy, I first hit the underside. I chose to do it in black Epoxy to more follow the original paint where you could see the black though white overspray. I first put down a full coat of the black again using my 360 degree extension paint gun to get in all the difficult location like between the spare tire well and rear valance, then a normal 1.4mm tip gun. After allowing the top to cure for two days I sanded out the bottom side and scuffed it well with Scotchbrite. I then applied 2k epoxy seam sealer in all the original OEM locations I then taped up the topside and put down a final coat of black I then let that cure for two days before applying the Gravitex. It is made by U-Pol the same company who makes Raptorliner, Gravitex is better in my opinion for the other side as it is intended as a sound insulting stone and chip guard. Its what you see on the rocker panels of German cars. Goes on the same with an undercoating style gun. Its a 1k product so I will need a sealer coat on top of it before finally paining the underside white in body color. I really happy how it came out. The weeks of metal work straitening and shrinking the original floor pans really looks good all finished.
-
-
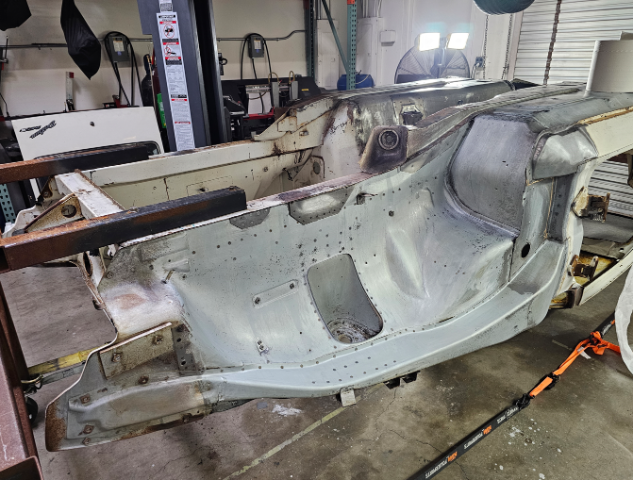
Its been an exhausting month of hard work getting the chassis in Epoxy to move it back home before the end of the month. Here is the process. 1.) strip all factory sound deadening/undercoating with a scraper, heat gun, wire brush. 2.) clean any residue with paint stripper and after-wash solvent. 3.) strip original paint from body with Citri-Strip paint stripper - again clean with after-wash 4.) remove interior tar paper with dry ice and liquid nitrogen. 5.) wash and clean entire body with Mastercoat metal prep - phosphoric acid rust neutralizer https://nomorerust.com/collections/metal-prep-rust-remover-products 6.) sandblast all seams and overlop joints. 7.) brush Mastercoat rust sealer primer into all seams and nooks https://nomorerust.com/products/mastercoat-ultimate-permanent-rust-sealer-silver-primer-original-sprayable-slim-quart 8.) lightly blast the floor pans with white aluminum oxide until white metal 9) brush 3 coats of Mastercoat rust sealer primer on to floors 10) blast the internal frame chambers clean and blow out any sand 11) spray the internal cavities ( rocker panels, rear fenders, rear internal quarter, and front internal cowl area with Matercoat using a 18 inch long extended tip spray gun https://paascheairbrush.com/collections/extension-spray-guns?shop_consented_scopes=email%3Averified+openid+pay%3Asession_token+profile+shop%3Aaccount_uuid&shop_sign_in=true using a 360 degree spray tip to coat all surfaces 12) sand the entire body removing any Mastercoat not reaming in pits or detents 13) sand the entire external body shell and underside with 180 grit and clean with wax and grease remover 14) lightly blast entire body inside and out until perfectly clean and lightly textured to promote adheision - holding the blast nozzle 12 to 15 inches away at 60psi with white aluminum oxide 15) hours blowing out the remaining grit 16) again using 360 degree long extension spray gun, paint all internal cavities and under sides with DPLV Epoxy Primer 17) Spray entire body inside, outside, underside with 2 coats of Epoxy Ridiculous amount of hours https://www.youtube.com/watch?v=y-kogRrJYJU
-
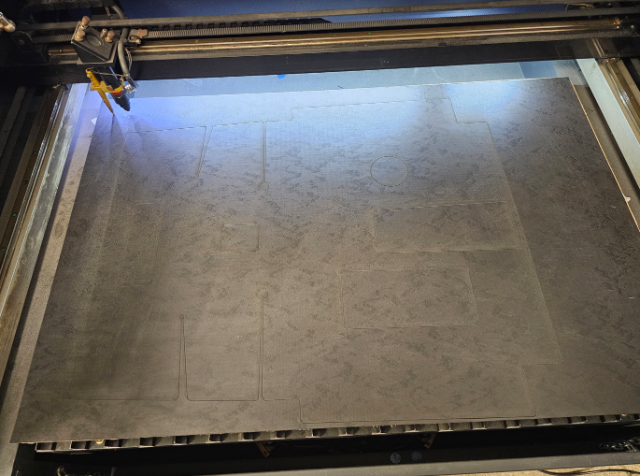
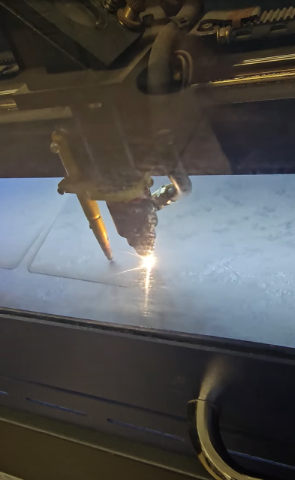
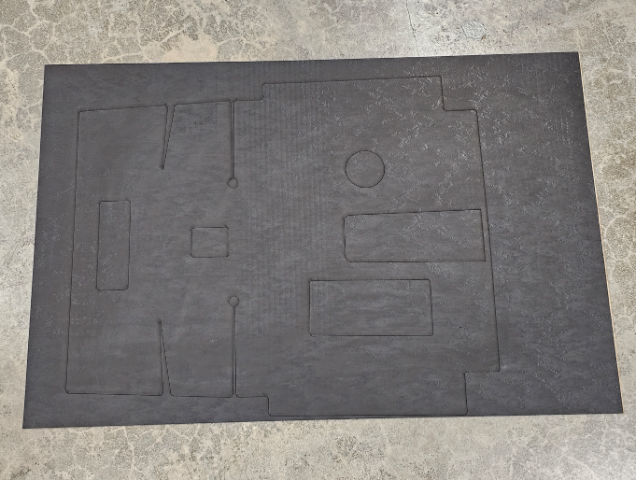
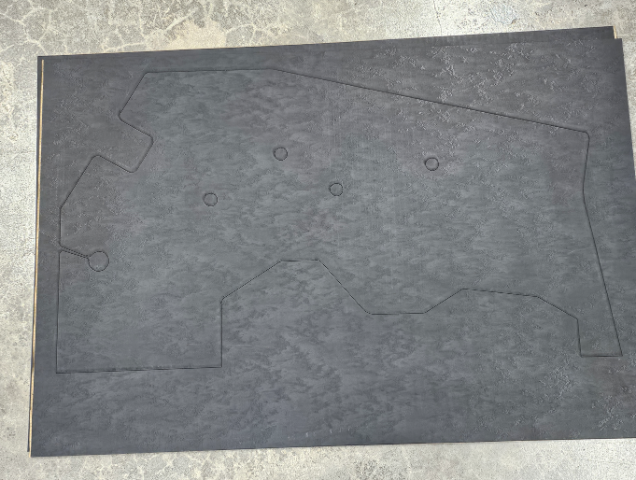
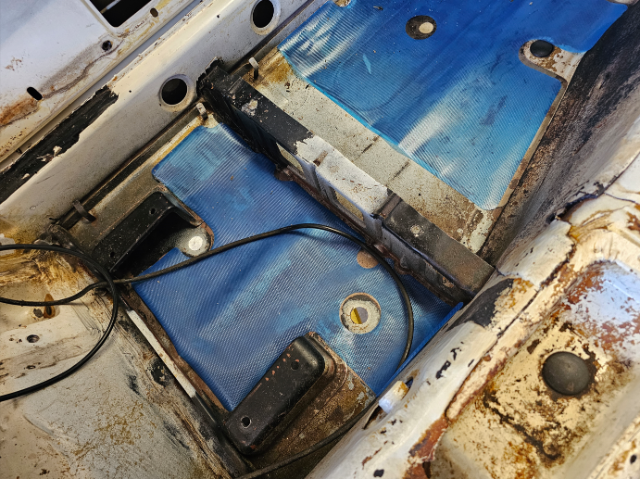
I also finished cutting the new Tar paper that will go on the interior floors and trans tunnel. I have a laser cutter at work. This is a Nissan part and still available as blank sheets. Unfortunately, even though it is correct, it is expensive at $100.00 USD per sheet. It took 6 sheets for the entire interior. This is the material on the laser After the metal is ready, I will epoxy coat it first then apply the sheets. Unlike OEM that had bare metal under it, this should be substantially better at keeping water from getting under it and rusting the metal
-
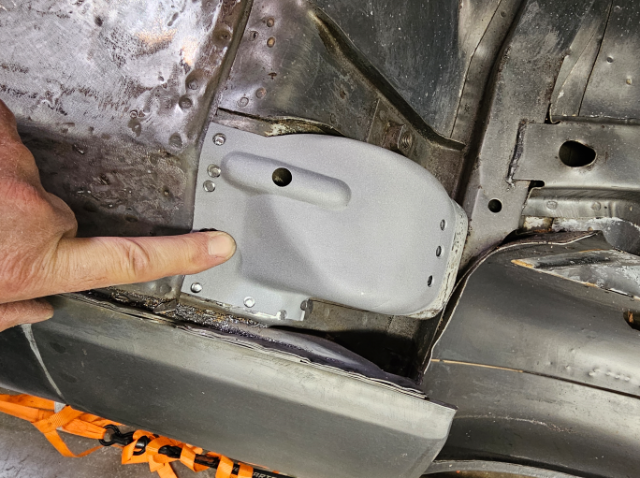
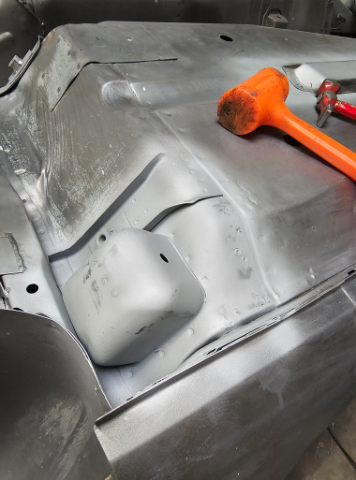
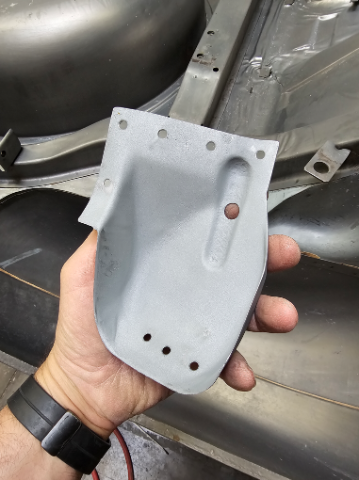
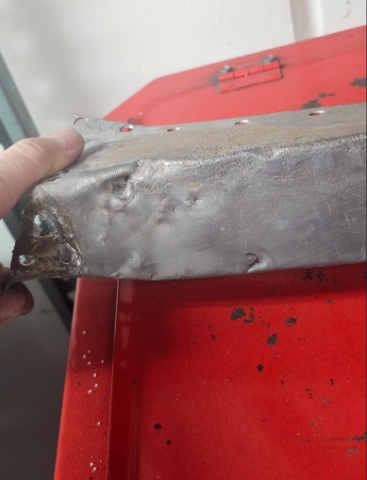
Another productive weekend. Unlike my Turbo chassis that has a late 71 build date, this car having a mid year build date has protection plates over the seat belt pockets. But of course they were used by the PO to jack the car and dented them up. I drilled out the spot welds and removed them, allowing me to straighten the dents and blast underneath them. Before: After: All sprayed with weld thru primer and ready for plug welding back on.
-
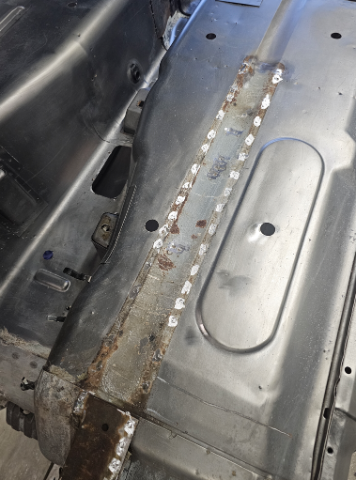
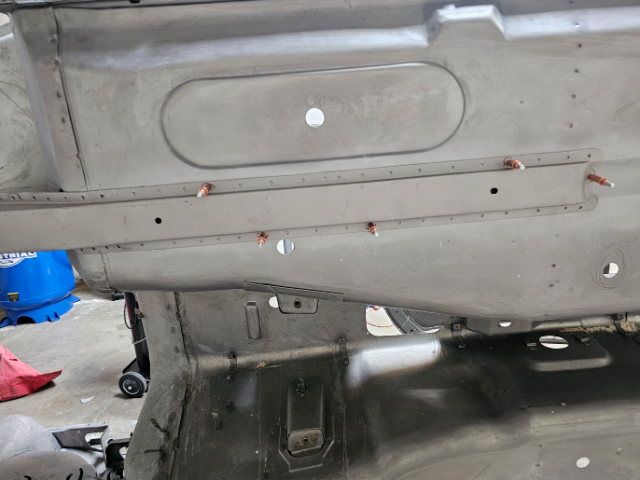
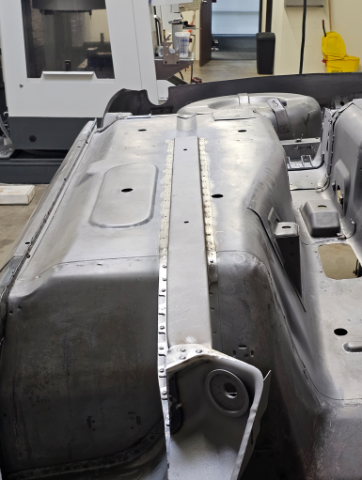
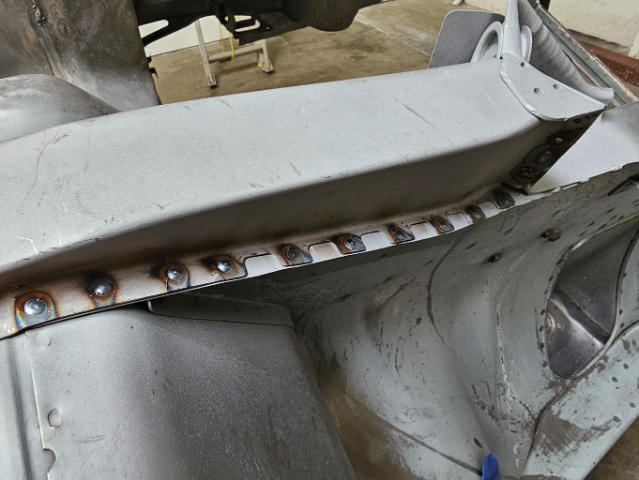
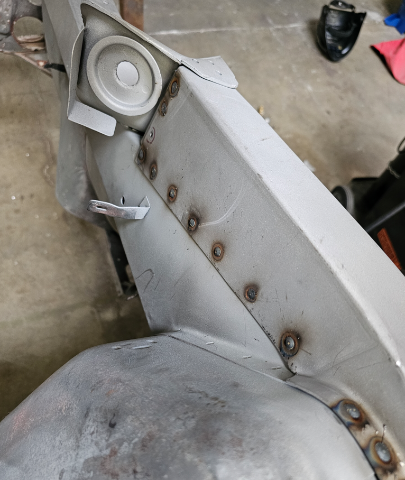
Since the frame rails were dented up pretty good from wrong floor jack positioning, I decided to replace them and this would also give me the opportunity to really get the original metal floors flat, and the metal shrunk and tight. They were surprisingly clean inside. This is the floor pan after removing the spot welds and frame rails. After some wire wheel work, and metal prep acid wash with Scotch-Brite, I worked and shrunk the metal with a shrinking rod and them smoothed it with a shrinking disk. Nice and flat getting it to what original would have looked like, leaving all spot welds and original deformations in place. I then lightly blasted the overlap areas and applied Weld-Thru paint. I then fitted the new frame rails, they took a bunch of work to get the correct shape and to match the original contour of the floor pans. I then copied all the original spot weld locations and drilled 3/16 hole to plug weld. I used several Cleco clamps to hold it in place and tight up against the floor pans. Next I used my MIG and plug welded them in place Finally I will grind smooth the plug welds More after the weekend
-
Thanks for the replies and comments. Time is always an issue, however Im at the age now where my daughter is 26 years old and working full time. Been married 30 years so the wife is obviously understanding of my hobbies. Hopefully continuing to make progress regularily. Hoping more people come back to the forum and participate in the community. Here is a picture of me and my daughter when she was probably 2ish years old, same car Im working on now. I need to get her back in the shop for a new photo - Time flies
-
Catch me up the last six years of how to Z community the internet
MONZTER replied to tim.d's topic in Non Tech Board
I miss the old days of humble build threads, great comments and passion for building. All the FB and You Tube stuff seems like "hey look at how special I am, I can weld metal... ect" then people just talking shit how they suck and how much better they are. Just self-promotion for one’s self over passion for our cars and community. I think the Me/I generation is the problem mixed with ADD for anything longer than a sentence and complex thought. To ask for help is to say you dont know everything and today that is death. So yes I am an old guy now so look at me just like I used to look at my parents when I was young HA. Ill keep posting here, at least it is one thread that follows my project for anyone interested. I appreciate the comments, critisim, and help. -
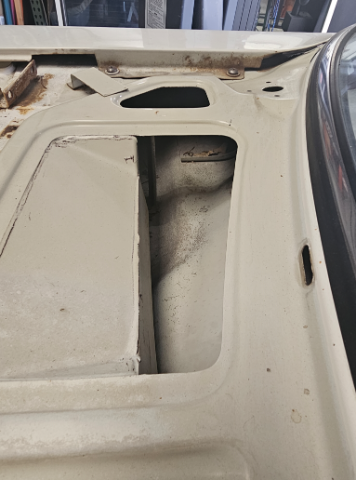
Been spending alot of time getting the chassis on the NA car cleaned up and ready for paint. Its a super clean almost a no rust car, so I want to strip it completly bare, metal prep it, straighten the floor pans which are really clean just slightly dented from wrong jack points. I started out by stripping everthing off and making digitized and CAD files of all the tar flooring. You can still buy it from Nissan. I have a laser cuttter so I will use it to cut all the replacements. It is an original paint car, so it was hard going in on it. Next I put it on my rotissary I built for the Turbo car and got to work on stripping all the factory undercoating. Using a heat gun, scraper and some mineral spirits did the trick but it took a long time. All super clean original metal under the car This is what it looked like under the front fenders BEFORE cleaning, so super happy and even under the cowl all original paint