
spacecase70
-
Posts
232 -
Joined
-
Last visited
Content Type
Profiles
Forums
Blogs
Events
Gallery
Downloads
Store
Posts posted by spacecase70
-
-
ok i have ben serching for an answer to a question, what is the difference in length between a 240 and 280 strut length, I have had no luck in finding the answer after serching for two hours! please help me in this i need to know which strut is LONGER! I have a set of new 240 rear cartridges, and want to put them into my 280 rear tubes, will they fit? or are they too long? please guys and gals!
-
It's too late now, but, they also sell the oil pressure guage T-adapters at Autozone in their "performance" section.
lol i could have told you that but i havent been on in a while, thats where i find all the parts i am looking for
-
omfg!!!! i can only hope my project comes out looking half to a quarter as good
-
Ok Grumpy, I took your advice and bought the JTR book! so next question, I am planning on using a 5.0 and th700R4 from a 1989 Camaro and using the stock everything, just one problem.. I dont hae the wire harness or computer from the doner vehicle because it burned up in a garage fire, engine compartmint was untouched and i was thinking of using the bosche unit for a z in the TBI is it possible to use this or should i look in a JY to fine the proper pars?
-
thanks for the replys, problem has been resolved thred is closed
-
I am looking for a zx dizzy not a crank angle sensor dizzy I need the one with the six points in it, please
-
UHH...... WOW!! I love your diagrams, so simple and easy for me to follow! keep up the good work
-
ok i am sorry to hijack the thred too... I nstalled a hei modual in my 76 280z because of ignitiong failure when warm. I hooked it up as in these pictures and guess what... no start! when I jumped the red and green wires from the dizzy to the stock modual wiring it started and stayed running when I removed the jump wires. I drove it home ten miles ran great! had awsome power but after i shut it down, tried to restart and had the same problem??? i am at a loss
could I get a little help on this too! please i am confused too
here is te link to a video
-
well i guess the L24 injectors from a L24E maxima engine would do the trick
-
you could always change the plugs on the switch to fit, just a thought
-
I recieved my wheels today and had the tires mounted, 245/40 zr17 front, 275/40 zr17 rear! they look AWSOME cant wait to put my flares on and take a few pics! Thanks for getting this GB started I am sooooooo Stoked!
-
Now would have to reverse the measurements from the RH to the Left? I also noticed that the measurements are different for each side......why is that.
that is because of the seating position of the vehicle, so just reverse the measurements for the LHD car and it will be correct for your car. I am sorry i dont know the link off hand, but if you had found them before then you should not have a problem with the relativly simple install
-
Grumpy
would have a copy of JTR manual on one of your hard drives that you could e-mail to me? maybe even the dimentions of the set back brackets and the thickness of the spacers? i really want to do the swap, I am usin an 89 camaro rs for the donor. is has no mods that i can identify, and has a th700r4, like the fact of the overdrive! I will be using an r200 with 3.54 gears, and 280z components from a 76 on a 74. any help you could provide me would be greatly appreciated! just dont have the resources to get the book, but have the machine tools to make the parts! anywho I really could use your valuable information on this build!
-
hey guys, I am looking for a used JTR book so that i can perform the swap in my 74 260z someone please have it for sale, donations greatly appreciated!
-
I took the car out for a spin, here are some videos:
Car is for sale to the right person only!
pm sent
-
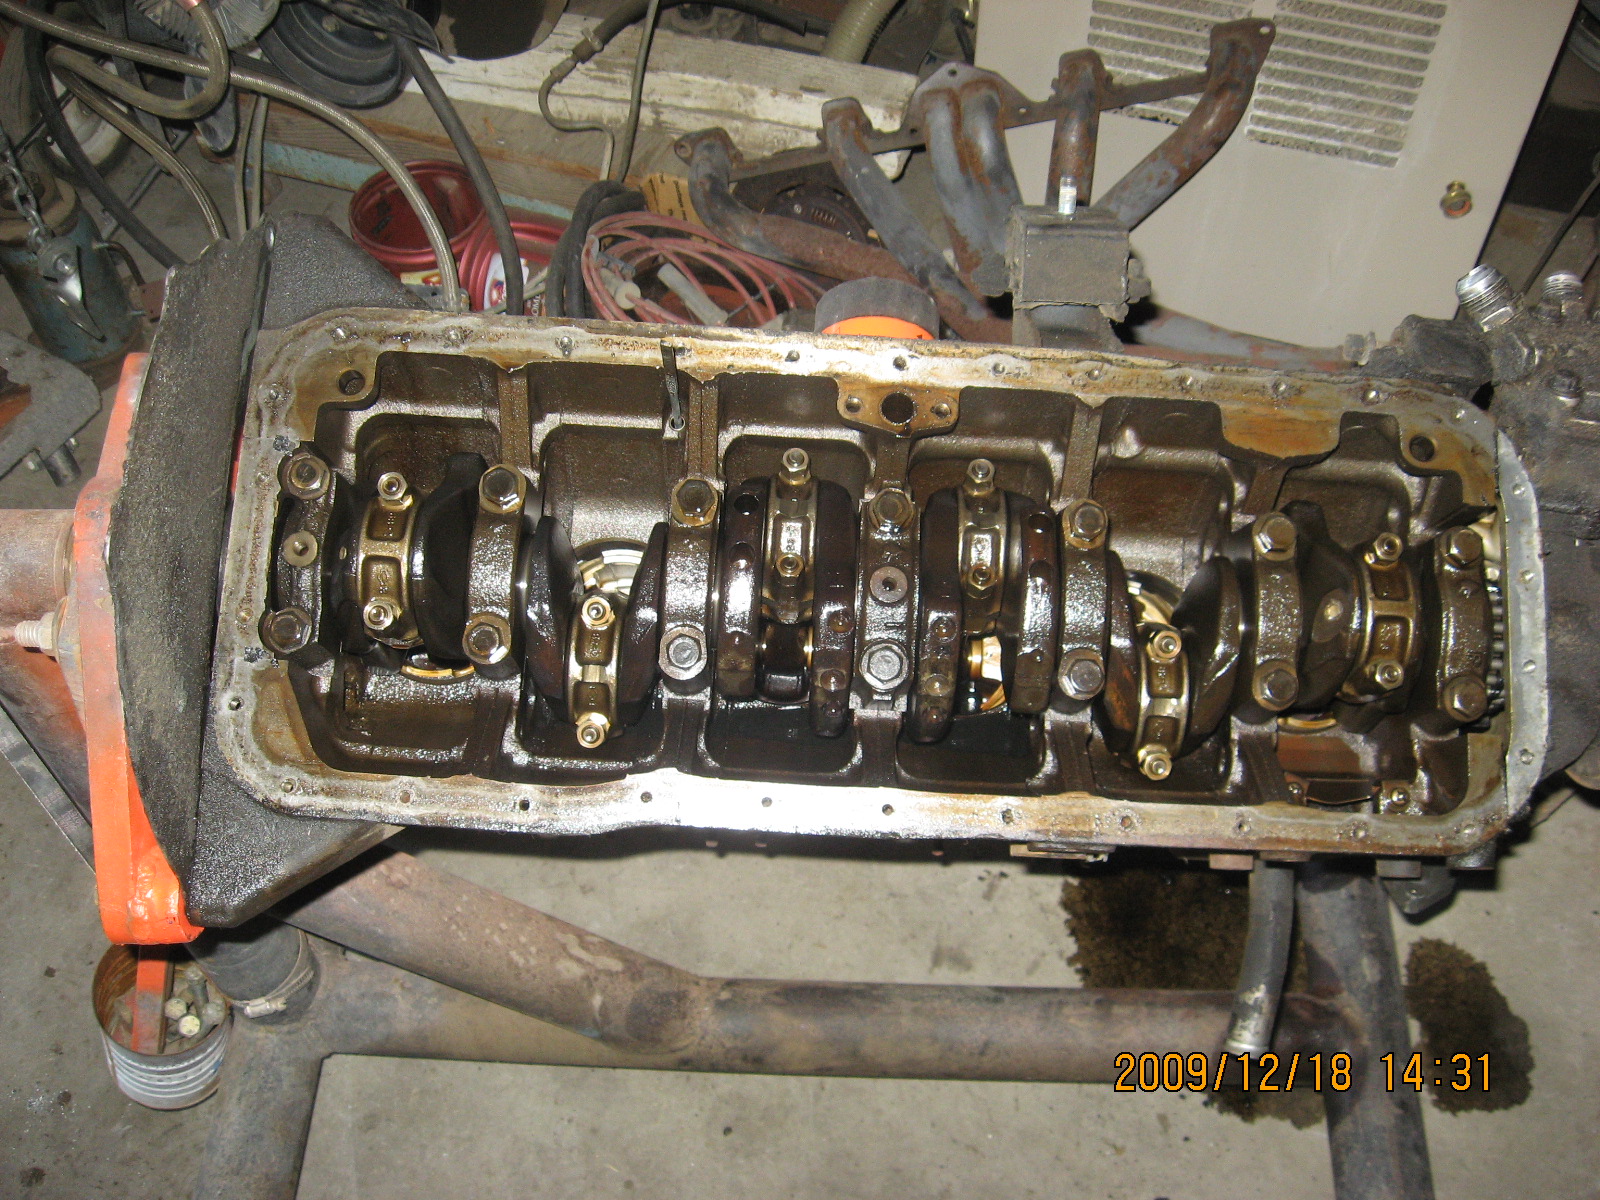
Naked...

man thats clean!
-
and the intake has a C wraped around the T and a styled "E" using part of the T cast into it! so its a CTE manifold
looks like an MSA intake but its not, much older.
-
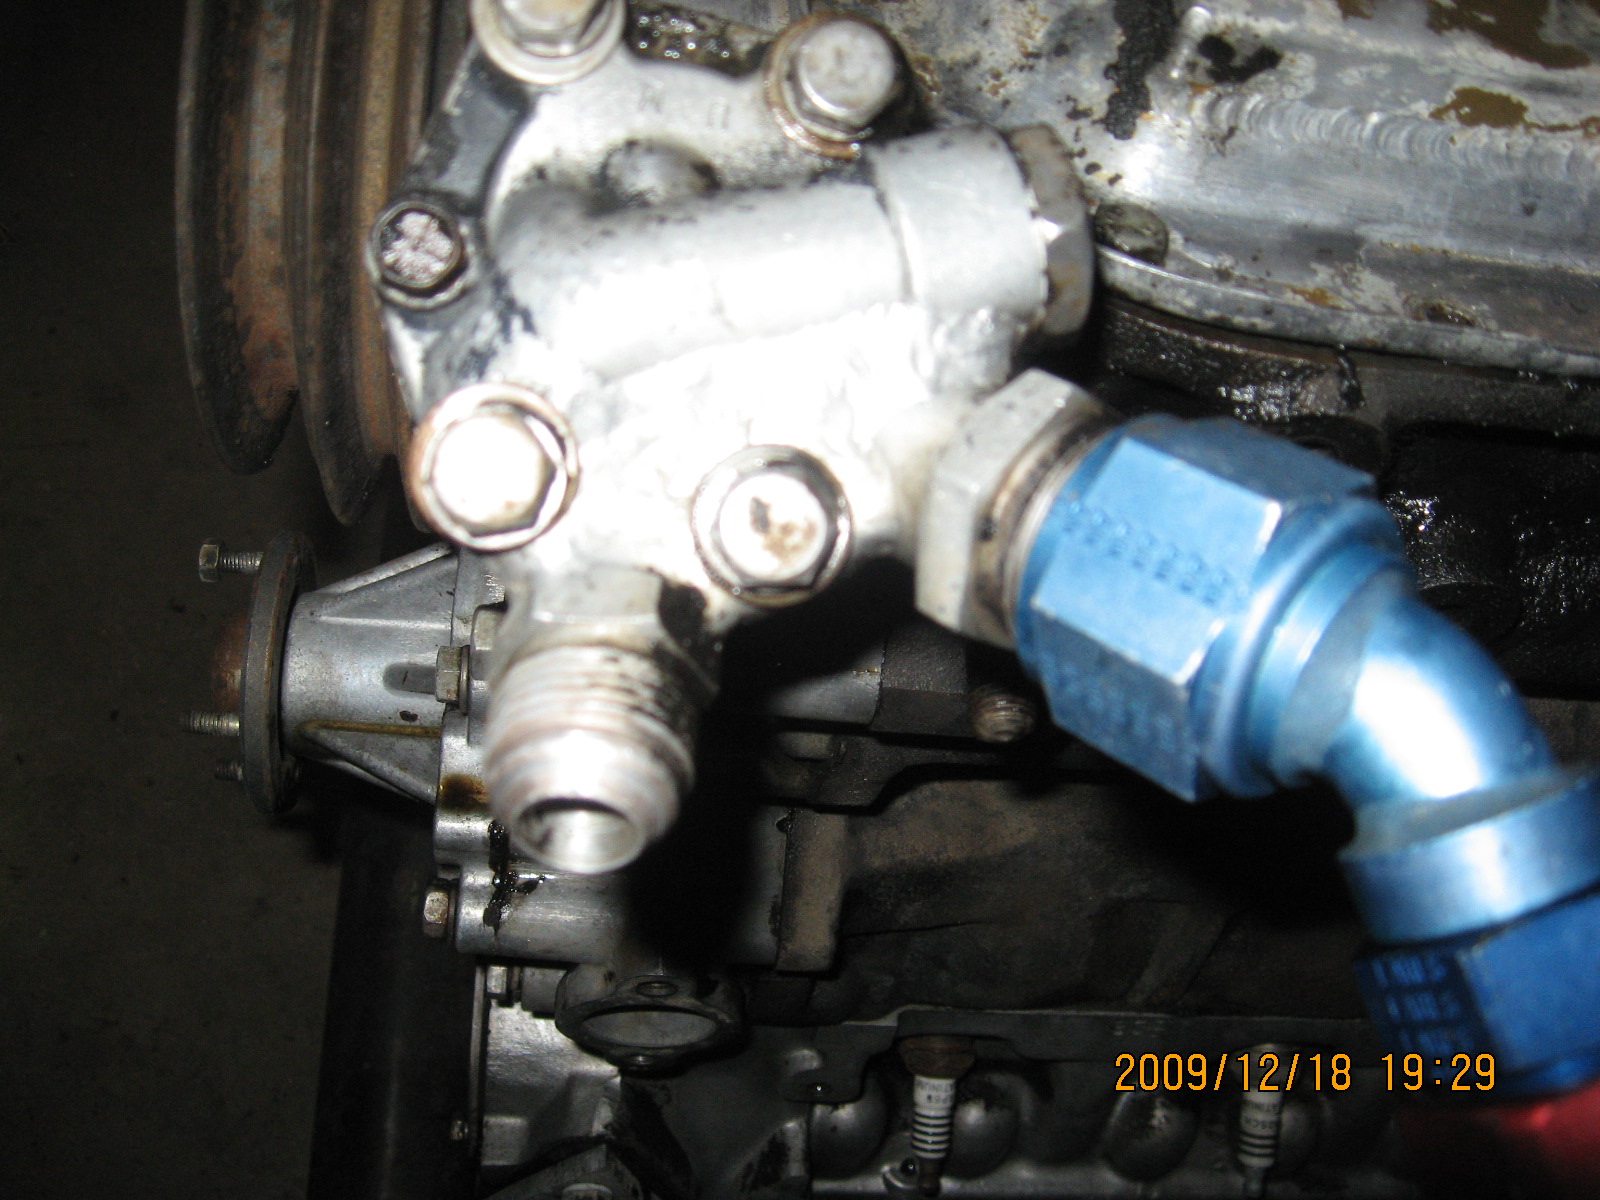
in reguards to the oil filter you saw on the block, i put it on fr cleaning the block. we have all the parts including to dual oilfilter setup with oil cooler too! we had noticed when we were cleaning the oil pump, it had the initials D. M. stamped into it, and there is alot of welding on the pump for the fittings used. we were hoping someone could identify the initials to find out who built the pump. thenk you for the part numbers though! that is a big help for replacing the part if ever needed!
-
any thoughts on the 82 maxima trans. I would like to know the ratios on it since i put one in my 74 ?
-
fantastic progress man, I hope to be able to do something like that with mine! but money does not exist for me anymore
-
Back to the original topic,
Depth should not be that big of deal within reason of course, as the spray pattern should miss the injector slot in the head and spray down into the port.
Now the Supra injector appears to have two ports aimed off center for the split ports of the multi valve head. My guess is the Supra injectors are possibly further away from the valve itself vs the Z, so its angle might be quite narrow. If that is indeed the case, the spray pattern could then be wetting the port walls, but probably not make much difference in overall power output, as noted above, would mostly affect light load conditions, and the affect may be negligible at that. You’d be amazed at how much variation in pattern/aim can be made before a measured or seat of the pants difference can be felt.
In short, I wouldn’t be afraid to try them, don’t worry so much about mounting depth as it shouldn’t affect it adversely, it will land it where it lands unless you modify the manifold.
As for the fuel rail, so long as the fuel rail receiver hole is the correct size for the Injector O-ring, it will fit and should seal just fine. The injector will “float” it he fuel rail.
Hope that helps,
Paul
BRAAP is the man when it comes down to building power from the L- series engines, his advice is that of a sage! follow him and youwill be on the right track!
-
also try taking out your injectors and clean them, may have a obstruction in the nozzle that will not let the injectors close from the time it sat. don't forget to clean all the connections on the FI system
-
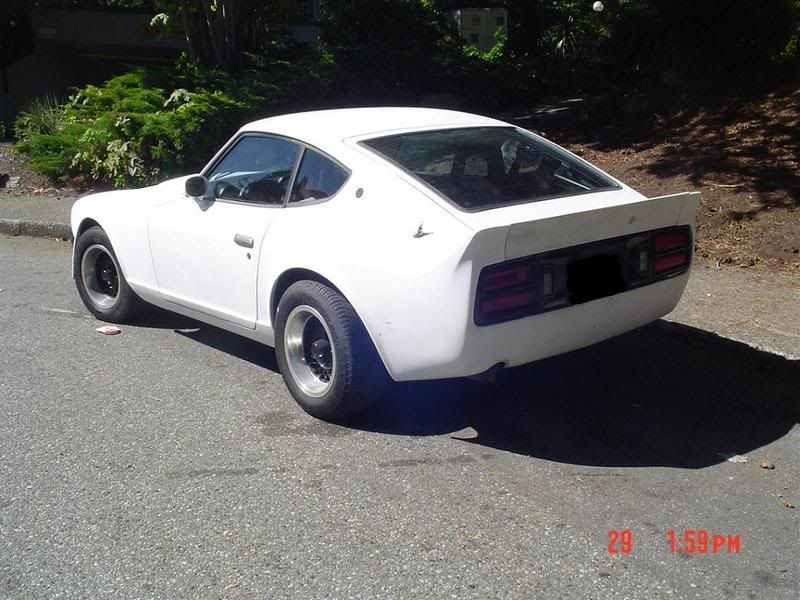
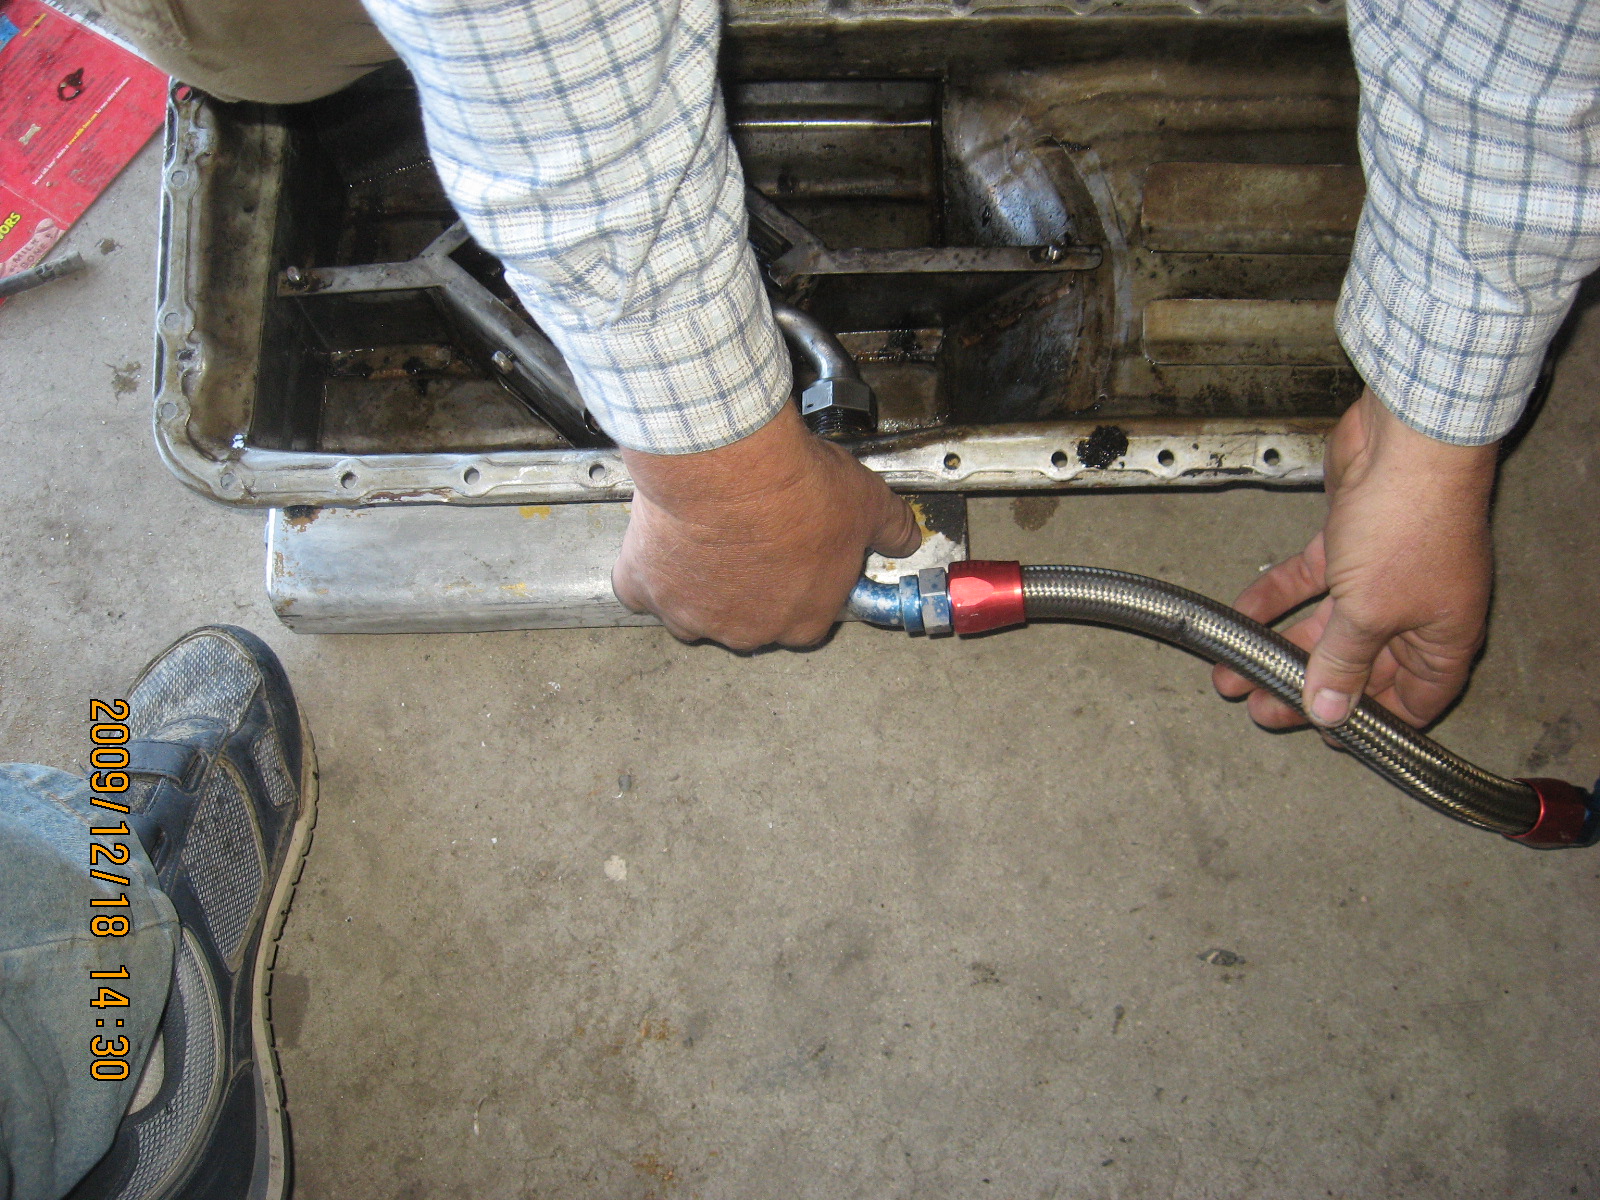
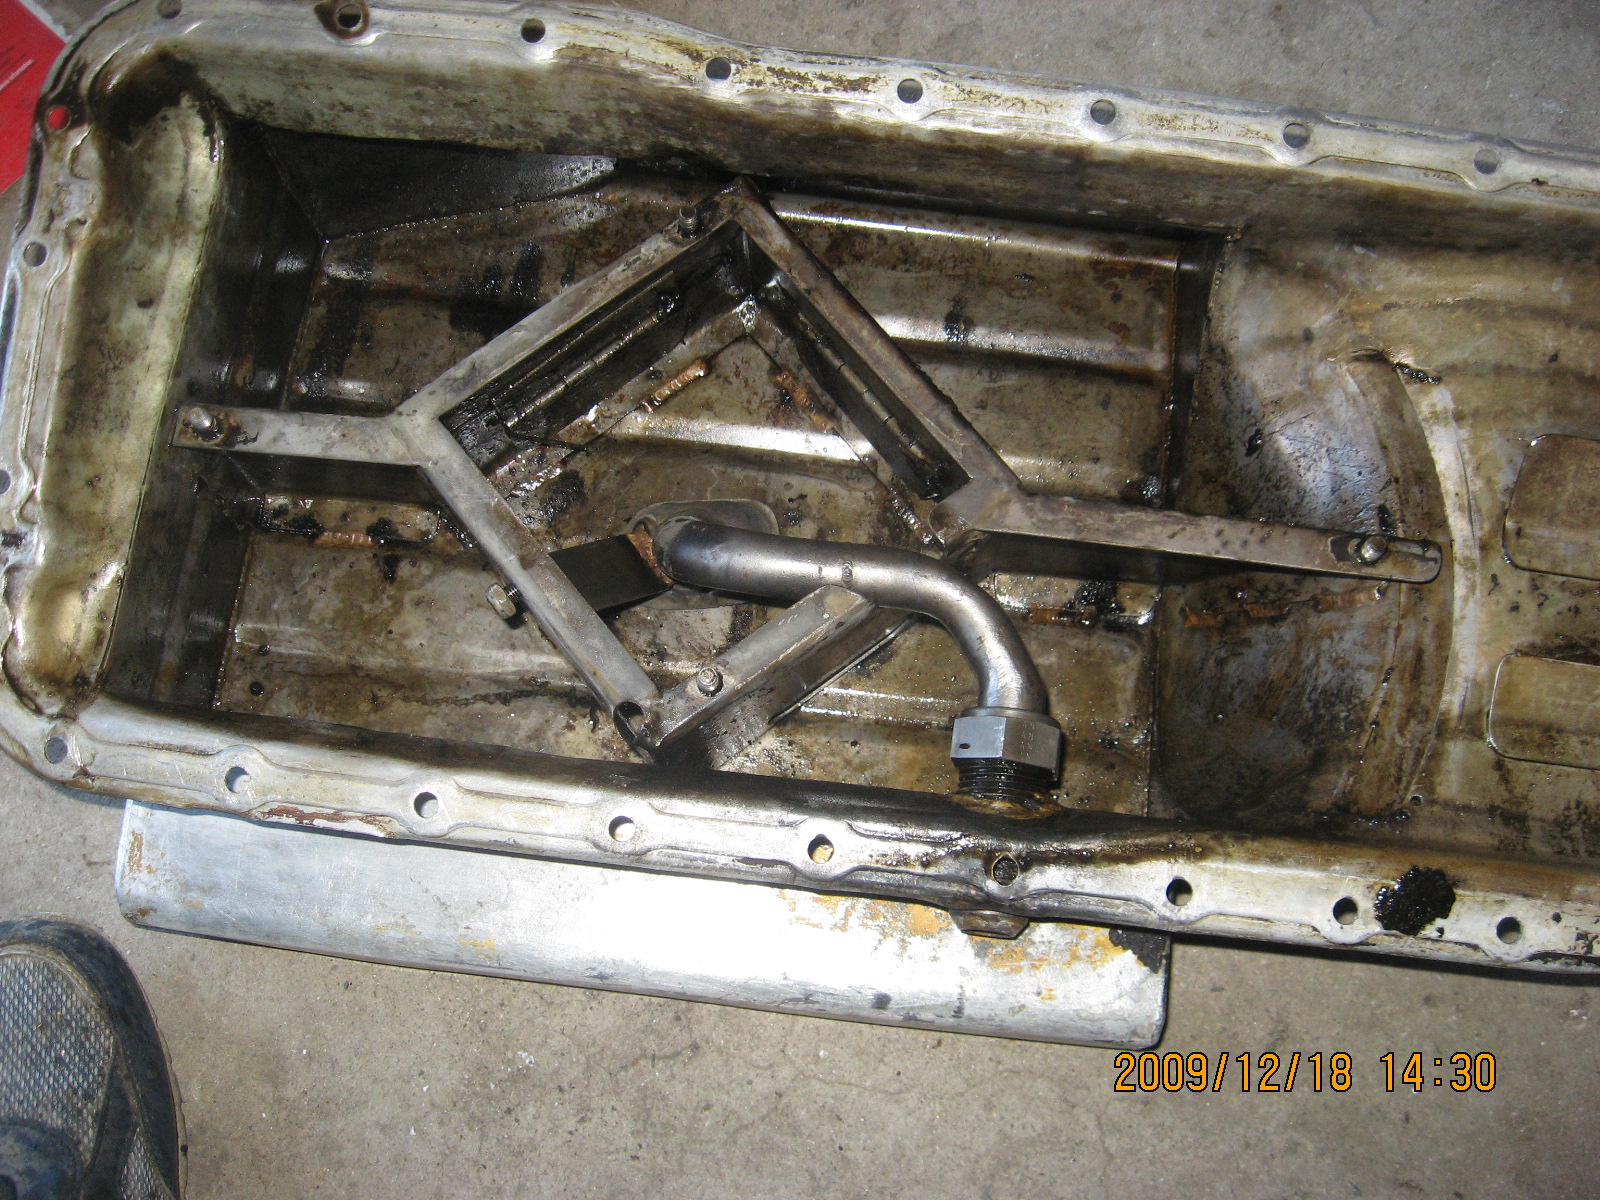
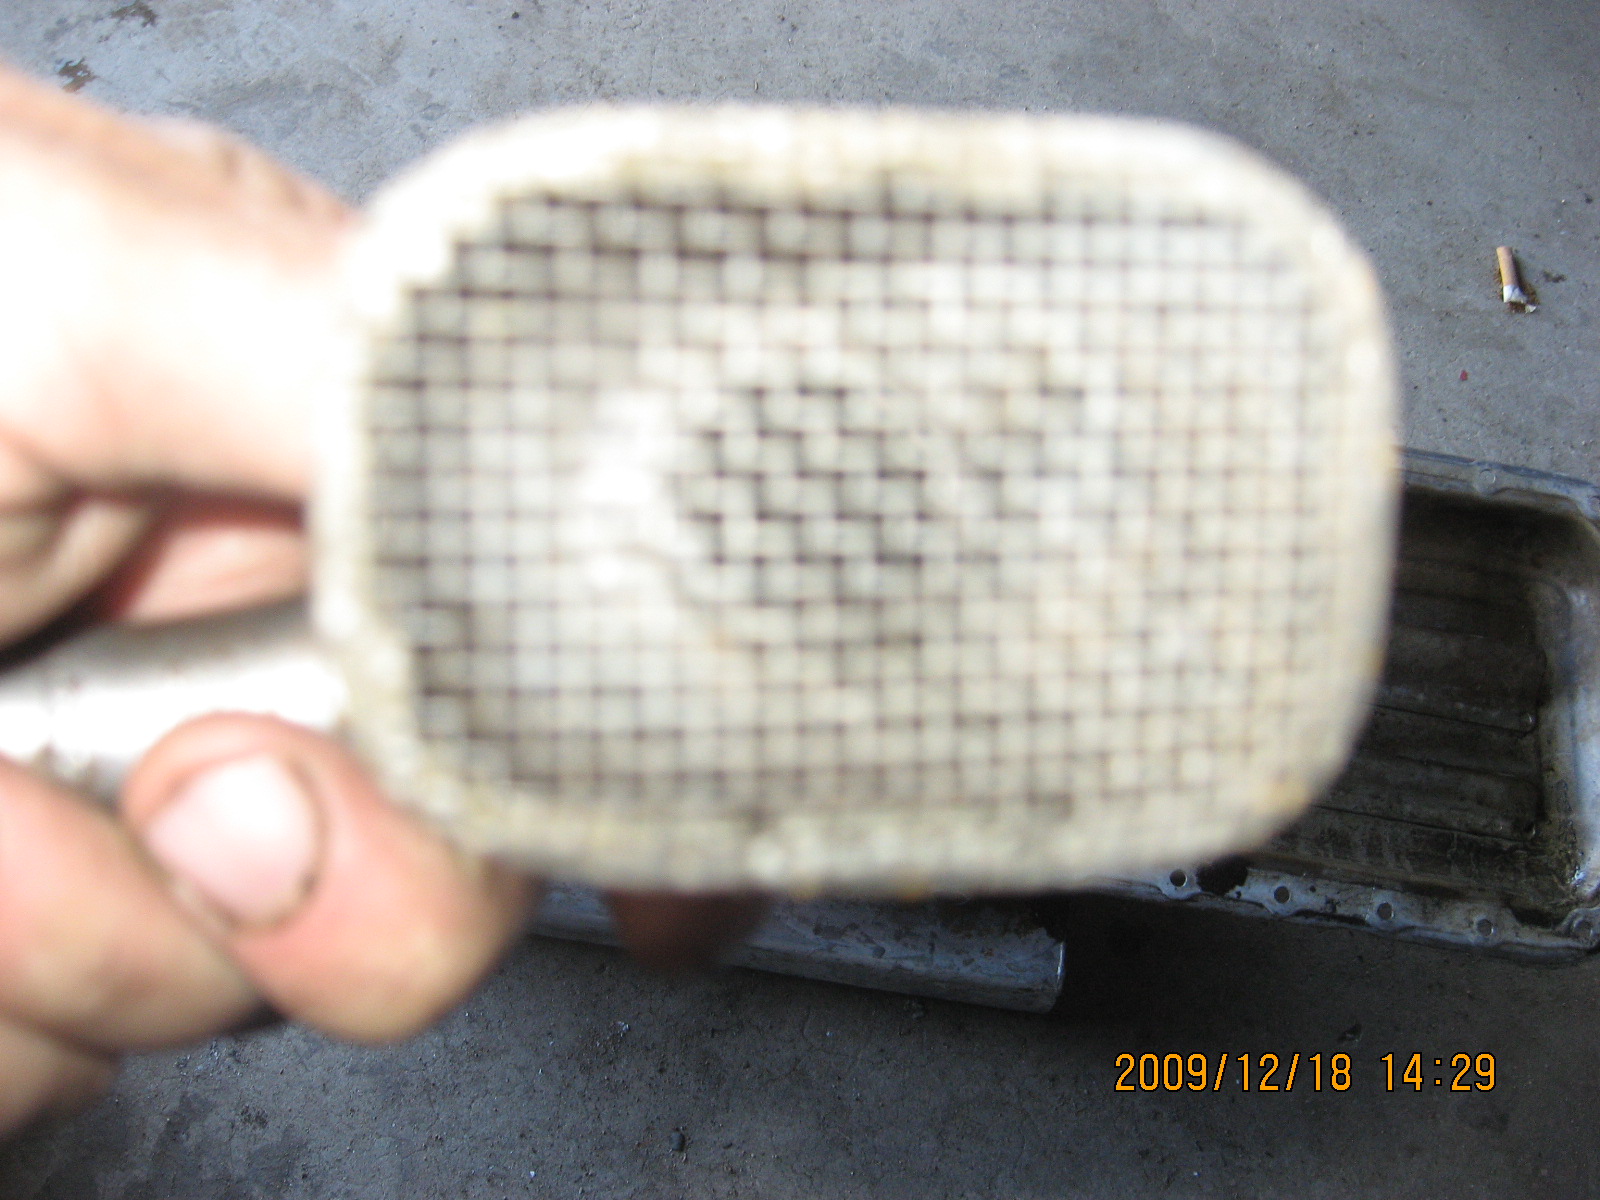
Hey guys, we are finally getting to work on the FoxZM hot rod Z! It is a 1970 240Z with 43,000 original miles, and was highly modified for playing on the track. We are posting pics for the build and posting answers to any questions reguarding the pics, and asking for advice( attn. BRAAP) concerning this endeavor. So please enjoy the pics we will be posting more to come!
-
you can use the connecter to your ignition box under the right side of the dash, connect to the white wire, and your fuel pump will only run when the key is in the run or start position, thats what i did when i had carbs on mine. it worked like it should have till i decided to put the FI back on.

.JPG)

.JPG)
.JPG)
.JPG)
.JPG)
.JPG)
.JPG)
.JPG)
.JPG)
.JPG)
.JPG)
.JPG)

.JPG)
.JPG)
.JPG)
.JPG)
.JPG)
.JPG)
.JPG)
.JPG)
.JPG)
.JPG)
.JPG)
.JPG)
.JPG)
.JPG)
.JPG)
.JPG)
.JPG)
.JPG)


.JPG)

.JPG)
.JPG)
.JPG)
.JPG)
.JPG)
.JPG)
.JPG)
.JPG)
.JPG)

.JPG)
.JPG)
.JPG)

Jtr mounts
in Gen I & II Chevy V8 Tech Board
Posted · Edited by spacecase70
instructions to bolt on the mount, that is pretty straight forward, you just use 2 short bolts on the set back plate, and three long ones to go thru the plate and spacers but remember to trim about a 1/2 inch from the bottom rear corner of the driver side mount