
Atozone Tonine
-
Posts
110 -
Joined
-
Last visited
-
Days Won
1
Content Type
Profiles
Forums
Blogs
Events
Gallery
Downloads
Store
Posts posted by Atozone Tonine
-
-
Cool. how much do you charge per cubic cm? what is the layer height?
-
Any word on the 1 piece fiberglass competition hood? (or L88 hood?)
-
This is what I was thinking for the GT40 style vents ... looks like it would be great for air flow through the radiator.
I cant remember where I got this image.

But I just realized, that what I REALLY want is the competition hood, in one piece fiberglass.
I think that would sell well, because A) it was an OEM option (though dealer installed),
it maintains the Z car bulge shape, and C) having it in one piece would certainly be much better than the way the originals were installed.There was some chatter about ZForce producing some here:
http://forums.hybridz.org/topic/97410-datsun-competition-hood-scoop/
-
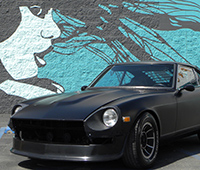
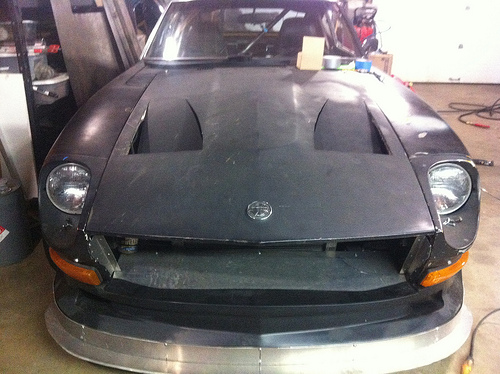
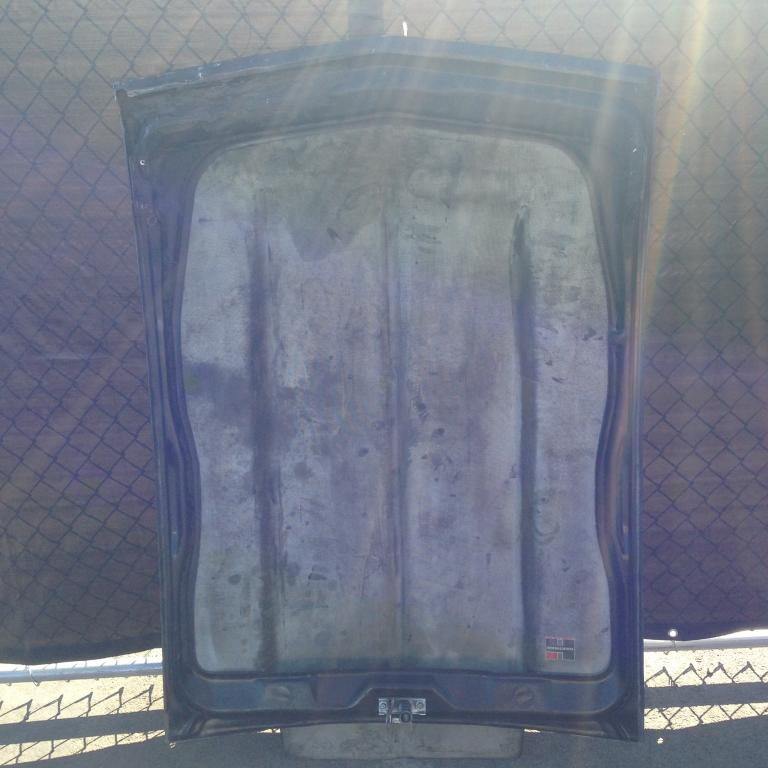
Well.. I went and did it.
I got a Hartman fiberglass hood used.. extremely cheap.
It sure is ugly, but the weight difference is amazing, and I'm hoping it will allow the hot air to escape the engine compartment, when going low speed (which is all i do really).
It has had a minor repair on the underside and one of the brackets is loose, but I I think I can fix it, and make it look much better.
I will be installing it this weekend.
-
I have noticed that the site is unavailable 11pm -12 midnight PST now. I'm sure there are many west coast people that would love to use it at this time.
-
I have a lead on a cheap fiberglass straight cowl hood. How difficult would it be to modify the front area of the cowl to resemble the stock shape? or graft something on?
I have never worked with fiberglass, and I'm thinking that any custom work like that will be more expensive that its worth.
Maybe I will take a chance and learn something about fiberglass in the process.
-
How good would a stock fiberglass hood or all fiberglass l88 style hood sell do ya think??
I would like to come up with something that isn't on the market yet tho...
I think there is always more demand for reproductions (or improved repros) of stock parts.
-
For some situations, a cowl hood is needed for clearance, and vents have a function... Keeping cool is the most important thing for me.
-
How are you planning to make a mold?
-
Yes, maybe it would be too much... But I think it could work well with a v8 set up. Hard to say without seeing it.Ok nevermind, I did a little searching and I see what you are talking about. I'm not real sure if there would be enough room for an aggressive vent like that in front of the bulge though...
-
IMO , I don't think the Ram Air would look good on the Z and cowl induction is already on the market .
How about something like these ?
The viper style looks good.
The main problem with the straight cowl hood, is that it doesn't maintain the signature "hood bulge shape" of the Z cars.
I wish there was a hood with an L-88 style cowl, and a deep GT40 radiator vent in front.
-
The motorsport seat foam didnt work too well for me and I gave up. Took it to an upholster to get it put together.. Probably the same Ebay guy that ships out of the UK? Mine was leather skins with embroidery and white stitch.
Looks great. I think you have to make some changes to the foam for a 280z.
Its a tough job, and at the time, I was thinking that a few hundred dollars is well worth it to have an experienced pro do it.
-
well that's why I removed the floor pan plugs. haha.
I had previously thought that my original gas tank leaked every time I filled it past 3/4 full.
After my first fill up, it was leaking on the hot exhaust... that was a bit scary.
I recently tried to run it to empty, but it keeps going and going, even when the gauge is on empty.
So, I think it might be just the sender unit that is bad, and it was leaking near the filler hose.
Well, I'm too far in now, no turning back.
-
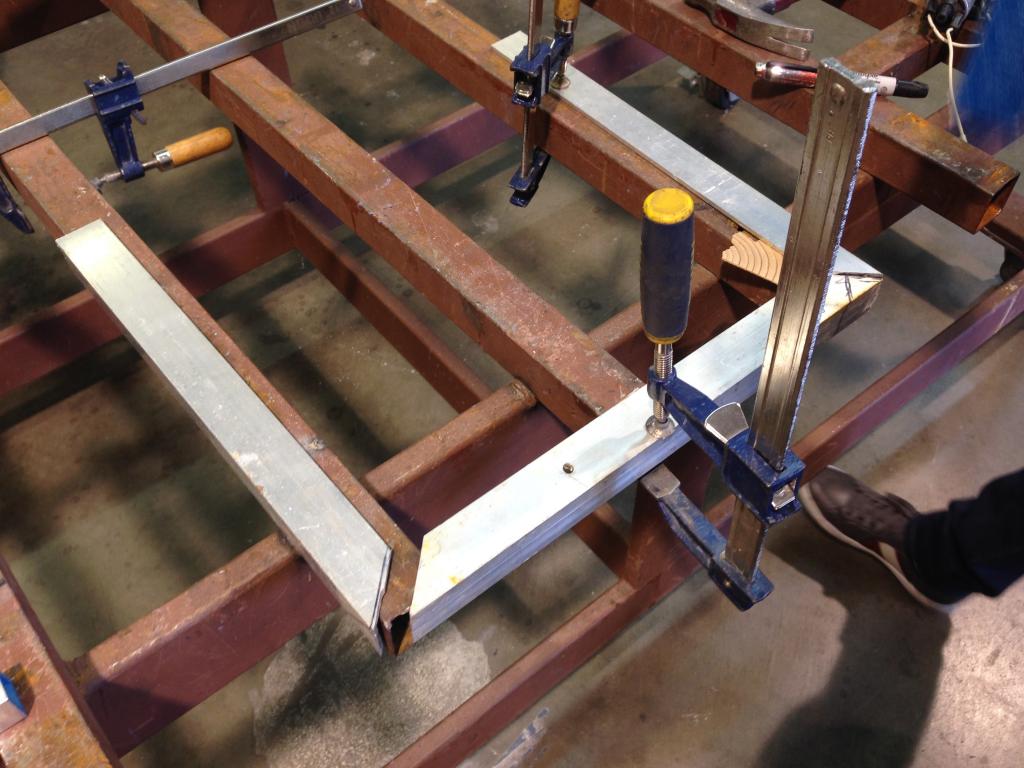
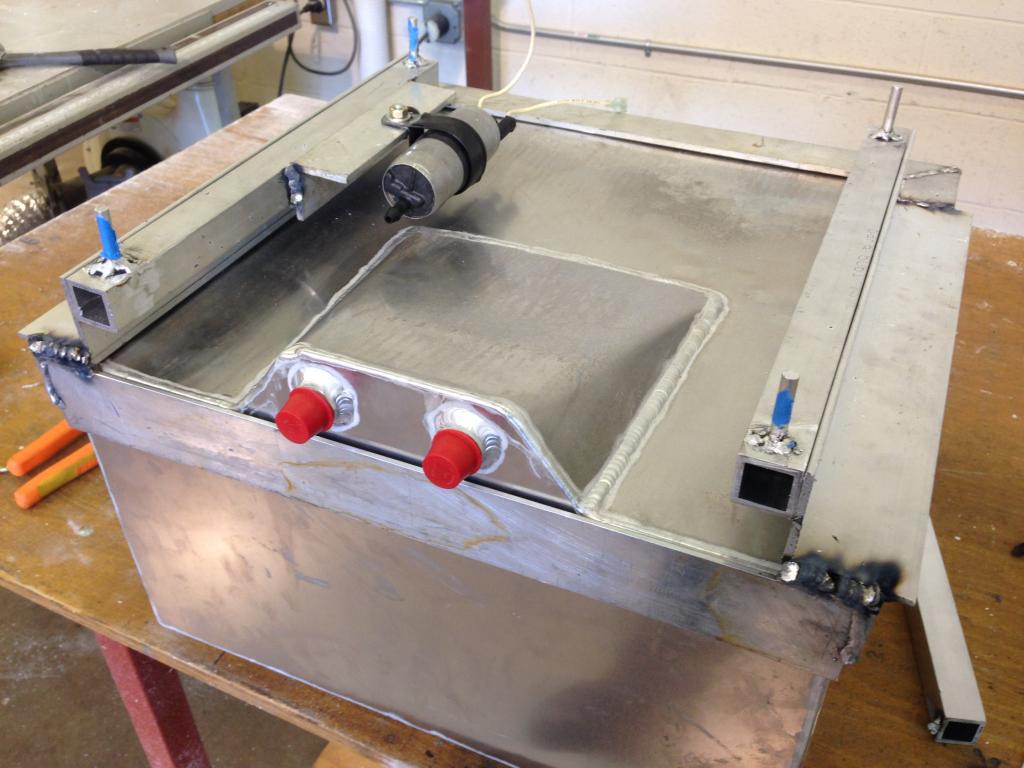
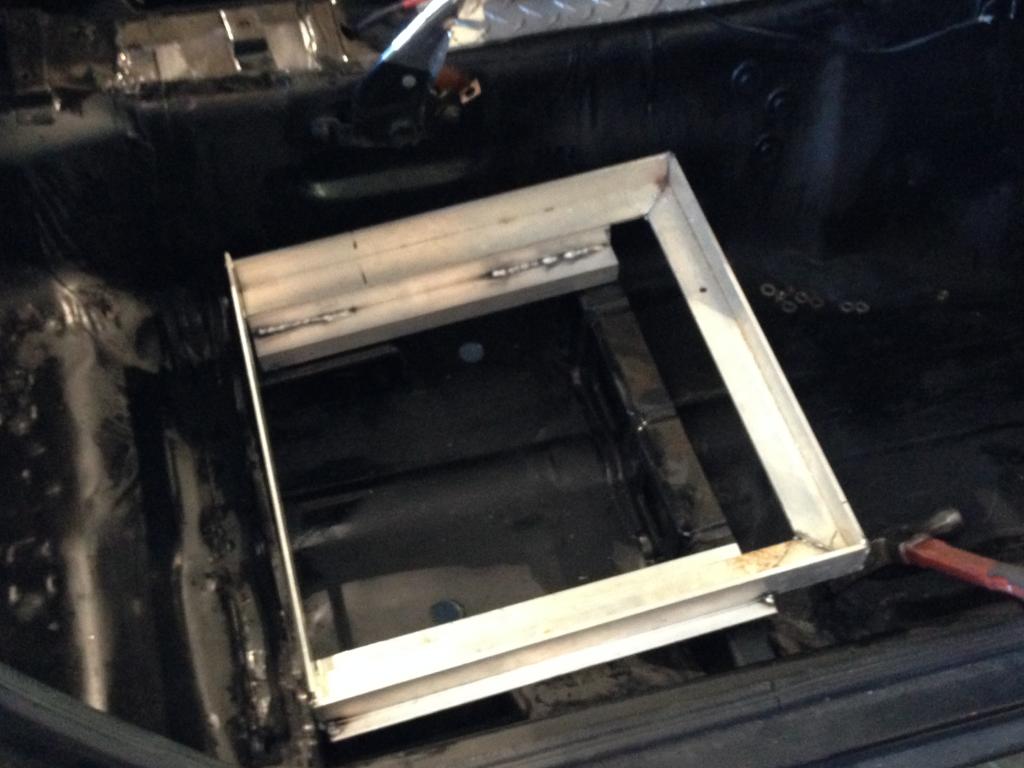
I wanted to be able to drive my car while I work on the rear area, so i created a frame for a temporary fuel cell that fits onto the passenger seat bracket.
This way, i will be able to drive it back and forth to my mechanic... and just work on it a slowly.. a bit at a time.
It is a 5 gallon fuel cell. I have a 16 gallon for the permanent one that i will be putting in the rear.
-
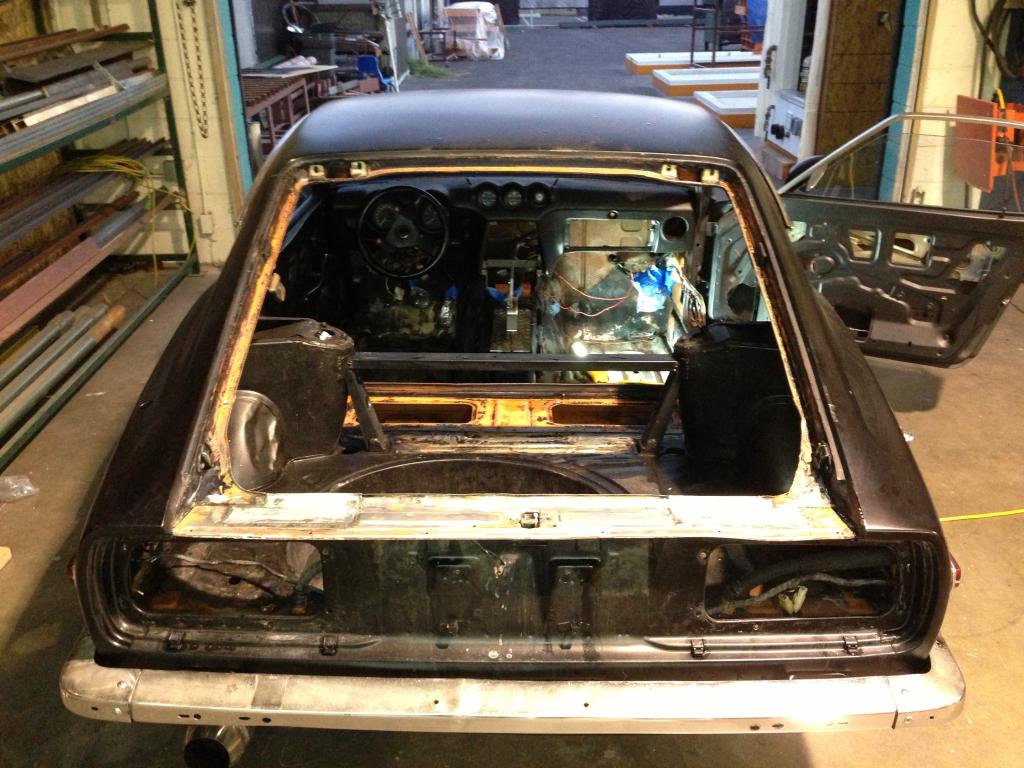
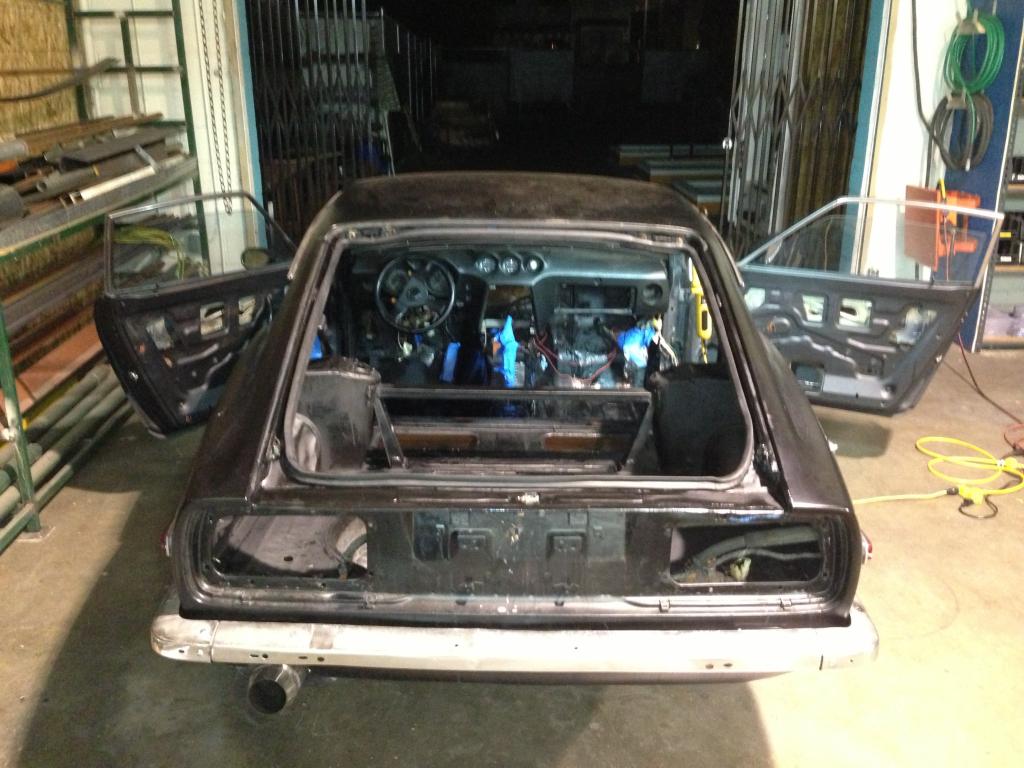
It all began with a cleaning... then as I started to grind away the small rust spot on the tailgate, the hole kept getting bigger.
the plastic cover was hiding a huge hole.
Here is how I fixed the rust holes, and rear hatch:
I cut out the areas that had rust with an angle grinder
I cut out matching pieces of 16 GA steel and bend to match existing
I painted all the parts and all around the hatch with POR-15, doing the whole cleaning and etching process
and installed NOS inner weatherstripping and the top portion of outer weatherstripping
Re-installed rear tail pieces, and lights
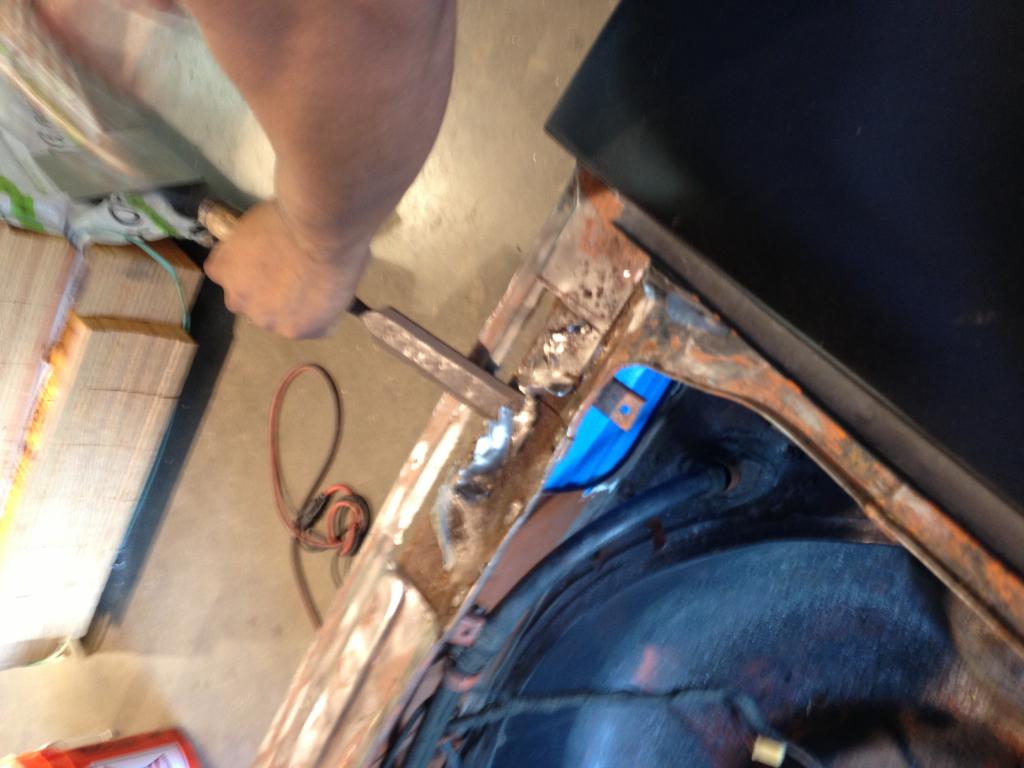
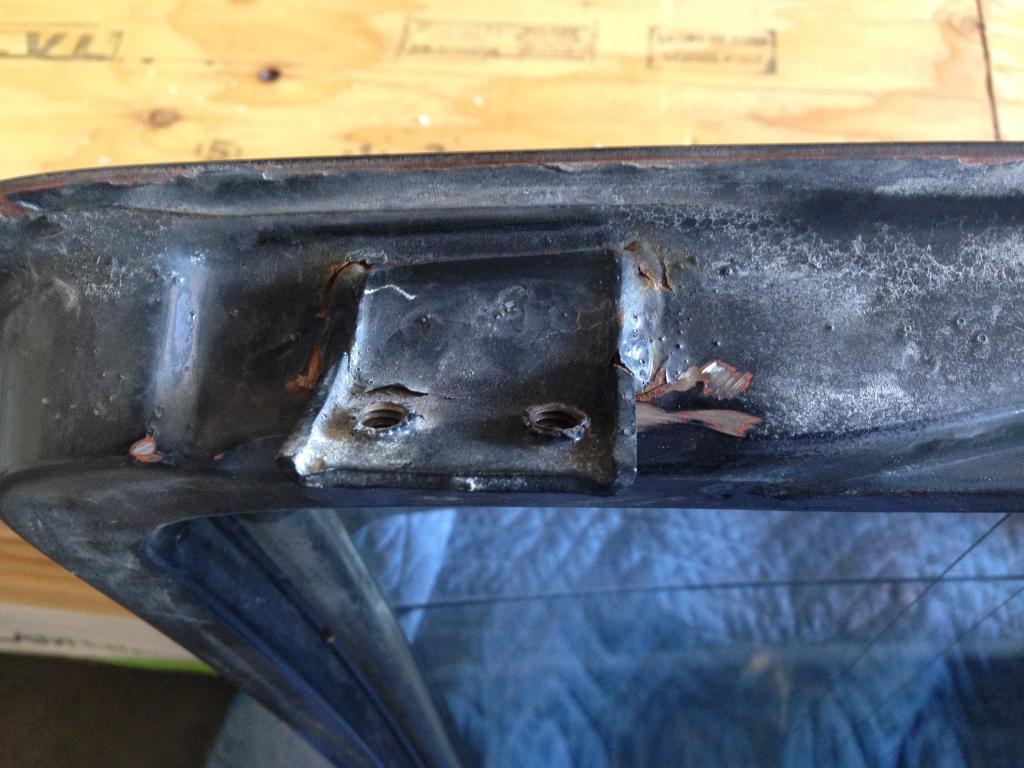
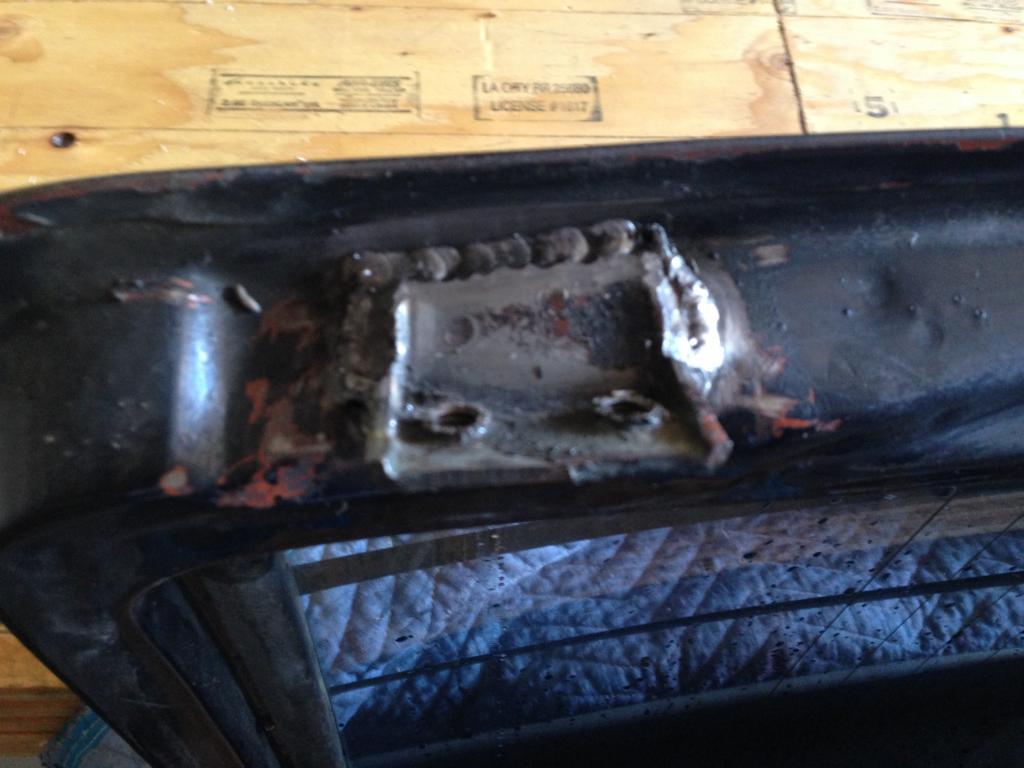
Then I turned my attention to the hatch hinges, which were ripping off at the seams.
I welded them on the top
And underneath
And that was about a weekend of work, for an amateur.
-
Look great ! eBay covers ? I bought a set from eBay , they look very similar to yours
I order from the company on eBay that does the leather or vinyl ones and you can get embroidered headrests, or other custom things.
The seller was listed as American, but they were apparently shipped from Pakistan. It only took about 2 weeks and the quality is excellent... Very heavy duty stitching.
-
Where did you get new seat foam ?
Motorsport. Fit perfect.
-
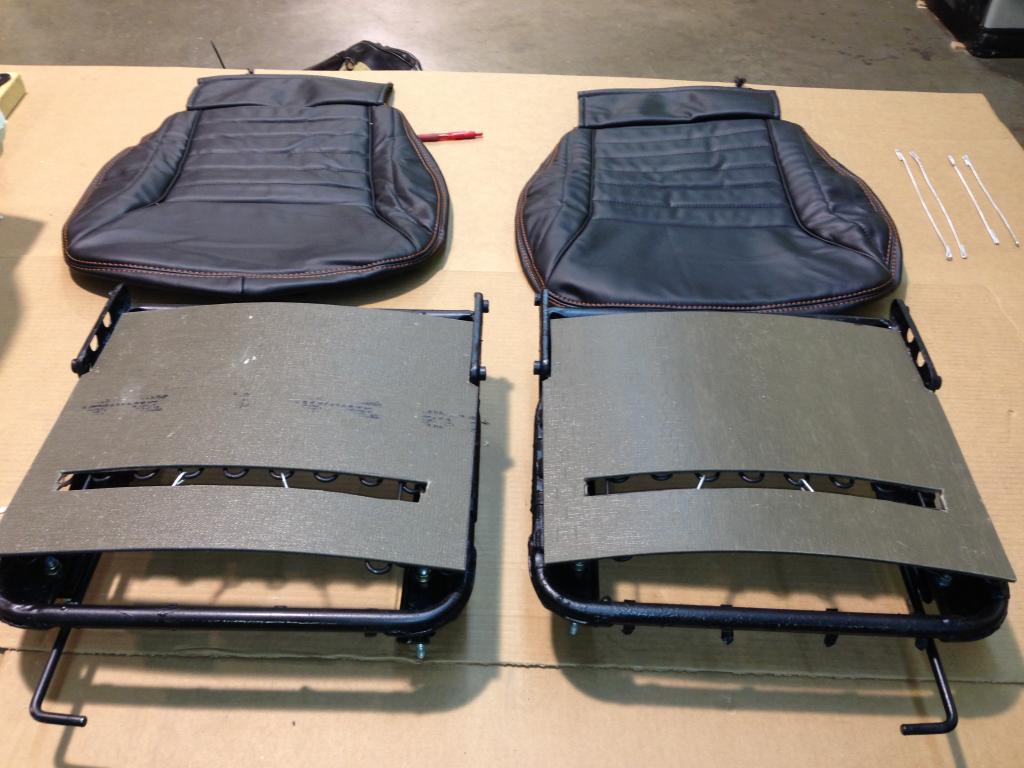
Here is how I refinished my seats:
I stripped the paint off the frames, used the POR marine cleaner, then used the POR metal etcher, then painted with POR-15
I used metal wire to tie the seat springs back together
I used thin carpet squares on top of the seat springs to protect the foam
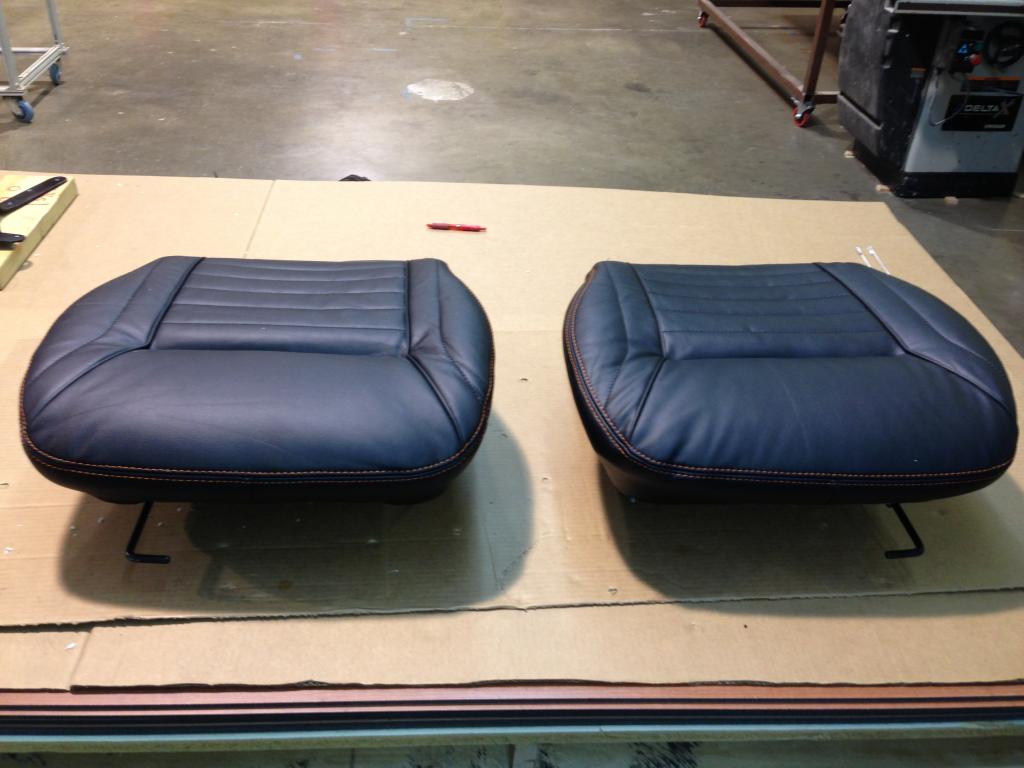
I recovered the lower parts, clamping the inner wire with hog rings to the frame underneath. Tip: heat up the covers in the sun first
I made new wires to hold the upper portion to the seat back, and fastened with hog rings. I placed a plastic bag on top to make fitting the cover easier.
I pulled the vinyl covers onto the top. I got these covers from Ebay for $200 and was very happy with the quality. I requested this design, with the vent grommets eliminated and orange stitching.
I cut out new rubber guards.
I repainted and greased the mechanisms, then reattached them to the seats. Tip: use an impact driver, not a regular screw gun, or drill.
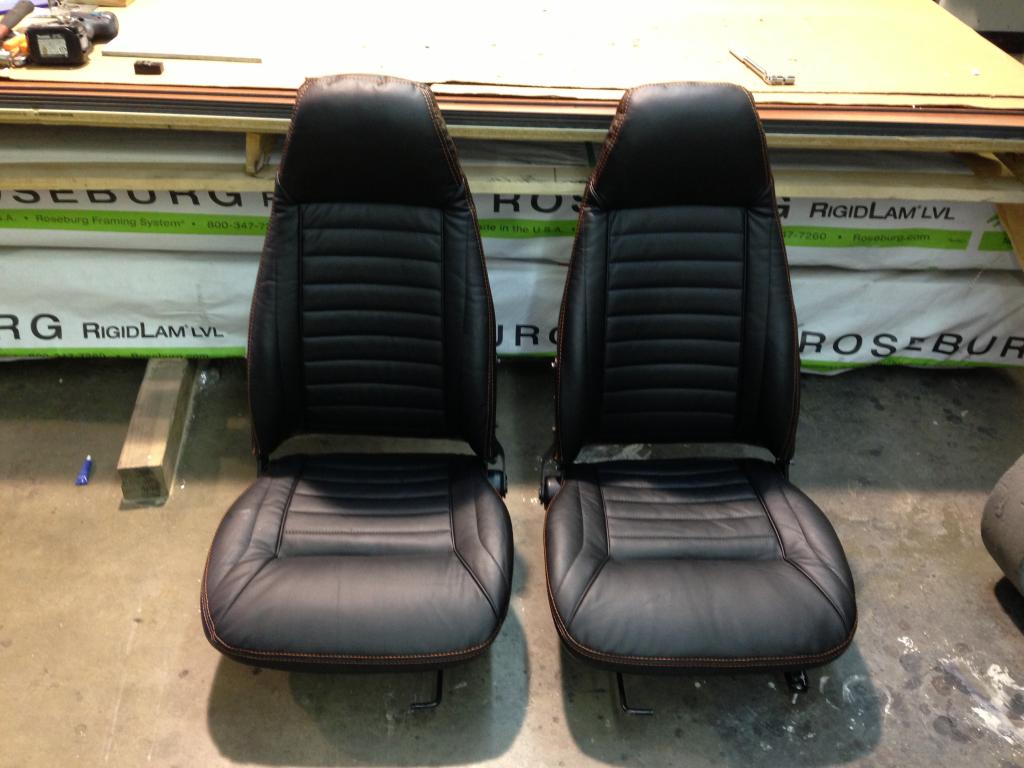
Elapsed time: 1 weekend.
So after all that, I installed them to discover that with the new seat foam, the seats are too high, and I preferred my old seats. haha. At least they look good.
-
Hey if I send you a 3DS file of some lettering would you be able to get it printed? Would just have to let me know how much.
You can send it to a 3D printing service directly. If you need to submit as an .stl file, I can probably convert it for you.
Try Shapeways or Sculpteo, although I have never dealt with them before.
-
Sorry for the late response. I couldn't log in to the forums for a long time, but just figured out it was AVAST antivirus preventing me for some reason.
Anyways, I would definitely be up for collaborating, or sharing files/info. I was in a meetup group with a Makerbot, and they got a new Replicator 2.
I realized that the material PLA is not good for use in even medium-temp conditions, and it is much more difficult to print in ABS.
I think the best thing is to send the model to a 3D printing service like Shapeways, or Sculpteo.. there are many out there, and have it made in metal.
-
Sure no prob. I will try to upload tomorrow. I would like to know the people who are interested or have skills in digital fabrication.
It would be great to have a wiki database of files to share. I know there is a very detailed and precise model of the a whole 240z out there that I would love to have.
-
I need wipers, bracket, and some kind of motor- I'm a bit reluctant to put in an original one because the original one in my car melted the outer cover.
I'm open to any aftermarket solutions out there. Thanks
-
-
Got everything. Thanks everyone.
 it maintains the Z car bulge shape, and C) having it in one piece would certainly be much better than the way the originals were installed.
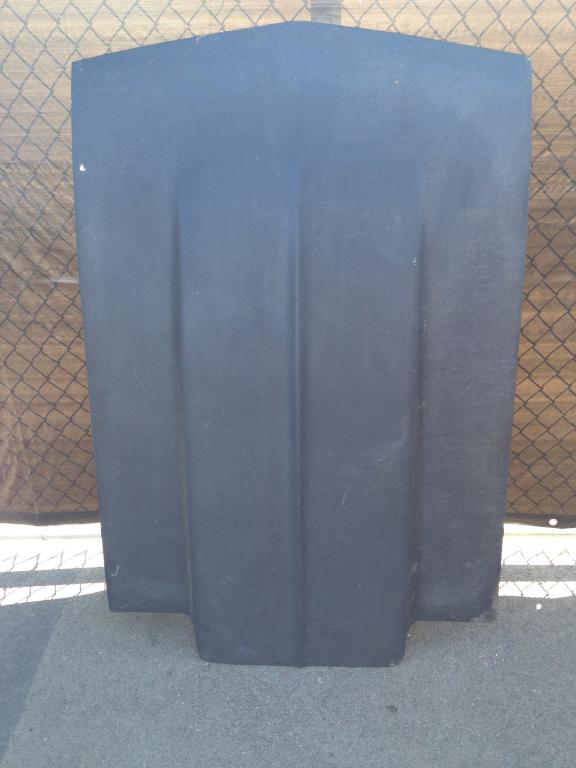


Anyone have 3d modeled door dimensions?
in Body Kits & Paint
Posted
Im going to try Autodesk 123D Catch.
Its an iphone app that builds 3D models from photos. Its really easy, and very precise, believe it or not.
You can also use it online with photos that you take with your digital camera.
http://www.123dapp.com/catch